Last Updated on March 6, 2022 by Jess
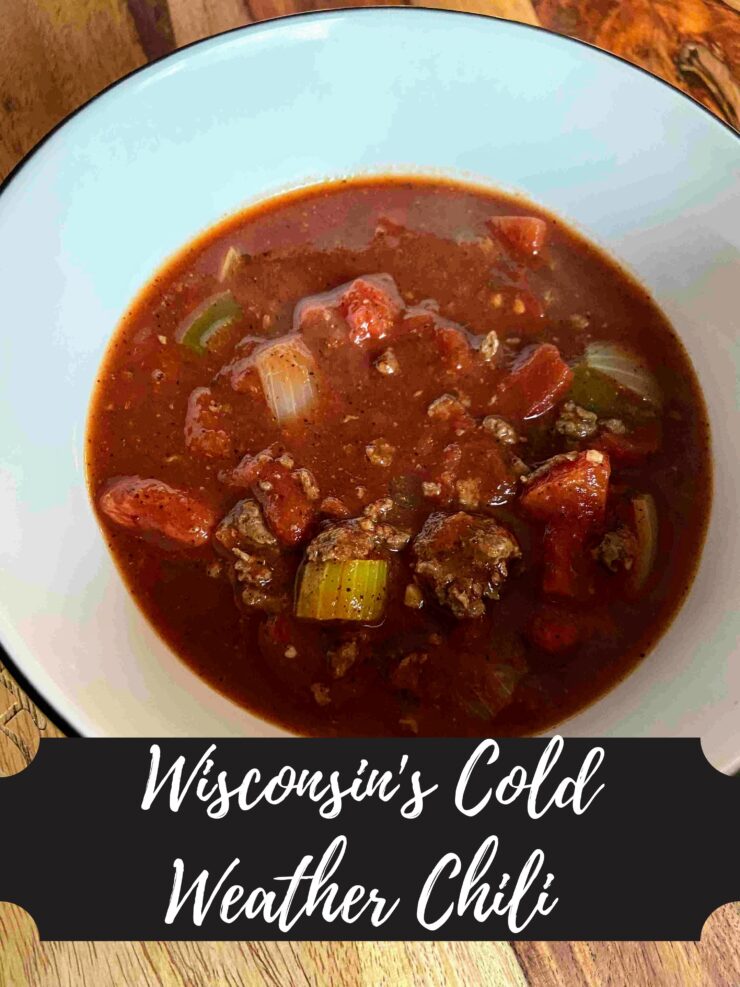
Living in Wisconsin, it is chilly from mid-October through April. But don’t get me wrong, I love everything about Wisconsin, even the chilly season. I embrace and enjoy it all, from the -30 windchills to the humidity and mosquitoes. Perhaps I love the winter months because it gives me five solid months where it is 100% acceptable to eat soup every week. It’s my go to meal prep option and this venison and barley stew is a great one! Reasons why soup is the best (in no particular order):
- It’s comforting, they way it just warms your belly and soul.
- It makes fantastic left overs and reheats in no time.
- You can get all the color and vegetables you could ask for.
- I get to chop all those said vegetables, which is one of my favorite parts of cooking.
- Soup making is SO versatile. You don’t like a certain veggie? Cut it. You have extra of something else? Throw it in the pot.
We are just beginning the crazy life of kids having after school activities and sitting down together for meals is a big priority for my husband and me. I want to know about my kids and their days and I want them to know about ours too. Because of this, I try to put together a kettle of soup to feed an army every other week or so. (okay, not an army, but maybe enough for 2-3 meals for our little family) I also like to make food with what I have on hand. Yes, I keep a stocked pantry, but there aren’t any crazy “one time use” ingredients here, I promise. This is filling and wonderful and does everything a good soup should do: warm your heart and belly, leaving you feeling full and satisfied. Give it a try!
Your ingredients:
- 1 1/2 tablespoons olive oil, divided
- 1 1/2 tablespoons minced garlic, divided
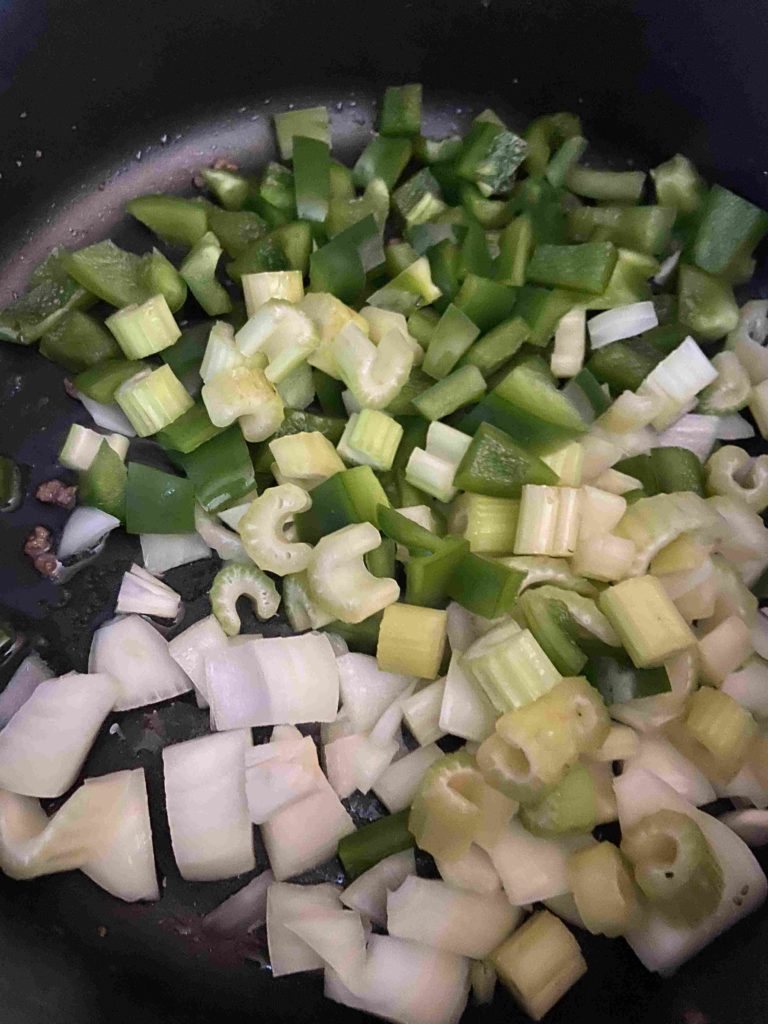
- 2 cups chopped carrots
- 2 cups celery
- 1 cup diced onion, divided
- 1 pound ground venison (We grind our own and do not mix anything with it. Feel free to use any version of ground meat that your family loves)
- 1 cup frozen peas
- 1 cup frozen corn
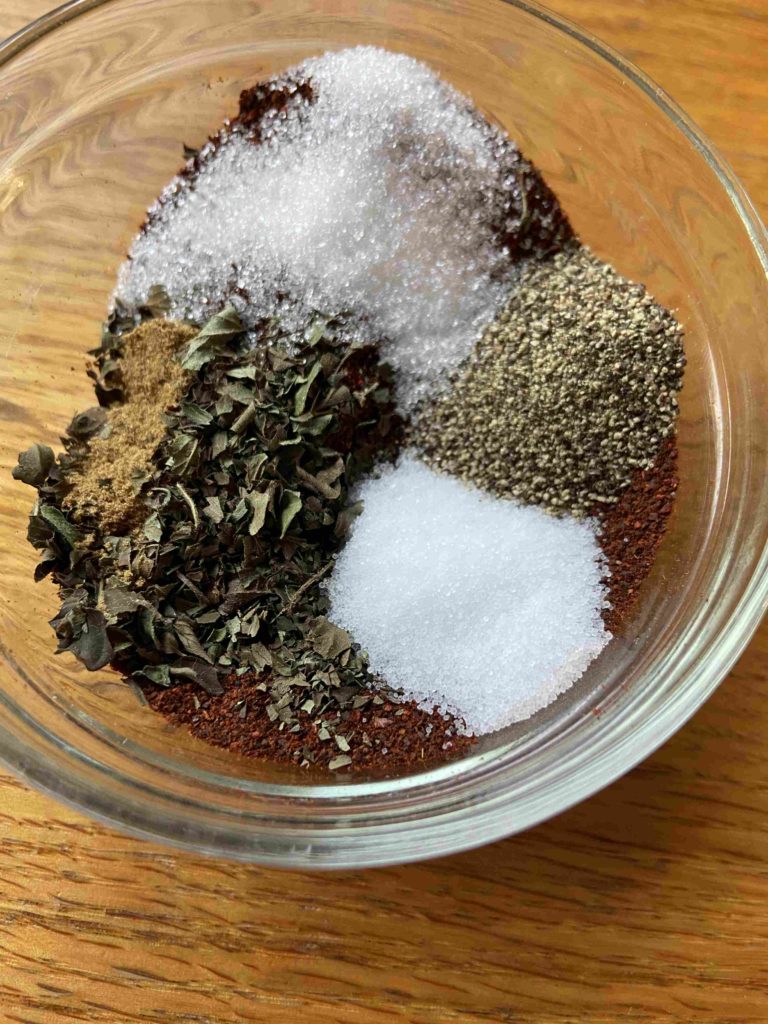
- 1/2-1 teaspoon each: salt, pepper, ground sage (to taste)
- 2 tablespoons butter
- 2 tablespoons flour (If you are gluten free or like a soup rather than a stew, you can totally leave out the butter and flour)
- 9-10 cups low sodium beef stock (I always make my own base using Orrington Farms base. You can easily control how much sodium you add this way)
- 1 cup pearled barley, uncooked
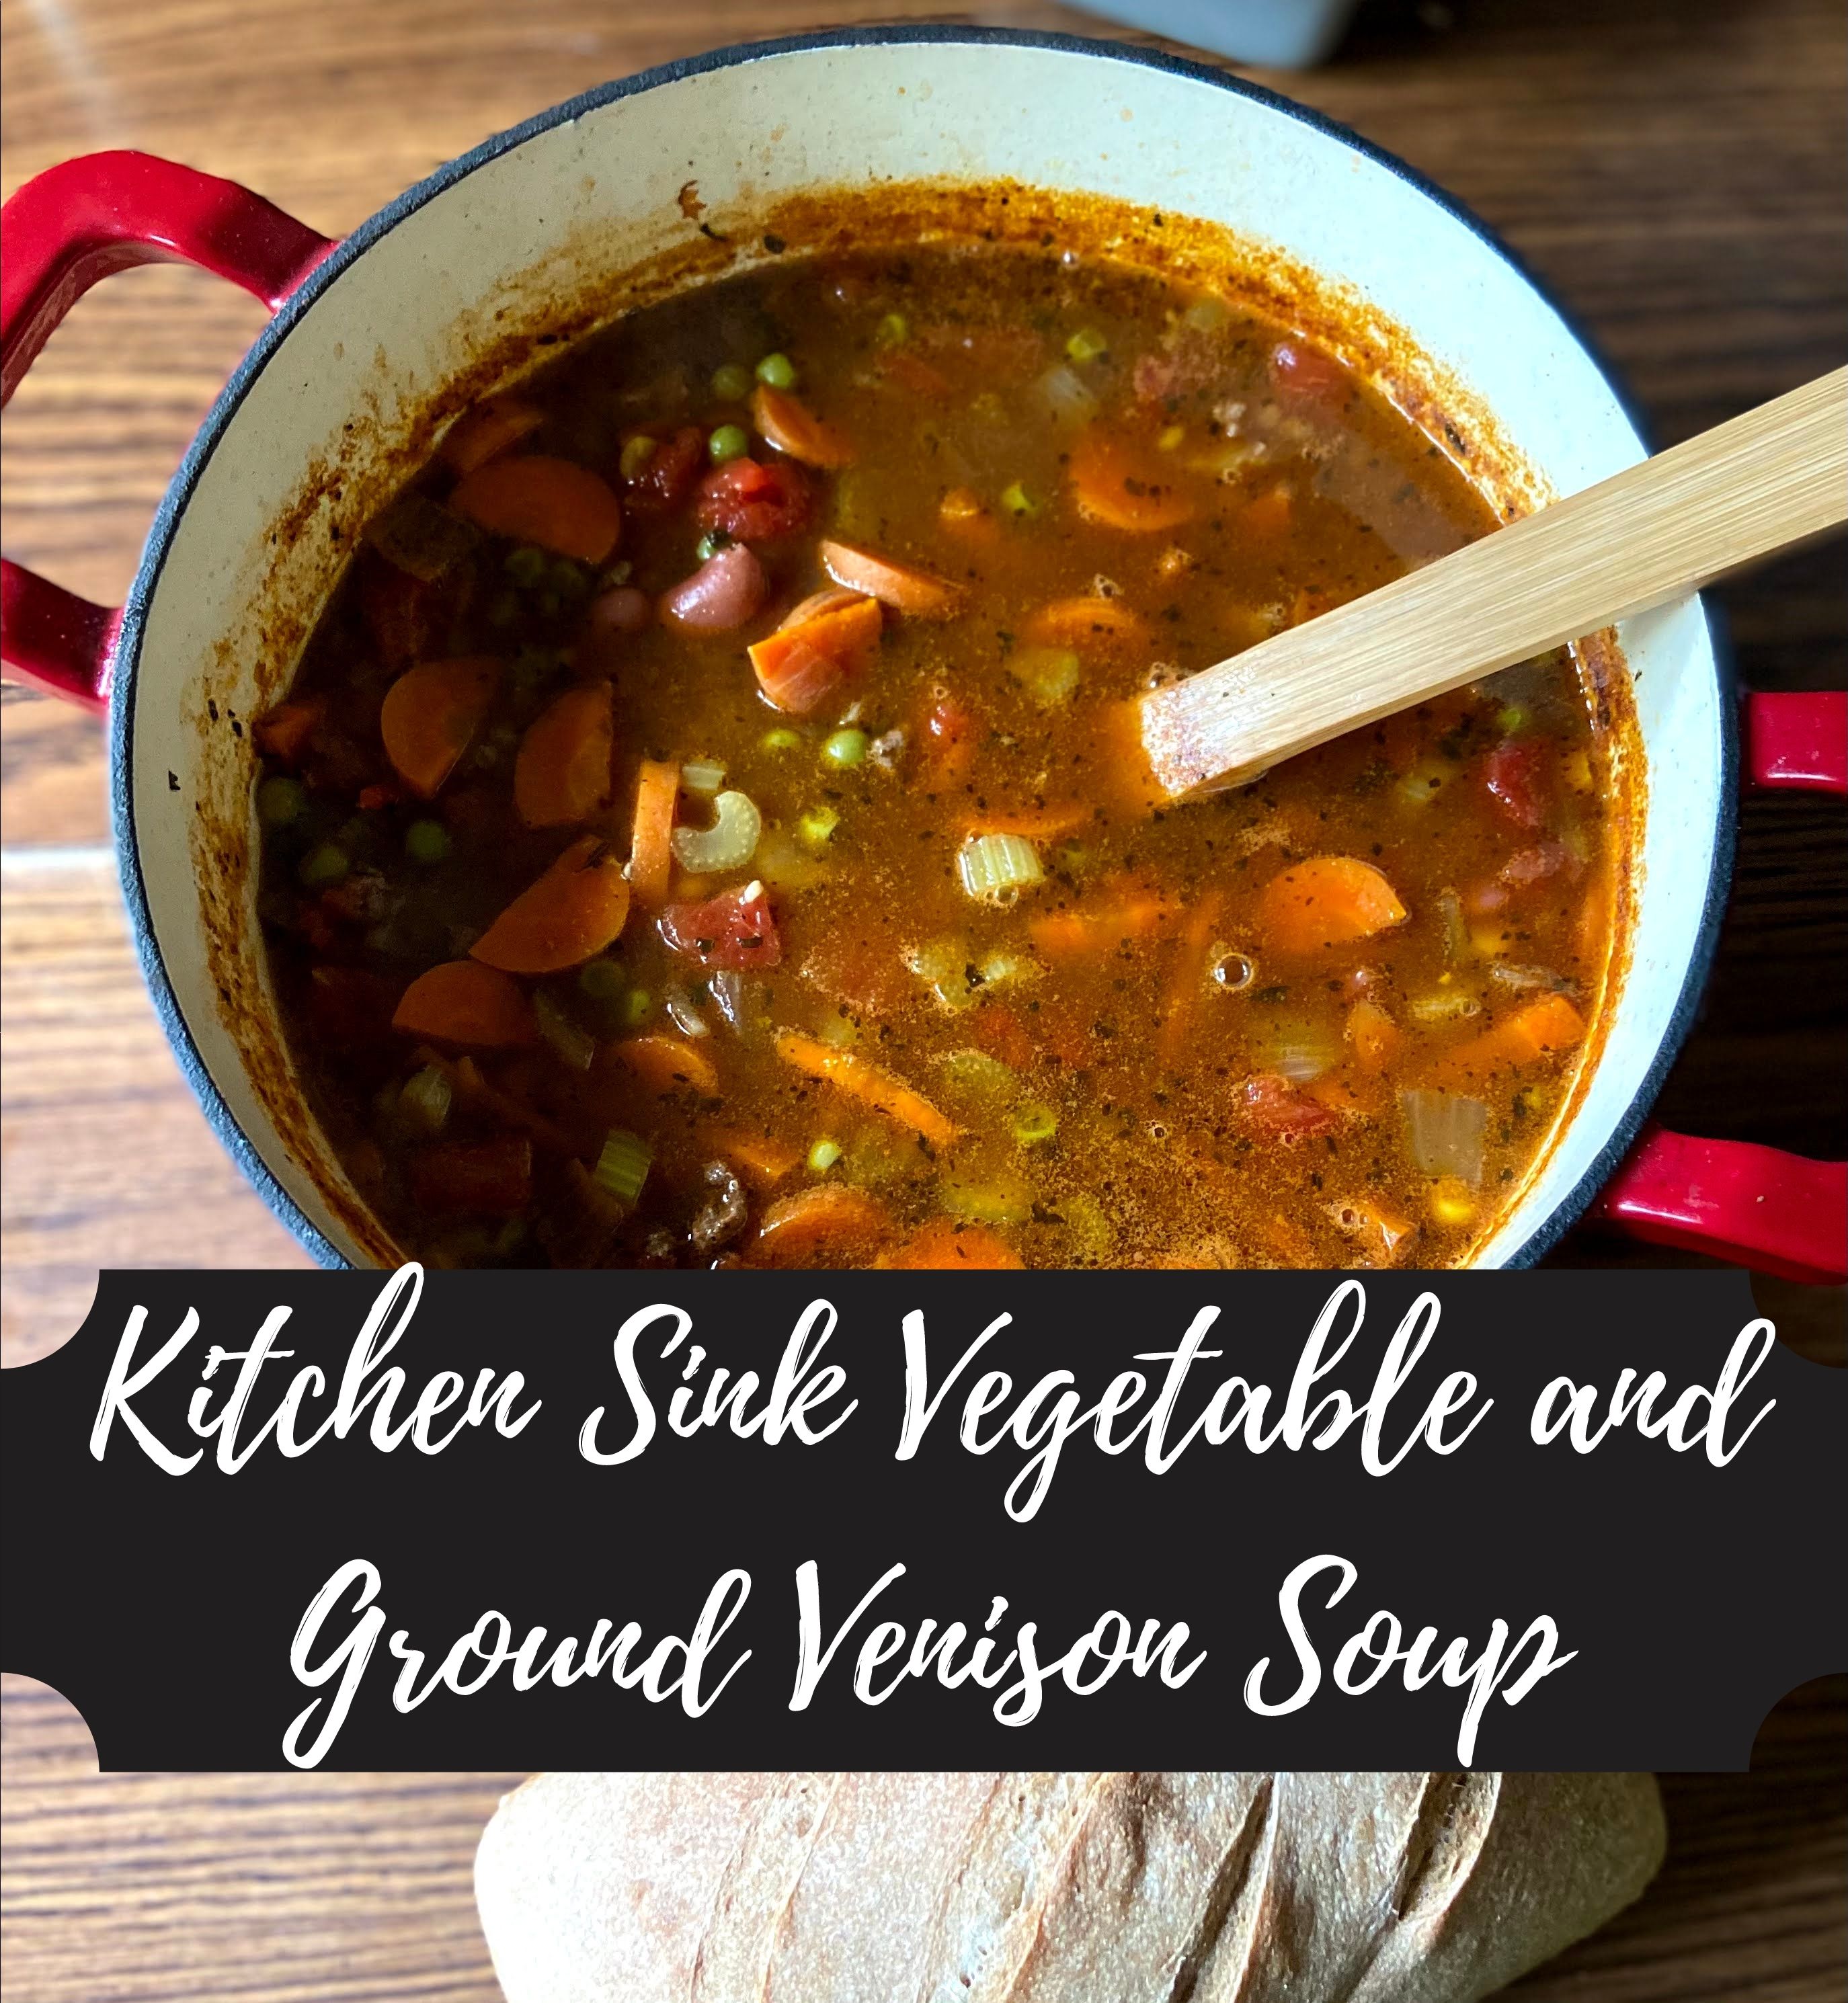
Your Steps to Venison and Barley Stew
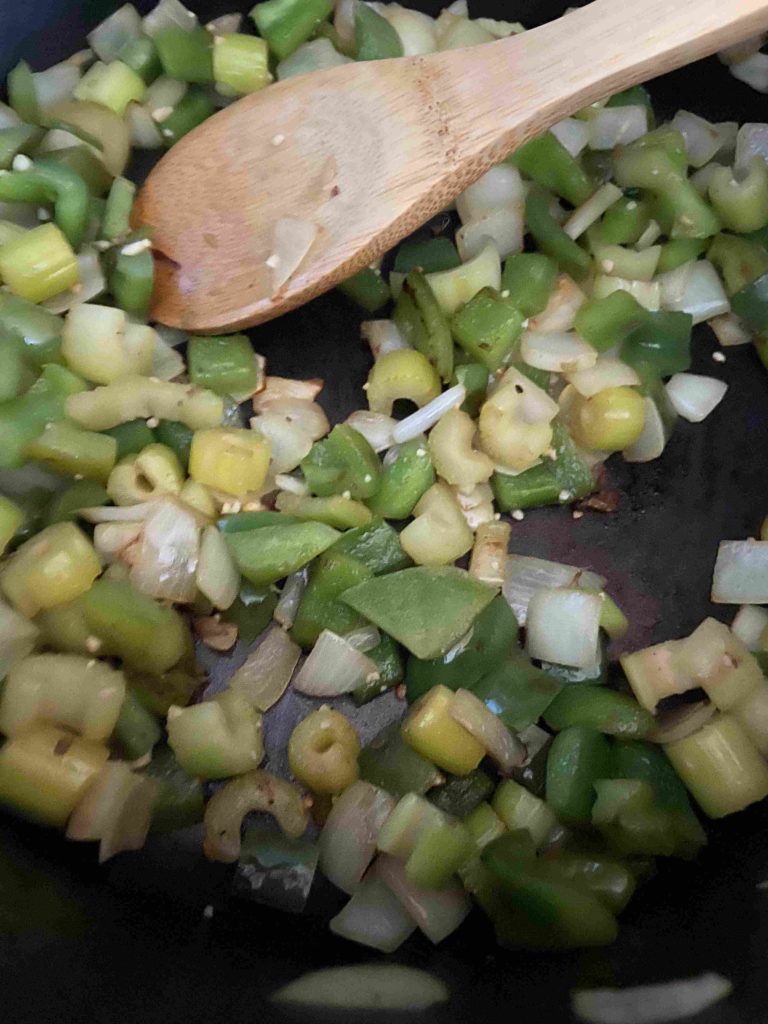
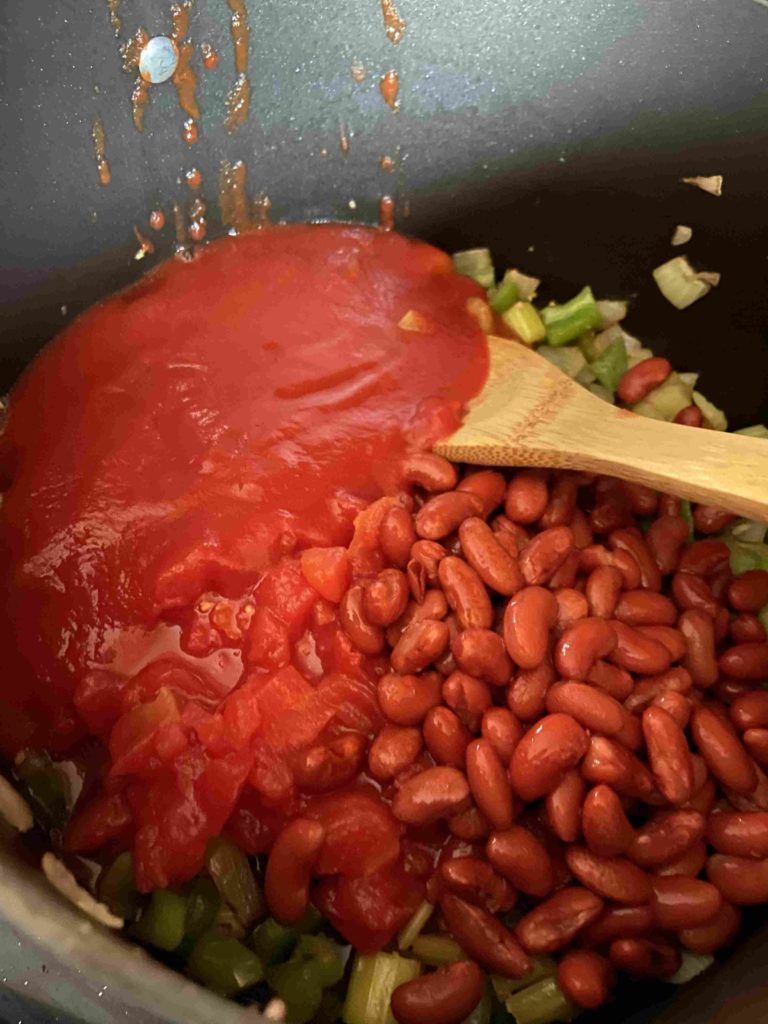
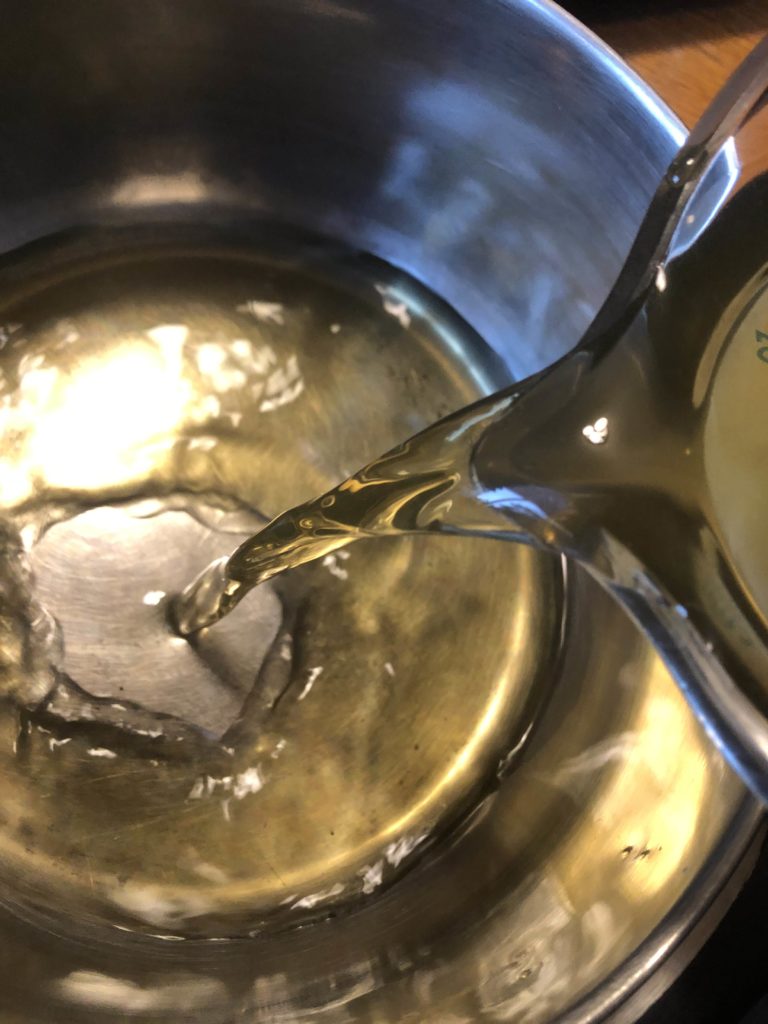
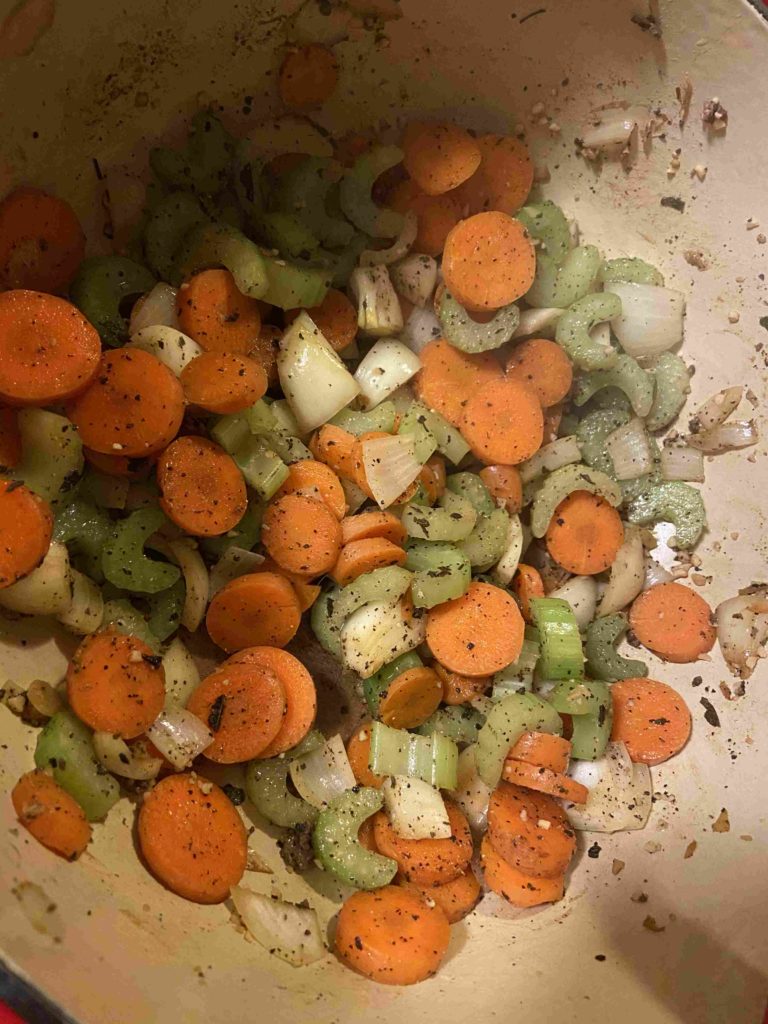
Heat a large dutch oven on the stove. Add 1/2 tablespoon olive oil. Once hot, add 1/2 cup diced onion and 1/2 tablespoon garlic. Sauté over medium heat for 3 minutes. Add ground venison. Sprinkle with a little salt and pepper. Brown meat, breaking into larger pieces, taking about 7 minutes or so. Remove from the kettle, but keep it warm. Add remaining olive oil. Once hot, add remaining onion, carrots, and celery. Add garlic, salt, pepper, and sage. Sauté for approximately 10 minutes, until just tender, stirring often.
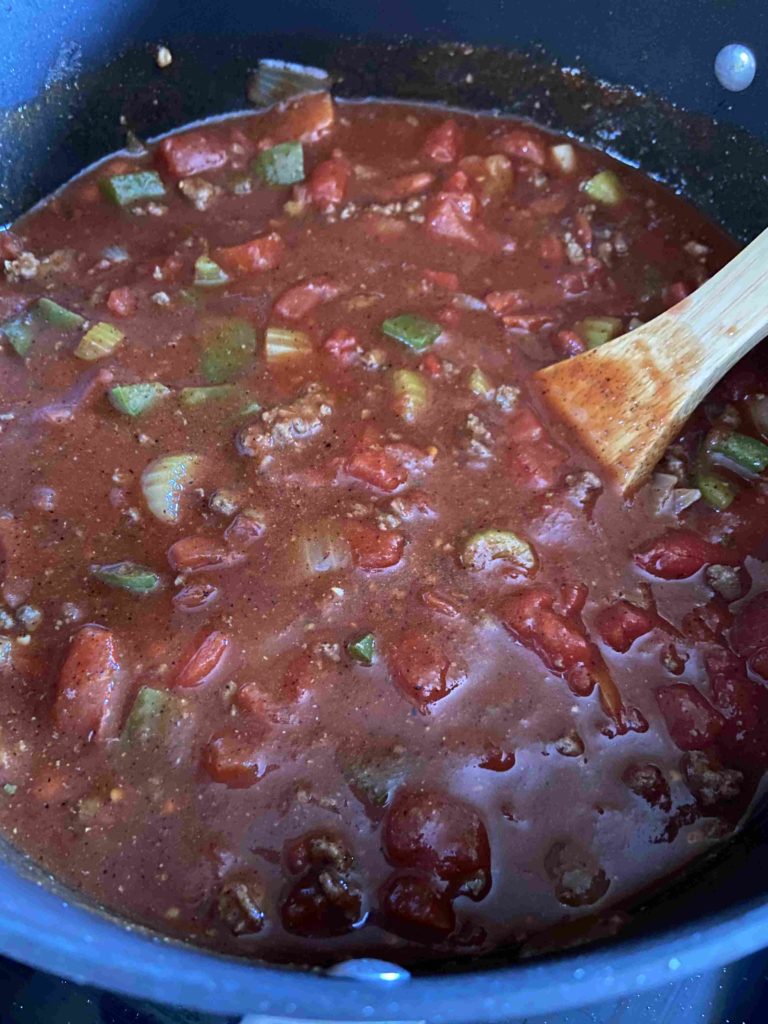
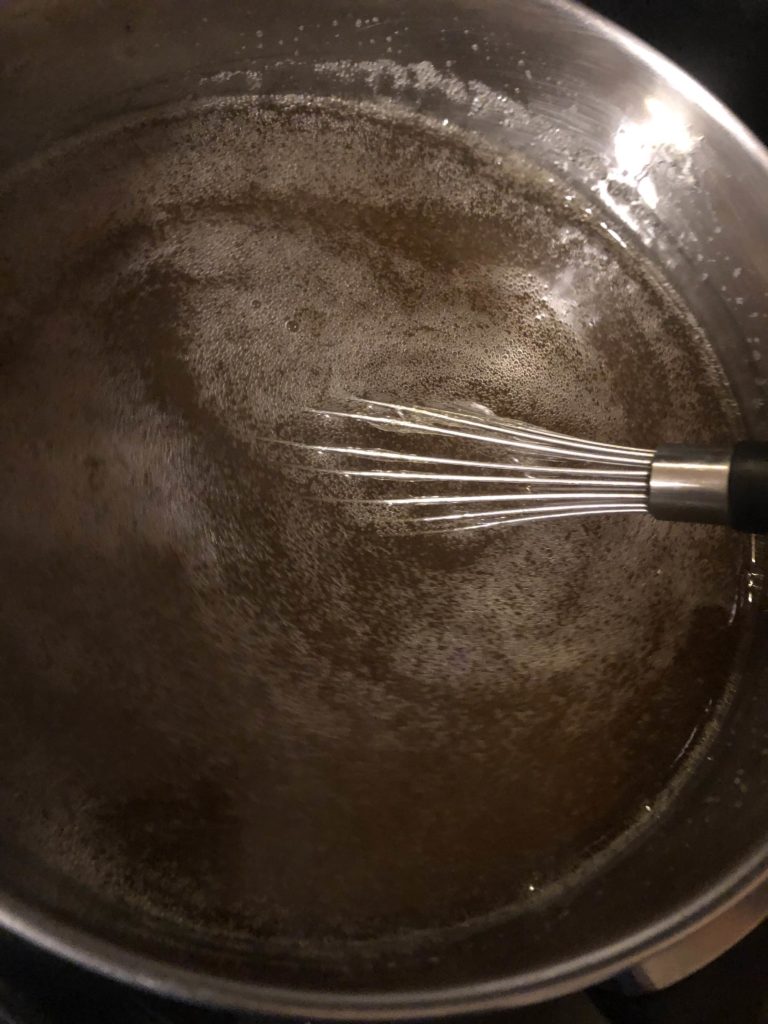
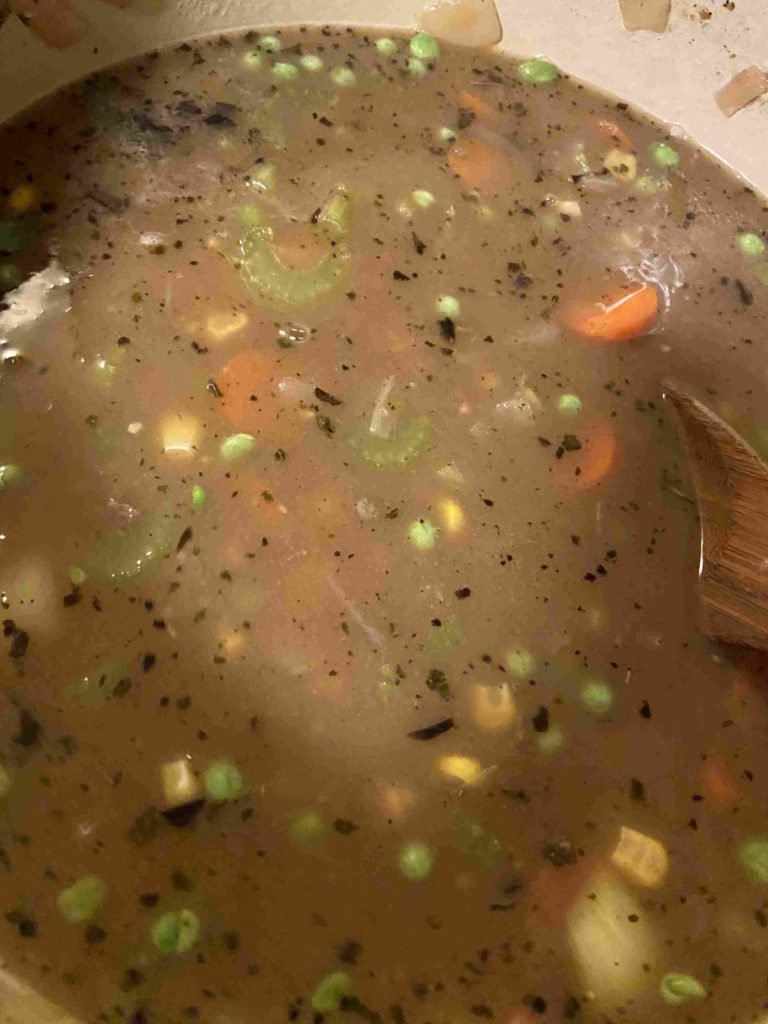
Remove the vegetables from pan. Put the meat and onions back into the pan with the butter. Once the butter has fully melted, stir in the flour. Cook over medium heat for 1-2 minutes. The SLOWLY stir in the beef stock, 1/2 cup-1 cup at a time, allowing to thicken as you go. (I suck at this game. I am not patient when it comes to maintaining a rue, but when you are able to, it’s magic, so try your best. You can always grow here, right?! Or maybe I just need to…maybe you rock. Go you!).
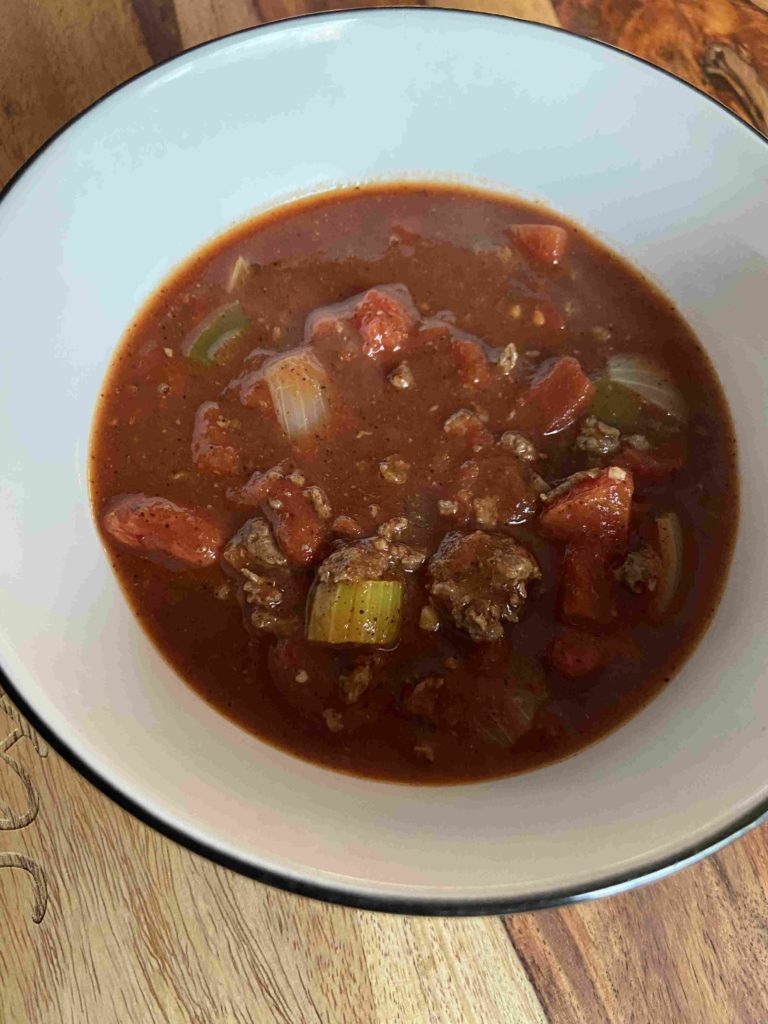
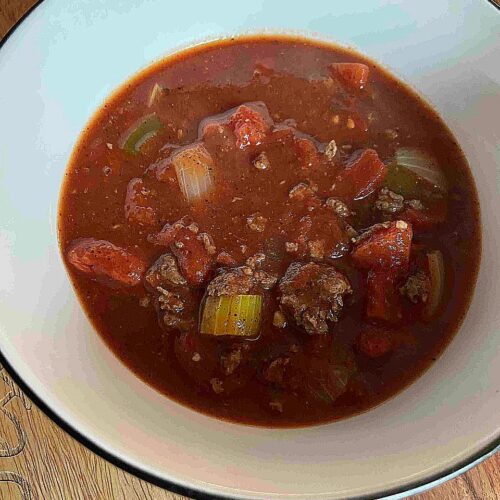
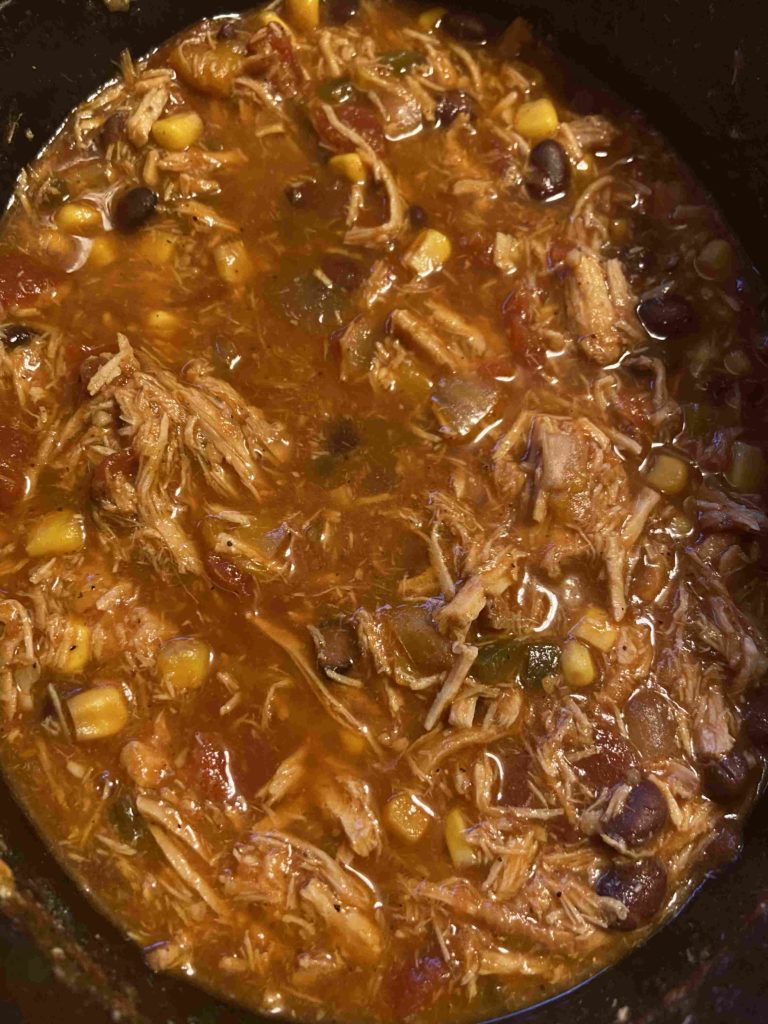
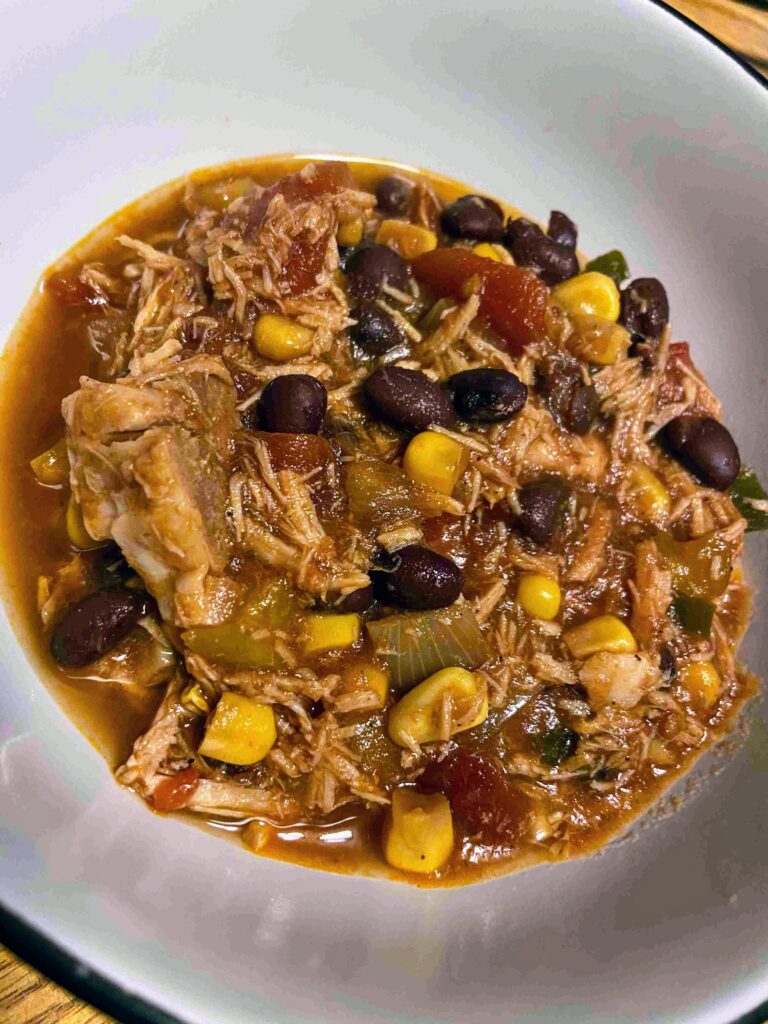
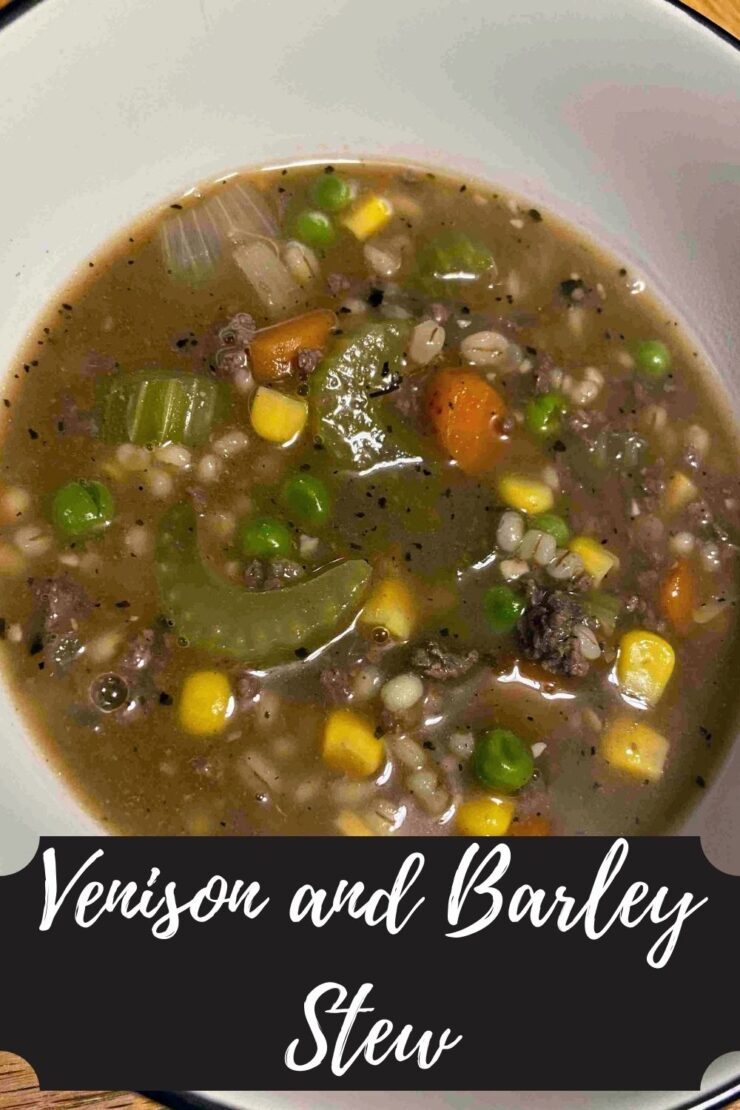
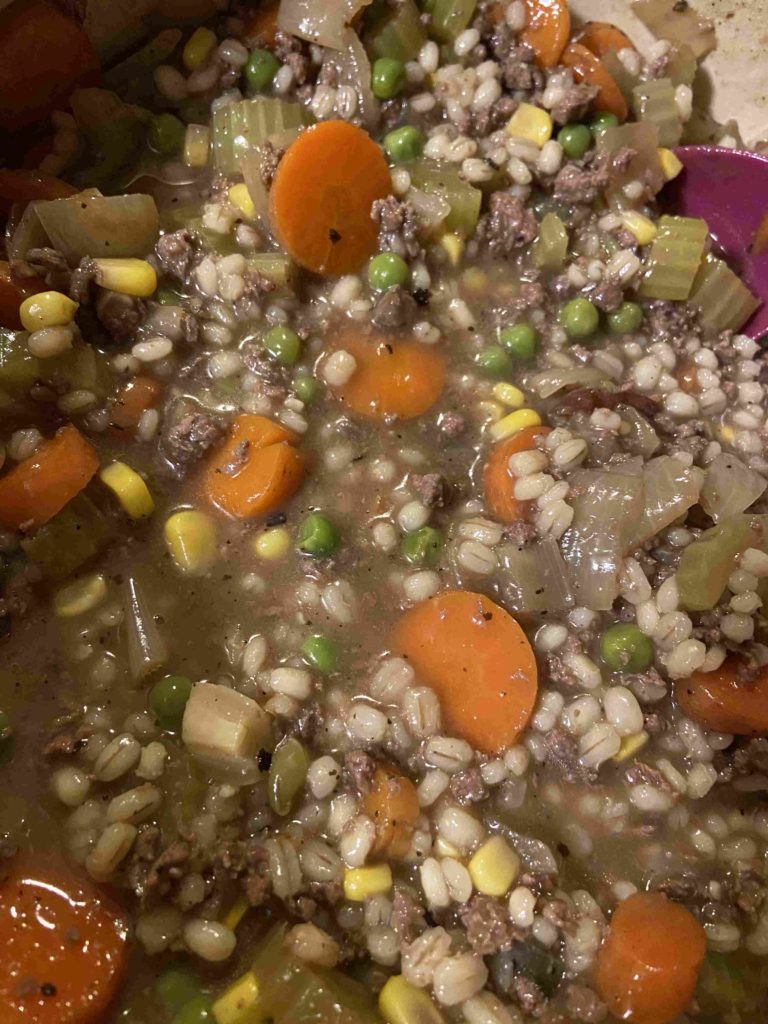
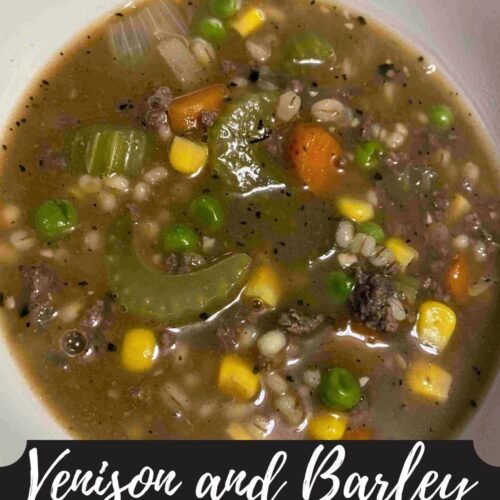
Stir the vegetables back in, along with the peas and corn. Bring up to a low boil and stir in the barley. Allow to simmer for 40-50 minutes, until the barley is cooked through. This stew becomes so creamy over the next few days as you allow the barley to settle in. Sometimes soup and stew need another side to make a meal, but believe me, this wonderful venison and barley stew is a meal in and of itself. Yum!
Note: You can watch the stock and allow the thickness to suit your needs. It will thicken over time, so you may want to hold onto a cup or two of stock and add it later if you are serving this over a few days like I like to do.

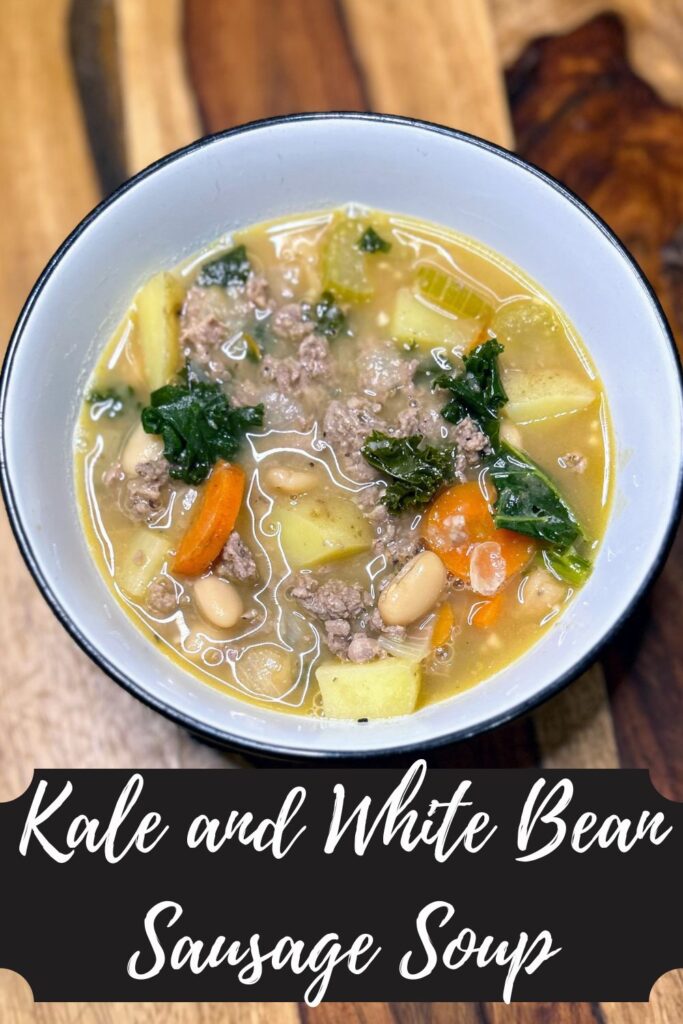
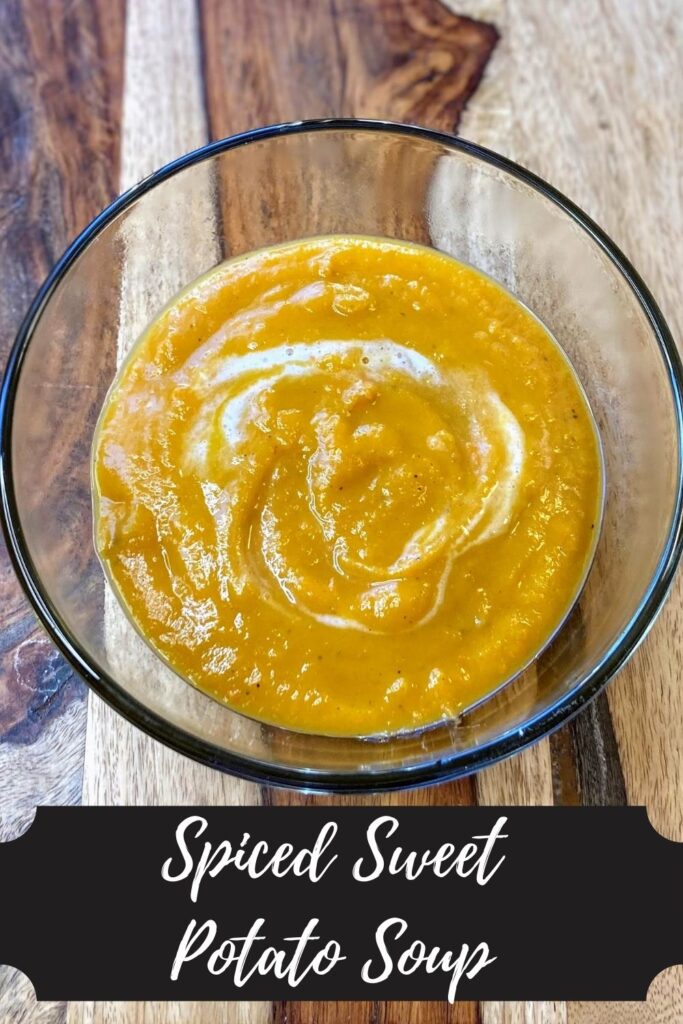
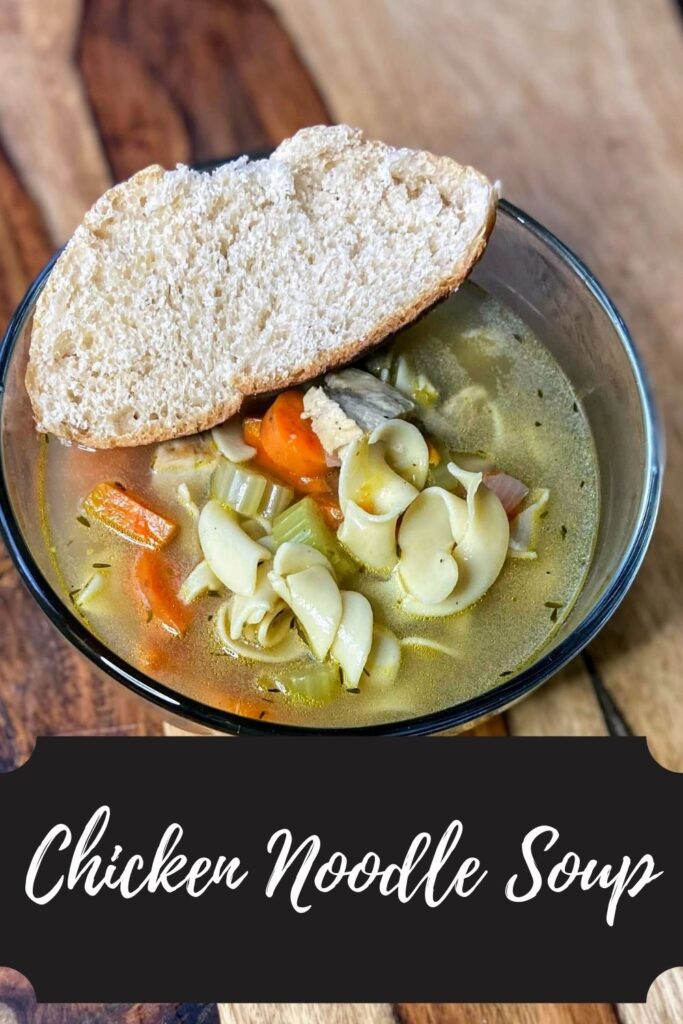
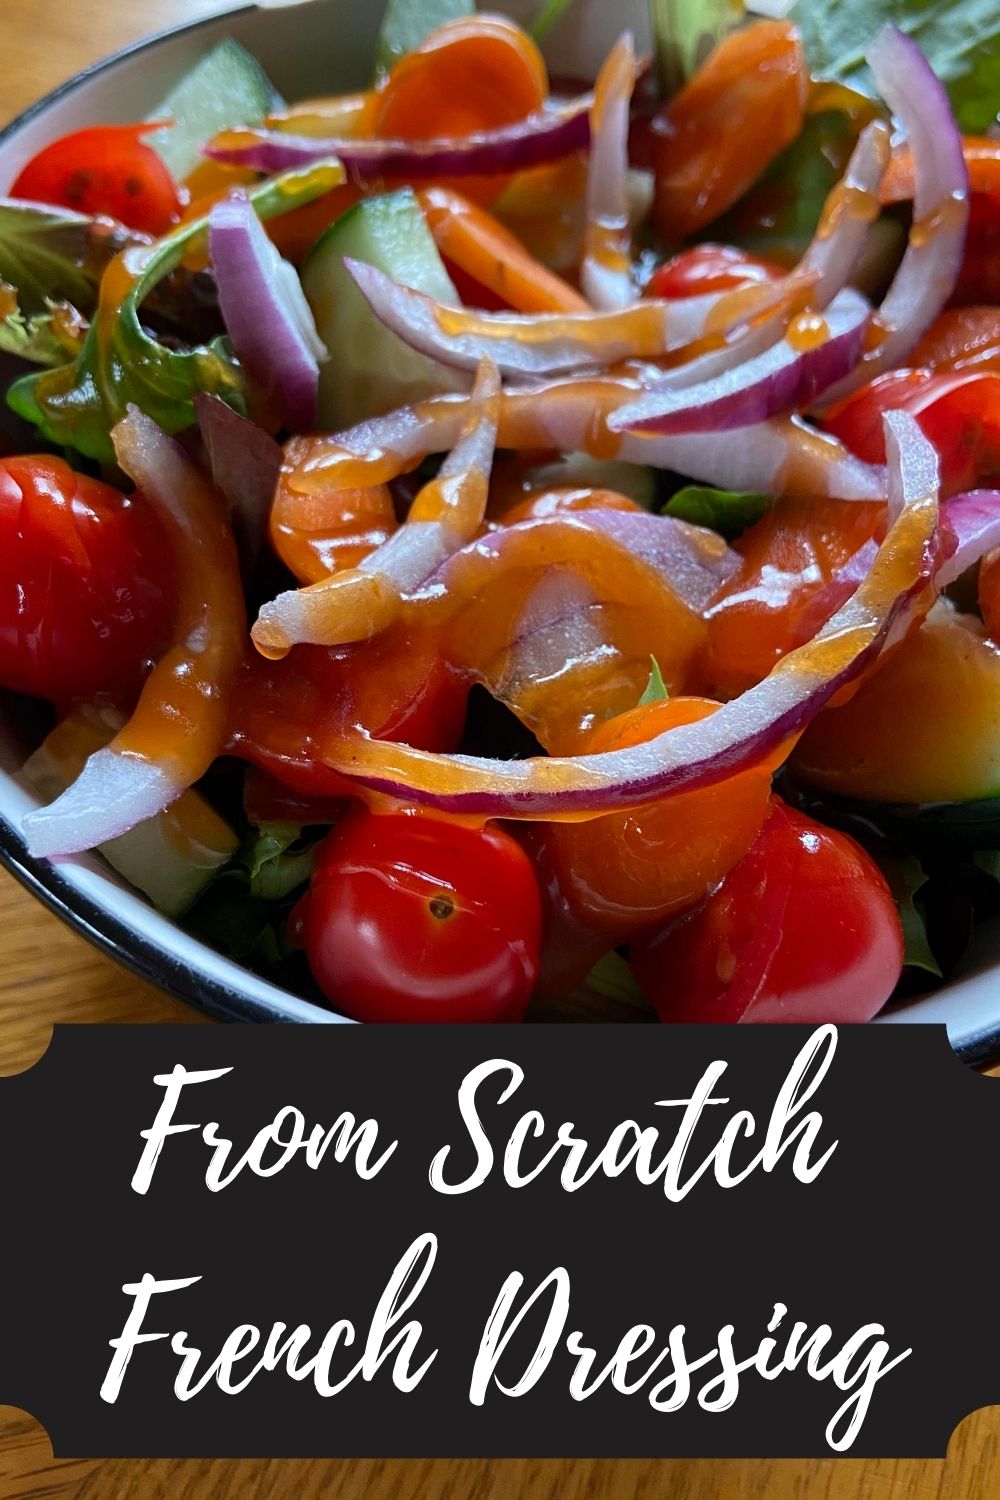
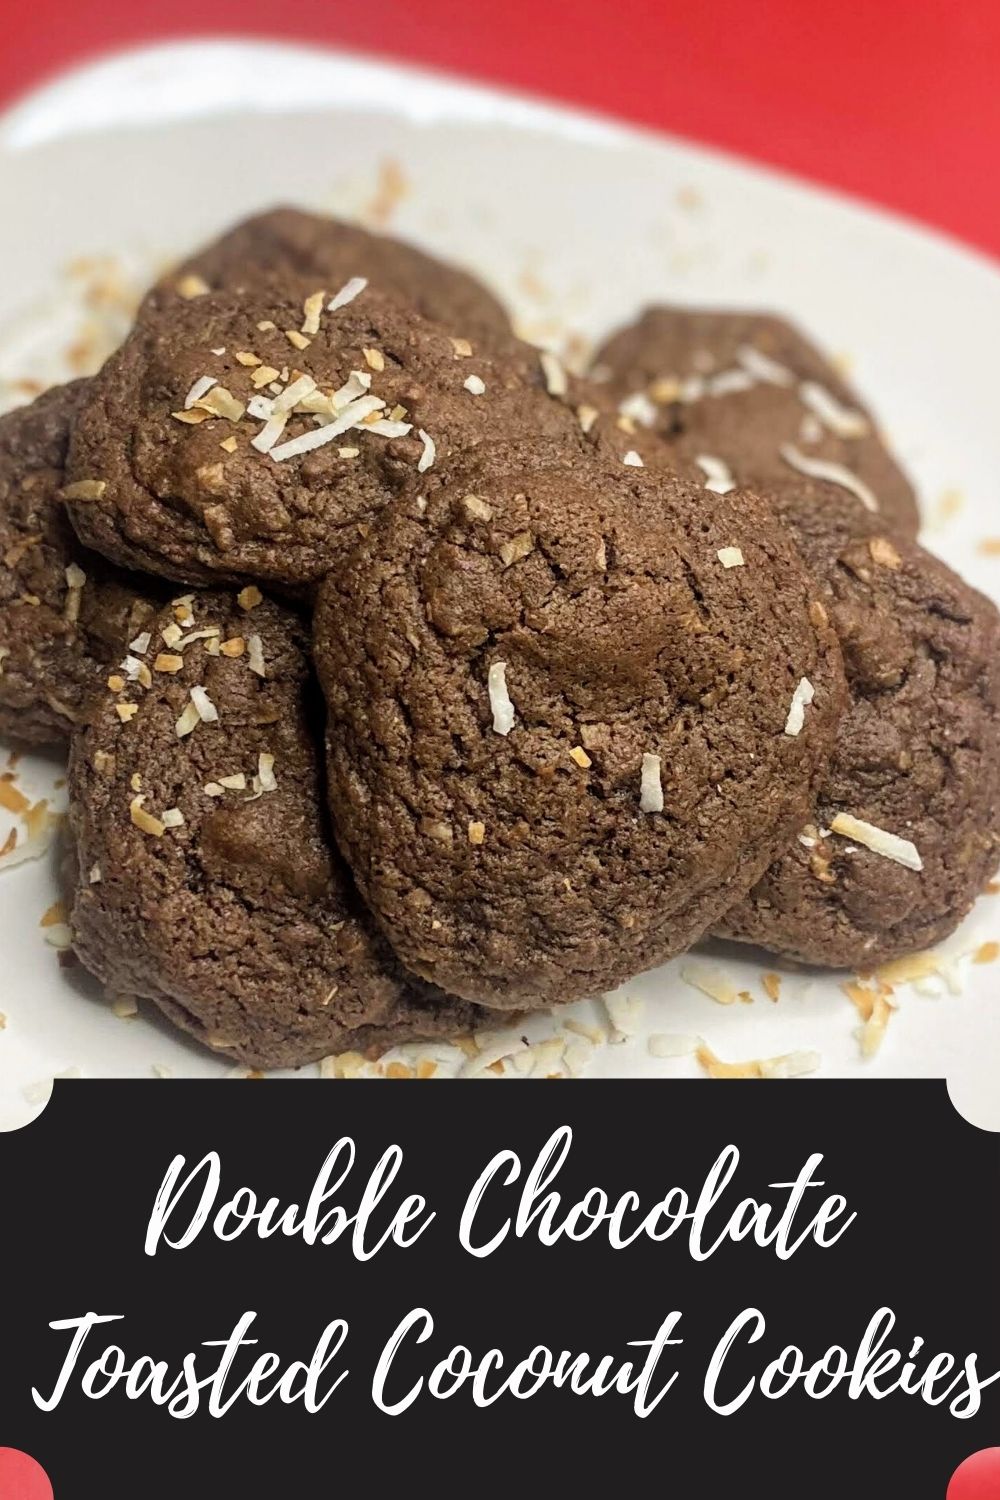
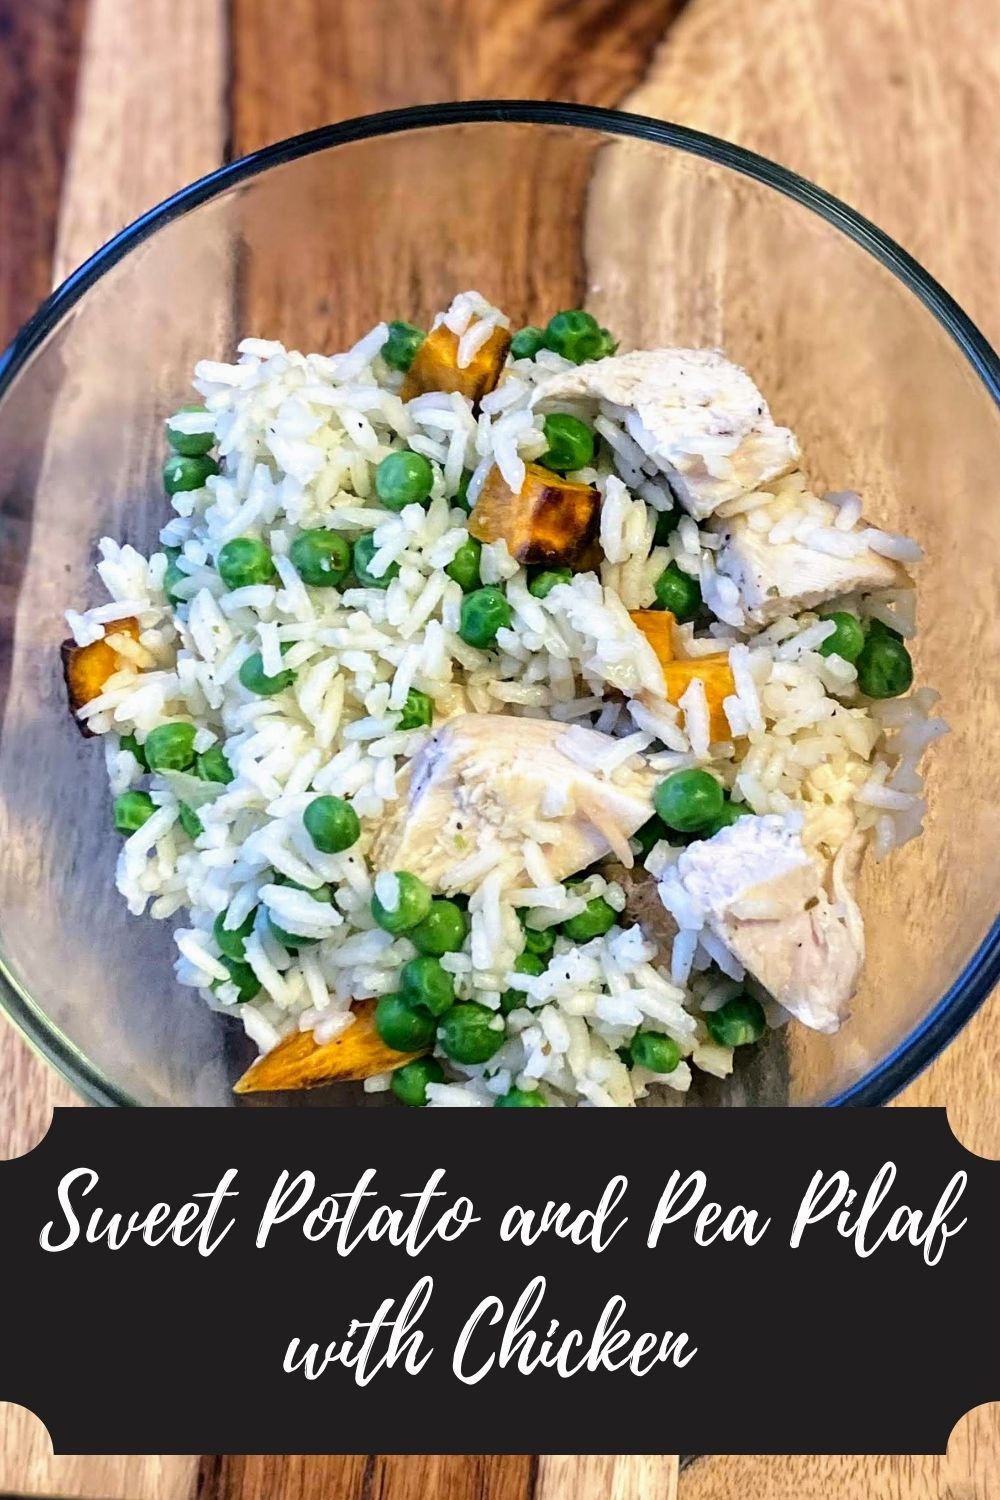
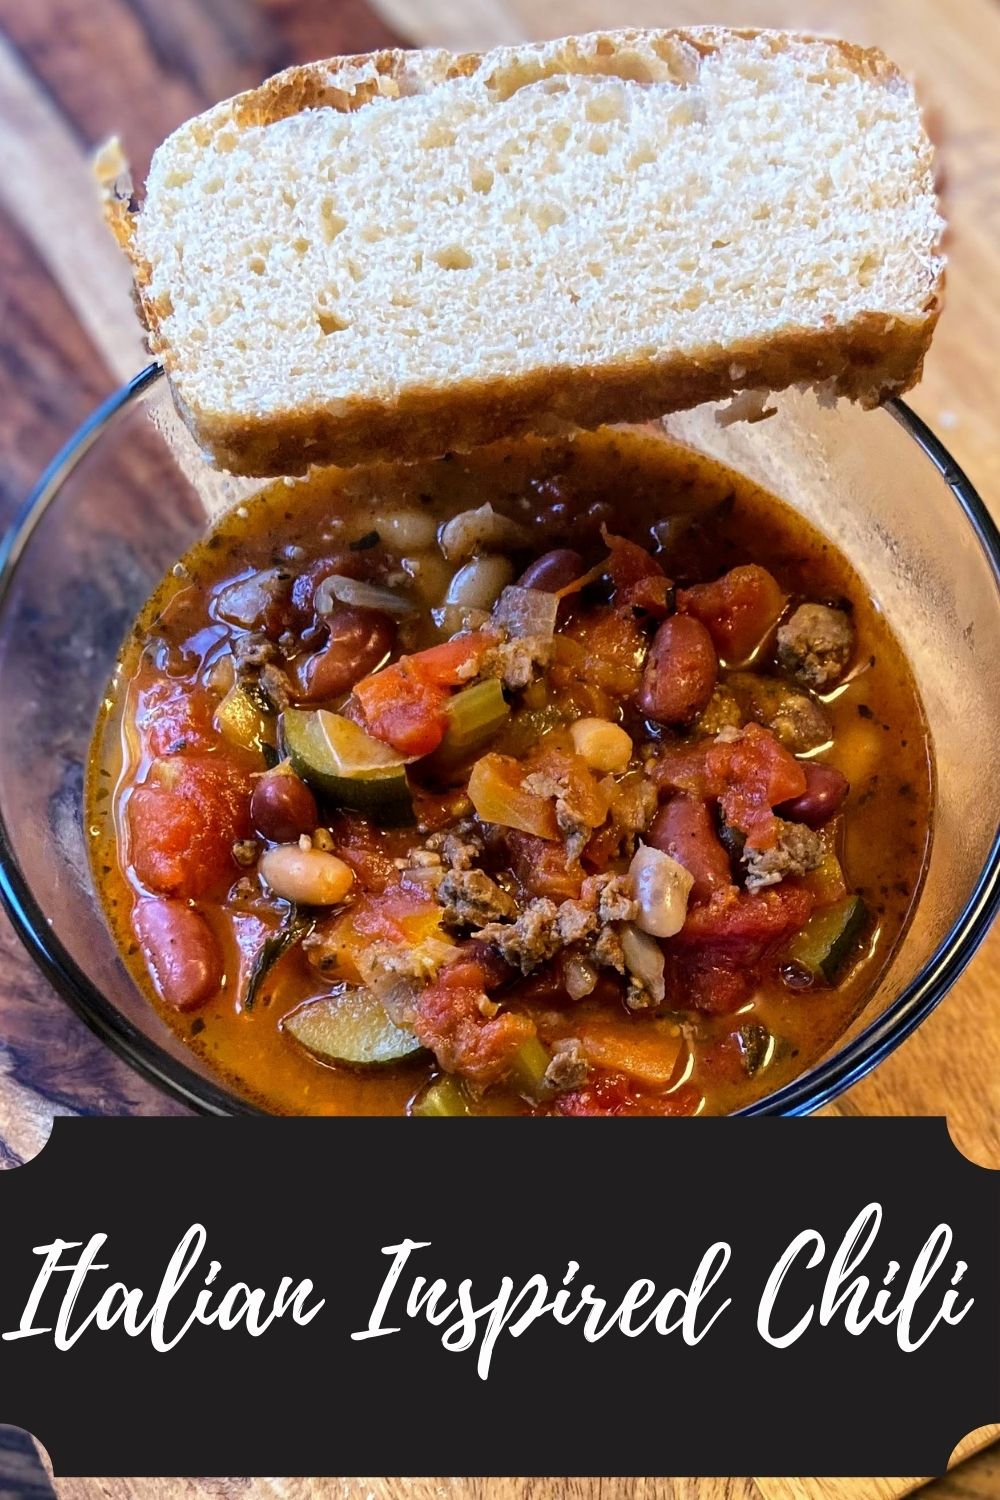
Looking for other recipe inspiration?
Check out my cooking or my baking pages or click the links below!
Stick to Your Ribs Venison and Barley Stew
Ingredients
- 1 1/2 tablespoons olive oil divided
- 1 1/2 tablespoons minced garlic divided
- 2 cups chopped carrots
- 2 cups celery
- 1 cup diced onion divided
- 1 pound ground venison
- 1 cup frozen peas
- 1 cup frozen corn
- 1/2-1 teaspoon salt
- 1/2-1 teaspoon pepper
- 1/2-1 teaspoon ground sage
- 2 tablespoons butter
- 2 tablespoons flour
- 9-10 cups low sodium beef stock
- 1 cup pearled barley uncooked
Instructions
- Heat a large dutch oven on the stove. Add 1/2 tablespoon olive oil. Once hot, add 1/2 cup diced onion and 1/2 tablespoon garlic. Sauté over medium heat for 3 minutes.
- Add ground venison. Sprinkle with a little salt and pepper. Brown meat, breaking into larger pieces, taking about 7 minutes or so.
- Remove from the kettle, but keep it warm. Add remaining olive oil. Once hot, add remaining onion, carrots, and celery. Add garlic, salt, pepper, and sage. Sauté for approximately 10 minutes, until just tender, stirring often.
- Remove the vegetables from pan. Put the meat and onions back into the pan with the butter.
- Once the butter has fully melted, stir in the flour. Cook over medium heat for 1-2 minutes.
- The SLOWLY stir in the beef stock, 1/2 cup-1 cup at a time, allowing to thicken as you go.
- Stir the vegetables back in, along with the peas and corn.
- Bring up to a low boil and stir in the barley. Allow to simmer for 40-50 minutes, until the barley is cooked through. This stew becomes so creamy over the next few days as you allow the barley to settle in.