Can I just tell you how much I love a smoked sausage sheet pan dinner? It’s simple and requires minimal to no measuring. The ingredients can be on hand and everyone in my house will devour it! It has definitely been a go to meal in this season of life we are in with me marathon training, my babies (albeit big babies) not able to drive, BUT involved in nine sports between the two of them, and both the Mr and I working full time jobs. But I don’t measure so I have a hard time coming up with a “recipe” for this smoked sausage sheet pan dinner.
But then I got to thinking, “That’s the beauty of it.” Sheet pan dinners are customizable. You don’t need to measure. You don’t need a bunch of specific recipes. It’s a “clear the pantry and fridge” kind of recipe. And aren’t those some of the best? Recipes you can throw together without much thought, especially when decision fatigue has set in (Yes, I am a mom and a teacher AND in my 40s….decision fatigue is freaking real).
So here we go, my take on a sausage sheet pan dinner.
Your Ingredients
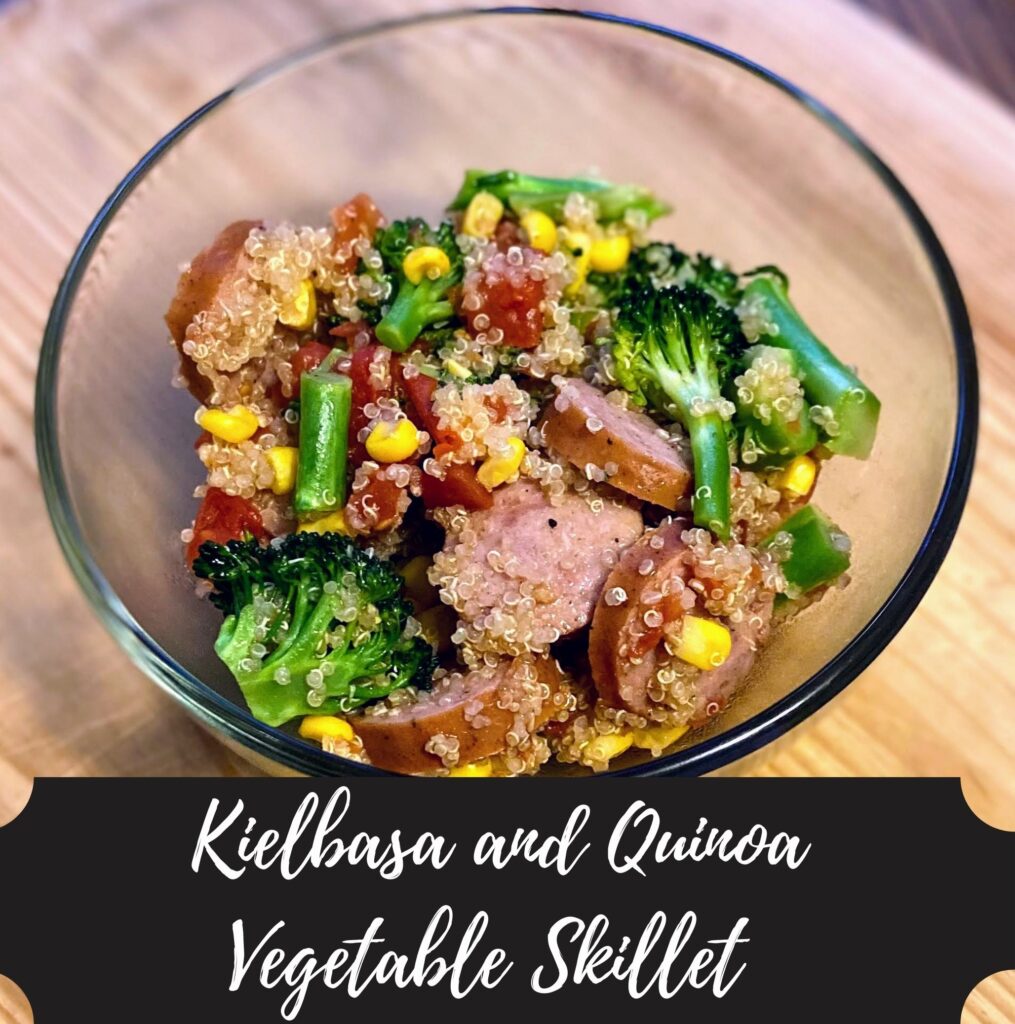
- 12 ounces smoked sausage (we typically do a kielbasa rope)
- 1 pound yukon gold potatoes (1-2 per serving)
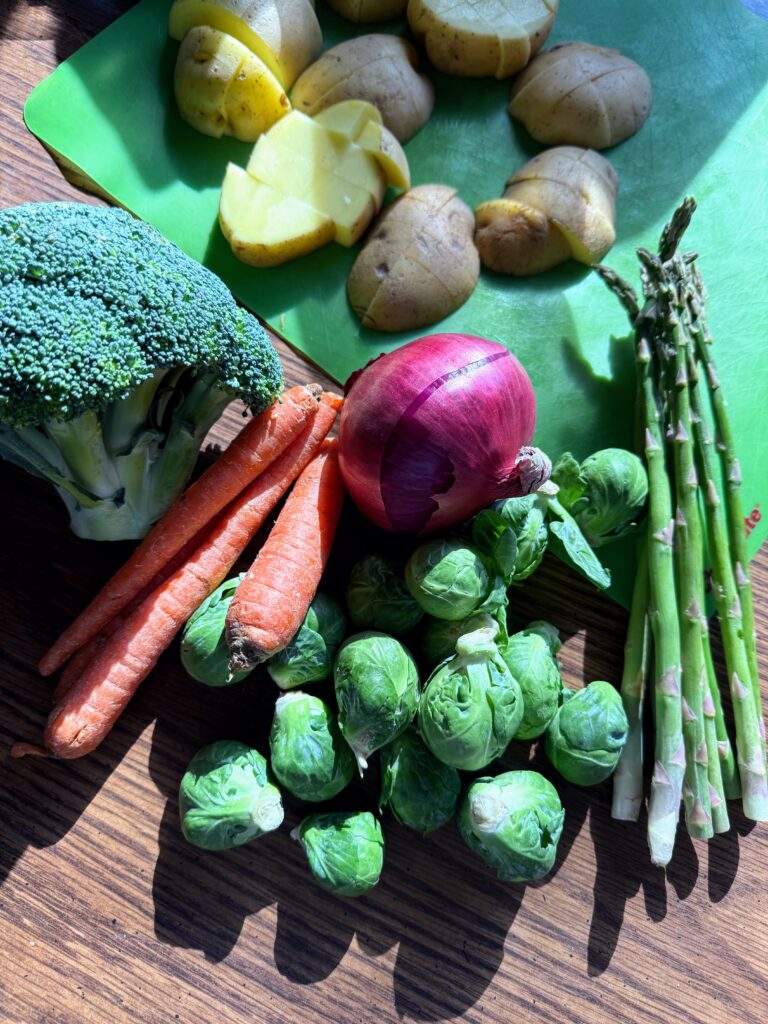
- 4-6 cups of chopped vegetables (onions, brussels sprouts, sweet potatoes, carrots, broccoli, green beans, you name it)
- Olive oil
Your Steps to a Smoked Sausage Sheet Pan Dinner
Preheat the oven to 425 F. While the oven is preheating, slice the smoked sausage into about 1.5 inch slices. Cut the potatoes into about 2 inch cubes and prep the vegetables to be similar in size. (Side note: It doesn’t seem to matter how many vegetables I make, they always disappear so I make more than I think we need because who’s going to be sad about their kids eating MORE veggies?)
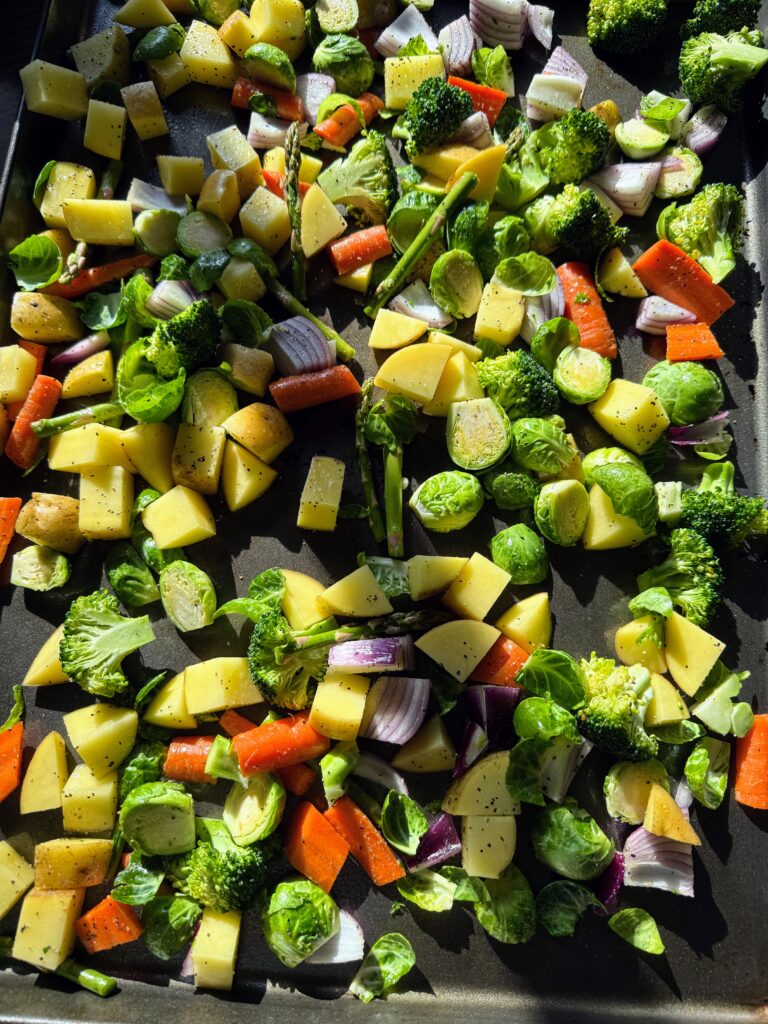
Combine the potatoes and vegetables in a large bowl. Drizzle with olive oil and toss. Season with your favorite seasoning combination. We typically keep it simple with kosher salt, cracked pepper, and some garlic powder.
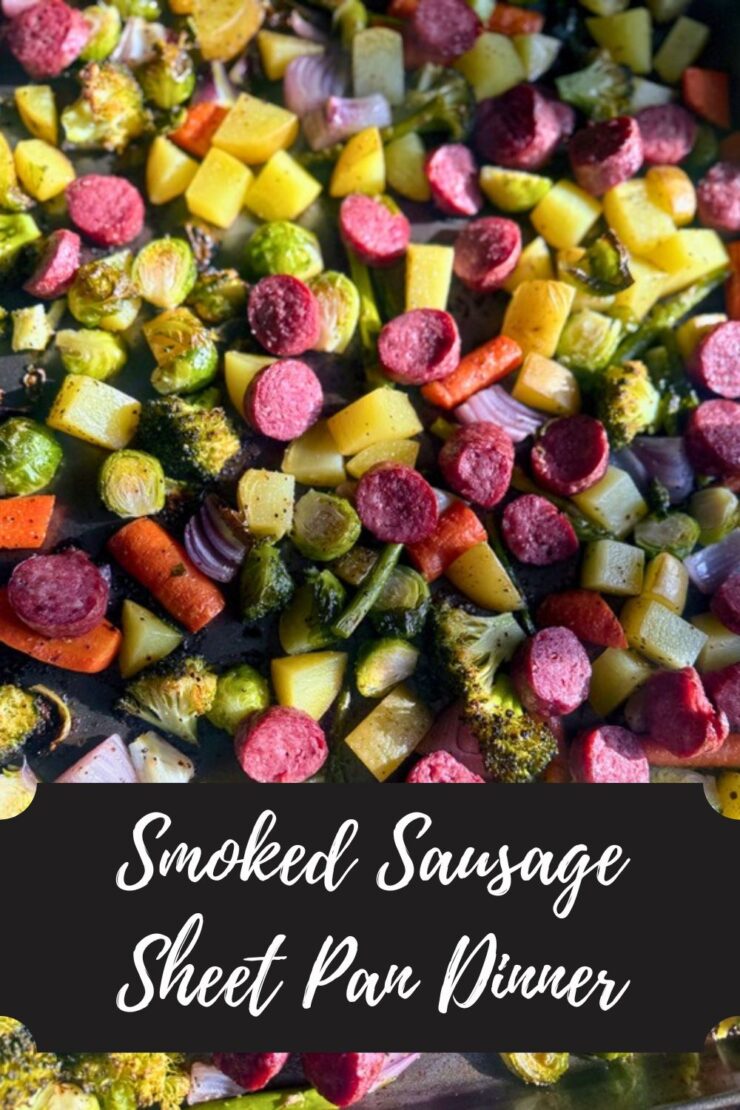
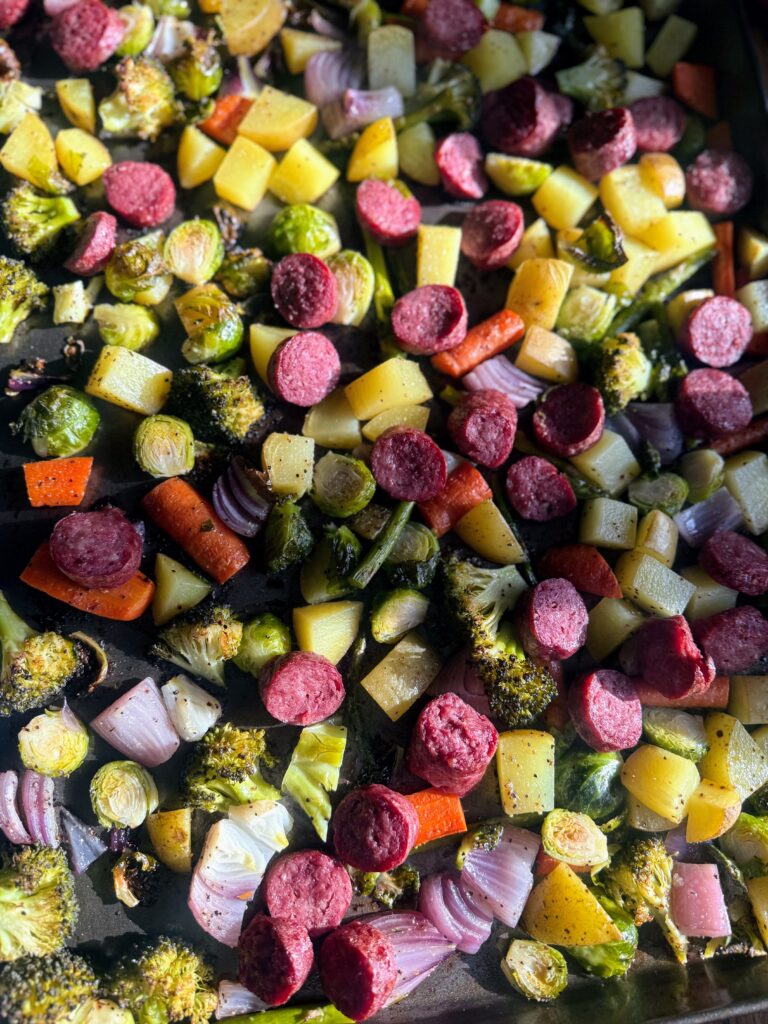
Spray a sheet pan with cooking spray. Spread the potatoes and vegetables into a single layer on the pan. Sprinkle the sliced sausage on top.
Bake for 20-25 minutes, until the potatoes are cooked through. Serve it up!
Note: If you choose less dense vegetables like beans, snap peas, or mushrooms, you may want to season those separately and add them after about 10 minutes of cook time. I have done it both ways (cooking it all at once and adding them separately) and it works fine either way!


Smoked Sausage Sheet Pan Dinner
Equipment
- large bowl
Ingredients
- 12 ounces smoked sausage we typically do a kielbasa rope
- 1 pound yukon gold potatoes 1-2 per serving
- 4-6 cups of chopped vegetables onions, brussels sprouts, sweet potatoes, carrots, broccoli, green beans, you name it
- Olive oil
Instructions
- Preheat the oven to 425 F.
- While the oven is preheating, slice the smoked sausage into about 1.5 inch slices.
- Cut the potatoes into about 2 inch cubes and prep the vegetables to be similar in size.
- Combine the potatoes and vegetables in a large bowl. Drizzle with olive oil and toss. Season with your favorite seasoning combination. We typically keep it simple with kosher salt, cracked pepper, and some garlic powder.
- Spray a sheet pan with cooking spray. Spread the potatoes and vegetables into a single layer on the pan. Sprinkle the sliced sausage on top.
- Bake for 20-25 minutes, until the potatoes are cooked through. Serve it up!
Notes
Looking for other easy weeknight dinners?
Check out my cooking page, but here are some of my absolute favorites!