Last Updated on May 14, 2023 by Jess
“I bought some fries for the burgers tonight…” The Mr, the other night. My response, “Why in the world did you buy fries? I will make air fryer homemade fries!” The Mr, “Well, you never know…it’s easier to just use the premade ones.” Me: “Nope, it takes all of 3 minutes to make homemade ones and they are SO MUCH BETTER.”
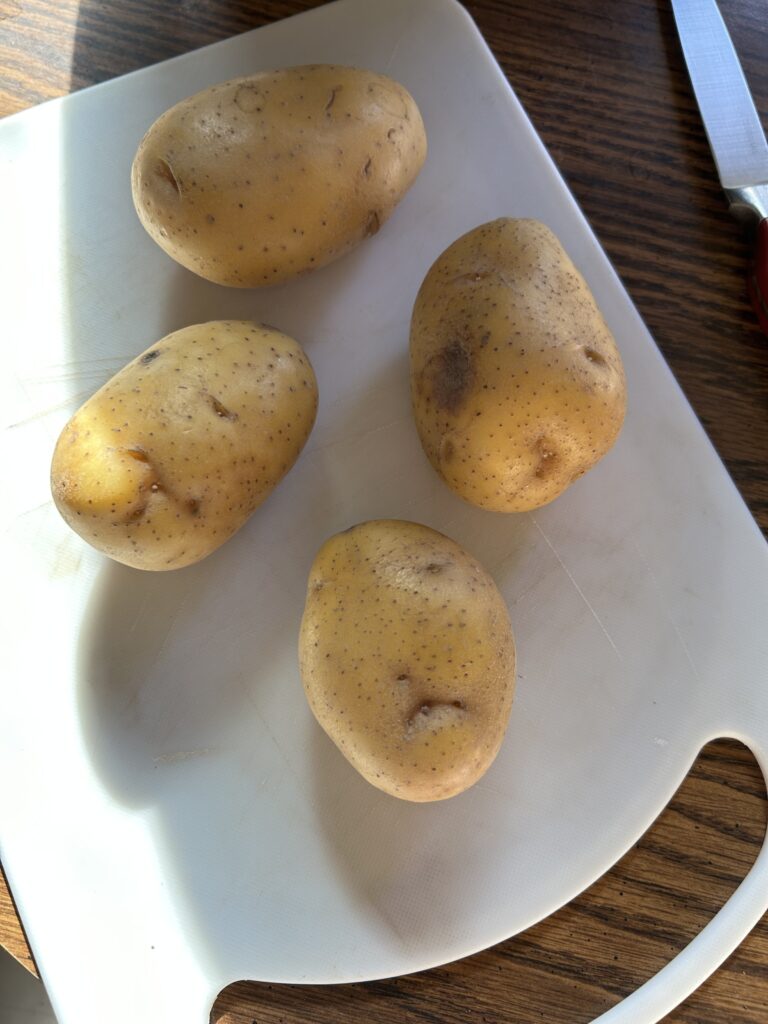
That’s an actual conversation from earlier this week. I don’t know what kind of fries are made when I am not home, but if I am around, I am grabbing some Yukon Gold potatoes (or others, if you don’t have Yukon Gold) and I am making homemade fries.
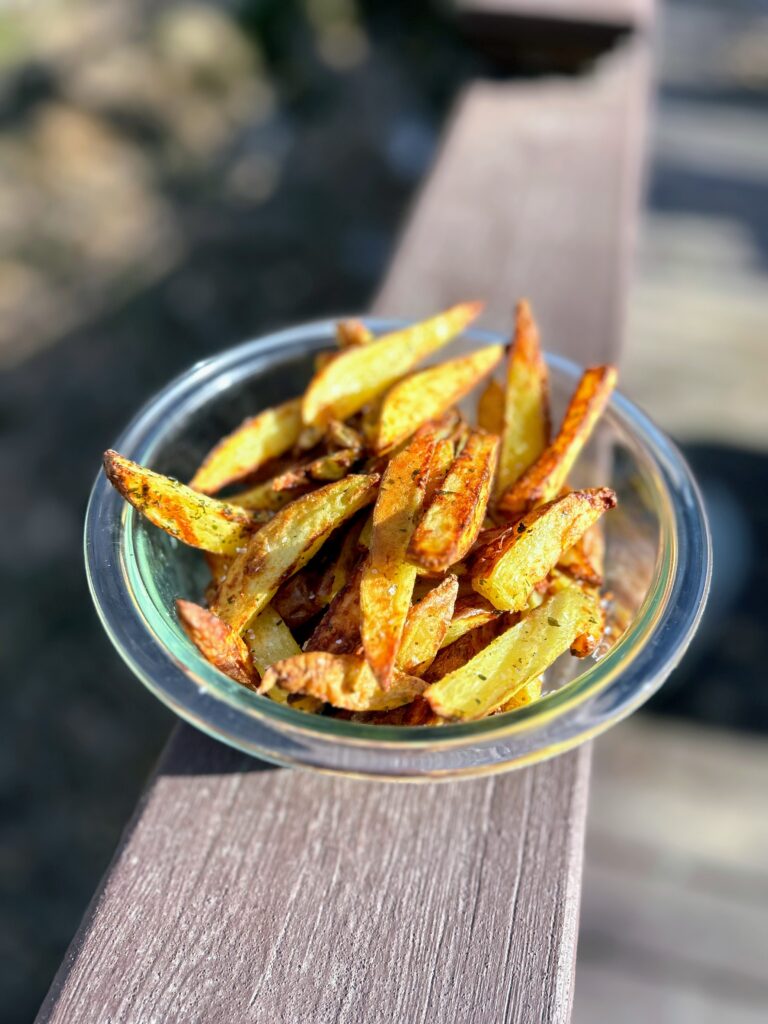
When I say that it takes all of 3 minutes to prep them, I promise, I am not lying. The longest piece of these delicious fries is cutting them. A little toss in olive oil, some salt, Parmesan, and parsley and you are set. And I swear, they come out like a great pub fry every single time.
Some “from scratch” recipes take longer than you care for them to but, at least for me, you try to do them more often than not because it’s better for your family. This is not the case here. You’ll be making your own, beautiful air fryer homemade fries every time a burger, brat, or hotdog is served!
Let’s get cooking!
Your Ingredients (4-6 servings)
- 1 ½ pounds Yukon Gold potatoes (or your other favorite potato)
- 1 tablespoon olive oil
- ¼ cup grated Parmesan cheese
- 1 tablespoon parsley
- 1 teaspoon-½ tablespoon kosher salt
Your Steps to Air Fryer Homemade Fries
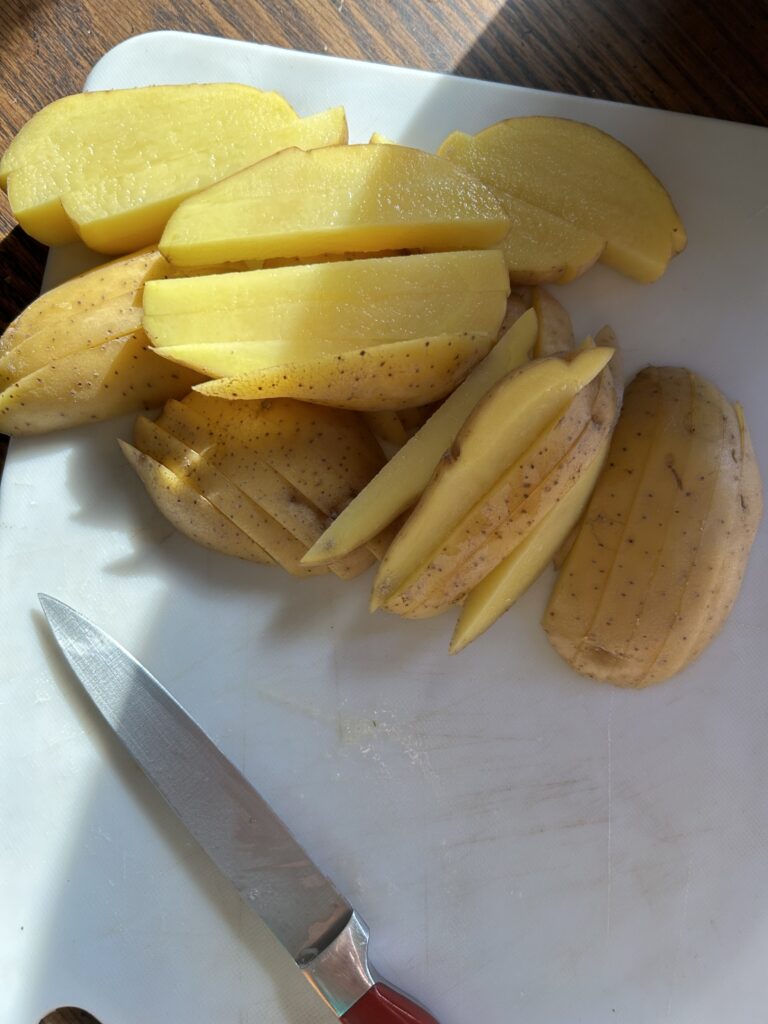
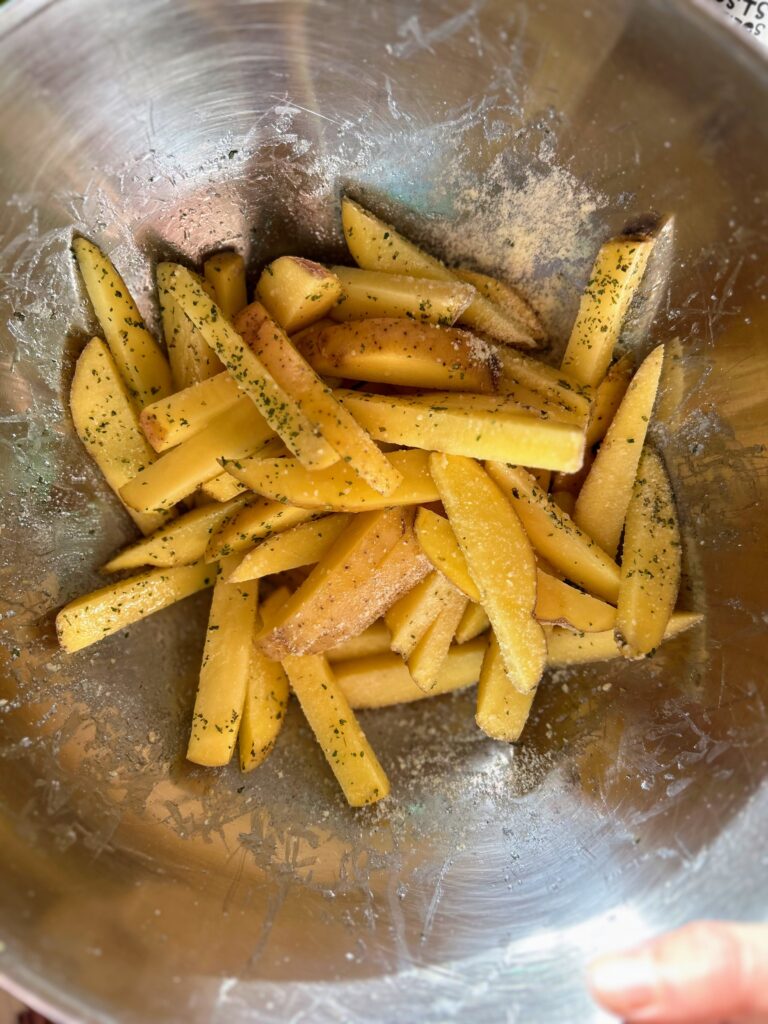
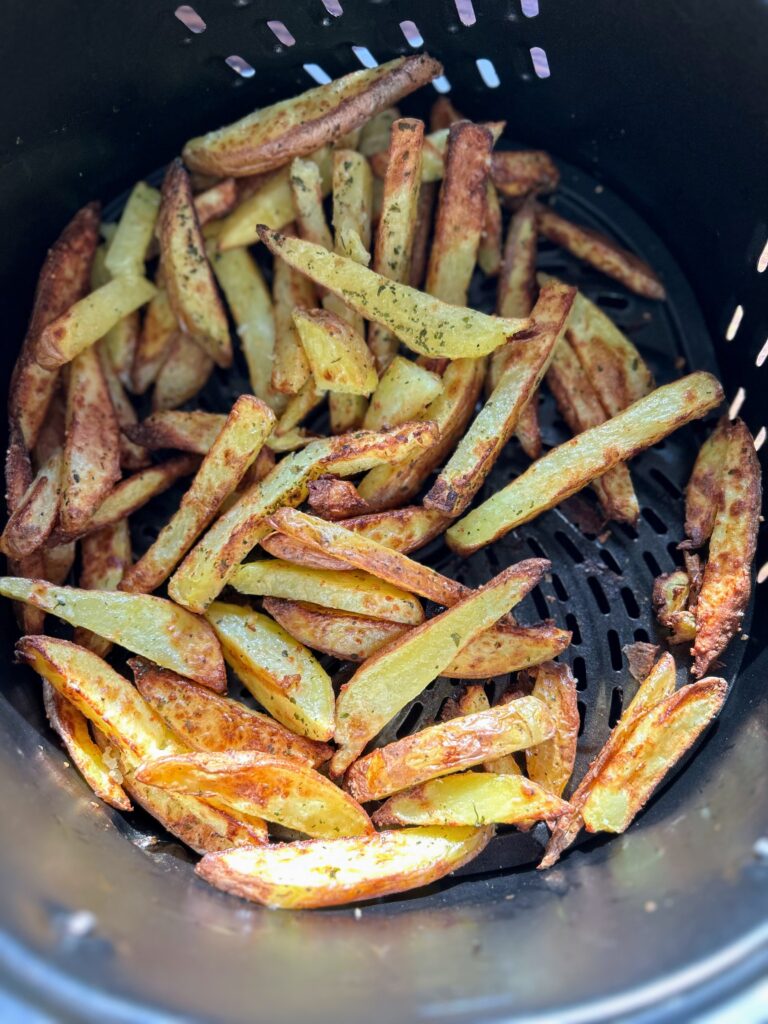
Preheat the air fryer to 400 degrees. Meanwhile, cut the potatoes into ¼-⅓ inch slices. Then cut into sticks. Toss the fries with olive oil. Then add Parmesan, parsley, and kosher salt. Honestly, I don’t measure the parsley and salt. I just pour it into my palm to get a feel for how much I have and sprinkle in.
Put the fries into the basket and toss. Cook for 15-20 minutes, shaking/stirring the fries every 5 minutes or so. Cook until they have reached a desired color. Enjoy with your latest grilled protein!
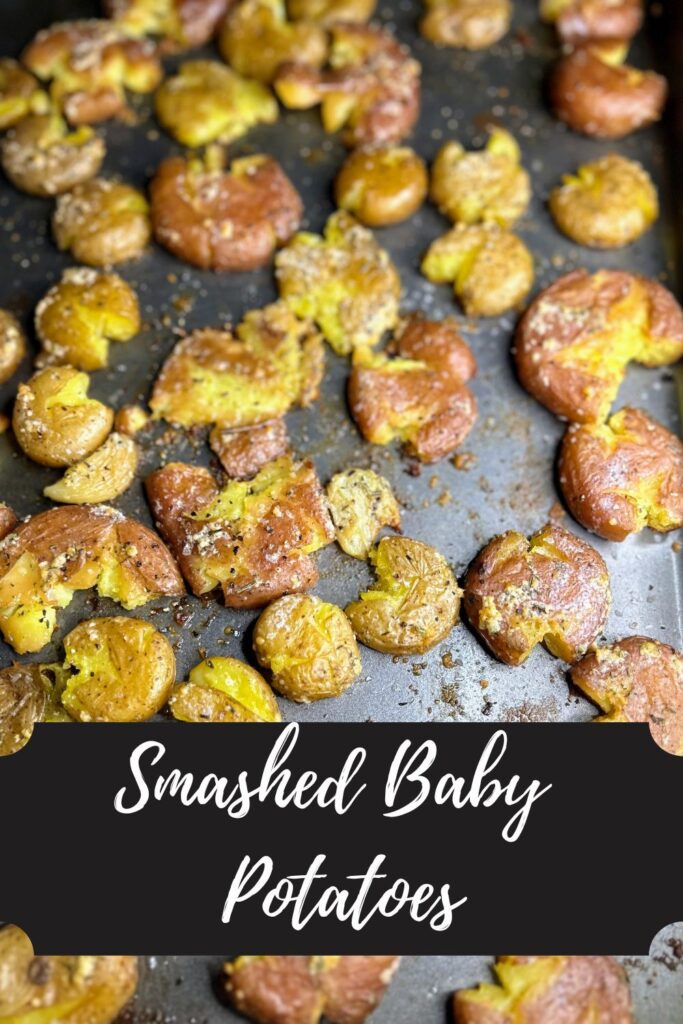
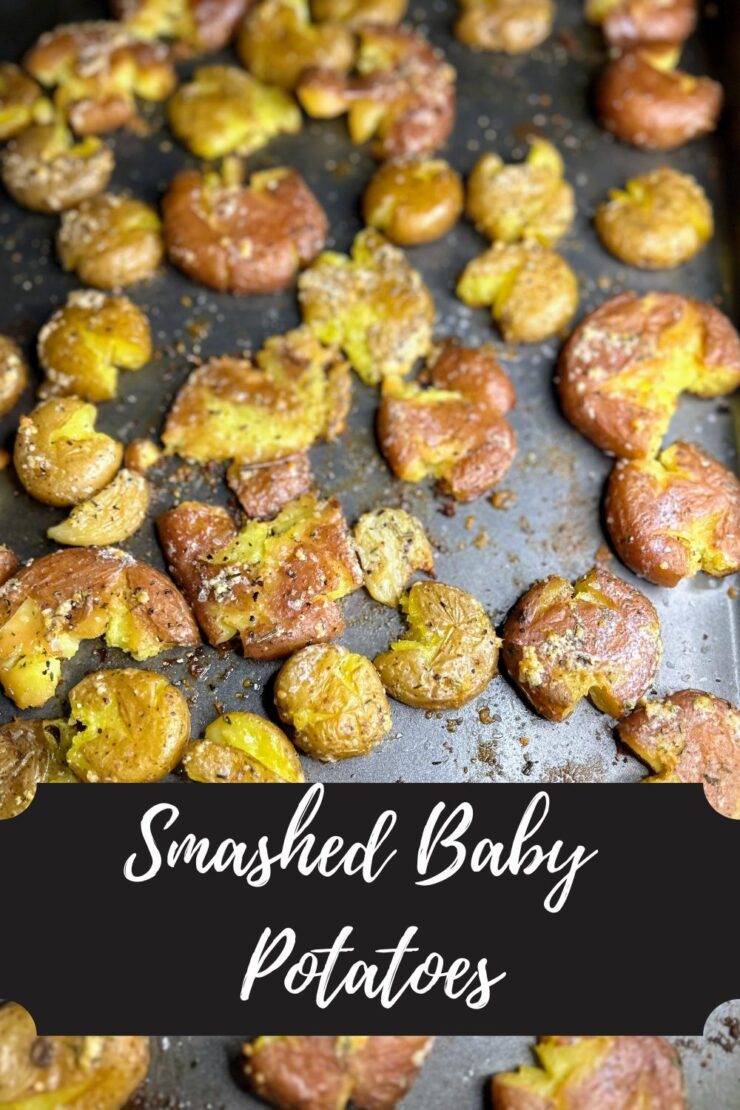
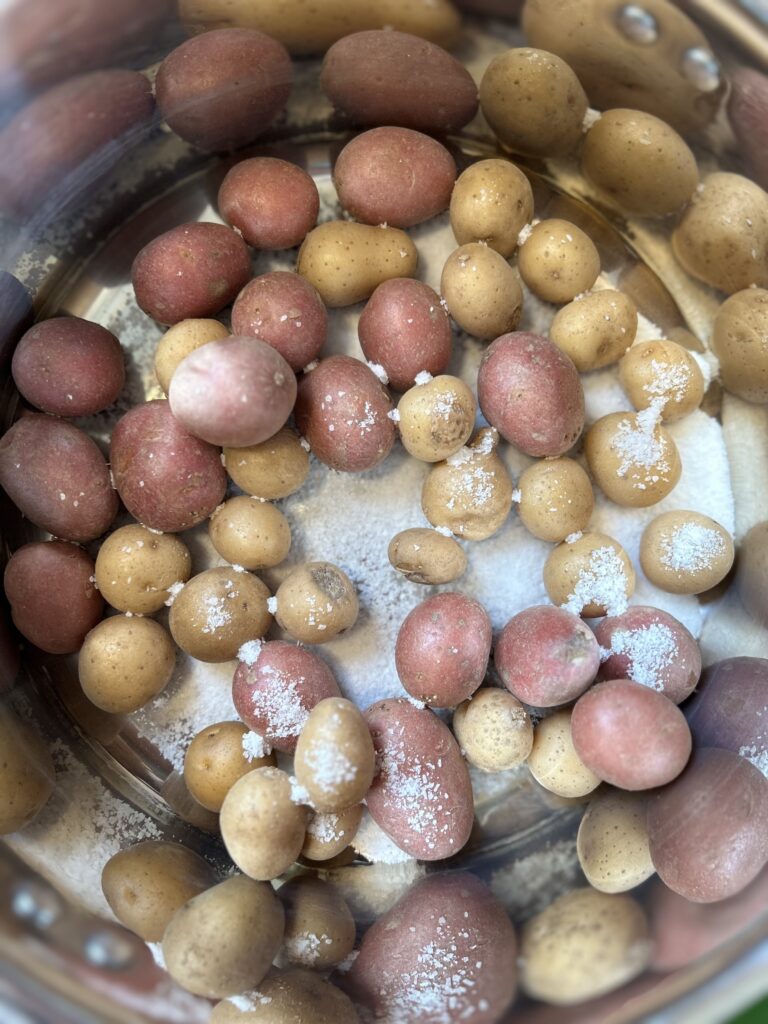
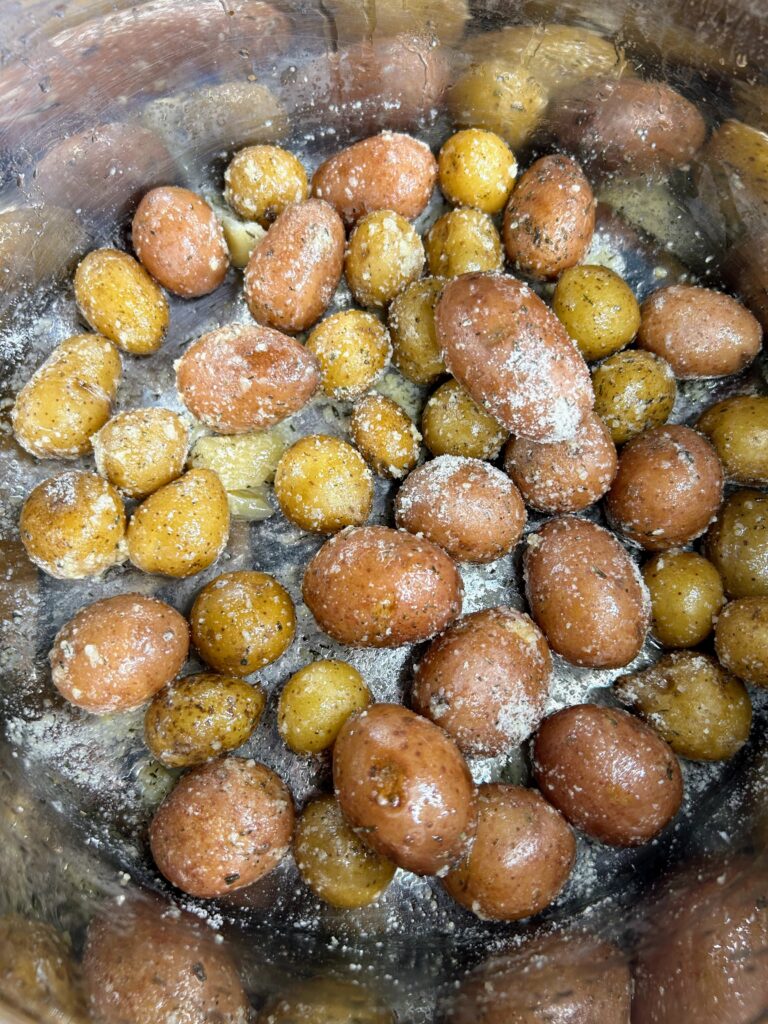
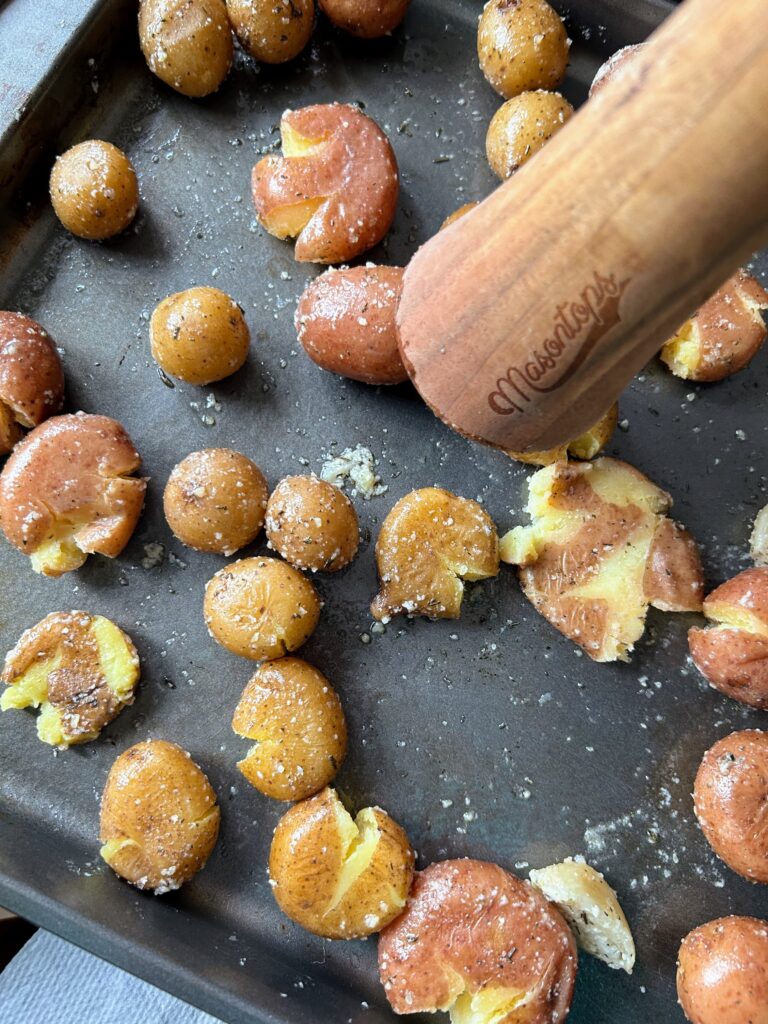
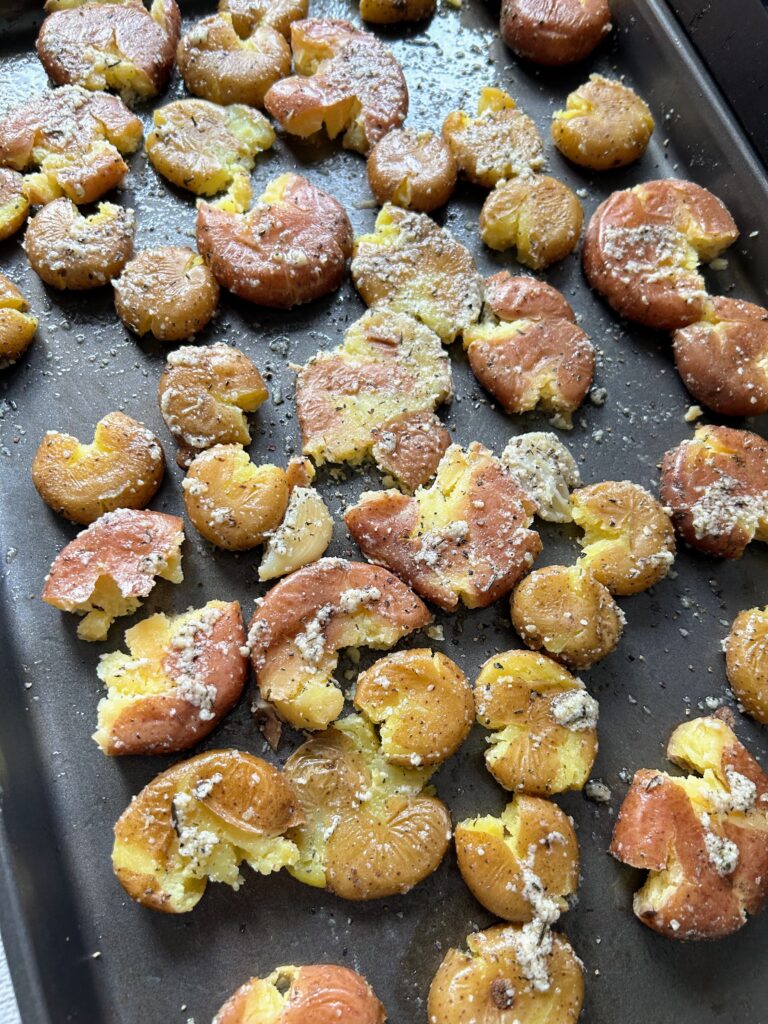
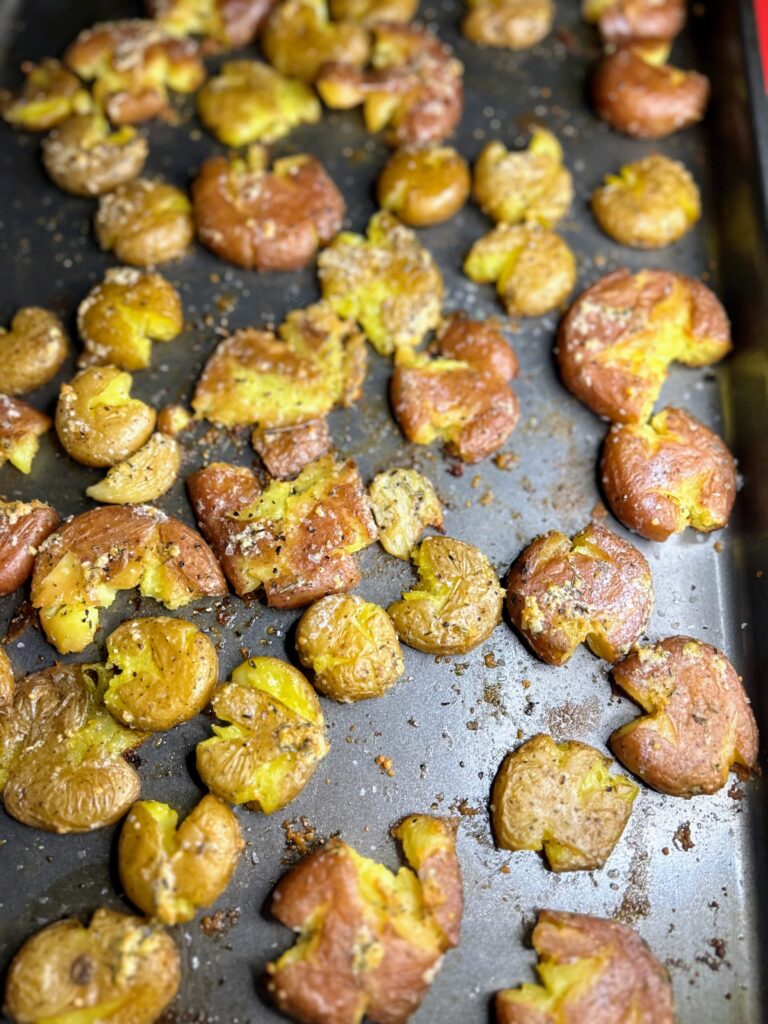
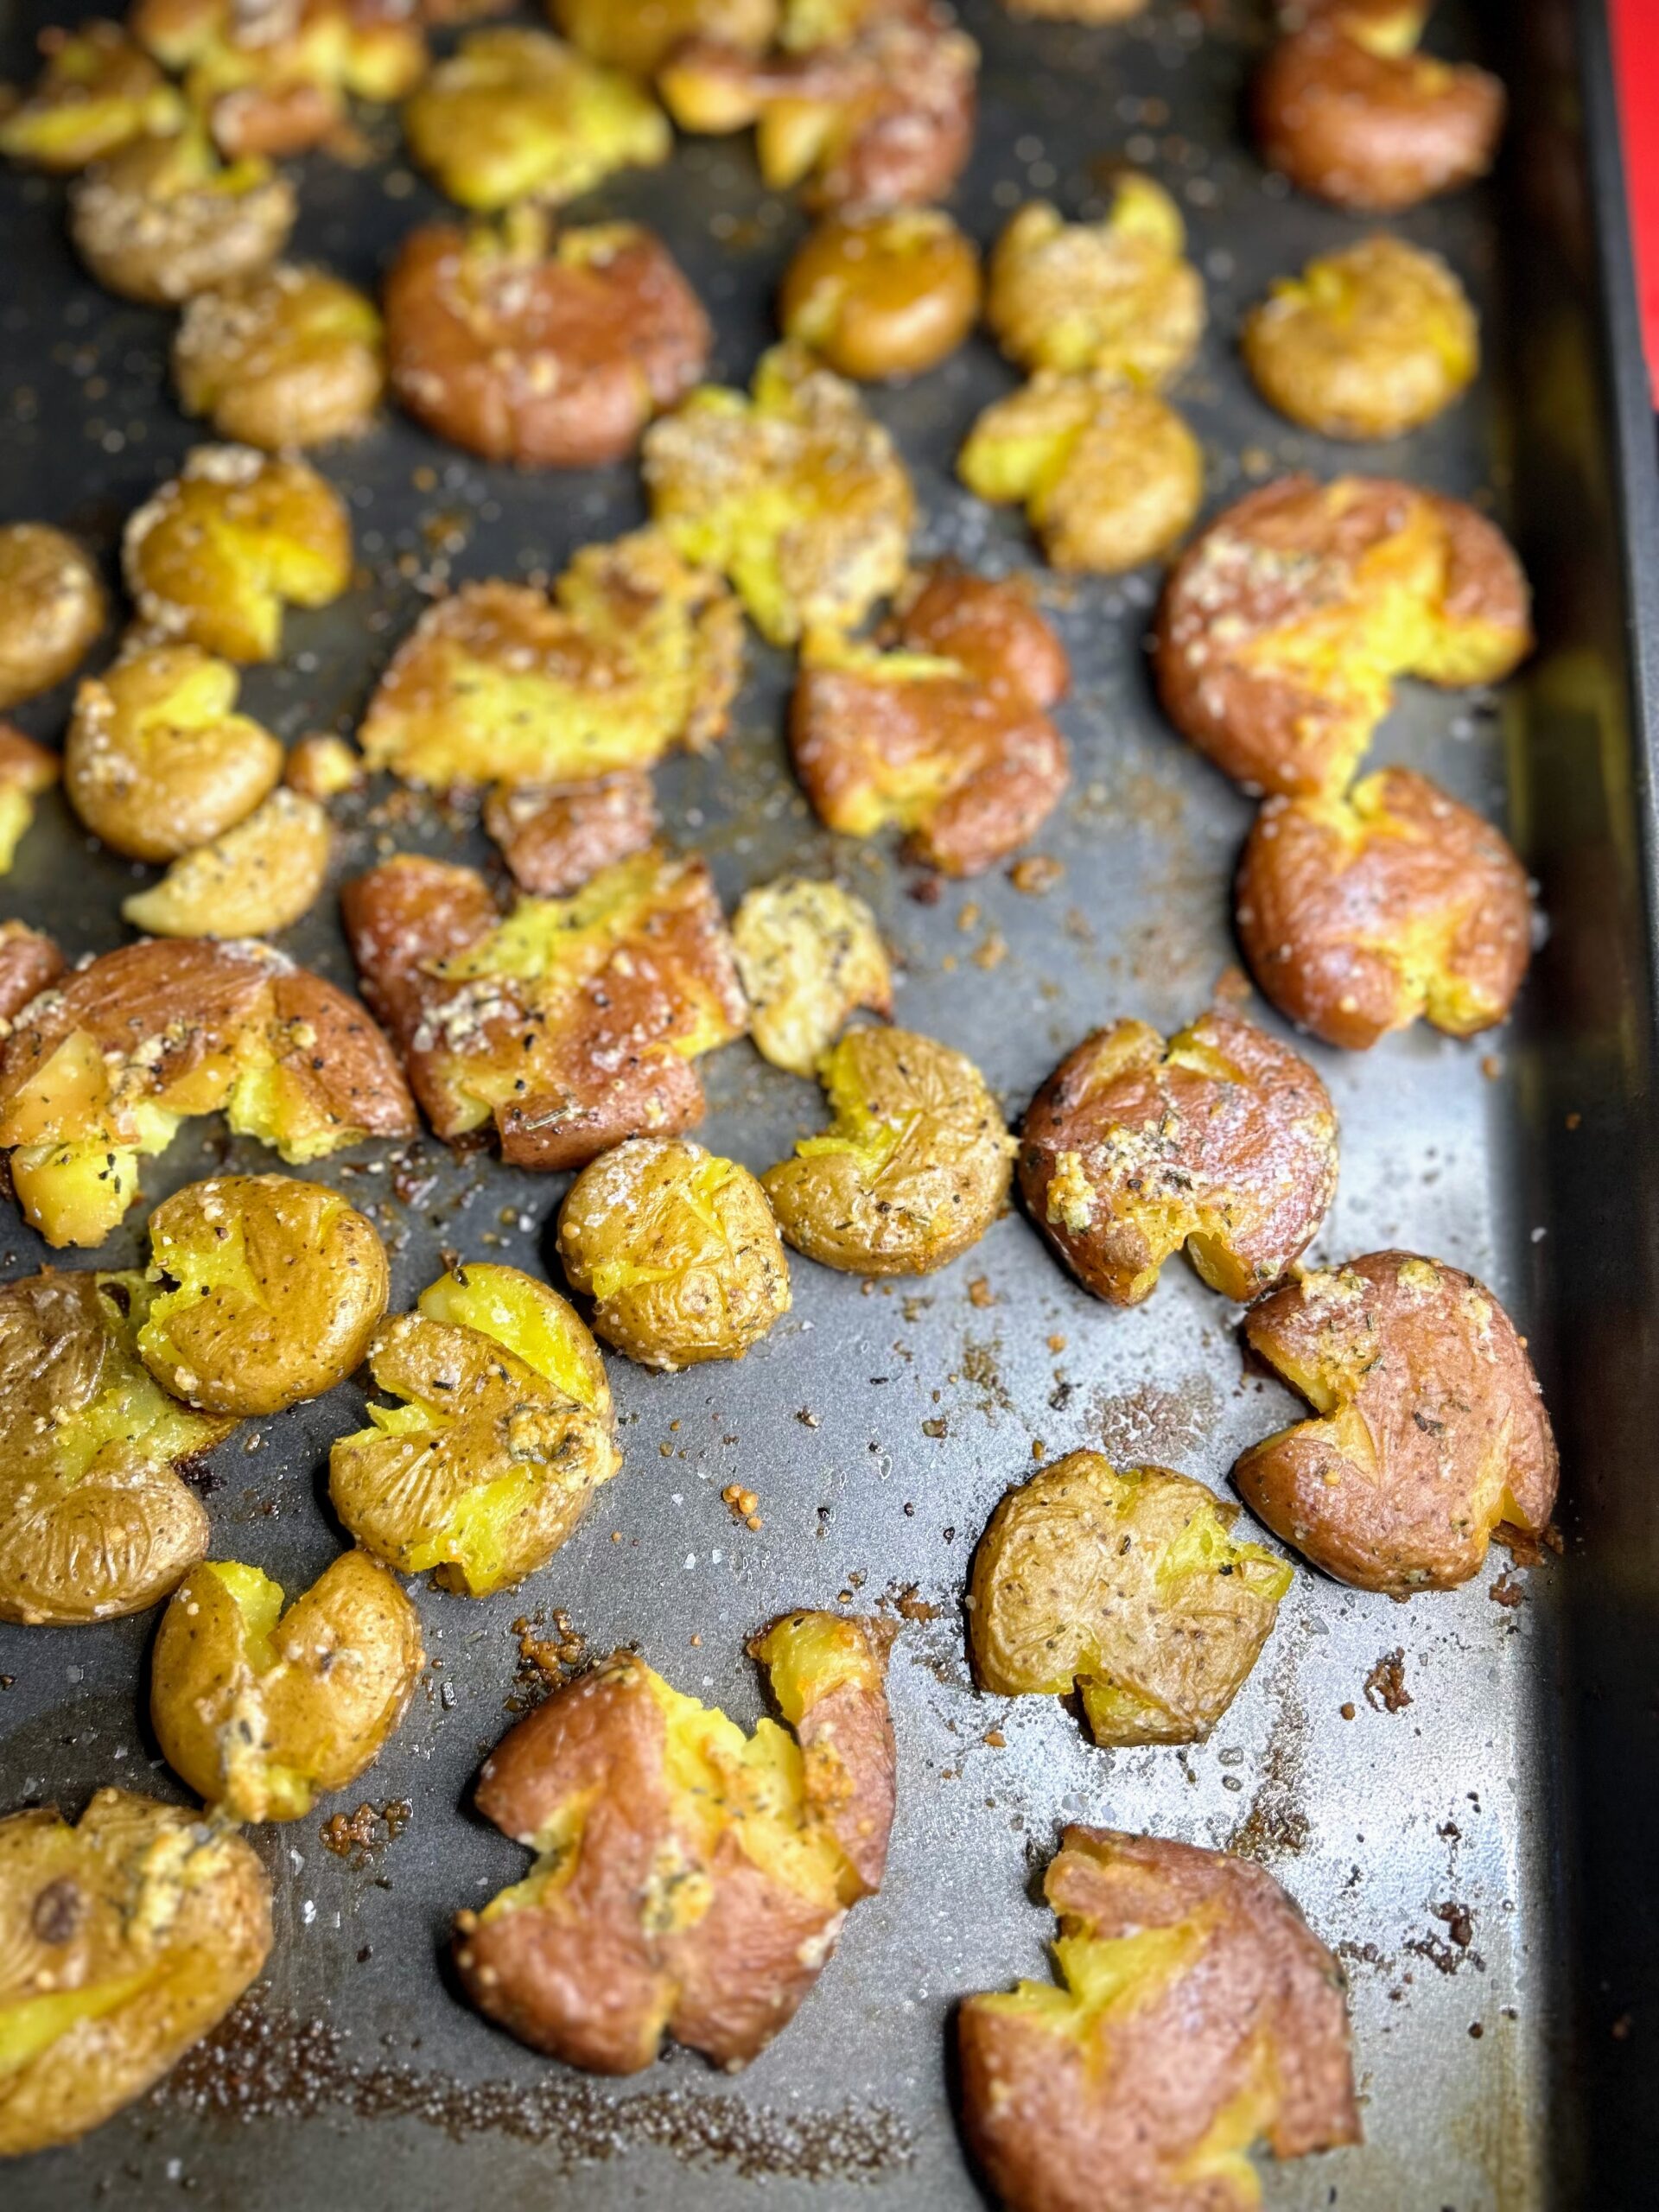
If you’re looking to fancy up your potato game, give these smashed baby potatoes a try! They are not hard, but they sure turn out amazing!
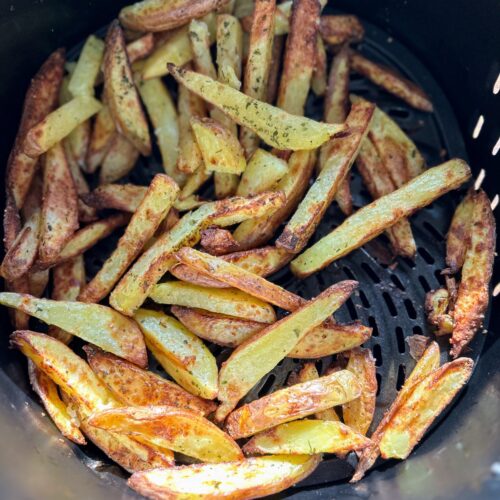
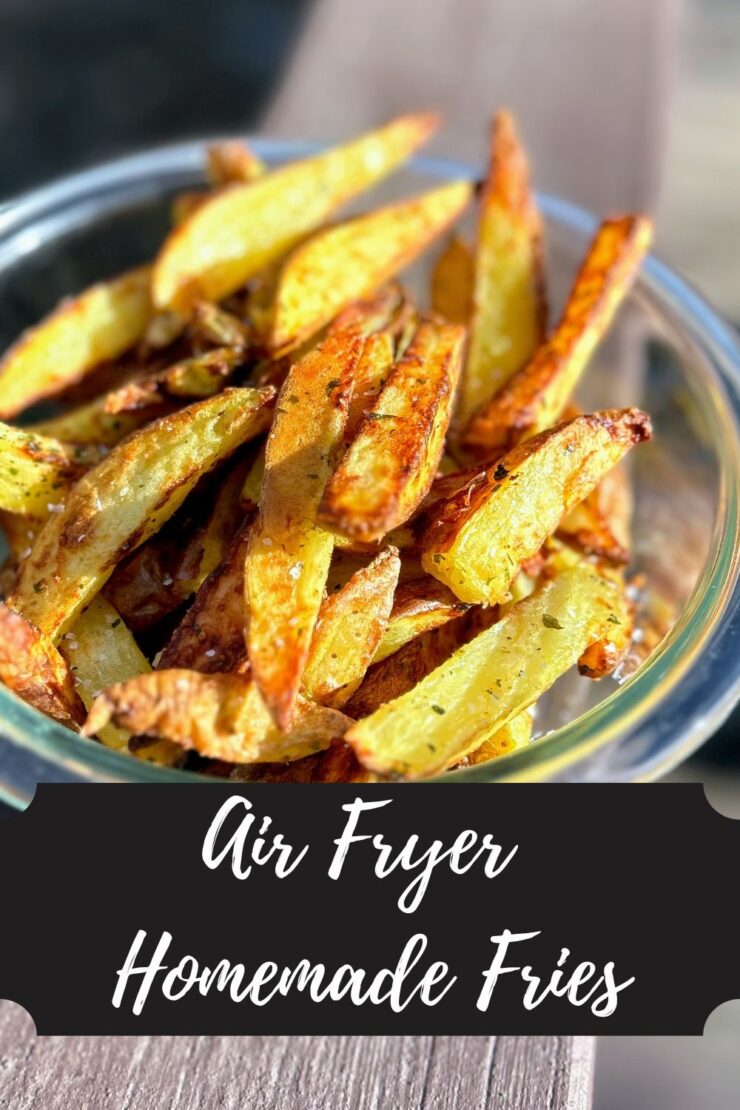
Air Fryer Homemade Fries
Equipment
Ingredients
- 1 ½ pounds Yukon Gold potatoes or your other favorite potato
- 1 tablespoon olive oil
- ¼ cup grated Parmesan cheese
- 1 tablespoon parsley
- 1 teaspoon-½ tablespoon kosher salt
Instructions
- Preheat the air fryer to 400 degrees. Meanwhile, cut the potatoes into ¼-⅓ inch slices. Then cut into sticks.
- Toss the fries with olive oil.
- Then add Parmesan, parsley, and kosher salt. Toss again.
- Put the fries into the basket and toss.
- Cook for 15-20 minutes, shaking/stirring the fries every 5 minutes or so. Cook until they have reached a desired color.
Need some dishes to pass?
Check out my Cooking page for more inspiration. Or maybe I can share a few of my favs below!