Last Updated on February 5, 2024 by Jess
Stop whatever you’re doing right now, and gather the ingredients for this Raspberry Salsa and get ready to prepare it!
Okay, that was a bit demanding and strongly worded, but I am telling you, that’s what you’ll want to do once you see the recipe.
Each year, I travel to Door County, Wisconsin, for a weeklong vacation with my dad’s side of the family. If you aren’t from Wisconsin, there’s a chance you’ve not heard of Door County. It’s been described as the Martha’s Vineyard of the Midwest. Just lovely, quaint, and full of so much to do.
The county itself has five state parks within it and provides a perfect climate for orchards, most notably cherry trees. It is full of wineries, fun shops, and culinary delights. Once such delight is cherry and raspberry salsa that can be found at many wineries and roadside stands. And my goodness, I LOVE it.
There’s something about slightly sweet, slightly spicy pairings that are just so dang good. And if you’ve been around Jess in the Kitchen much, you know that I have an abundance of raspberries; it seems I should try to make some salsa from them, right?
The problem?
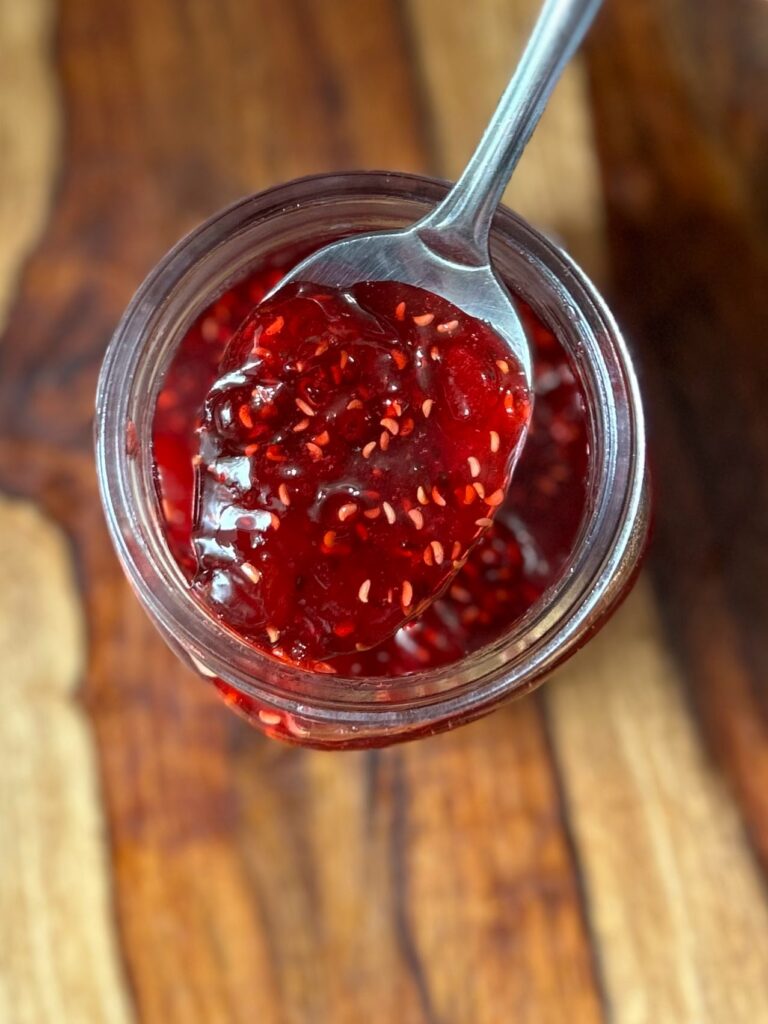
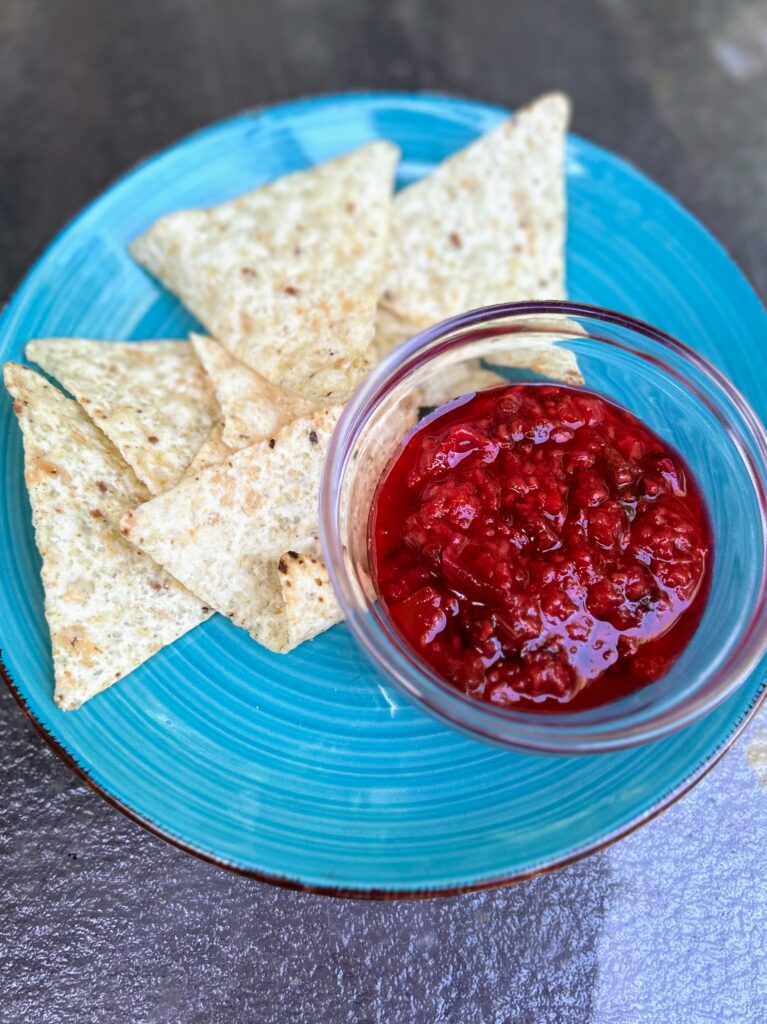
There really aren’t raspberry salsa recipes out there. If I did find one, it wasn’t written for canning. That is what I wanted to do. So research started, acidity levels of fruits checked, and a recipe was born using the ideas from a peach salsa recipe. And it’s just so good. I can’t wait for you to give it a try! And if you aren’t a canner, simply half the recipe (this will result in about three cups of salsa rather than six) and eat it fresh!
My Canning Story
I do want to share that I did not grow up in a canning household. I learned about ten years ago, as soon as we bought our home and started our first garden. And while I had some support from my mother in law (thank you so much!), I learned SO MUCH from reading. If you are a first generation canner like I was, let me share some of my favorite resources:
Ball Complete Book of Home Canning: This book gives you a good idea of all the basics from the people who know canning forwards and backwards. I love that I can dig in and get just what I need.
Not Your Mama’s Canning Book: Modern Canned Goods and What to Make with Them: This book is SO FUN. It has some out of the ordinary recipes. We especially love the tomato soup and seasoned black bean recipes.
And finally, the National Center for Home Food Preservation has all the information you need for all sorts of food preservation, not just canning. I reference it often!
But enough about resources, you want to make raspberry salsa, right? (But seriously, I am going to give you the basics. If you are a newbie (Yay!), head to any of those resources for more detailed information)
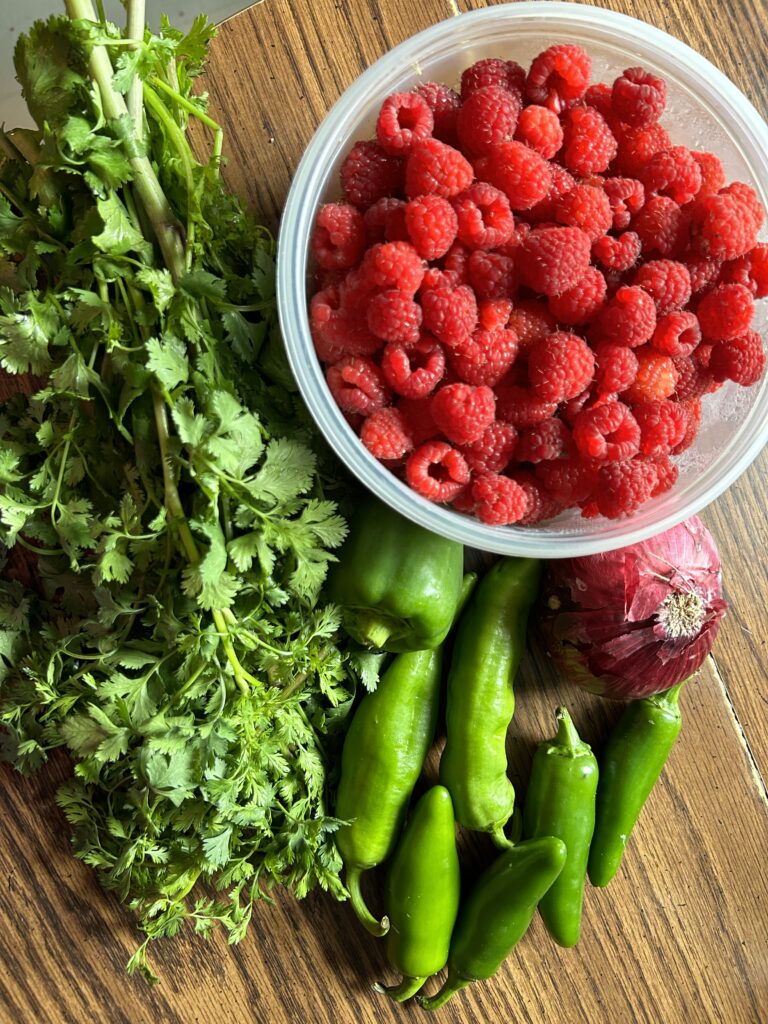
Your Ingredients for raspberry salsa
For approximately 6 half-pints, gather:
- 6 cups red raspberries
- 1 medium sweet pepper (green, red, orange, yellow, any will work), diced
- 4-5 jalapeños, finely diced (remember to wear gloves!)
- ½ cup loosely packed cilantro, chopped
- 1 medium red onion, diced
- ½ cup vinegar, 5% acidity
- ½ teaspoon salt
- 1 clove garlic, minced
- ½ teaspoon cayenne pepper
- 2 tablespoons sugar
The Prep Work
Fill the canning kettle with enough water that the jars will be covered by at least 2 inches of water. More is better in this case so over estimate. Begin to heat over high heat. Place the canning rack so that it is hooked over the side of the canner and put clean jars on it to keep them warm. Note: You don’t have to keep the jars in the rack, although it is helpful to keep them warm. You want the jars warm to prevent breaking when they are being filled.
Set the clean rings aside. I like to simmer my lids on low low heat in a small saucepan. Not necessary, but I like to think it helps them seal better.
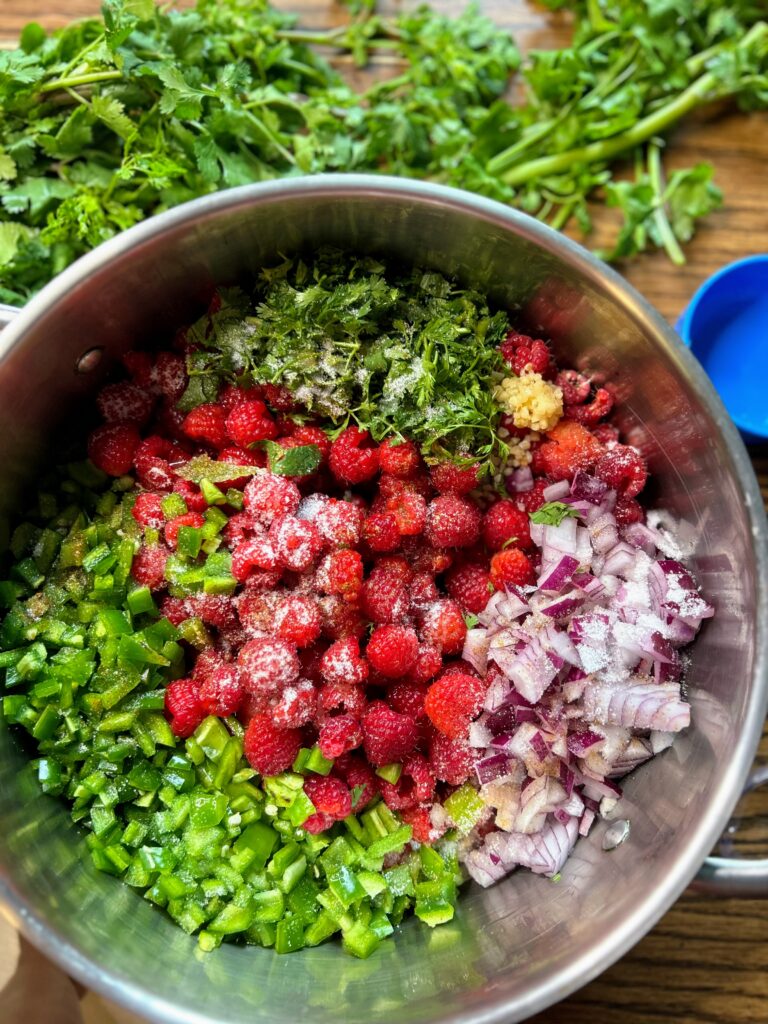
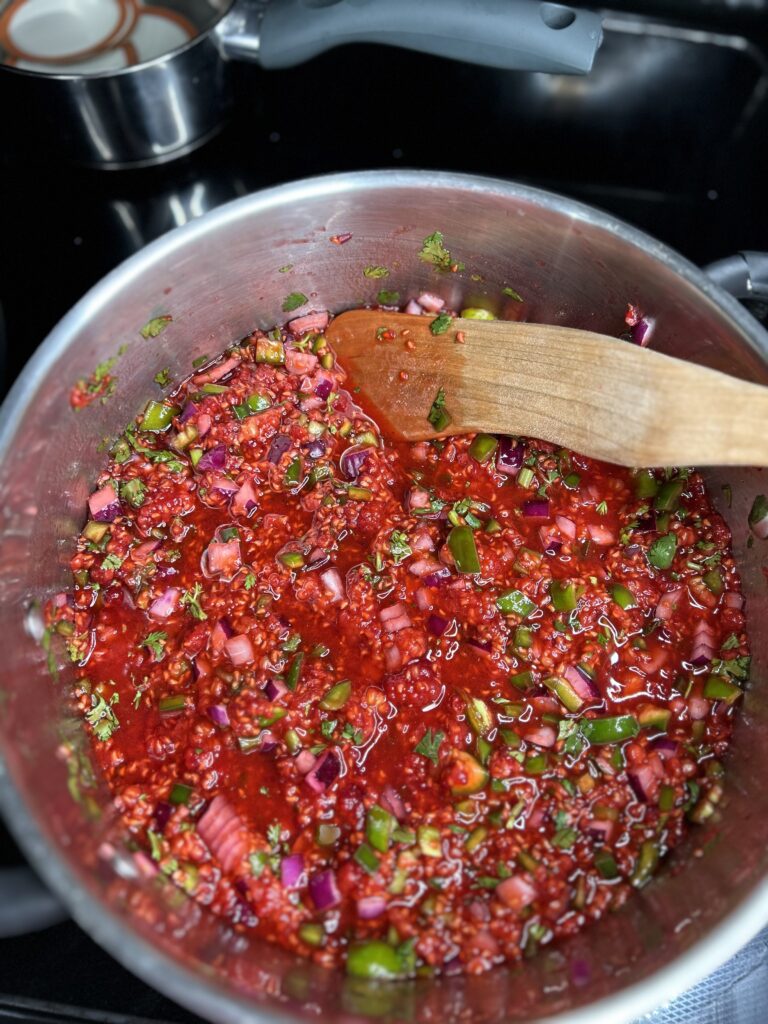
The raspberry Salsa Making
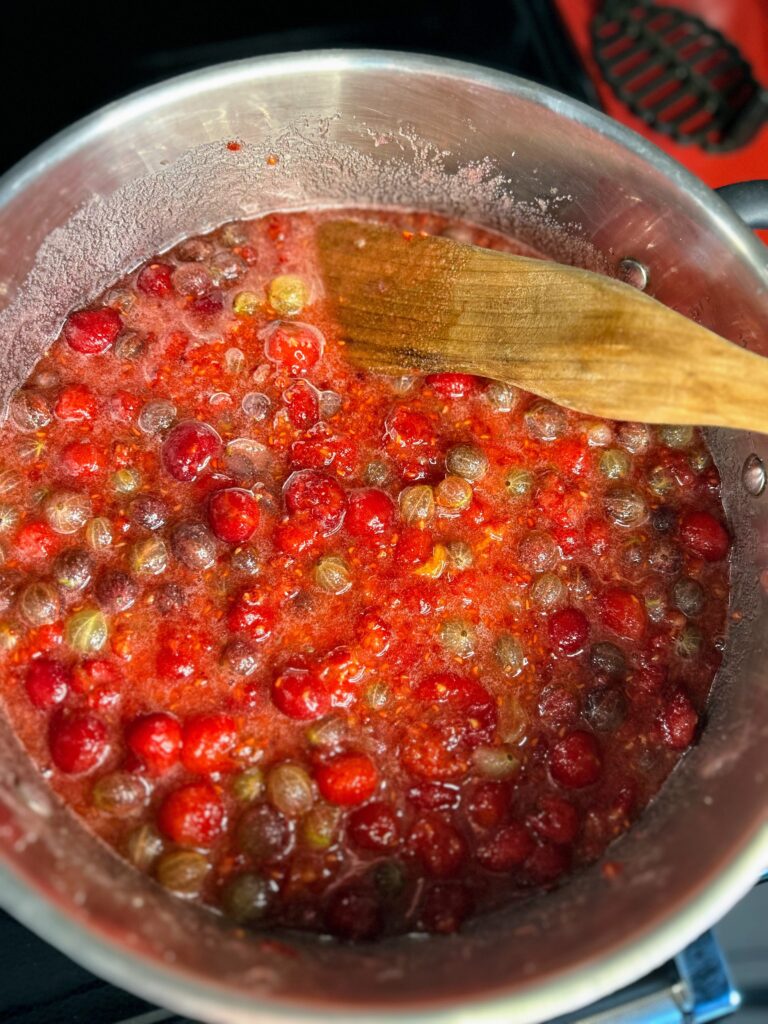
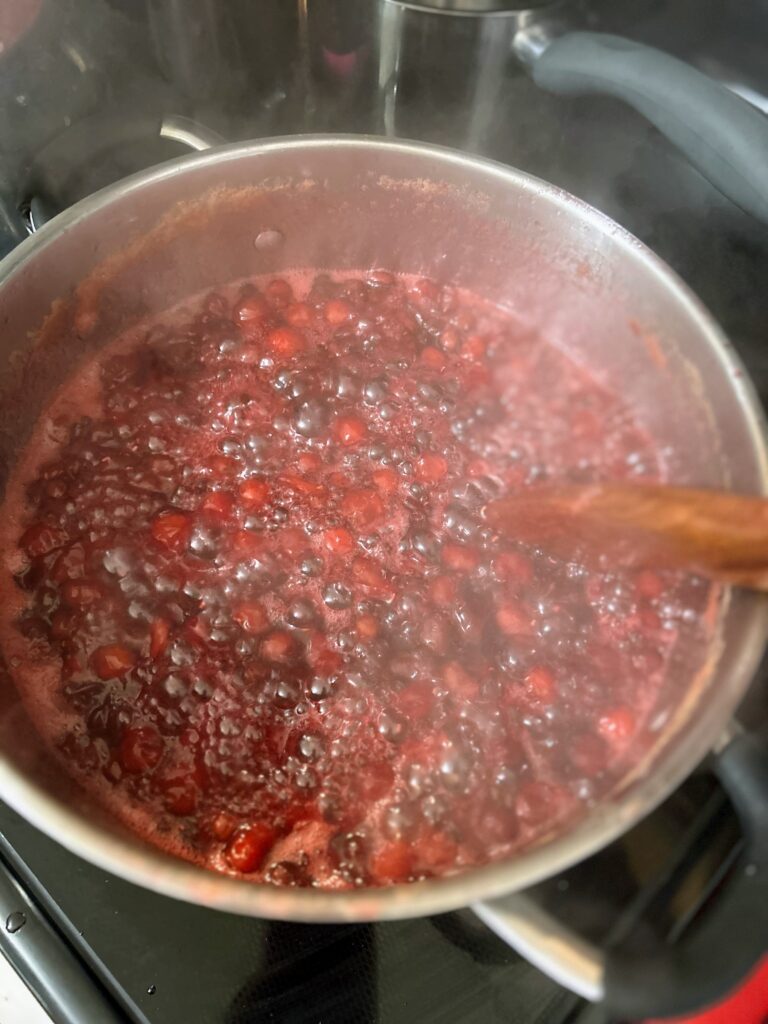
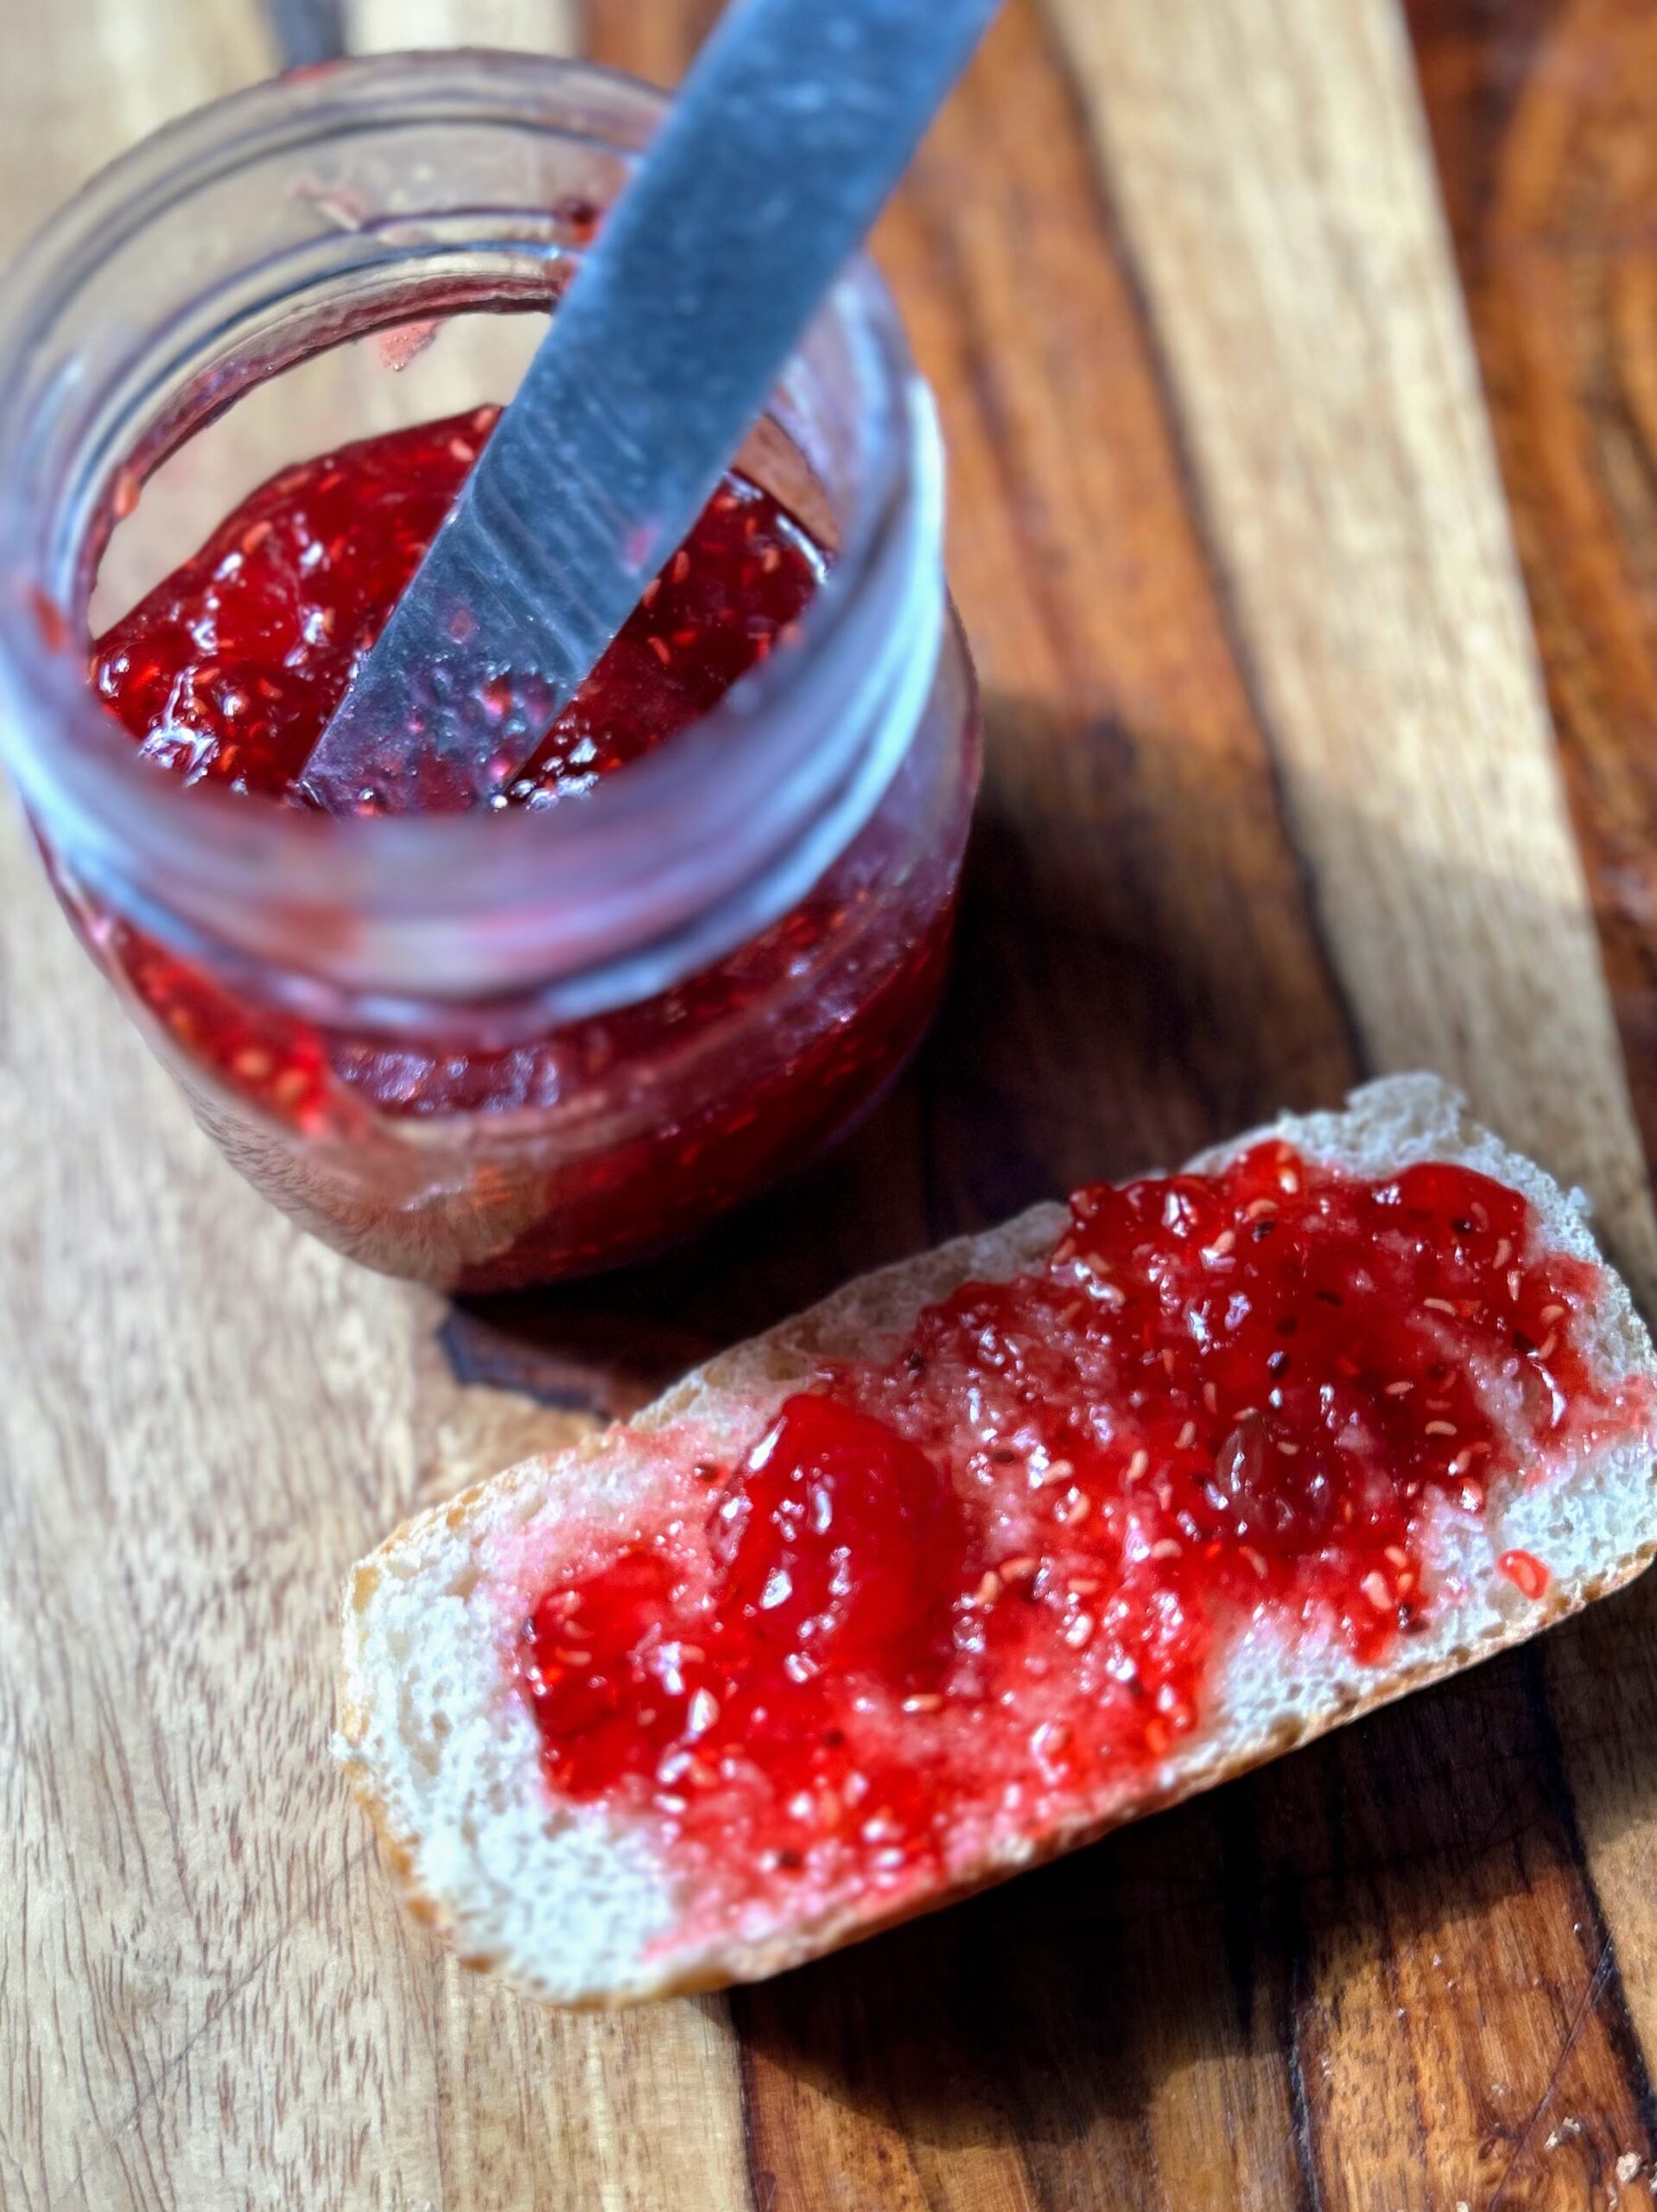
If you have not already done so, dice, measure out, and combine all the ingredients in a shallow, wide kettle. Smash the fruit with a potato masher or with a fermentation tamper. (I LOVE the tamper and honestly have never fermented anything. It works great for smashing berries). Begin to heat over medium-high heat, stirring often. I like to smash the berries more as they are cooking down. Bring the salsa to a boil and then simmer for five minutes, to thicken just a bit.
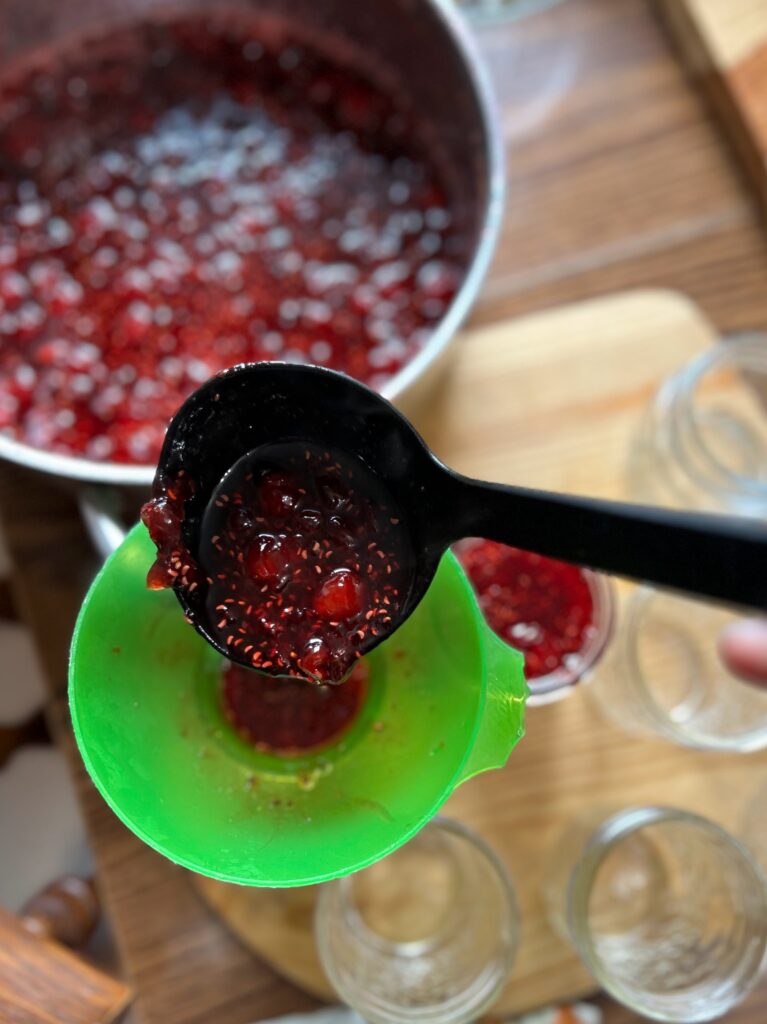
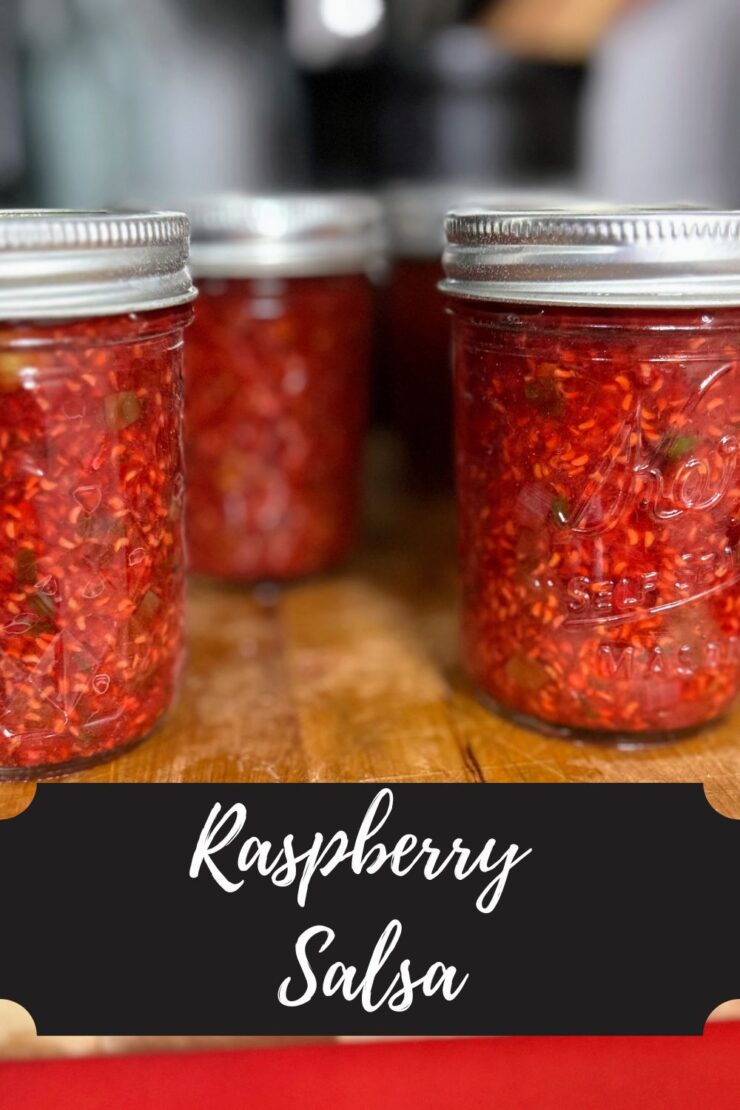
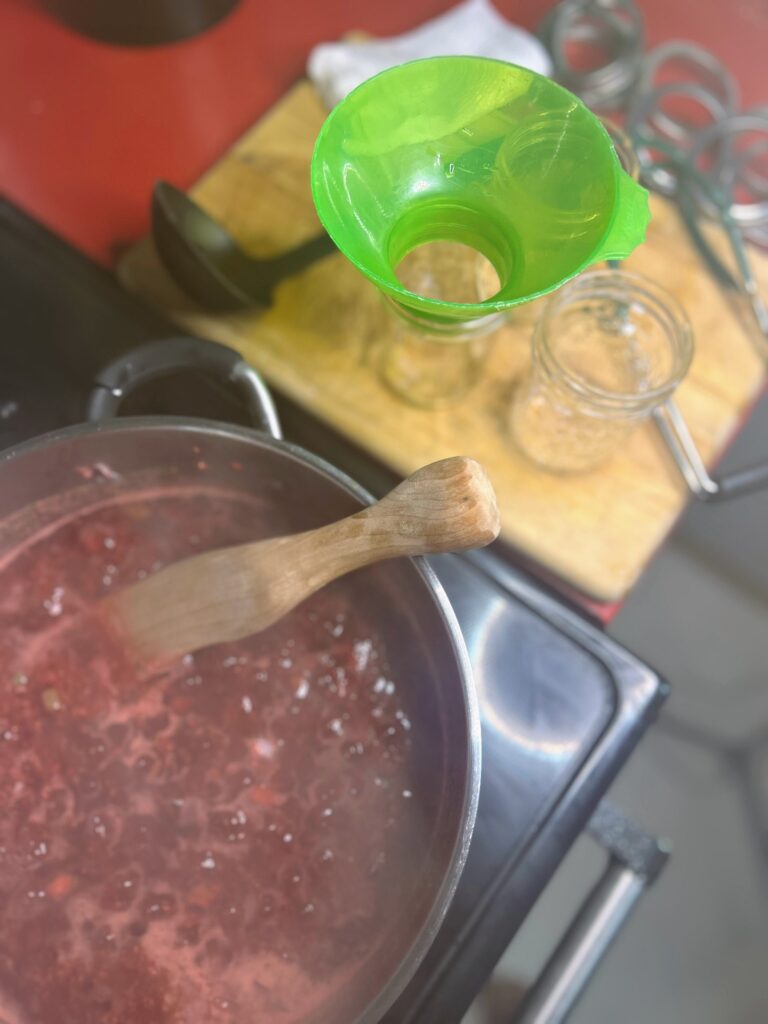
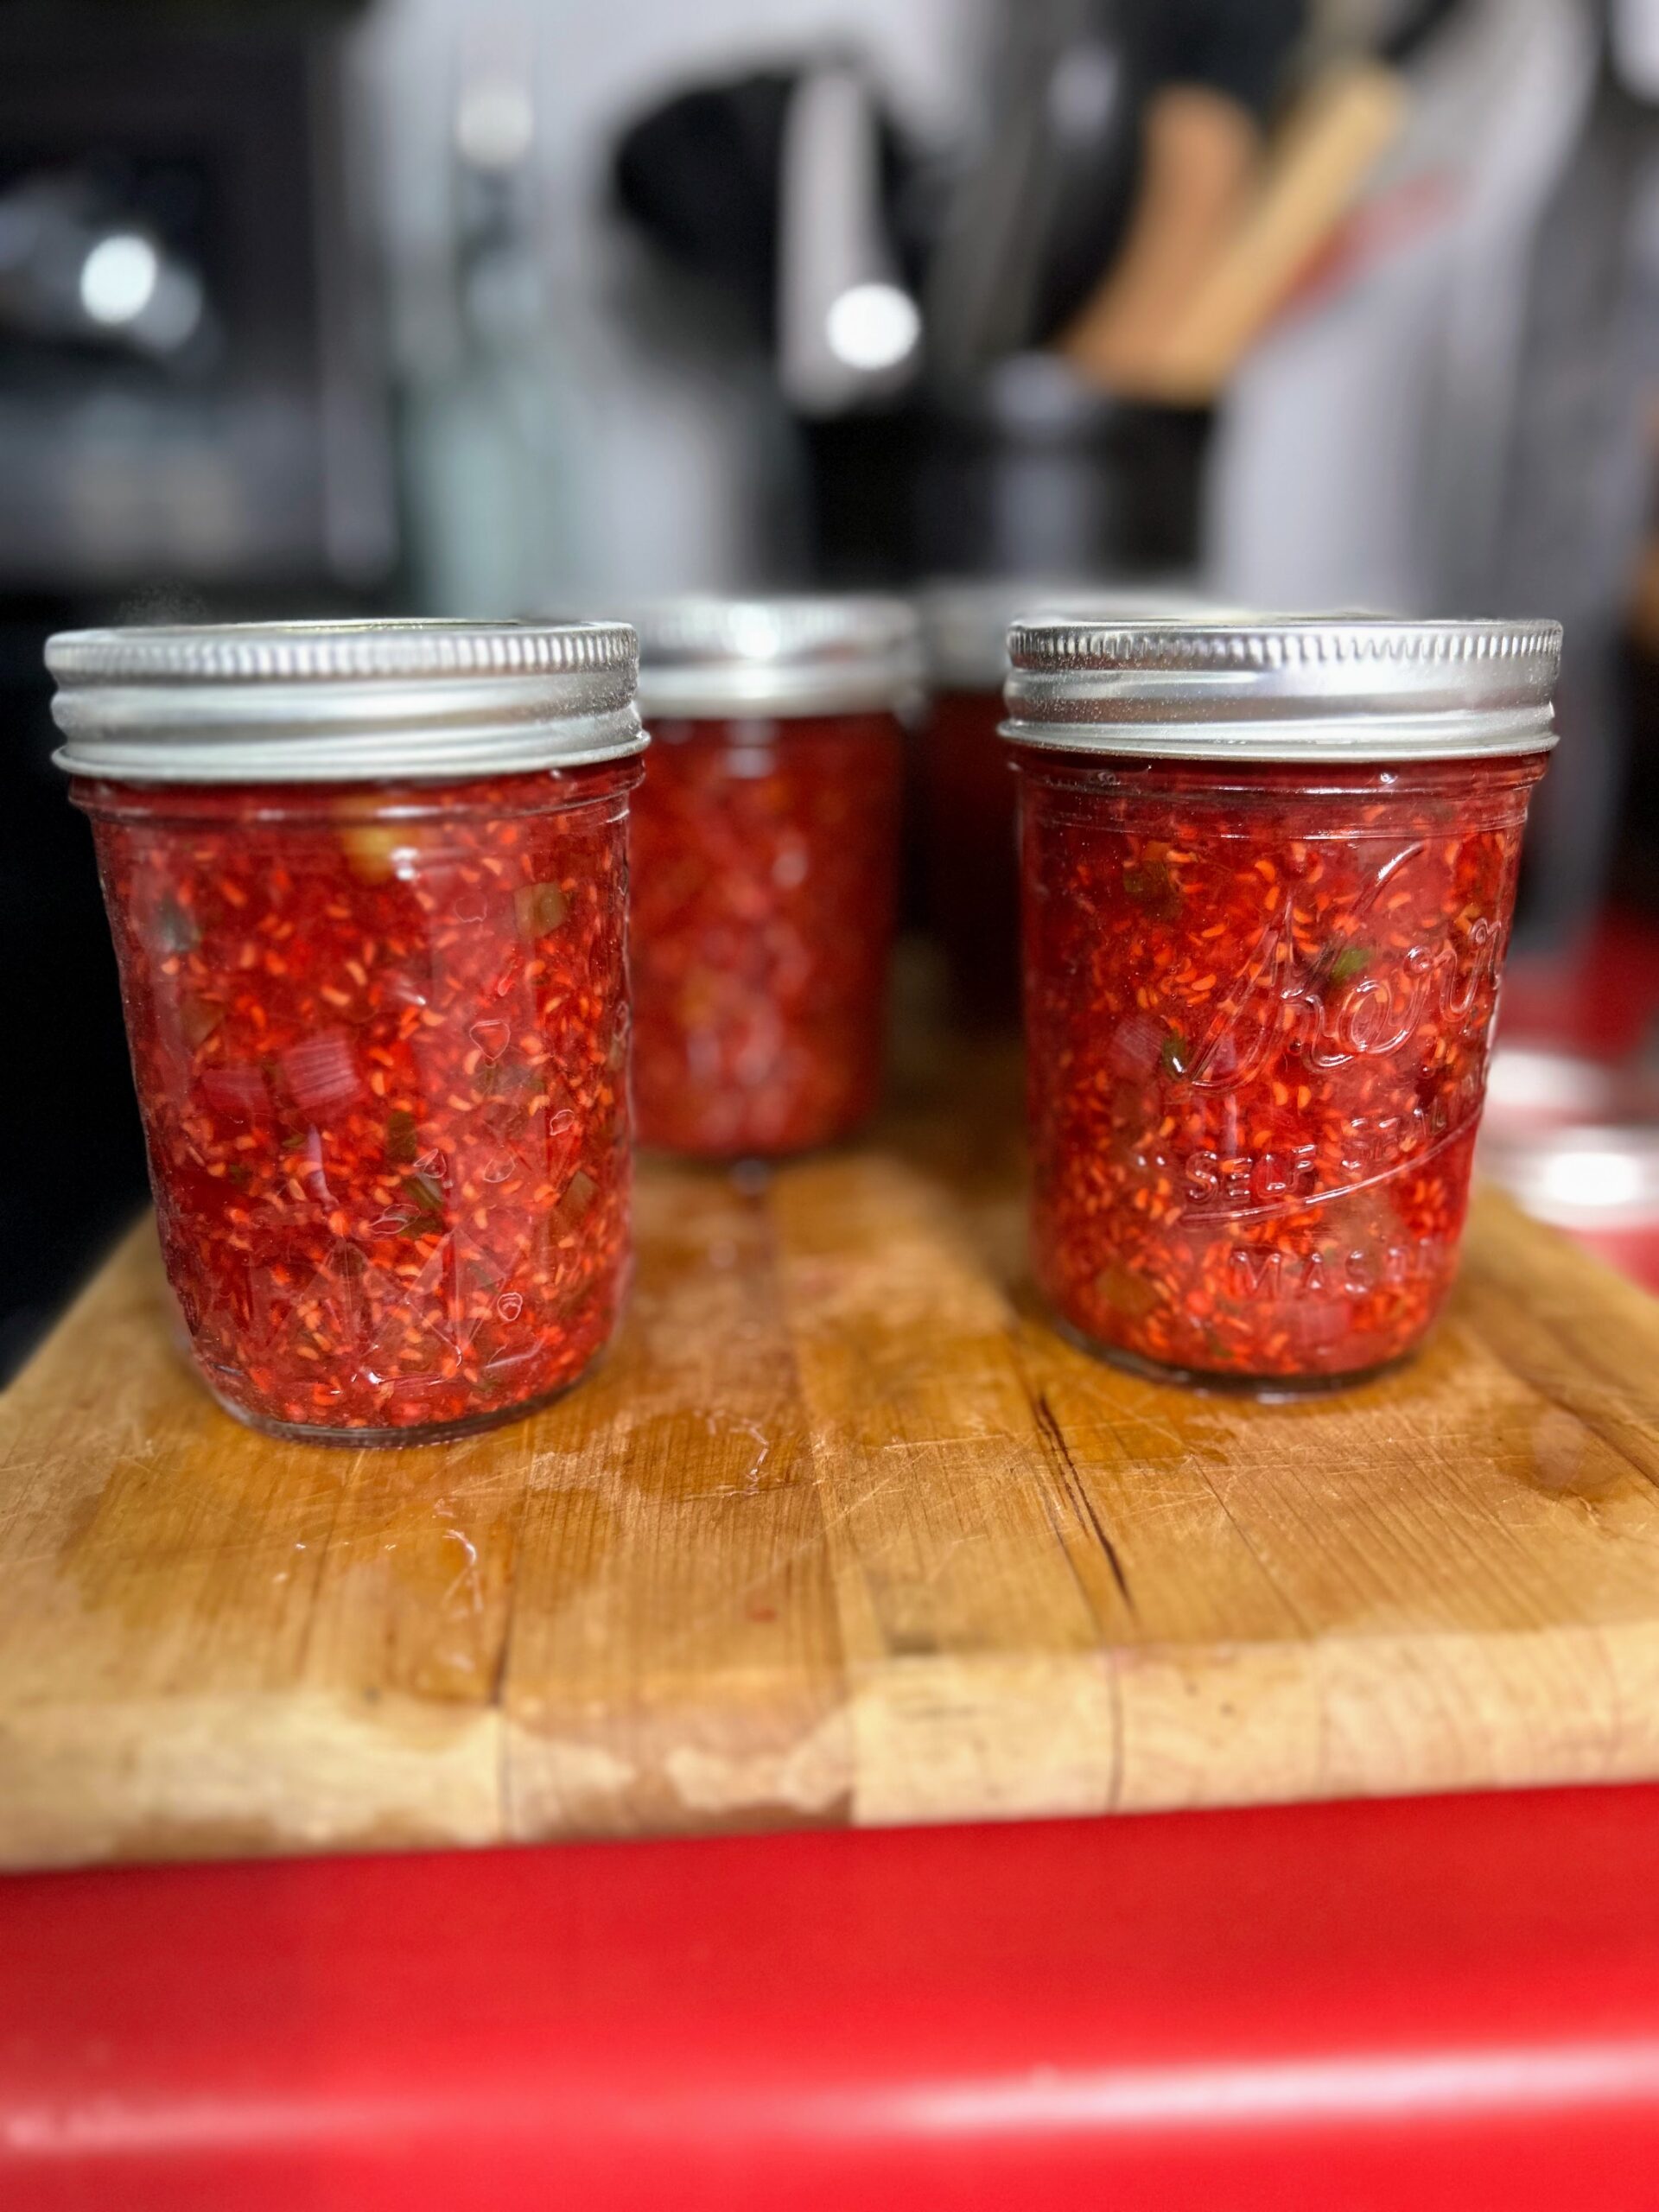
Once the salsa has thicken, remove from heat. Ladle into prepared jars, leaving ½ inch head space. Wipe rims of the jars with a damp, clean cloth, add lids and rings, tightening to fingertip tight. Place in the canner, increasing the heat to high. Once the canner reaches a boil, process for 15 minutes. Remove from heat and allow jars to cool in the canner over 5 minutes. Remove from canner, placing on the counter. Listen for the ping of the lids over the next 12 hours. Sealed jars are self stable. If any jar doesn’t seal, simply place it right in the refrigerator.
Note: You can skip the processing step all together if you feel more comfortable. If you do so, the salsa will need to be stored in the refrigerator. The process of water bath canning creates a self-stable salsa. That is, a salsa that can be stored on the shelf.

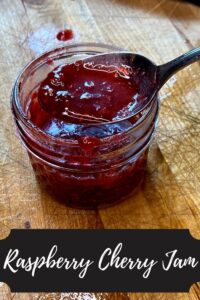
Raspberry Salsa
Equipment
Ingredients
- 6 cups red raspberries
- 1 medium sweet pepper green, red, orange, yellow, any will work, diced
- 4-5 jalapeños finely diced (remember to wear gloves!)
- ½ cup loosely packed cilantro chopped
- 1 medium red onion diced
- ½ cup vinegar 5% acidity
- ½ teaspoon salt
- 1 clove garlic minced
- ½ teaspoon cayenne pepper
- 2 tablespoons sugar
Instructions
- Fill the canning kettle with enough water that the jars will be covered by at least 2 inches of water. More is better in this case so over estimate. Begin to heat over high heat. Place the canning rack so that it is hooked over the side of the canner and put clean jars on it to keep them warm. Note: You don’t have to keep the jars in the rack, although it is helpful to keep them warm. You want the jars warm to prevent breaking when they are being filled.
- Set the clean rings aside. I like to simmer my lids on low low heat in a small saucepan. Not necessary, but I like to think it helps them seal better.
- If you have not already done so, dice, measure out, and combine all the ingredients in a shallow, wide kettle. Smash the fruit with a potato masher or with a fermentation tamper.
- Begin to heat over medium-high heat, stirring often. I like to smash the berries more as they are cooking down. Bring the salsa to a boil and then simmer for five minutes, to thicken just a bit.
- Once the salsa has thickened, remove from heat. Ladle into prepared jars, leaving ½ inch head space.
- Wipe rims of the jars with a damp, clean cloth, add lids and rings, tightening to fingertip tight.
- Place in the canner, increasing the heat to high. Once the canner reaches a boil, process for 15 minutes. Remove from heat and allow jars to cool in the canner over 5 minutes. Remove from the canner, placing them on the counter. Listen for the ping of the lids over the next 12 hours. Sealed jars are self stable. If any jar doesn’t seal, simply place it right in the refrigerator.
Notes
Looking for other ways to use up those raspberries?
Be sure to check out my canning and preserving page for all sorts of inspiration. Or perhaps I can recommend a few of my favorites below?