Last Updated on August 18, 2022 by Jess
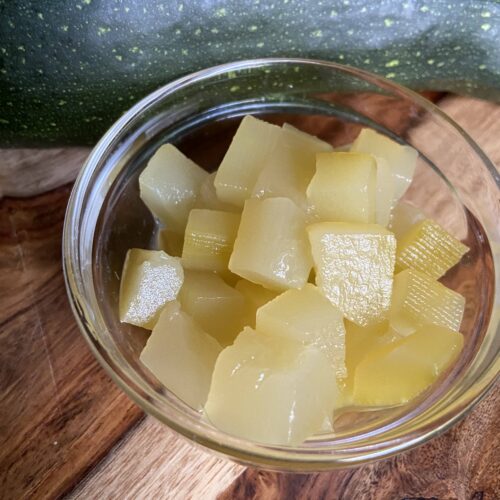
Some years, my zucchini plants hardly produce. Other years, they can’t stop. This year, it’s an “other” year and I keep harvesting away! Fortunately, zucchinis have a great staying power and they can hang out on my counter until I am ready to cook with them. This week, I whipped up this Italian Zucchini Pizza Bake for dinner and everyone devoured it!
In terms of prep, it takes a little bit of time so you will need to start about an hour before you want to eat. It does include a fair amount of wait and bake time, so don’t despair. You too can whip this up quickly.
I love it because it is full of vegetables. If you’ve followed me for any time, you know I try to sneak extra servings of vegetables into most everything I cook for my family. If I am honest, my kids have been veggie lovers from day one, but truly, no one complains about the extra servings of vegetables. I mean, they do make fun of me, but that’s with love…I think.
Now, if you are still harvesting zucchini, you must give this a try. In our household, we were in agreement that you couldn’t even tell that there wasn’t a carb in the dish, which is big win for my kids. (We definitely are not afraid of all the bread and pasta in our home).
Enough talk. Let’s get cooking that Italian Zucchini Pizza Bake!
Your Ingredients
- 4 cups shredded zucchini
- ½ teaspoon salt
- 2 eggs
- ½ cup grated Parmesan
- 3 cups shredded cheese (mozzarella and cheddar make a good combination), divided
- ½ teaspoon each of: dried basil, dried oregano, and garlic powder
- ¼ teaspoon black pepper
- 1 pound ground Italian sausage (we use Italian seasoned ground venison that we grind at home)
- Olive oil
- ½ cup diced onion
- ½ tablespoon minced garlic
- 15 ounces Italian seasoned tomato sauce (or 1 ¾ cup)
- ½ cup diced green pepper
Your steps
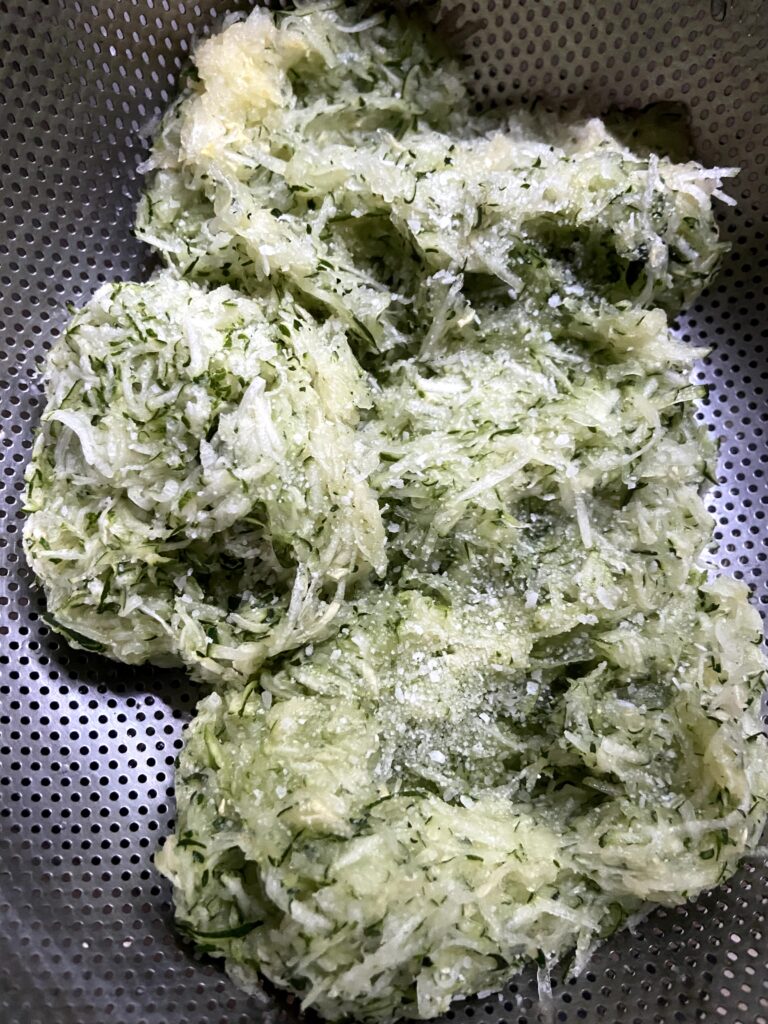
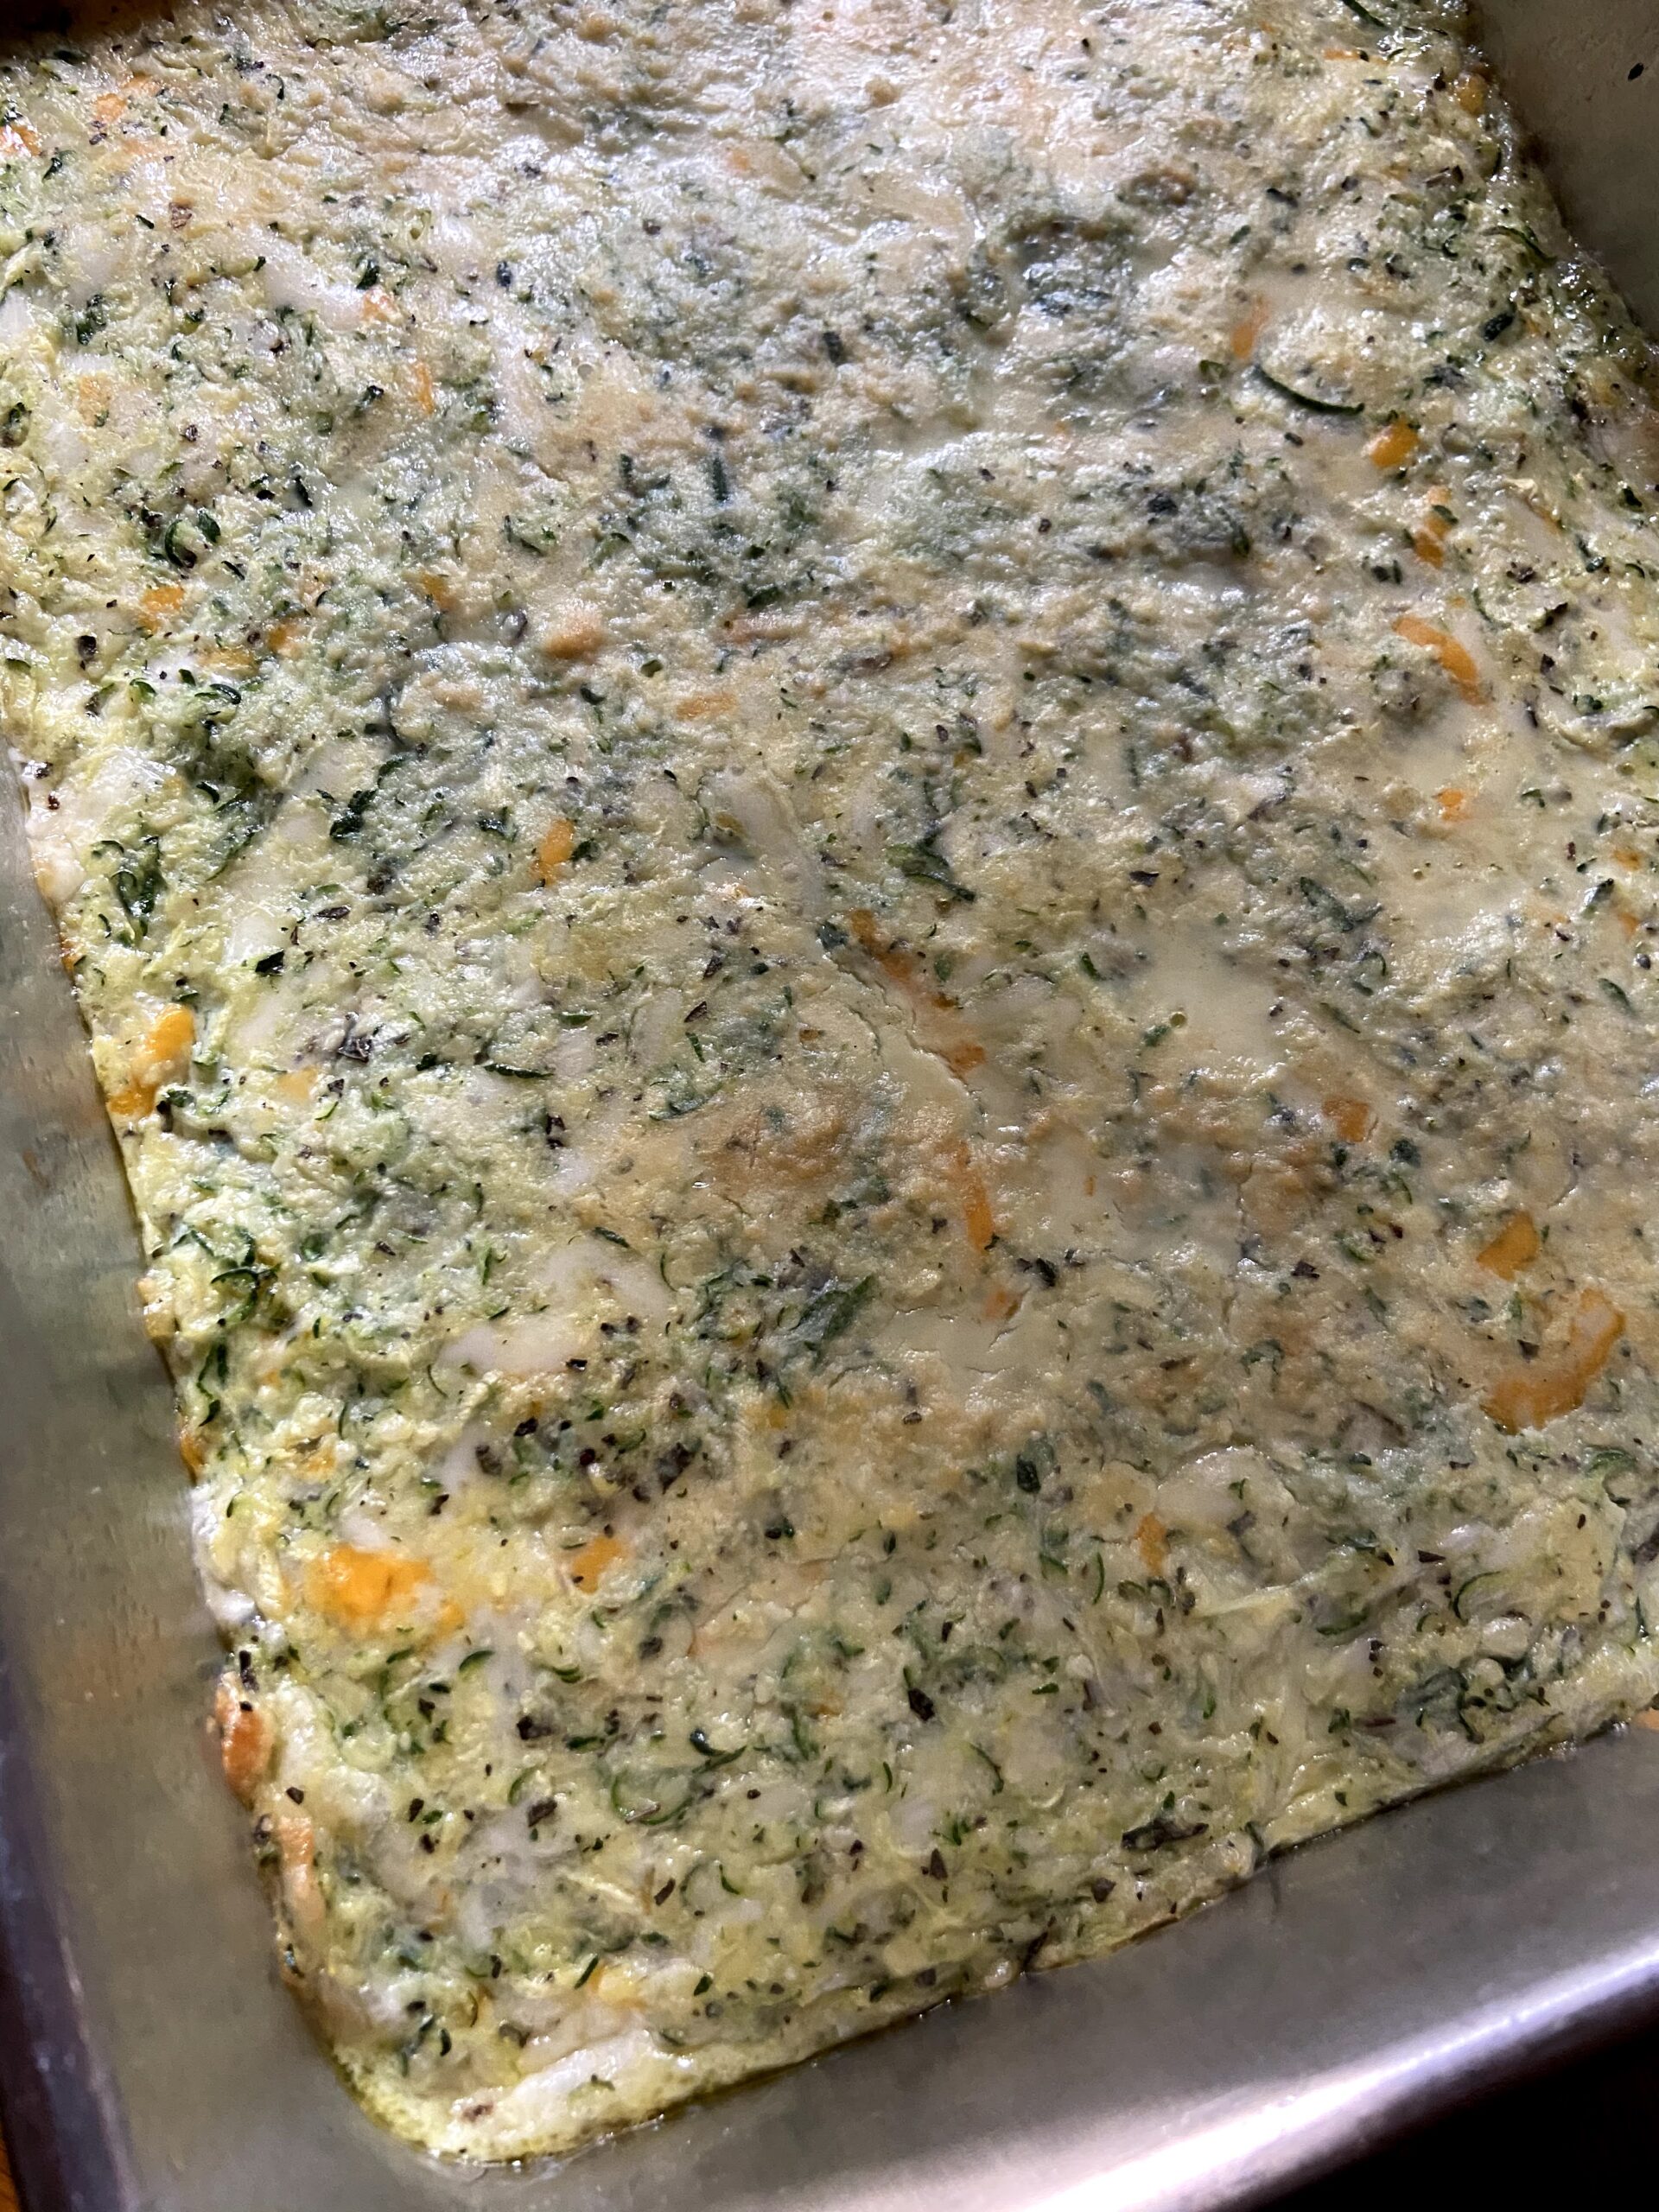
Preheat the oven to 400 degrees and spray a 9 by 13 baking dish with cooking spray. Set aside. Place shredded zucchini in a strainer and sprinkle with salt. Allow the zucchini to sit for 10 minutes. Press out all extra moisture, the more the better. (I tend to quit early. It’s fine, but will leave you with a more watery bake when you’re done).
Before I continue, a comment on the cheese. We have a great dairy nearby that does a 3 cheese blend of mozzarella, provolone, and yellow cheddar (80/10/10). That’s the cheese I use for this bake if I have it on hand. Feel free to play with this though. A true Wisconsinite knows that the cheese possibilities are endless. And if you aren’t a Wisconsinite, you may just be a Wisconsinite at heart 😉
Back to cooking…
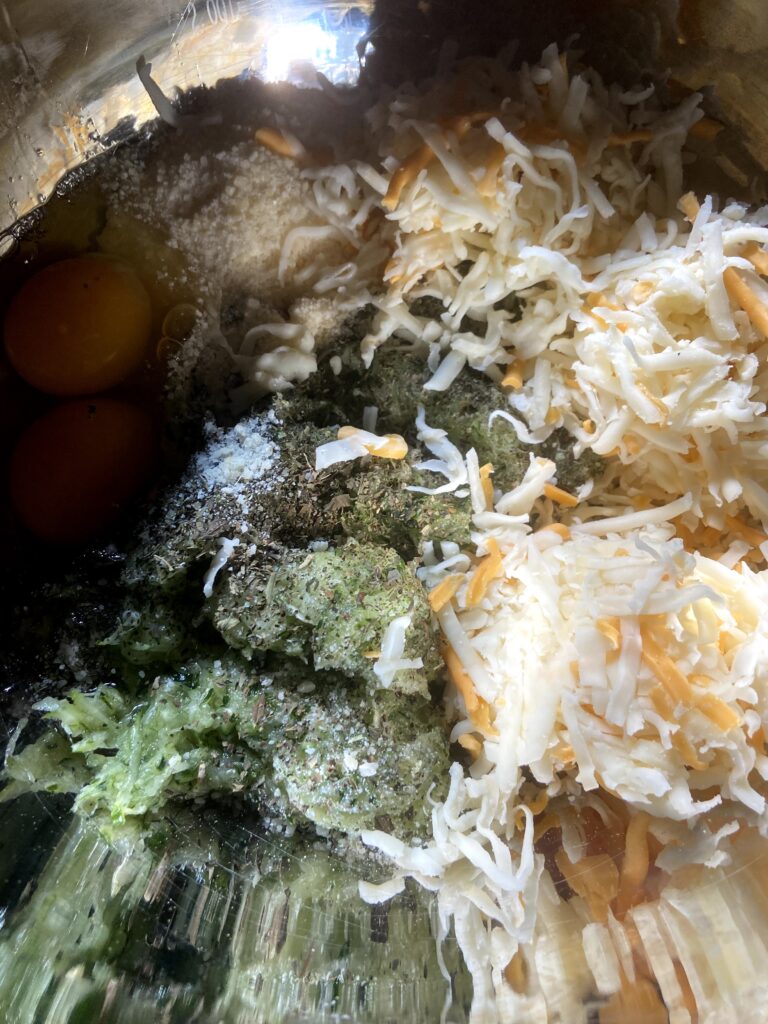
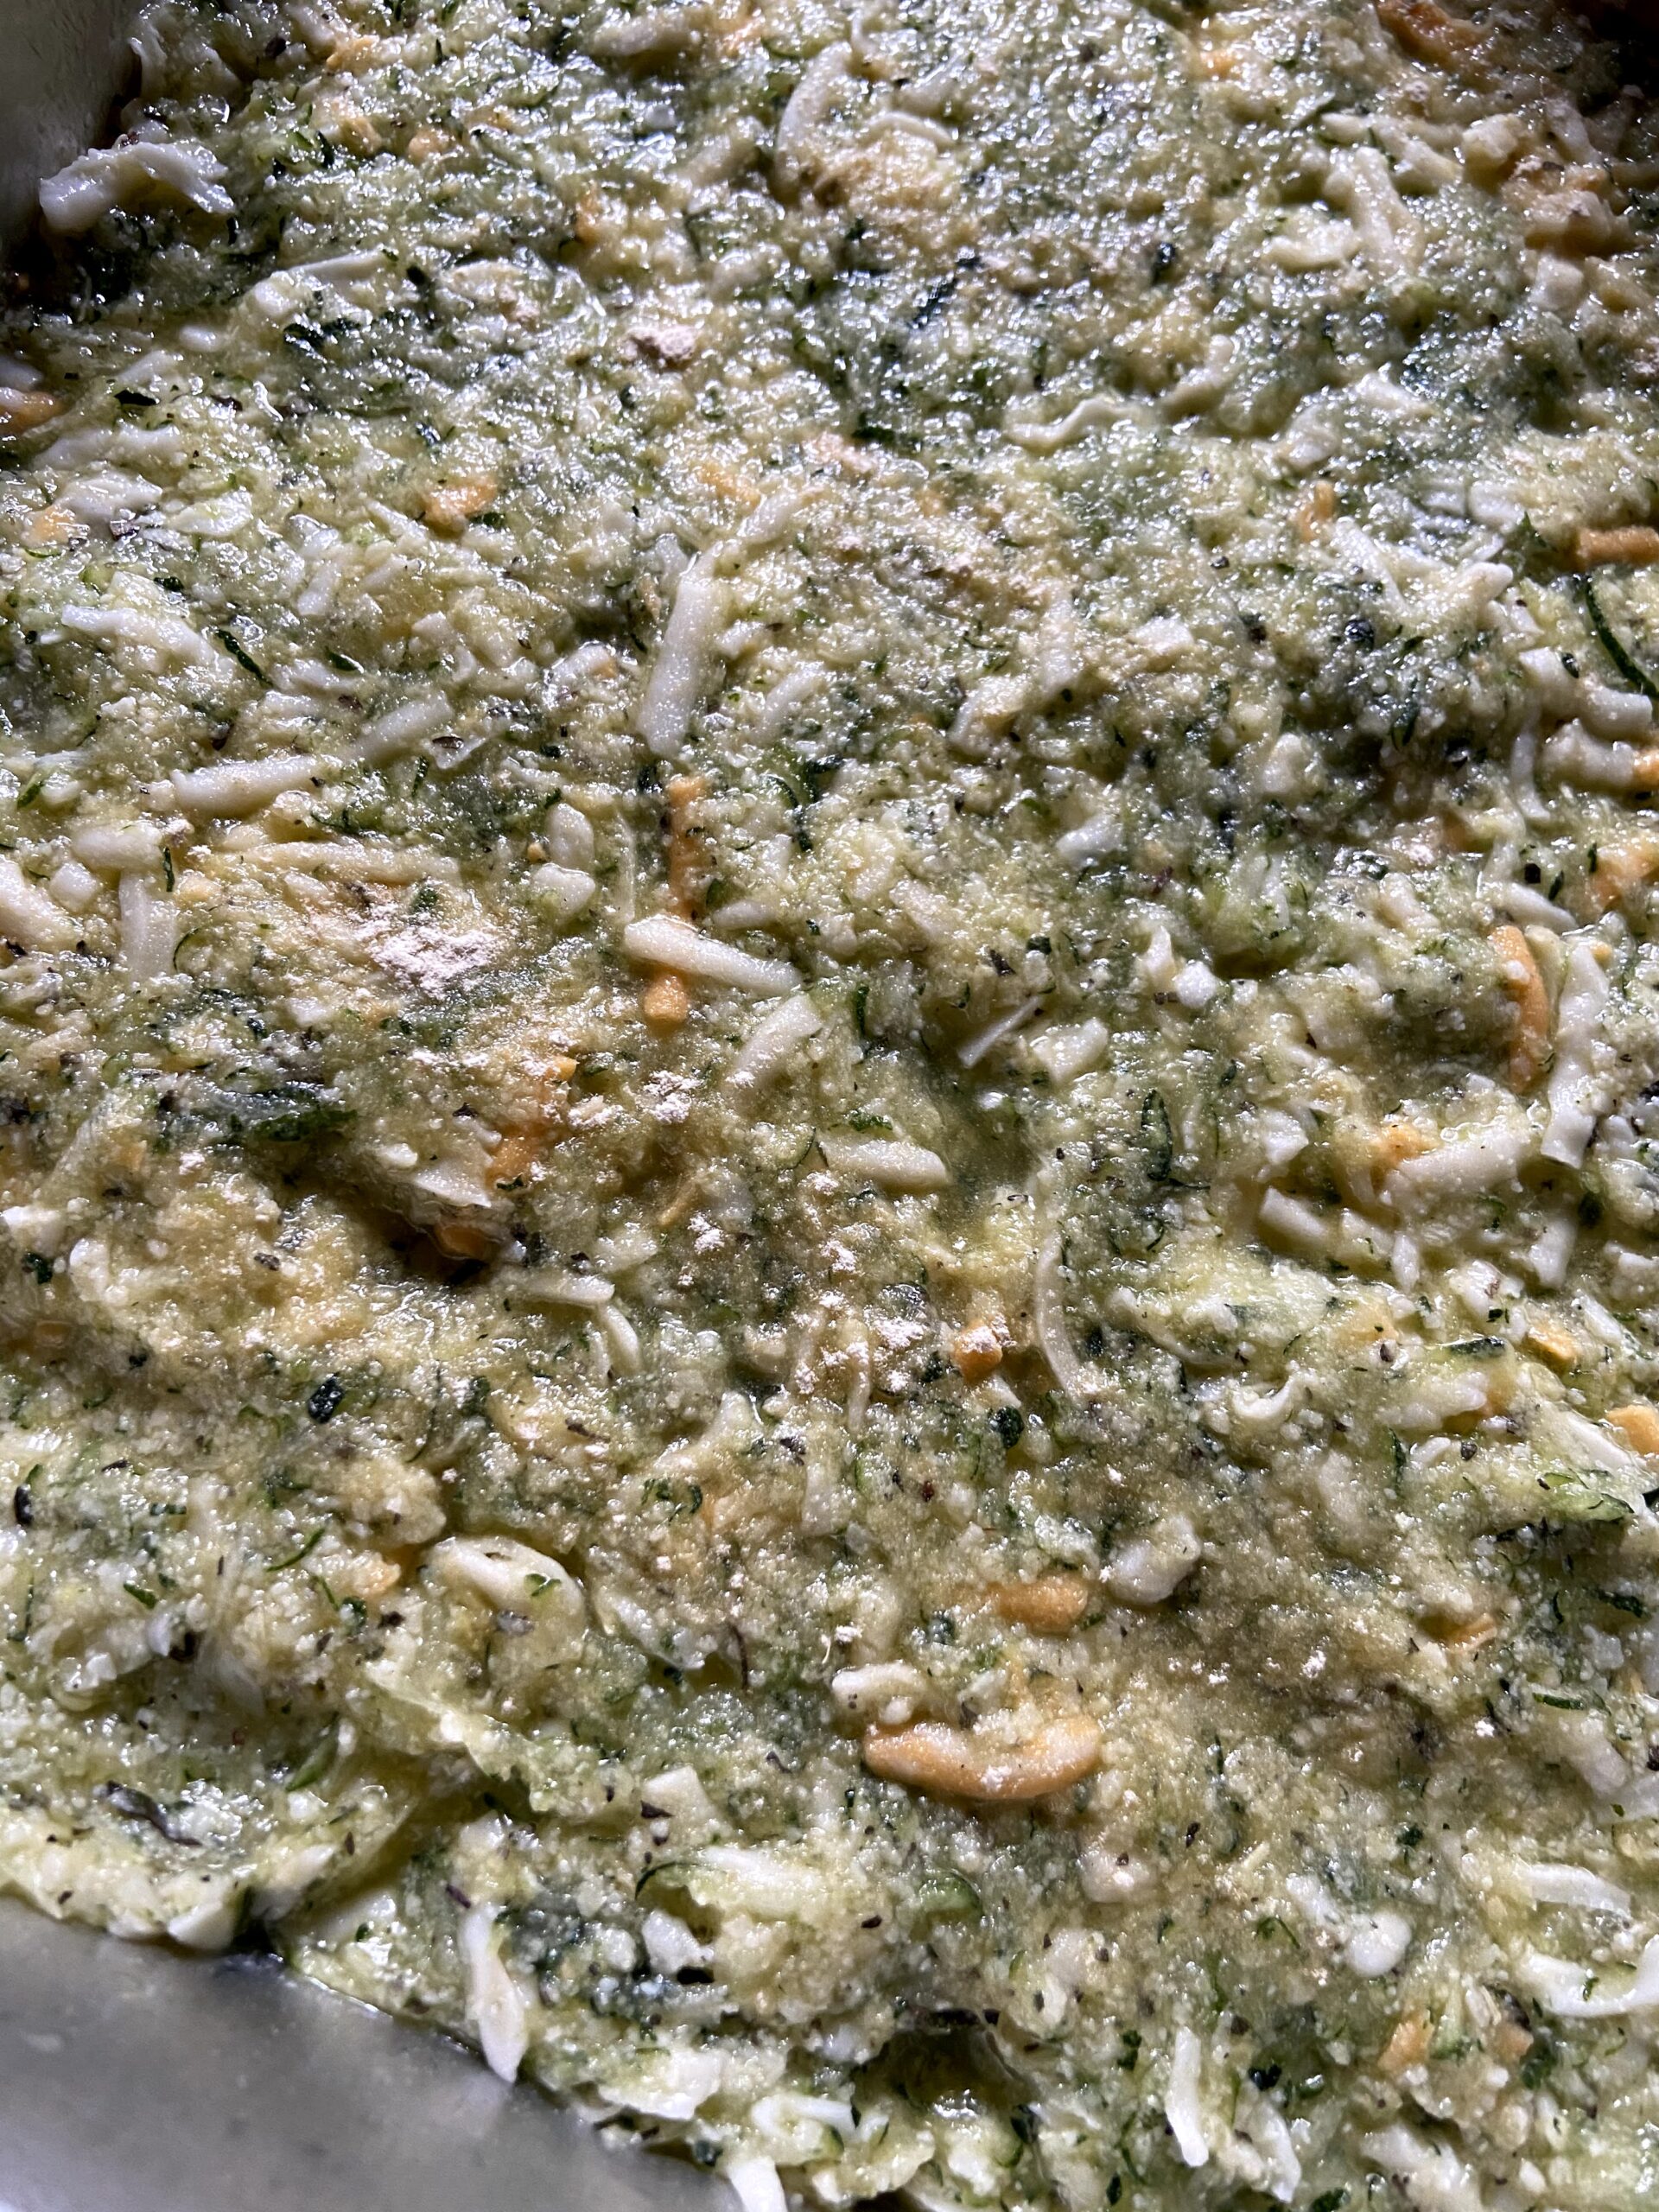
Combine zucchini, eggs, basil, oregano, garlic powder, pepper, parmesean cheese, and 1 ½ cups of shredded cheese. Mix well. Press into the prepared 9 x 13 pan. Bake for 20 minutes.
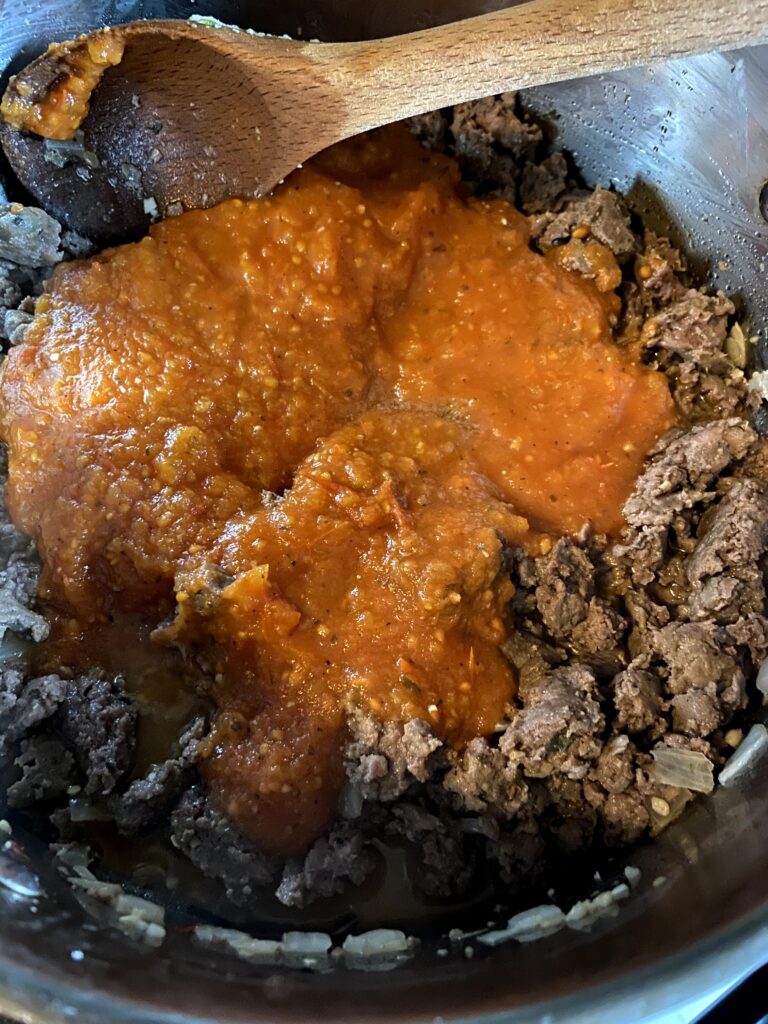
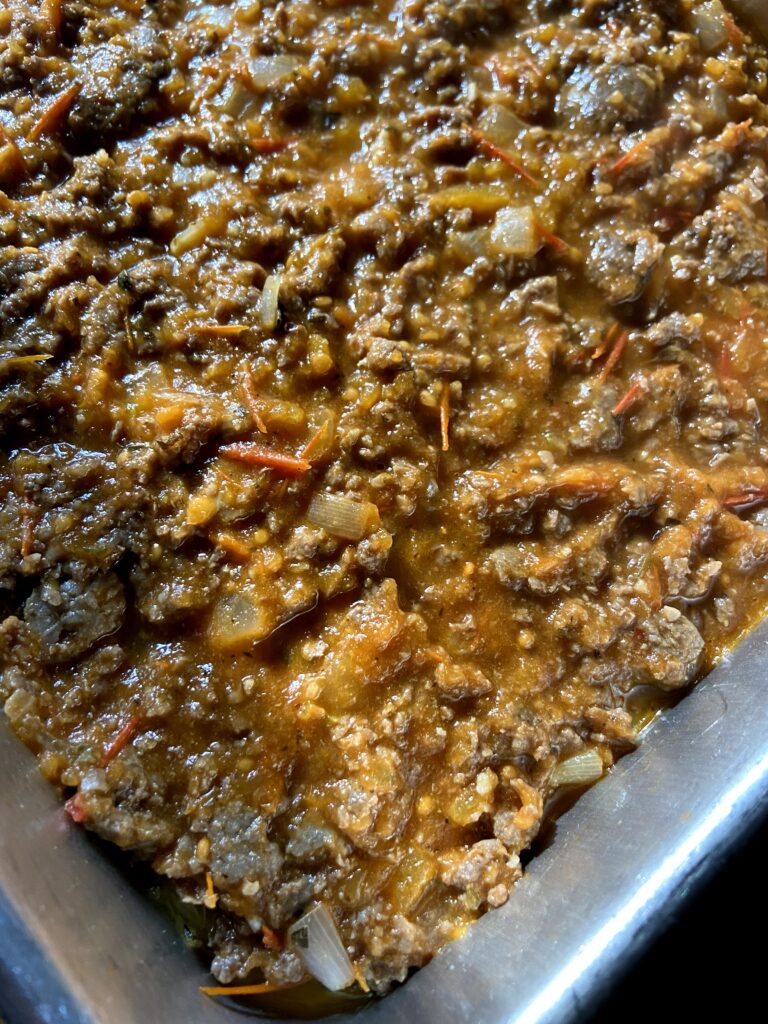
Meanwhile, heat 1- 1 ½ teaspoons of olive oil over medium heat. Add onion and minced garlic. Cook for 3 minutes. Add ground sausage (and if you can’t find ground Italian sausage, any ground meat will do. Again, play with it!). Cook until no longer pink. Drain if necessary. Stir in tomato sauce.
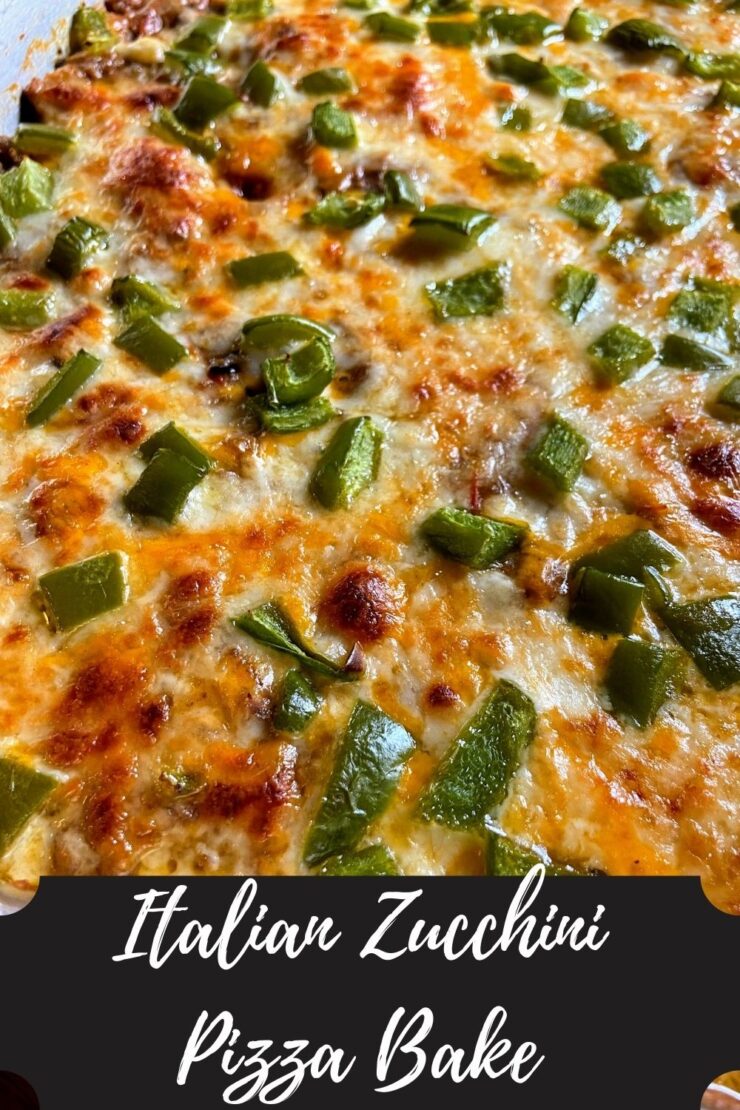
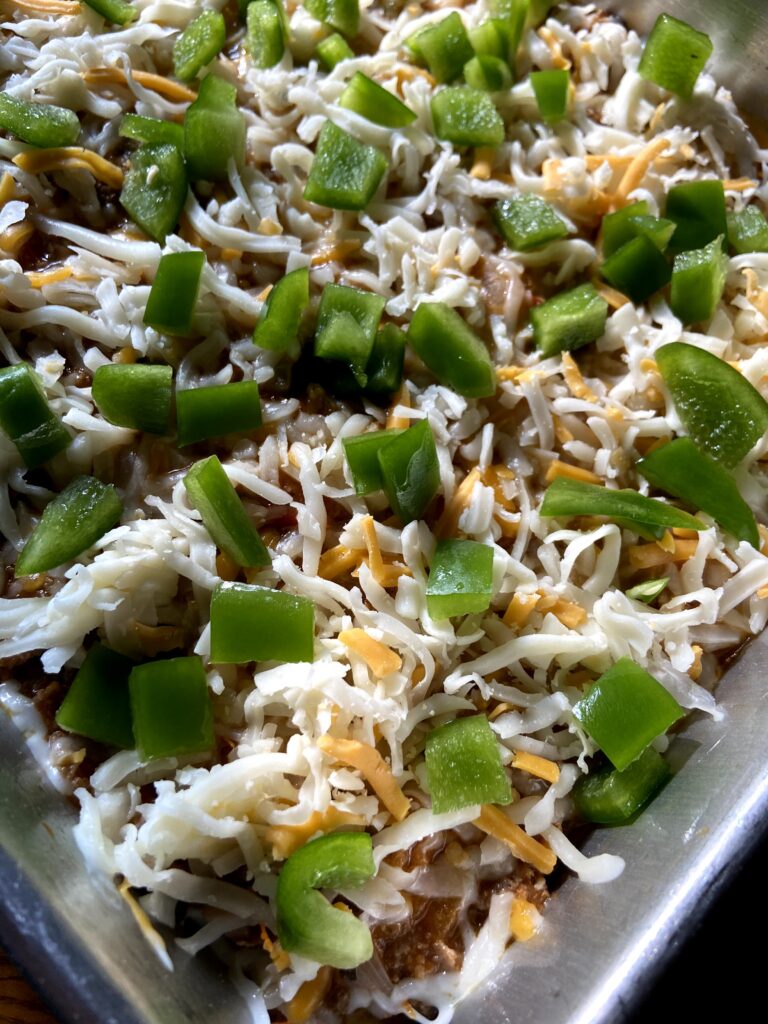
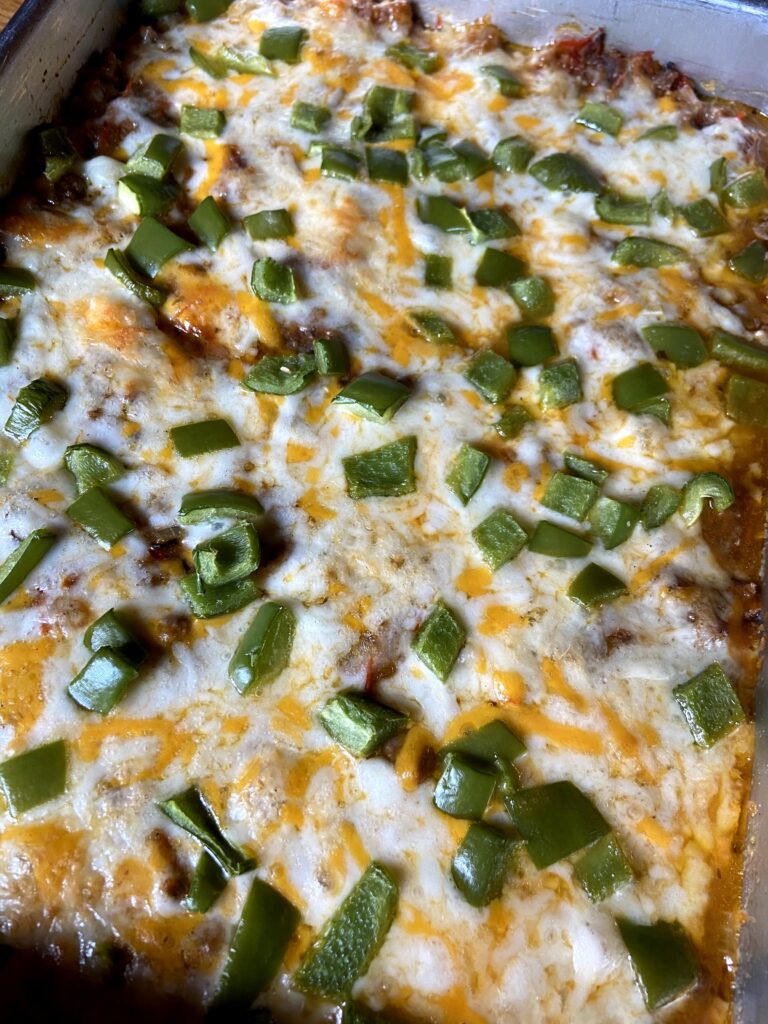
Spread meat mixture over the zucchini crust. Cover with remaining cheese and sprinkle diced green pepper on top. Feel free to sprinkle a little more oregano, basil, or even some parsley on top. Increase the oven temperature to 450 degrees and bake for an additional 20 minutes, until cheese is melted.
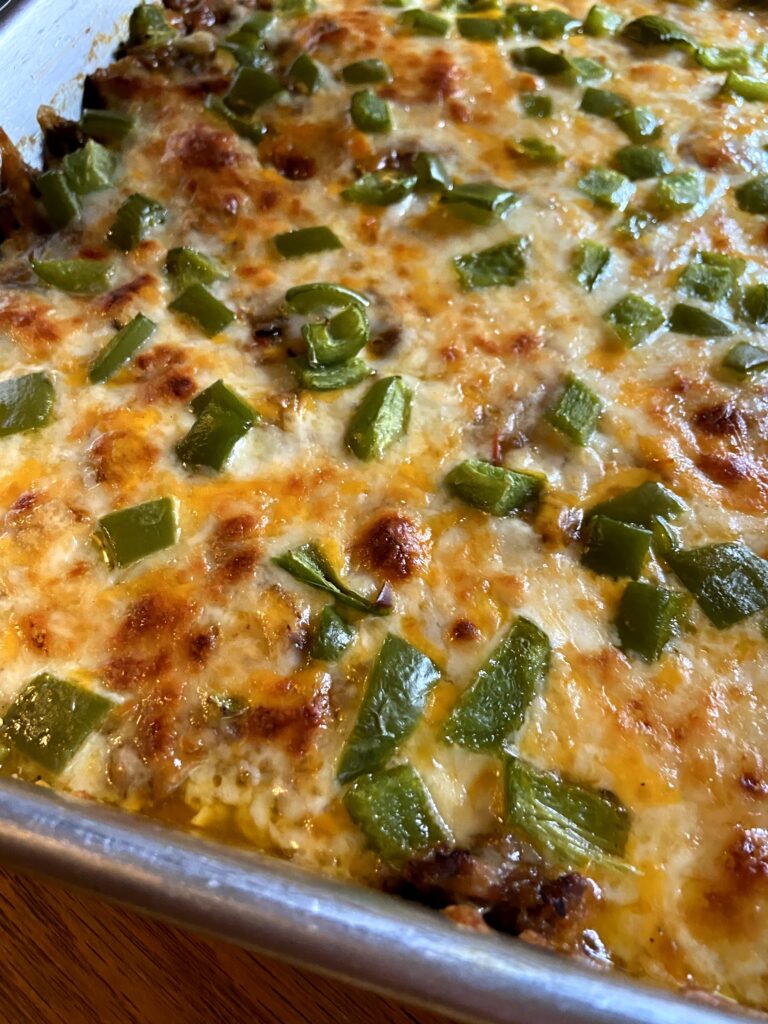
Now, you can 100% serve it here. However, I LOVE browned cheese. I always quickly heat up the broiler in the top of my oven to 450-500 degrees, toss my finished bake under it, and watch it carefully. Let it cook 2-3 minutes and your cheese will be PERFECT. Serve it up with, of course, some additional vegetables for a side and maybe some garlic toast if you need that carb. I know I do 😉
Looking for other ideas for dinner? Check out my cooking page below!

Easy Italian Zucchini Pizza Bake
Ingredients
- 4 cups shredded zucchini
- ½ teaspoon salt
- 2 eggs
- ½ cup grated parmesan
- 3 cups shredded cheese mozzarella and cheddar make a good combination, divided
- ½ teaspoon each of: dried basil dried oregano, and garlic powder
- ¼ teaspoon black pepper
- 1 pound ground Italian sausage
- Olive oil
- ½ cup diced onion
- ½ tablespoon minced garlic
- 15 ounces Italian seasoned tomato sauce or 1 ¾ cup
- ½ cup diced green pepper
Instructions
- Preheat the oven to 400 degrees and spray a 9 by 13 baking dish with cooking spray. Set aside.
- Place shredded zucchini in a strainer and sprinkle with salt. Allow the zucchini to sit for 10 minutes.
- Press out all extra moisture, the more the better.
- Combine zucchini, eggs, basil, oregano, garlic powder, pepper, Parmesan cheese, and 1 ½ cups of shredded cheese. Mix well. Press into the prepared 9 x 13 pan. Bake for 20 minutes.
- Meanwhile, heat 1- 1 ½ teaspoons of olive oil over medium heat. Add onion and minced garlic. Cook for 3 minutes.
- Add ground sausage. Cook until no longer pink. Drain if necessary.
- Stir in tomato sauce.
- Spread meat mixture over the zucchini crust.
- Cover with remaining cheese and sprinkle diced green pepper on top. Feel free to sprinkle a little more oregano, basil, or even some parsley on top.
- Increase the oven temperature to 450 degrees and bake for an additional 20 minutes, until cheese is melted.
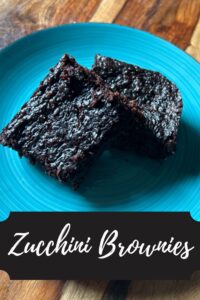
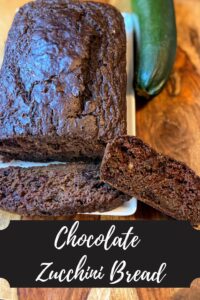
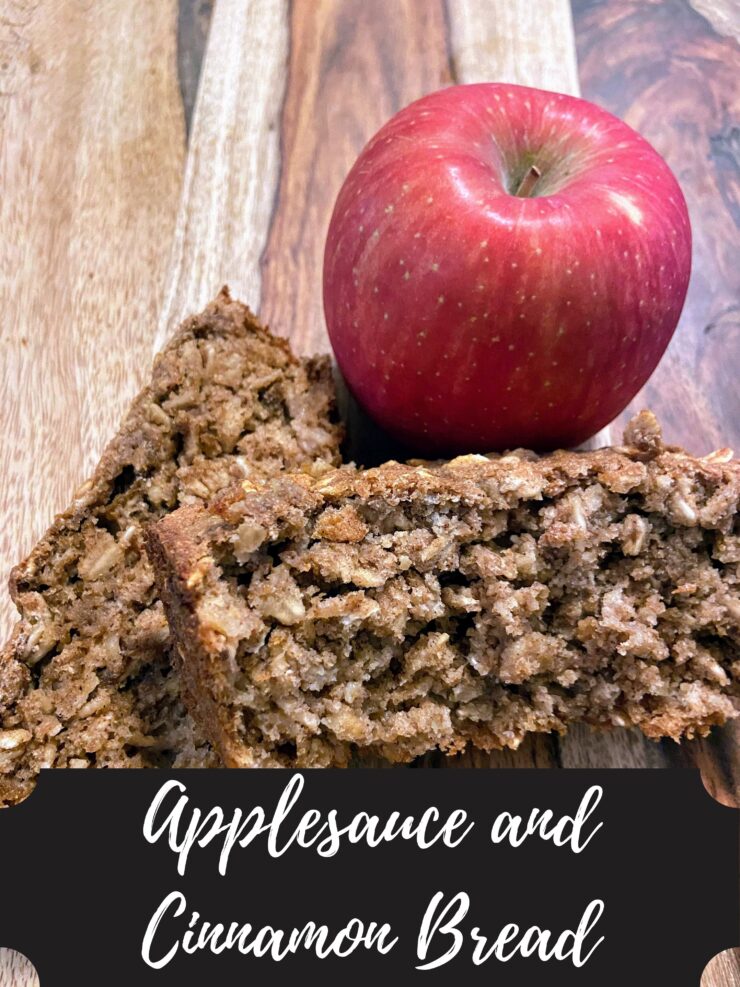
Other zucchini Inspiration!
Check out any of the recipes below to help use up the rest of that zucchini!