I love everything about autumn. The jeans and sweatshirt weather. The leaves changing. All the smells. Fresh apples from the orchard and warm cider. I love all of it. I even got married in the fall so we could have the changing trees as a backdrop with mums in every bouquet. However, one thing I could never get behind was pumpkin spice. It just wasn’t my jam. I’ll just skip that flavor and jump to peppermint mocha, thank you very much. Then my mother in law introduced me to home roasted pumpkin, and it was a game changer.
If you have never roasted your own pumpkin, get to the store and pick up a pie pumpkin. Or really, any small pumpkin. I am telling you, it’s SO good. And did I mention it’s easy? Oh, and you even get the seeds out of the pumpkin so you can roast them. Win, win, and win.
If you are an “all things pumpkin” baked goods lover, the even better news is that roasted pumpkin freezes great. If you have a few tried and true recipes, pre measure the pumpkin you need for that specific recipe, place it in a freezer container or bag, label it, and you’ll be good to go the next time you want to get baking. Or you can be like my friend Britt and just eat it by the forkful as you stand around the stove, sipping hot apple cider. I won’t judge.
Your Ingredients
- 1 pie pumpkin
- Olive oil cooking spray (or any other means to grease the pan)
- Salt and pepper or cinnamon and brown sugar (optional)
Your Steps
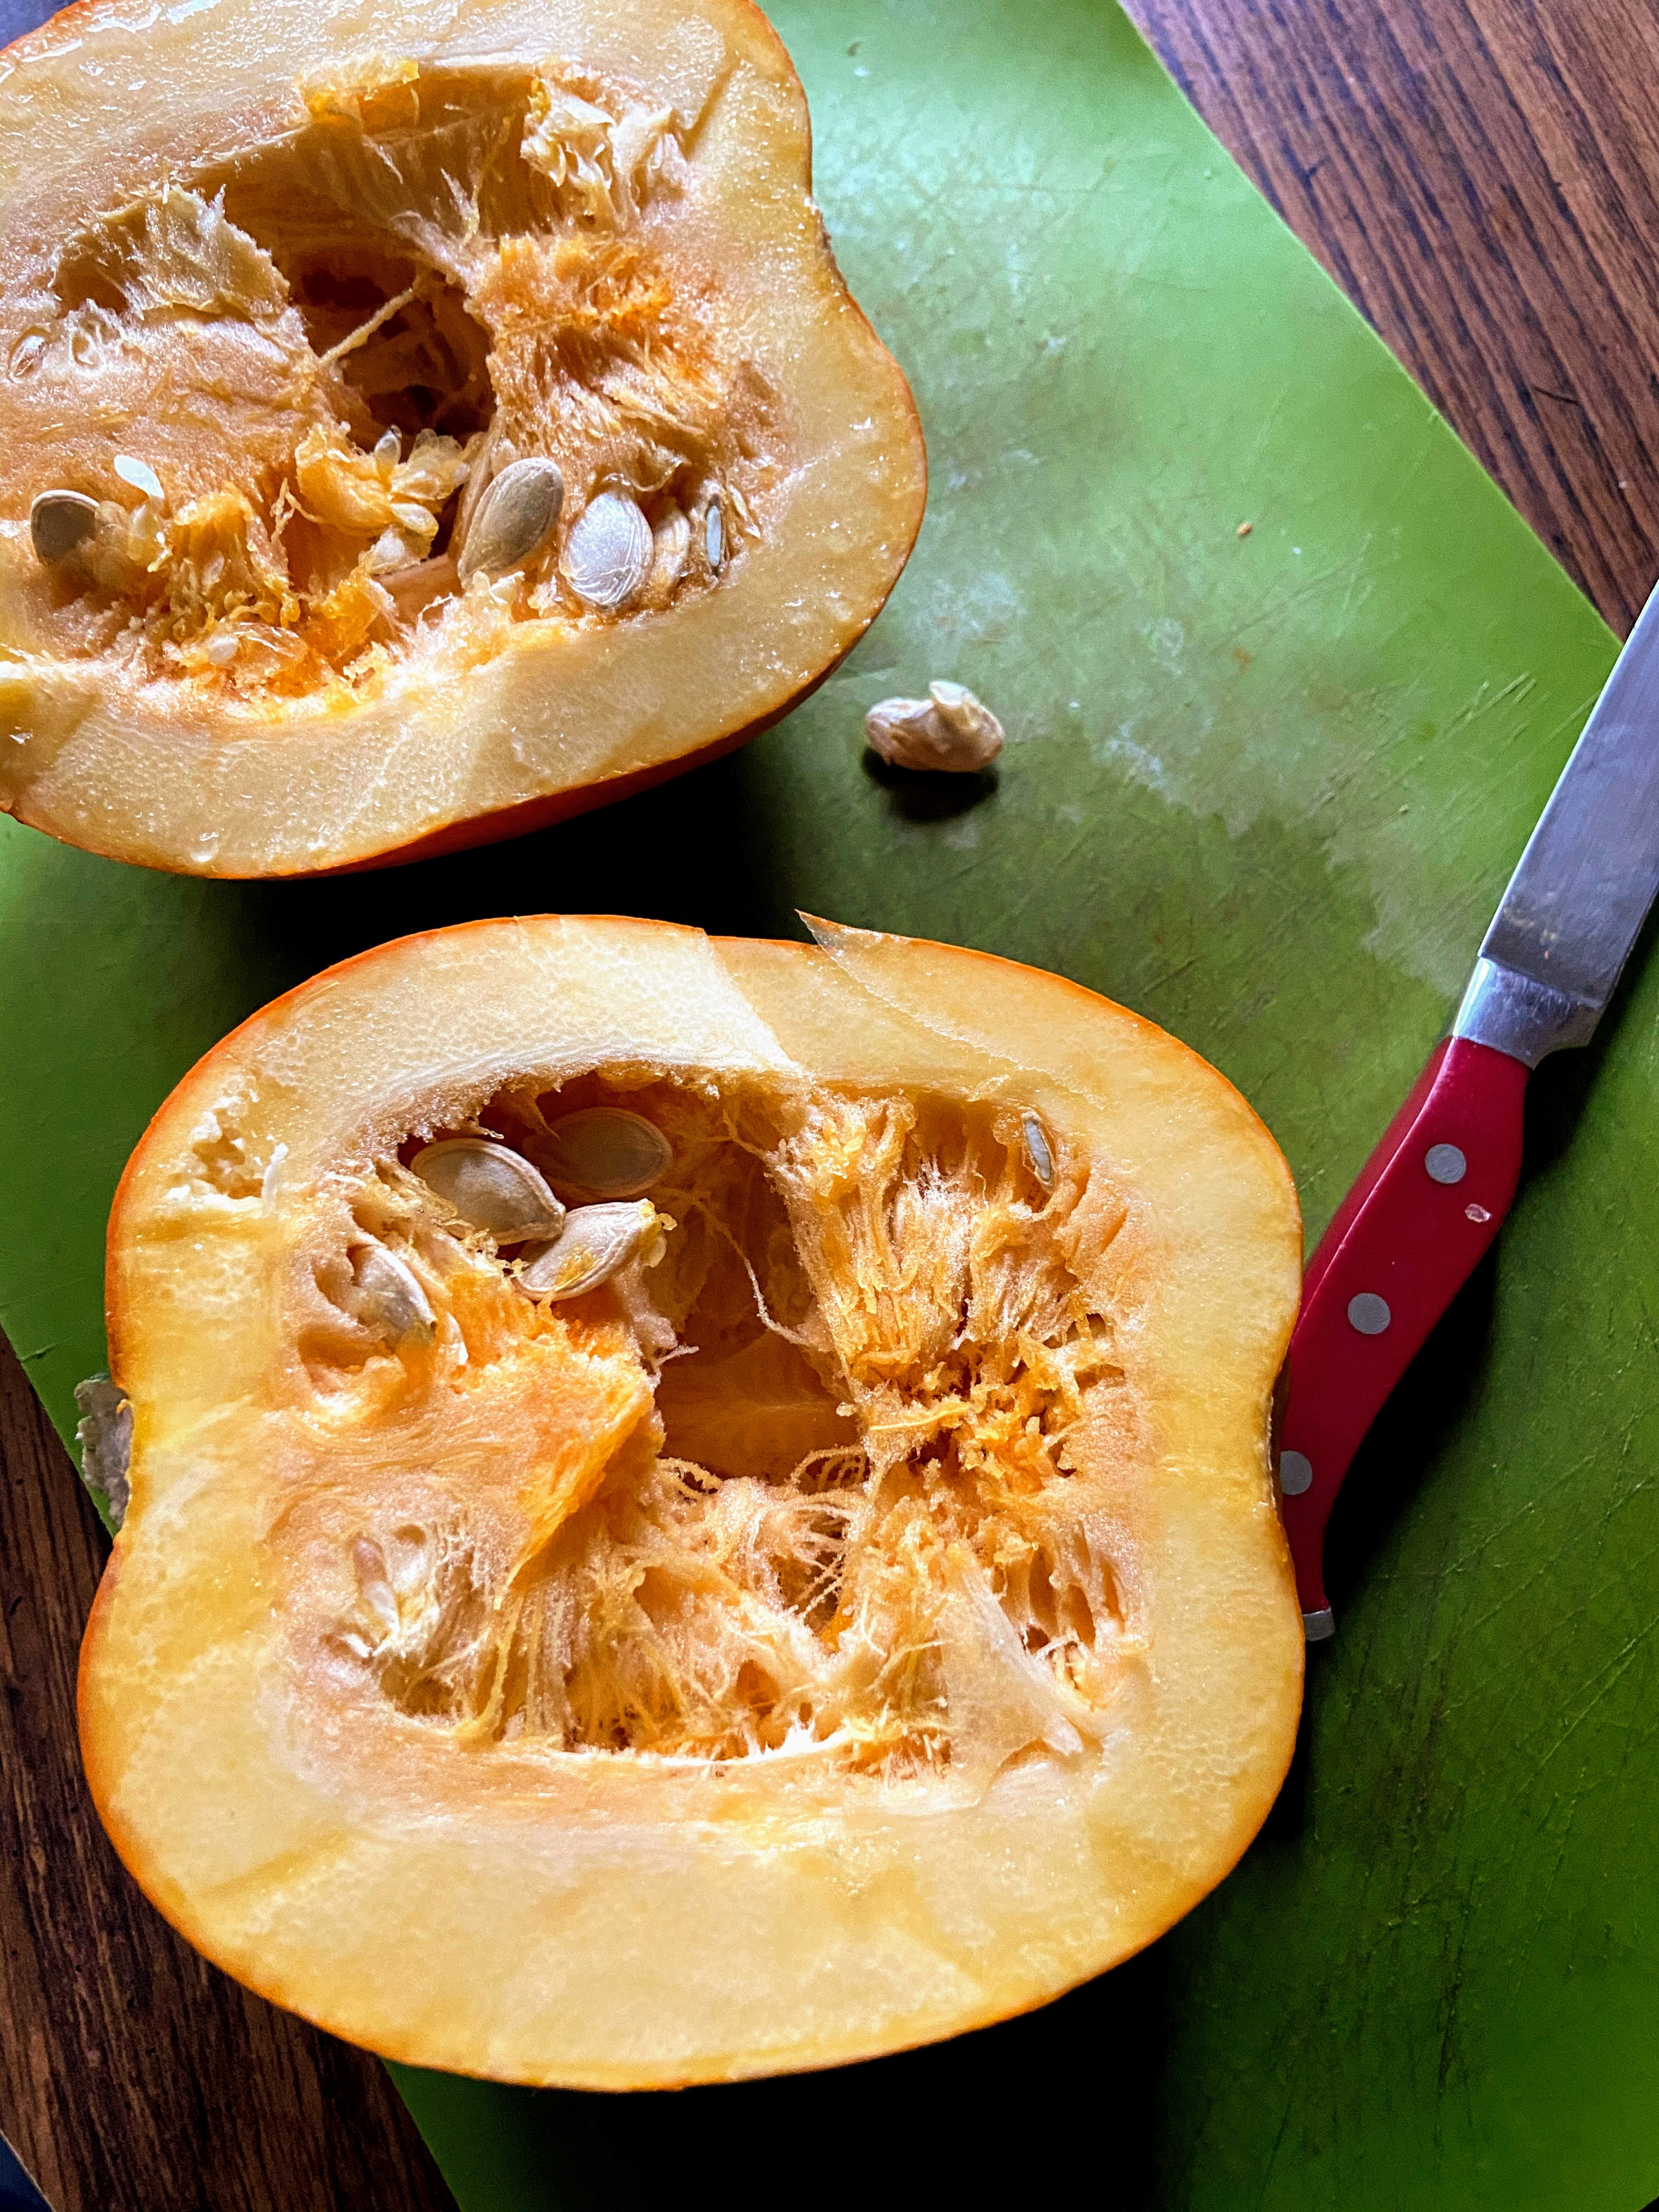
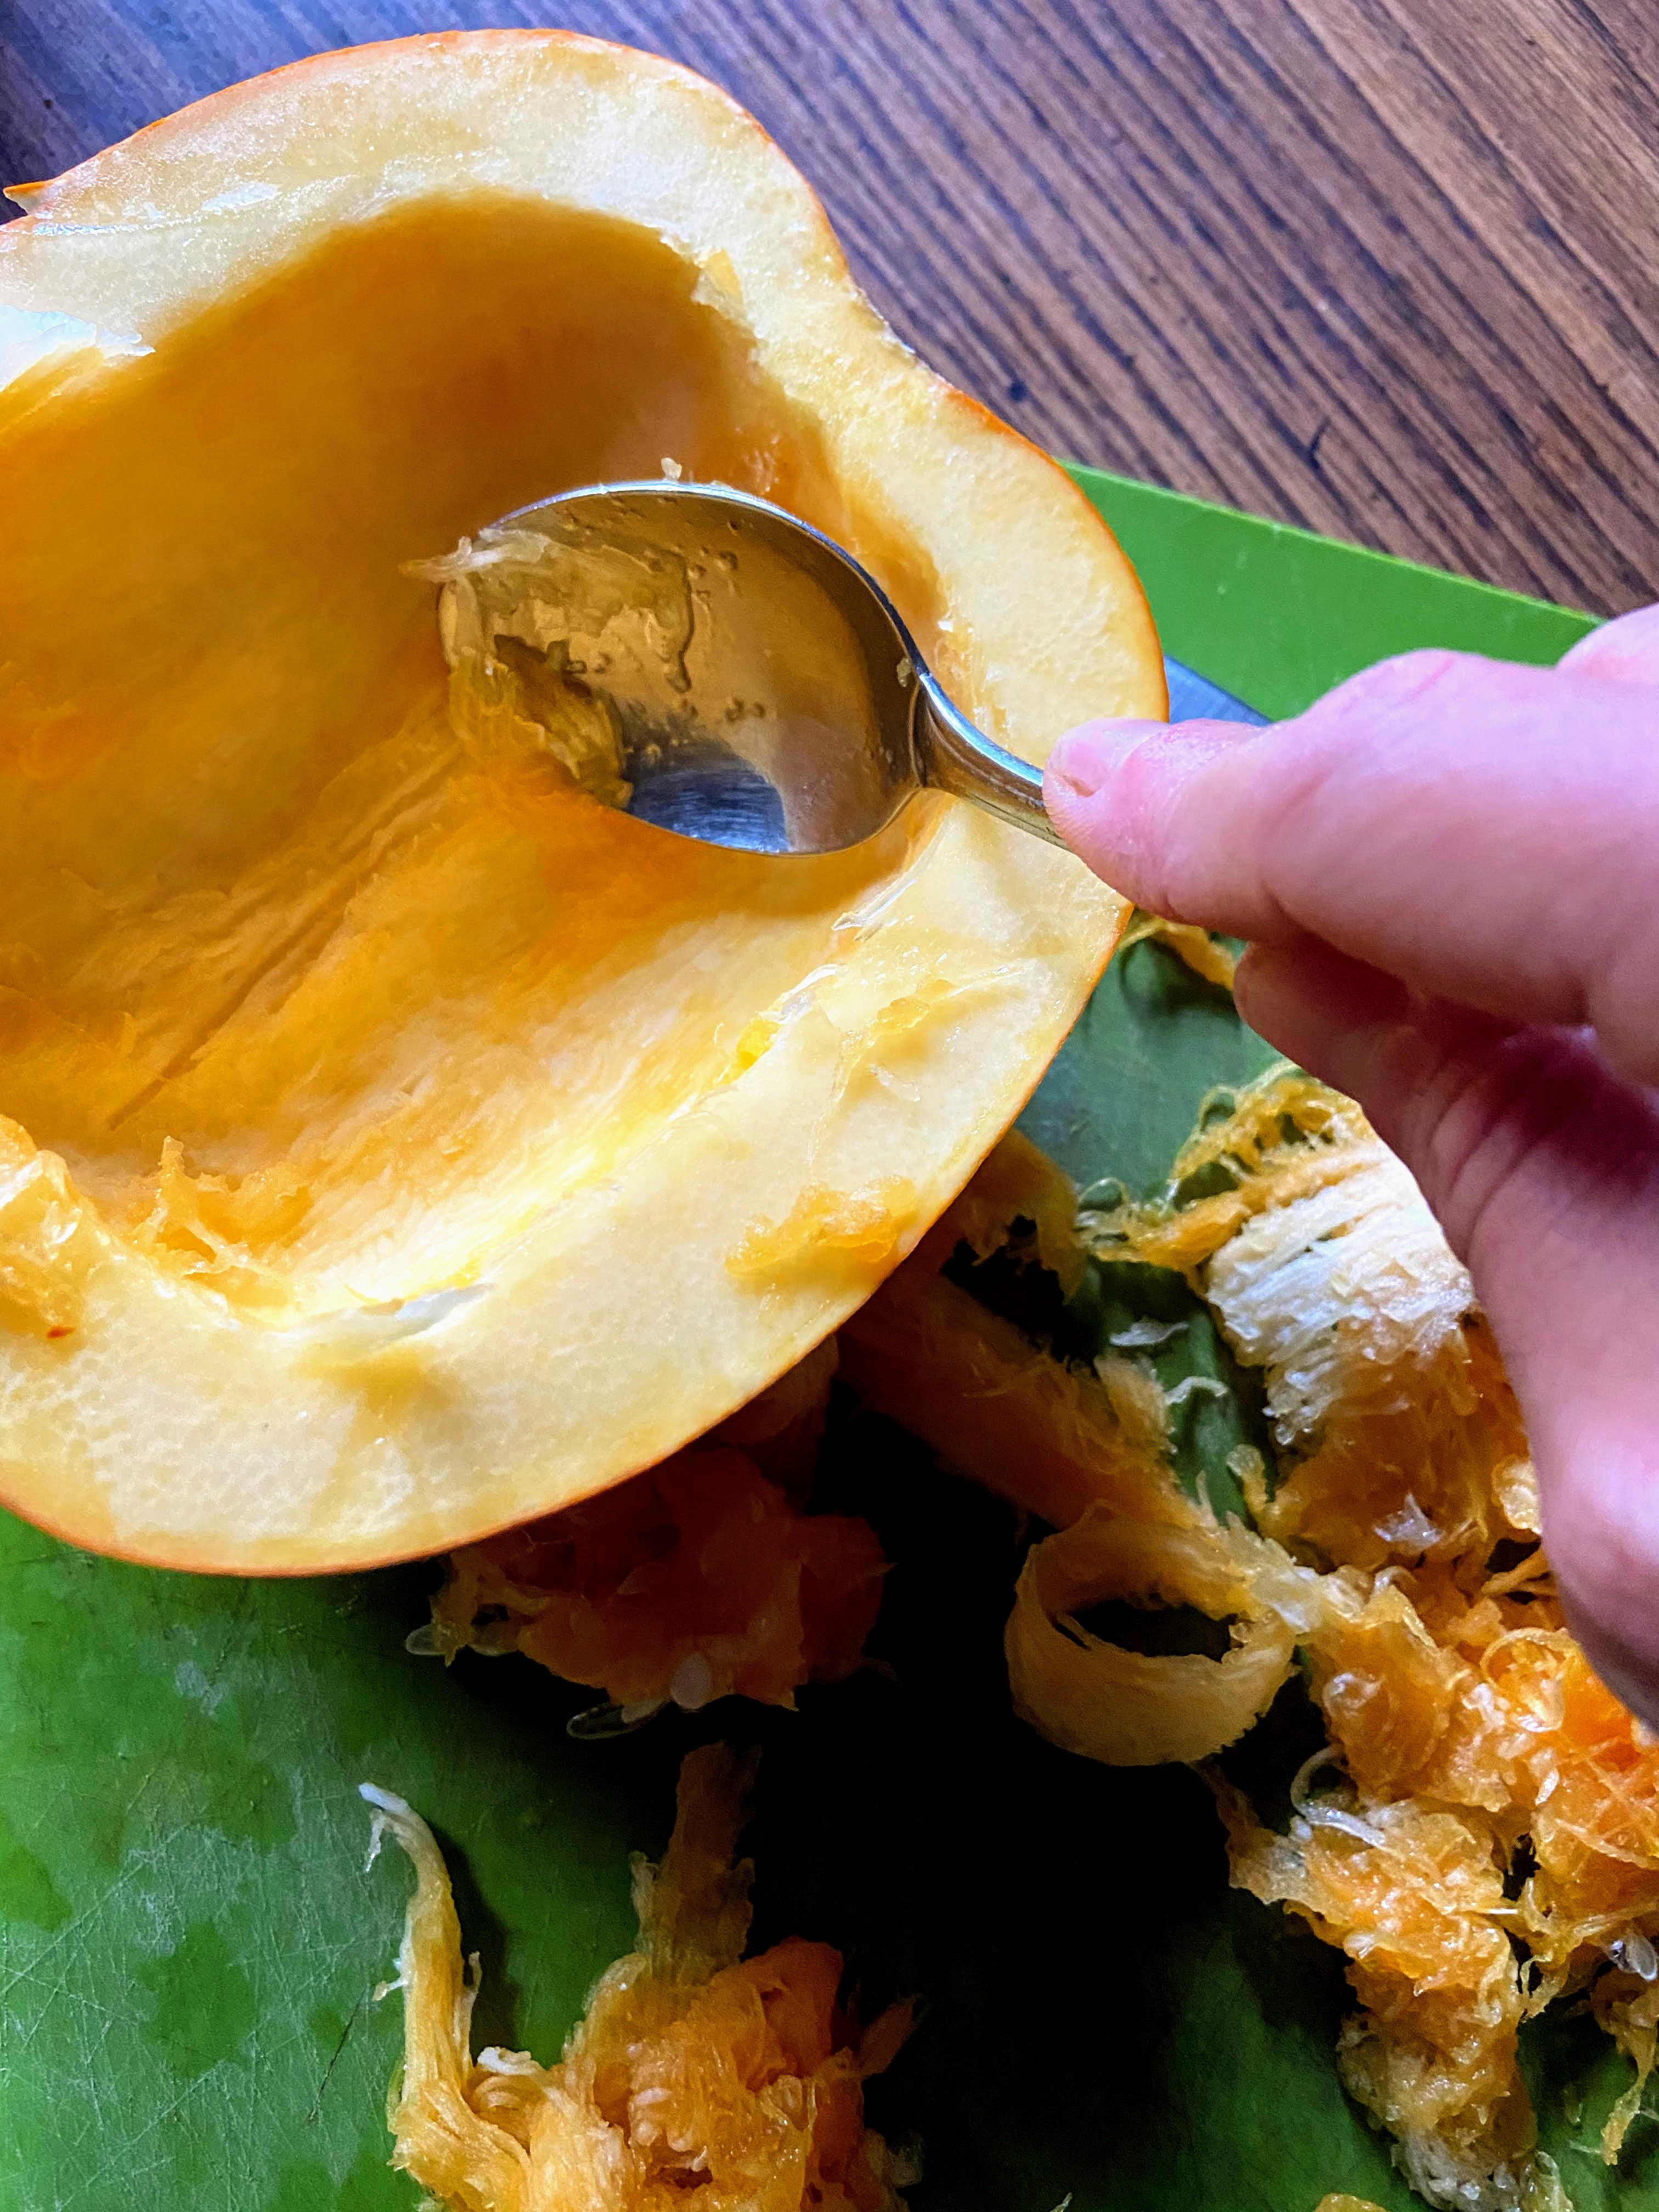
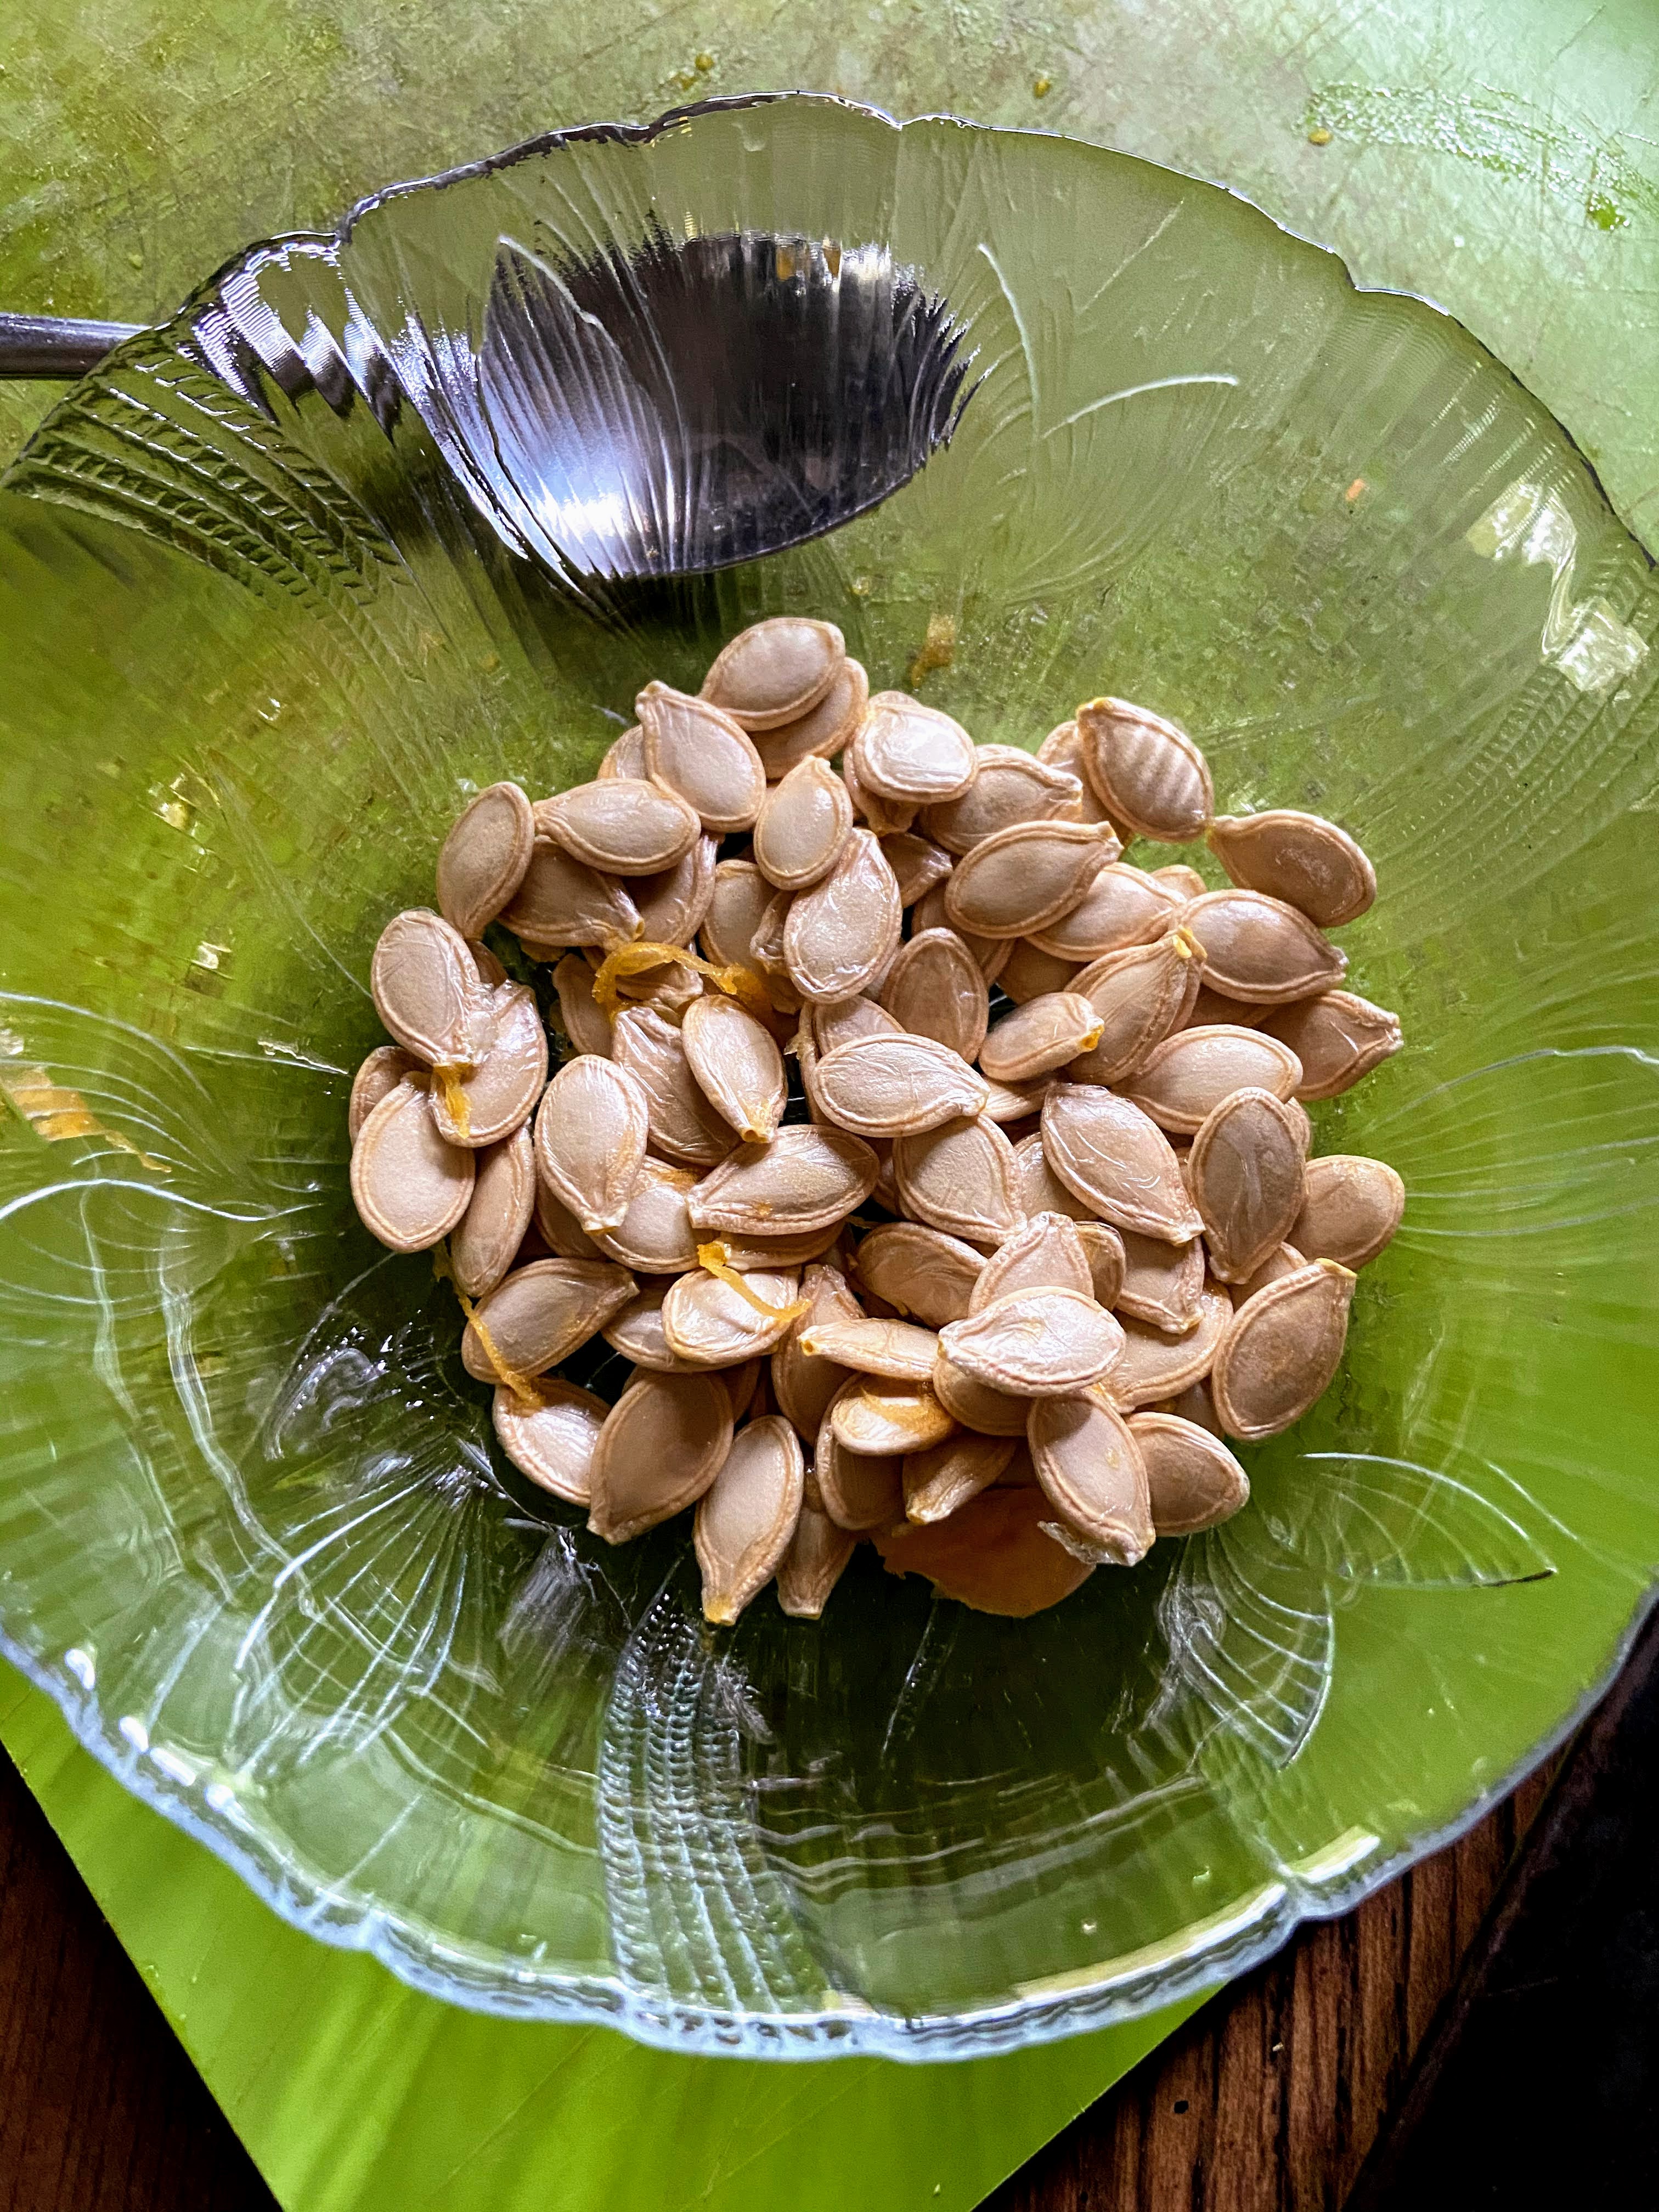
Preheat the oven to 400 degrees. While the oven is preheating, cut the pumpkin in half with a sharp knife. Using a large spoon, clean out the insides and seeds. (I highly recommend separating the seeds from the pulp and placing them in another bowl. Cover with a little water until you’re able to roast them.)
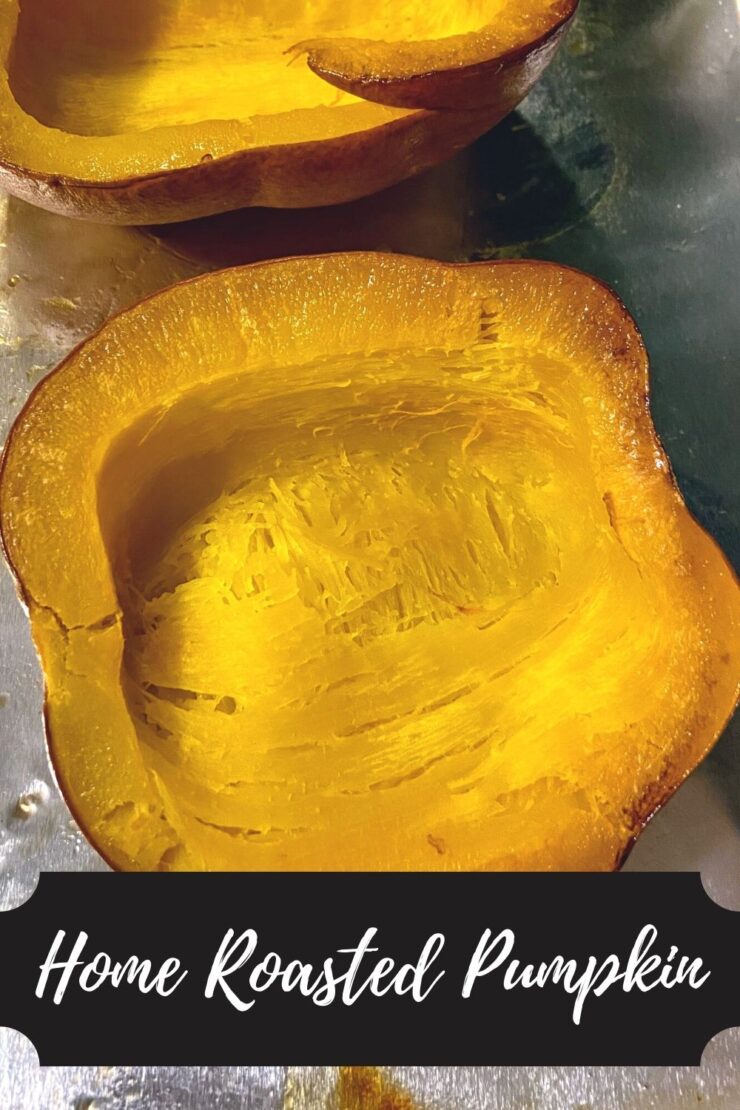
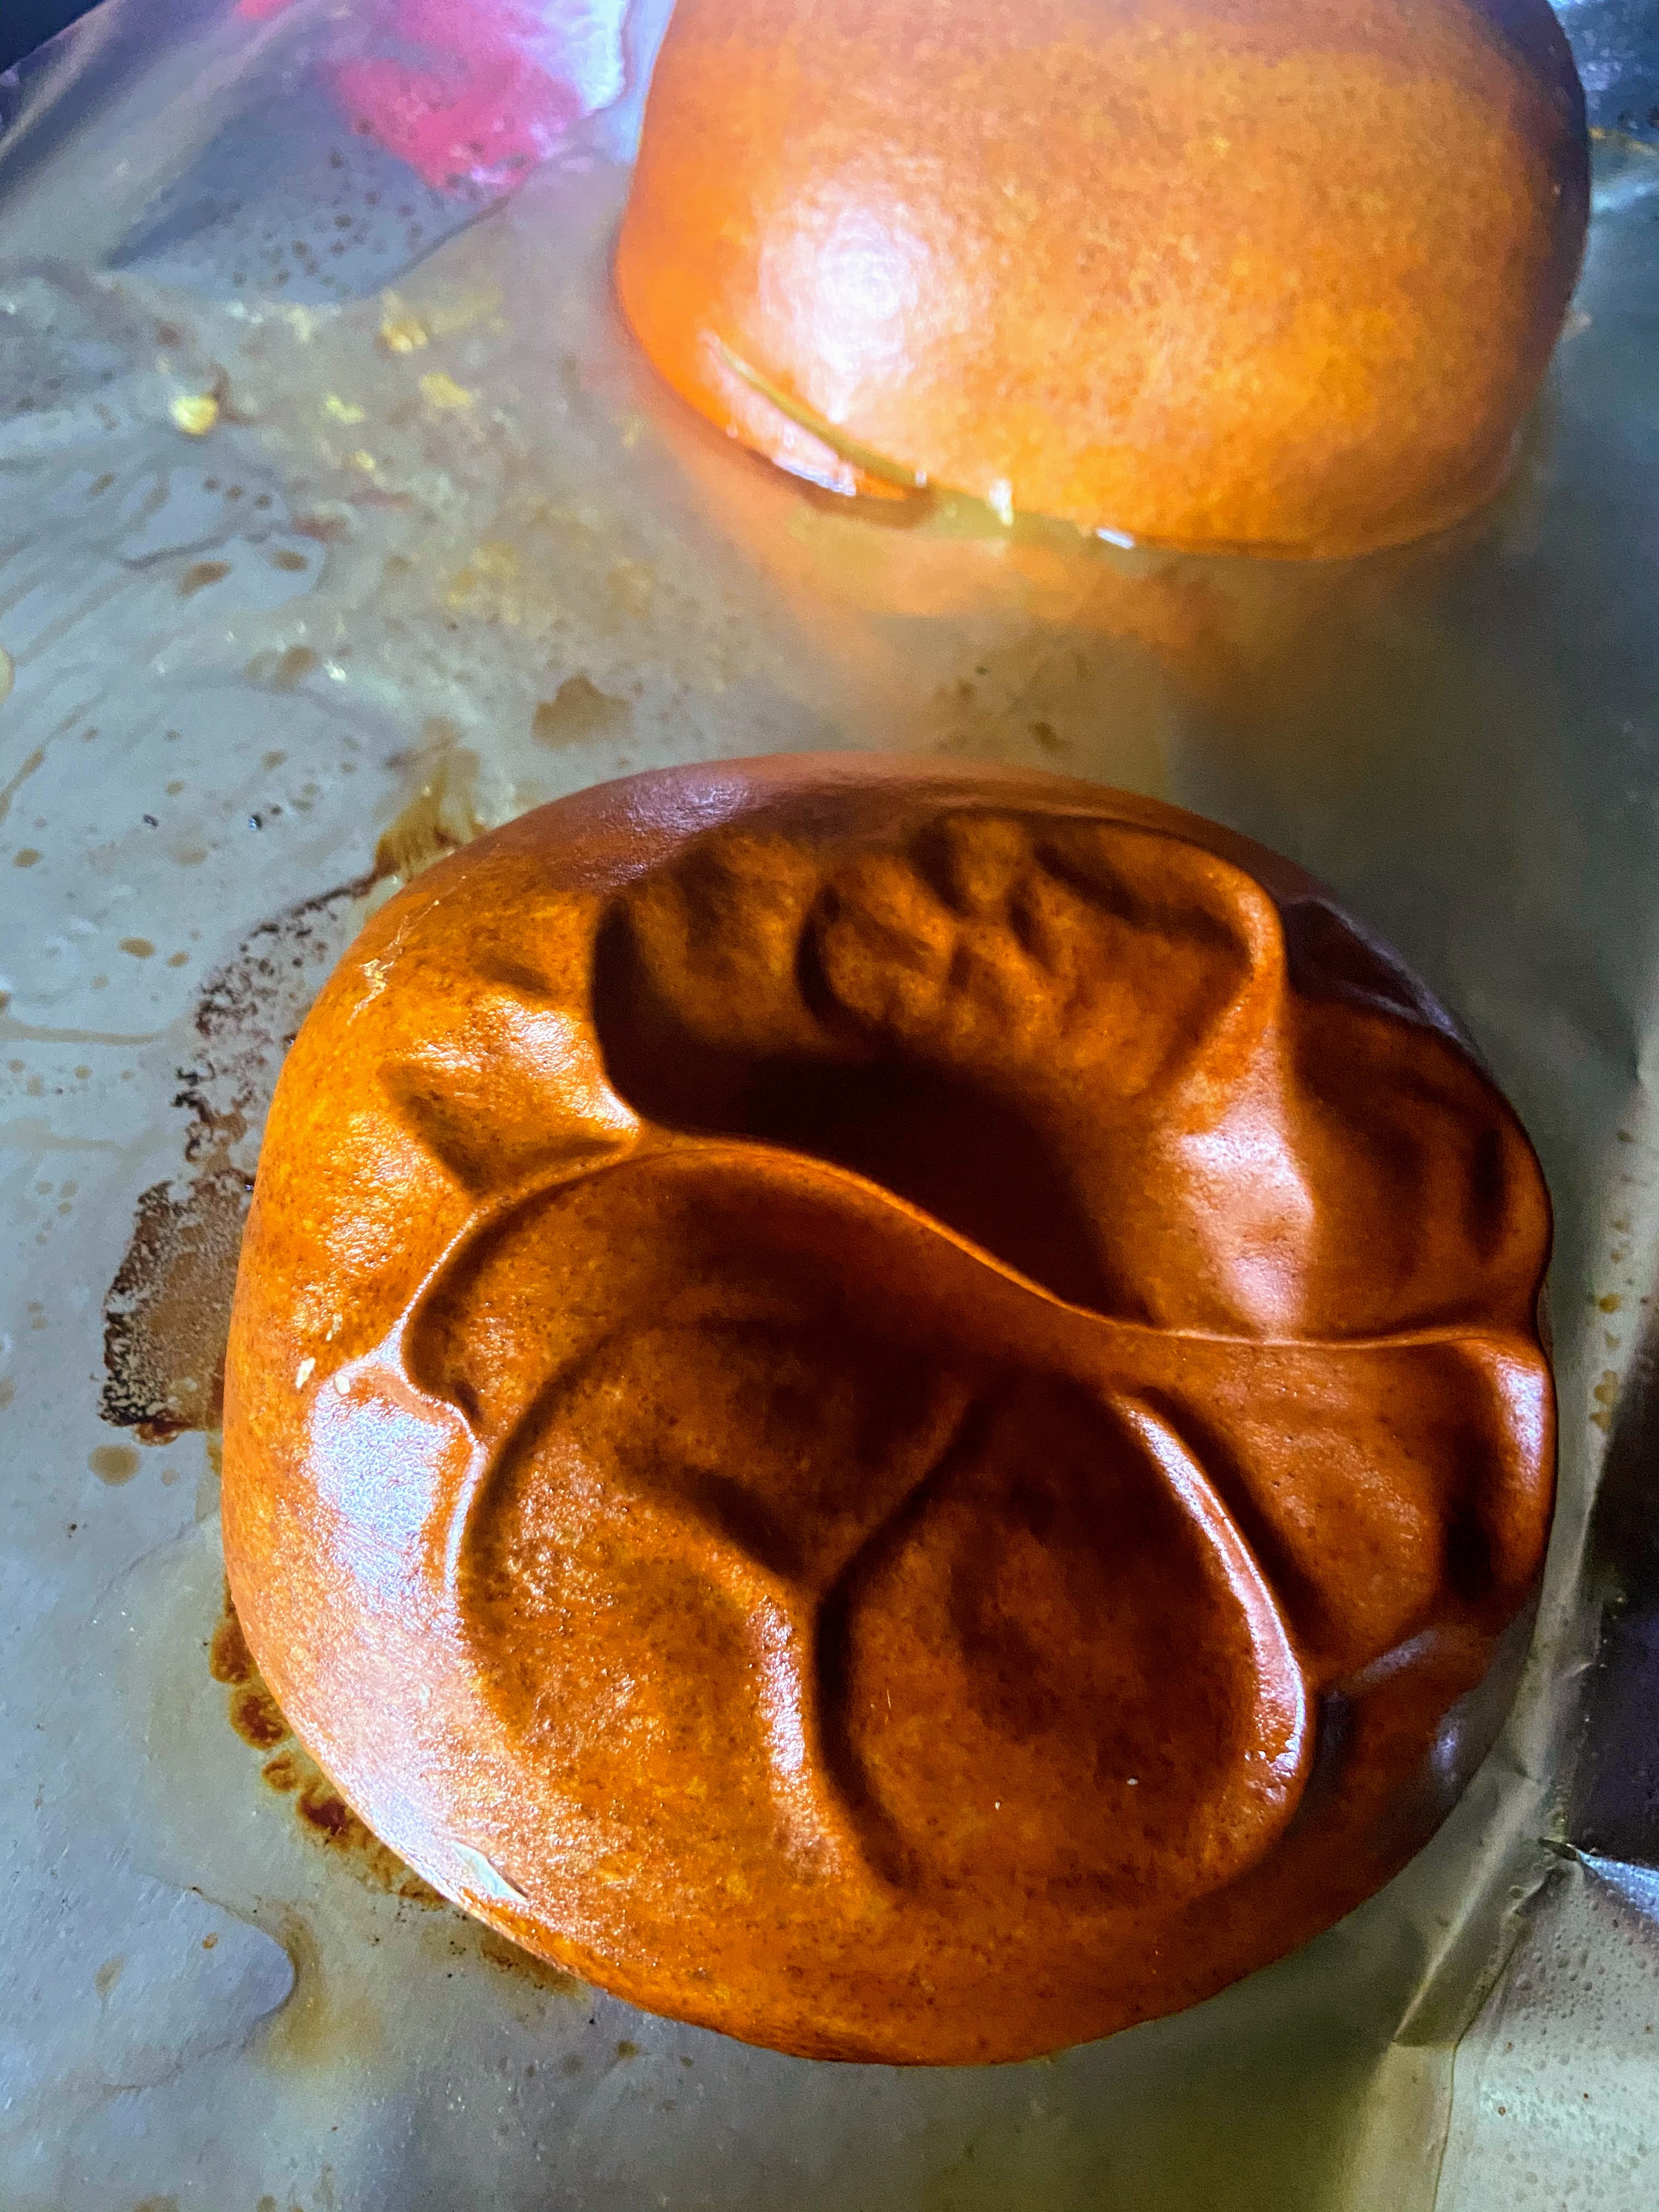
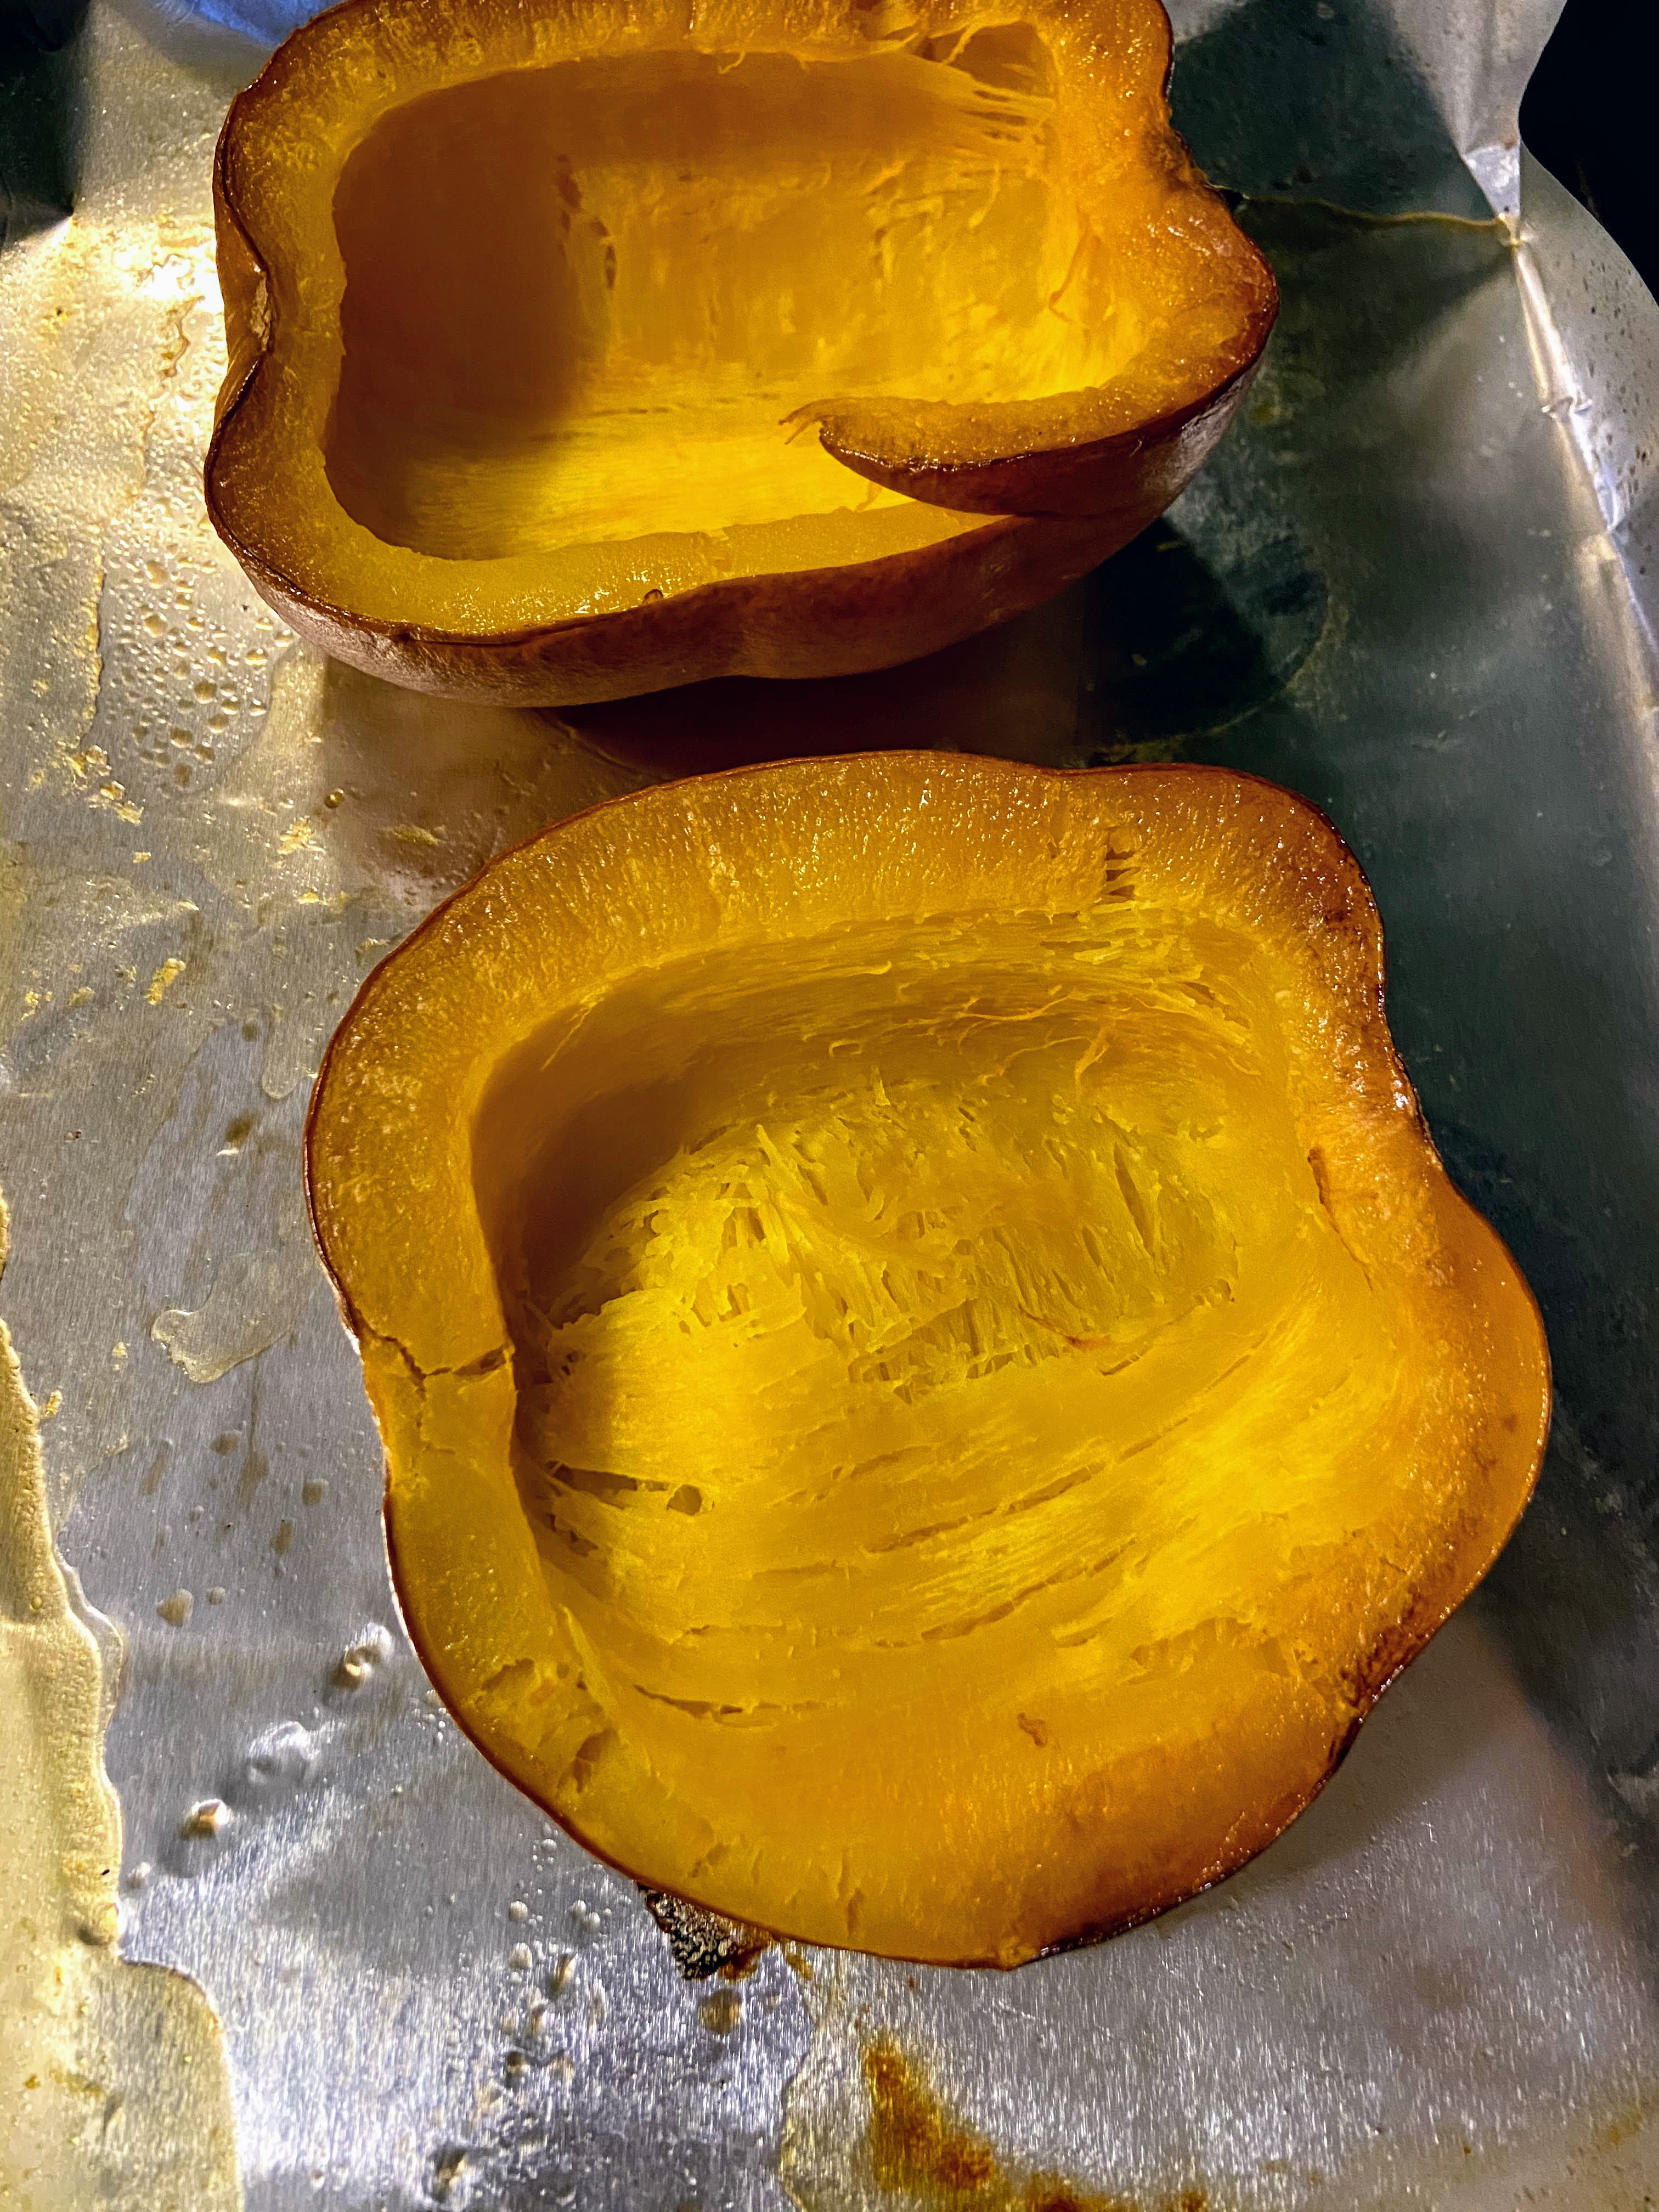
Line a large baking sheet with aluminum foil and spray with cooking spray. Lay the pumpkins cut side down. Roast for 25-40 minutes, depending on the size of your pumpkin. It is done when you can easily pierce the skin with a fork. Remove from oven and allow to cool. Once cool, scrape the flesh from the skins. You can totally puree it, but I just leave it in its natural form.
From here, you have a few options:
- Eat it straight from the skin. If you choose this option, might I recommend making it sweet or savory with a sprinkle of a little cinnamon and brown sugar or salt and pepper before you roast it?
- Measure it out for your favorite recipes and freeze it. Although many will say it only lasts a few months, I have had zero issues using year old frozen pumpkin.
- Measure it out and bake right away. I often will roast one day and bake a few days later. It will keep in the fridge for up to a week in my experience.
What’s your favorite pumpkin recipe? Or are you more of an apple cider kind of guy or gal?
Don’t have a favorite recipe? This is a great, indulgent pumpkin bread recipe from All Recipes.
Hoping to bake other treats? Check out my baking page by clicking the button below!
Home Roasted Pumpkin
Ingredients
- 1 pie pumpkin
- Olive oil cooking spray
- Salt and pepper or cinnamon and brown sugar optional
Instructions
- Preheat the oven to 400 degrees.
- While the oven is preheating, cut the pumpkin in half with a sharp knife.
- Using a large spoon, clean out the insides and seeds, saving the seeds to be roasted later.
- Line a large baking sheet with aluminum foil and spray with cooking spray. Lay the pumpkins cut side down.
- Roast for 25-40 minutes, depending on the size of your pumpkin. It is done when you can easily pierce the skin with a fork.
- Remove from oven and allow to cool. Once cool, scrape the flesh from the skins. For smoother pumpkin, puree it using an immersion blender.
Notes
Looking for other great recipes?
Check some out below!