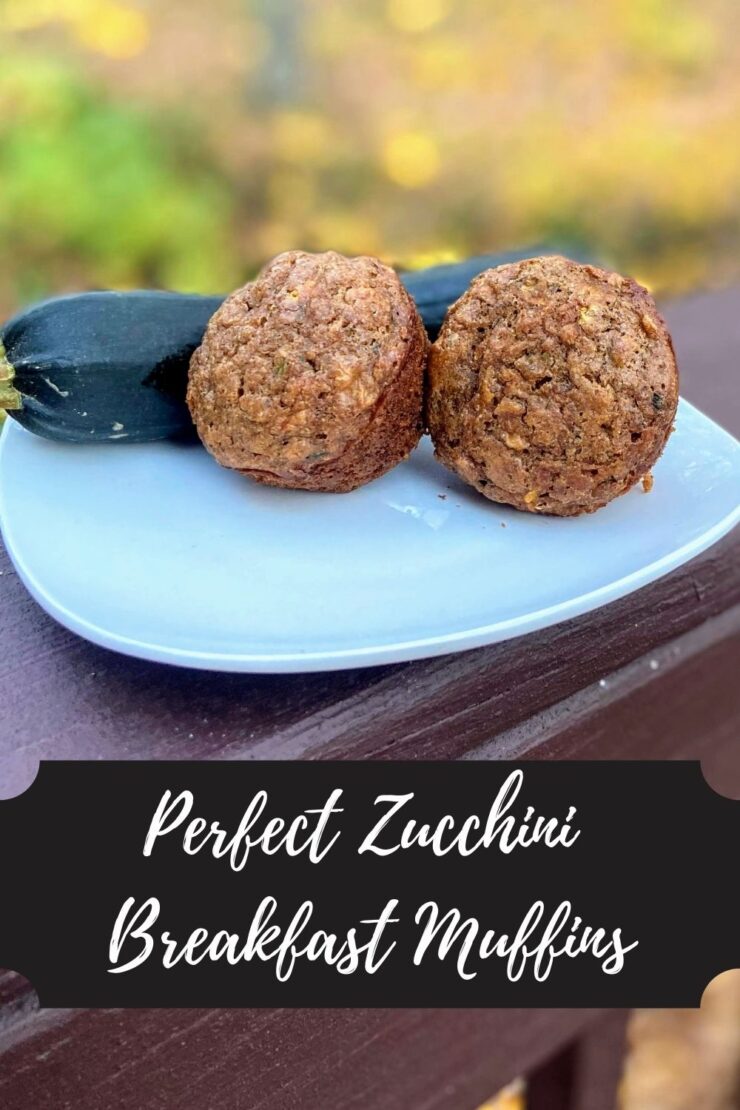
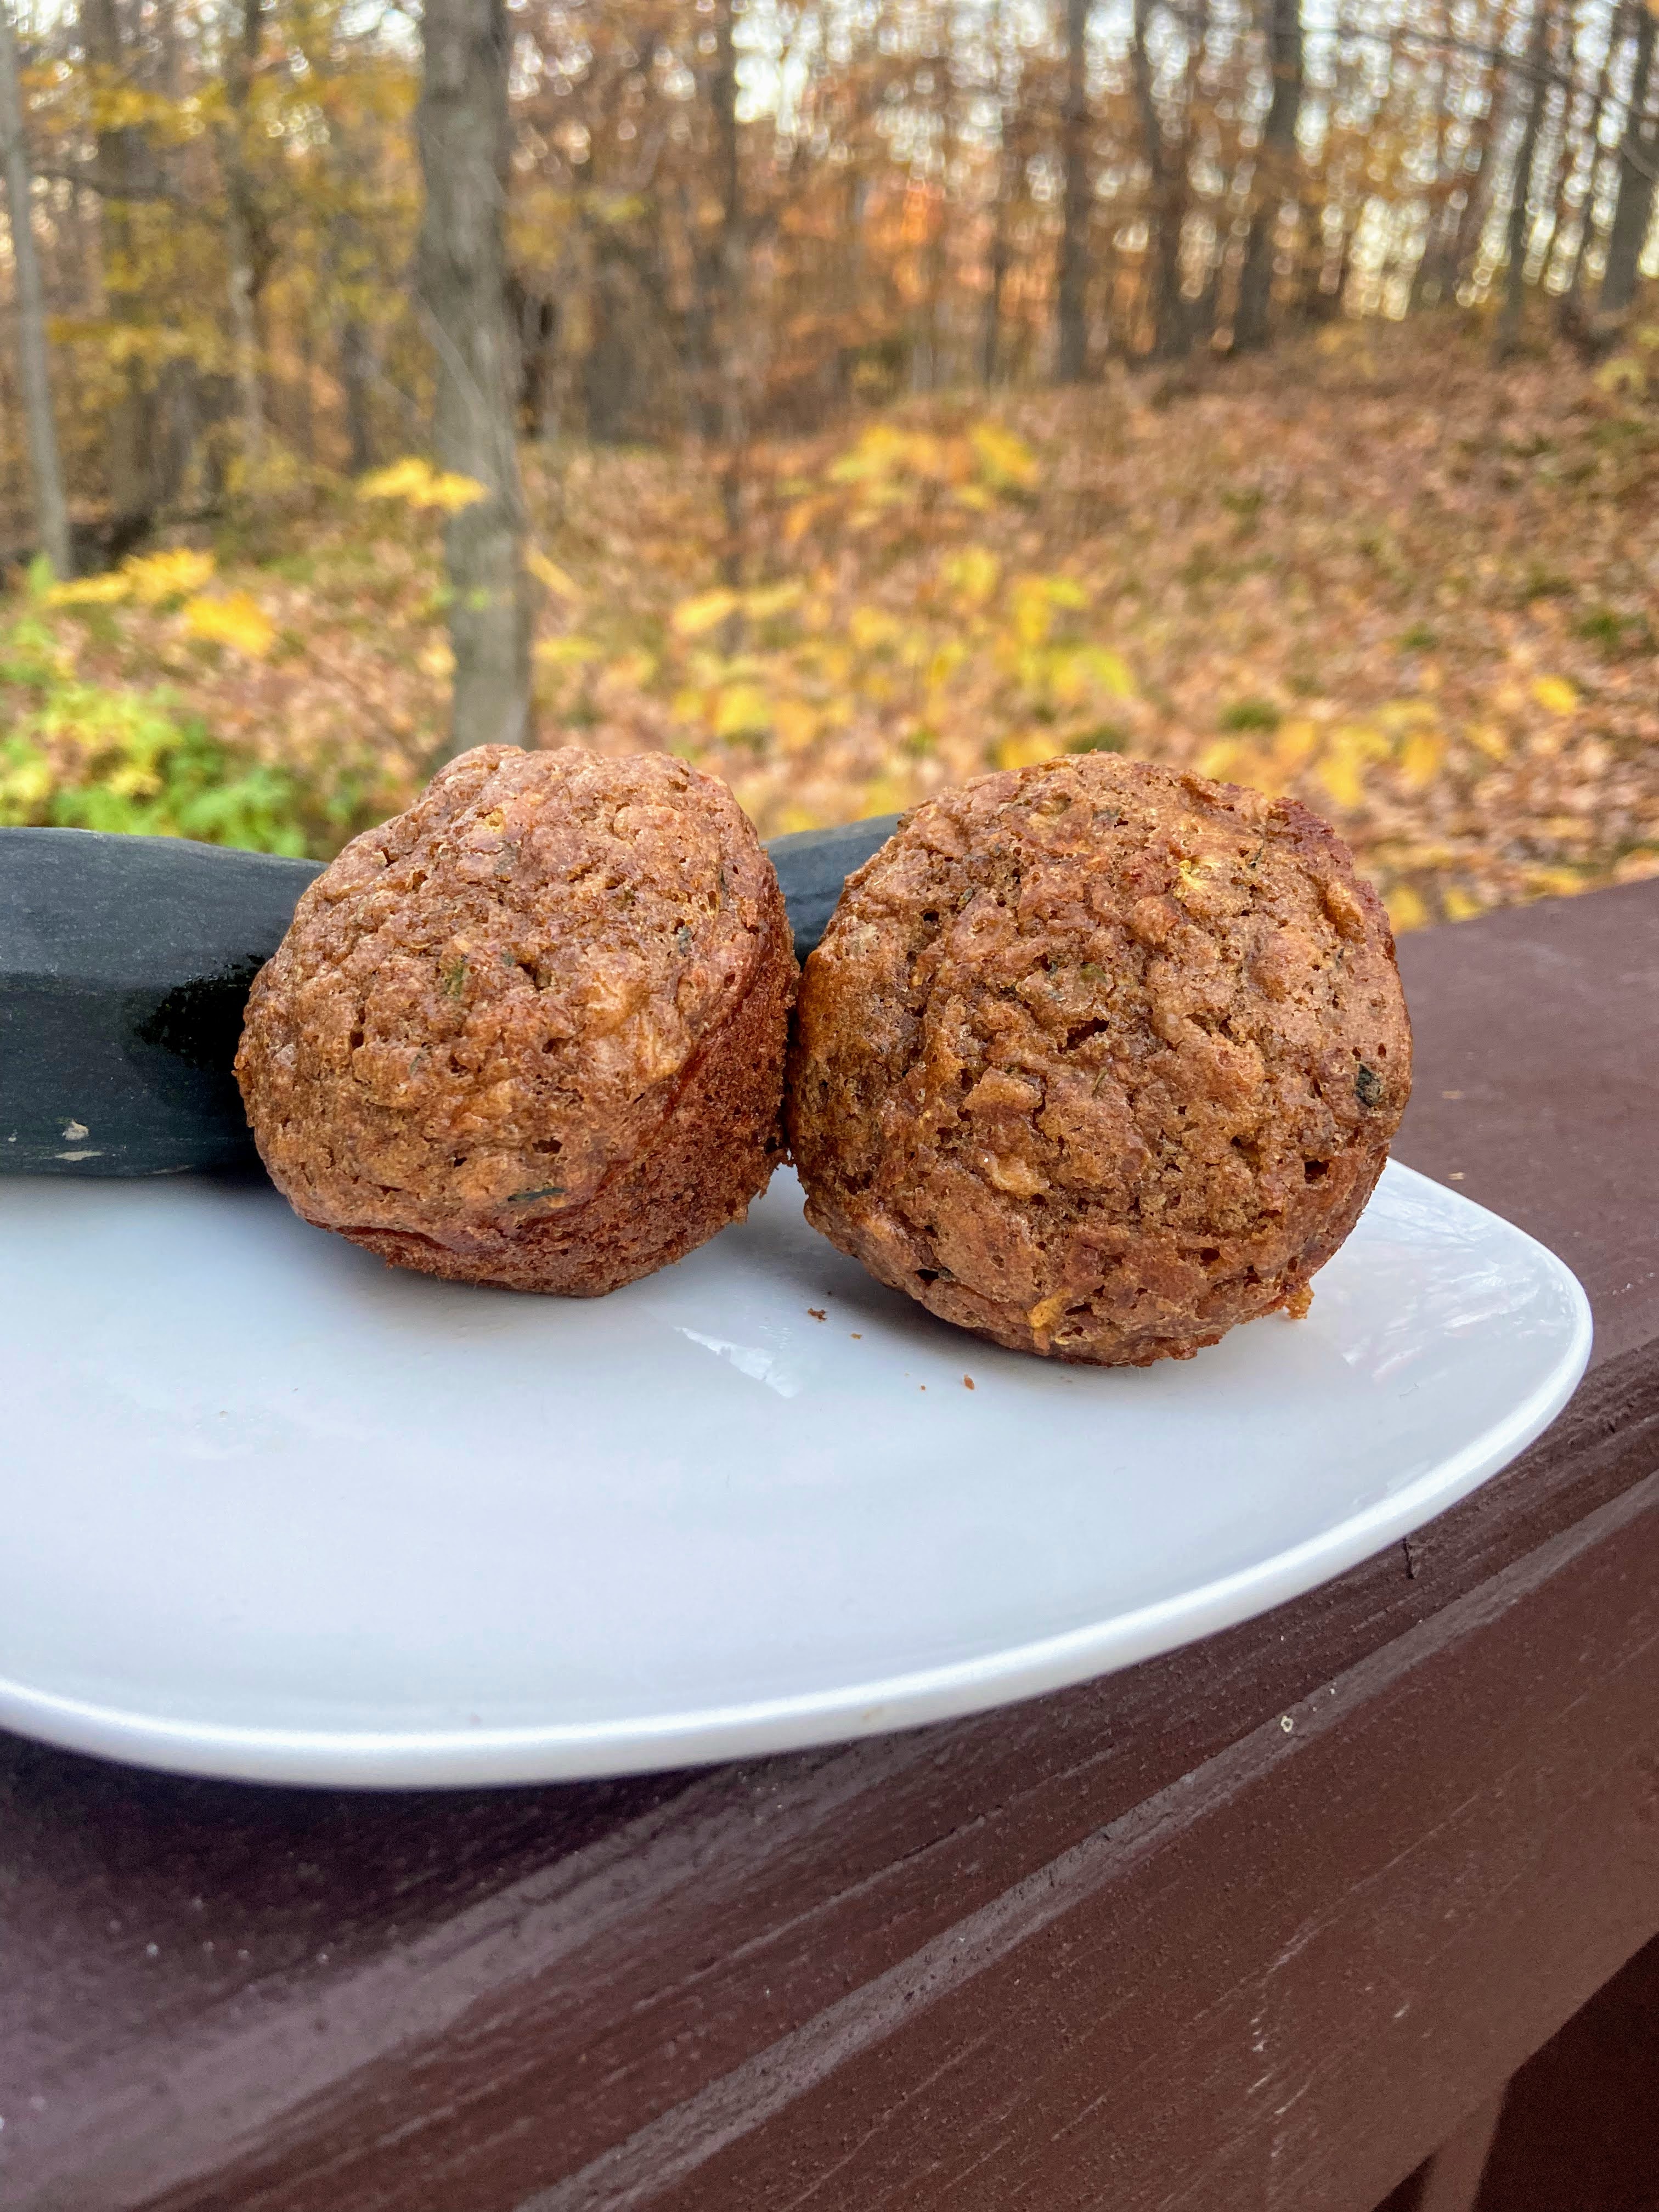
Yes, I recognize that zucchini season is over this year, but maybe you’re like me and you have a summer squash or two still sitting on your counter and can’t allow them to go to waste. Our zucchini plants didn’t amount to much this year, but we had a friend who had an excessive amount of volunteer plants come up. He brought us a number of zucchini a few weeks ago, and I set about to create perfect zucchini breakfast muffins, looking for a balance between flavor and healthier ingredients.
I think I may have hit the jackpot. The Mr. has been eating four of them for breakfast. My daughter loves them for a treat after dinner, and I have been bringing one or two for a mid morning snack. In a 24 hour period, I believe I made three batches. If that doesn’t tell you they are good, I don’t know what does. I threw about a dozen in the freezer for future snacks and we have been devouring the rest (don’t mind me while I eat two as I type).
I knew I could likely wait until next year to share this when the timing was right. But these perfect zucchini breakfast muffins are simply too good to share. I know the growing season is finished in Wisconsin, but I am hoping my friends out of the midwest will love to put these together.
One more thing: The Mr. has always complained when I use banana as a sweetener in baked goods that aren’t supposed to taste like banana. He doesn’t love banana bread to start with. He didn’t even notice the banana in these. Cool, right?
Okay, enough chatter! Ready to bake? I hope so!
Your Ingredients
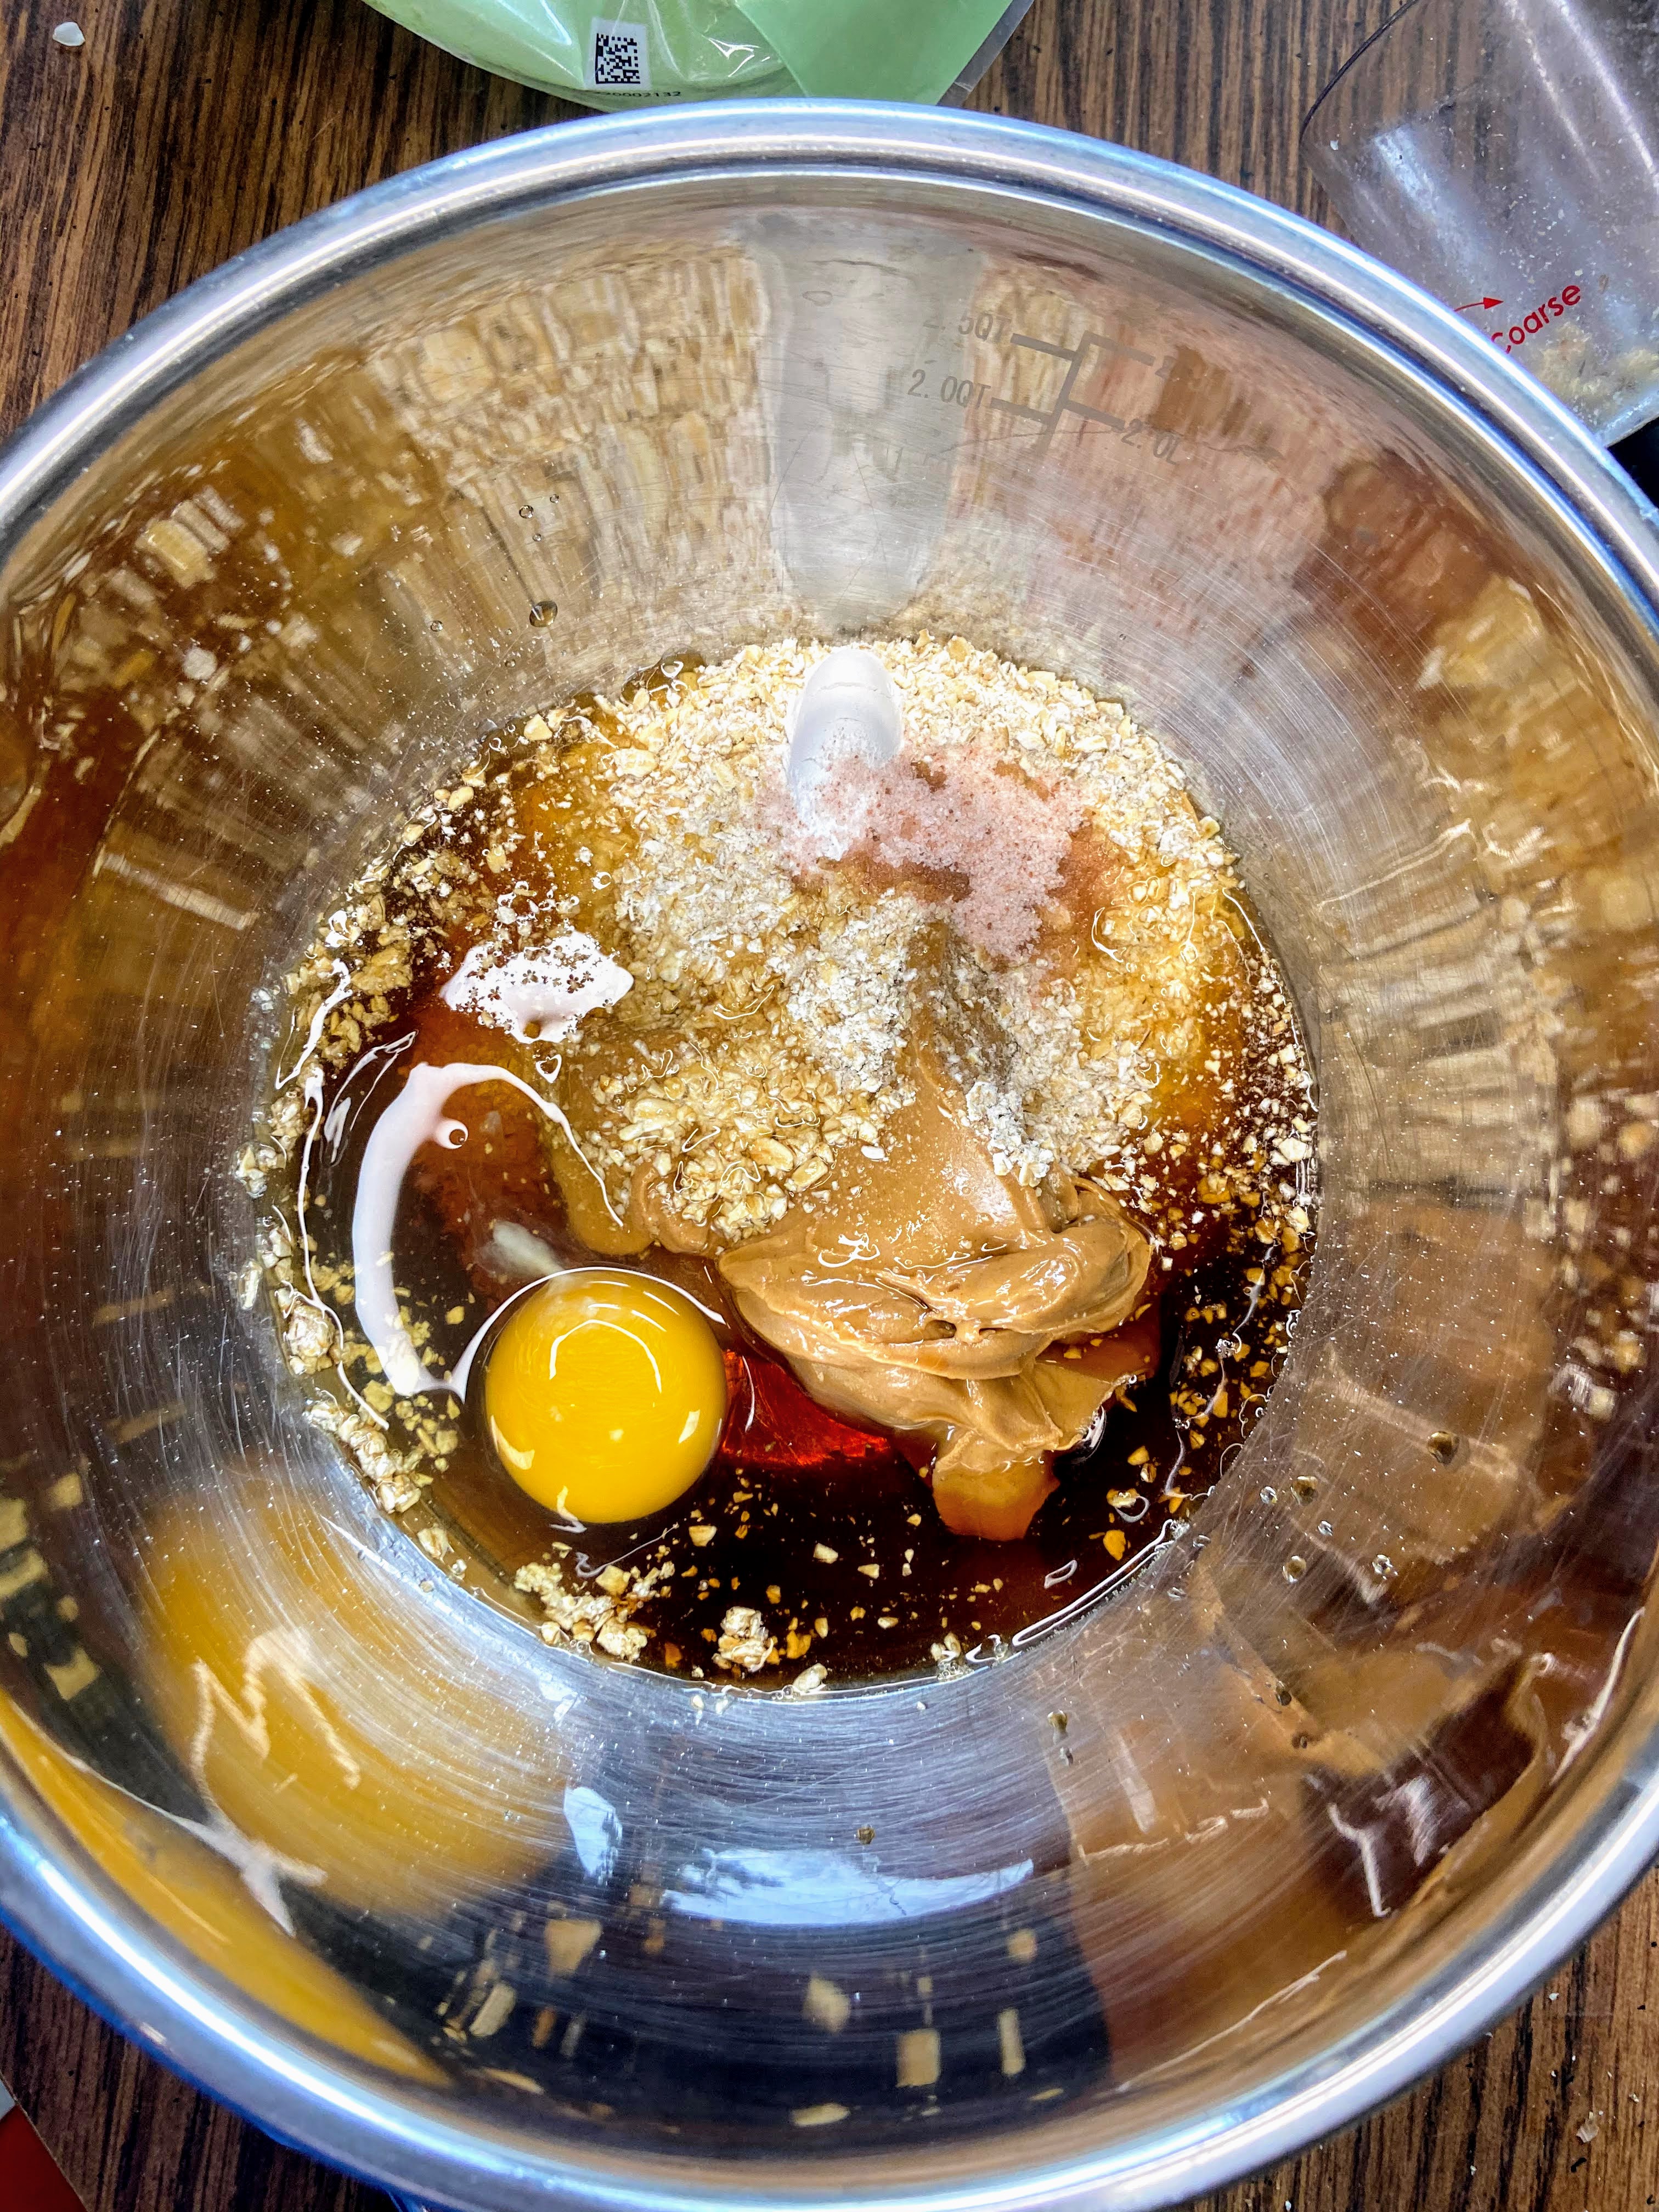
- ¼ cup coconut oil, melted
- ⅓-½ cup real maple syrup, depending on your sweetness level
- 1 ripe banana
- ¼ cup plain Greek yogurt (or Triple Zero Vanilla-no added sugar), room temperature
- 1 teaspoon vanilla
- 2 eggs, room temperature
- ½ tablespoon cinnamon
- 1 teaspoon baking soda
- ¾ teaspoon salt
- ½ teaspoon baking powder
- 1 ¾ cup whole wheat flour
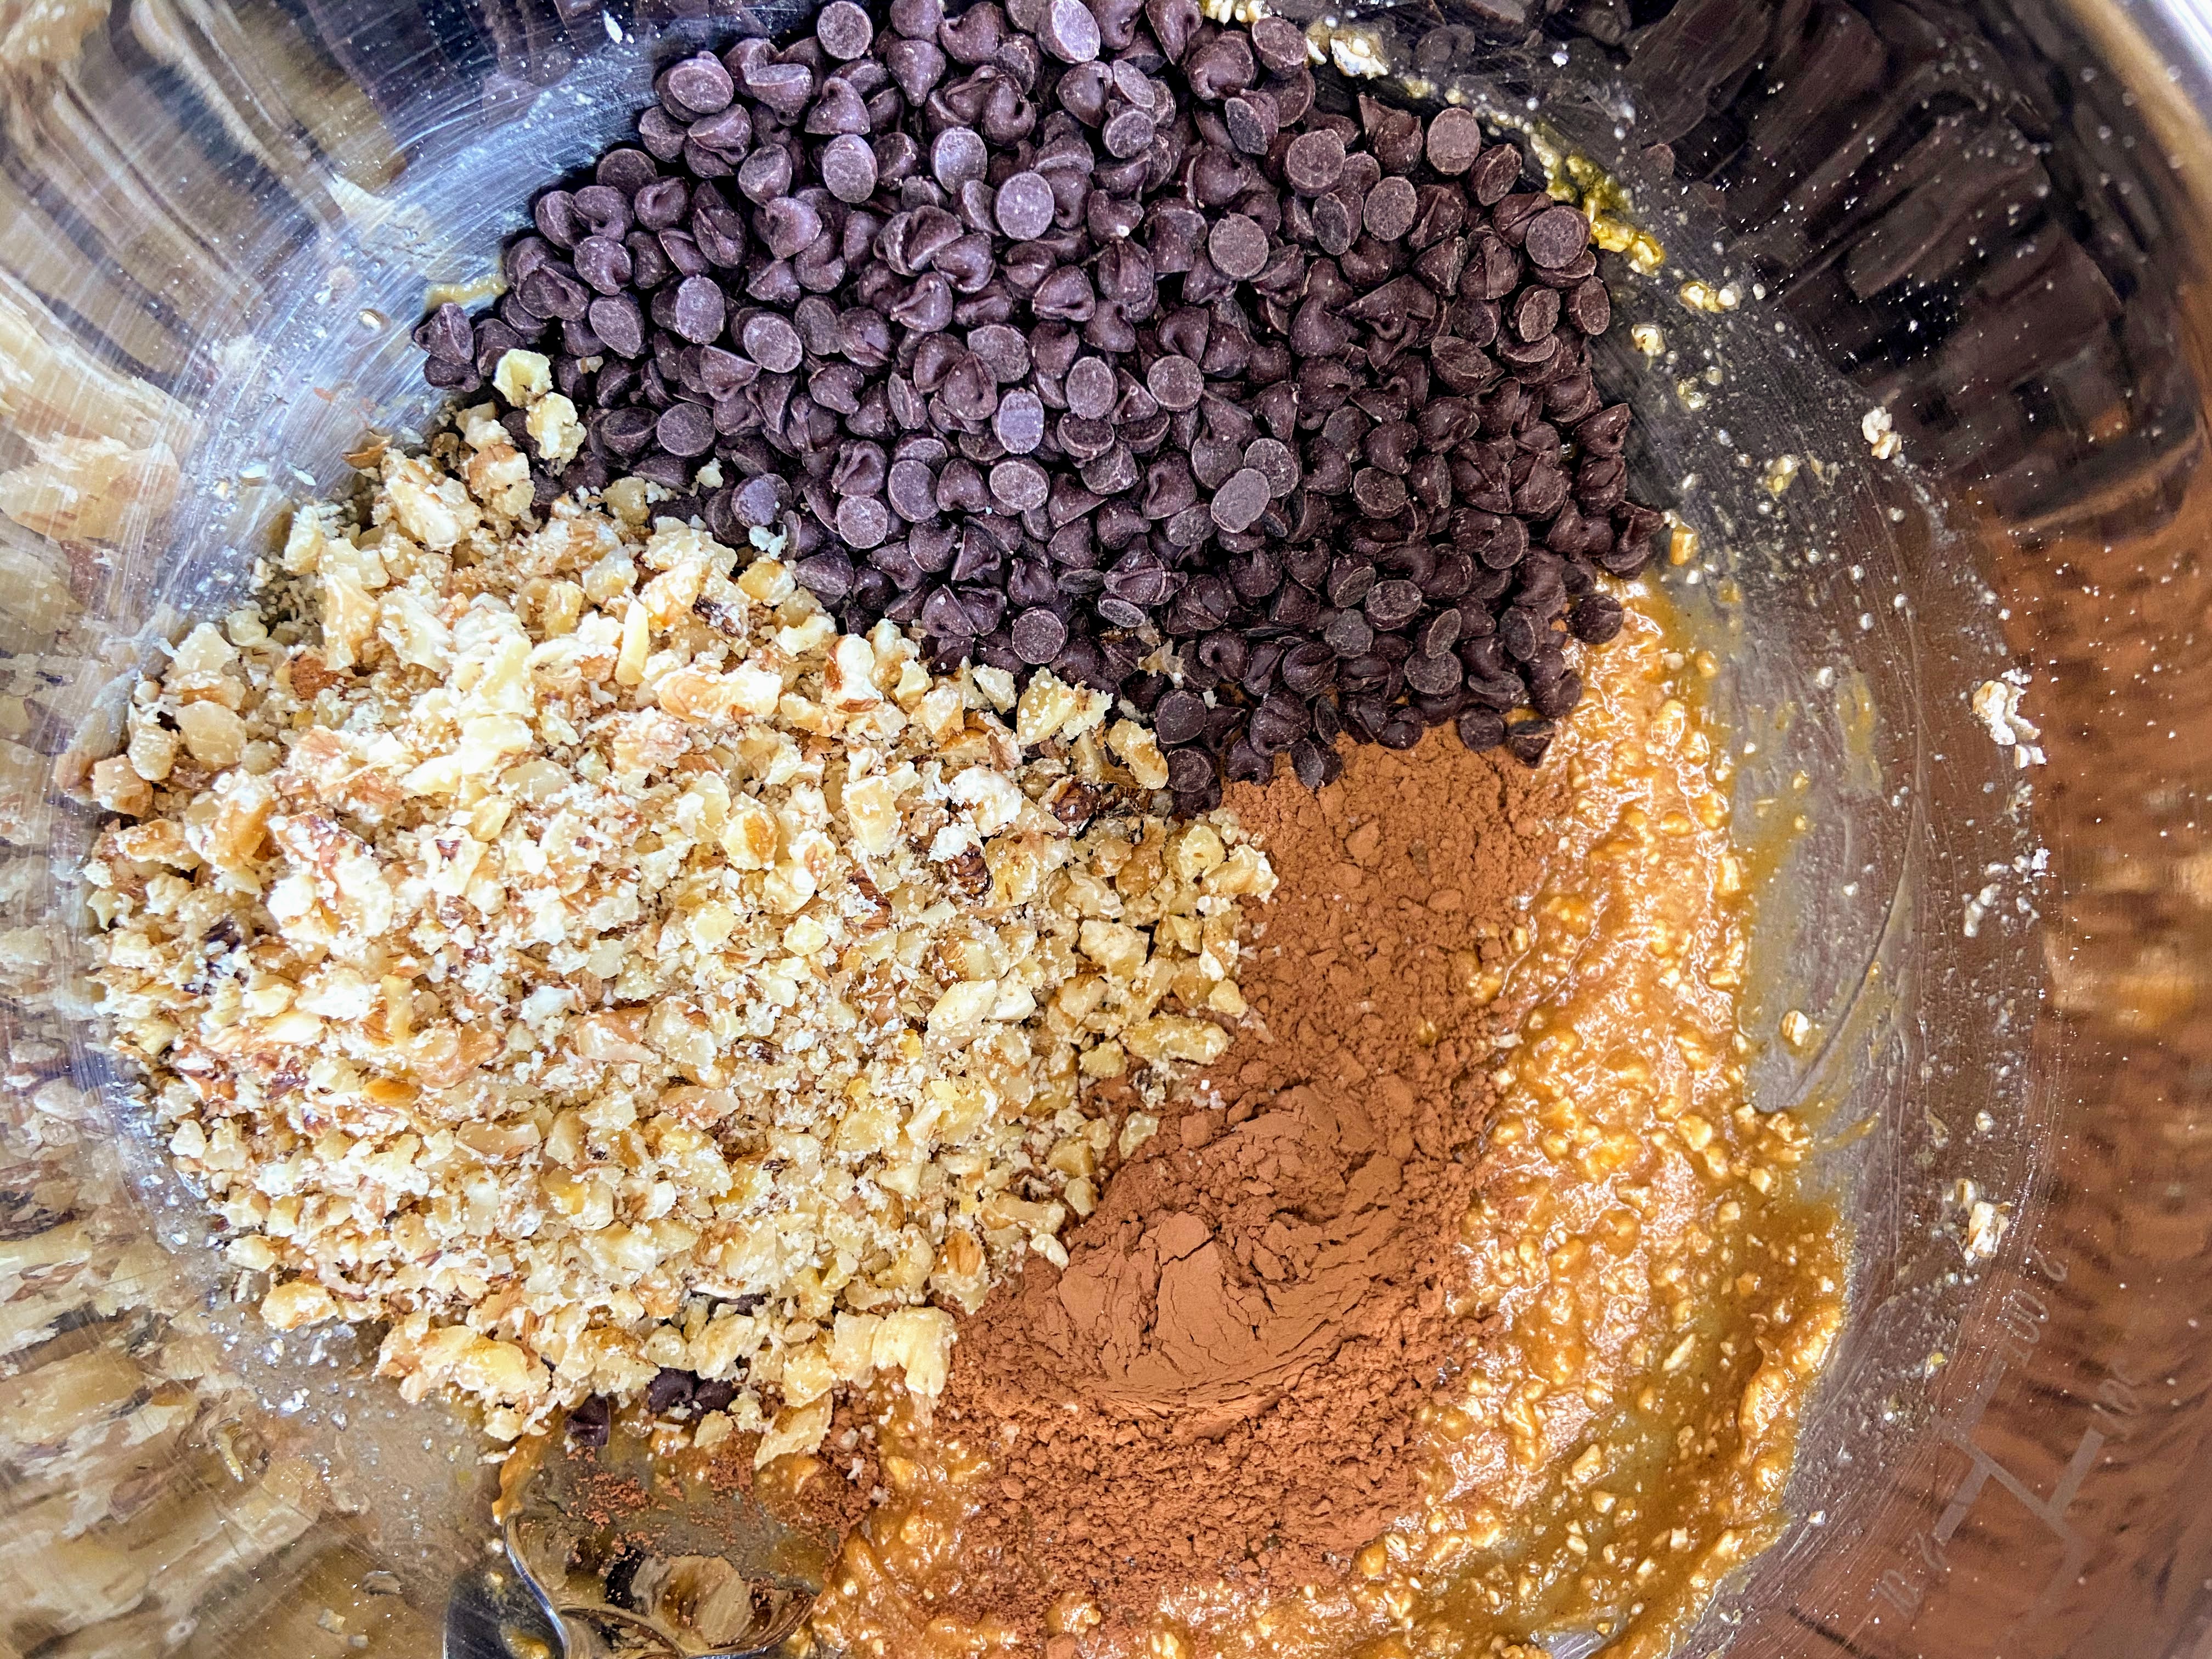
- ½ cup walnuts
- ½ cup chocolate chips (optional)
- 2 cups shredded zucchini, with the water rung out
Your Steps to Perfect Zucchini Breakfast Muffins
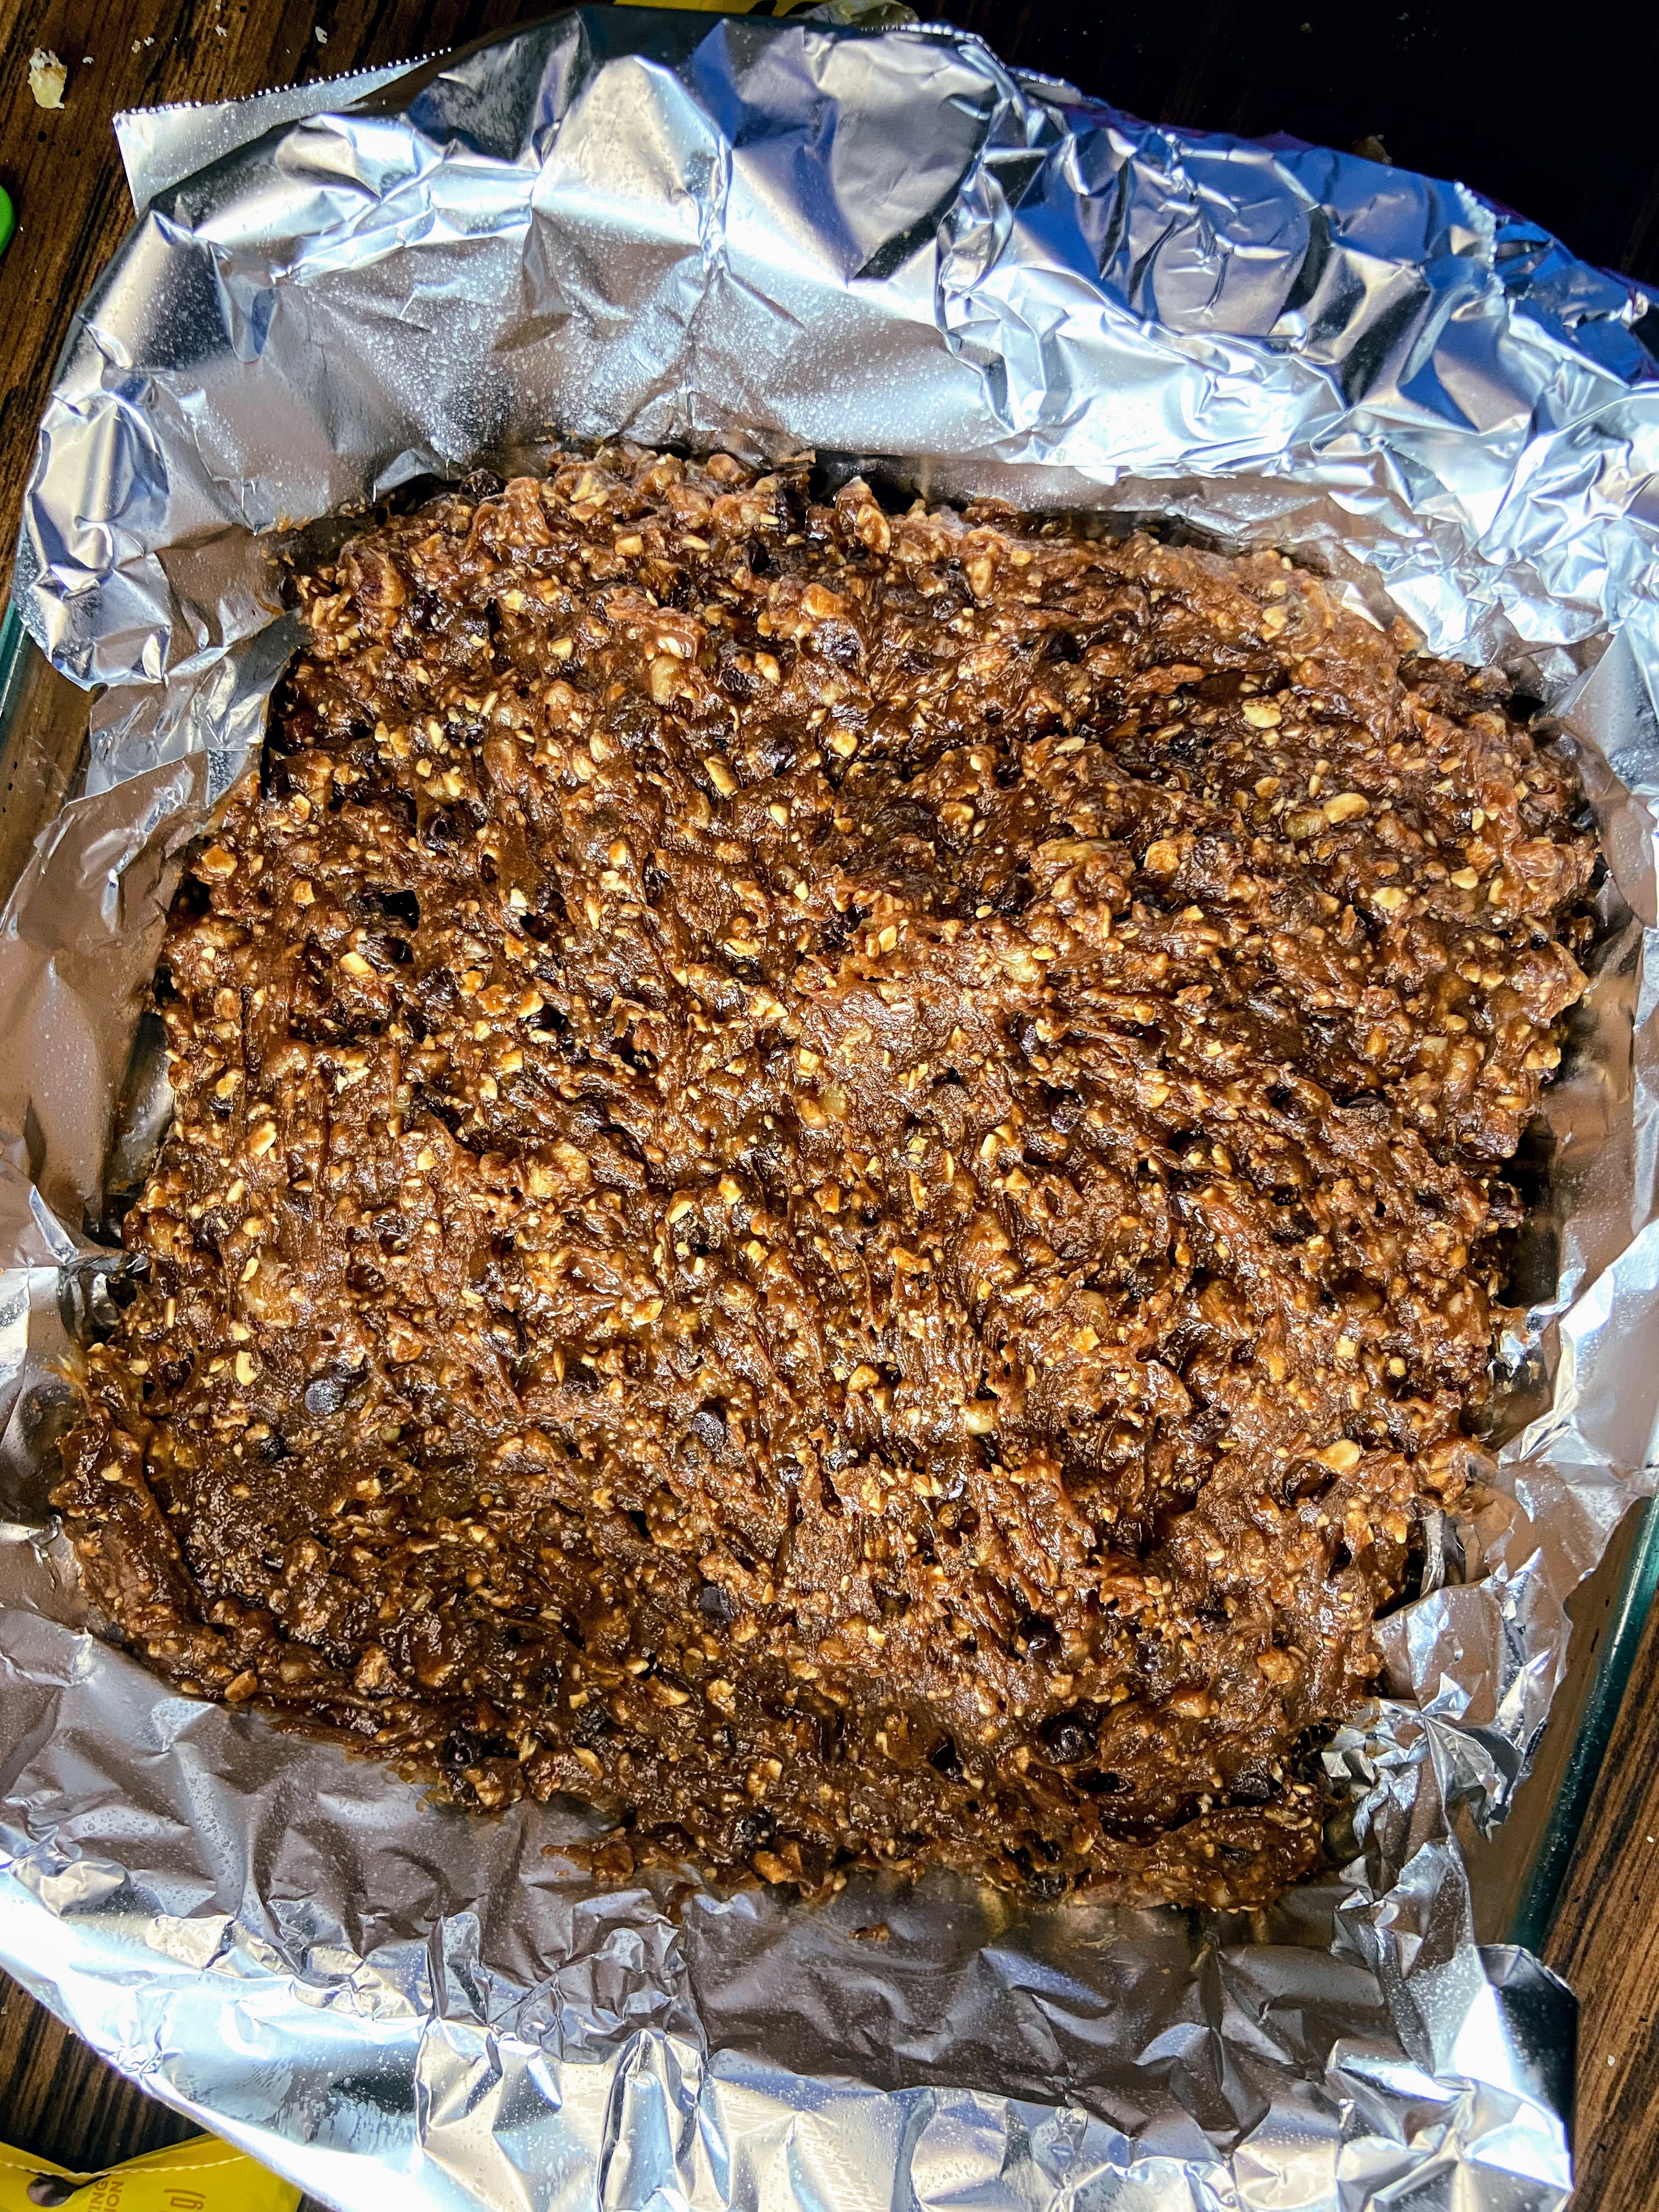
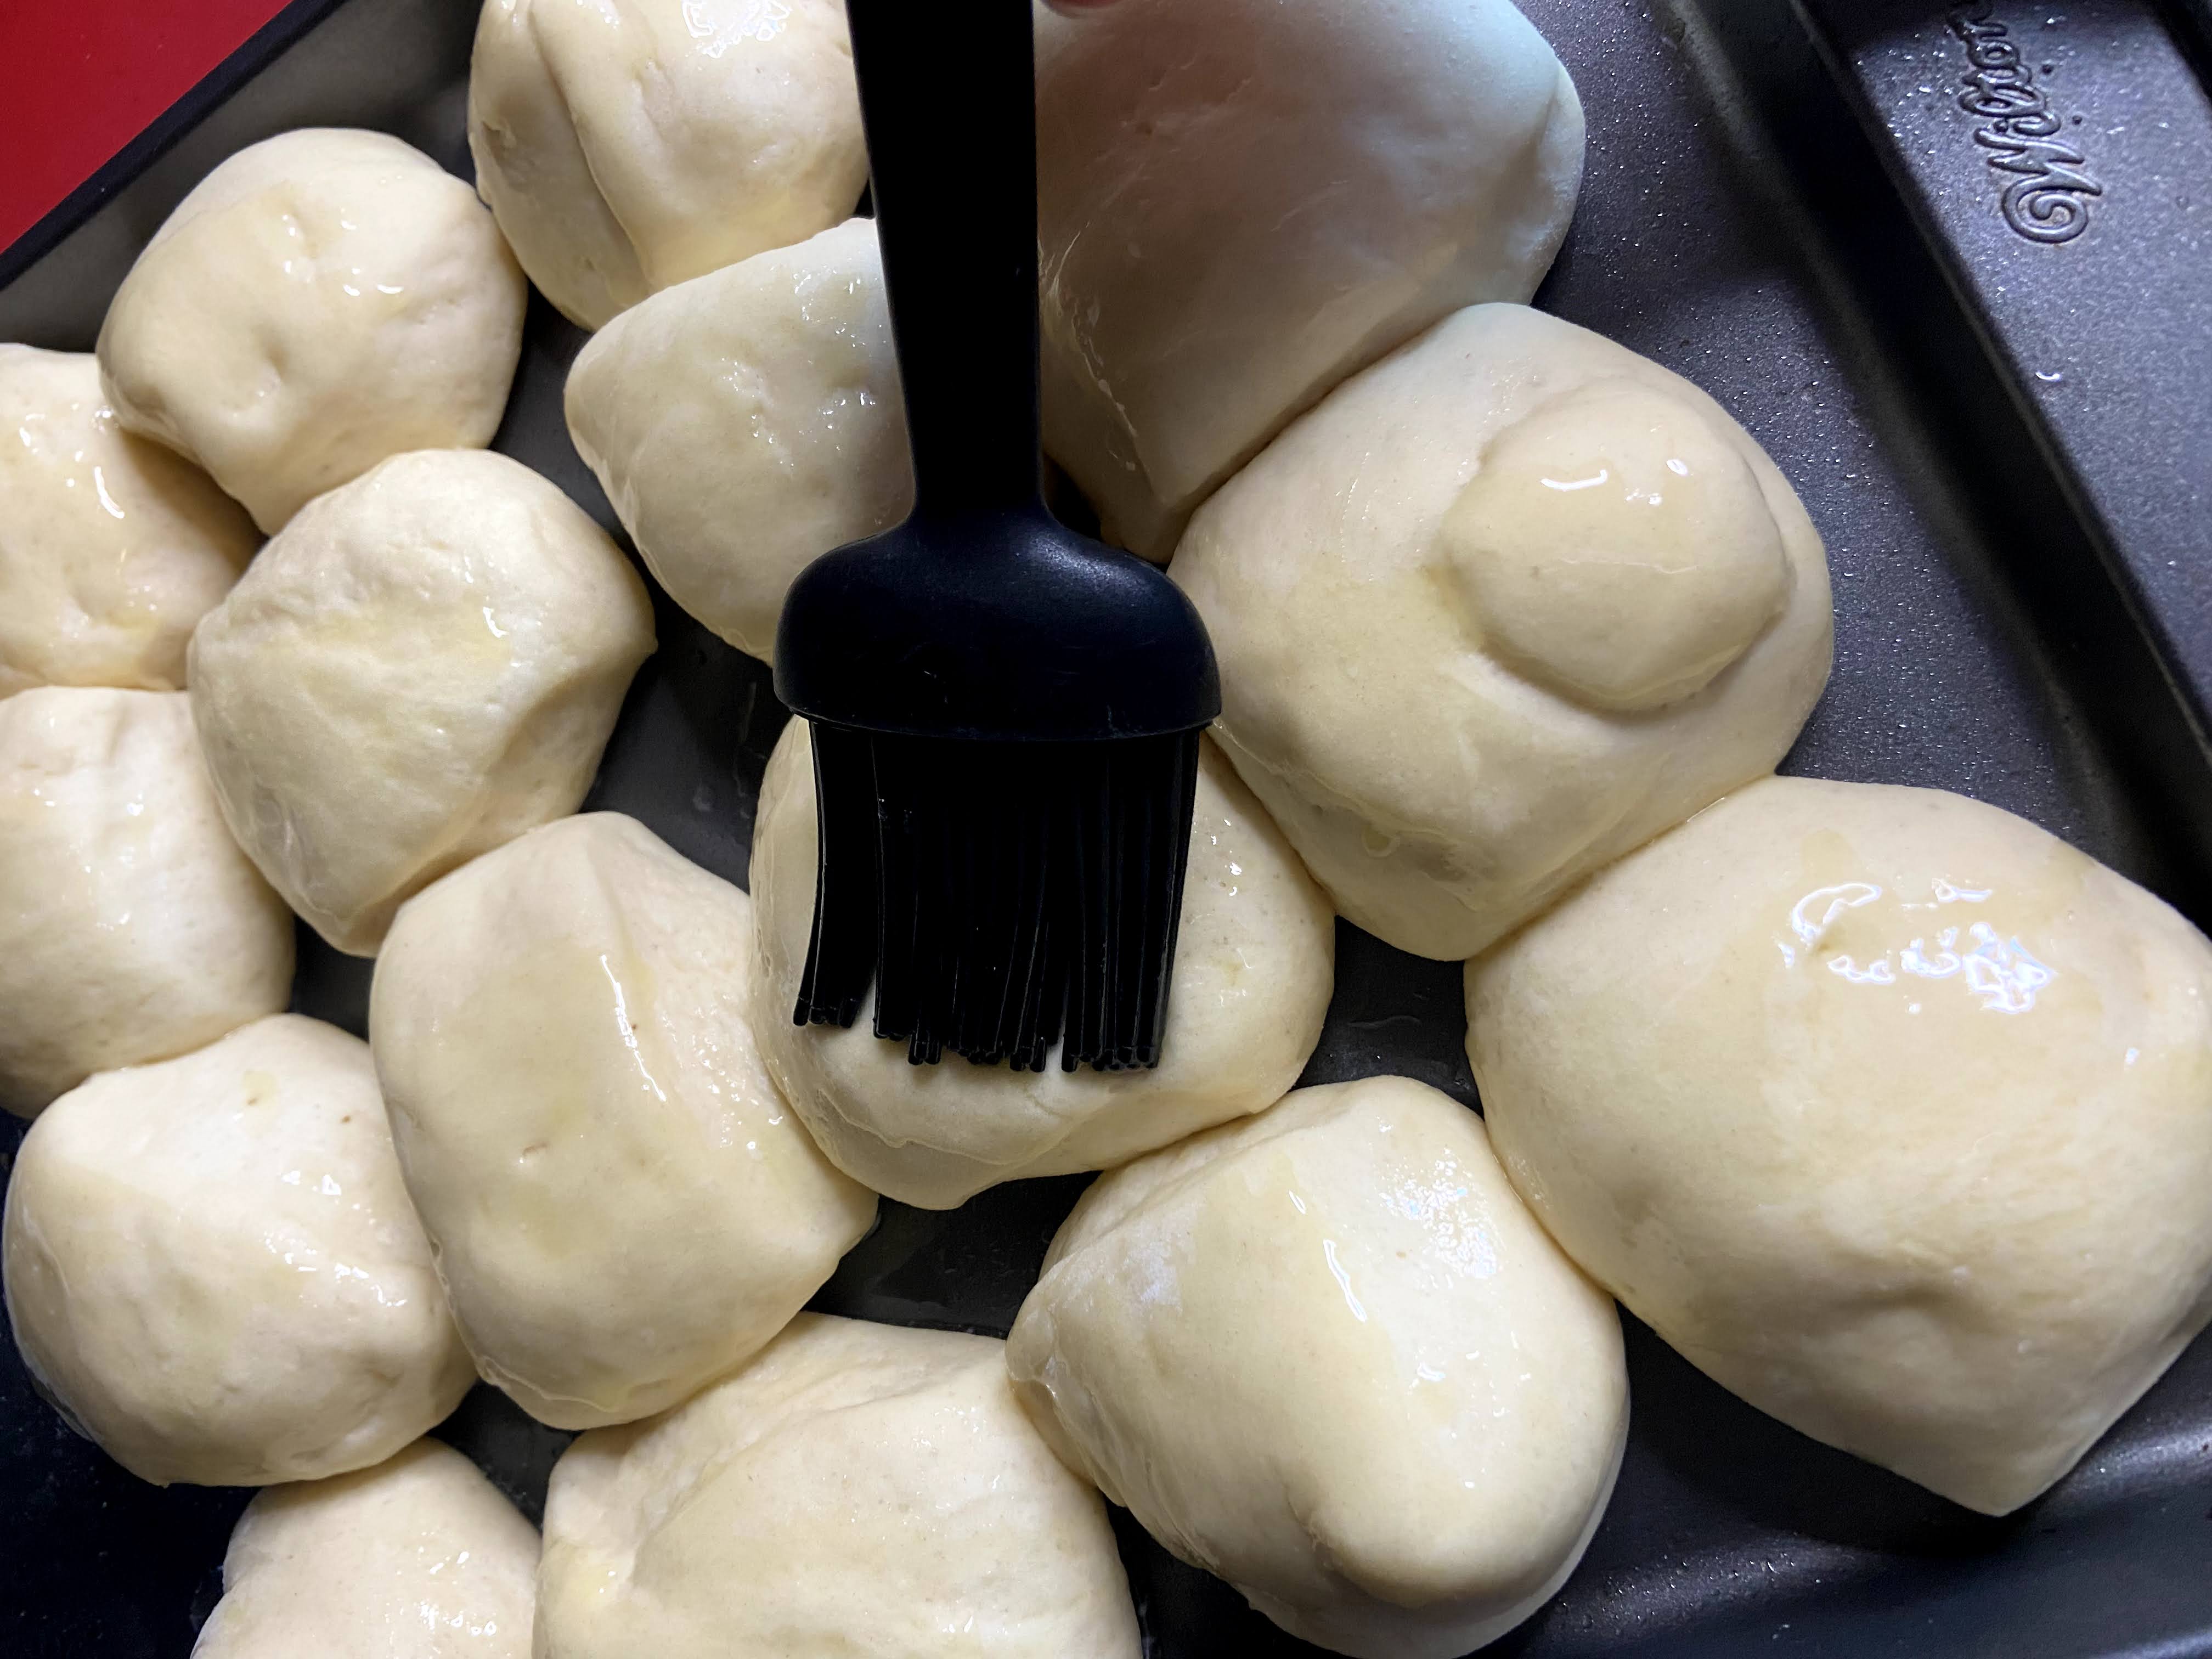
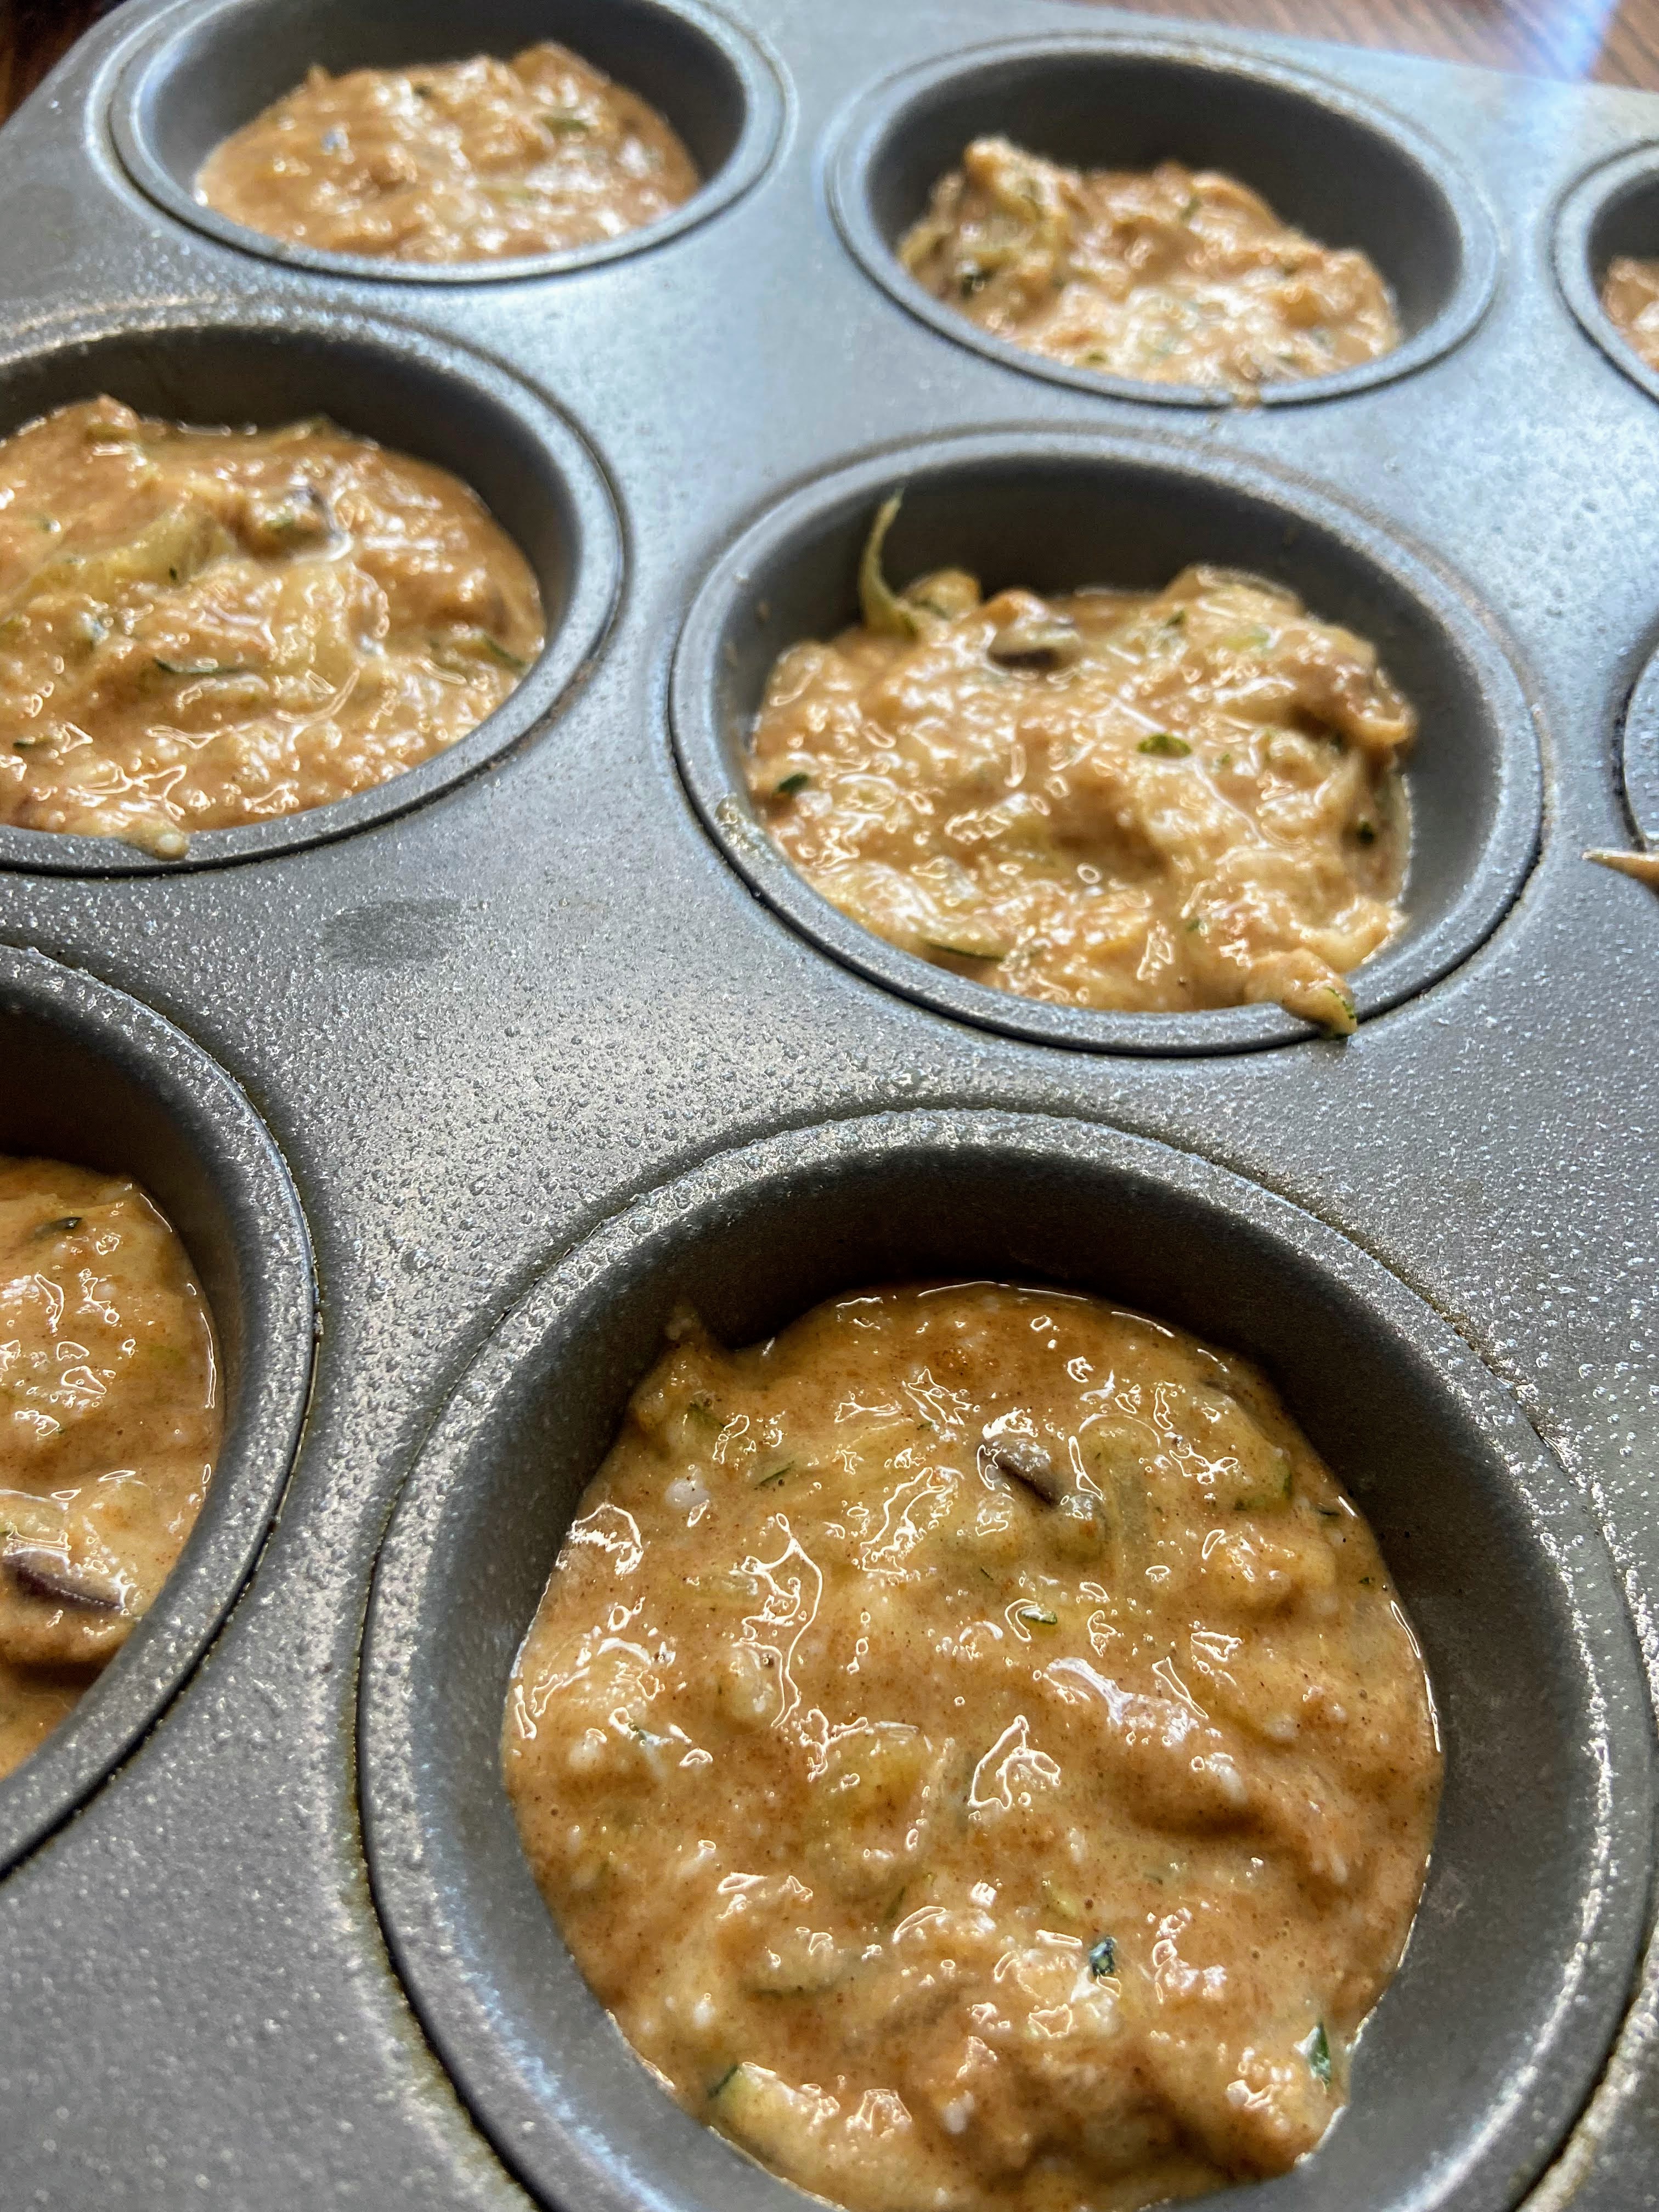
Preheat the oven to 350 degrees. Prepare 15 muffin tin vessels with liners or by greasing.
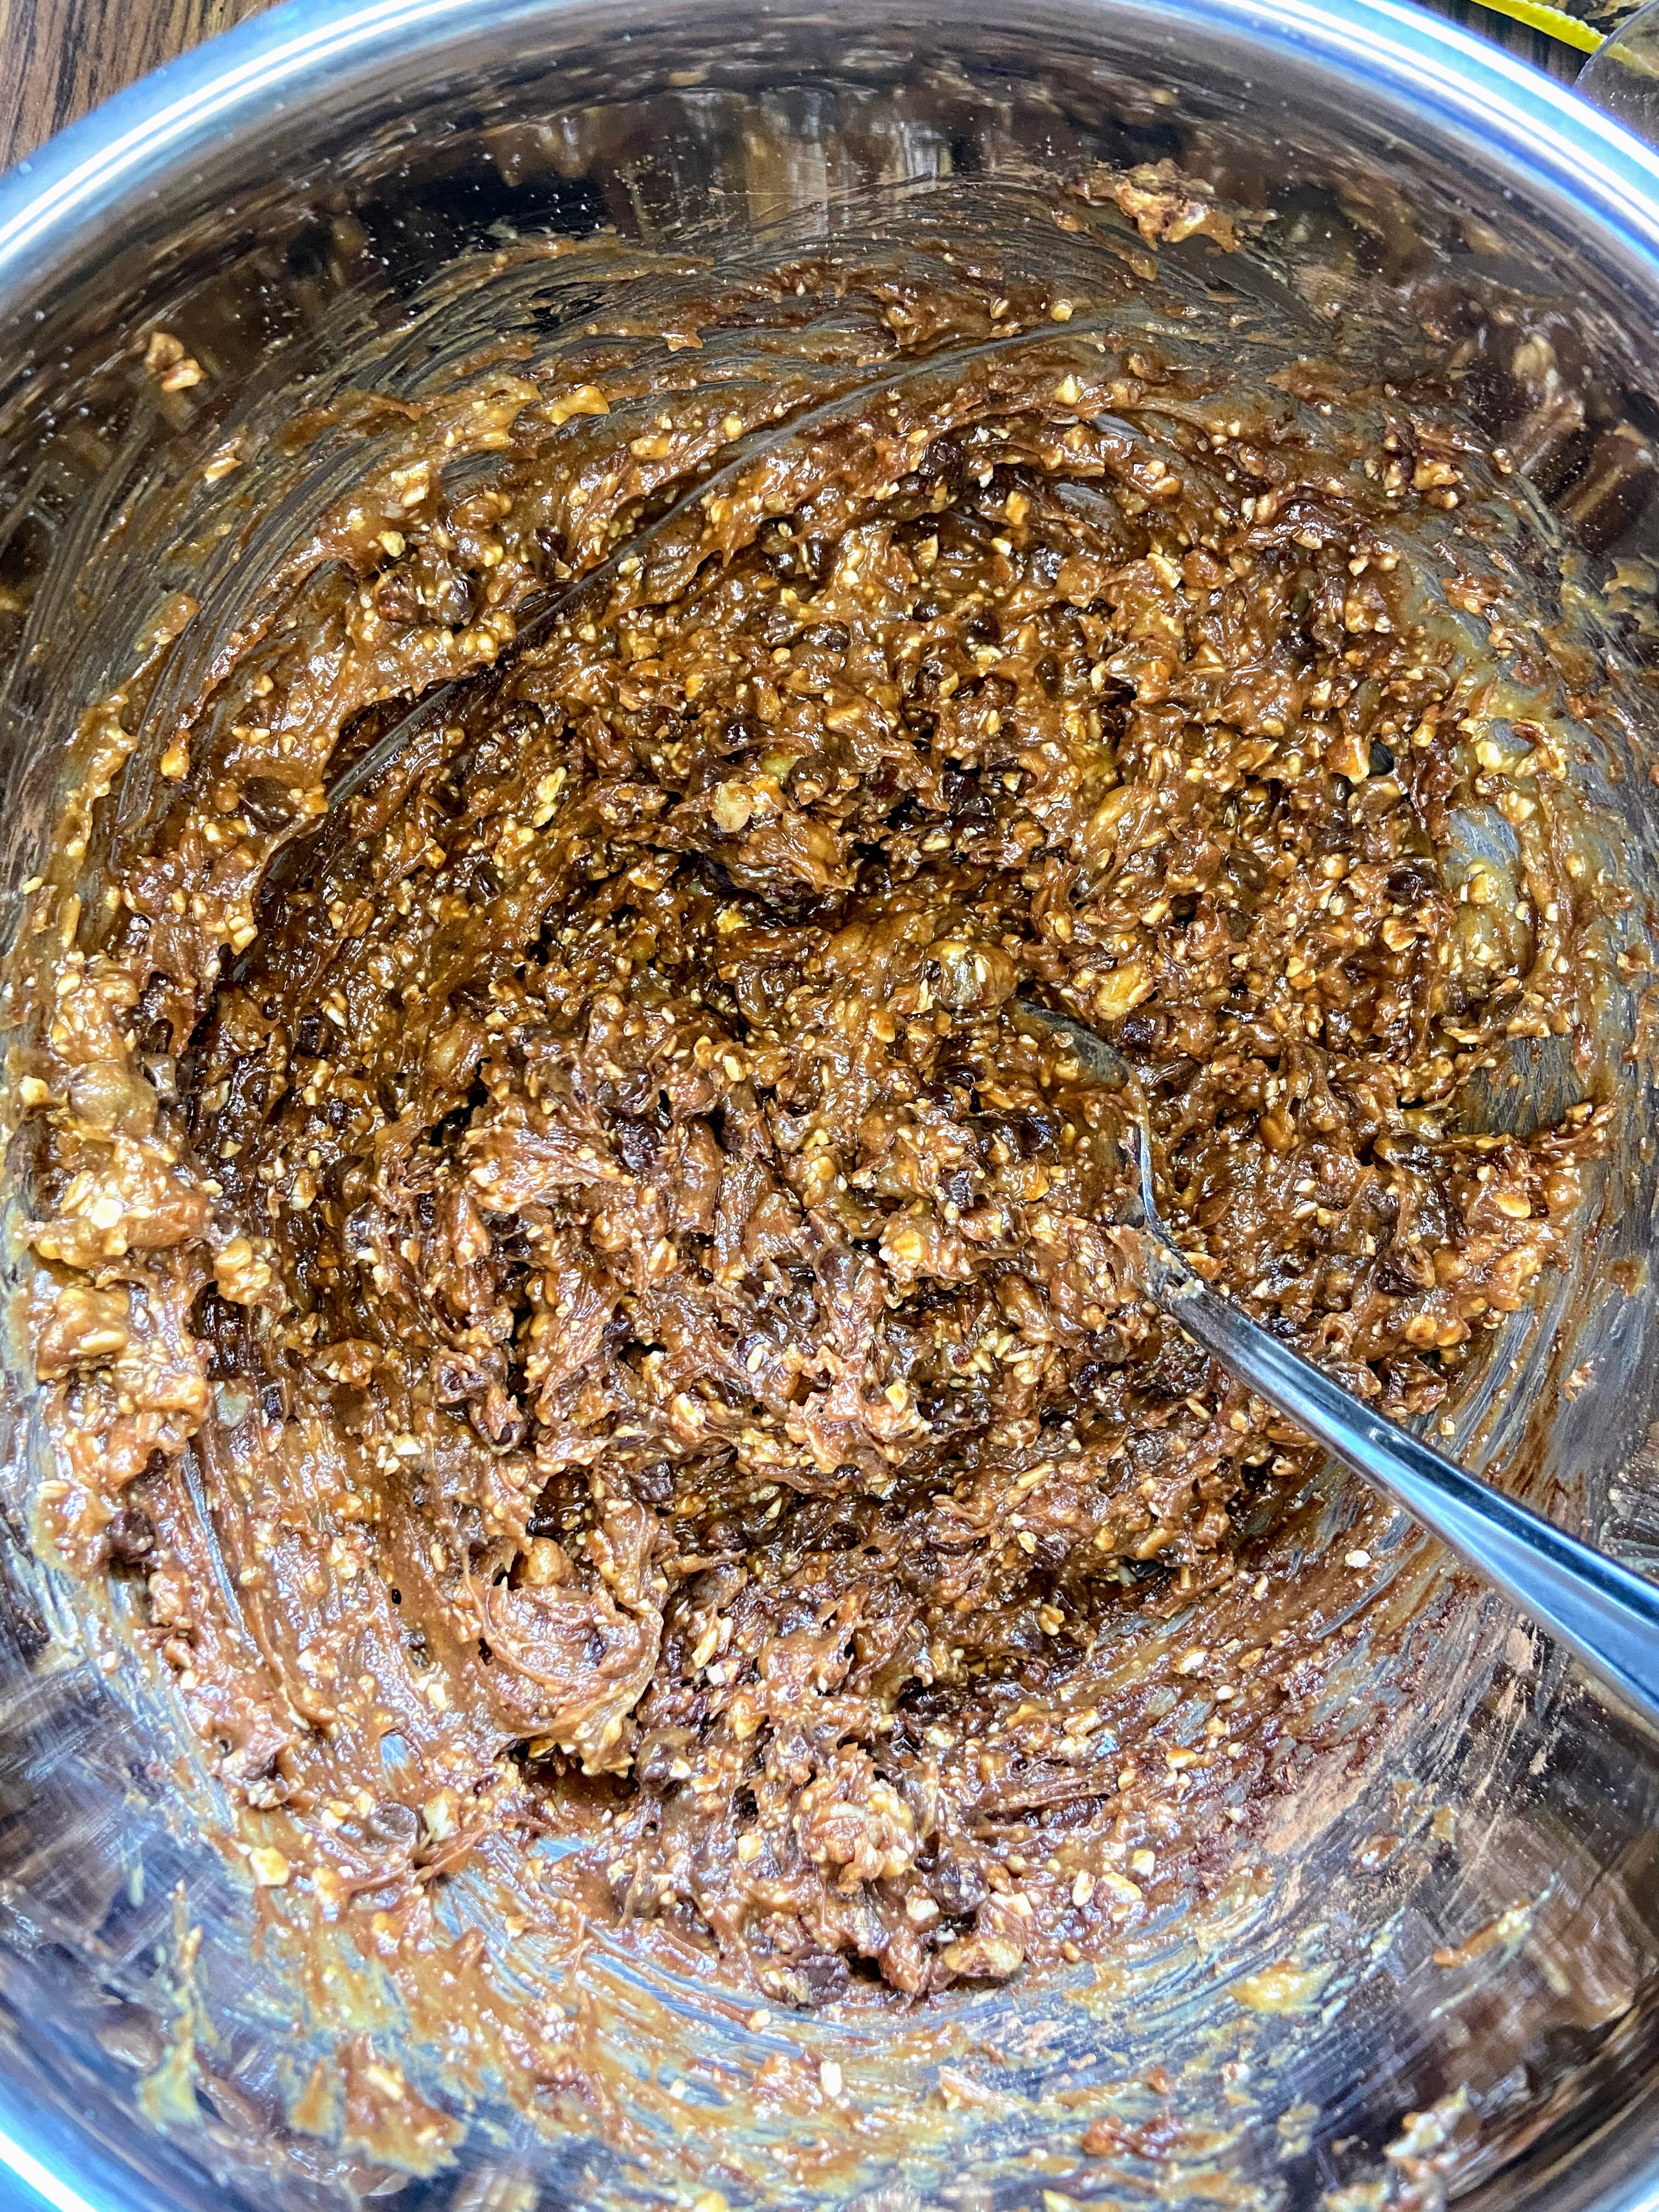
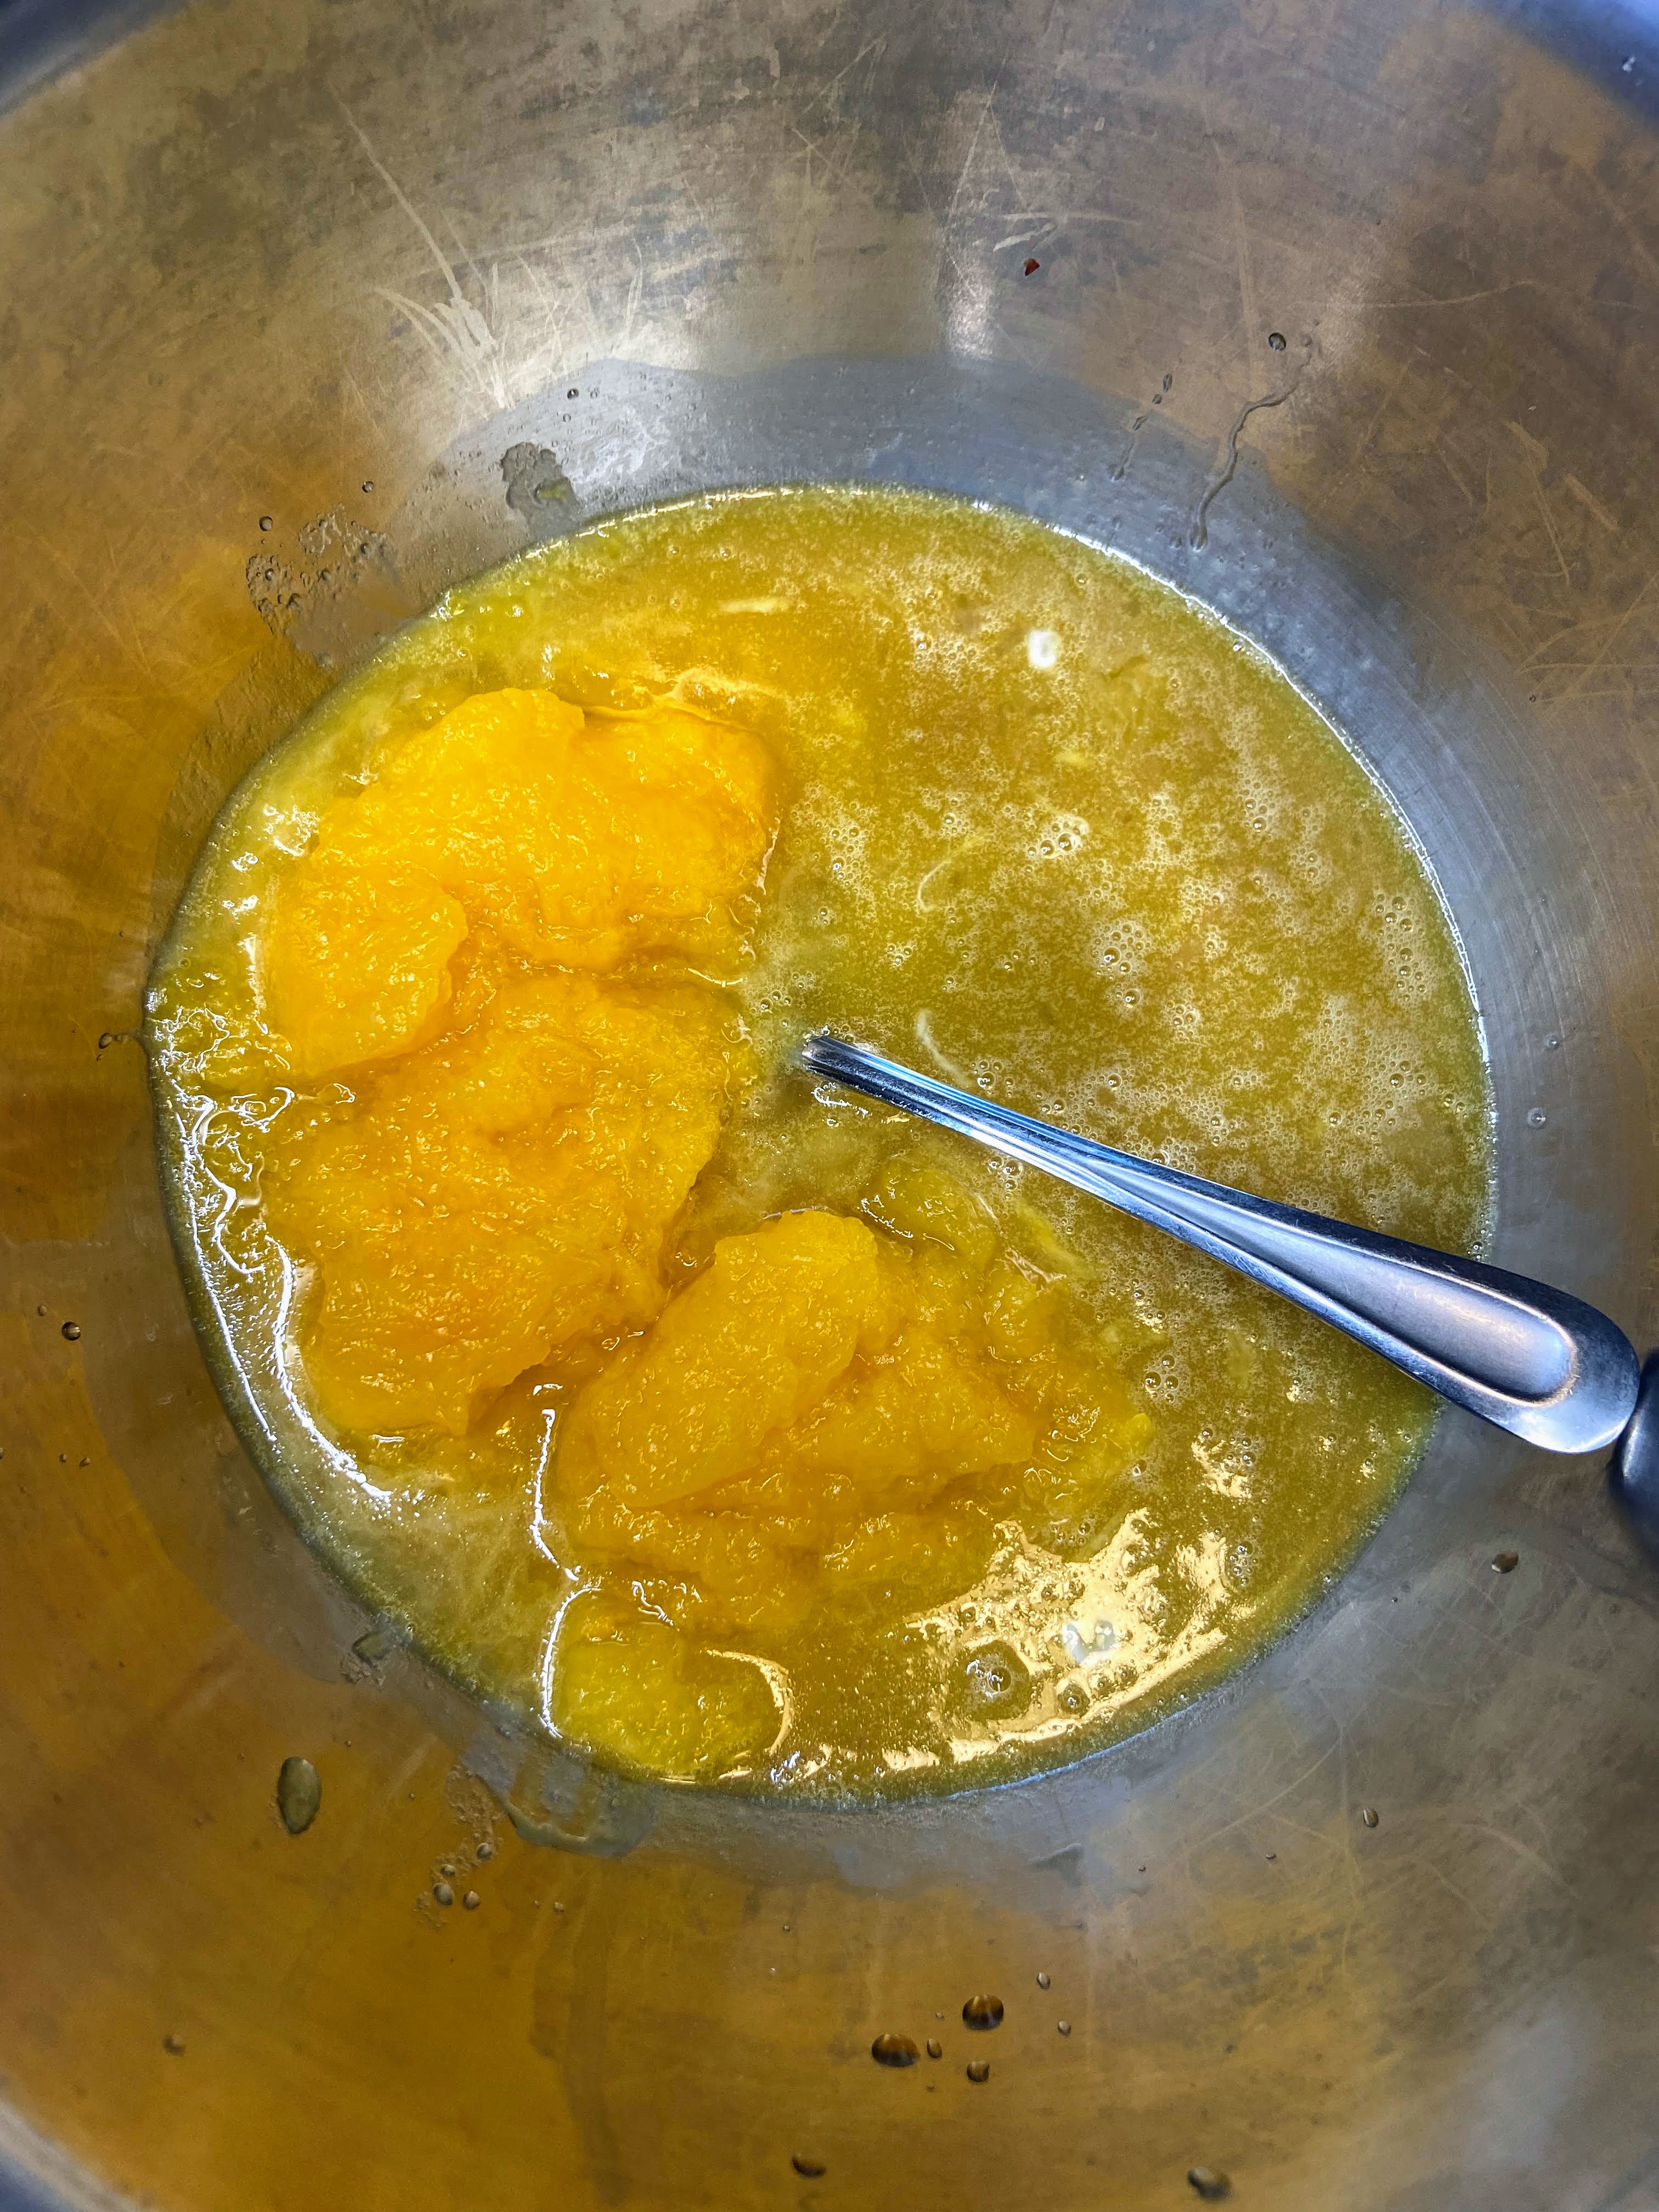
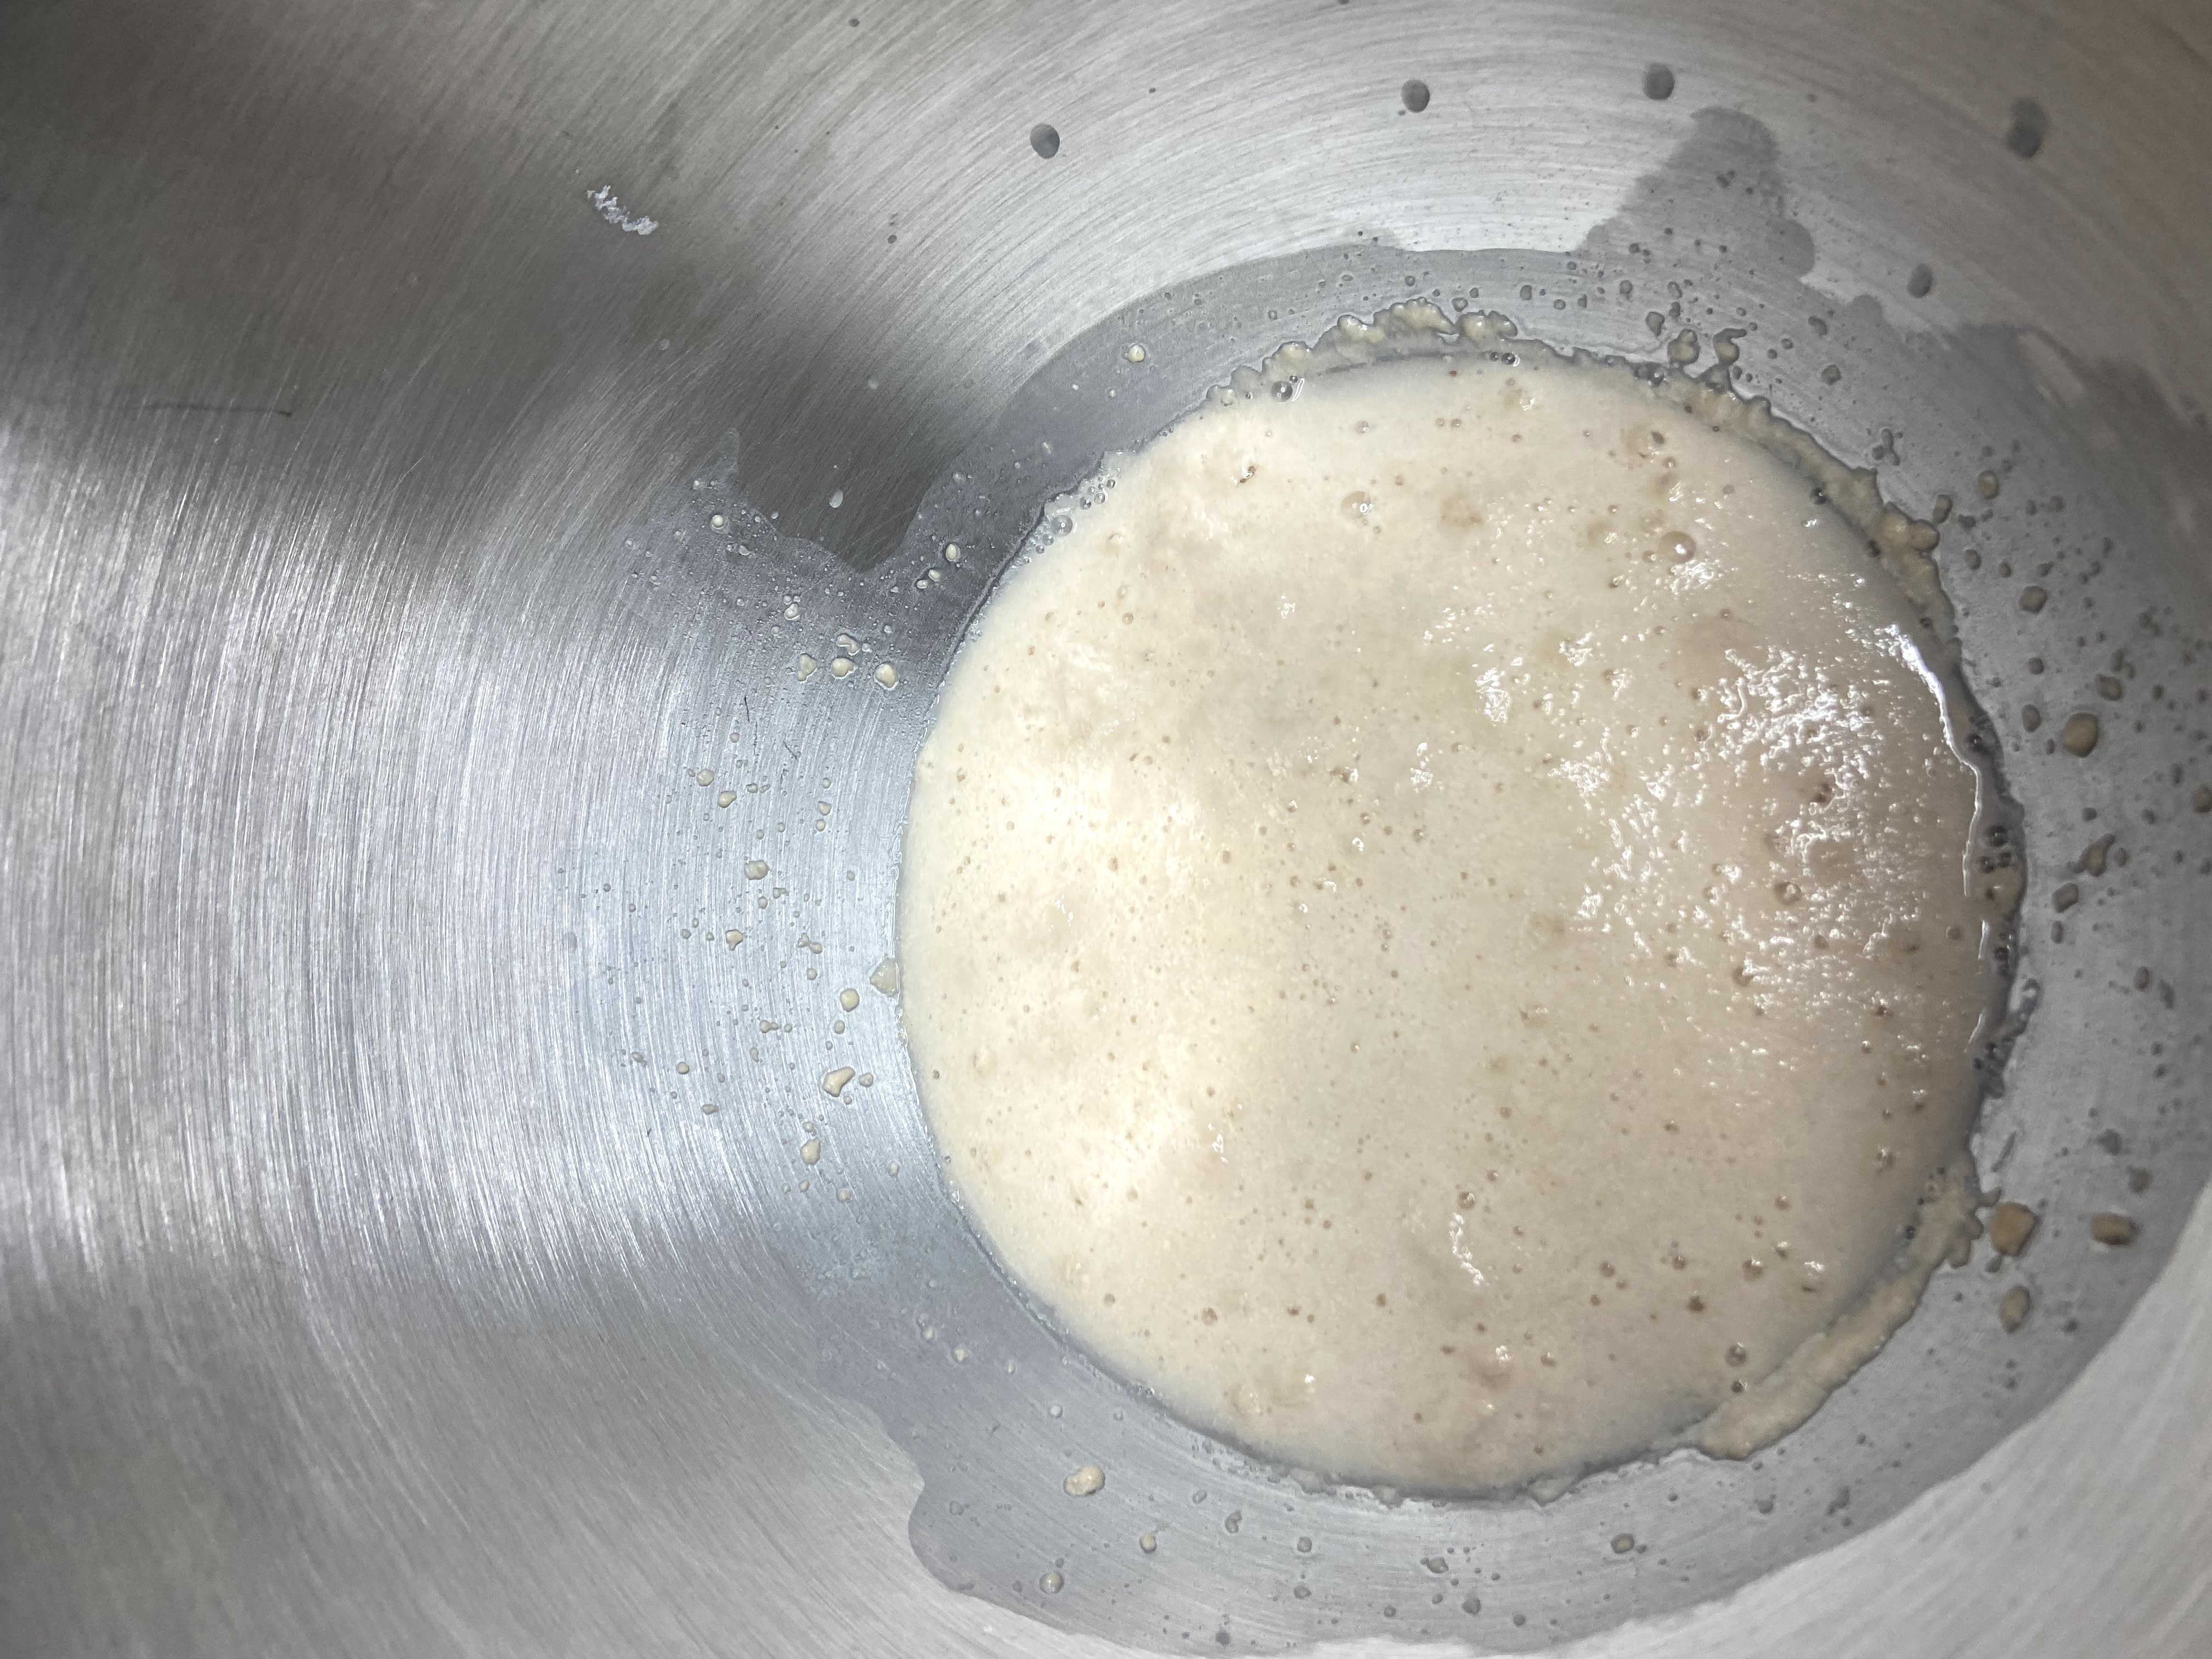
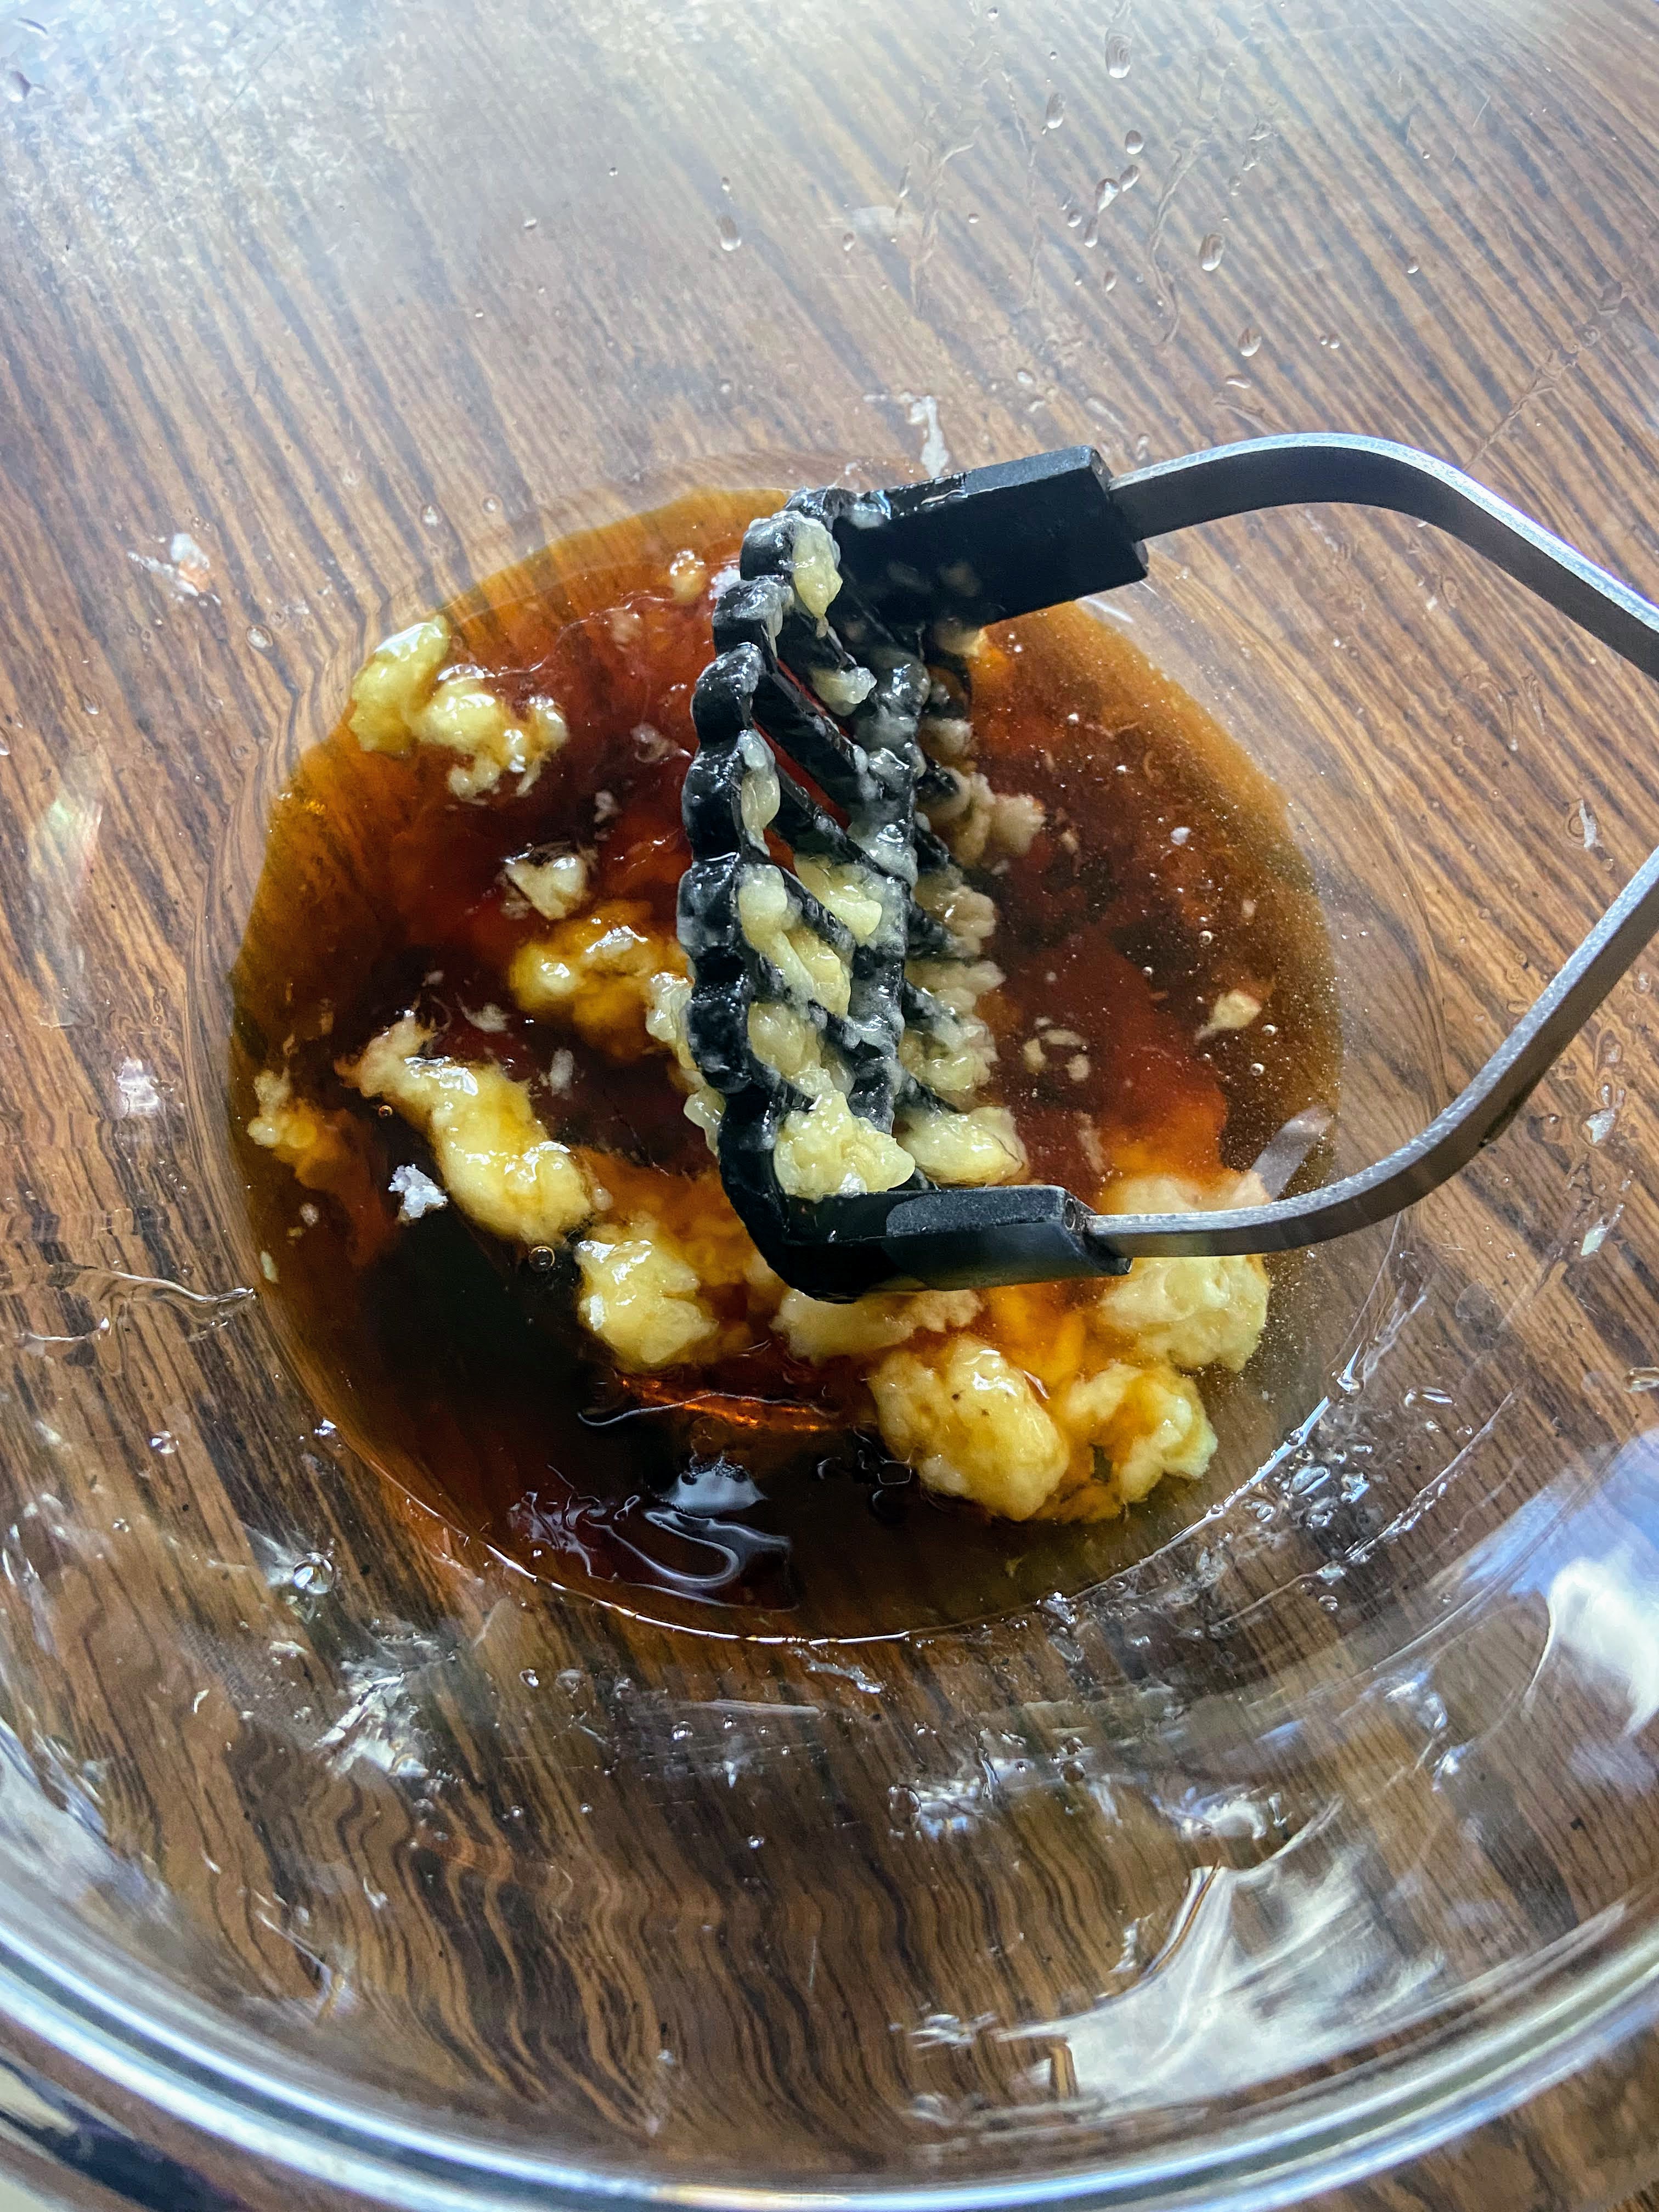
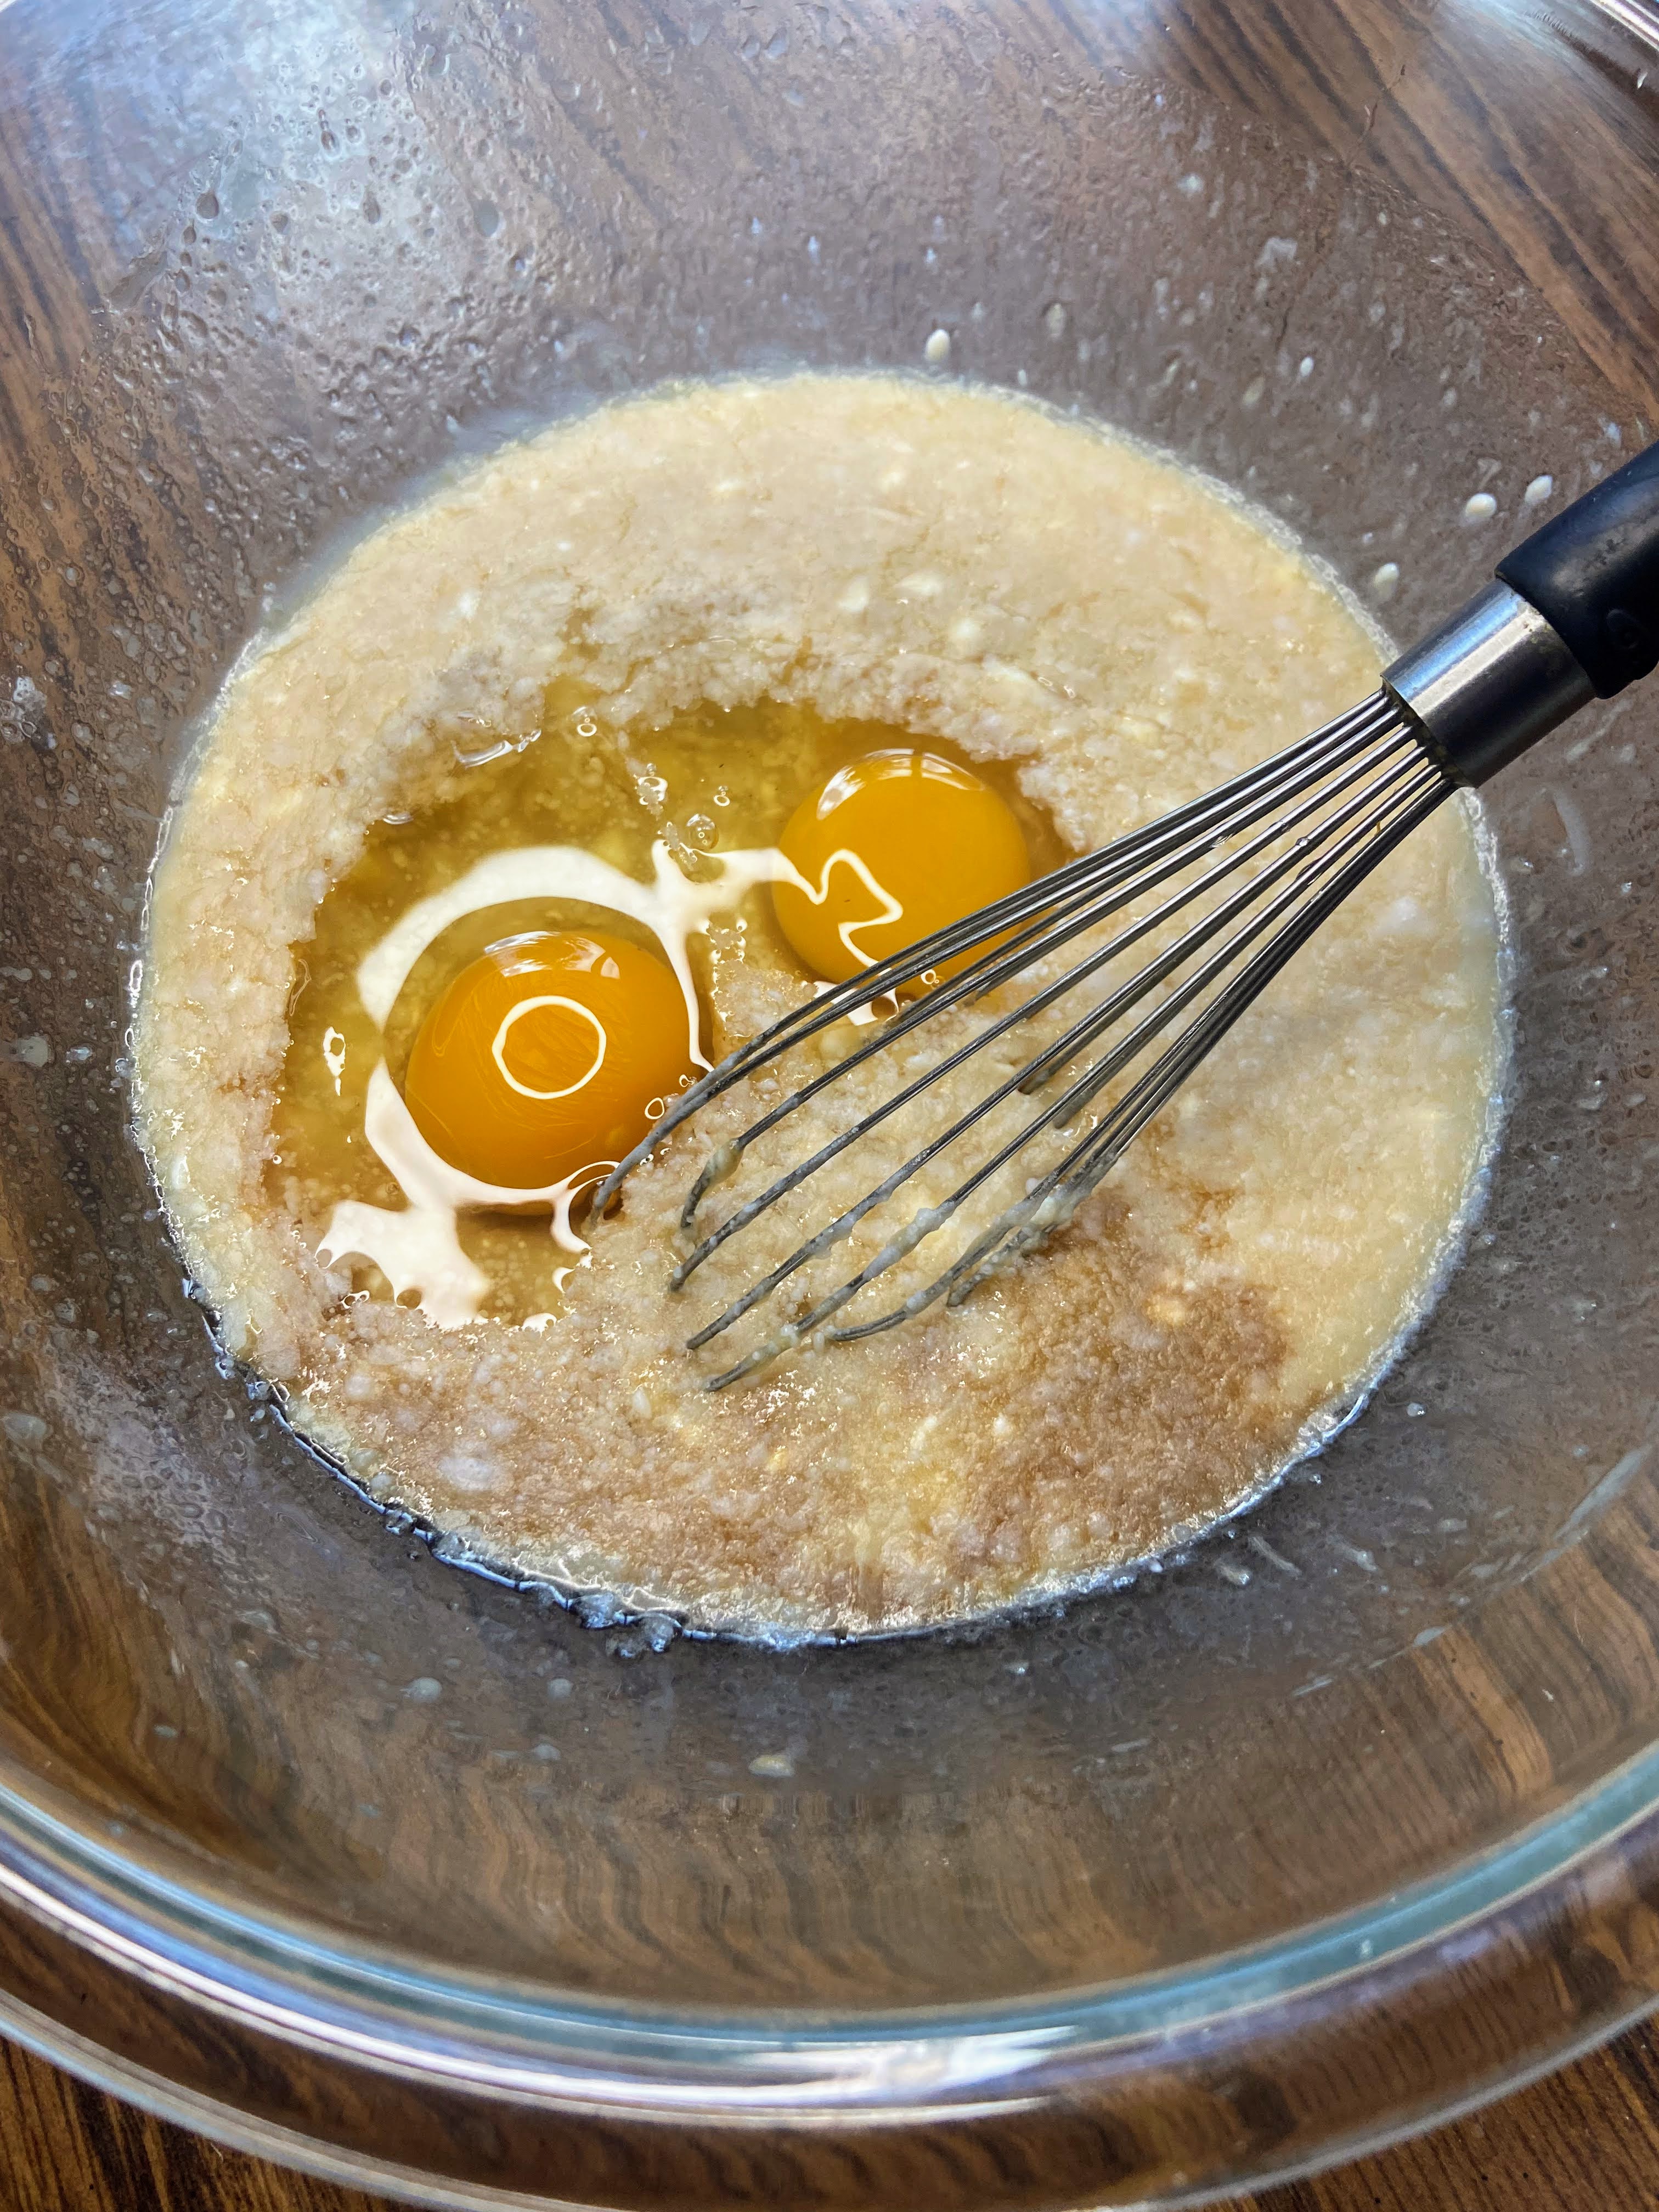
In a large bowl, mash the ripe banana. Add maple syrup, Greek yogurt, vanilla and eggs. Combine well. Stir in the melted coconut oil.
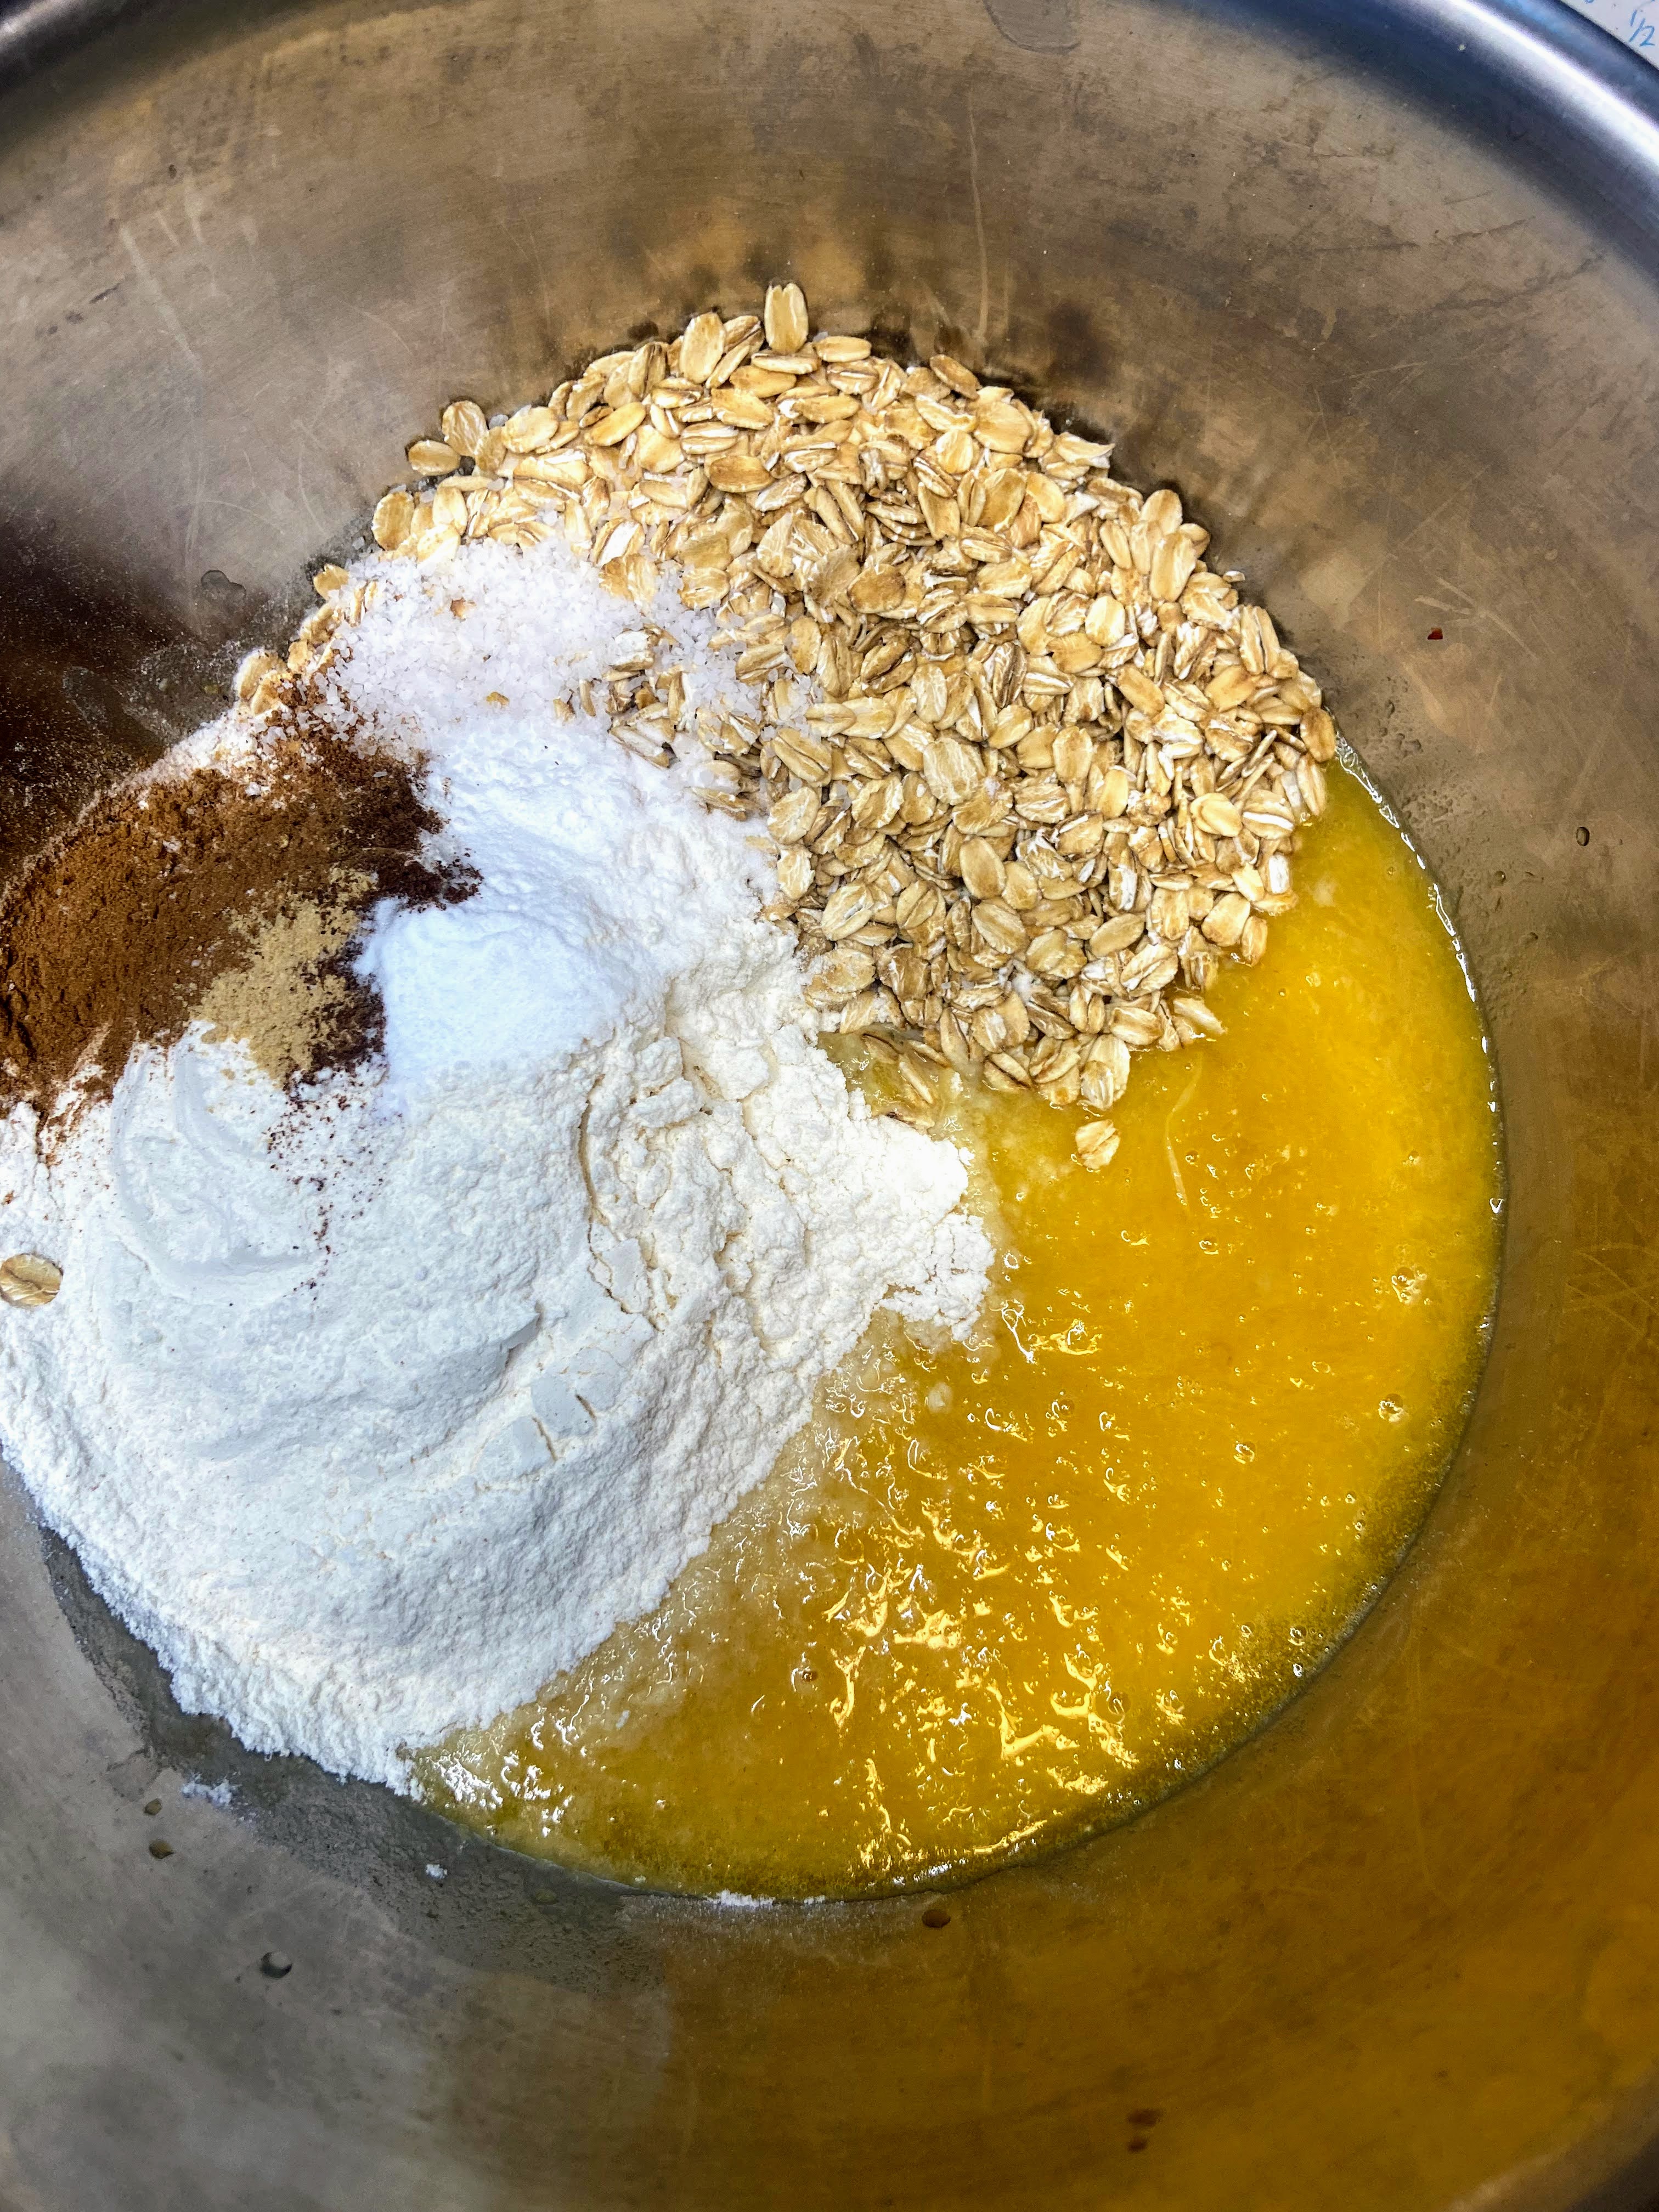
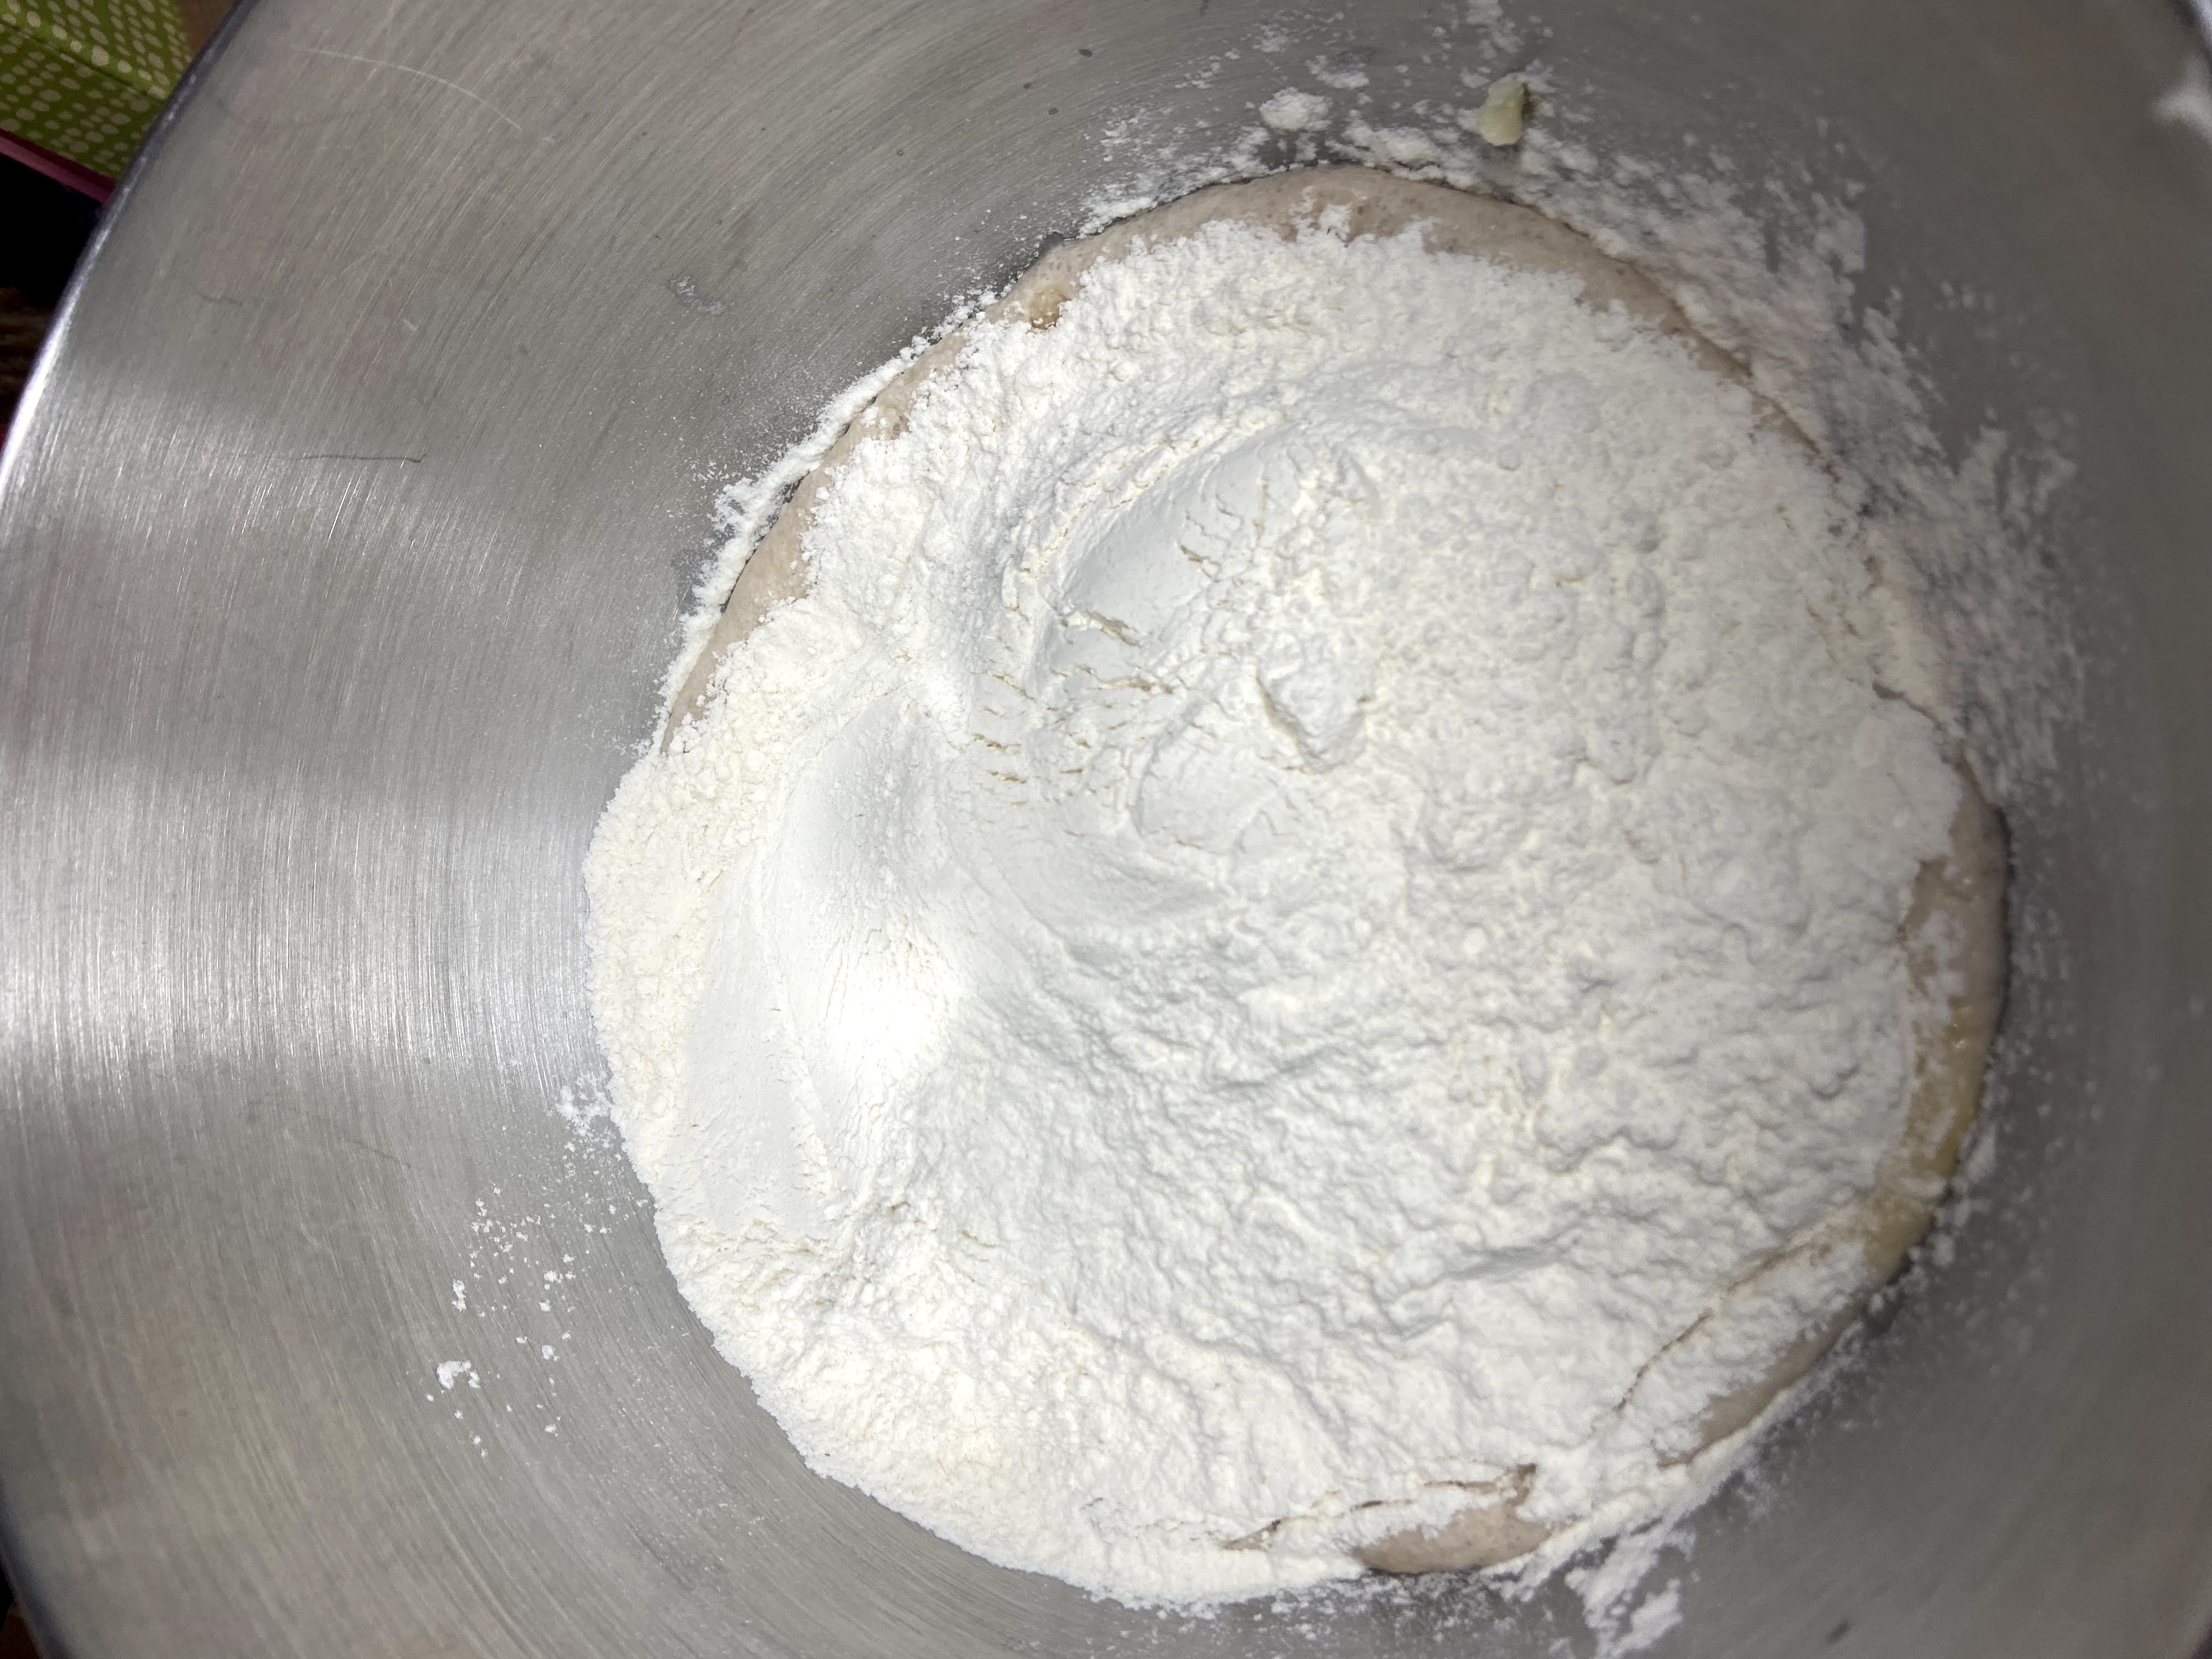
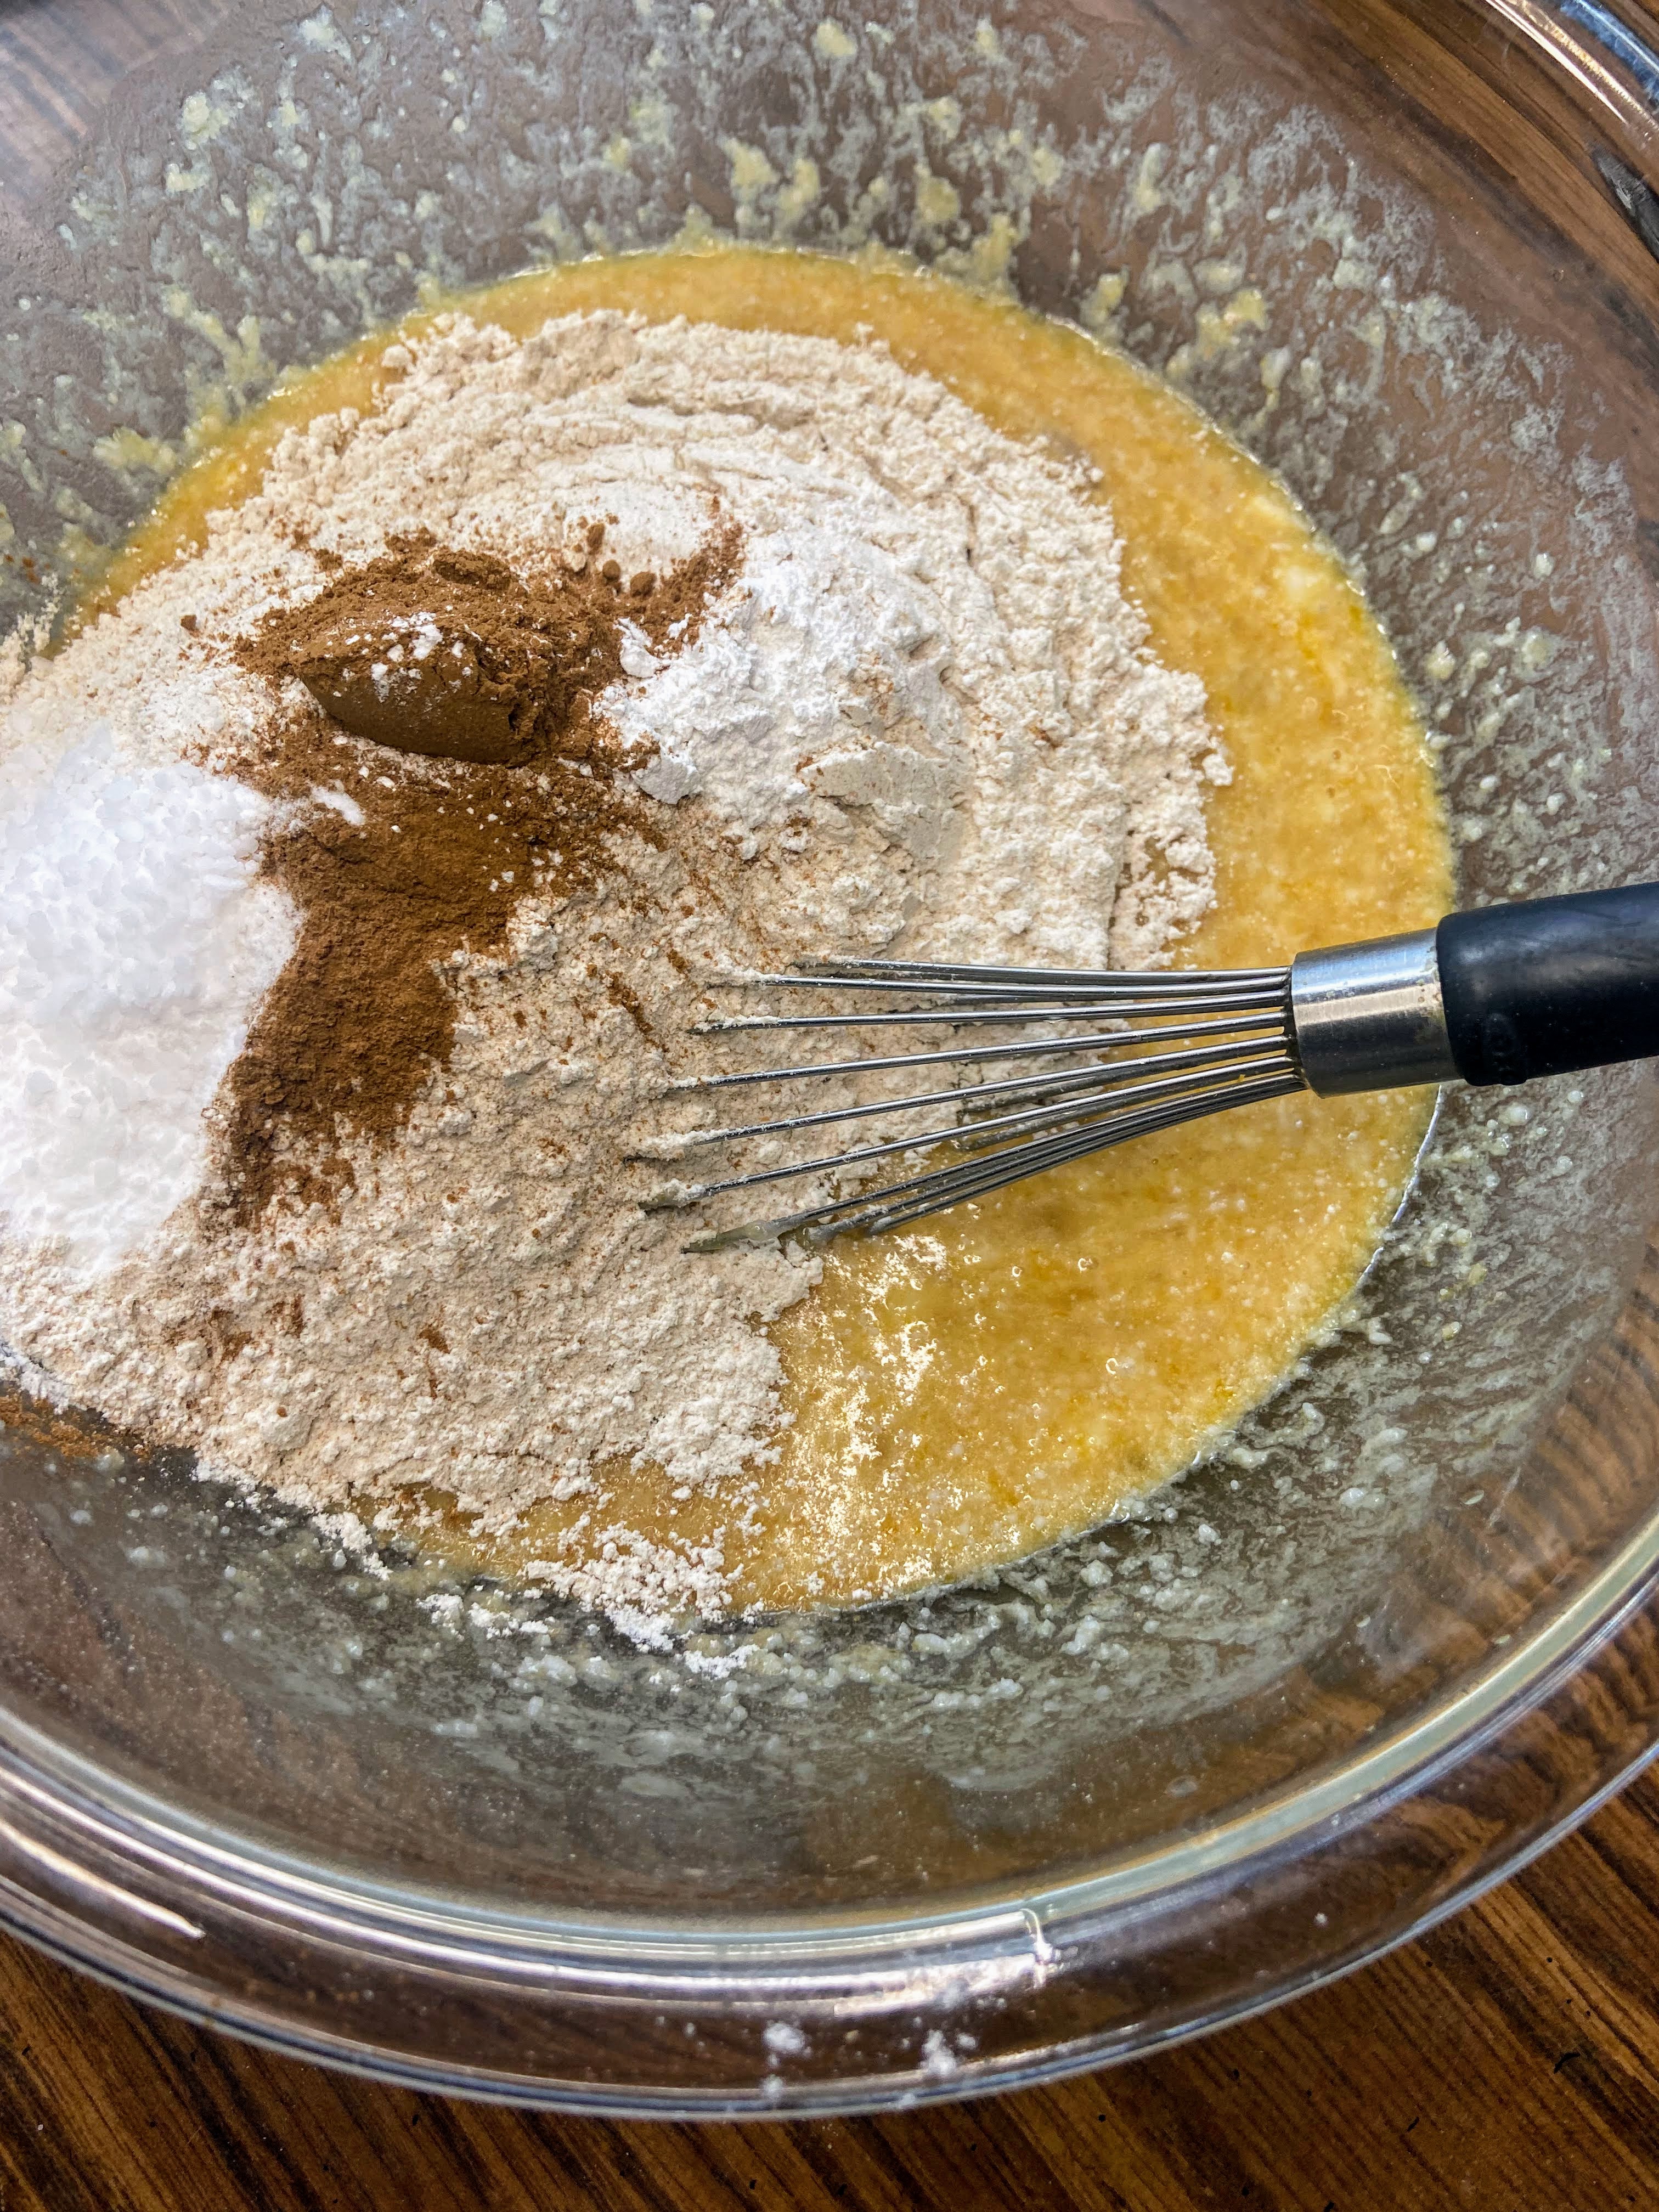
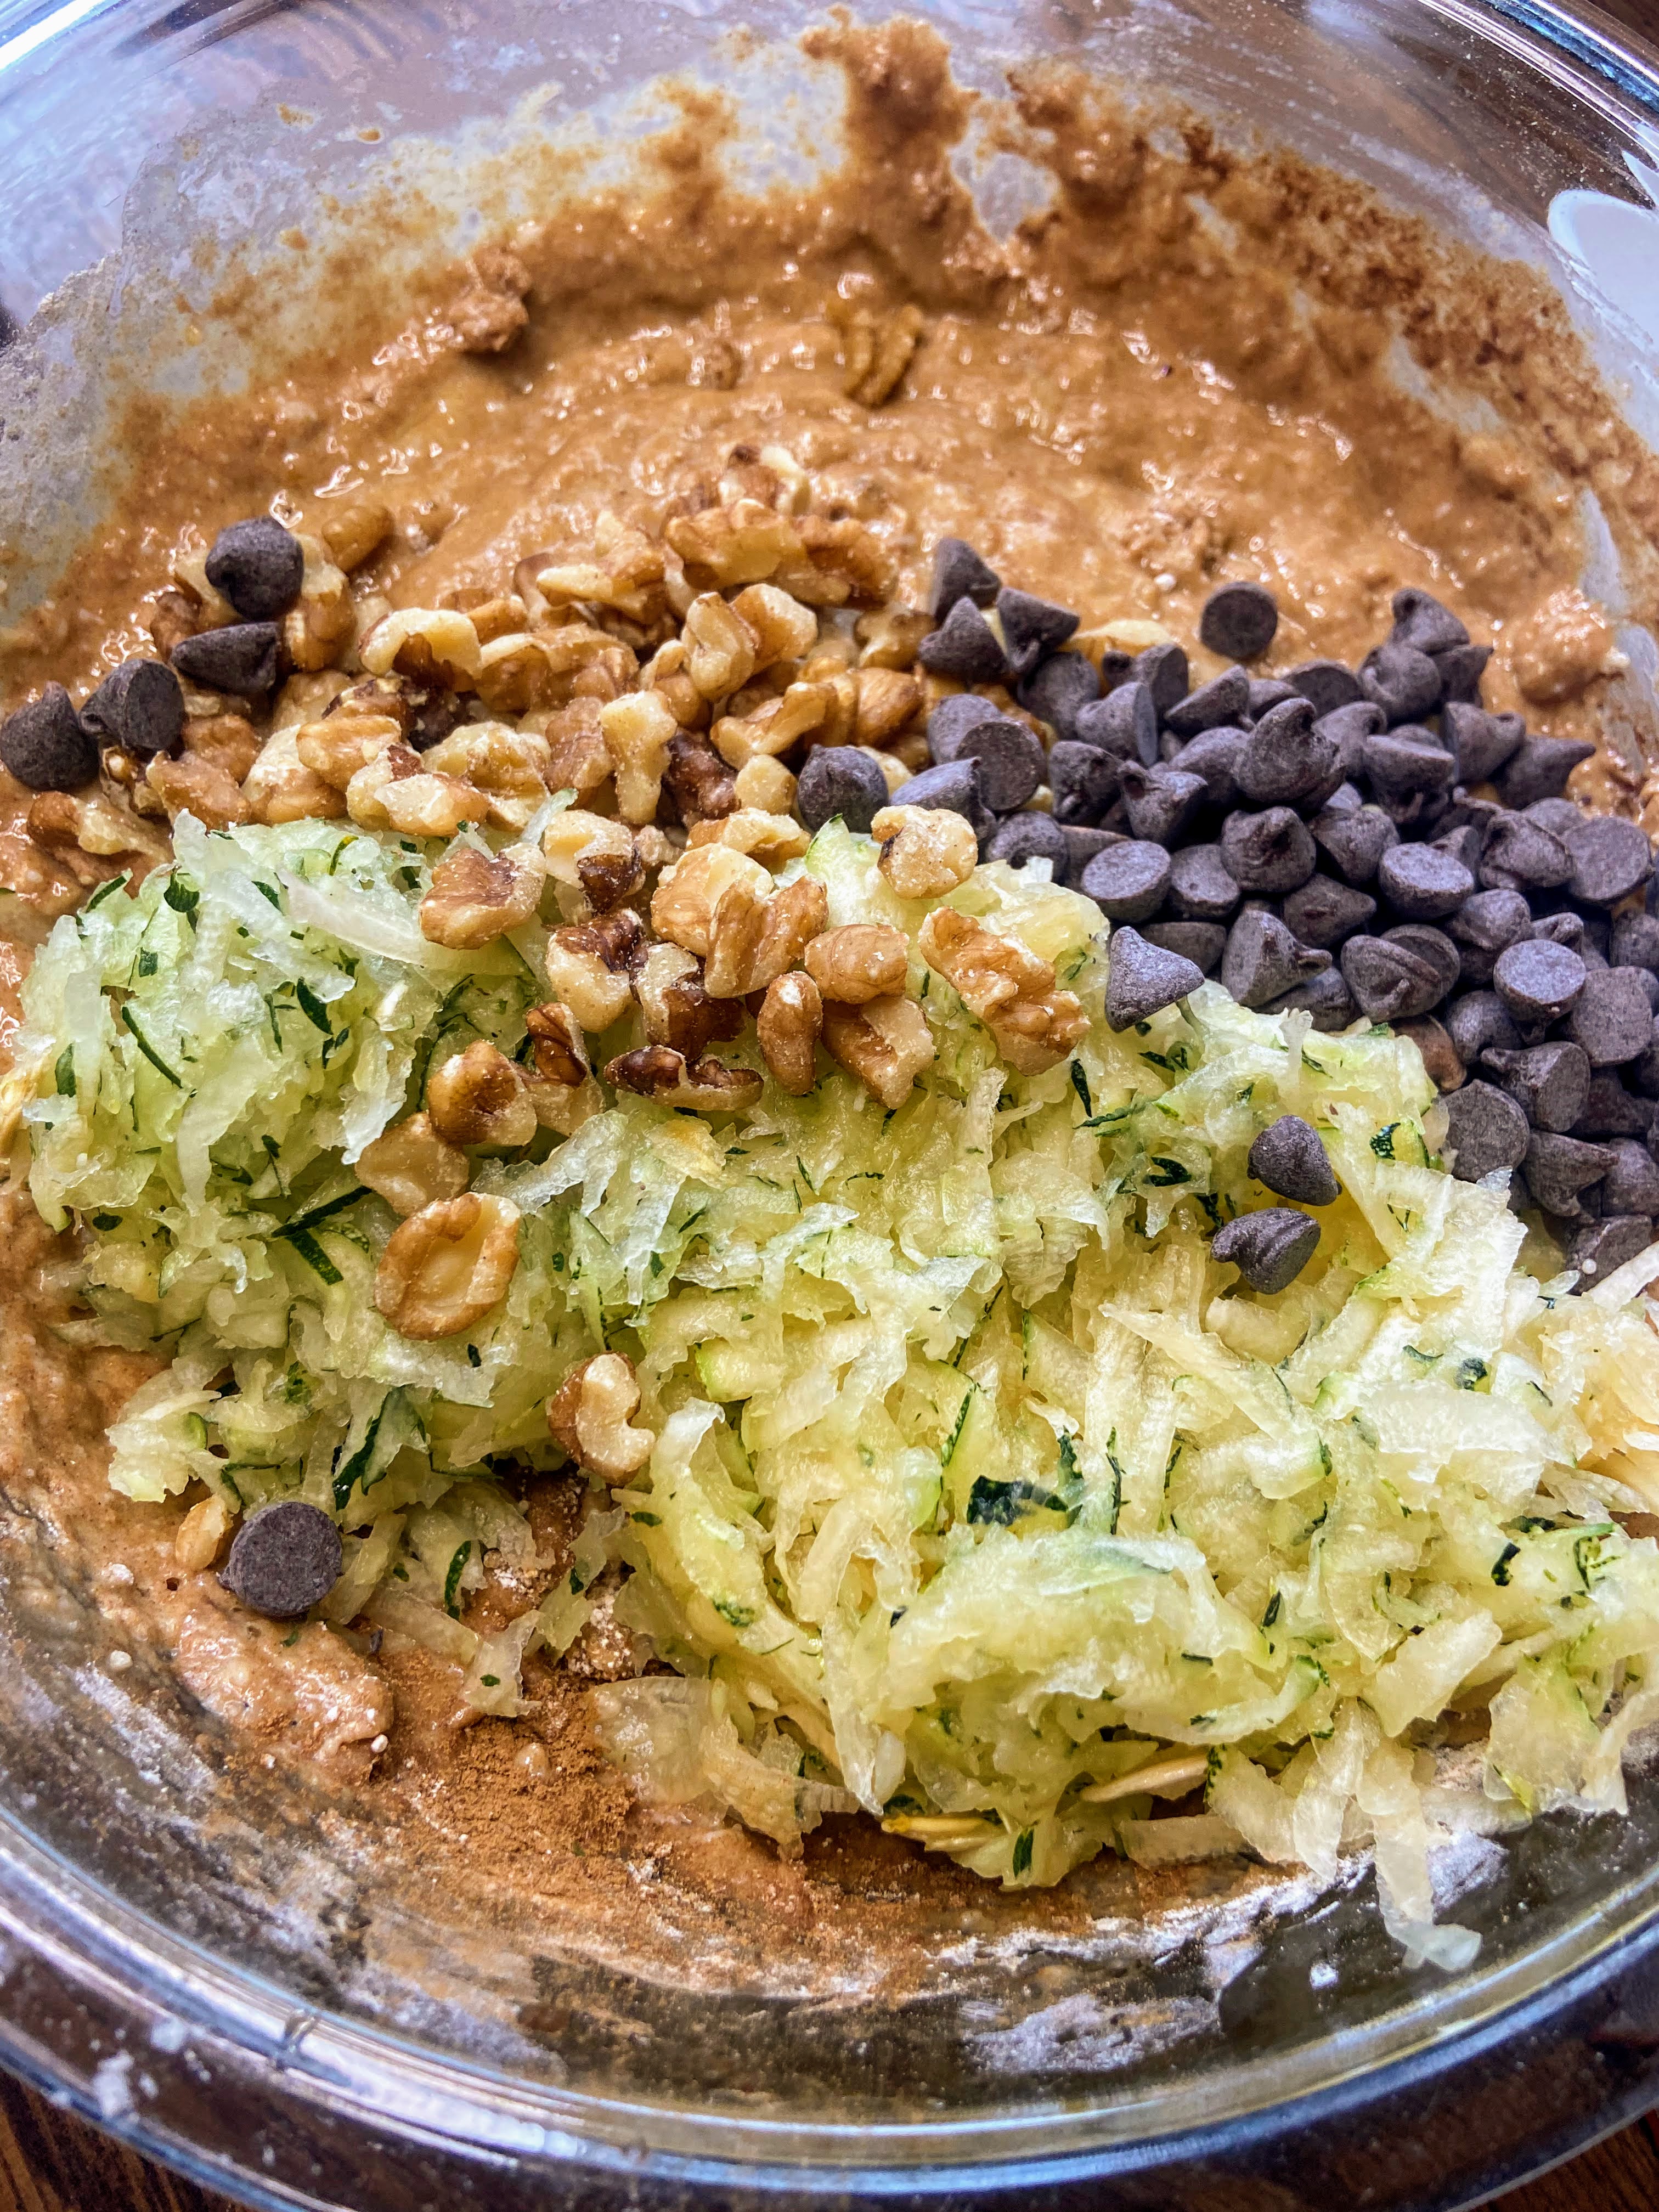
Place flour in the bowl. On top of that, add cinnamon, baking soda, baking powder, and salt. Stir into the wet ingredients until just combined. Add walnuts, chocolate chips, and zucchini. Mix just enough to combine, but make sure you get to the bottom of the bowl (I always miss that!).
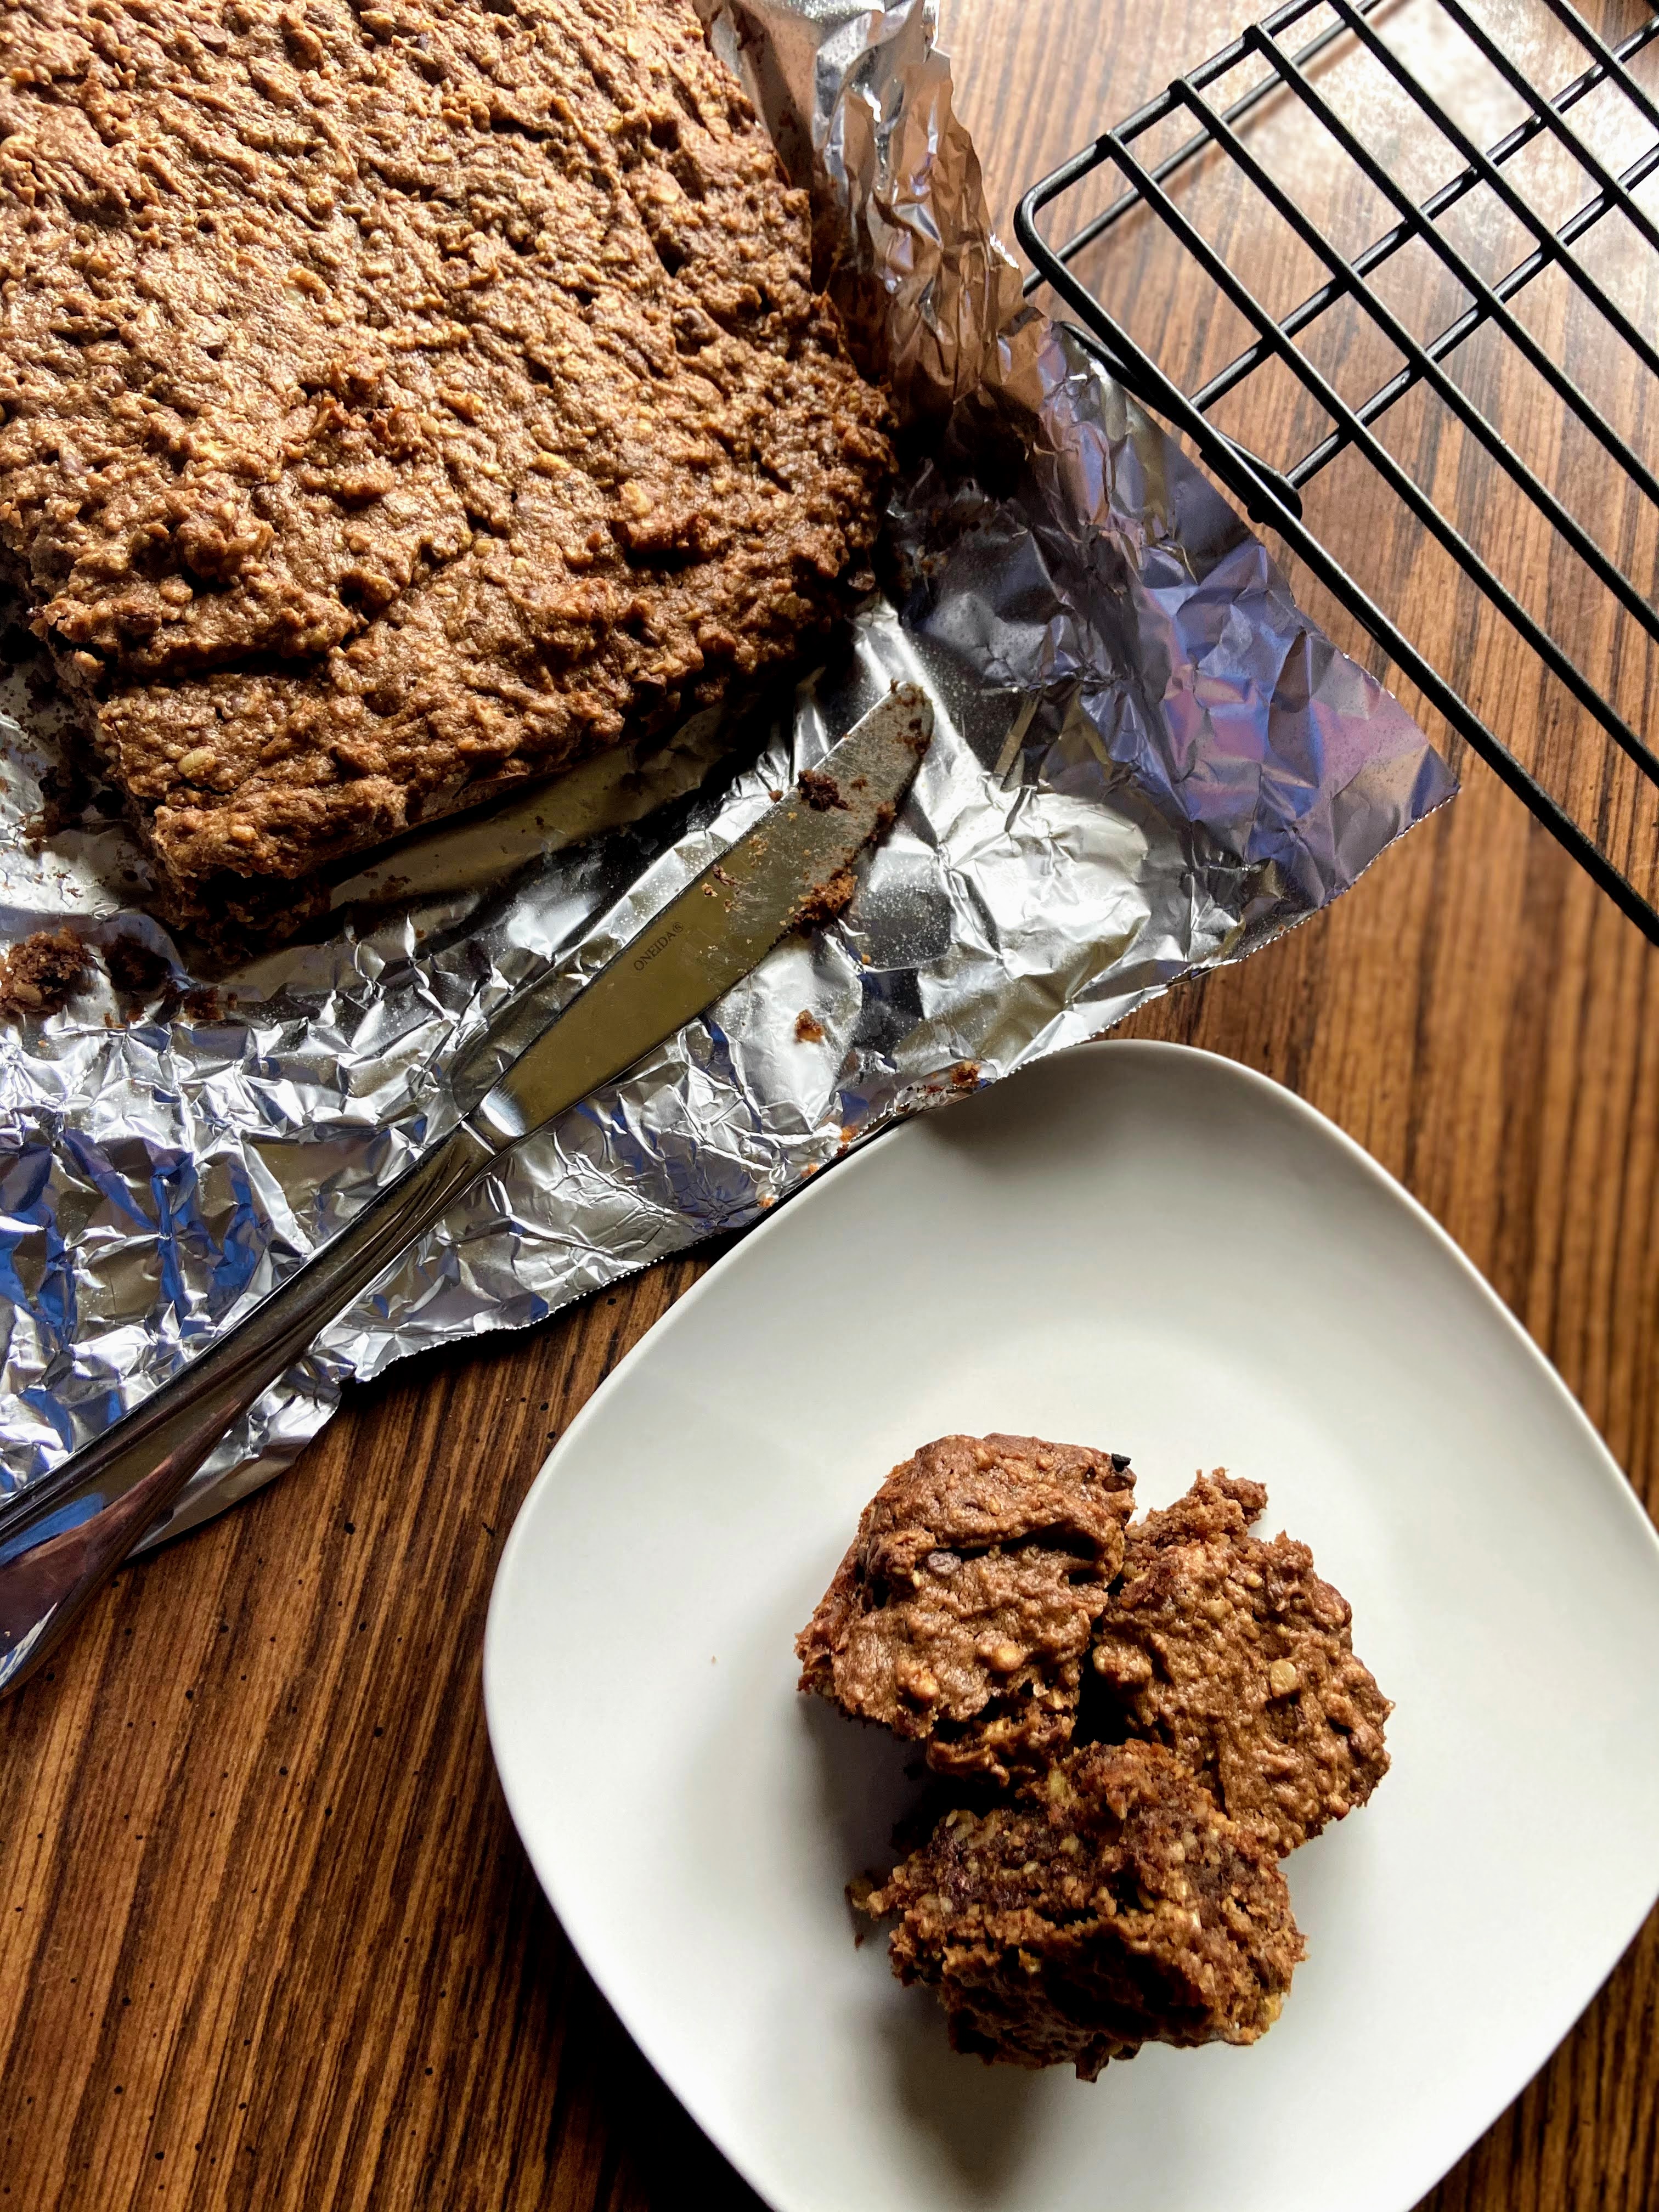
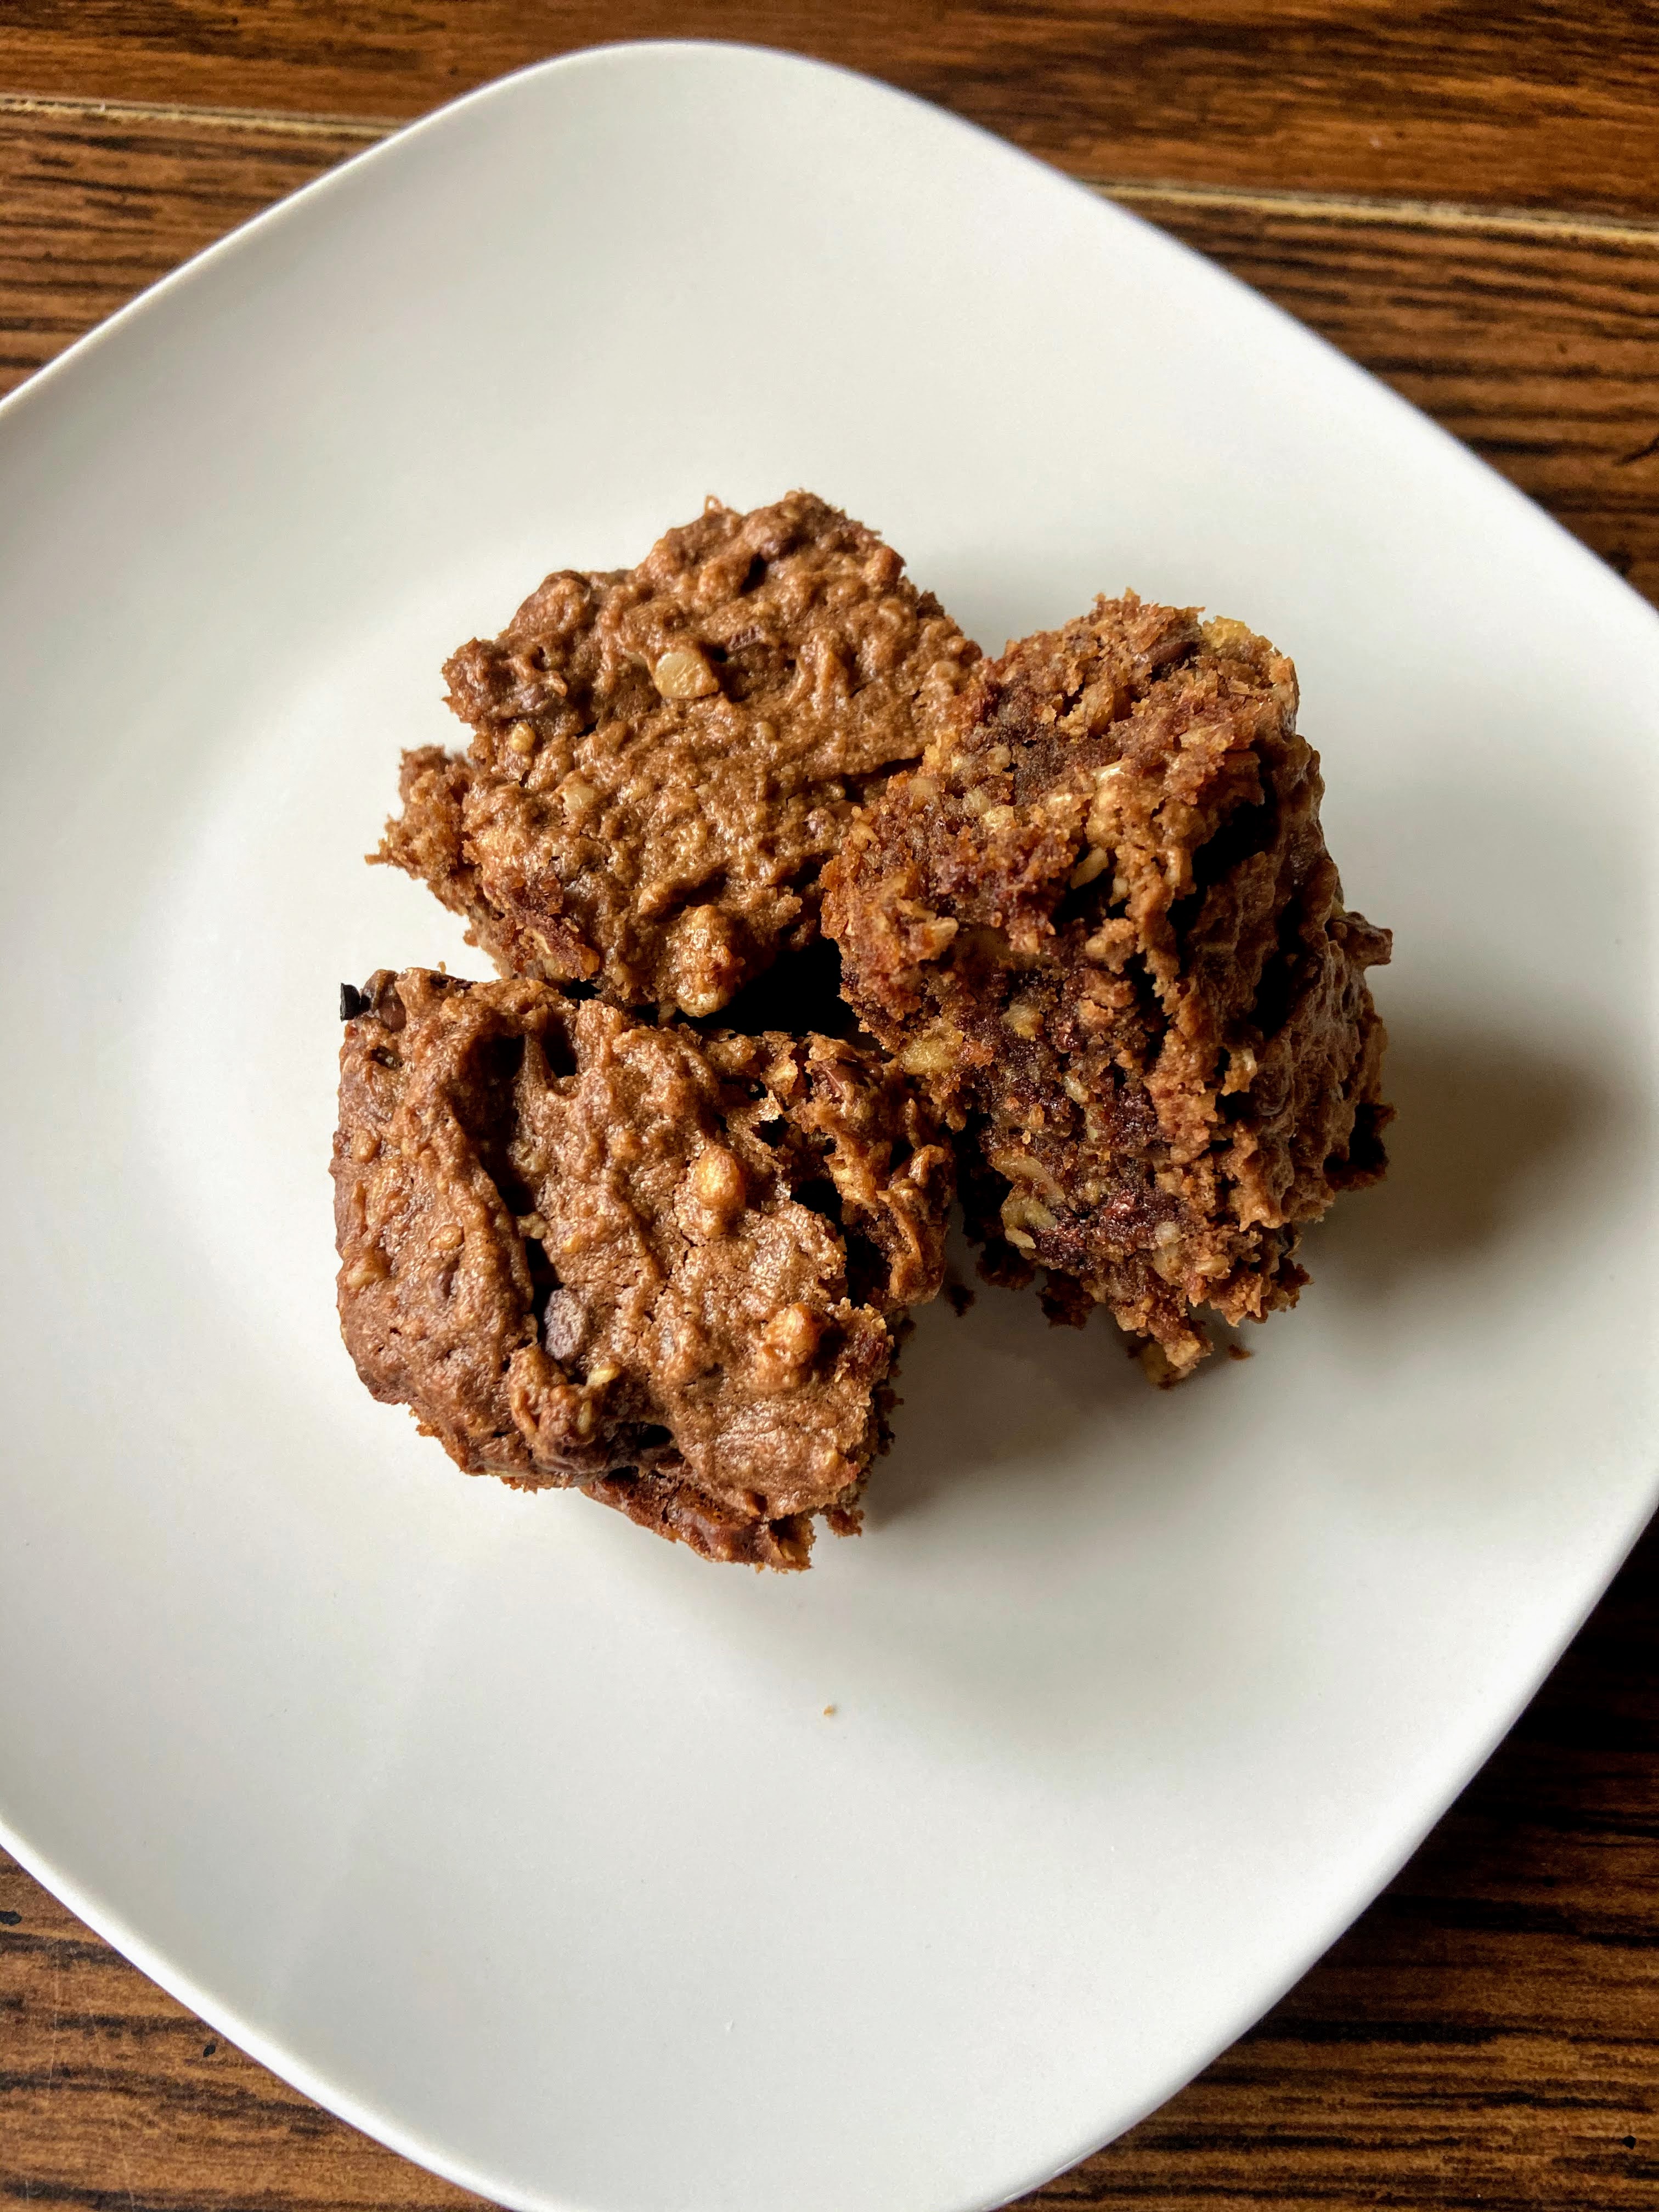
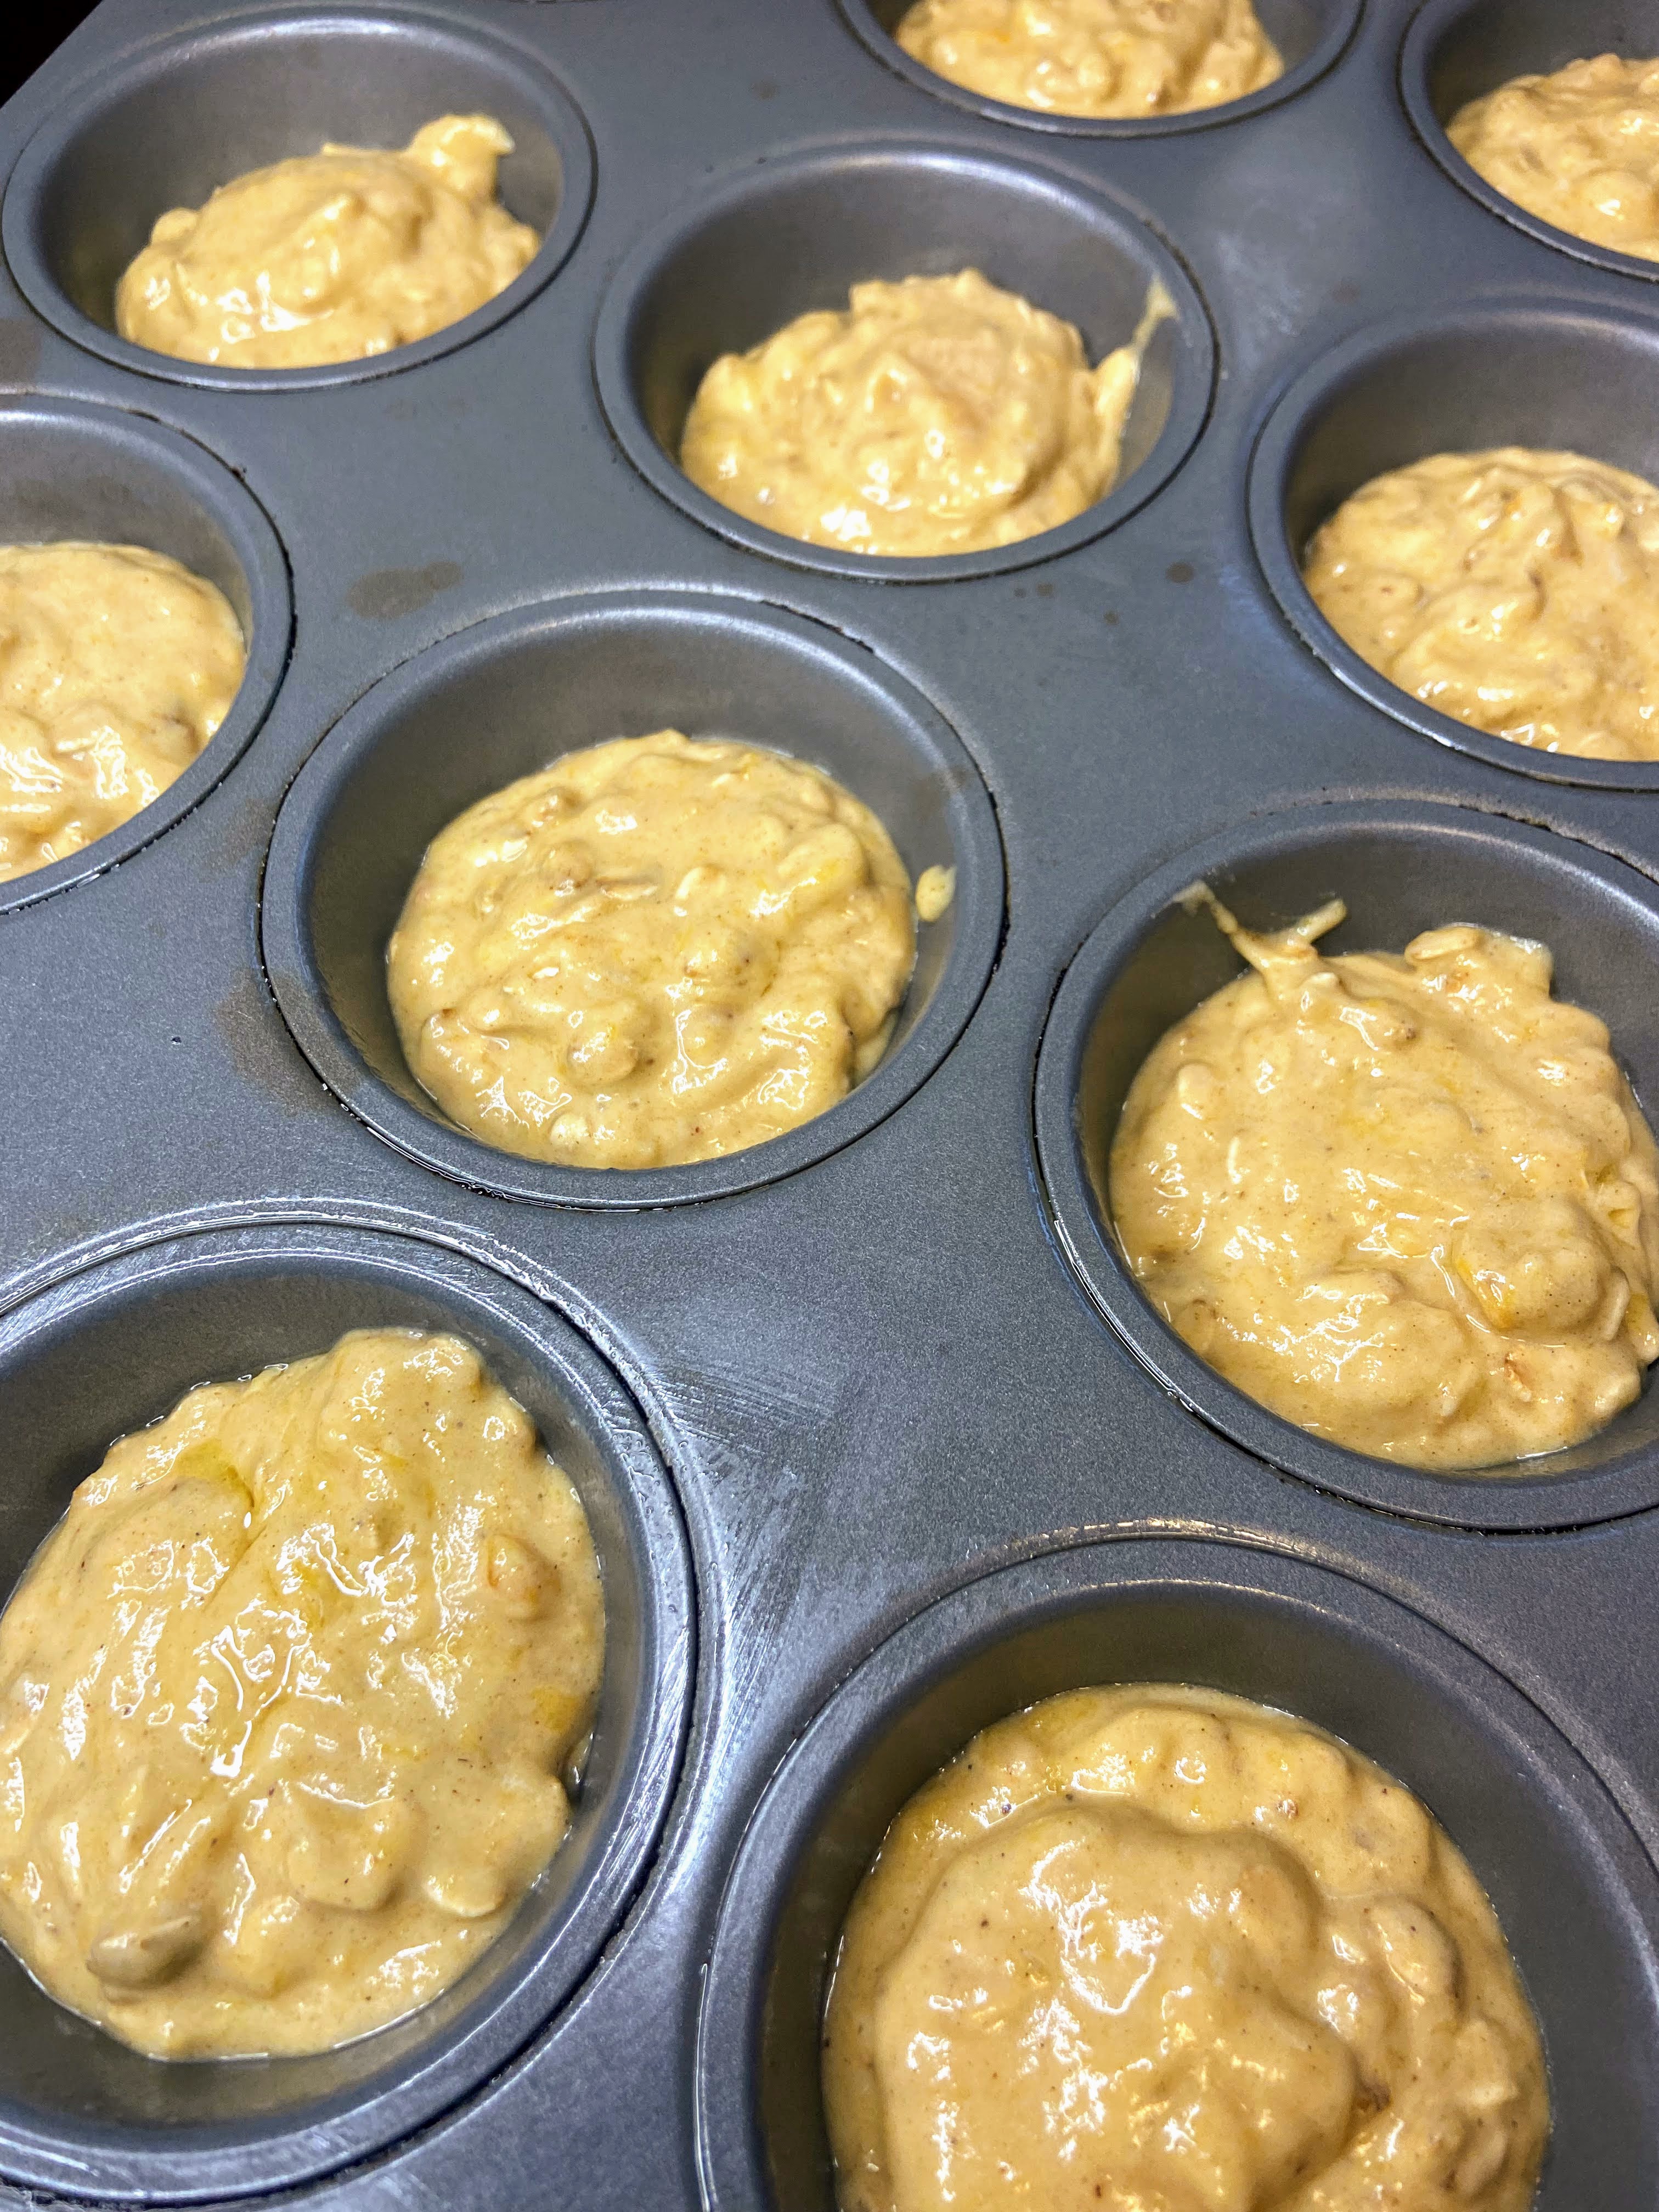
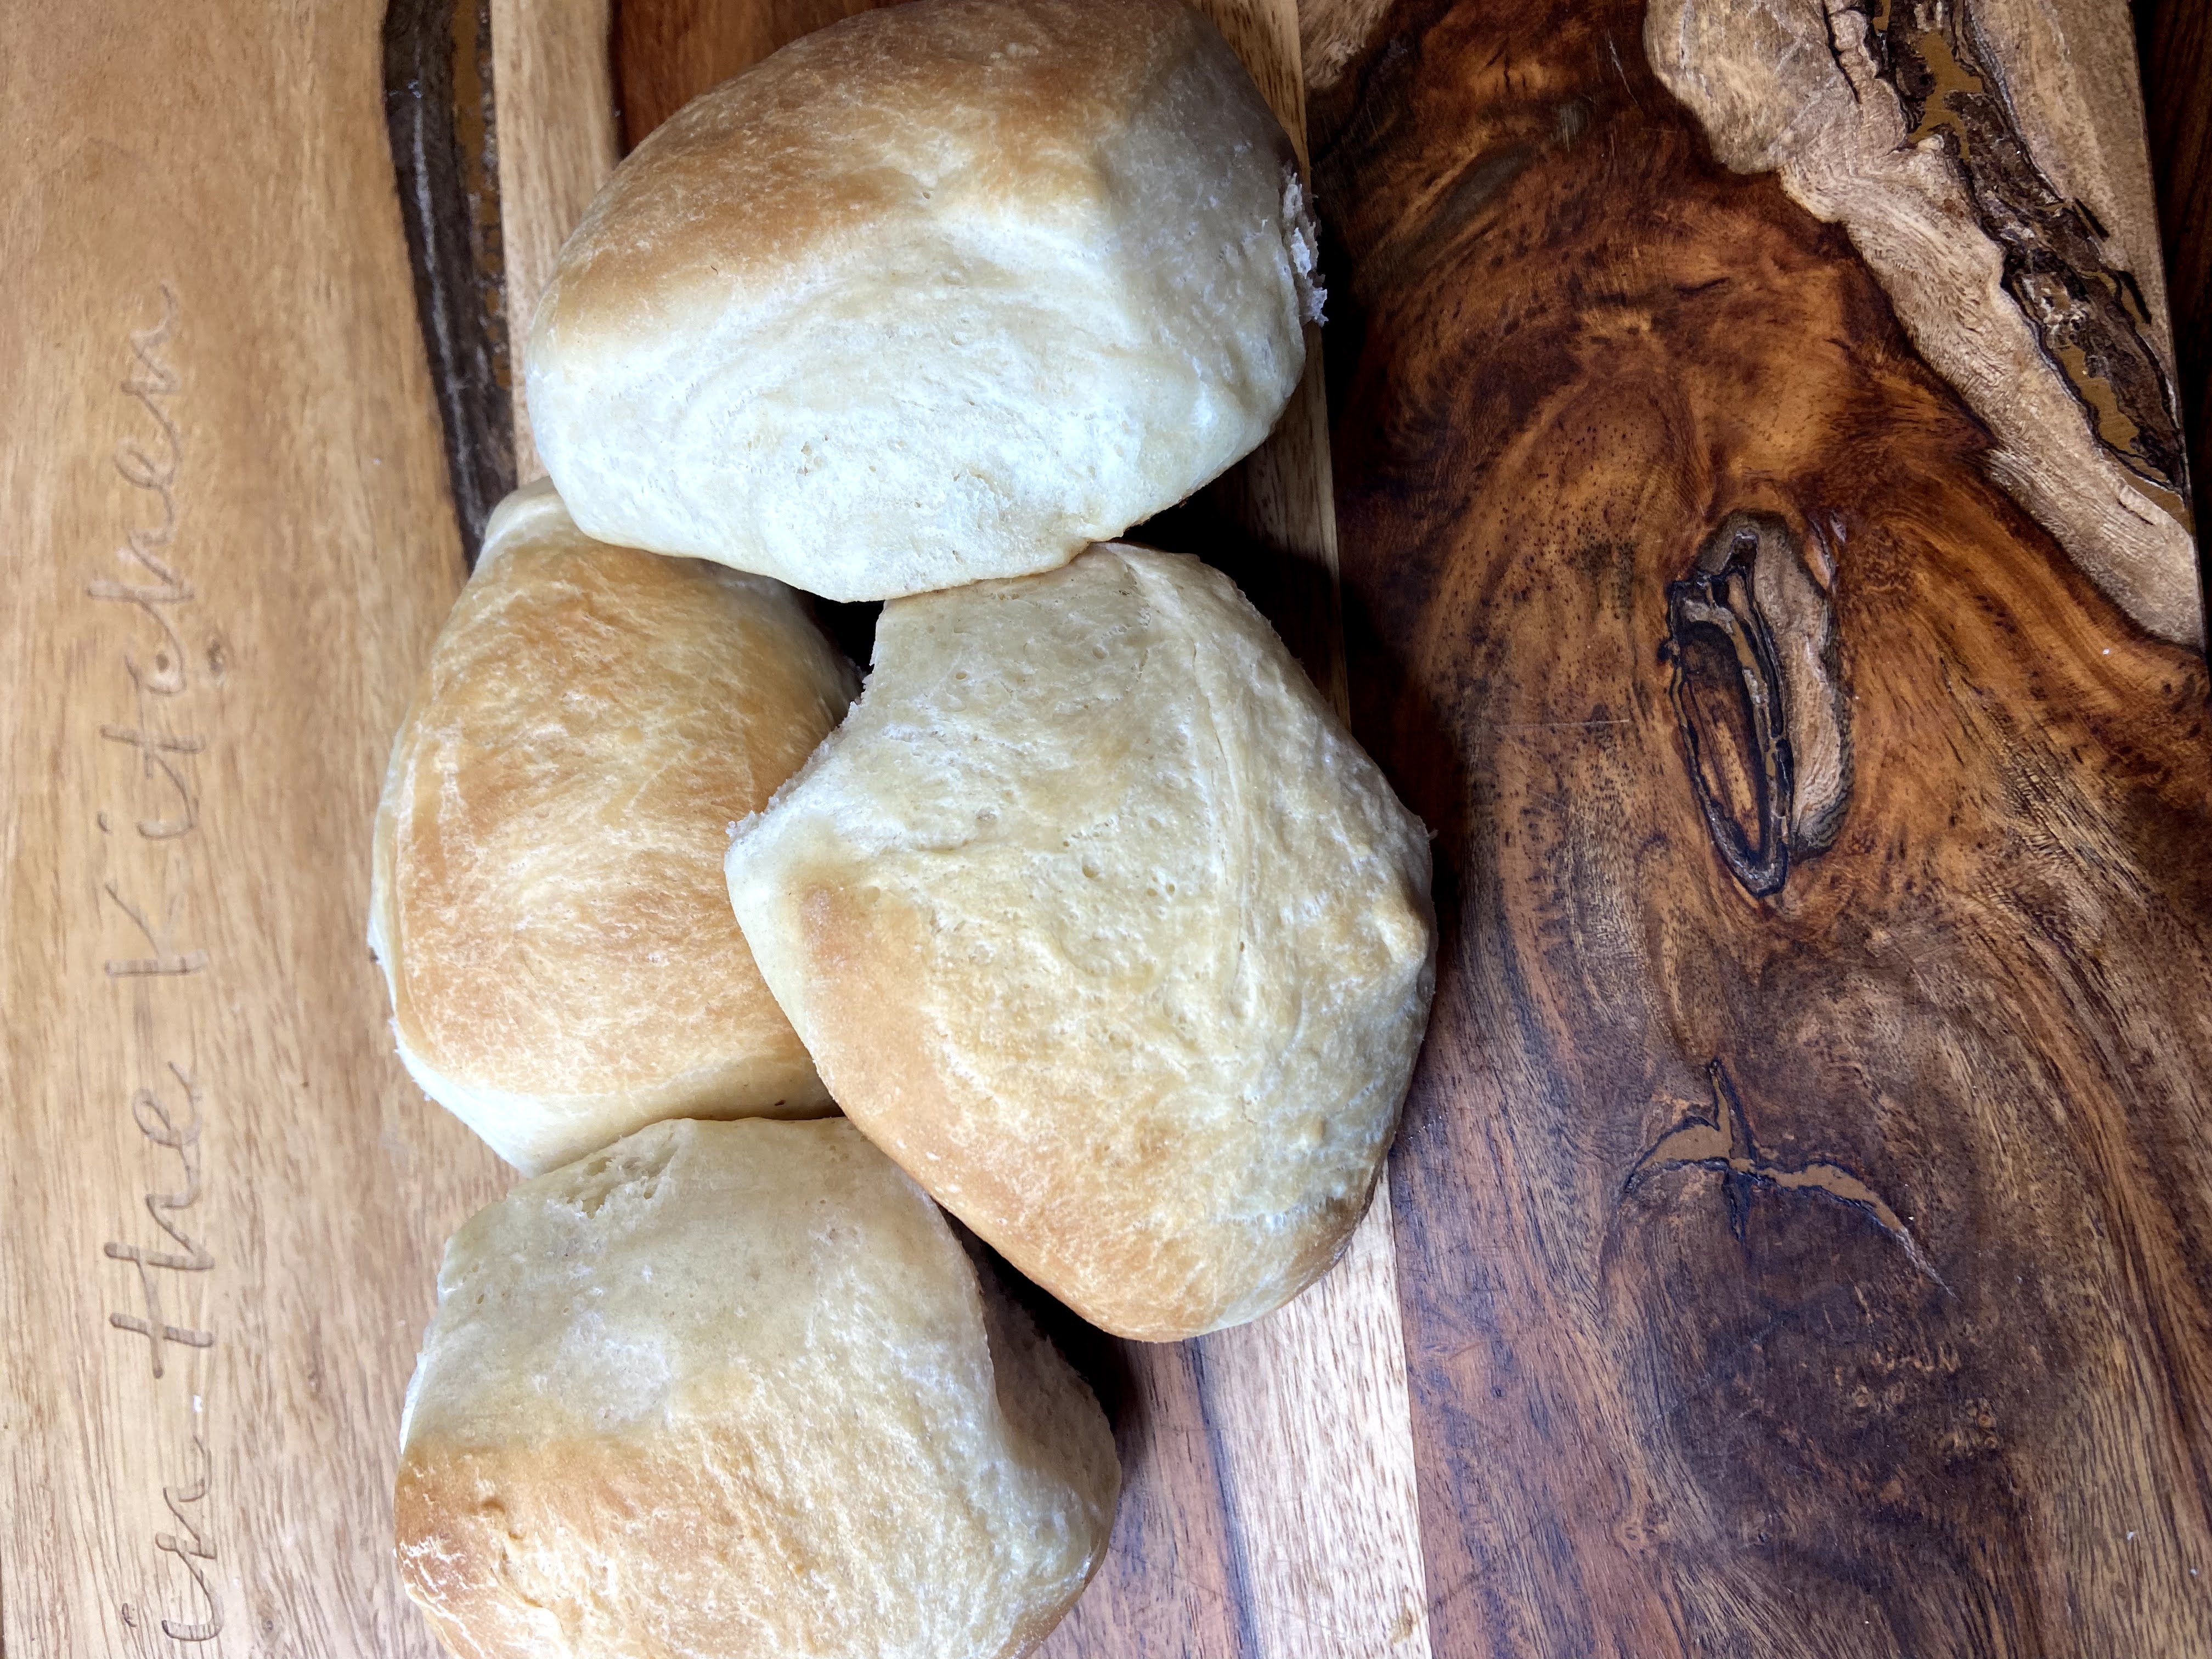
Fill muffin vessels ¾ of the way full. Bake for 16-20 minutes, until a toothpick can be inserted and when removed, comes out clean.
Why did I go muffin instead of bread? I wanted to put serving size treats in the freezer. Then they could go into lunch boxes in the morning and thaw by lunch time. Not a bad idea, right?

Mix up that banana: potato masher works great! Add in the eggs! Dry ingredients: Carefully incorporate to skip an extra bowl. Zucchini, nuts, and some chocolate of course. Getting ready to bake! Let’s snack!
Looking for other sweet treats? Check out my baking page by clicking the button below:
Perfect Zucchini Breakfast Muffins
Ingredients
- ¼ cup coconut oil melted
- ⅓-½ cup real maple syrup depending on your sweetness level
- 1 ripe banana
- ¼ cup plain Greek yogurt room temperature
- 1 teaspoon vanilla
- 2 eggs room temperature
- ½ tablespoon cinnamon
- 1 teaspoon baking soda
- ¾ teaspoon salt
- ½ teaspoon baking powder
- 1 ¾ cup whole wheat flour
- ½ cup walnuts
- ½ cup chocolate chips optional
- 2 cups shredded zucchini with the water rung out
Instructions
- Preheat the oven to 350 degrees. Prepare 15 muffin tin vessels with liners or by greasing.
- In a large bowl, mash the ripe banana. Add maple syrup, Greek yogurt, vanilla and eggs. Combine well. Stir in the melted coconut oil.
- Place flour in the bowl. On top of that, add cinnamon, baking soda, baking powder, and salt. Stir into the wet ingredients until just combined.
- Add walnuts, chocolate chips, and zucchini. Mix just enough to combine, but make sure you get to the bottom of the bowl.
- Fill muffin vessels ¾ of the way full. Bake for 16-20 minutes, until a toothpick can be inserted and when removed, comes out clean.