Last Updated on October 9, 2022 by Jess
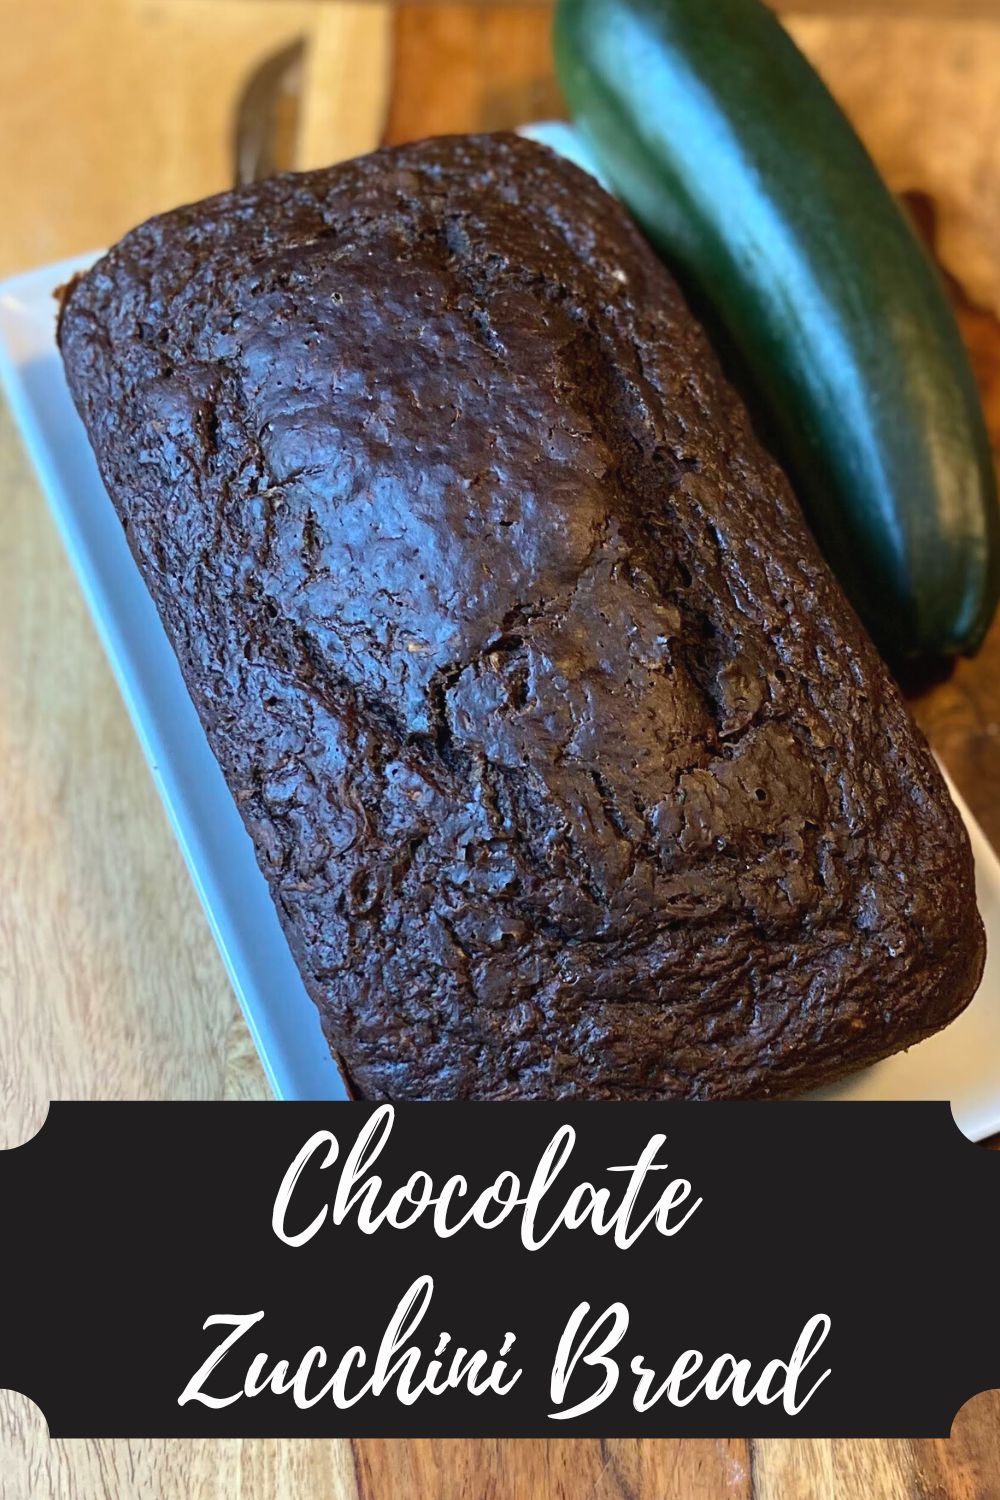
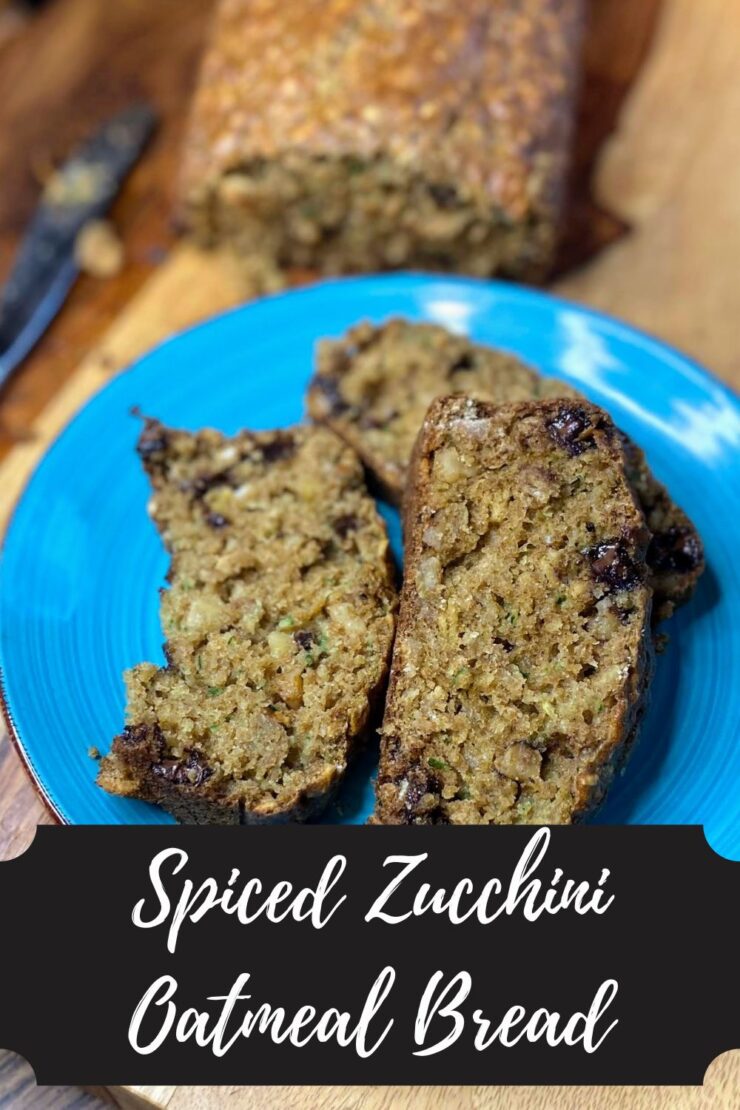
“Mama! Will you make more chocolate zucchini bread?” That’s what I heard a few weekends back, and while I really love my chocolate zucchini bread recipe (Find it here!) I wanted to skip the chocolate and go for a new recipe; A spiced zucchini oatmeal bread.
The goal? Make a zucchini bread my kids would gobble up while making some healthy swaps. If you’ve been here a while, you know my MO is maple syrup (or honey!) instead of sugar, whole wheat flour rather than white, and oatmeal is so heart-healthy I have to throw it in there!
And while lots of my recipes are gluten-free (because darn it, I care about you, gluten-free friends!), this recipe uses some Sunrise Flour Mill Heritage Wheat Flour. If you are gluten-free, I highly recommend checking out their flour. They are well known in the St. Paul/Minneapolis area for creating heritage wheat that is more digestible. Freaking dang cool, right?
This recipe was a great breakfast for my mini me and mid morning snack for myself. I eat breakfast at 6 am and lunch at 12:20 pm. I don’t know about you, but this girl can not last that long. There is definitely a second breakfast around 9:30 with some form of granola, graham cracker, or bread and a piece of fruit. It’s how this active teacher rolls. But enough about my eating habits, let’s get baking!
Your Ingredients for Spiced Zucchini Oatmeal Bread
- ¾ cup maple syrup
- 1 tablespoon vanilla
- 3 eggs
- ⅓ cup oil
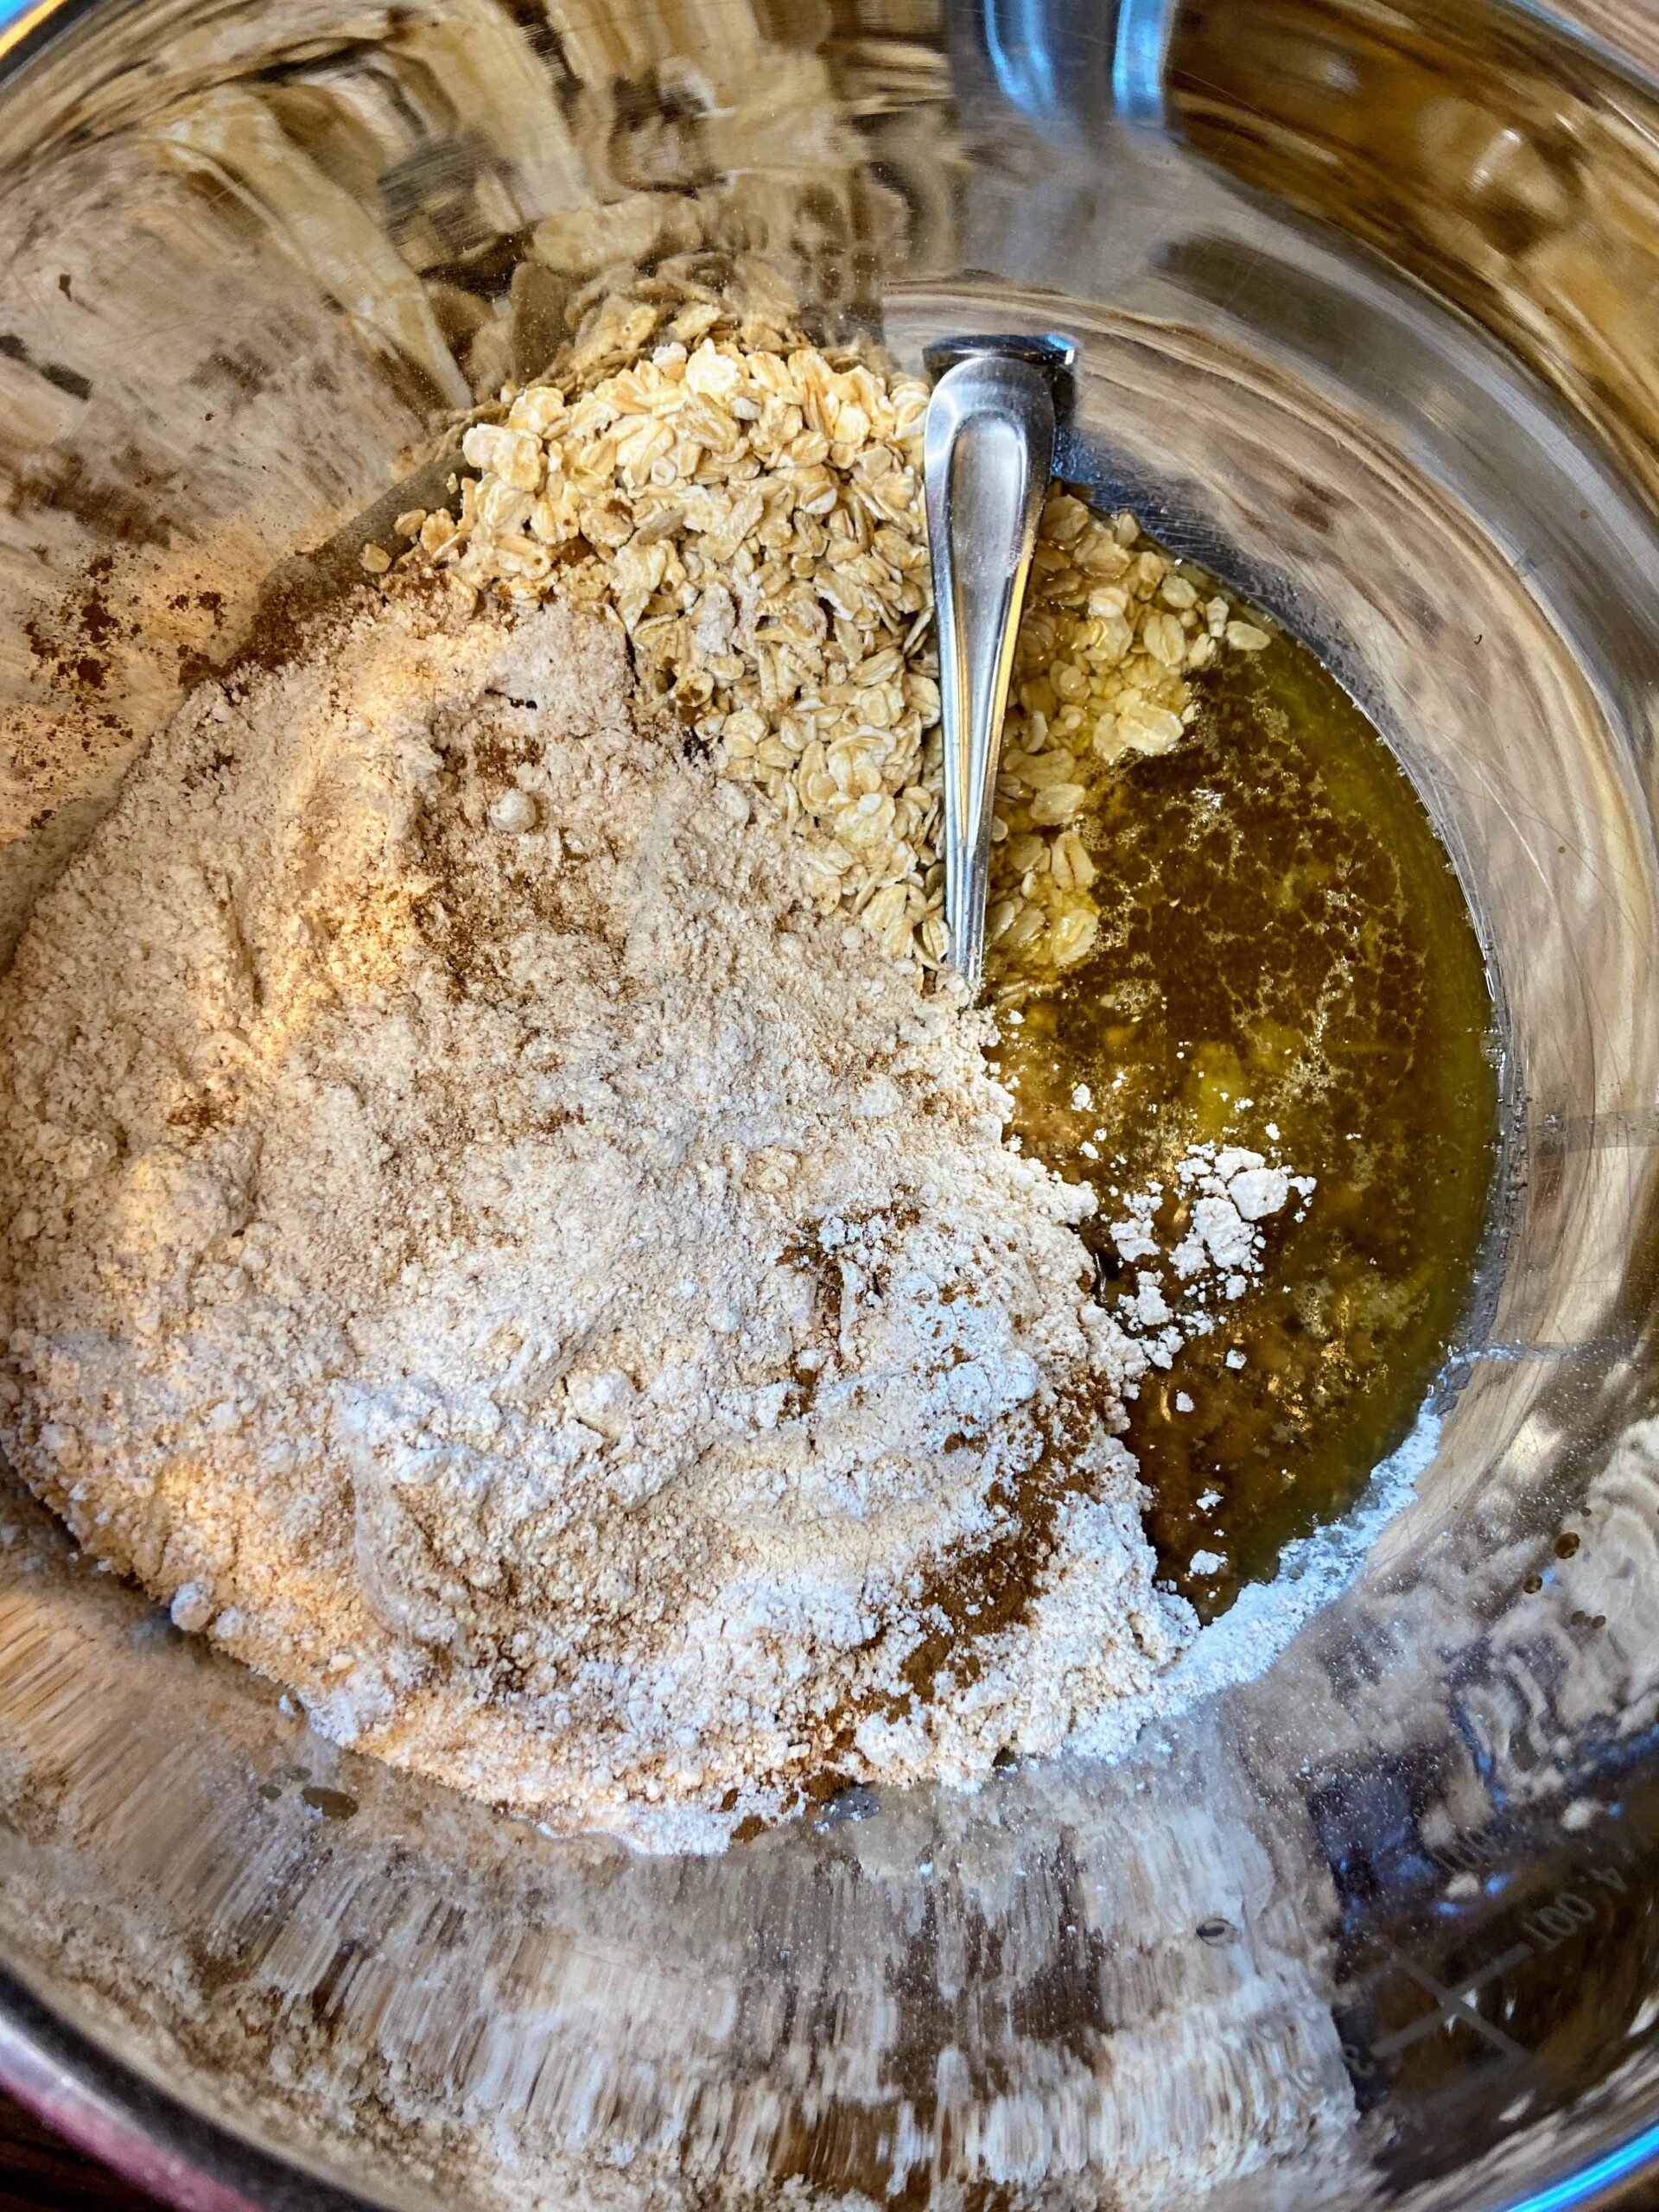
- 2 cups whole wheat flour
- 1 cup old-fashioned oats
- 2 teaspoons baking soda
- ½ teaspoon baking powder
- 1 teaspoon salt
- 1 teaspoon ground cinnamon
- ⅛ teaspoon ground cloves
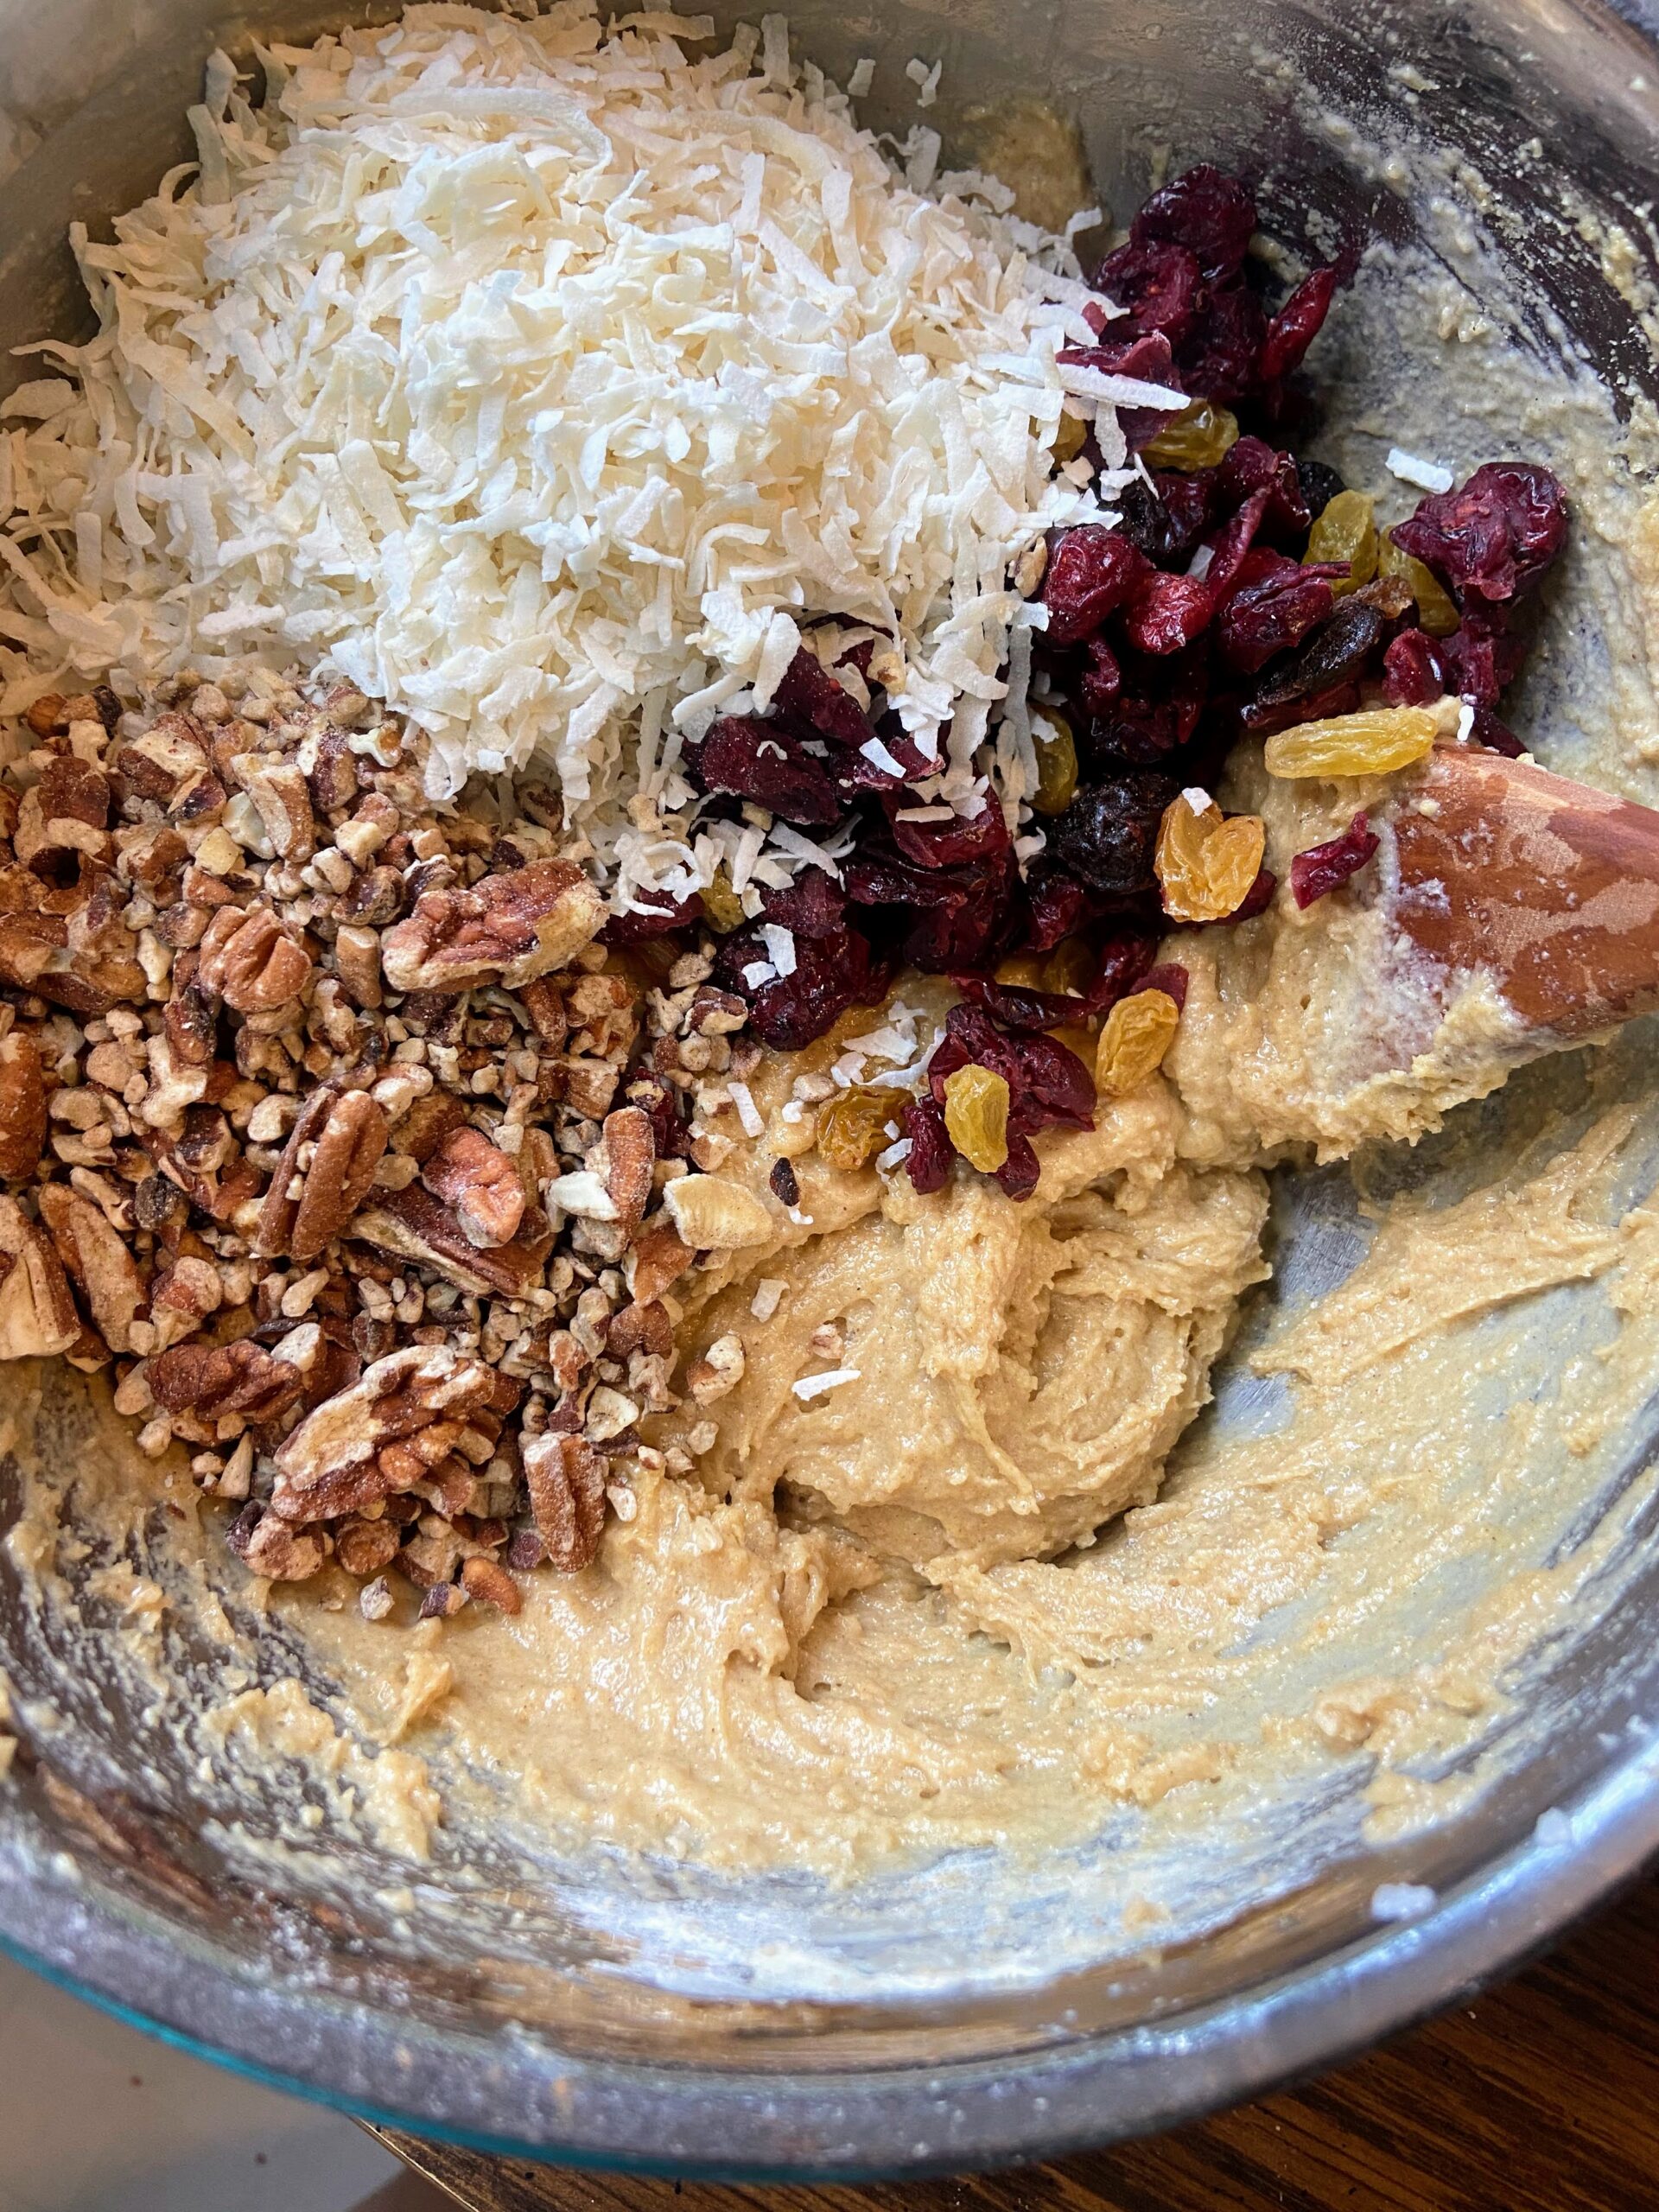
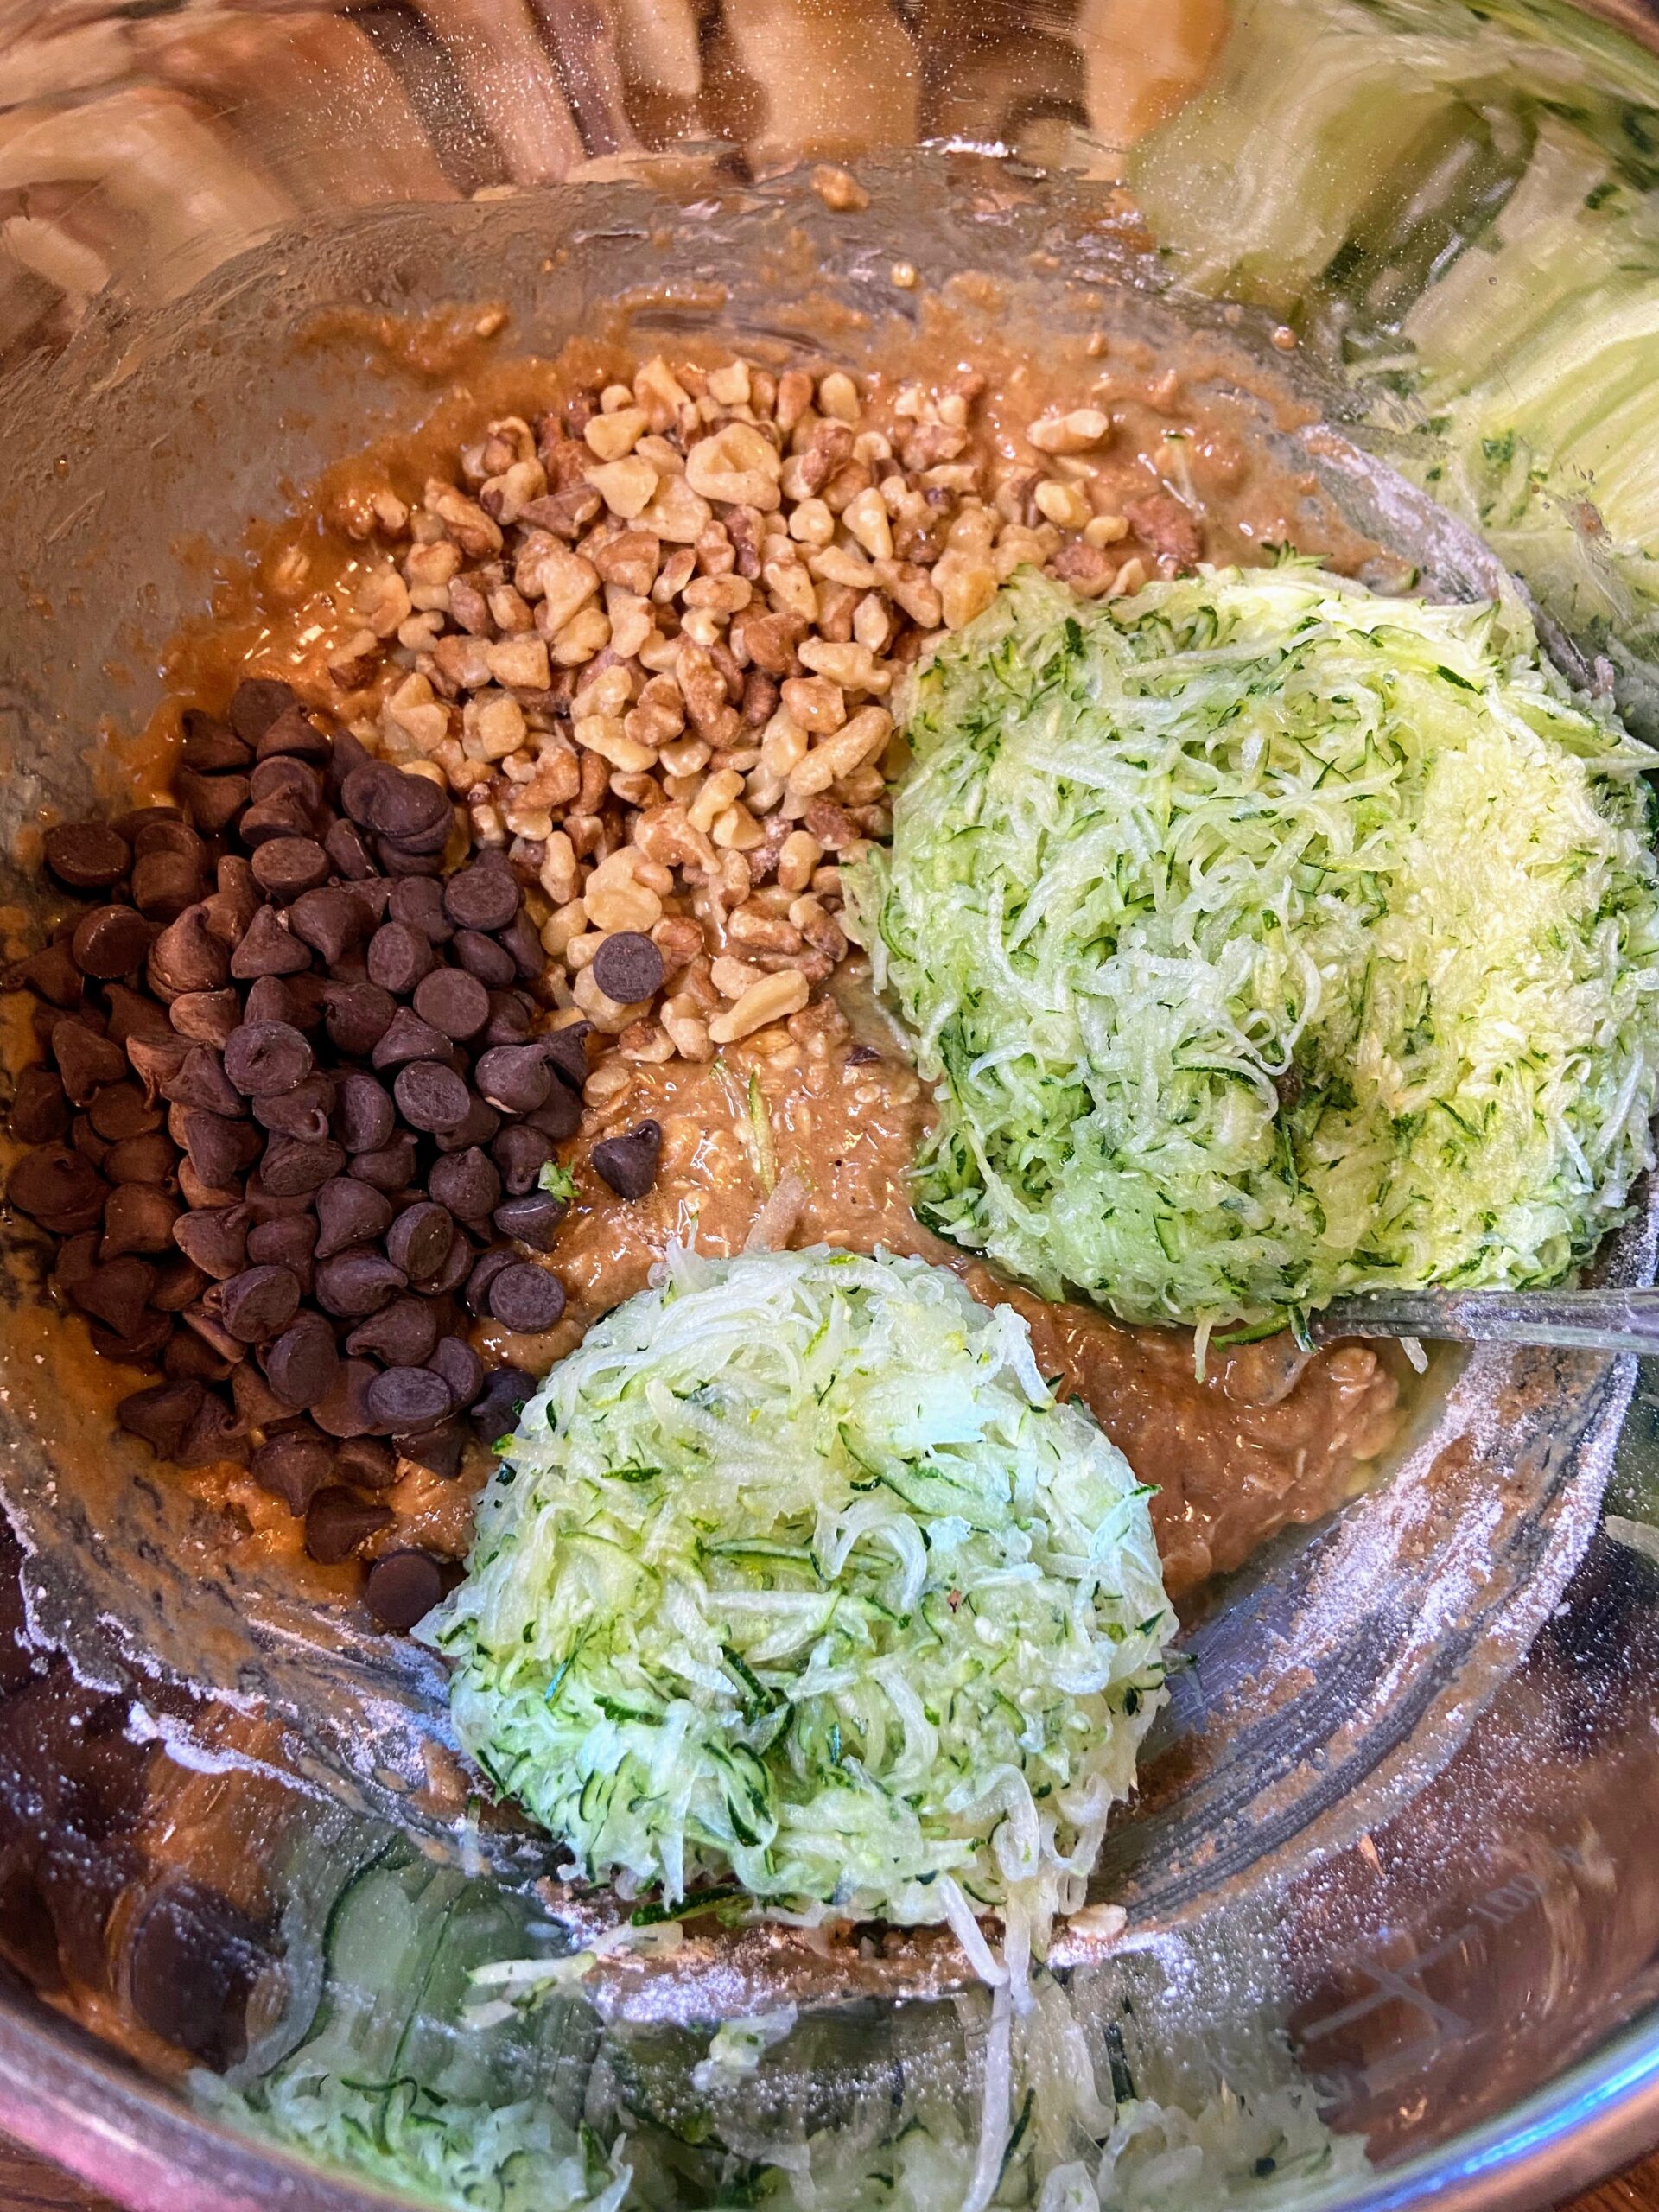
- ½ cup chocolate chips
- ½ cup chopped nuts
- 2 ½ – 3 cups shredded zucchini
Your Steps
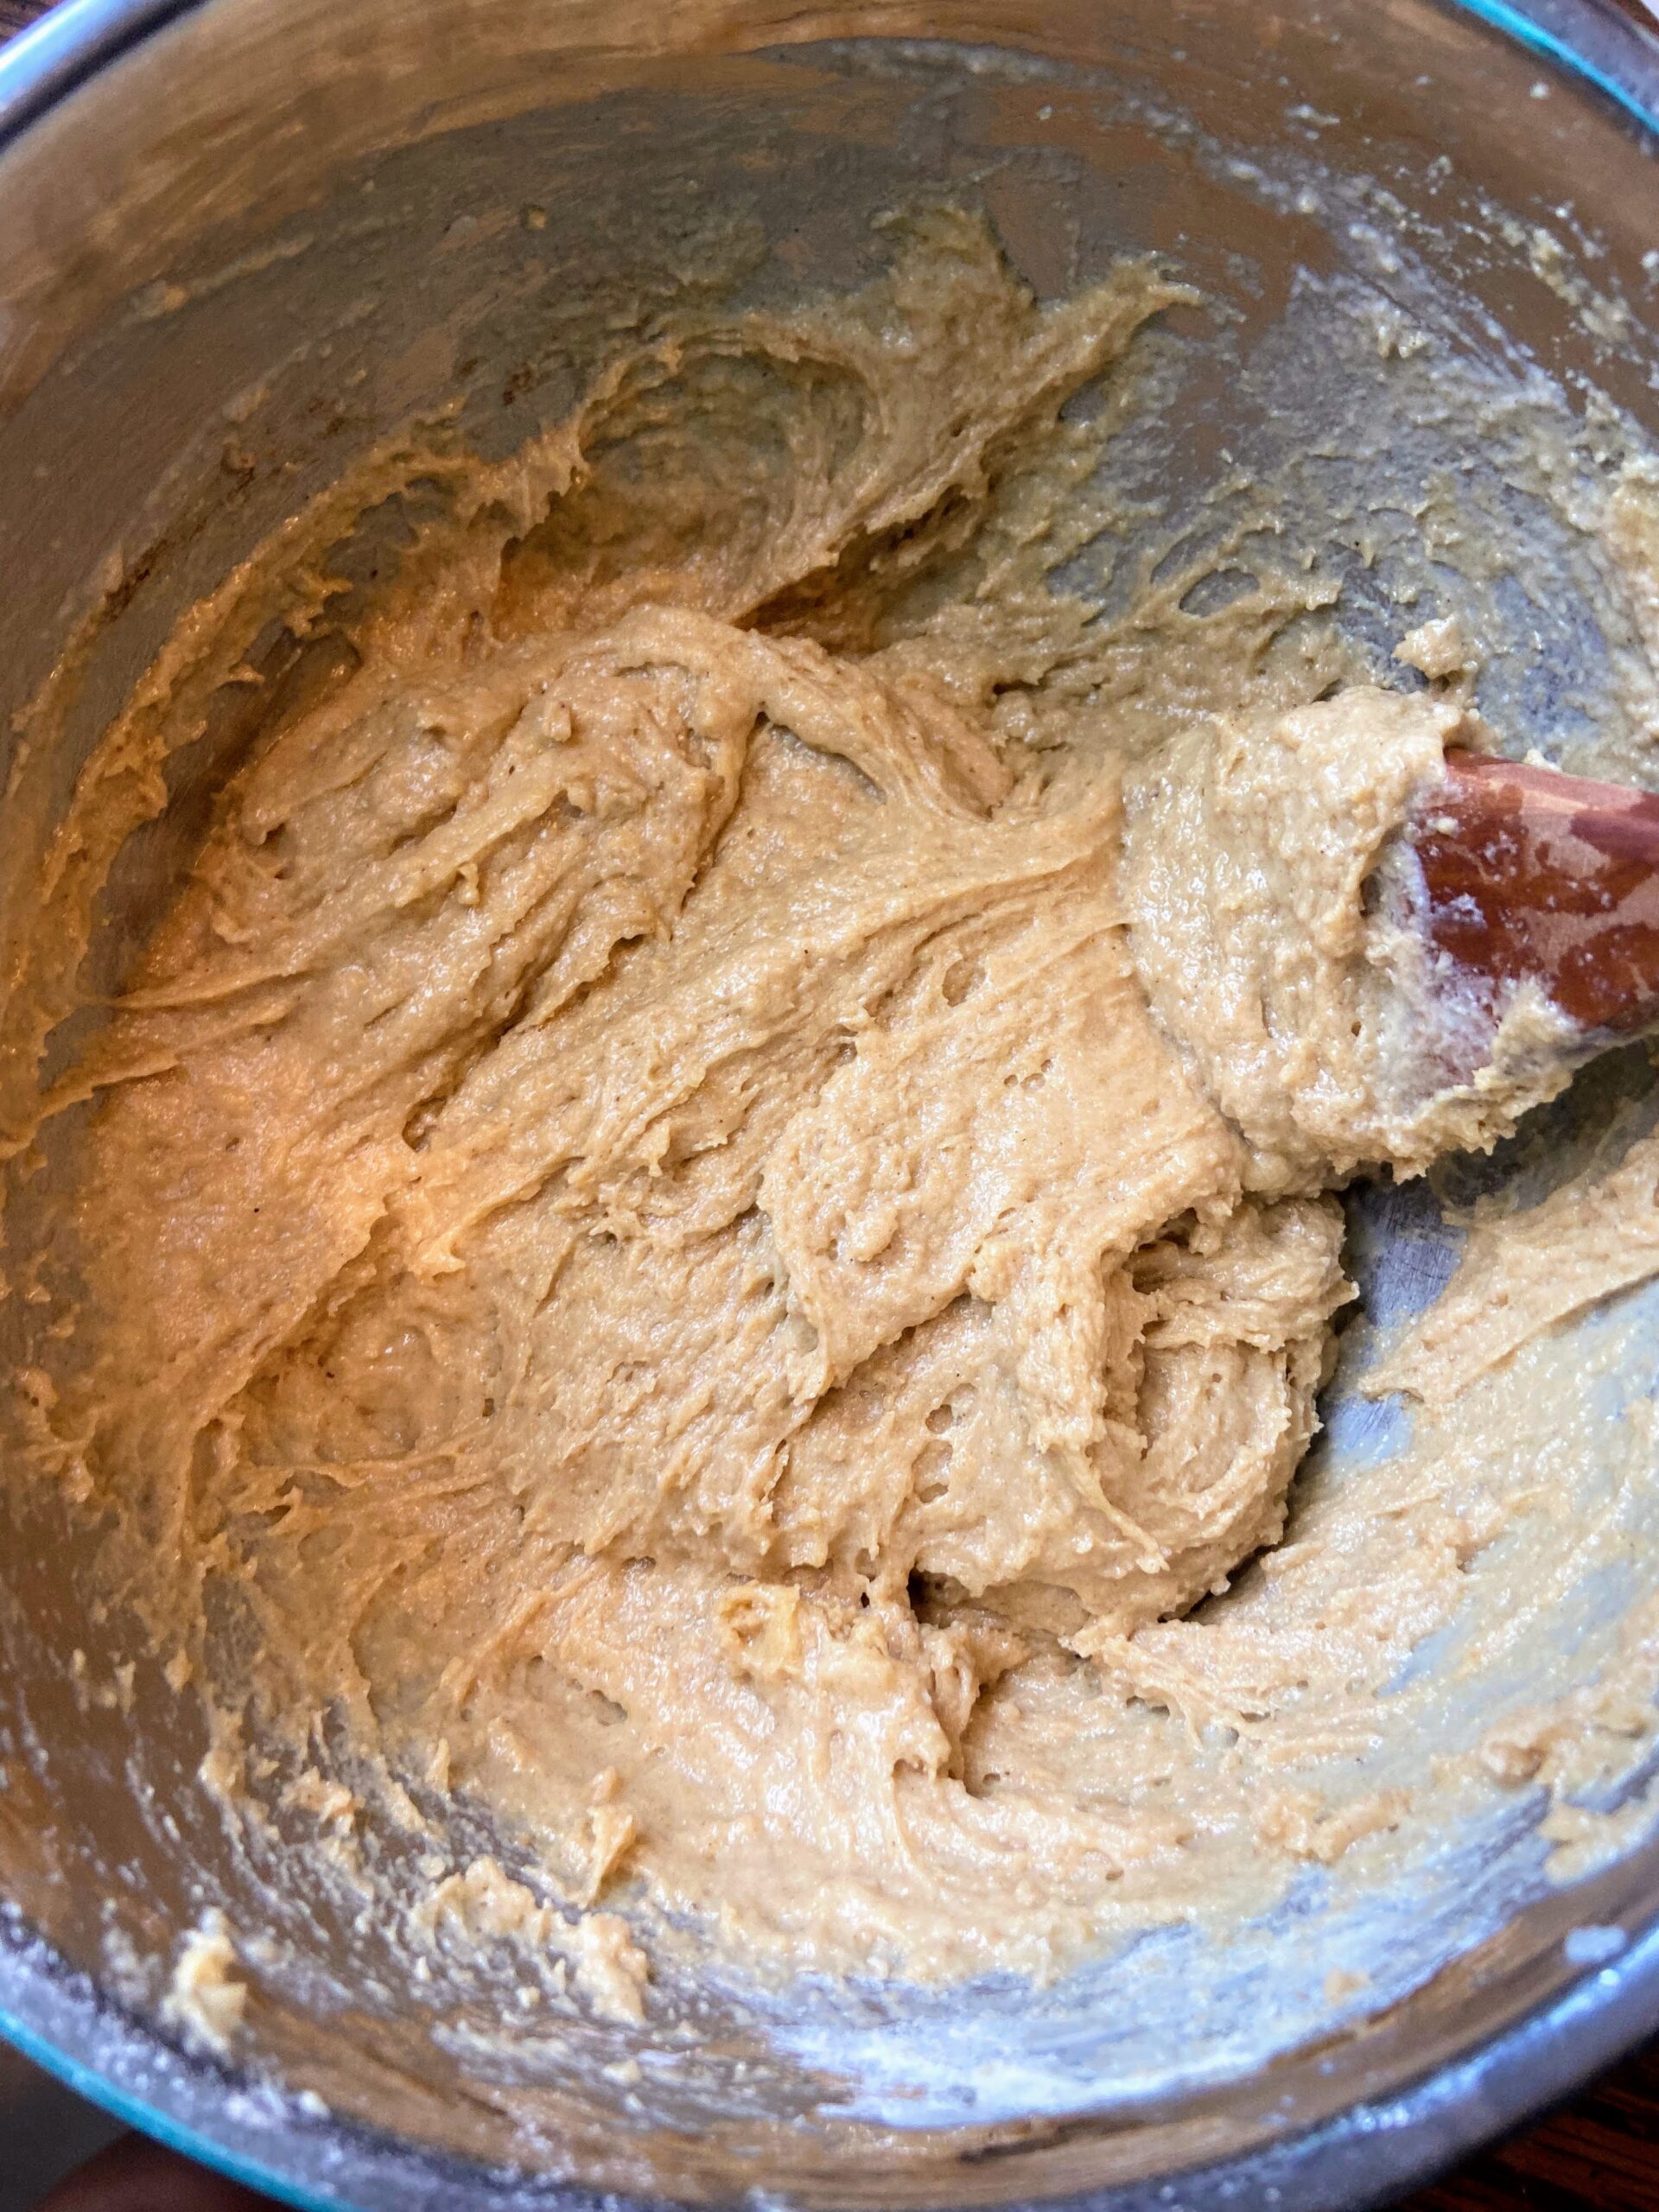
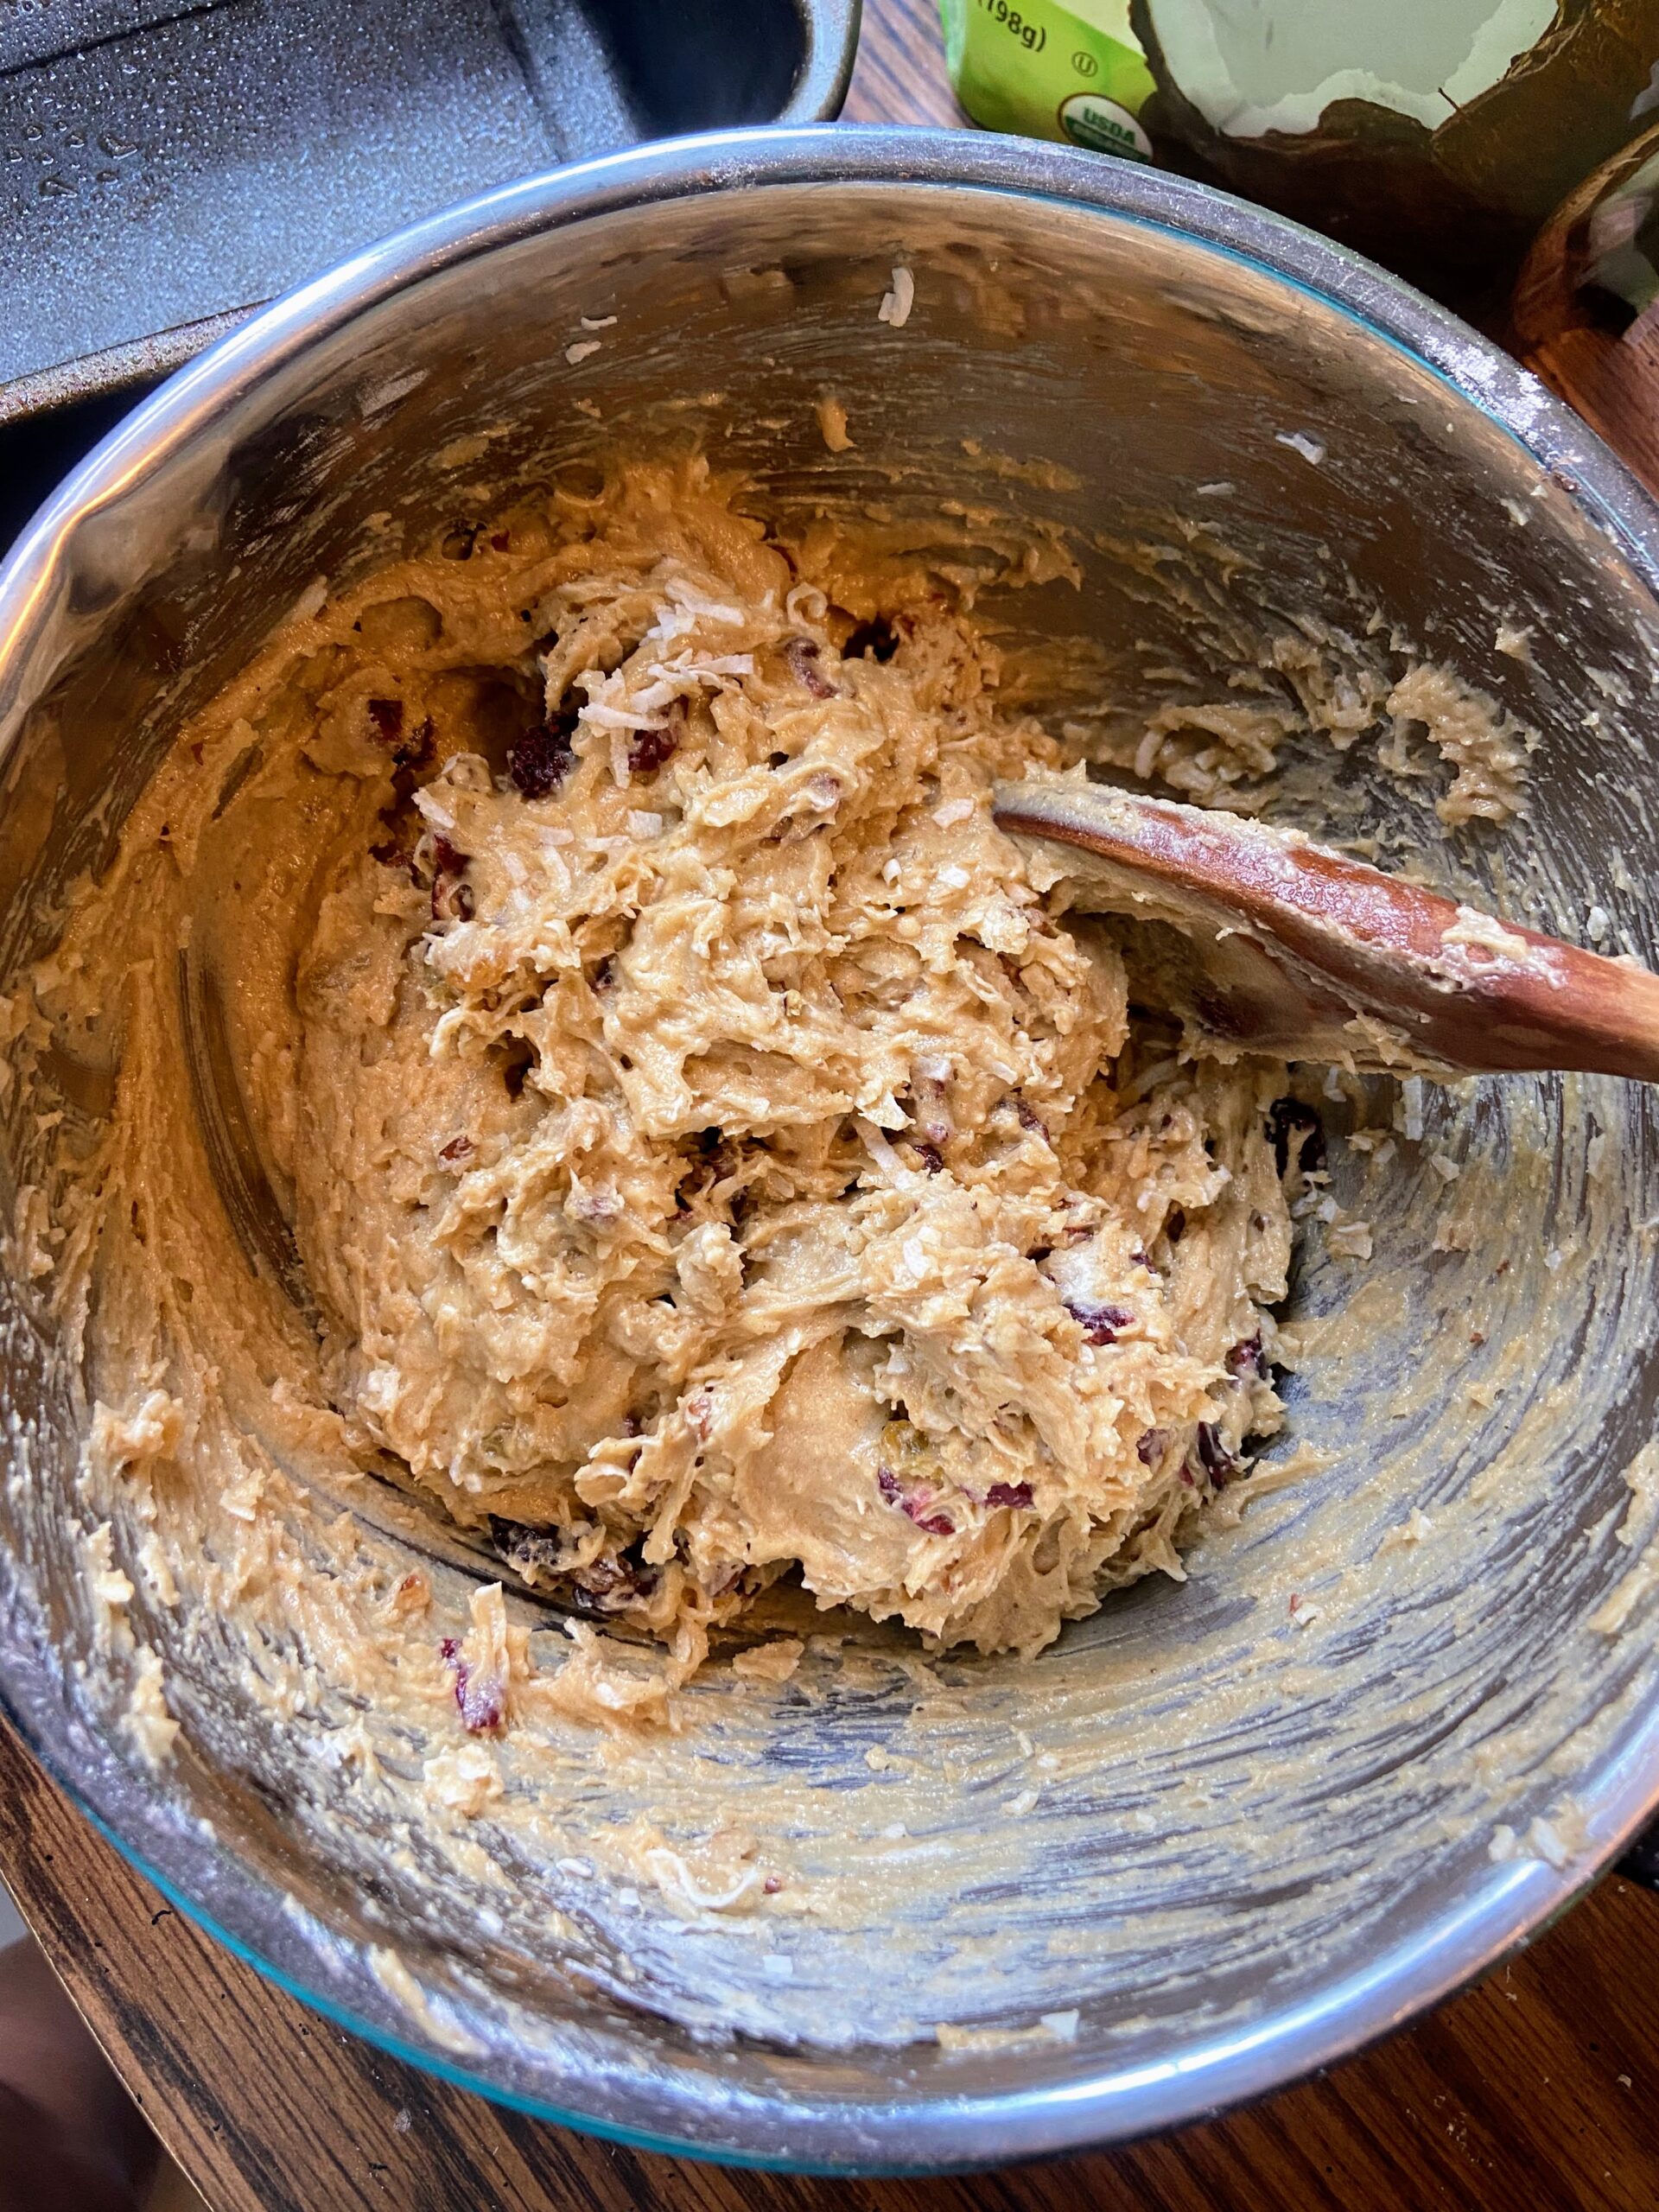
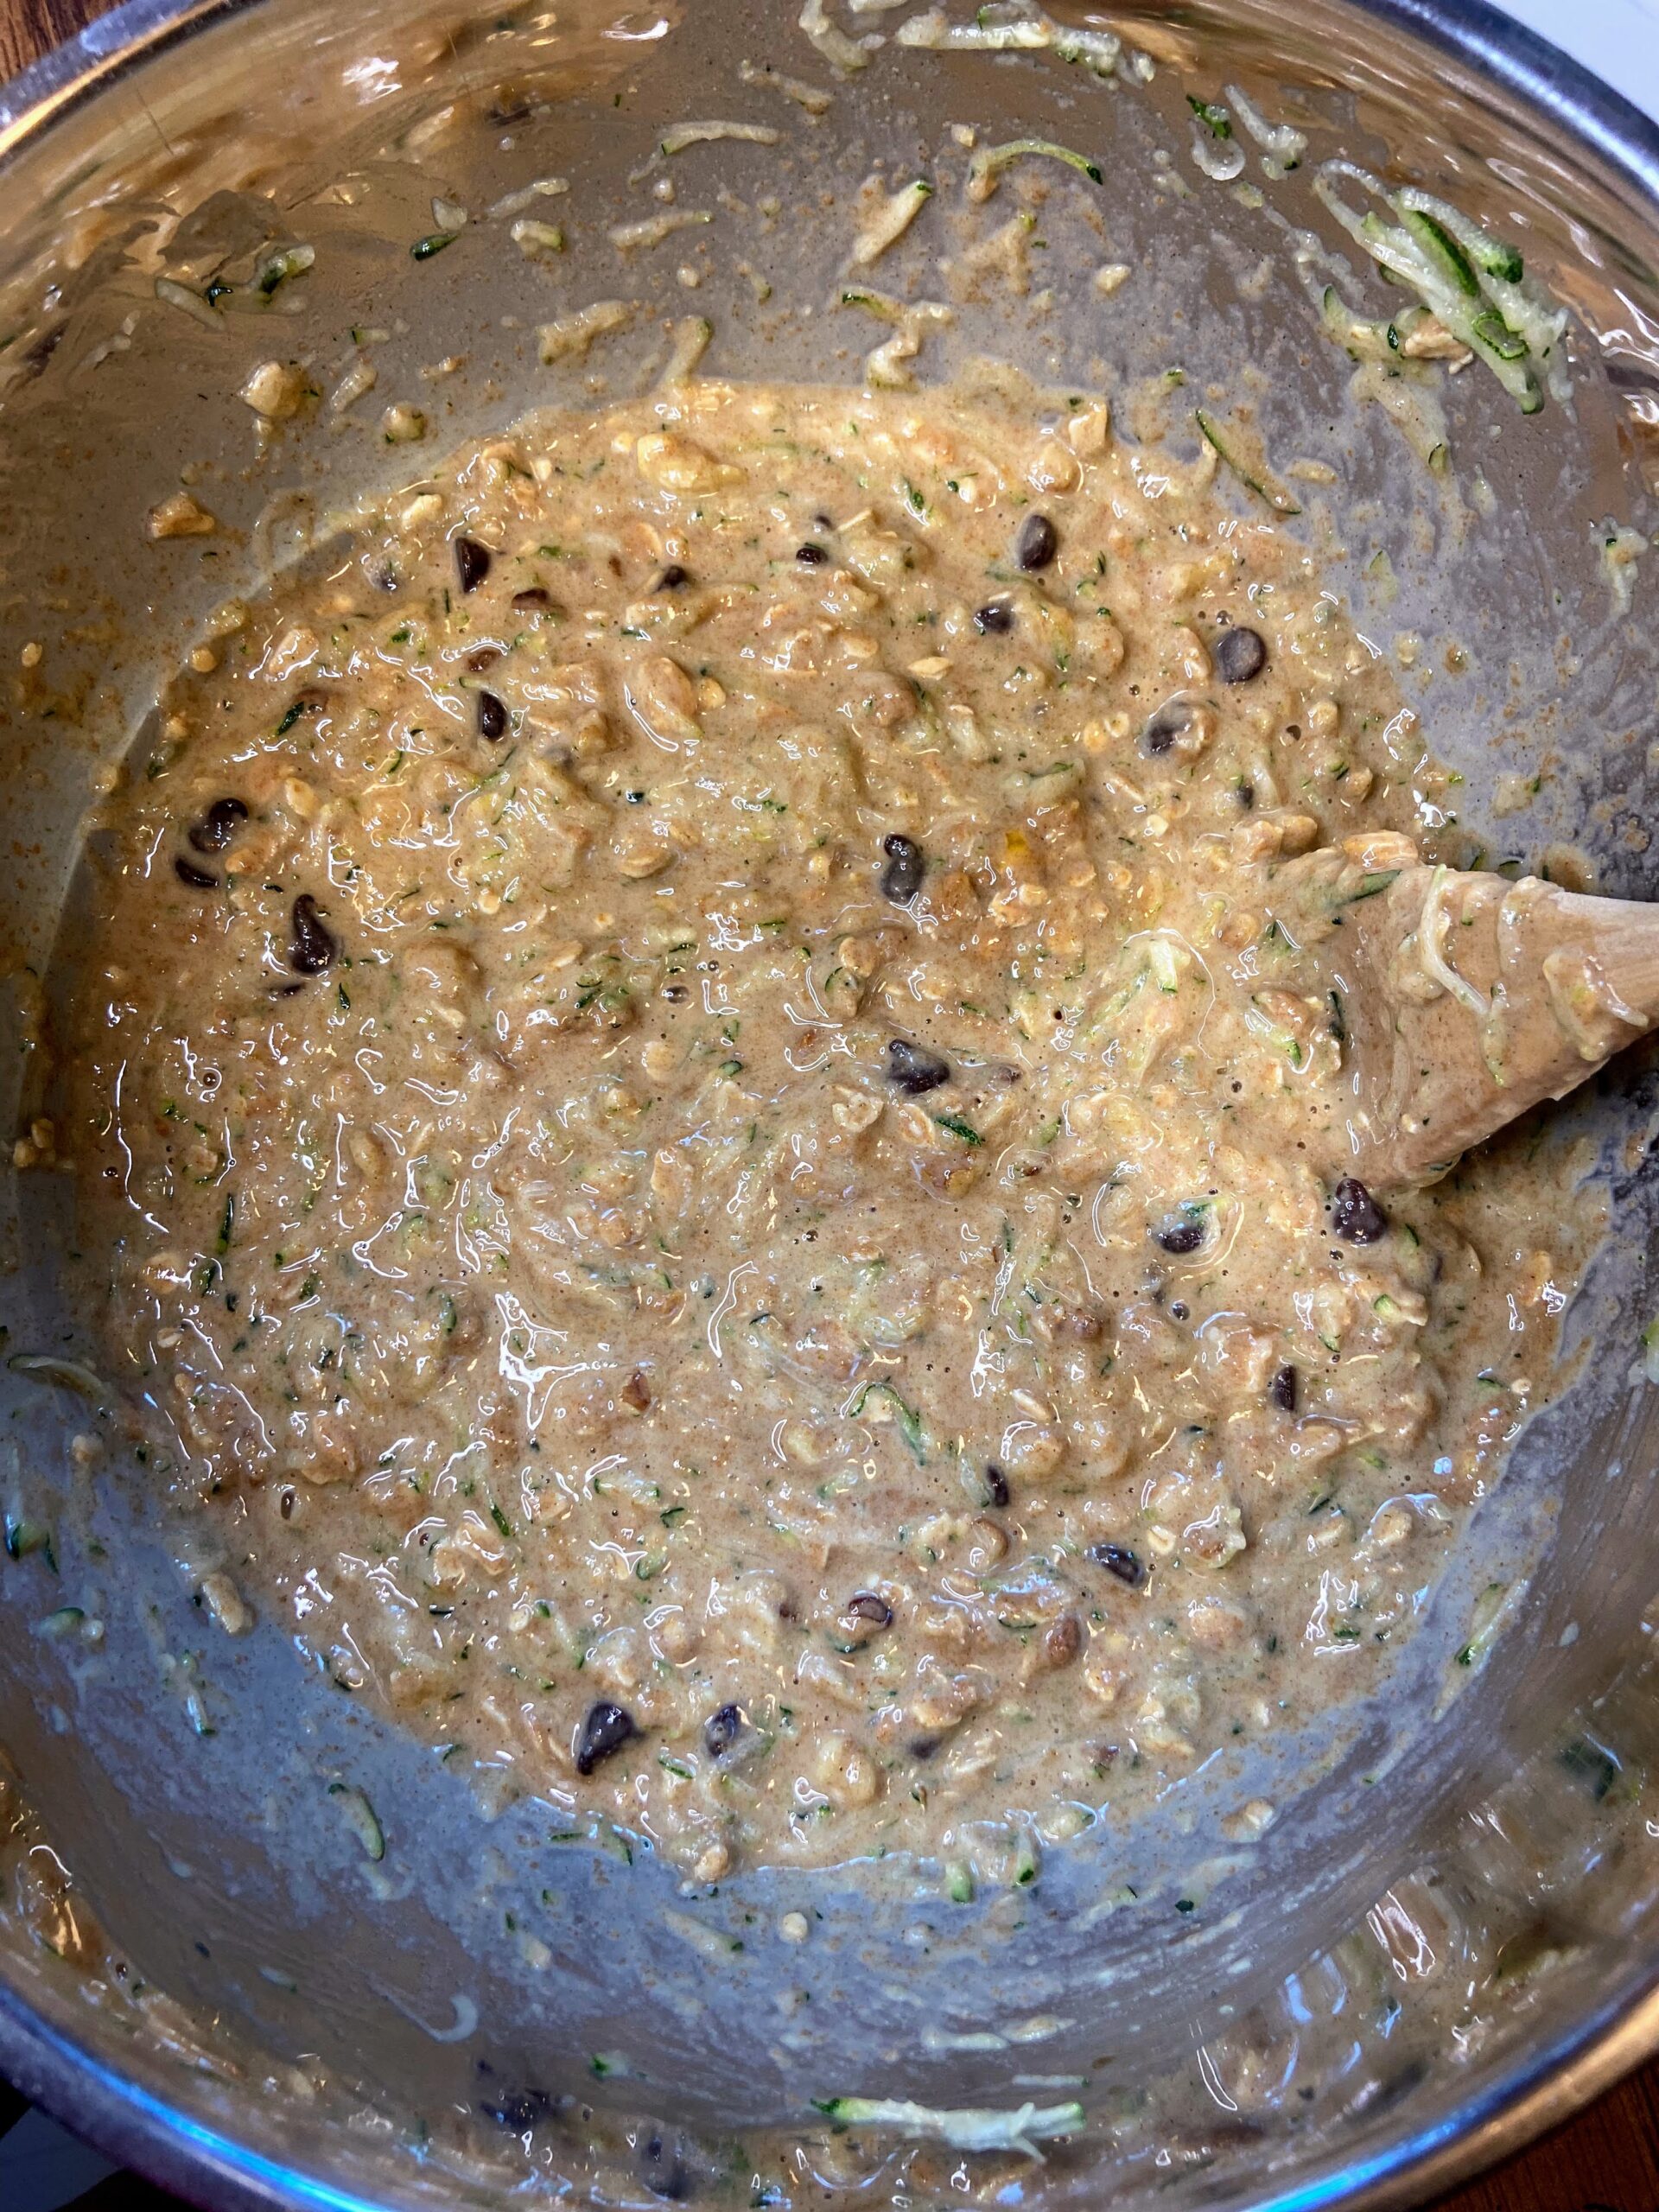
Preheat the oven to 350 degrees. Prepare two 9×5 inch loaf pans with non-stick cooking spray. Mix maple syrup, vanilla, eggs, and oil in a medium bowl. Whisk until well combined. Add whole wheat flour, oats, baking soda, baking powder, salt, cinnamon, and cloves. Mix until just combined. Fold in chocolate chips, chopped nuts, and shredded zucchini.
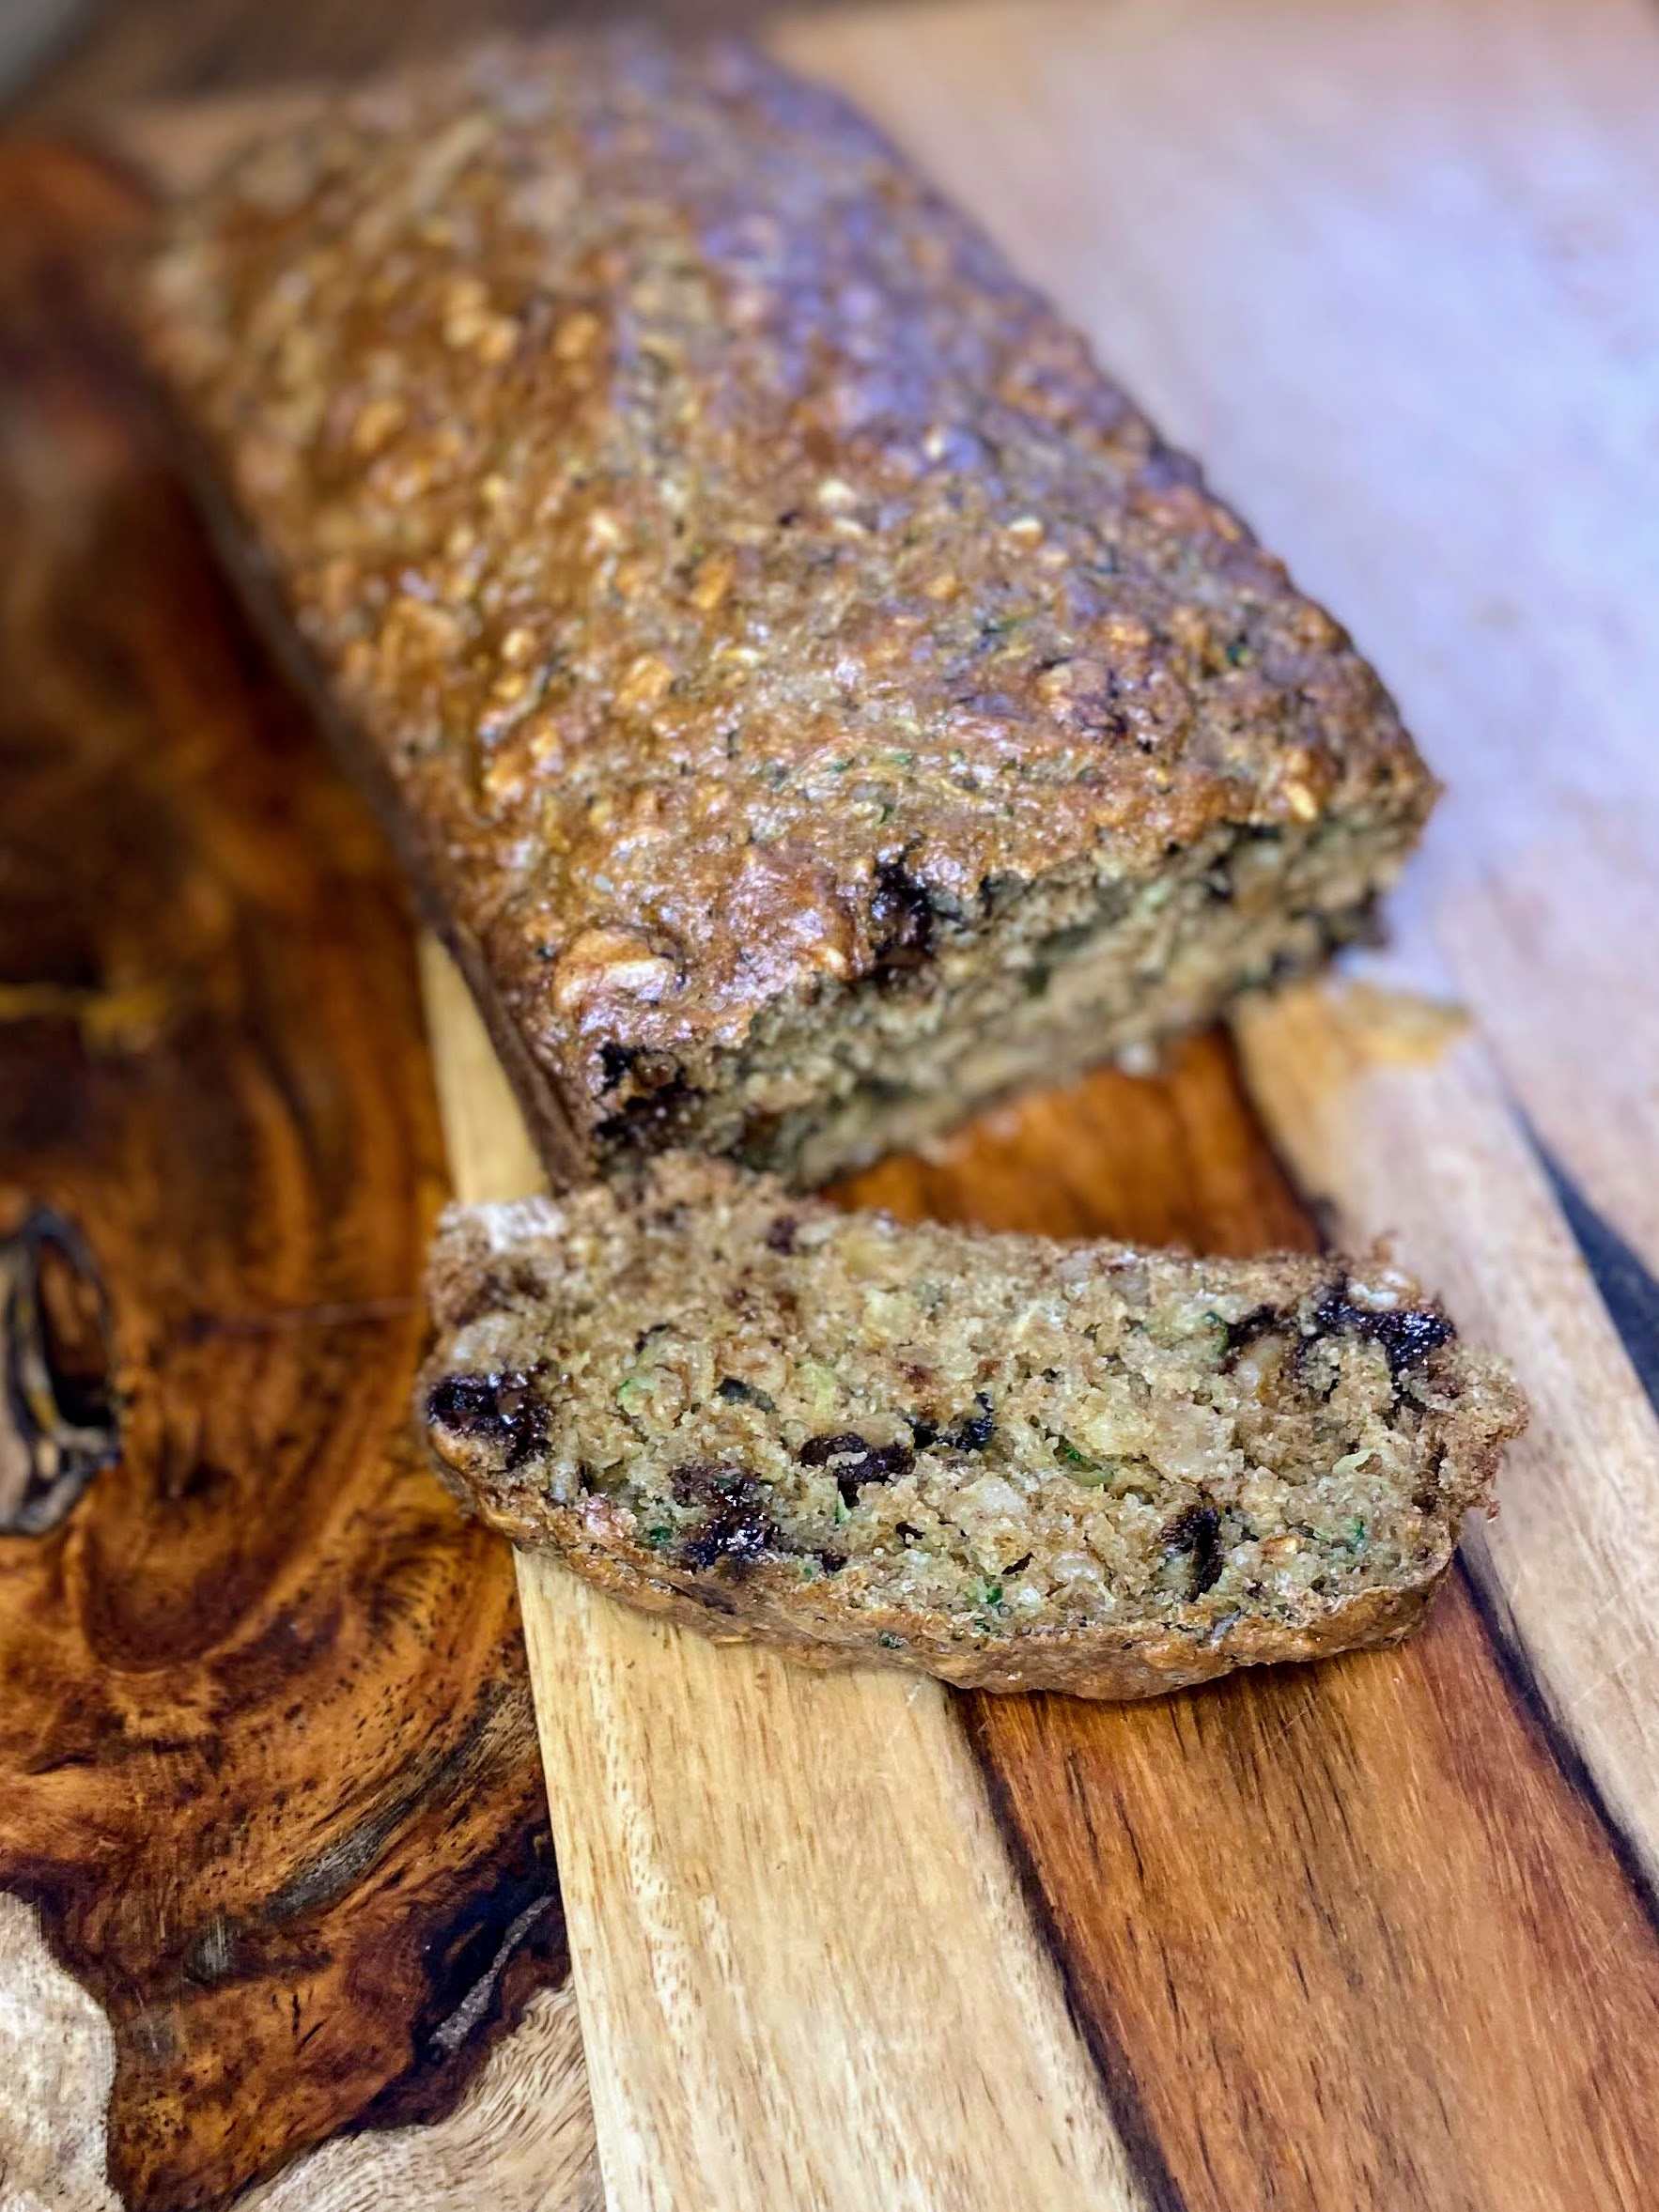
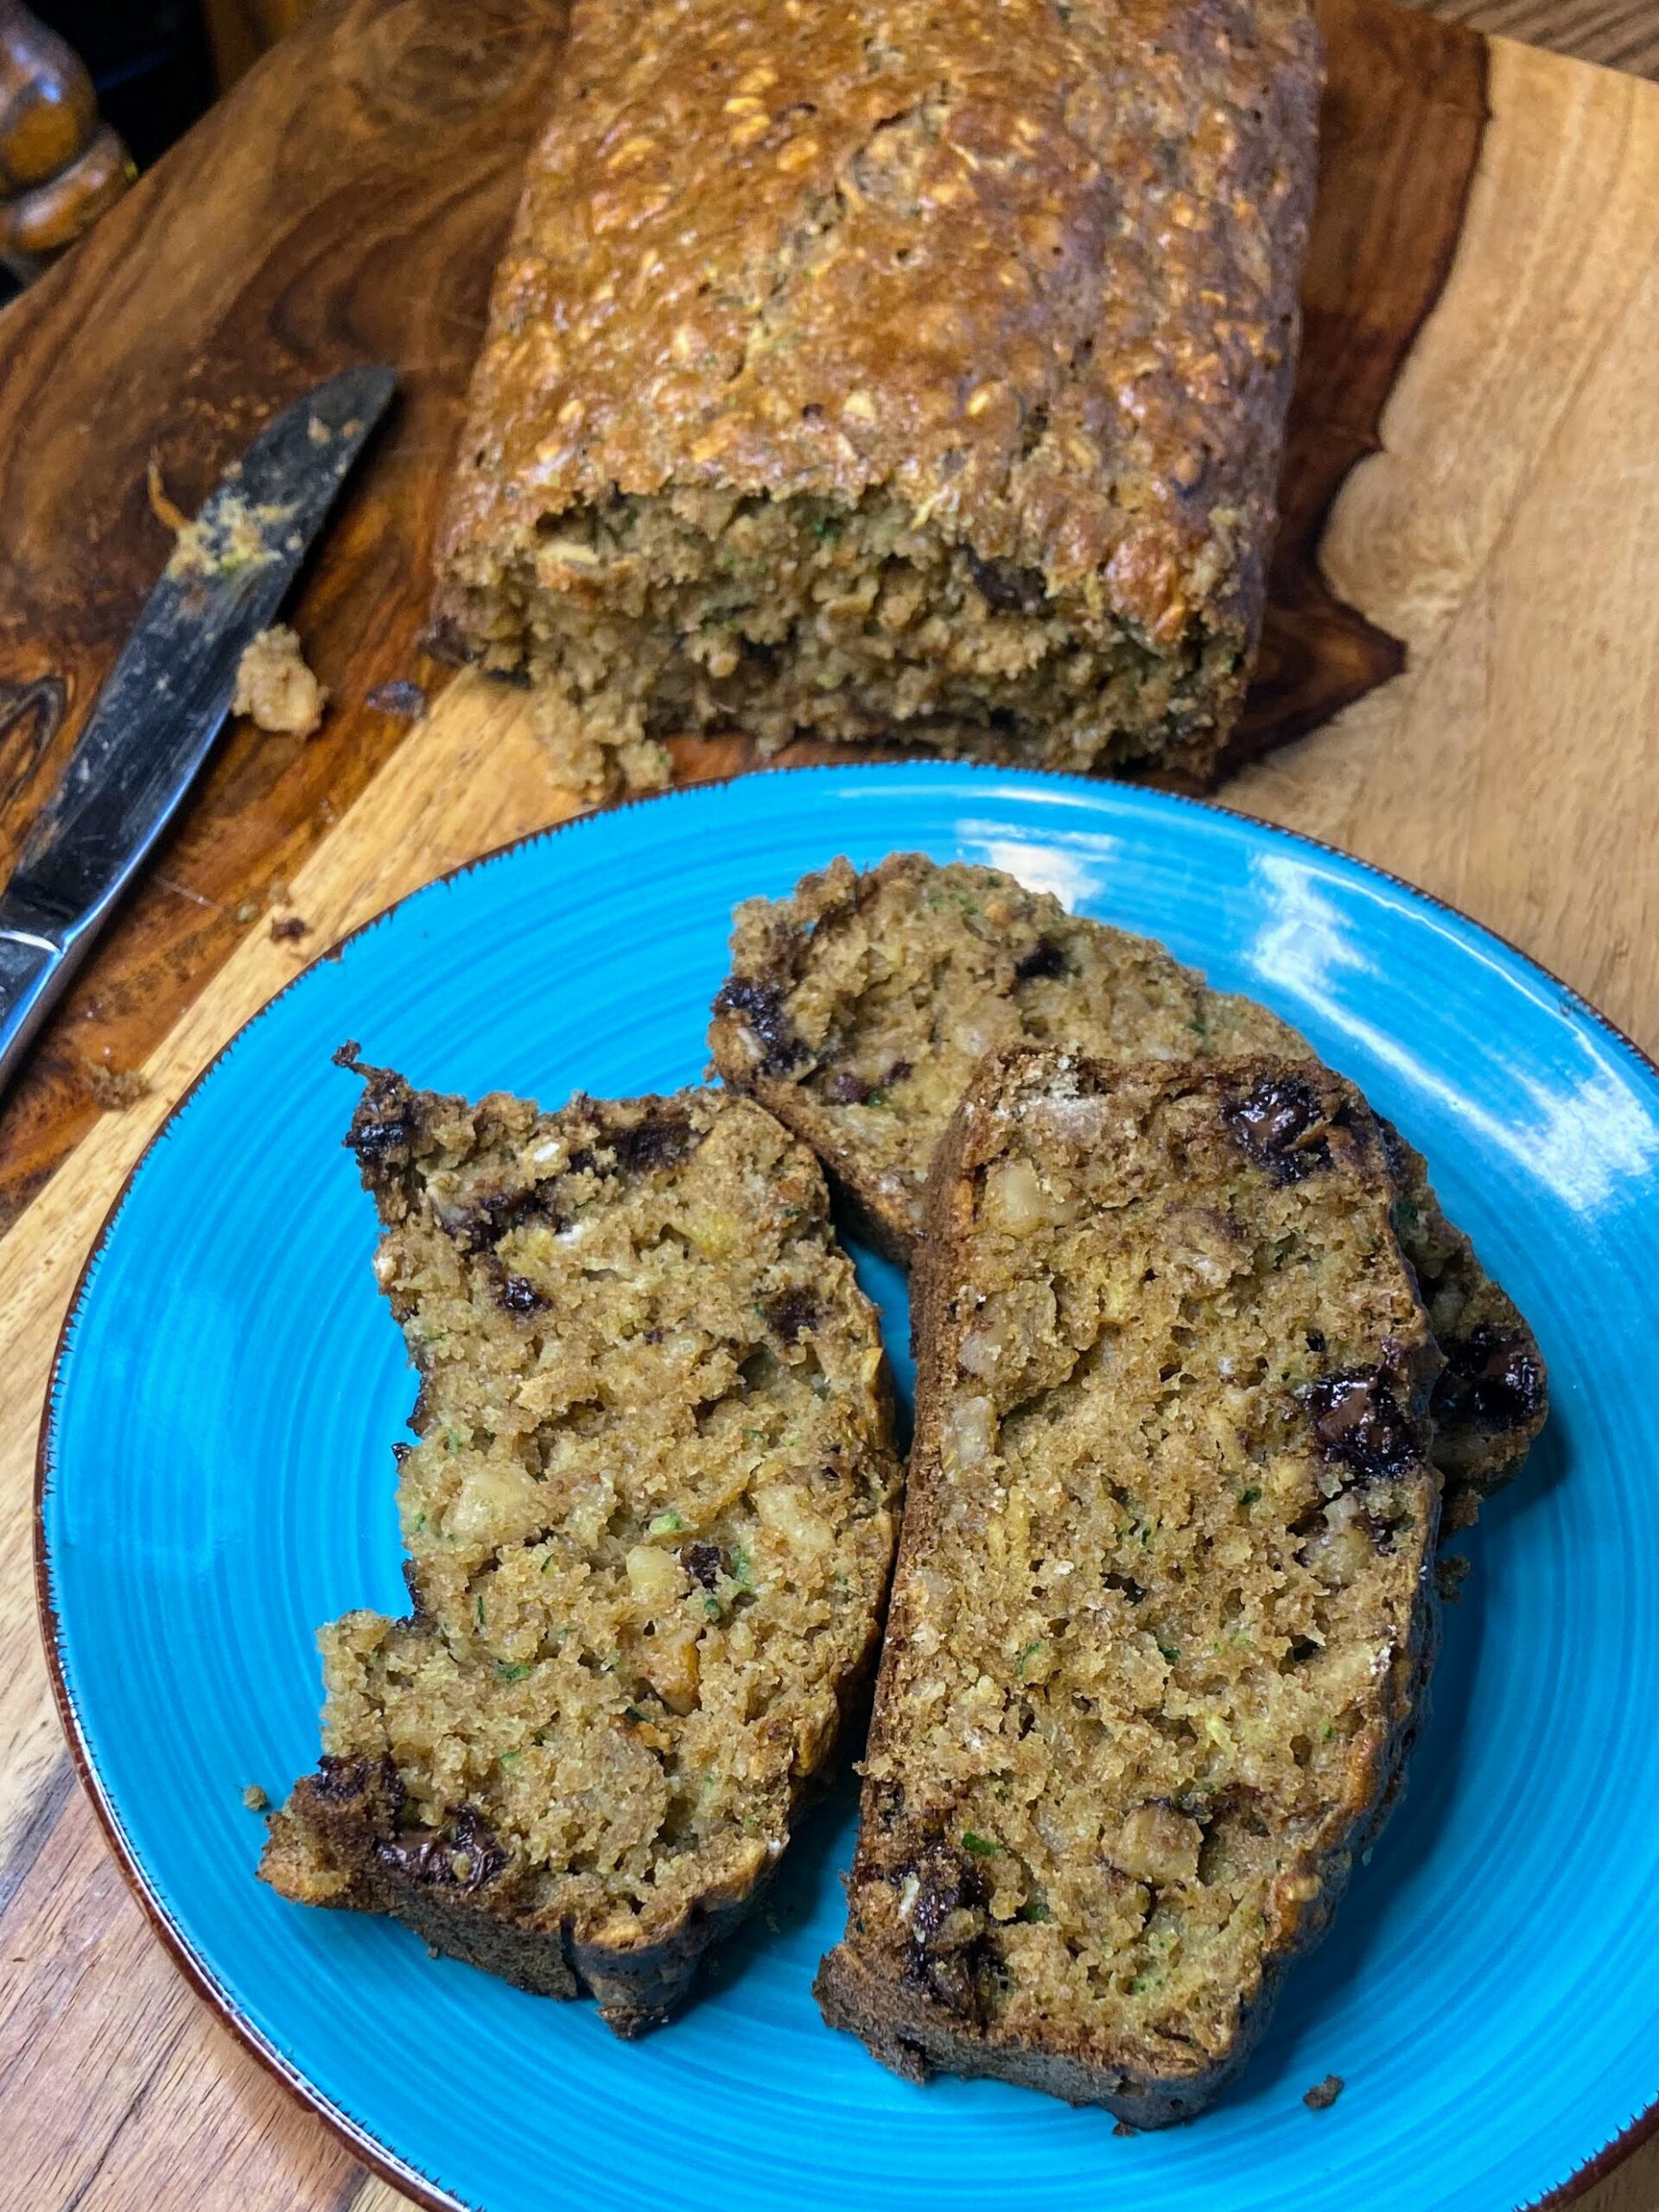
Divide the batter between the two prepared loaf pans. Place in the center of the oven and bake for 45-55 minutes, until a toothpick inserted comes out clean, without raw batter.


Spiced Zucchini Oatmeal Bread
Ingredients
- ¾ cup maple syrup
- 1 tablespoon vanilla
- 3 eggs
- ⅓ cup oil
- 2 cups whole wheat flour
- 1 cup old fashioned oats
- 2 teaspoons baking soda
- ½ teaspoon baking powder
- 1 teaspoon salt
- 1 teaspoon ground cinnamon
- ⅛ teaspoon ground cloves
- ½ cup chocolate chips
- ½ cup chopped nuts
- 2 ½ – 3 cups shredded zucchini
Instructions
- Preheat the oven to 350 degrees. Prepare two 9×5 inch loaf pans with non-stick cooking spray.
- In a medium bowl, combine maple syrup, vanilla, eggs, and oil. Whisk until well combined.
- Add whole wheat flour, oats, baking soda, baking powder, salt, cinnamon, and cloves. Mix until just combined.
- Fold in chocolate chips, chopped nuts, and shredded zucchini.
- Divide the batter between the two prepared loaf pans.
- Place in the center of the oven and bake for 45-55 minutes, until a toothpick inserted comes out clean, without raw batter.
Looking for more zucchini recipes?
Check out any of the ideas below!