Last Updated on June 25, 2022 by Jess
When I am asked what my niche is as a food blogger, I have a hard time coming up with a description because I truly am a dabbler. I love to can and preserve food from our homestead. I am a baker and comfort food is my jam. When I start to think about it deeper and see the big picture, my passion is creating good food for families from scratch. This homemade hamburger helper is such a perfect example of it.
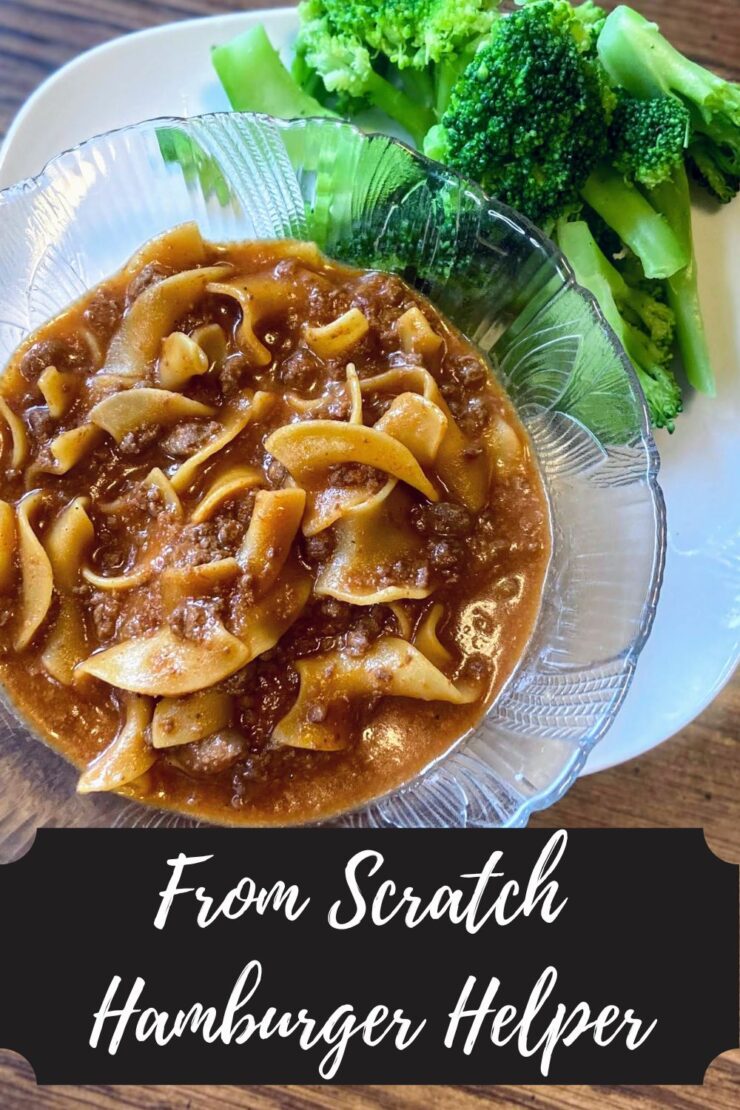
I don’t know about you, but I grew up eating a lot of hamburger helper as a kid. It was delicious, but now, I try to avoid as much pre-packaged and processed food as possible. When a friend shared her version of homemade hamburger helper, I had to give it a try. The skillet quickly became a family favorite and I had to ask if I could share it here.
This homemade hamburger helper cooks up just a quick, if not quicker, than the box stuff. It’s a delicious and so simple recipe for busy people who still want to put good food on the table for their families. And without all the preservatives and added salt, it’s a meal parents can feel good about their kiddos devouring.
Your Ingredients
- 1 pound ground protein (beef, venison, turkey)
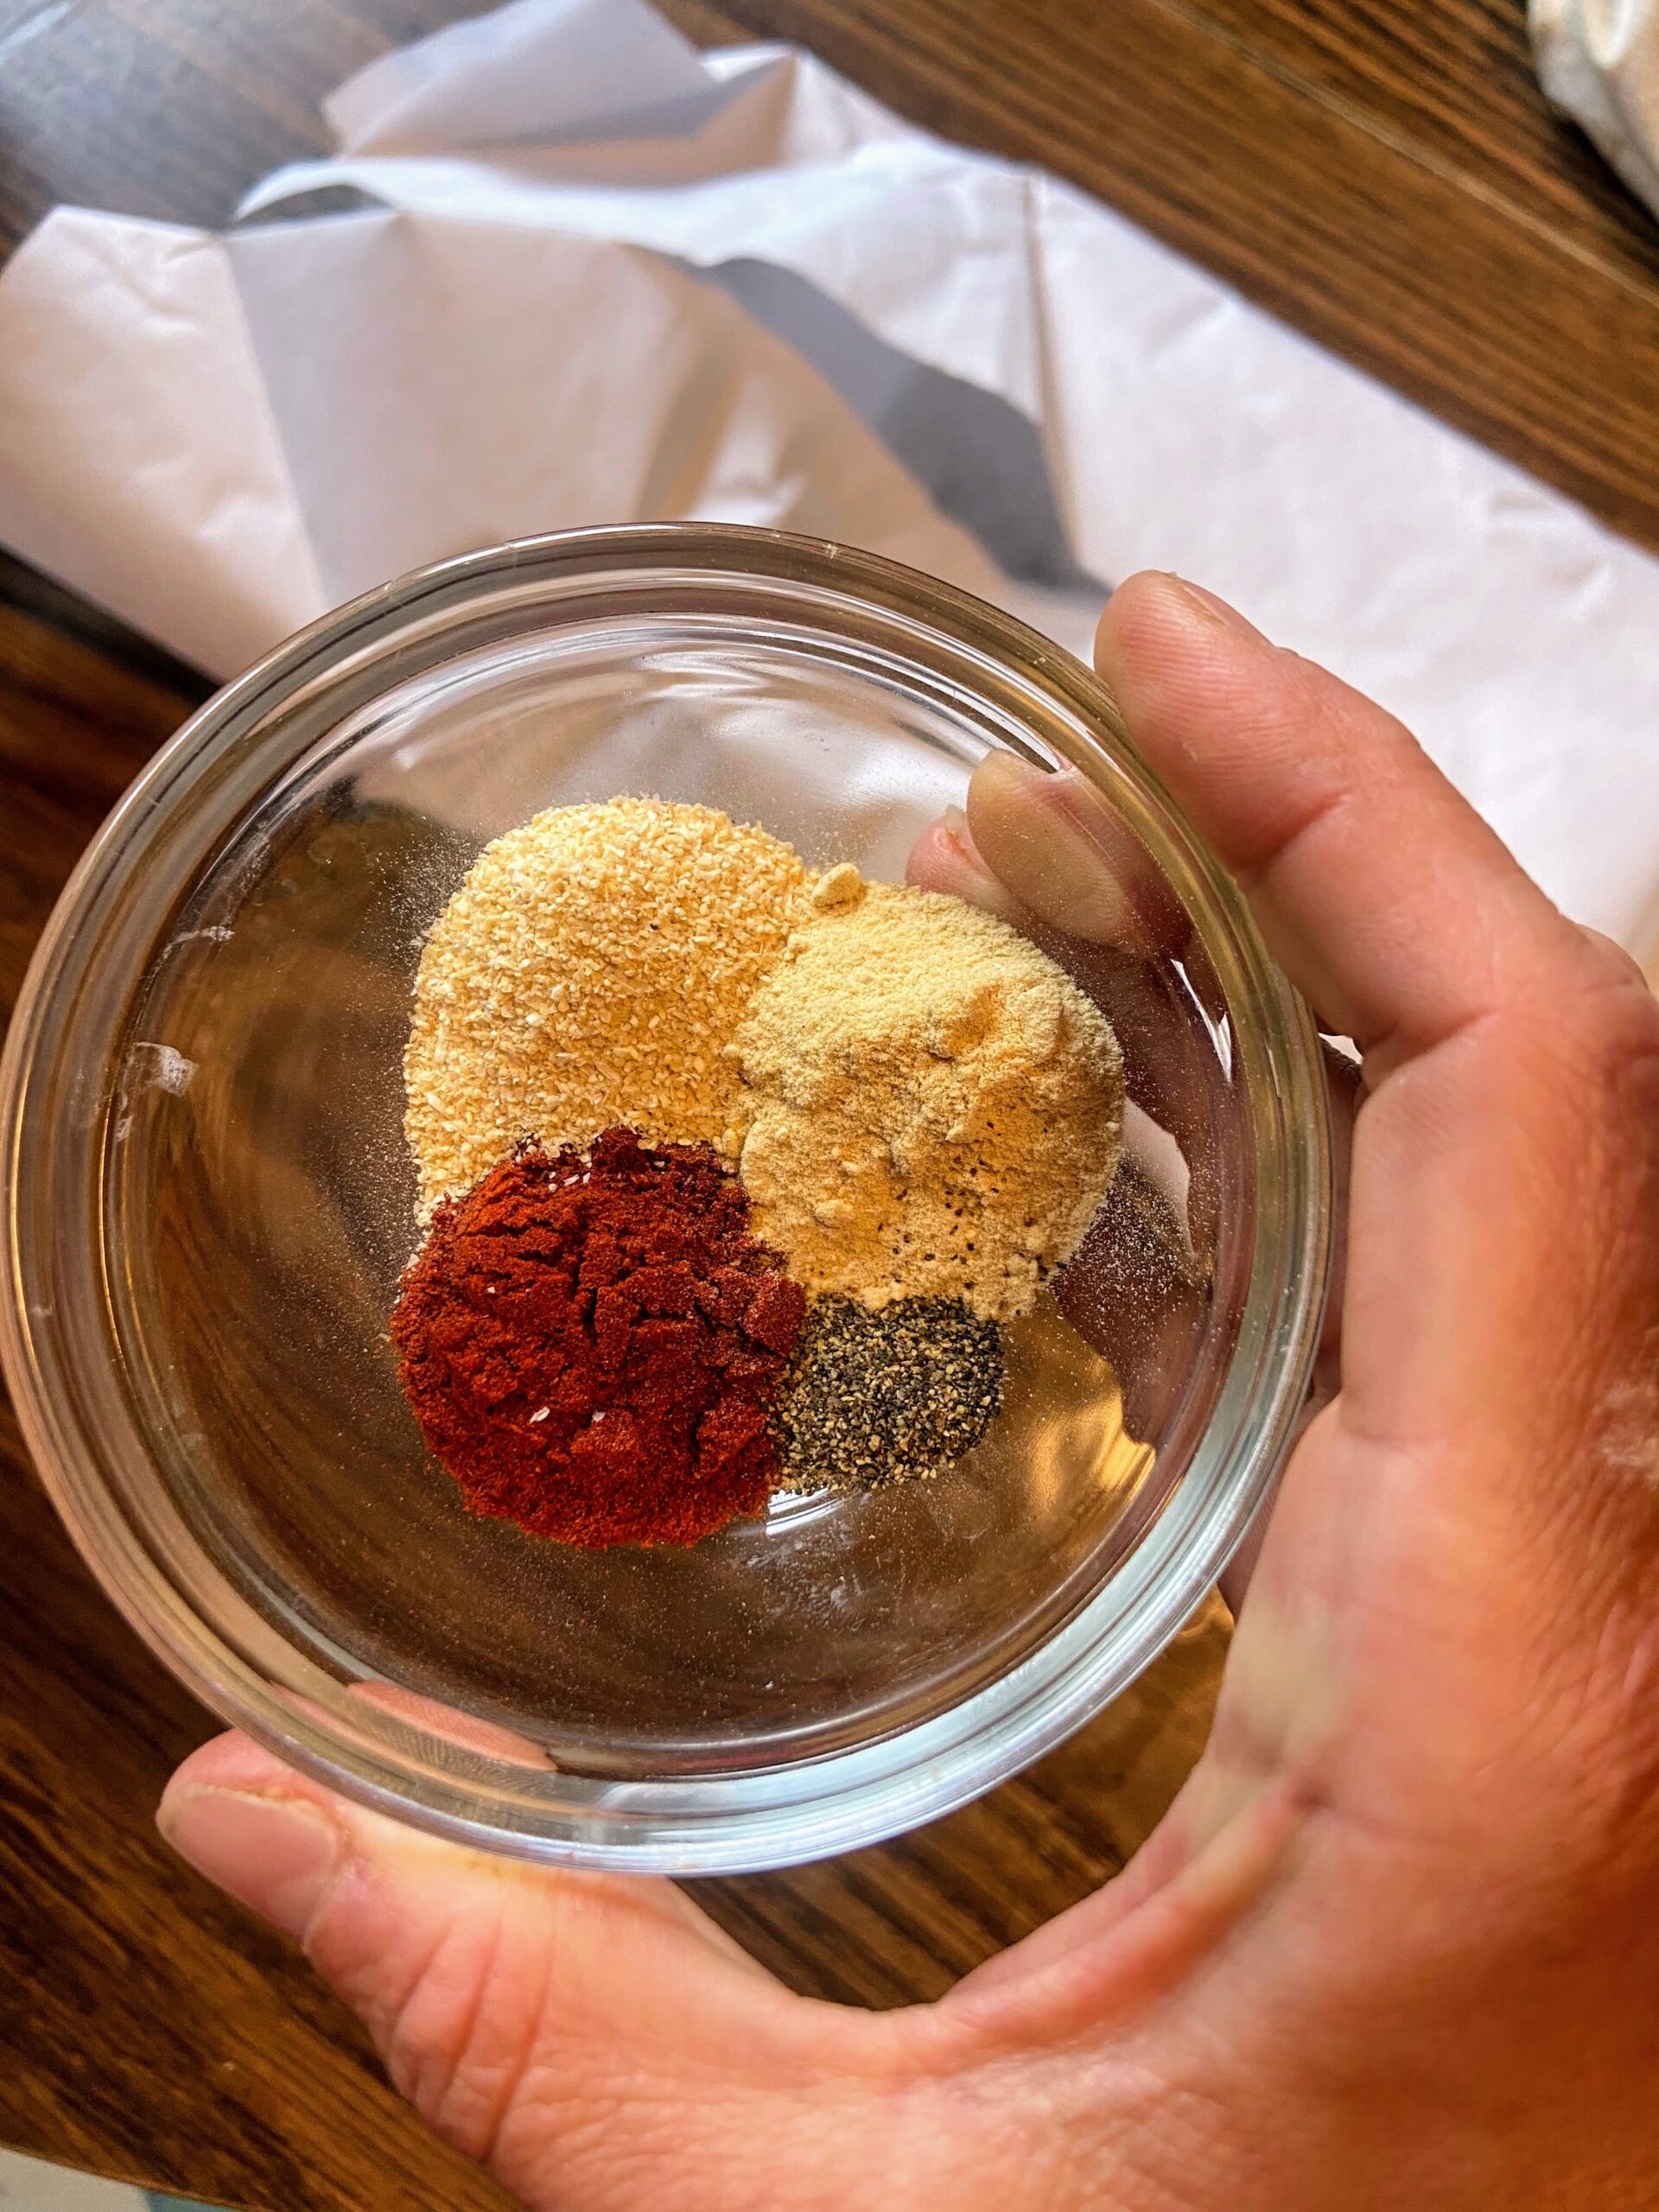
- 1 teaspoon onion powder
- ¼ teaspoon ground pepper
- 1 teaspoon paprika
- 1 teaspoon garlic powder
- 6 ounces tomato paste or 8 ounces tomato sauce
- 1 ½ cups milk of your choice (regular, almond, etc)
- 1 ½ cups low sodium beef broth
3 cups egg noodles - 1 ½ cups shredded cheddar cheese
- Olive oil, optional
- Salt, to taste
Your Steps to Homemade Hamburger Helper
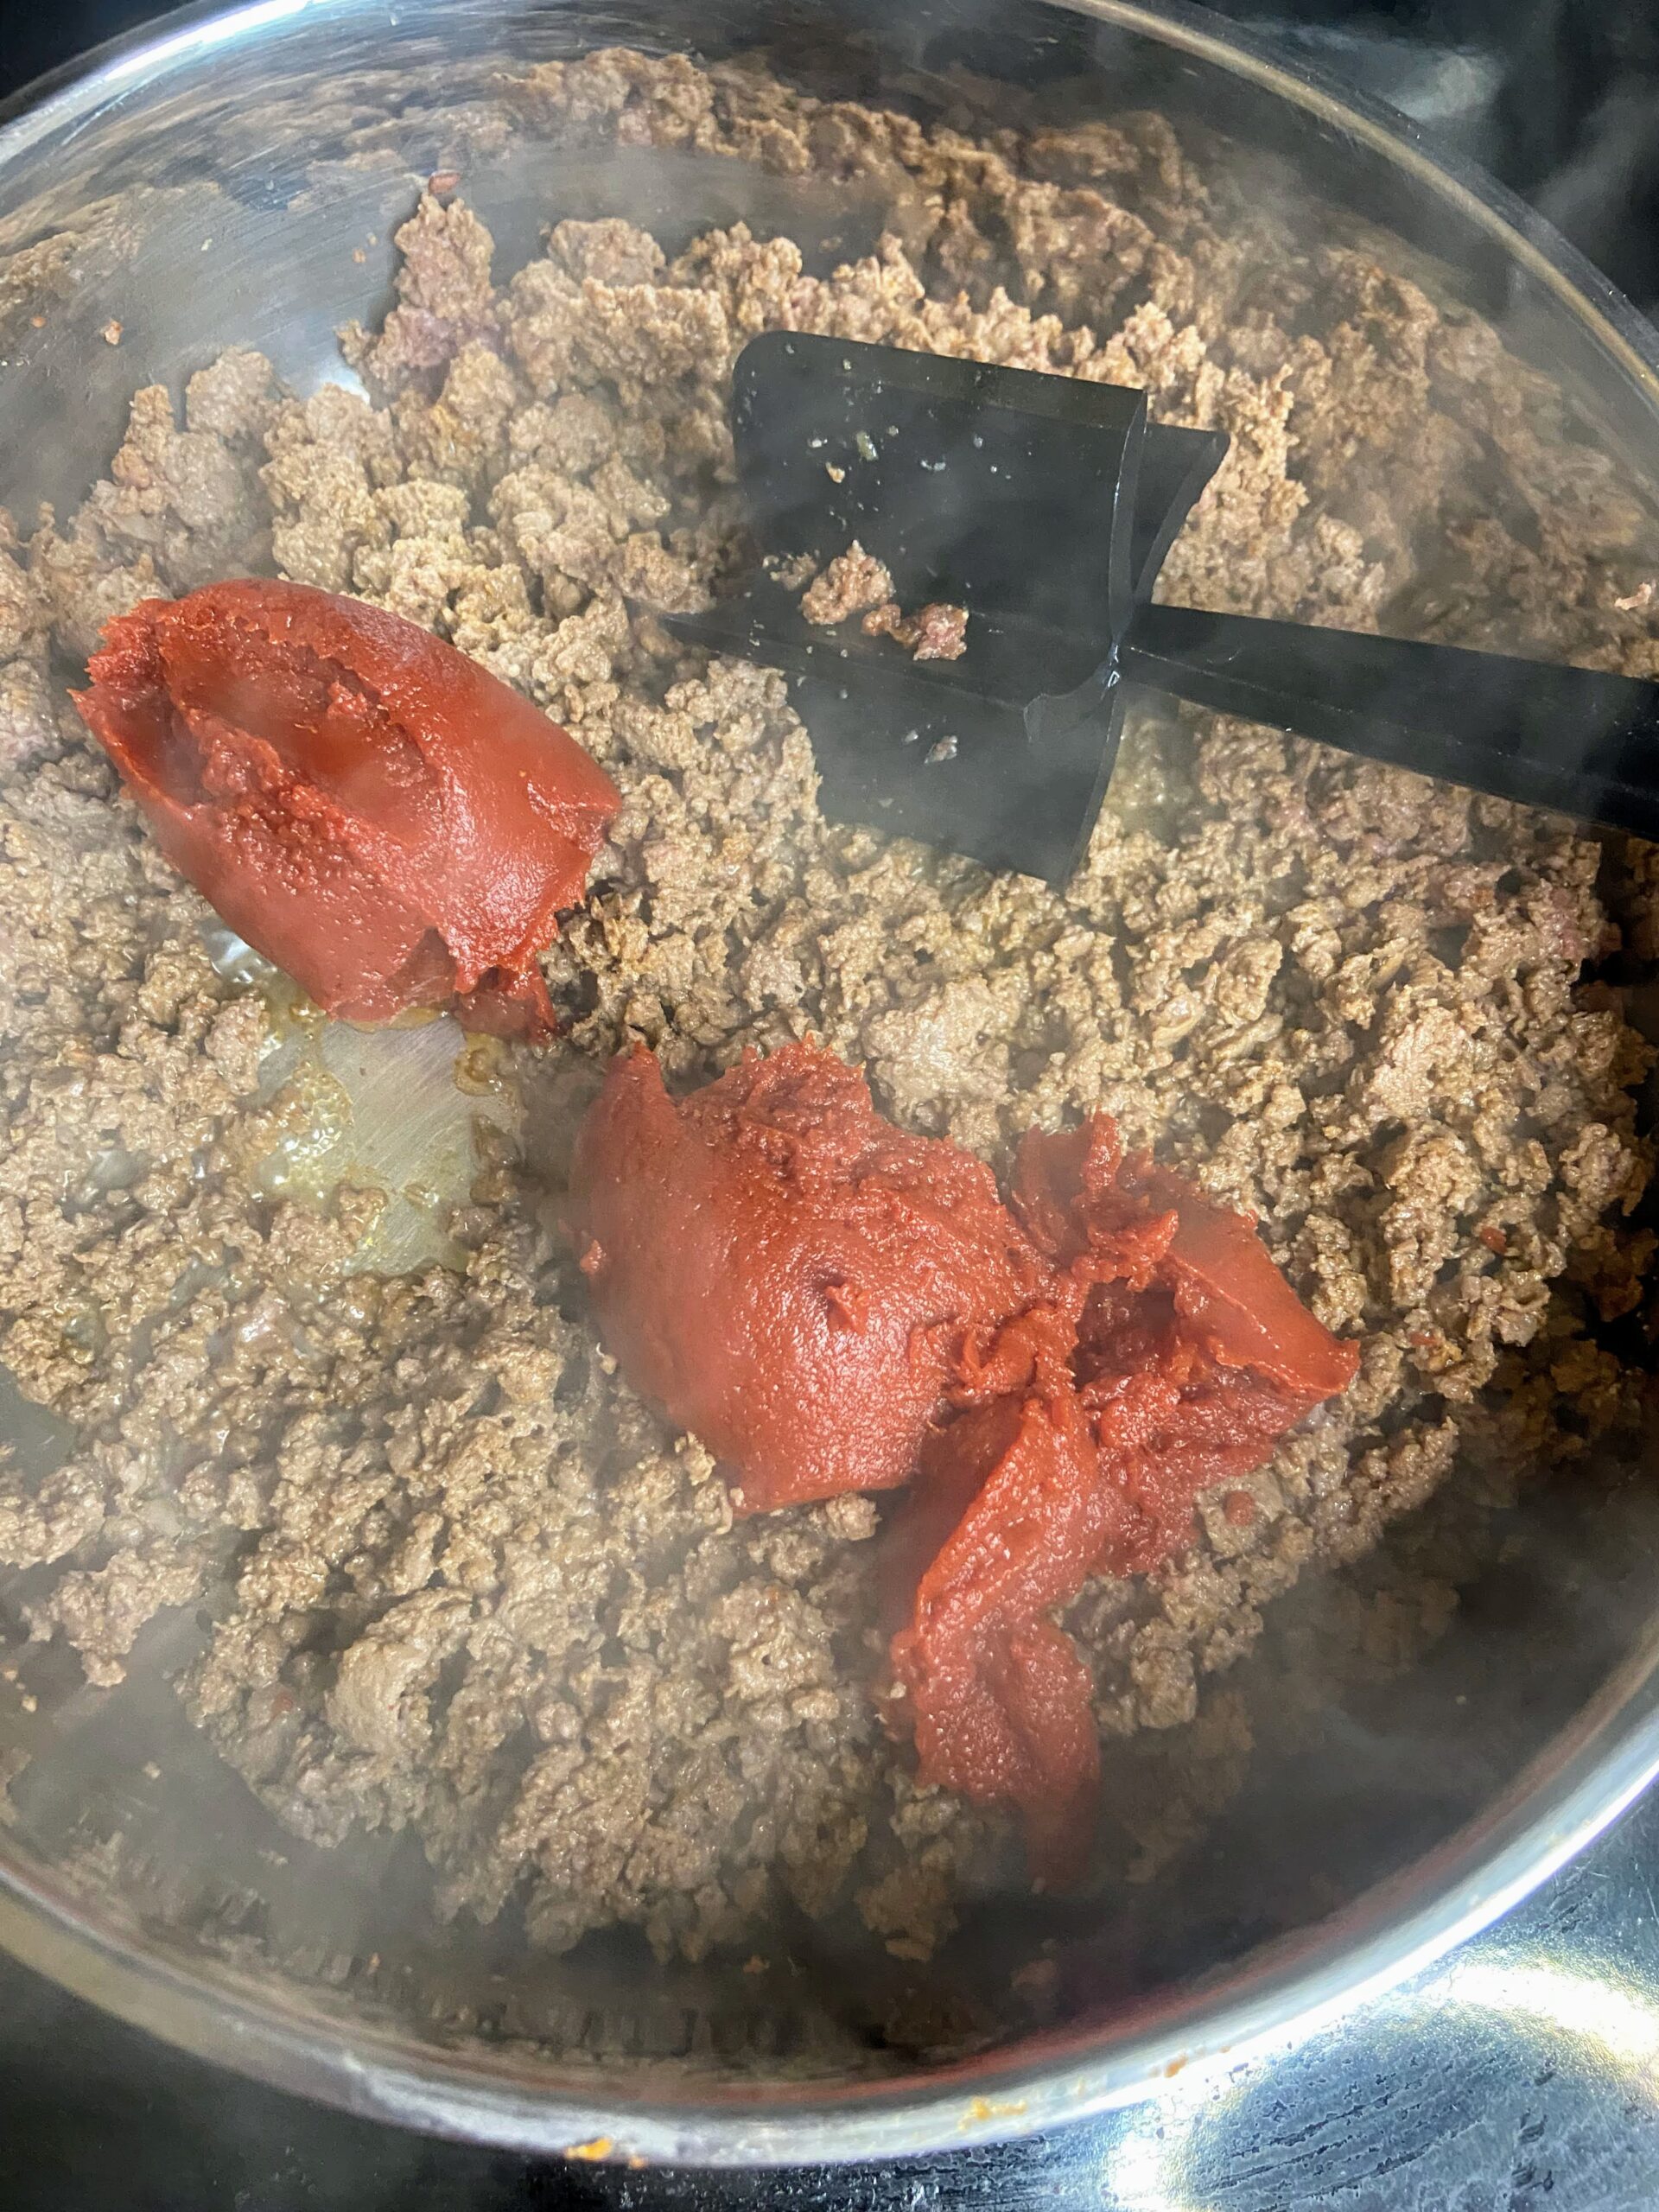
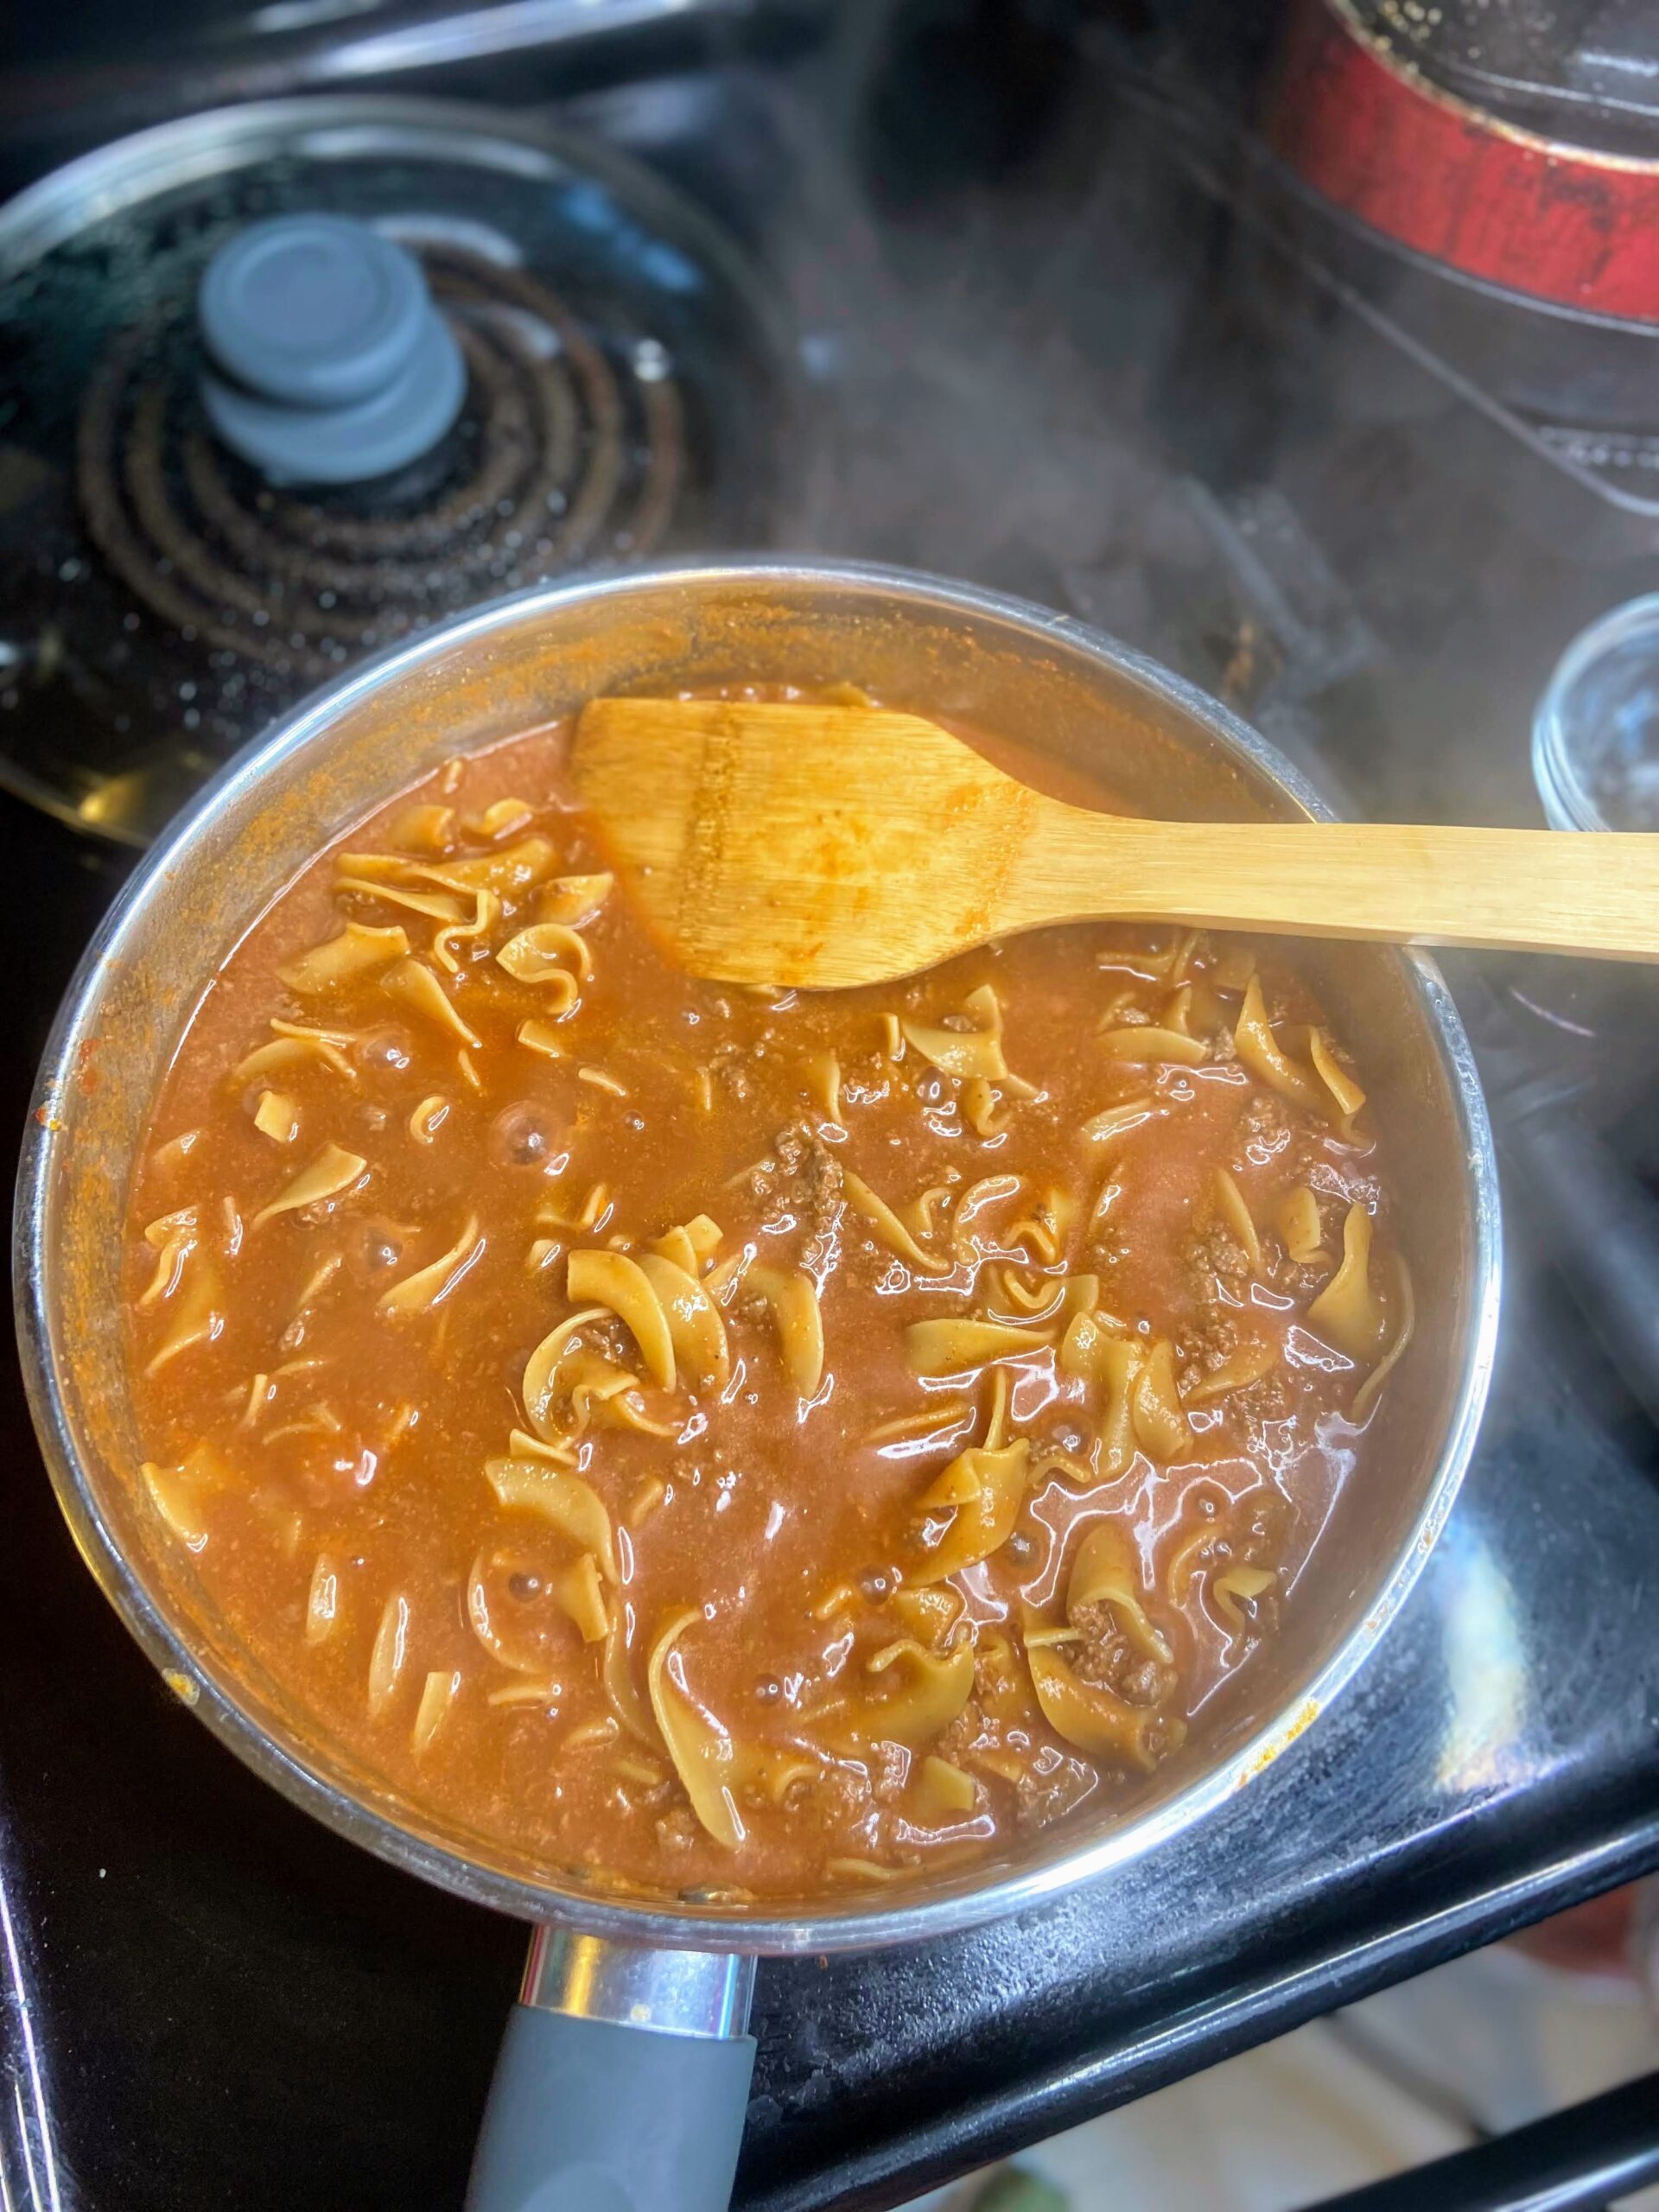
Over medium heat, begin to heat olive oil (if using a low fat protein) in a large saute pan (that has a cover). Add ground protein. Season with onion powder, paprika, garlic powder, and ground pepper. Brown. Drain if necessary.
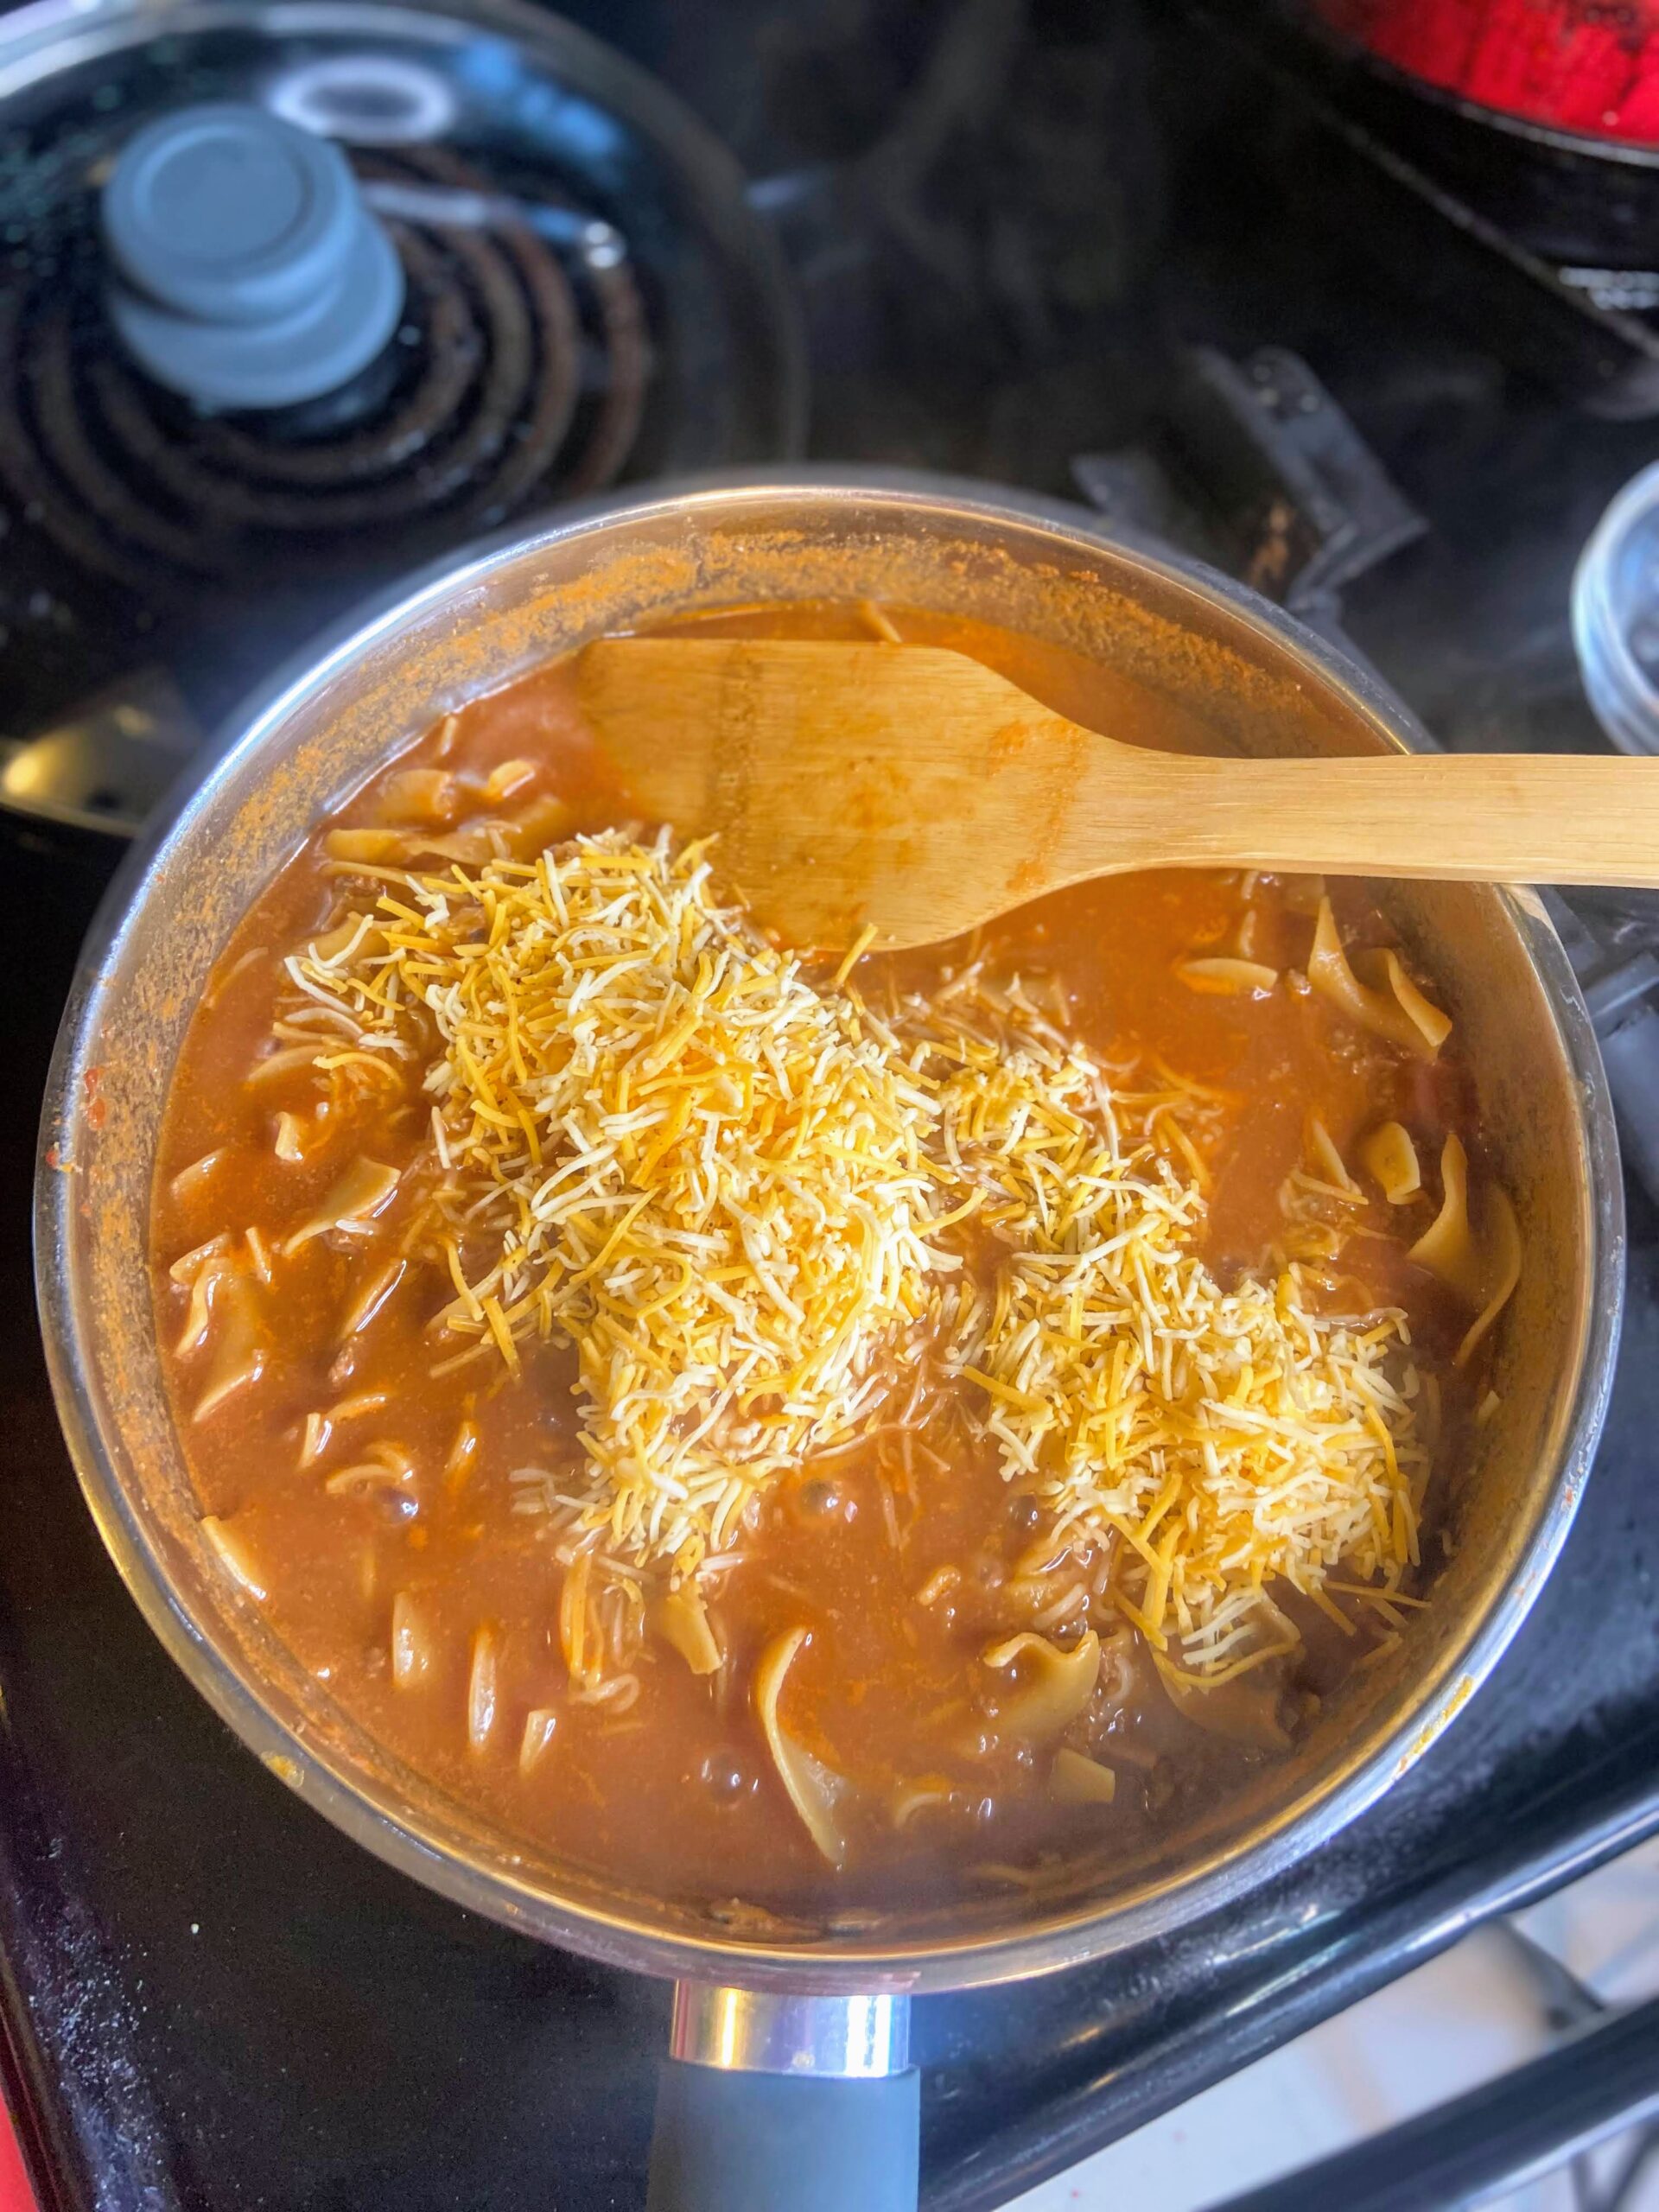
Stir in tomatoes, continuing to heat over medium-high temperature. Cook for 2-3 minutes. Stir in milk and beef broth. Bring to a boil. Add egg noodles, reduce heat, cover, and cook for 8-10 minutes, until the egg noodles are cooked through. Remove from heat and stir in cheese. Season with salt if needed.
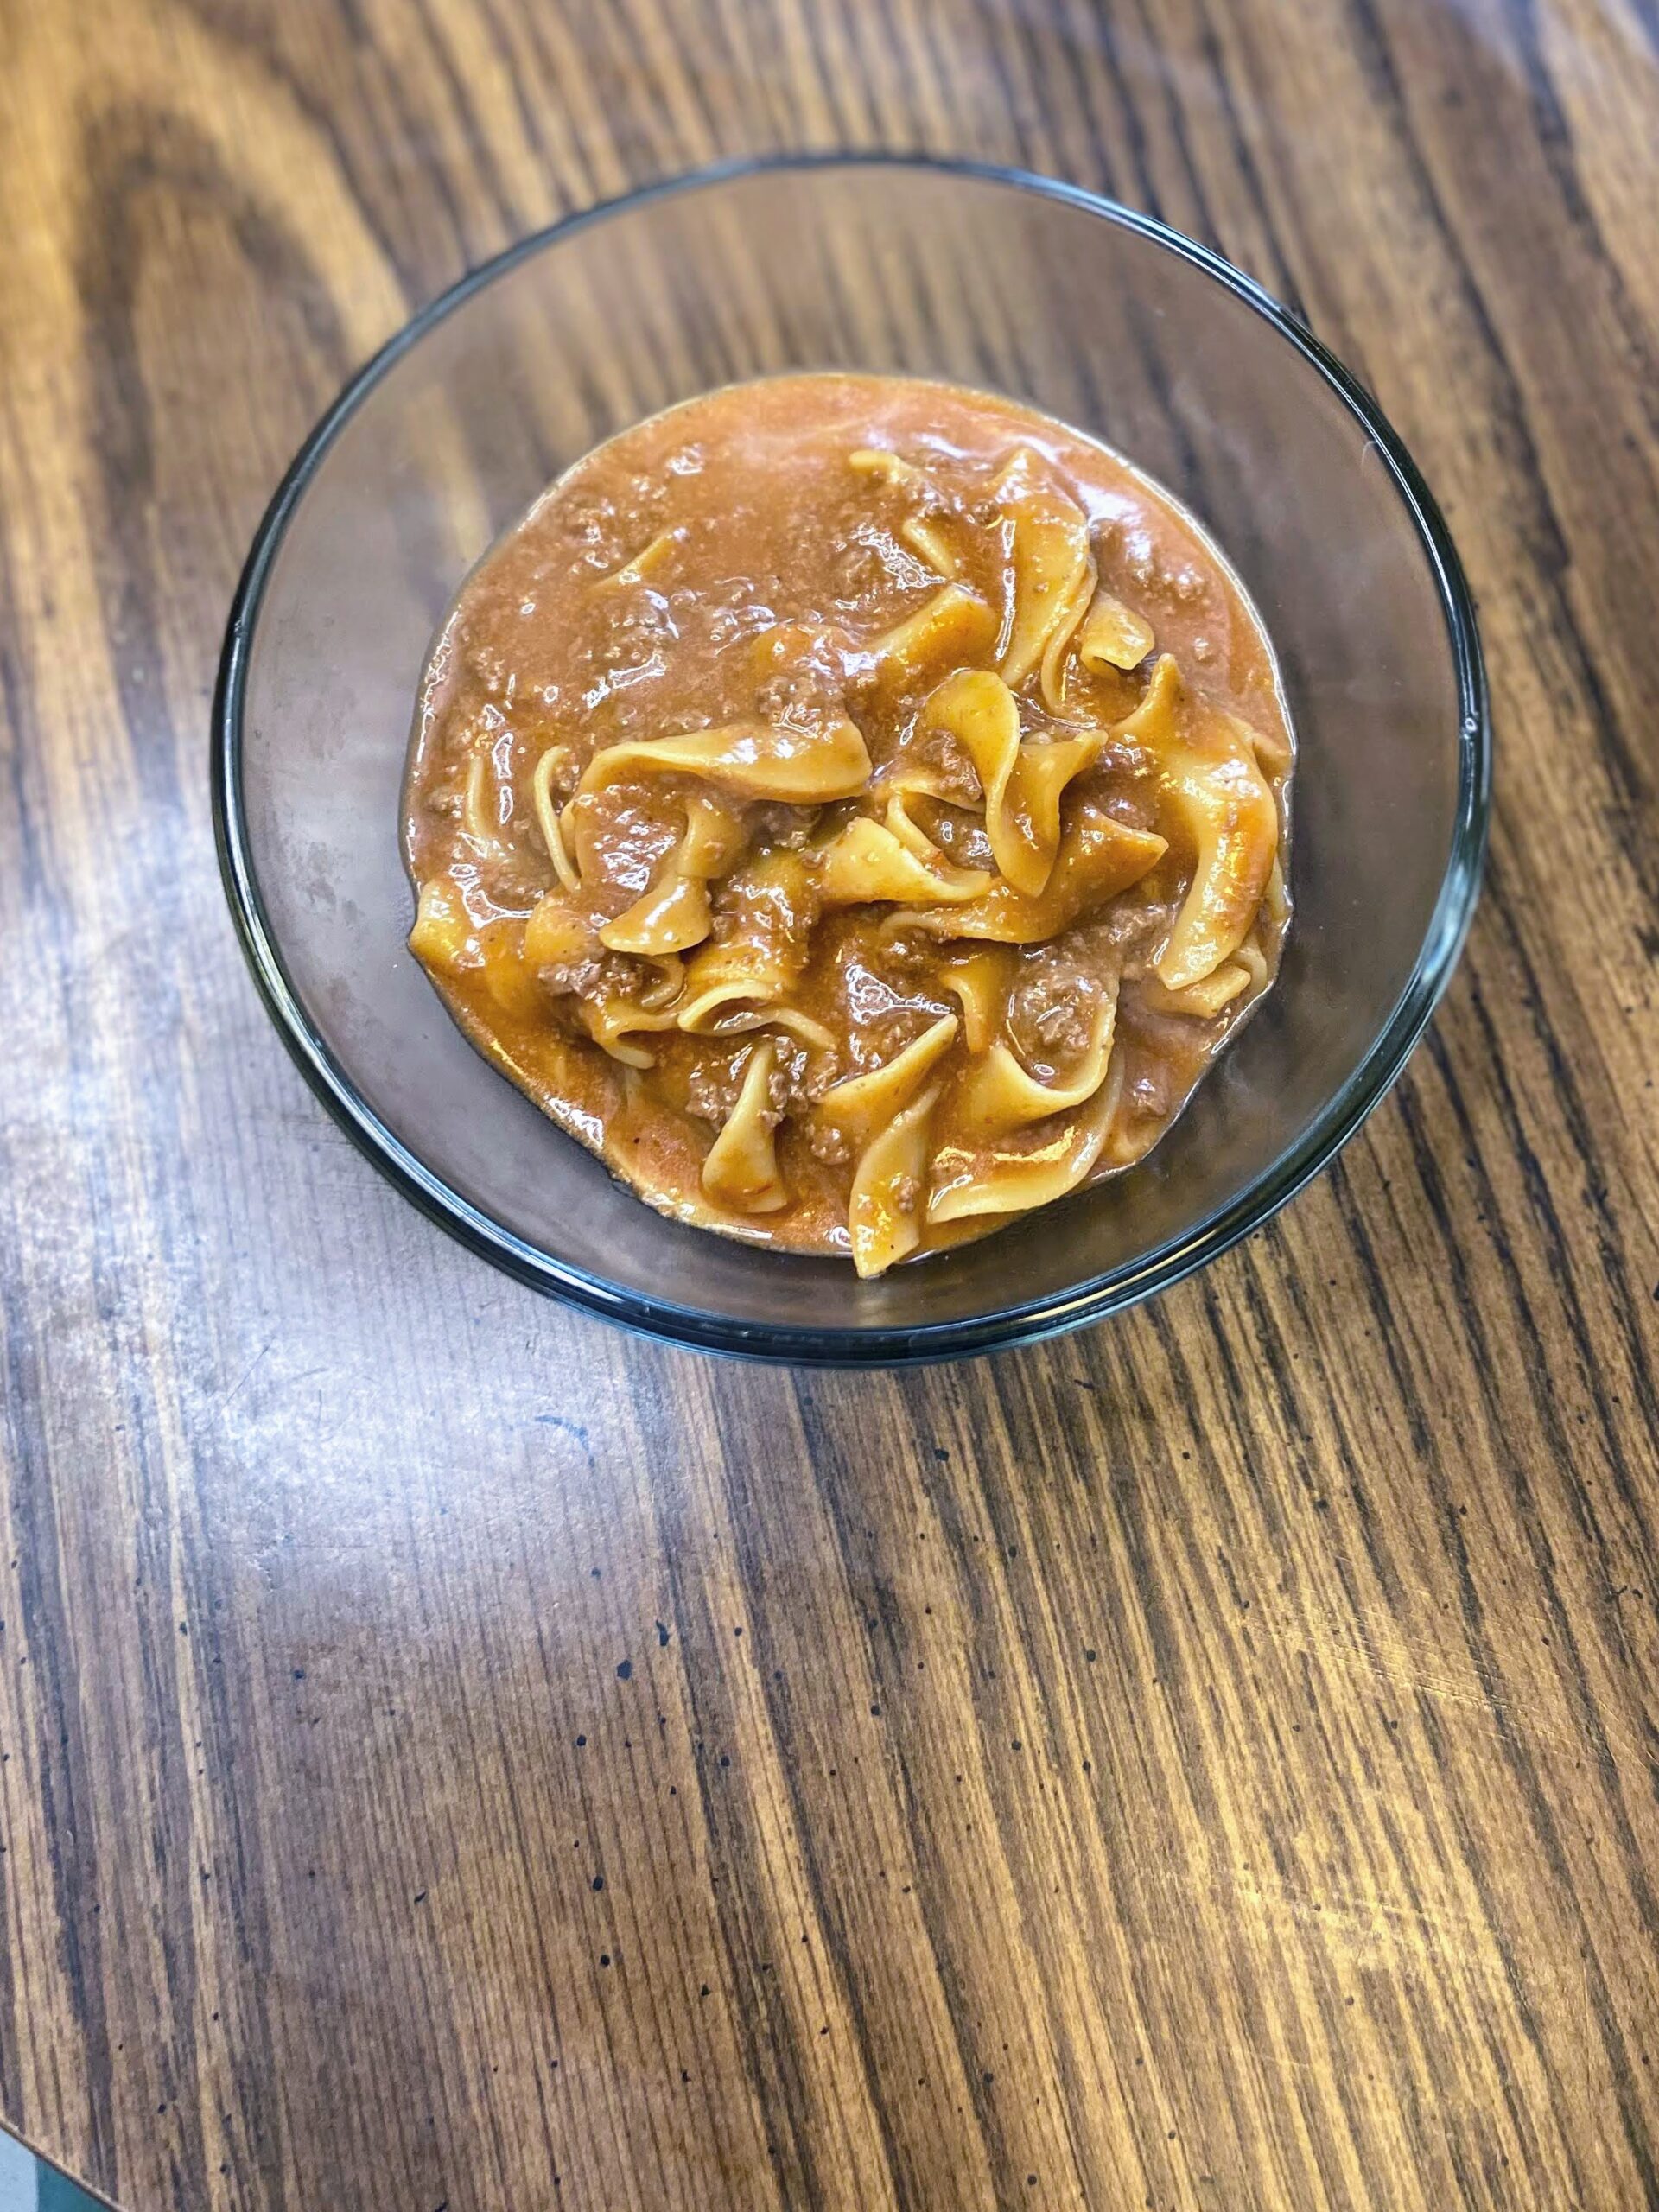
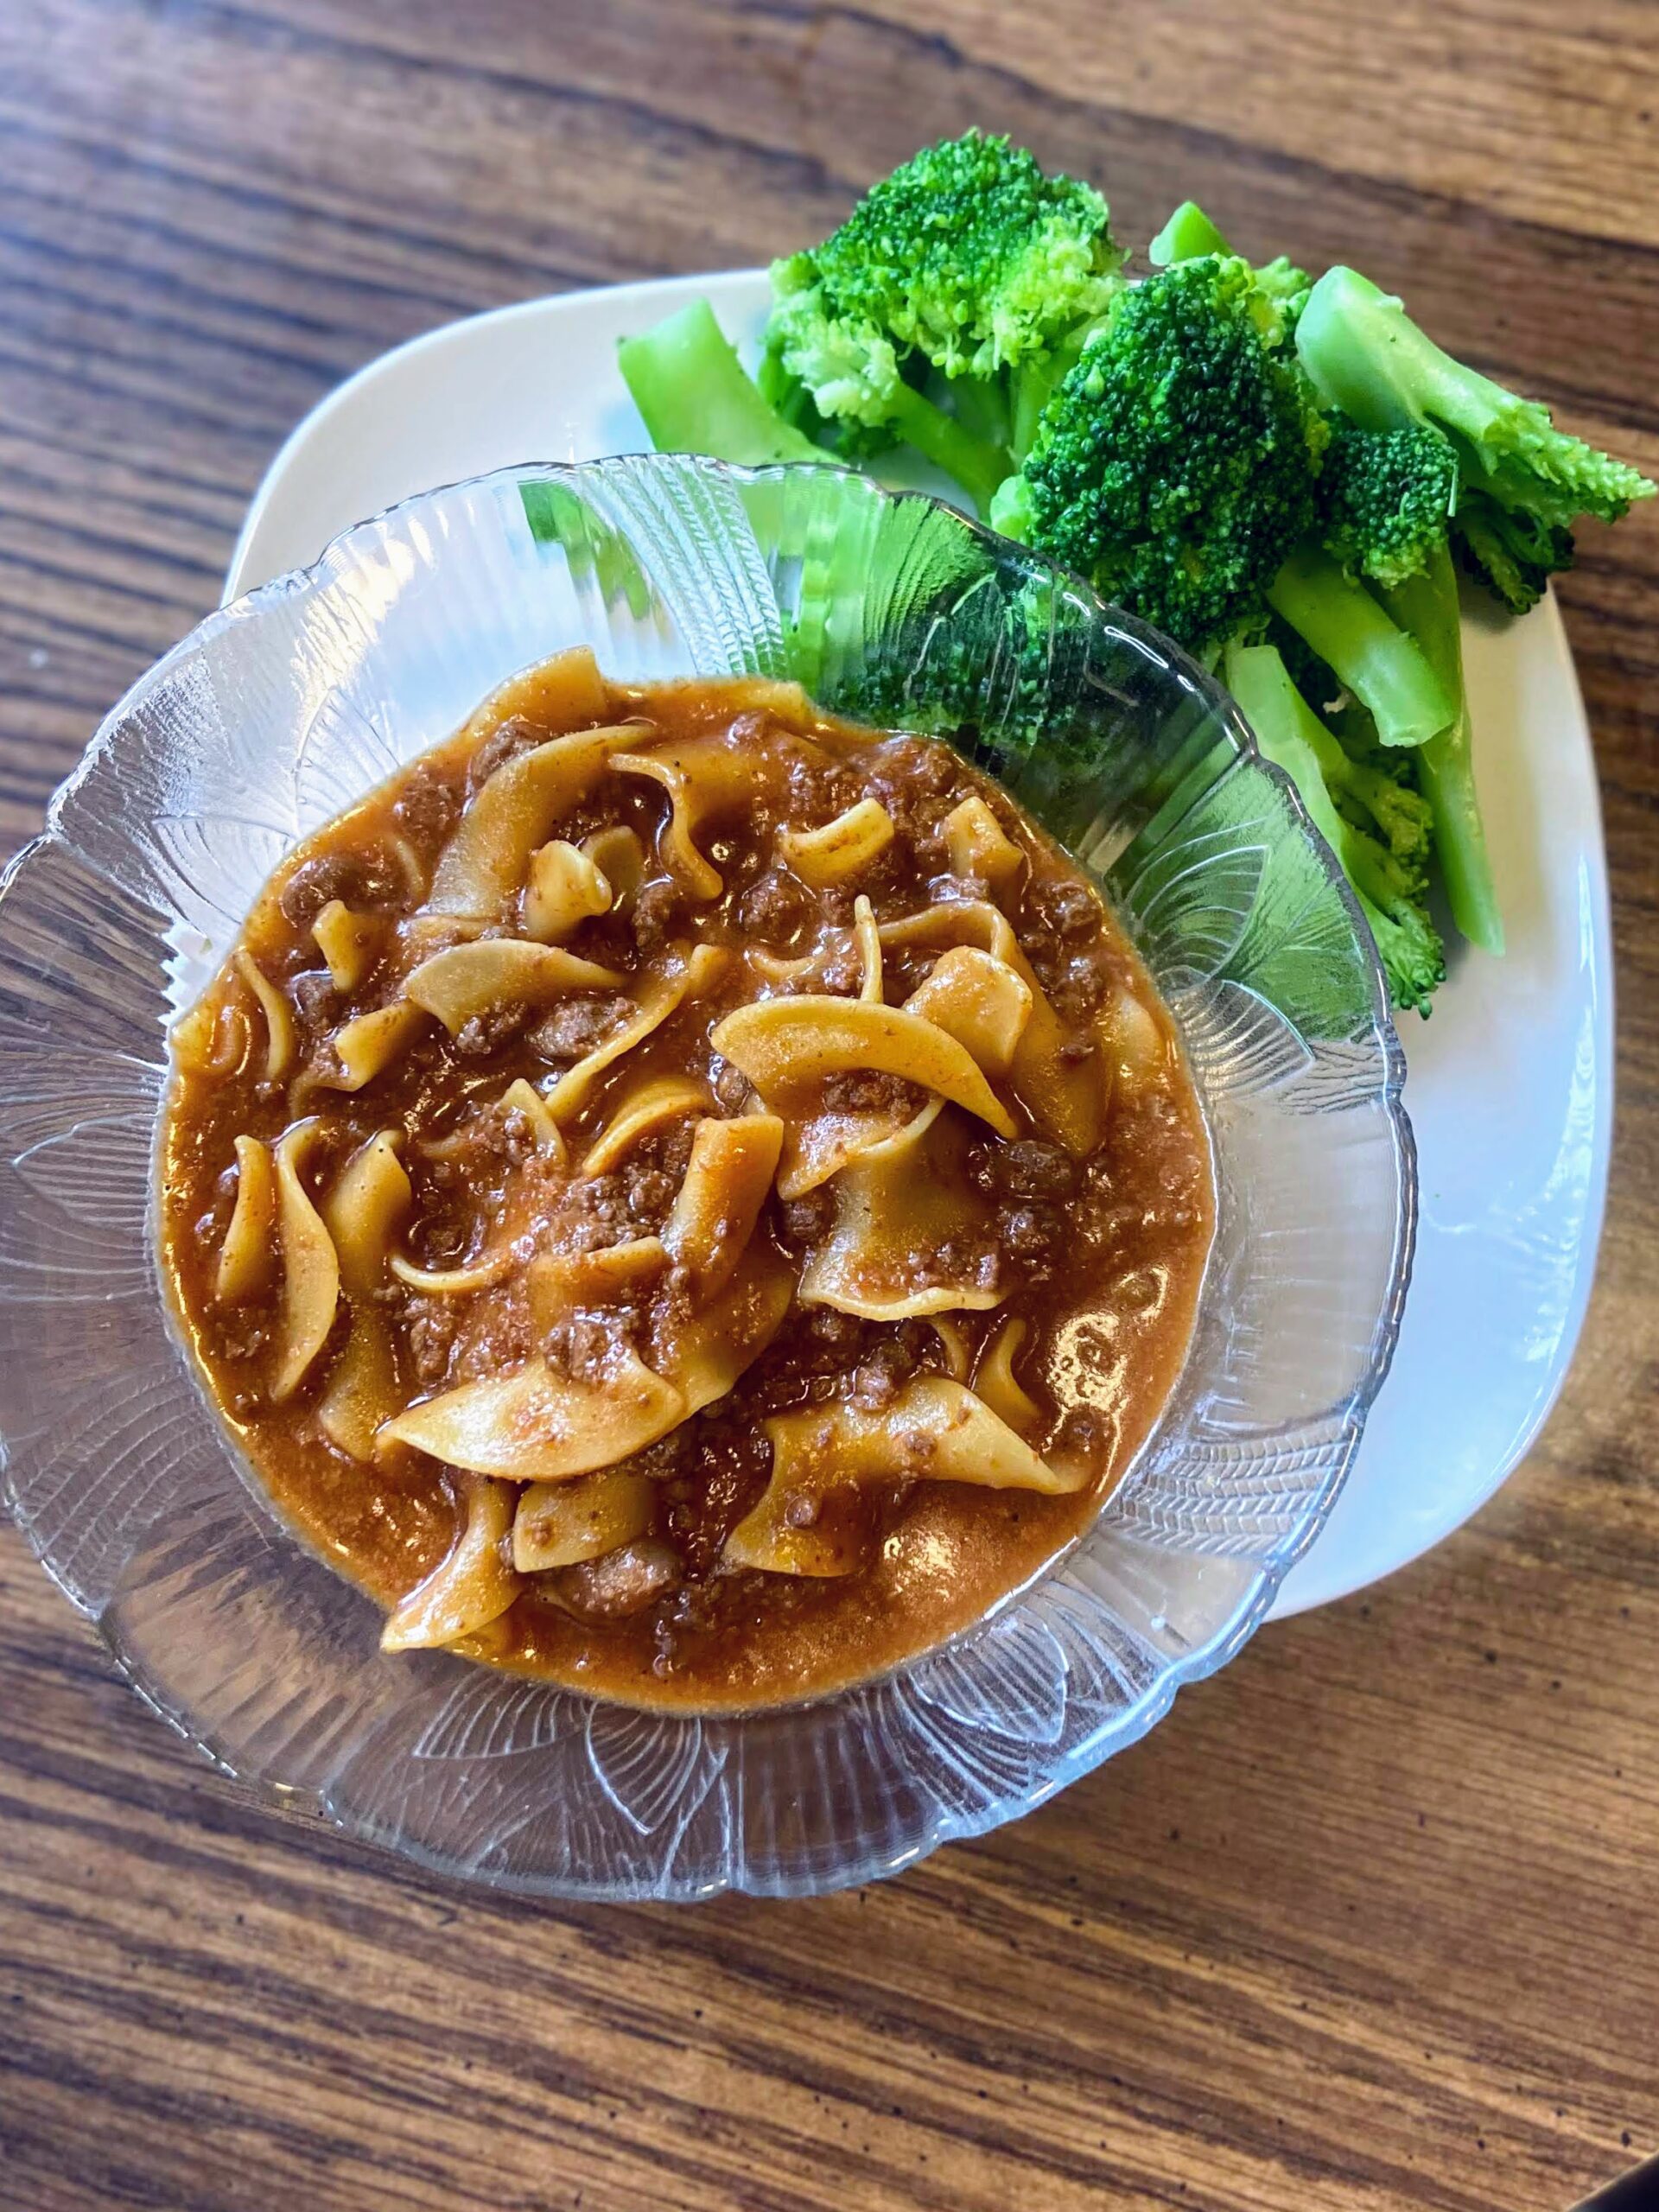
Homemade Hamburger Helper
Ingredients
- 1 pound ground protein beef, venison, turkey
- 1 teaspoon onion powder
- ¼ teaspoon ground pepper
- 1 teaspoon paprika
- 1 teaspoon garlic powder
- 6 ounces tomato paste or 8 ounces tomato sauce
- 1 ½ cups milk of your choice regular, almond, etc
- 1 ½ cups low sodium beef broth
- 3 cups egg noodles
- 1 ½ cups shredded cheddar cheese
- Olive oil optional
- Salt to taste
Instructions
- Over medium heat, begin to heat olive oil (if using a low fat protein) in a large saute pan (that has a cover). Add ground protein. Season with onion powder, paprika, garlic powder, and ground pepper. Brown. Drain if necessary.
- Stir in tomatoes, continuing to heat over medium-high temperature. Cook for 2-3 minutes.
- Stir in milk and beef broth. Bring to a boil.
- Add egg noodles, reduce heat, cover, and cook for 8-10 minutes, until the egg noodles are cooked through.
- Remove from heat and stir in cheese. Season with salt if needed.
Looking for other recipes?
Check out some great, family-friendly recipes below!