Well friends, these Blueberry and Lemon Energy Balls have been a brain child of mine that sat there for months. I am a big lover of all things chocolate, but recognize that not everyone has the full love that I have. I am not sure what gave me the draw to make a blueberry lemon muffin inspired energy ball, but I thought about it often even though life was busy.
After a month of dreaming, I jumped in and made my first iteration. The problem? My typical binder of peanut butter would most definitely overpower the light flavor of blueberry and lemon. What to do? I added more maple syrup and hoped that would work. The verdict from my students and family? Far too dry. Interestingly, the sweetness was off too. Back to the drawing board.
A few weeks later, I was getting my hair done and my stylist had stopped prior to my appointment to get one of those nutrition drinks and also received a sample of their energy balls: cranberry orange. She offered me one and said that they used cashew butter. “Oh my goodness! That’s what I needed! It’s a neutral flavor that definitely binds the ingredients!” What a serendipitous moment!
The new result?
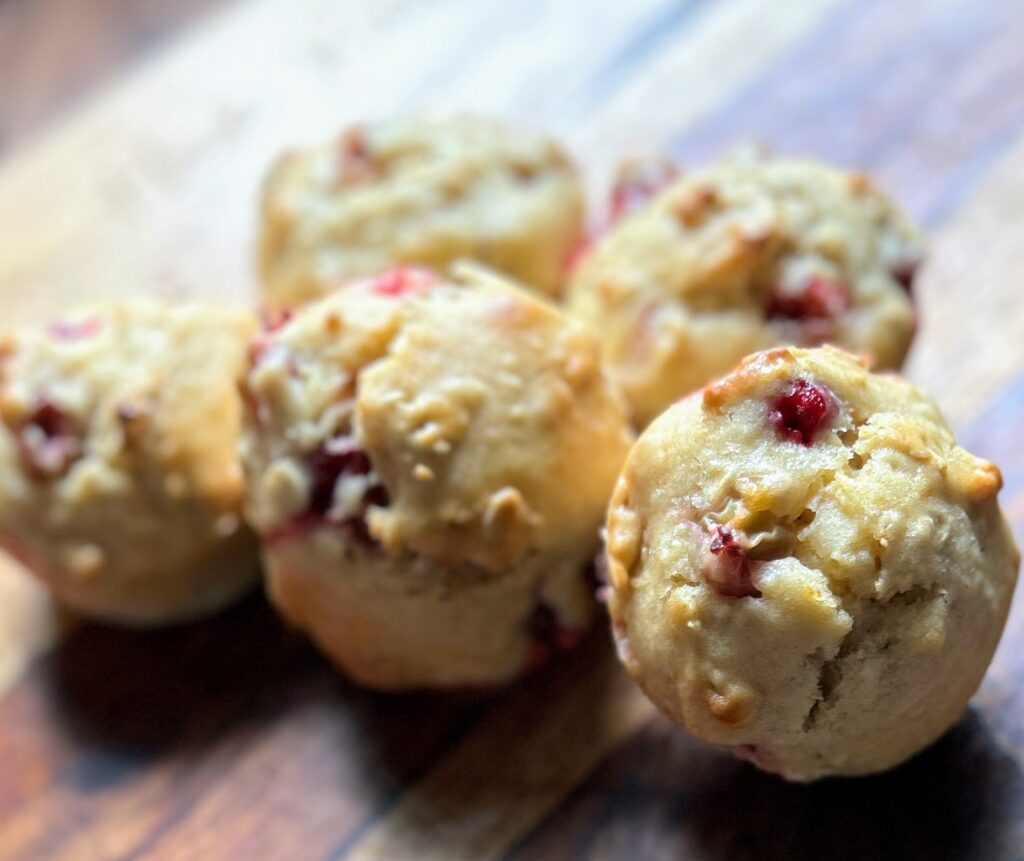
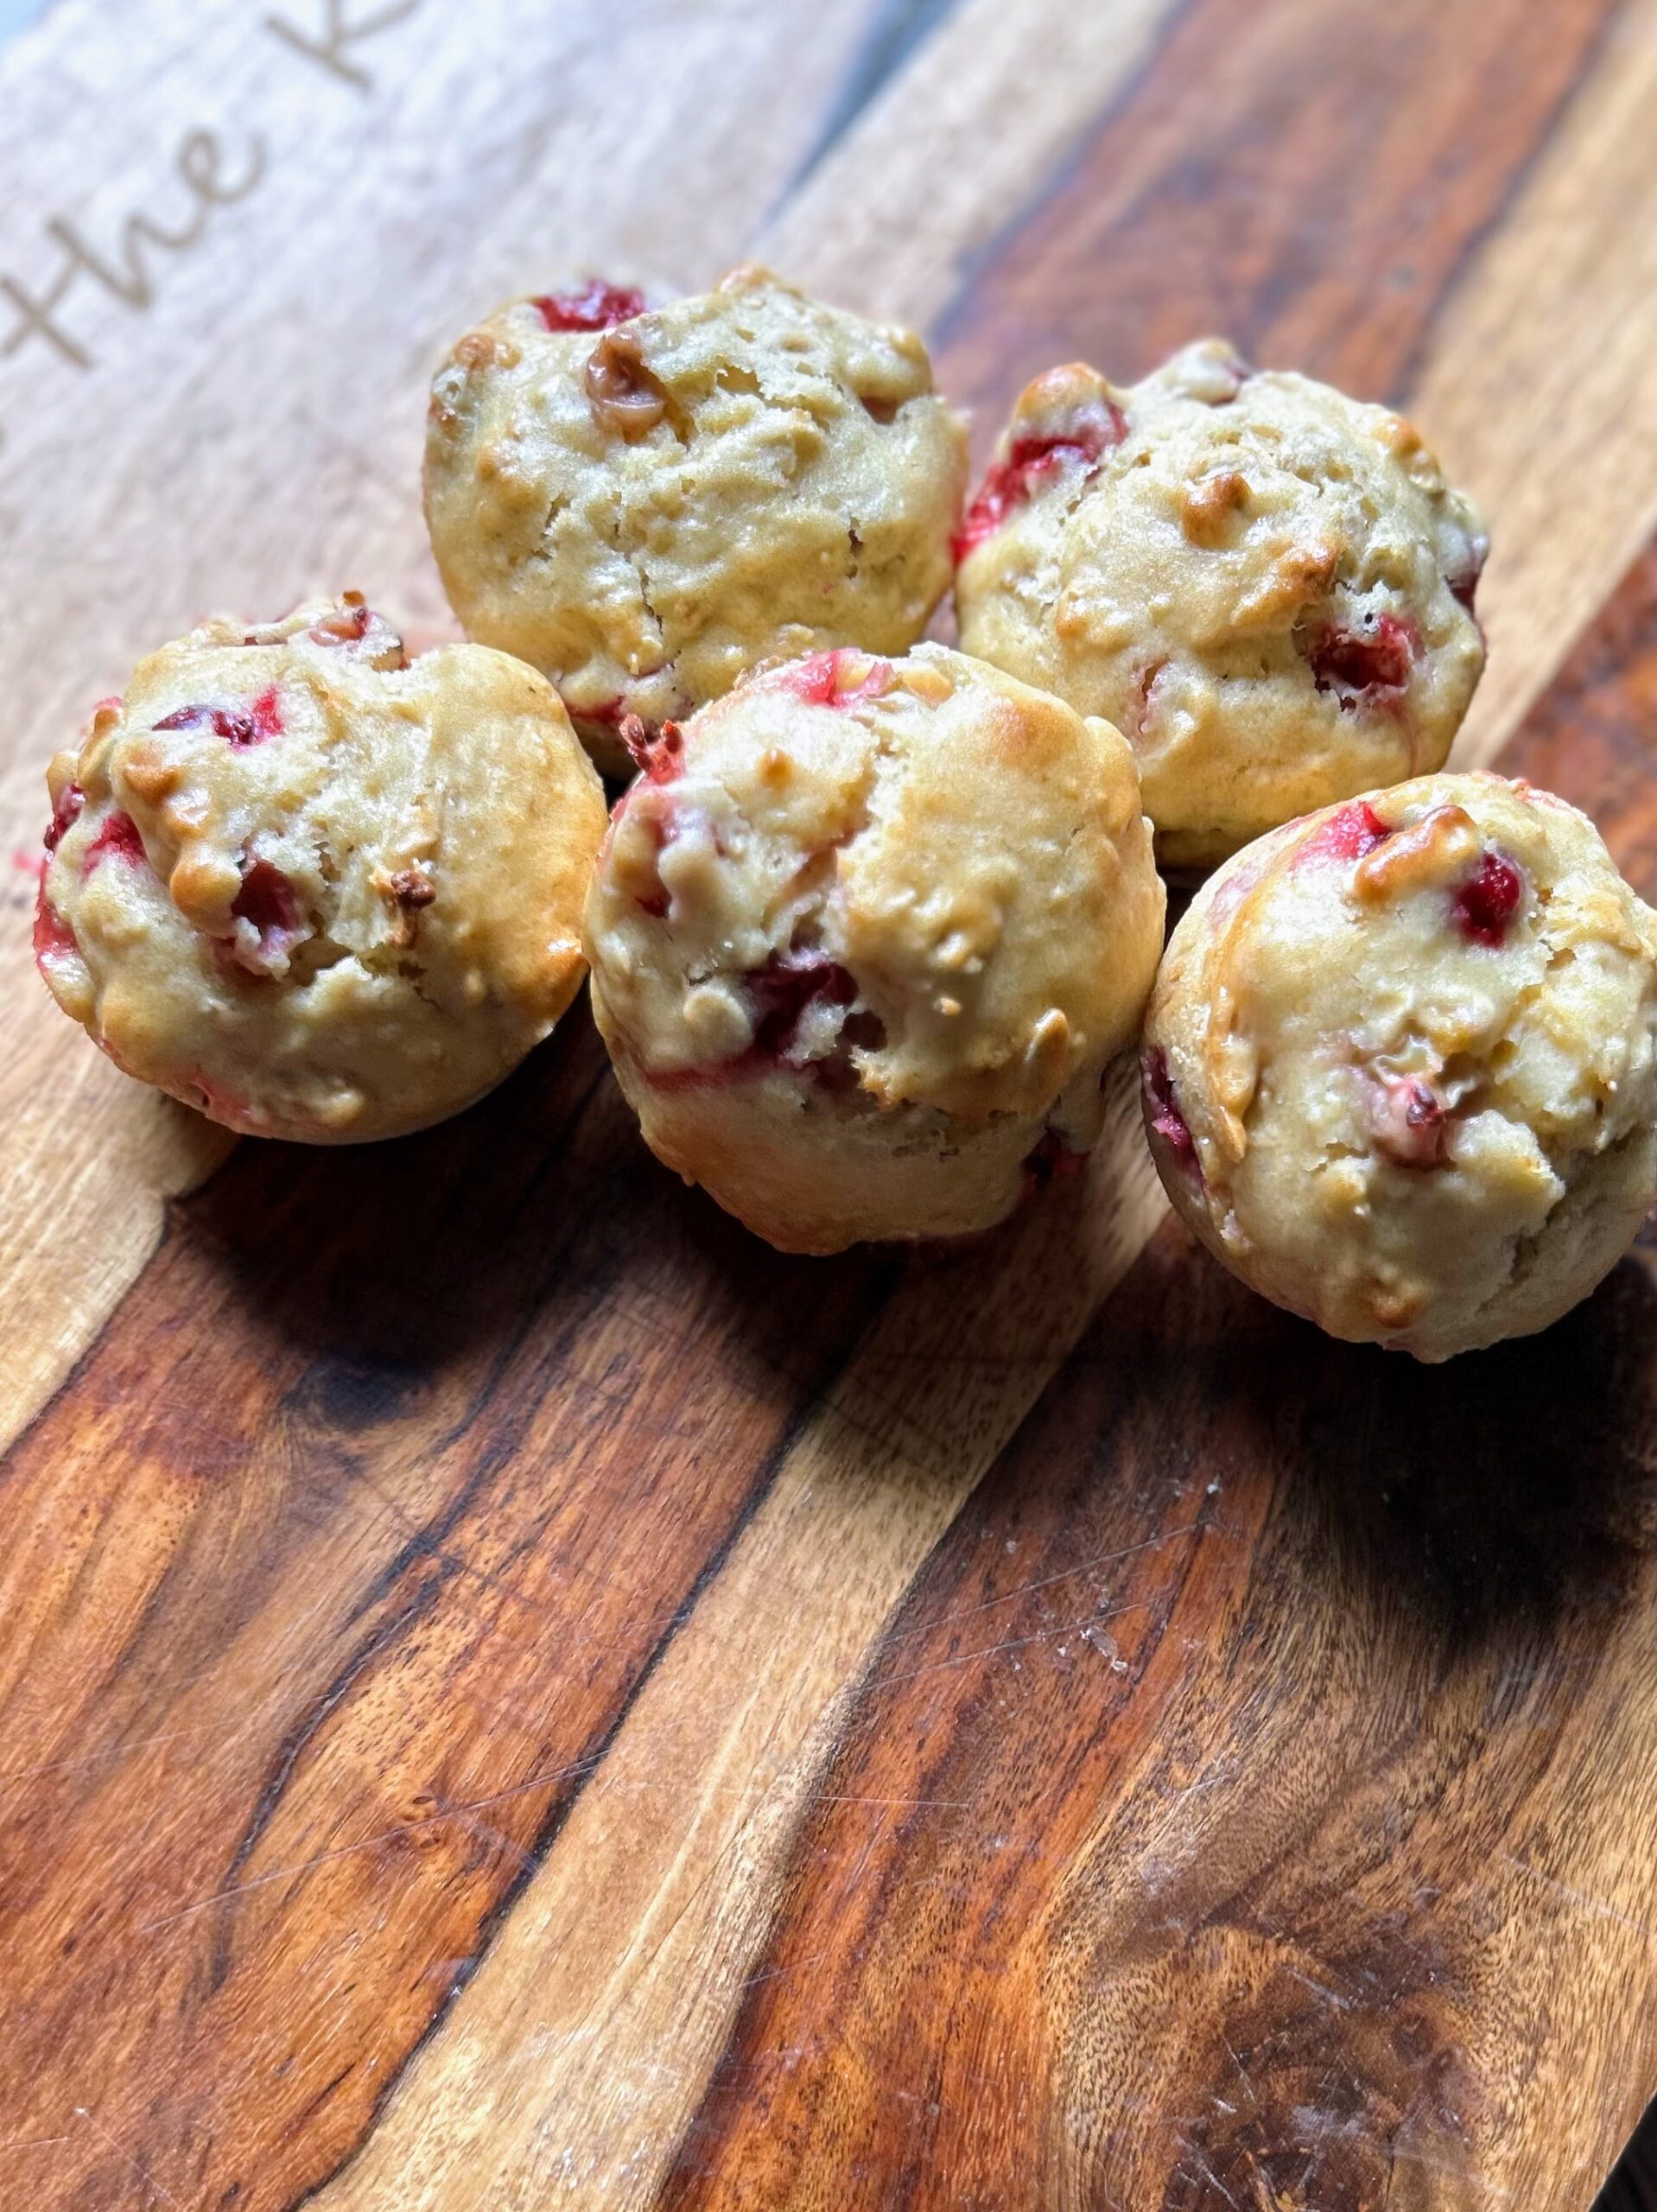
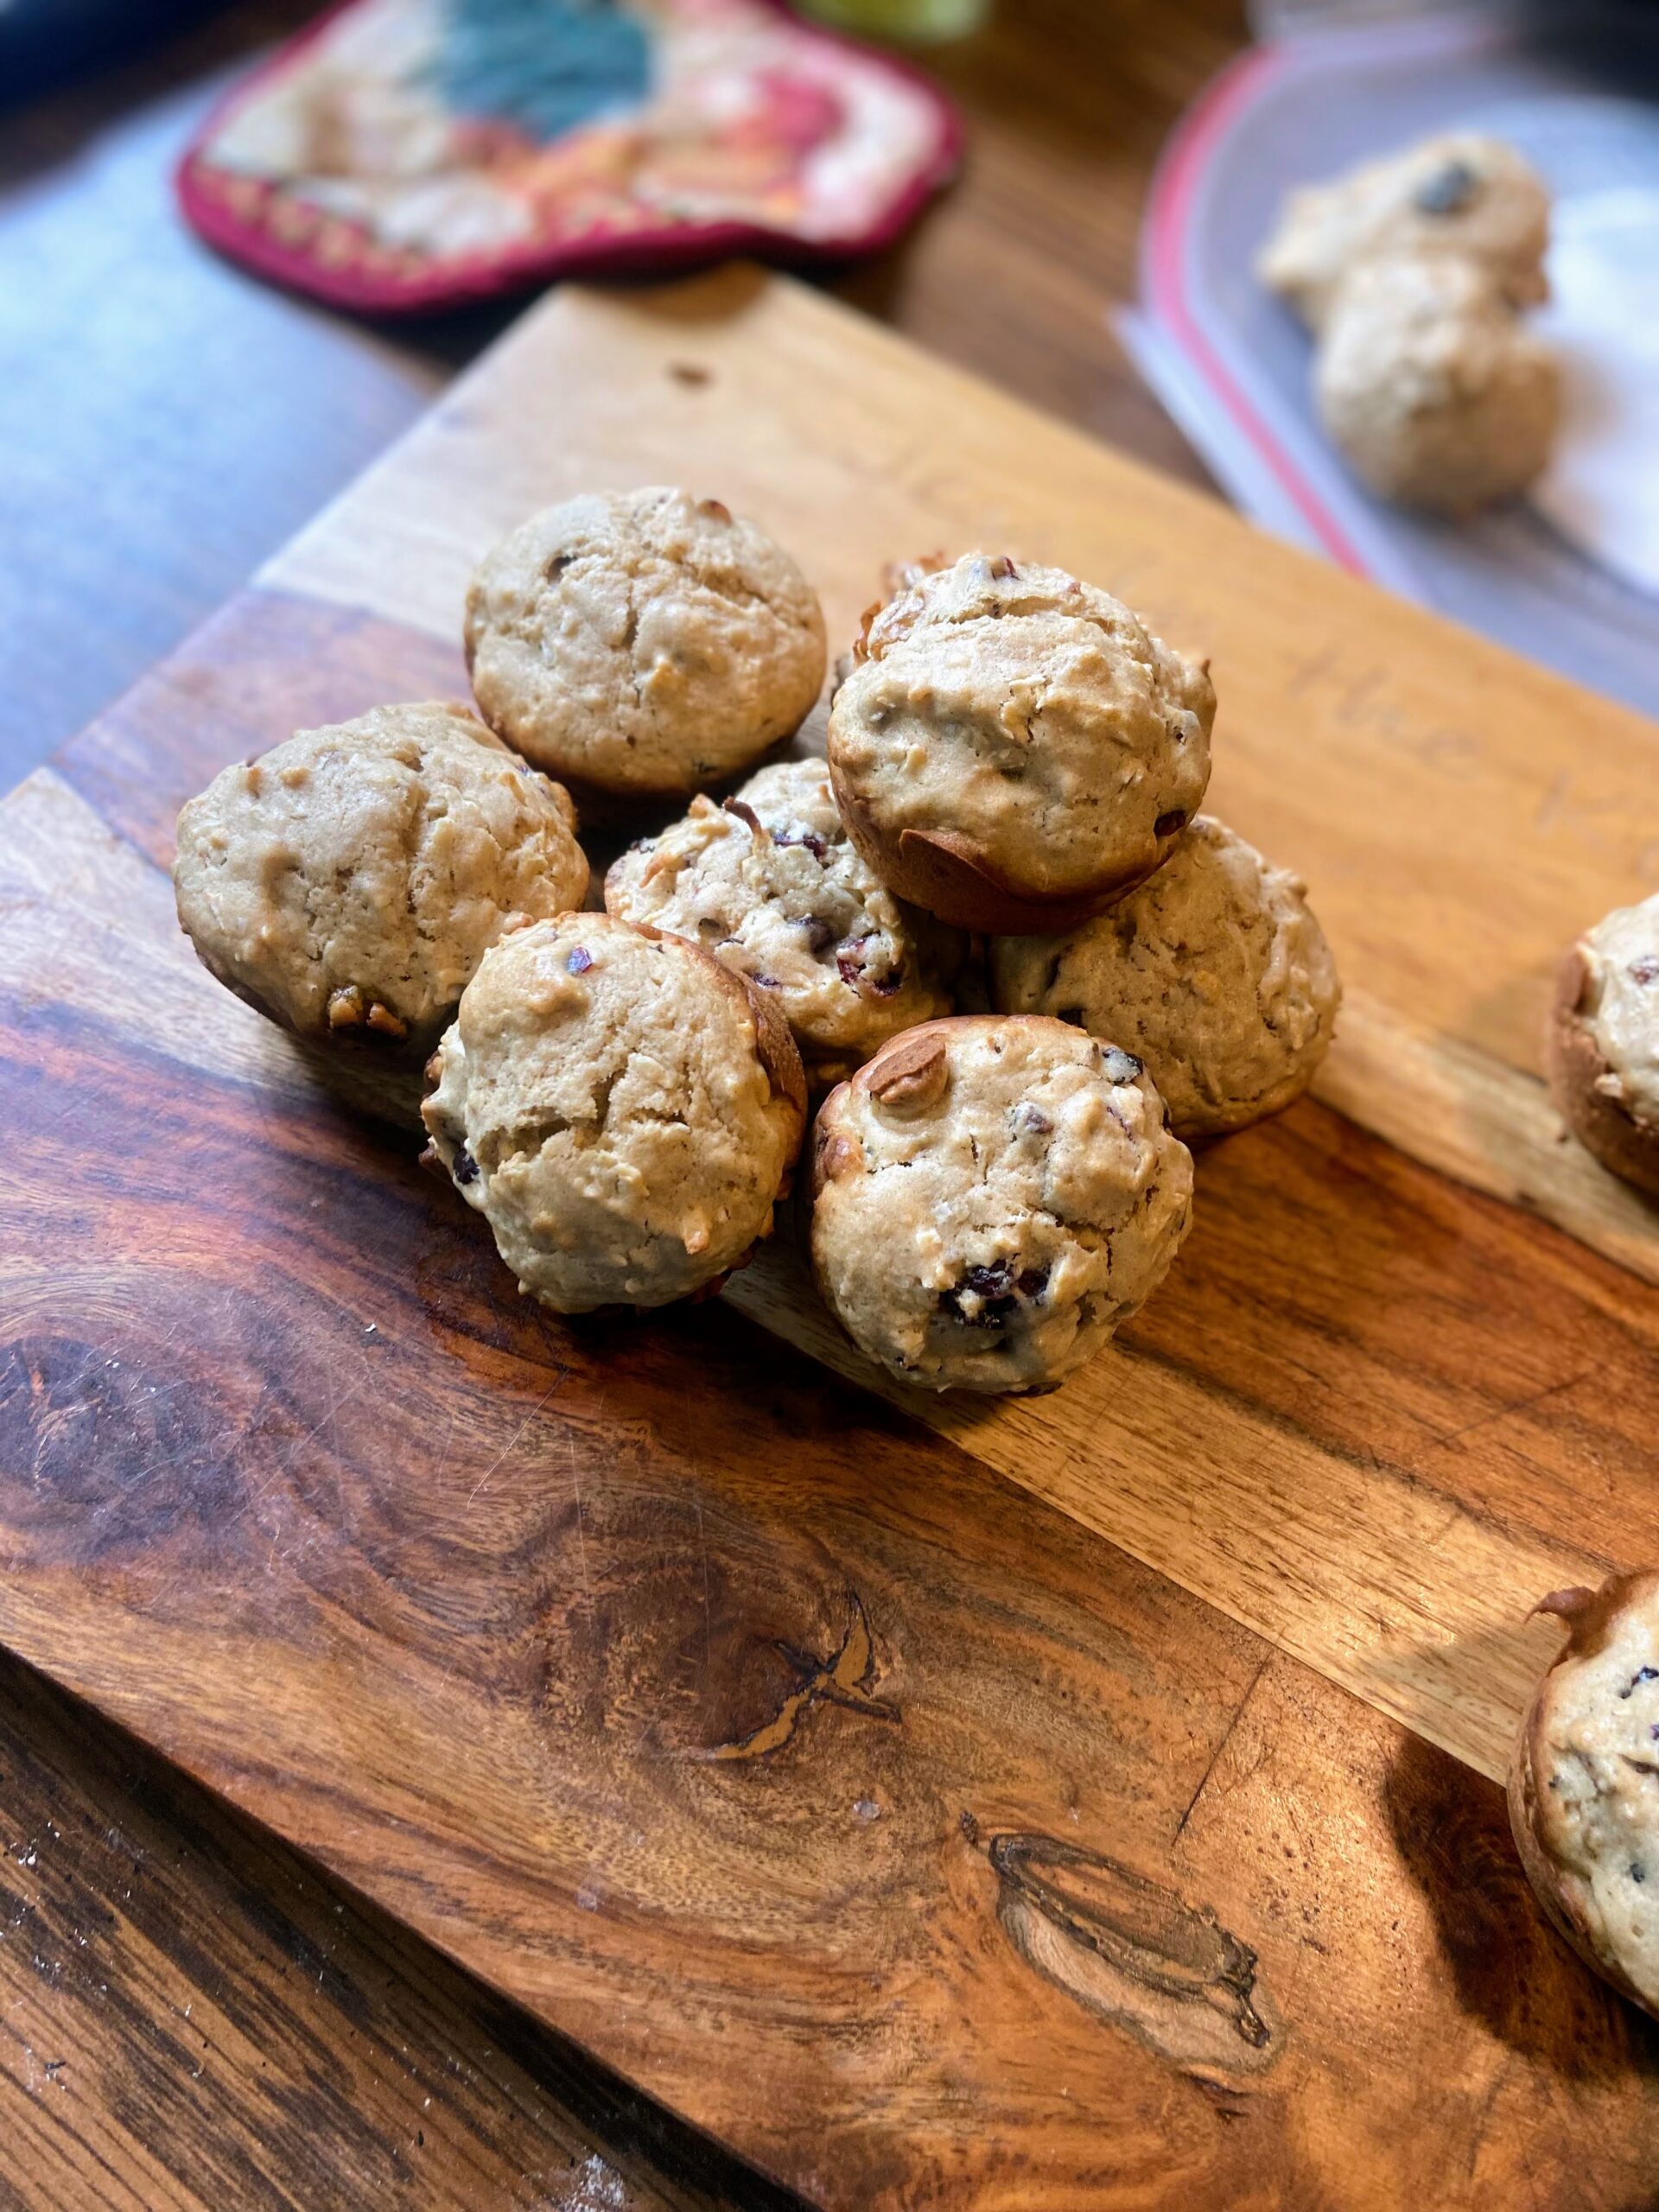
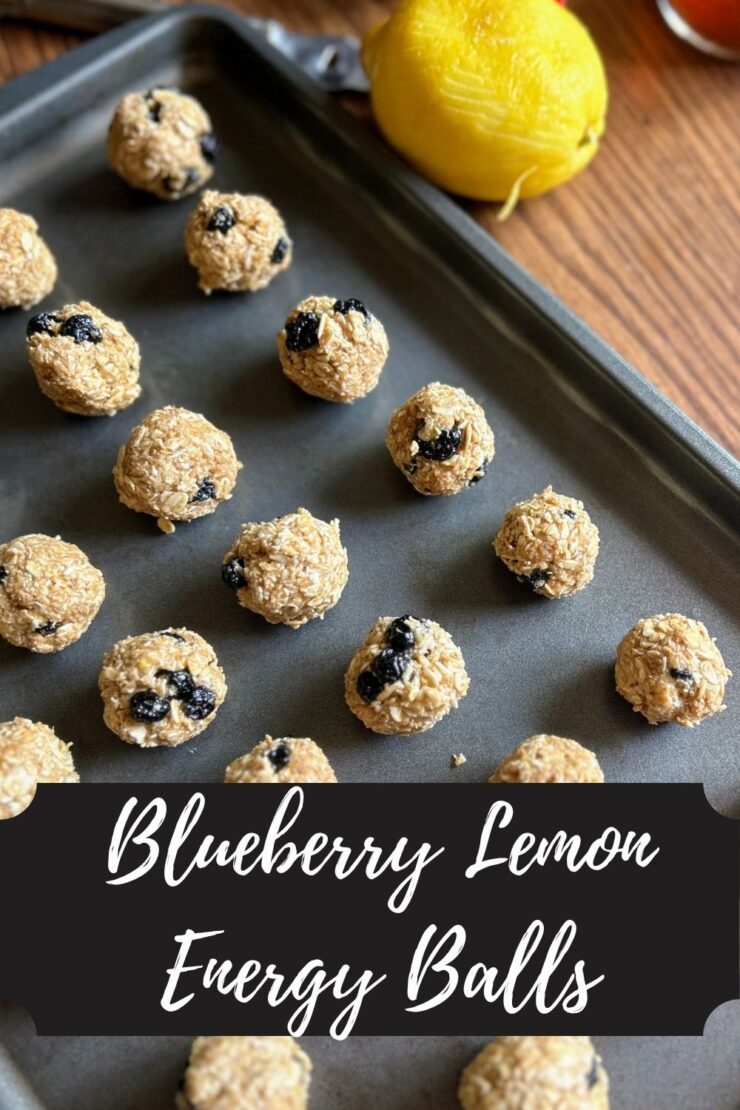
LOVELY. For the lemon lovers in your life, you may want to add the zest of two lemons, but otherwise, the texture was spot on. They were just the right amount of moisture to keep them together but not too much that they are falling apart. The sweetness was on point. I made them a day or two before I went on a five day vacation and would dare say the leftovers I left in the fridge were BETTER than they were the day after I made them.
Ready to give these Blueberry Lemon Energy Balls a try? Let’s go!
Your Ingredients for Blueberry Lemon Energy Balls
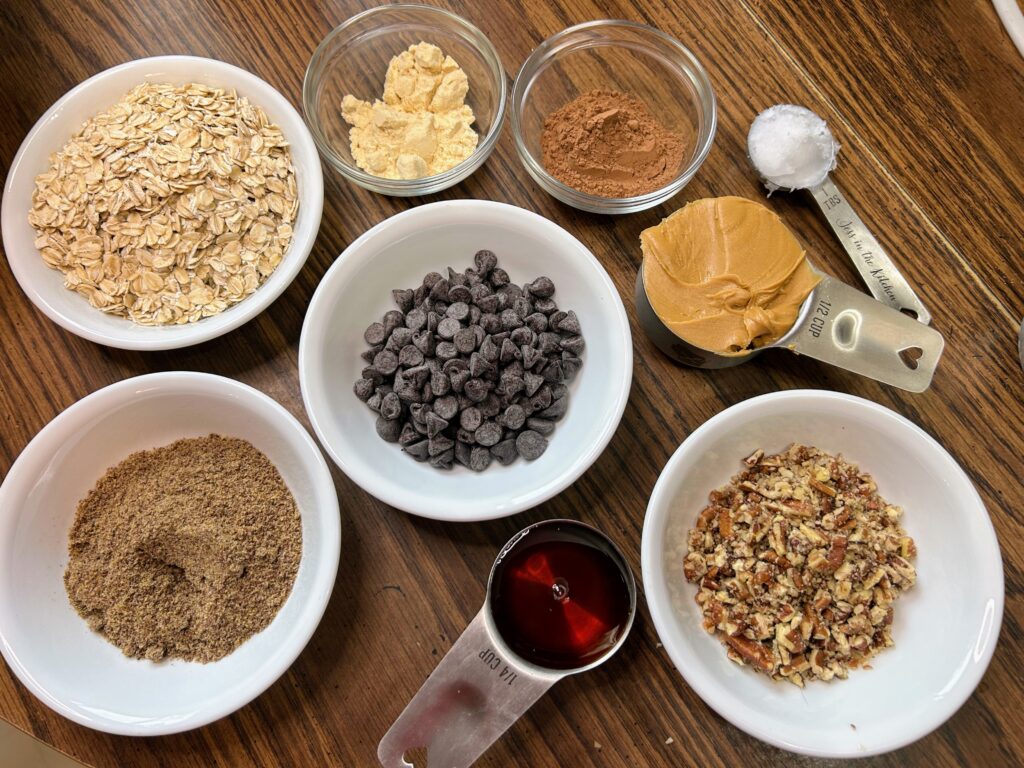
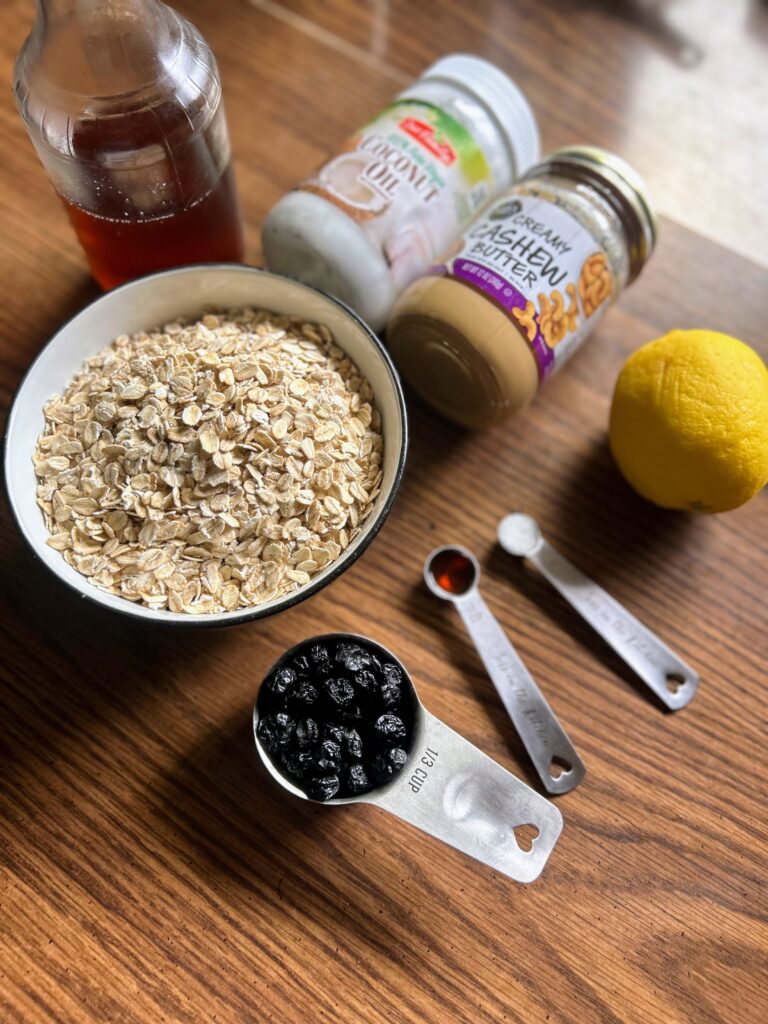
- 2 ½ cups old fashioned oats, divided
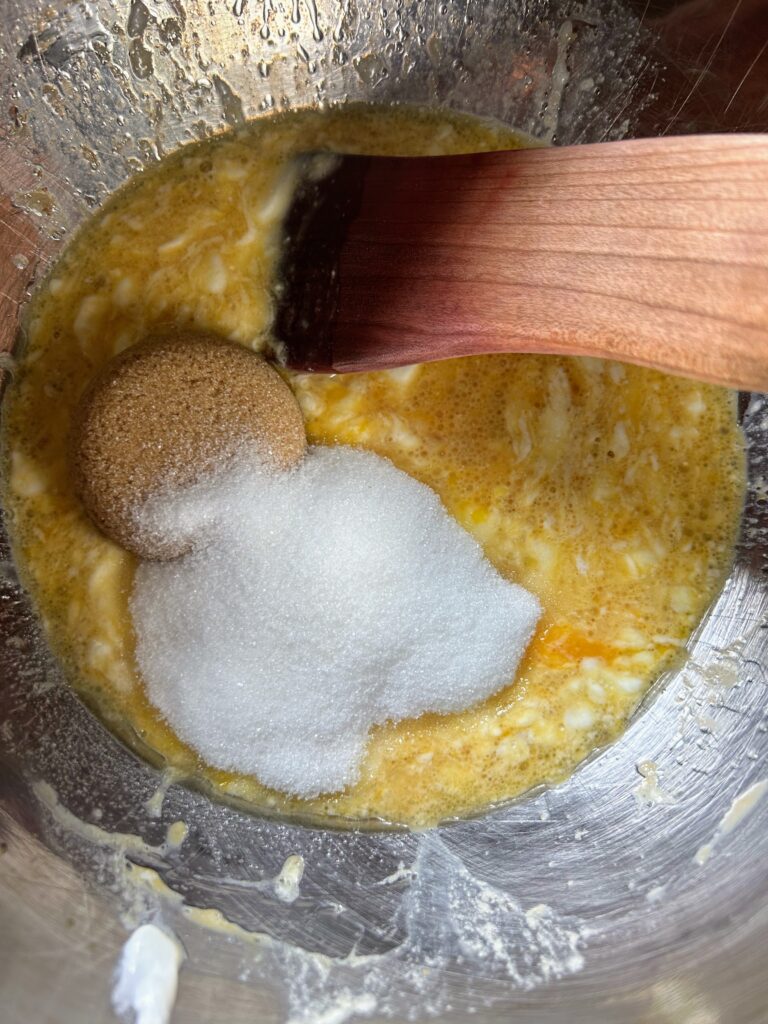
- ⅓ cup maple syrup (honey would do too!)
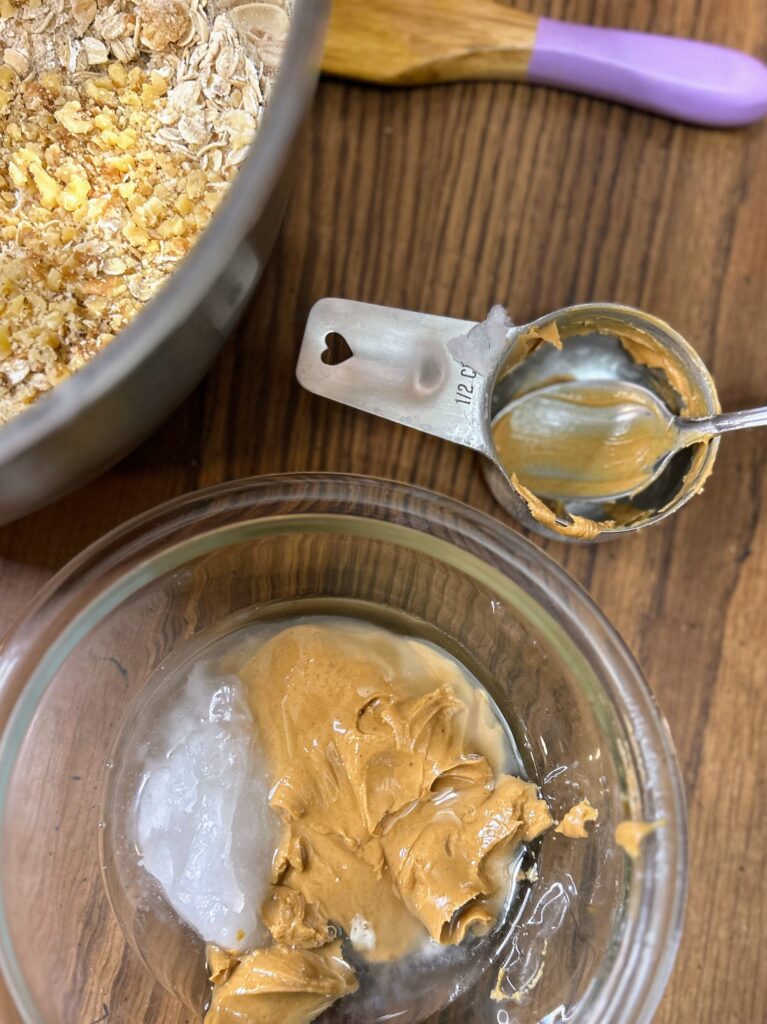
- ½ cup cashew butter
- ¼ t salt
- ½ t vanilla
- 1 T coconut oil, melted
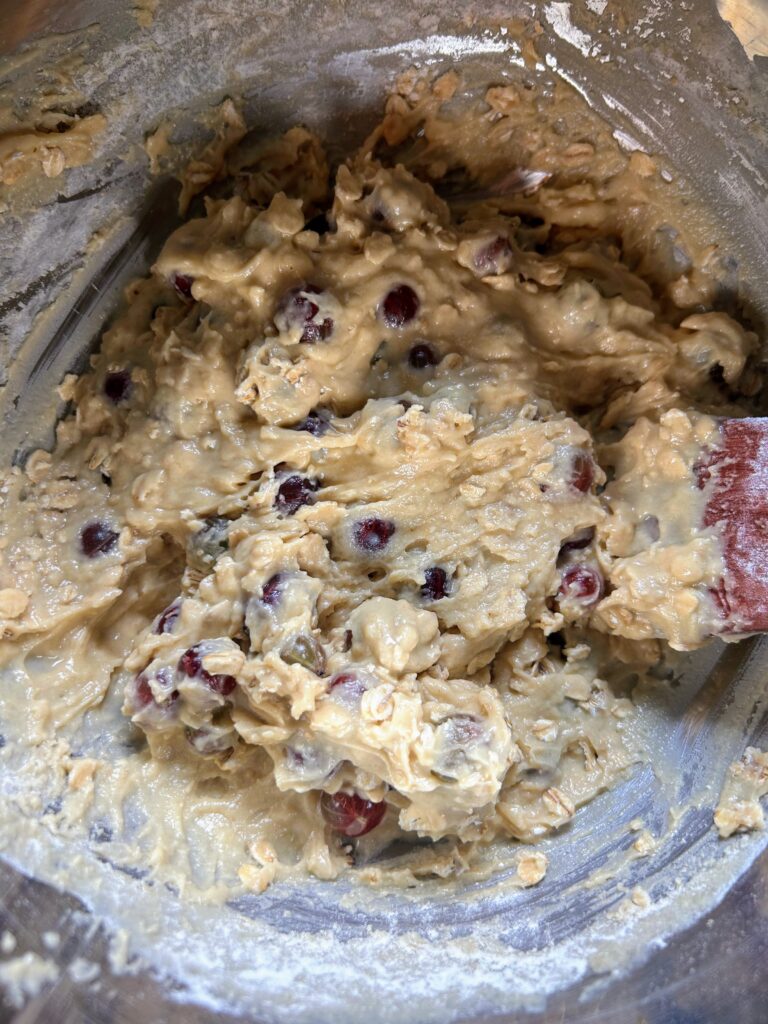
- ½ cup dried blueberries
- Zest of 1 lemon
- Lemon juice from one lemon
- ¼ cup white chocolate chips (optional)
Your Steps to Blueberry Lemon Energy Balls
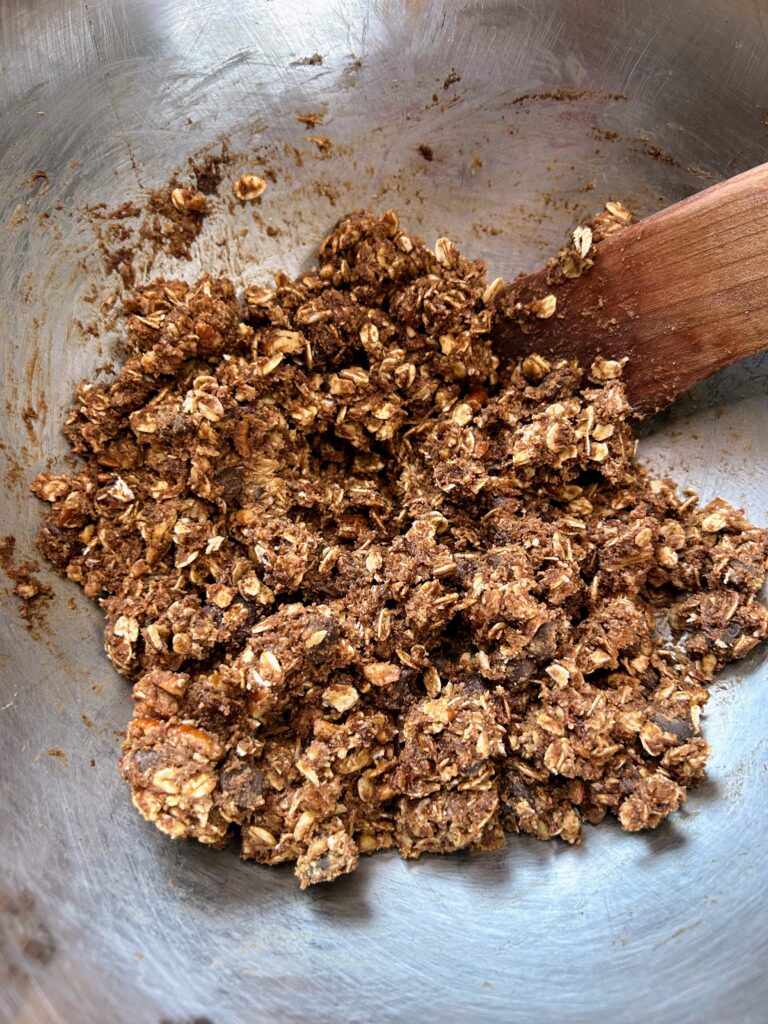
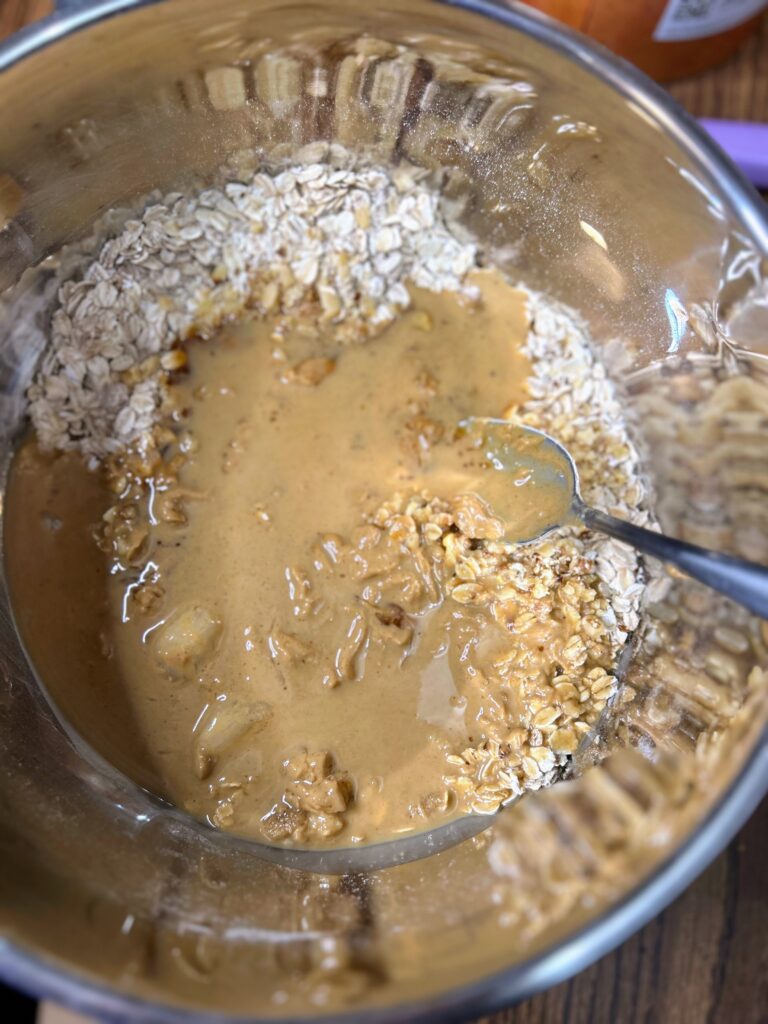
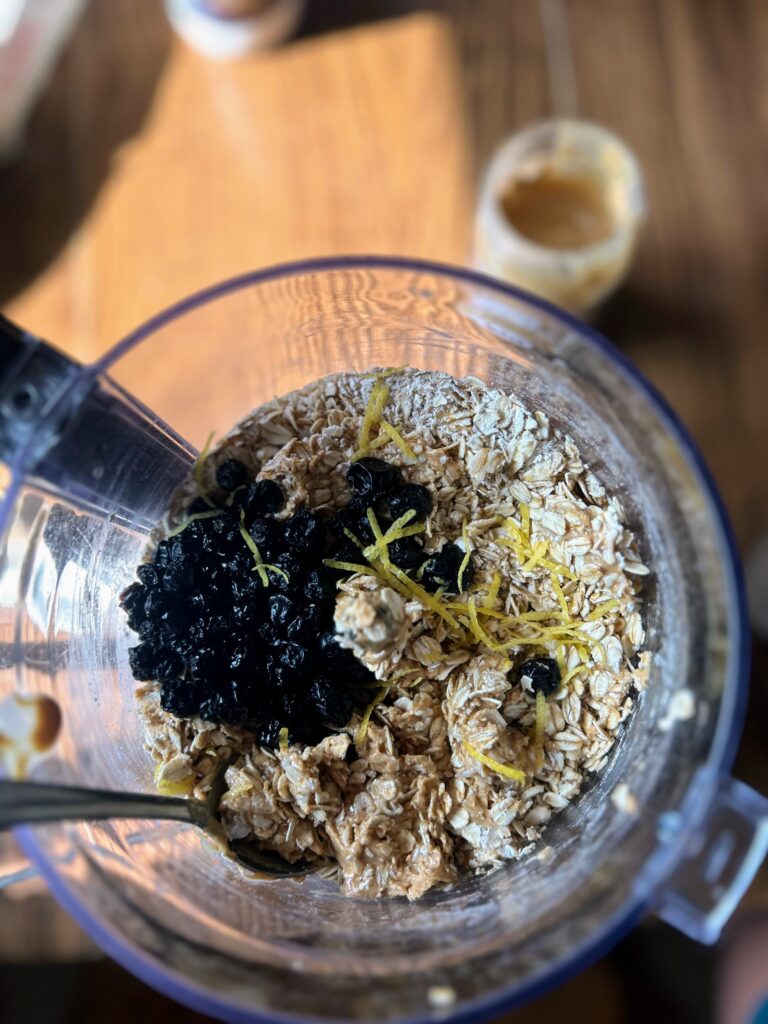
Place 1 ½ cups of the old fashioned oats in a large food processor. Pulse until coarse oat flour is formed. From here, you can pour the oat flour in a bowl. BUT…if you dig doing less dishes, you can add remove the blade from your food processor and mix right in the there. I am all about less dishes and this is where I mix it up.
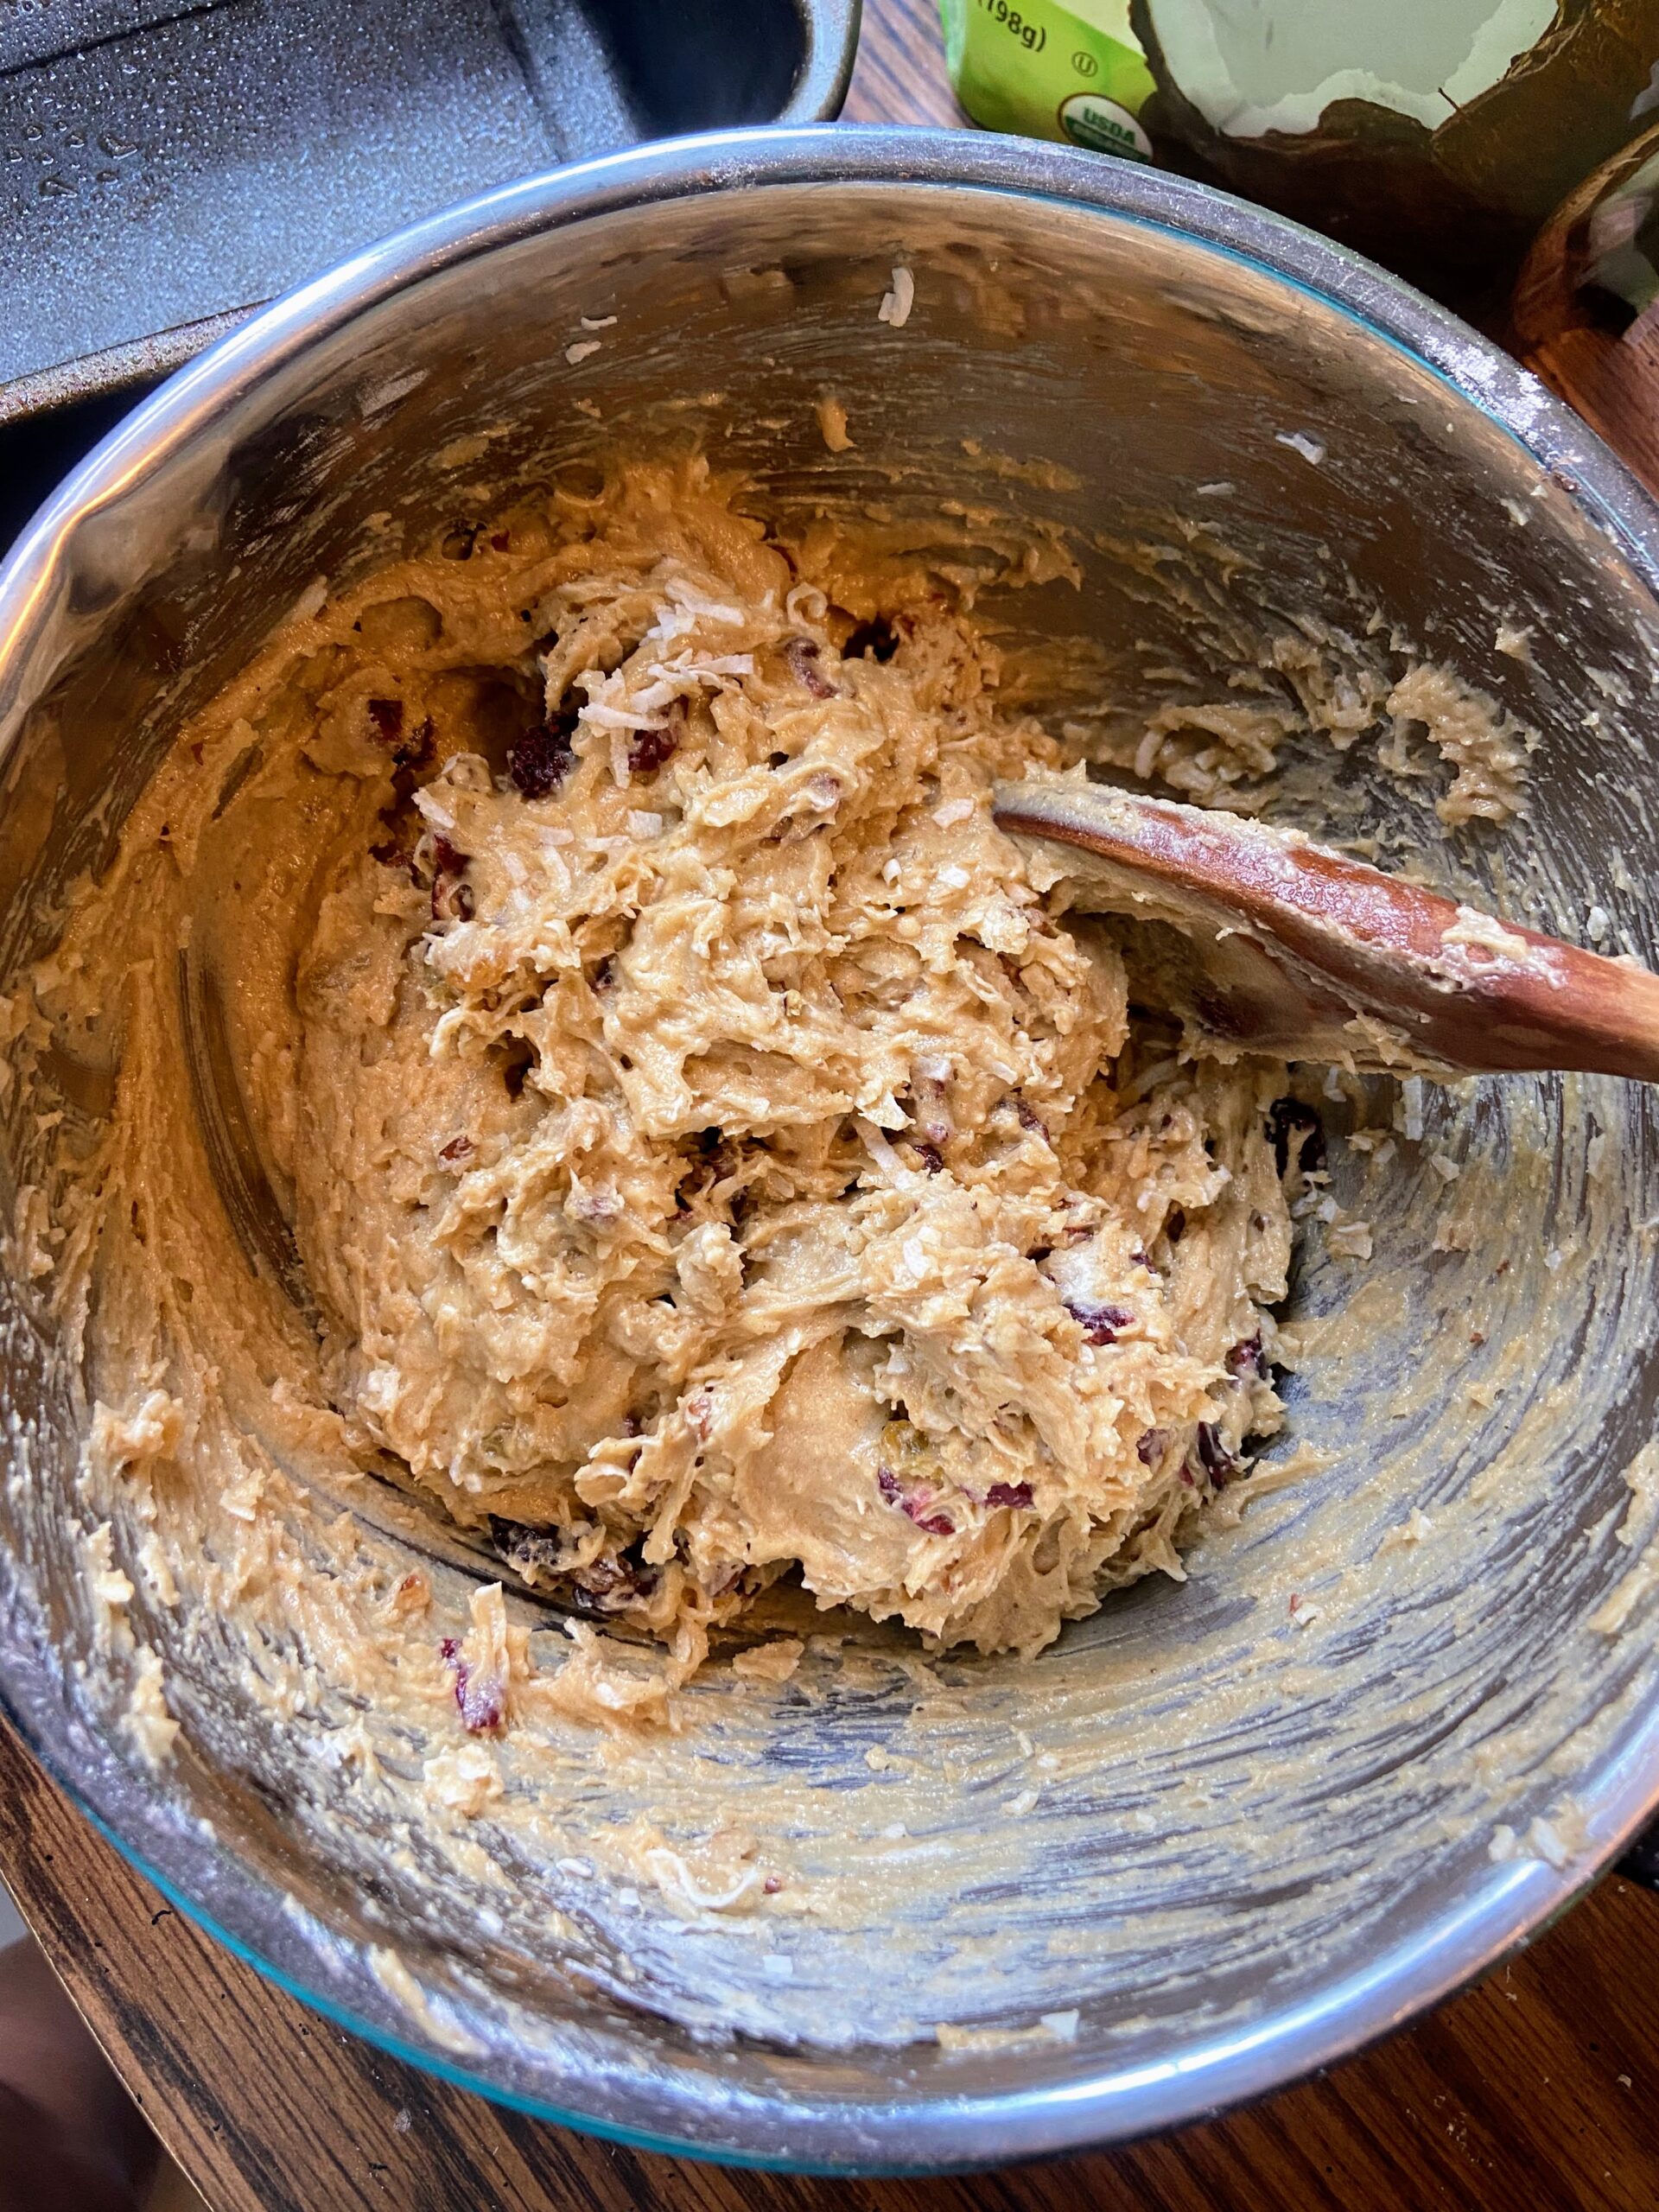
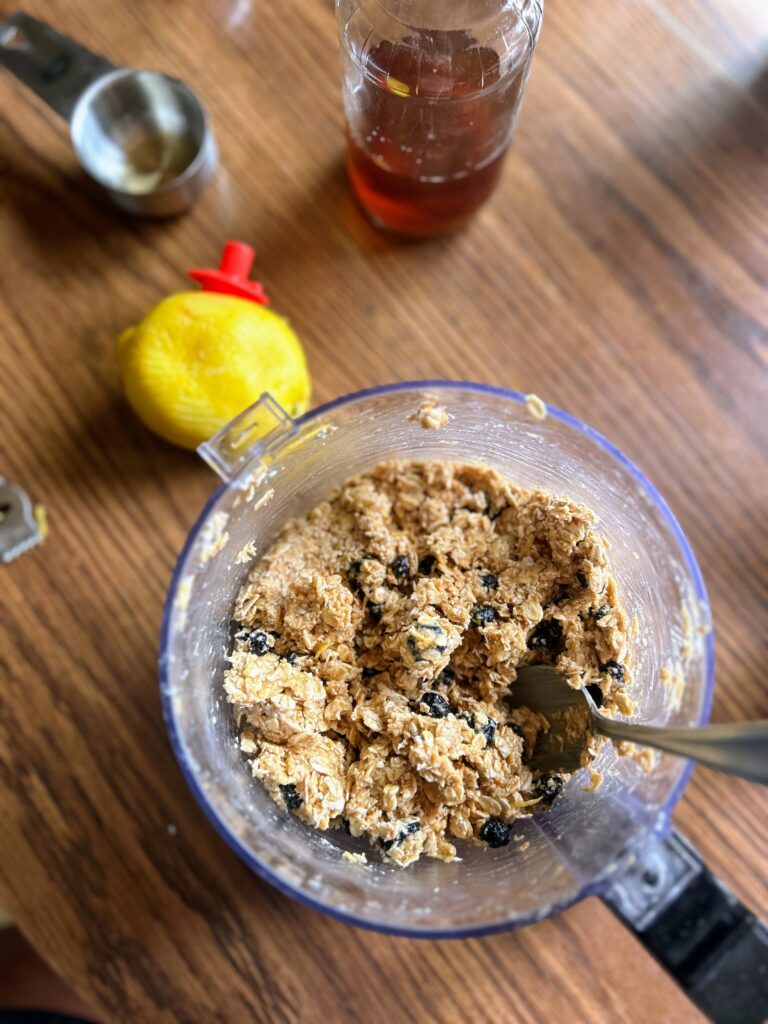
To the oat flour, add the remaining oats, maple syrup, salt, vanilla, and coconut oil. Stir until combined well. It may take a bit to make that happen. Finally, fold in the dried blueberries, lemon zest and lemon juice. Additionally, You can also add the white chocolate chips here if you opt to.
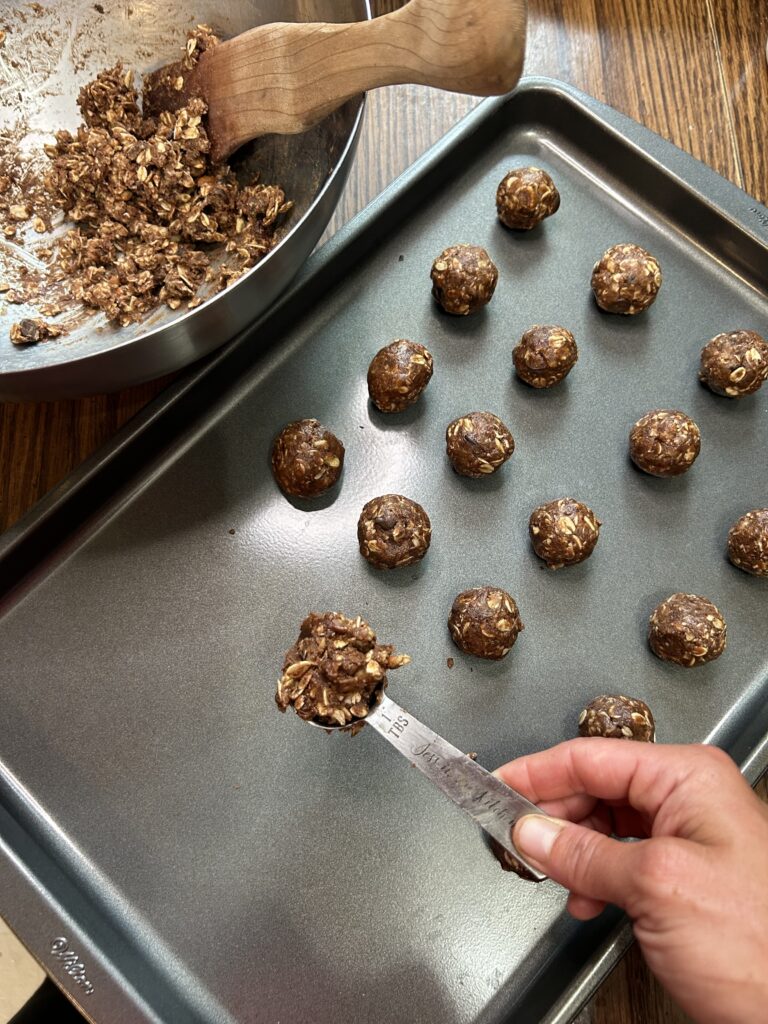
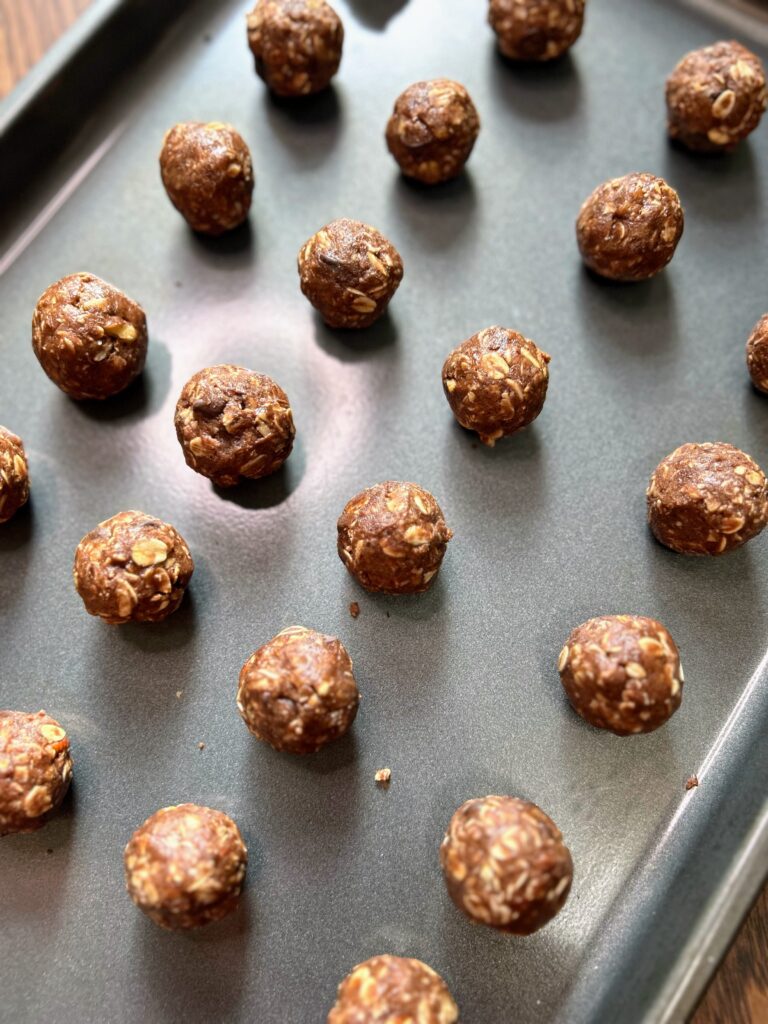
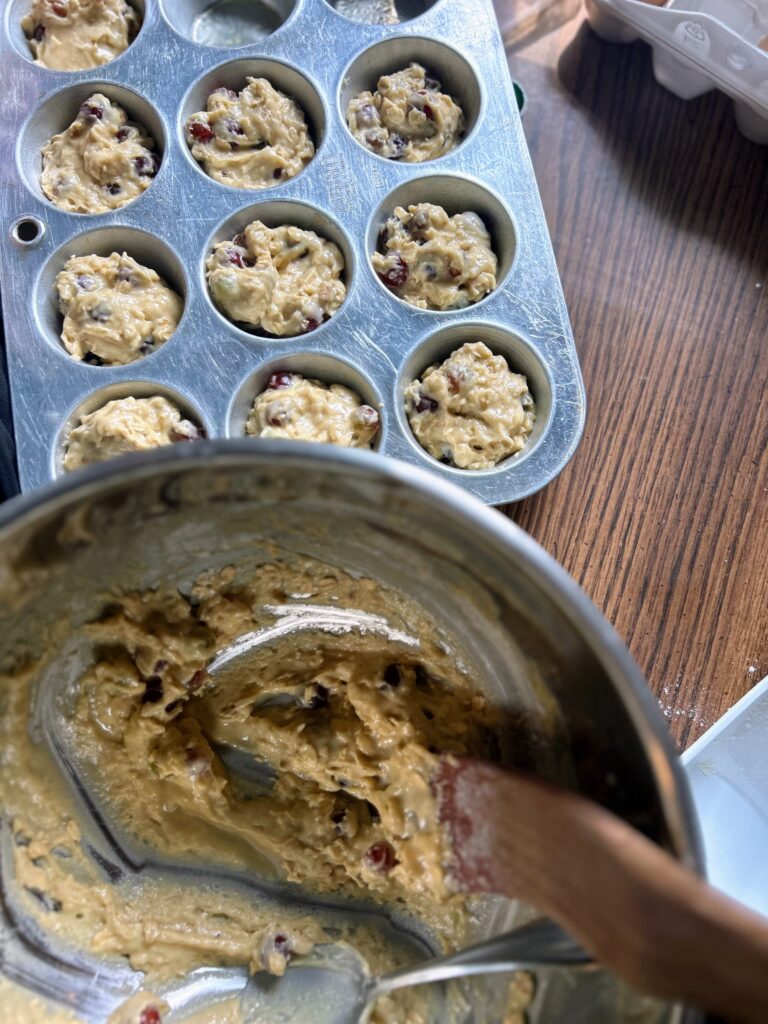
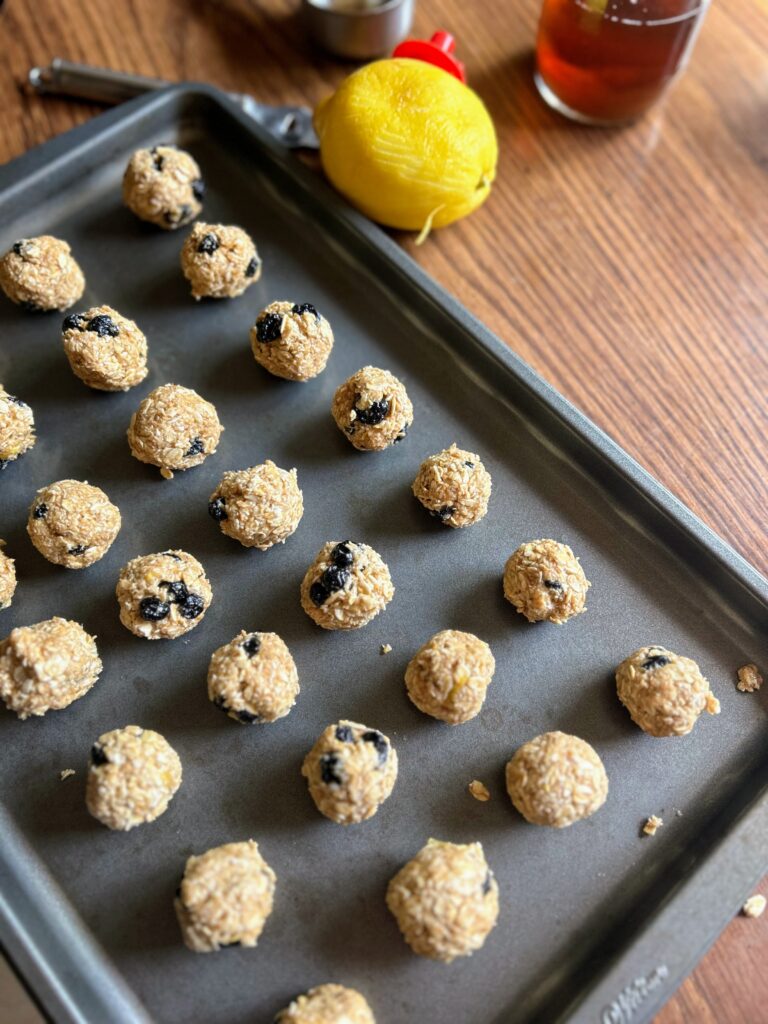
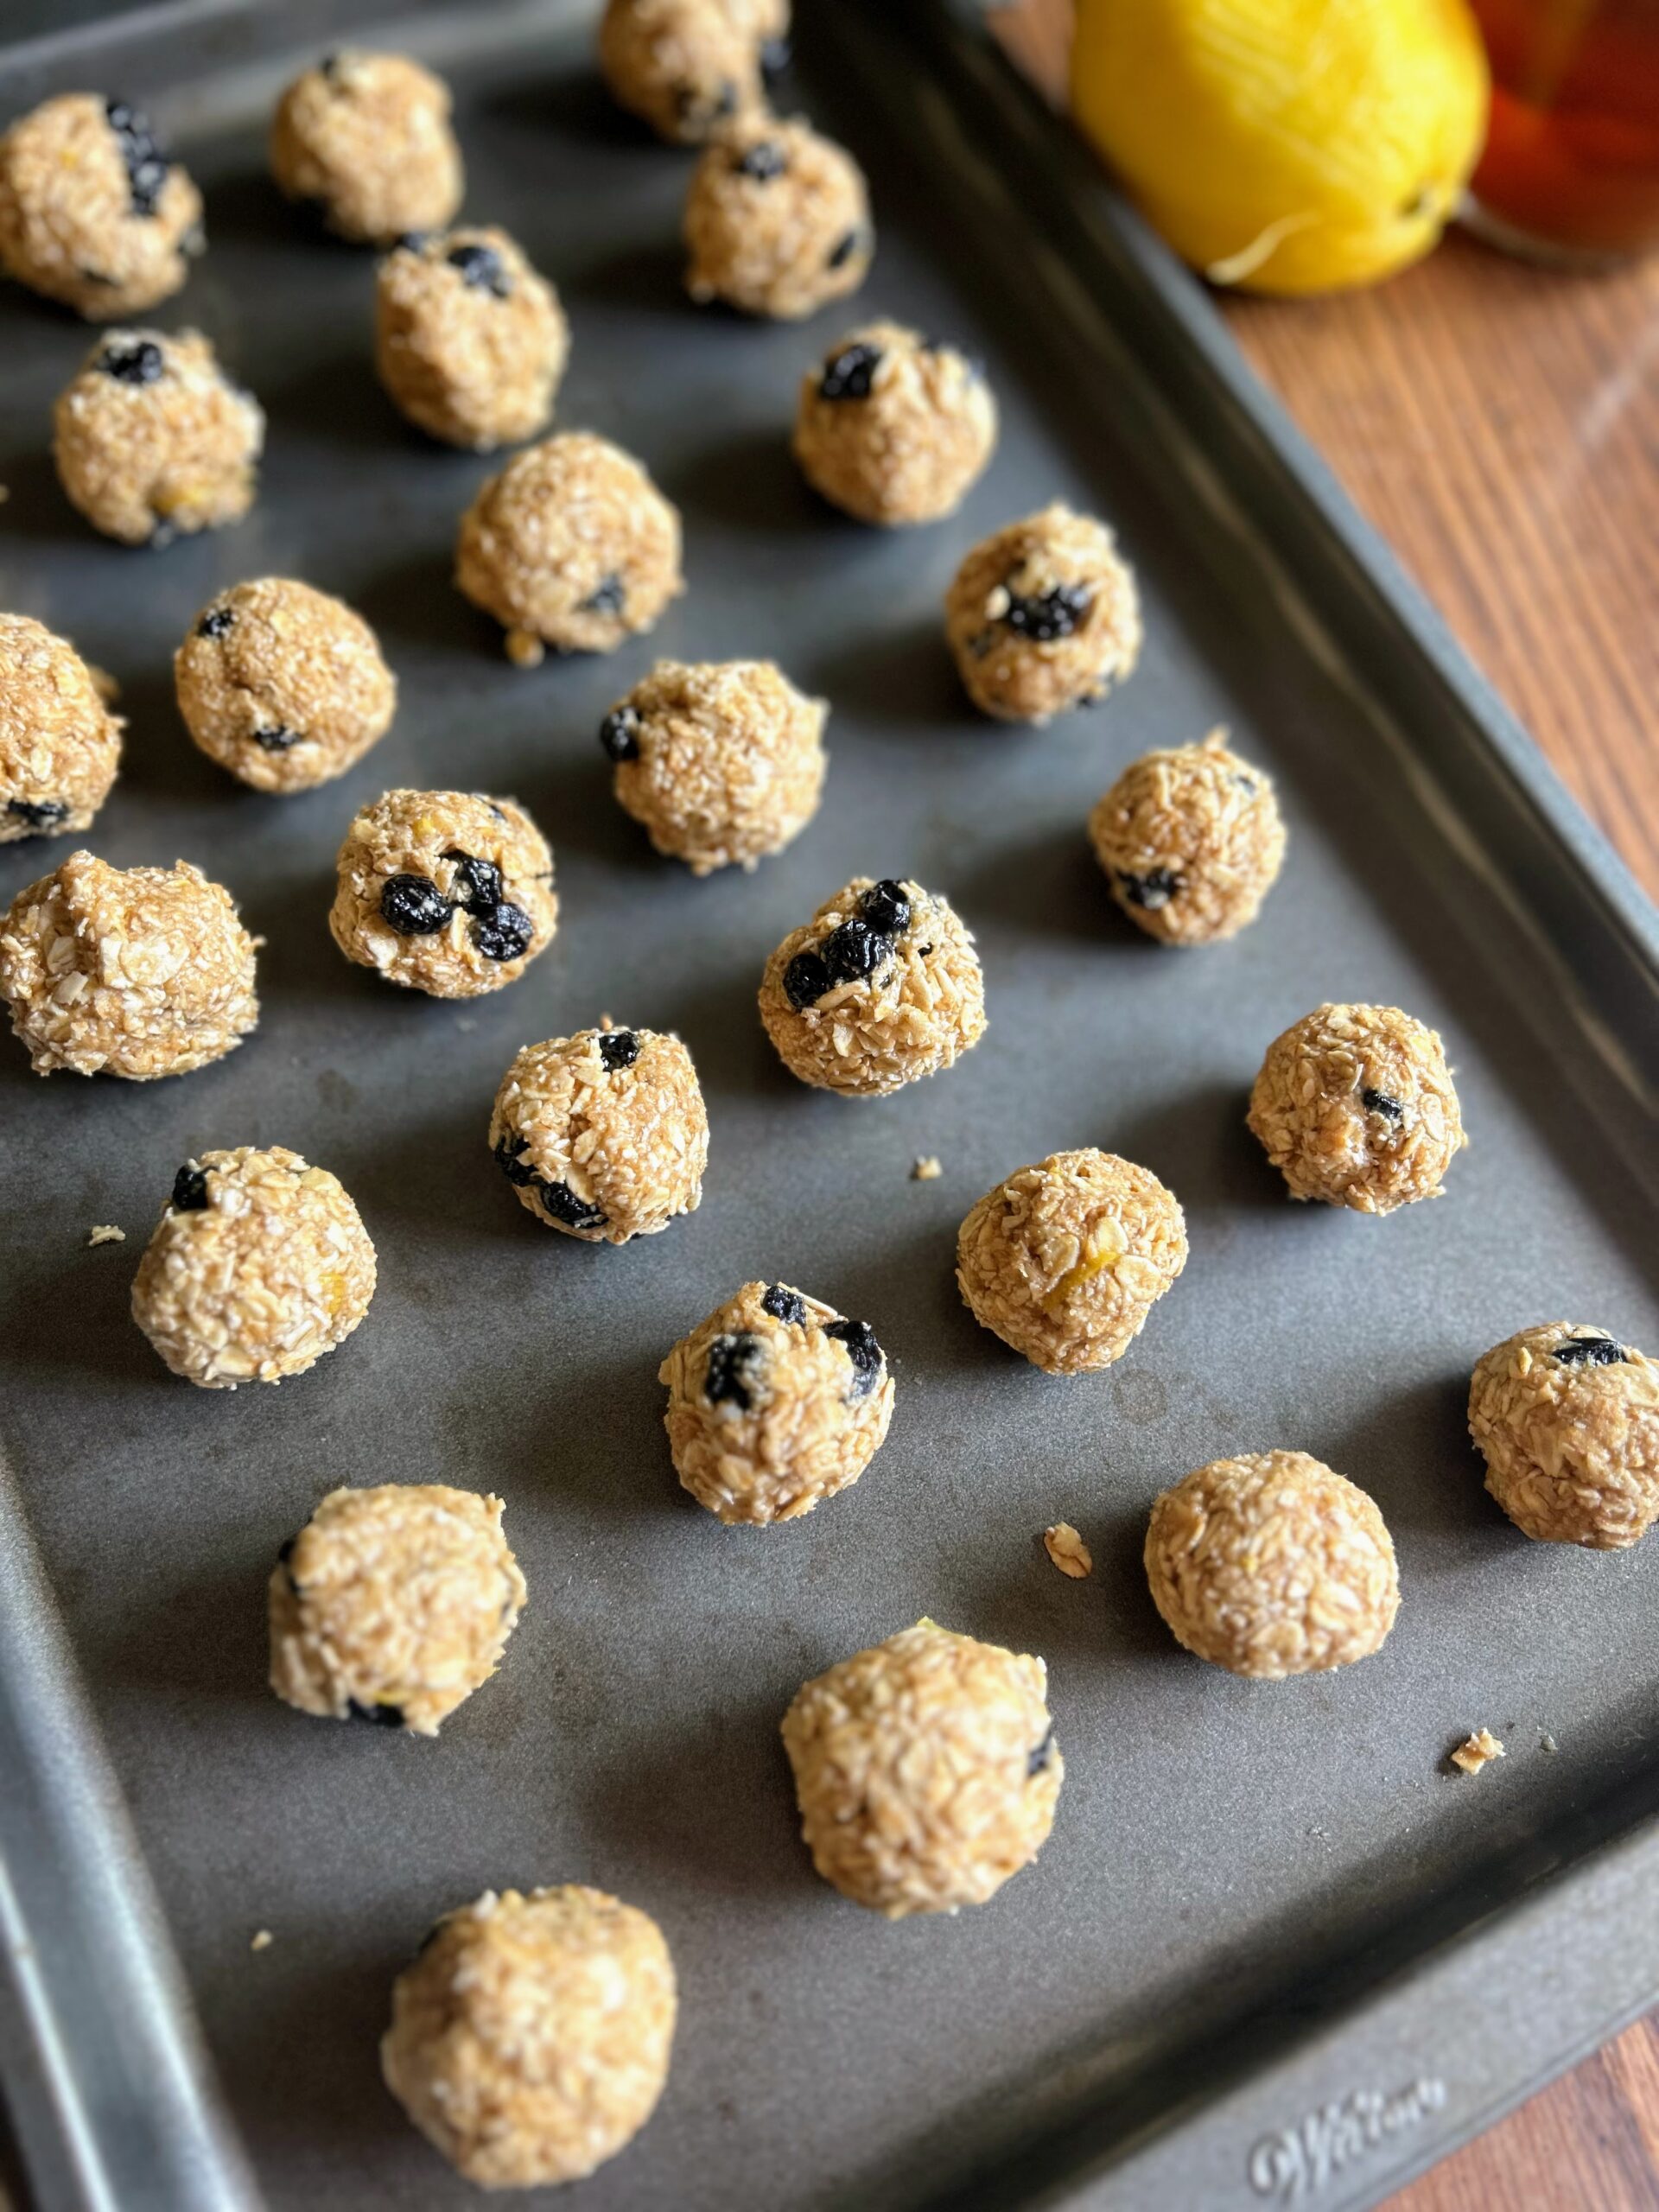
The mixture will be sticky. It can be chilled for 15 minutes or you can roll them out right away. Form into about one inch diameter balls using a tablespoon to measure. Place on a baking sheet and allow to chill for an hour or more before placing in an airtight container. For best results, keep refrigerated but can also travel without being chilled.

Blueberry Lemon Energy Balls
Equipment
Ingredients
- 2 ½ cups old fashioned oats divided
- ⅓ cup maple syrup honey would do too!
- ½ cup cashew butter
- ¼ t salt
- ½ t vanilla
- 1 T coconut oil melted
- ½ cup dried blueberries
- Zest of 1 lemon
- Lemon juice from one lemon
- ¼ cup white chocolate chips optional
Instructions
- Place 1 ½ cups of the old fashioned oats in a large food processor. Pulse until coarse oat flour is formed.
- To the oat flour, add the remaining oats, maple syrup, salt, vanilla, and coconut oil. Stir until combined well. It may take a bit to make that happen. Finally, fold in the dried blueberries, lemon zest and lemon juice. You can also add the white chocolate chips here if you opt to.
- The mixture will be sticky. It can be chilled for 15 minutes or you can roll them out right away.
- Form into about one inch diameter balls using a tablespoon to measure. Place on a baking sheet and allow to chill for an hour or more before placing in an airtight container.
Notes
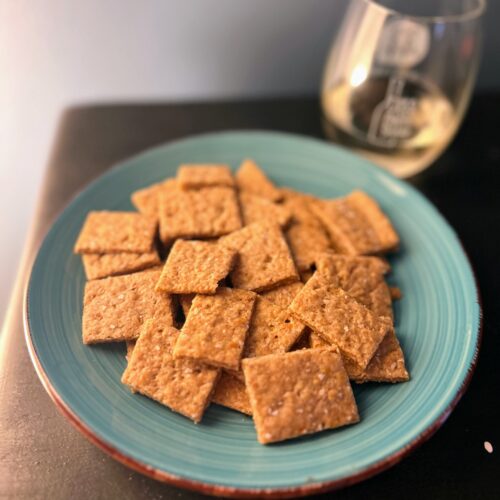
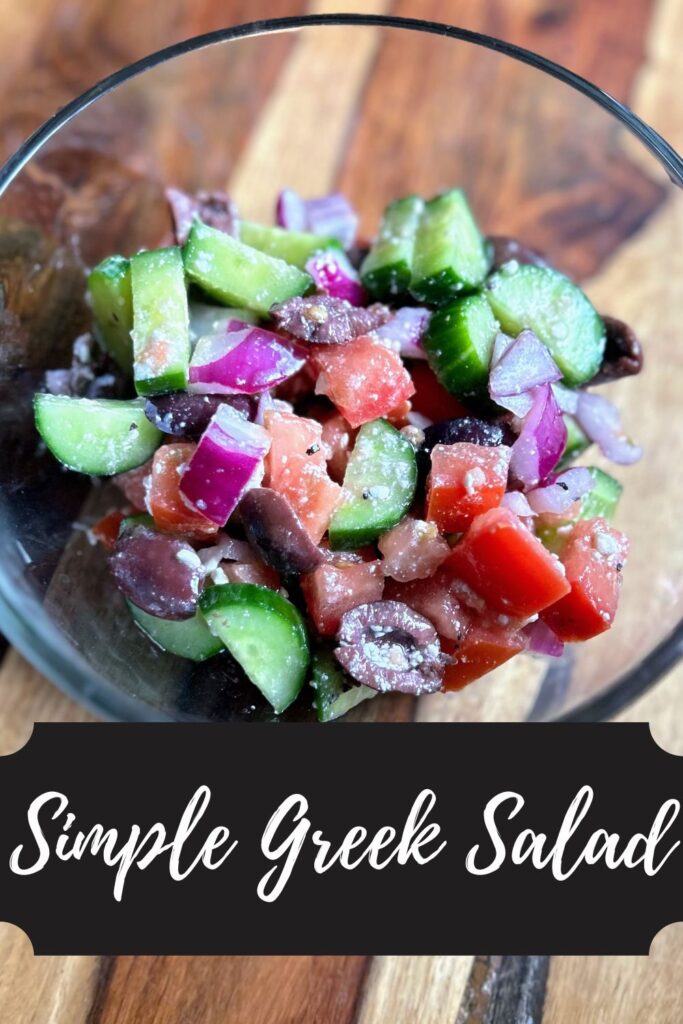
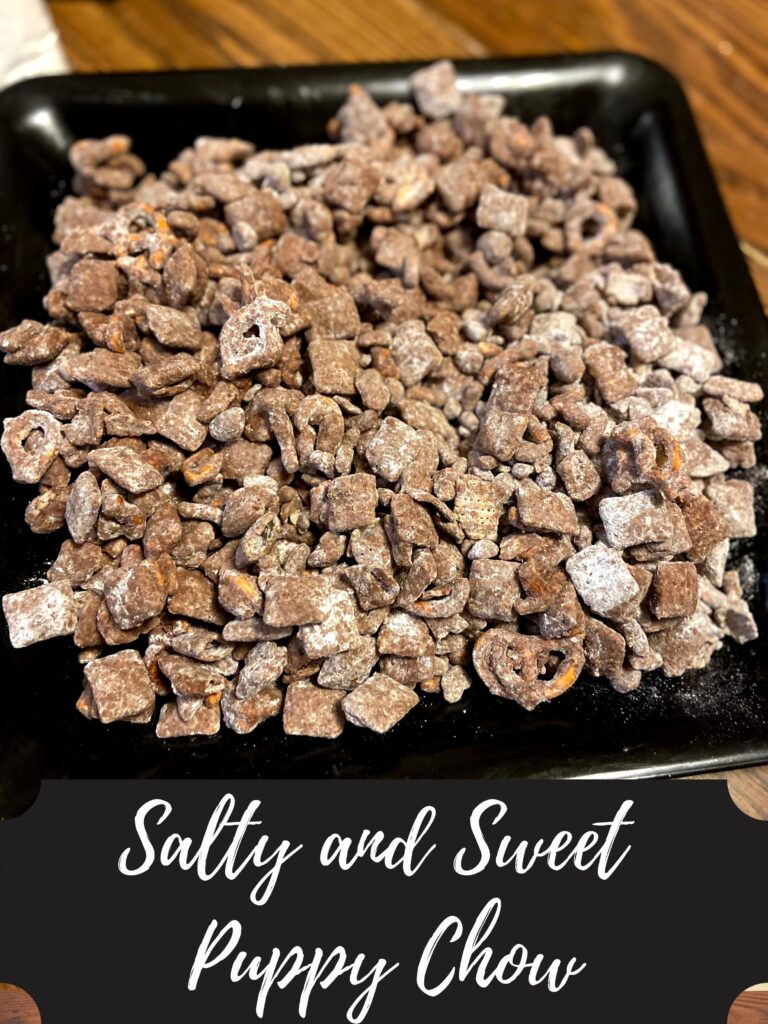
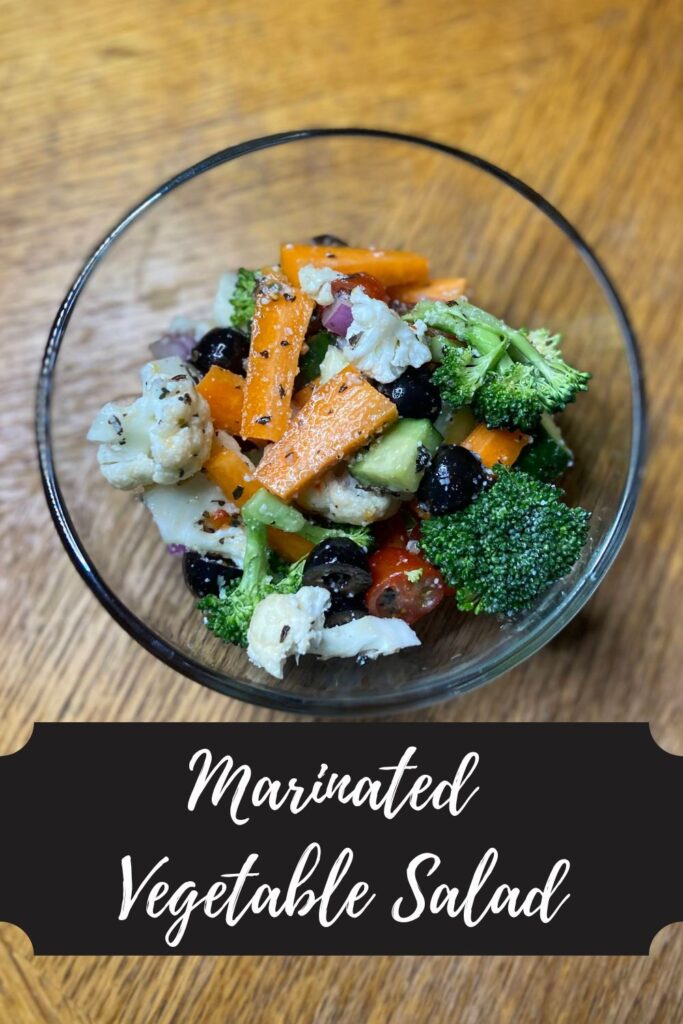
Looking for other snacks?
Check out a few of my favorites below! Or head to my baking page for all the inspiration!