This one sounds like a wild one. A combination of flavors and techniques that perhaps don’t belong together. But I’ve been experimenting more and more with flavors and techniques that are perhaps beyond the Midwestern gal I am. So when an online foodie friend of mine (Shout out to you Mandy in the UK!) recommended I try a Black Raspberry Jalapeño Sorbet to use up our abundance of berries, I had to give it a go.
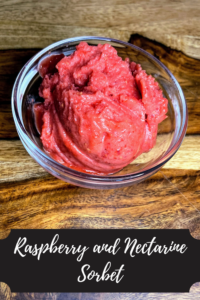
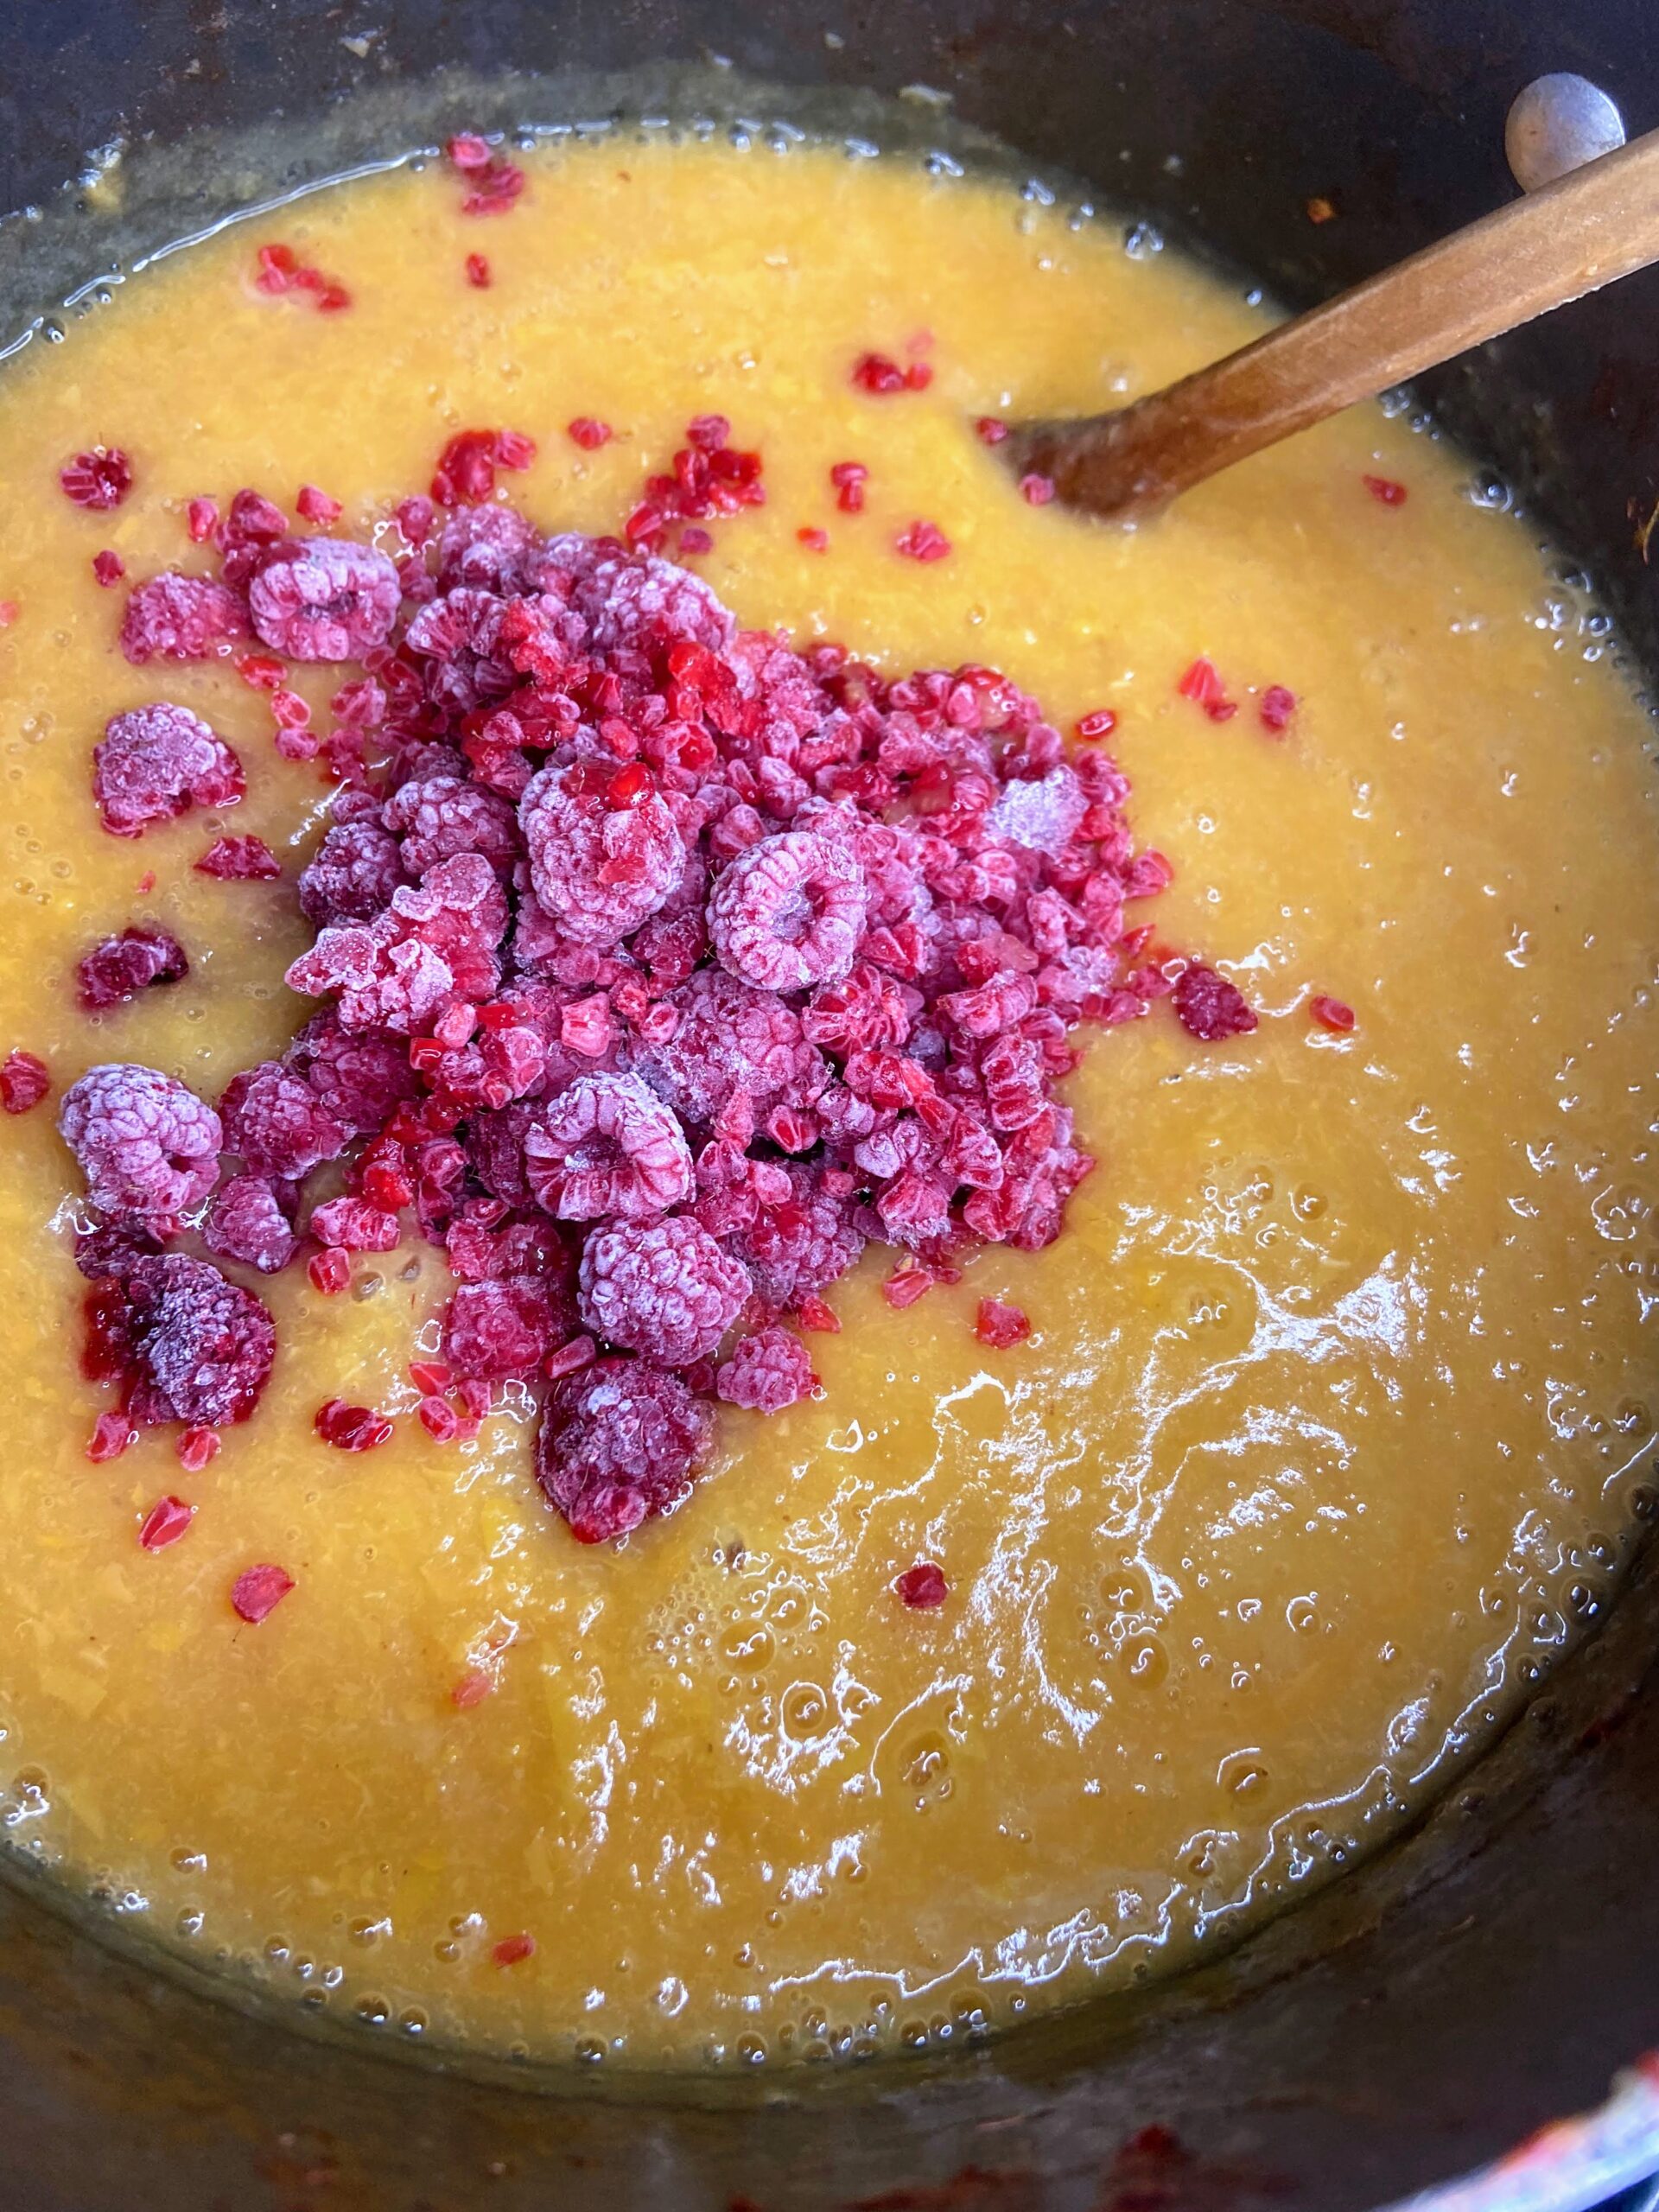
I used my Raspberry Nectarine Sorbet recipe as a jumping off point. Four cups of fruit. Some sugar and orange juice. A bit of lemon juice. Then I added the jalapeño. I am a bit of a baby when it comes to spice, so I started with one. I gave the mixture a try and thought, “Hm, I can hardly taste it.” In went a second. “No, not quite right yet.”
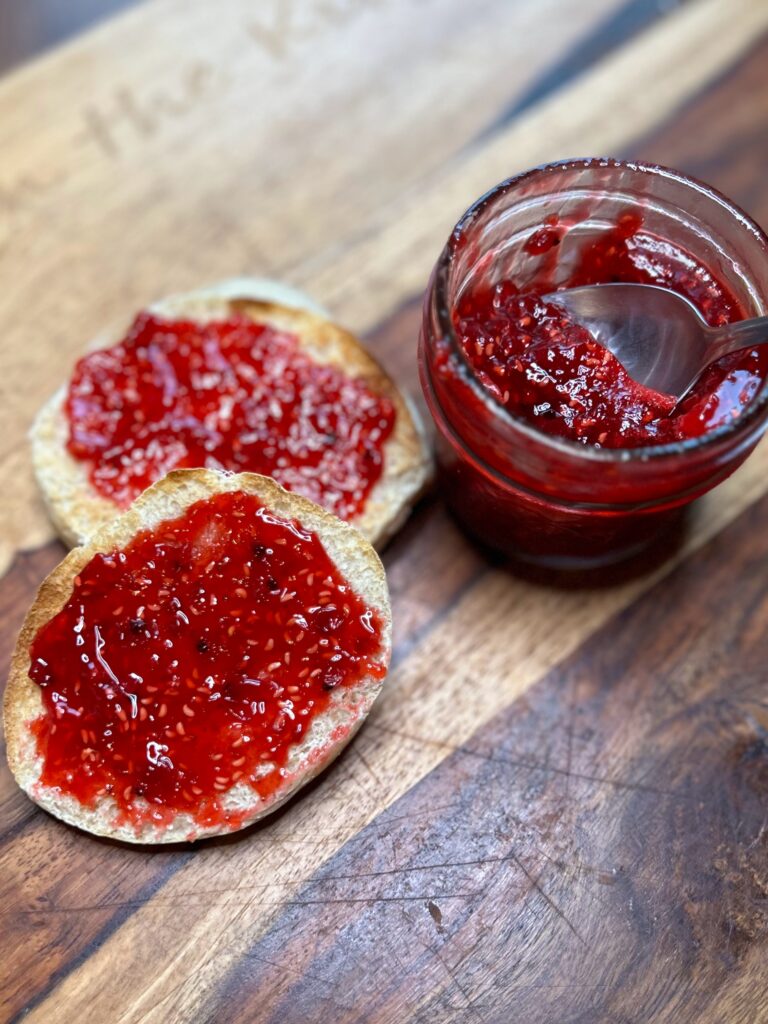
So I went with three jalapeños, and it seemed just right. A bit of heat and a combination of earthy flavors between the jalapeño and black raspberry. Let me tell you, I was beyond excited for this recipe!
So I went with three jalapeños, and it seemed just right. A bit of heat and a combination of earthy flavors between the jalapeño and black raspberry. Let me tell you, I was beyond excited for this recipe!
I know it is different and perhaps not for everyone, but I hope you are willing to give this flavor combination a try! Let’s get creating!
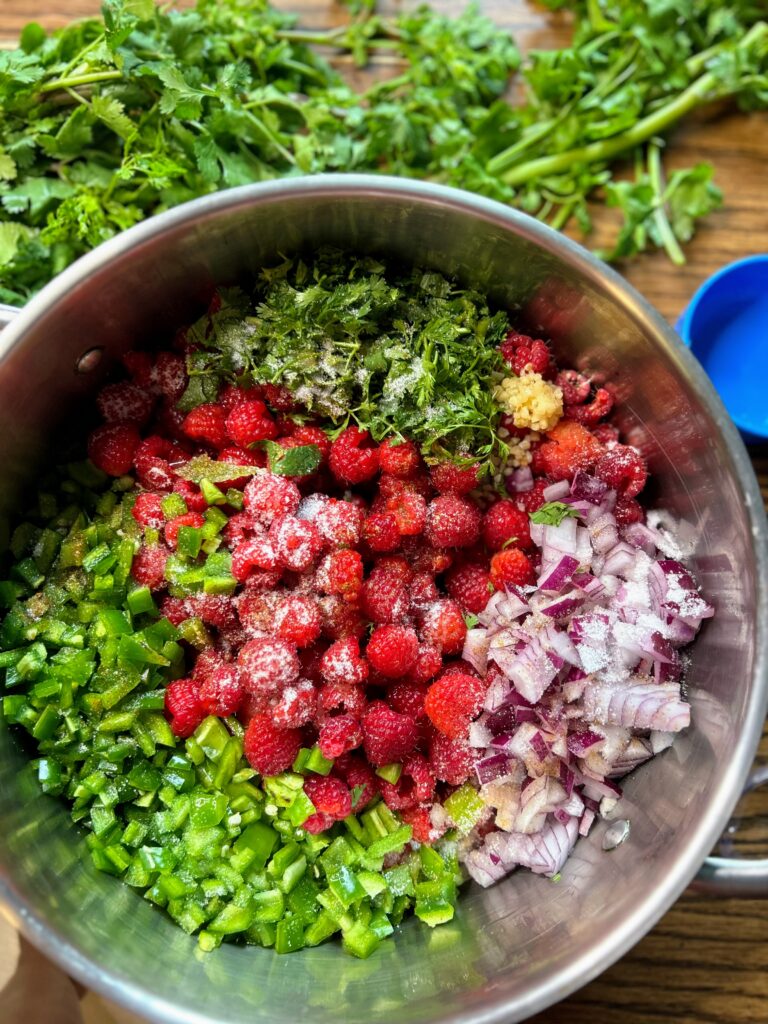
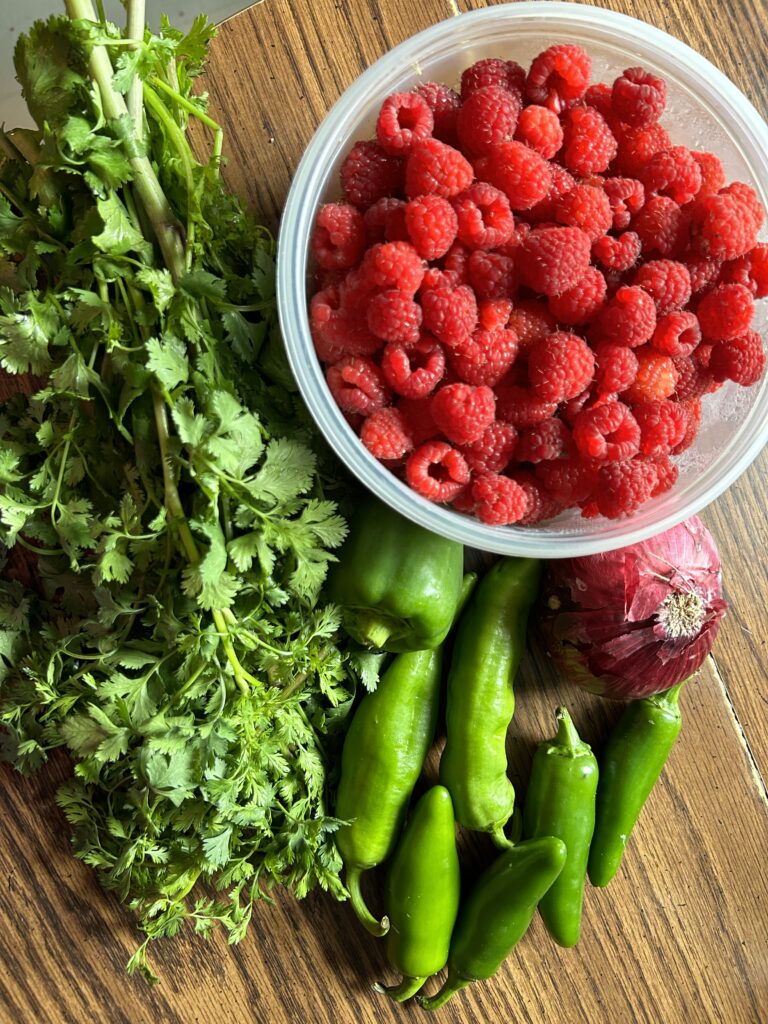
Your Ingredients for Black Raspberry Jalapeño Sorbet
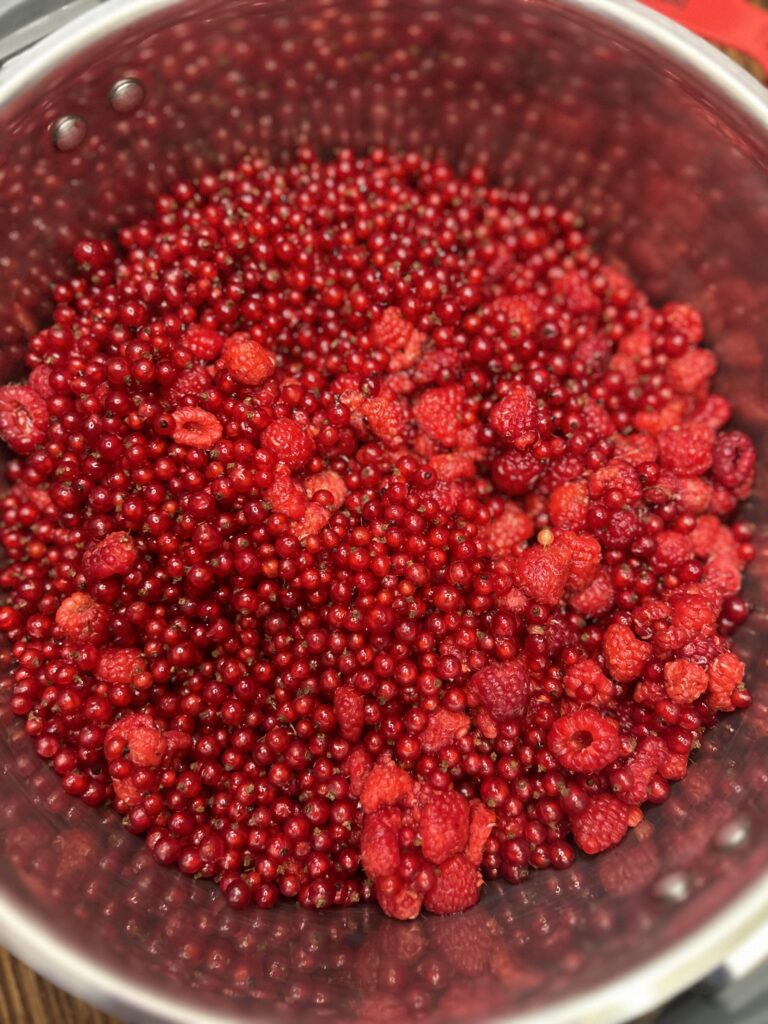
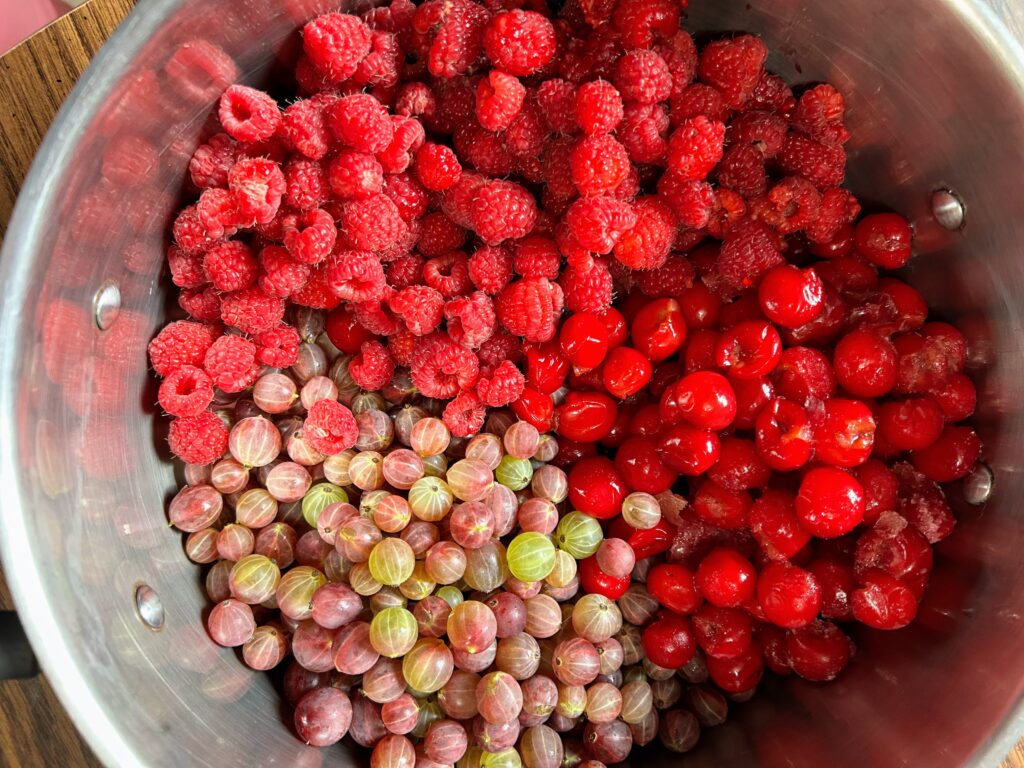
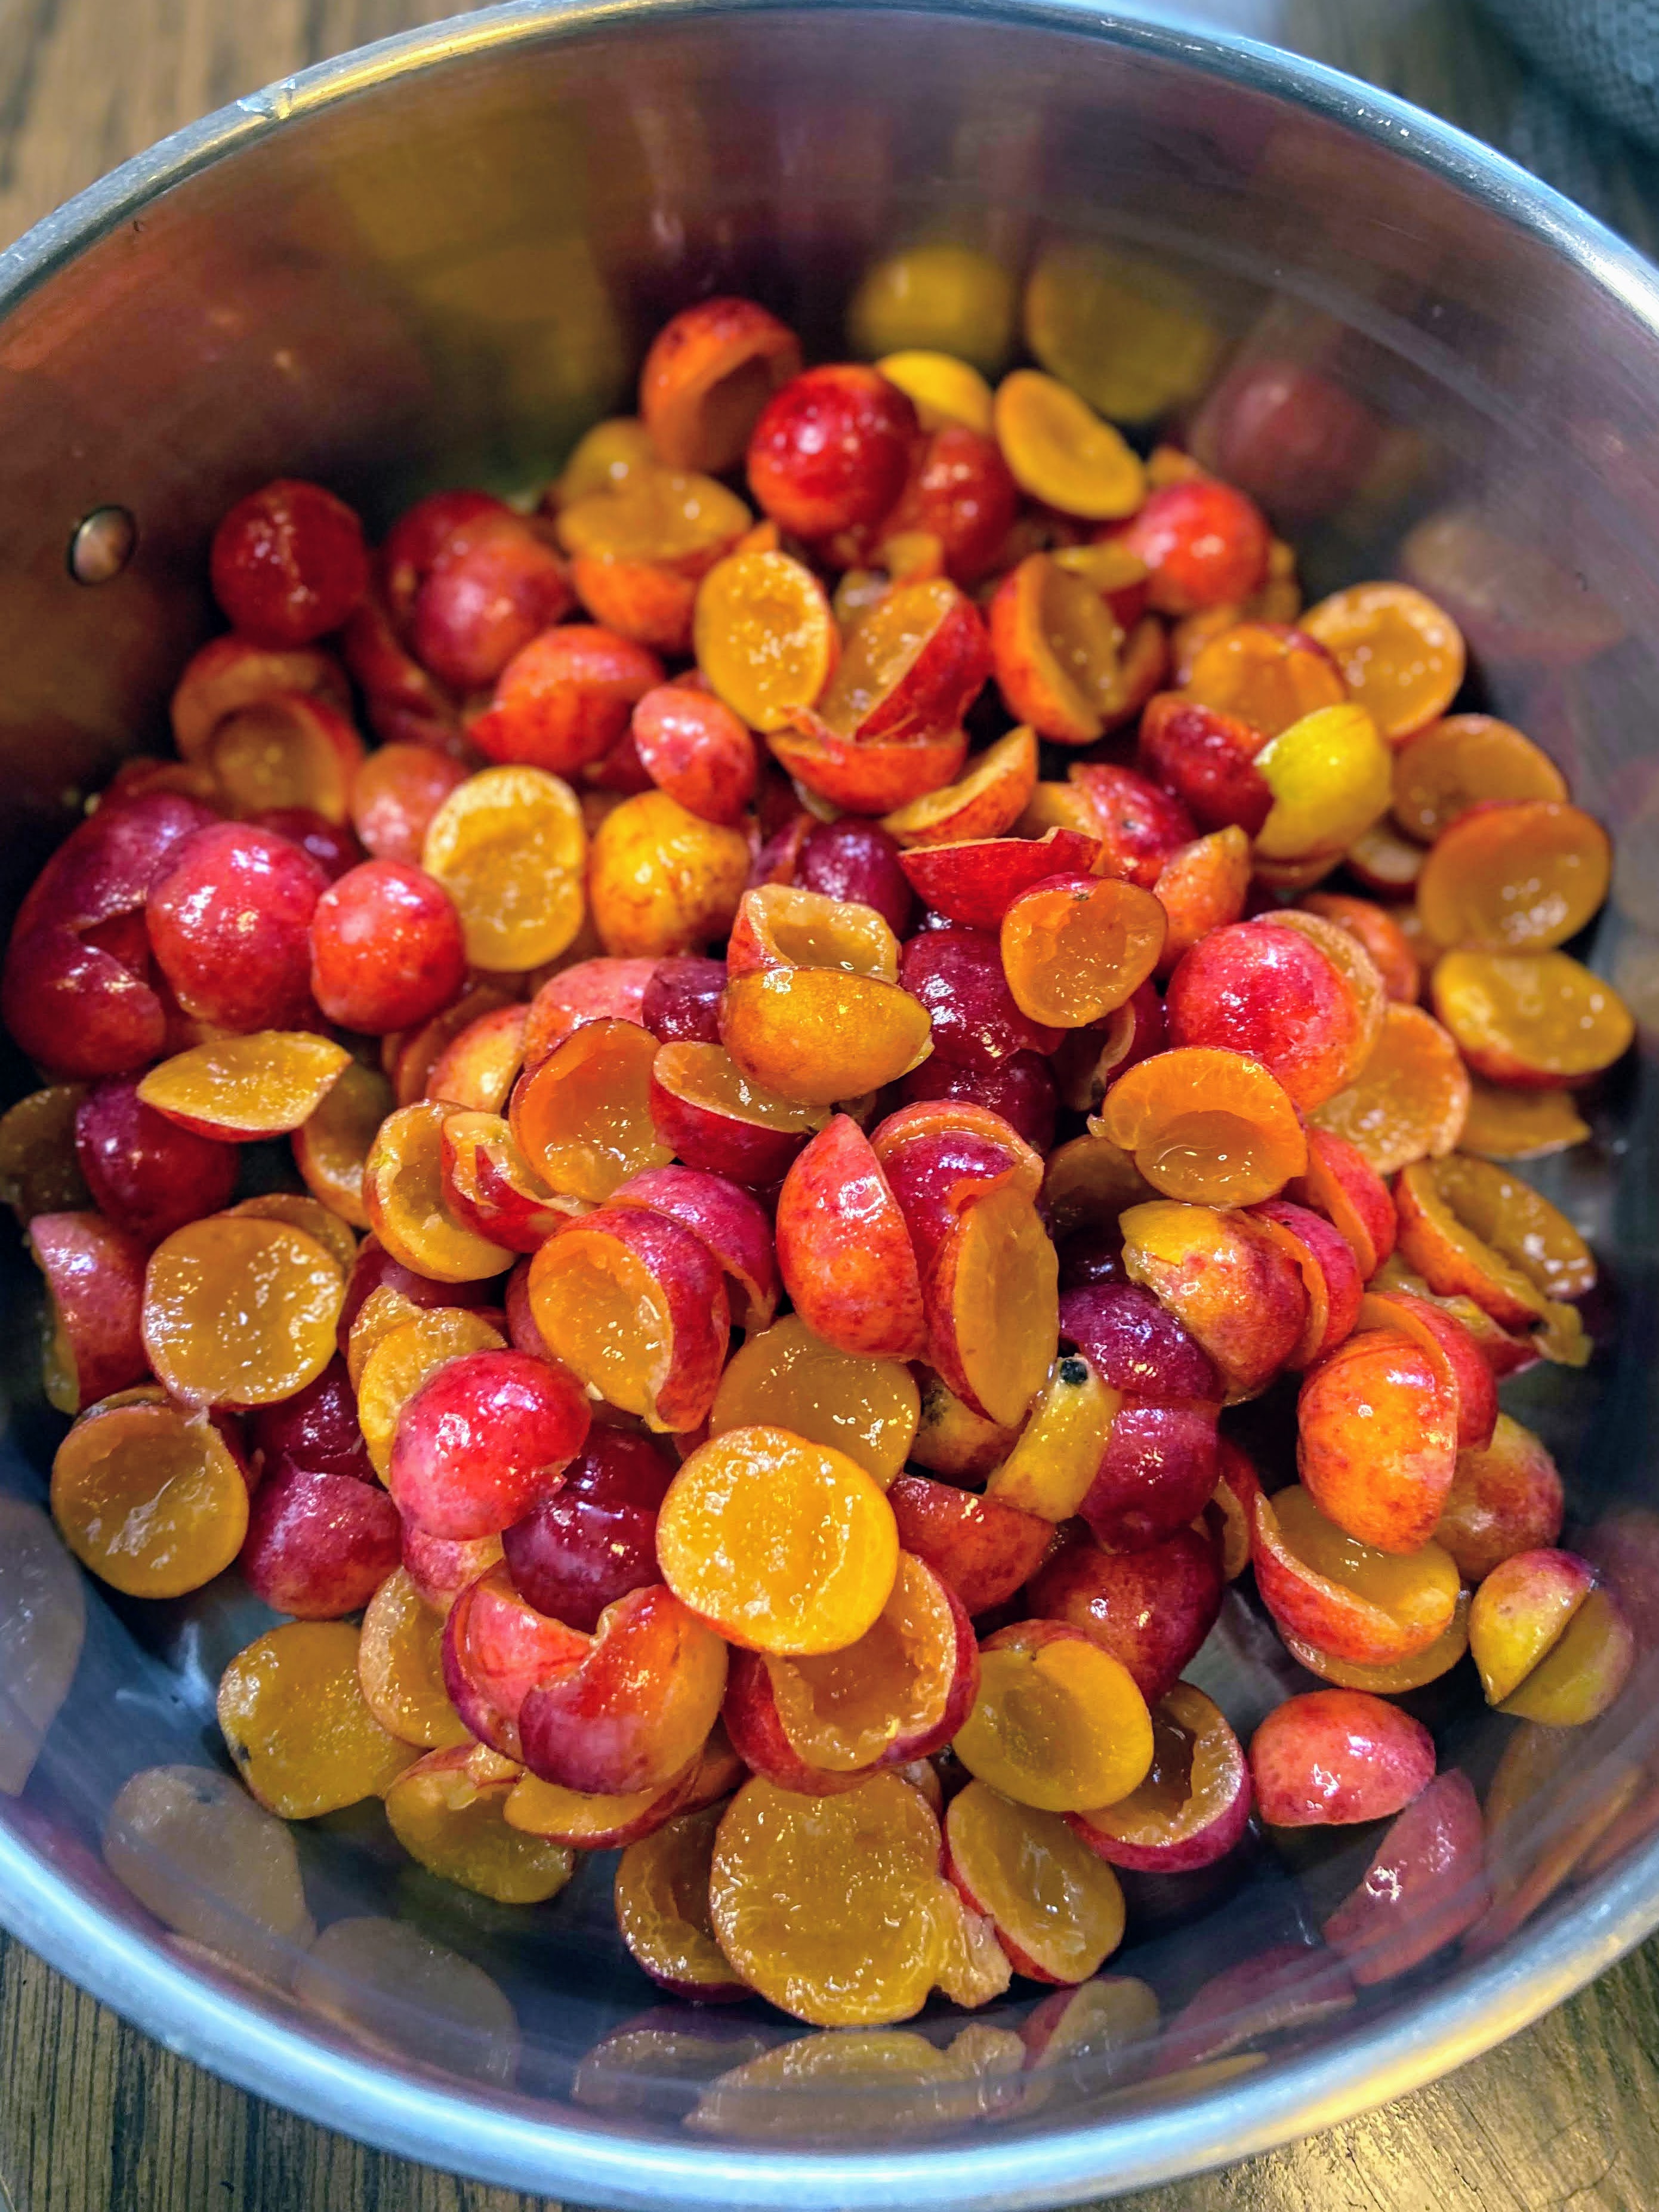
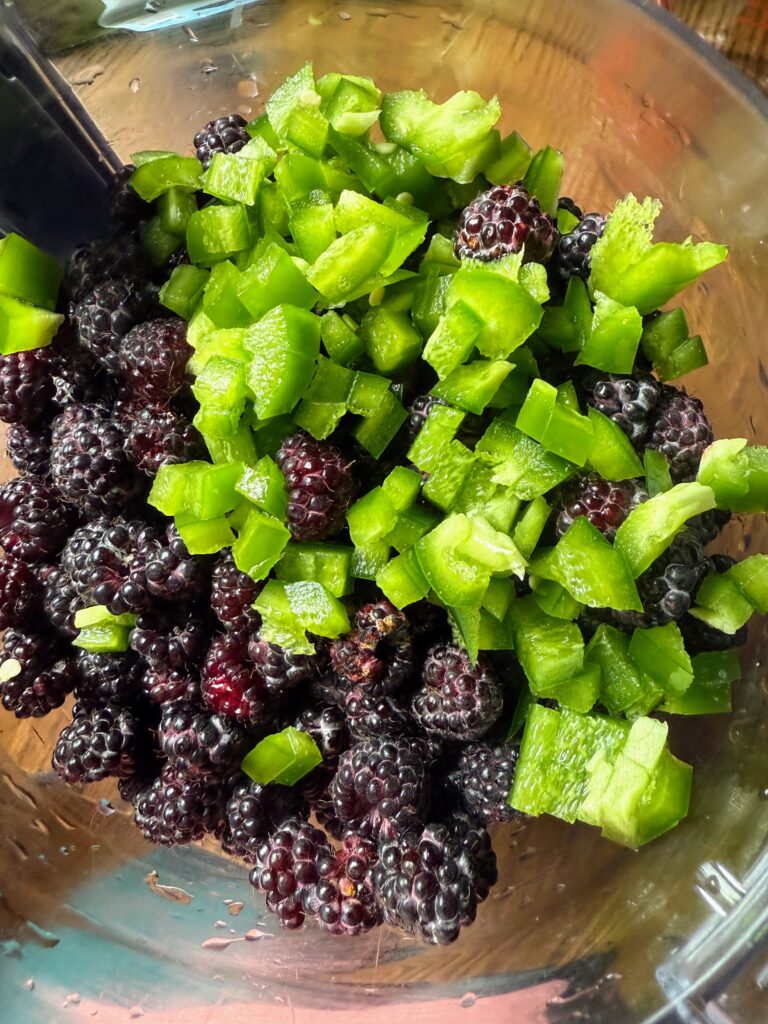
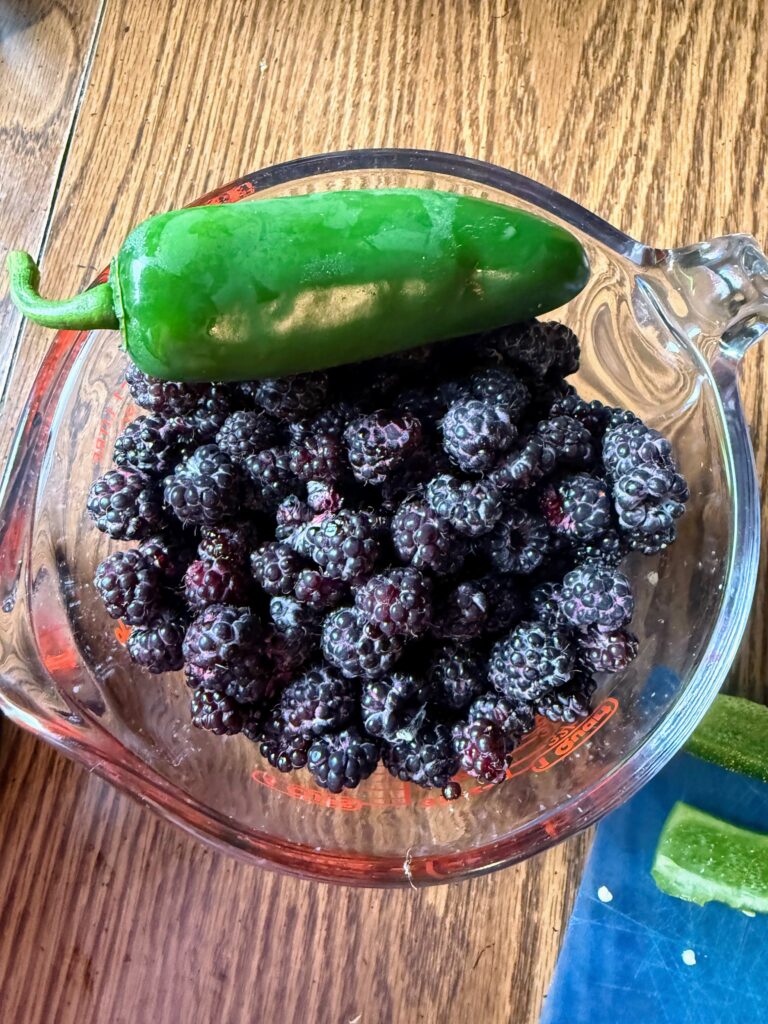
- 4 cups black raspberries
- 2-3 jalapeños, diced small
- ½ cup orange juice
- ½ cup white sugar
- 2 tablespoons lemon juice
Your Steps
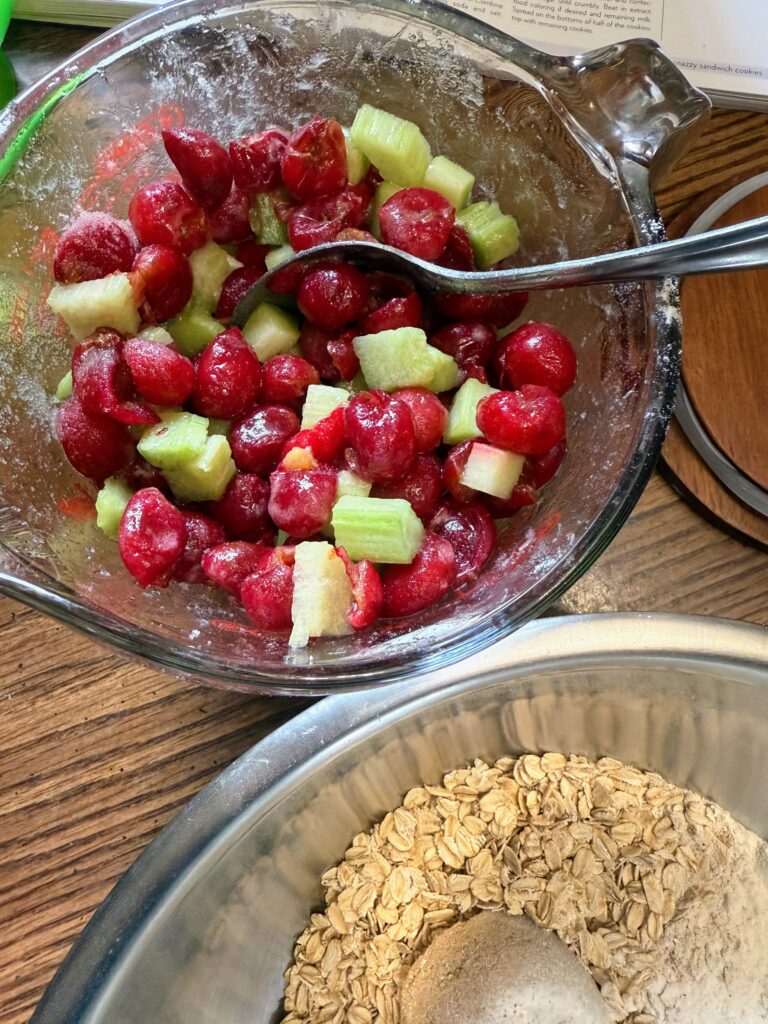
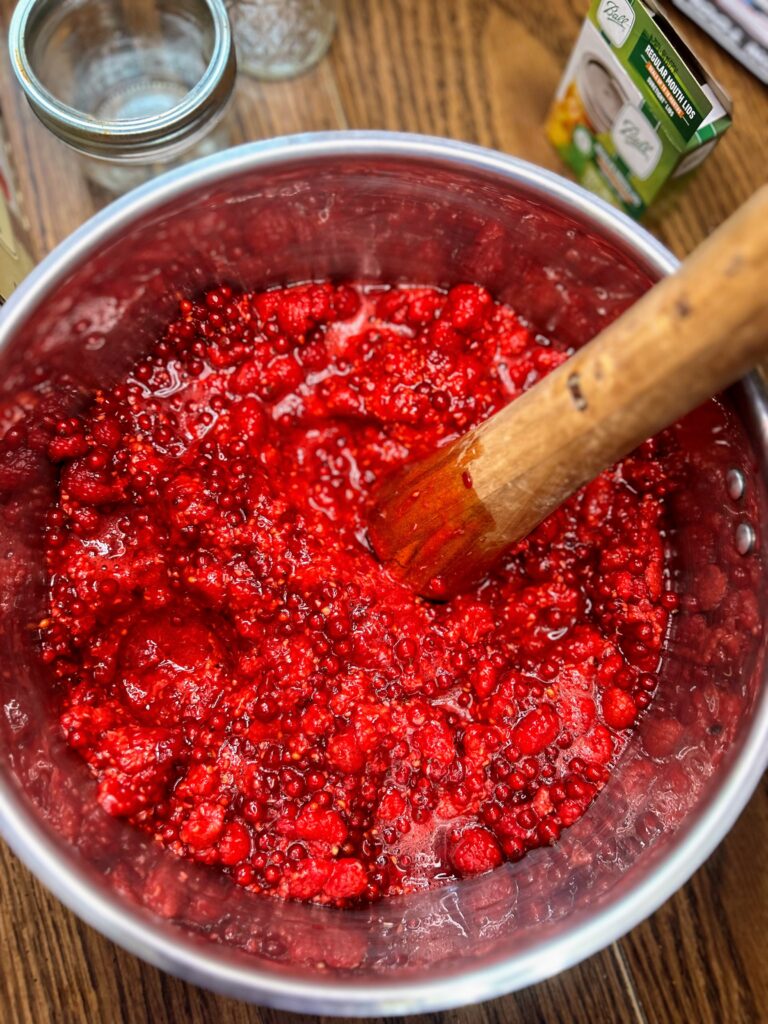
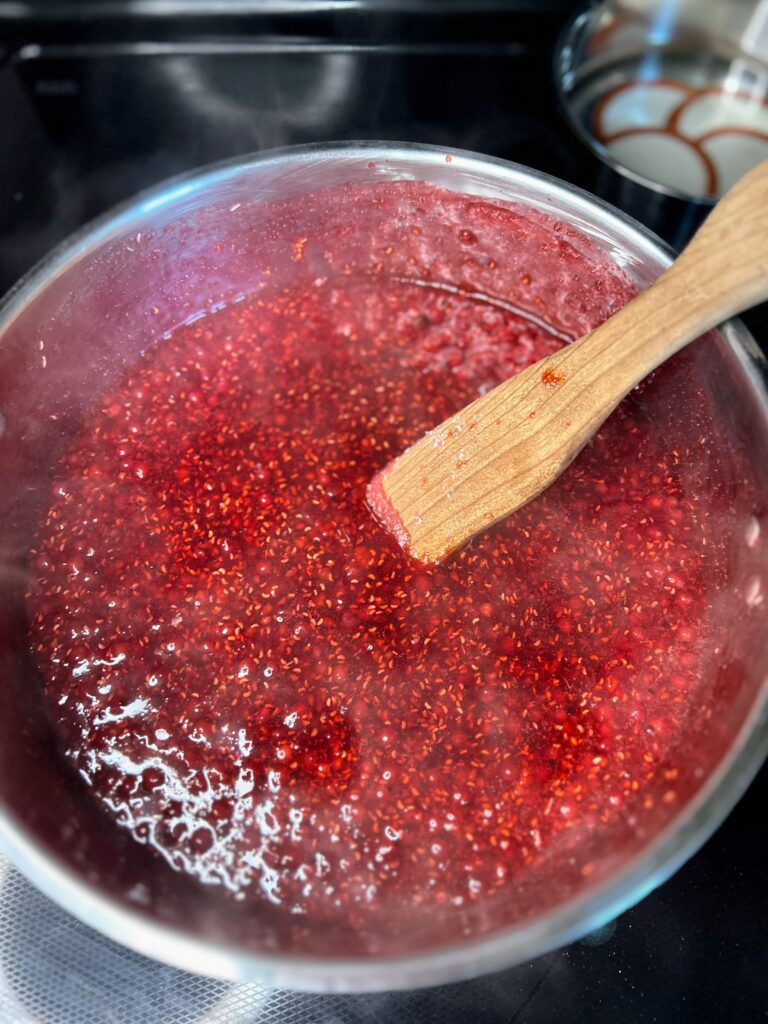
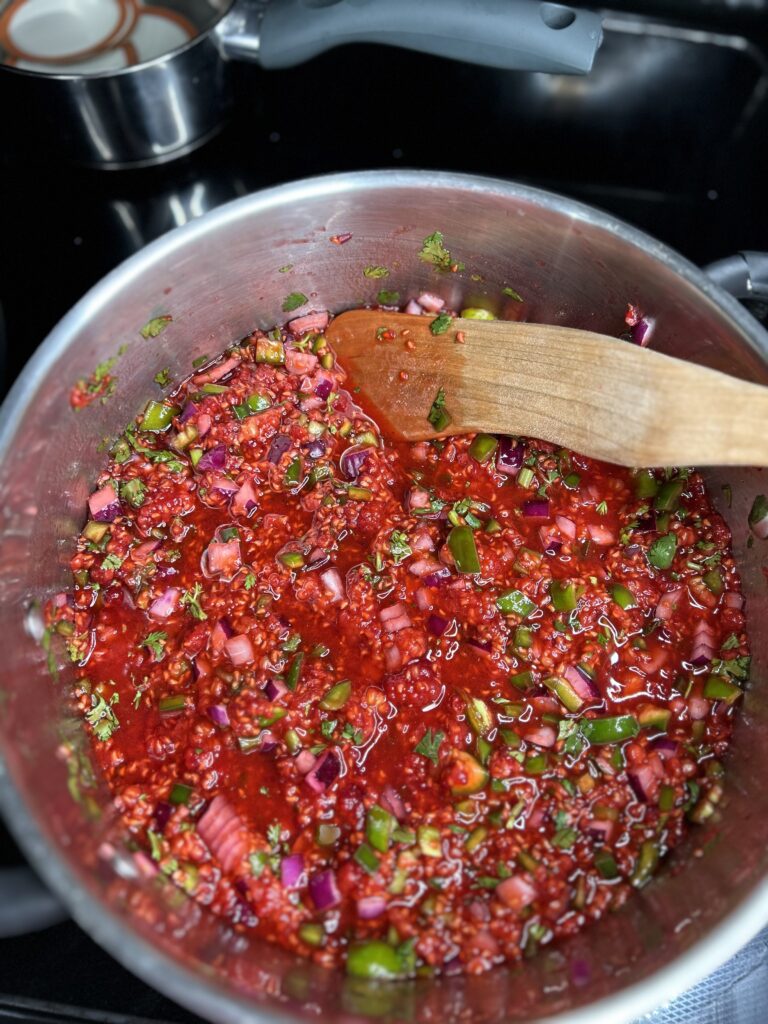
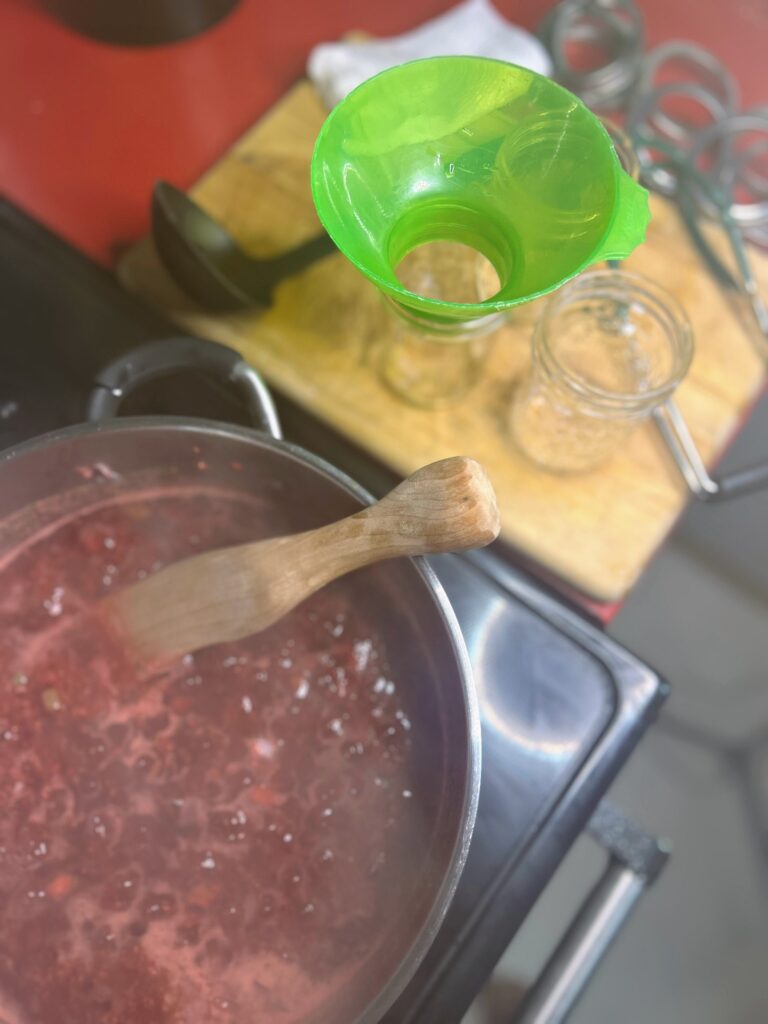
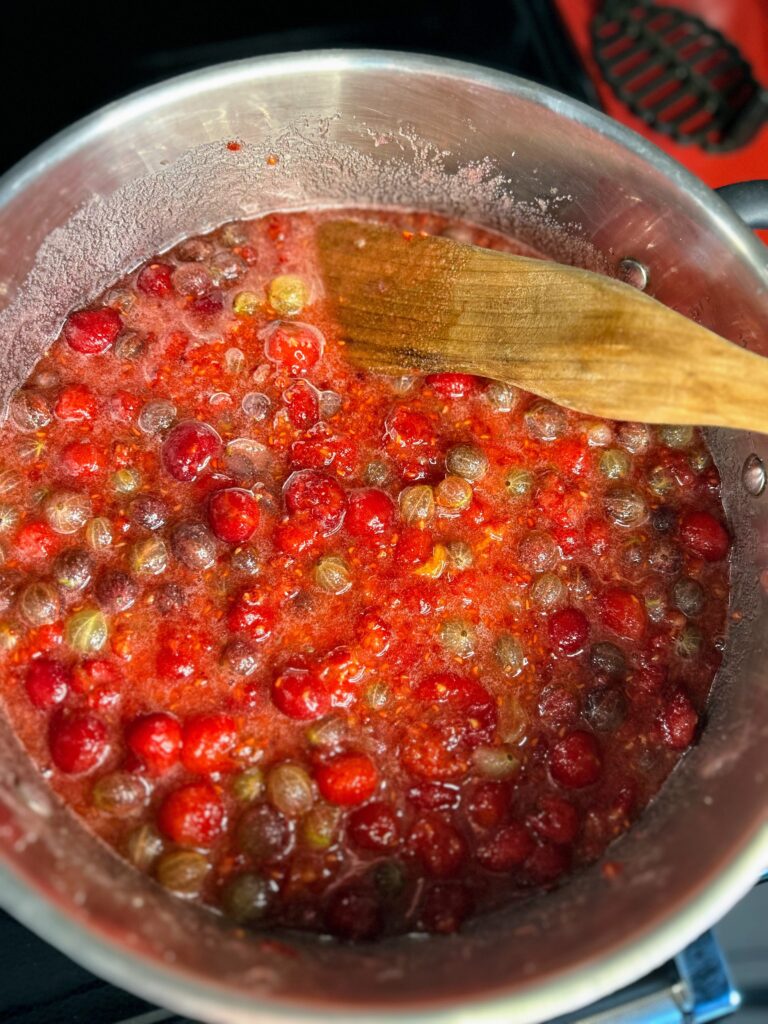
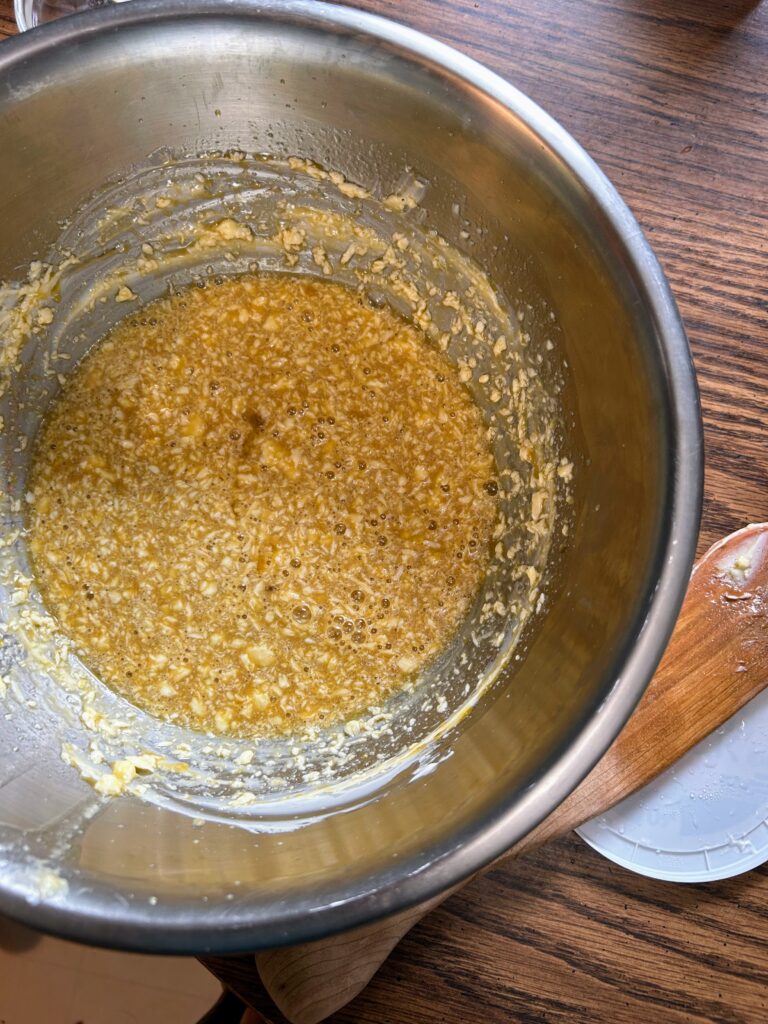
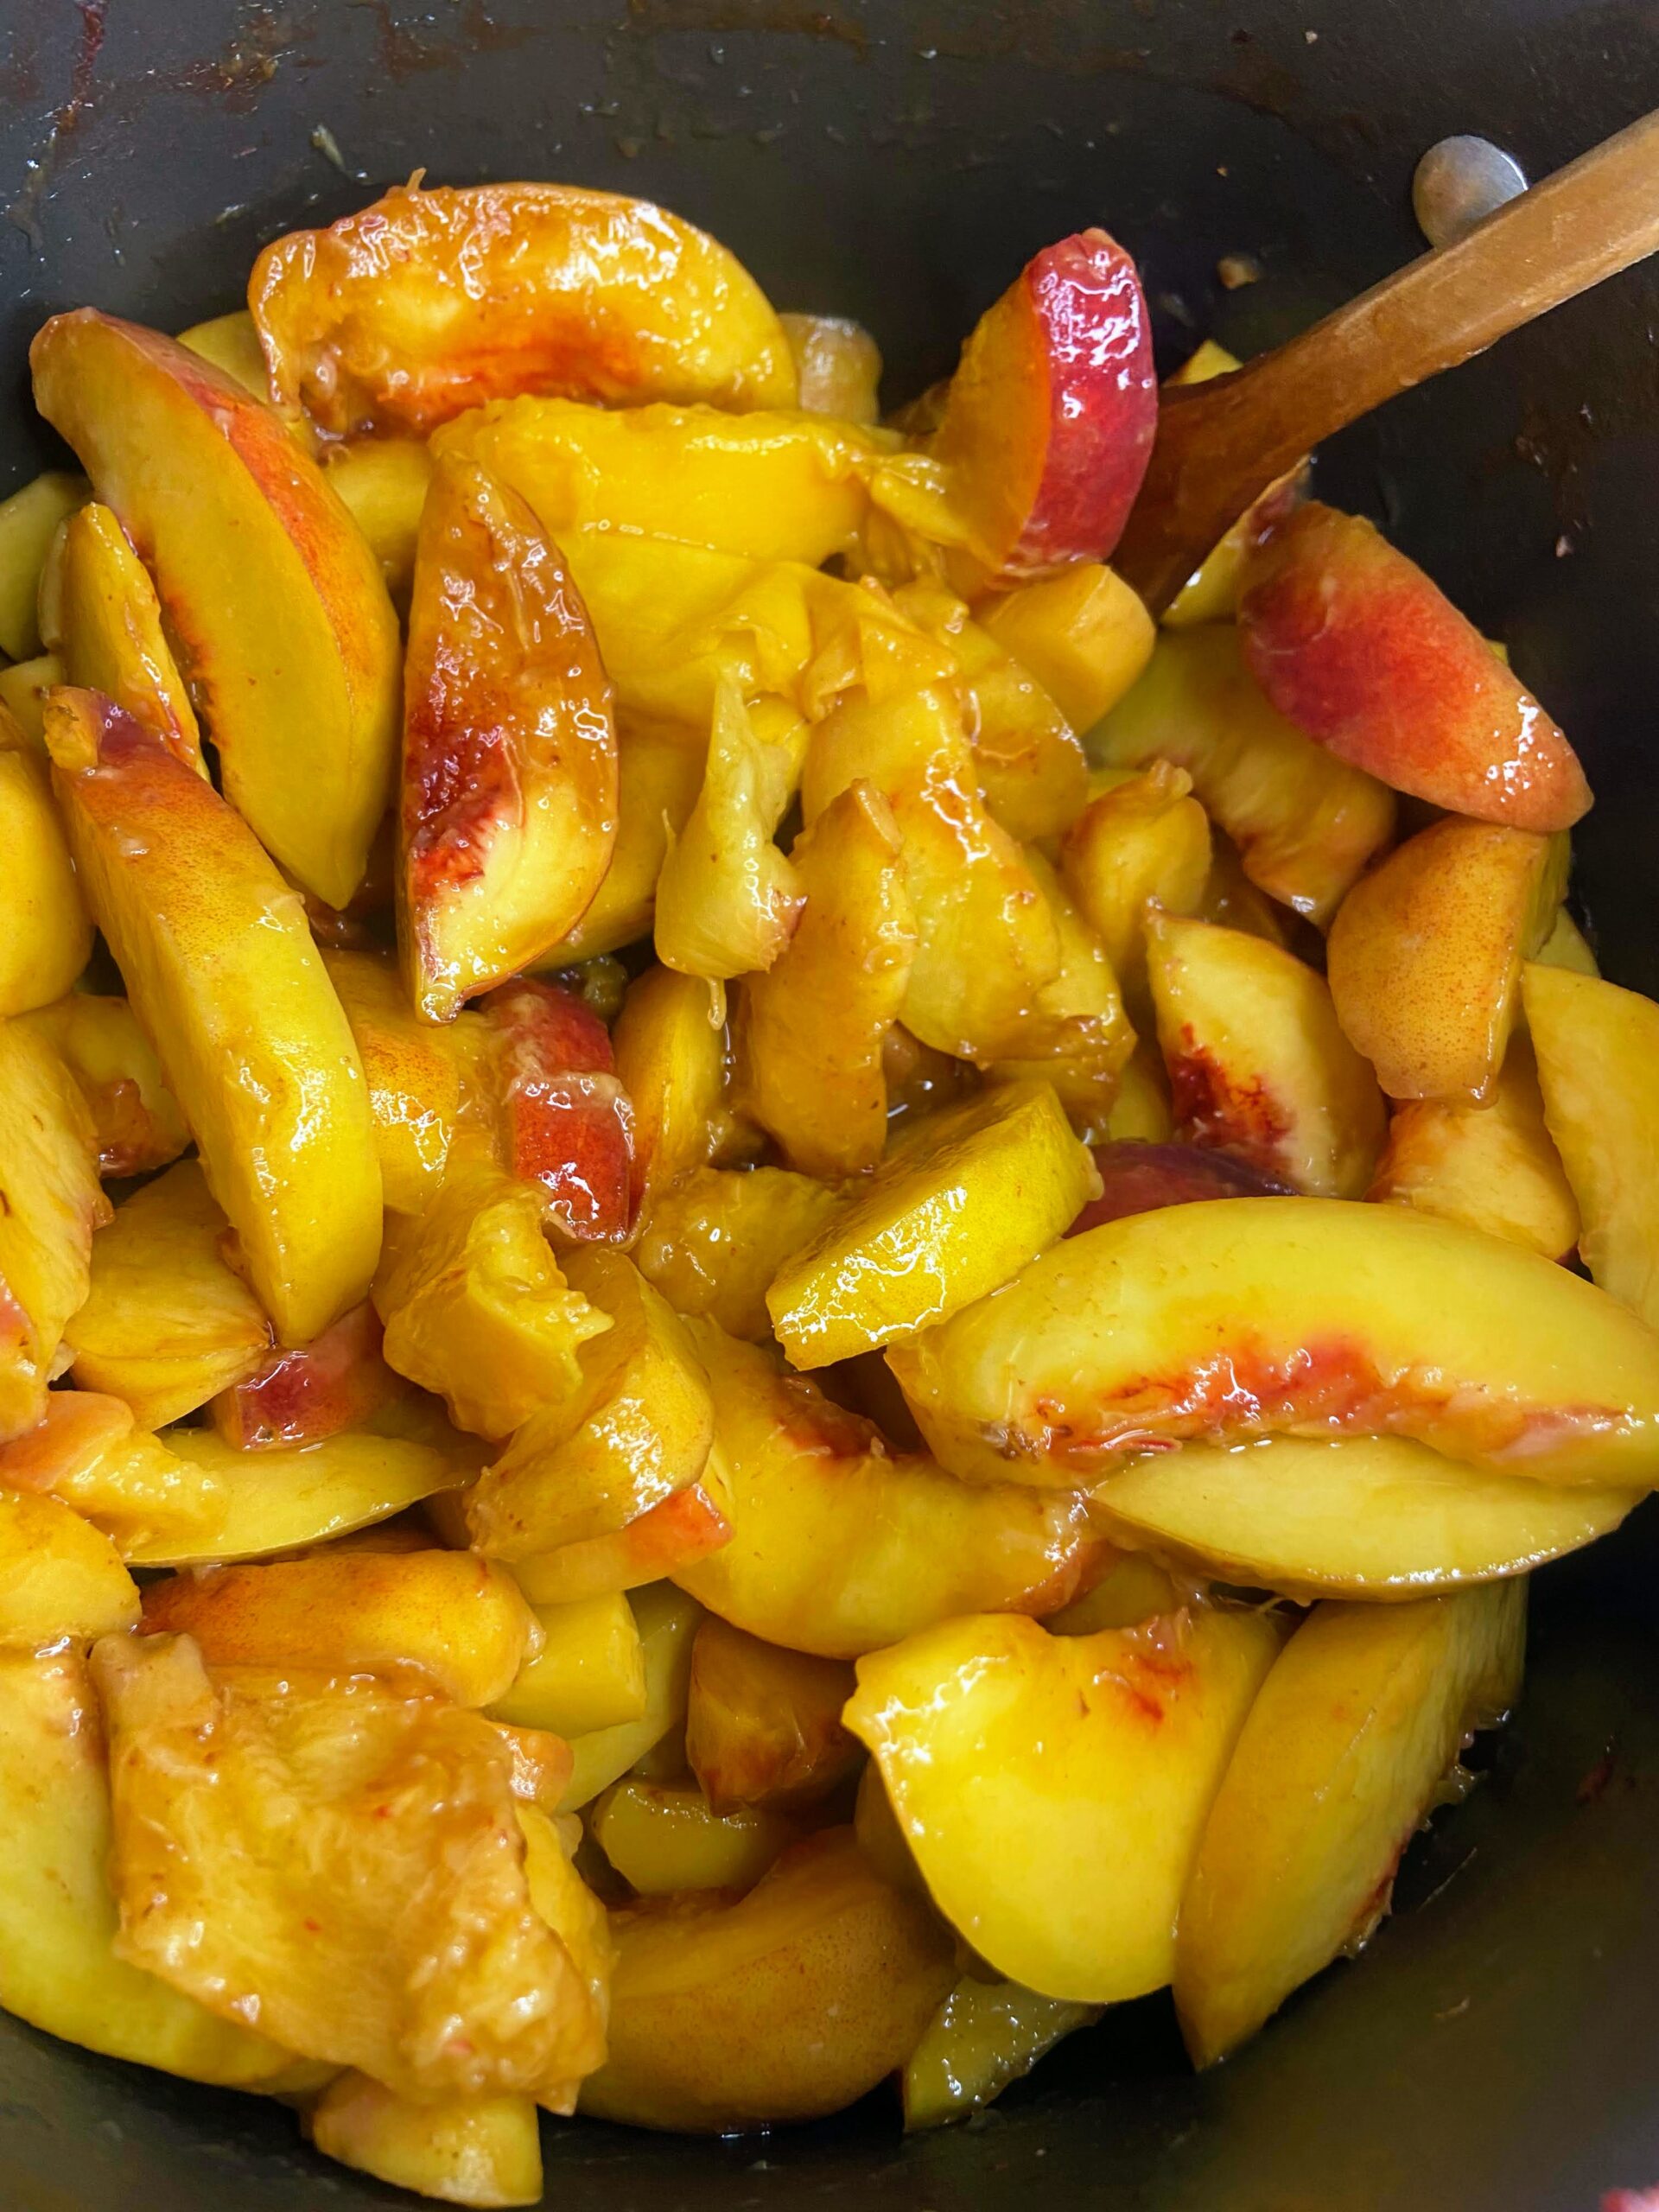
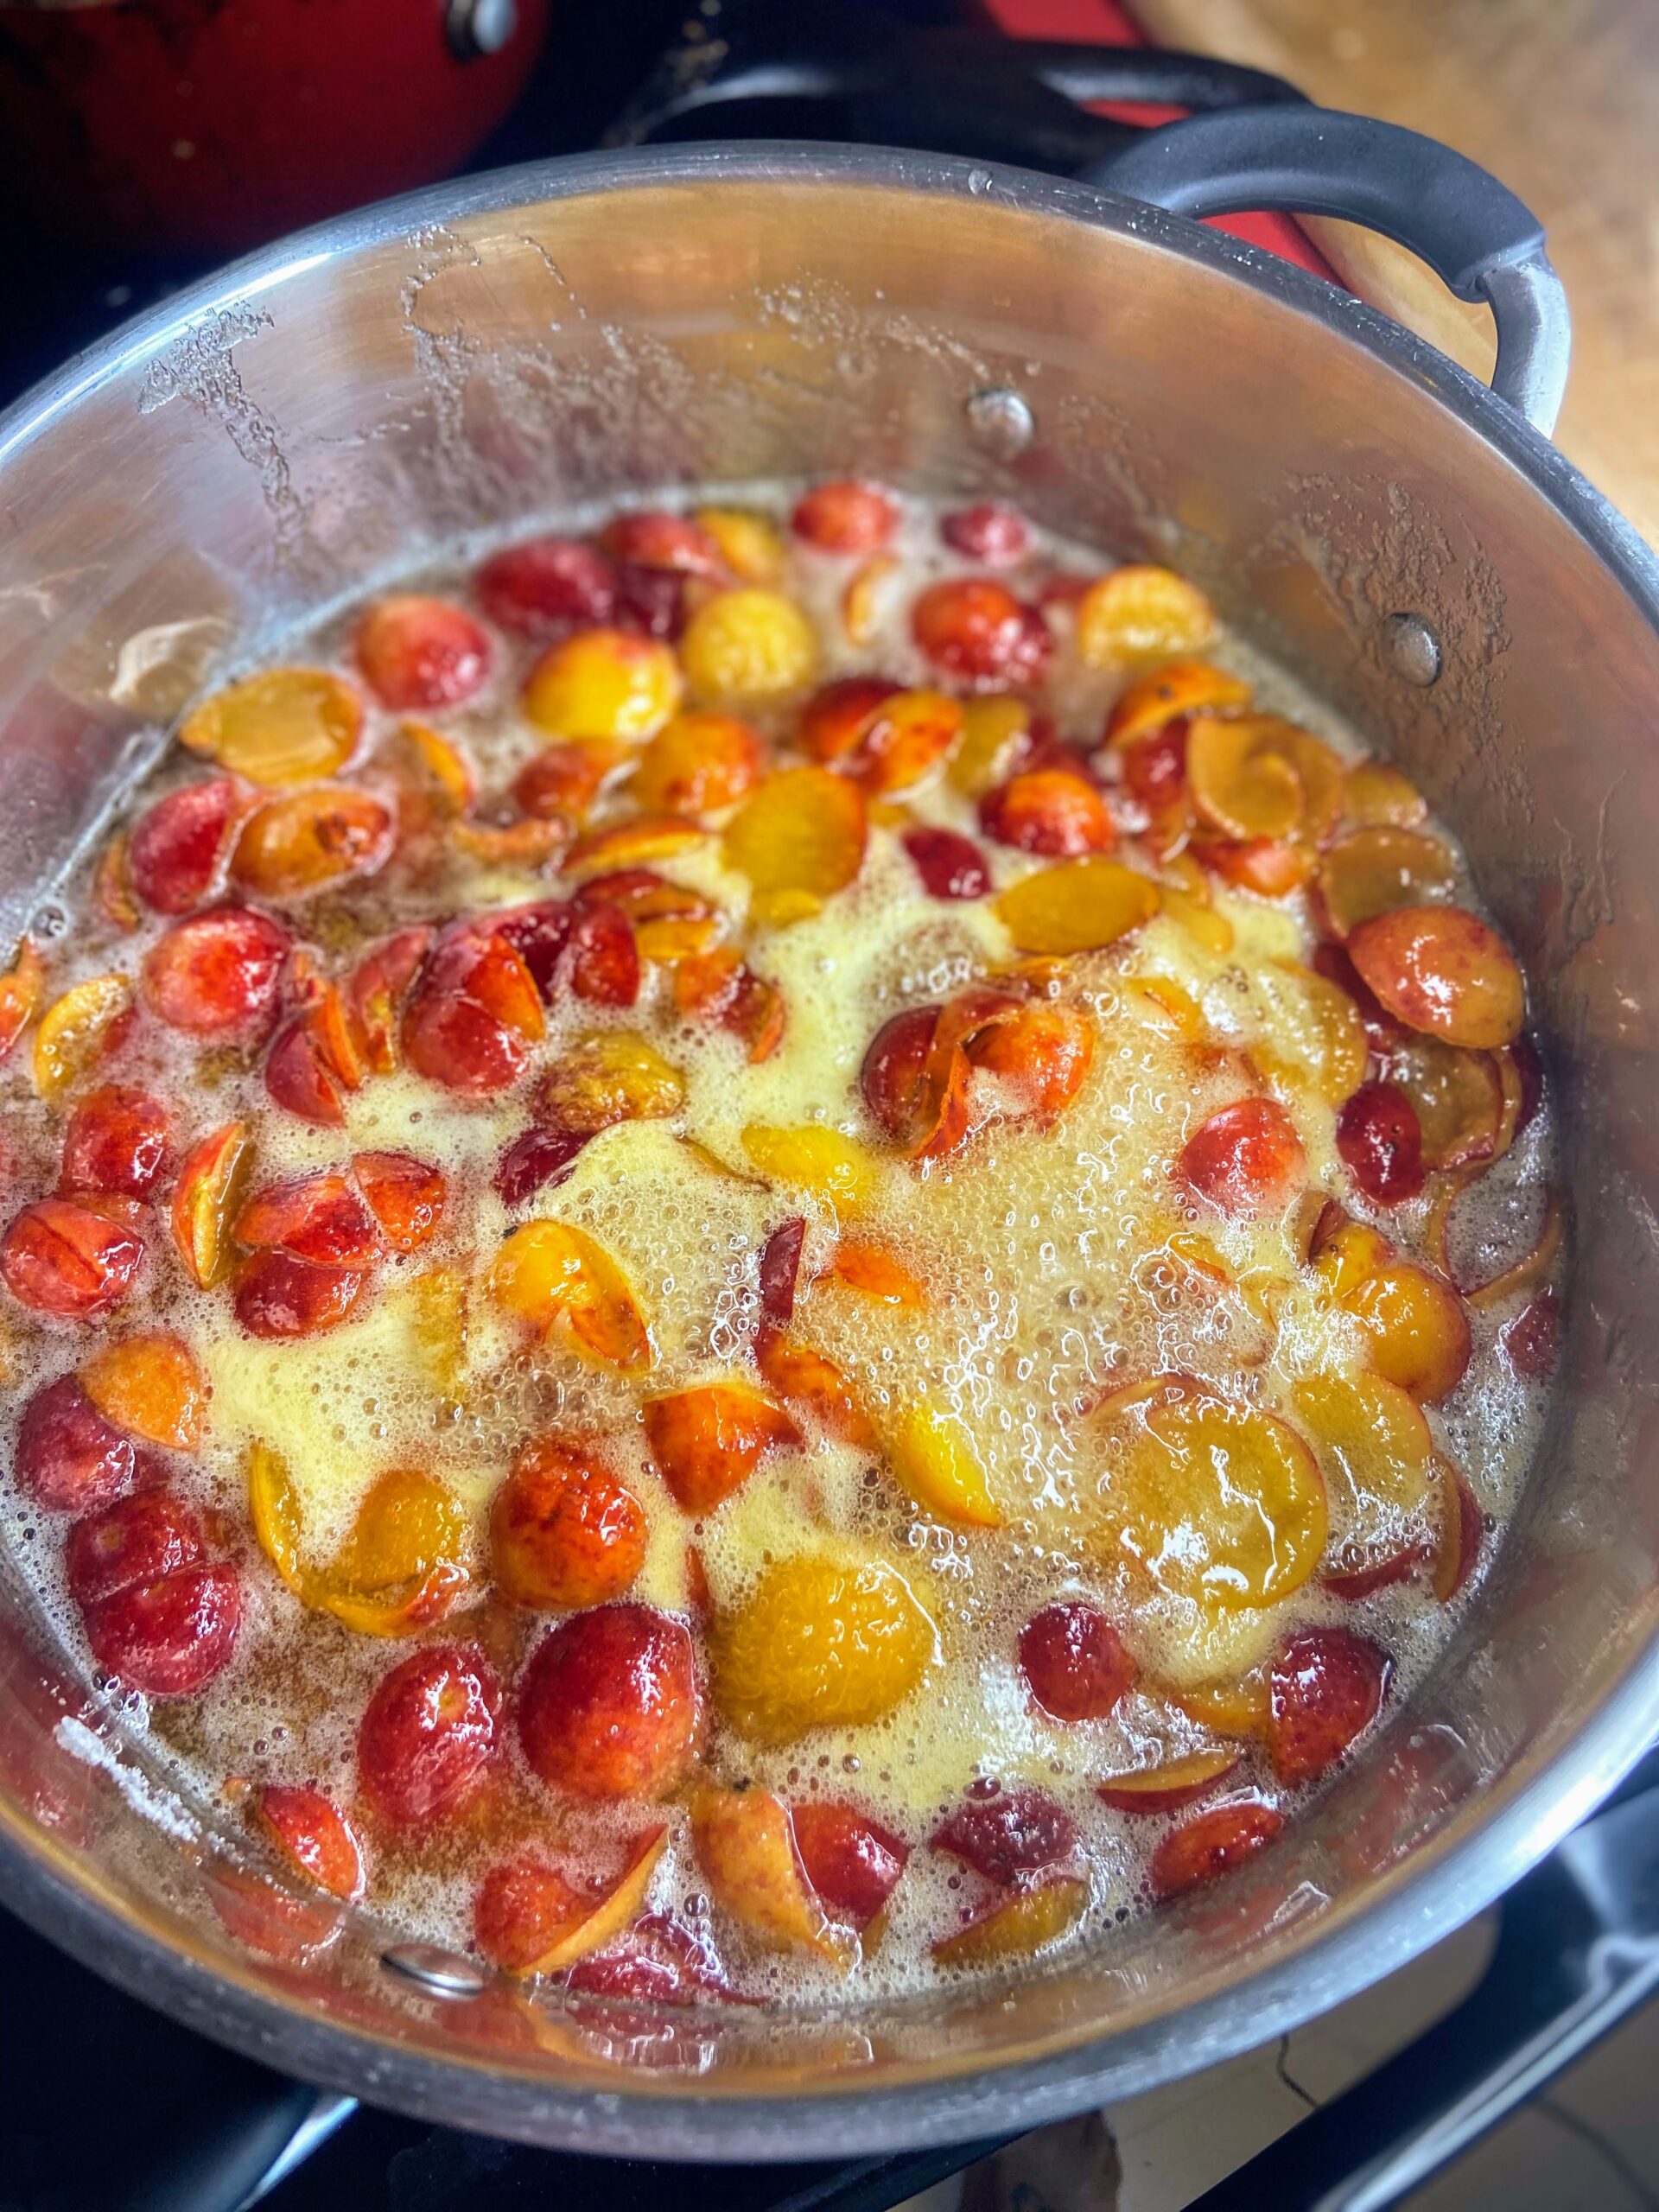
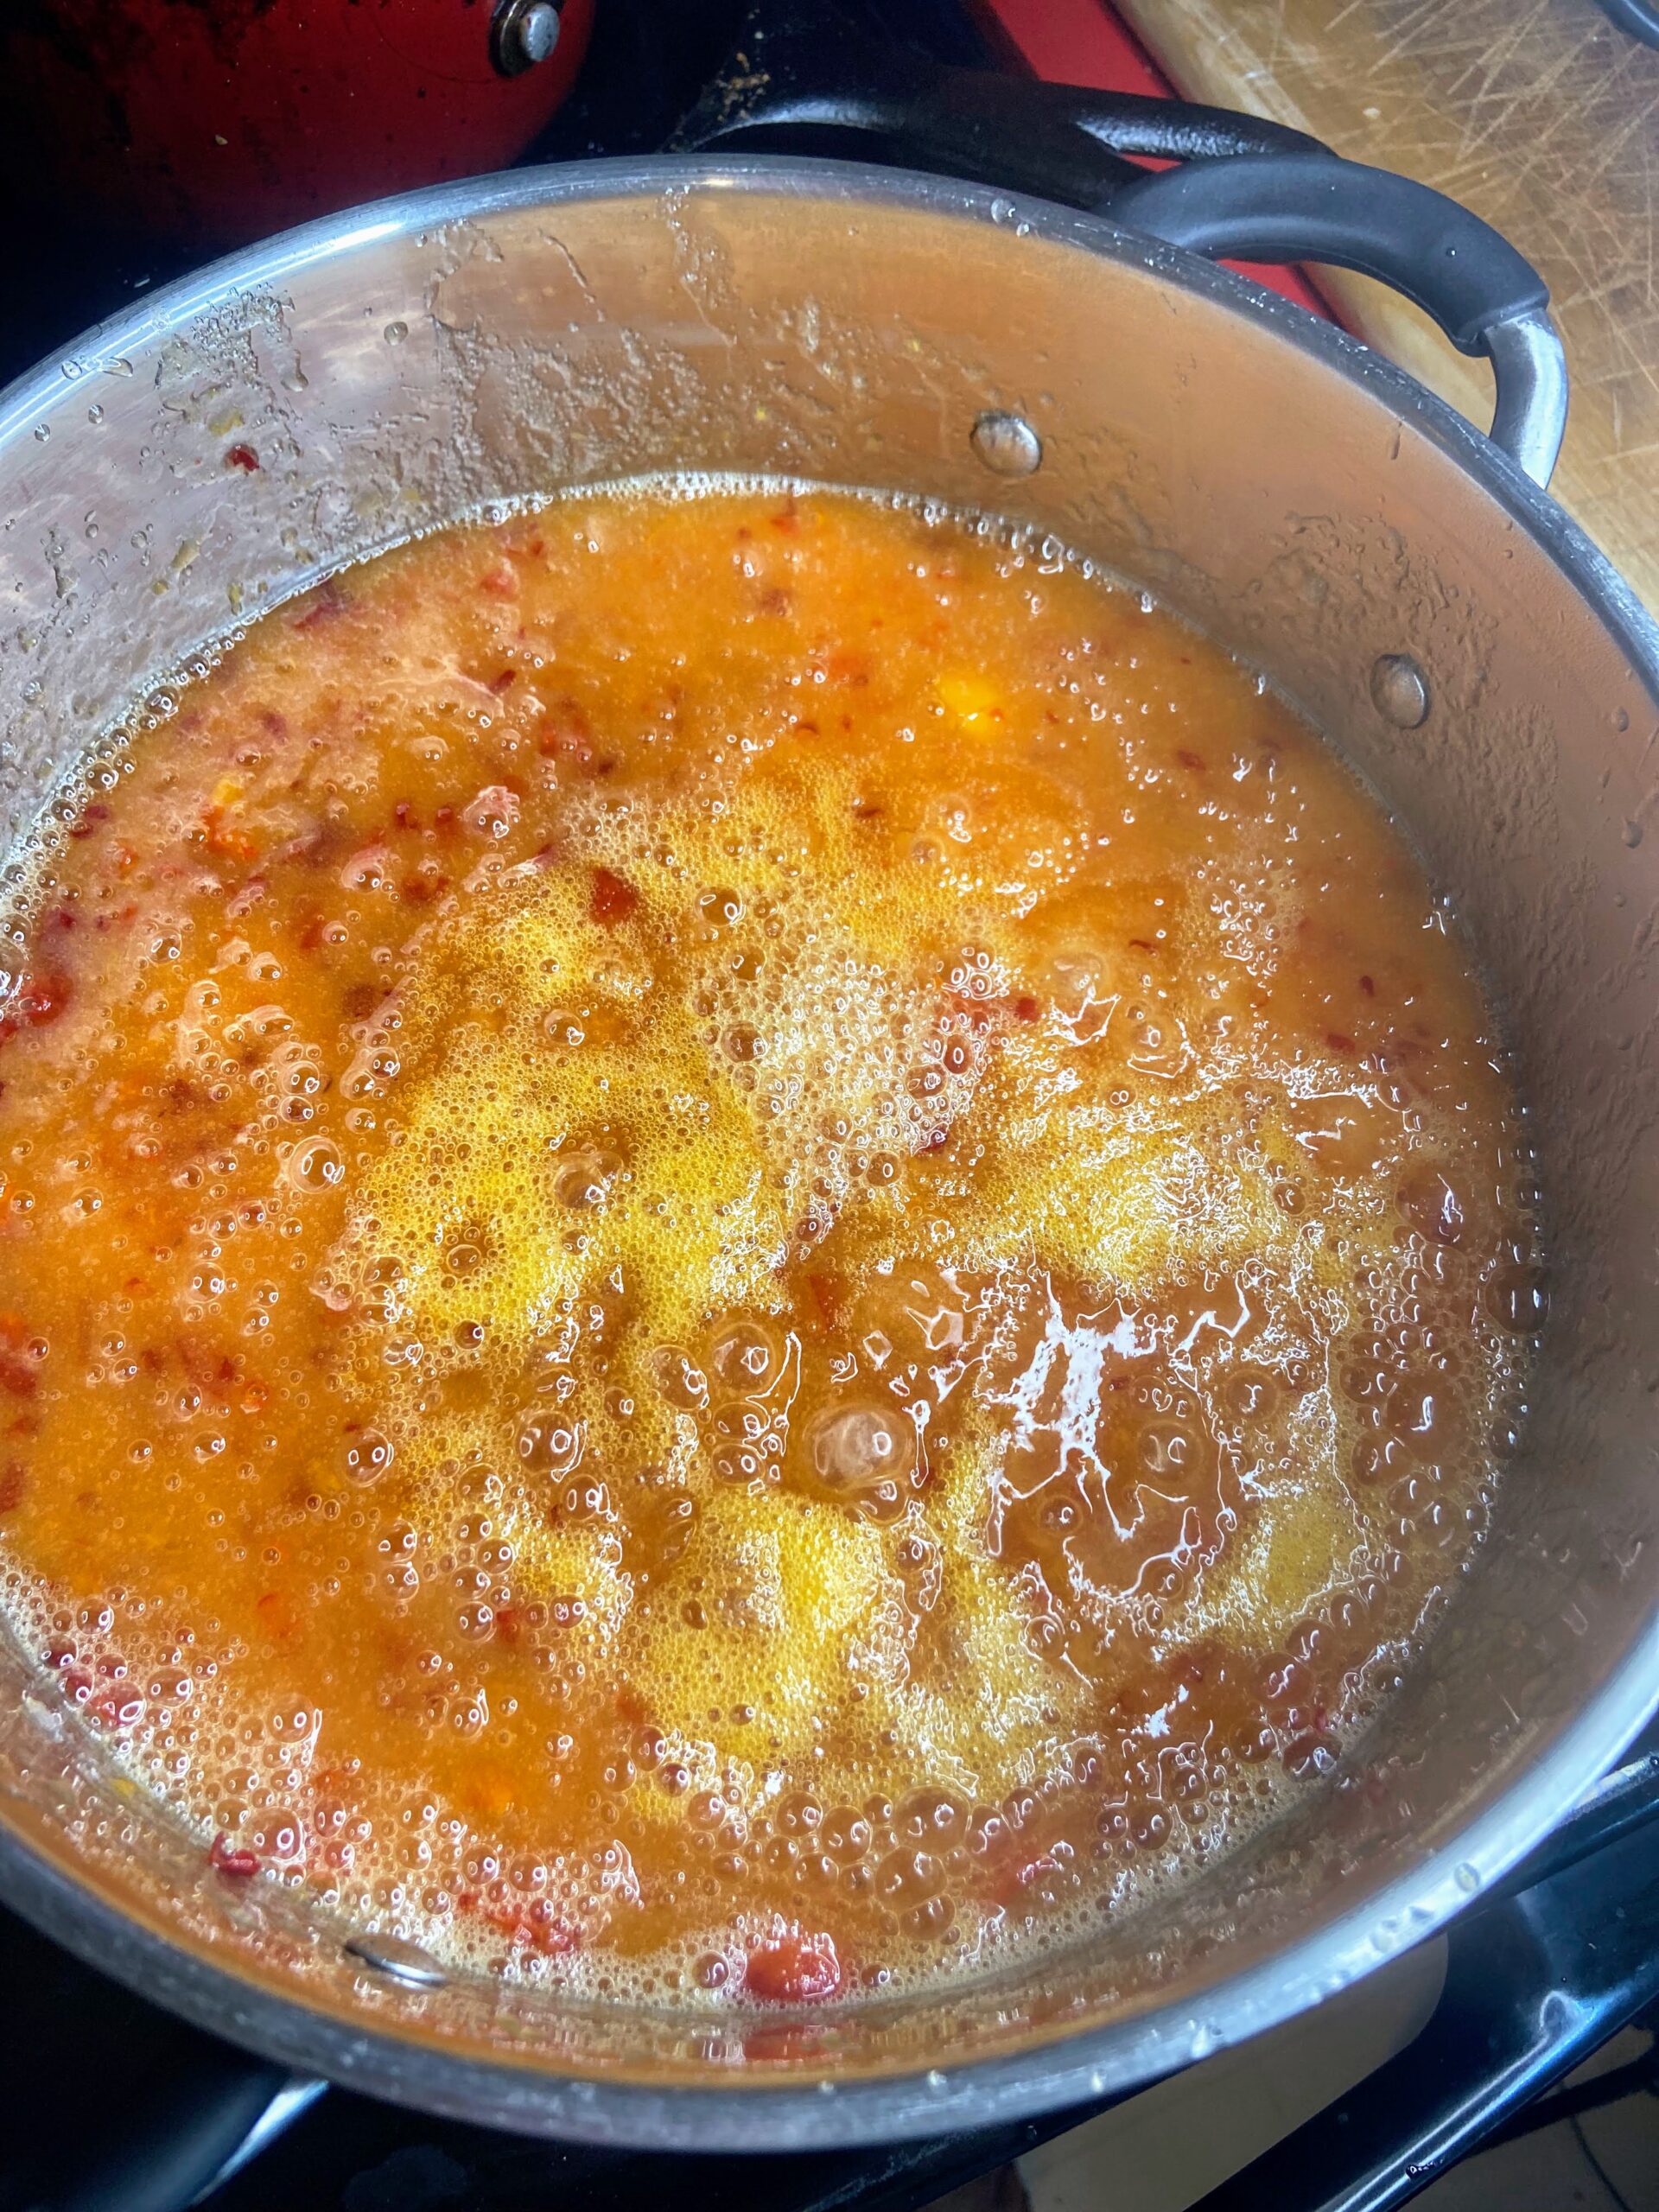
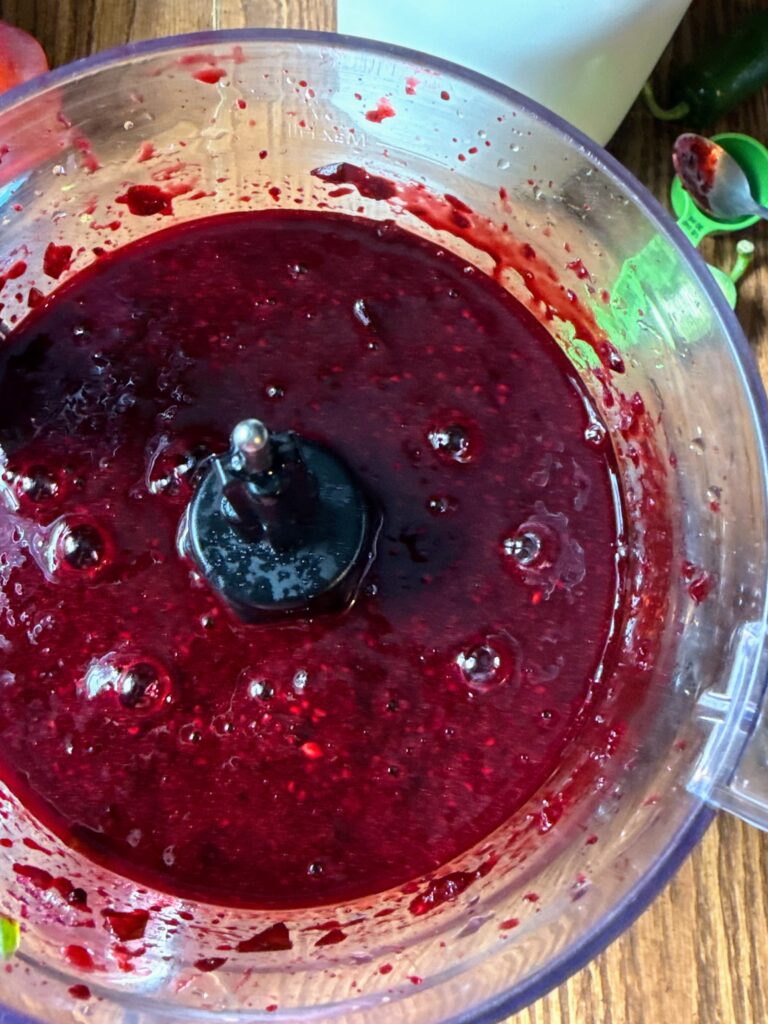
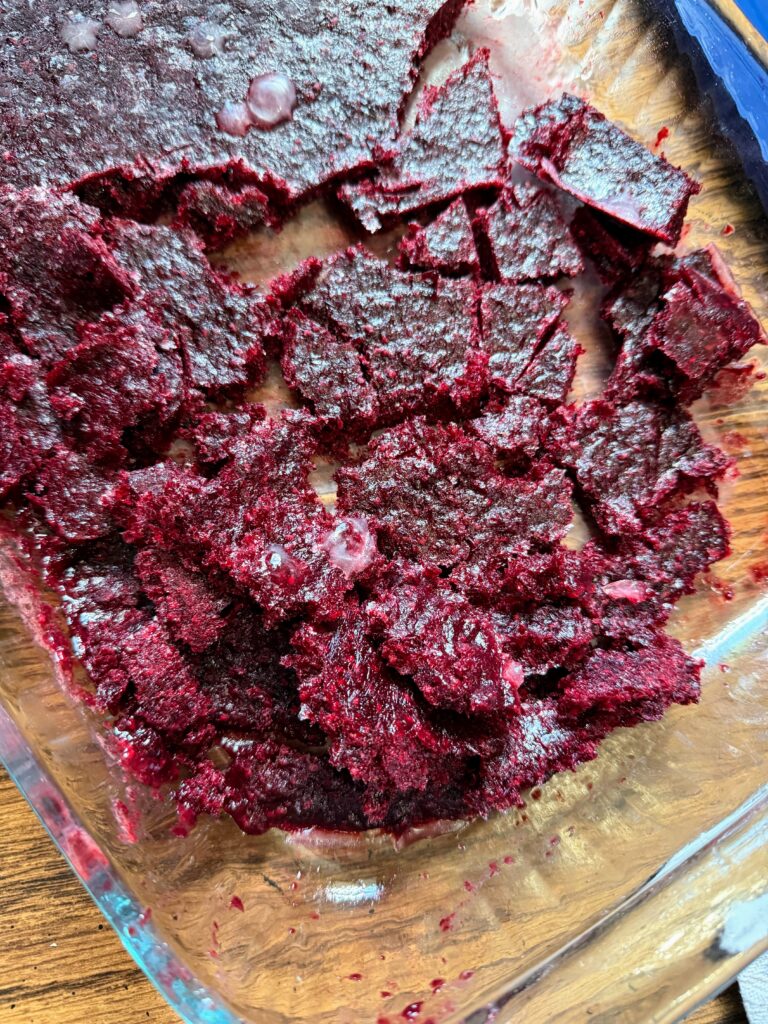
Combine fruit and diced jalapeño. Use a blender or immersion blender to break fruit down. If I use an immersion blender, blend right in the kettle I will be heating them in. I have also liked using my large food processor. Add remaining ingredients. Blend everything together once more, making sure to break down the peppers. Once combined, heat over medium heat until the mixture is beginning to simmer, stirring often. Pour into a 9×13 pan, cover, and place in the freezer and allow to freeze solid.
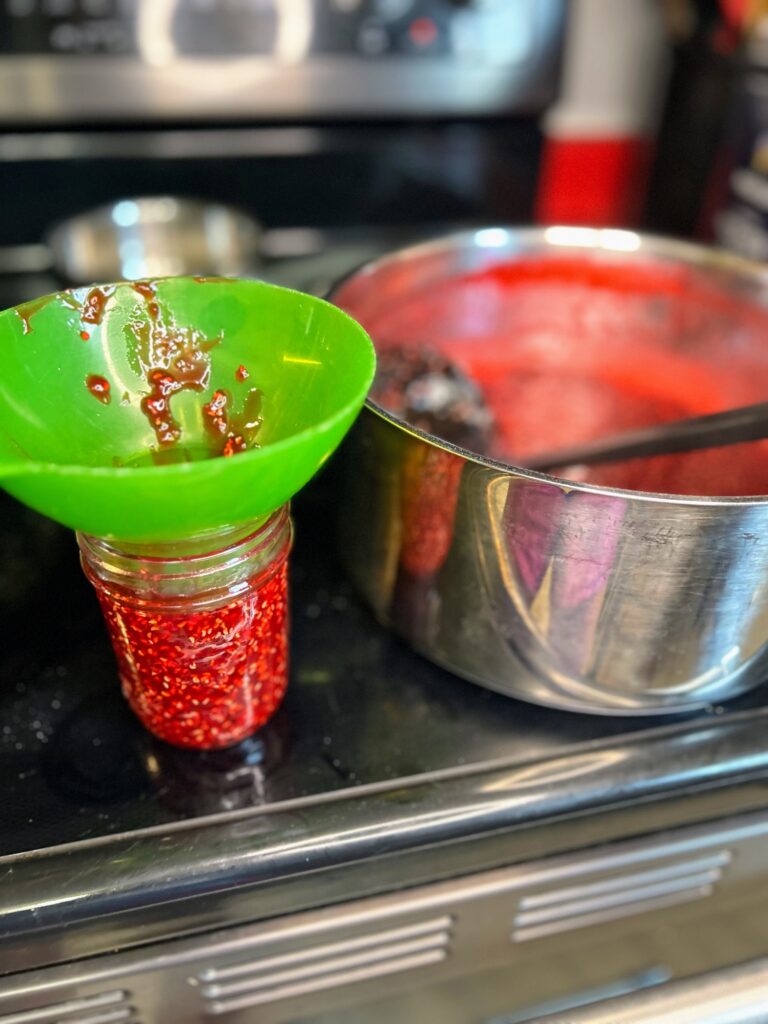
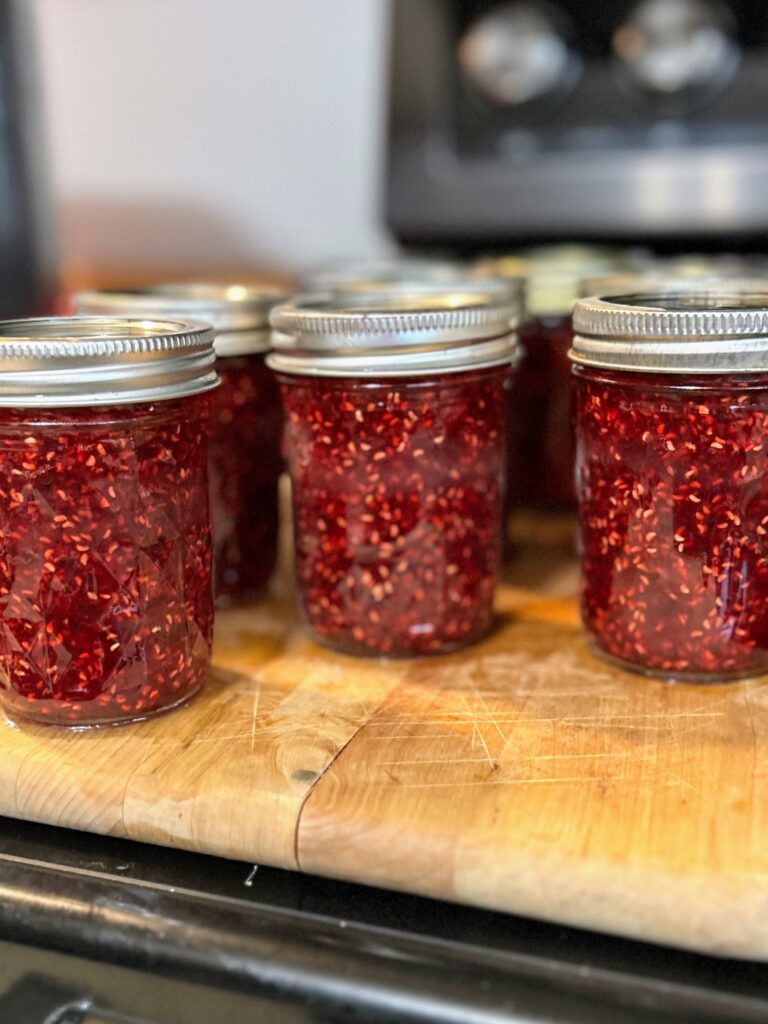
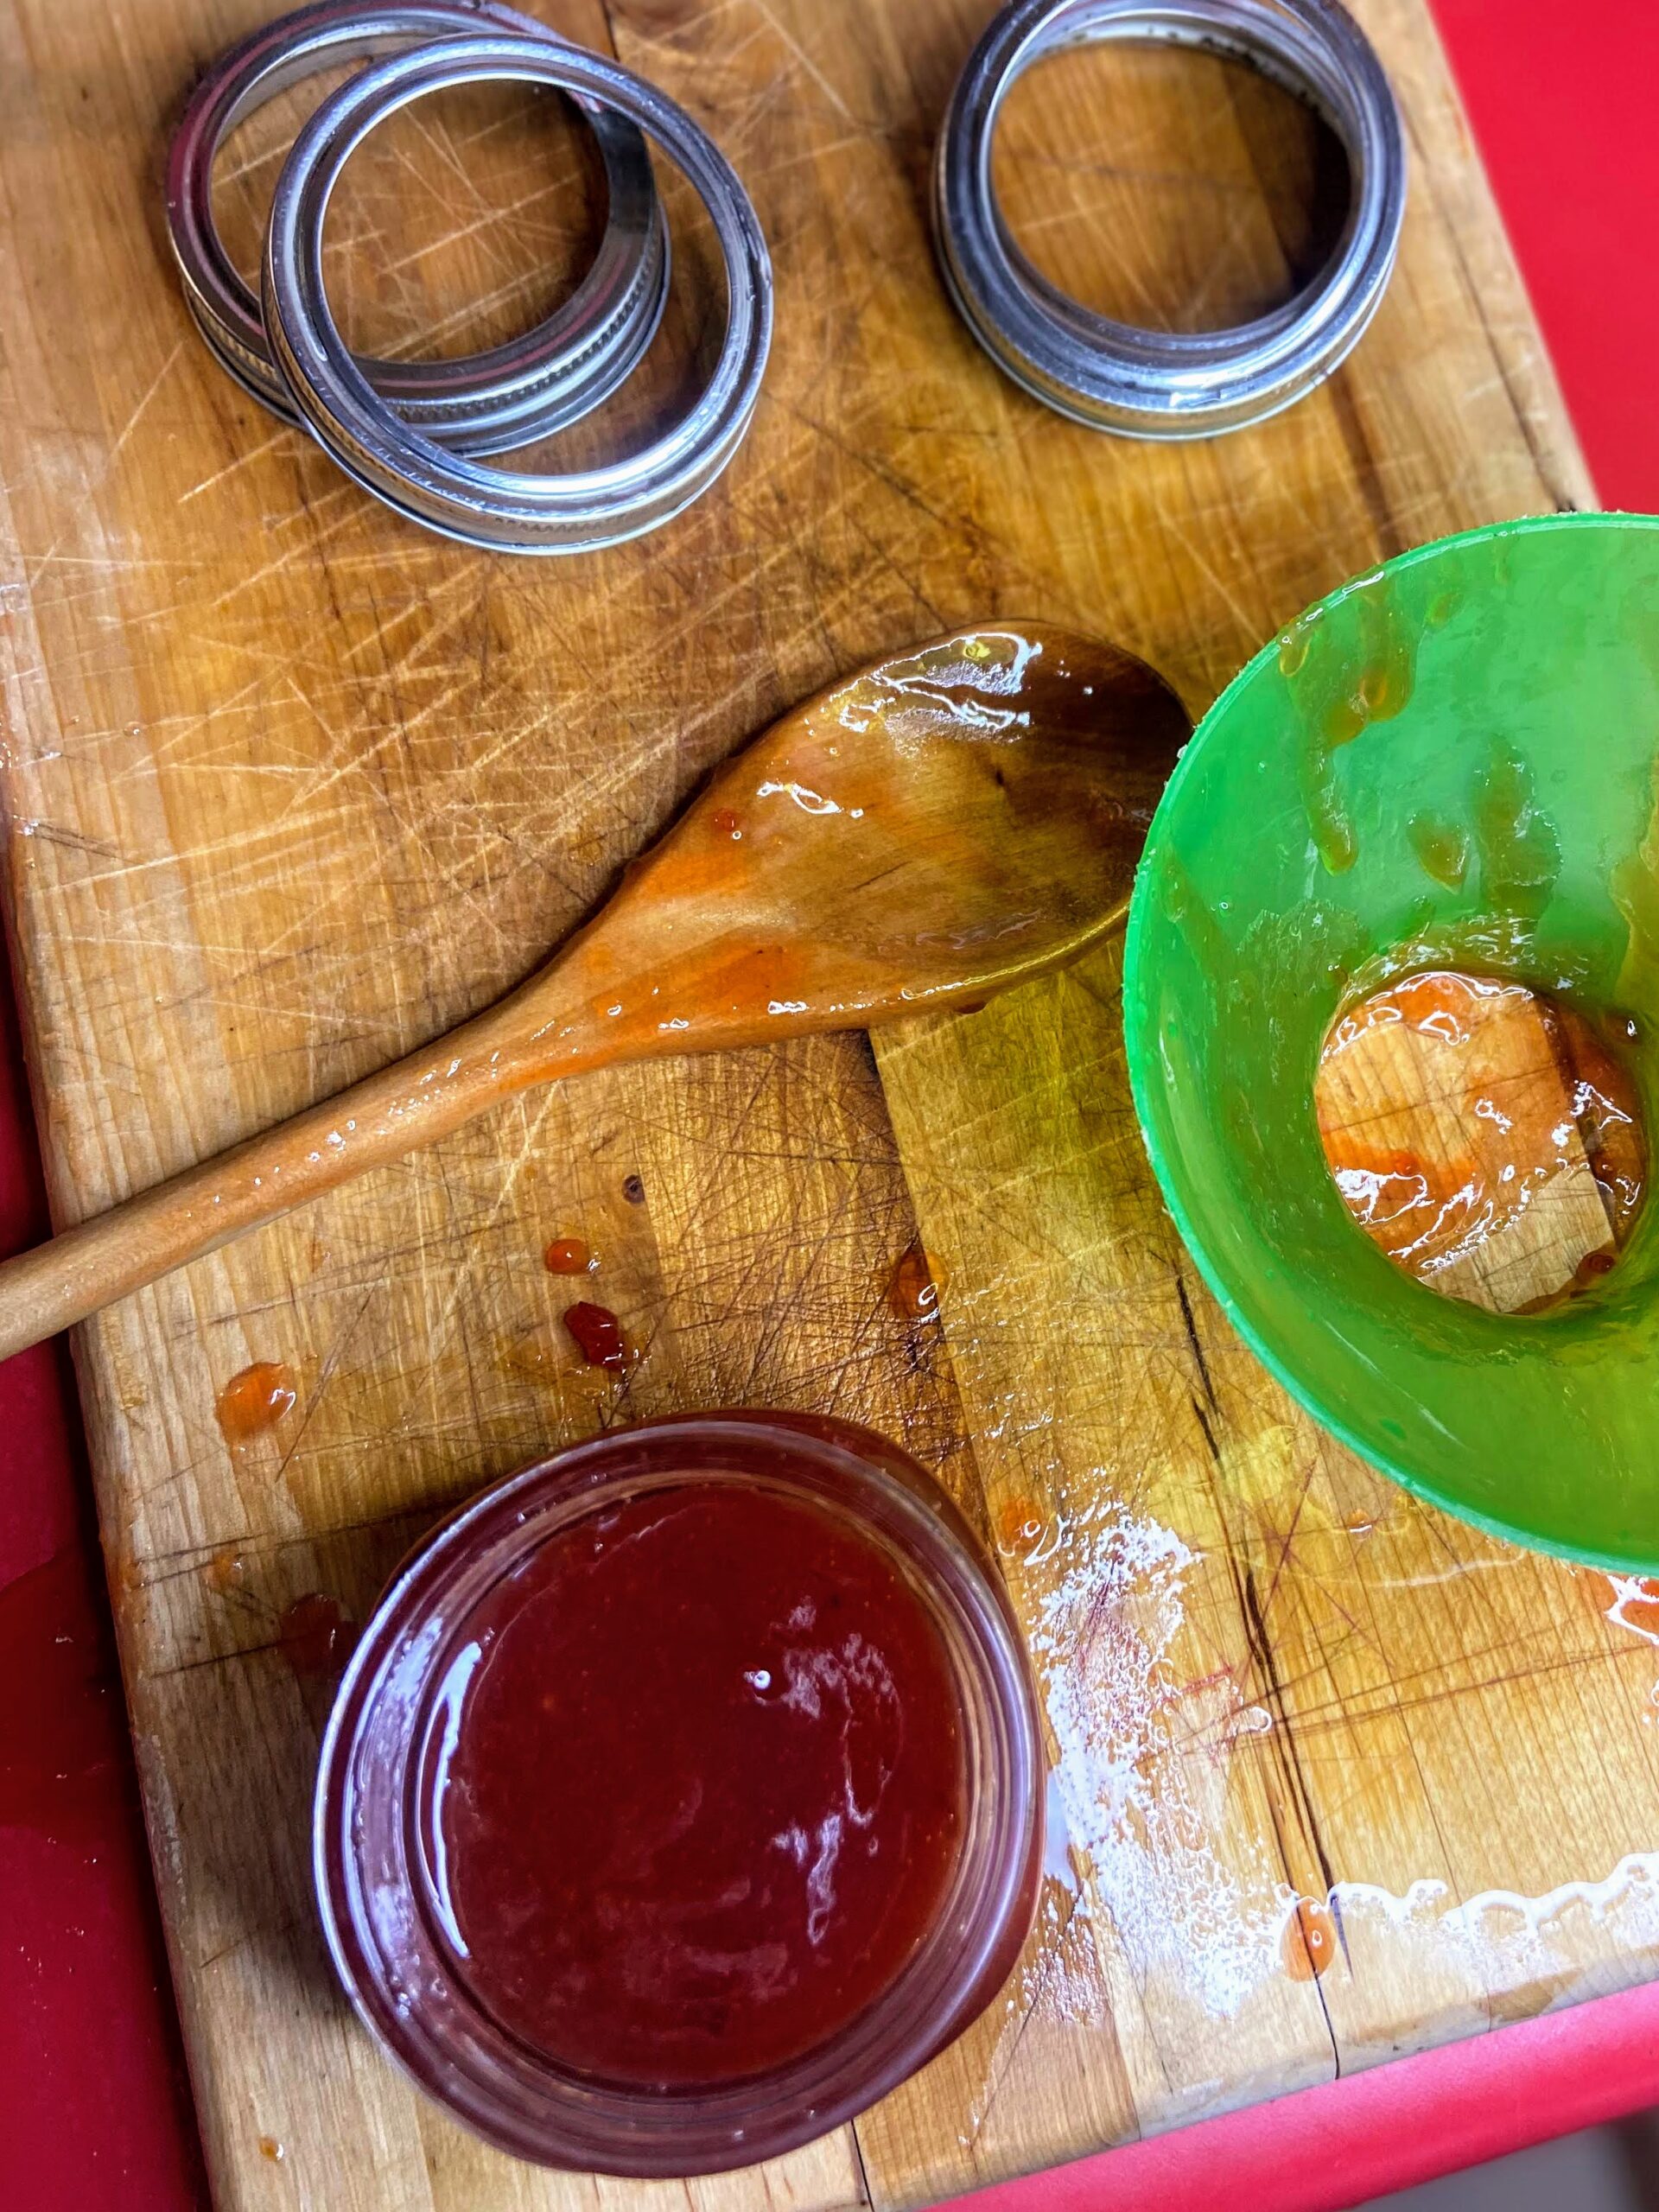
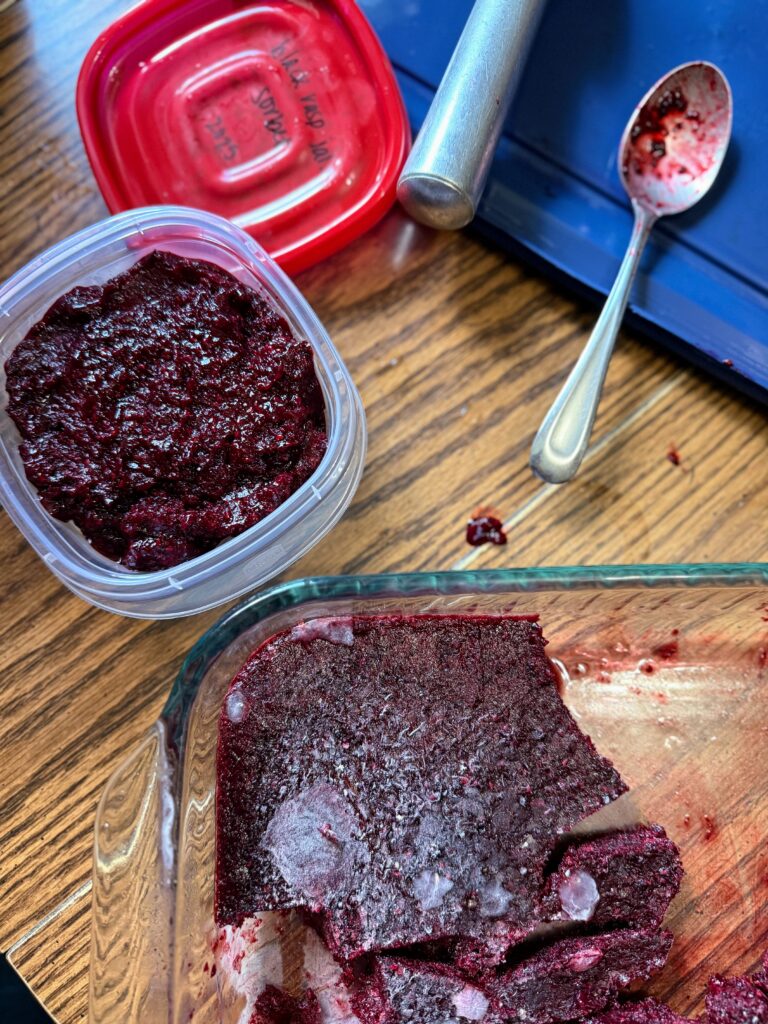
Once fully frozen, remove and allow to sit at room temperature for 5-10 minutes. This will make it easier to remove the sorbet. Working in small batches, puree frozen sorbet. There are lots of options for this. You can use a blender, a food processor, or an immersion blender. I dig the immersion blender because clean up is so easy. Scoop the puree into freezer safe containers, leaving ½ inch headspace at the top. I like to use 4 ounce jelly jars for ½ cup servings ready to go! Be sure to label and return to the freezer until you’re ready to enjoy them!
A few notes
Looking for an adult version? I found that adding ½ cup of alcohol can be fun. However, be mindful of how much alcohol you add as it will affect the ability of the sorbet to freeze.
Have a sweeter tooth? Feel free to add more sugar to suit your own tastes. I think the fruit flavor is great the way it is and doesn’t need the extra sugar.

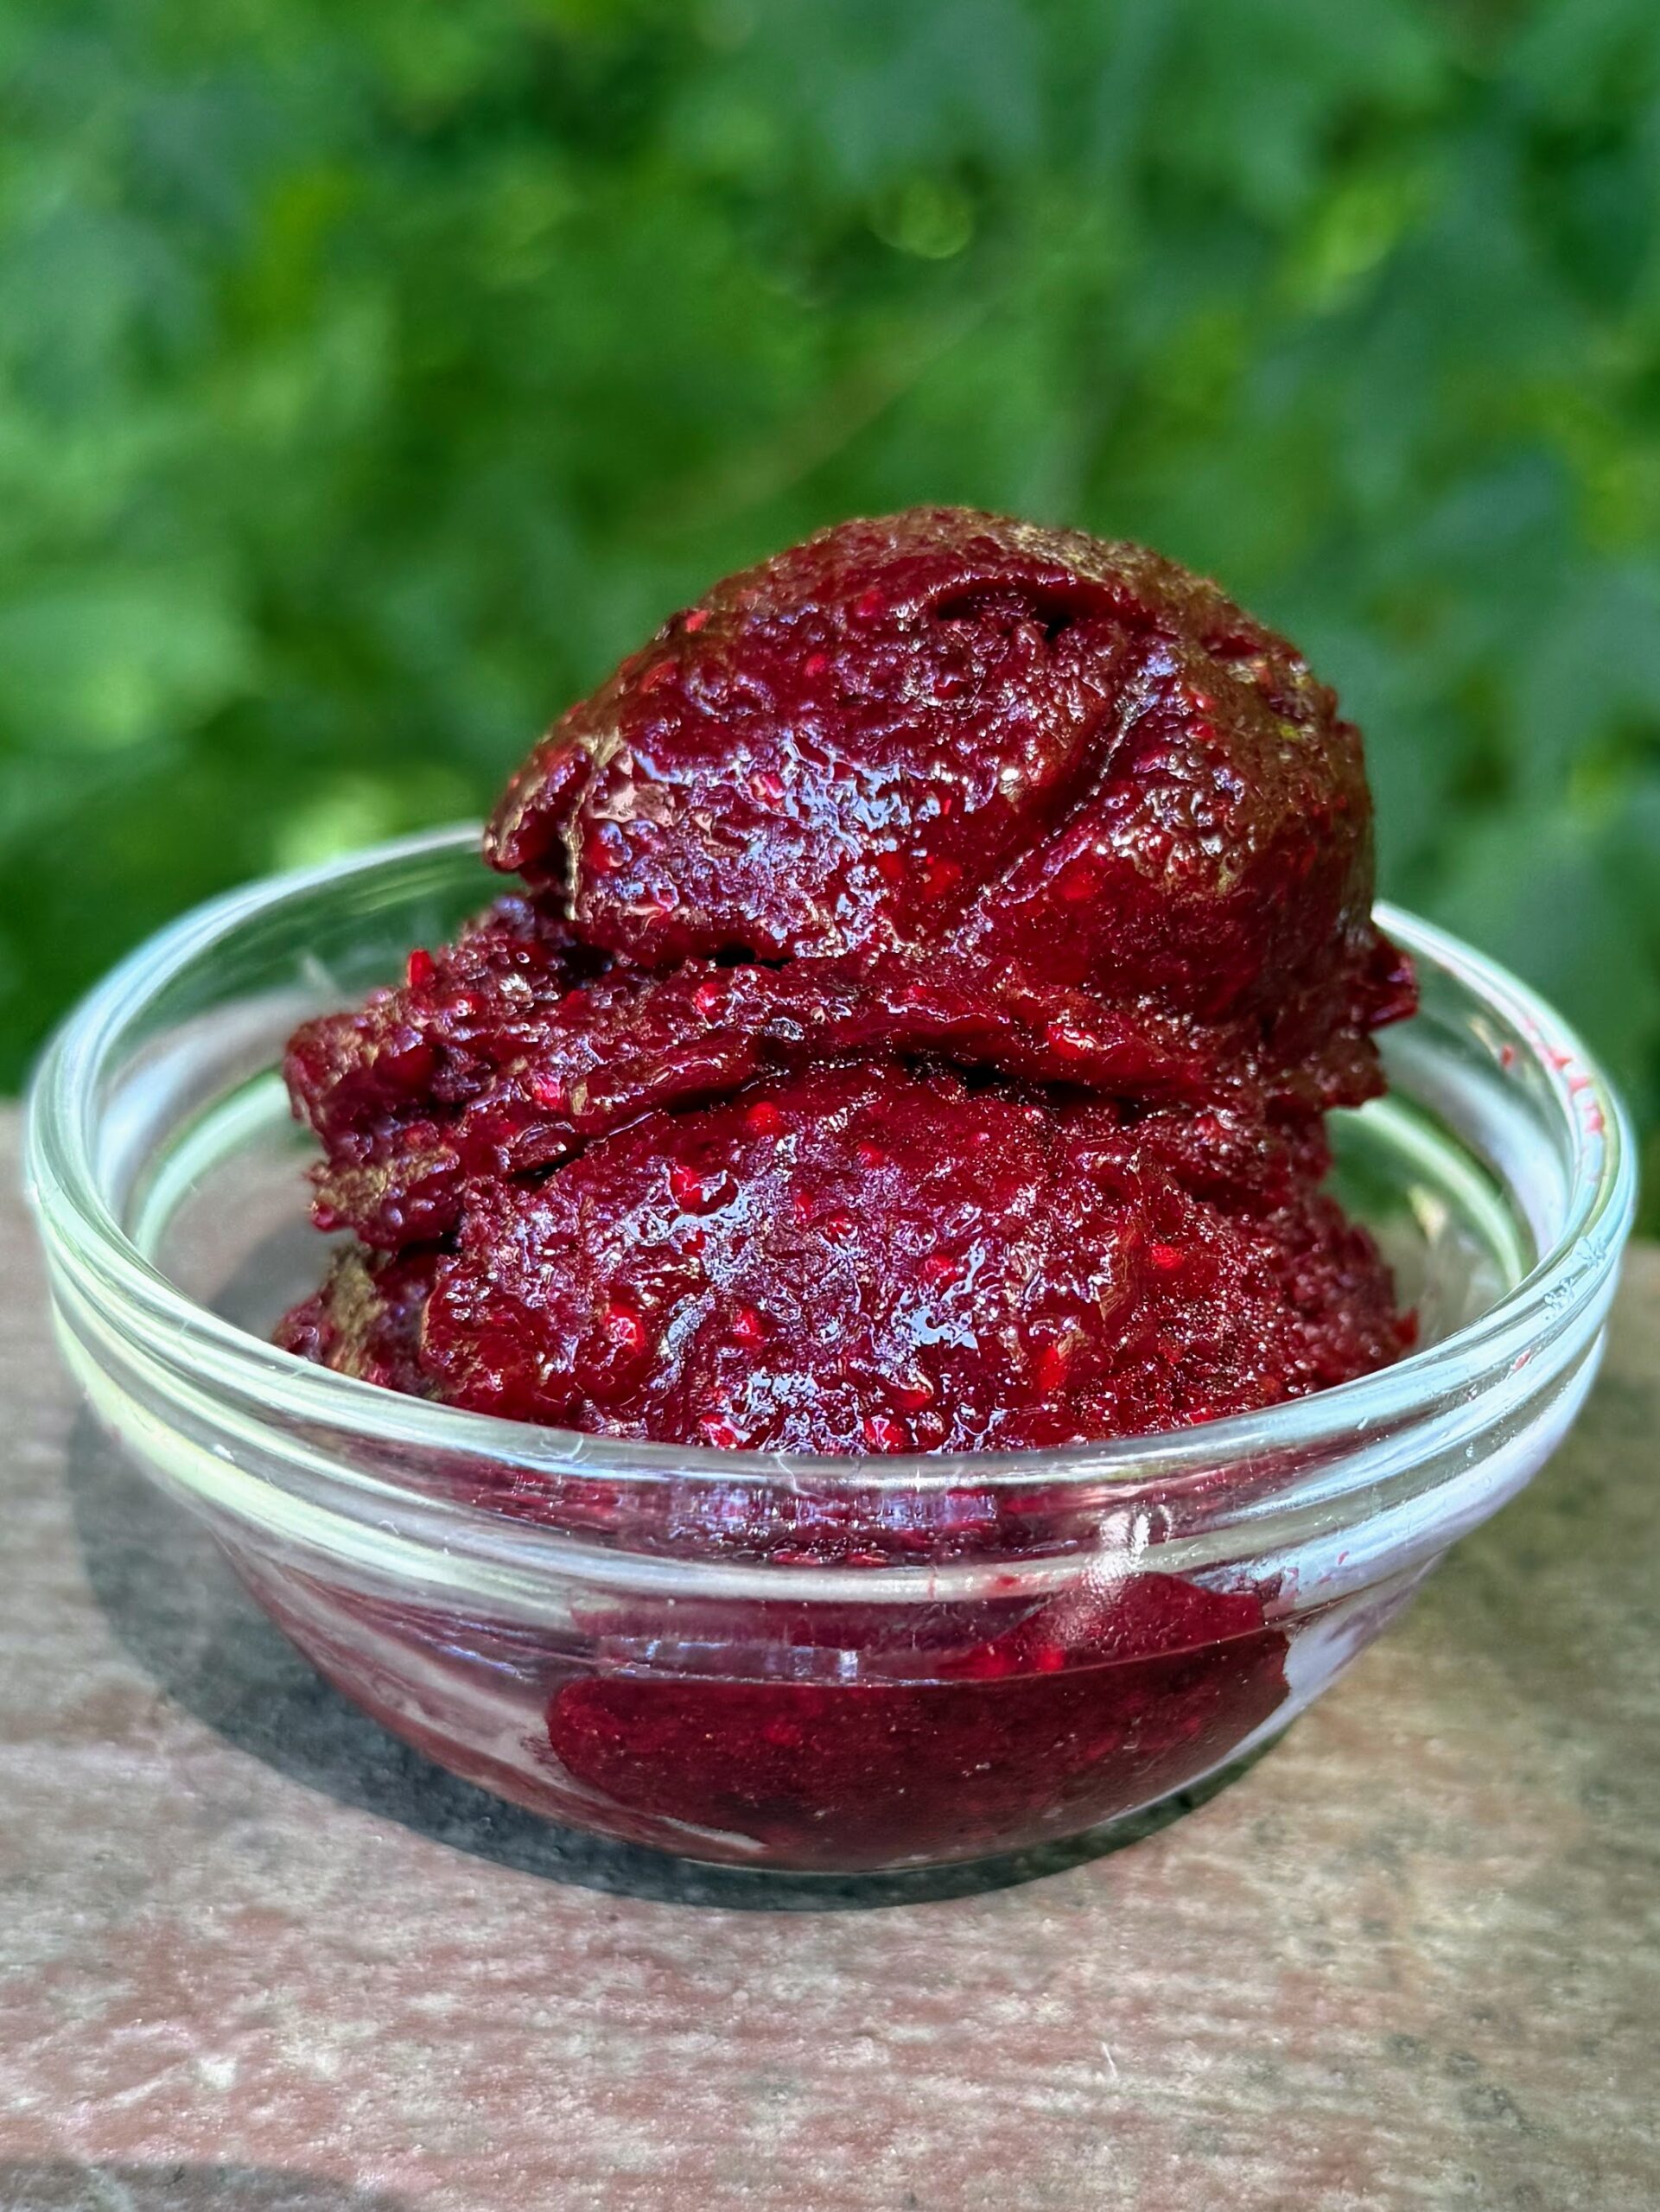
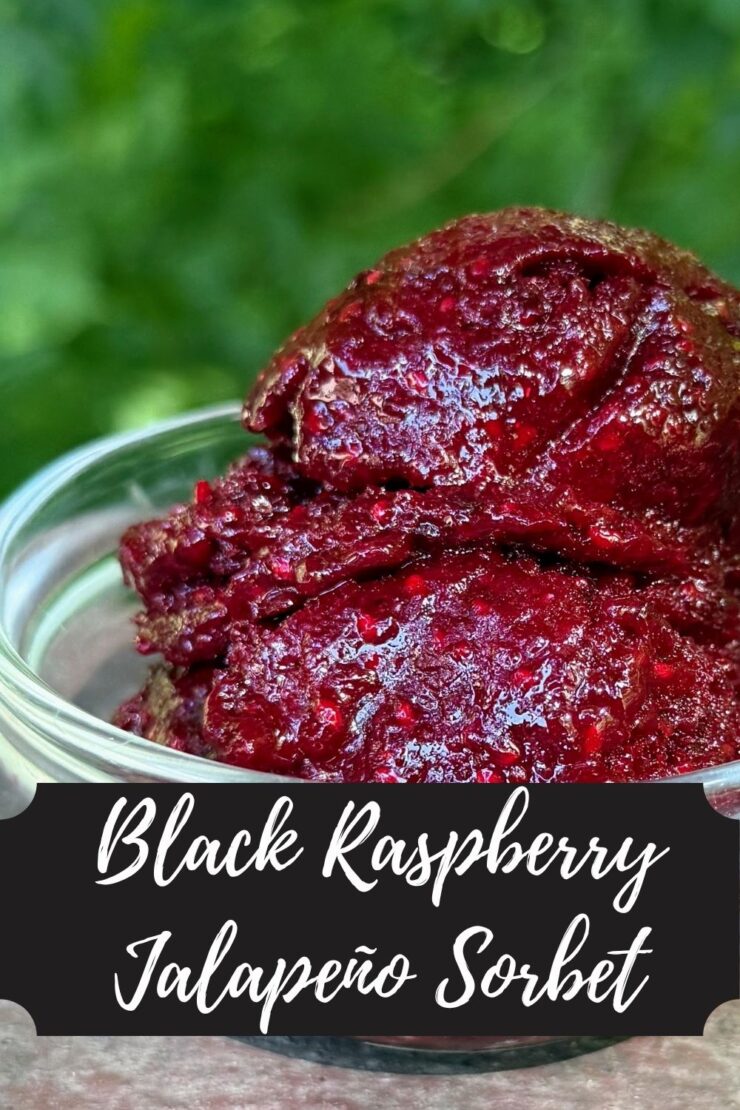
Black Raspberry Jalapeño Sorbet
Equipment
Ingredients
- 4 cups black raspberries
- 2-3 jalapeños diced small
- ½ cup orange juice
- ½ cup white sugar
- 2 tablespoons lemon juice
Instructions
- Combine fruit and diced jalapeño. Use a blender or immersion blender to break fruit down. If I use an immersion blender, blend right in the kettle I will be heating them in. I have also liked using my large food processor.
- Add remaining ingredients. Blend everything together once more, making sure to break down the peppers.
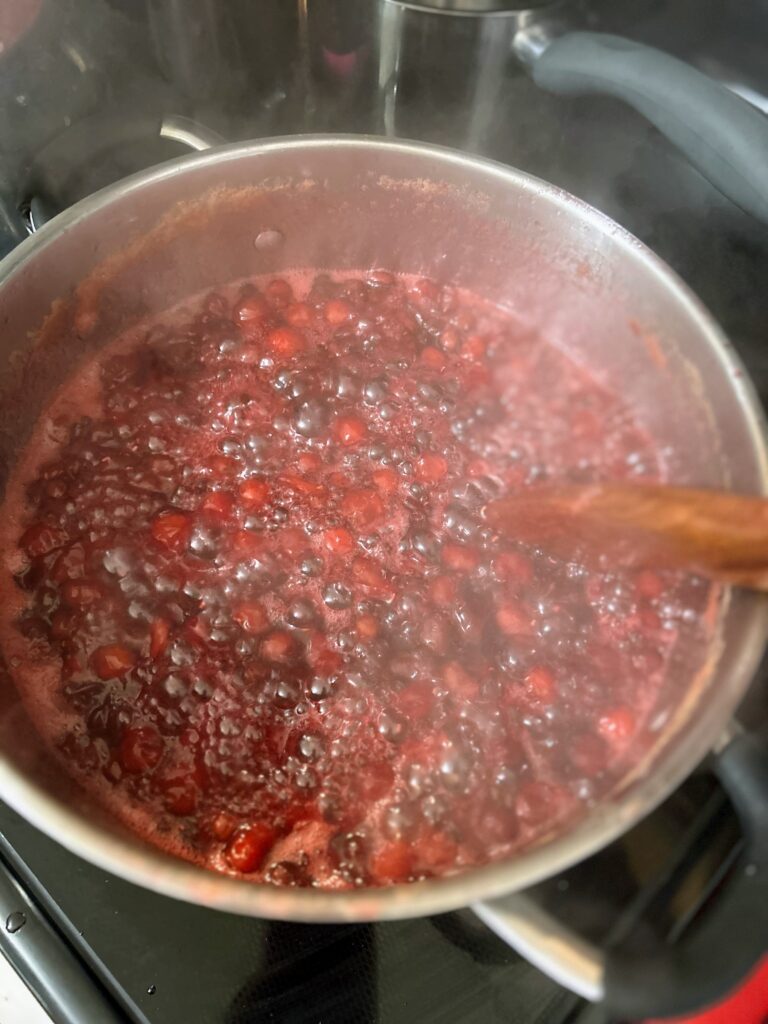
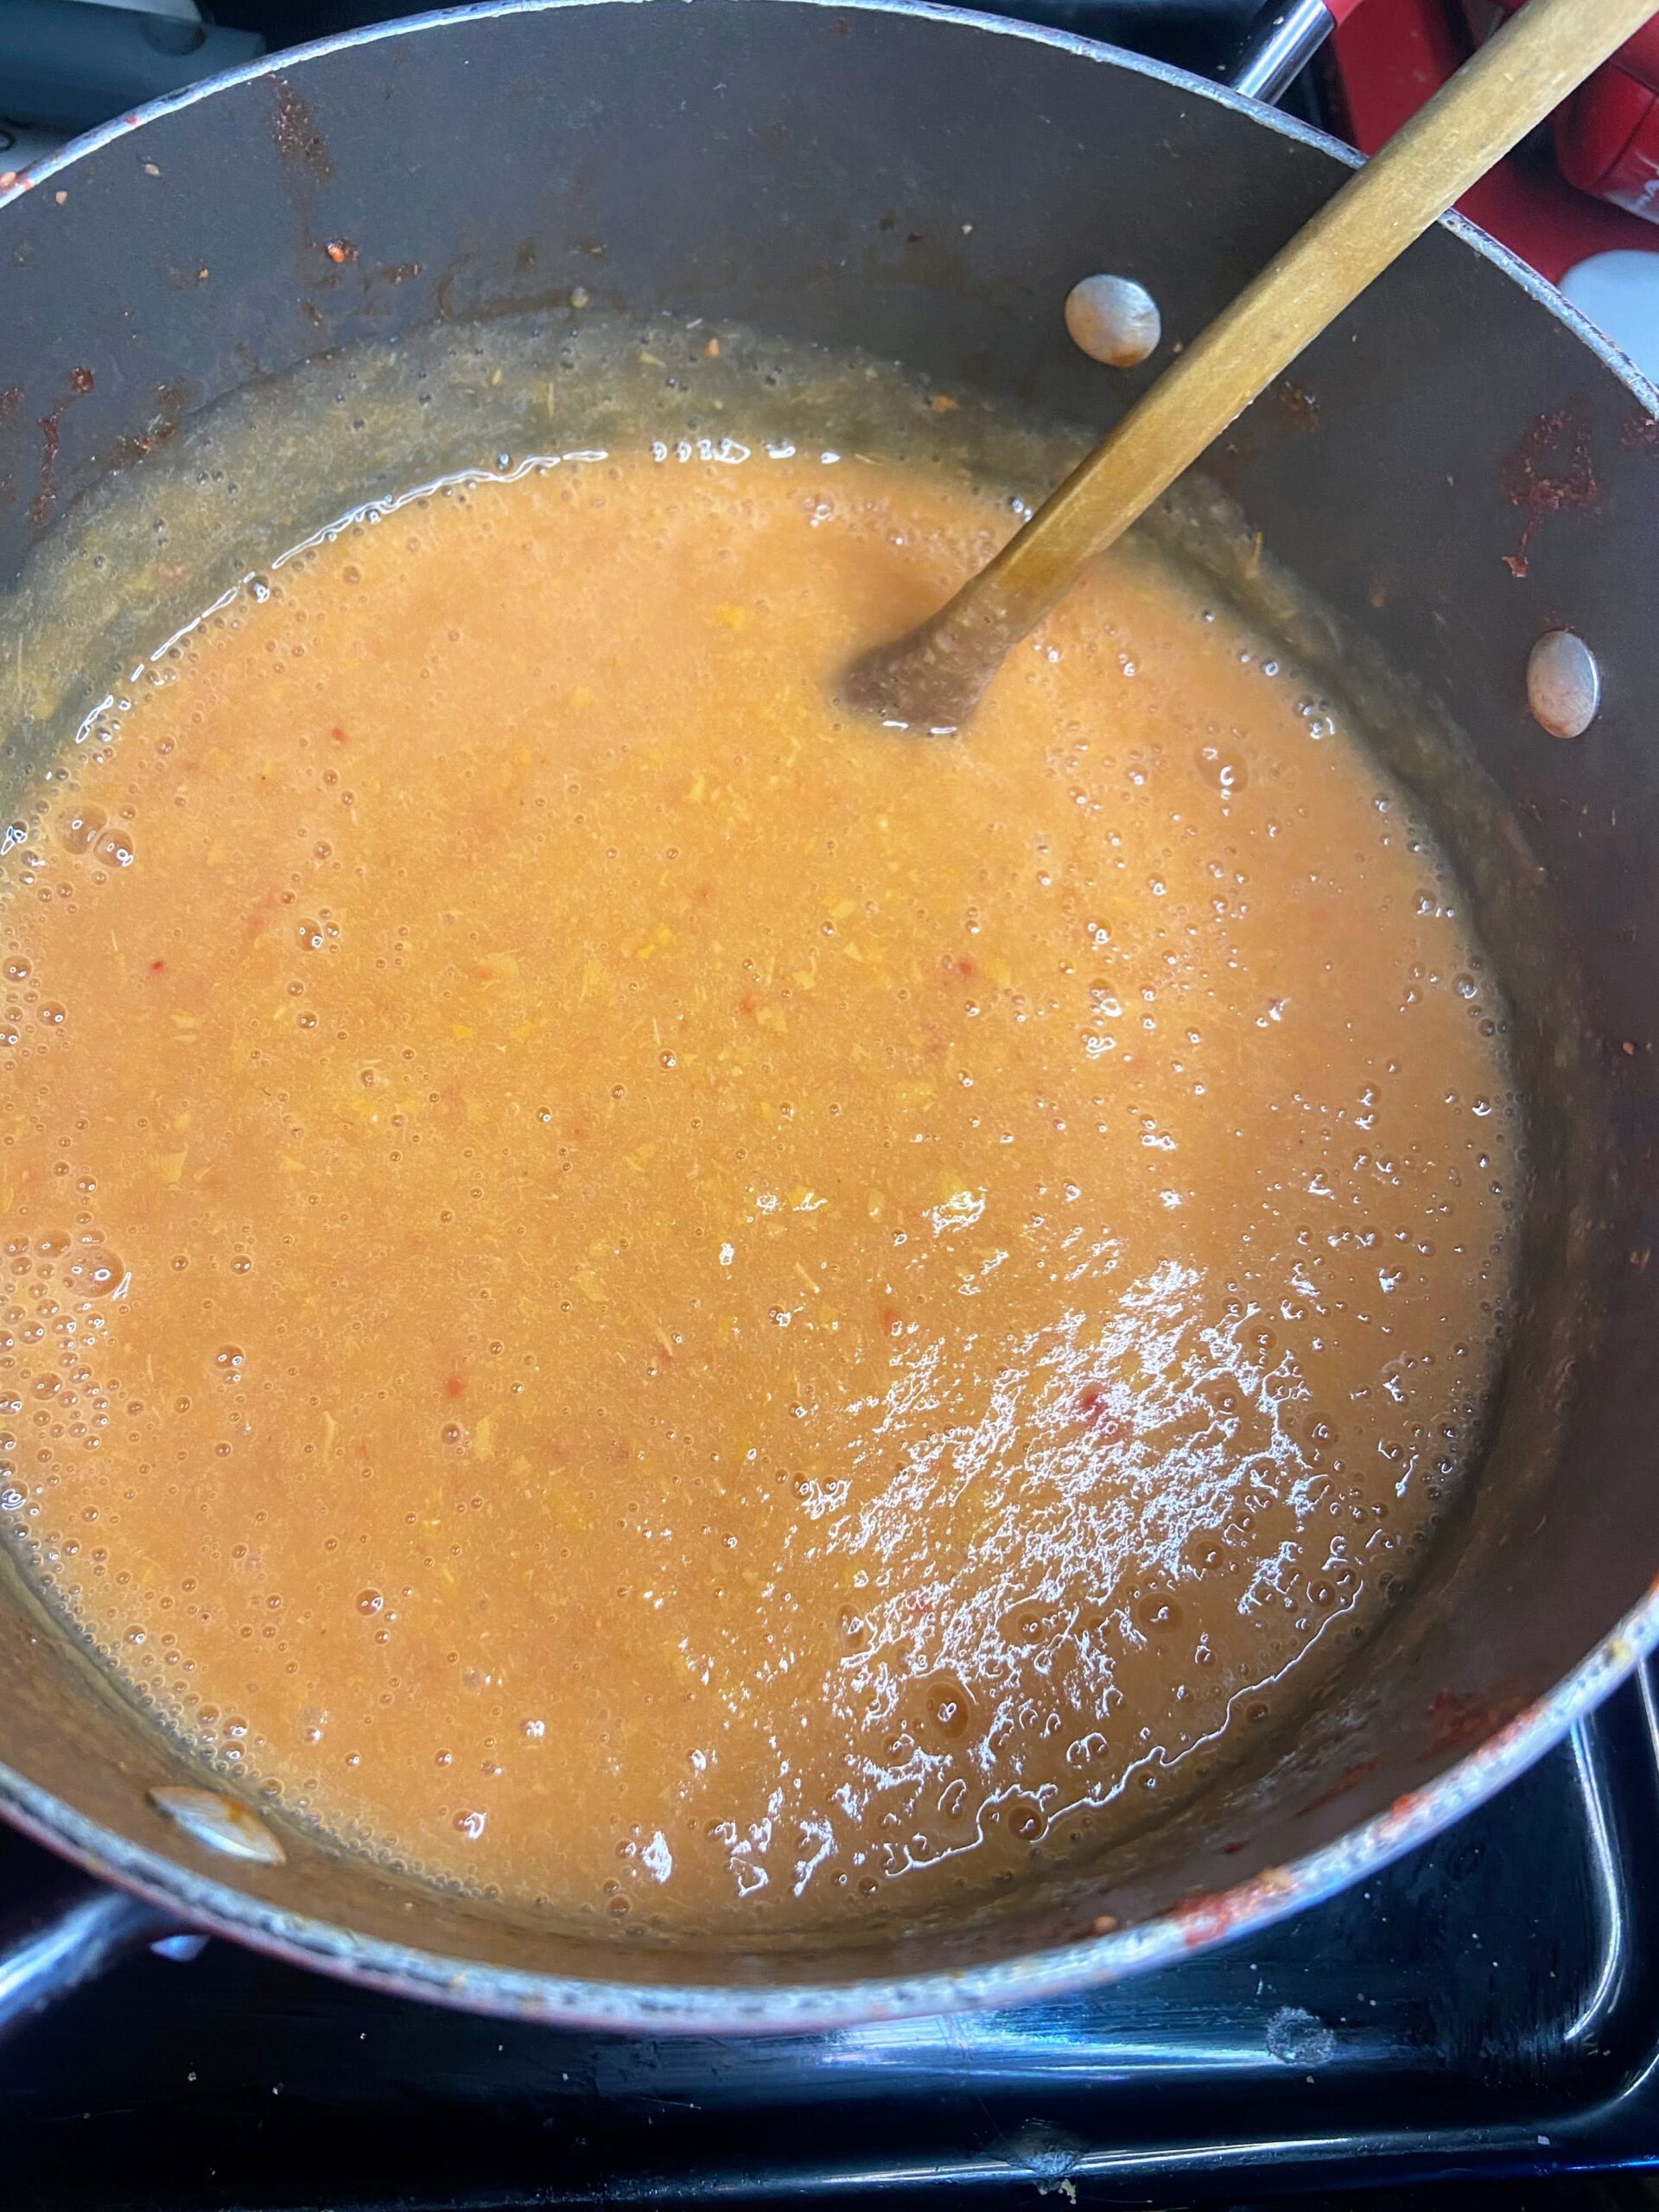
- Once combined, heat over medium heat until the mixture is beginning to simmer, stirring often. Pour into a 9×13 pan, cover, and place in the freezer and allow to freeze solid.
- Once fully frozen, remove and allow to sit at room temperature for 5-10 minutes. This will make it easier to remove the sorbet. Working in small batches, puree frozen sorbet using a blender, a food processor, or an immersion blender.
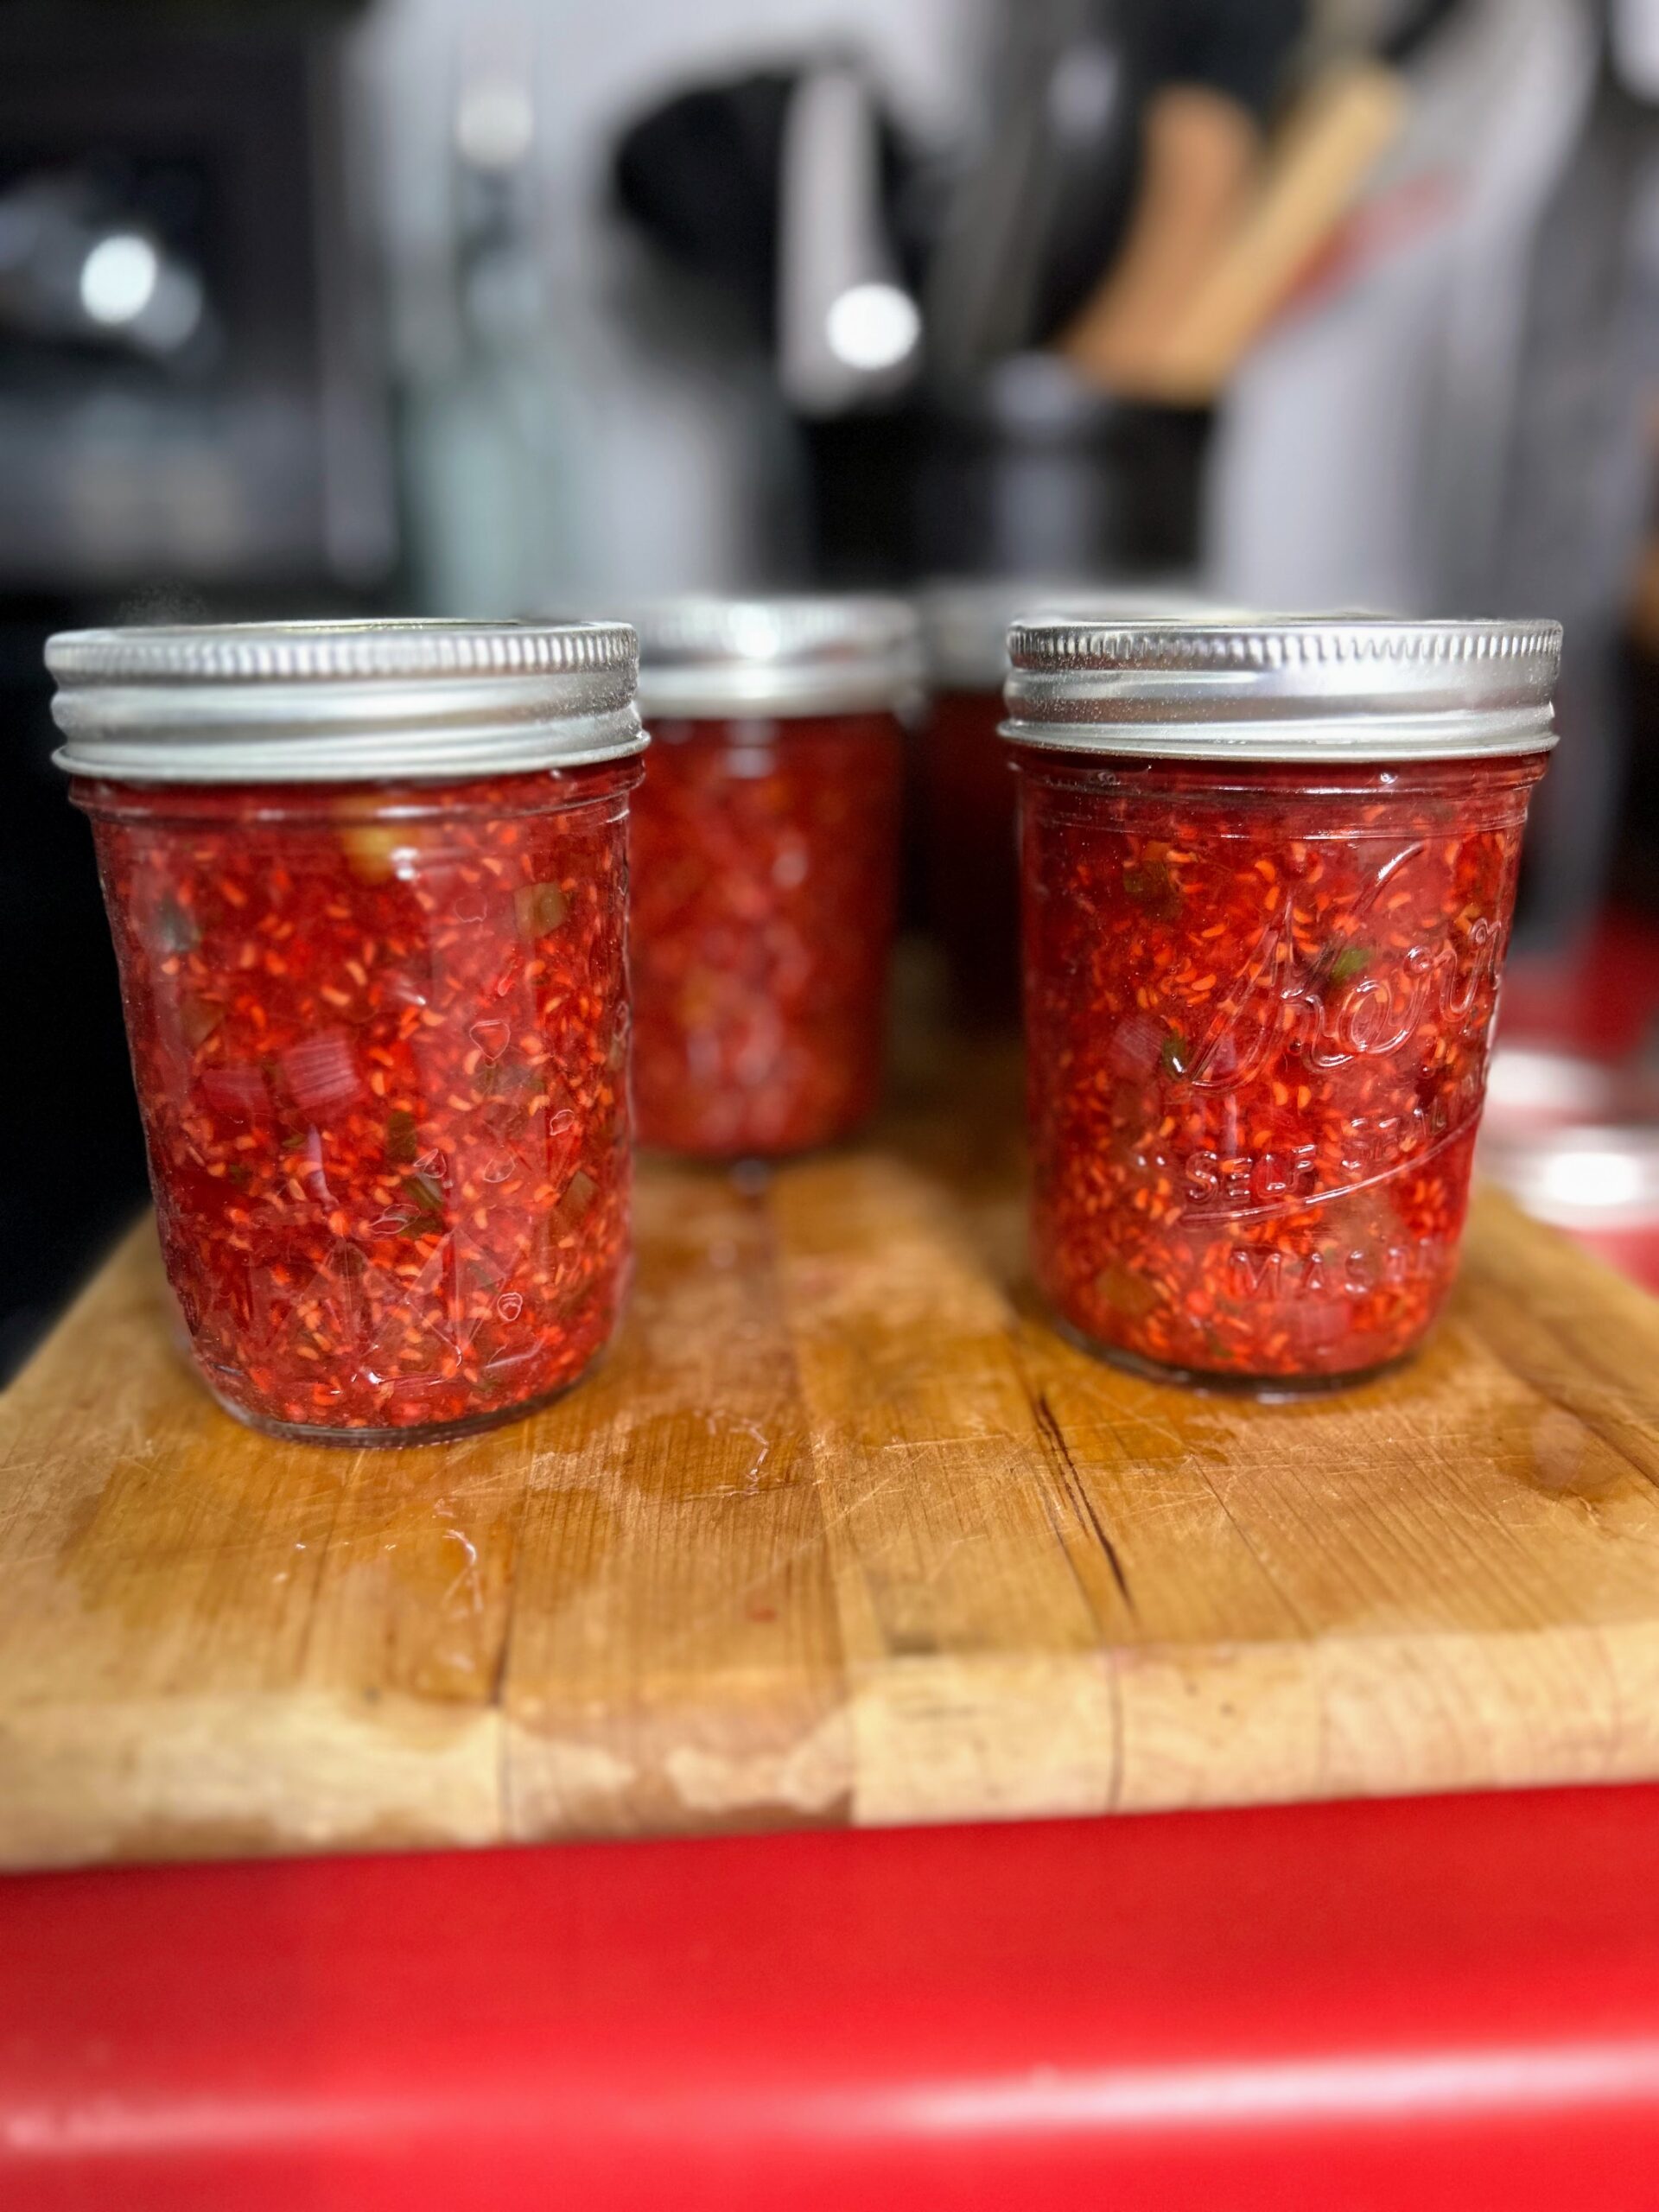
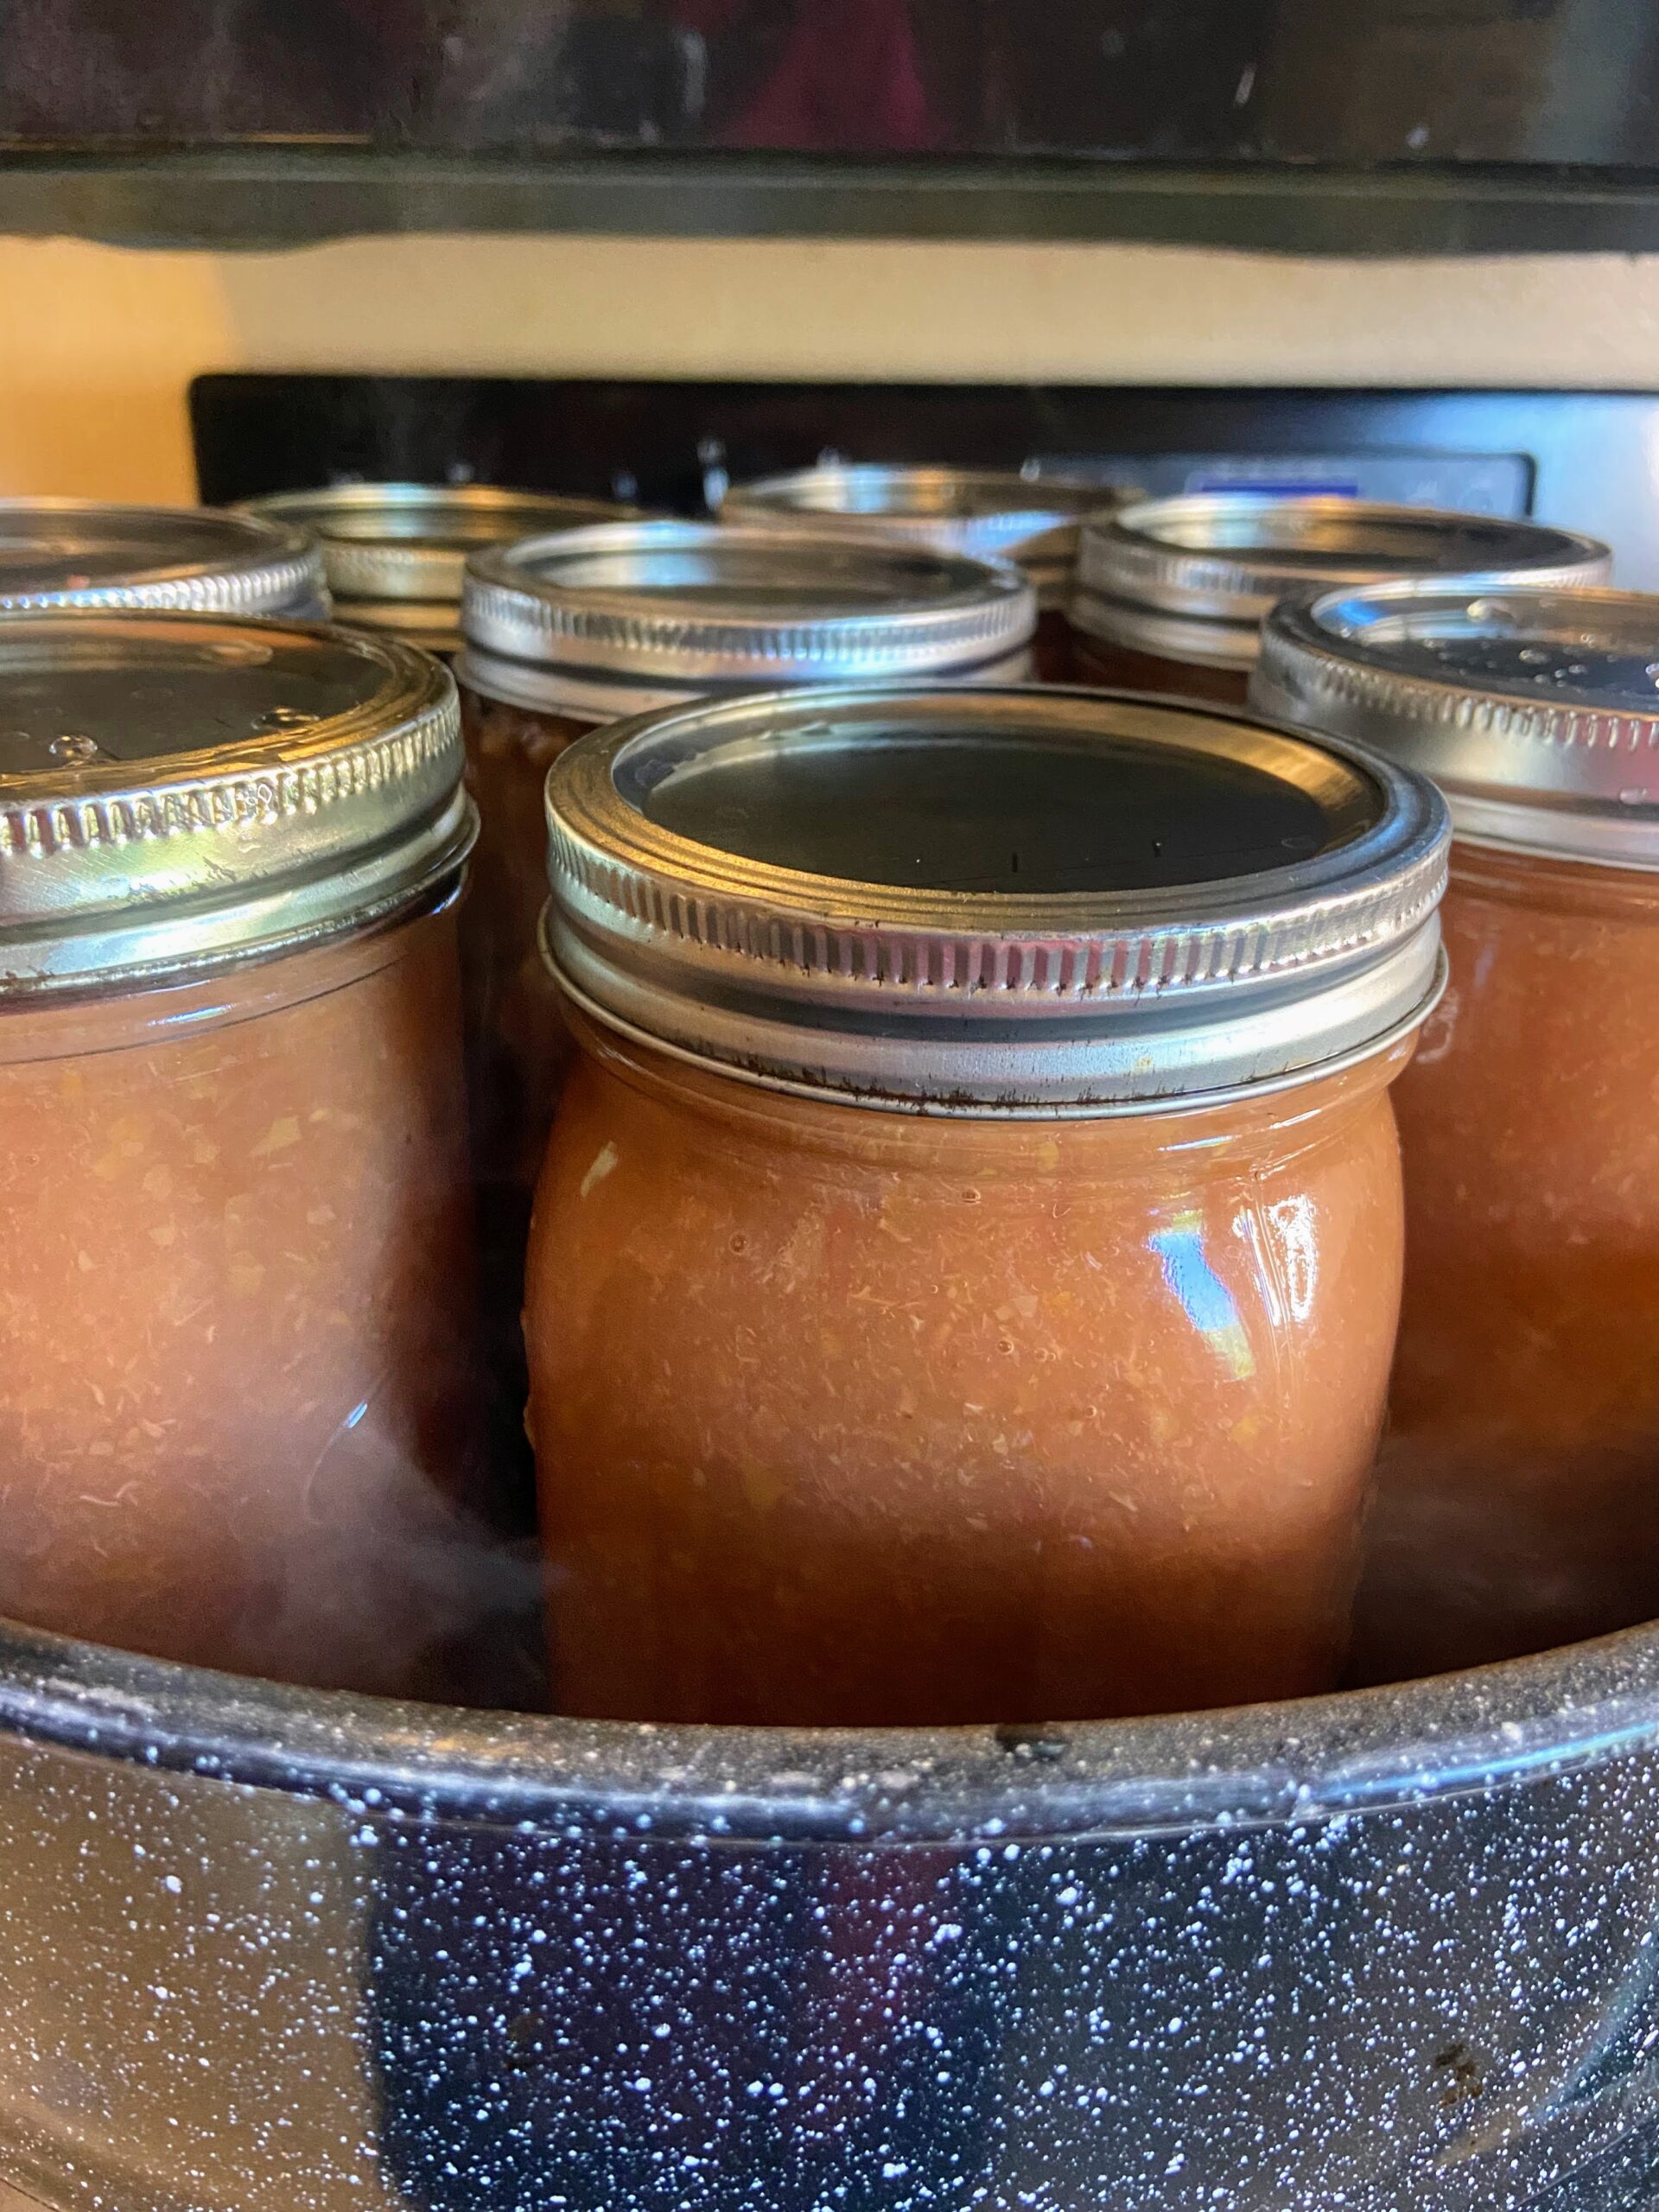
- Scoop the puree into freezer safe containers, leaving ½ inch headspace at the top. I like to use 4 ounce jelly jars for ½ cup servings ready to go. Be sure to label and return to the freezer until you’re ready to enjoy them.
Notes
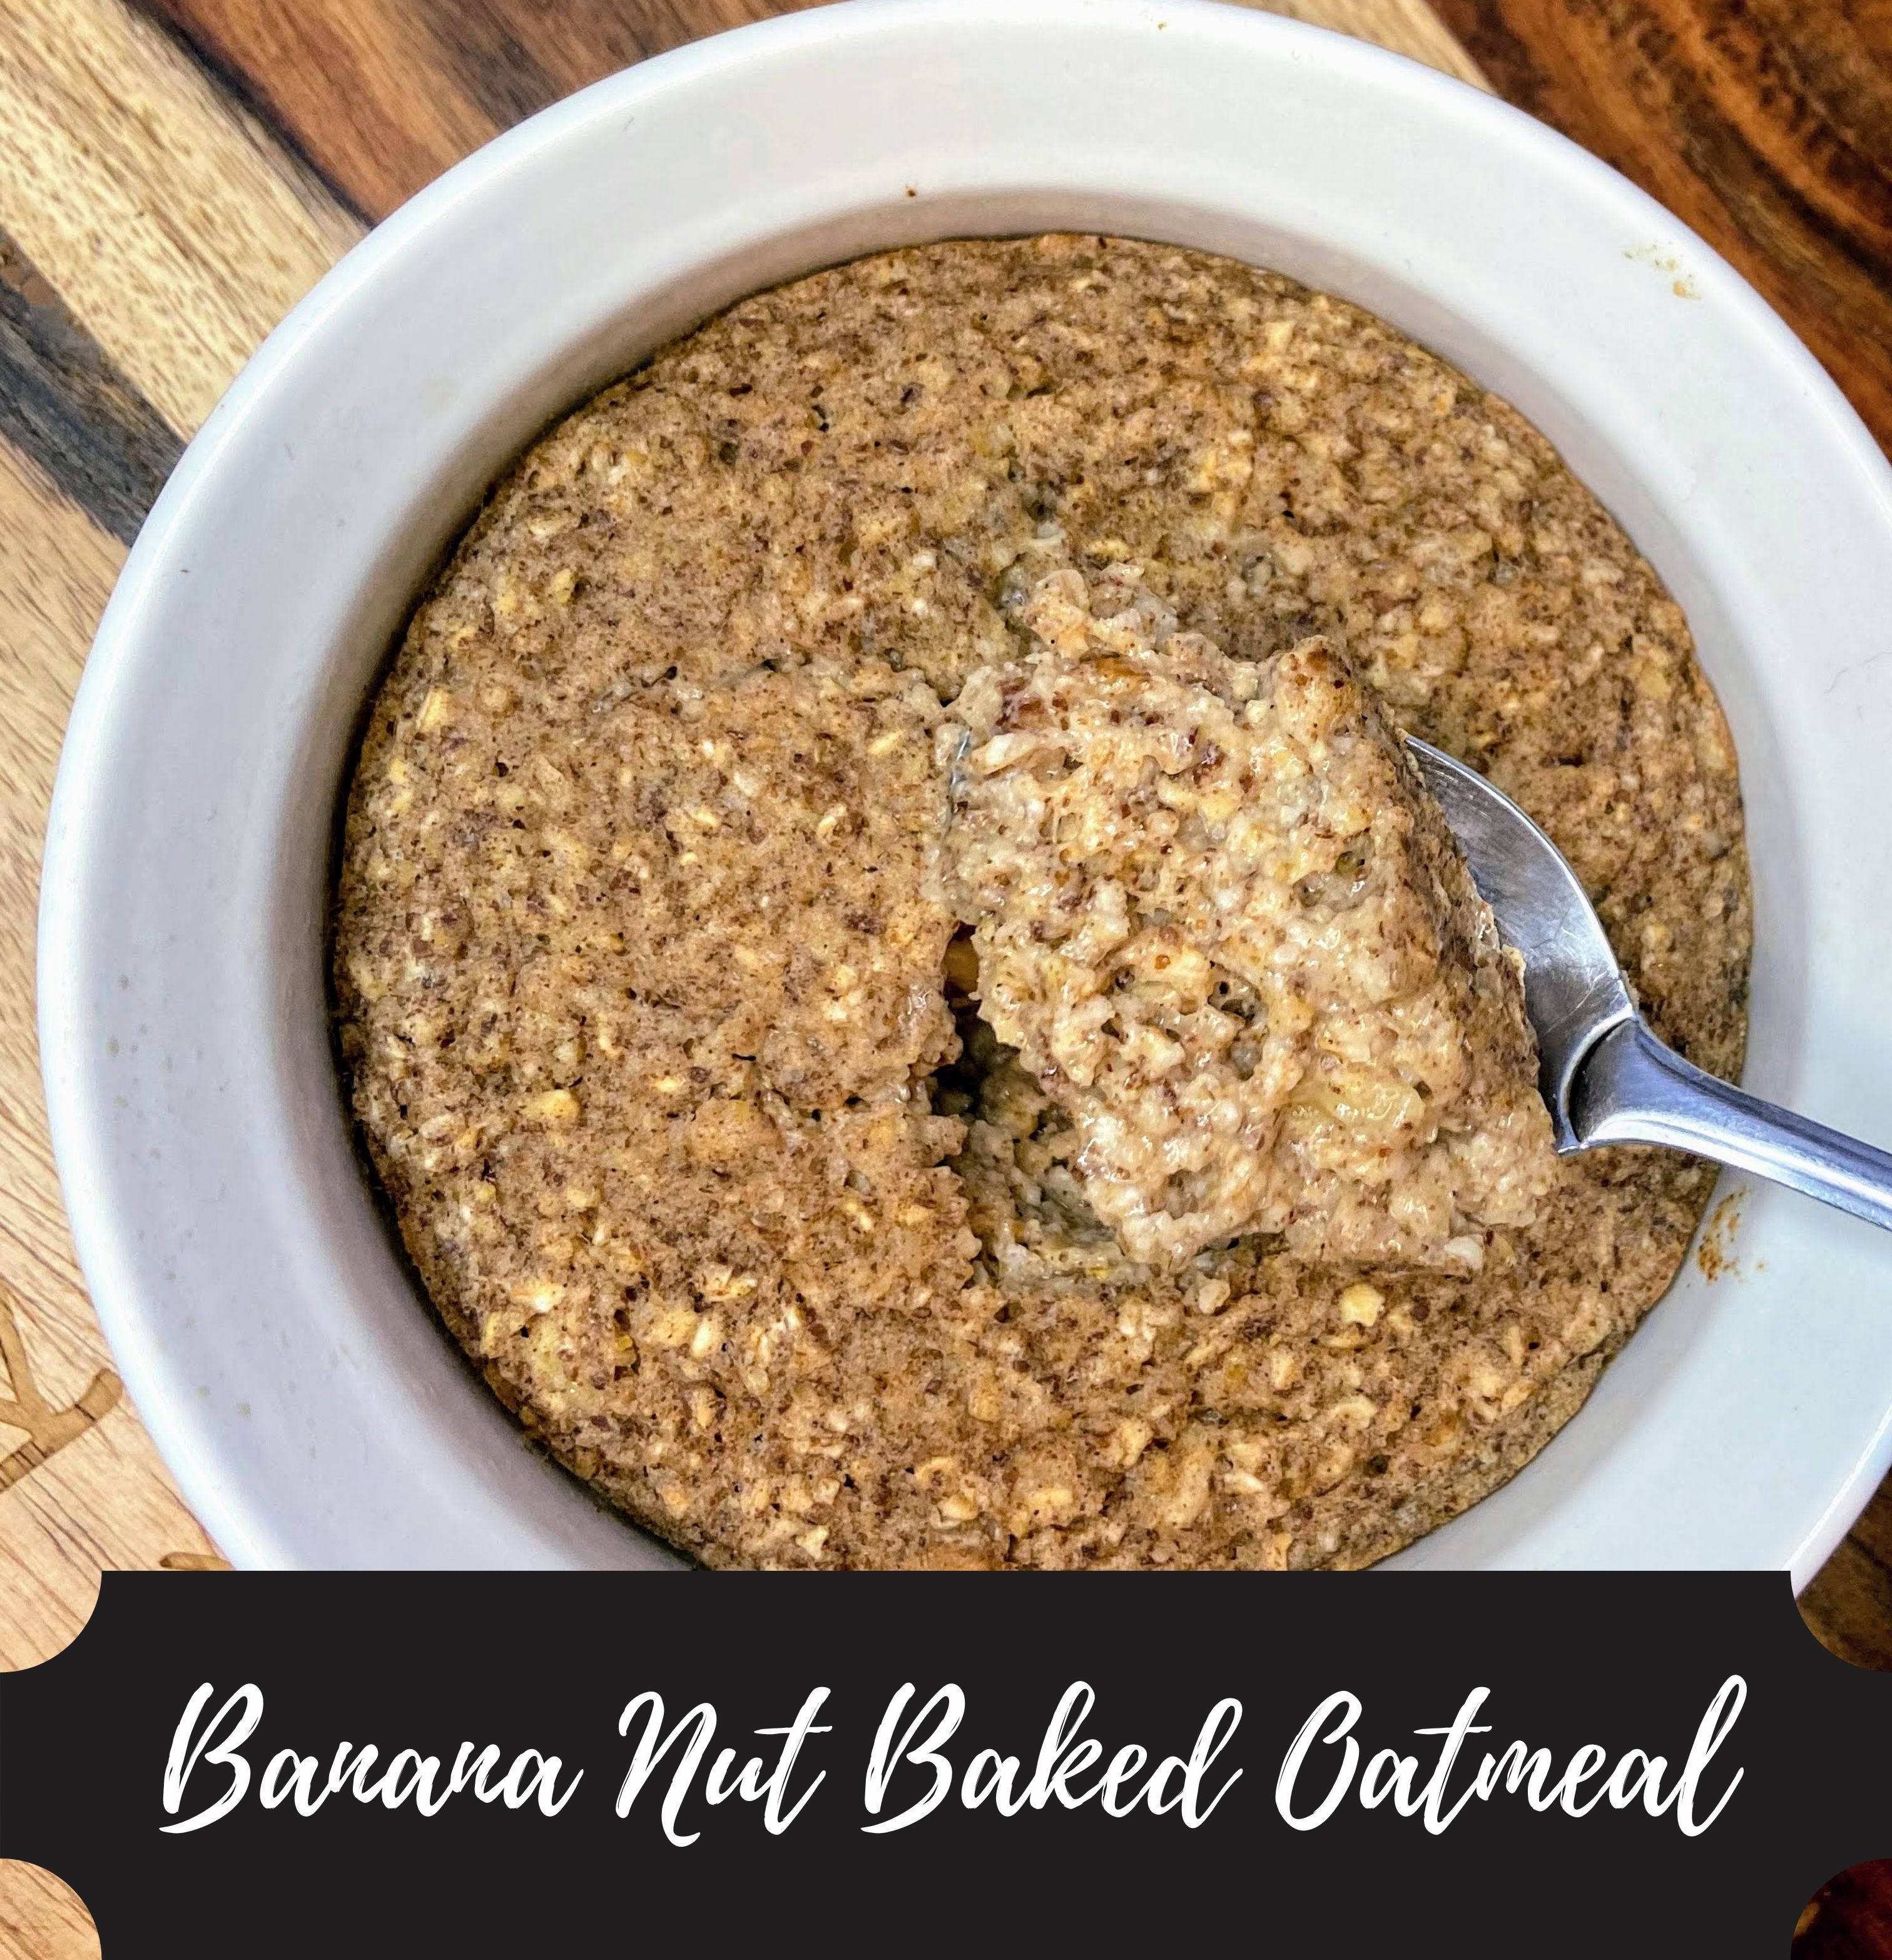
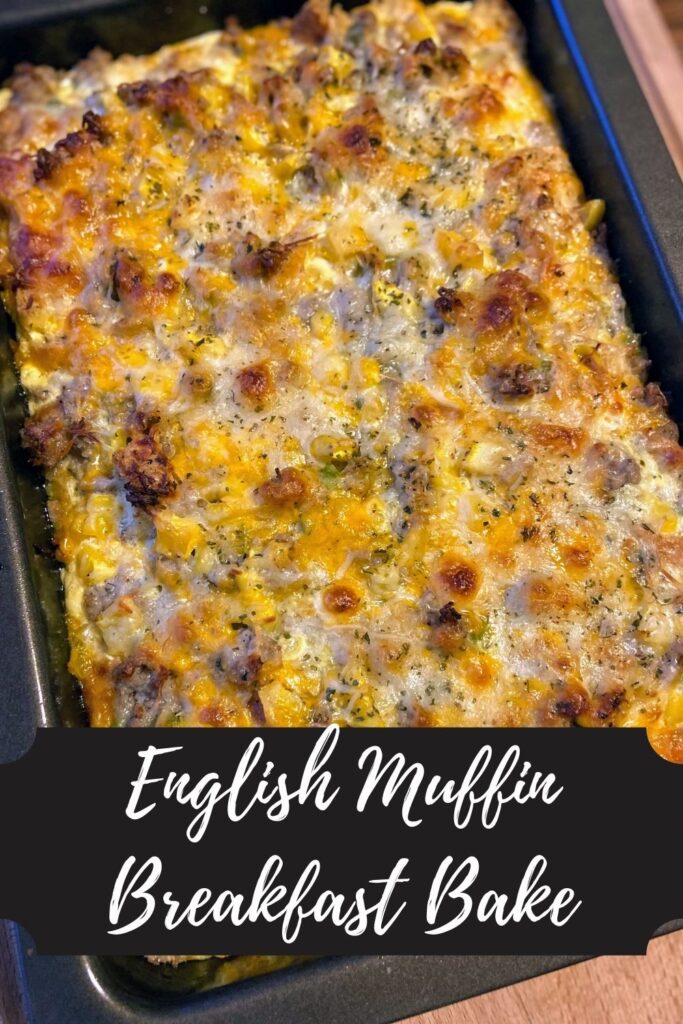
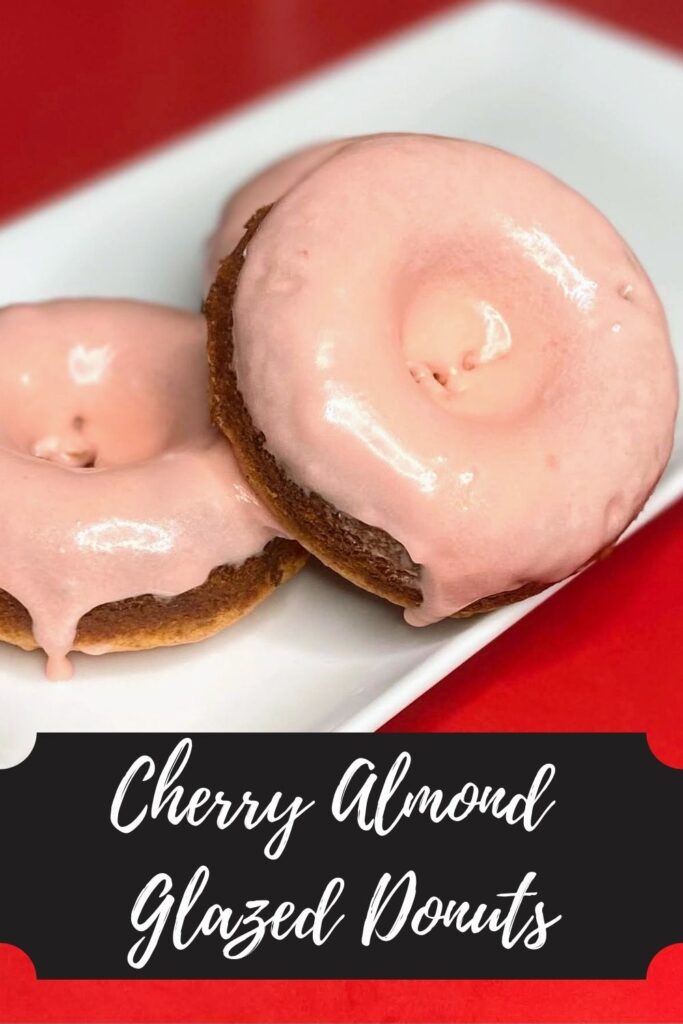
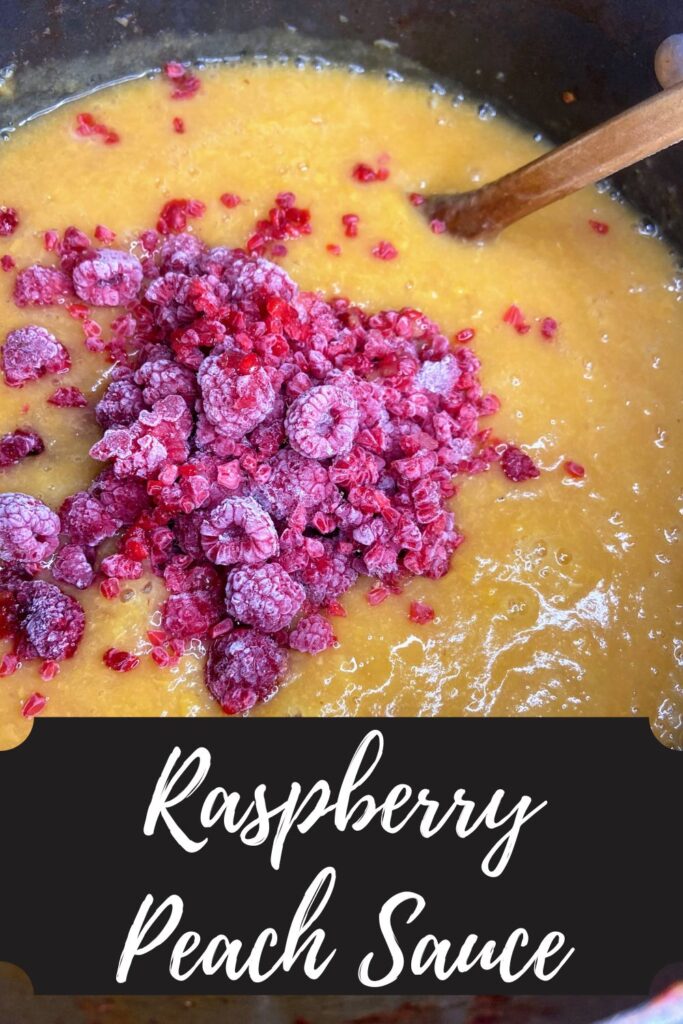
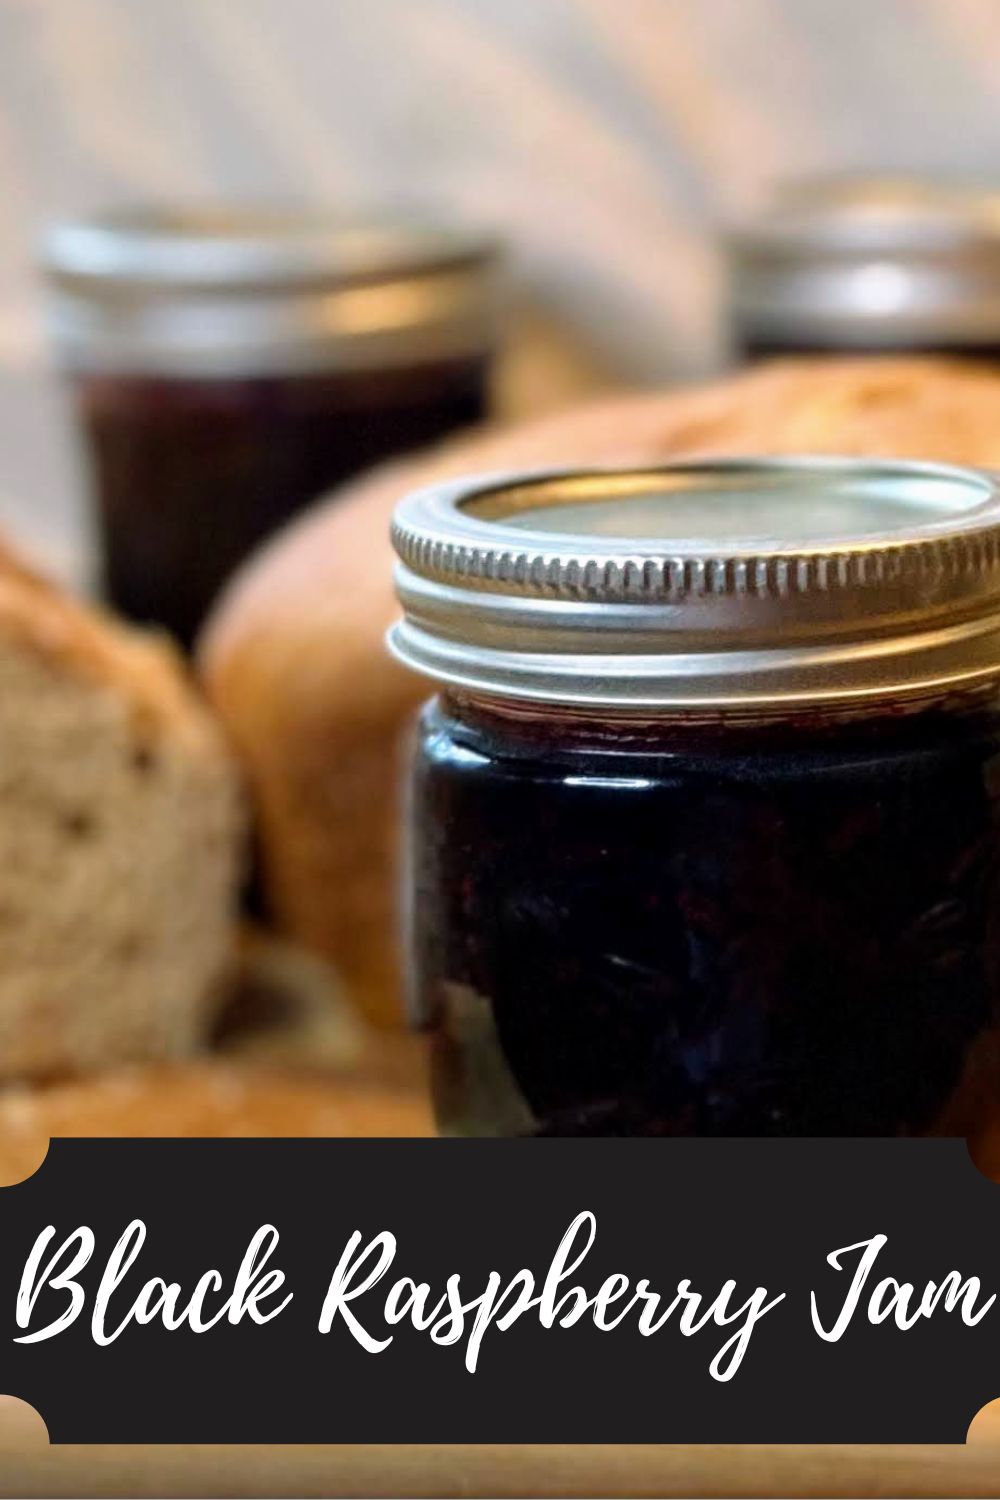
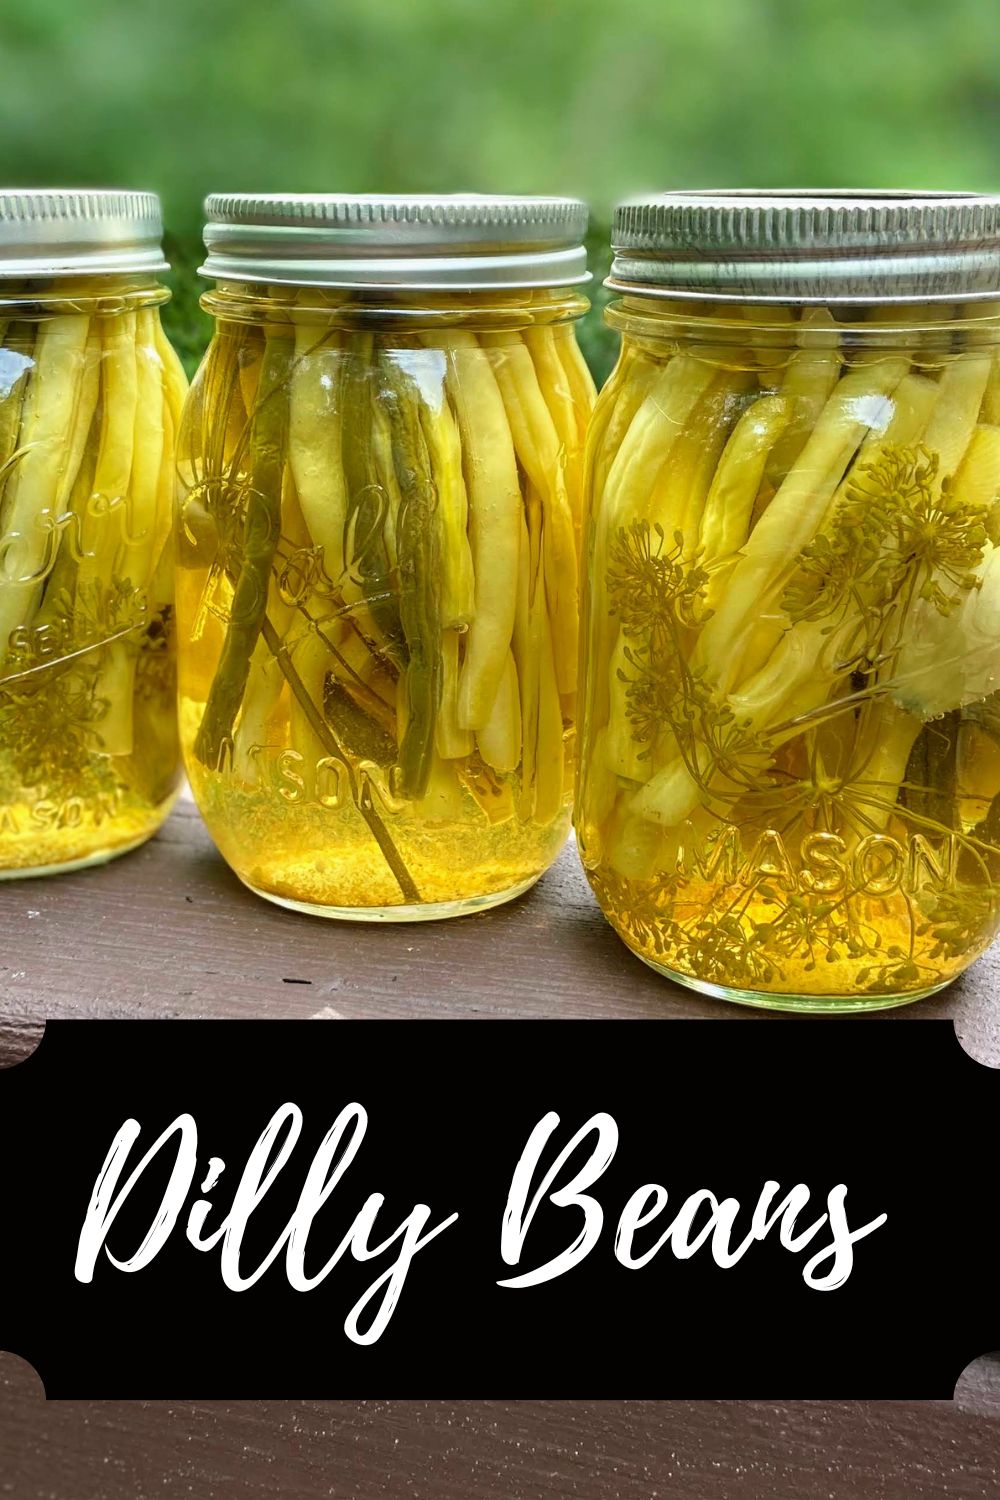
Looking for other fun raspberry recipes?
Here are a few of my favorites! You can also check out my canning and preserving page as well as my baking page!