I'm an affiliate
I hope you love the products I recommend! Just so you know, I may collect a share of sales or other compensation from the links on this page. If you use the links, thank you for supporting me! I really appreciate it!
Last Updated on October 14, 2024 by Jess
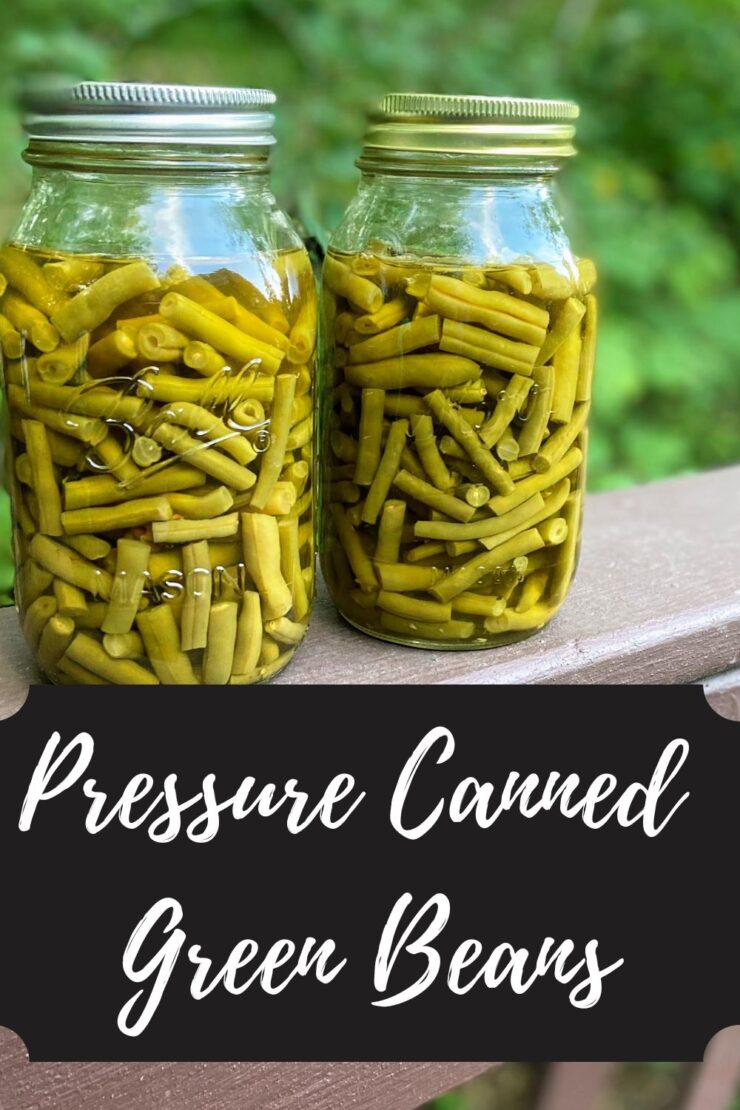
It’s nearing the end of the garden season, which means I am spending a lot of time taking the last fruits and vegetables and processing them, whether it be frozen, pressure canned, water bath canned, or just enjoyed fresh. I have planted pole beans for the last few years, which I have grown to love. They are active late in the season but just grow so beautifully. My favorite way to preserve them is to create pressure canned green beans when I am able.
Pressure canning the green beans requires me to be patient and collect them over a few days. Pressure canning also asks you to be around the house for a few hours; but to eat homegrown vegetables well into the winter? Totally worth the work.
When reading recipes about pressure canned green beans, you’ll see recommendations to possibly add salt. I caution you to hold out until you are cooking them for dinner. We made that mistake a few years ago, and when we opened them, they were just too salty. There’s no fixing that. I have added dried minced garlic from time to time, but my favorite is to go raw pack without any seasoning.
Tools of the Trade for Pressure Canned Green Beans
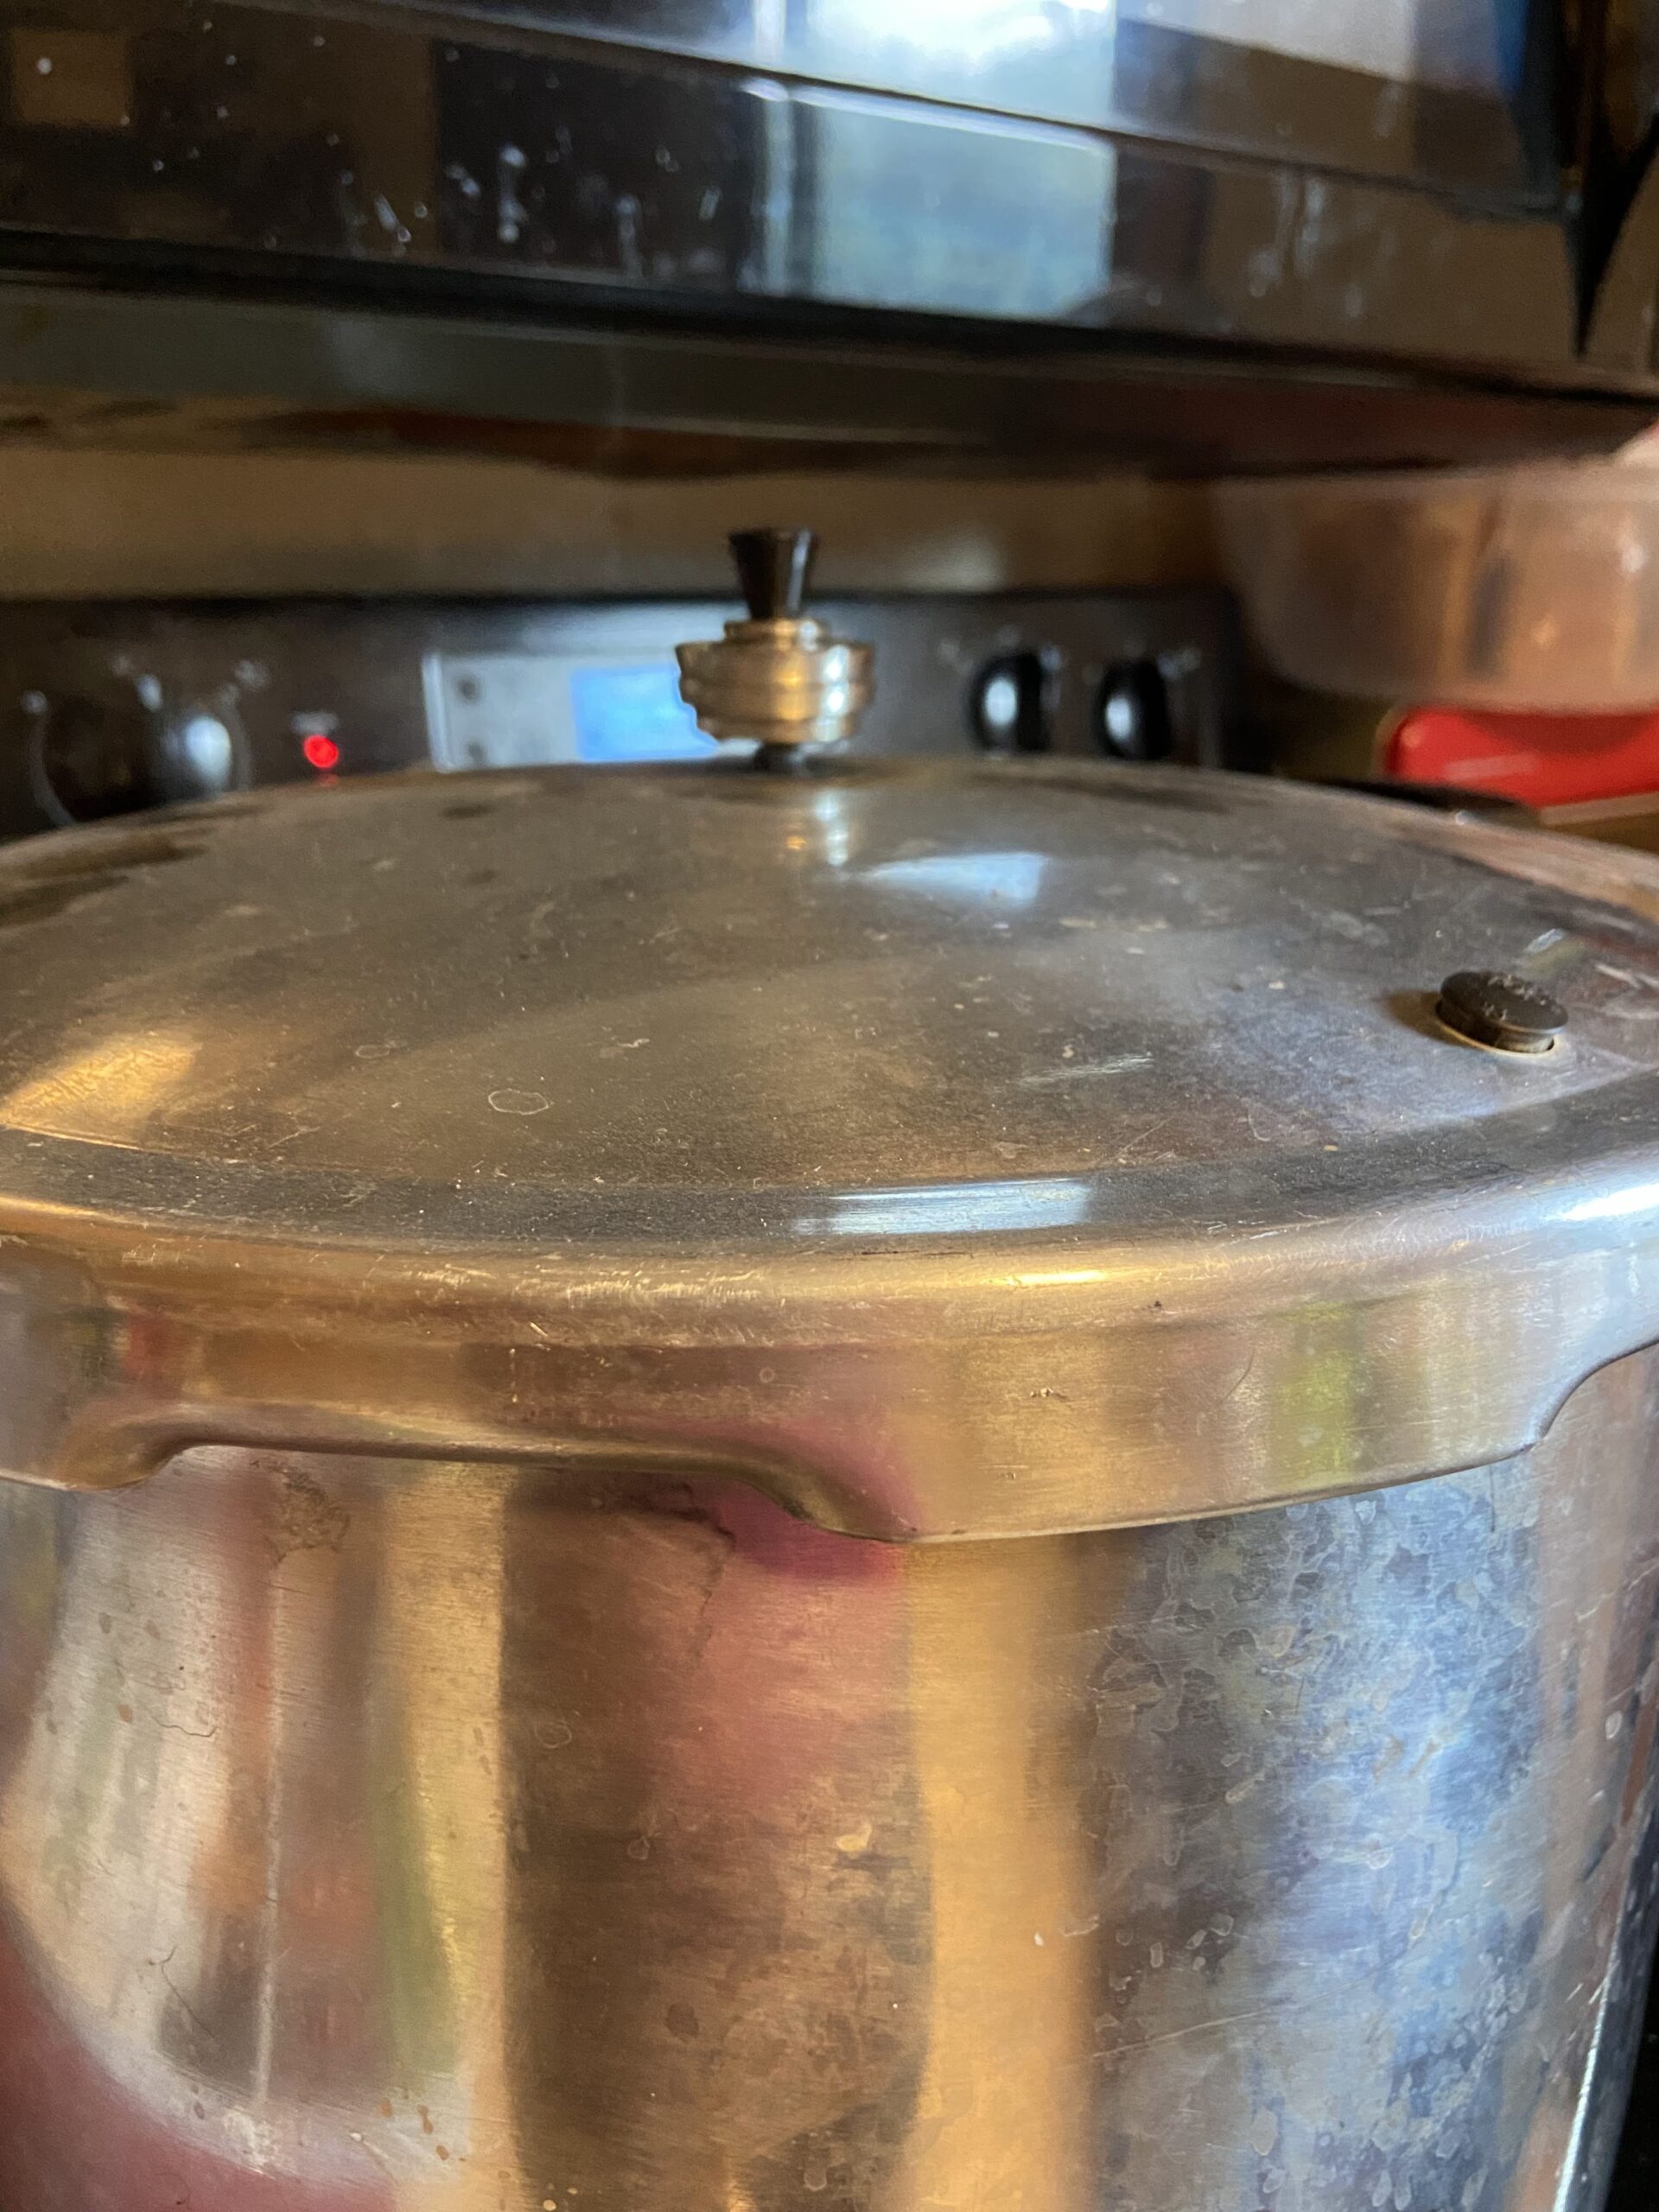
Normally, I put this at the end of a post, but with a pressure canner, I feel as though I should put it at the beginning. I love using my weighted pressure canner. It doesn’t stress me out and I can create so many great things with it. I also think a canning funnel is a must here, along with the other great canning tools like a jar lifter!
Also, I recommend…
Before you start this process, make sure you read the general directions to your own pressure canner. They may differ from what I am sharing, and you should always follow those directions first. Also, if you are a beginner canner or even advanced, I highly recommend checking out the National Center for Home Preservation. It has great information that’s easy to follow.
Your Steps to Pressure Canned Green Beans
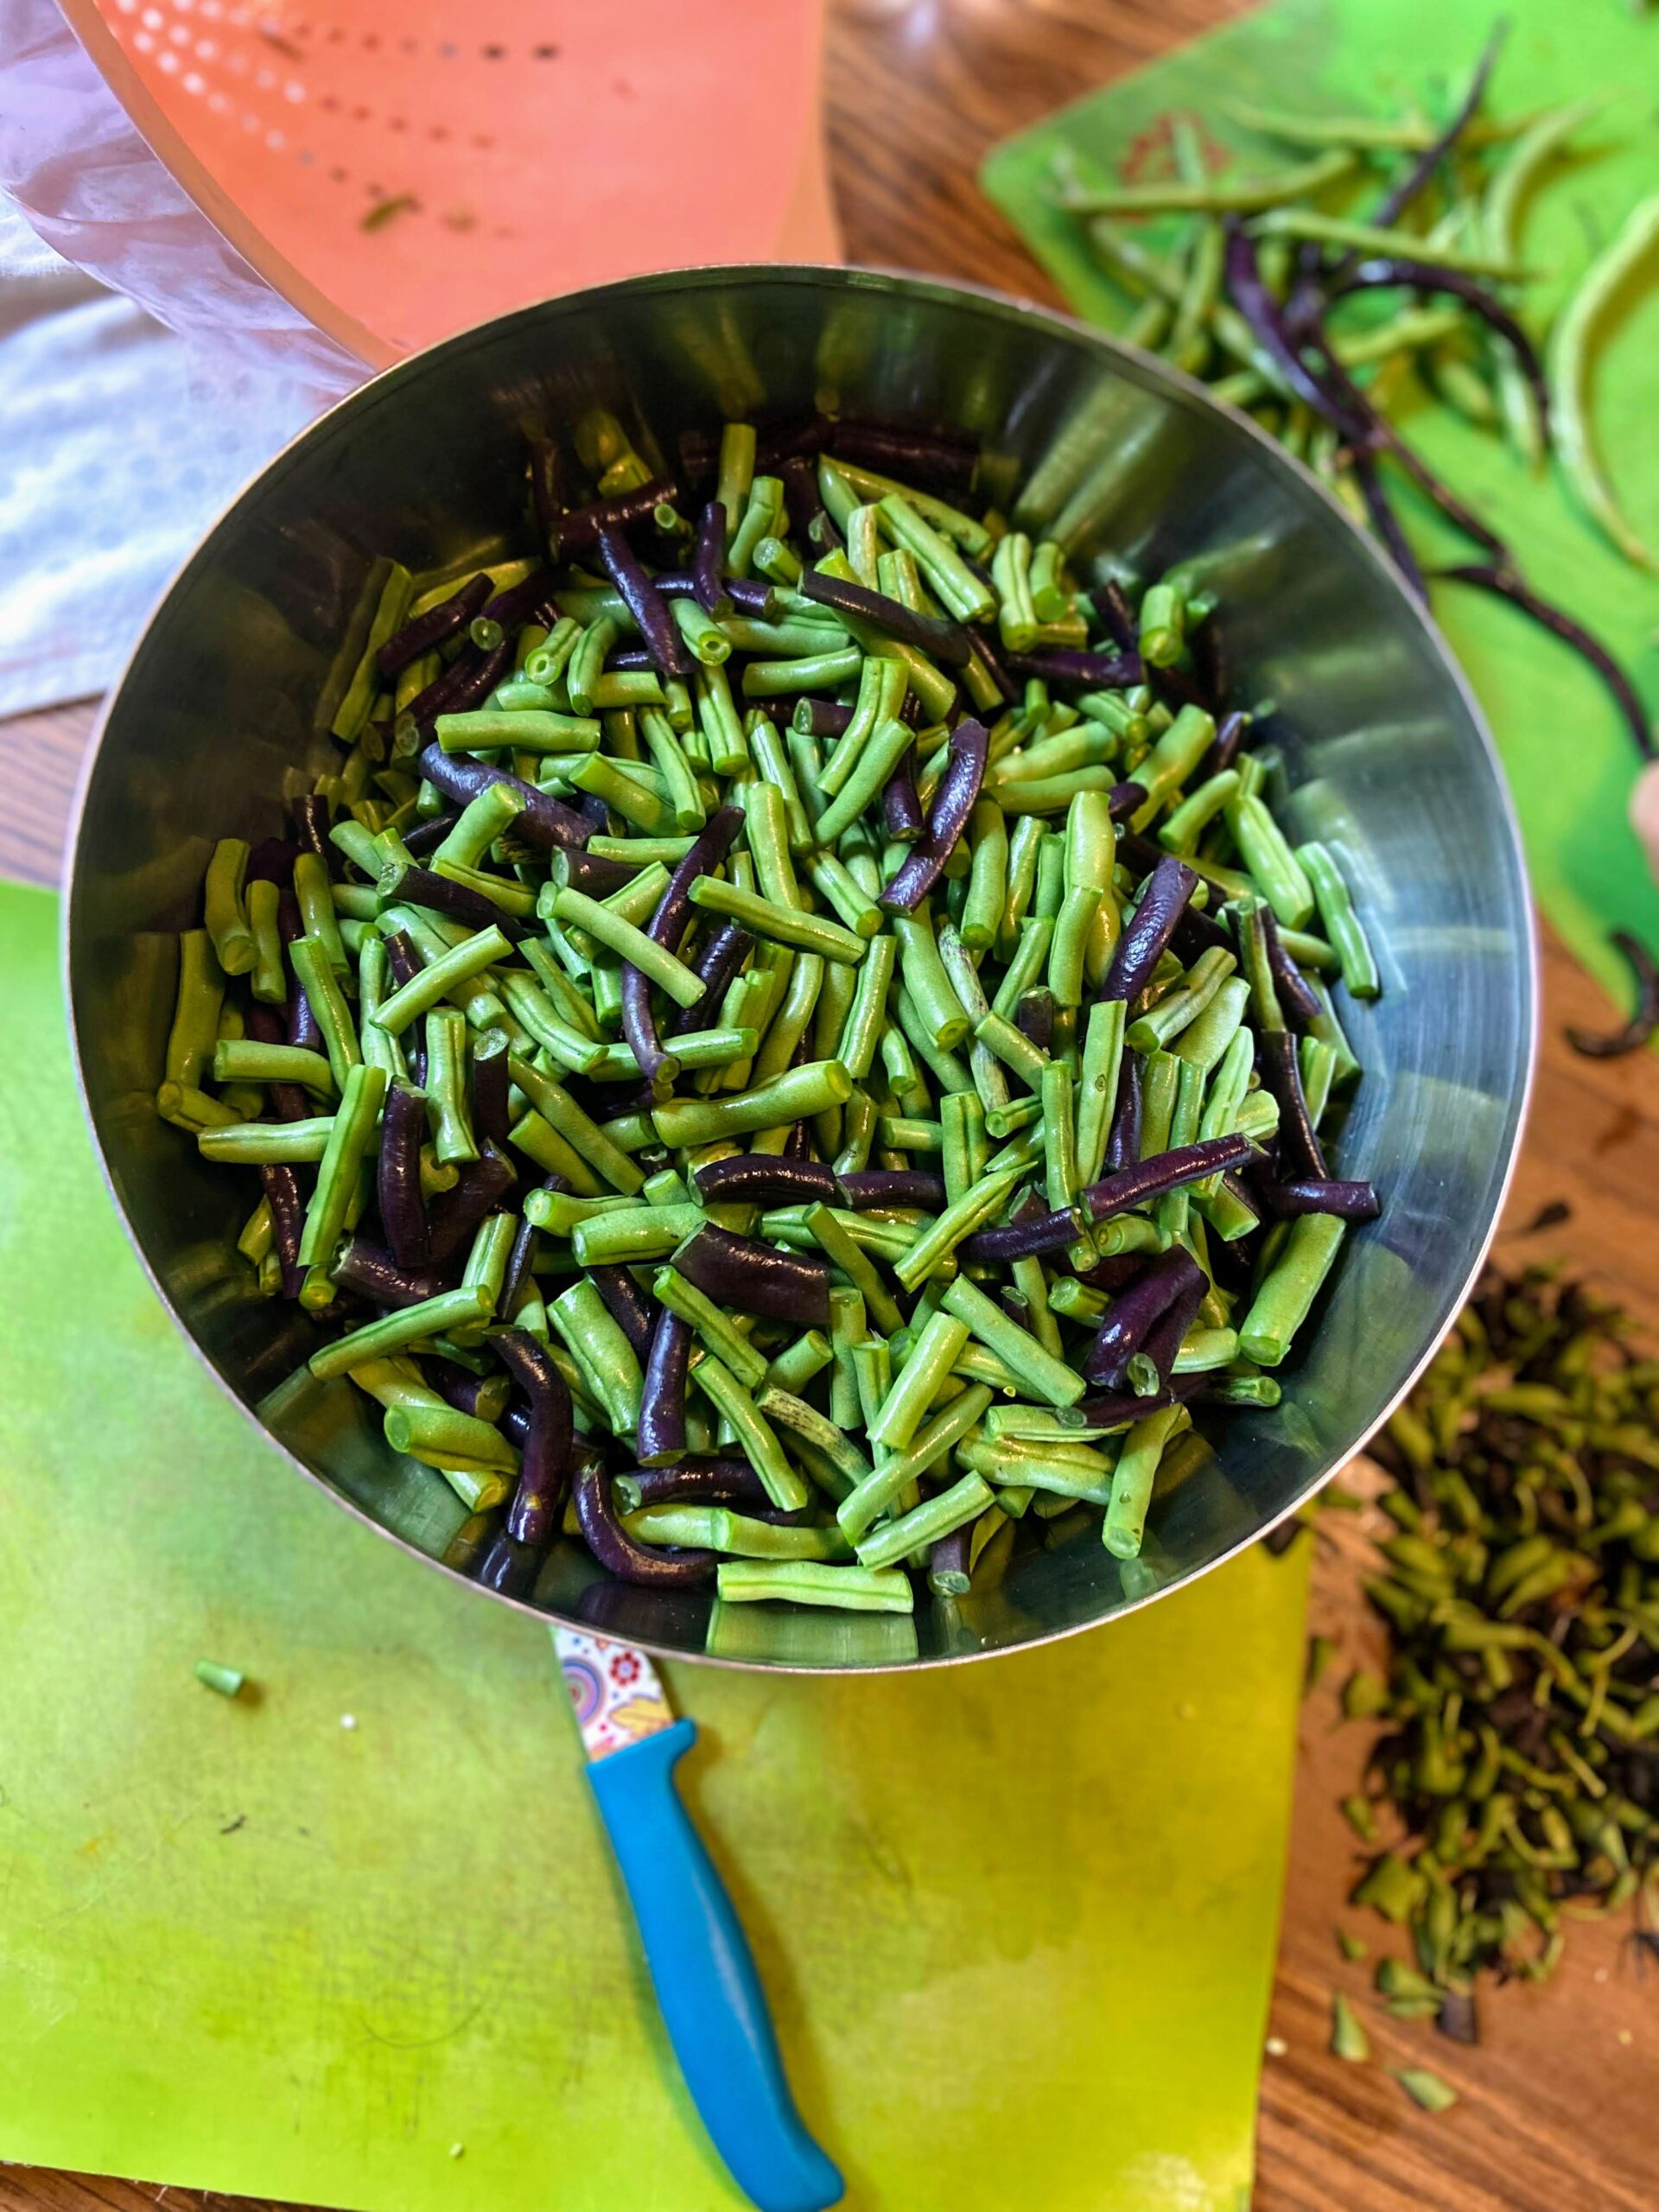
The Prep
Begin by cleaning and preparing your beans. Wash, nip the ends, and then trim to 1-2 inch pieces. You’ll need about 1 pound of beans per pint jar or 2 pounds of beans per quart jar. For reference, my family of four eats about 80% of a quart jar at a meal, sometimes all of it (I love having veggie eaters at my house!).
Begin by preparing your canner and jars. Wash and sterilize quart jars, rings, and lids. Keep warm. I like to heat my lids in water on a very low heat on the stove. Check the seal and center vent of your lid of the canner. Set aside.
Bring a pot of water to a boil. You will want enough to cover the beans in the jars, so too much is better than not enough. Reduce to a simmer, but keep hot.
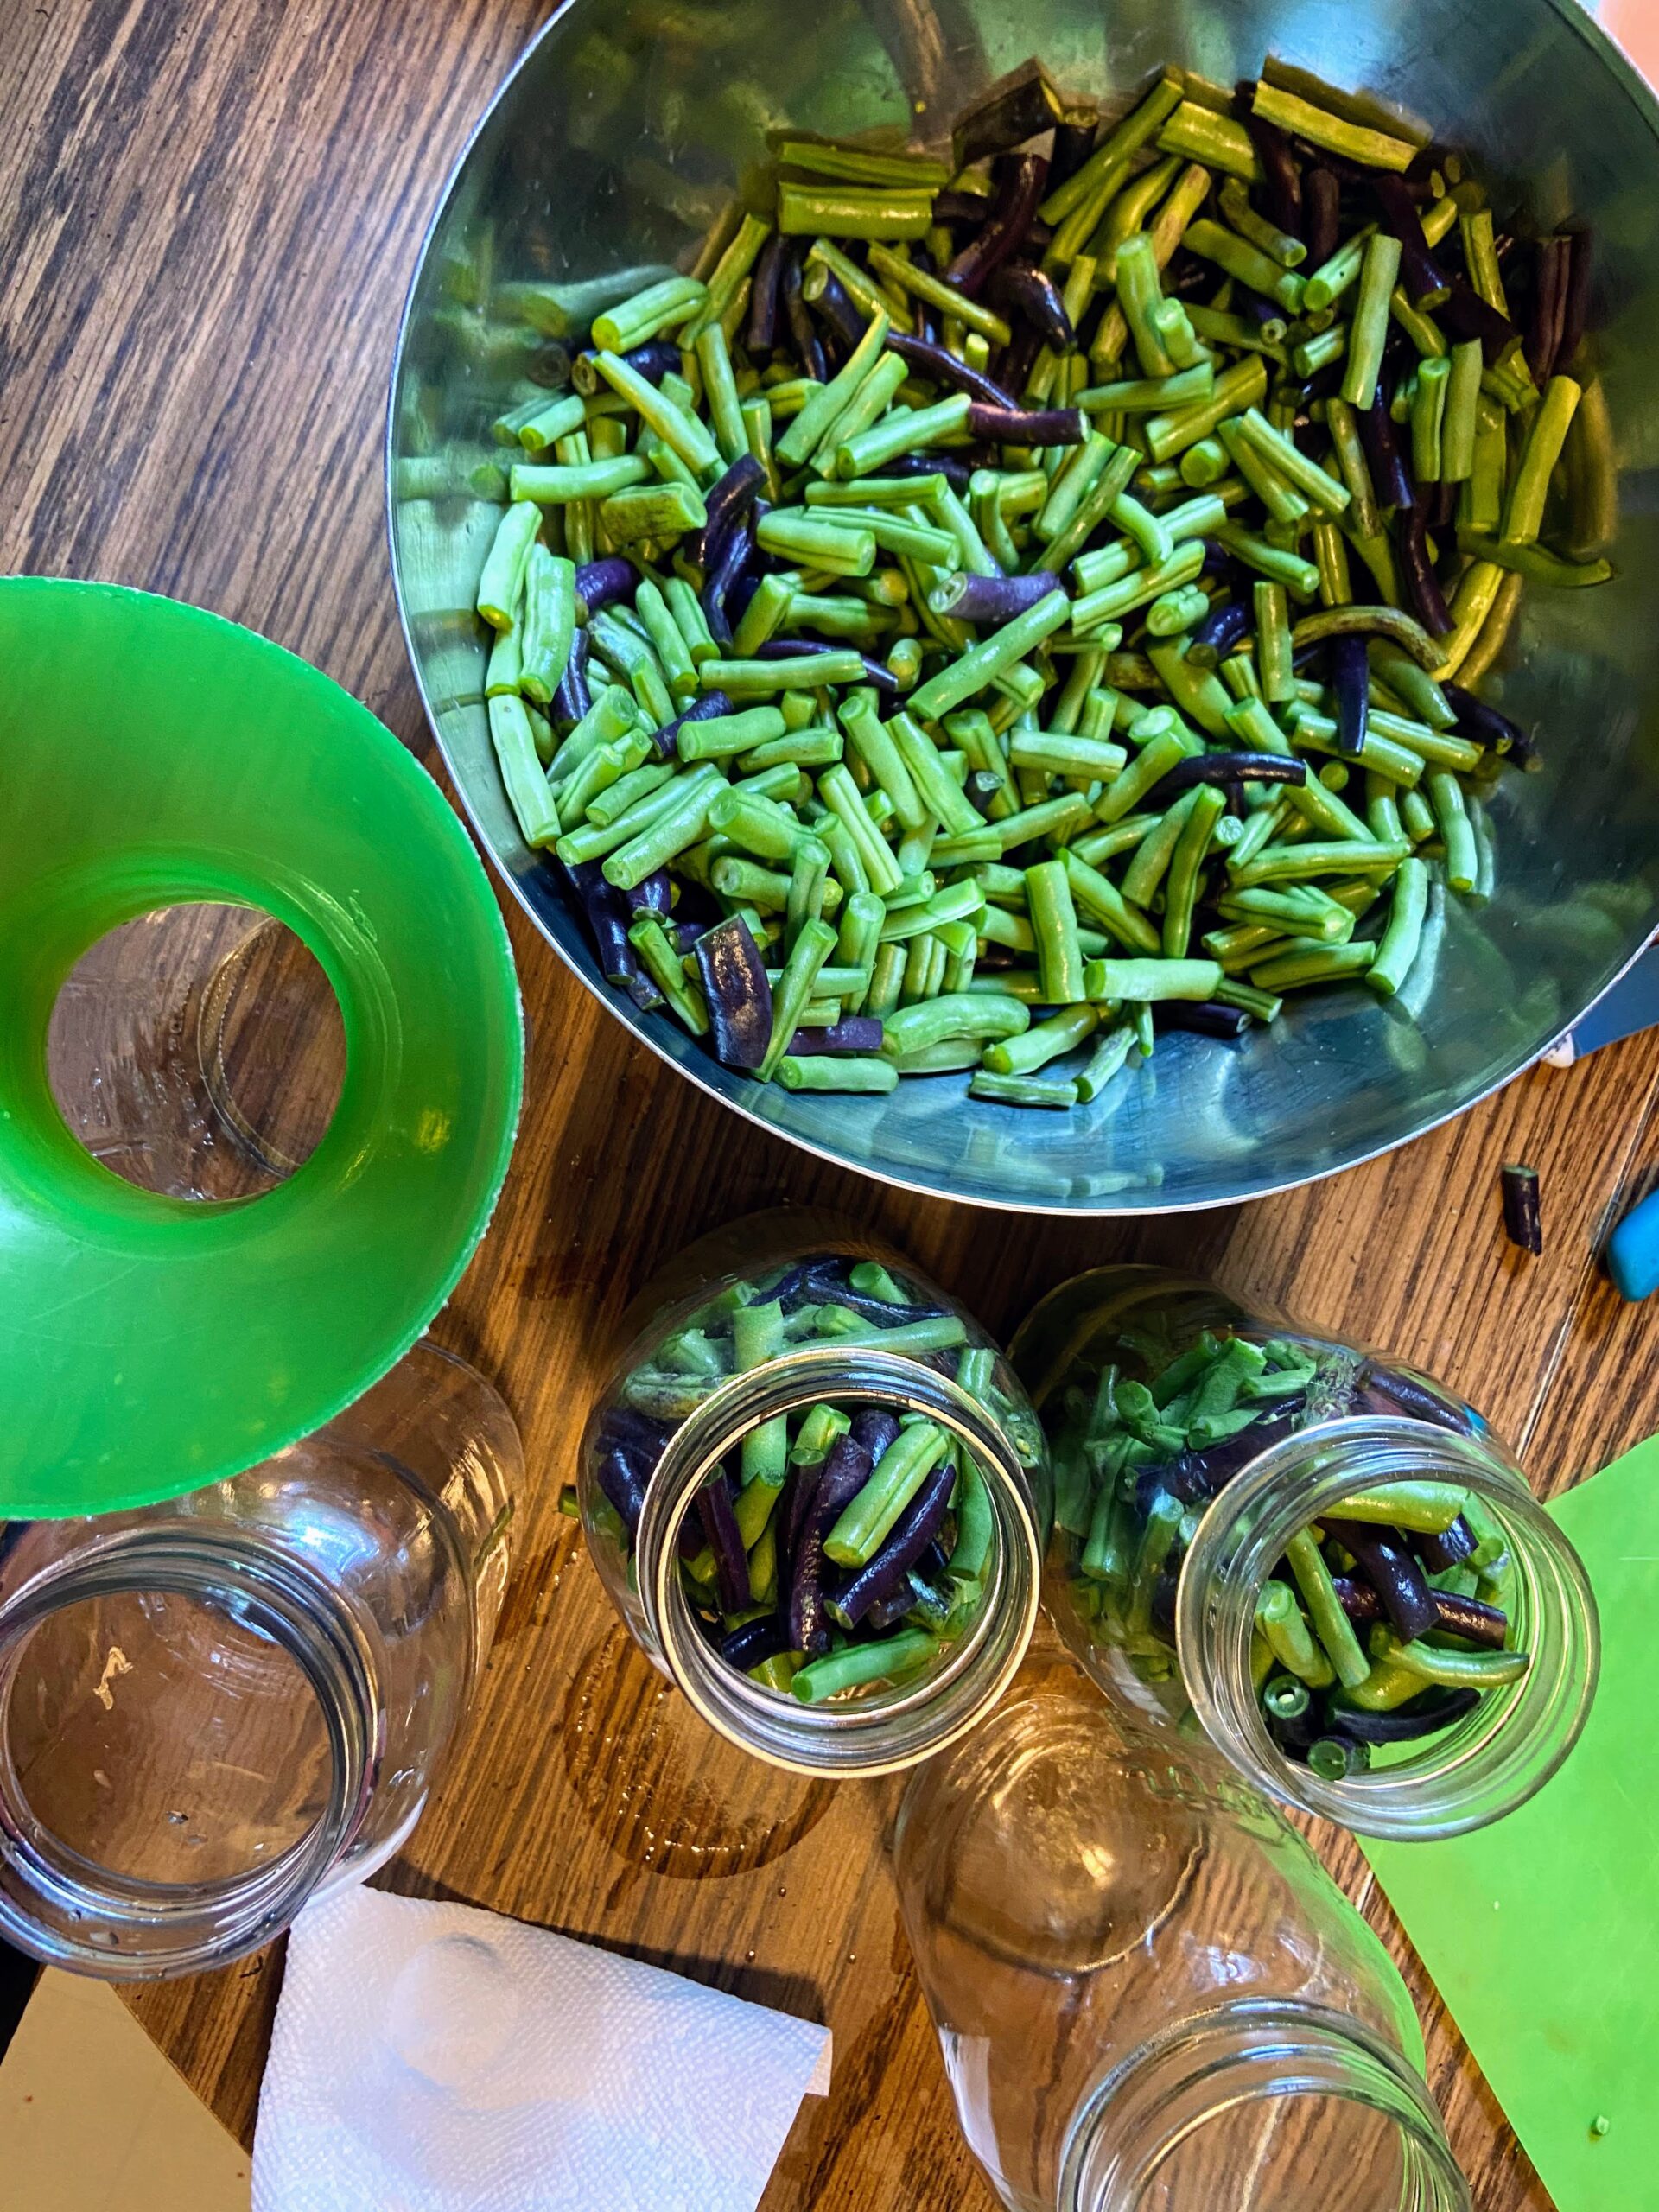
Meanwhile, pack the raw beans as tightly as possible. I like to fill, then hold my hand over the top and shake them to get them compressed. Leave 1 inch head space. If you would like to add salt, do ½ teaspoon per quart jar. Ladle the hot water over the means, leaving 1 inch head space.
The Pressure Canning
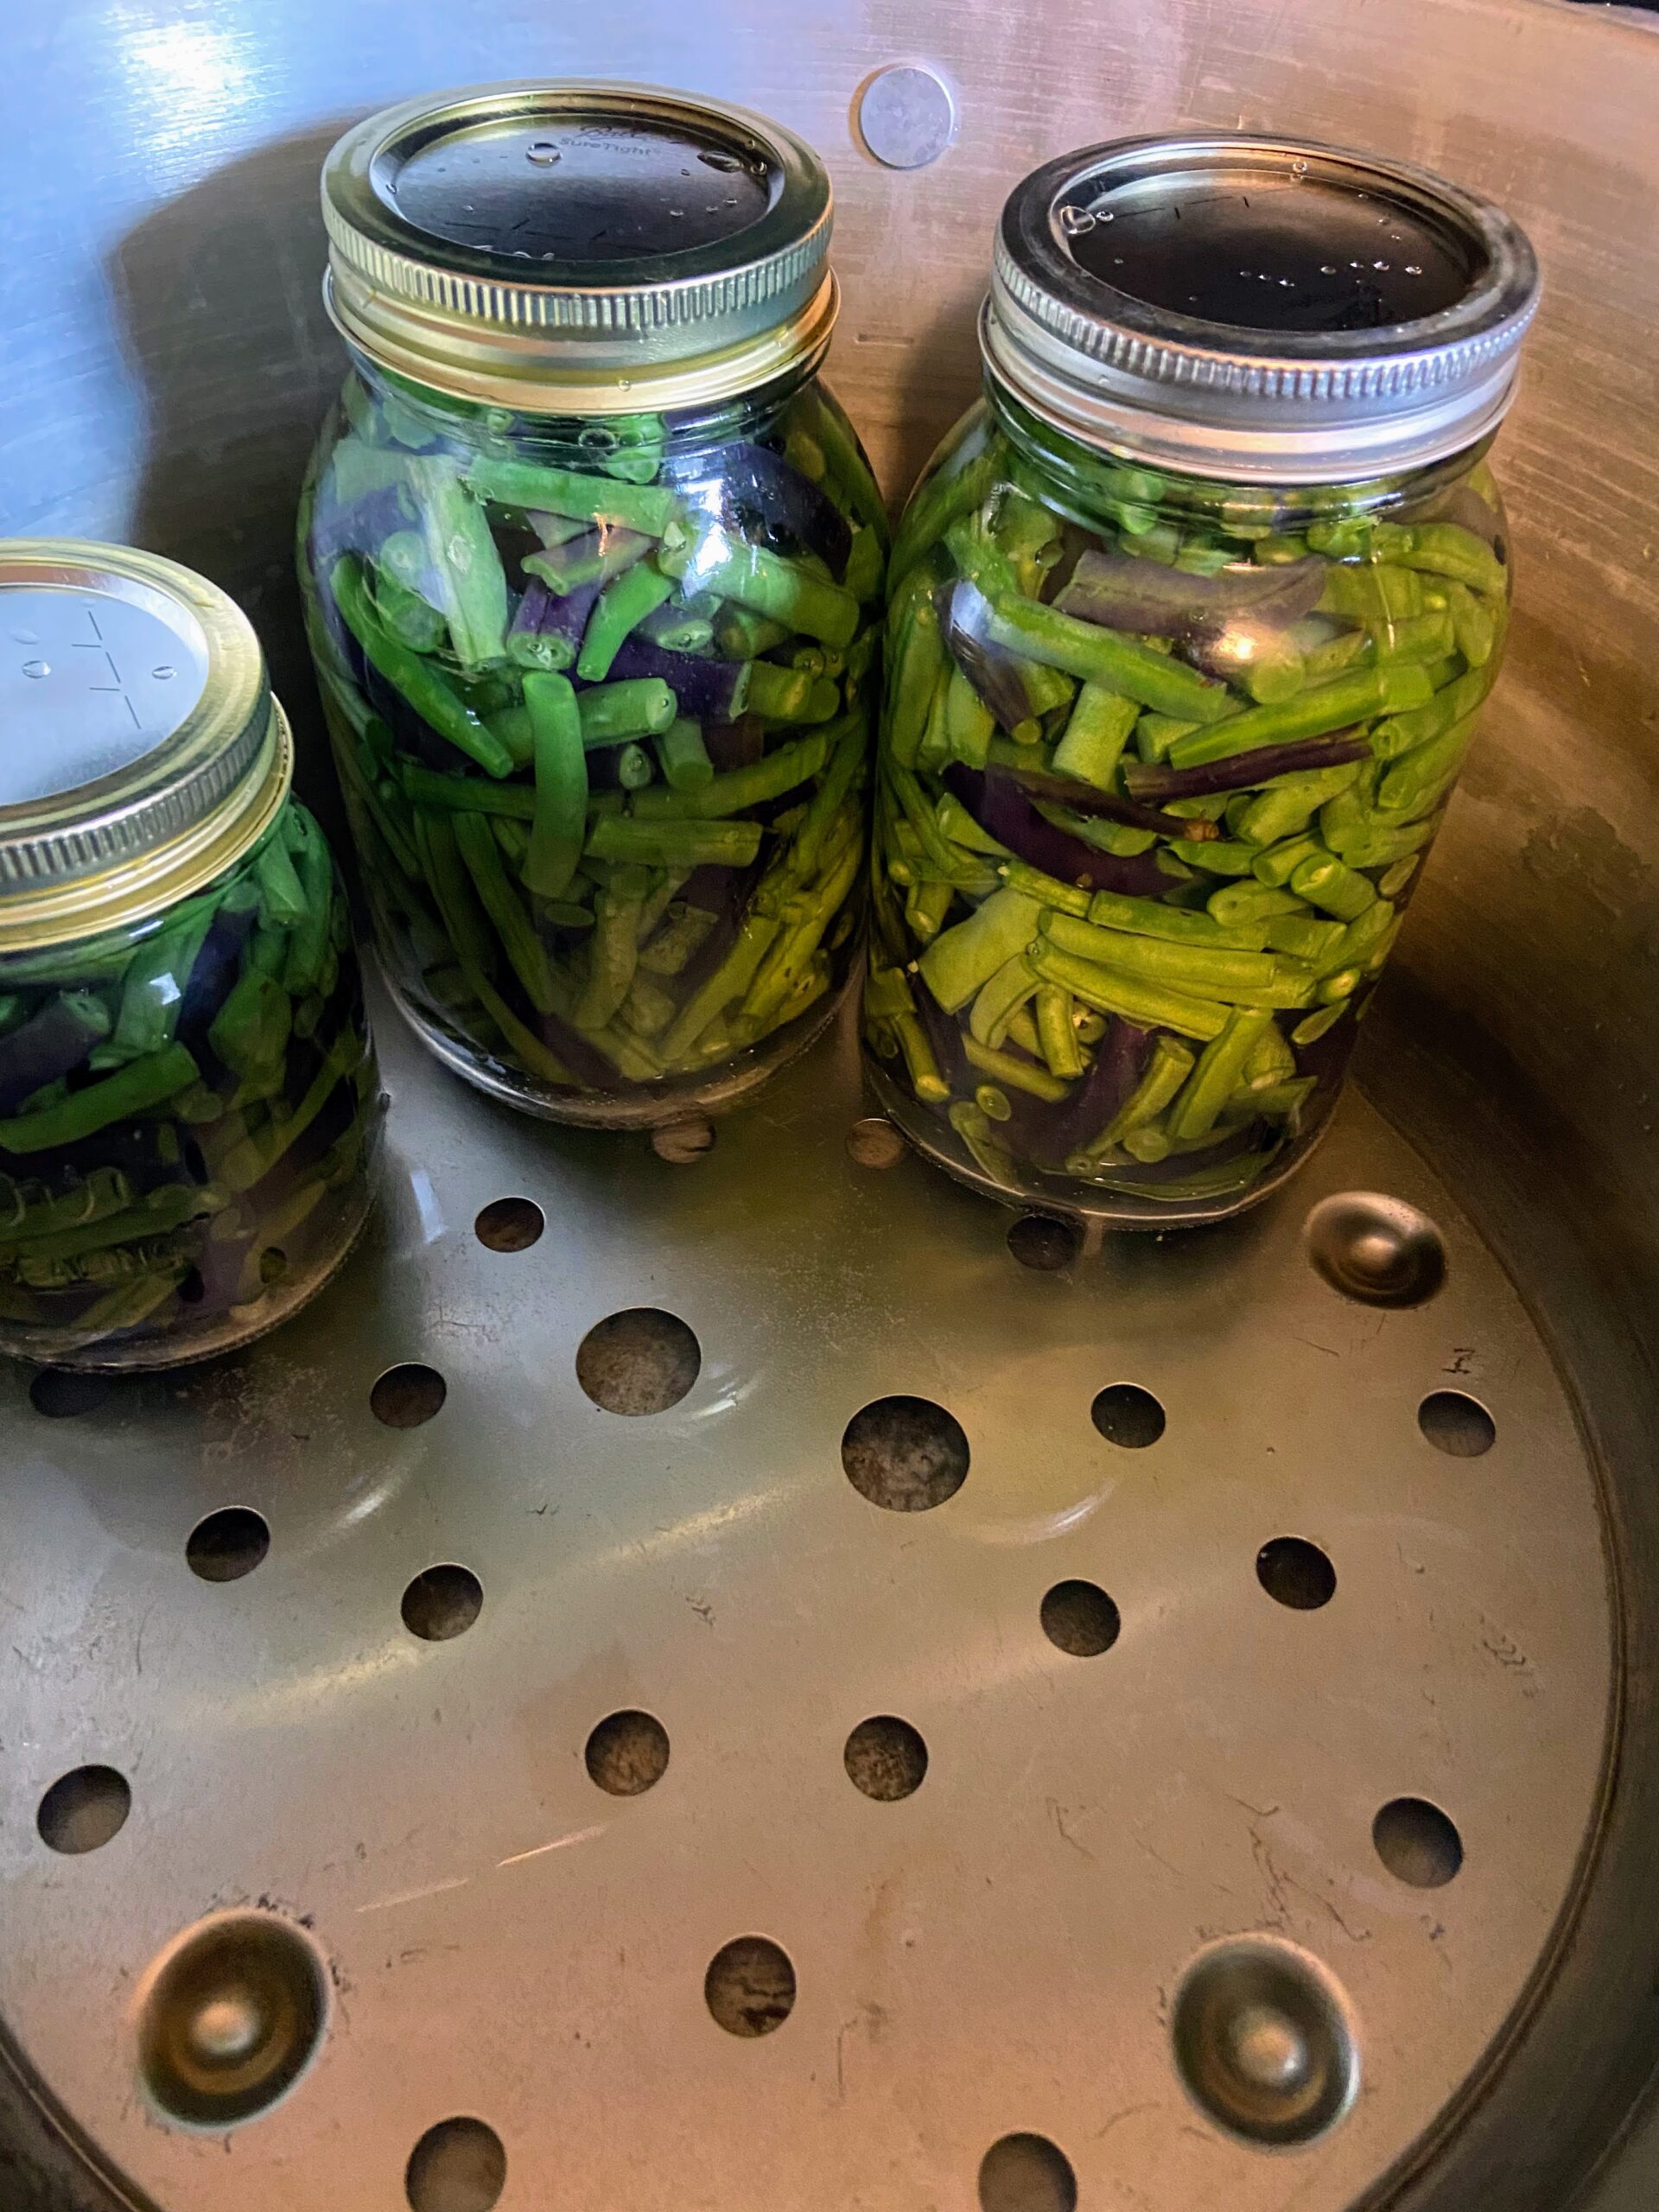
Remove the air bubbles and clean the jar rim with a damp, clean cloth. Center the lid and then the ring, adjusting to fingertip-tight. Place jars on the rack of a prepared pressure canner (mine needs 3 quarts of hot water plus a splash of vinegar, but check the directions of yours).
Place the lid on the canner, turn to the locked position, and heat to high heat. Once a steady stream of steam can be seen/felt, vent for 10 minutes, adjusting the heat if needed to have a steady but not crazy stream of steam. After 10 minutes, put the weighted gauge on the vent. You will want 10 pounds if your altitude is under 1000 ft; 15 pounds if you are over 1000 ft.
Once the weight starts to jiggle (indicating it has reached the appropriate pressure), begin timing. You will need to process pint jars for 20 minutes and quart jars for 25 minutes. If you have a mixture of pint and quart jars, you need to go for the longer time.
Once the timer has gone off, turn off and remove the canner from heat. Allow the pressure to drop on the canner all the way (read specific canner instructions for the indicator-this takes about 45 minutes). Remove weight and allow to cool an additional 10 minutes. Remove jars from canner; do not retighten bands. Cool 12 hours, then check their seals, label, and store jars.
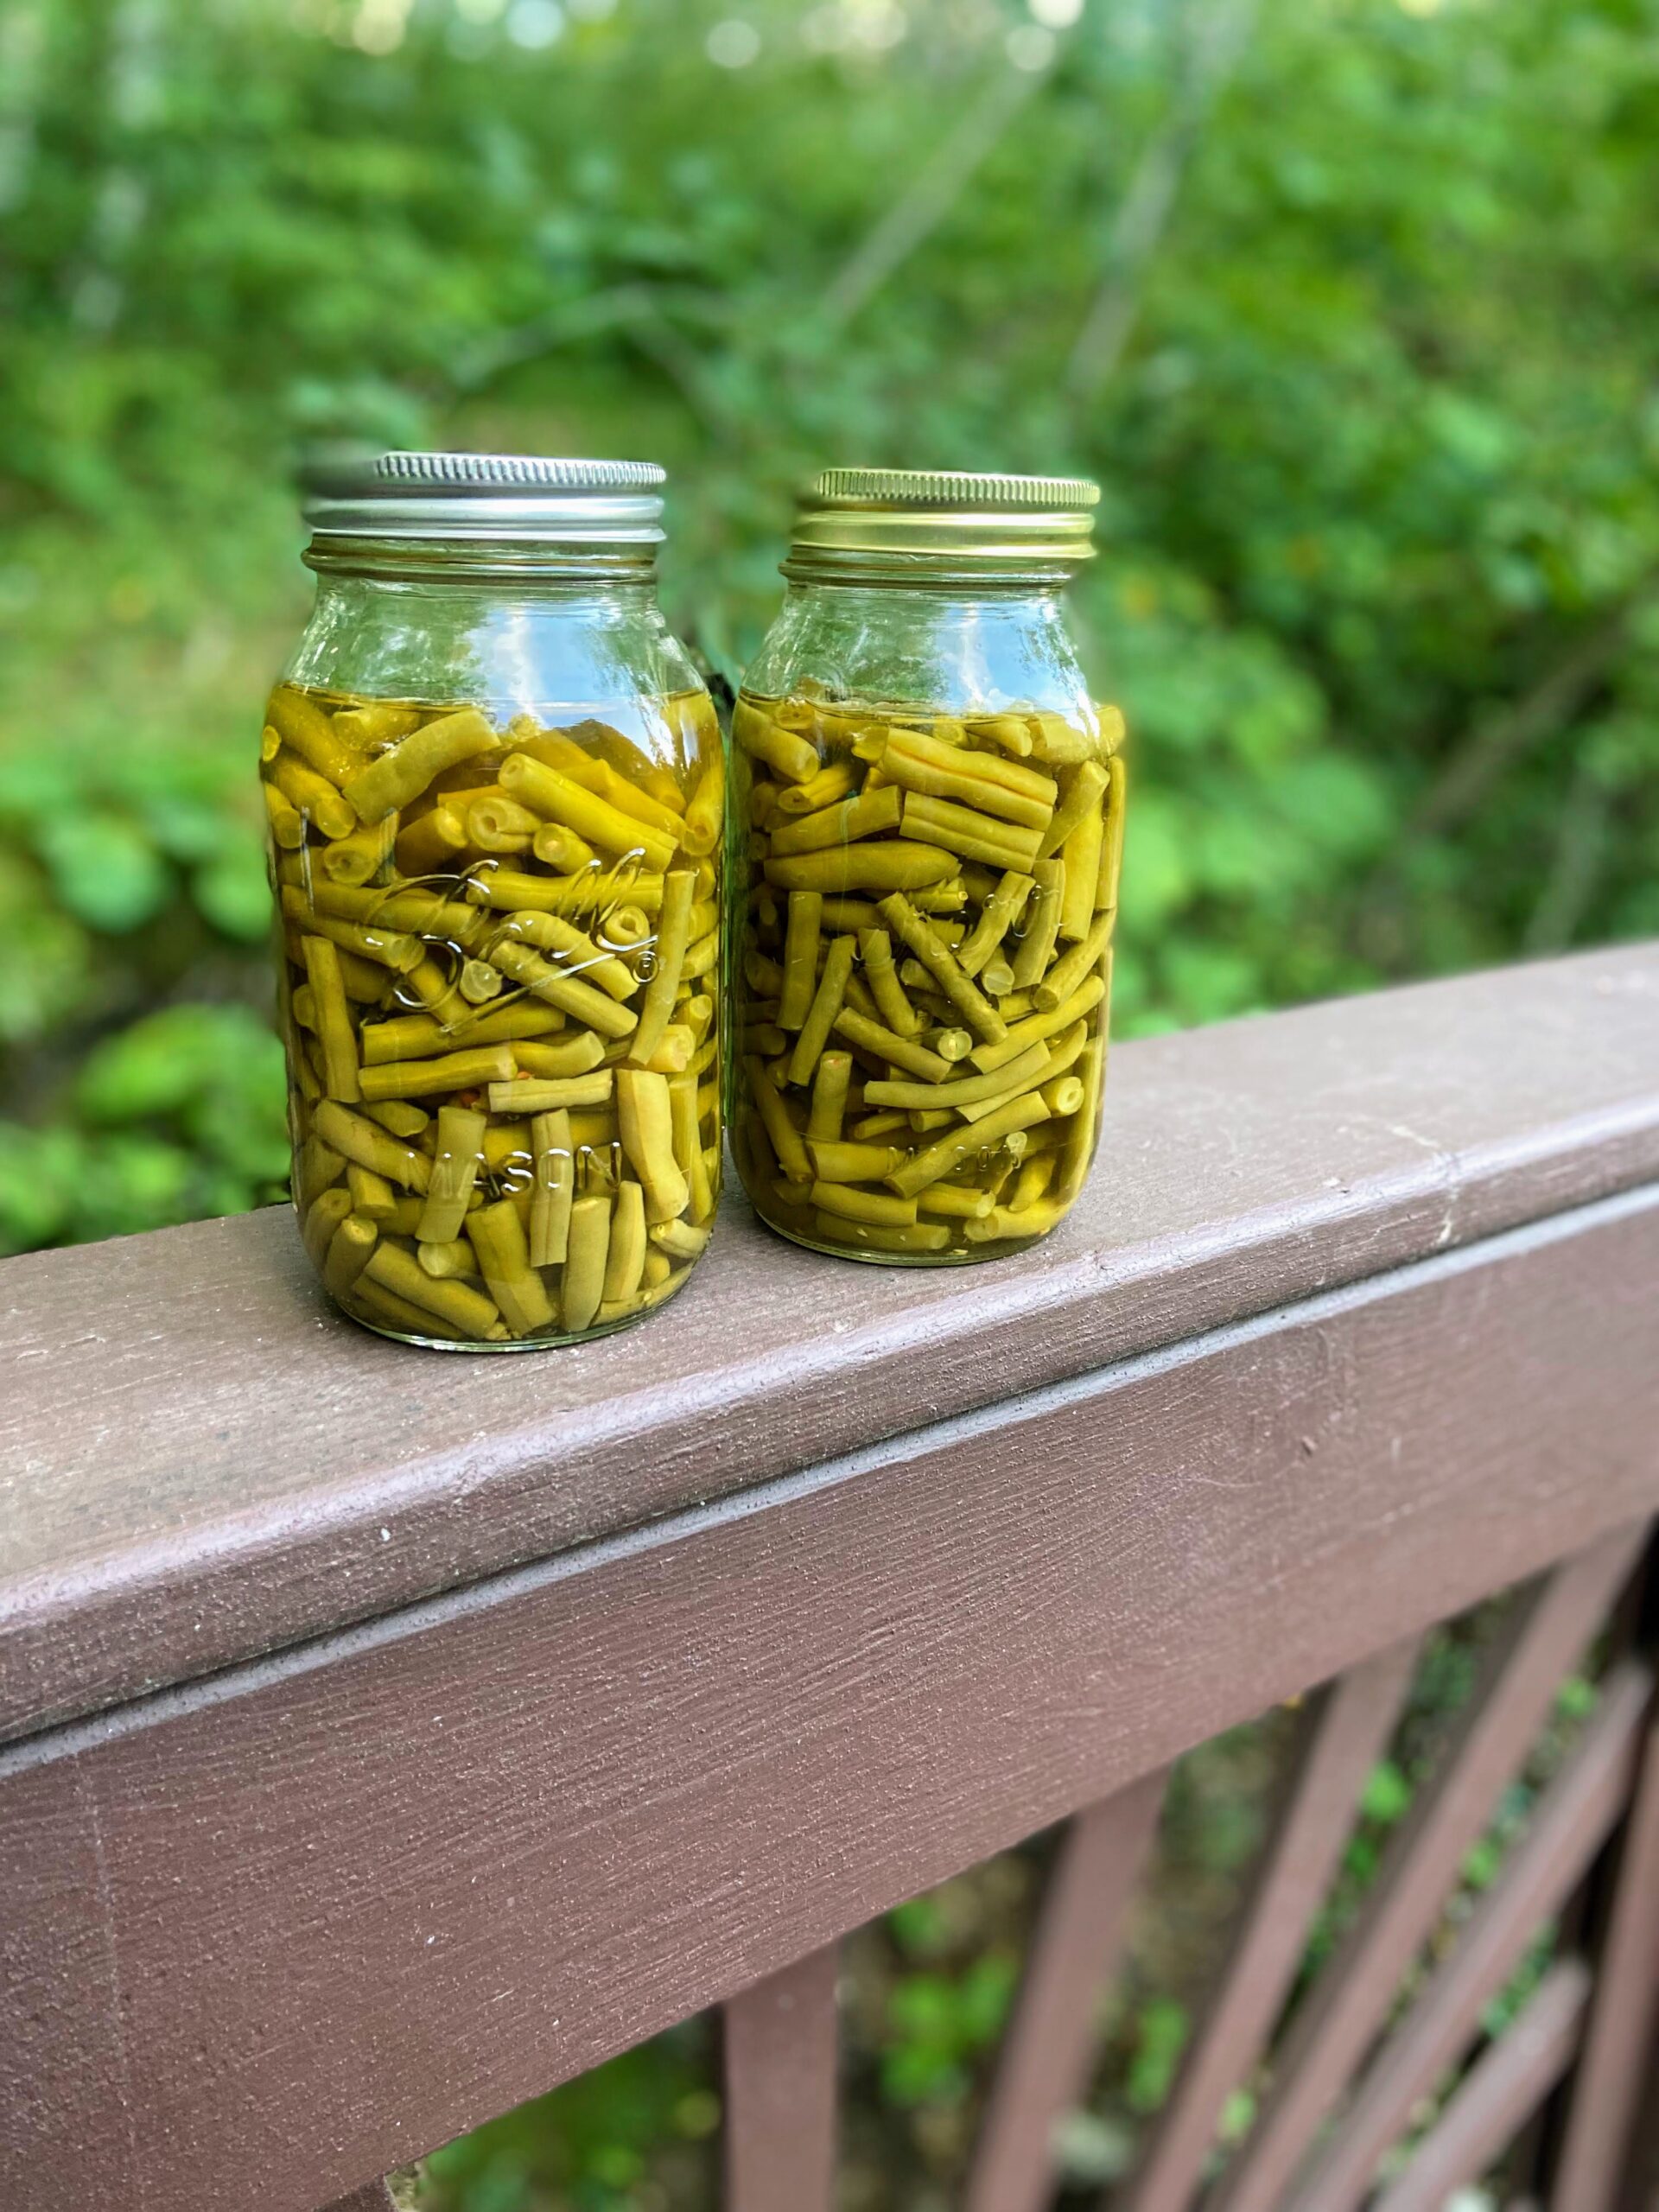
Pressure Canned Green Beans
Equipment
Ingredients
- 10 pounds green beans washed and trimmed (2 pounds per quart)
- 2 ½ teaspoon salt optional
Instructions
- Begin by preparing your canner and jars. Wash and sterilize quart jars, rings, and lids. Keep warm. Check the seal and center vent of your lid the canner. Set aside.
- If you have not done so already, cut cleaned beans into 2 inch pieces.
- Fill jars with prepared beans, leaving 1 inch of head space.
- Wipe rims with a damp cloth, center the lid on the jar and adjust the band to fingertip tight.
- Place jars on the rack of a prepared pressure canner (mine needs 3 quarts of hot water plus a splash of vinegar).
- Process quart jars for 25 minutes at 10 pounds. If your altitude is greater than 1000 feet, use 15 pounds. Follow the directions of your pressure canner or see the more detailed directions in the notes.
Notes
Looking for more inspiration?
A great place to look is my canning and preserving page. But if you want some specific recipes, you can check them out below!


[…] beans, but I only do so many jars because let’s be honest, it’s kind of tedious. We also like to pressure can beans, but that takes a substantial amount of beans. When I only have a few pounds sitting in my […]
What type of liquid do you put in the jars? Shouldn’t there be some fruit fresh???? Howuch salt per jar. ( Qt vs pt) This is not a full recipe!??
Hi Charlotte! Thanks for the question. No on the fruit fresh and I fill it to leave one inch head space. Since it is just boiling water, I just fill a kettle and roll with it! I don’t actually add salt. In my experience, I have over salted, and would rather add it when I cook them so I don’t do that.
After you put beans into the jars, do you fill with water to the 1 inch head space? The recipe does not say. i am very new to pressure canning. Thank you
Oh my goodness Lisa! I am so sorry I am just getting to this comment!
Yes! You fill after the beans are in!