Last Updated on November 30, 2024 by Jess
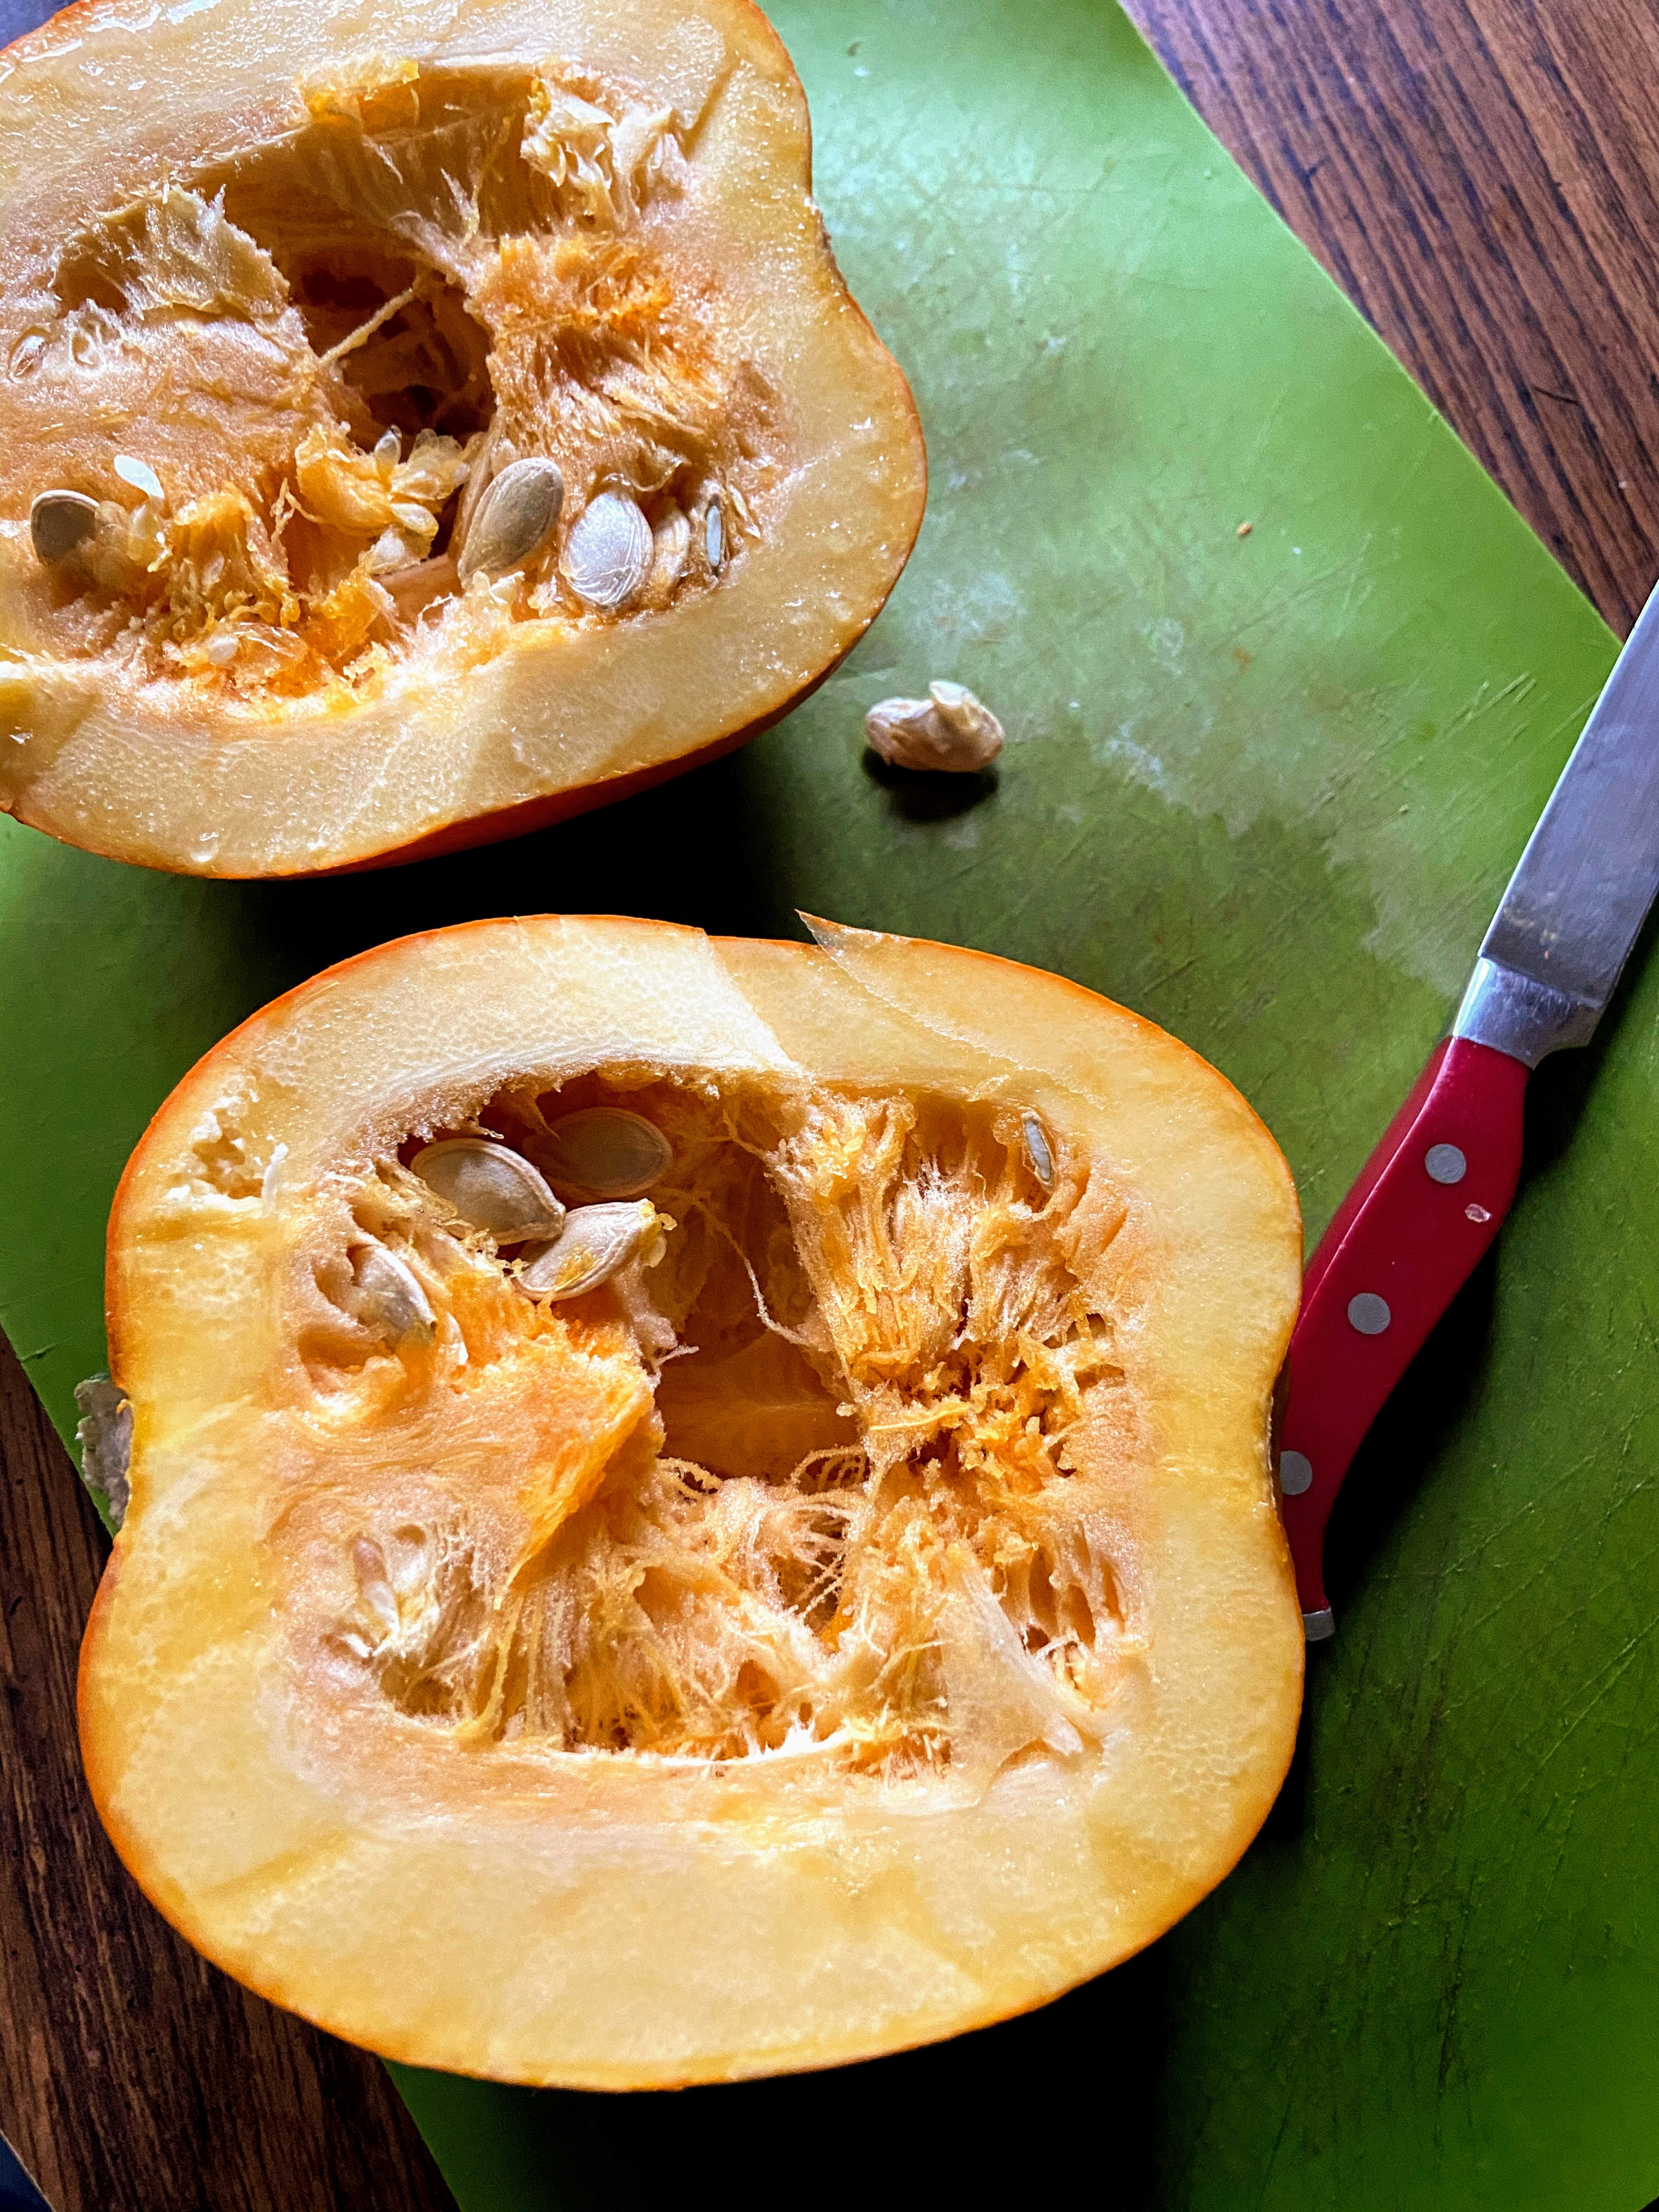
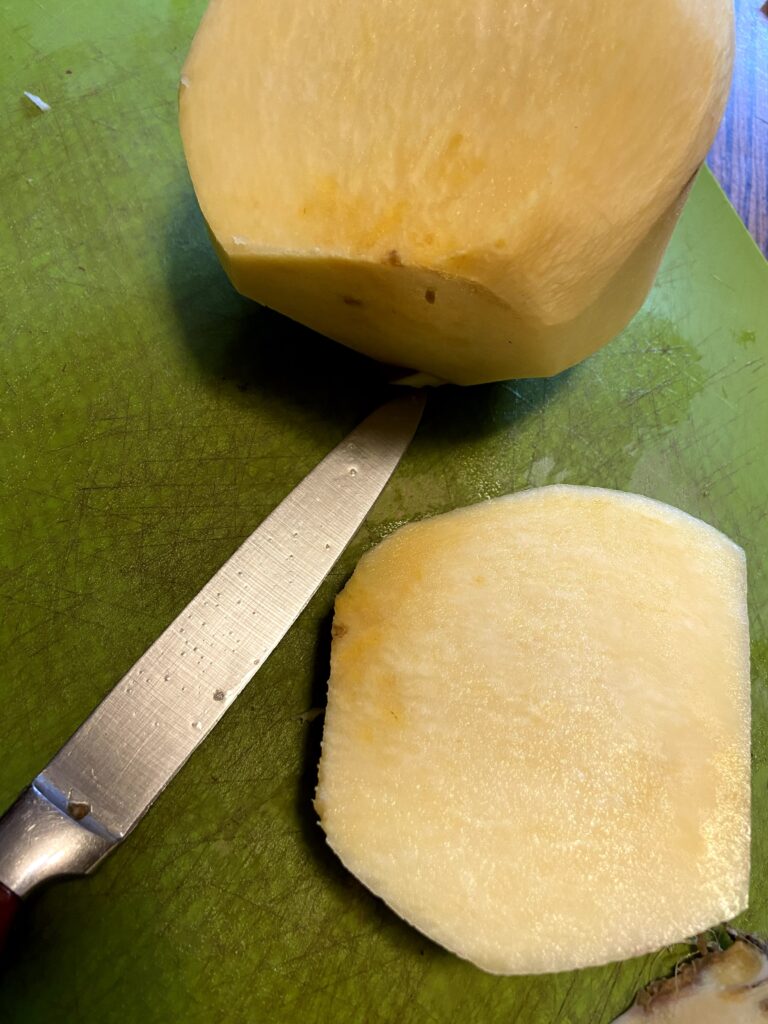
Apple season brings everyone visiting the orchard, making fresh applesauce and maybe even a pie or two. With all the peeling and coring happening, you’ll be happy to know there is something to do with all those scraps that will result in a delicious outcome: Apple Scrap Jelly!
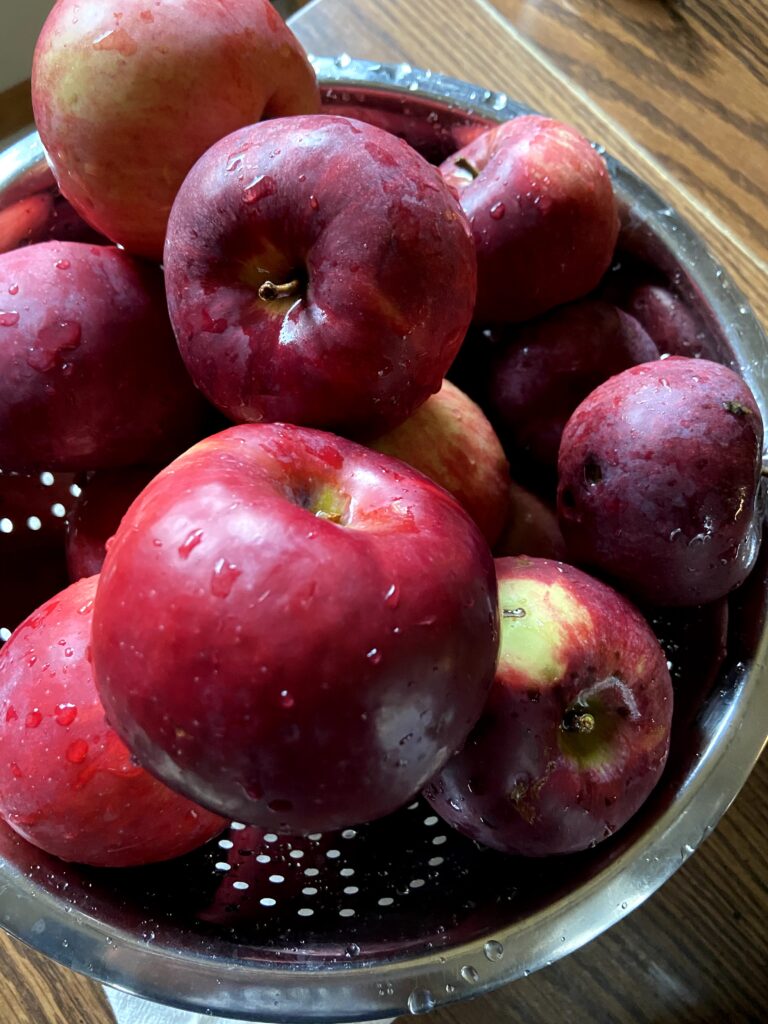
We bought our house about 11 years ago and promptly began to dig up the ground to put in gardens, bushes, and trees. Since then, we have planted a total of 16 fruit trees on our little slice of happiness. Developing trees takes time, and we are finally at the point where we are picking a few bushels of apples. Oh the joy! This means I am preserving the apples into apple pie filling, applesauce, and the like. A few years ago, I saw the piles of peels and cores knew there had to be something I could do with the “waste.” Enter Apple Scrap Jelly. With only four ingredients, you will likely have everything on hand to make it. It doesn’t even need commercial pectin! What a win!
Do you have some apples you’re hoping to peel and core to make fall treats? Get another bowl, save the scraps, and be prepared to create another treat!
Your Ingredients
- a kettle full of apple peels and cores
- water
- sugar (½ cup for every cup of liquid after boiling down)
- lemon juice (½ tablespoon for every cup of liquid after boiling down)
Begin The Boiling
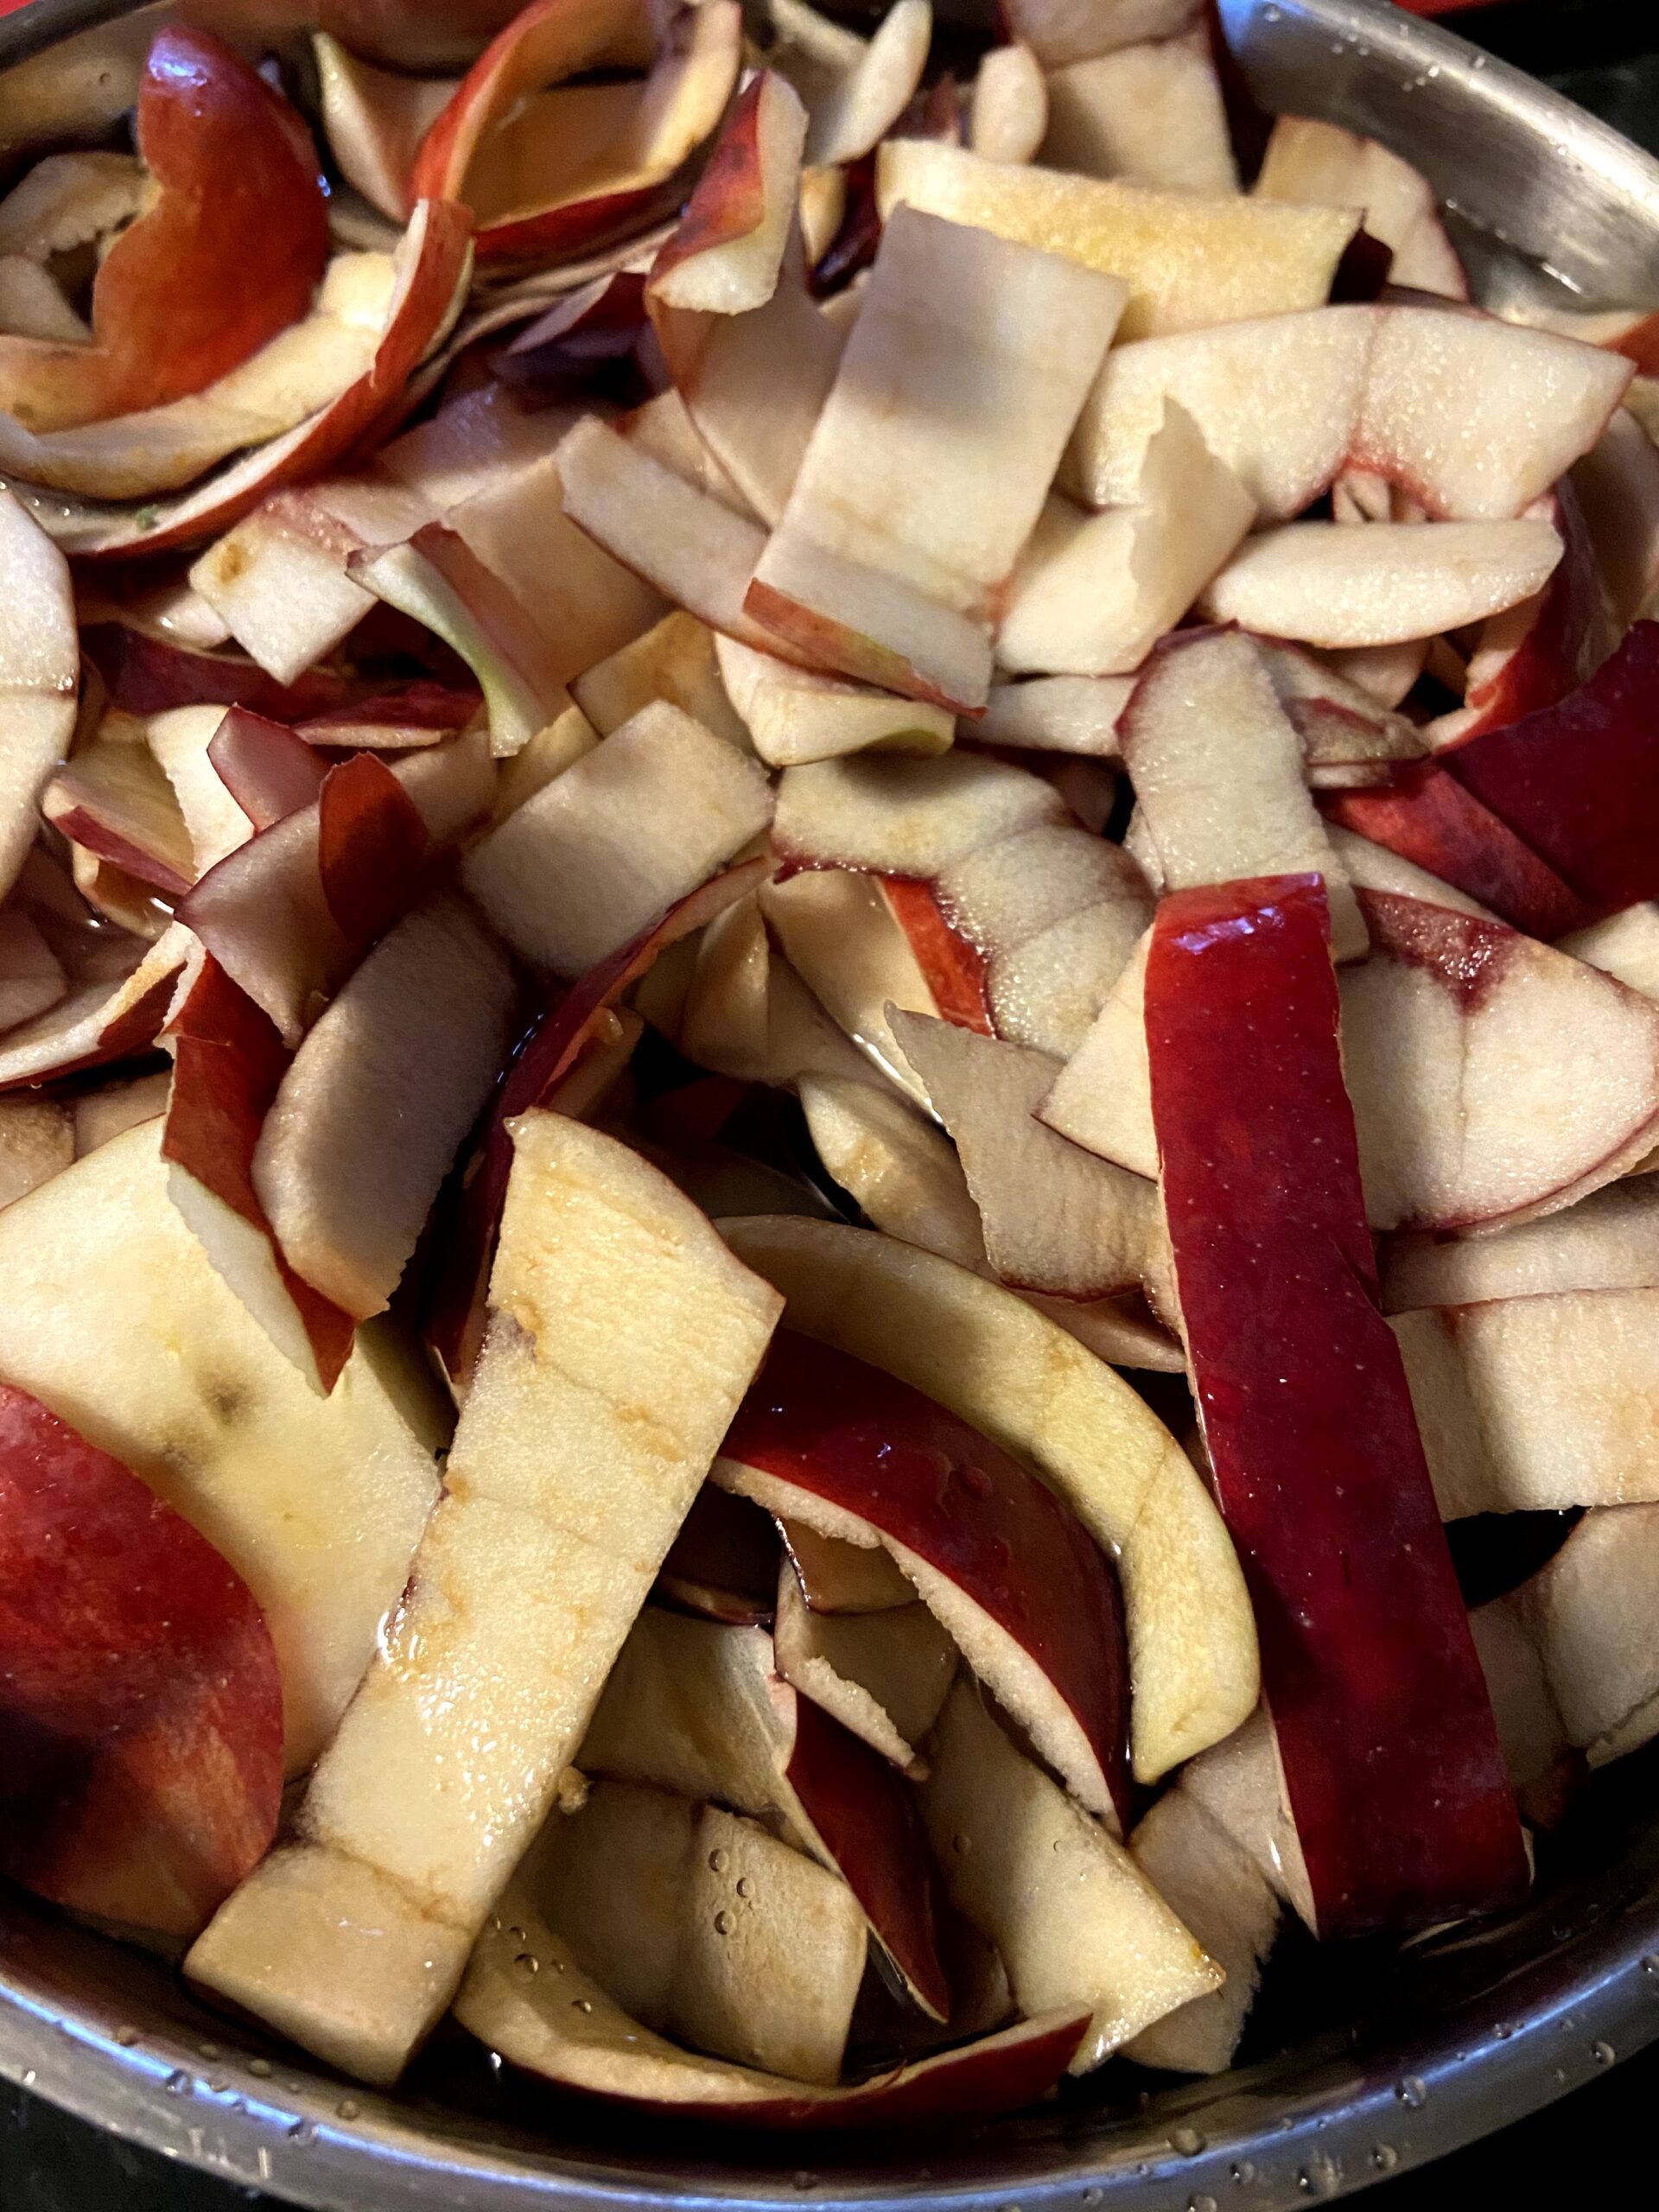
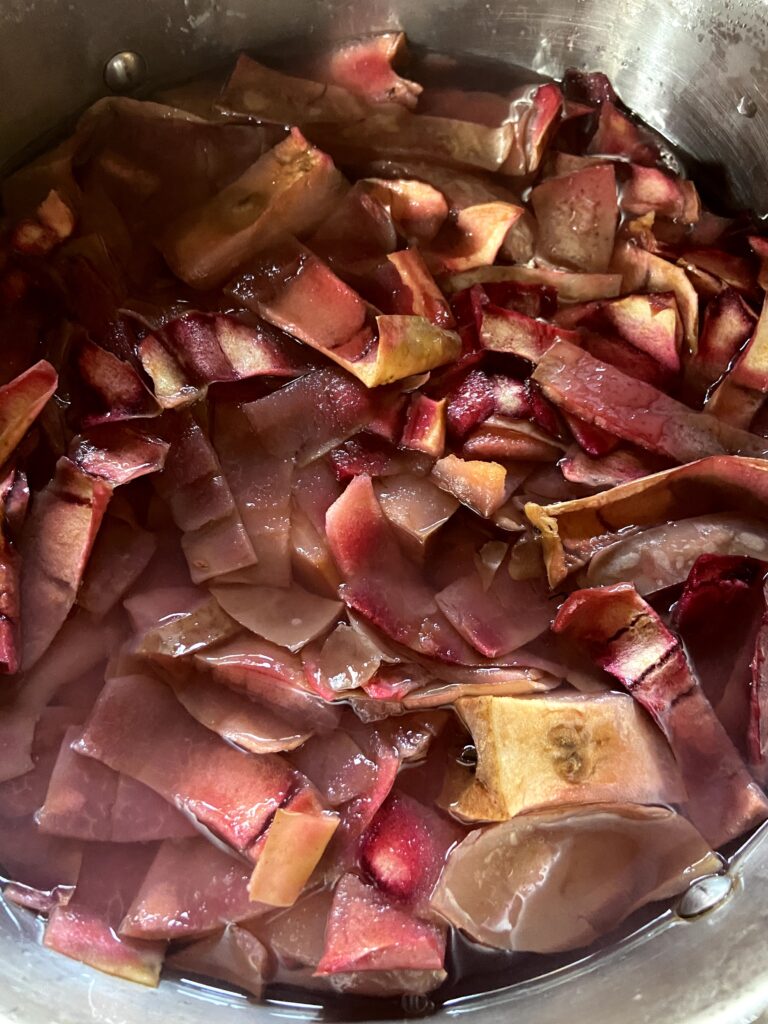
After peeling and coring apples for another recipe, place all scraps into a large kettle. It doesn’t matter how much you have, although the more the better simply because it will result in more jelly. I generally keep two vessels going at the same time: one for my apples for sauce/pie/etc and one for the scraps.
Cover the apple scraps with water, filling until the scraps begin to float. Heat over medium-high heat, bringing to a boil. Boil water and apple scraps until half of the liquid is remaining (this is an estimate, it doesn’t need to be perfect by any means). This will likely take an hour or so.
Now, if I’m being real, I generally let water/apple mixture cool overnight in the refrigerator. Not because you have to, but because I don’t want to finish that day.
Time for Jelly!
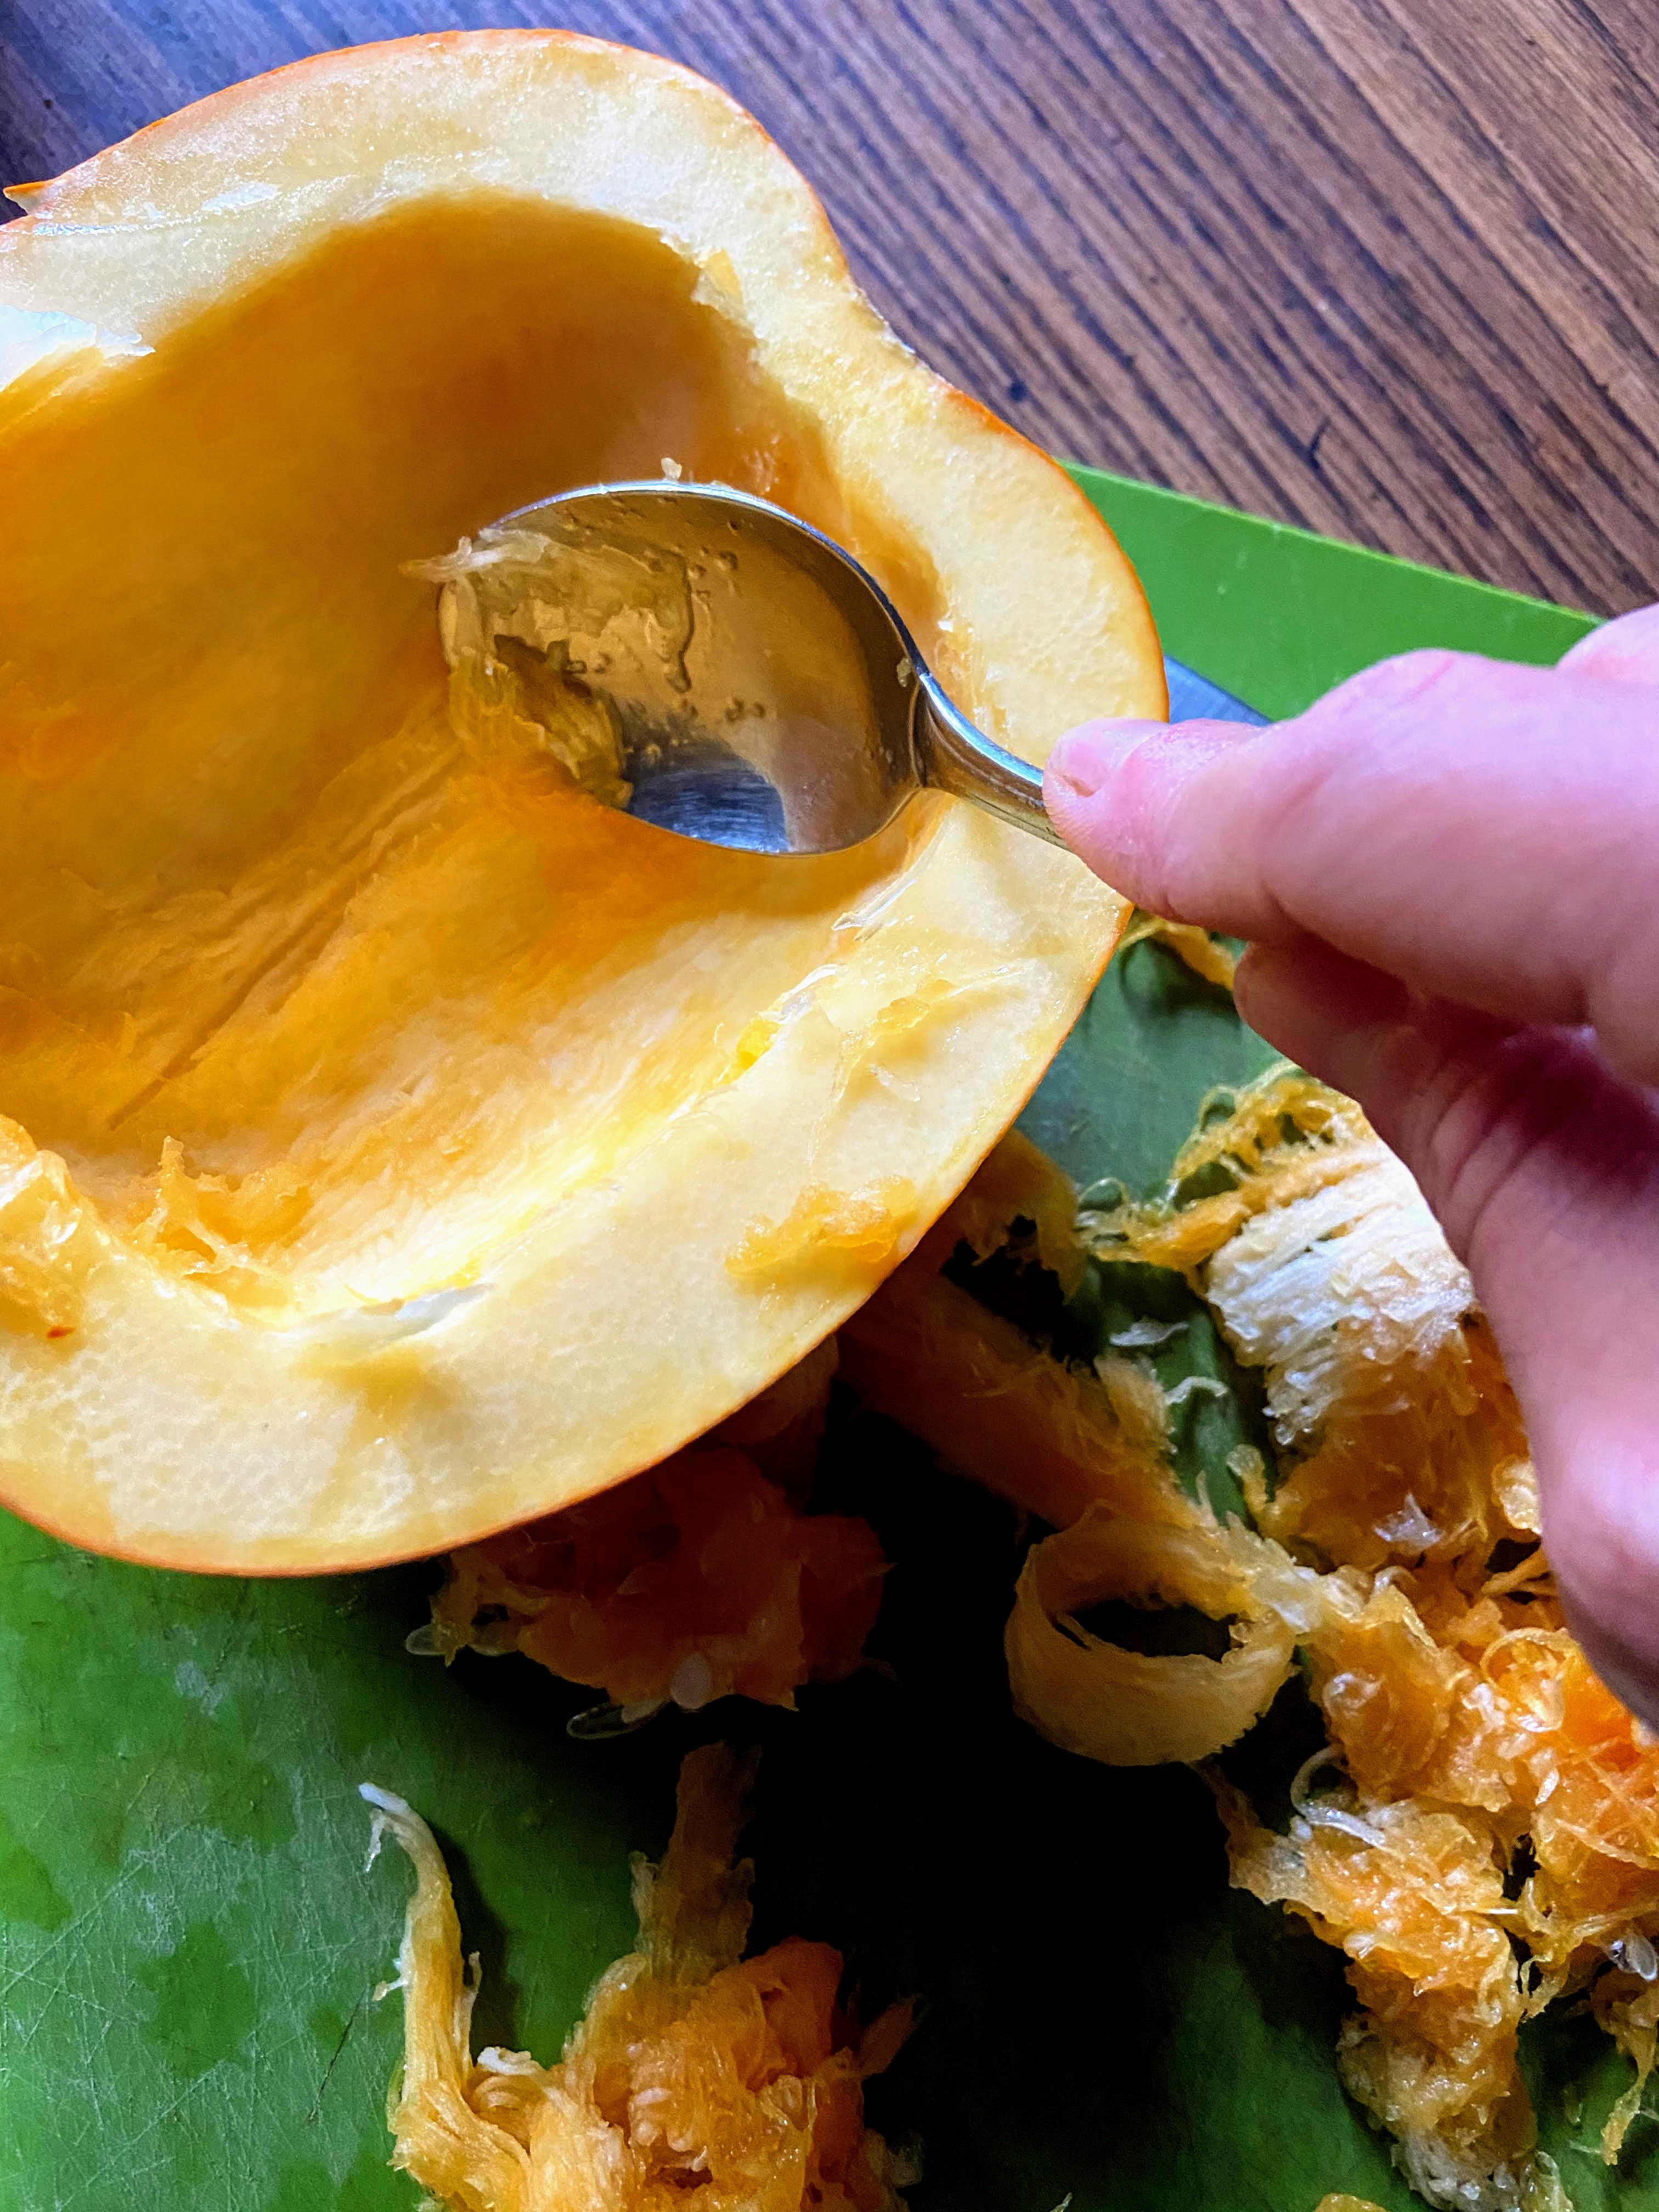
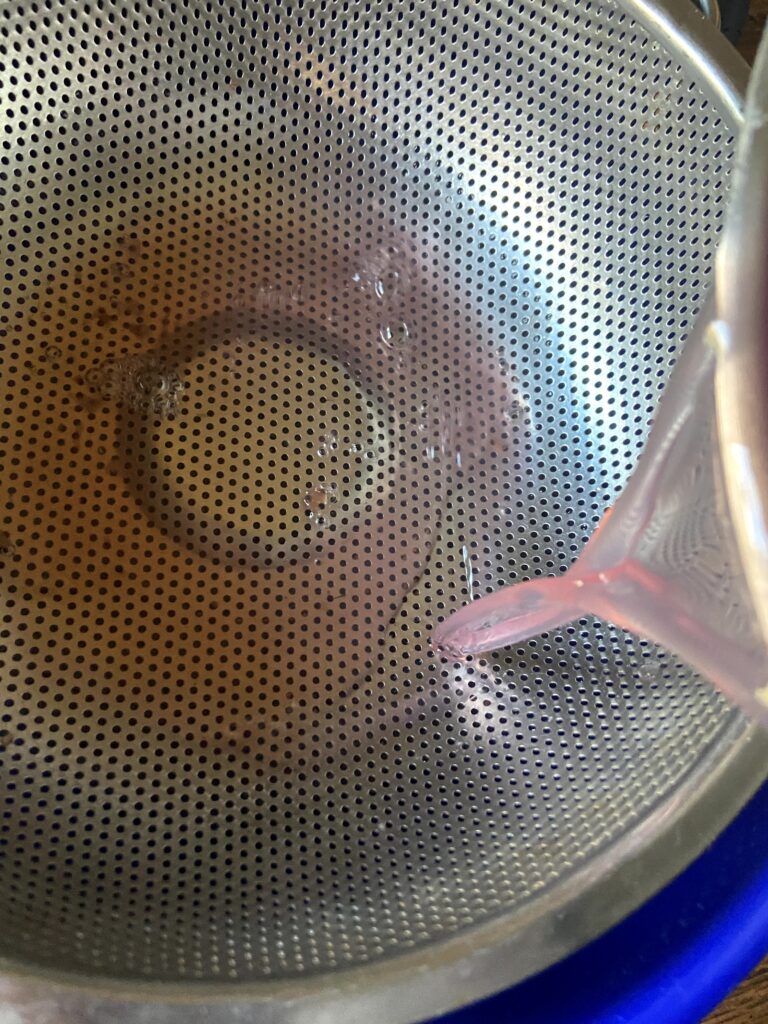
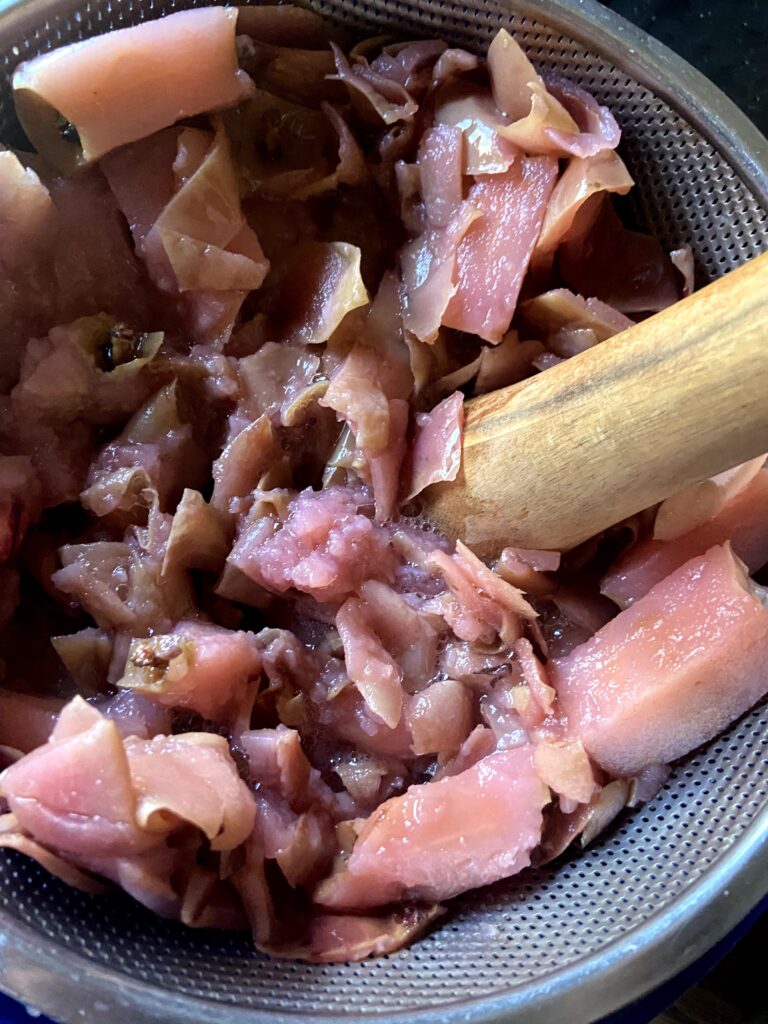
Either way, your next step is to separate the water from the scraps. I generally place a finer colander over a bowl with a pour spout. Press into the apple to extract all the apple-goodness. From here, pour the water into a liquid measuring cup to determine the amount of sugar and lemon juice you should add.
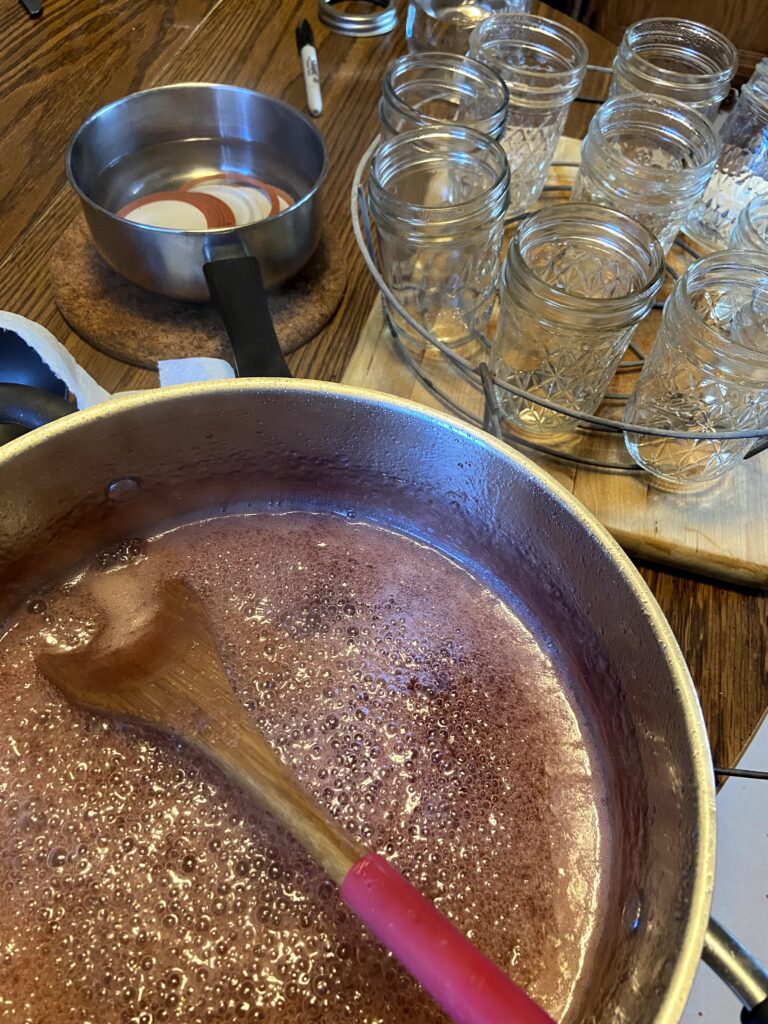
Place the liquid in a large kettle. For every cup of liquid, stir in ½ cup sugar and a ½ tablespoon lemon juice. Begin to heat over medium-high heat, stirring often. Your end goal is to reach the gelling point. There are lots of tests for this, but I prefer the temperature test. If you are at sea level, the gelling point is at 220 degrees. For every 1000 feet of elevation, you subtract 2 degrees. For me, the gelling point is 218 degrees. Don’t have a decent food thermometer? Check out the National Center for Home Preservation website for other ways of testing for the gelling point.
It takes longer to reach the gelling point than I think it should. It also goes from needing 3 degrees to reaching the gelling point fast. You can get complacent while you are waiting and suddenly hit the temperature, so I am trying to warn you 🙂
While the jelly is boiling, begin to prepare your water bath canner and jars if you plan on processing them. (If you want to simply place the jelly in the fridge after it hits the gelling point, that’s 100% okay. You don’t need to process it. However, if you want it self-stable, you should process in a waterbath canner.)
Canning Time!
Wash and sanitize jars, rings, and lids. Keep warm. Fill the canner with enough water to cover the jars by at least 2 inches of water. Cover and heat on high. Watch the temperature, you want a simmer but not a boil when you place the jars in the water.
Once the apple jelly has reached the gelling point, remove from heat. Ladle into prepared jars, leaving ½ inch head space. Wipe rims of the jars with a damp cloth, add lids and rings, tightening to fingertip tight. Place in the canner, increasing the heat to high. Once the canner reaches a boil, process for 10 minutes. Remove from heat and allow jars to cool in the canner over 5 minutes. Remove from canner, placing on the counter. Listen for the ping of the lids over the next 12 hours. Sealed jars are self stable. If any jar doesn’t seal, simply place it right in the refrigerator.
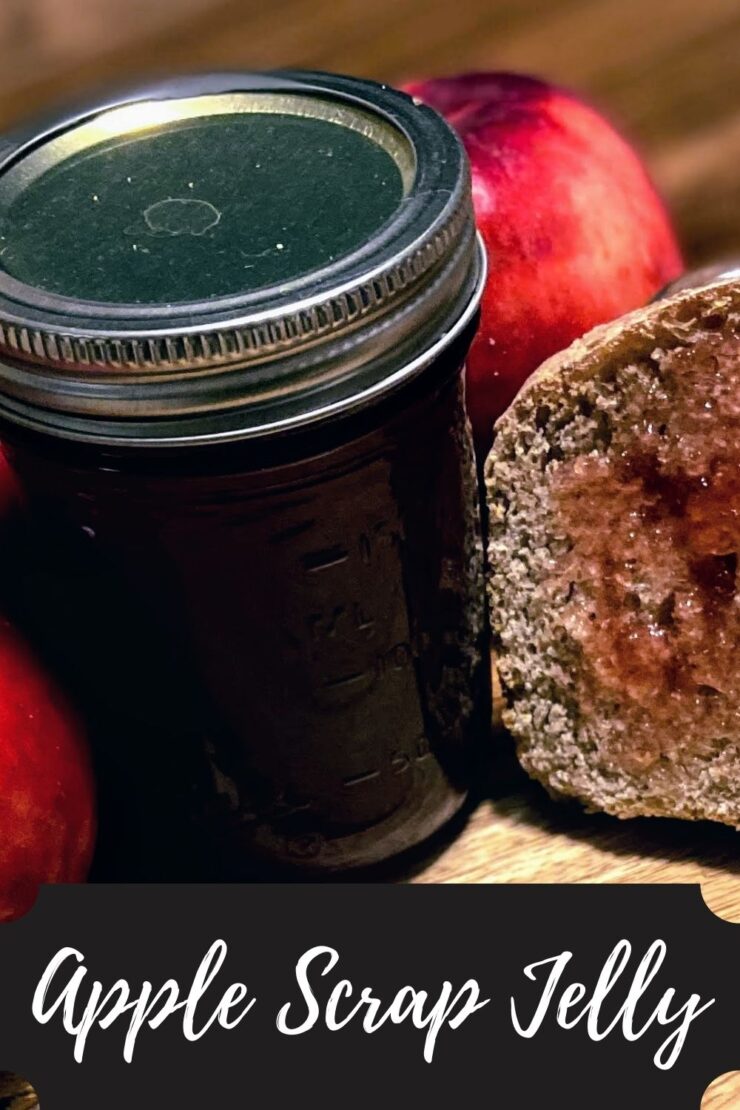
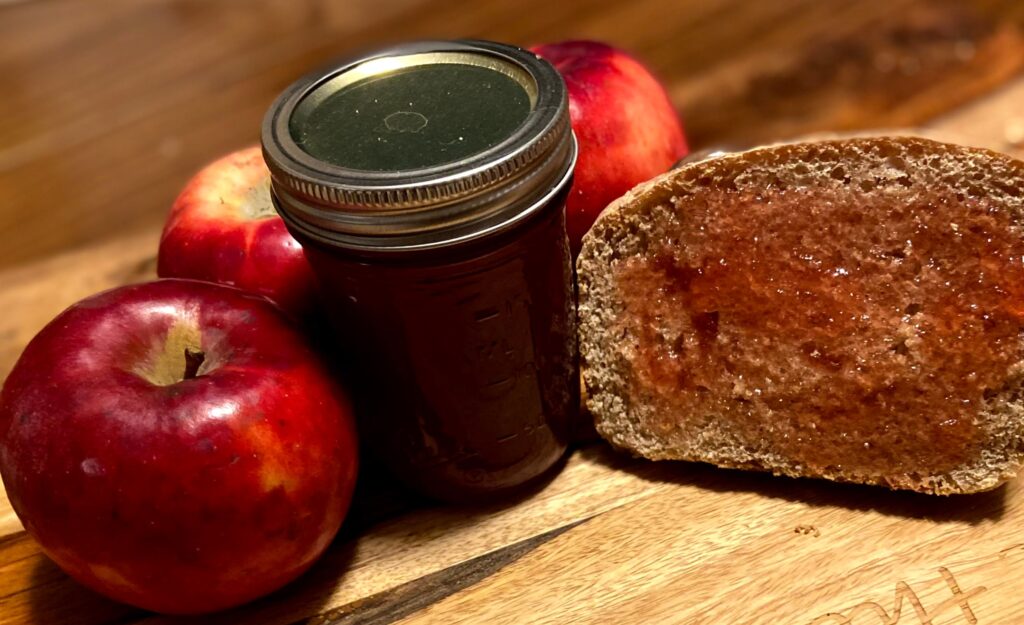
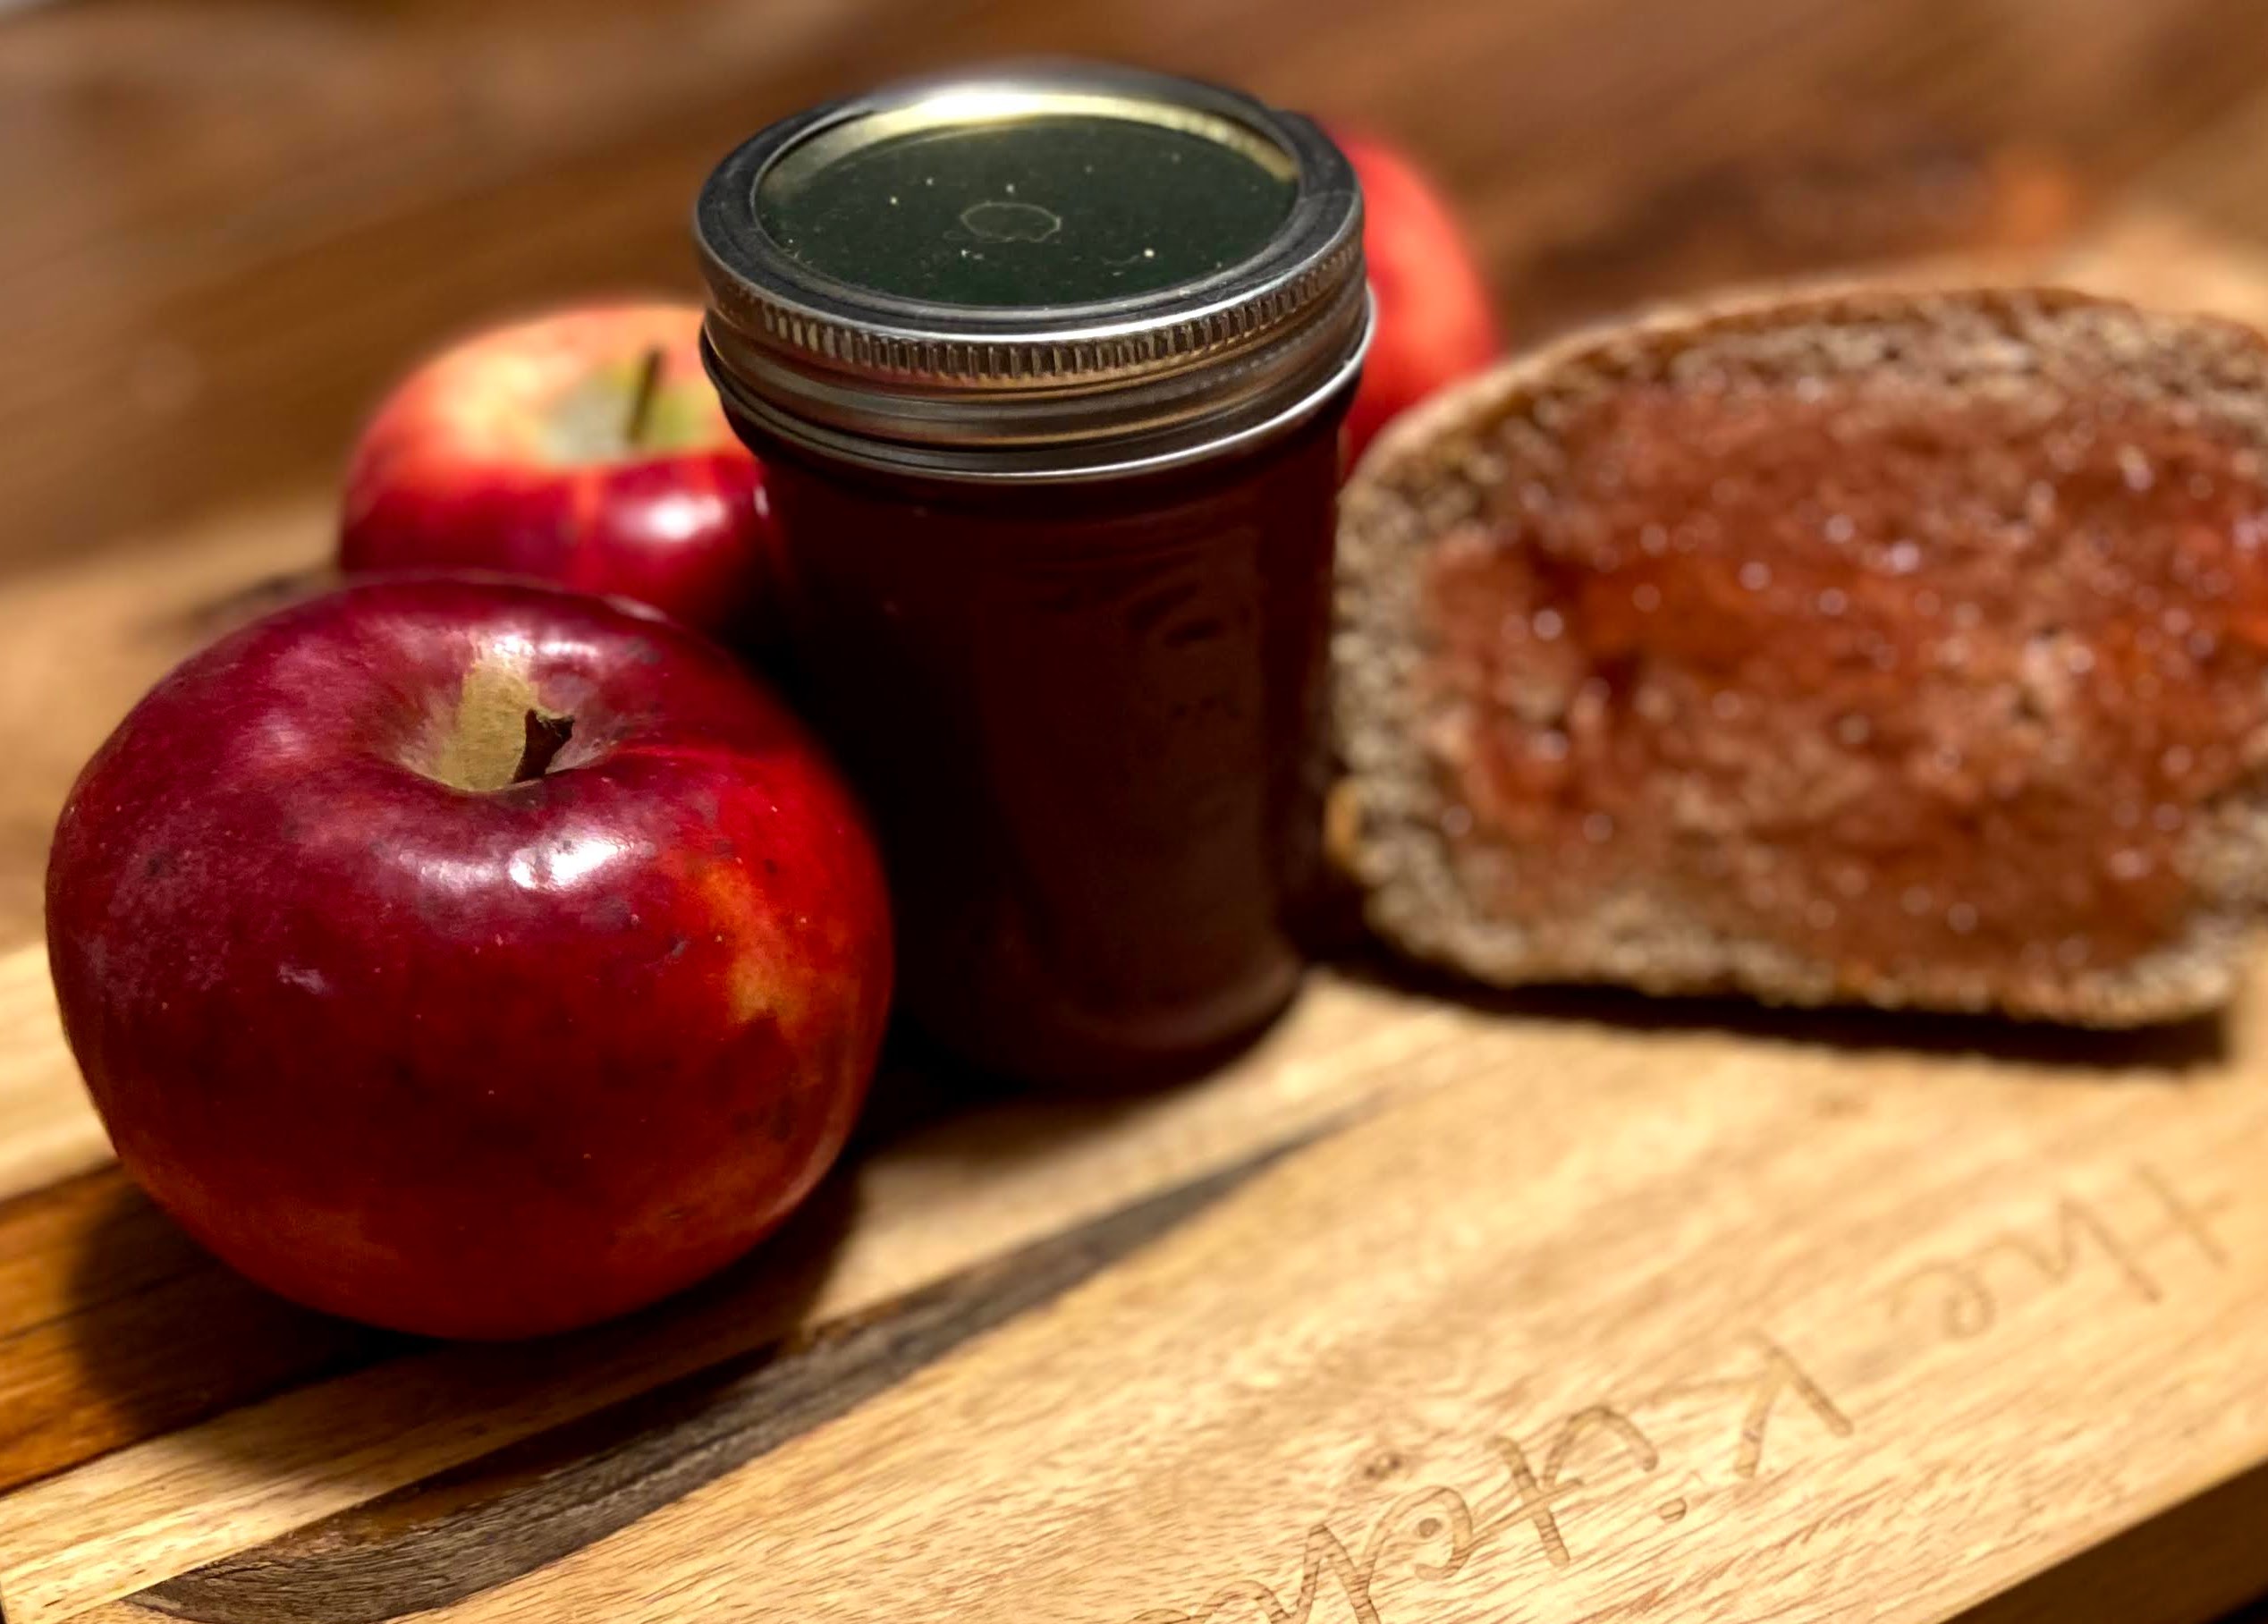
PS…To be especially awesome, have some fresh baked bread on hand to spread the left over warm apple scrap jelly in the kettle on a slice. Enjoy while the rest of the jelly is in the water bath. I promise, you’ll thank me.
Tools of the Trade
A nice strainer is a must in a stocked kitchen!
I love my waterbath canner.
The shallowness of this stock pot makes boiling down go so much quicker. My go to kettle for jelly.
Apple Scrap Jelly
Equipment
Ingredients
- a kettle full of apple peels and cores
- water
- sugar ½ cup for every cup of liquid after boiling down
- lemon juice ½ tablespoon for every cup of liquid after boiling down
Instructions
- After peeling and coring apples for another recipe, place all scraps into a large kettle. It doesn’t matter how much you have, although the more the better simply because it will result in more jelly.
- Cover the apple scraps with water, filling until the scraps begin to float. Heat over medium-high heat, bringing to a boil. Boil water and apple scraps until half of the liquid is remaining.
- Separate the water from the scraps. I generally place a finer colander over a bowl with a pour spout. Press into the apple to extract all the apple-goodness. From here, pour the water into a liquid measuring cup to determine the amount of sugar and lemon juice you should add.
- Place the liquid in a large kettle. For every cup of liquid, stir in ½ cup sugar and a ½ tablespoon lemon juice. Begin to heat over medium-high heat, stirring often. Heat to 8 degrees above the boiling point of water. If you are at sea level, the gelling point is at 220 degrees. For every 1000 feet of elevation, you subtract 2 degrees.
- While the jelly is boiling, begin to prepare your water bath canner and jars if you plan on processing them rather than storing in the refrigerator.
- Wash and sanitize jars, rings, and lids. Keep warm. Fill the canner with enough water to cover the jars by at least 2 inches of water. Cover and heat on high. Watch the temperature, you want a simmer but not a boil when you place the jars in the water.
- Once the apple jelly has reached the gelling point, remove from heat. Ladle into prepared jars, leaving ½ inch head space. Wipe rims of the jars with a damp cloth, add lids and rings, tightening to fingertip tight. Place in the canner, increasing the heat to high. Once the canner reaches a boil, process for 10 minutes. Remove from heat and allow jars to cool in the canner over 5 minutes. Remove from canner and allow to rest for 12 hours before storing.
Notes
Looking for other canning recipes? Check out my canning and preserving page below!