Last Updated on March 19, 2024 by Jess
How often do you eat international cuisine? Do you actively seek it out? I’ll be honest, being a midwestern girl in northern Wisconsin, for years and years, I never looked for international food beyond a Chinese Mexican restaurant (and I am not sure that counts). I stuck to what was comfortable and that’s it. Now I experiment and learn. And this Peruvian Chopped Salad is one I just have to share!
I don’t talk about it much on the blog, but for the last two years, I have been in an Instagram collab #aroundtheworldin80dishes started by my friend Claire from the UK. Each month, we randomly choose a country (from France to Peru to Tunisia), research, and share our cooks and bakes on a particular day.
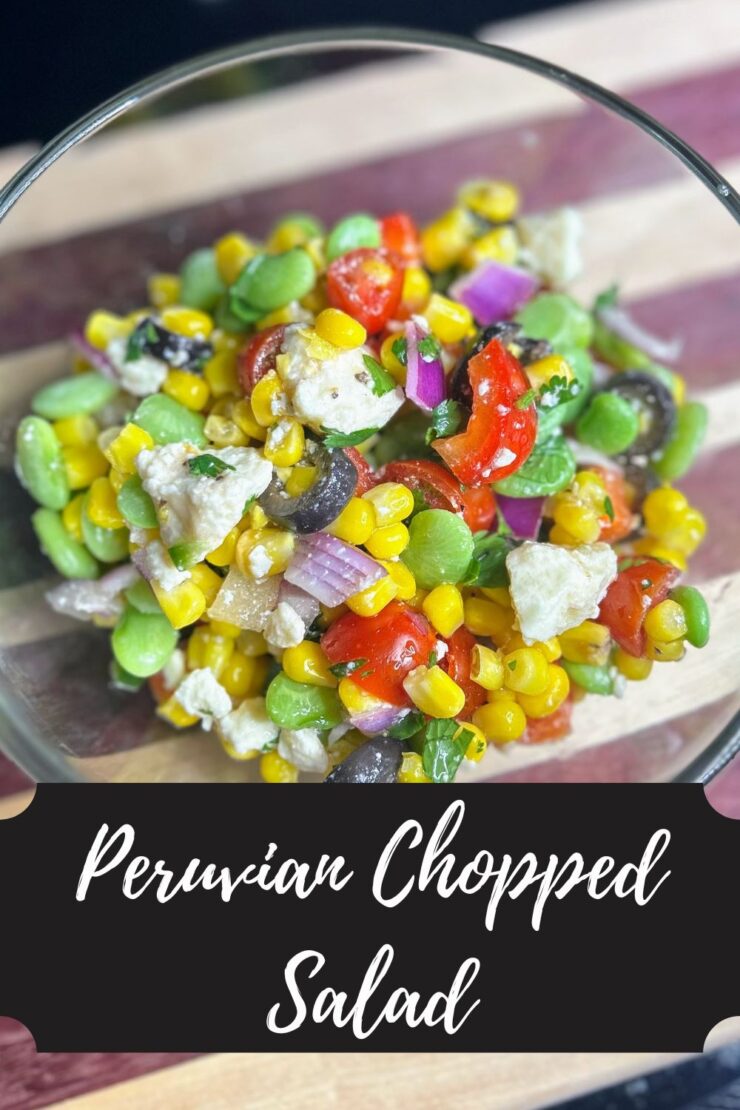
This month, we are traveling to Peru. I also subsequently needed to bring a dish to share for work. I stumbled upon Solterito, a Peruvian Chopped Salad that was RIGHT up my alley. Fresh vegetables, an olive oil and red wine vinegar dressing, and best yet, cilantro. I read multiple recipes online (including this one from Pamela Salzman) and then created my variation.
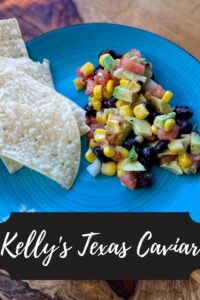
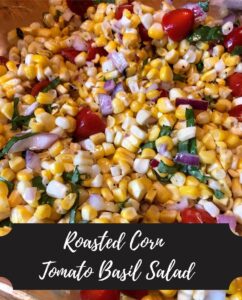
The results: A delicious salad that some ate with chips; others ate on its own. Either way, a great chopped salad for a dish to pass or to eat over a few days over the summer. It is very reminiscent of a few other favorite salads: Corn and Tomato Basil Salad or Texas Caviar and will forever be on my list of dishes to make when I want to eat the rainbow!
Ready to start creating? Let’s go!
Your Ingredients
- 3-4 large ears of corn, shucked (12 ounces of frozen corn, steamed and then cooled works great too!)
- 10 ounces frozen lima beans, steamed and cooled
- 1 red onion, diced
- 1 jalapeno, diced small
- 1 sweet bell pepper, diced
- 1 pint cherry tomatoes, halved
- 6 tablespoons olive oil
- 4 tablespoons red wine vinegar
- Salt and pepper to taste
- ⅓ cup black olives, sliced
- 1 cup crumbled queso fresco
- Finely chopped cilantro, to taste
Your Steps to Peruvian Chopped Salad
If you have not already, steam the frozen corn and lima beans. We LOVE these Zip ‘n Steam bags from Ziploc and use them multiple times a week.
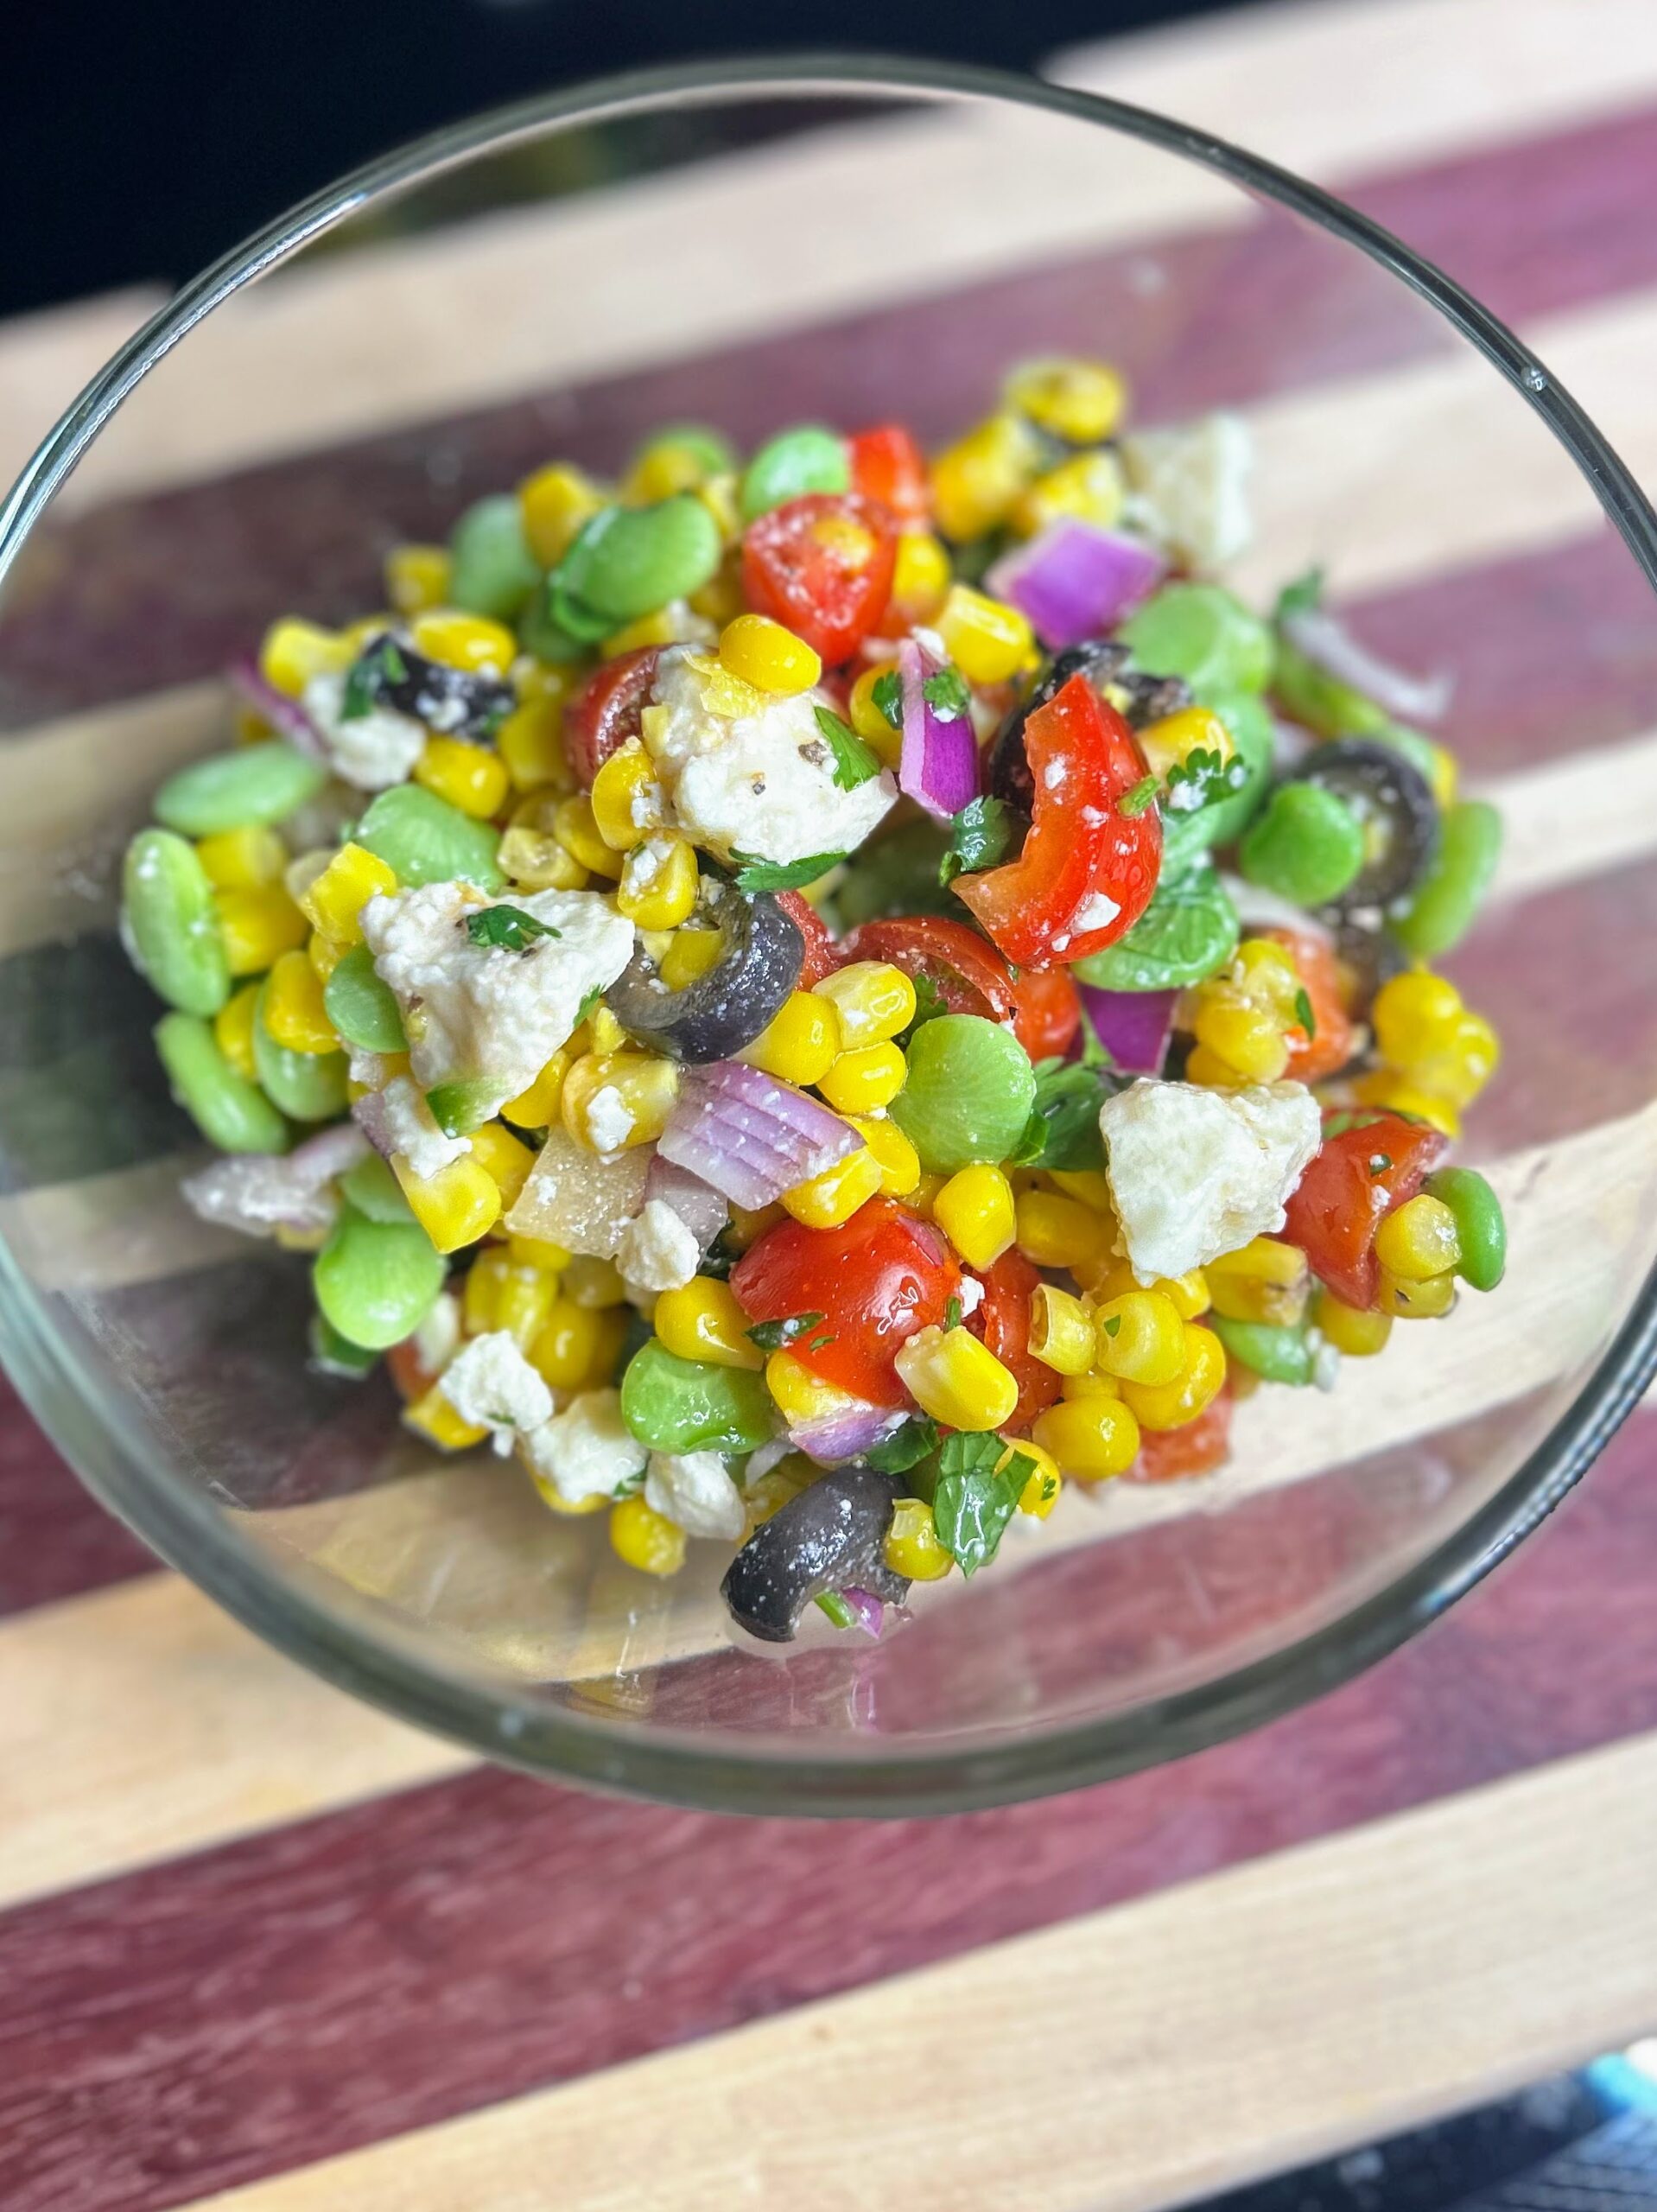
In a large bowl, combine corn, lima beans, red onions, jalapeno, bell pepper, and cherry tomatoes. Stir to combine well. In a liquid measuring cup, combine olive oil, red wine vinegar, salt, and pepper. Whisk to combine well. Pour over the vegetables and stir once again. Add the olives, cilantro, and queso fresco. Stir once more.
The flavor will improve overnight, but I challenge you not to want to eat it all as soon as you’ve finished!
Peruvian Chopped Salad
Equipment
Ingredients
- 3-4 large ears of corn shucked (12 ounces of frozen corn, steamed and then cooled works great too!)
- 10 ounces frozen lima beans steamed and cooled
- 1 red onion diced
- 1 jalapeno diced small
- 1 sweet bell pepper diced
- 1 pint cherry tomatoes halved
- 6 tablespoons olive oil
- 4 tablespoons red wine vinegar
- Salt and pepper to taste
- ⅓ cup black olives sliced
- 1 cup crumbled queso fresco
- Finely chopped cilantro to taste
Instructions
- In a large bowl, combine corn, lima beans, red onions, jalapeno, bell pepper, and cherry tomatoes. Stir to combine well.
- In a liquid measuring cup, combine olive oil, red wine vinegar, salt, and pepper. Whisk to combine well.
- Pour over the vegetables and stir once again.
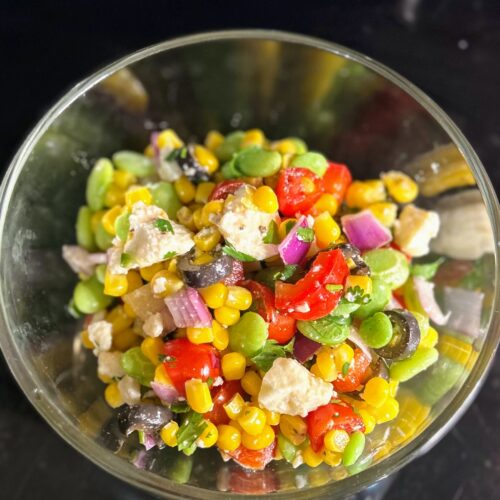
- Add the olives, cilantro, and queso fresco. Stir once more. For best results, allow to rest 2 hours or over night. However, it can be served right away as well.
Looking for other fun summer eats?
Check out my cooking page, or maybe let your eyes pick from one of my favorites below!