I believe cranberry to be one of those polarizing flavors. Okay, maybe not quick polarizing like, say, coconut, but it is still a flavor that elicits strong responses. If you like cranberries, you LOVE cranberries and can’t get enough. Or is that just my family? Ha! Well, I can tell you that the cranberries at Thanksgiving are important at our household, and this homemade cranberry sauce is just the ticket.
Speaking of polarizing flavors: cinnamon. My sister and I double down on cinnamon almost always. Turns out, my mom hates it. It’s why she doesn’t like apple desserts in the fall. I do think she is in the minority, but still, cinnamon is an optional addition to this cranberry sauce. Do I love it? Absolutely. But maybe it isn’t for you and your family.
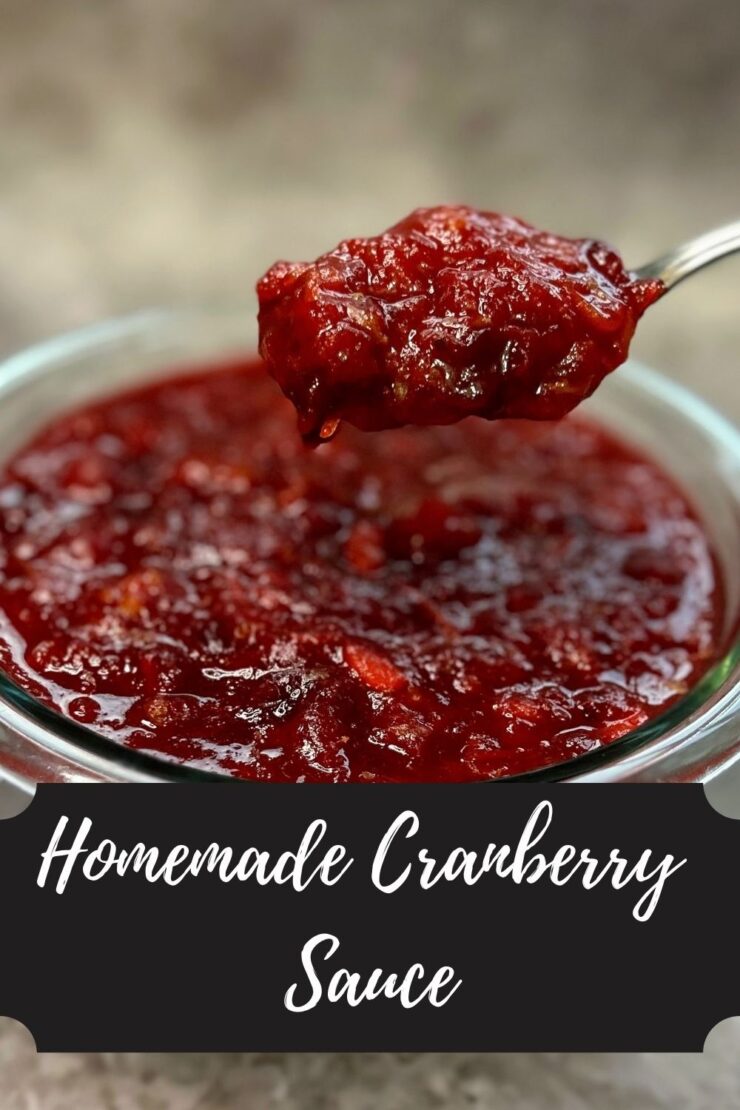
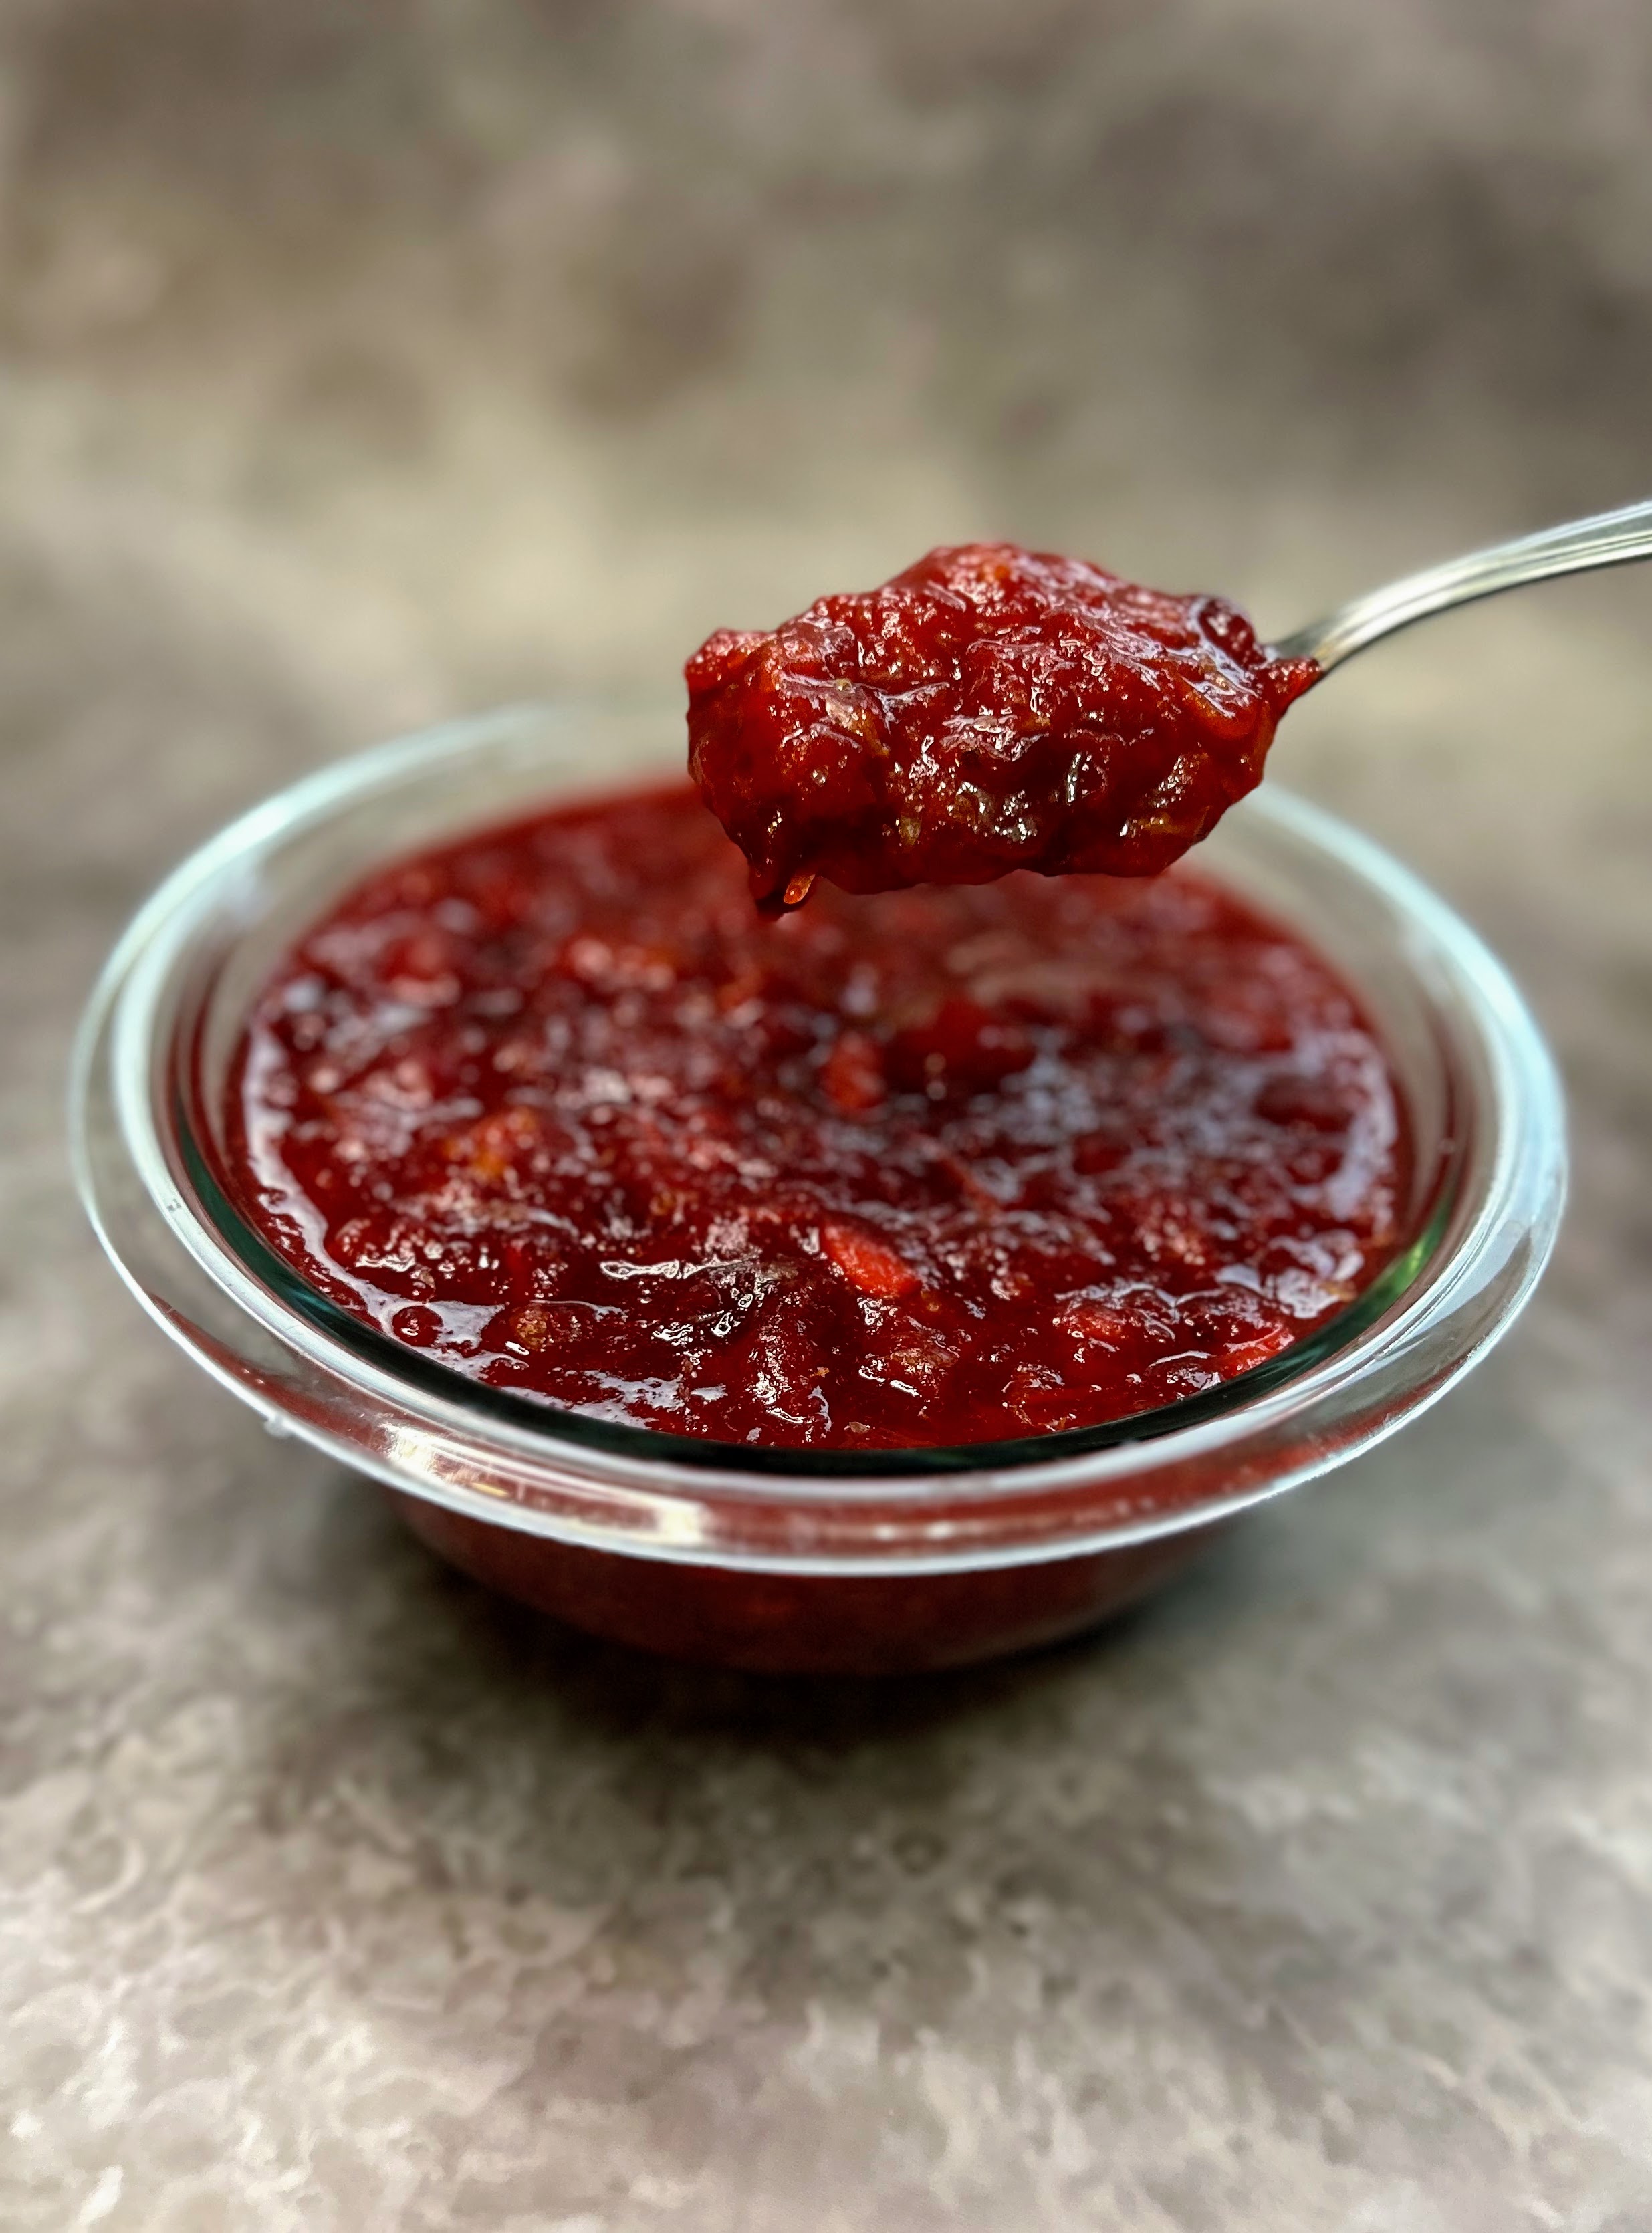
Whether you add the cinnamon or not, this homemade cranberry sauce will likely have you licking out the kettle as you transfer it to a serving dish. It’s the perfect blend of tart and sweet (although, if you like it extra tart, consider removing a few tablespoons of sugar), and is beyond simple to make. The best part: It’s easy to prep ahead of time during that busy Thanksgiving week!
And if you want to try it ahead of time, let me recommend mixing it into some plain or vanilla Greek yogurt. Holy yum! It’s definitely a favorite flavor combination this fall for me!
Ready to give it a go? Let’s start cooking!
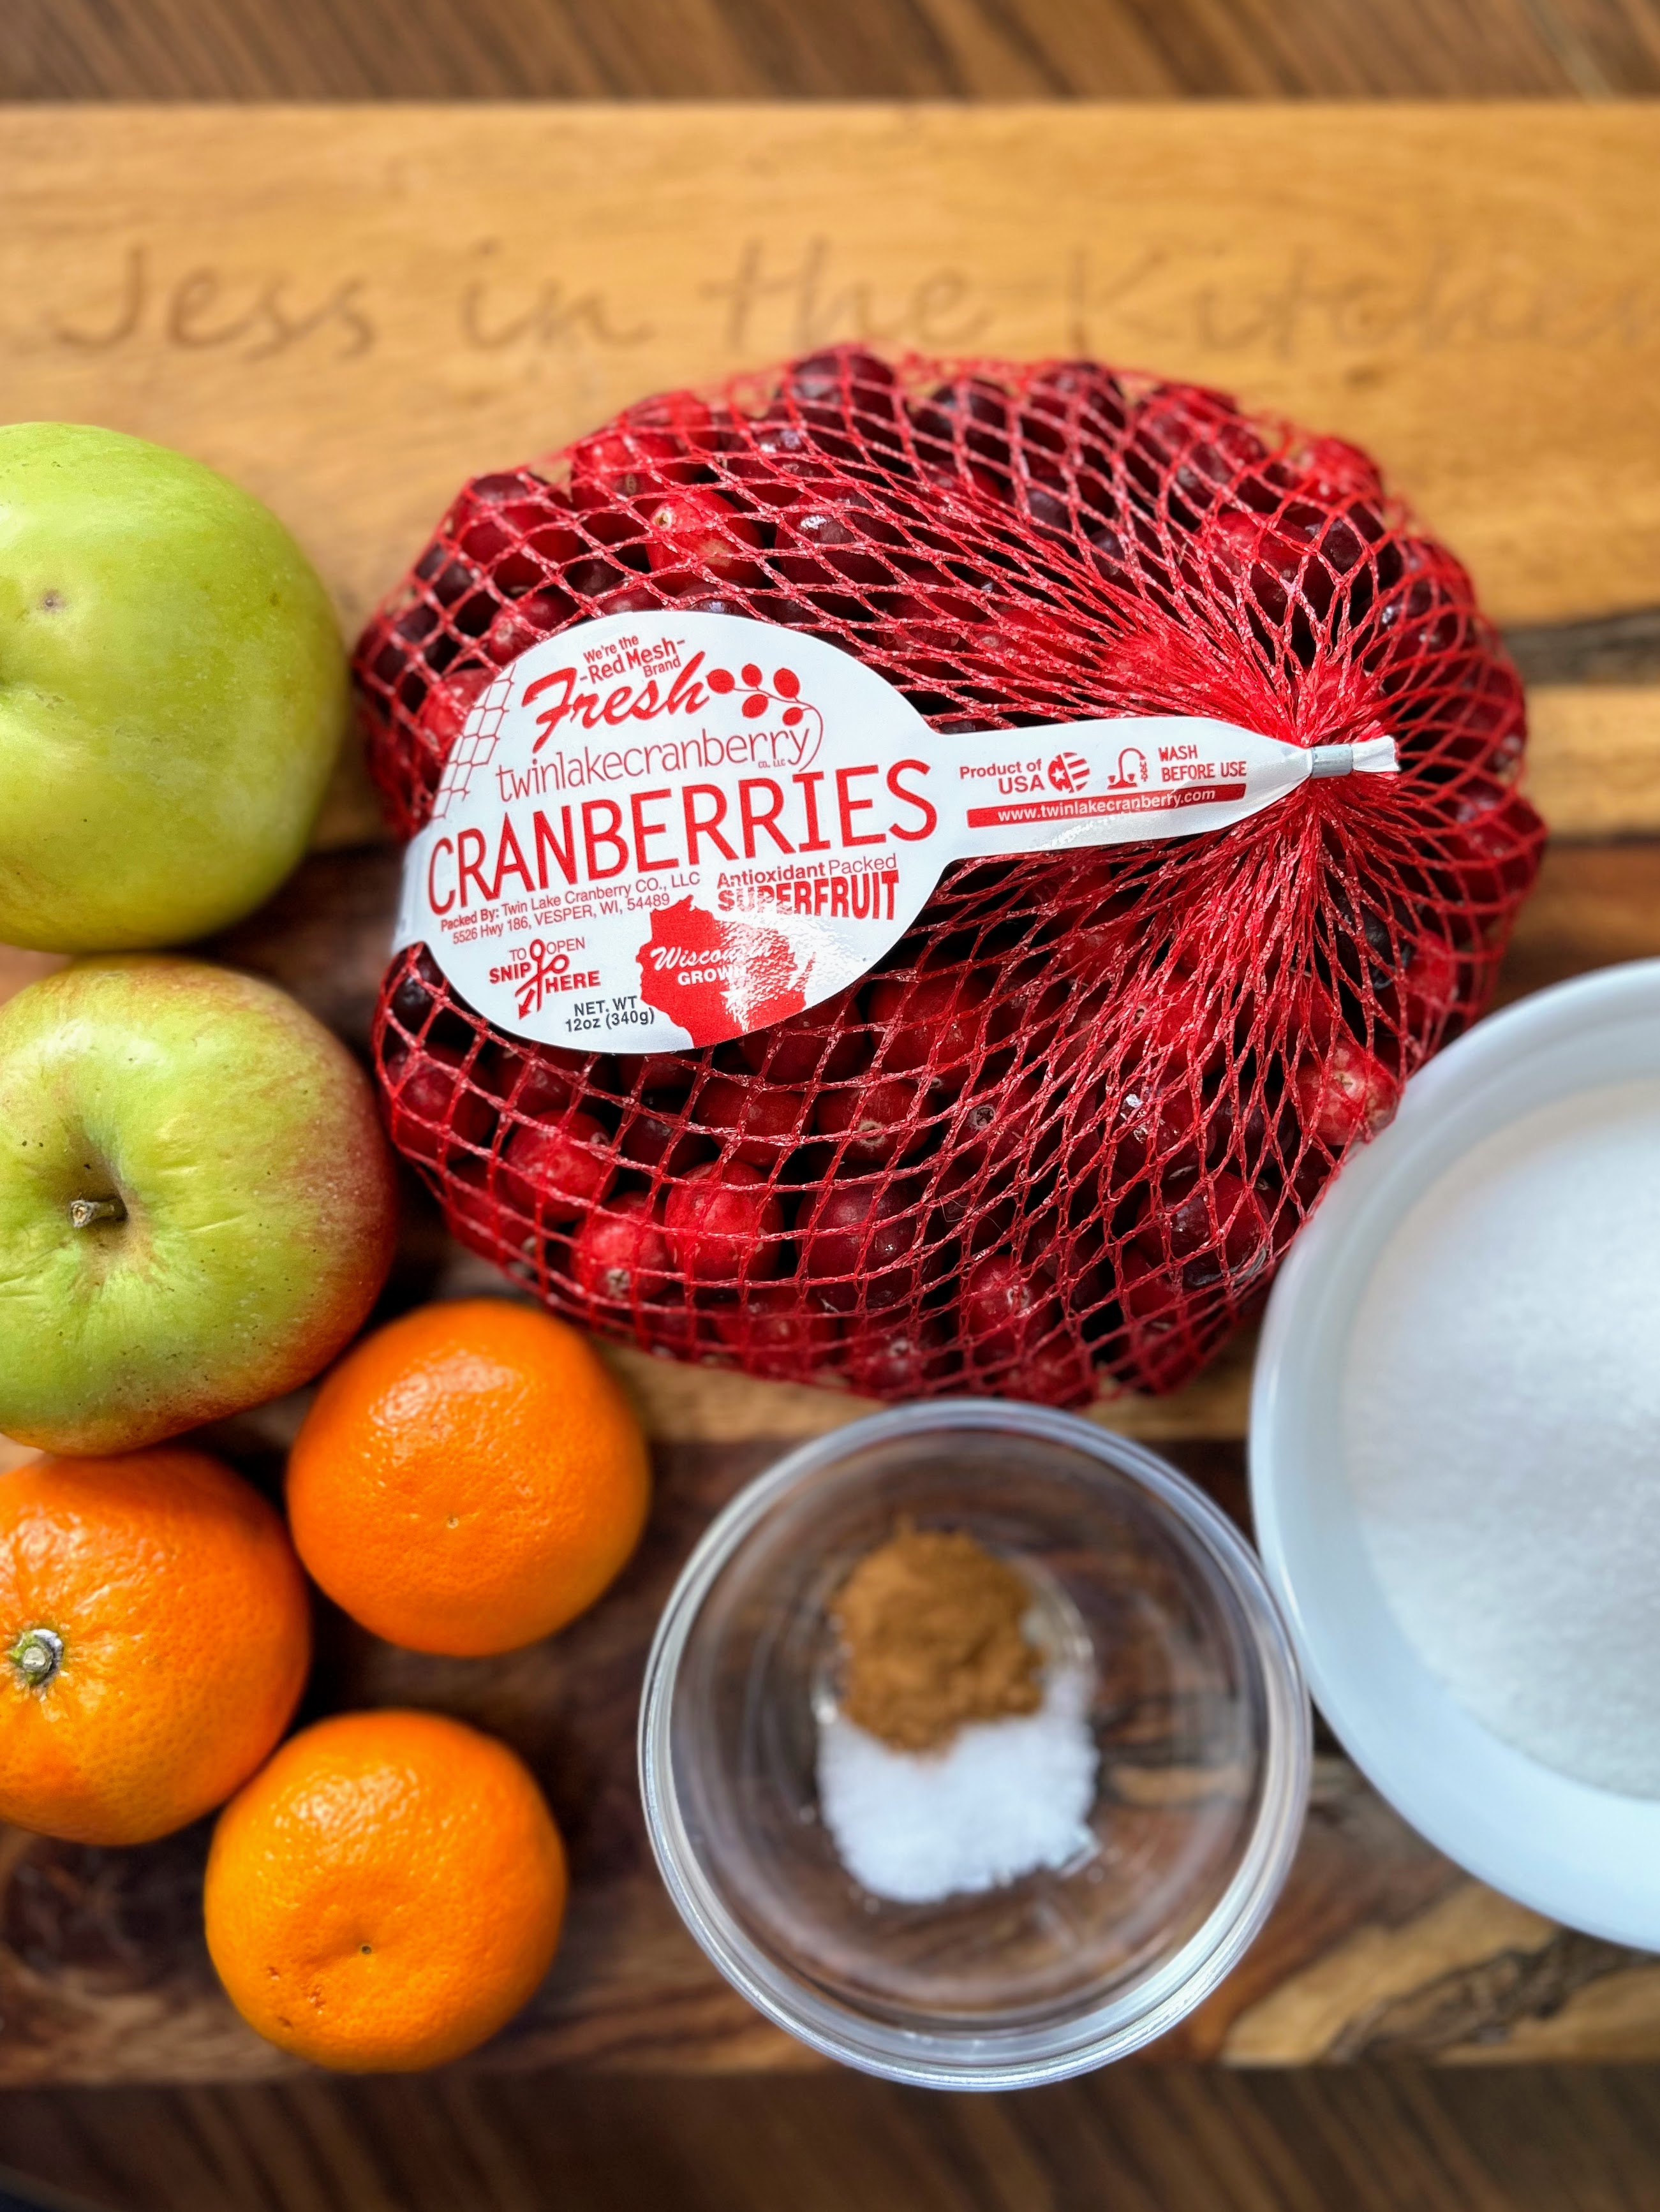
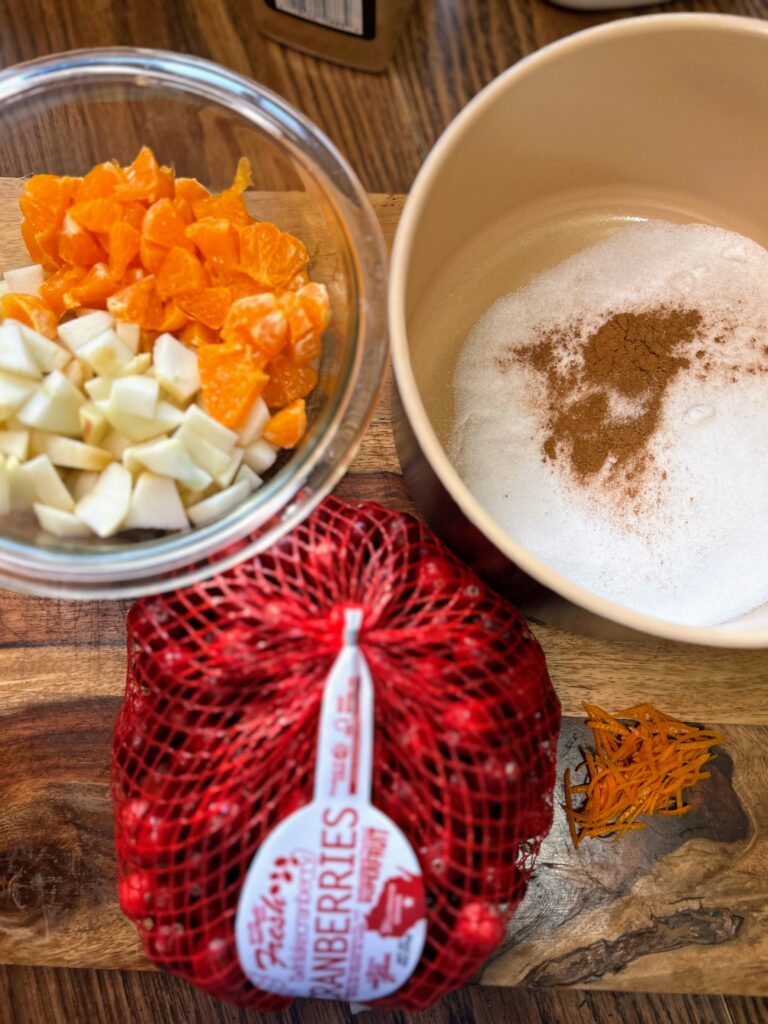
Your Ingredients for Homemade Cranberry Sauce
- ⅔ cup water
- ⅔ cup sugar (up to a cup if you want it sweet)
- 3 cups fresh cranberries
- 2 apples, peeled and diced (about 2 cups)
- 3 mandarin oranges, peeled and diced (or 1 large orange)
- ½ tablespoon orange zest
- ½ teaspoon cinnamon (optional)
- ¼ teaspoon salt
Your Steps
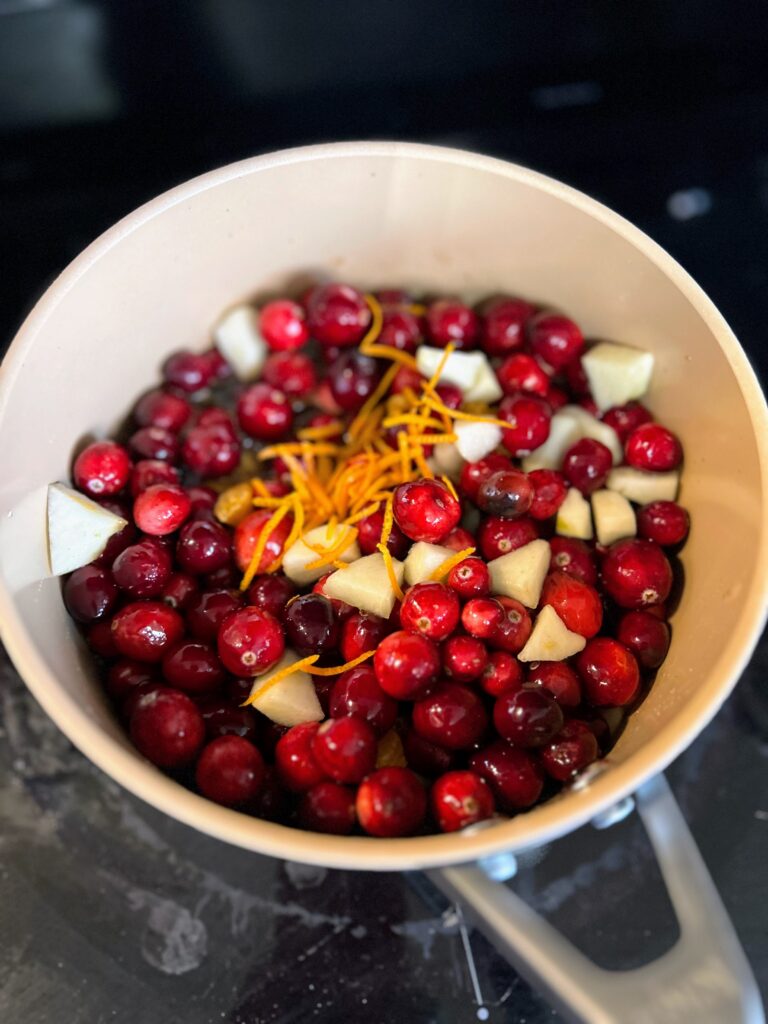
Bring water, sugar, cinnamon, and salt to a boil, stirring to dissolve the sugar and aslt. Once boiling, add the remaining ingredients. Heat over high heat to a boil once again.
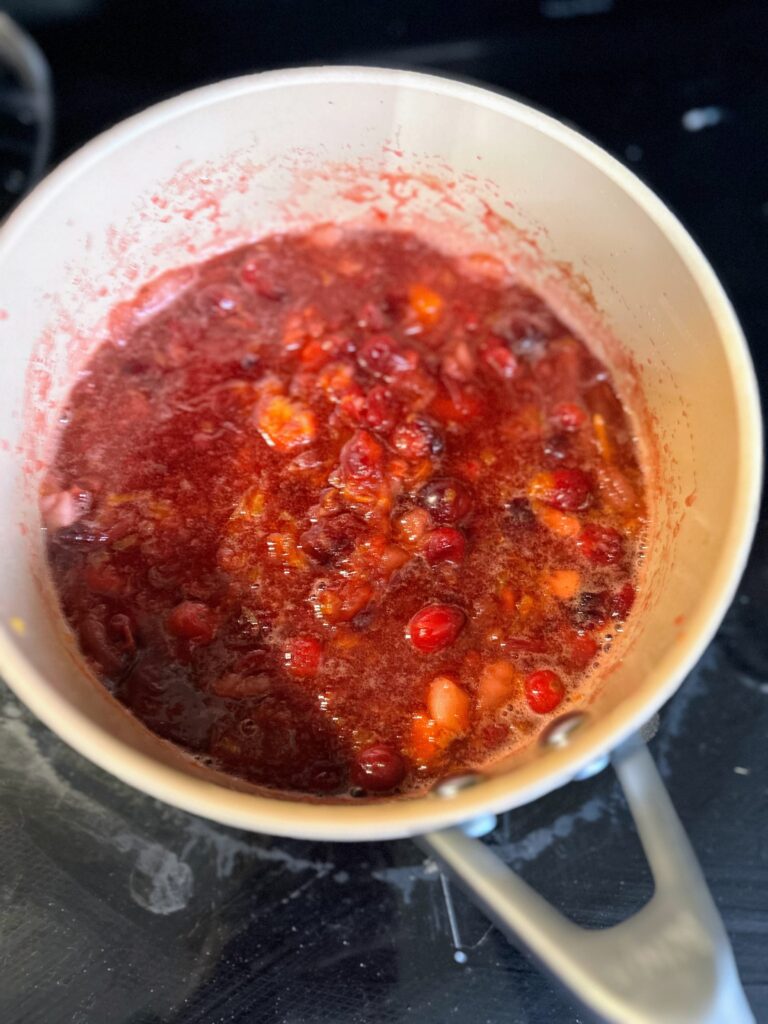
Lower to a simmer, cover, and cook for 15 minutes.
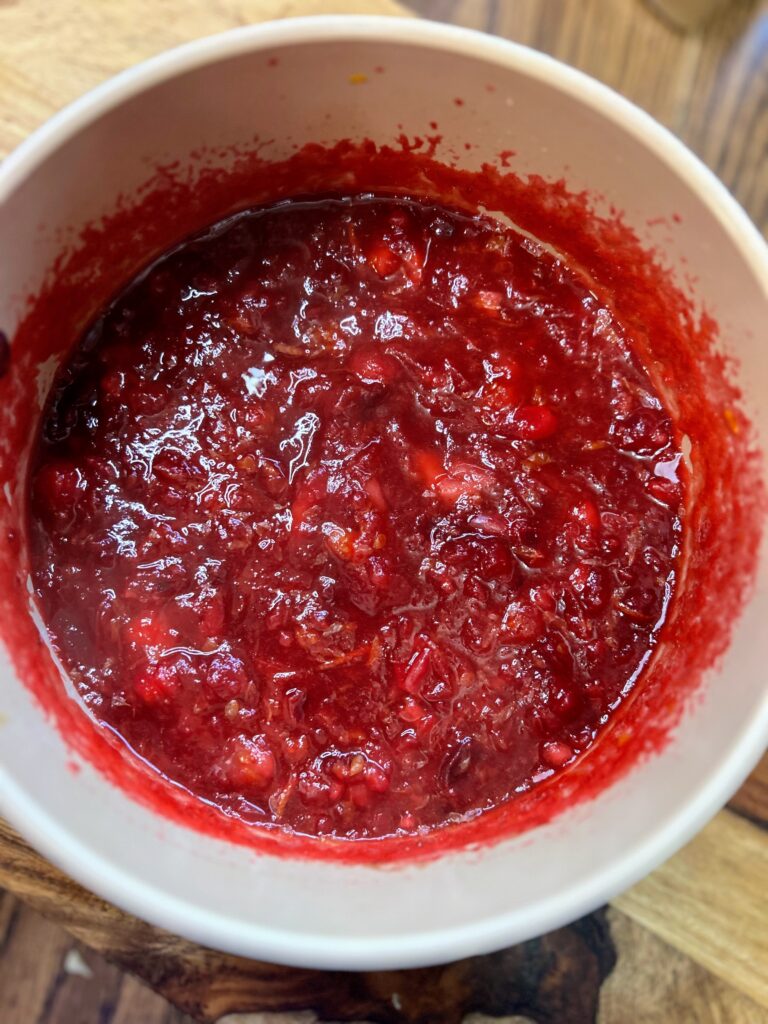
Remove the cover and simmer for an additional 10 minutes, stirring frequently as it thickens. Remove from heat and transfer to a serving dish. Allow to cool before refrigerating.
This cranberry sauce can be prepared a week in advance.
Homemade Cranberry Sauce
Equipment
Ingredients
- ⅔ cup water
- ⅔ cup sugar up to a cup if you want it sweet
- 3 cups fresh cranberries
- 2 apples peeled and diced (about 2 cups)
- 3 mandarin oranges peeled and diced (or 1 large orange)
- ½ tablespoon orange zest
- ½ teaspoon cinnamon optional
- ¼ teaspoon salt
Instructions
- Bring water, sugar, cinnamon, and salt to a boil, stirring to dissolve the sugar and aslt. Once boiling, add the remaining ingredients. Heat over high heat to a boil once again.
- Lower to a simmer, cover, and cook for 15 minutes.
- Remove the cover and simmer for an additional 10 minutes, stirring frequently as it thickens. Remove from heat and transfer to a serving dish. Allow to cool before refrigerating.
- This cranberry sauce can be prepared a week in advance.
Other favorite sides
Okay, so you have cranberry sauce, but do you have the rest of your sides? These are some favorites for me!