Last Updated on June 18, 2024 by Jess
A few months ago, we had guests coming up for the weekend. The week prior had been hectic and crazy and meal prep was not in the cards. Because of this, I didn’t have a whole lot planned besides baking fresh cherry donuts (get the recipe by clicking the link. They are amazing and have been a request for guests around here). However, the guests also raise chickens so we were gifted a few dozen eggs. I developed these baked tortilla egg muffins with various leftovers in the fridge.
Let me tell you, they were a huge hit. I was able to customize them for different preferences: drop the tortilla for those watching their carbs, skip the spinach for the kids, etc. I couldn’t believe how fast they came together. Beyond the speed, they were beautiful and looked like I had to have worked hard putting them together (Let them believe it, right?). Oh, and the tortilla egg muffins were no fuss with minimal mess. All the winning.
I tweaked it a little for this recipe, using street taco sized tortillas. If you can’t find them, you can cut regular shells into thick strips and layer them (what I did the first time). I am impressed with the crisp tortilla shells and how the egg bakes up perfectly. Okay, enough talk. I hope you all enjoy baked tortilla egg muffins as much as my family did!
Your Ingredients for Baked Tortilla Egg Muffins
- 18 street taco size tortillas
- 10 eggs
- ¼ teaspoon each of salt, pepper, garlic powder, onion powder, and paprika
- ⅛-¼ cup milk
- ½ cup diced ham or browned breakfast sausage
- ½ cup each spinach, diced peppers, tomatoes
- Shredded cheese
Your Steps
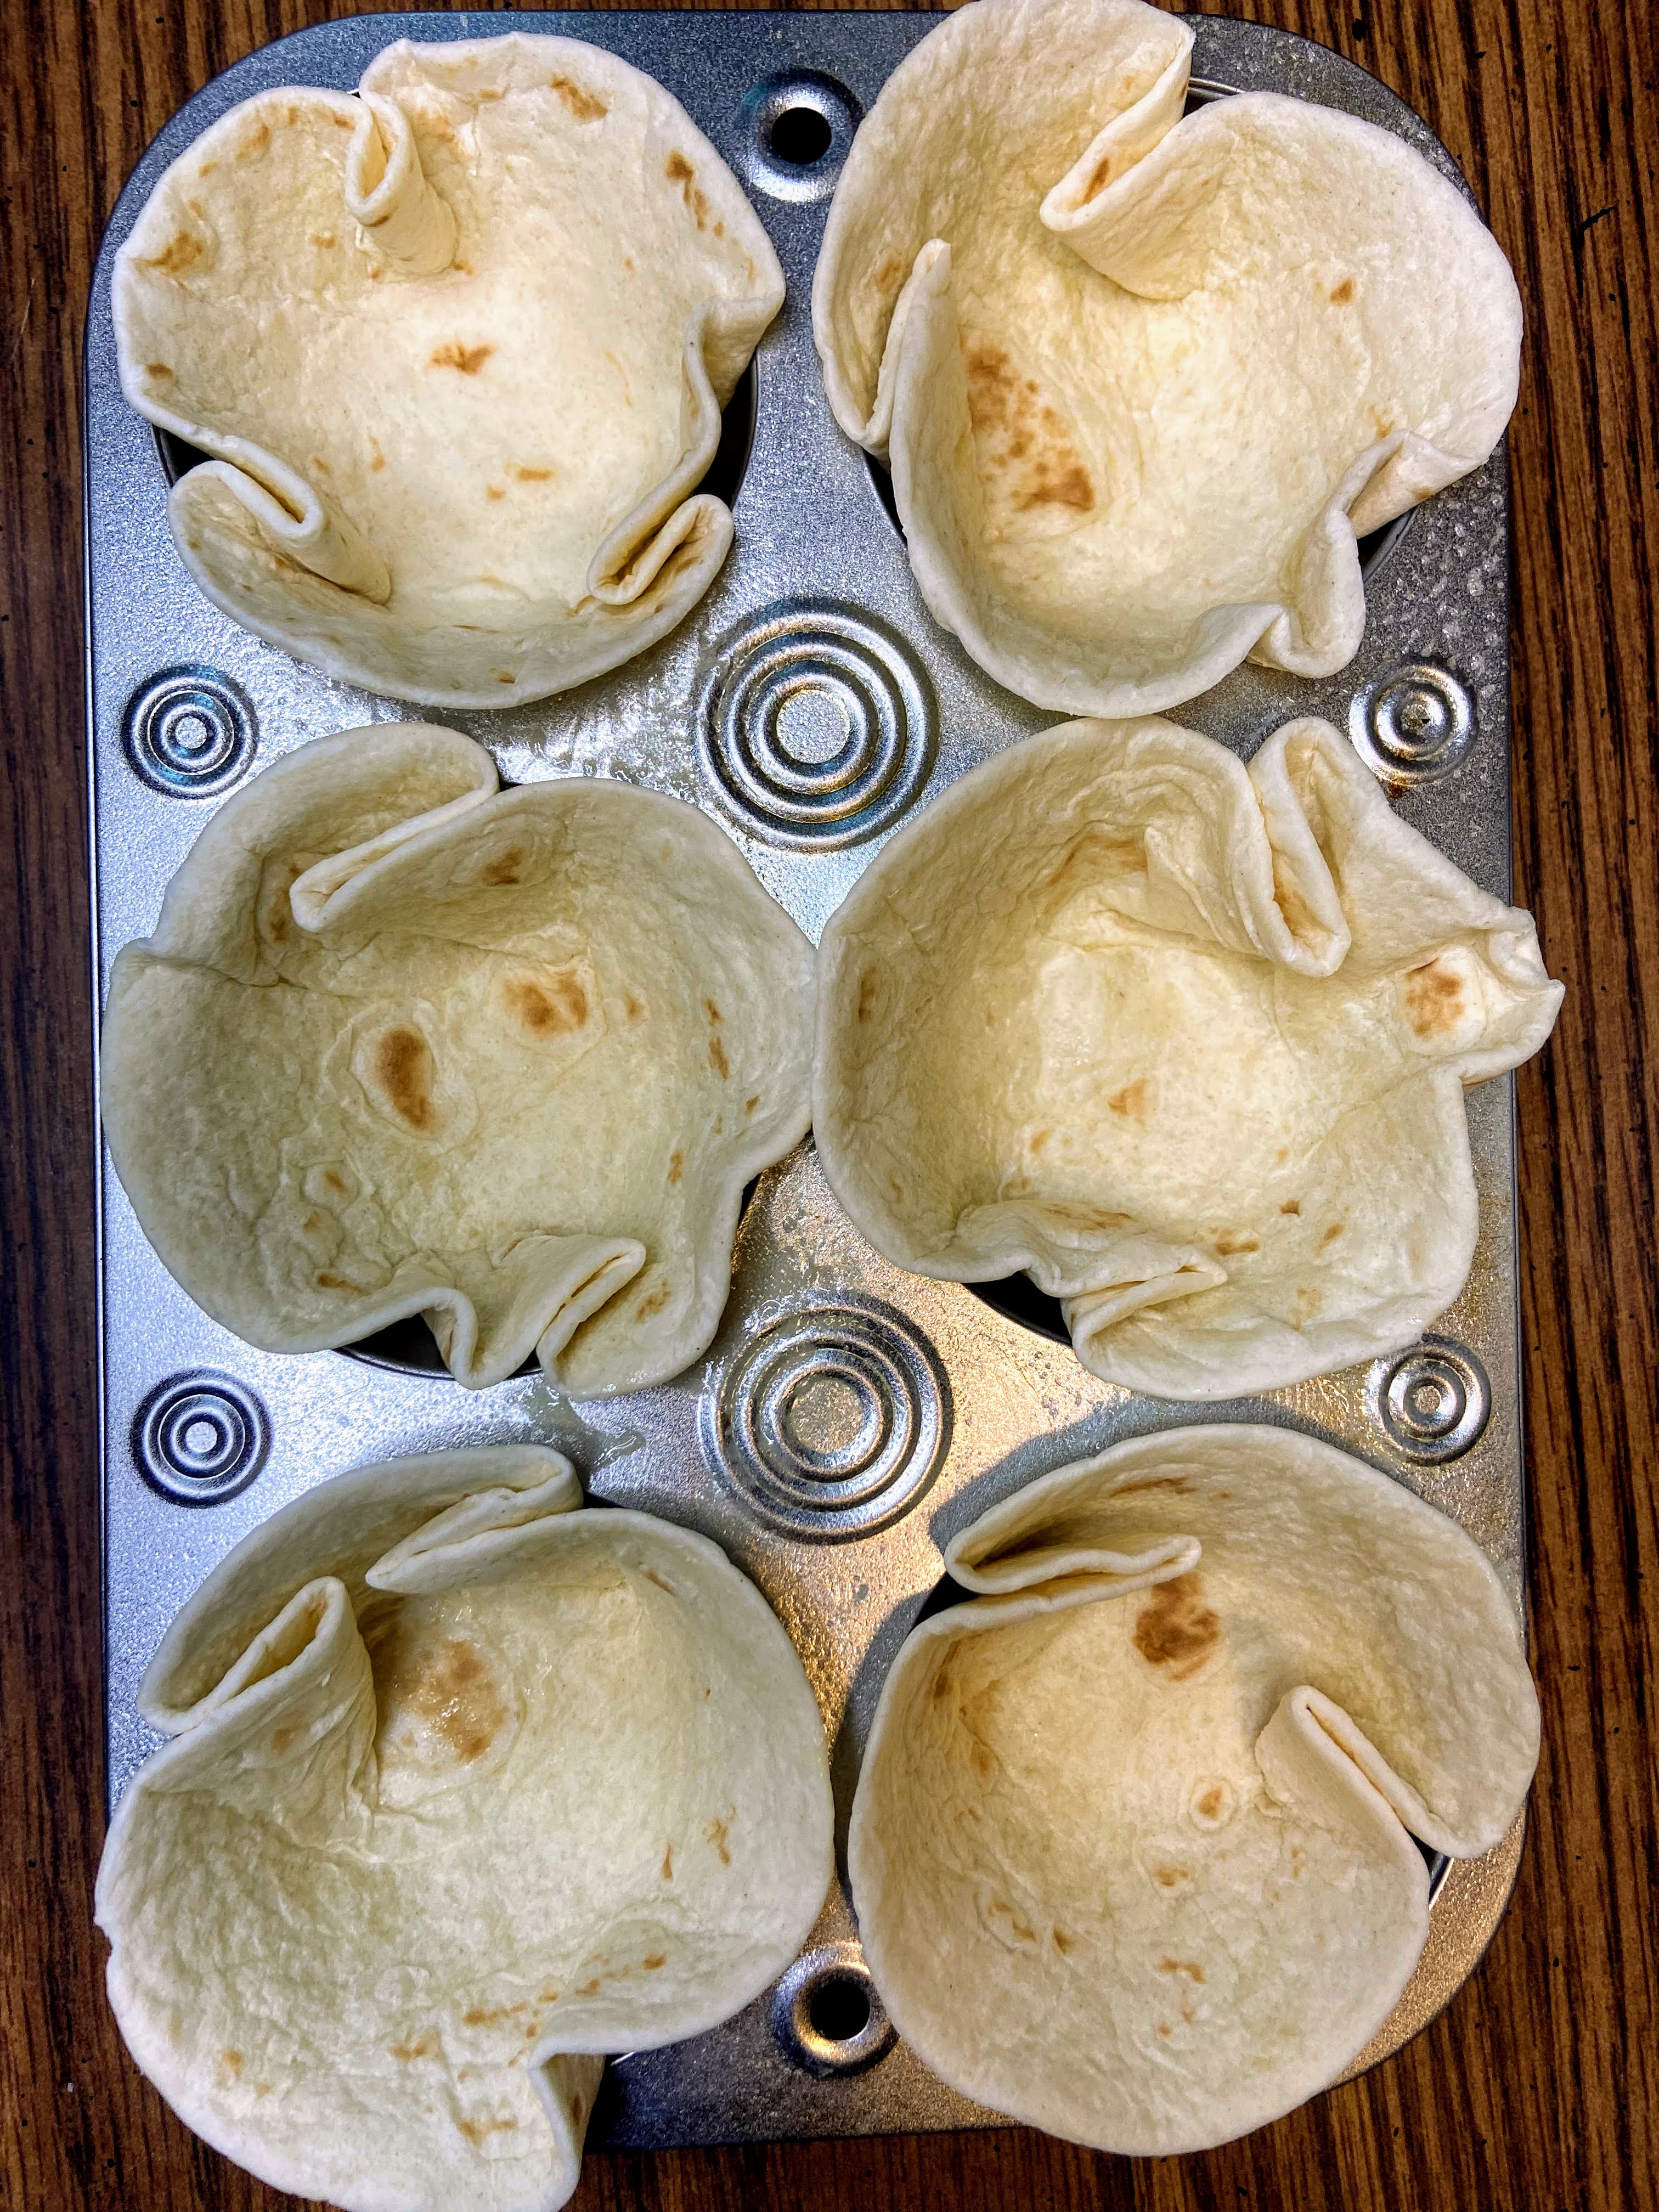
Begin by preheating the oven to 350 degrees and preparing two muffin baking tins by spraying with non-stick cooking spray. Press tortillas into the muffin tin, folding in get them to form a cup.
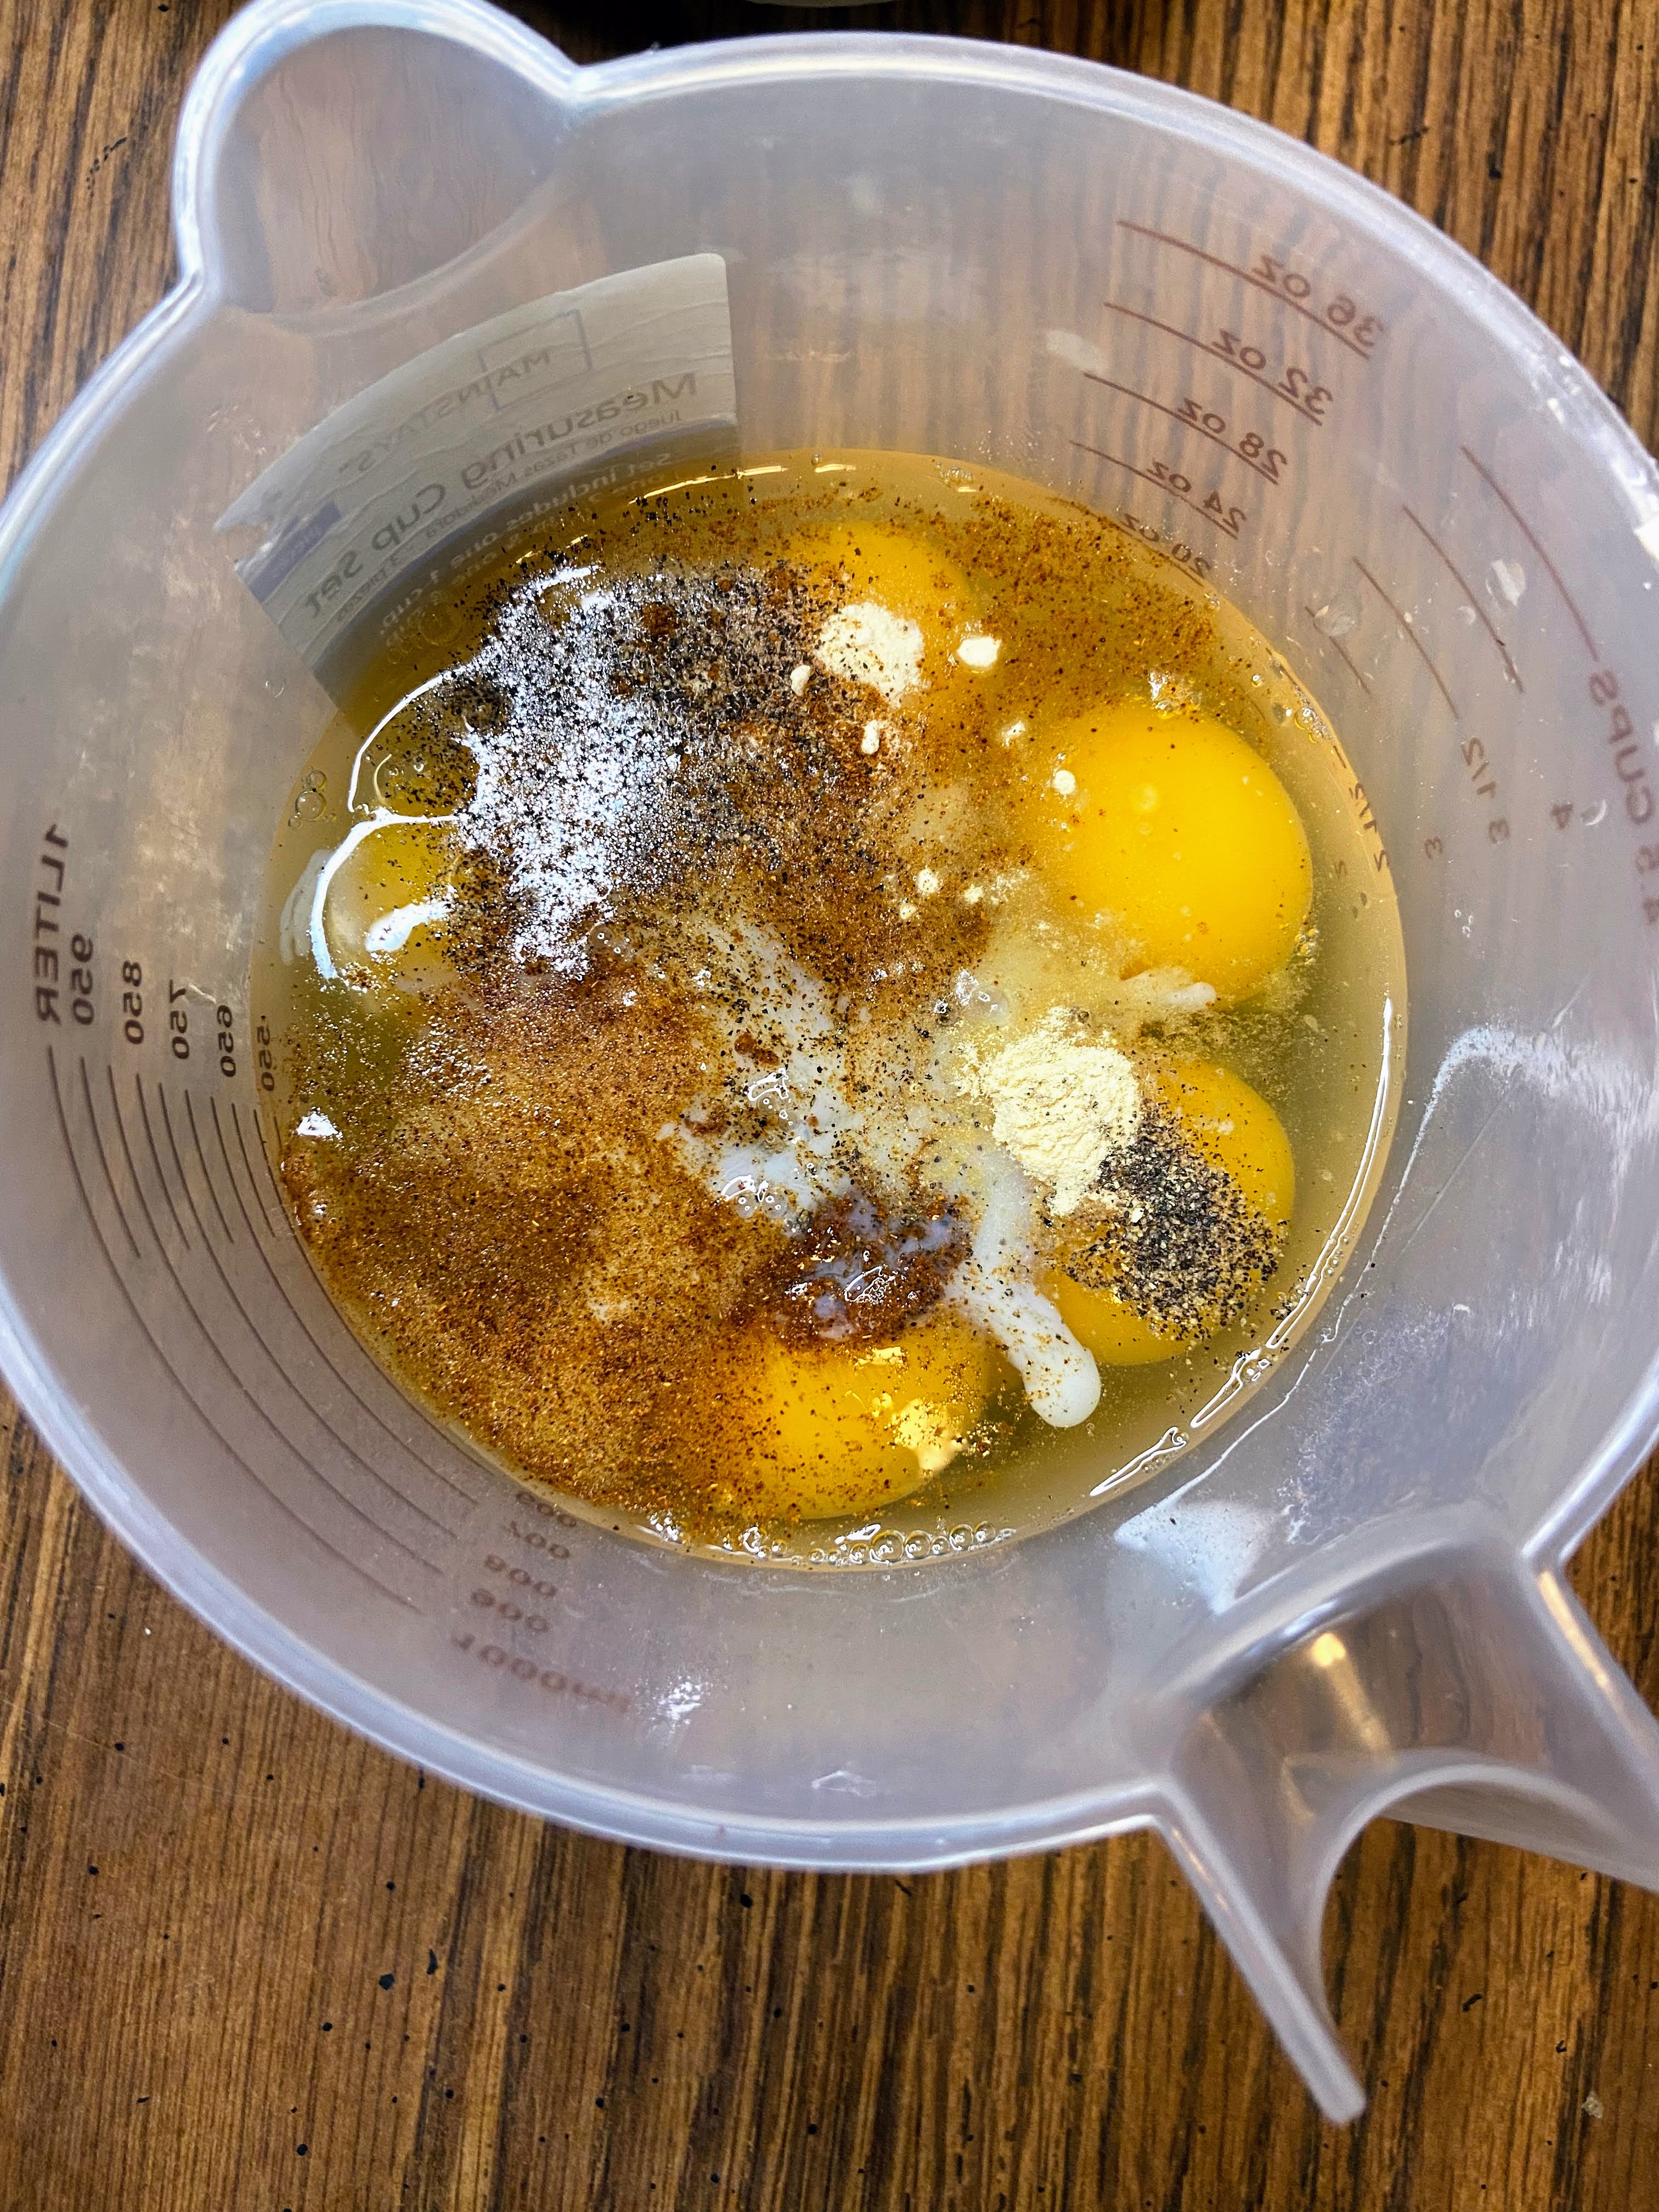
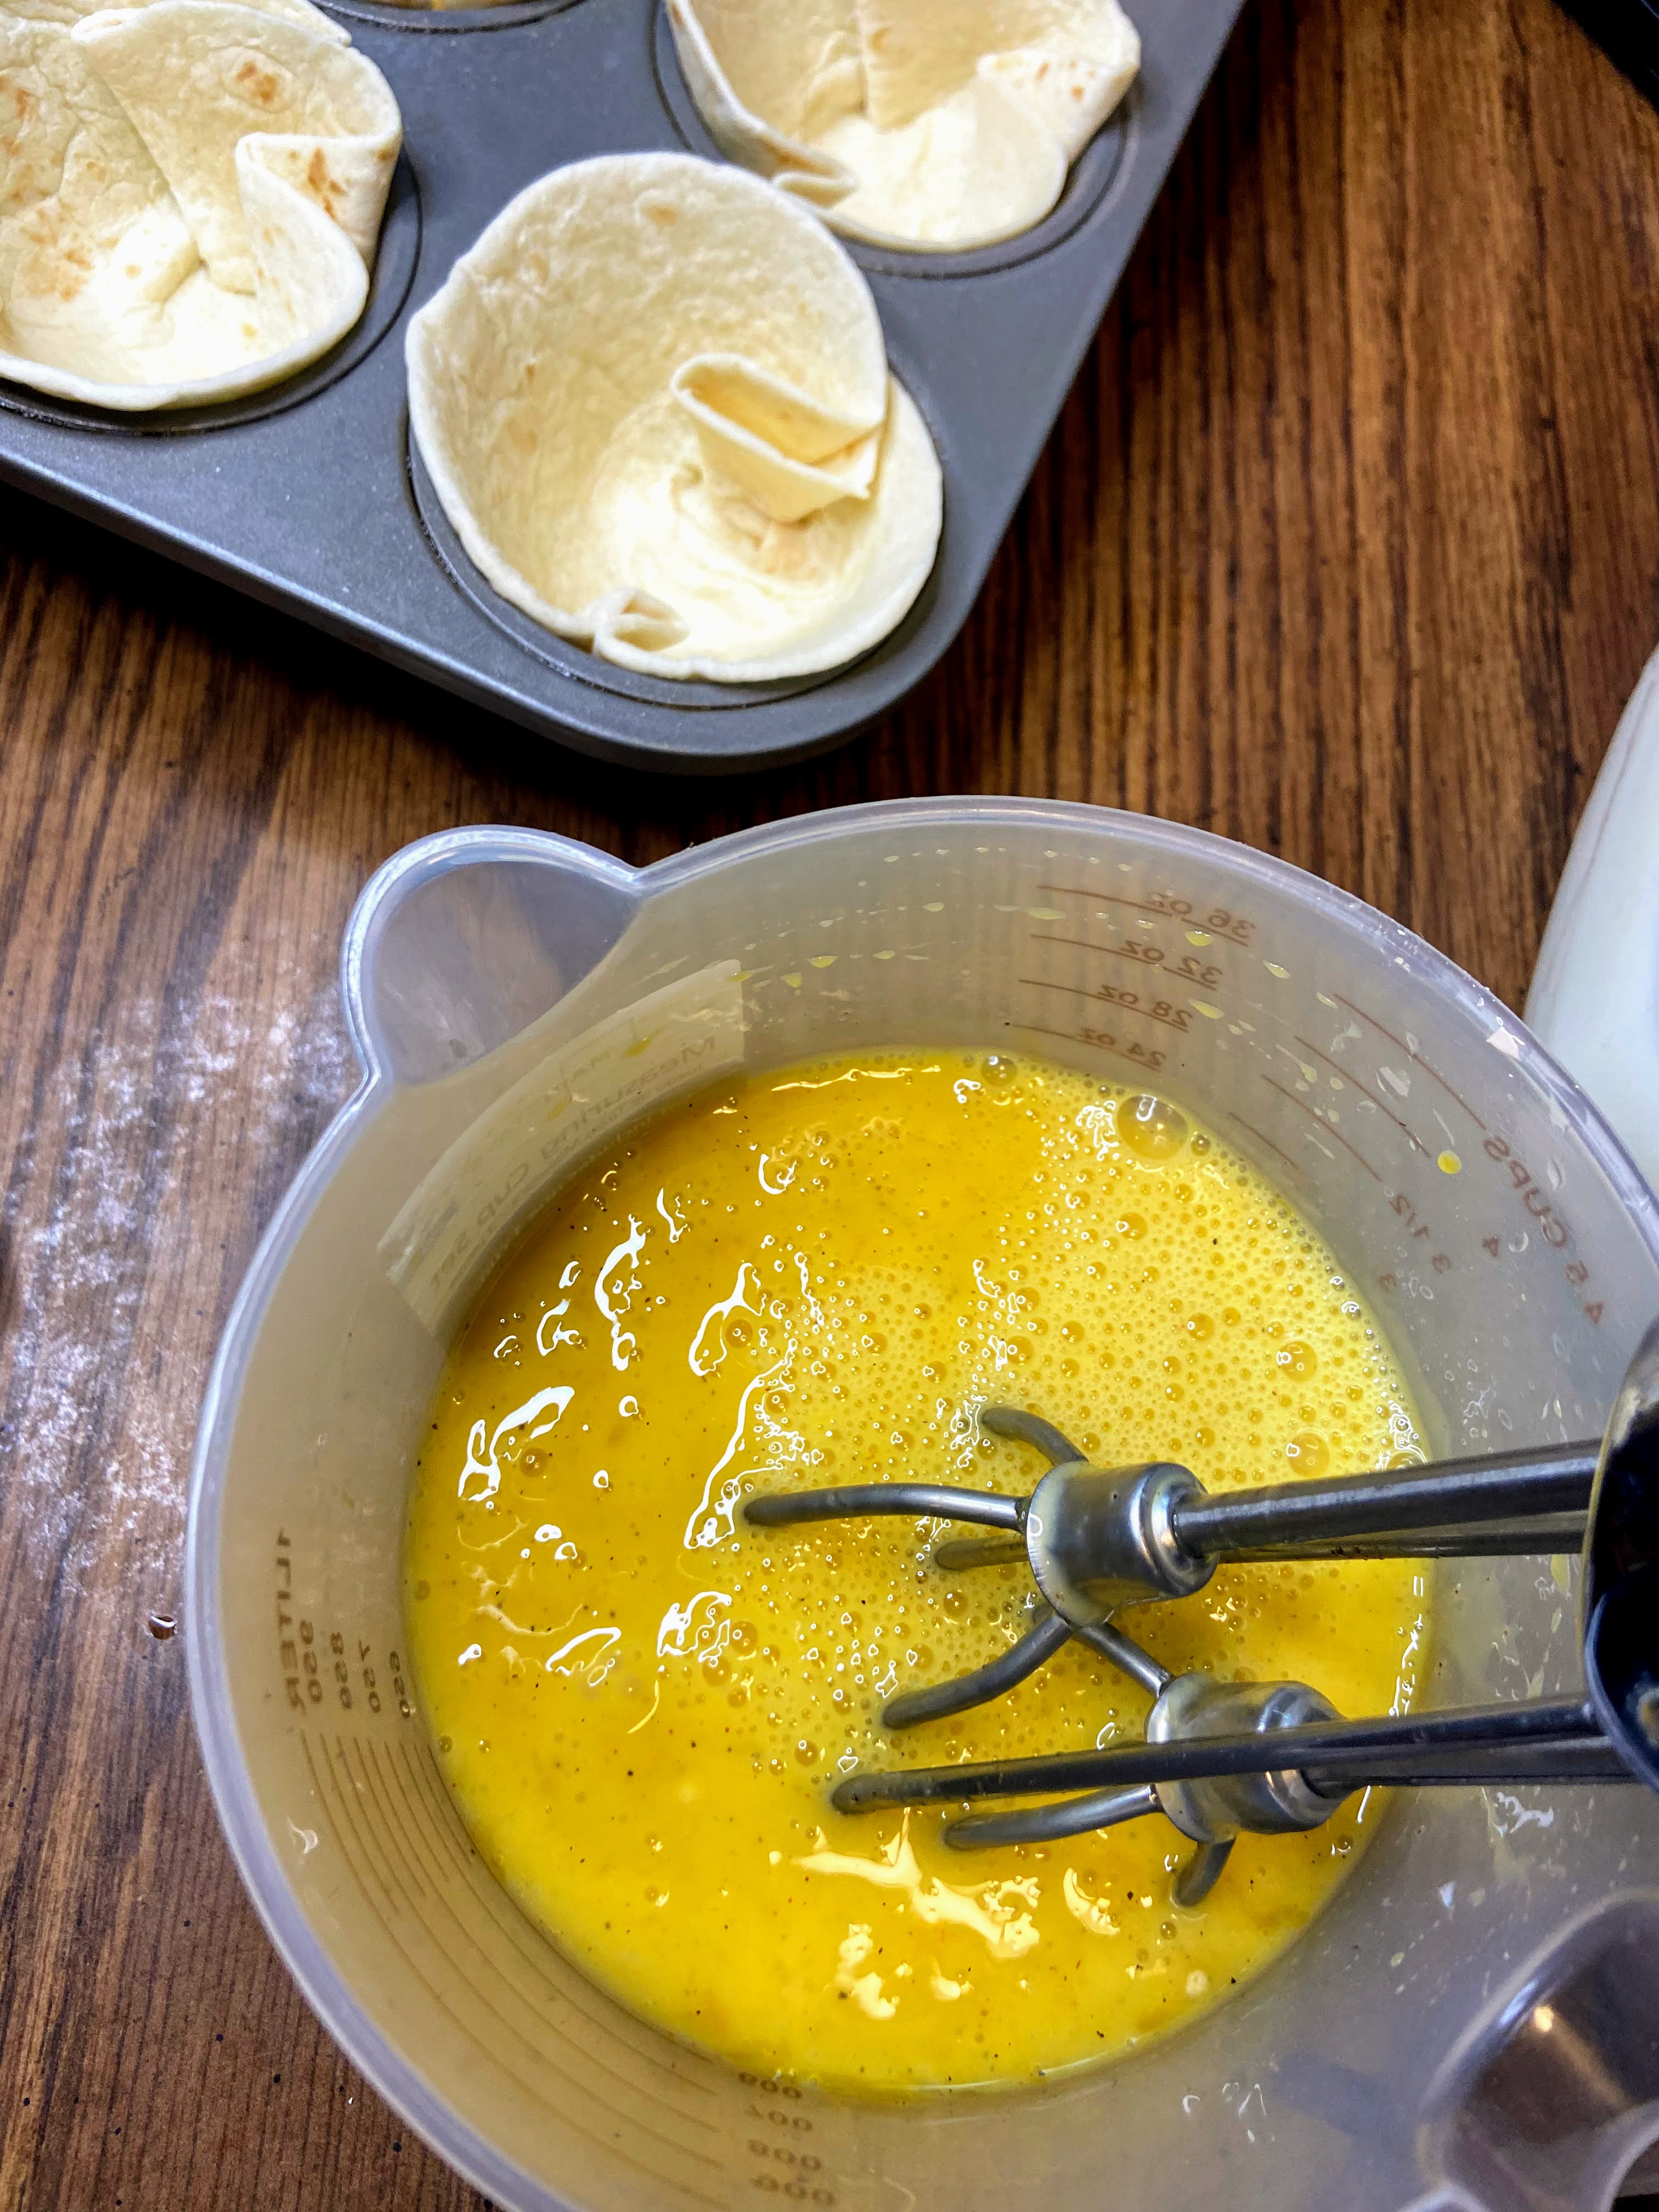
Begin by In a large liquid measuring cup (or bowl with a pour spout), whisk eggs, milk, salt, pepper, garlic powder, onion powder, and paprika until well combined. Pour into tortilla cups, filling approximately ¾ of the way full.
Here, you can personalize each cup by dropping pieces of ham or sausage, spinach, peppers, and tomatoes. For a final touch, sprinkle them with the shredded cheese of your choice.
Finally, bake at 350 degrees for 20-25 minutes. The shells will become perfectly crispy and delicious. Serve immediately.


Baked Tortilla Egg Muffins
Ingredients
- 18 street taco size tortillas
- 10 eggs
- ¼ teaspoon each of salt pepper, garlic powder, onion powder, and paprika
- ⅛-¼ cup milk
- ½ cup diced ham or browned breakfast sausage
- ½ cup each spinach diced peppers, tomatoes
- Shredded cheese
Instructions
- Begin by preheating the oven to 350 degrees and preparing two muffin baking tins by spraying with non-stick cooking spray. Press tortillas into the muffin tin, folding in get them to form a cup.
- In a large liquid measuring cup (or bowl with a pour spout), whisk eggs, milk, salt, pepper, garlic powder, onion powder, and paprika until well combined. Pour into tortilla cups, filling approximately ¾ of the way full.
- Personalize each cup by dropping pieces of ham or sausage, spinach, peppers, and tomatoes. For a final touch, sprinkle them with the shredded cheese of your choice.
- Bake at 350 degrees for 20-25 minutes, until the egg is cooked through. The shells will become perfectly crispy and delicious. Serve immediately.
Notes
Looking for other breakfast dishes?
Check out my breakfast page or maybe one of my favorites below will tickle your fancy!