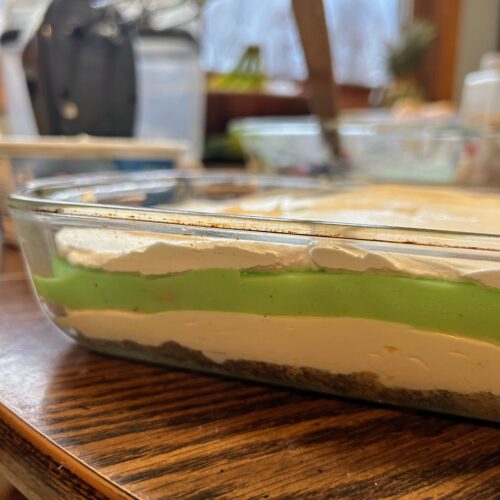
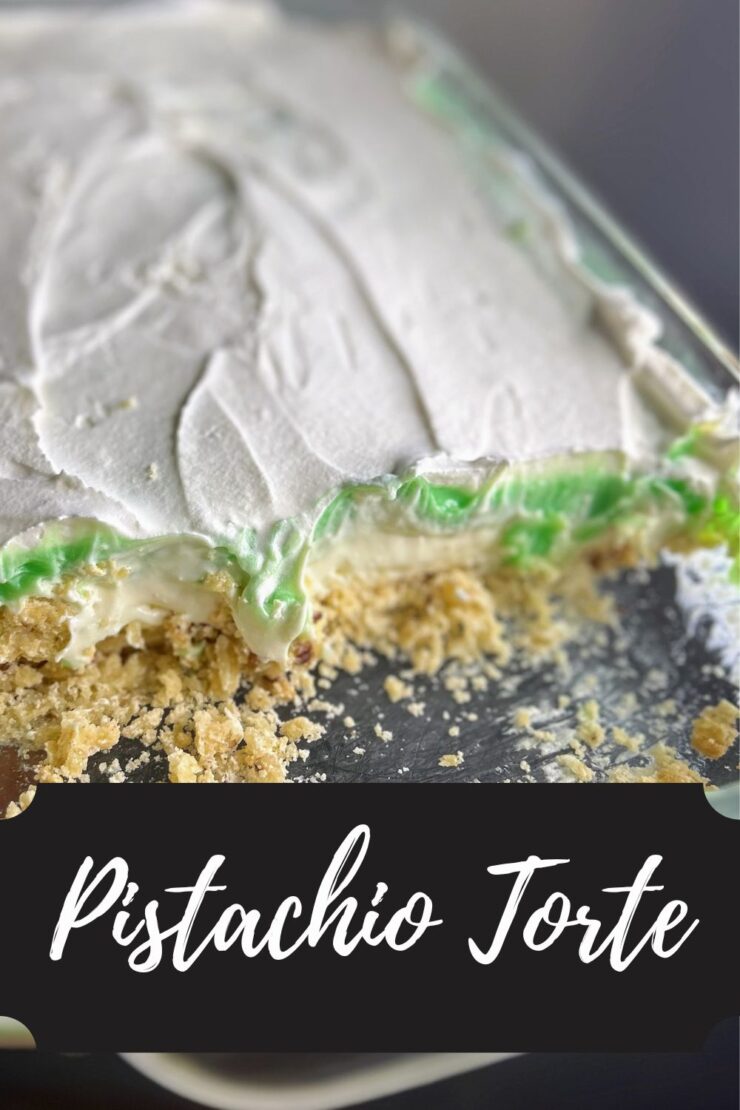
Pistachio Torte

Sometimes you have those recipes that you revisit every few years and think, “Oh my gosh, why don’t I make this more often?! It’s so simple to make and is beyond delicious.” Pistachio Torte is one of those recipes in our household (Well, at least for me. Read on.)

At Thanksgiving, I asked the Mr what dessert he would like and without hesitation, he said, “Pistachio Torte!” He knows how good it is, and I simply forget. 
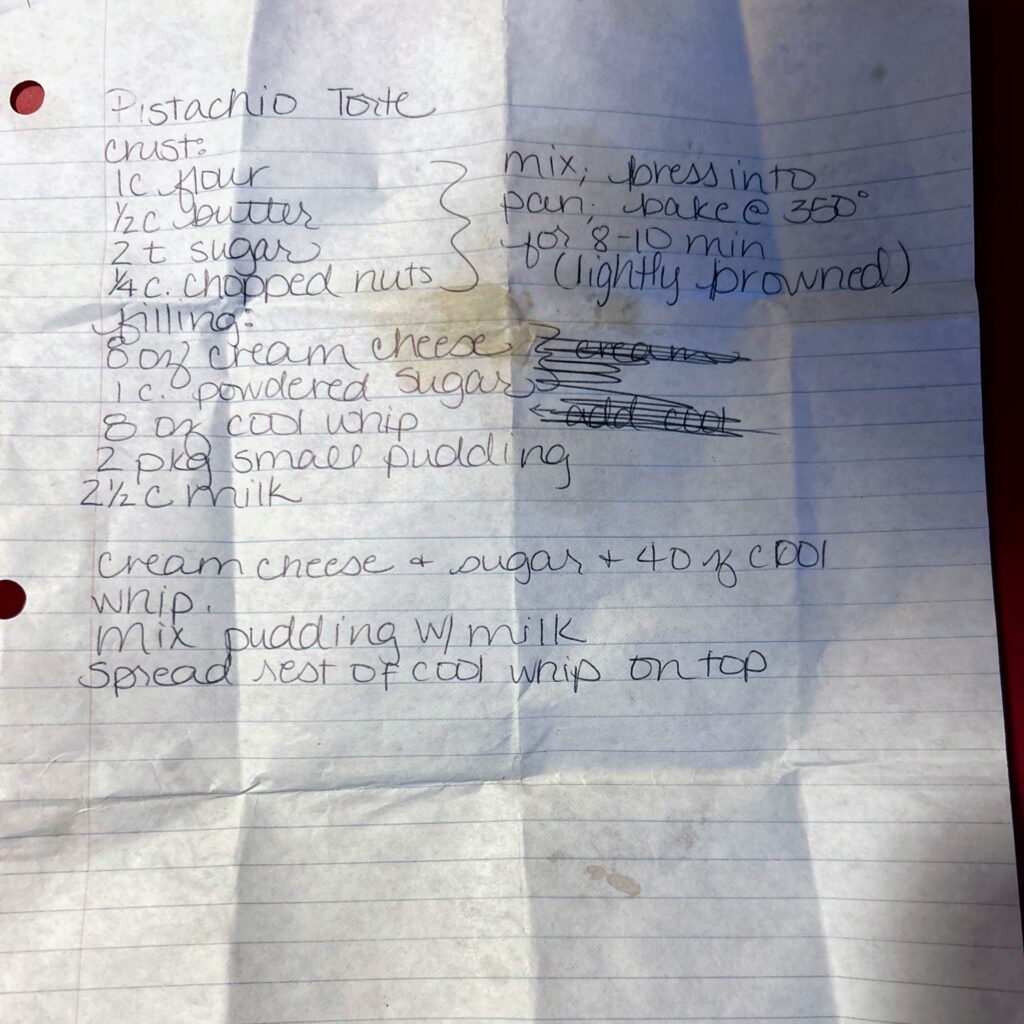
I pulled out the handwritten recipe, and giggled as it had minimal directions with it. (My friend Claire has told me it’s reminiscent of a recipe on The Great British Baking Show.)That’s okay, I have been cooking and baking long enough to know how to roll with the punches. And my goodness, I did forget how good it was and immediately resolved to share it out here so that everyone else can have this treat in their back pocket when they need to bring a dessert. 

A quick story

Before we start creating, I have to share another short funny story to go with this: I know this recipe came from my mother in law. It’s a go to for her (along with black raspberry torte). After we ate it for Thanksgiving, I asked my mom, dad, and sister how they felt about me making it for our Christmas celebration. My sister’s response was, “I am for it,” and my mom asked if I needed a recipe. This the conversation that followed:

Me: “No, I don’t need the recipe. If you have it, I must have given it to you because I got it from Matt’s mom.” 

My Mom: “I have had that recipe well before you were even a twinkle in our eyes.” (Sends the recipe in her handwriting) 

It was IDENTICAL to the recipe I got from my mother in law. There is about 15 years difference in age for our moms, so it seems odd that they would have been reading the same publications;  I can’t help but wonder where the recipe was that they both have it and it’s exactly the same. But that means it must be good, right? 

I’ve talked long enough. We are reading to start baking and creating right? Let’s go! 

Your Ingredients for Pistachio Torte

  • 1 cup flour
  • ¼ teaspoon salt
  • ½ cup butter, soften
  • 2 teaspoons white sugar 
  • ¼ cup finely chopped nuts
  • 8 ounces cream cheese, softened
  • 1 cup powdered sugar
  • 8 ounces cool whip, divided
  • 2 packages pistachio pudding (3.4 ounces)
  • 2 ½ cups milk 

Your Steps to Pistachio Torte

Preheat the oven to 350 degrees. Prepare a 9 by 13 inch baking pan with cooking spray and set aside. 

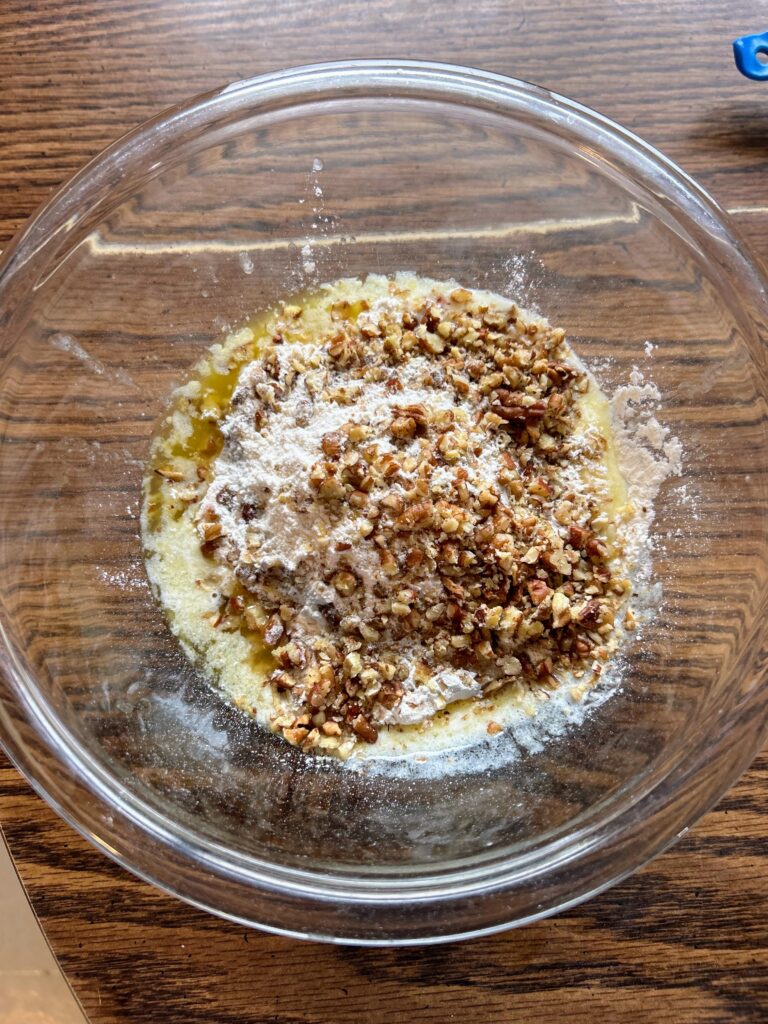
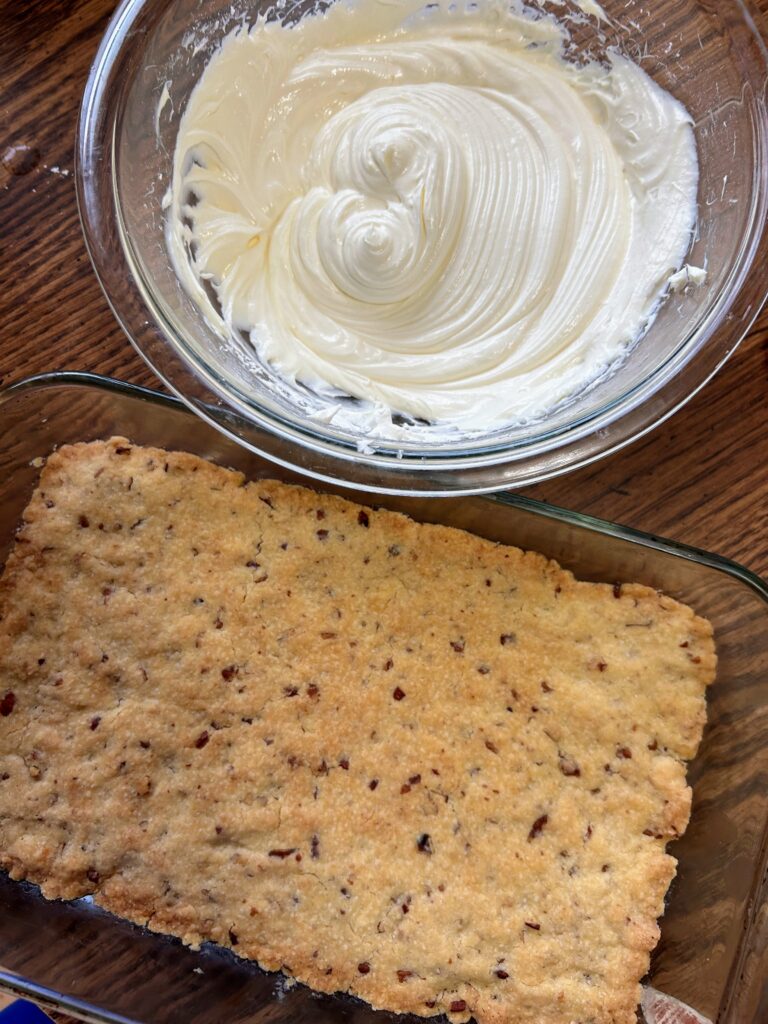
In a medium bowl, cream the butter until smooth. Add flour, white sugar, salt, and chopped nuts. Mix until well combined. Press into the prepared baking pan. It will seem thin and as though you don’t have enough. You do. I promise (But if you want a thicker crust, I have done it in a 7 by 11 inch pan too). Bake for 8-12 minutes, until the crust is lightly browned. Allow to cool. 

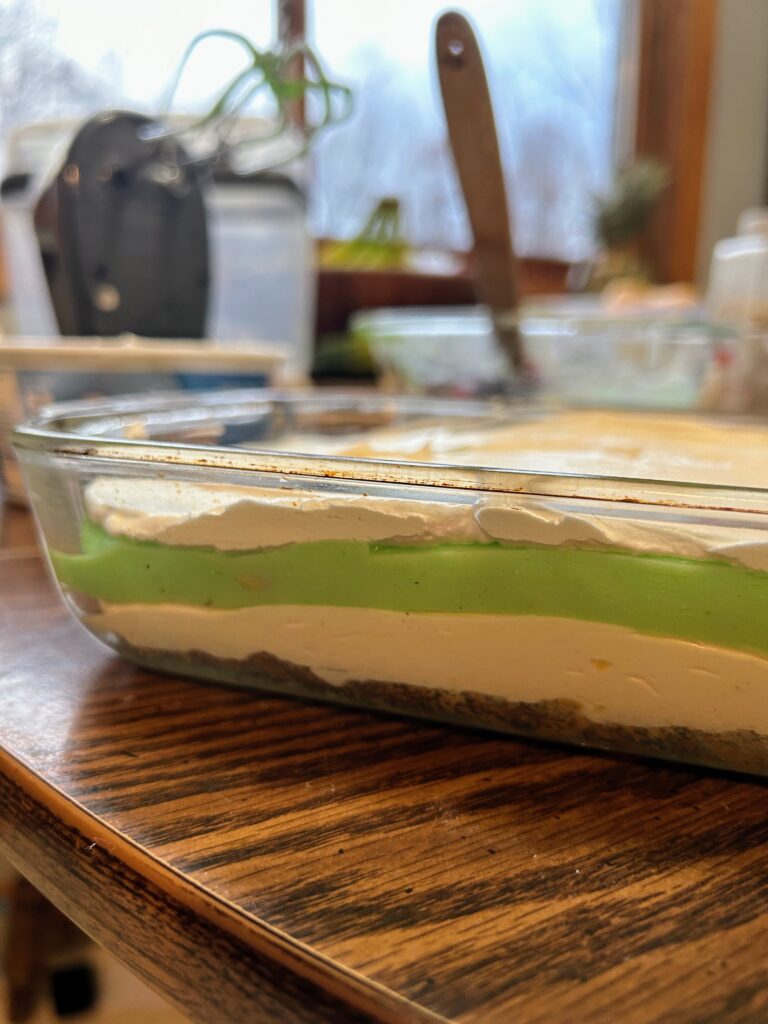
Once the crust has cooled, Add the cream cheese to a large bowl and cream with a hand mixer. Add powdered sugar and 4 ounces of the cool whip. Spread on top of the cooled crust. 

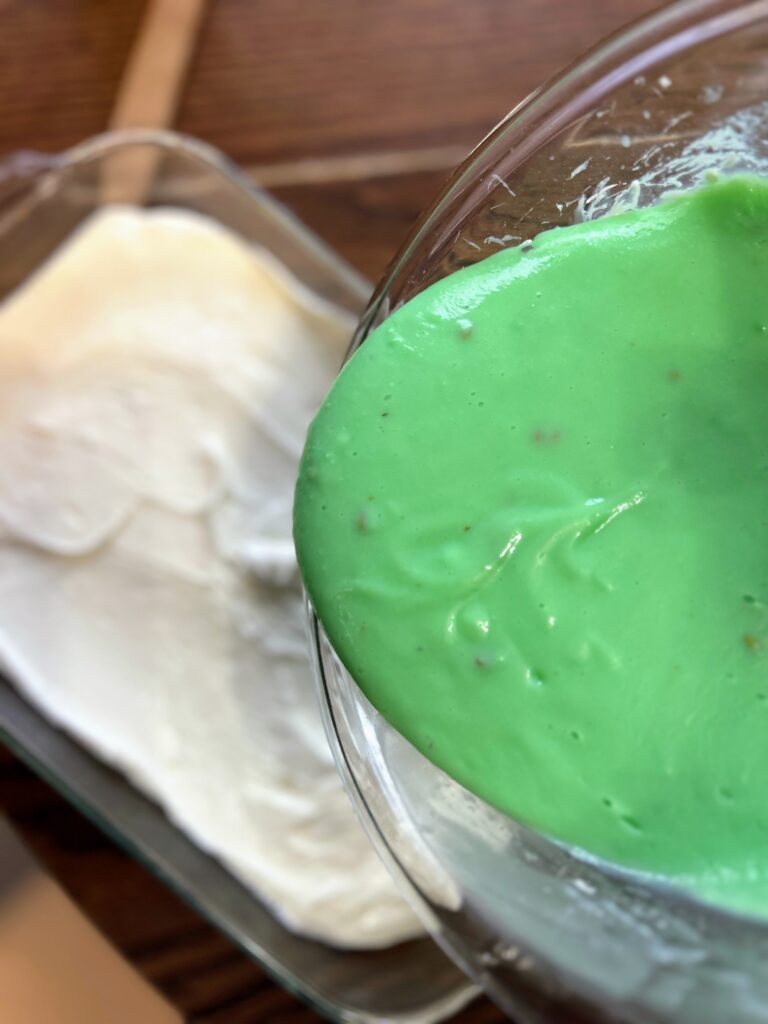
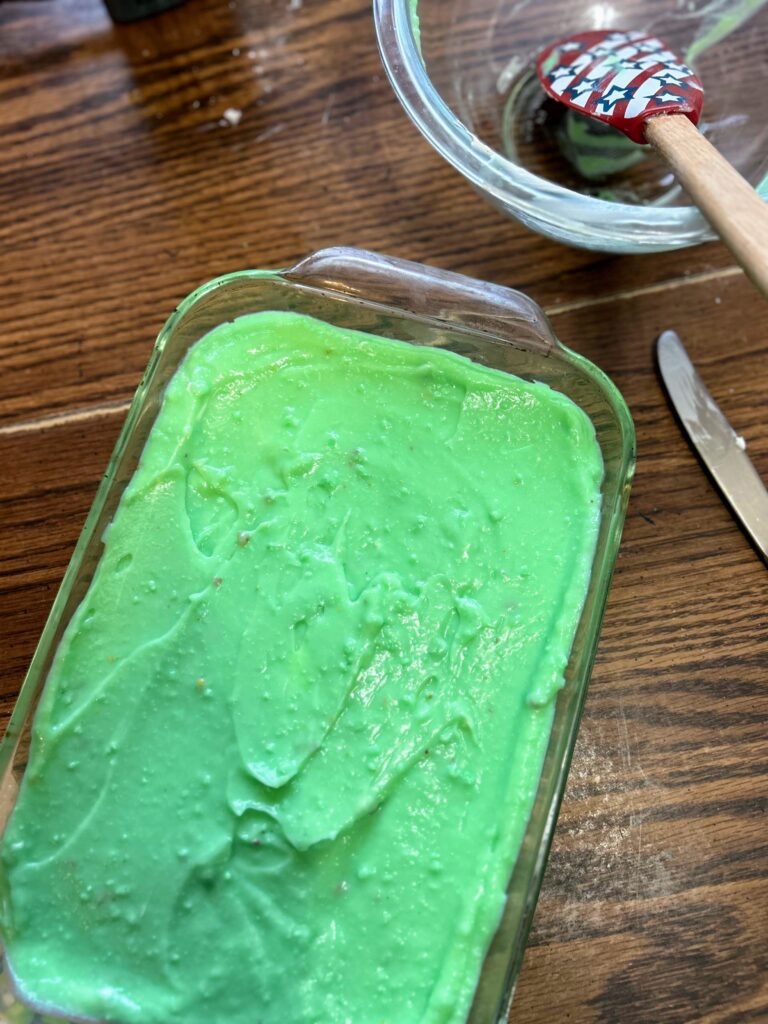
Combine the pudding with the milk and mix according to package directions (I do this right in the same bowl, but you do you). Spread the pudding on top of the cream cheese layer. Allow to set just a few minutes. 

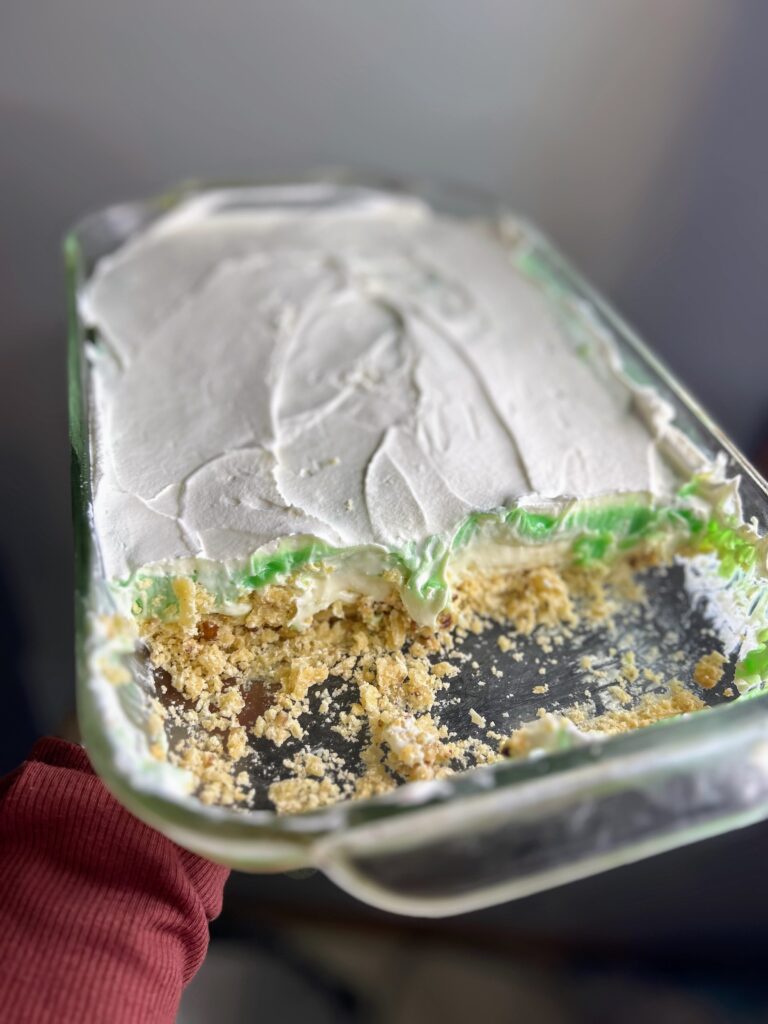
Finally, spread the remaining cool whip on top of the pudding and top with additional nuts if you care to. Serve up immediately or this dessert is a great one that can be prepped a few days ahead. Either way, you are sure to bring smiles to a lot of people’s faces.
Pistachio Torte

This layered pistachio torte is the perfect dessert for your next get-together. A quick crust, cream cheese filling, and pistachio pudding layer make a delicious treat!
Prep Time 20 minutes
Cook Time 10 minutes
Course Dessert
Cuisine American
Servings 12 people

Equipment

Ingredients
  

  • 1 cup flour
  • ¼ teaspoon salt
  • ½ cup butter soften
  • 2 teaspoons white sugar
  • ¼ cup finely chopped nuts
  • 8 ounces cream cheese softened
  • 1 cup powdered sugar
  • 8 ounces cool whip divided
  • 2 packages pistachio pudding 3.4 ounces
  • 2 ½ cups milk

Instructions
 

  • Preheat the oven to 350 degrees. Prepare a 9 by 13 inch baking pan with cooking spray and set aside.
  • In a medium bowl, cream the butter until smooth. Add flour, white sugar, salt, and chopped nuts. Mix until well combined. Press into the prepared baking pan.
  • Bake for 8-12 minutes, until the crust is lightly browned. Allow to cool.
  • Once the crust has cooled, Add the cream cheese to a large bowl and cream with a hand mixer. Add powdered sugar and 4 ounces of the cool whip. Spread on top of the cooled crust.
  • Combine the pudding with the milk and mix according to package directions. Spread the pudding on top of the cream cheese layer. Allow to set just a few minutes.
  • Spread the remaining cool whip on top of the pudding and top with additional nuts if you care to. Serve up immediately or this dessert is a great one that can be prepped a few days ahead.
Keyword cream cheese, dessert, pistachio, pistachio pudding, tortes
Tried this recipe?Let us know how it was!

Other favorite desserts

Check out my baking page for all sorts of treats. But let me share some of my favorites below!
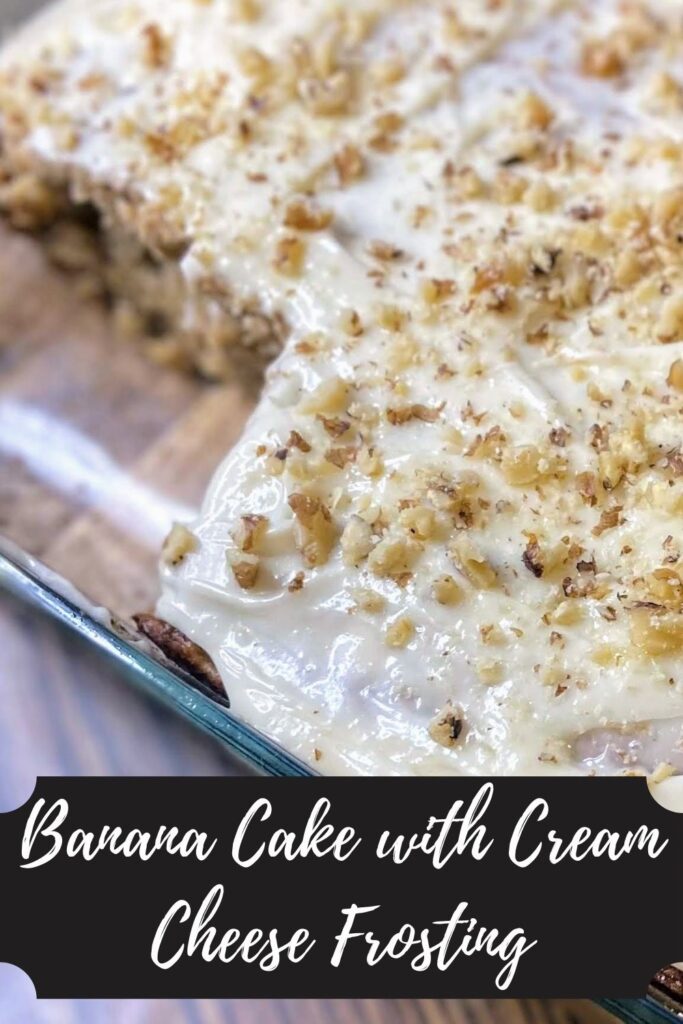
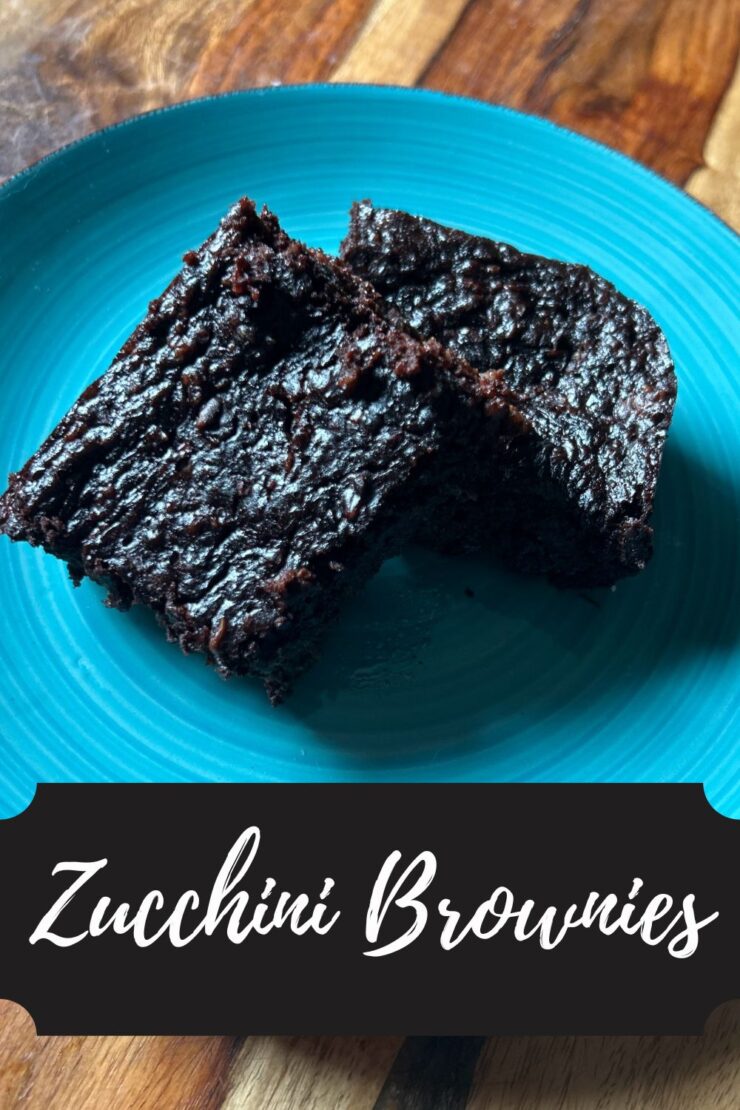
Zucchini Brownies

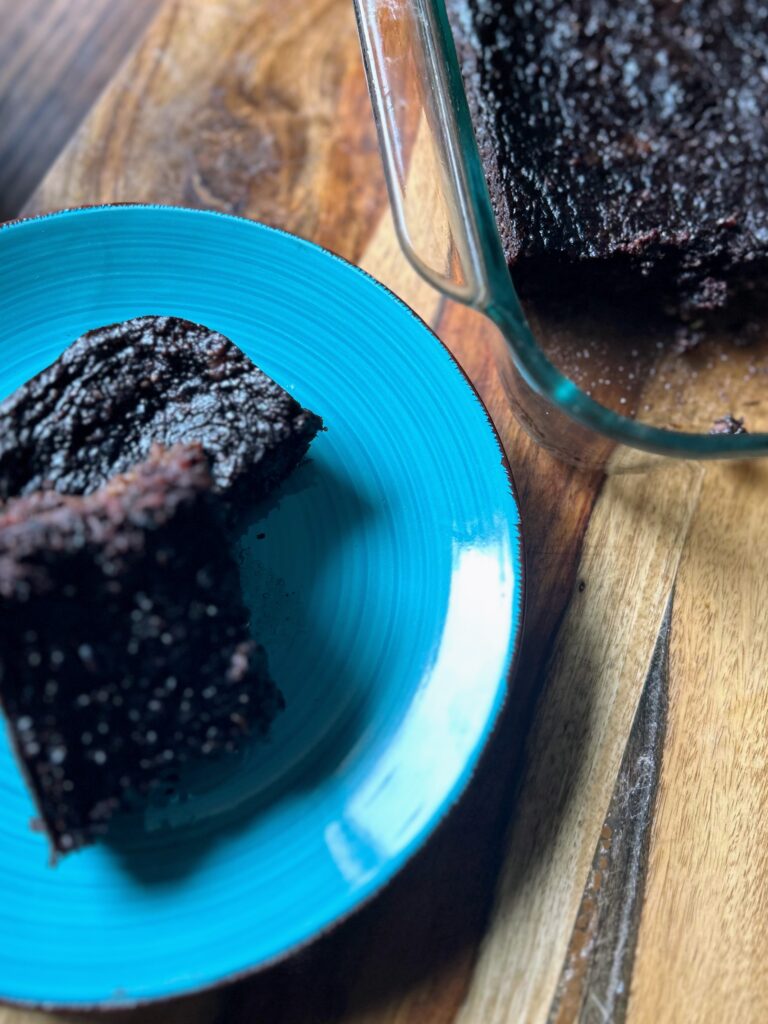
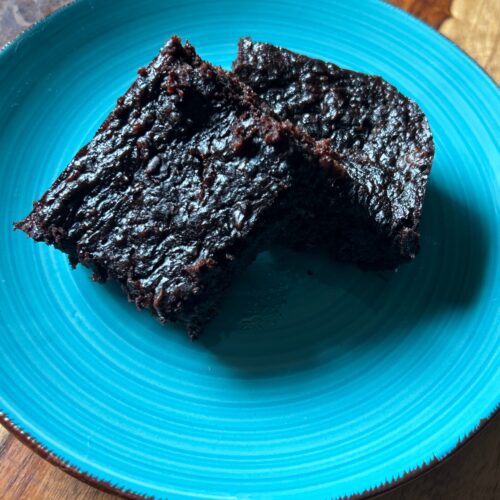
It’s that time of year where gardens everywhere are producing extra amounts of zucchini. Where people are sneaking them onto their neighbors porches, into their cars, you name it. I was deep into Instagram and a woman commented that she planted 11 plants her first time. I think I guffawed at that! If you can relate and have a stack of zucchinis on your counter, maybe give this recipe a go: Zucchini Brownies. 

Now listen, I know brownies are necessarily synonymous with healthy sweet treats, but these are pretty darn close. I swapped maple syrup for sugar (seriously, it’s so good!), opted for oatmeal flour rather than regular flour, and used olive oil. All great things, right? 

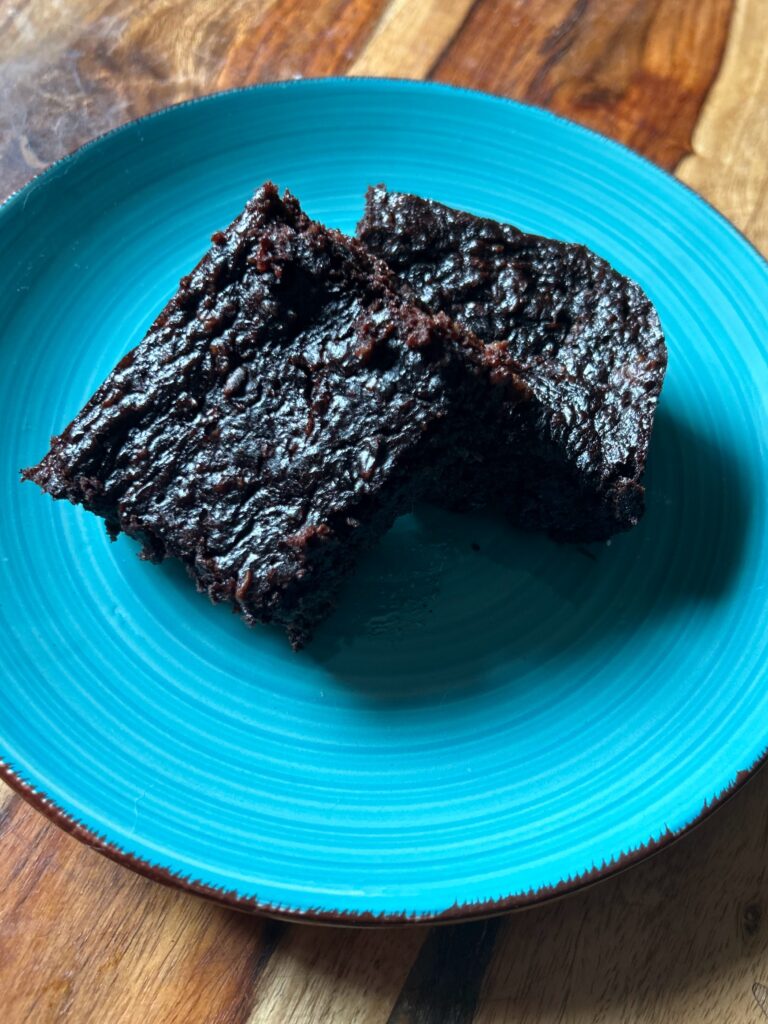
And they are so rich and delicious. The amount of cocoa powder leaves them a dark beautiful brown color and the zucchini adds extra moisture. They get better as the days go by, if you can keep them in your house long enough! 

Ready to start baking? Let’s go! 

Your Ingredients

  • ⅓ cup nut butter (I did peanut butter but have used almond as well) 
  • ⅓ cup maple syrup
  • 1 egg 
  • ⅓ cup olive oil 
  • 2 teaspoon vanilla extract
  • ½ cup cocoa powder
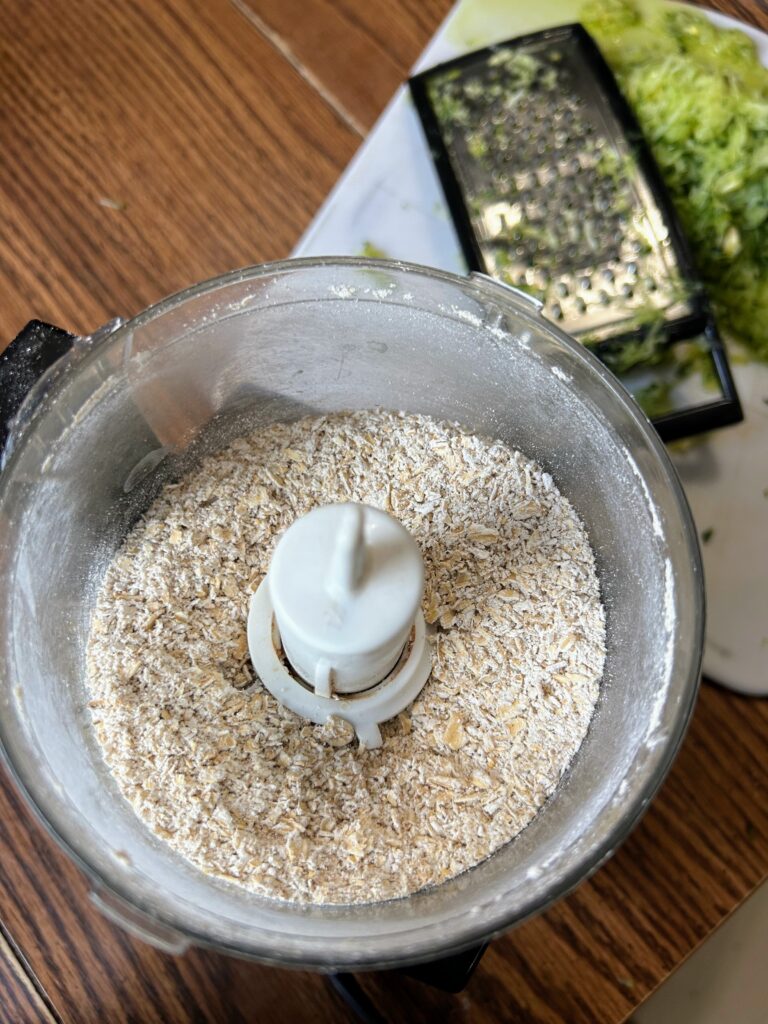
  • ½ cup old fashioned oats, made into flour in a food processor after measuring
  • 1 teaspoon baking soda
  • ¼ teaspoon salt 
  • 1 ½ cups finely shredded zucchini 
  • ¼-½ cups chocolate chips 

Your Steps to Zucchini Brownies

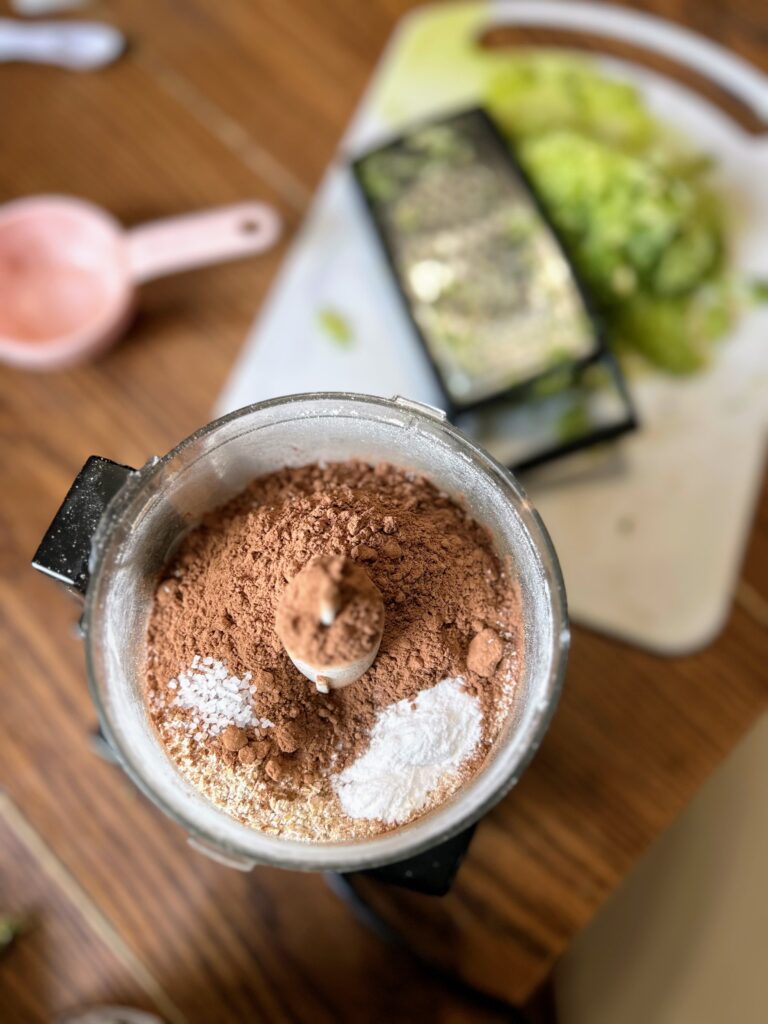
Preheat the oven to 350 degrees. In a food processor, grind oats until a coarse flour is formed. Add cocoa powder, salt, and baking soda. Pulse a few times to mix. 

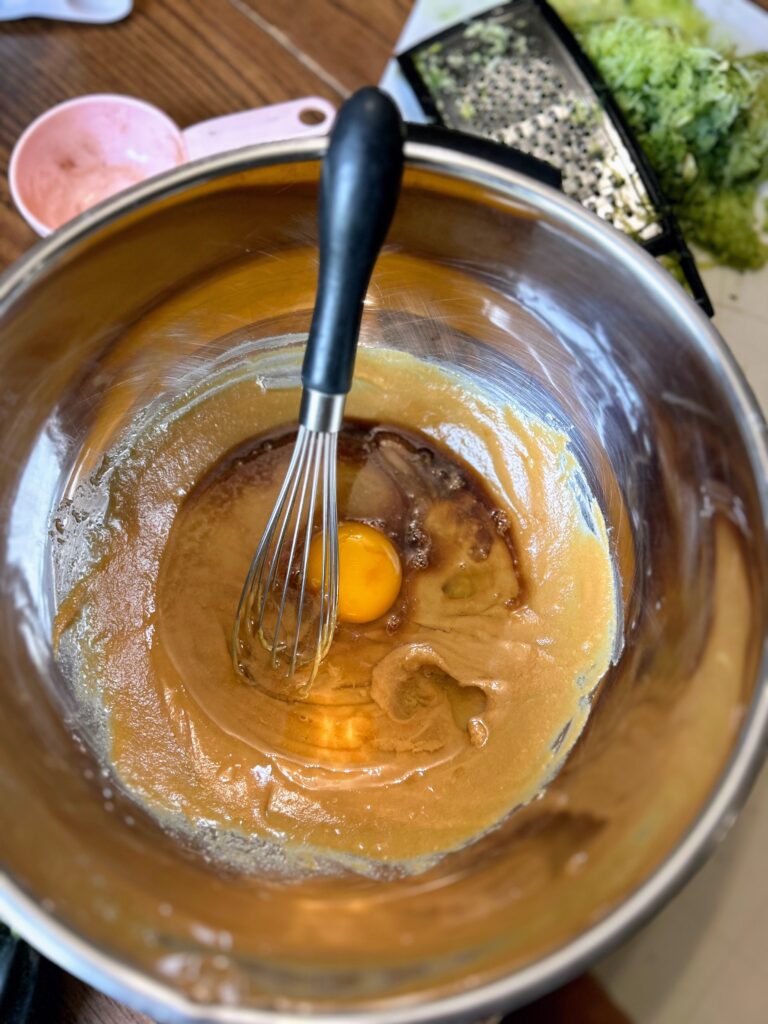
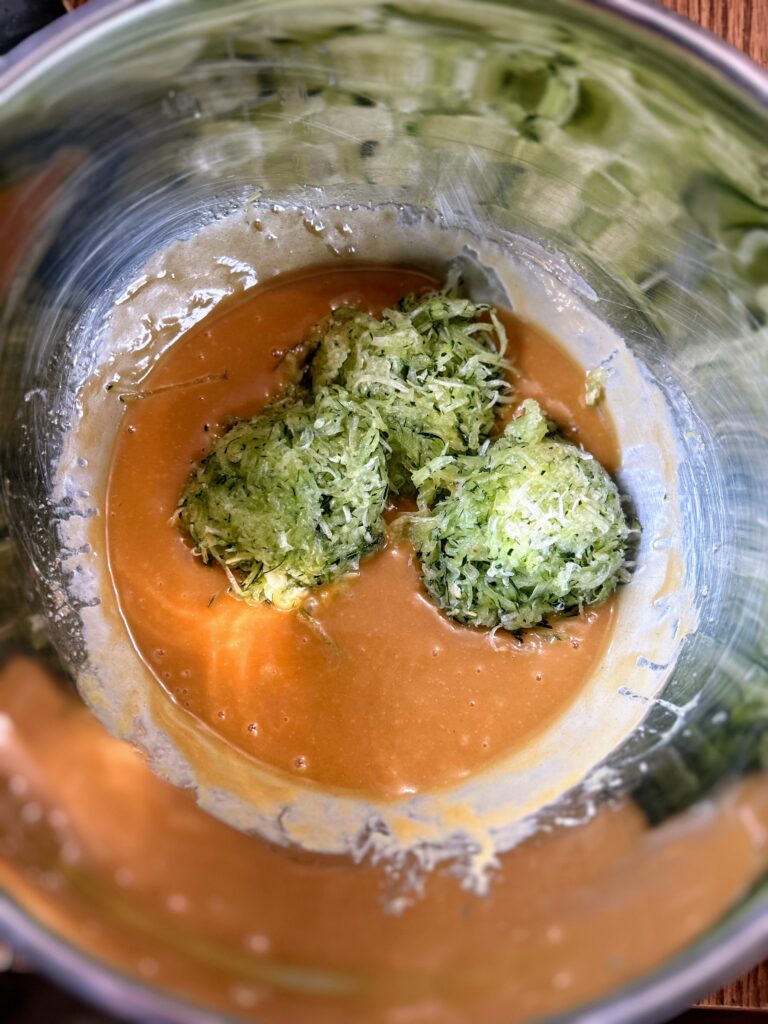
In a large bowl, whisk syrup, nut butter and olive oil together. Add the egg and extract and whisk again. Sir in the zucchini and add the dry ingredients until JUST mixed. 

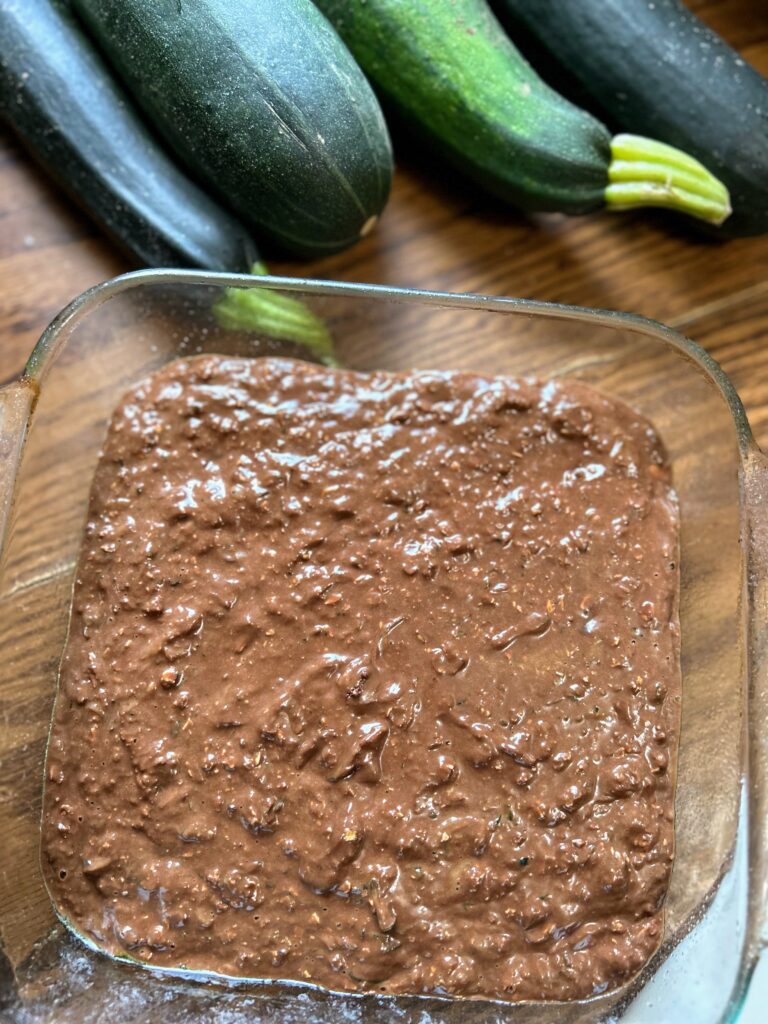
Fold in the chocolate chips (reserving a few to sprinkle on top, if you care to). Pour into a greased 8×8 brownie pan and sprinkle remaining chocolate chips. Bake for 25 minutes, or until set. 

Serve them up with a bit of ice cream or a tall glass of milk and watch the zucchini brownies disappear!

Zucchini Brownies

Veggies and dessert? Serve these delicious zucchini brownies up with a tall glass of milk or ice cream and wait for smiles!
5 from 1 vote
Prep Time 15 minutes
Cook Time 25 minutes
Course Dessert
Cuisine American
Servings 9 brownies

Ingredients
  

  • cup nut butter I did peanut butter but have used almond as well
  • cup maple syrup
  • 1 egg
  • cup olive oil
  • 2 teaspoon vanilla extract
  • ½ cup cocoa powder
  • ½ cup old fashioned oats made into flour in a food processor after measuring
  • 1 teaspoon baking soda
  • ¼ teaspoon salt
  • 1 ½ cups finely shredded zucchini
  • ¼-½ cups chocolate chips

Instructions
 

  • Preheat the oven to 350 degrees. In a food processor, grind oats until a coarse flour is formed. Add cocoa powder, salt, and baking soda. Pulse a few times to mix.
  • In a large bowl, whisk syrup, nut butter and olive oil together. Add the egg and extract and whisk again. Sir in the zucchini and add the dry ingredients until JUST mixed.
  • Fold in the chocolate chips (reserving a few to sprinkle on top, if you care to). Pour into a greased 8×8 brownie pan and sprinkle remaining chocolate chips. Bake for 25 minutes, or until set.
Keyword brownies, chocolate, chocolate zucchini bread, Gluten Free, zucchini, zucchini brownies, zucchini desserts, zucchini treats
Tried this recipe?Let us know how it was!

Looking for other zucchini recipes?

You can check out my baking and canning and preserving pages for more inspiration! Our perhaps pick one of my favorites below!

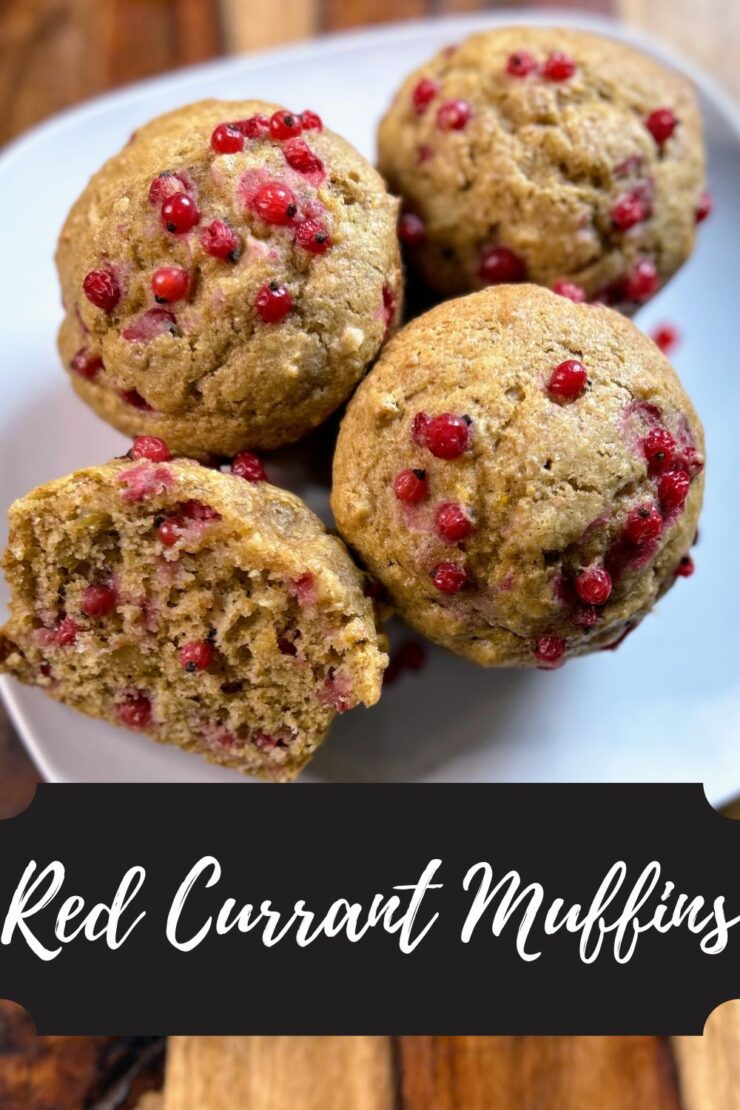
Red Currant Muffins

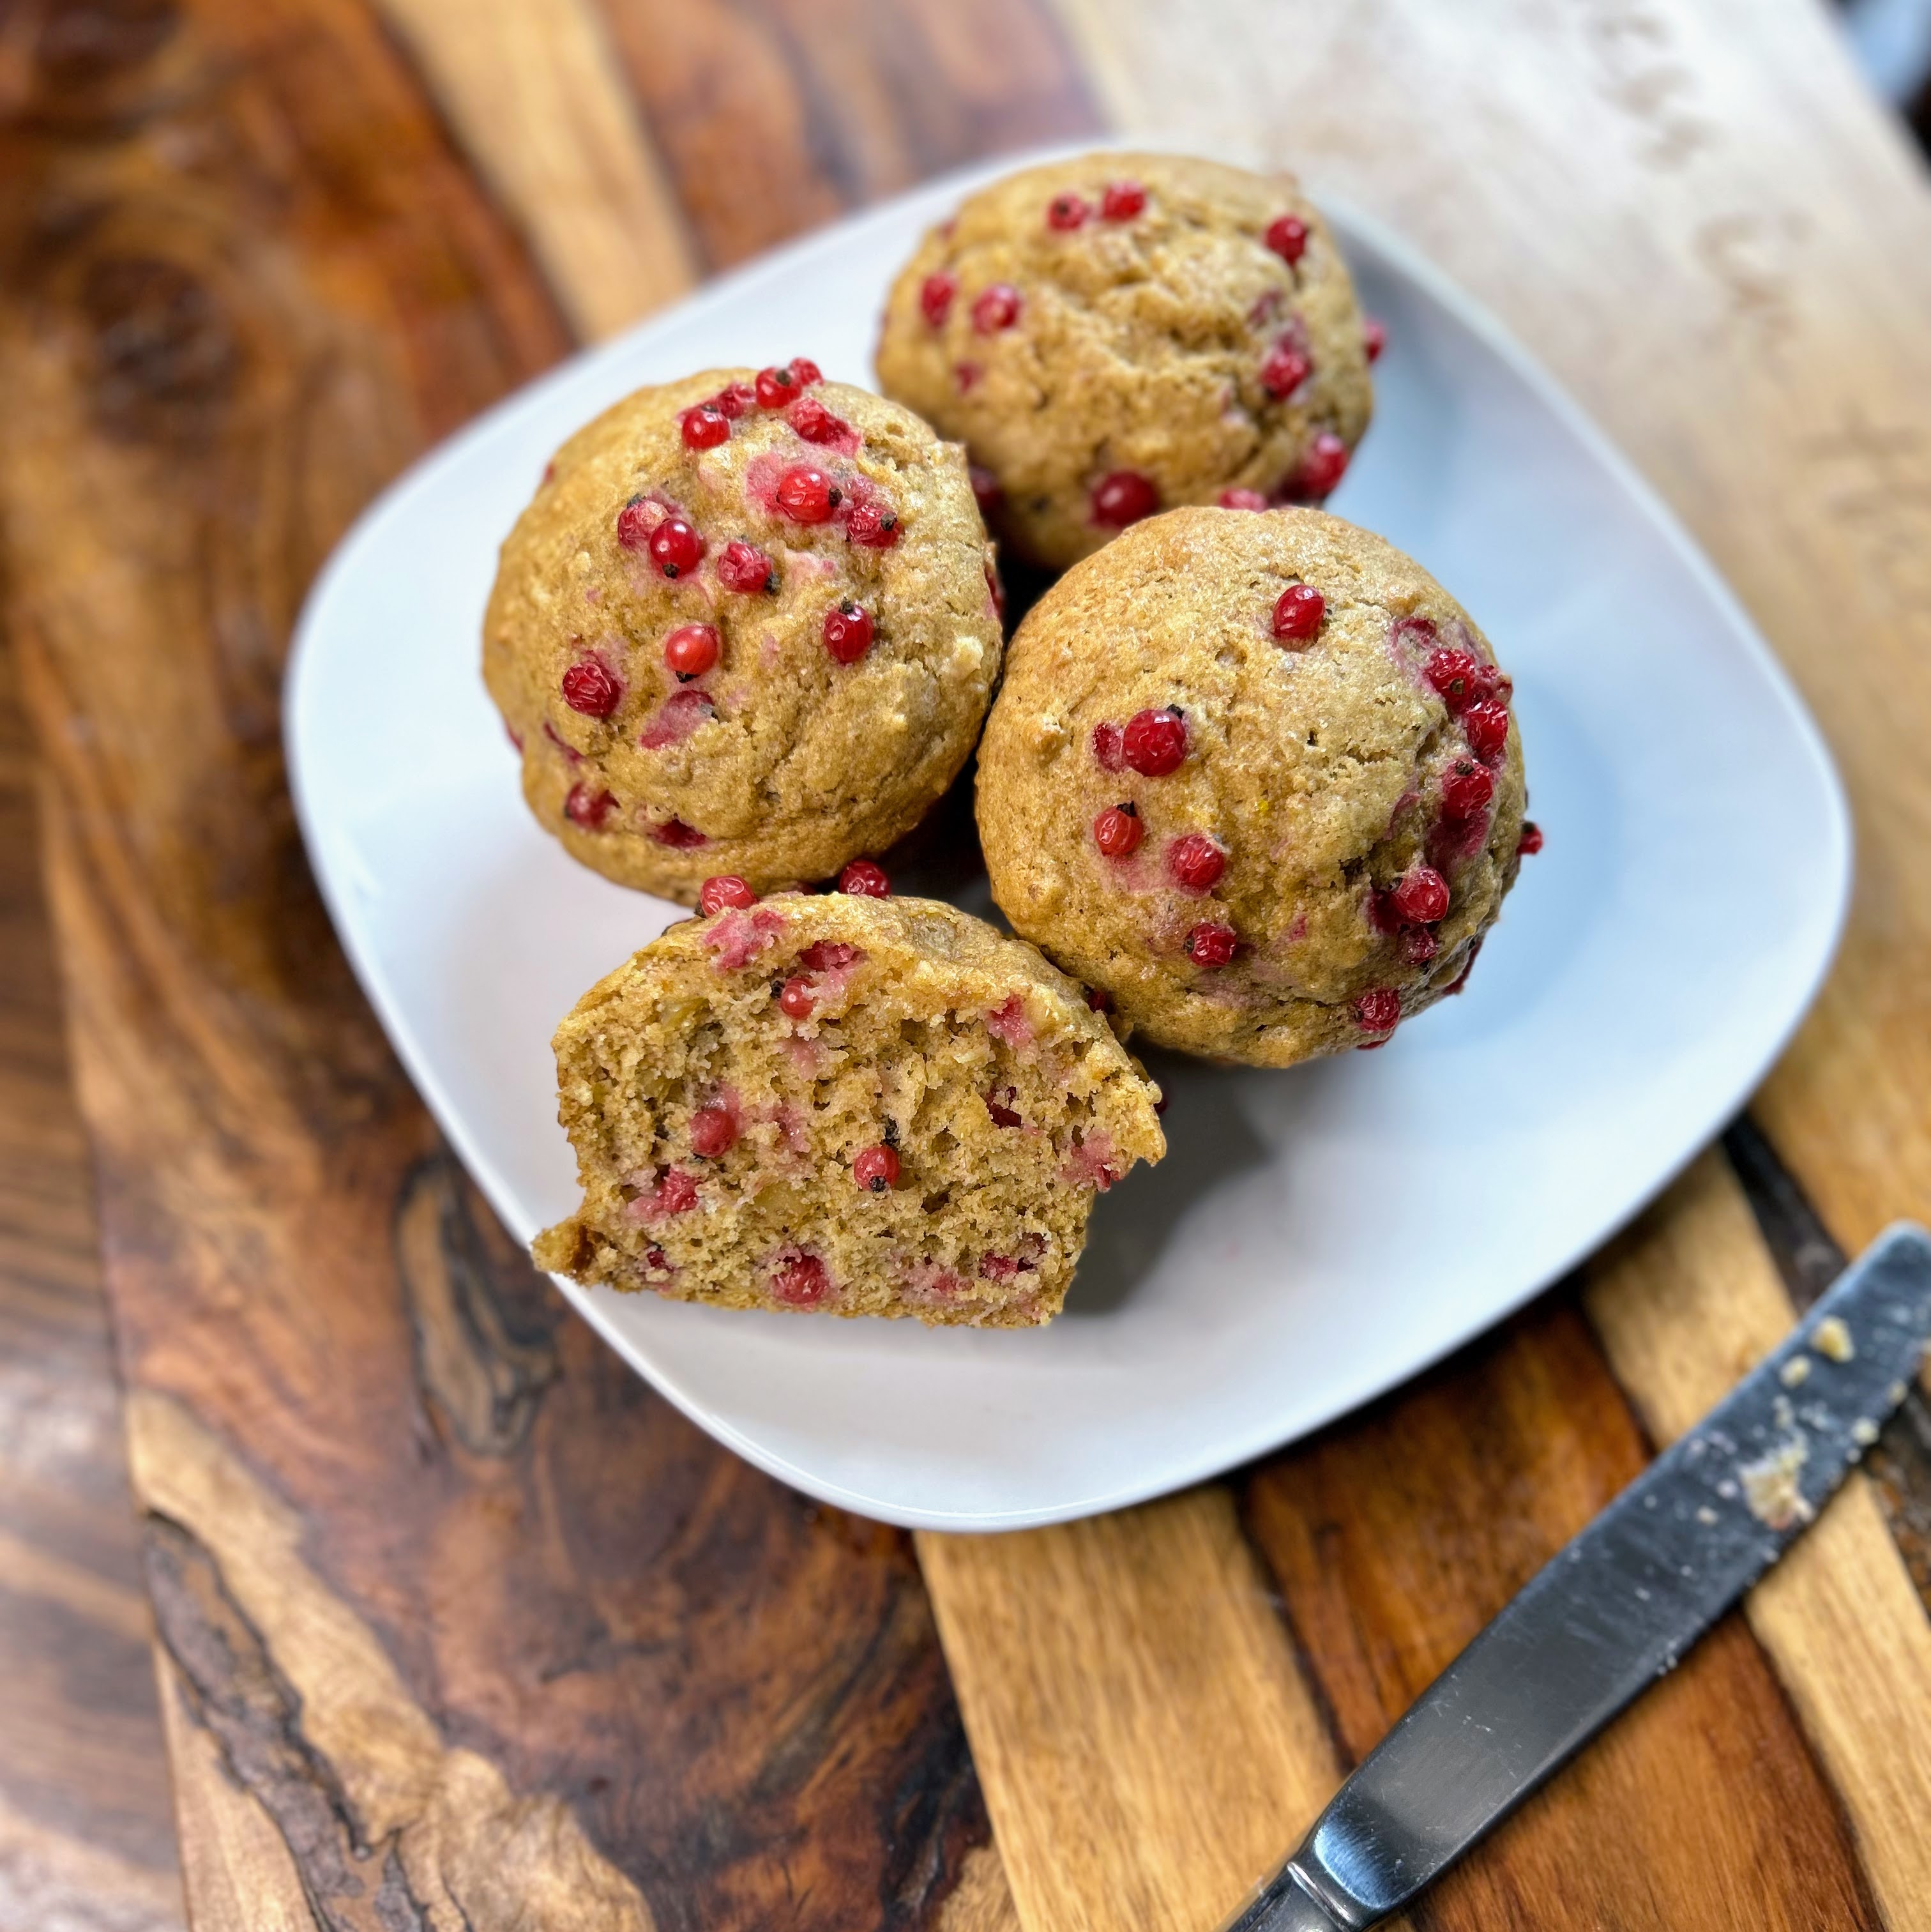
Many moons ago (Like seriously, SO MANY. Where does the time go?!), I was at a farmer’s market and I tried a berry. I loved it and immediately wanted to grow it. Did I write down what I tried? Absolutely not. So I planted gooseberries. They grew fruit. Nope, that wasn’t it. Then I planted red currants. Nope. Also, not it, but man, they ARE tasty. So I promptly ordered three more plants. This year, I feel confident to say they have finally established themselves in our yard. Lucky for our household because it means I get to create these delicious red currant muffins!

I dig a sweet-tart fruit. Cranberries, gooseberries, blueberries, rhubarb. I always harvest them just before they are ready so I get that tart bite to them. Currants live in that same family. They are delightful and perfect pops of flavor, which is what I think makes them ideal for muffins and breads. As soon as my mini me bit into her first red currant muffin, she asked if I could bake more. If she could perhaps bring a batch to her grandparents for the weekend. So they win, right? 

What do we sweeten them with?

If you’ve been baking with me for any amount of time, you know I love to use maple syrup as a sweetener. We live in northern Wisconsin where we are able to easily make our own maple syrup each spring. (Learn about it here!) We have a very small operation and cook over an open fire to finish it on the stove, making about a little over a gallon a year. I use it throughout the year to sweeten all the things and it does a great job! If you’re hesitant, please give it a try! You would never know there is no granulated sugar in these muffins! 

But enough talk. Let’s get baking! 

Your Ingredients for red currant muffins 

  • 1 cup whole wheat flour 
  • 1 cup all purpose flour 
  • 2 teaspoons baking powder 
  • ½ teaspoon salt
  • ½ teaspoon baking soda
  • ¼ cup butter softened
  • ⅔ cup real maple syrup
  • 1 teaspoon vanilla
  • ¼ cup plain Greek yogurt (vanilla or sour cream will do fine too!)
  • 2 eggs
  • ½ cup chopped nuts
  • 1 cup fresh red currants

Your Steps to Red Currant Muffins

Preheat the oven to 350 degrees. Generously grease 12 regular size muffin vessels. 

Mix flour, baking powder, baking soda, and salt in a large bowl; set aside. 

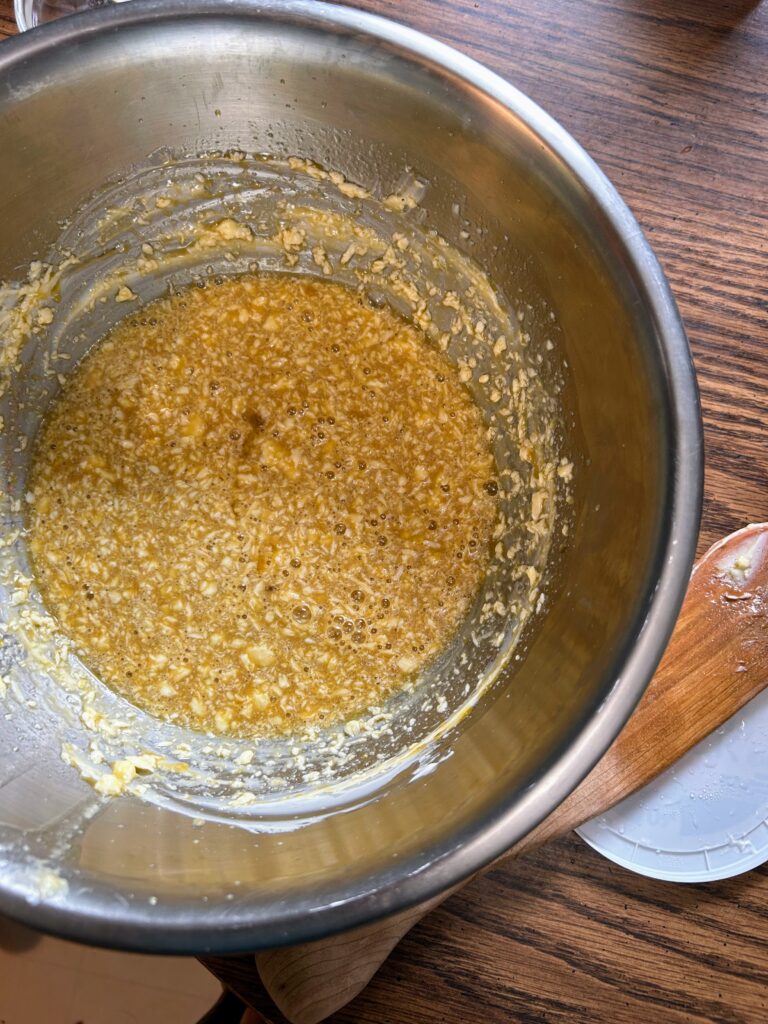
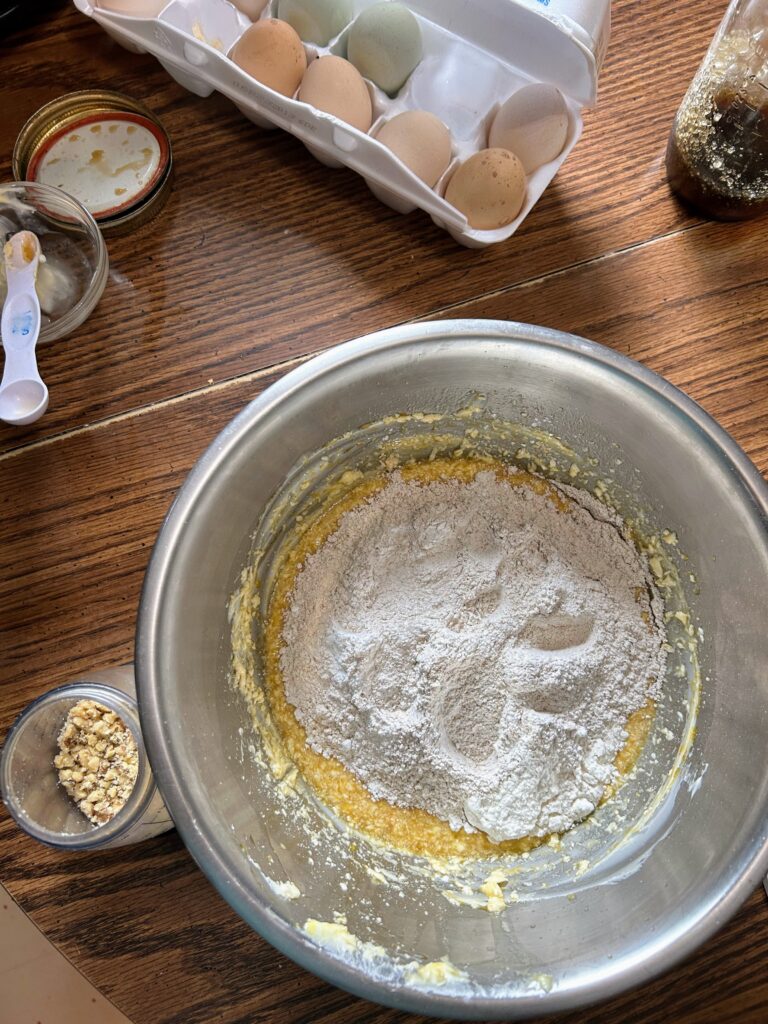
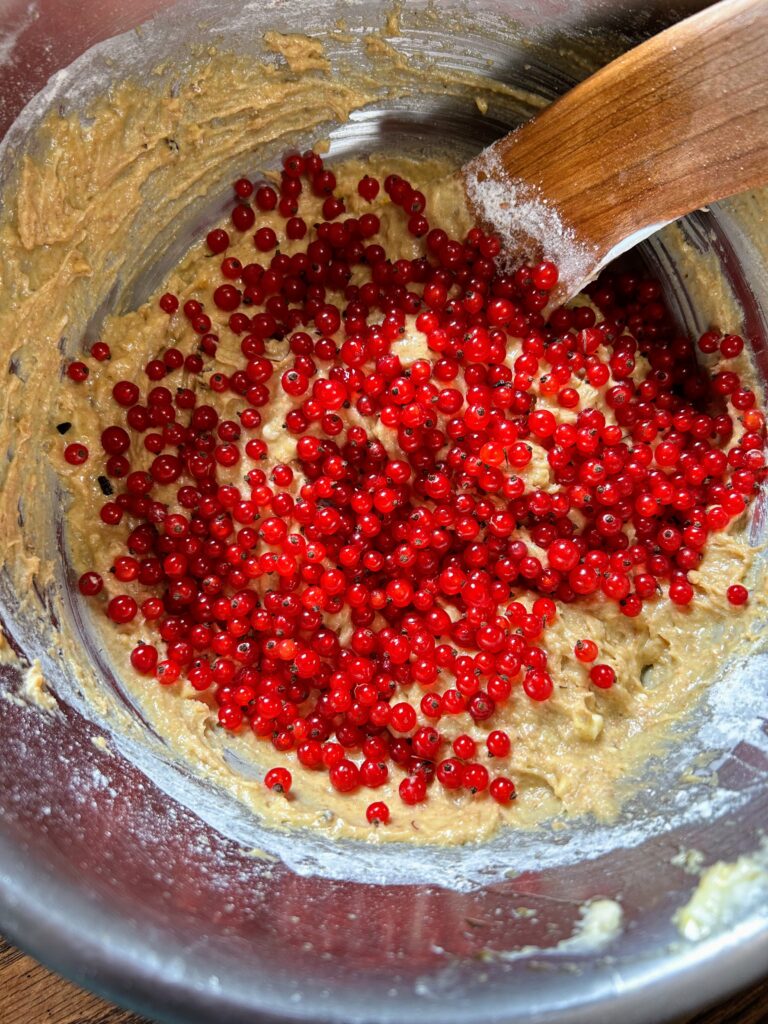
Beat the butter in a mixing bowl until creamy. Add maple syrup. Mix thoroughly. Beat in vanilla, Greek yogurt, and eggs. Stir in the dry ingredients. Fold in the nuts and 3/4 of the currants gently. 

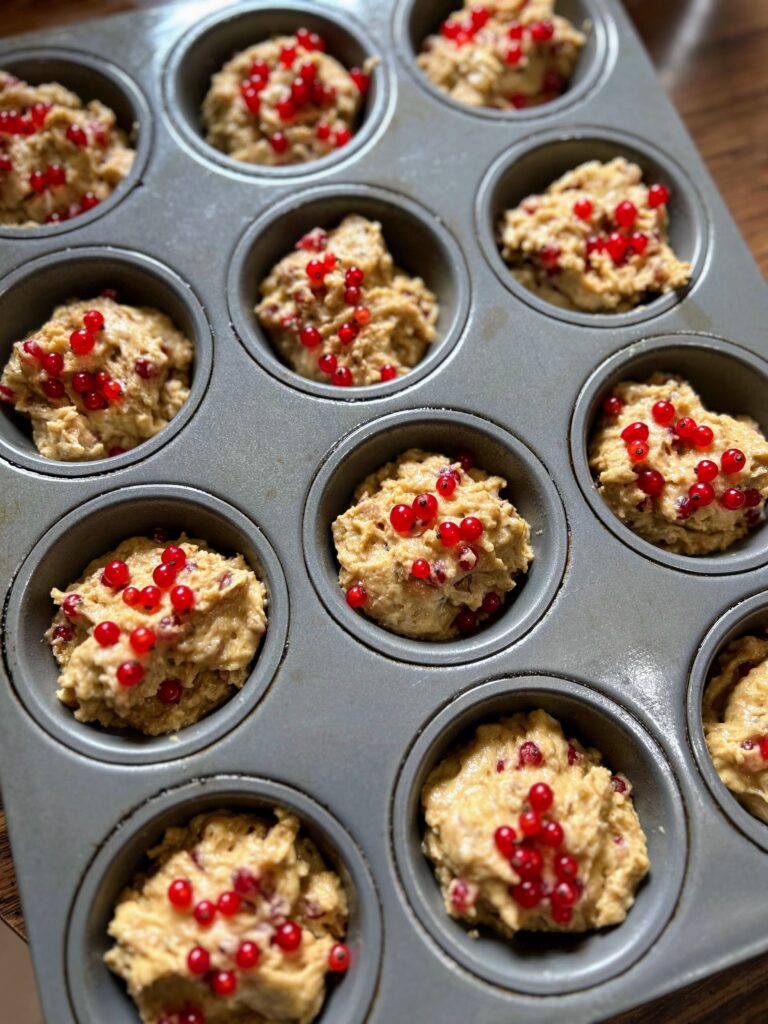
Scoop prepared batter into prepared muffin tin. Sprinkle the tops of each muffin with some of the remaining currants. Bake for 18-22 minutes, until a wood pick inserted in the center comes out clean.

Red Currant Muffins

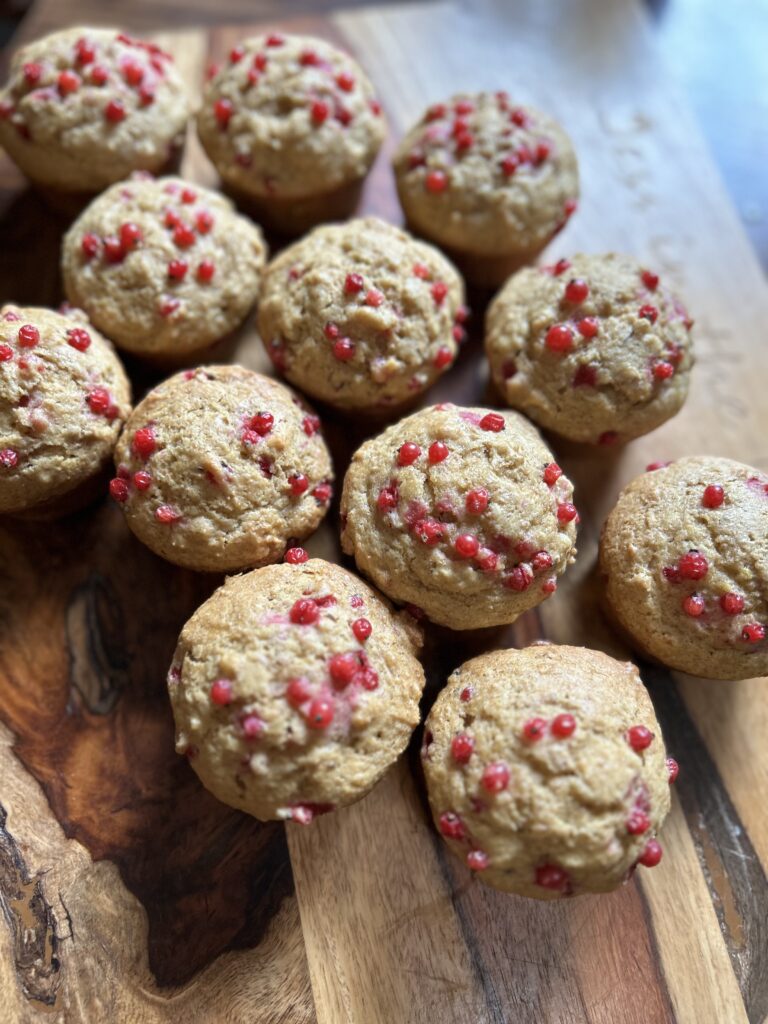
These red currant muffins are FULL of little red bits of sweet-tart goodness in every bite that will have you coming back for more!
Prep Time 10 minutes
Cook Time 20 minutes
Course Breakfast, Snack
Cuisine American
Servings 12 muffins

Ingredients
  

  • 1 cup whole wheat flour
  • 1 cup all purpose flour
  • 2 teaspoons baking powder
  • ½ teaspoon salt
  • ½ teaspoon baking soda
  • ¼ cup butter softened
  • cup real maple syrup
  • 1 teaspoon vanilla
  • ¼ cup plain Greek yogurt vanilla or sour cream will do fine too!
  • 2 eggs
  • ½ cup chopped nuts
  • 1 cup fresh red currants

Instructions
 

  • Preheat the oven to 350 degrees. Generously grease 12 regular size muffin vessels.
  • Mix flour, baking powder, baking soda, and slat in a large bowl; set aside.
  • Beat the butter in a mixing bowl until creamy. Add maple syrup. Mix thoroughly. Beat in vanilla, Greek yogurt, and eggs. Stir in the dry ingredients. Fold in the nuts and ¾ of the currants gently.
  • Scoop prepared batter into prepared muffin tin. Sprinkle the remaining currants on top of each muffin. Bake for 18-22 minutes, until a wood pick inserted in the center comes out clean.
Keyword Breakfast, breakfast muffins, muffin recipe, muffins, red currant muffins, red currants
Tried this recipe?Let us know how it was!

Looking for other tasty treats?

Check out my baking page or my canning page! Or maybe something below will tickle your fancy!

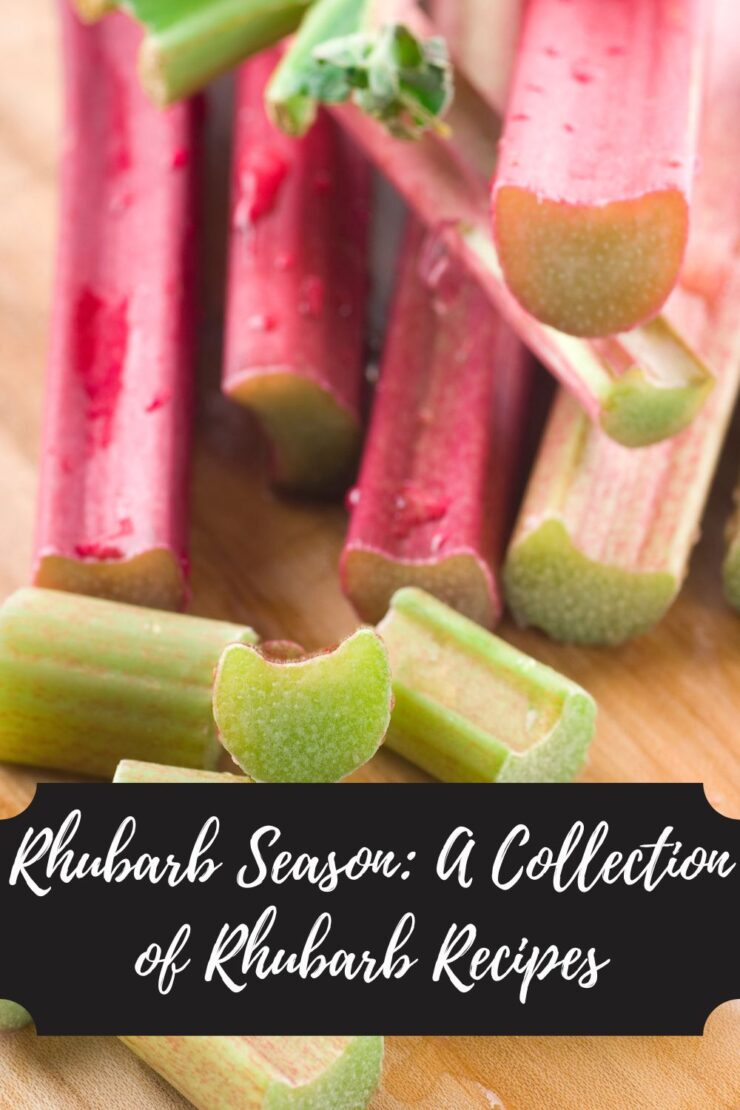
Rhubarb Season

There are a few telltale signs of spring in the Midwest: Trees starting to bud, the smell of mud as everything begins to thaw and snow mixes with soil, dandelions popping up, and rhubarb season. 

Having a spring birthday, I think I have always been more in tune with the signs of spring. For as long as I can remember, I have had a love for the new growth; the messiness of what spring has to offer. I definitely have vivid memories of “swimming” in melt off puddles in the middle of the yard! As I have grown up and have become a gardener, that love has blossomed (see what I did there?!). It means it’s planting and soon to be growing season! 

Once the snow is gone (And in northern Wisconsin, we still have a TON of it with 70 degree weather coming our way!), such simple joy can be found in pulling away the leaves and debris to look for the first growth of rhubarb, among other spring plants. Because rhubarb season is such a sign of spring, let’s talk rhubarb and cooking with it! 

Some fun facts about rhubarb

  • Did you know rhubarb is a vegetable? In our household, we have more than your average number of discussions about whether a particular food is a fruit or a vegetable, but by definition, a fruit comes from a fruiting body, which rhubarb does not. 
  • The leaves of a rhubarb plant are poisonous when ingested. You can touch them, but you can’t eat them. 
  • Rhubarb can be harvested all summer, although it gets woodier as the heat of the summer takes hold. It’s a common myth that it gets toxic late in the summer. Harvesting should be limited to just a few stalks at a times past June to allow the plant to build reserves of energy, however.
  • Want to learn more? Head to the UW Extension site to learn more about rhubarb!

Rhubarb Season: Let’s cook together! 

With the days getting longer and that snow nearly gone (except here, of course!), rhubarb season is almost here! Let’s cook and bake some rhubarb treats together!

Baked Goods

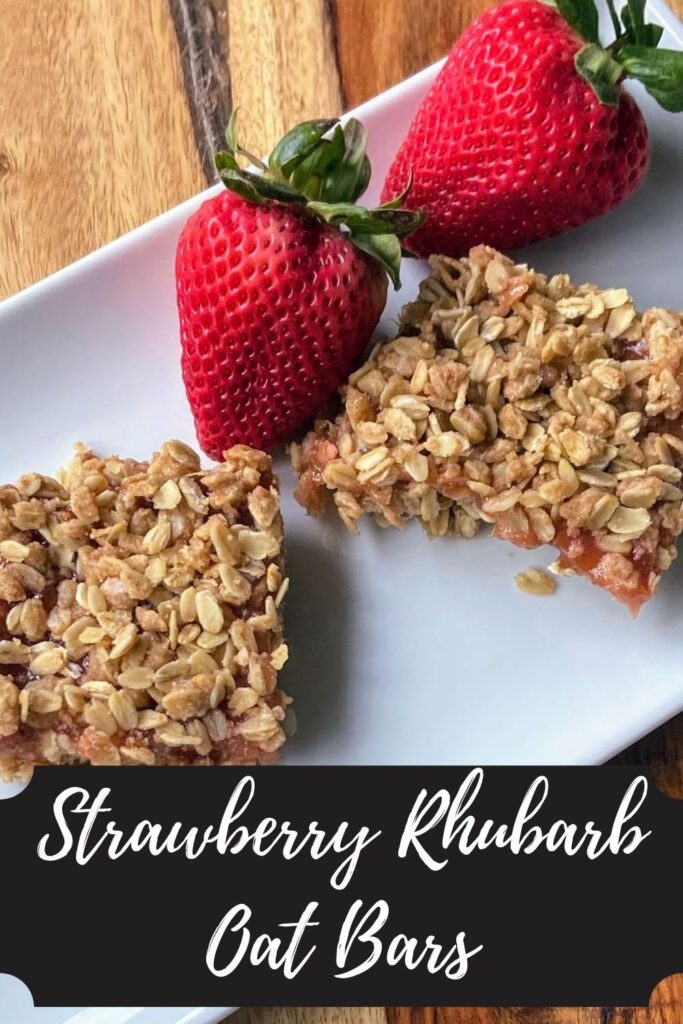
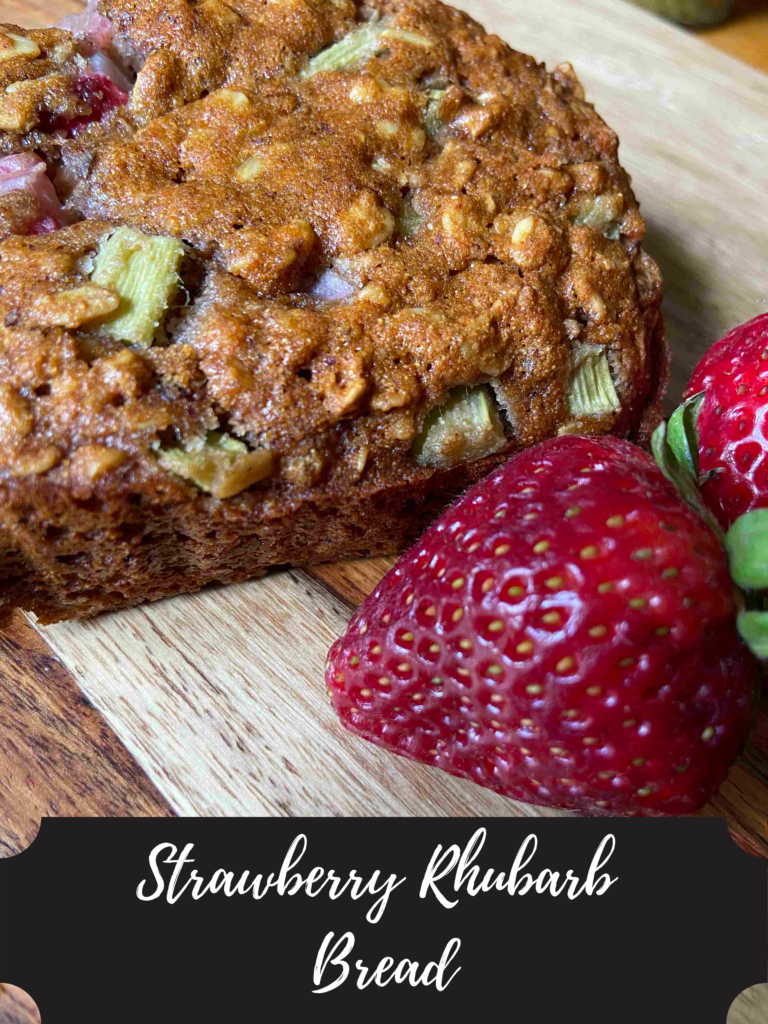
There’s something about that combination of sweet strawberries and tart rhubarb that make the tastebuds happy. So below we have two great recipes: strawberry rhubarb oat bars and strawberry rhubarb bread. I can’t get over the color!

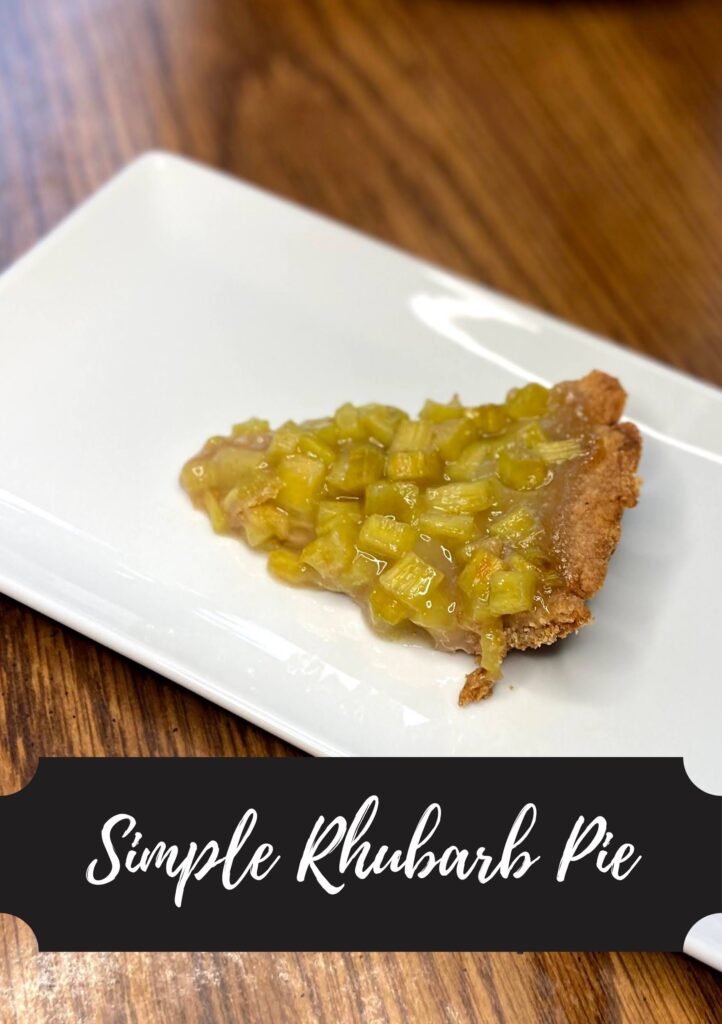
I have never loved the idea of pie crust, but this simple rhubarb pie has the easiest pie crust that I bet you will revisit again and again! And the cookies? They are soft and delicious; a unique treat to be sure! Click any of the pictures to head to the recipes!

Canning during rhubarb season

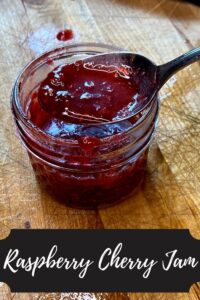
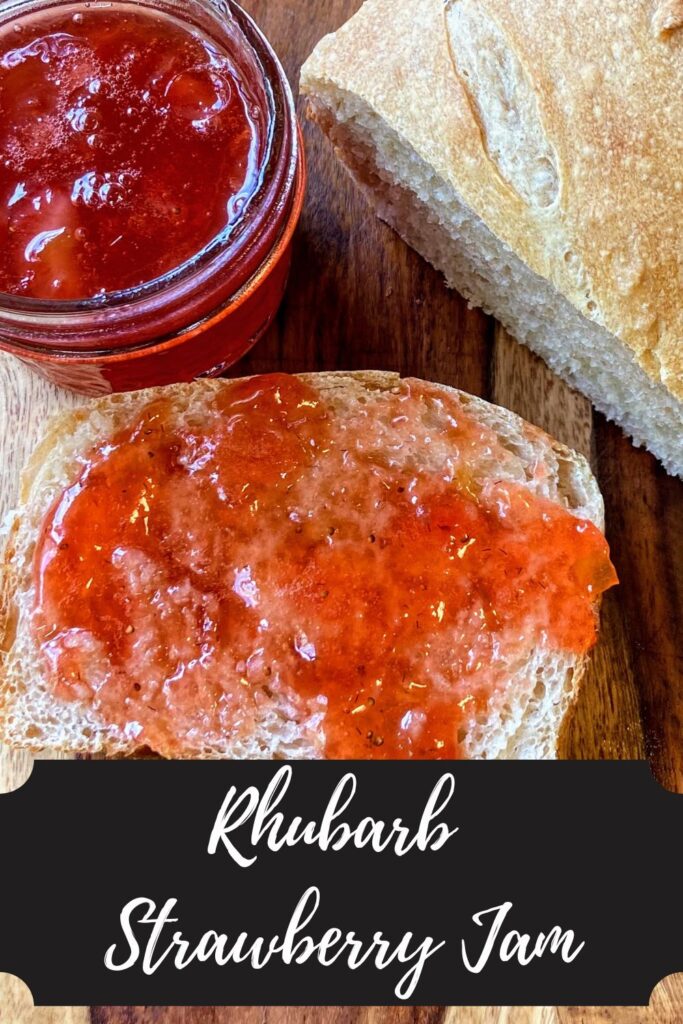
Sometimes I sell my jellies and jams to friends and family. Strawberry rhubarb jam is a favorite every year. It’s unique and something you can’t necessarily find on the shelves. Even if you’re new to canning and preserving, I definitely recommend giving it a try! There is something so special about making your own jelly and jam.

Click the image to head to the recipe and all you need to know about canning it!

I hope you found something to create today, if not in a few weeks when all your snow is gone, like me! We are sitting with an easy 2-3 feet of snow yet, but you can bet I will be baking and creating away once the grass turns green the rhubarb grows!

Much love~Jess

Sweet Potato Muffins

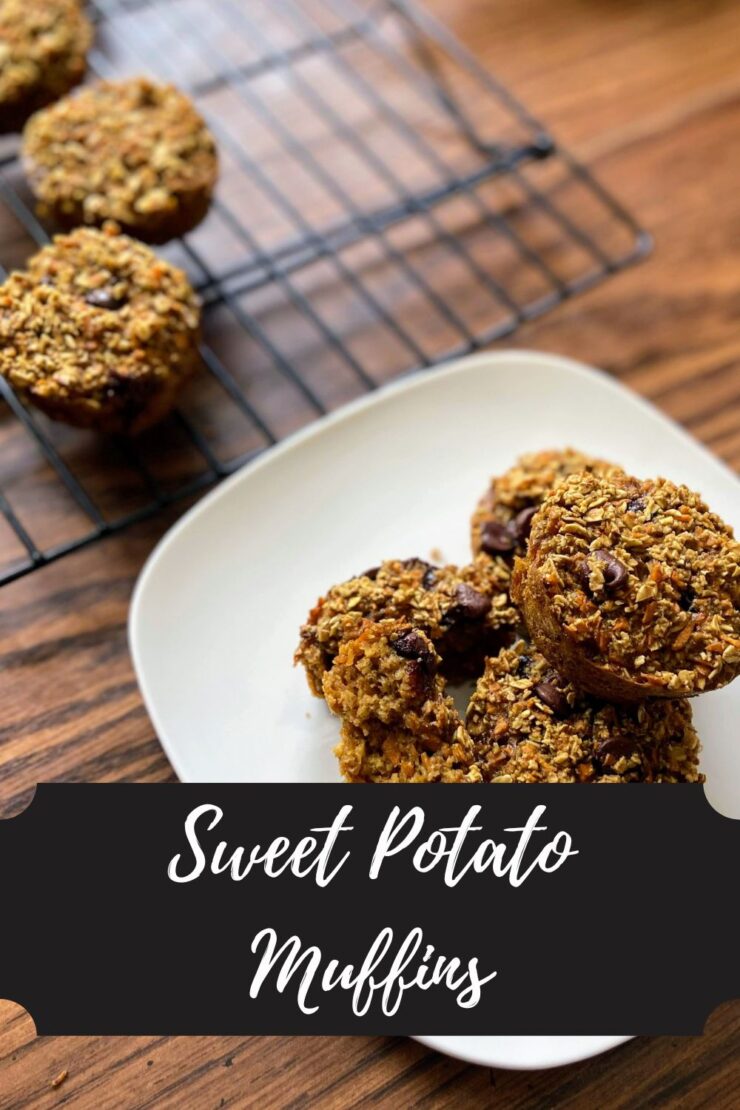
I don’t know about you, but I dig a good muffin. The Mr and I are early risers, which generally means I am a “double breakfast” kind of gal. What can I say, I don’t like being hungry and am a grazer throughout the day. Muffins make a great small first breakfast while I drink my warm lemon water (check out the benefits here!). They are a snack I can feel good about feeding my kiddos too! That is especially true for these delicious sweet potato muffins!

That’s right. Sweet potato muffins. Not something you’ve heard of, right? But I bet you’re intrigued and thinking, “Why haven’t I thought of that before?!” I mean, sweet potatoes are just that, sweet. They are also a nutrient dense vegetable with more potassium than a banana, full of fiber, vitamin A and C, and antioxidants, among so many other things. 

You may also be wondering, “But that’s a hard potato. How are we going to add that to a muffin?!” A few kitchen gadgets are going to get us to riced sweet potato and let me tell you, once you have it riced, the possibilities are endless! 

The gadgets

Yes, you will need a couple to create these muffins, but I am telling you, once you get started, you’ll use them all the time. 

The Spiralizer 

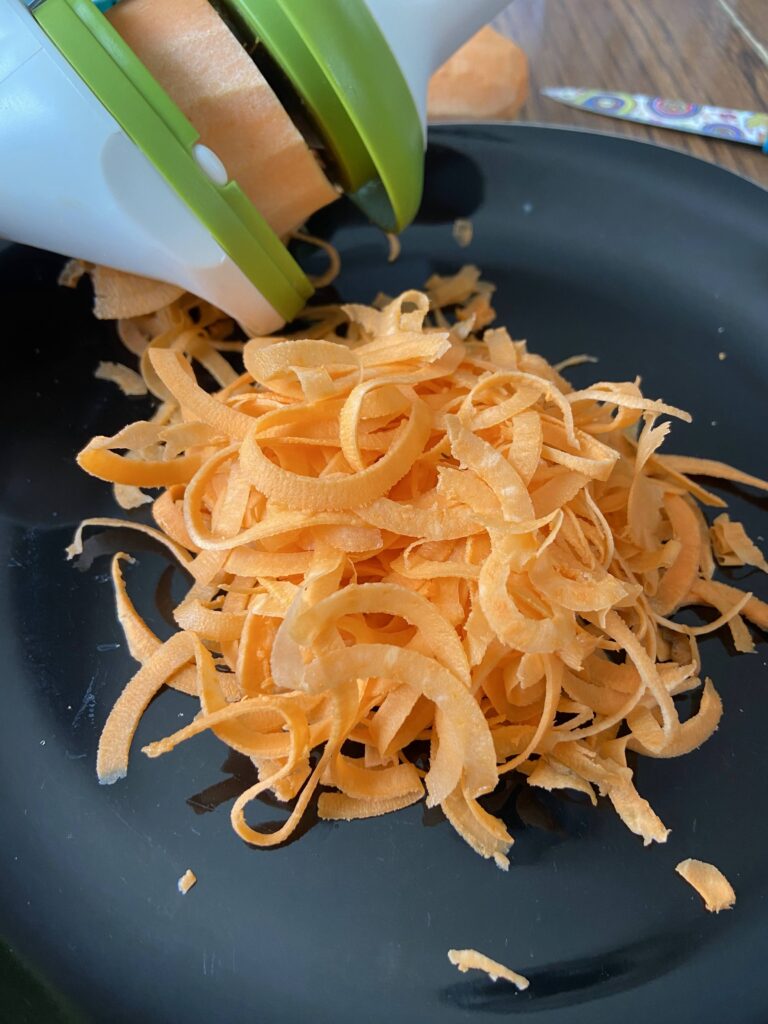
My sister gifted me a spiralizer a number of years ago along with the cookbook Inspiralized by Ali Maffucci. The spiralizer is small and handheld so it doesn’t take up much space in my kitchen. Sometimes it’s a bit of hard work, but I don’t mind that when I am working in the kitchen. And seriously, the sweet potato is my favorite to spiral so far! 

The Food Processor

I spent the early parts of my adult life thinking I could get by with a small, 2 cup food processor. It’s what my mom had growing up and I figured it was enough. Then one year, my mom (of all people) gifted me this beautiful 7 cup KitchenAid Food Processor and I don’t know how I lived without it for so long. 

I use it for making oat flour, pesto, you name it. She is so lovely and I love her so much! 

The Sweet Potato Muffin Recipe

But enough about the gadgets I love, it’s time to start cooking! You’ll want to get started by spiralizing 1 medium/large sweet potato. You are looking for about 2 firmly packed cups of spiralized potato. I like to do this over a plate (you’ll see why in a moment!). Then you’re ready to get started!

Your Ingredients 

  • 1 large sweet potato, spiralized (2 cups firmly packed)
  • 2 cups old fashioned oats 
  • 1 teaspoon baking soda
  • ½ teaspoon salt 
  • ½ teaspoon cinnamon
  • 2 eggs 
  • 1 teaspoon vanilla 
  • 2 tablespoons melted butter (coconut oil would be great too!) 
  • ¼ cup real maple syrup (or honey)
  • ¼ cup chocolate chips

Your Steps to Sweet Potato Muffins

Preheat the oven to 350 degrees and prepare a 12 portion muffin pan with non-stick cooking spray. 

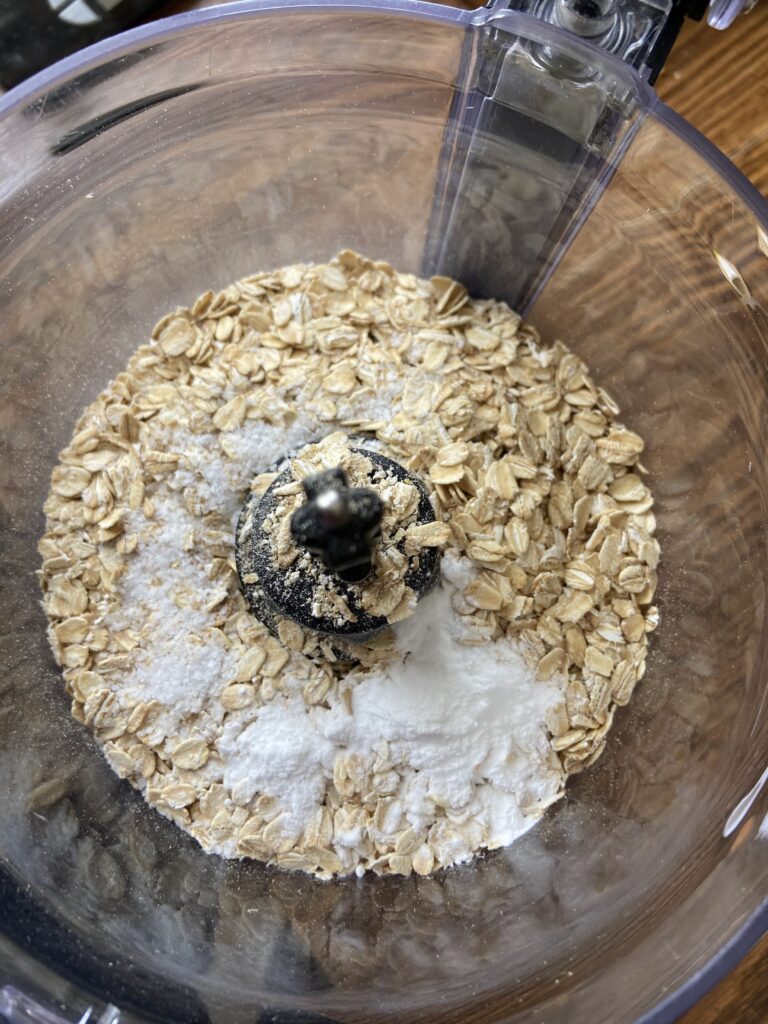
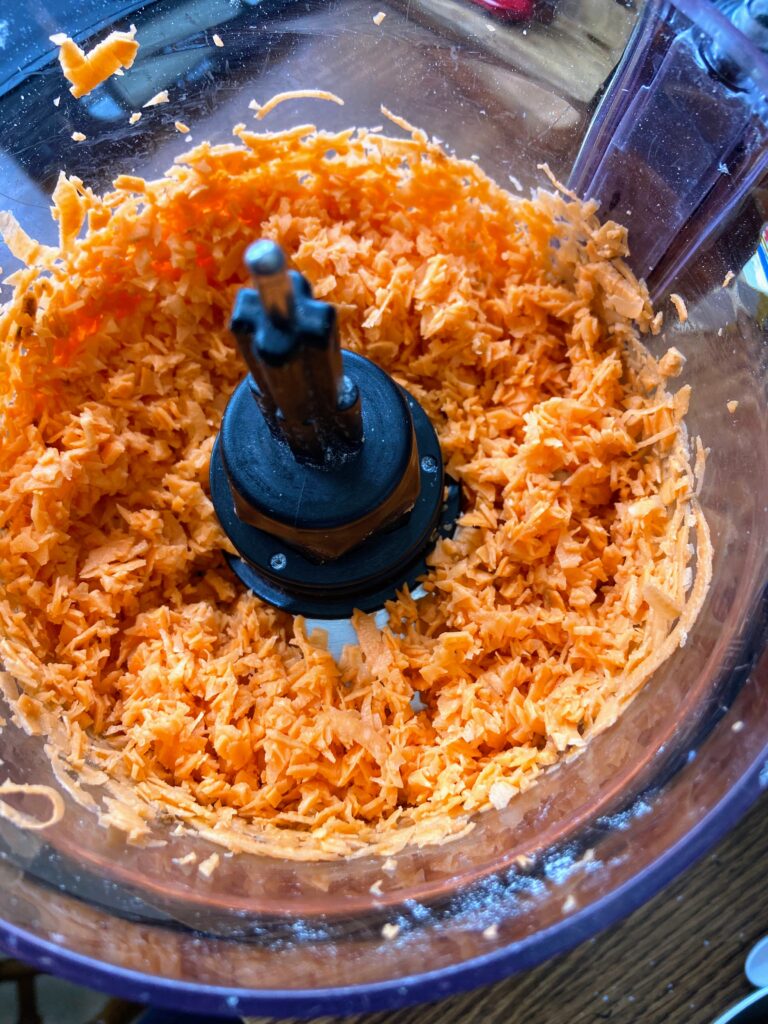
In a food processor, combine oats, baking soda, and salt. Pulse until a coarse oat flour is created. Pour into a bowl and set aside. Place spiralized sweet potato into the food processor and pulse until it is riced (the size of long grain rice). 

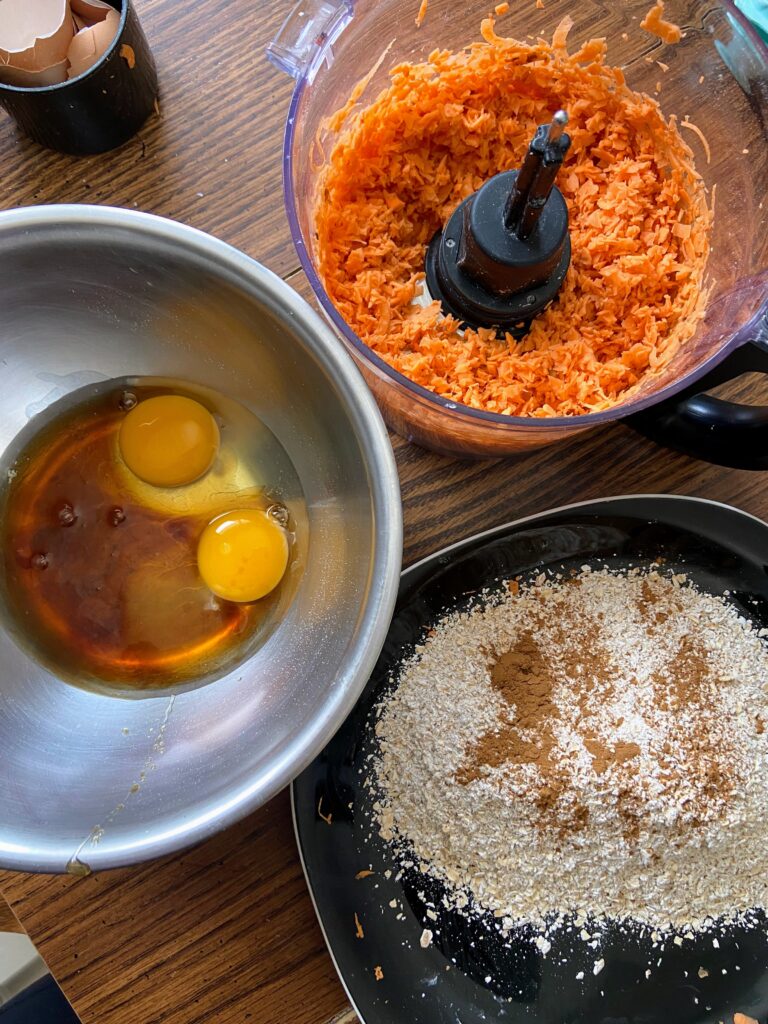
Now I avoid all the extra dishes I can, so the oat flour goes onto the plate the sweet potato was on and cinnamon gets added. You do you! 

From here, add the eggs, vanilla, and maple syrup to the mixing bowl. Combine well. Sir in sweet potato and melted butter (being mindful that the temperature of the butter is cool enough to avoid scrambling the eggs). Fold in the oats and cinnamon along with the chocolate chips. 

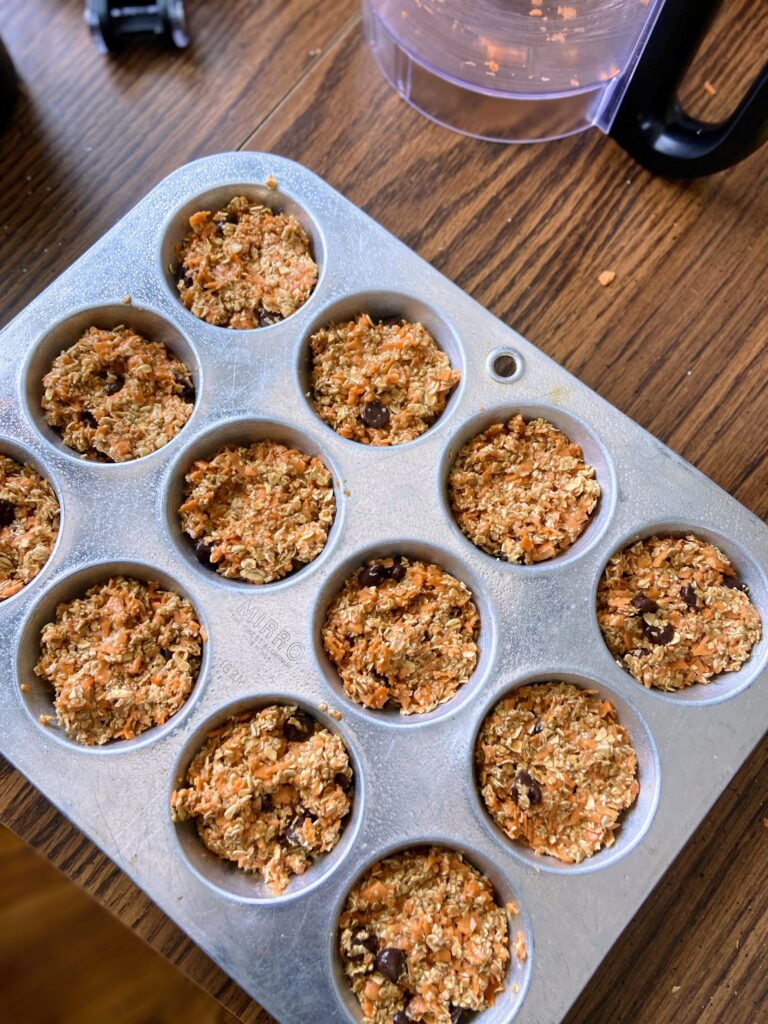
Scoop into muffin tin by the quarter cup, filling 12 vessels. Bake at 350 degrees for 20-25 minutes, until cooked through. Serve right away or within the week. We like to pop them in the microwave for 15 seconds to warm up the chocolate and make them just perfect with a cup of tea or coffee! 

Sweet Potato Muffins

There is something sweet and delicious about these simple sweet potato muffins. Full of nutrient dense ingredients, but still give the vibes of a tasty treat!
Prep Time 20 minutes
Cook Time 25 minutes
Course Breakfast, Dessert
Cuisine American
Servings 12 muffins

Ingredients
  

  • 1 large sweet potato spiralized (2 cups firmly packed)
  • 2 cups old fashioned oats
  • 1 teaspoon baking soda
  • ½ teaspoon salt
  • ½ teaspoon cinnamon
  • 2 eggs
  • 1 teaspoon vanilla
  • 2 tablespoons melted butter coconut oil would be great too!
  • ¼ cup real maple syrup or honey
  • ¼ cup chocolate chips

Instructions
 

  • Preheat the oven to 350 degrees and prepare a 12 portion muffin pan with non-stick cooking spray.
  • In a food processor, combine oats, baking soda, and salt. Pulse until a coarse oat flour is created.
  • Pour into a bowl and set aside. Place spiralized sweet potato into the food processor and pulse until it is riced (the size of long grain rice).
  • From here, add the eggs, vanilla, and maple syrup to a large mixing bowl. Combine well. Sir in sweet potato and melted butter (being mindful that the temperature of the butter is cool enough to avoid scrambling the eggs).
  • Fold in the oats and cinnamon along with the chocolate chips.
  • Scoop into muffin tin by the quarter cup, filling 12 vessels. Bake at 350 degrees for 20-25 minutes, until cooked through. Serve right away or within the week.
Keyword Breakfast, breakfast muffins, clean eating, maple syrup, muffins, nutrient dense, oatmeal, oatmeal flour, sweet potato
Tried this recipe?Let us know how it was!

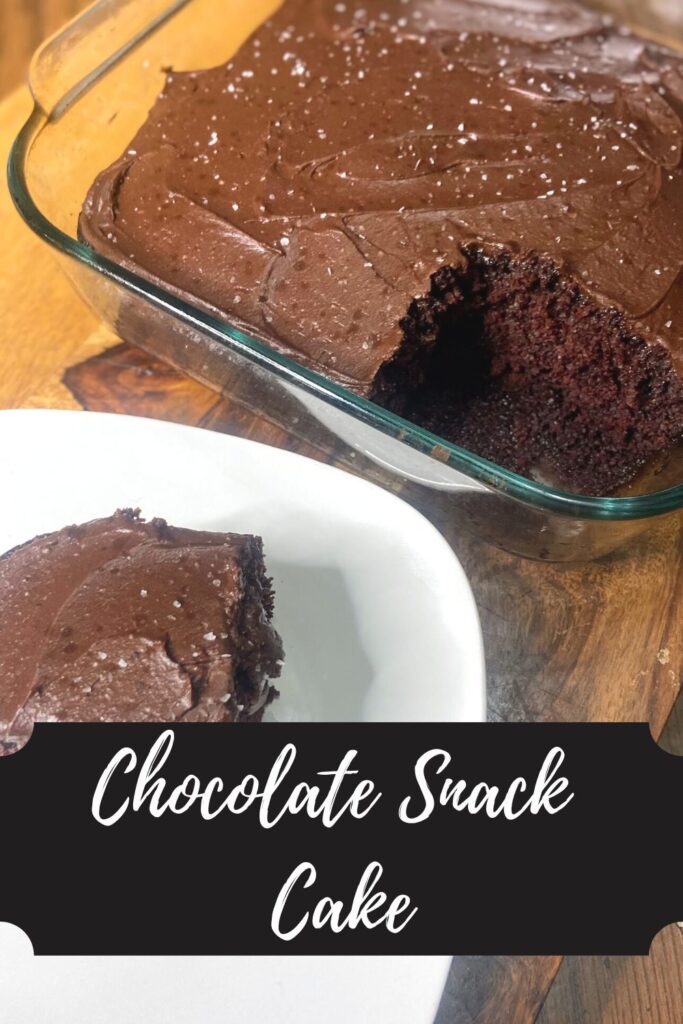
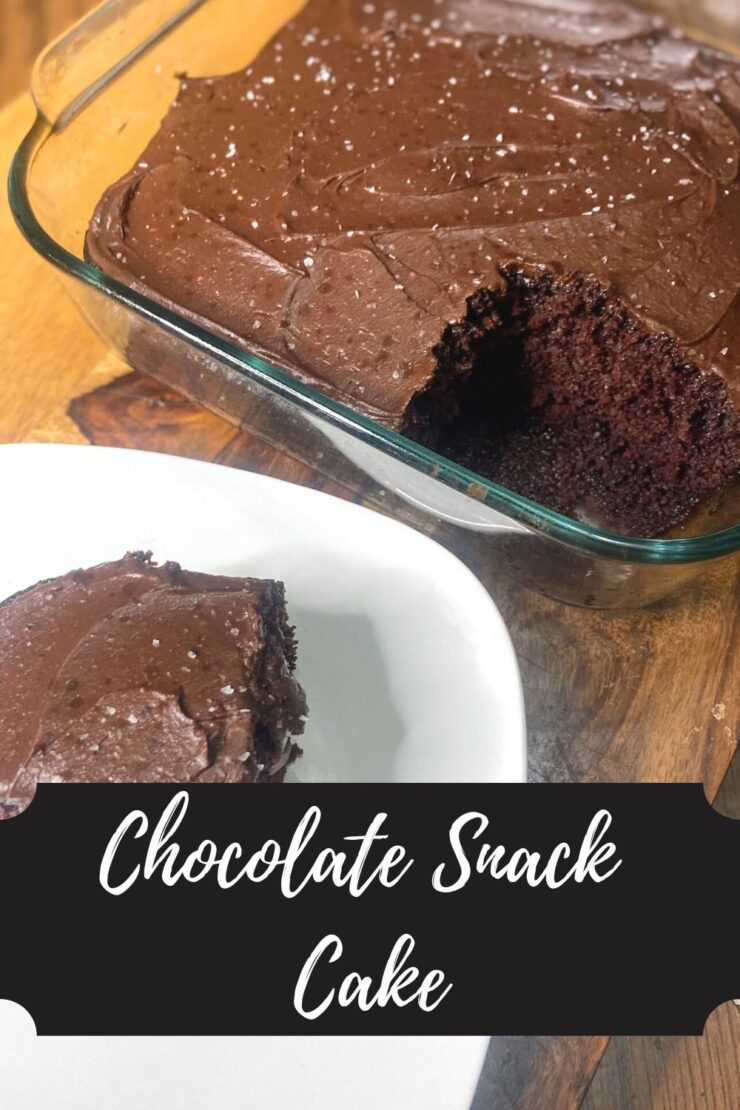
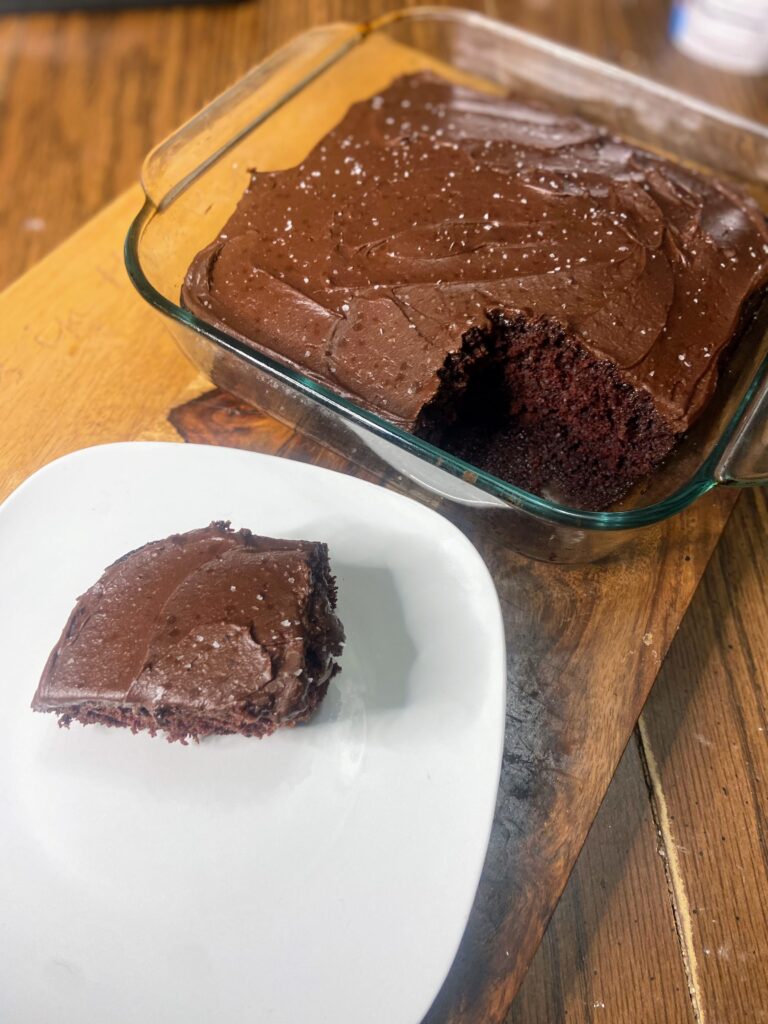
Chocolate Snack Cake

There is something to be said for making something from scratch. It just feels special as you pull all the ingredients down from the cupboard and watch as simple ingredients combine to create something special. For some reason, I feel that is especially true when it comes to a chocolate snack cake. 

I grew up in a house where my mom always baked us our birthday cakes. I don’t know if she ever purchased a cake from a bakery for my sister and me. That being said, it was always Betty Crocker, Duncan Hines, or Pillsbury. So while it wasn’t homemade, box cake was a staple in my childhood. It became the thing I would make when my own kiddos. Why would I buy a cake when I can make it for cents on the dollar?

Even as I was becoming a food blogger, I stuck with my box cake mix because that’s what my mom always did. Then one day, I was scrolling instagram and I stumbled on a recipe for a chocolate snack cake and I knew I had to make it. And my goodness, forget those box cakes. This is where it is at! It’s so simple and perfectly chocolatey. 

So what is a snack cake?

Historically, a chocolate snack cake is also known as a depression or war cake. It doesn’t use eggs or milk, ingredients that would have been particularly hard to find during wartime rationing. I love that the secret ingredient is vinegar. I mean, who knew?! And you would never know! For those science minded friends, the vinegar mixes with the baking soda to make the cake light and fluffy 

What results in this chocolate snack cake is a rich and so delicious cake. And one of my favorite parts is that it only makes a 9 by 9 inch pan. I mean, I am here for cake, but sometimes you don’t want a giant one sitting around the house. Perfect for celebrating with a small group!

Now that was way too much talking. Let’s bake together! 

Your Ingredients 

  • 1 ½ cups all purpose flour 
  • 1 cup sugar 
  • ½ teaspoon salt
  • 1 teaspoon baking soda
  • ⅓ cup cocoa powder
  • 1 tablespoon vinegar
  • 1 teaspoon vanilla 
  • 1 cup water 
  • ⅓ cup vegetable oil 

Frosting Ingredients

  • 1 cup powdered sugar
  • ¼ cup cocoa powder
  • 2 tablespoons softened butter
  • 2 tablespoons milk 
  • 1 teaspoon vanilla 
  • Pinch of salt 

Your Steps to a Delicious Chocolate Snack Cake

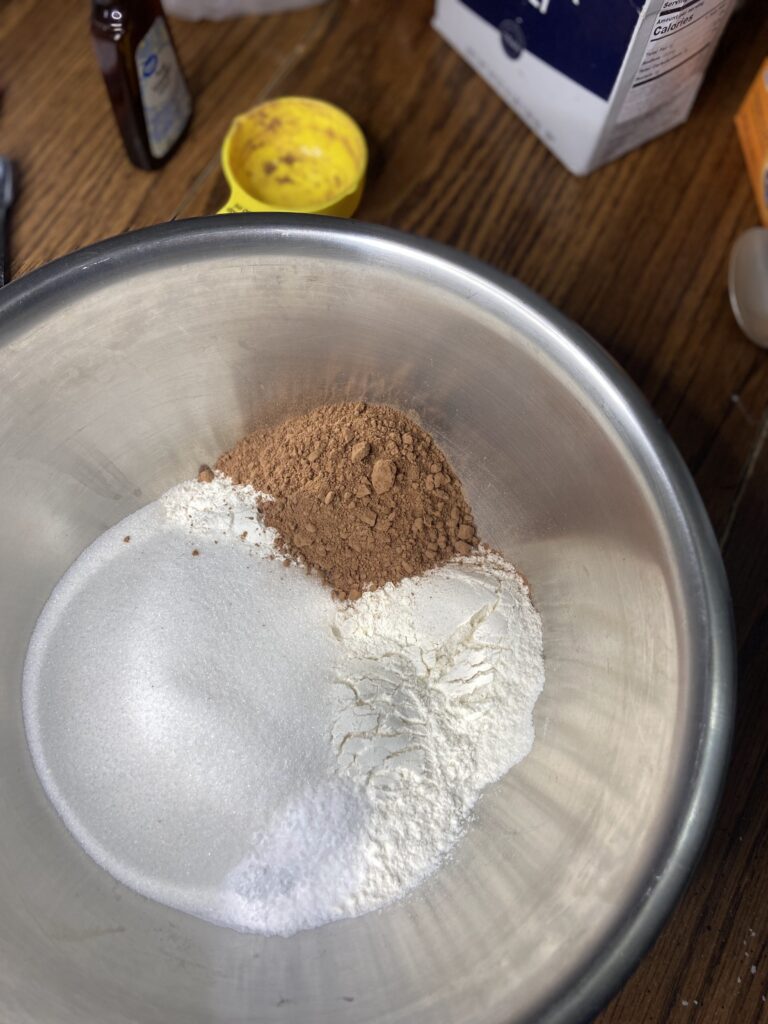
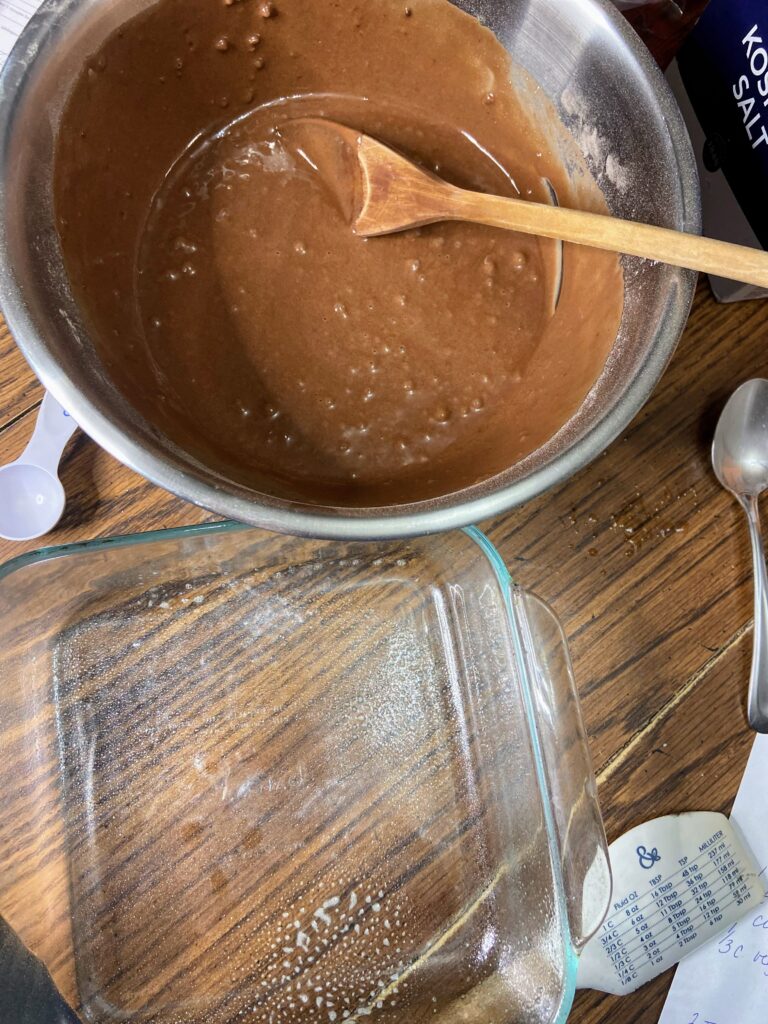
Preheat the oven to 350 degrees and prepare a 9 by 9 inch baking dish by spraying with nonstick cooking spray. In a large bowl, mix the flour, sugar, salt, baking soda, and cocoa powder. Set aside. Measure the water, vegetable oil, vanilla, and vinegar in a 2 cup liquid measuring cup. Whisk for 1 minute. Stir into the dry ingredients quickly and then immediately pour into prepared pan. Bake for 35 minutes, until it passes the toothpick test. Allow to cool before frosting.

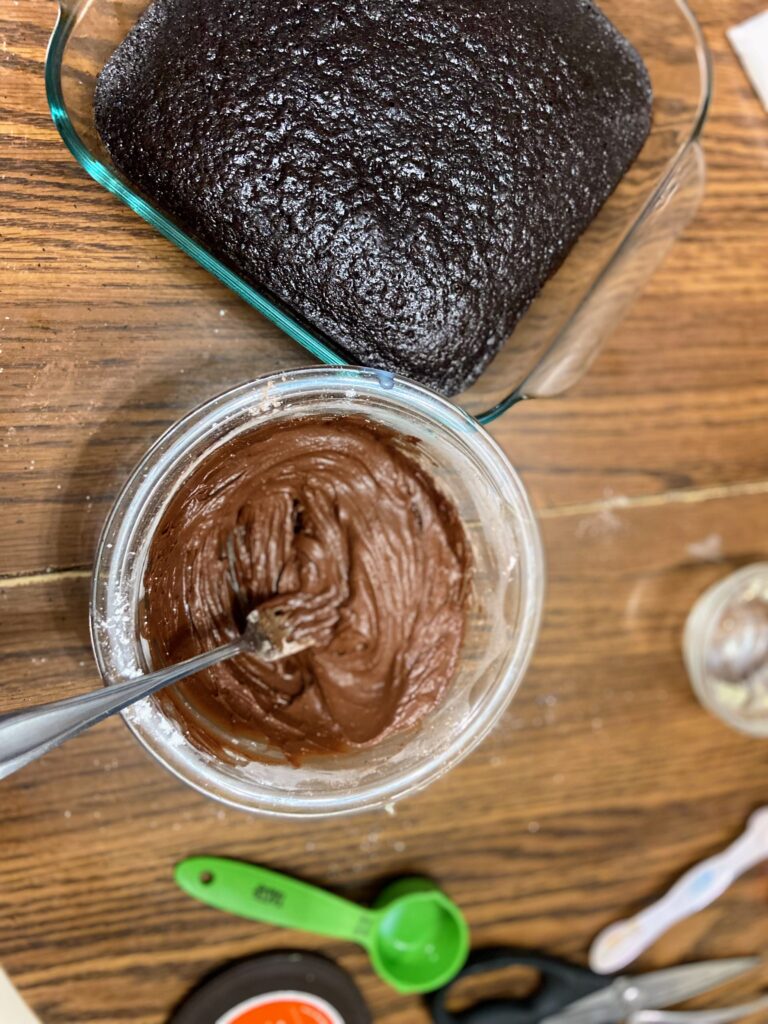
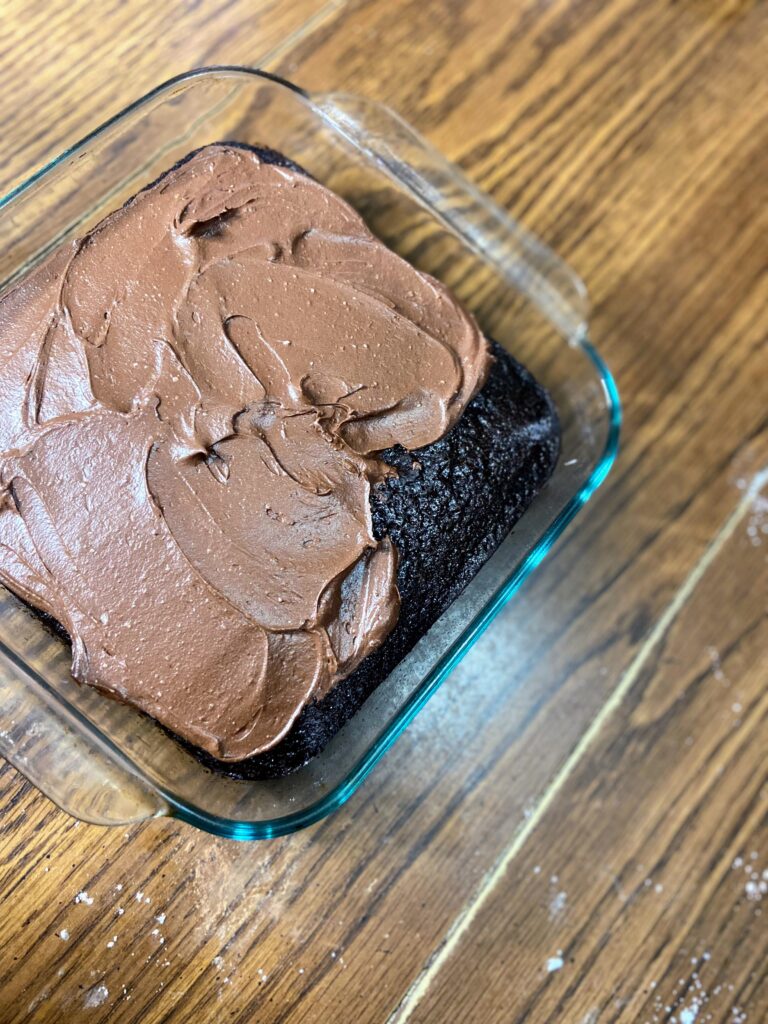
To create the frosting, add the butter to a small bowl and whip until fluffy using a fork. Add powdered sugar, cocoa powder, and pinch of salt. Mix well, incorporating the butter into the dry ingredients. Add milk and vanilla and continue to whip until smooth. Frost cooled cake. Enjoy immediately.

Chocolate Snack Cake

This delicious and simple chocolate cake is perfect for those chocolate cravings, when your shelves are a little bare, or if you don't do egg or dairy. You won't regret having this recipe in your back pocket.
Prep Time 5 minutes
Cook Time 35 minutes
Course Dessert
Cuisine American
Servings 9 servings

Ingredients
  

  • 1 ½ cups all purpose flour
  • 1 cup sugar
  • ½ teaspoon salt
  • 1 teaspoon baking soda
  • cup cocoa powder
  • 1 tablespoon vinegar
  • 1 teaspoon vanilla
  • 1 cup water
  • cup vegetable oil

Frosting Ingredients

  • 1 cup powdered sugar
  • ¼ cup cocoa powder
  • 2 tablespoons softened butter
  • 2 tablespoons milk
  • 1 teaspoon vanilla
  • Pinch of salt

Instructions
 

  • Preheat the oven to 350 degrees and prepare a 9 by 9 inch baking dish by spraying with nonstick cooking spray.
  • In a large bowl, mix the flour, sugar, salt, baking soda, and cocoa powder. Set aside.
  • Measure the water, vegetable oil, vanilla, and vinegar in a 2 cup liquid measuring cup. Whisk for 1 minute.
  • Stir into the dry ingredients quickly and then immediately pour into prepared pan.
  • Bake for 30-35 minutes, until it passes the toothpick test. Allow to cool before frosting.
  • To create the frosting, add the butter to a small bowl and whip until fluffy using a fork.
  • Add powdered sugar, cocoa powder, and pinch of salt.
  • Mix well, incorporating the butter into the dry ingredients. Add milk and vanilla and continue to whip until smooth.
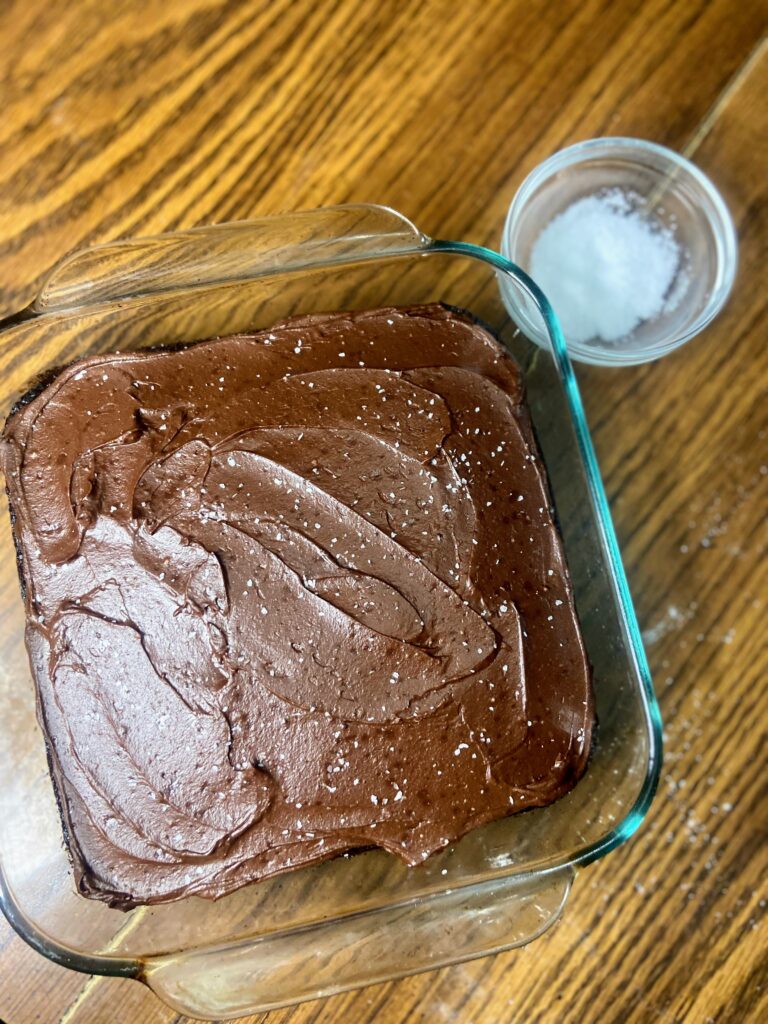
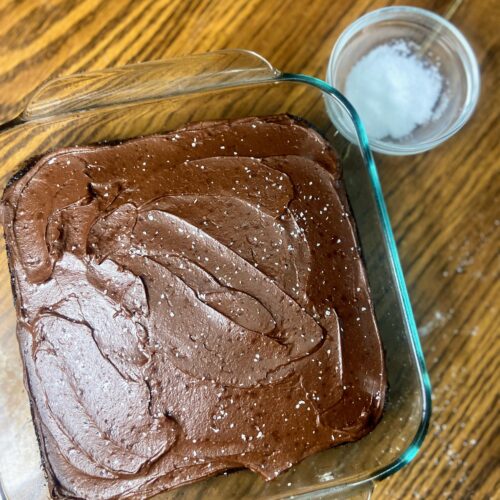
  • Frost cooled cake. Sprinkle with course salt, if desired.
Keyword cake recipe, chocolate, chocolate cake, chocolate snack cake, depression cake
Tried this recipe?Let us know how it was!

Looking for other sweet treats?

Check out my baking page or some of my favorites below!
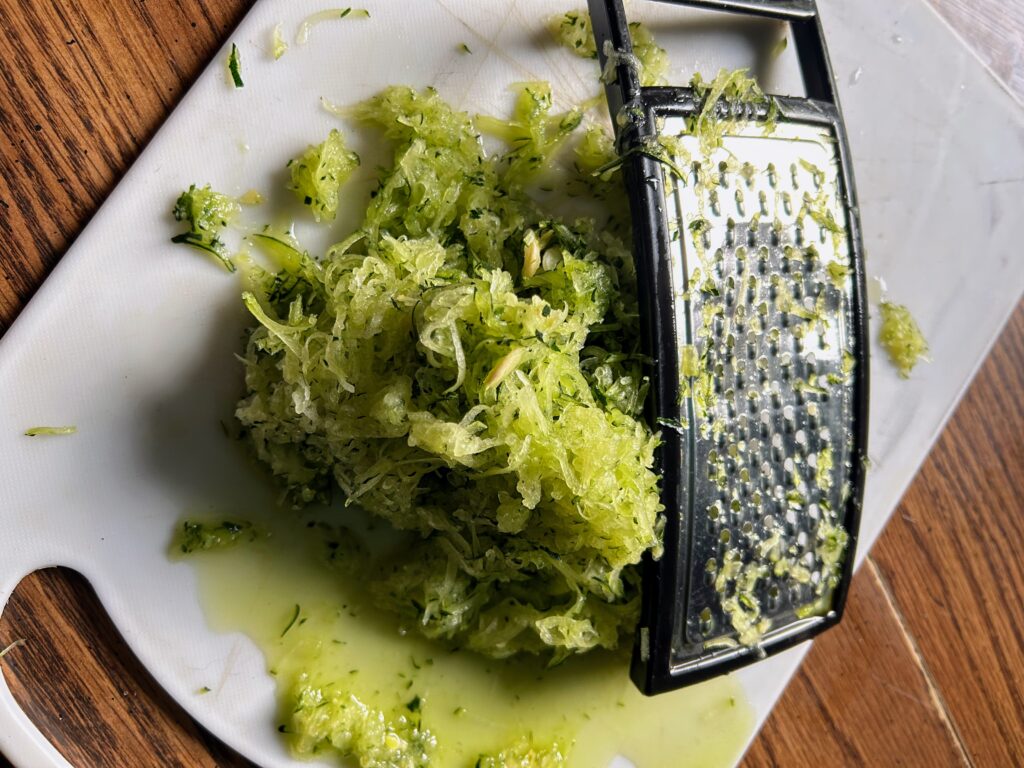
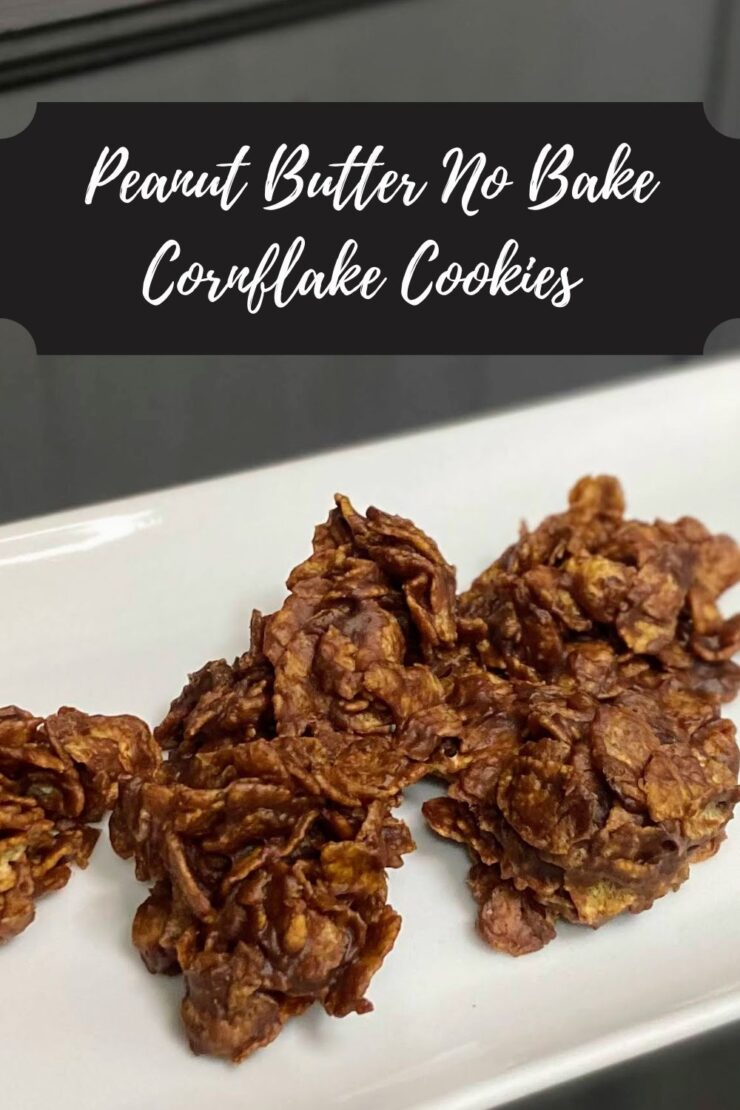
No Bake Cornflake Cookies

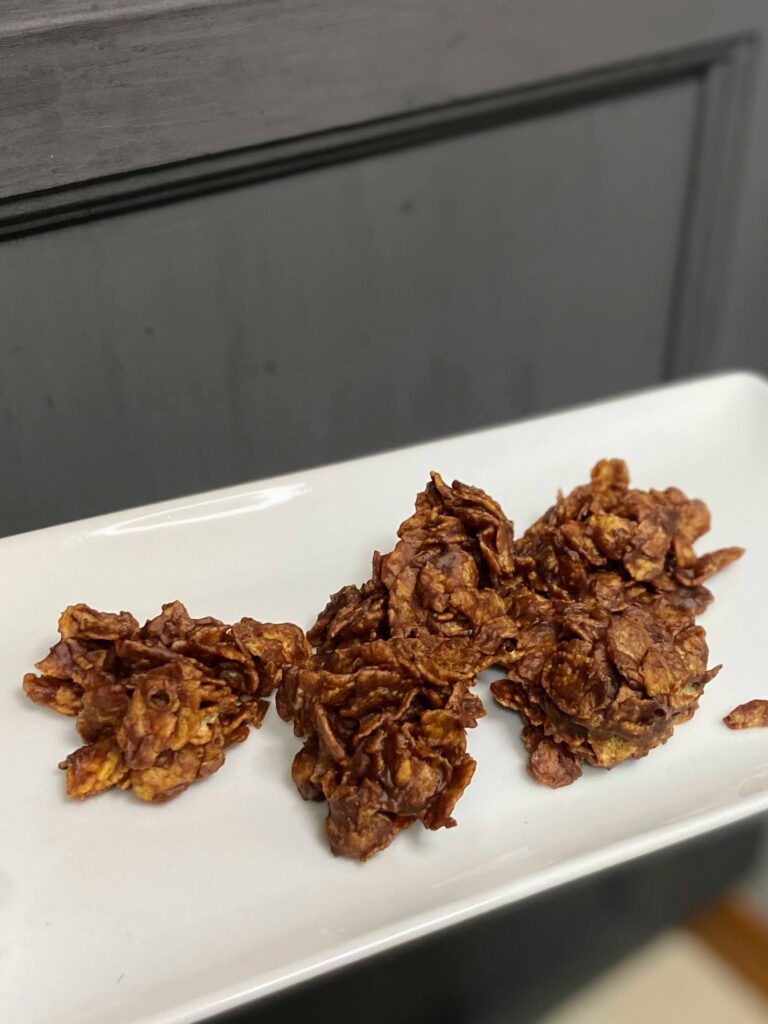
I have had a certain fondness for no bake cookies since I was little. I hadn’t made them often, but if they were an option at a bake sale or dessert bar, I generally would go for them; as long as there wasn’t a brownie or Rice Krispy treat as an option, of course. Then came the time I needed a no bake cookie, and these beautiful no bake cornflake cookies were the result! 

Let me take a step back and explain. But where to start….My big kid has become an avid basketball player, and because of this, he plays 2-3 games most weekends in January and February all around the area. Our town hosts said games soon and the parents of my son’s team were assigned baked goods. 

I LOVE baking and making cookies. But…a few weeks ago, my husband was doing some remodeling in our kitchen (yay!) and when he pulled out our range and then put it back, the oven stopped working correctly (booo!) That means for the last three weeks, I have baked exactly two loaves of bread and broiled one dish. Not great news for the baked goods. 

Well, I guess this is a great opportunity to work on a no bake cookie recipe, right? And just a few weekends ago, I had purchased a GIANT box of corn flakes for cheesy potatoes. The stars had aligned for some delicious no bake cornflake cookies.

My issue?

In looking at all the recipes I could find, no bake cookies are just full of sugar and corn syrup. I love me some sugar and butter, but I also try to find balance and replace when I can.  

My go to replacement for sugar is maple syrup (my family and I started tapping trees a few years ago. Learn about it here!) I was worried it wouldn’t allow the cookies to set, but it worked great! And because the only other real ingredients are corn flakes and peanut butter, I would ALMOST venture to say you could call these breakfast cookies. I mean, I won’t stop you…hehe. 

Now let’s get creating! For this recipe, I’ll leave it in small batch format. You can easily double it to get more delicious no bake cookies, but as it is written, this will give you about 20 cookies. 

Your Ingredients 

  • ½ cup maple syrup 
  • ½ cup peanut butter 
  • ½ teaspoon vanilla
  • Nice pinch of salt 
  • 2 tablespoons cocoa powder
  • 2-2 ½ cups corn flakes
  • ½ cup finely chopped nuts (optional)

Your Steps to No Bake Cornflake Cookies 

Prepare two baking sheets with wax or parchment paper to place the cookies on when they are cooling. 

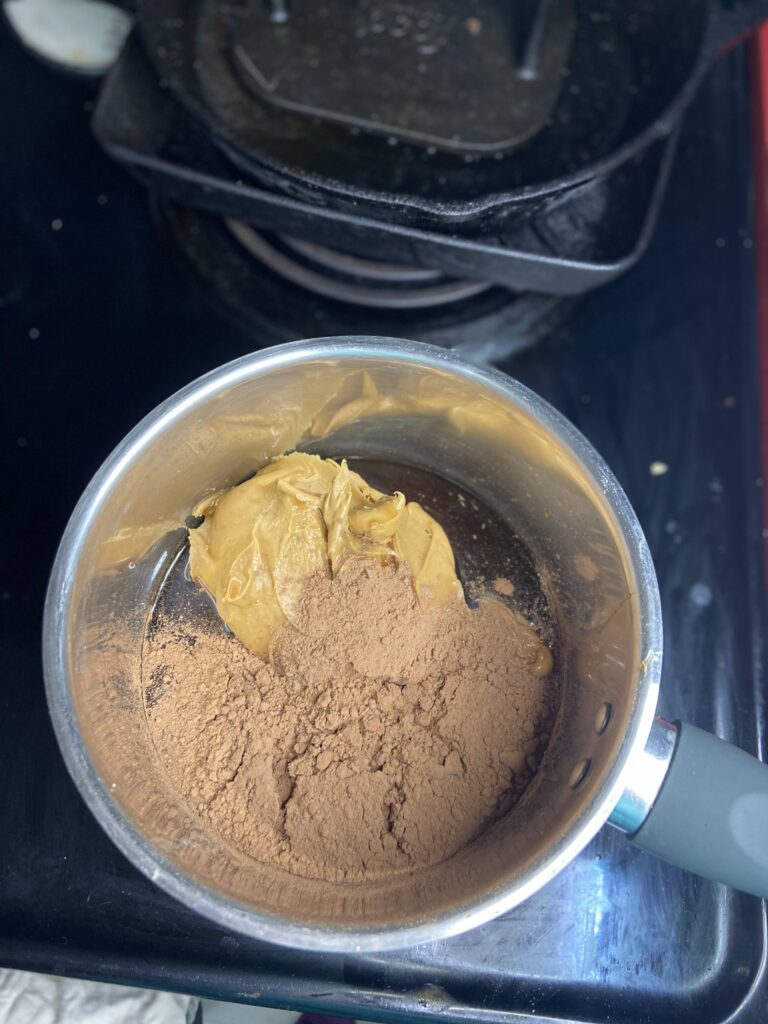
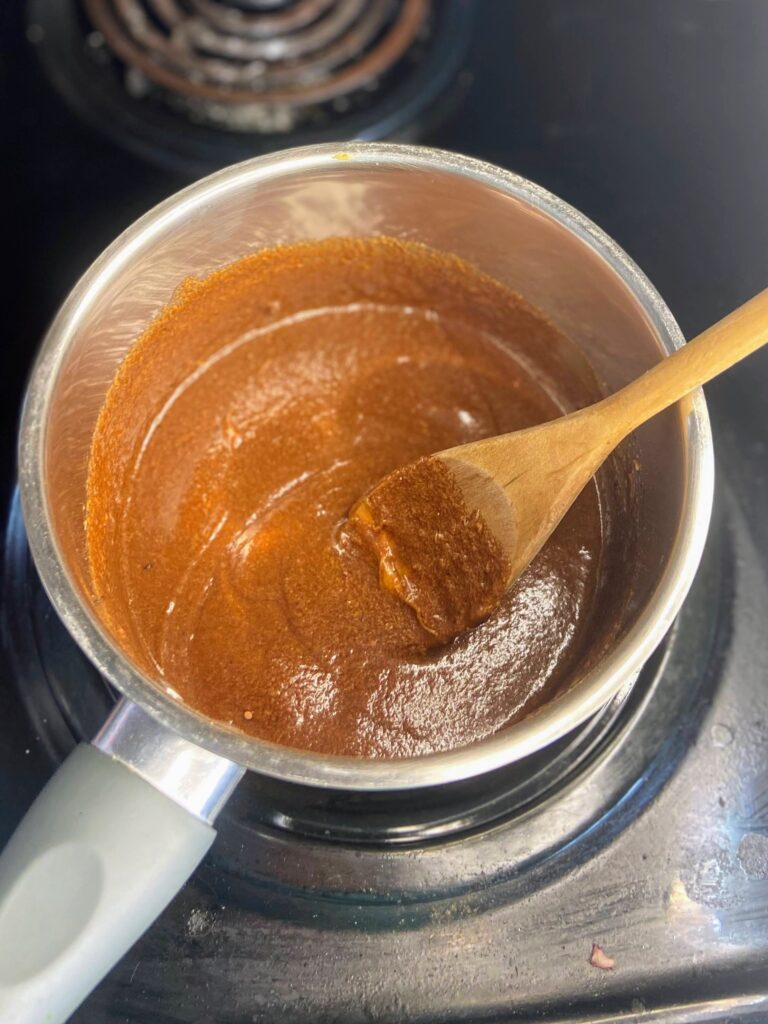
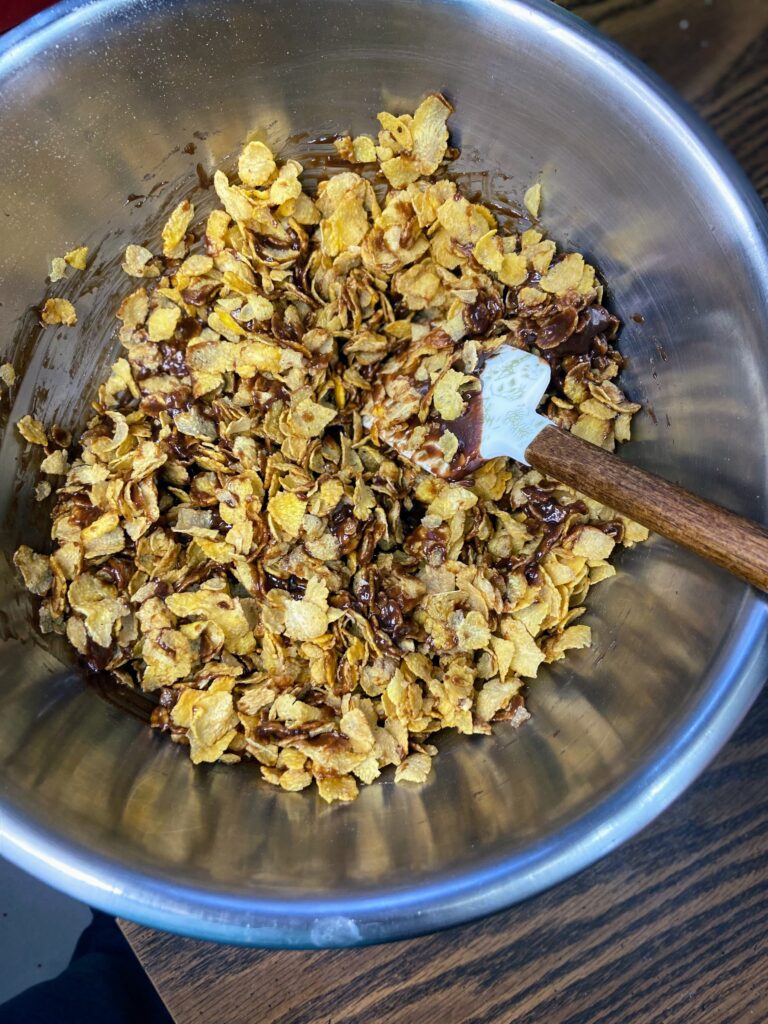
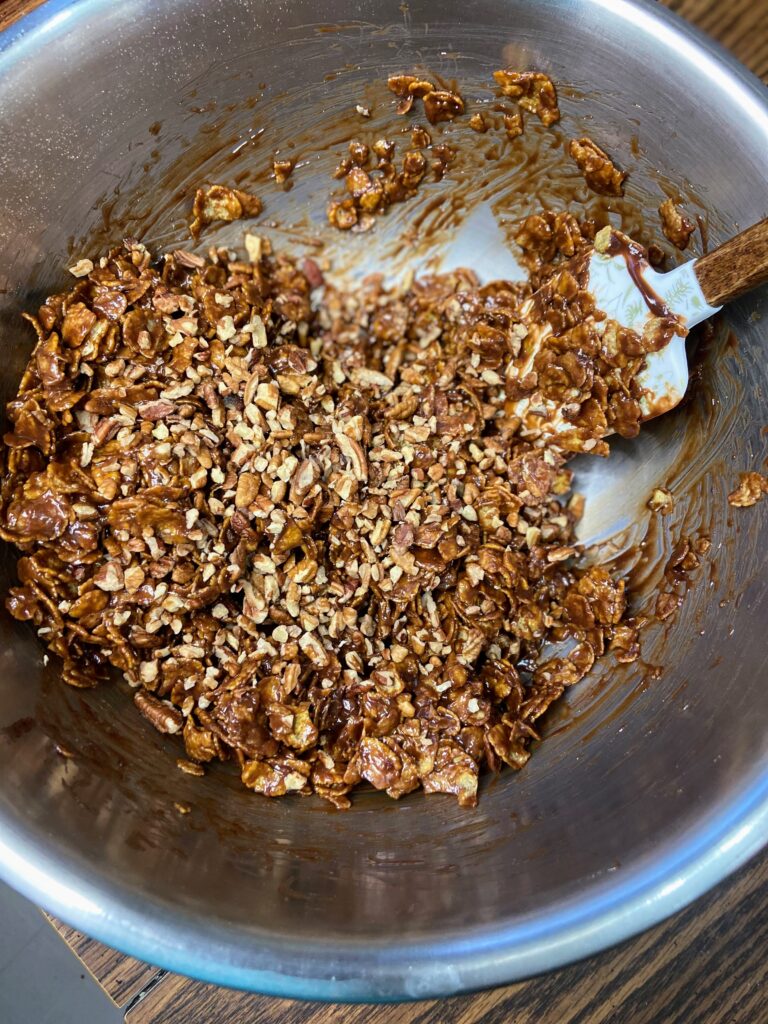
In a medium saucepan, combine syrup, peanut butter, cocoa powder, and the pinch of salt. Heat over a medium heat until the sauce JUST reaches a full boil. Remove the kettle from the heat and stir in the vanilla, corn flakes and nuts (if using) until well coated, adding more flakes if needed. 

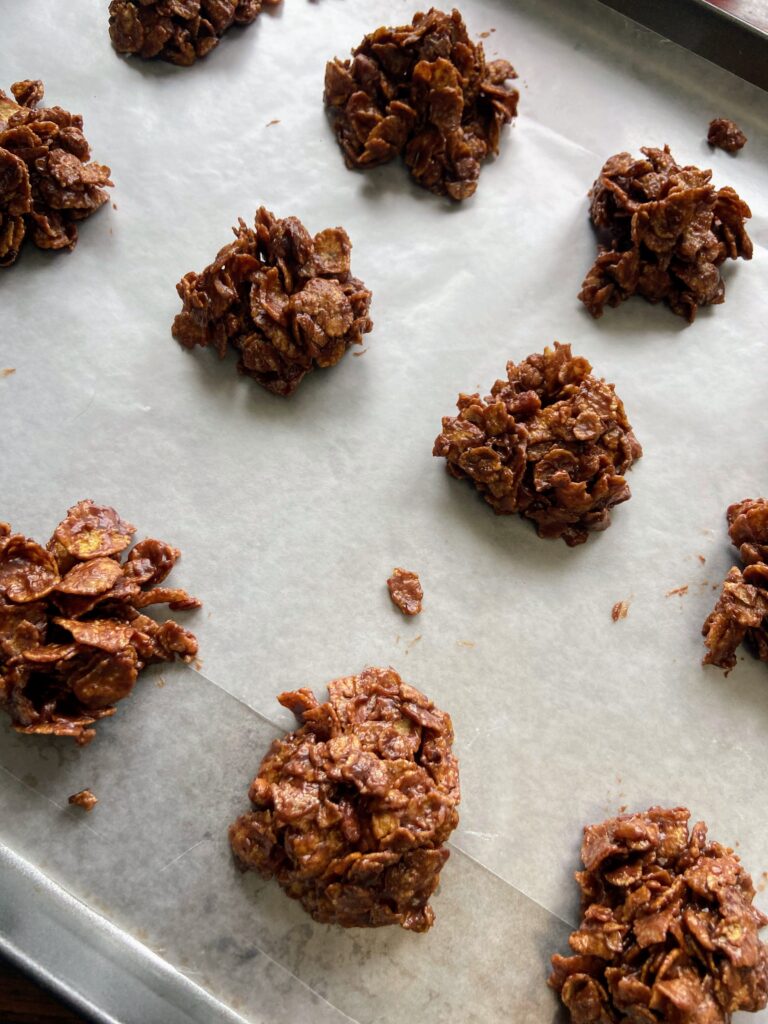
Using a cookie or ice cream scoop, scoop the cookies onto prepared baking sheets. They will stay together better if you give them a little squeeze. Allow to cool until set, about 30-60 minutes. Once set, store in an airtight container. 

No Bake Cornflake Cookies

Looking for a no bake cookie but want to skip on a bit of the refined sugar? Give this great no bake cornflake cookie a try!
3 from 1 vote
Prep Time 5 minutes
Cook Time 5 minutes
Rest Time 1 hour
Course Cookies, Dessert
Cuisine American
Servings 16 cookies

Ingredients
  

  • ½ cup maple syrup
  • ½ cup peanut butter
  • ½ teaspoon vanilla
  • Nice pinch of salt
  • 2 tablespoons cocoa powder
  • 2-2 ½ cups corn flakes
  • ½ cup finely chopped nuts optional

Instructions
 

  • Prepare two baking sheets with wax or parchment paper to place the cookies on when they are cooling.
  • In a medium saucepan, combine syrup, peanut butter, cocoa powder and the pinch of salt. Heat over a medium heat until the sauce JUST reaches a full boil.
  • Remove the kettle from the heat and stir in the vanilla, corn flakes, and nuts (if using) until well coated, adding more flakes if needed.
  • Using a cookie or ice cream scoop, scoop the cookies onto prepared baking sheets.
  • Allow to cool until set, about 30 minutes. Once set, store in an airtight container.
Keyword chocolate and peanut butter, chocolate cookies, corn flake cookies, no bake cookies, no bake desserts, peanut butter, quick cookies, quick treats
Tried this recipe?Let us know how it was!

Looking for other sweet treat inspiration?

Head to one of the recipes below or go right to my Baking page!

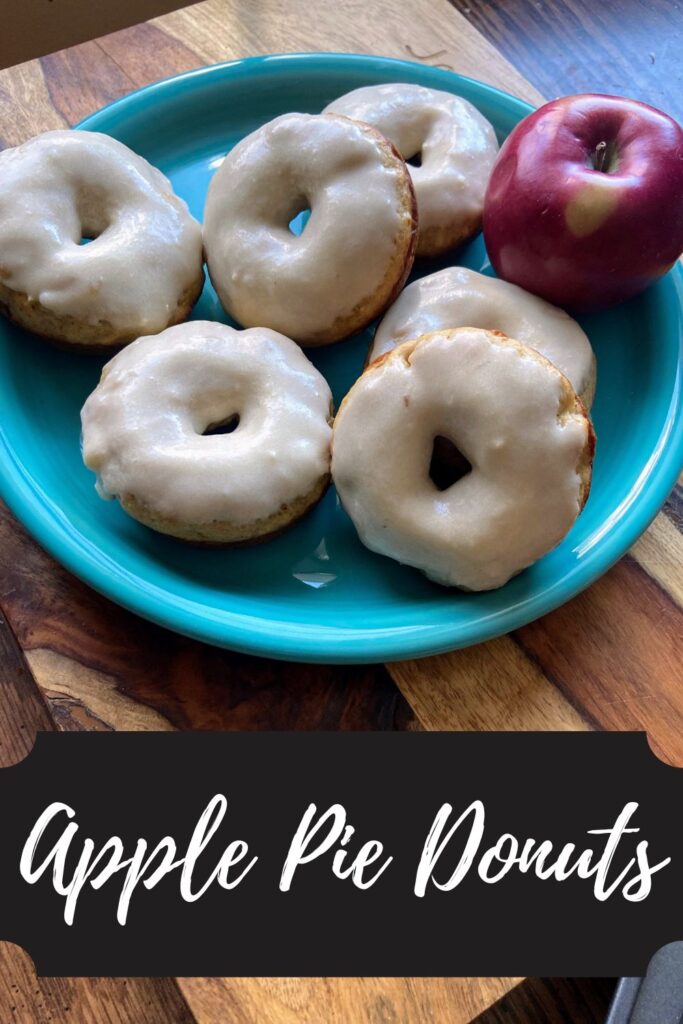
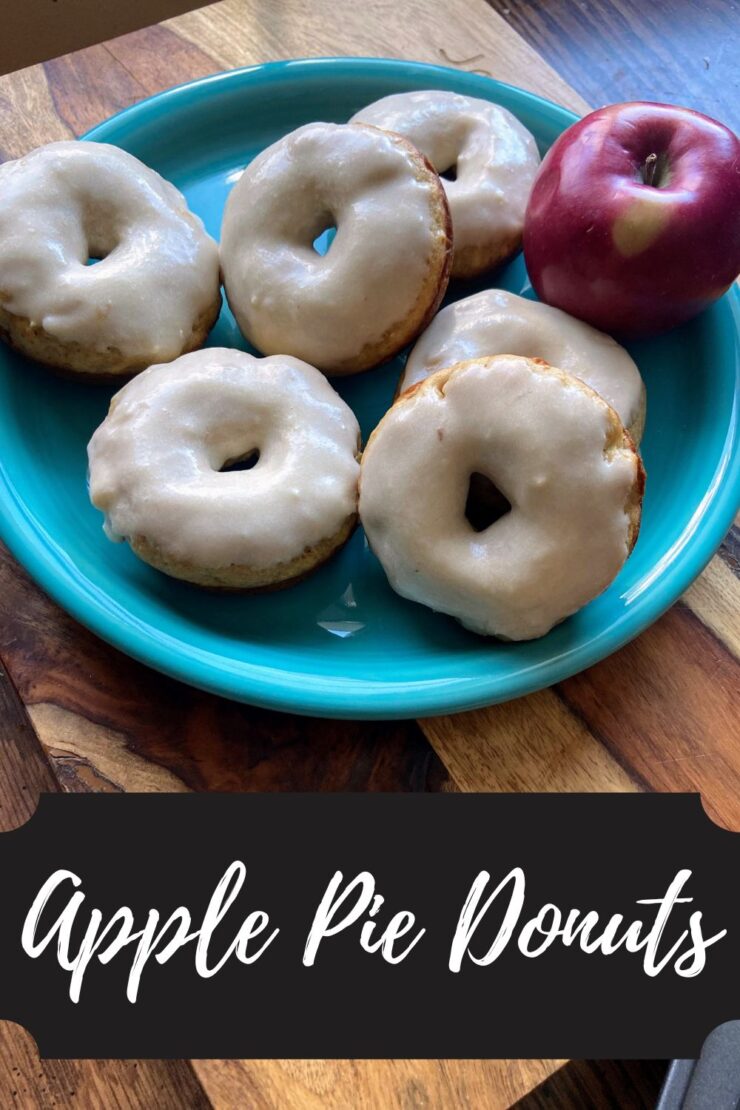
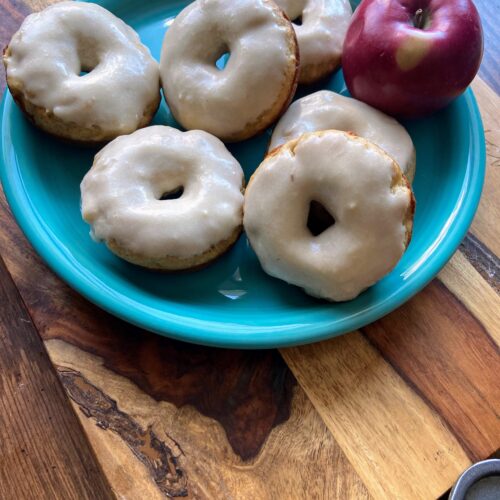
Apple Pie Donuts

How is an apple pie donuts recipe created in the last month of the year in Wisconsin? Picture this: 

It’s December 20th and my mini me gets to bring a treat to school for the holiday party. All year, she has brought apples for a snack for herself, so she naturally chooses apples (and candy canes) as her treat. So off to the store we go to buy bags of apples for her and her classmates. Then a winter storm hits and school is canceled, canceling her party and leaving us with A LOT of apples. 

Don’t get me wrong, my family eats a lot of fruit, but I had JUST finished creating apple sauce with the last of our fall apples and I wasn’t sure what to do with them. Then I spied my donut pan (a gift for the Mr. with a donut cookbook a few Valentine’s Days ago), and got to thinking, “I haven’t played with a donut recipe in a lonnnggg time.” 

And that winter storm? It was still going so I had nothing but time on my hands. I set to work. 

If you know me, you likely know I live for more simple, from scratch recipes with a healthy twist. I wanted these donuts to have the flavor of apple without a whole lot of chunks of apple in them. So out went some of the butter and oil I usually add and in went applesauce (Healthy and flavor! Big win!). To give a greater apple pie flavor, I amped up the cinnamon and nutmeg. And the frosting? Oh my goodness, it’s the best part. To give an apple flavor, I swapped more applesauce for the milk and it worked SO well. I can’t wait for you to give them a try!

Ready to get baking? Let’s go!

Your Ingredients for Apple Pie Donuts

  • 3 tablespoons butter, melted
  • ½ cup unsweetened applesauce
  • ½ cup packed light brown sugar
  • ¼ cup white sugar
  • 2 large eggs
  • 2 teaspoons vanilla 
  • ½ cup plain Greek yogurt (or low sugar vanilla)
  • 2 tablespoons milk 
  • 2 ¼ cup flour
  • 2 teaspoons baking powder
  • ½ teaspoon baking soda
  • 1 teaspoon cinnamon 
  • ¼  teaspoon ground nutmeg
  • ¾ teaspoon salt 
  • ½ cup apples, diced finely

Donut Frosting

  • 2 tablespoons butter, softened
  • 1 teaspoon vanilla
  • 3 tablespoons unsweetened applesauce
  • 2 cups powdered sugar

Your Steps to Apple Pie Donuts

Preheat the oven to 350 degrees. Spray a regular donut pan with non-stick cooking spray. 

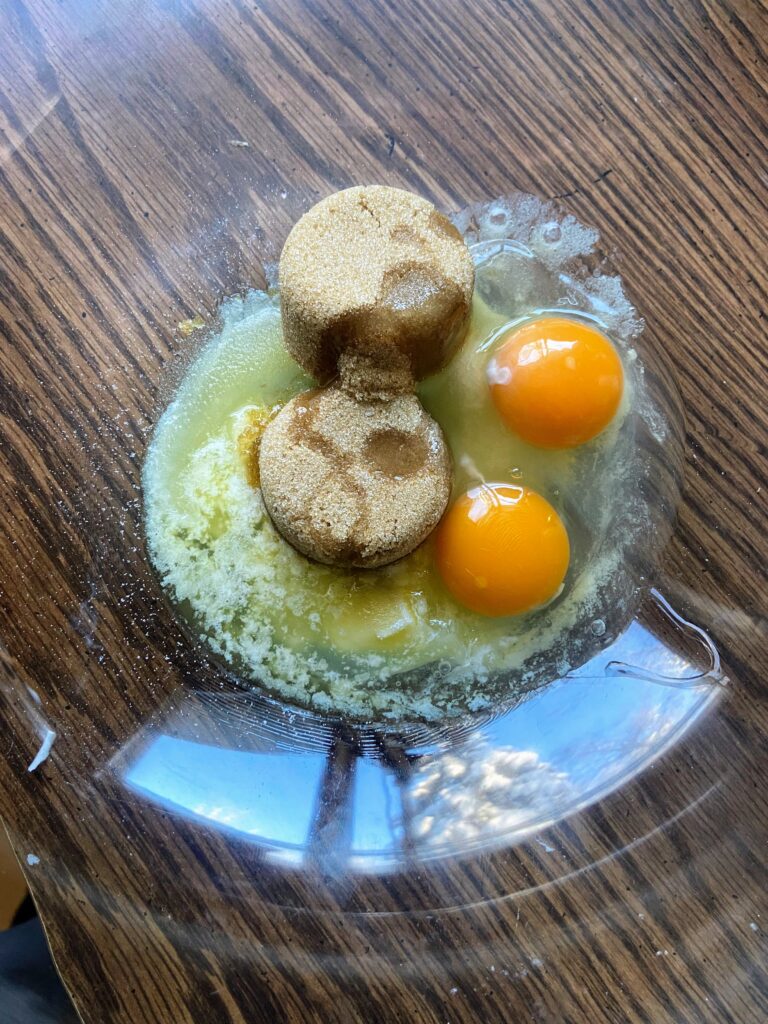
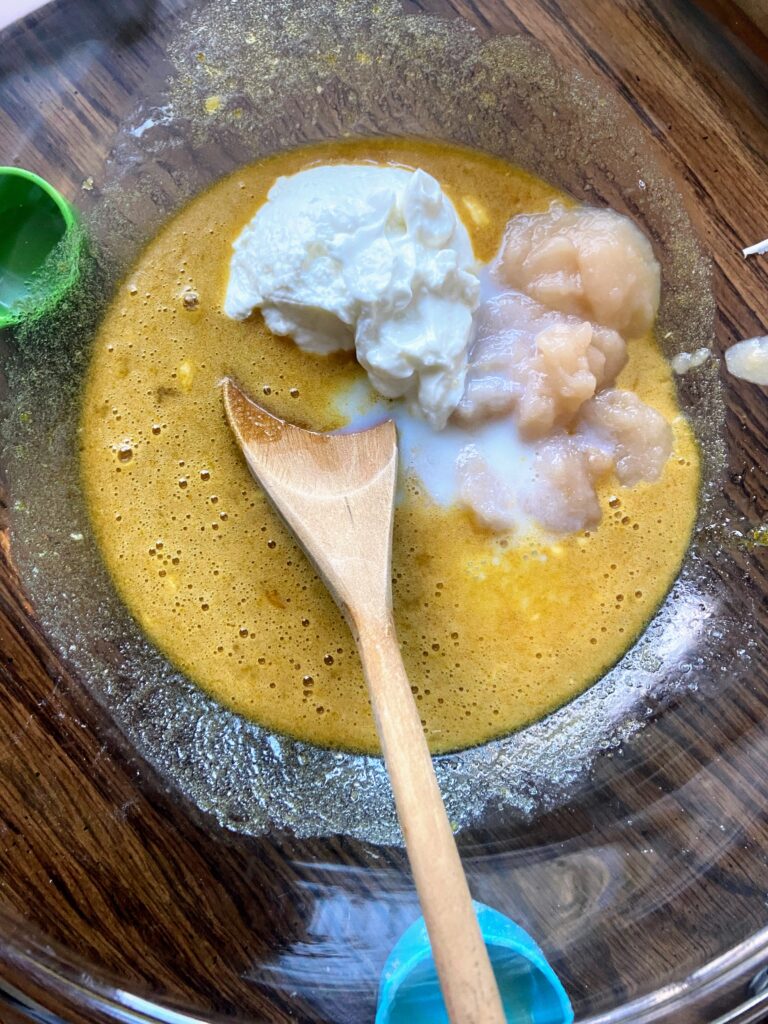
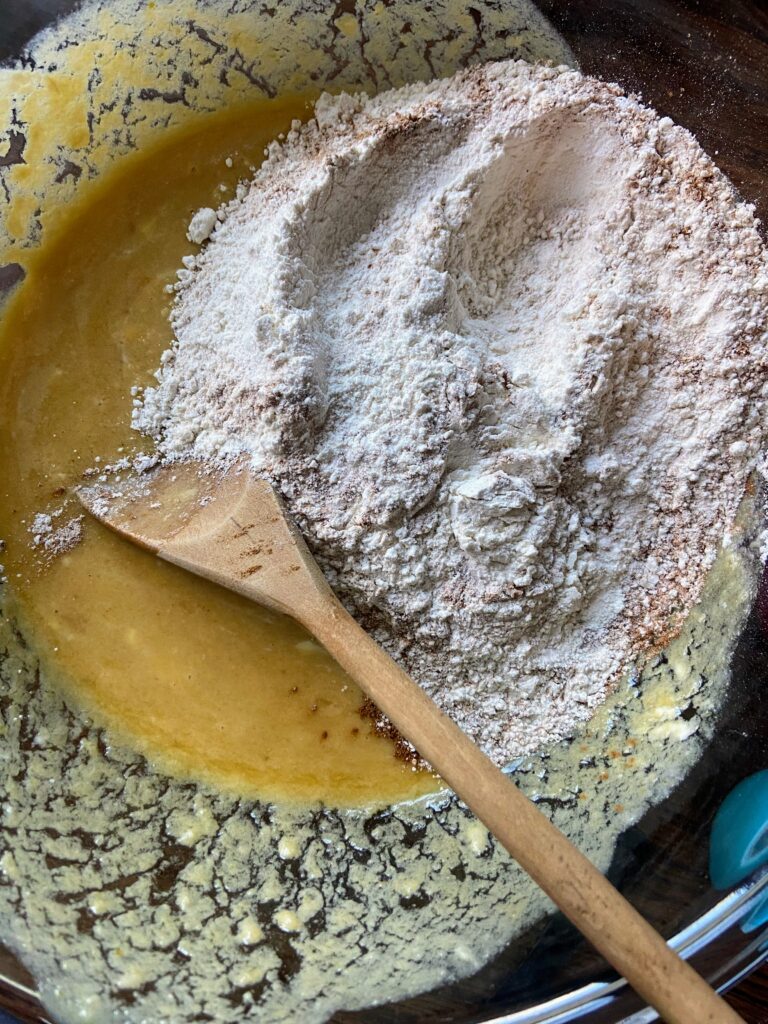
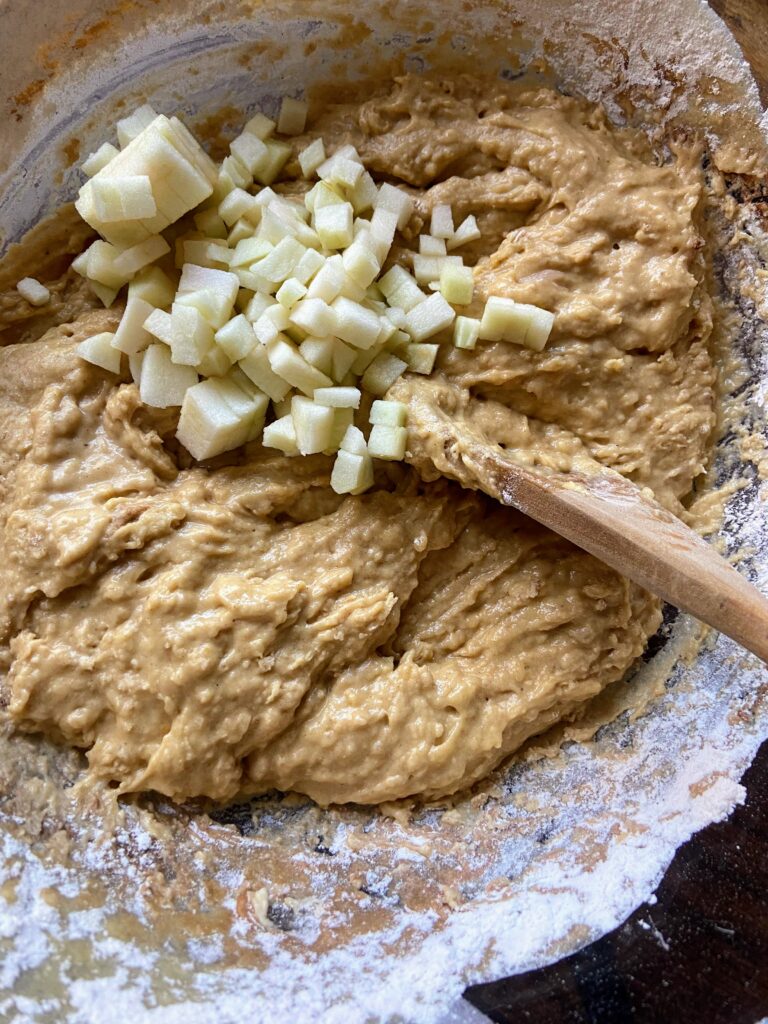
In a large bowl, combine butter, sugar, eggs, and vanilla. Stir in applesauce, milk, and yogurt. Whisk until smooth. In a separate bowl, combine flour, baking powder, baking soda, cinnamon, nutmeg, and salt.  Add to wet ingredients and stir until fully incorporated. Fold in the apples.

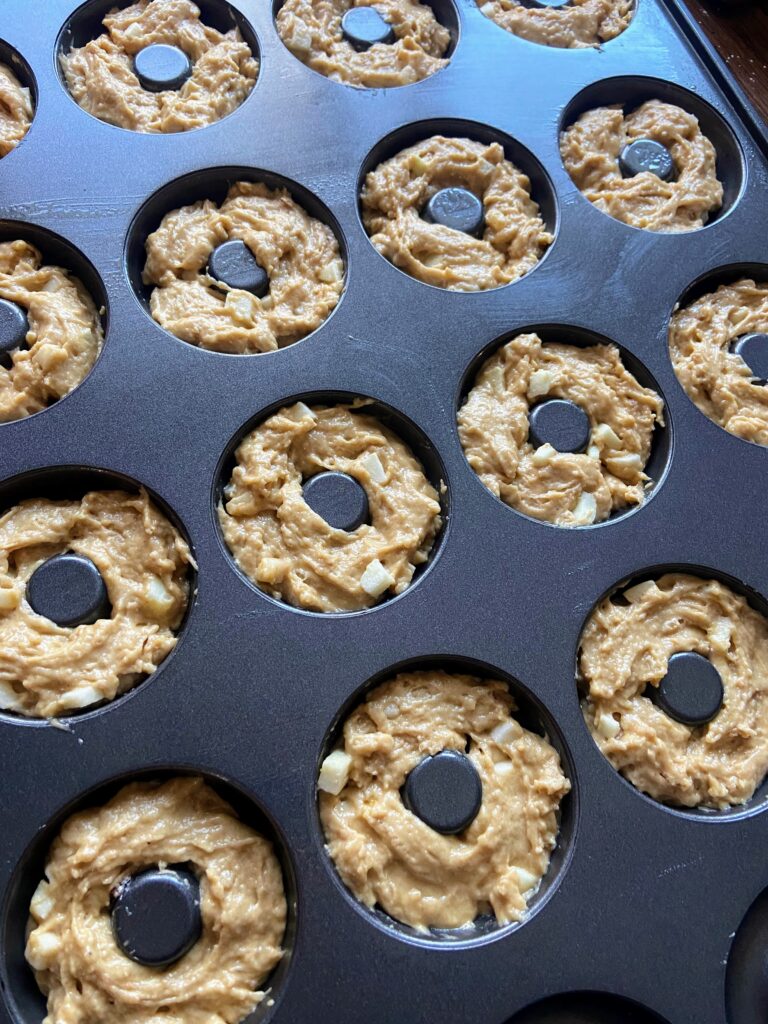
Divide the batter among 16 donut cavities, filling ¾ of the way full. Bake for 12-14 minutes, until firm to the touch or passes the toothpick test (a toothpick inserted comes out clean). Allow to cool in the pan for 10 minutes. Remove the donuts from the pan and place on a cooling rack. 

While the donuts finish cooling, mix donut frosting. Using a fork, cream the butter. Add vanilla and mix until combined. Mix in applesauce, still using the fork. Whisk in the powdered sugar with the fork until smooth. 

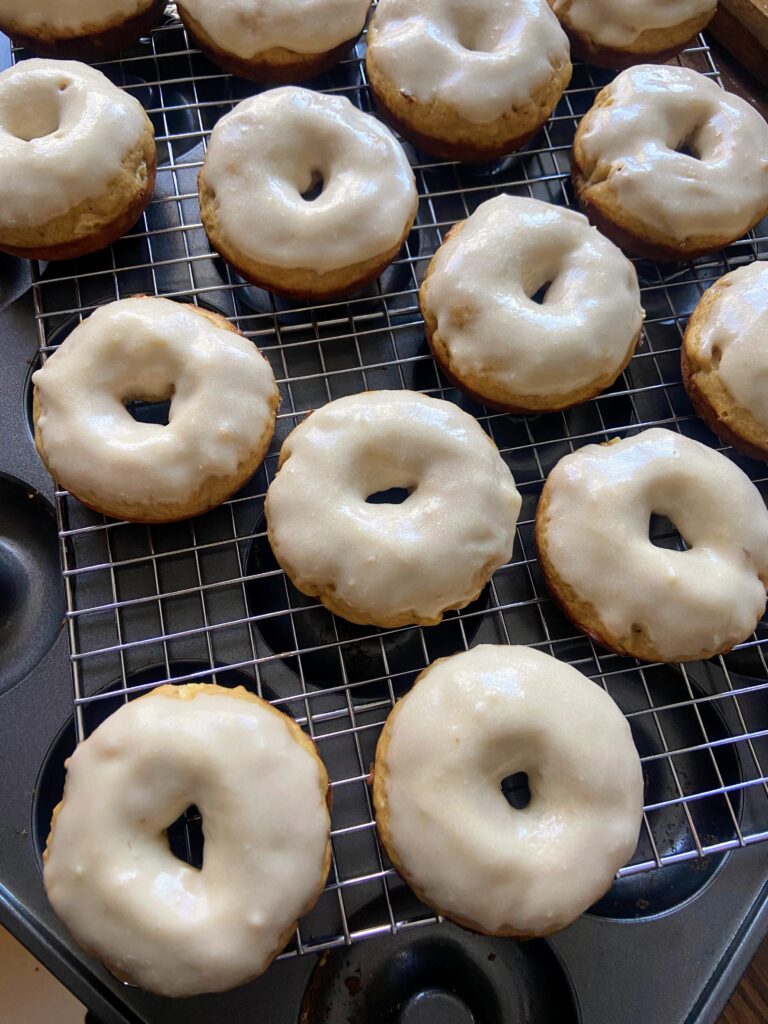
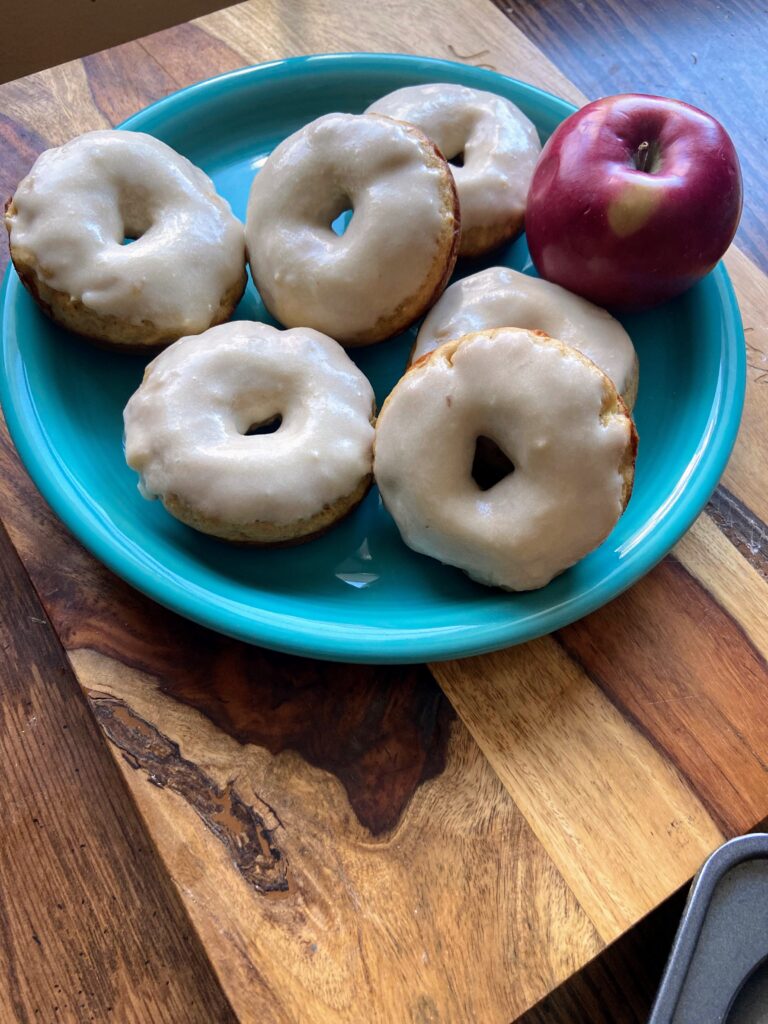
When cool, frost or dip each donut in the frosting. It is a great consistency that you can dip it like a glaze but it will hold up like a frosting. Cover them anyway you choose!

Apple Pie Donuts

Love apple pie? These baked apple pie donuts with a great frosting  will give you that warm comforting feeling you get from pie and ice cream!
Prep Time 20 minutes
Cook Time 16 minutes
Course Appetizer, Breakfast, Dessert, Sweets
Cuisine American
Servings 16 donuts

Equipment

Ingredients
  

  • 3 tablespoons butter melted
  • ½ cup unsweetened applesauce
  • ½ cup packed light brown sugar
  • ¼ cup white sugar
  • 2 large eggs
  • 2 teaspoons vanilla
  • ½ cup plain Greek yogurt or low sugar vanilla
  • 2 tablespoons milk
  • 2 ¼ cup flour
  • 2 teaspoons baking powder
  • ½ teaspoon baking soda
  • 1 teaspoon cinnamon
  • ¼ teaspoon ground nutmeg
  • ¾ teaspoon salt
  • ½ cup apples diced finely

Donut Frosting

  • 2 tablespoons butter softened
  • 1 teaspoon vanilla
  • 3 tablespoons unsweetened applesauce
  • 2 cups powdered sugar

Instructions
 

  • Preheat the oven to 350 degrees. Spray a regular donut pan with non-stick cooking spray.
  • In a large bowl, combine butter, sugar, eggs, and vanilla. Stir in applesauce, milk and yogurt. Whisk until smooth.
  • In a separate bowl, combine flour, baking powder, baking soda, cinnamon, nutmeg, and salt.
  • Add to wet ingredients and stir until fully incorporated. Fold in the apples
  • Divide the batter among 16 donut cavities, filling ¾ of the way full.
  • Bake for 12-14 minutes, until firm to the touch or passes the toothpick test (a toothpick inserted comes out clean).
  • Allow to cool in the pan for 10 minutes. Remove the donuts from the pan and place on a cooling rack.
  • While the donuts finish cooling, mix donut frosting. Using a fork, cream the butter. Add vanilla and mix until combined. Mix in applesauce, still using the fork. Whisk in the powdered sugar with the fork until smooth.
  • When cool, frost or dip each donut in the frosting. It is a great consistency that you can dip it like a glaze but it will hold up like a frosting.
Keyword apple and cinnamon, apple pie, apple recipe, apples, baked donuts, Breakfast, donut recipe, donuts
Tried this recipe?Let us know how it was!

LOOKING FOR OTHER GREAT RECIPES?

Check out the delicious breakfast inspiration below or head right to my breakfast page!

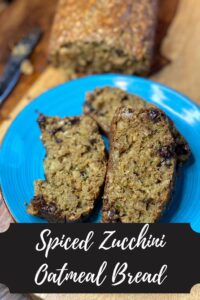
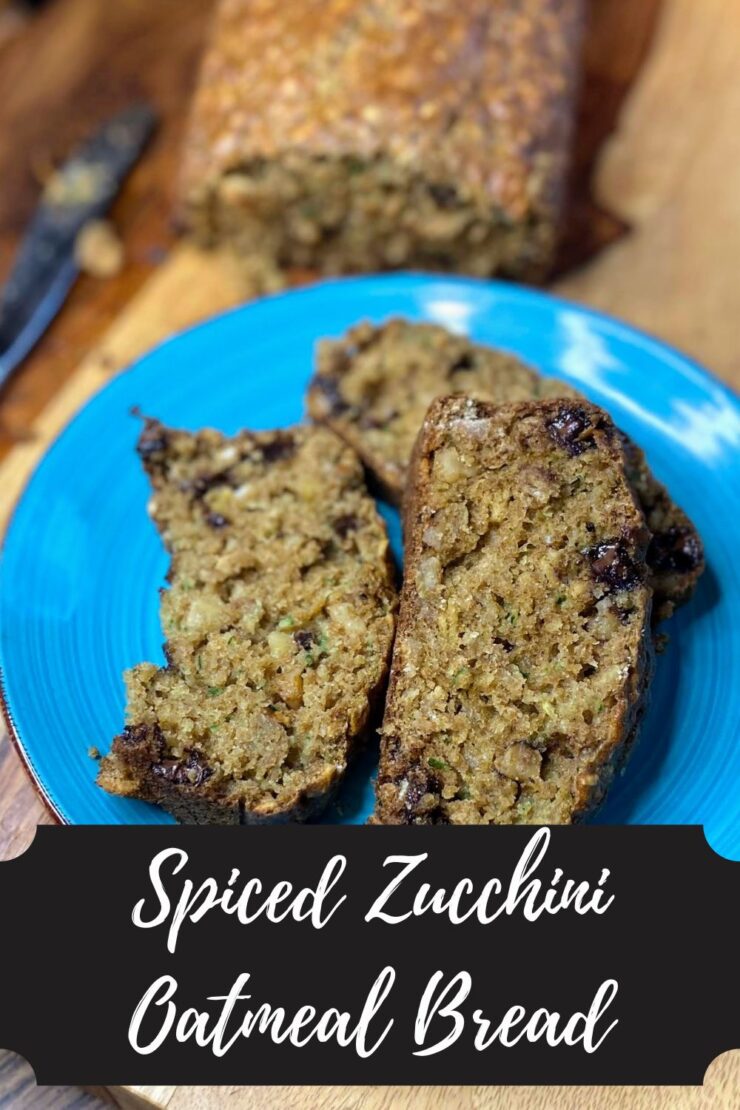
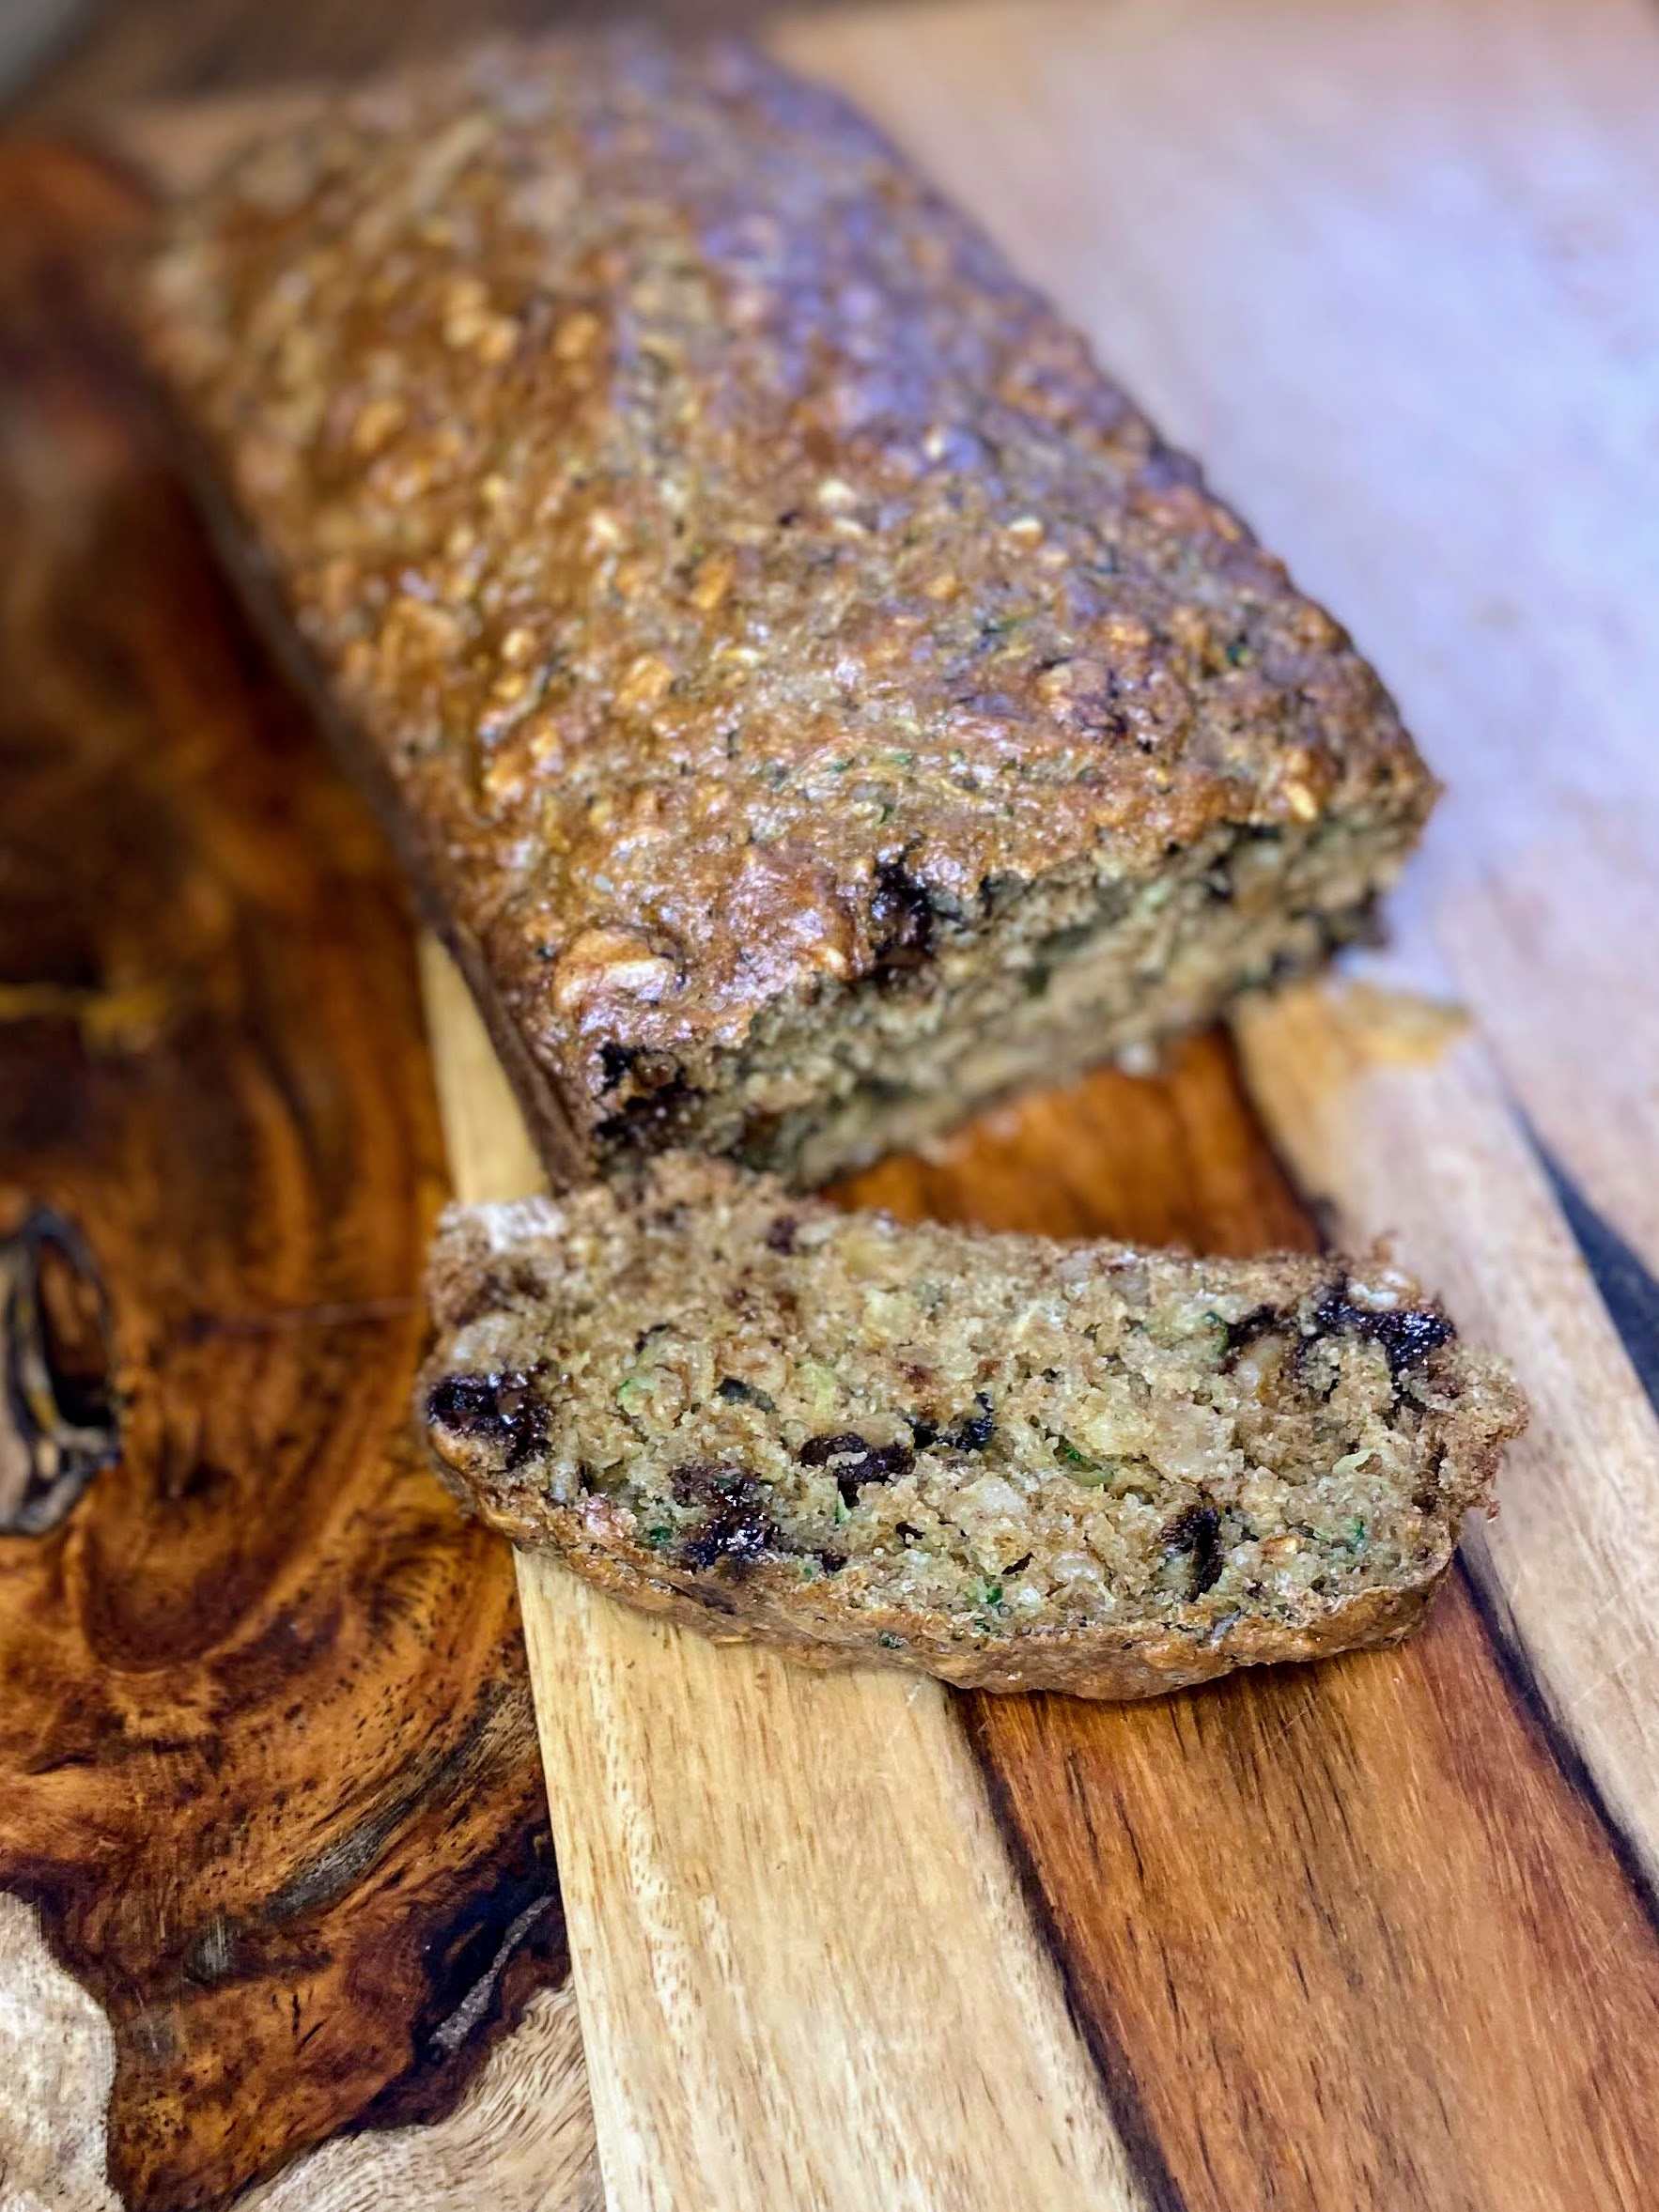
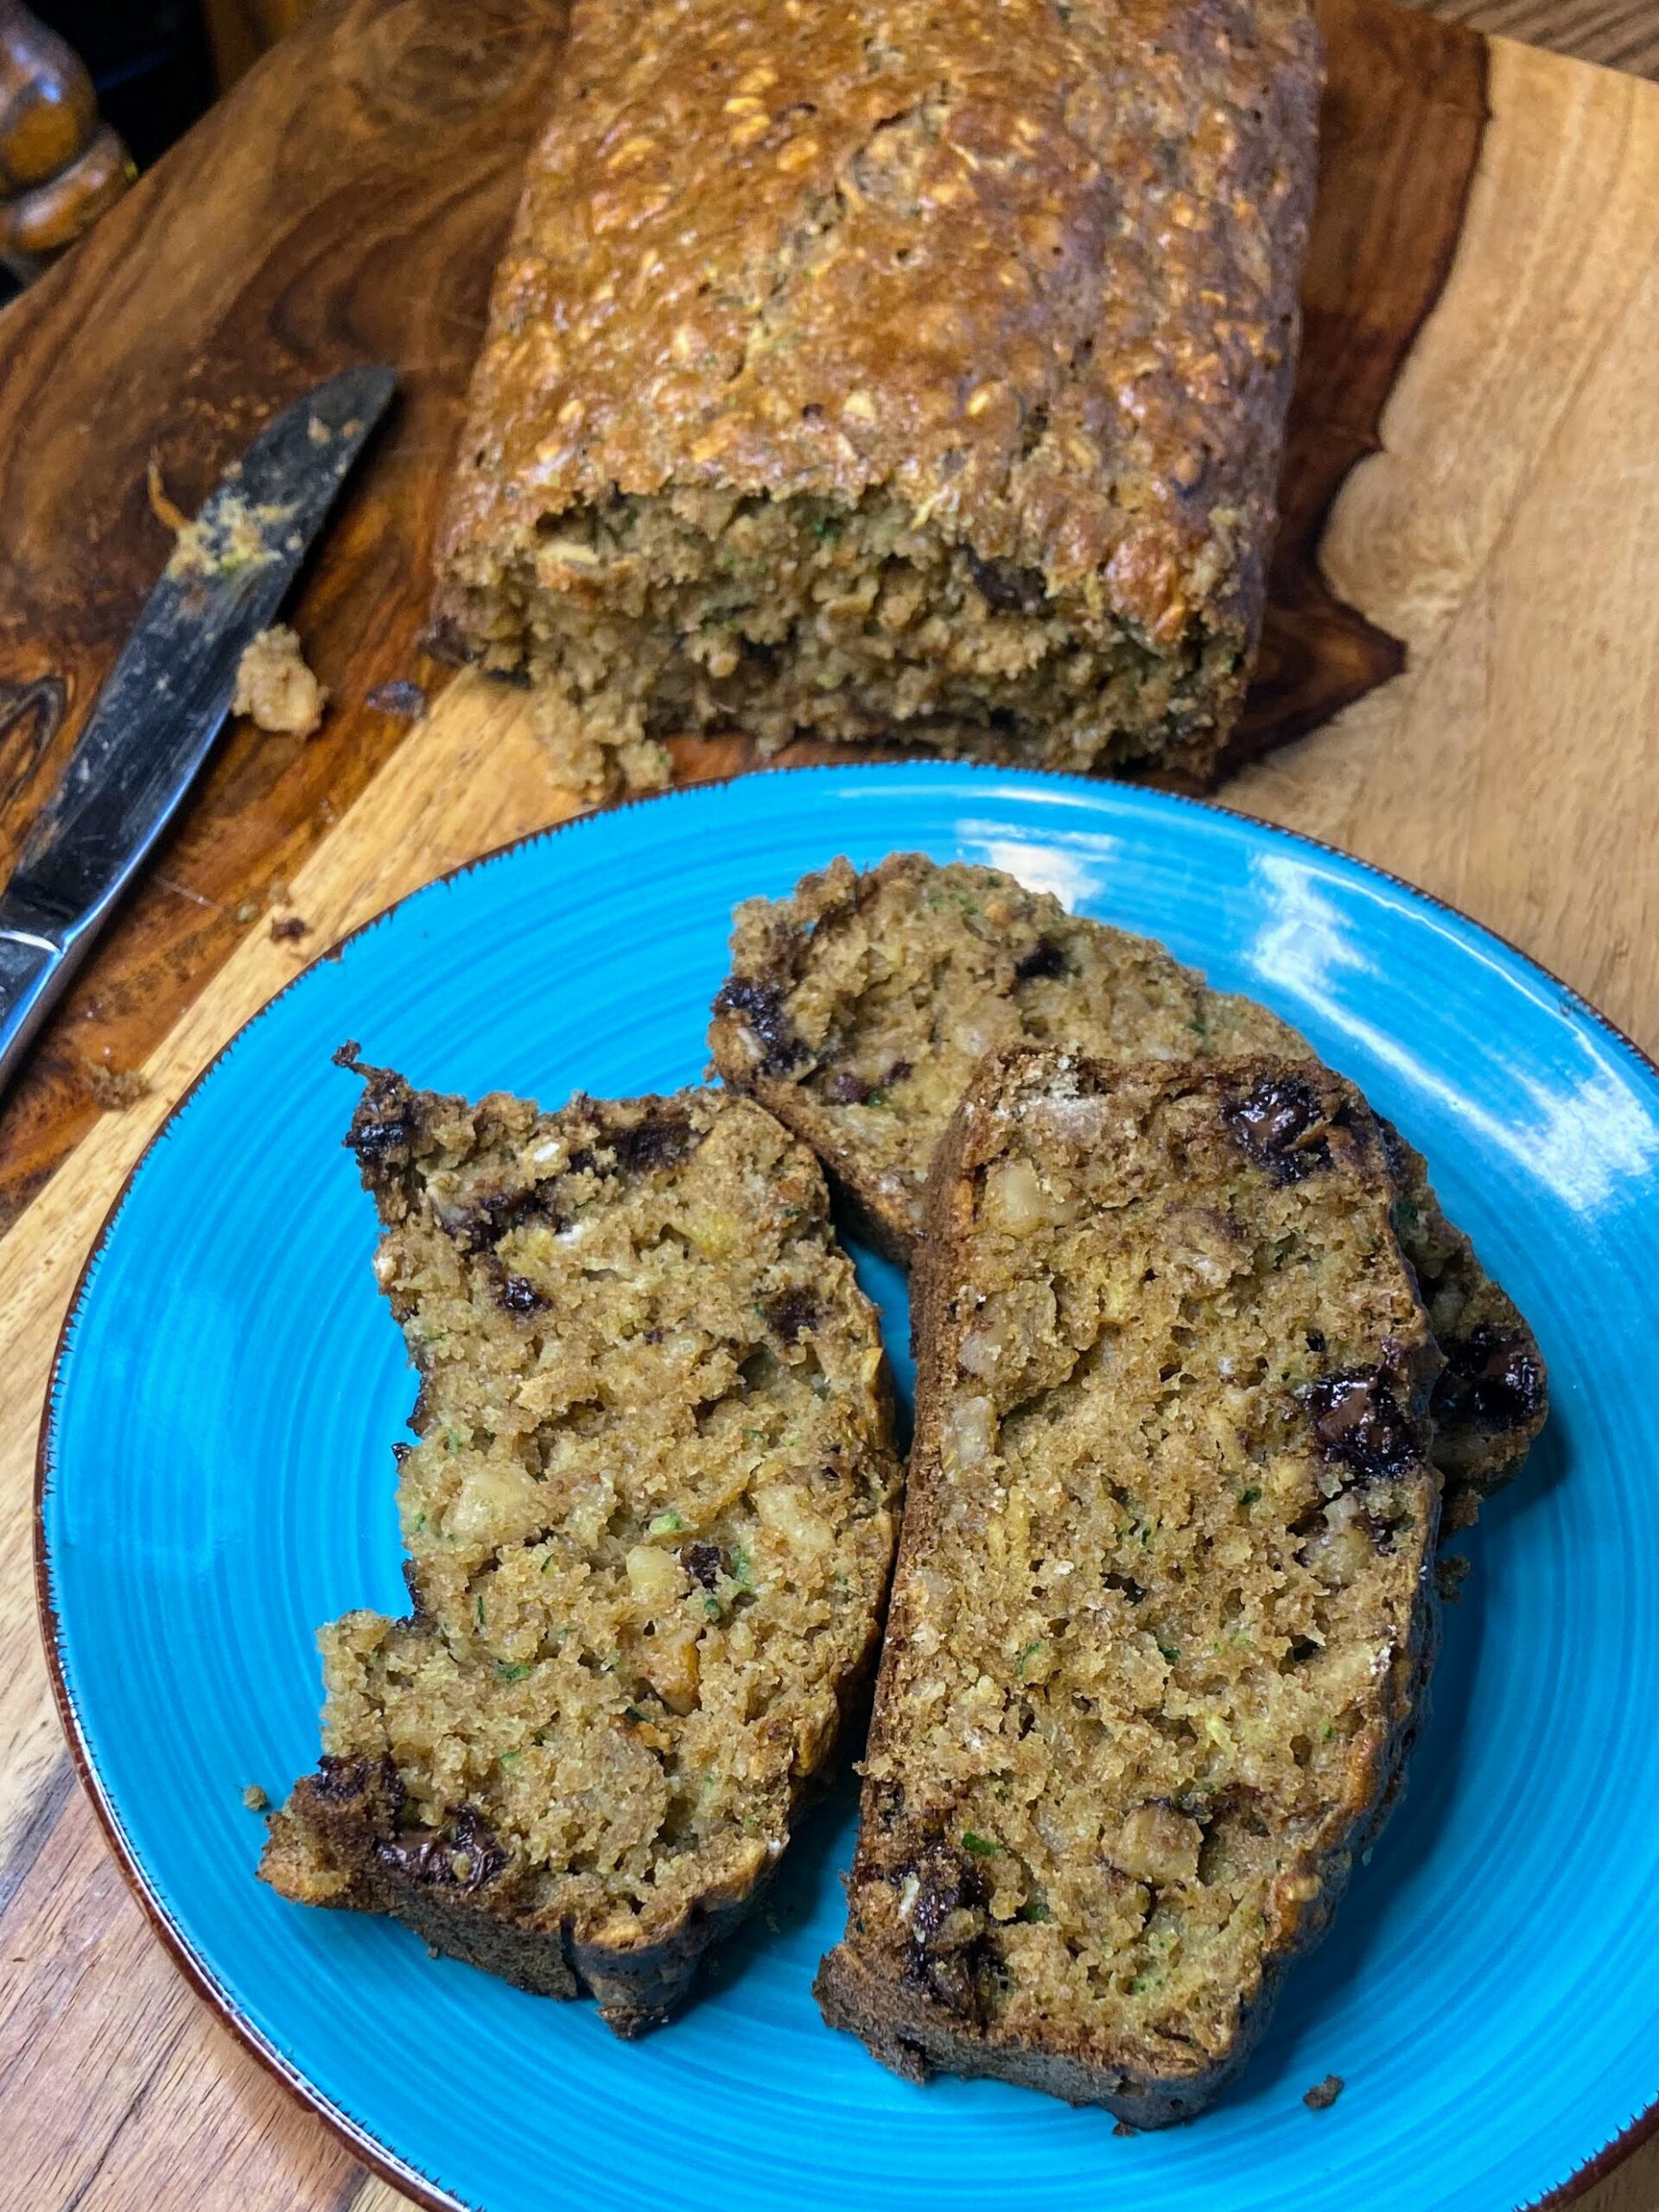
Spiced Zucchini Oatmeal Bread

Spiced Zucchini Oatmeal Bread

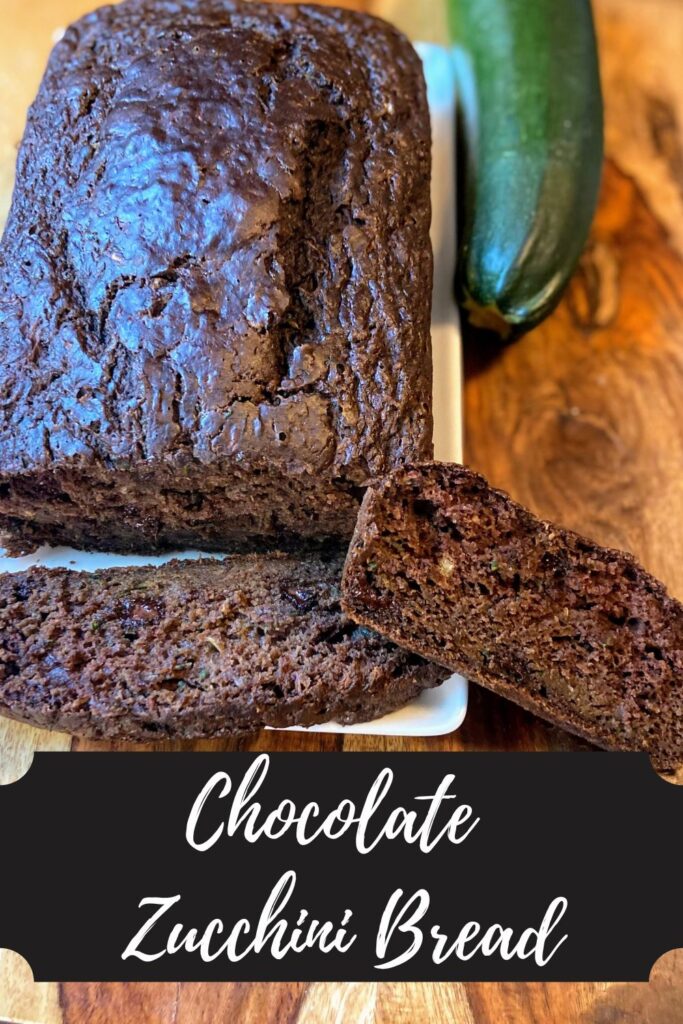
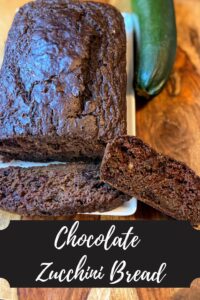
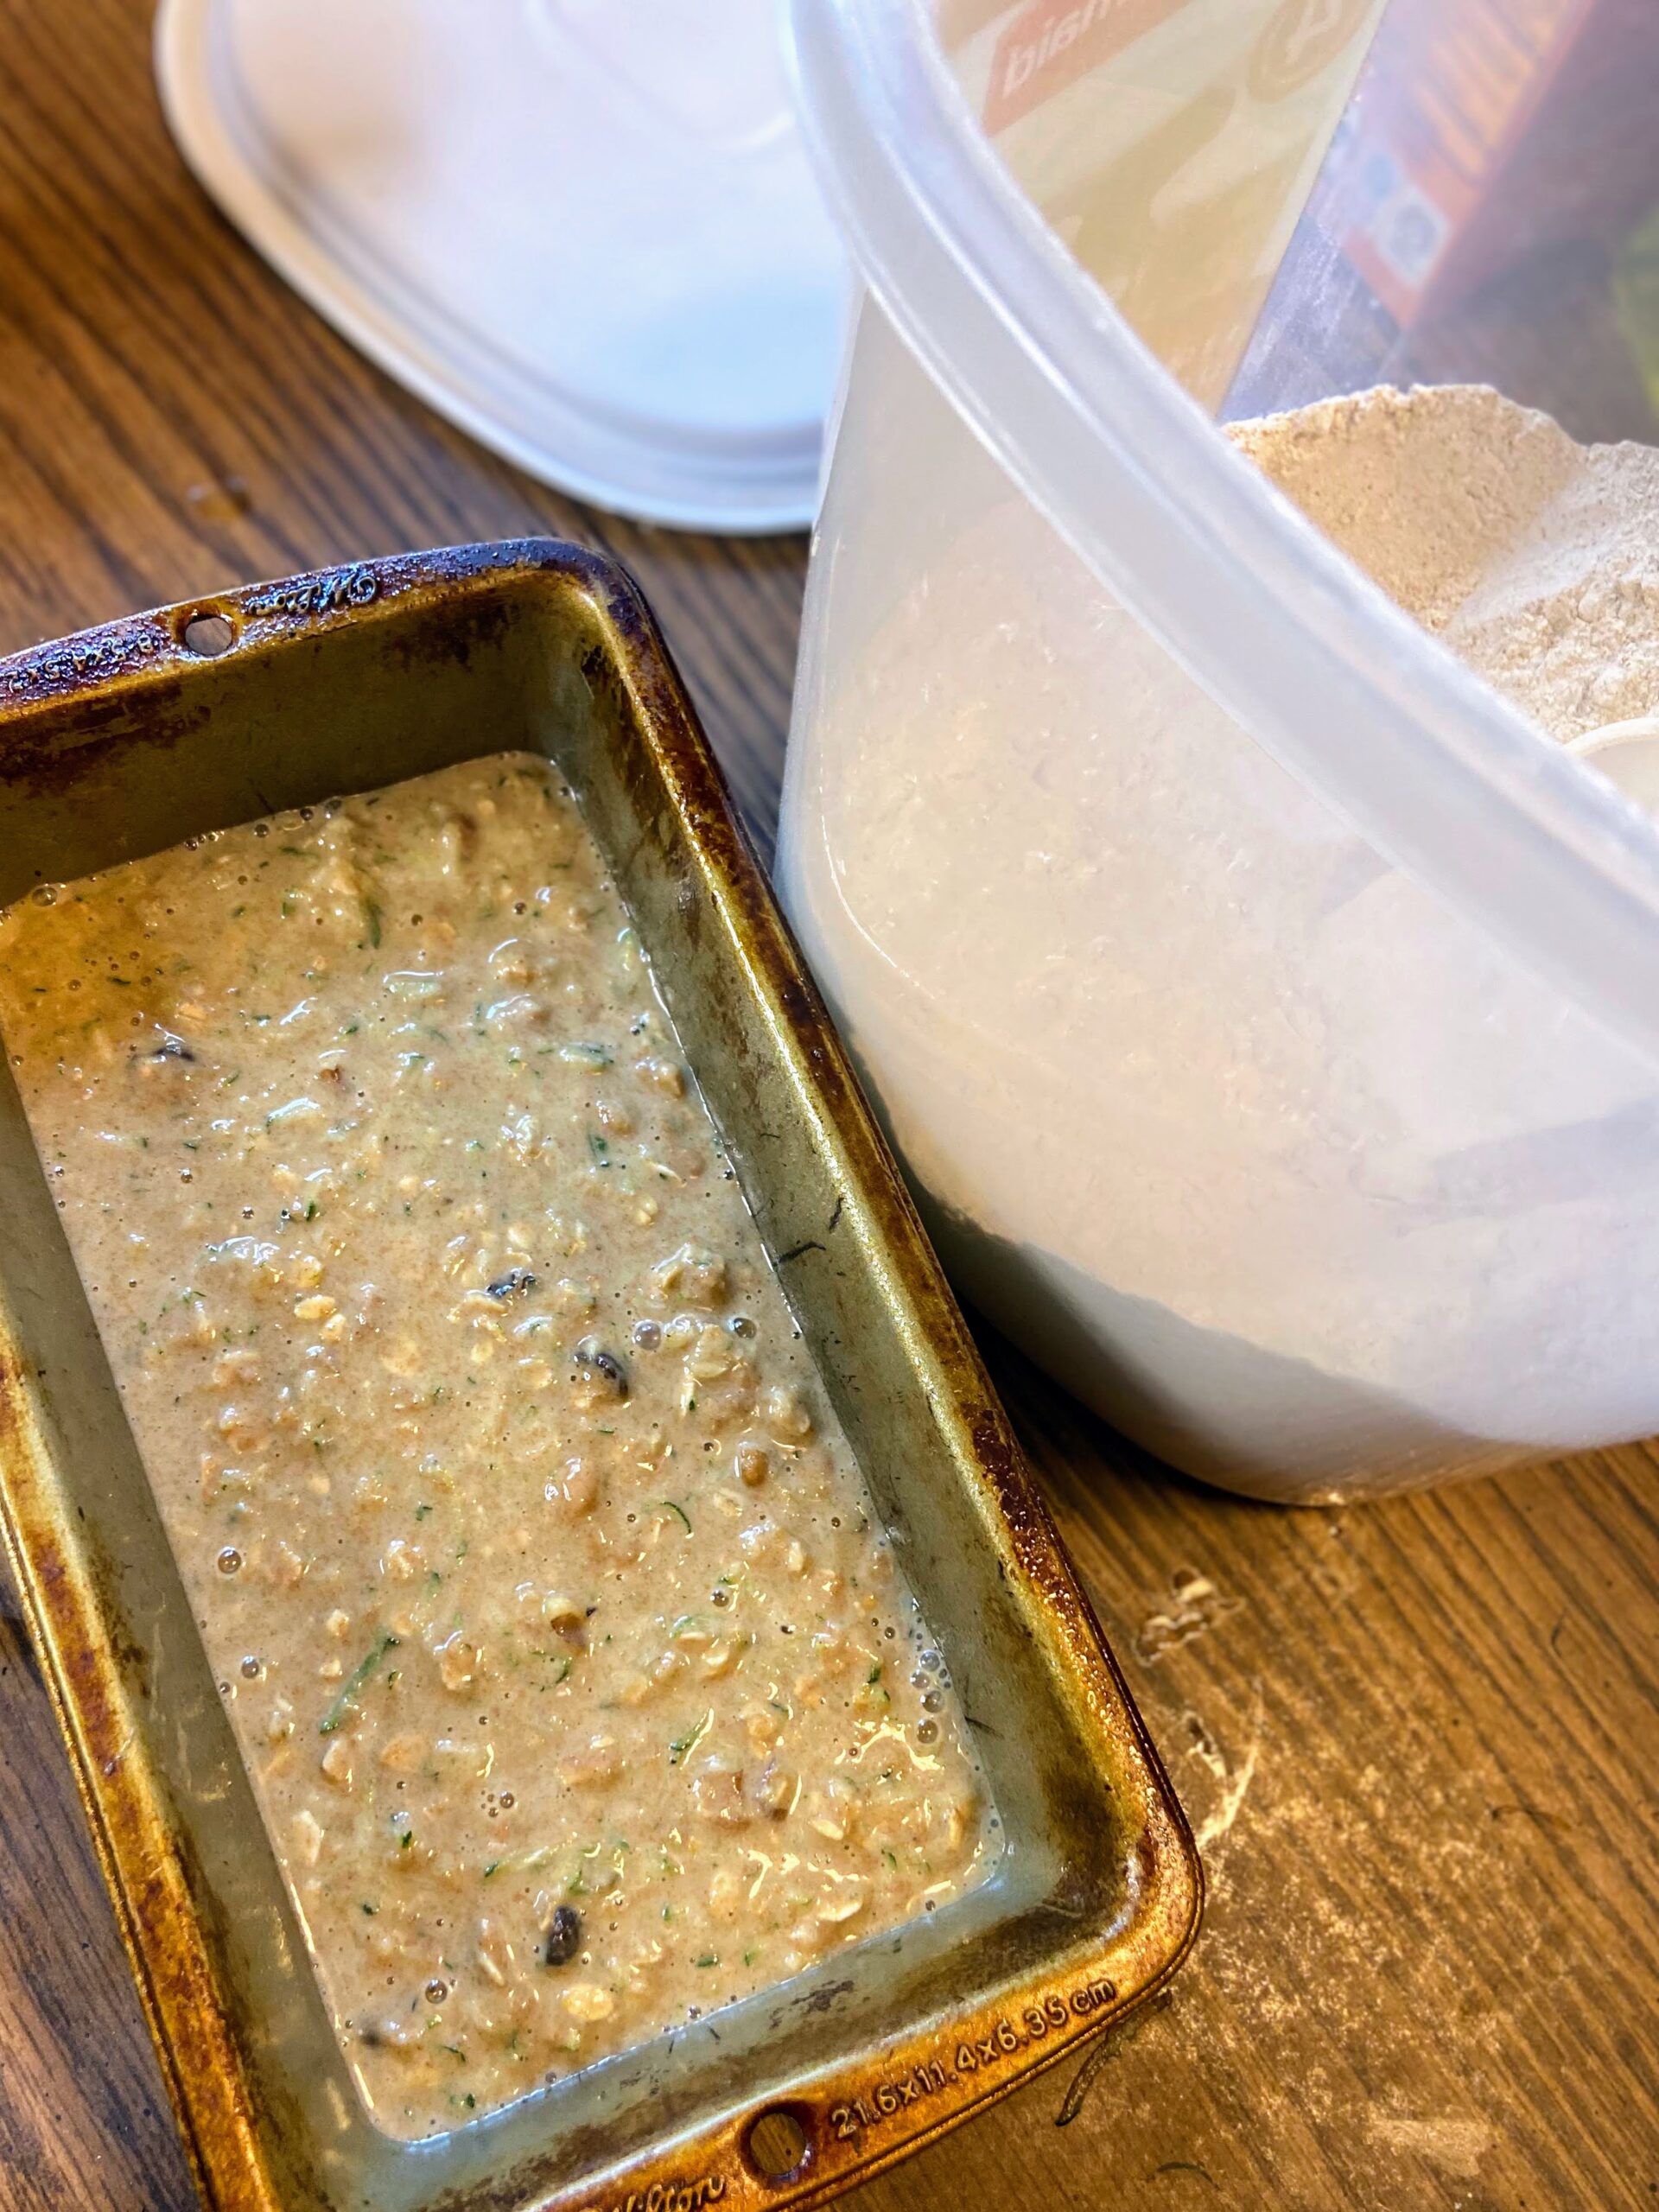
“Mama! Will you make more chocolate zucchini bread?” That’s what I heard a few weekends back, and while I really love my chocolate zucchini bread recipe (Find it here!) I wanted to skip the chocolate and go for a new recipe; A spiced zucchini oatmeal bread. 

The goal? Make a zucchini bread my kids would gobble up while making some healthy swaps. If you’ve been here a while, you know my MO is maple syrup (or honey!) instead of sugar, whole wheat flour rather than white, and oatmeal is so heart-healthy I have to throw it in there! 

And while lots of my recipes are gluten-free (because darn it, I care about you, gluten-free friends!), this recipe uses some Sunrise Flour Mill Heritage Wheat Flour. If you are gluten-free, I highly recommend checking out their flour. They are well known in the St. Paul/Minneapolis area for creating heritage wheat that is more digestible. Freaking dang cool, right? 

This recipe was a great breakfast for my mini me and mid morning snack for myself. I eat breakfast at 6 am and lunch at 12:20 pm. I don’t know about you, but this girl can not last that long. There is definitely a second breakfast around 9:30 with some form of granola, graham cracker, or bread and a piece of fruit. It’s how this active teacher rolls. But enough about my eating habits, let’s get baking! 

Your Ingredients for Spiced Zucchini Oatmeal Bread 

  • ¾ cup maple syrup 
  • 1 tablespoon vanilla
  • 3 eggs 
  • ⅓ cup oil 
  • 2 cups whole wheat flour 
  • 1 cup old-fashioned oats 
  • 2 teaspoons baking soda
  • ½ teaspoon baking powder 
  • 1 teaspoon salt 
  • 1 teaspoon ground cinnamon 
  • ⅛  teaspoon ground cloves 
  • ½ cup chocolate chips
  • ½ cup chopped nuts
  • 2 ½ – 3 cups shredded zucchini

Your Steps

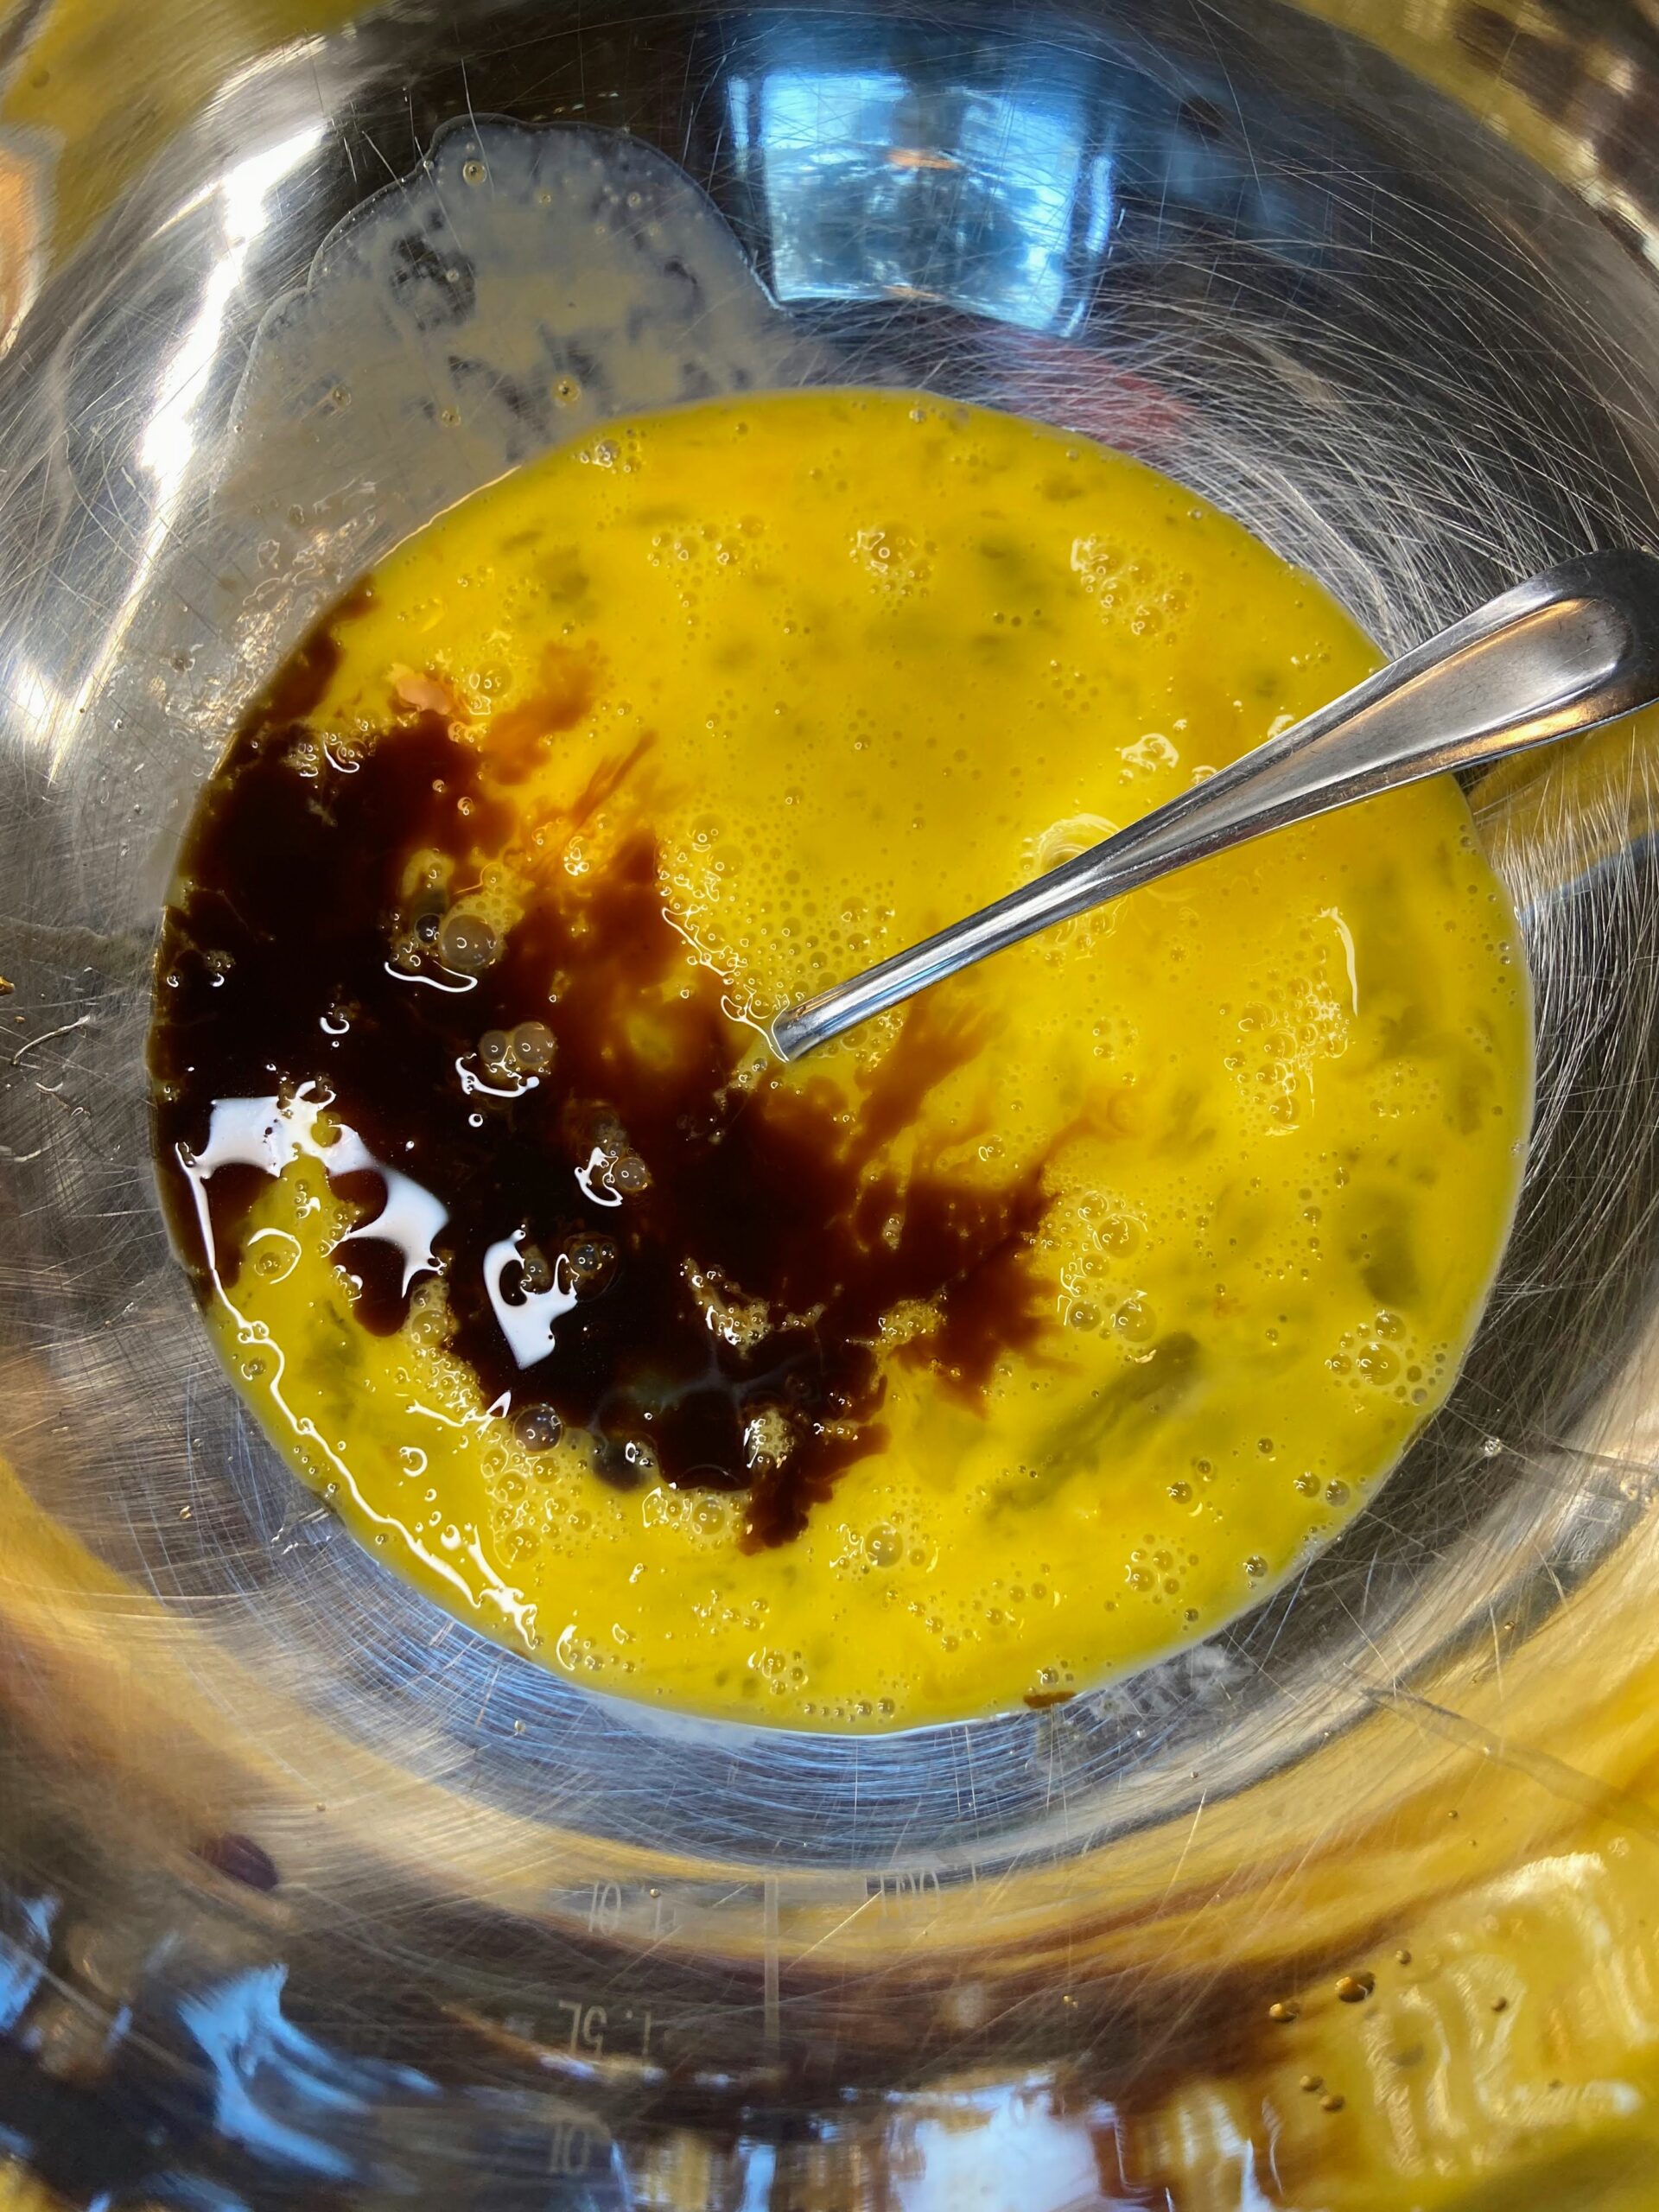
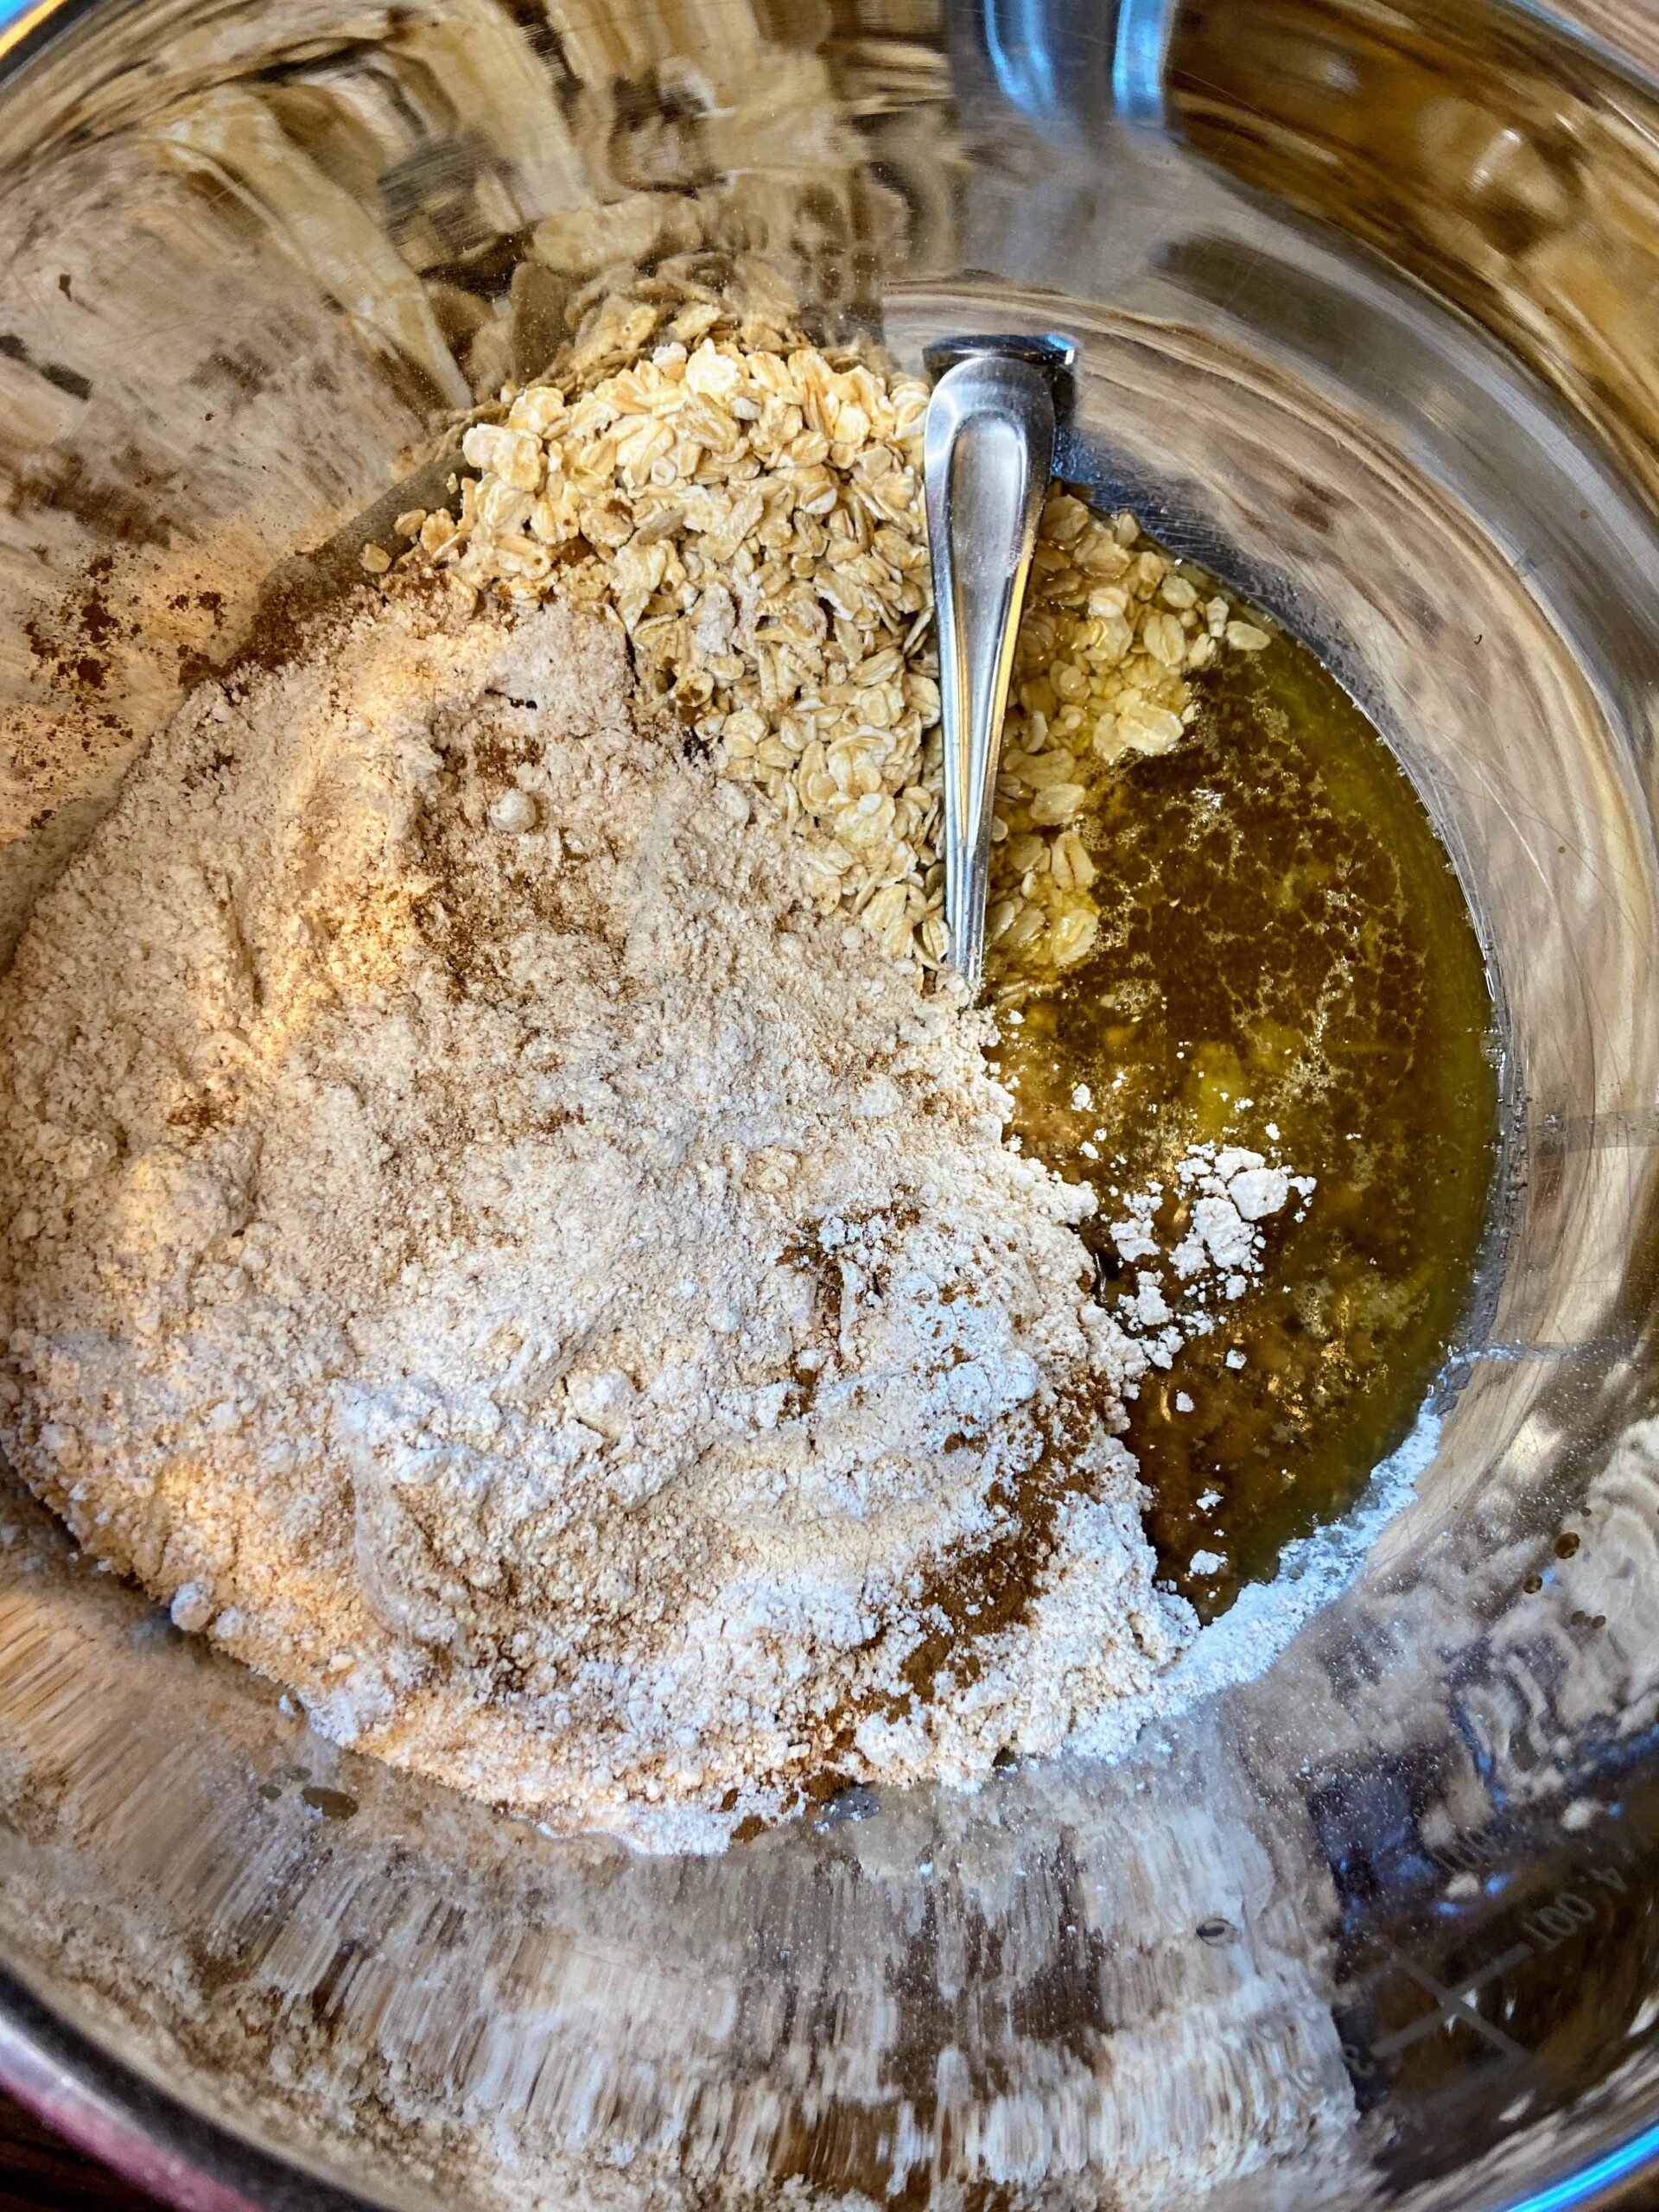
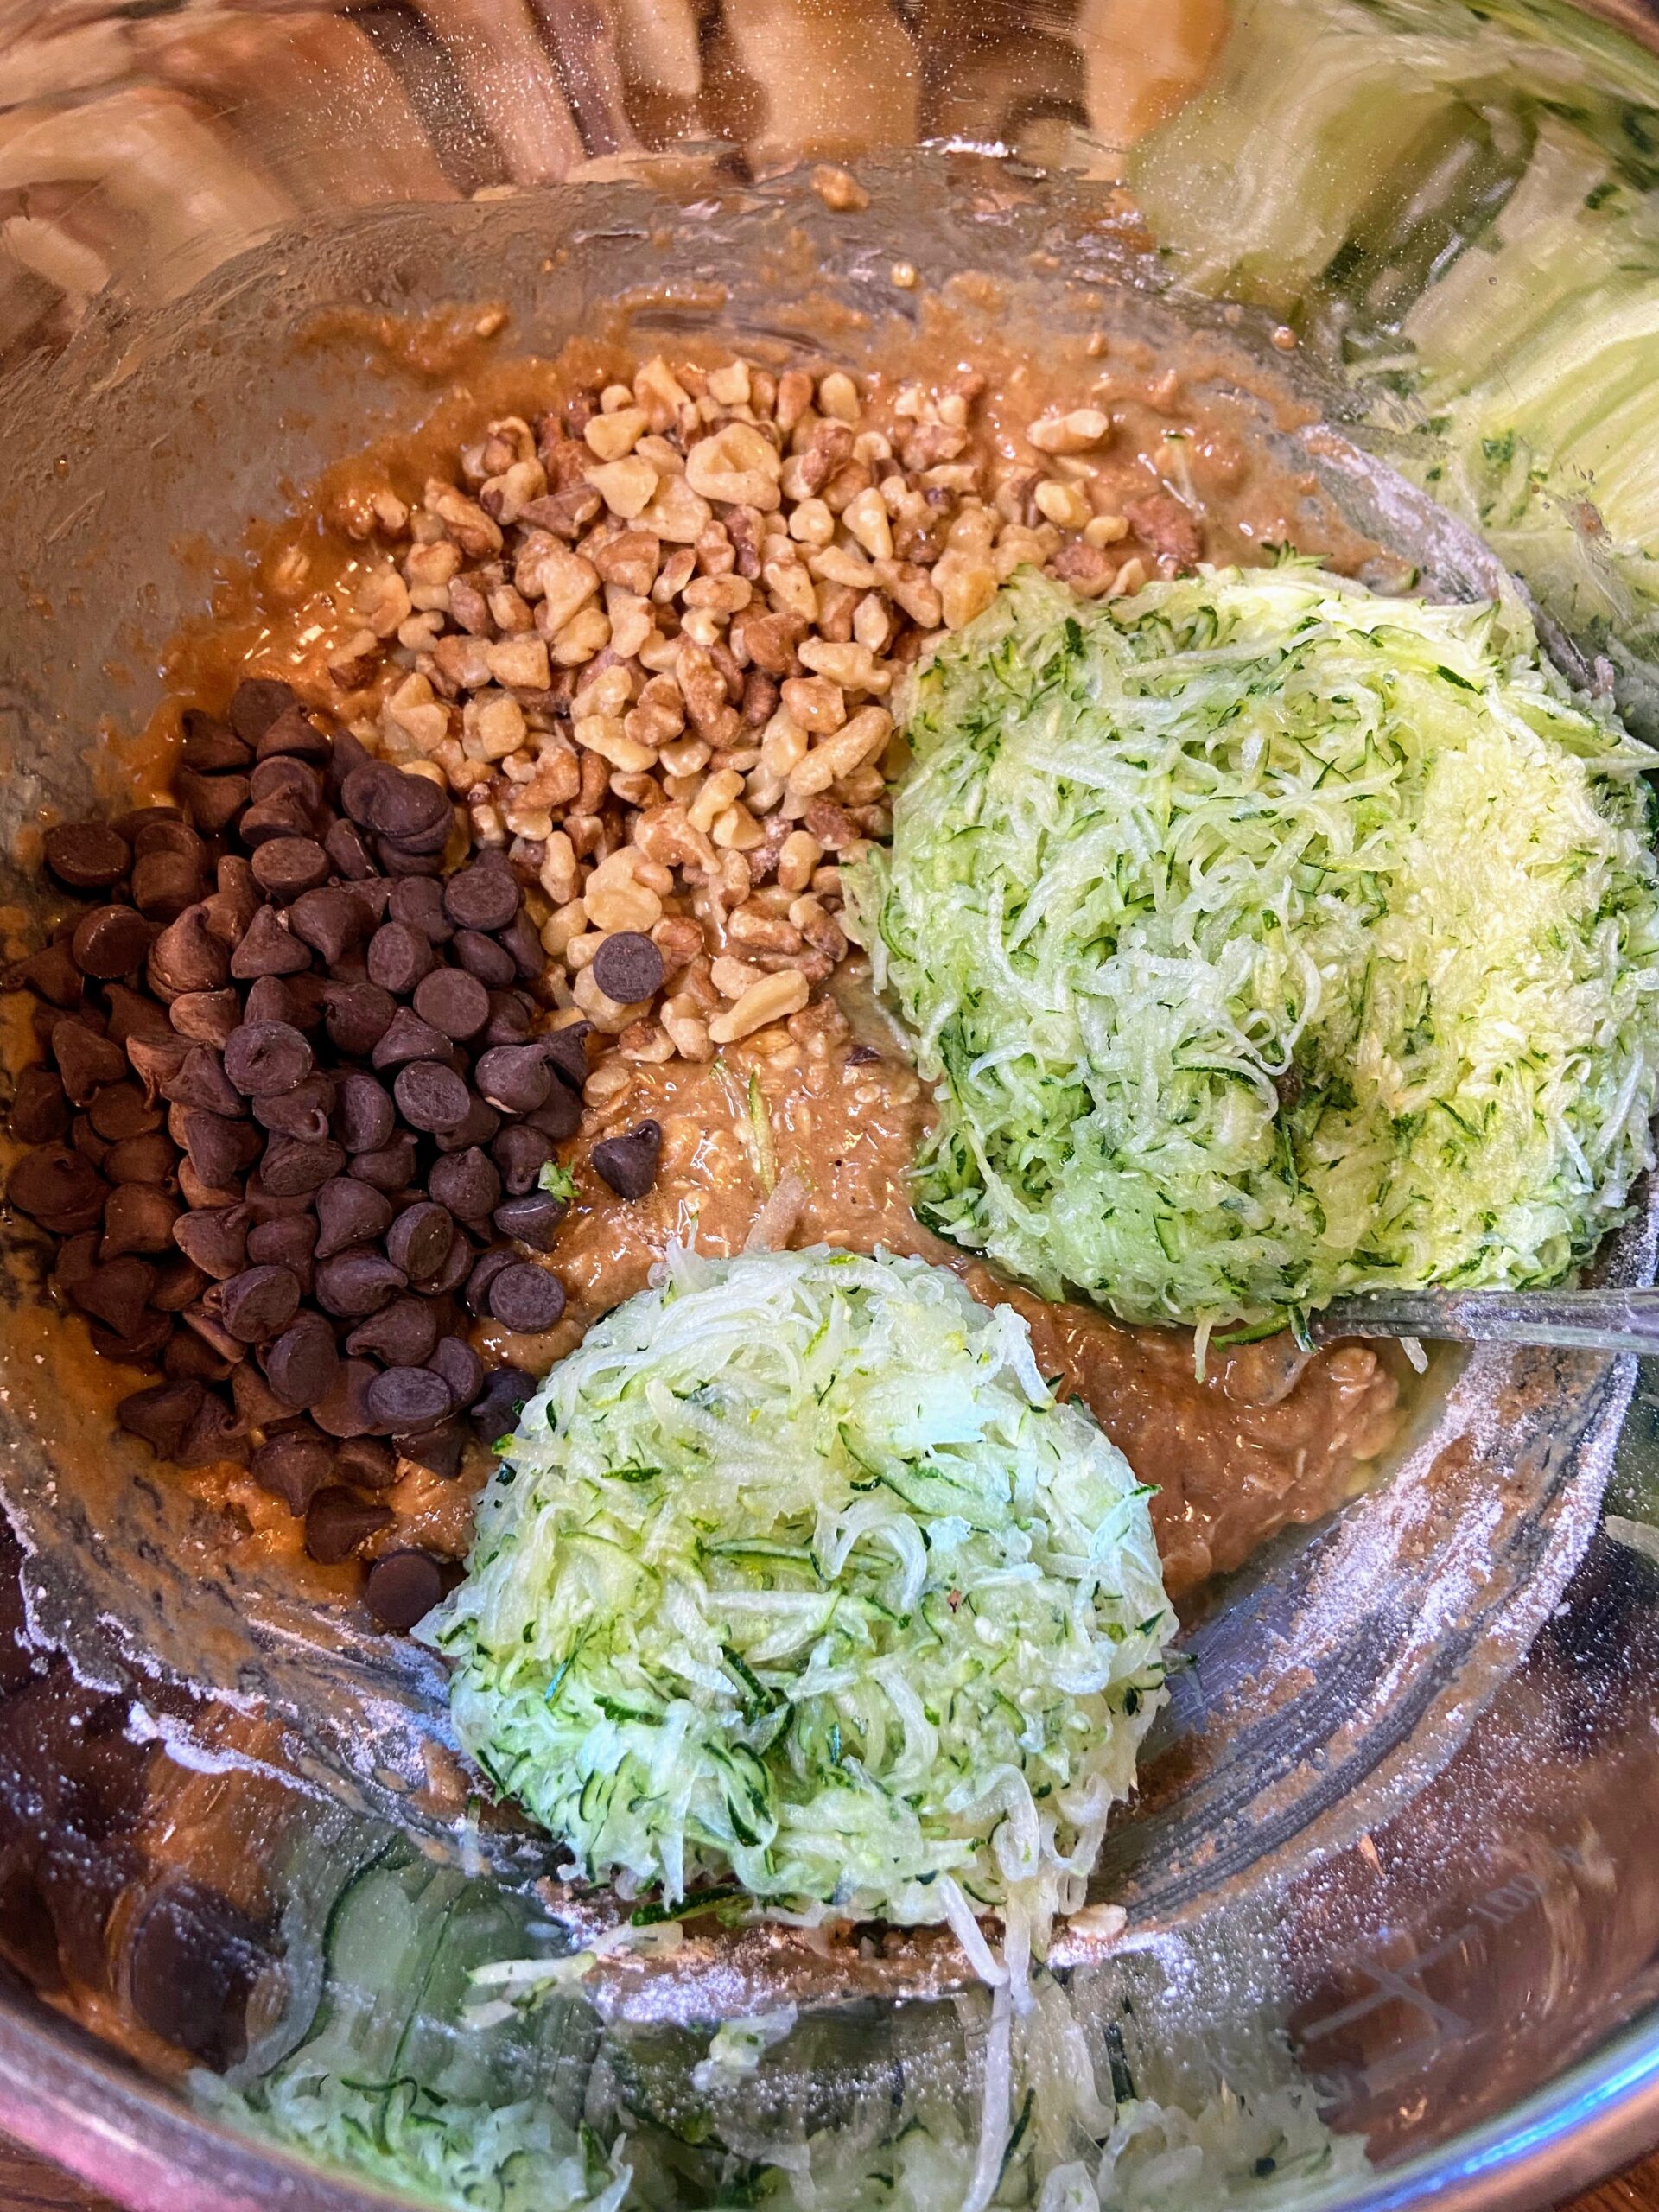
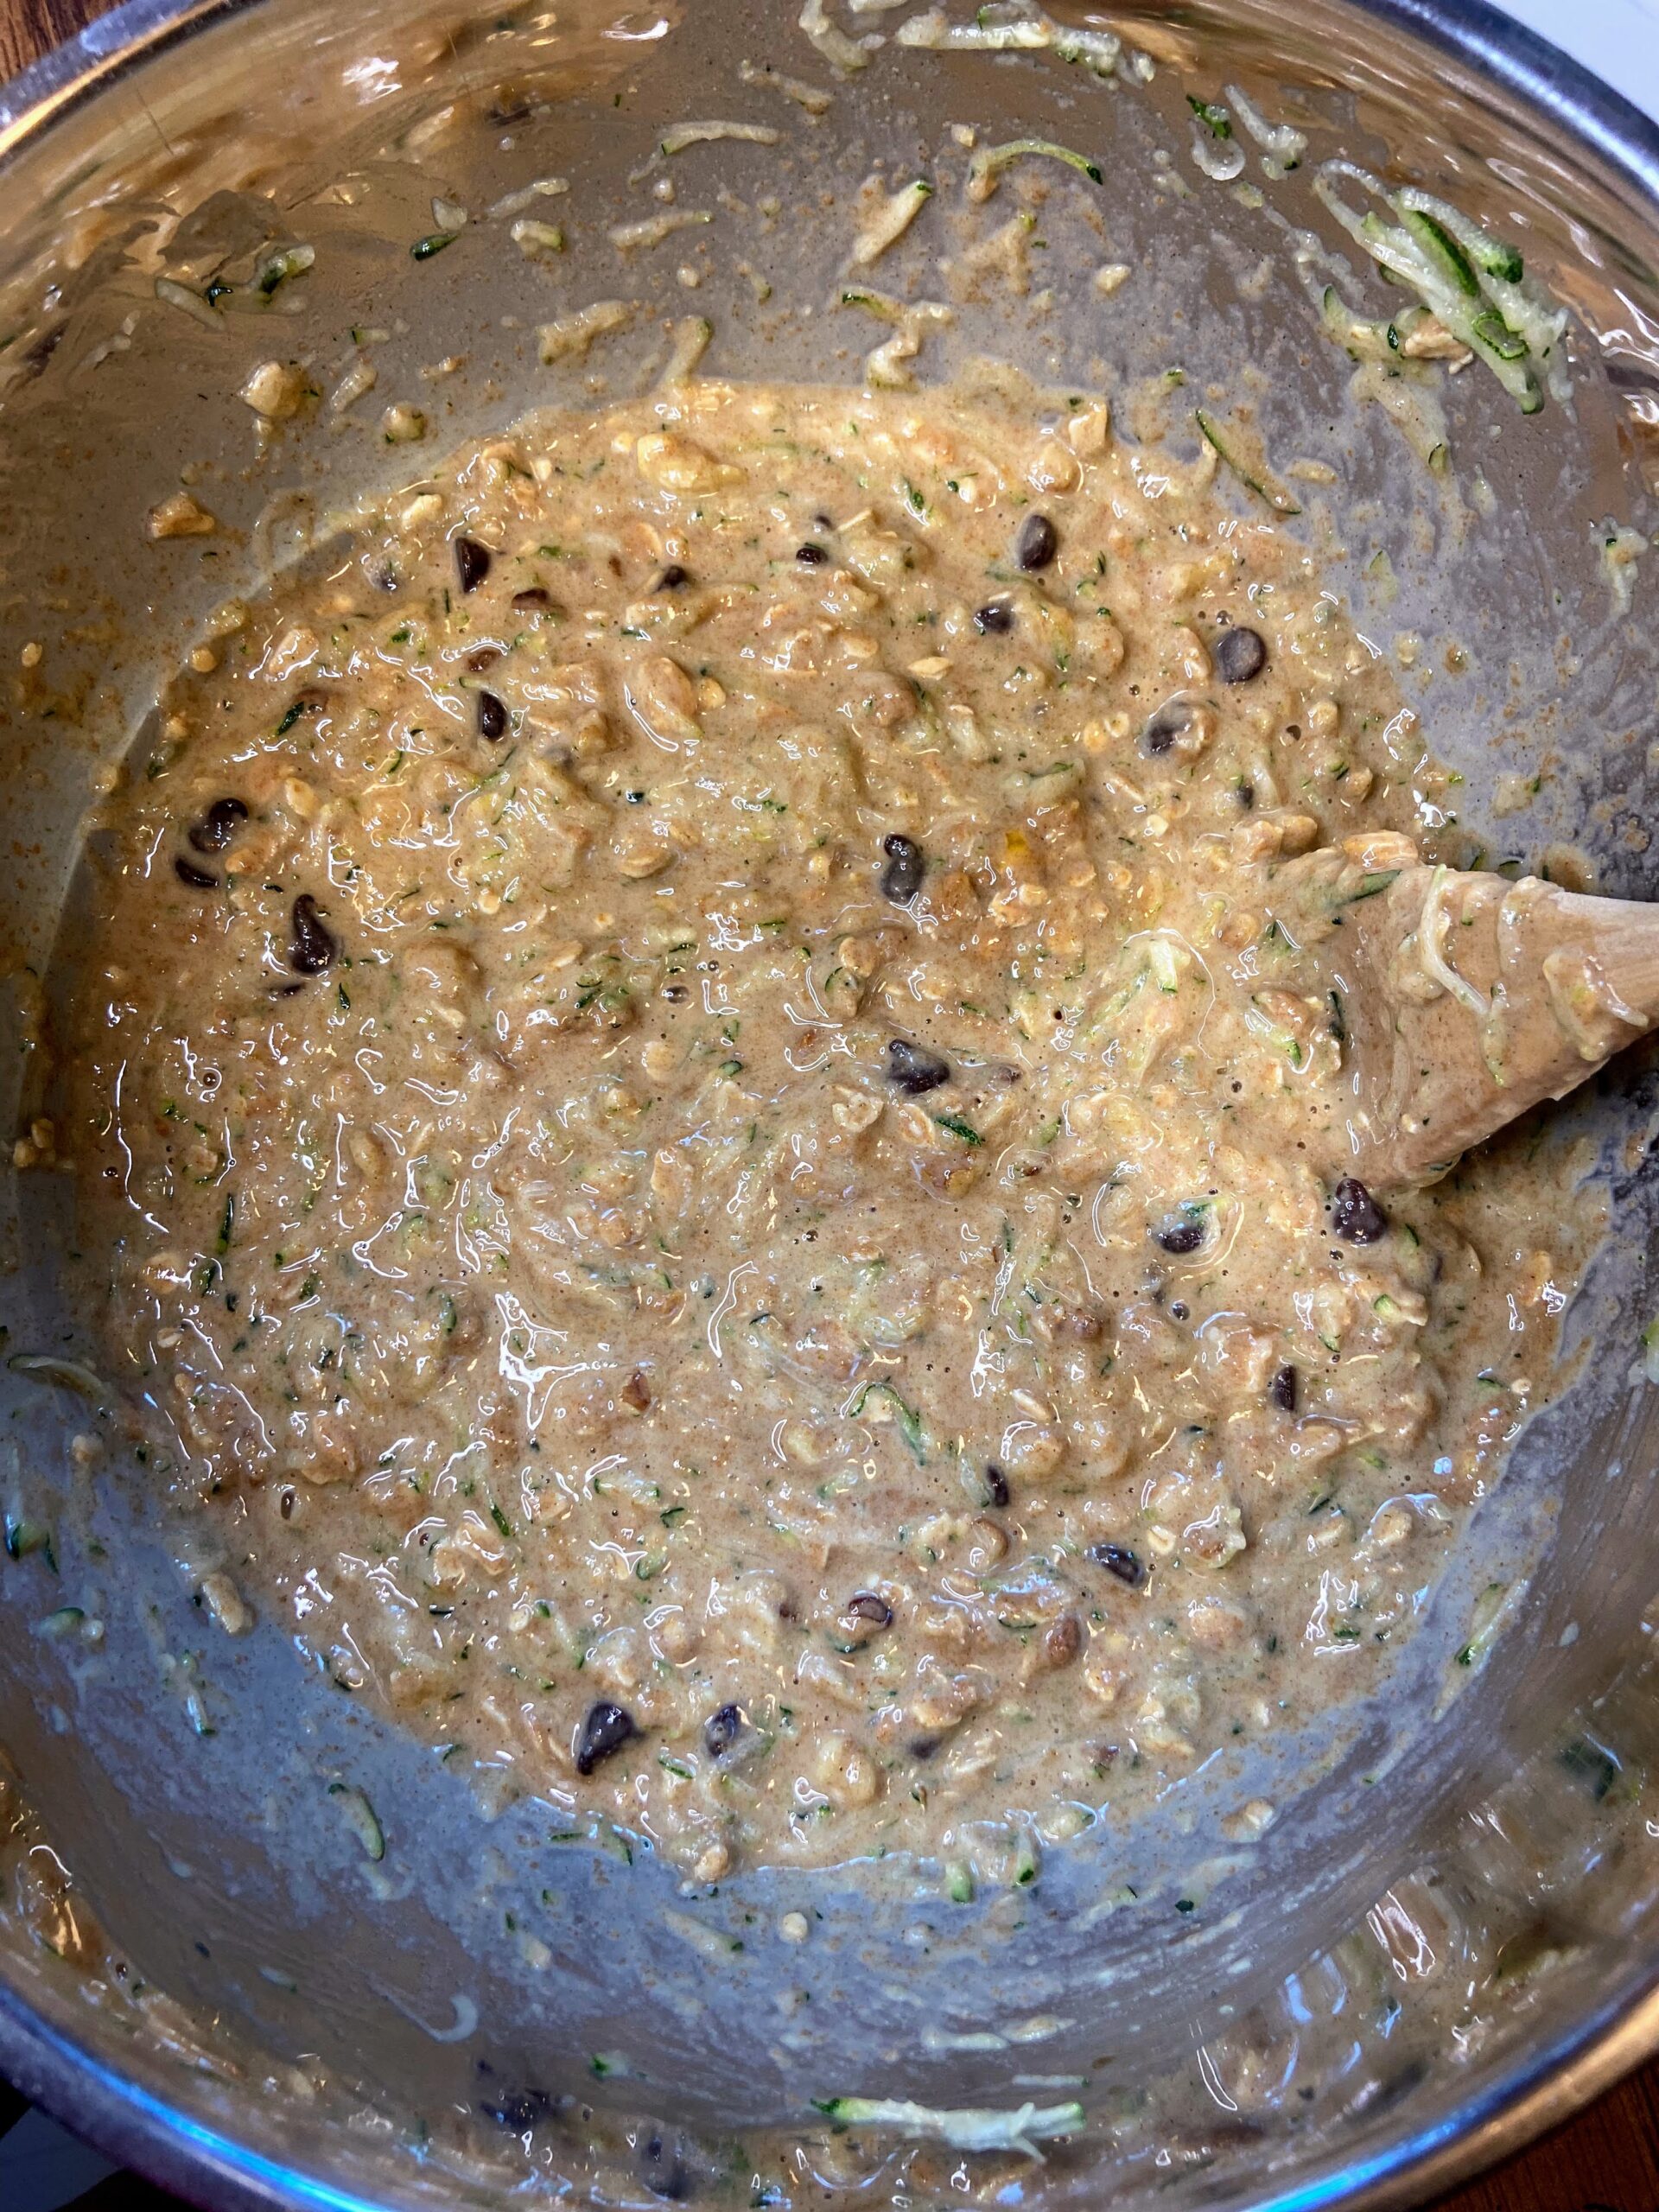
Preheat the oven to 350 degrees. Prepare two 9×5 inch loaf pans with non-stick cooking spray. Mix maple syrup, vanilla, eggs, and oil in a medium bowl. Whisk until well combined. Add whole wheat flour, oats, baking soda, baking powder, salt, cinnamon, and cloves. Mix until just combined. Fold in chocolate chips, chopped nuts, and shredded zucchini. 

Divide the batter between the two prepared loaf pans. Place in the center of the oven and bake for 45-55 minutes, until a toothpick inserted comes out clean, without raw batter. 

Spiced Zucchini Oatmeal Bread

Cinnamon, maple syrup, and some oatmeal make this heart healthy zucchini bread a delight while still being kid friendly!
Prep Time 10 minutes
Cook Time 50 minutes
Course Breakfast
Cuisine American
Servings 12 slices

Ingredients
  

  • ¾ cup maple syrup
  • 1 tablespoon vanilla
  • 3 eggs
  • cup oil
  • 2 cups whole wheat flour
  • 1 cup old fashioned oats
  • 2 teaspoons baking soda
  • ½ teaspoon baking powder
  • 1 teaspoon salt
  • 1 teaspoon ground cinnamon
  • teaspoon ground cloves
  • ½ cup chocolate chips
  • ½ cup chopped nuts
  • 2 ½ – 3 cups shredded zucchini

Instructions
 

  • Preheat the oven to 350 degrees. Prepare two 9×5 inch loaf pans with non-stick cooking spray.
  • In a medium bowl, combine maple syrup, vanilla, eggs, and oil. Whisk until well combined.
  • Add whole wheat flour, oats, baking soda, baking powder, salt, cinnamon, and cloves. Mix until just combined.
  • Fold in chocolate chips, chopped nuts, and shredded zucchini.
  • Divide the batter between the two prepared loaf pans.
  • Place in the center of the oven and bake for 45-55 minutes, until a toothpick inserted comes out clean, without raw batter.
Keyword Breakfast Bread, chocolate zucchini bread, oatmeal, Quick Bread, whole wheat flour, zucchini, zucchini bread, zucchini recipe
Tried this recipe?Let us know how it was!

Looking for more zucchini recipes?

Check out any of the ideas below!
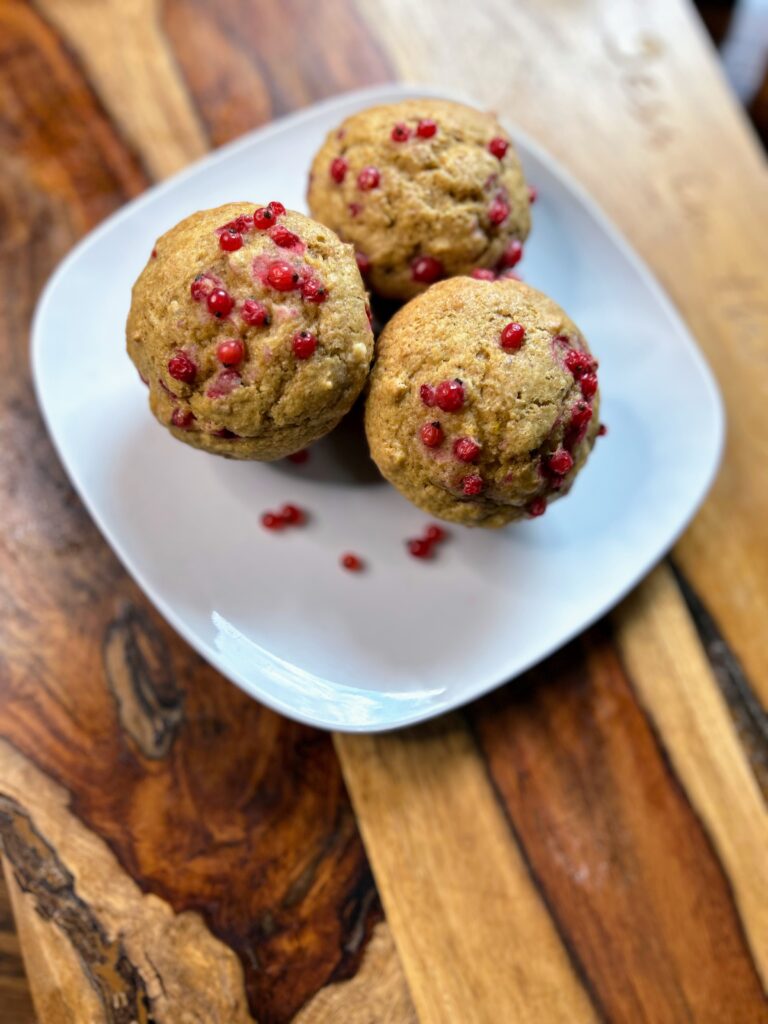
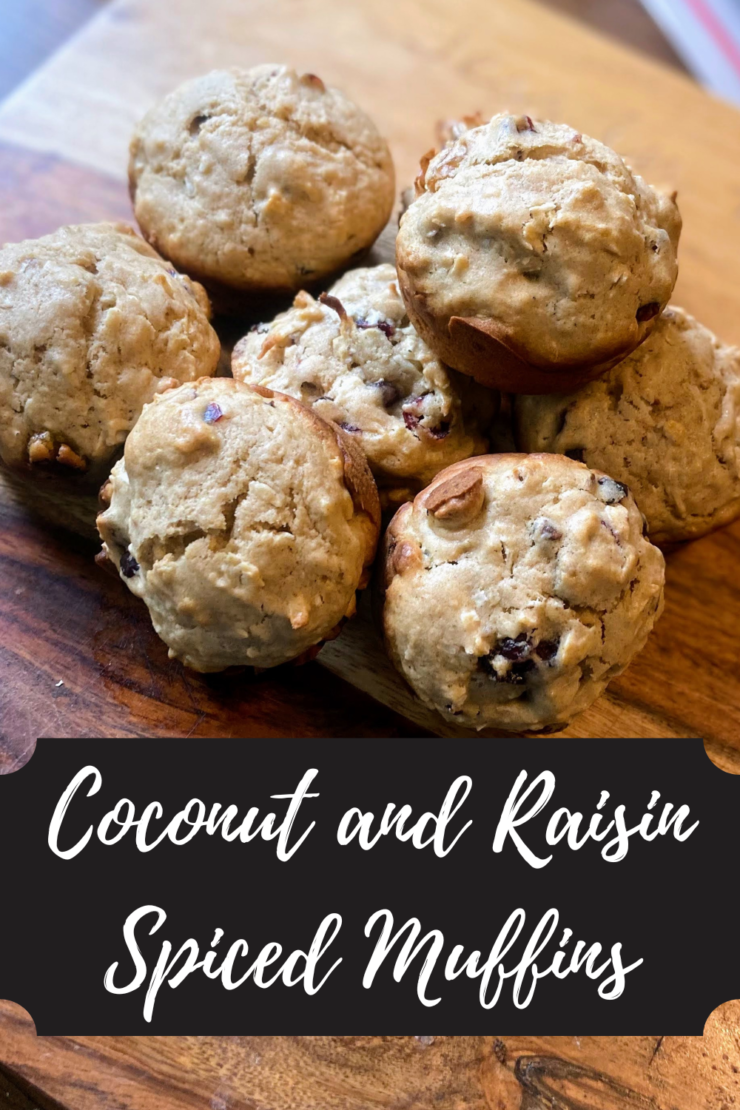
Coconut and Raisin Spiced Muffins

If you follow me on Instagram or Facebook, you may know that I have a couple of fun foodie groups that I get to be a part of: Around the World in 80 Dishes where we pick a different country every month to cook from and One Book, Three Recipes where we pick a different cookbook off our shelves each month and we cook three recipes from it. This fun coconut and raisin spiced muffins recipe was a child that came from the later challenge. 

I had been debating on a few different recipes from one particular book and then turned to a page that had a recipe for coconut bread. I set out to make the recipe, and I found myself saying, “huh…there’s none of this ingredient? Or that one? And yet another? This seems strange.” What I had was some sand-textured ingredients in a bowl. There was no way it was going to create a loaf of bread. A few typos that missed the editor’s desk, I presume.

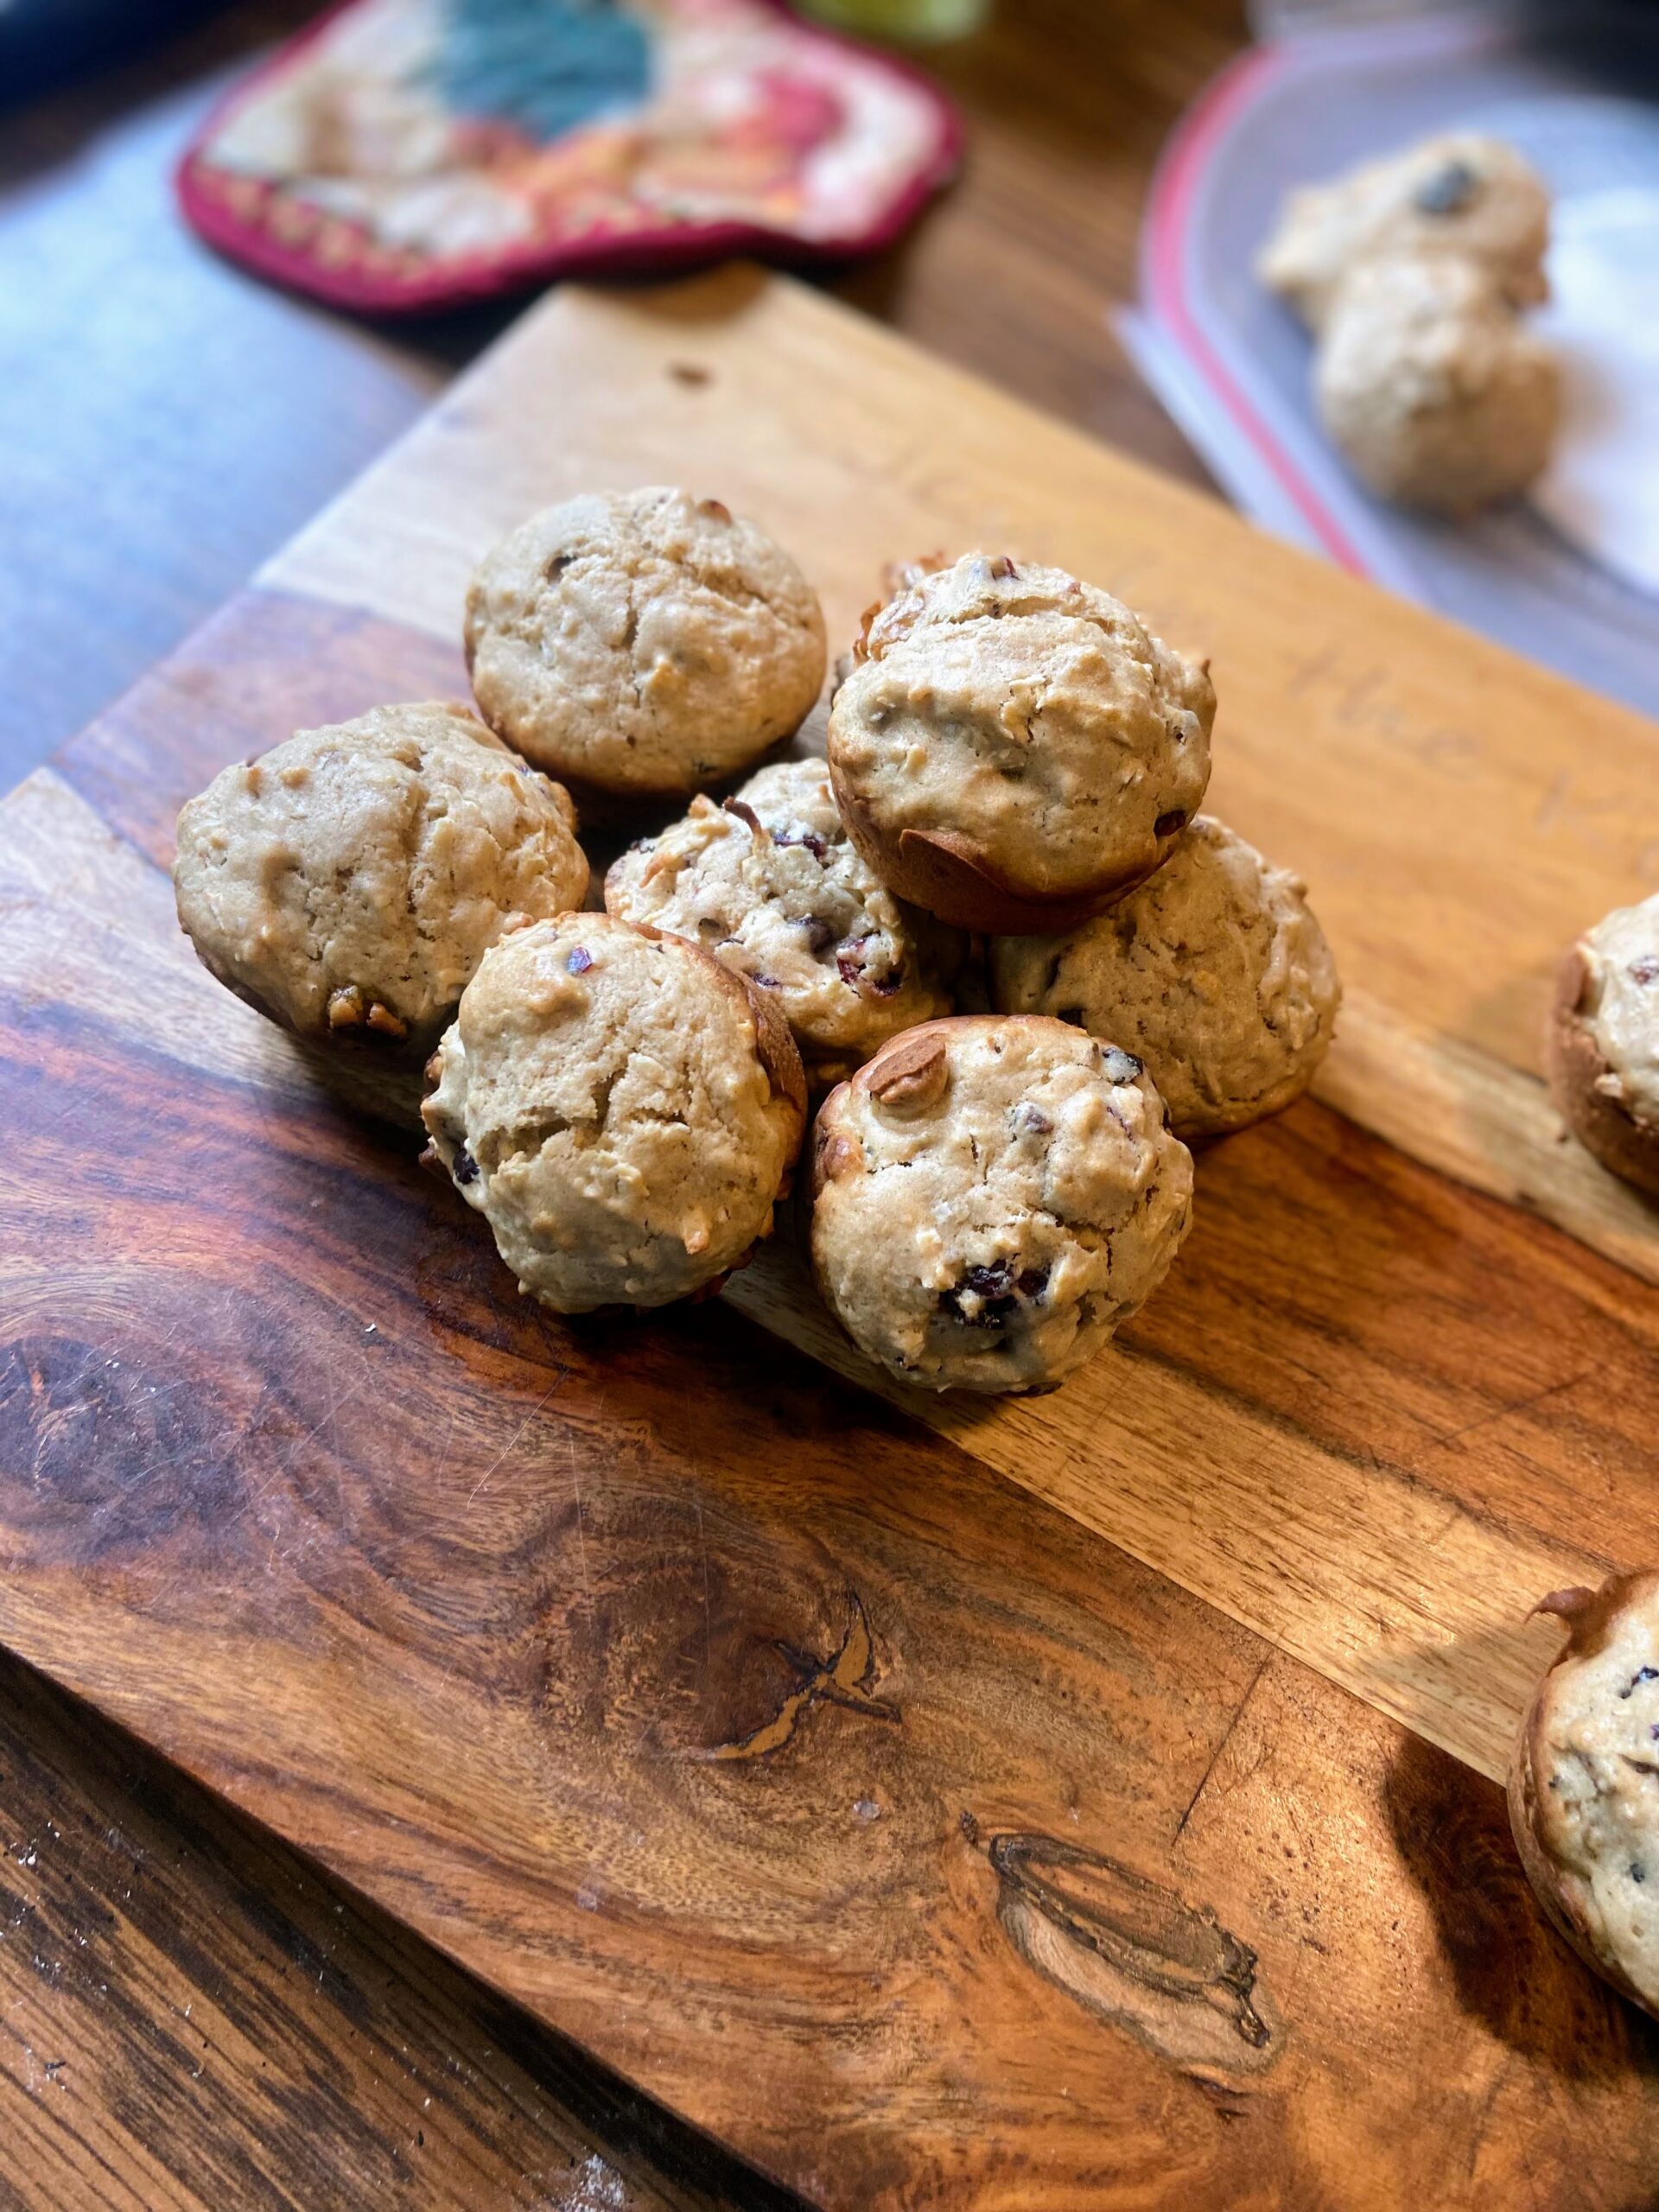
And so I played with it and was instantly in love with the results. Now, if you’ve been with me for a while, you know that I usually sub maple syrup for sugar and try to give a healthy twist. These coconut and raisin spiced muffins are not that. They are dense, warming, and delicious; totally different from my average fruit muffin. Give them a try! 
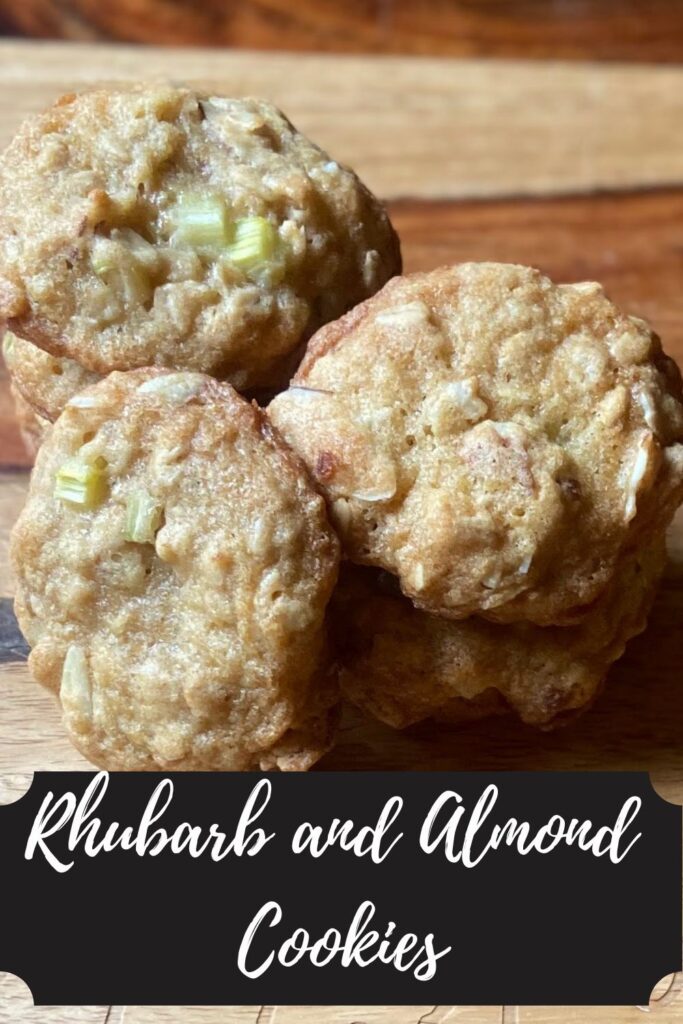
Your Ingredients

  • ½ cup butter, softened
  • 1 cup packed light brown sugar 
  • 2 eggs
  • 1 teaspoon vanilla
  • ⅔ cup milk 
  • 2 ⅓ cup all purpose flour
  • 1 teaspoon baking powder 
  • ¼ teaspoon nutmeg
  • 1 teaspoon cinnamon 
  • ¾ teaspoon salt 
  • 1 cup dried unsweetened coconut
  • 1 cup raisins or other dried fruit (cranberries, cherries, etc) 
  • ½ cup chopped nuts 

Your Steps to Coconut and Raisin Spiced Cookies

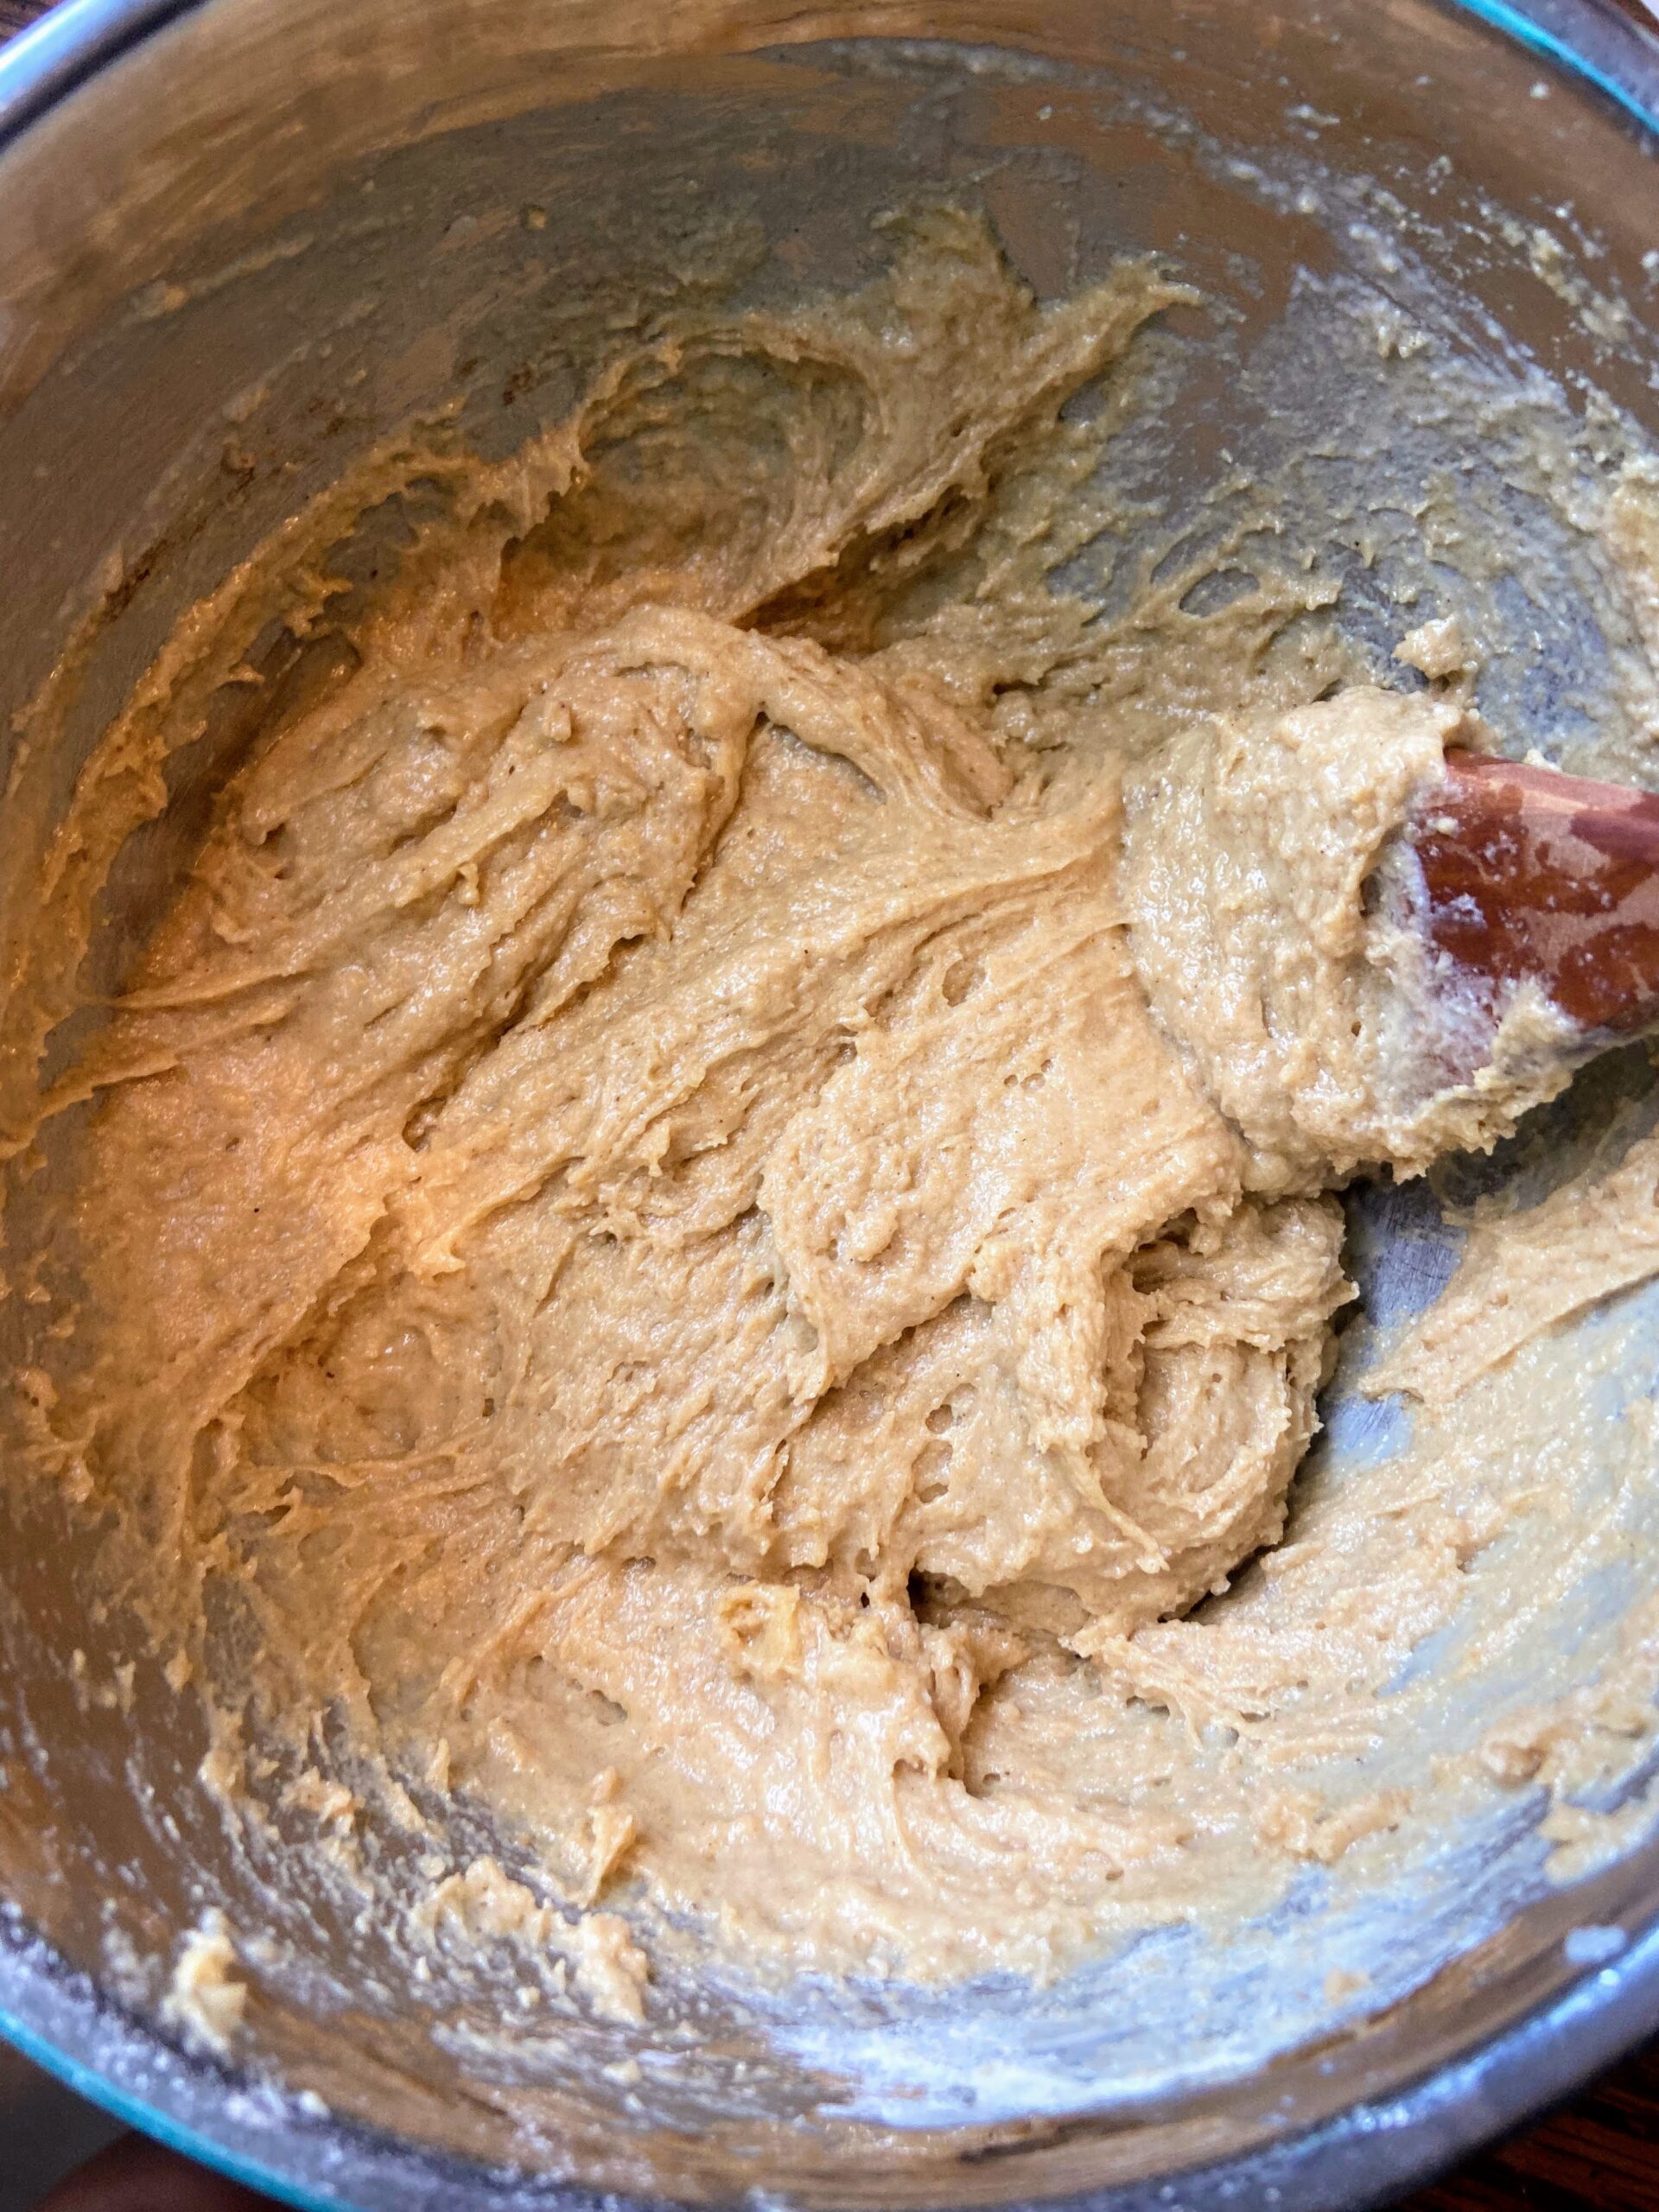
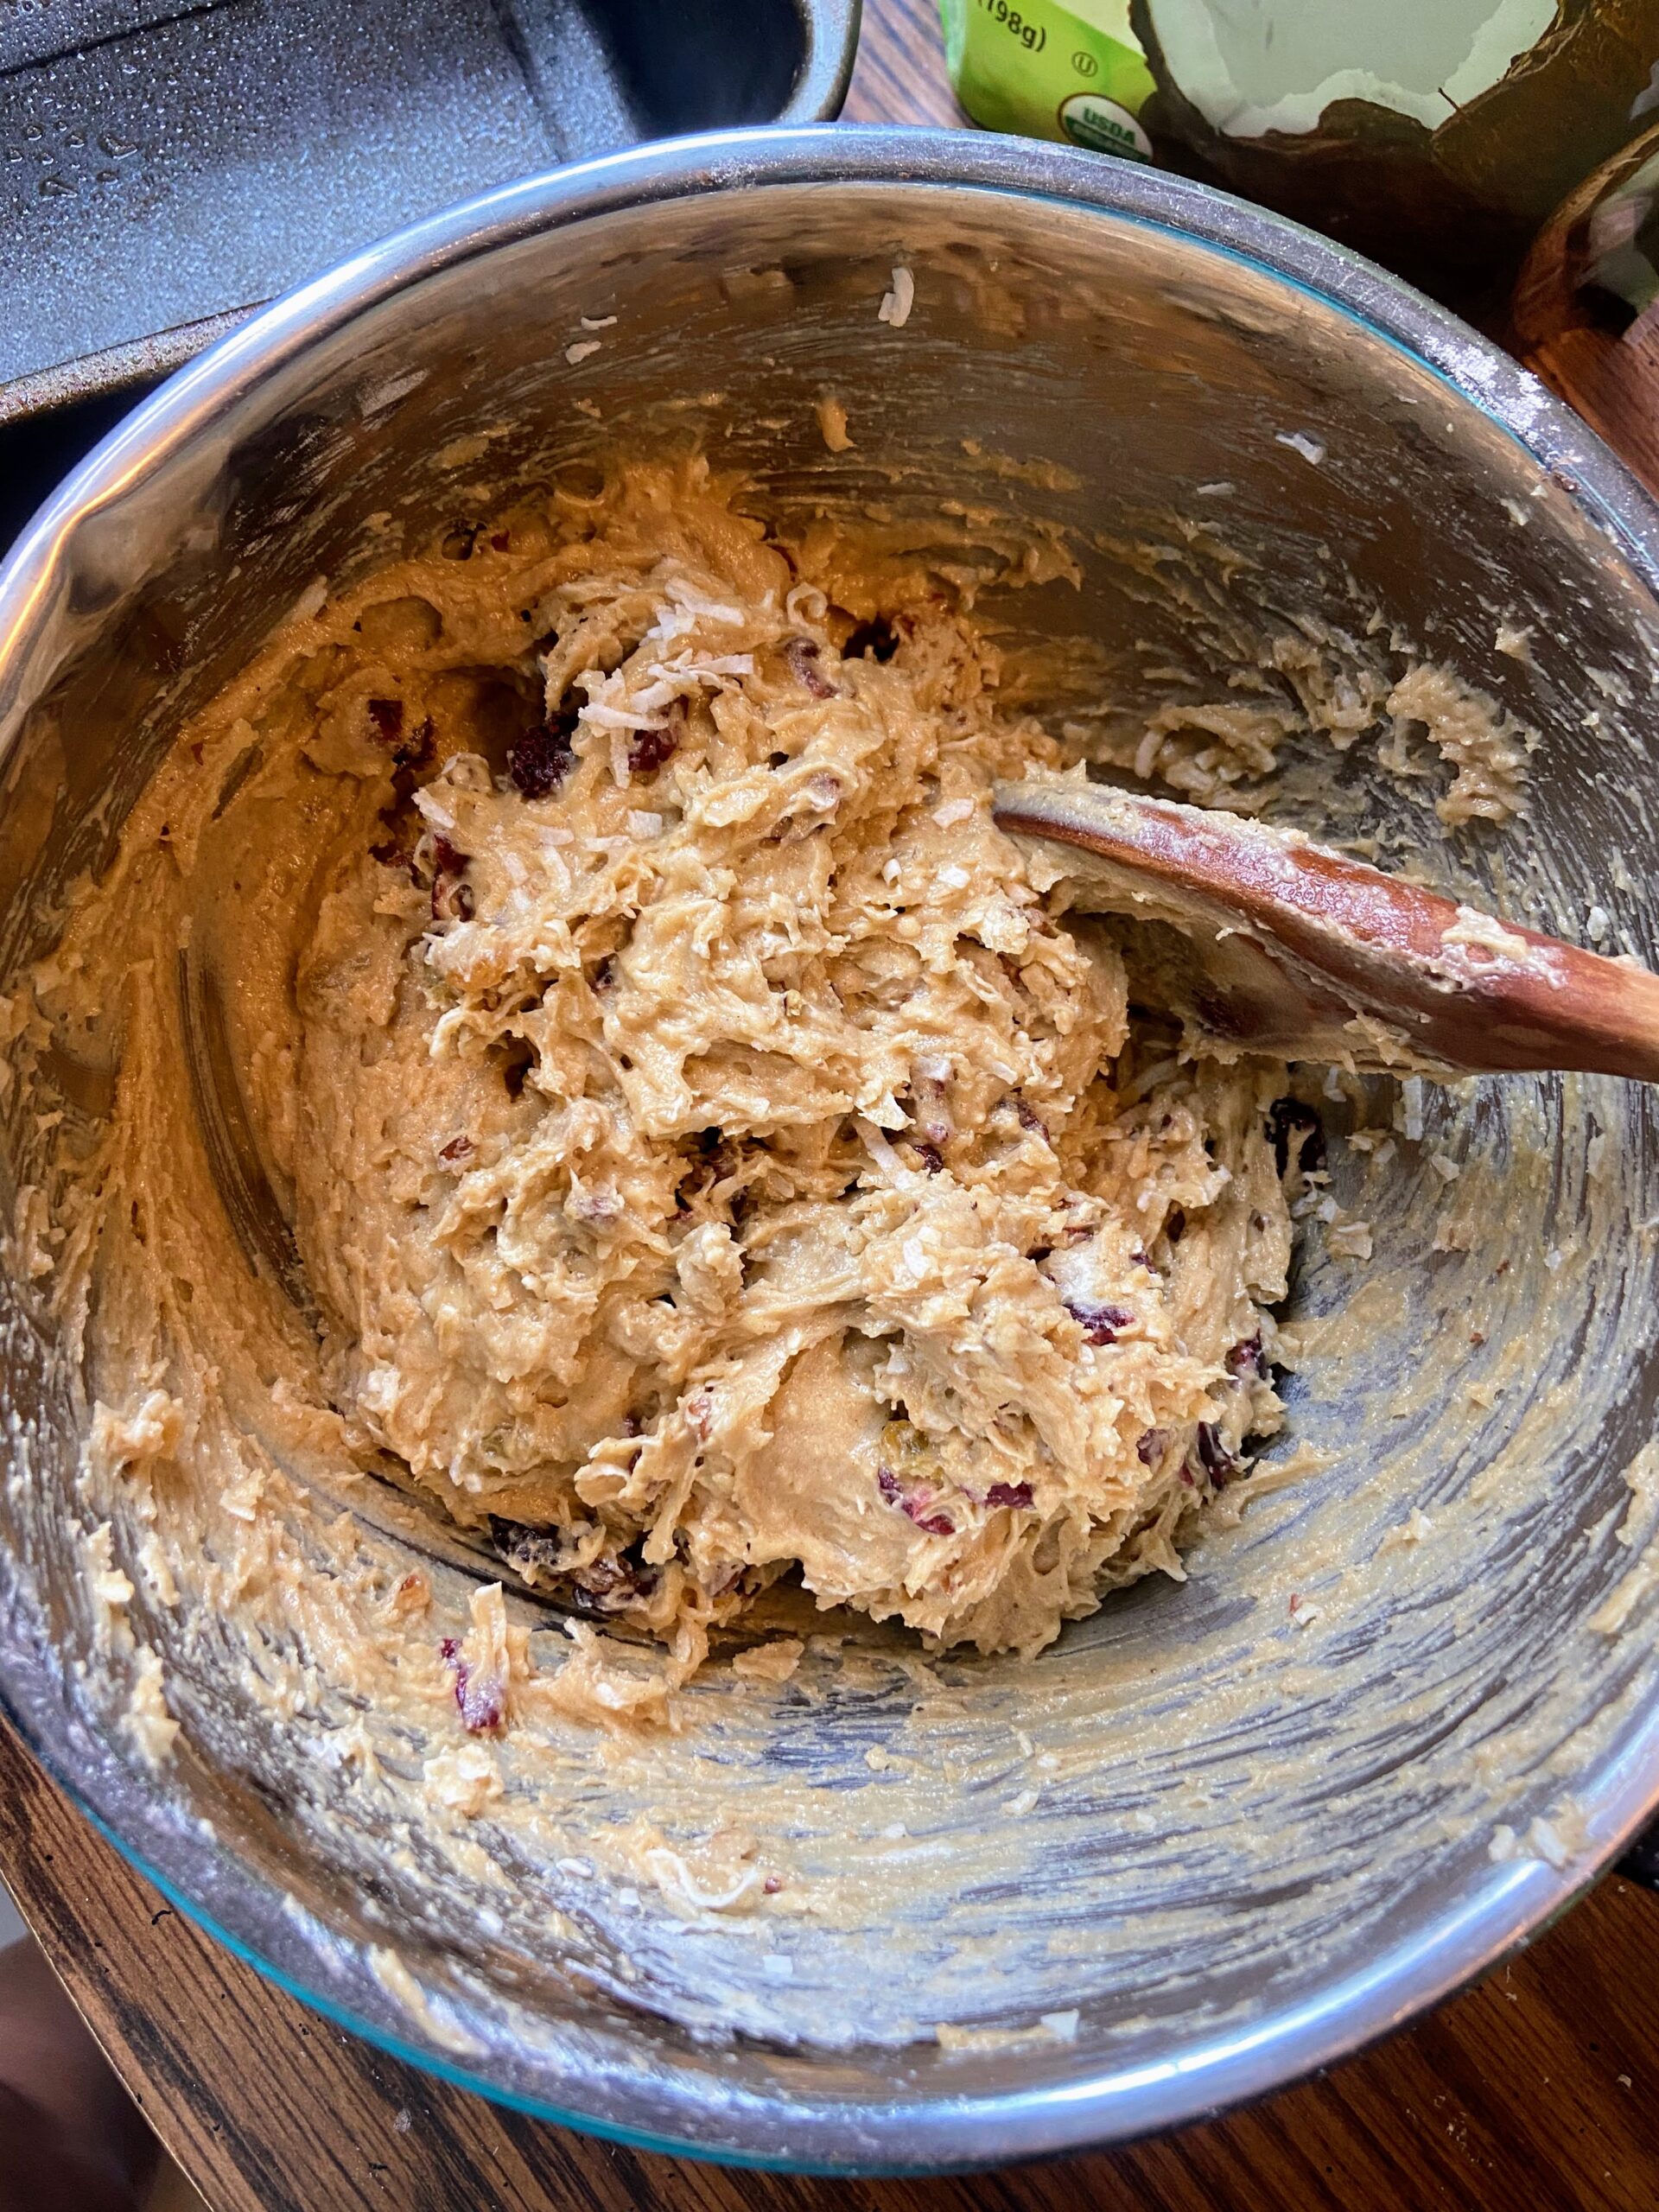
Preheat the oven to 350 degrees. Prepare 18 muffin vessels with liners or by greasing them. Combine the butter and brown sugar in a large mixing bowl until light and fluffy. Add eggs, vanilla, and milk. 

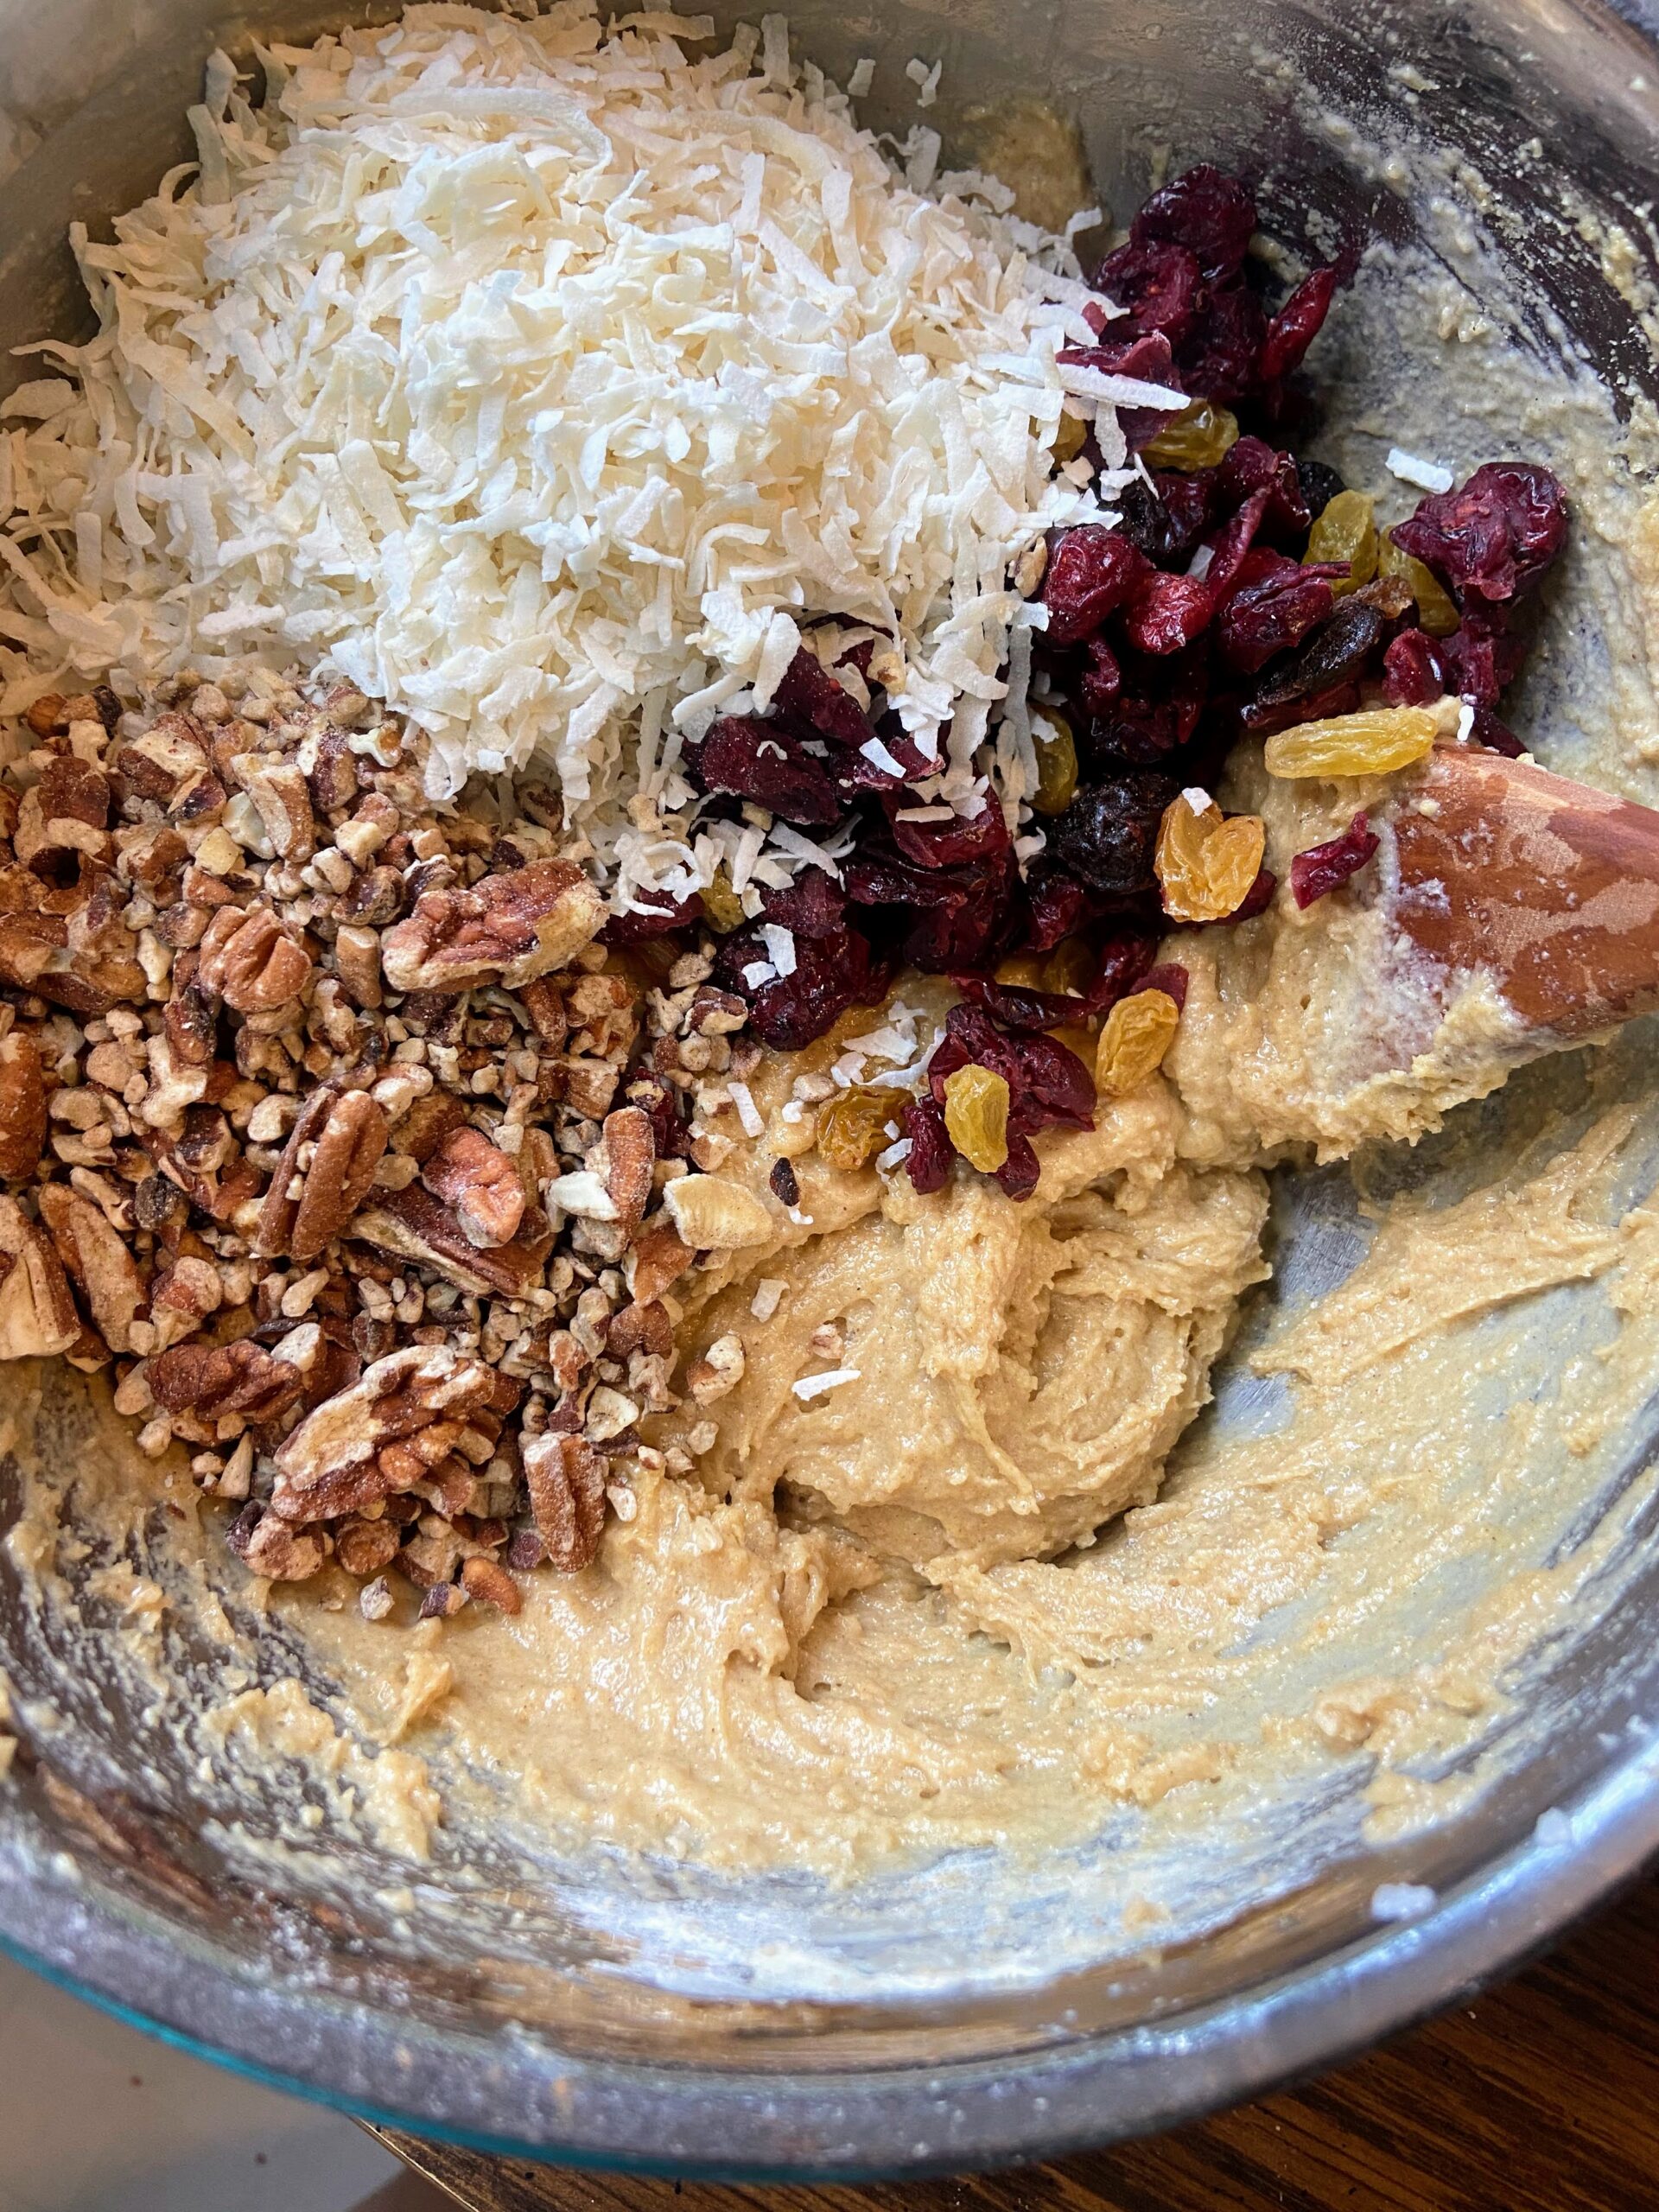
In a separate bowl, combine flour, baking powder, nutmeg, cinnamon, and salt. Add to wet ingredients until just combined. Stir in coconut, dried fruit, and nuts. Place the mixture into the prepared tin, filling ¾ of the full.

Bake for 20-24 minutes, until an inserted toothpick comes out clean. 

Coconut and Raisin Spiced Muffins

Coconut and Raisin Spiced Muffins

These coconut and raisin spiced muffins are full of texture and flavor, creating a delicious and dense muffin full of warming spices.
Prep Time 10 minutes
Cook Time 20 minutes
Course Breakfast
Cuisine American
Servings 18 muffins

Equipment

Ingredients
  

  • ½ cup butter softened
  • 1 cup packed light brown sugar
  • 2 eggs
  • 1 teaspoon vanilla
  • cup milk
  • 2 ⅓ cup all purpose flour
  • 1 teaspoon baking powder
  • ¼ teaspoon nutmeg
  • 1 teaspoon cinnamon
  • ¾ teaspoon salt
  • 1 cup dried unsweetened coconut
  • 1 cup raisins or other dried fruit cranberries, cherries, etc
  • ½ cup chopped nuts

Instructions
 

  • Preheat the oven to 350 degrees. Prepare 18 muffin vessels with liners or by greasing them.
  • Combine the butter and brown sugar in a large mixing bowl until light and fluffy.
  • Add eggs, vanilla, and milk. Stir until well combined.
  • In a separate bowl, combine flour, baking powder, nutmeg, cinnamon, and salt.
  • Add to wet ingredients until just combined. Stir in coconut, dried fruit, and nuts.
  • Place the mixture into the prepared tin, filling ¾ of the full.
  • Bake for 20-24 minutes, until an inserted toothpick comes out clean.
Keyword Breakfast, coconut, coconut muffins, muffins, Quick Bread, raisins, spiced bread
Tried this recipe?Let us know how it was!
Looking for more breakfast Inspiration?

Check out any of the recipes below or just head to my breakfast page for more ideas!