Last Updated on August 11, 2022 by Jess
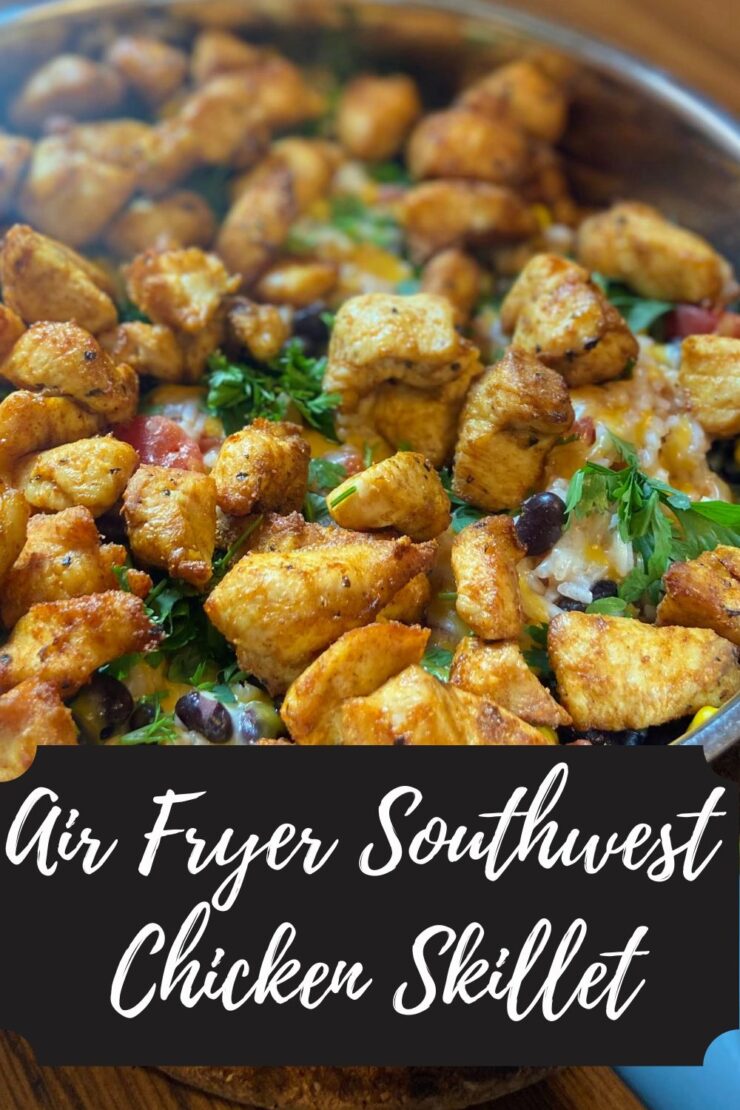
I don’t know about you, but our air fryer is perpetually on the countertop during the summer. I’ll be honest, eight times out of ten, I am making homemade fries (SO GOOD!), but sometimes I am cooking protein in it. I love cooking up chicken in all sorts of ways. I dig chicken thighs, chicken breasts, you name it. But one of my favorite ways to cook up chicken is when it’s marinated and cut into bitesize pieces. This Air Fryer Southwest Chicken Skillet is a great way to do just that!
Reasons I love this recipe? It’s FULL of color and flavor. Don’t skip the cilantro or onions (as long as you aren’t an ‘it tastes like soap’ kind of guy or gal. Man, my heart hurts for you. I could eat cilantro by the bucket!) It adds so much.
It preps up SO fast with minimal dishes. The chicken gets marinated in a baggy and goes in the air fryer. Everything else goes straight in the skillet! You don’t even need much of a cutting board if you have scissors for the onions and cilantro. It sure made my dishwasher (my 12 year old kiddo) happy to see that I didn’t create a pile of dishes for him.
Now, I went lighter on the spicy factor here. If you want some extra kick, feel free to top with some sliced jalapeño too! Also, no air fryer? No problem! You can easily cook up the chicken with the rice or on the side. I just like the texture the air fryer brings to the party.
Your Ingredients for Air Fryer Southwest Chicken Skillet
- 1 ½ pounds chicken breast, cubed into bitesize pieces
- 1 cup long grain white rice
- 1 can unsalted diced tomatoes
- 1 can black beans, rinsed
- 1 cup frozen corn
- 1 cup shredded cheese
- Fresh cilantro and green onions, optional
- Salt and pepper to taste
Seasoning:
One teaspoon each of:
- chili powder
- ground coriander
- ground cumin
- paprika
One half teaspoon each of:
- salt
- garlic powder
- oregano
Dash of cayenne pepper, to taste
Your Steps to Air Fryer Southwest Chicken Skillet
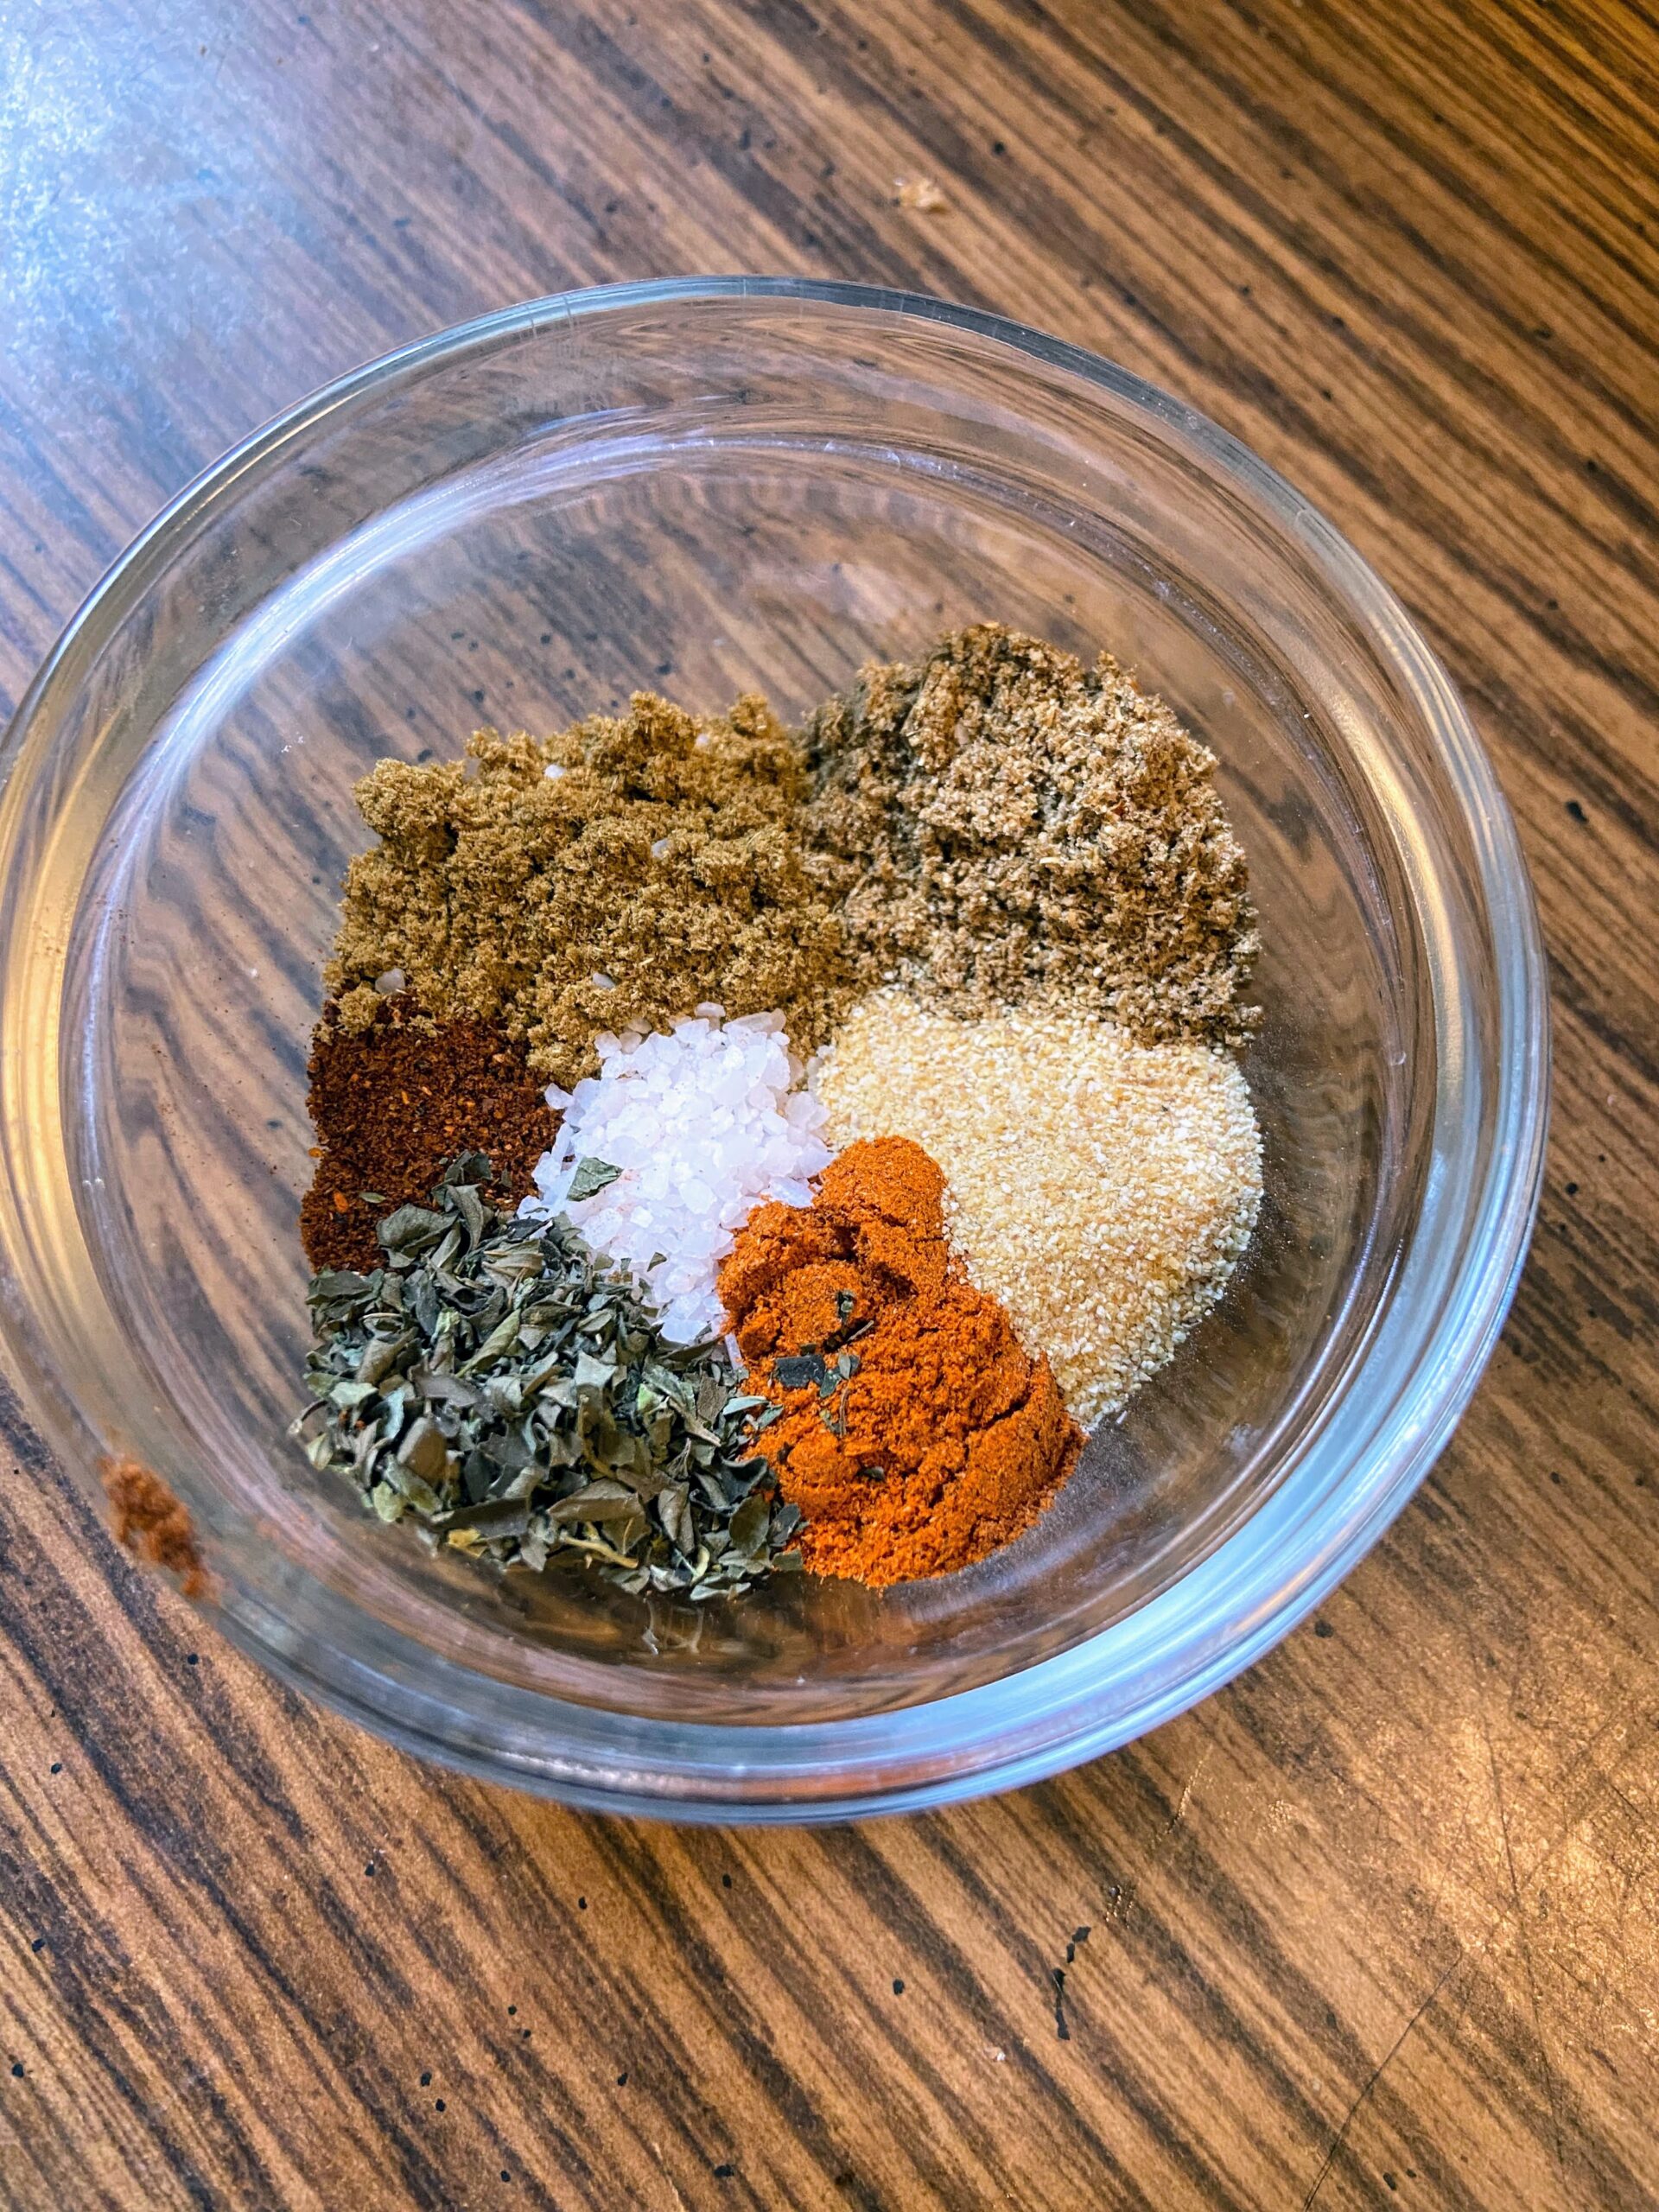
Combine the spices to create a seasoning mix for the chicken. Reserve ½ tablespoon and set aside for seasoning the rice.
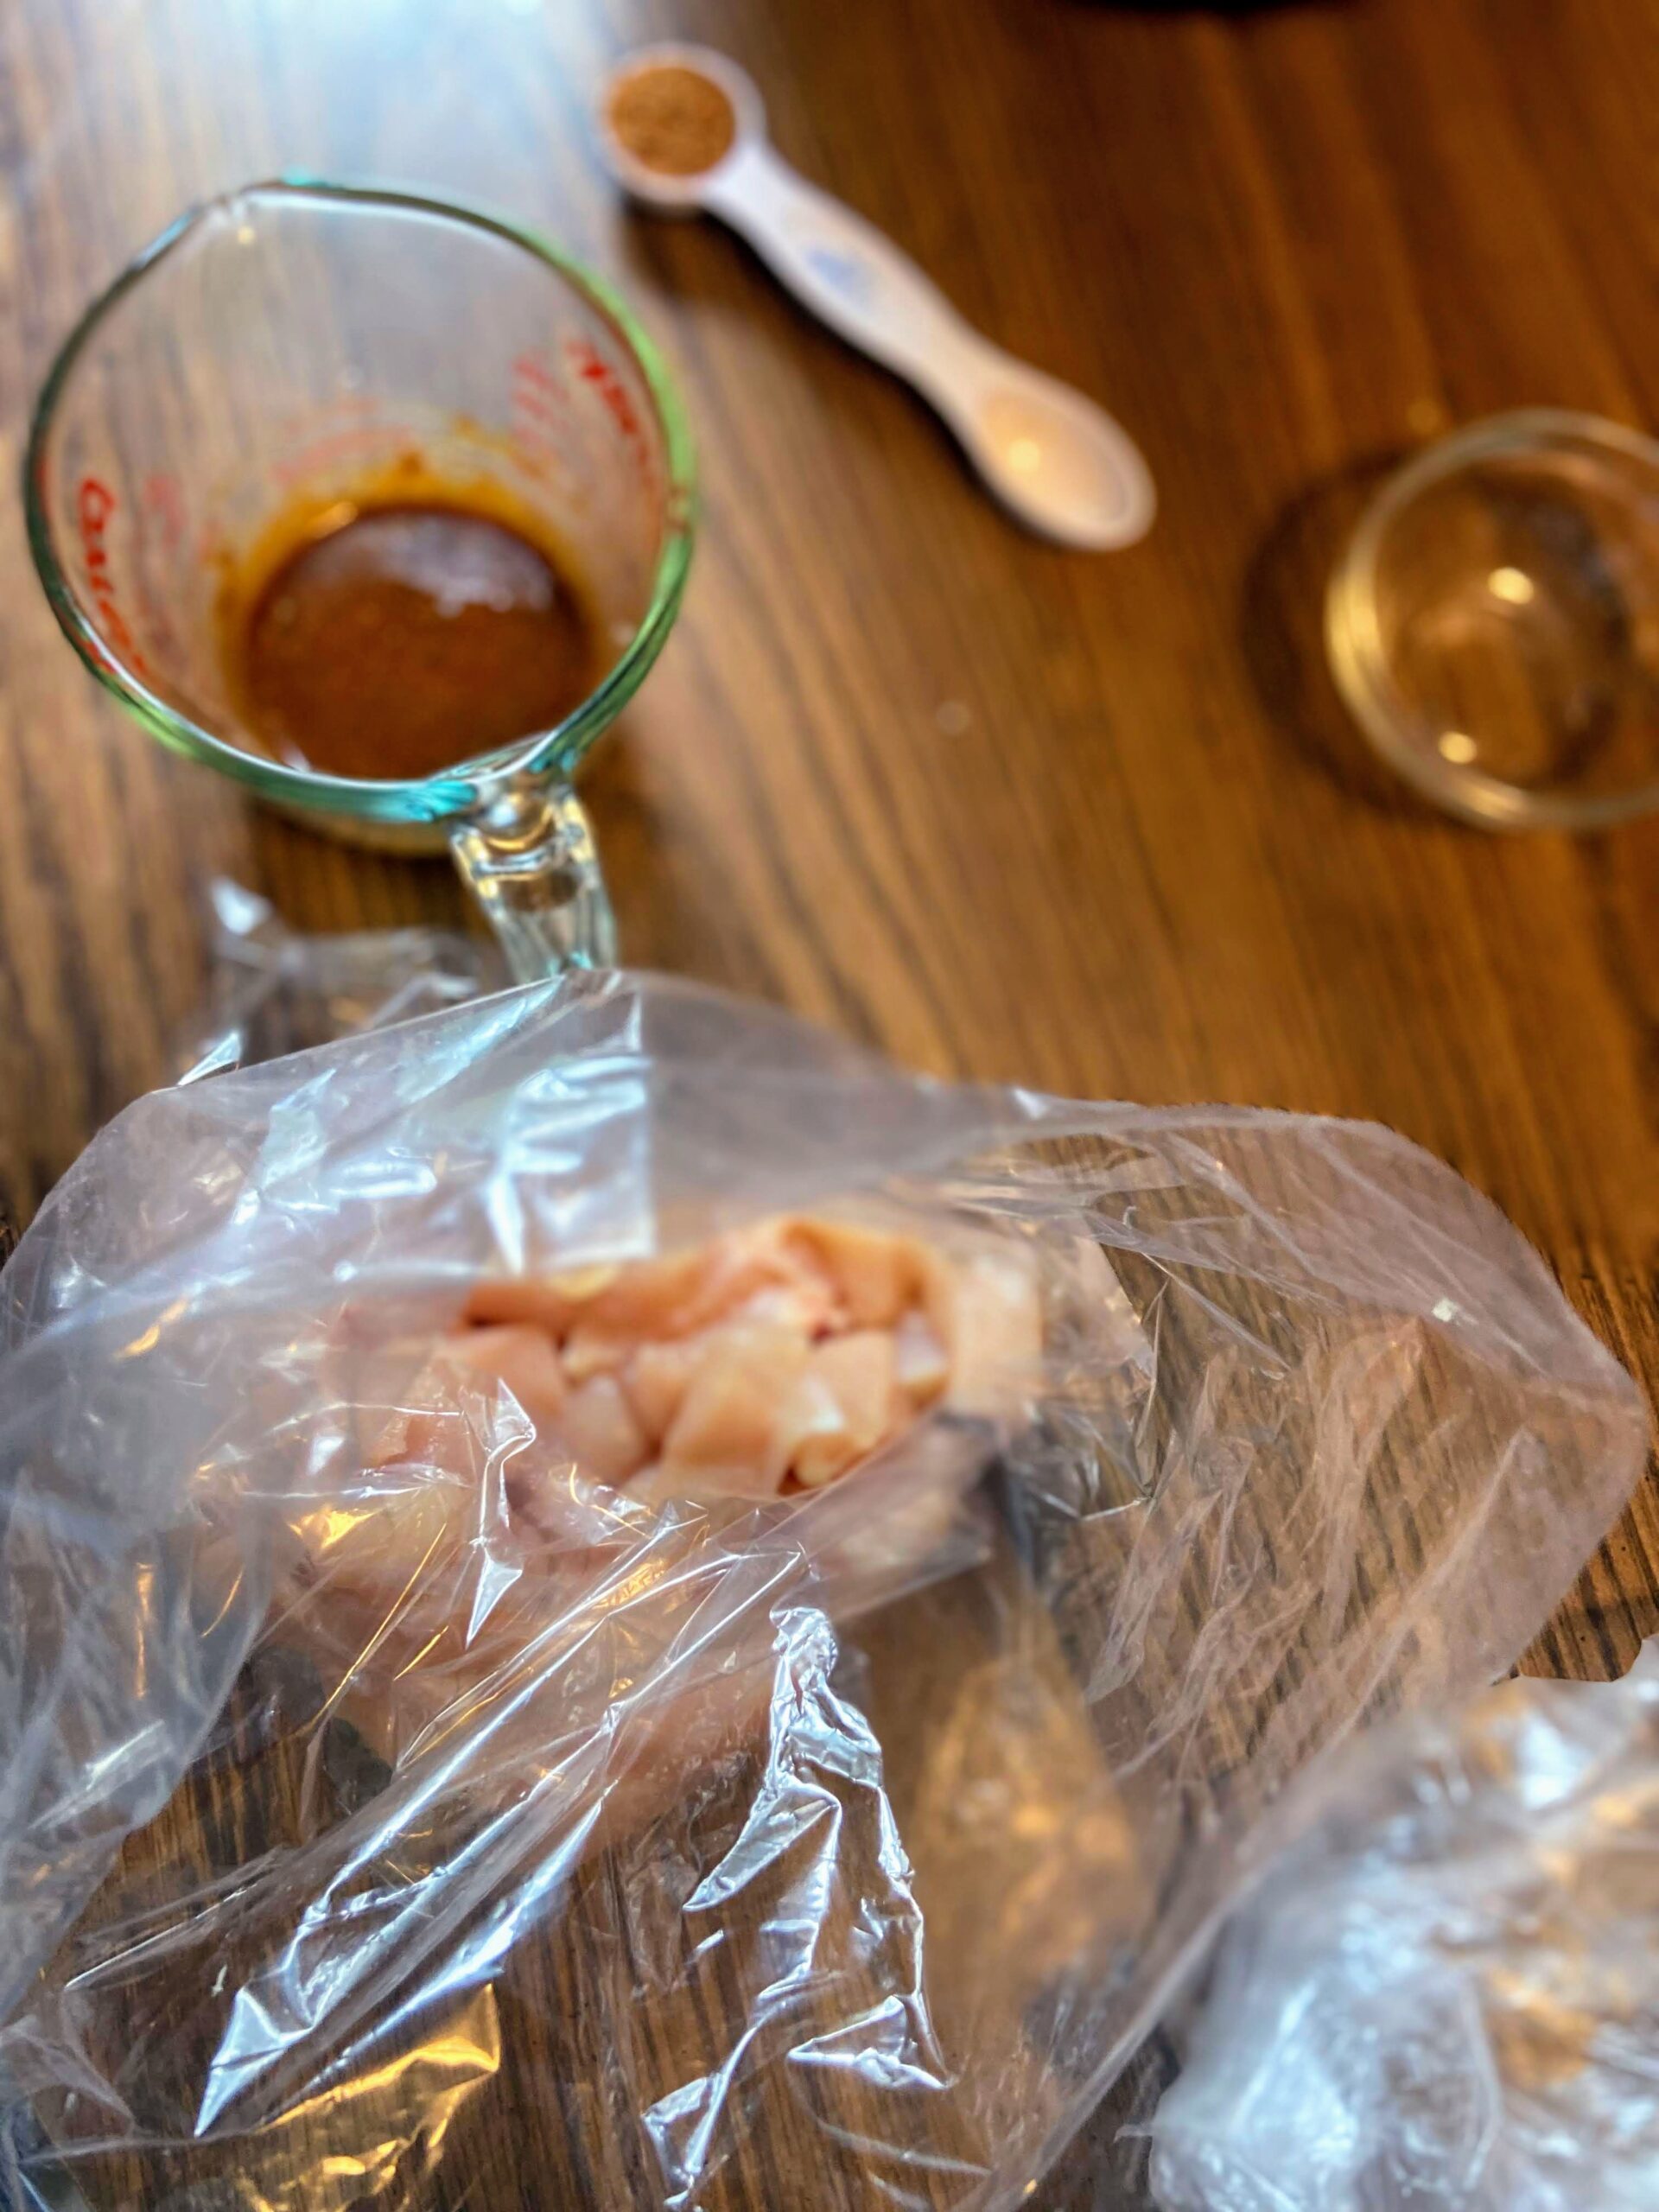
Mix the rest of the seasoning with 2 tablespoons olive oil and 1 tablespoon water. Place the cubed chicken in a plastic bag. Pour the seasoning mixture over the chicken, massaging it into pieces. Seal and allow to marinate in the refridgerator for at least 3 hours.
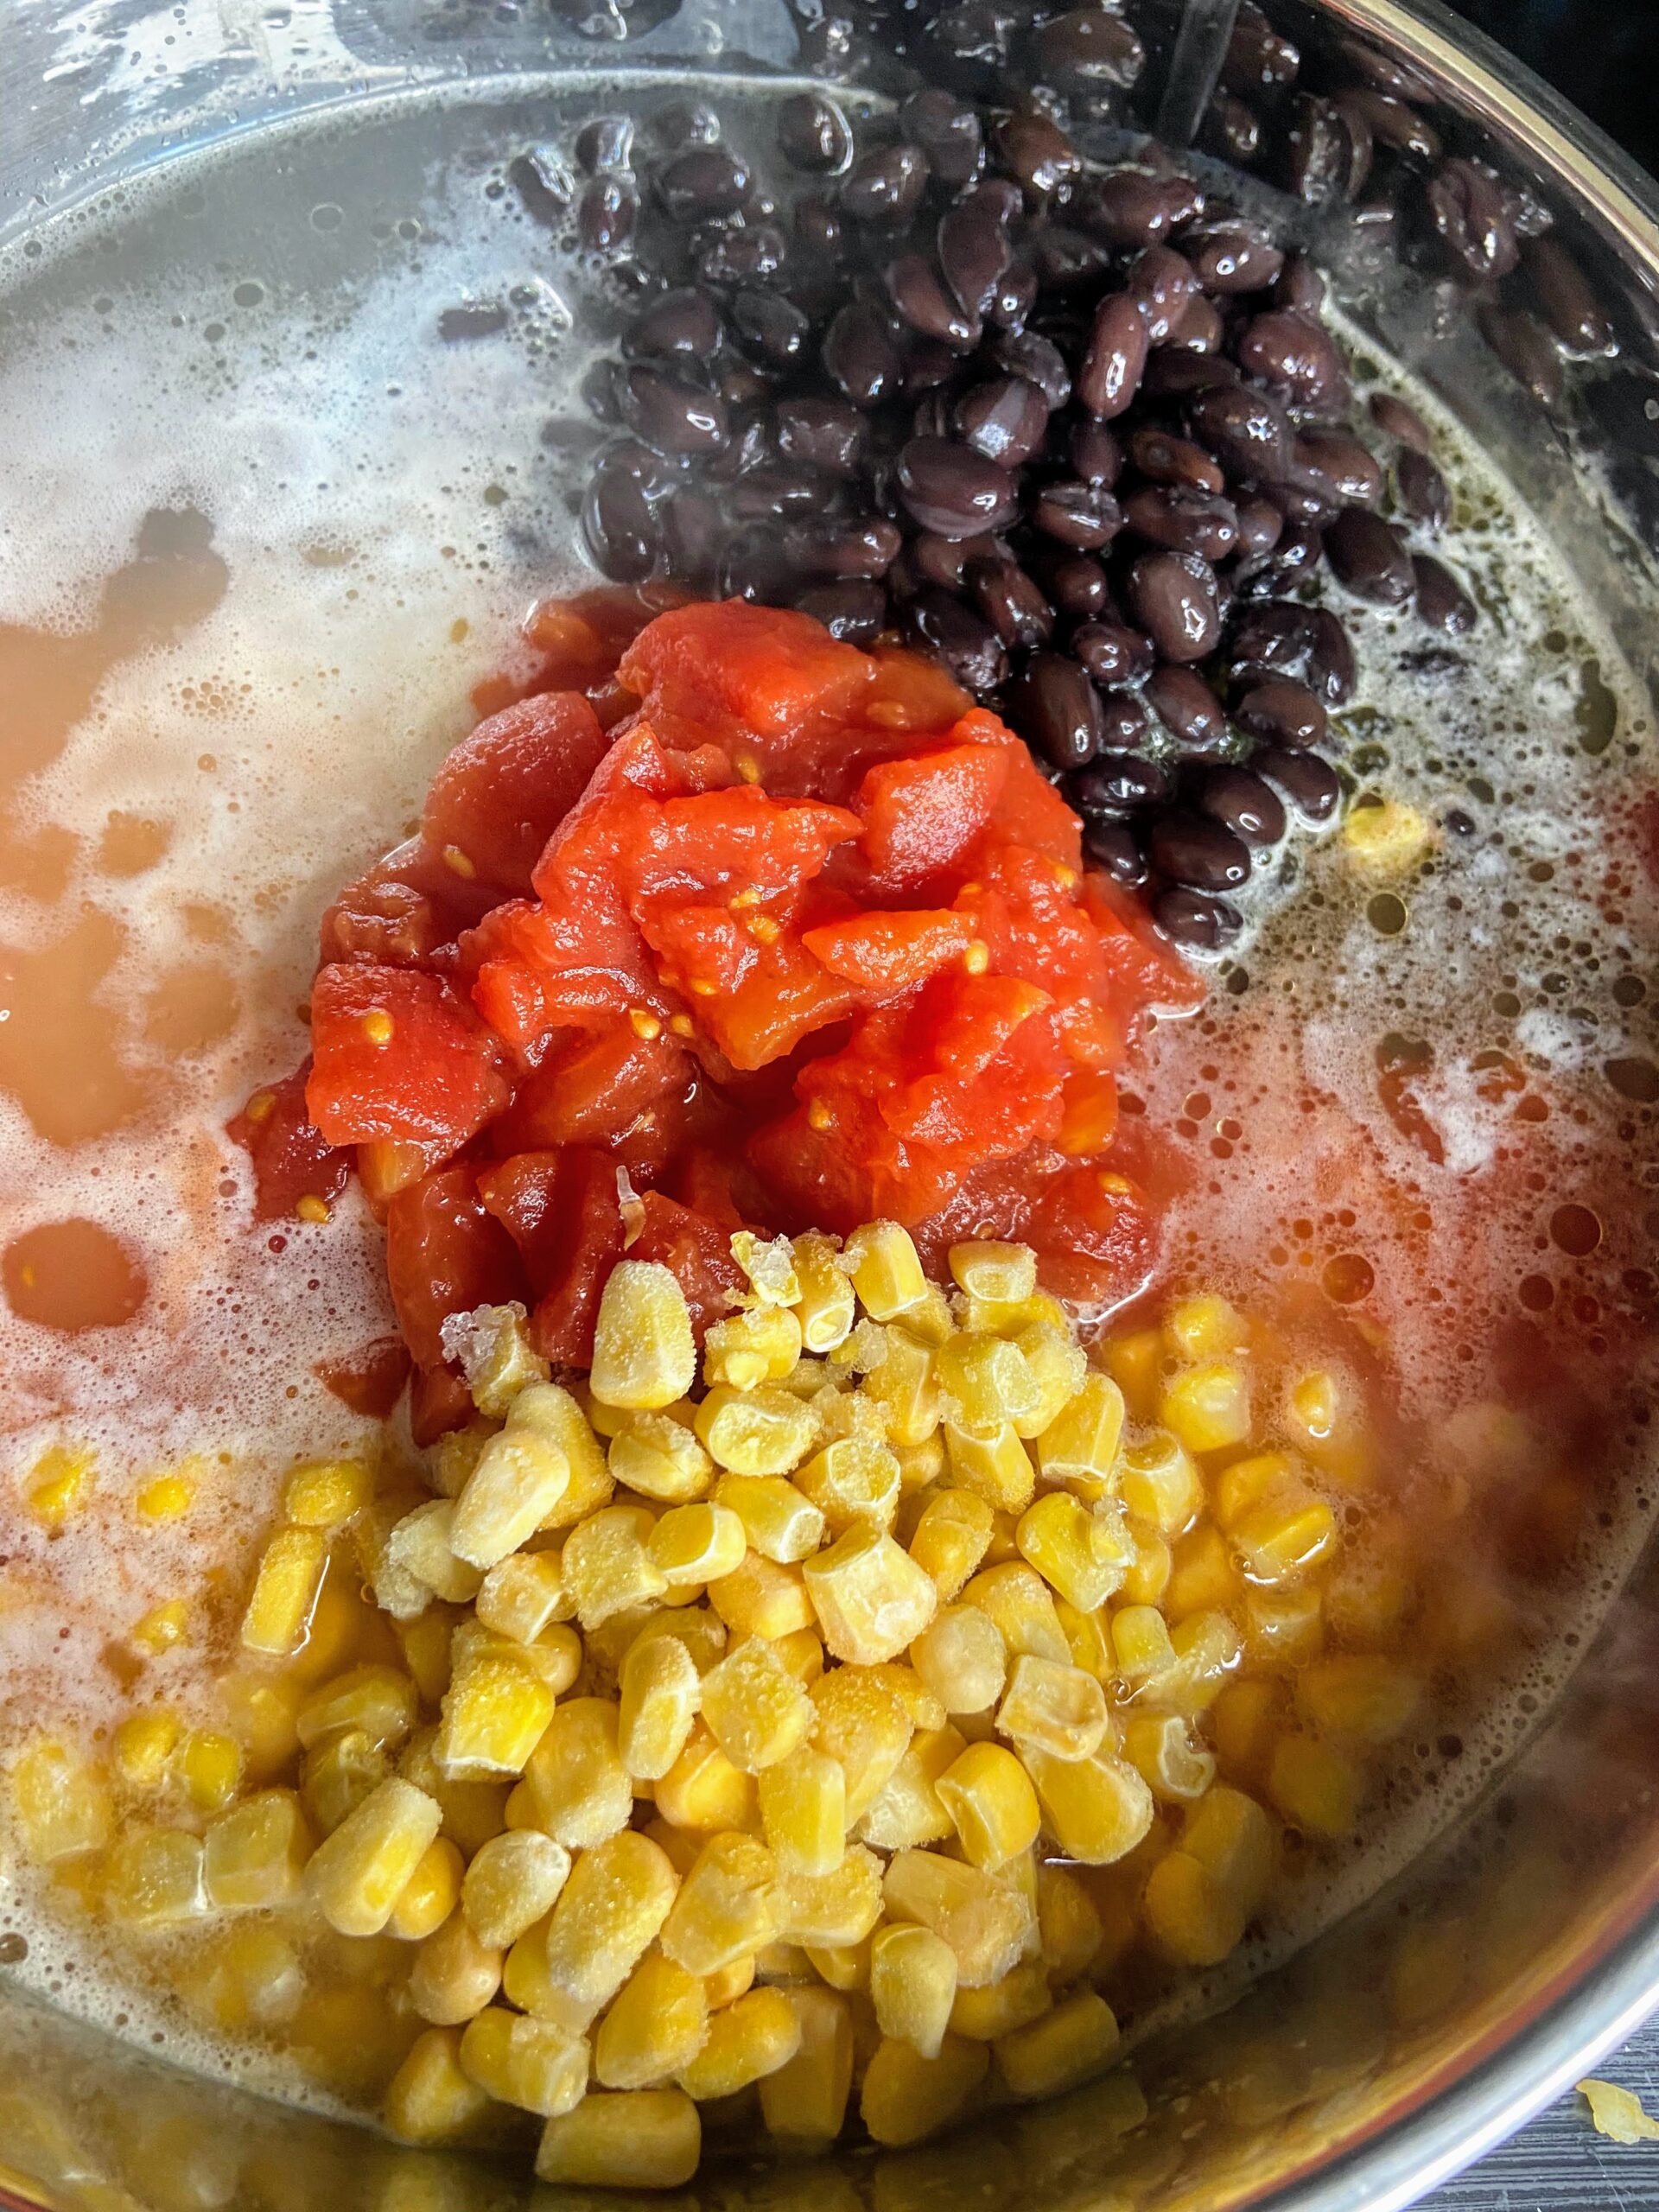
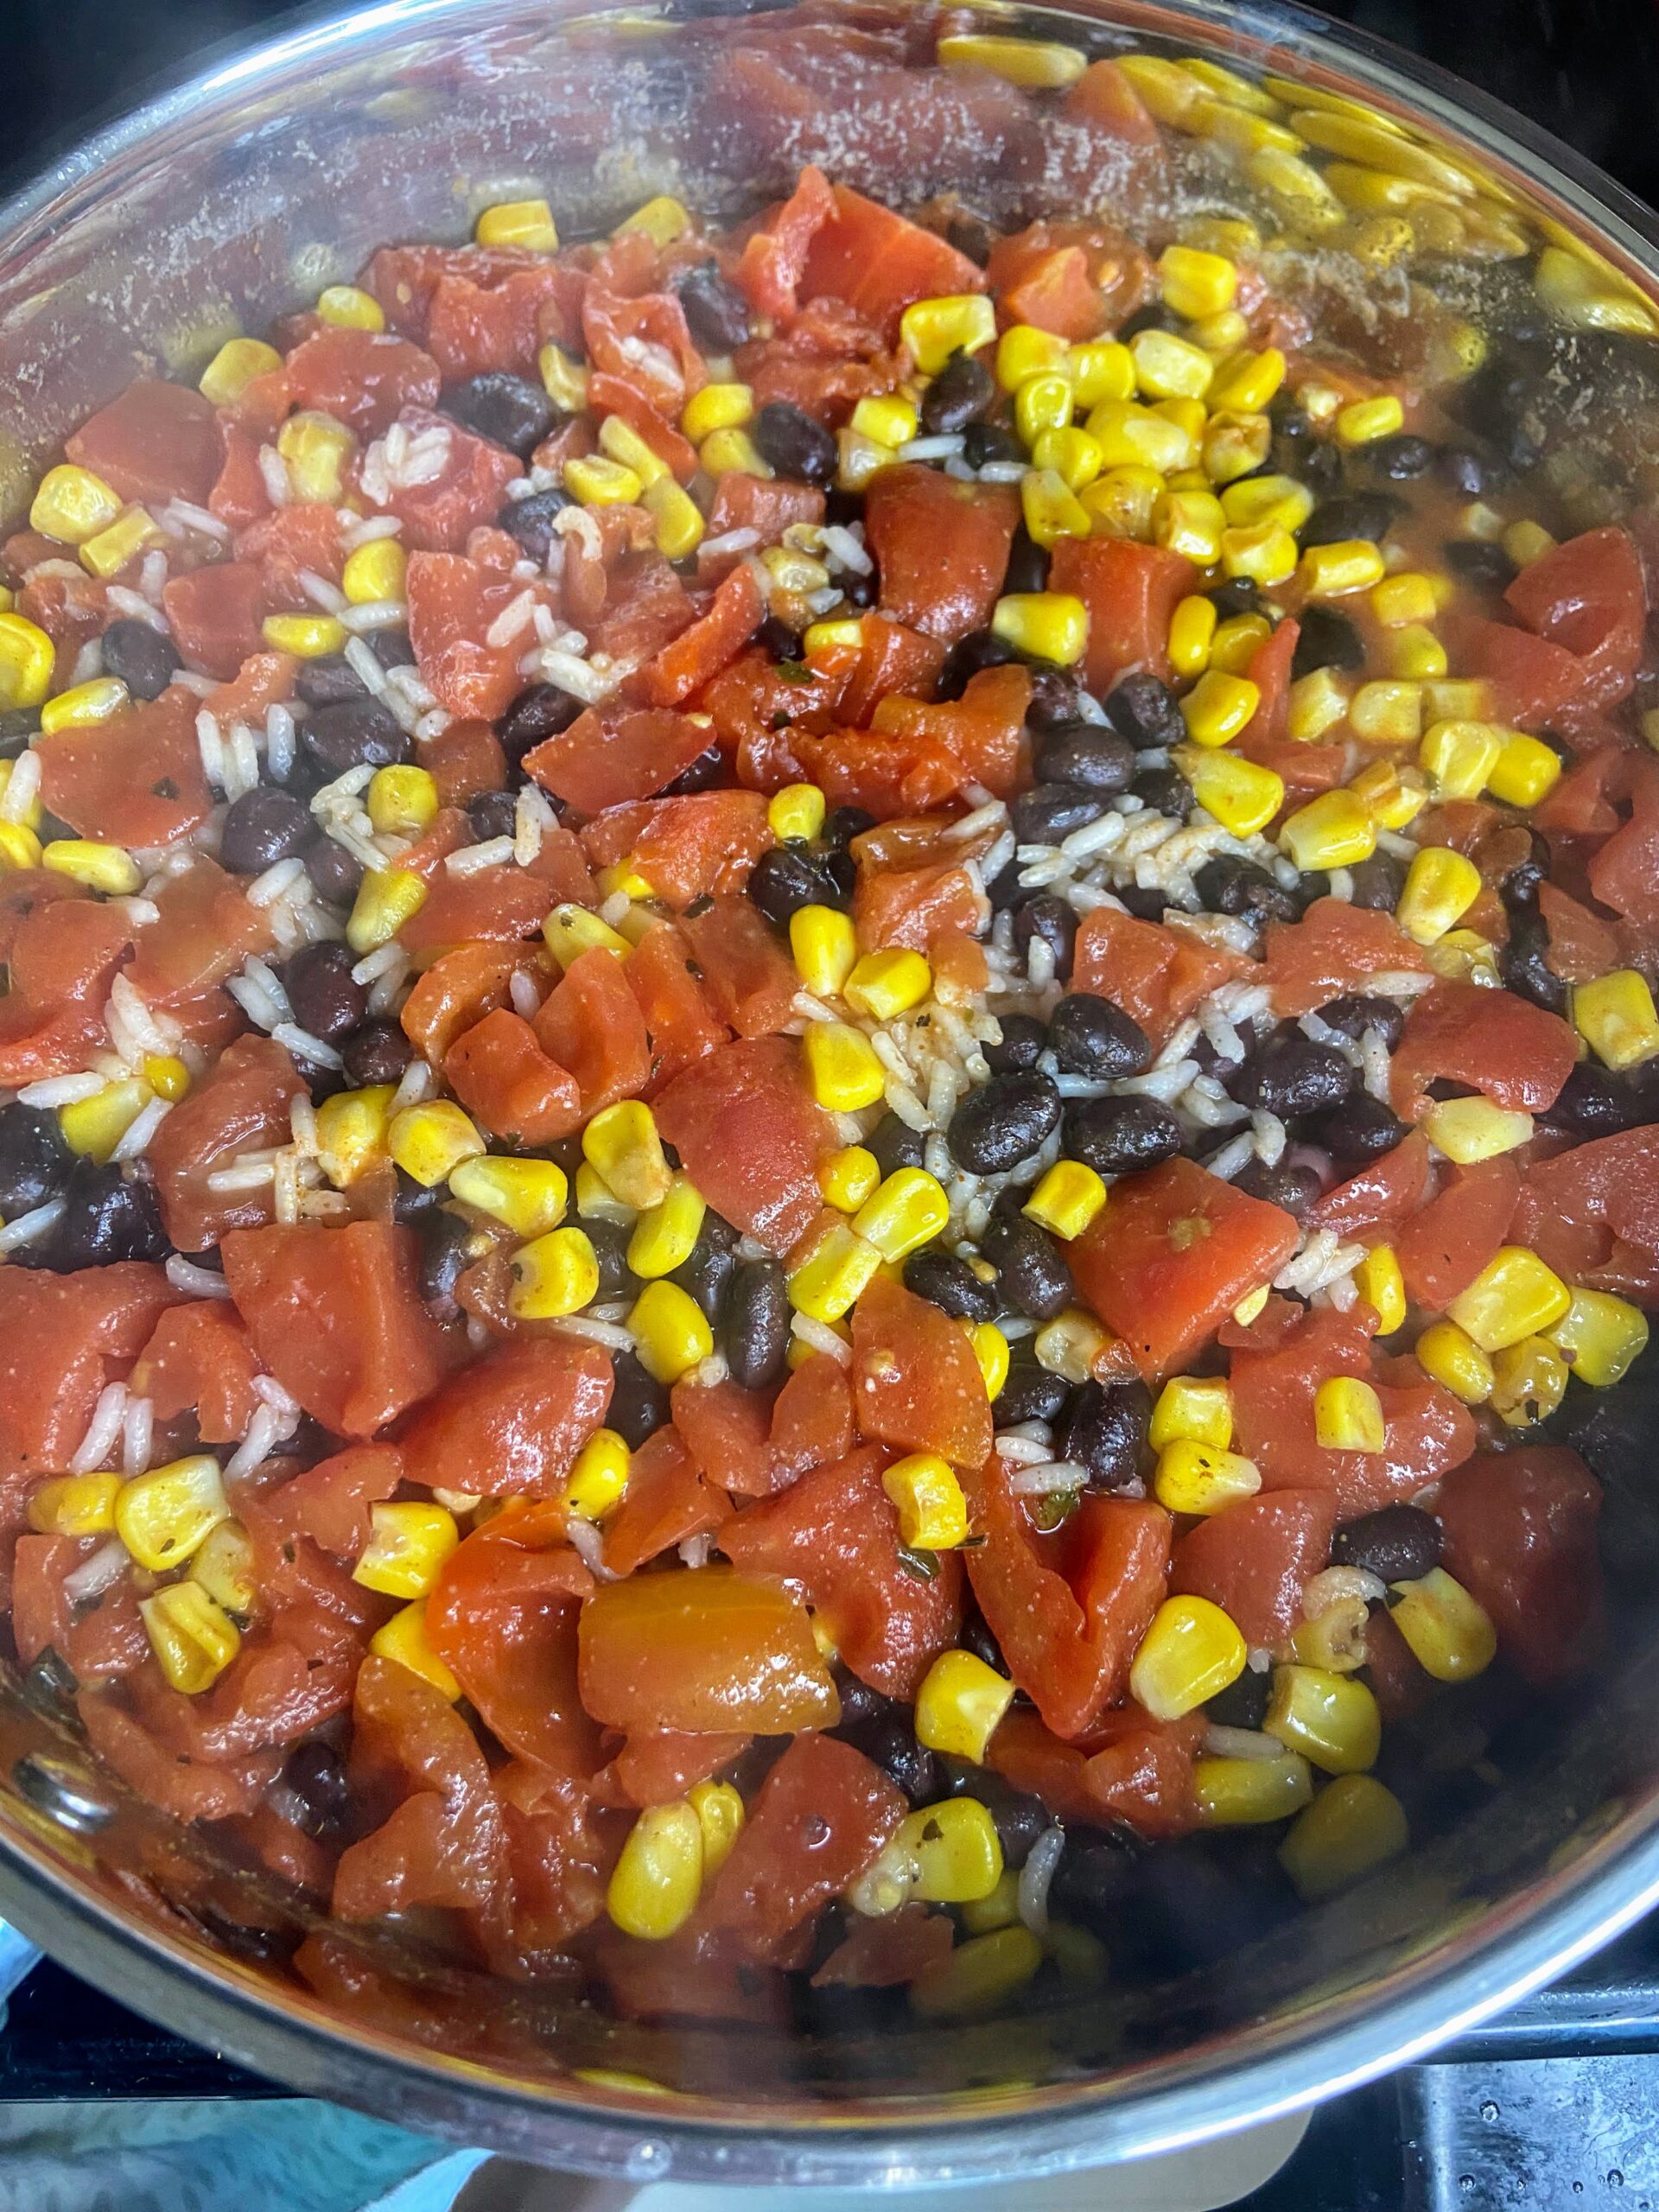
When you are ready to cook the chicken, start the rice according to the package directions. Once the water is boiling, add rice and the diced tomatoes, black beans, frozen corn, and reserved seasoning blend. Add additional salt and pepper to taste.
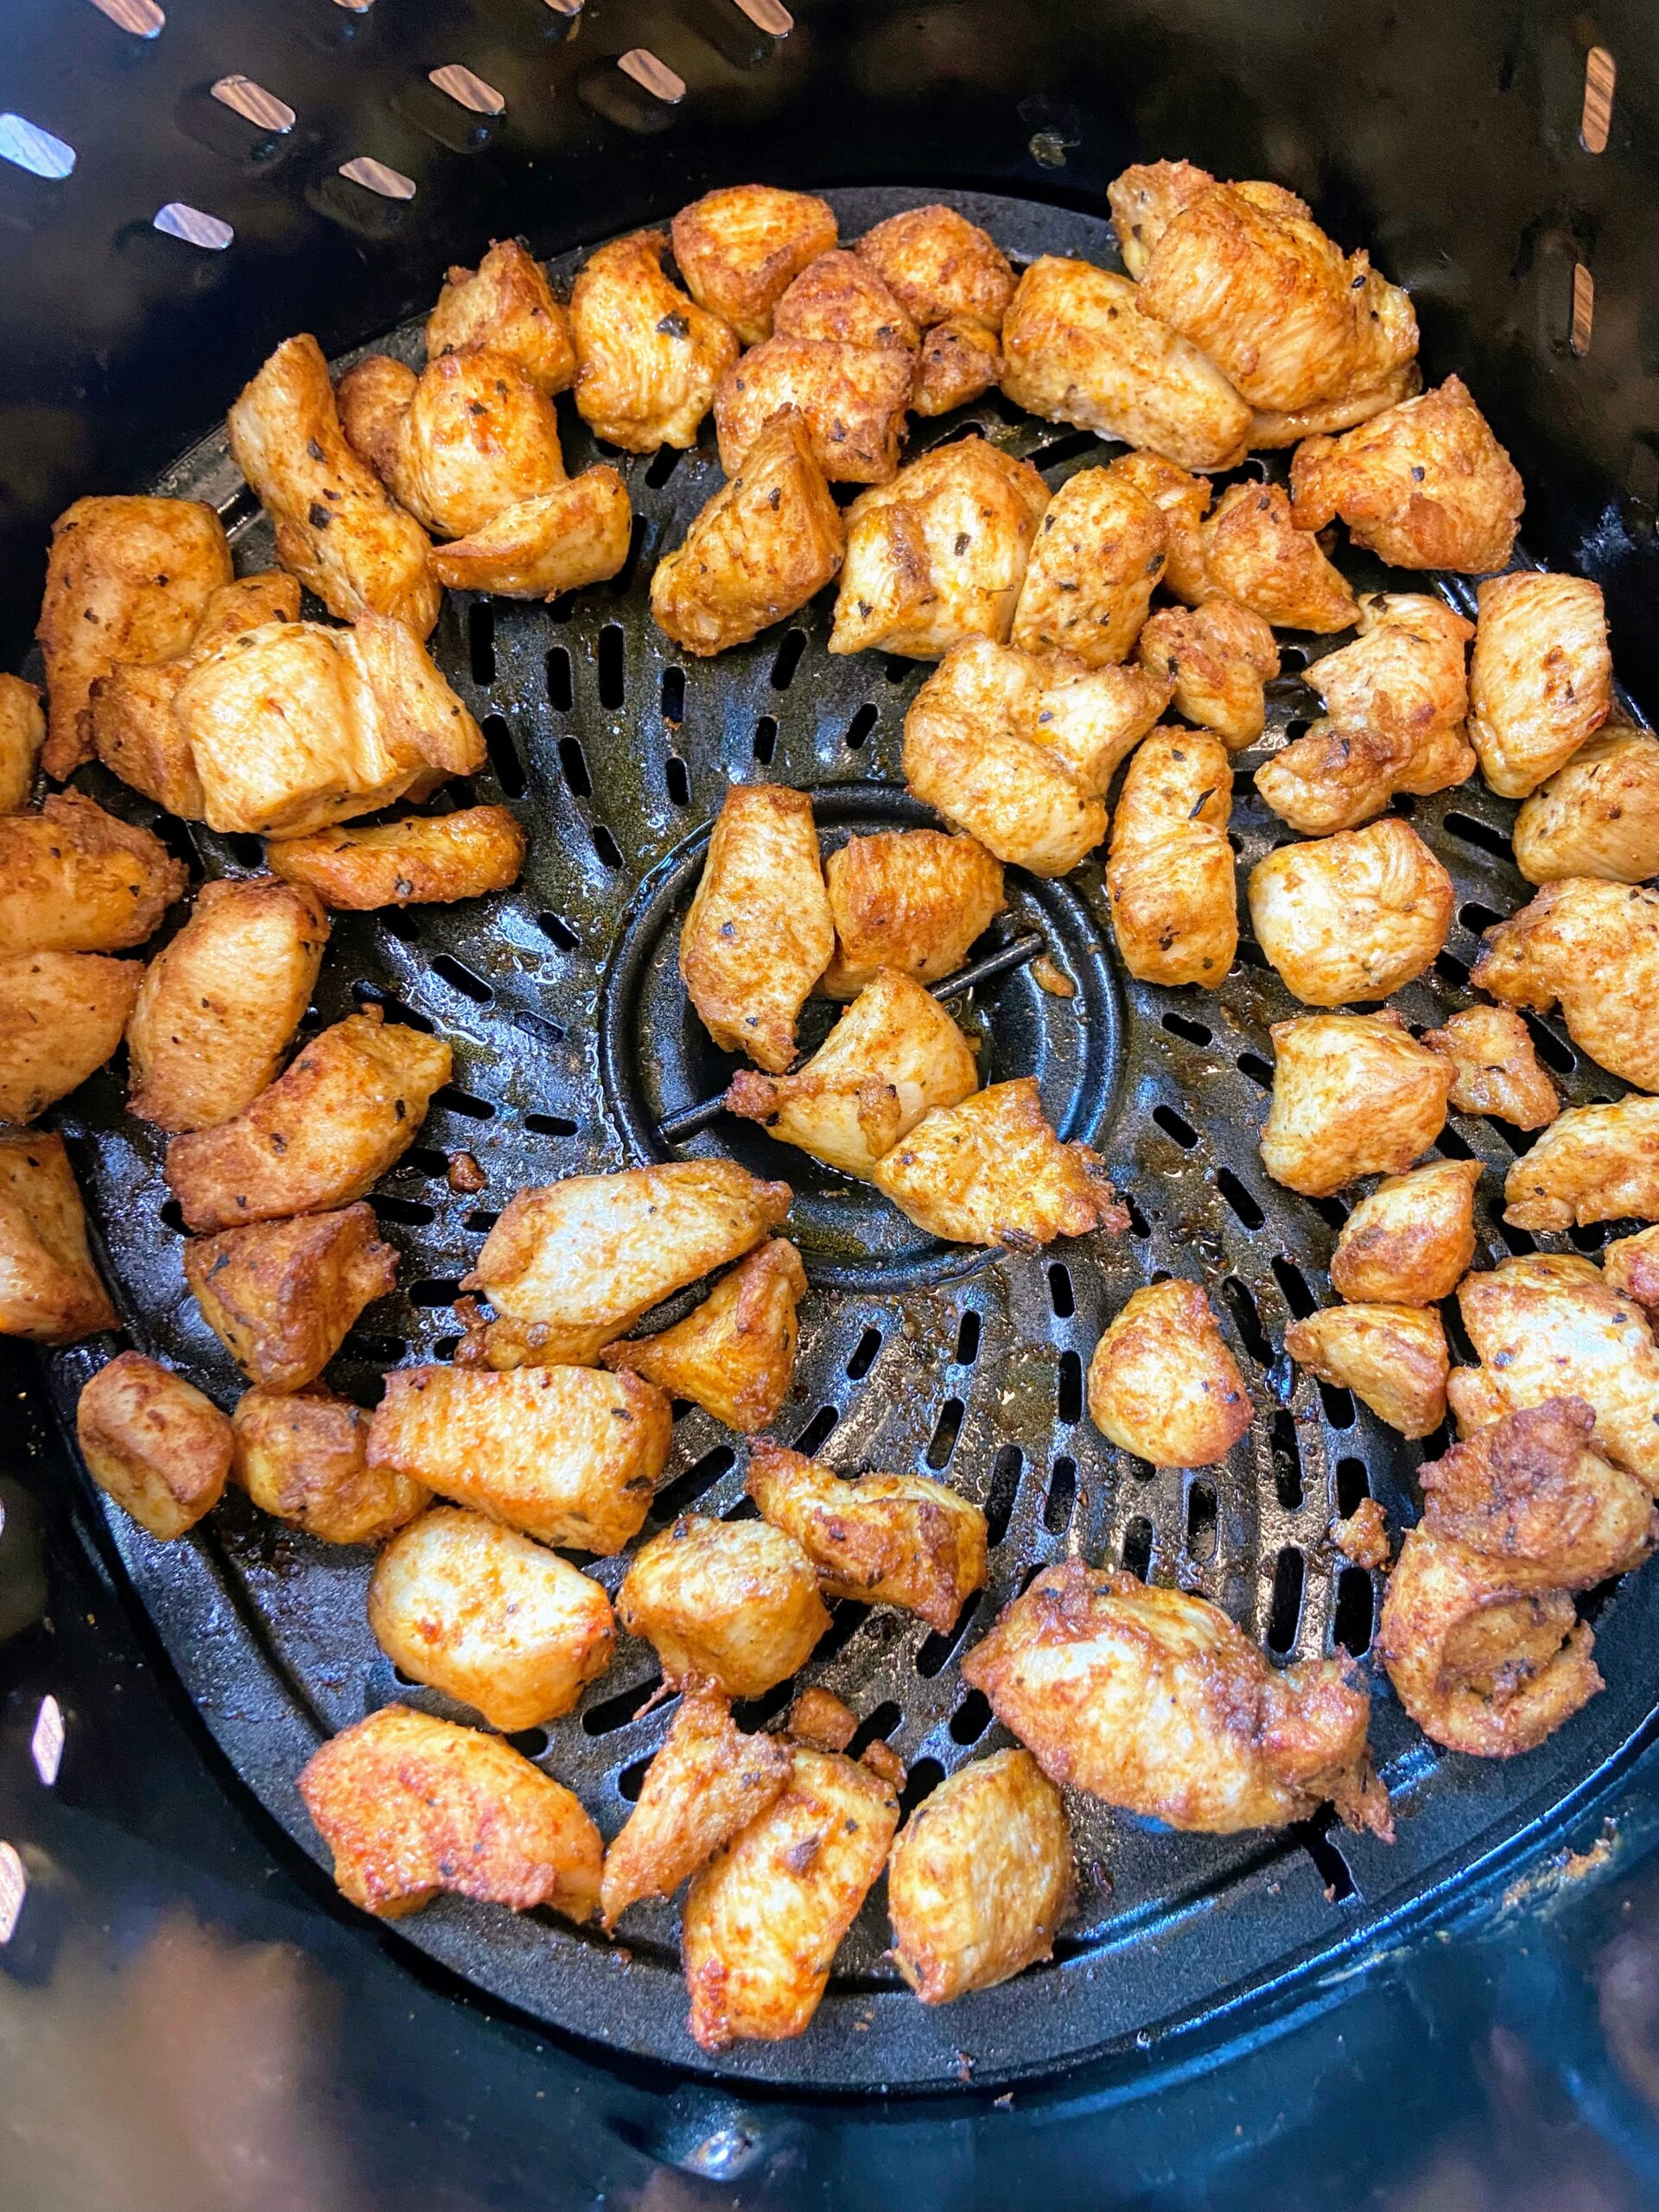
Meanwhile, preheat an air fryer to 380 degrees. Spray with cooking spray. Cook chicken for 10-15 minutes, tossing once or twice.
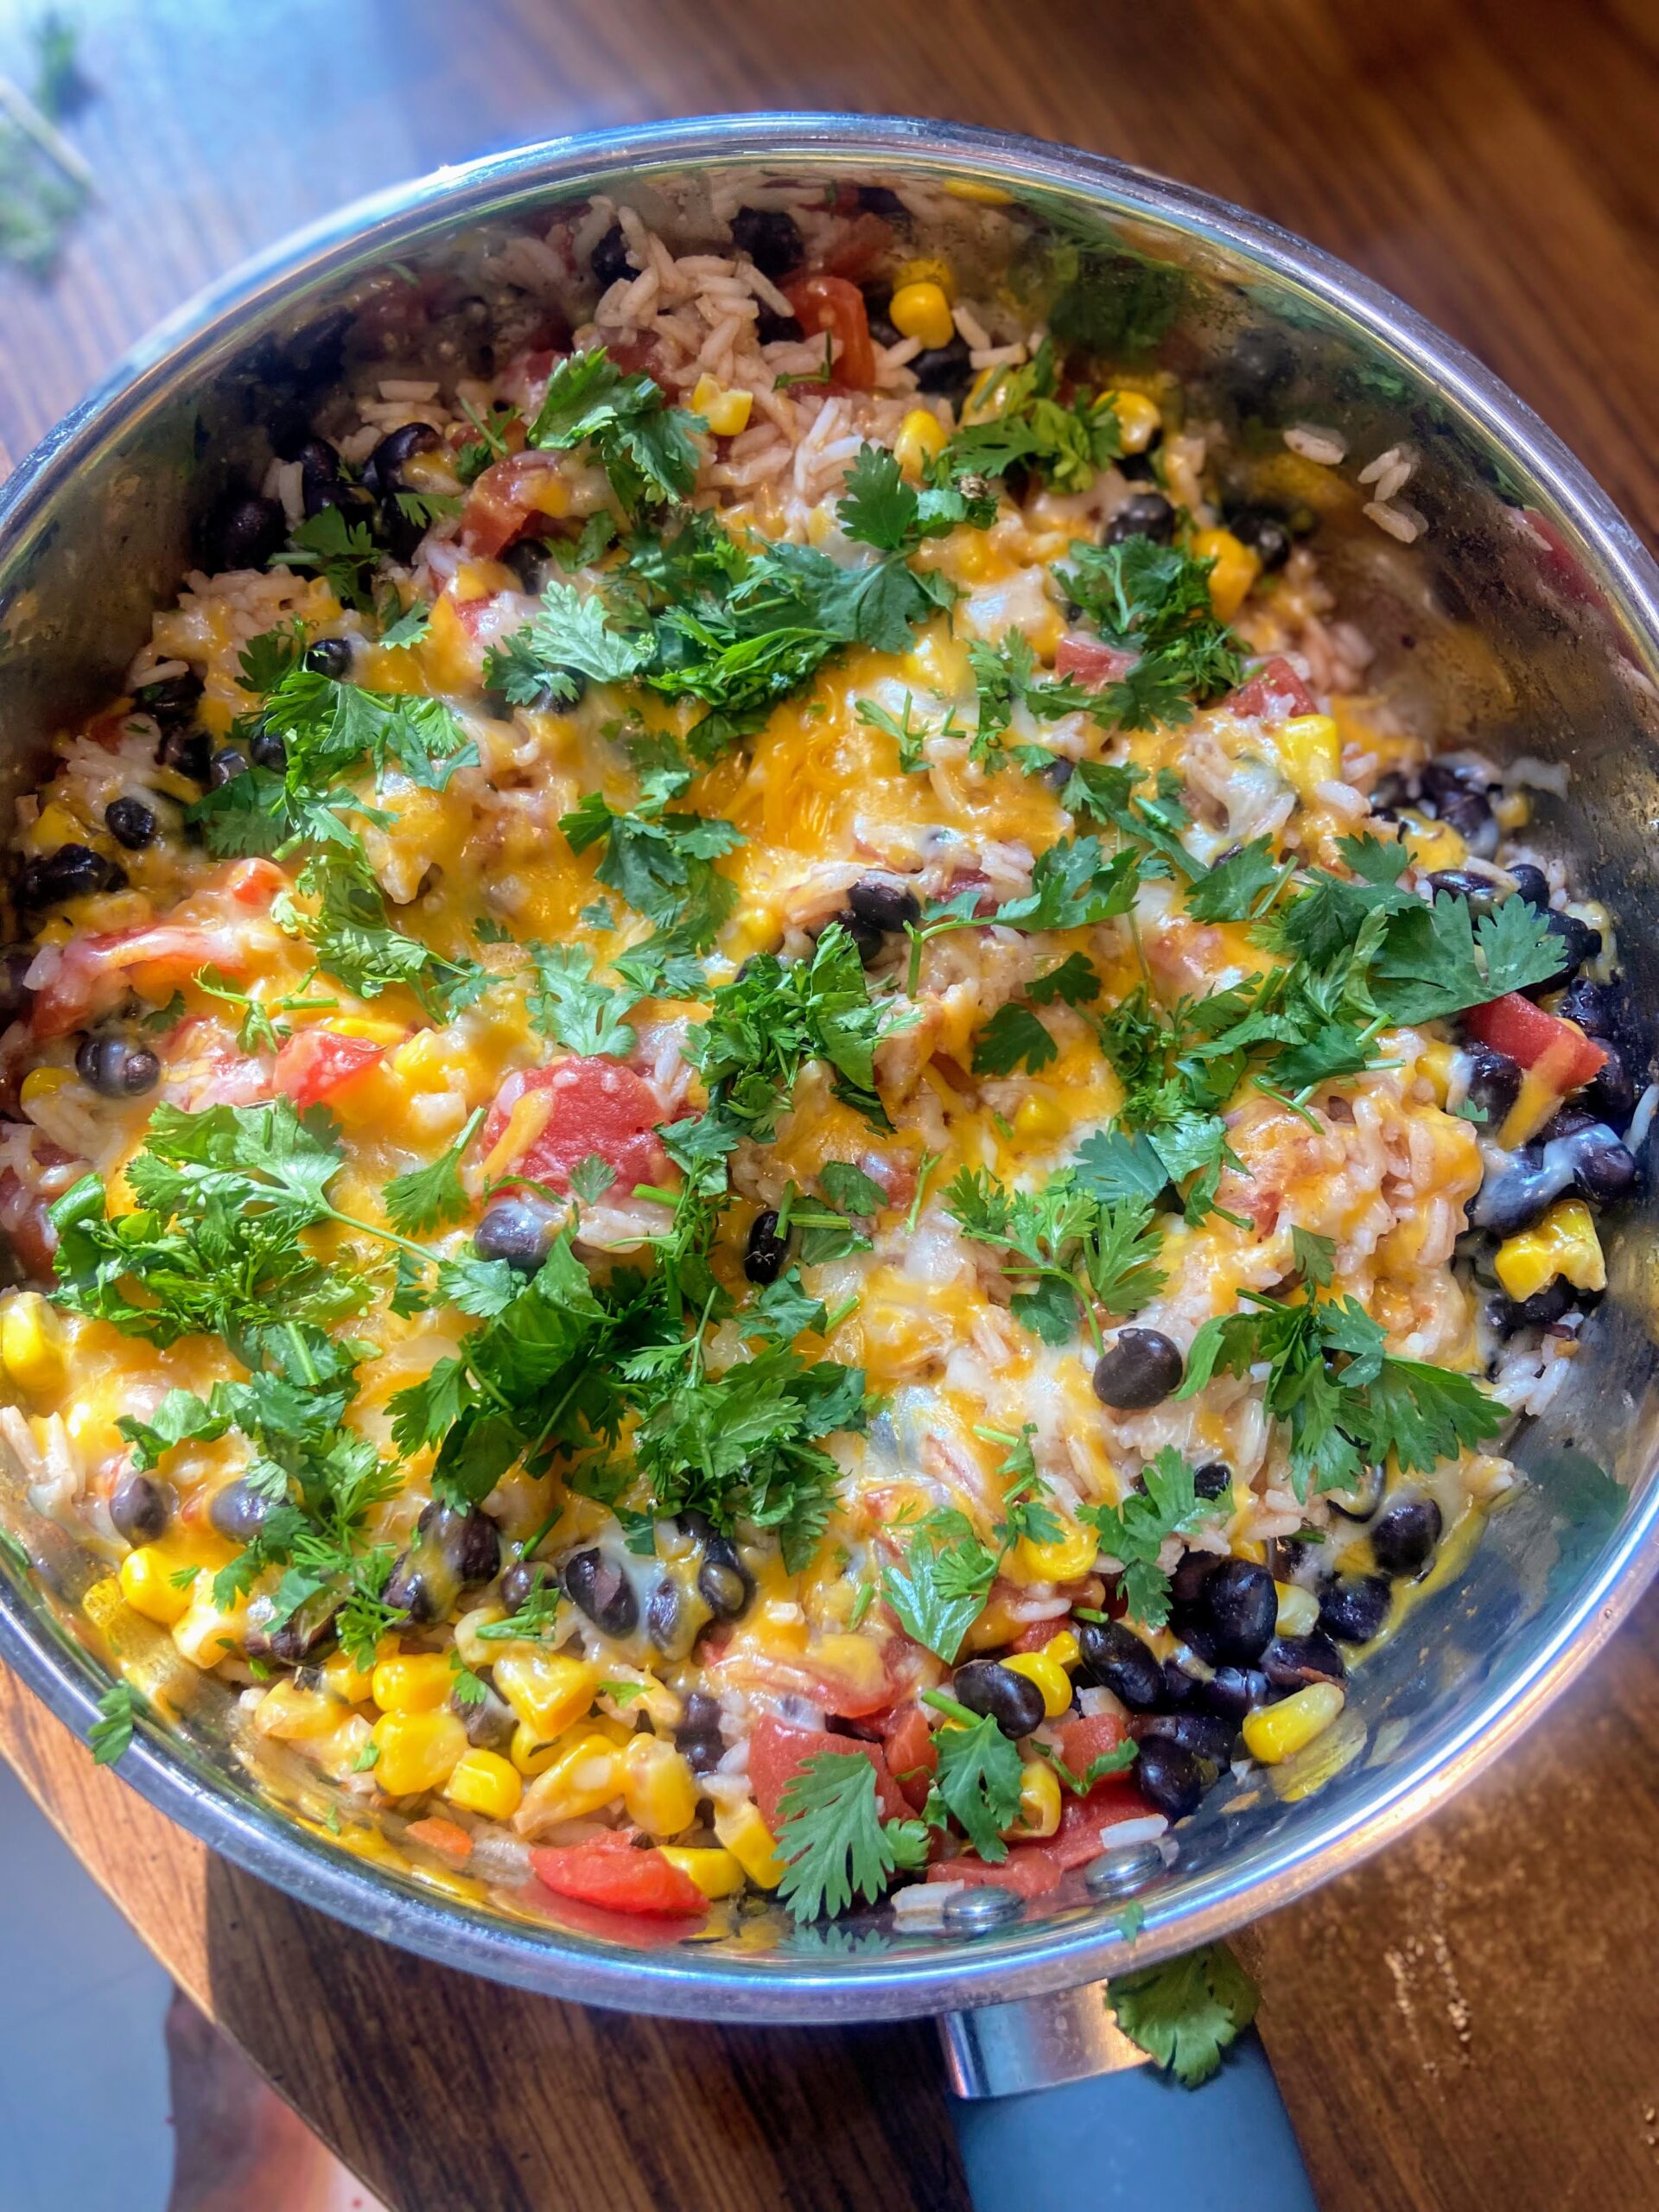
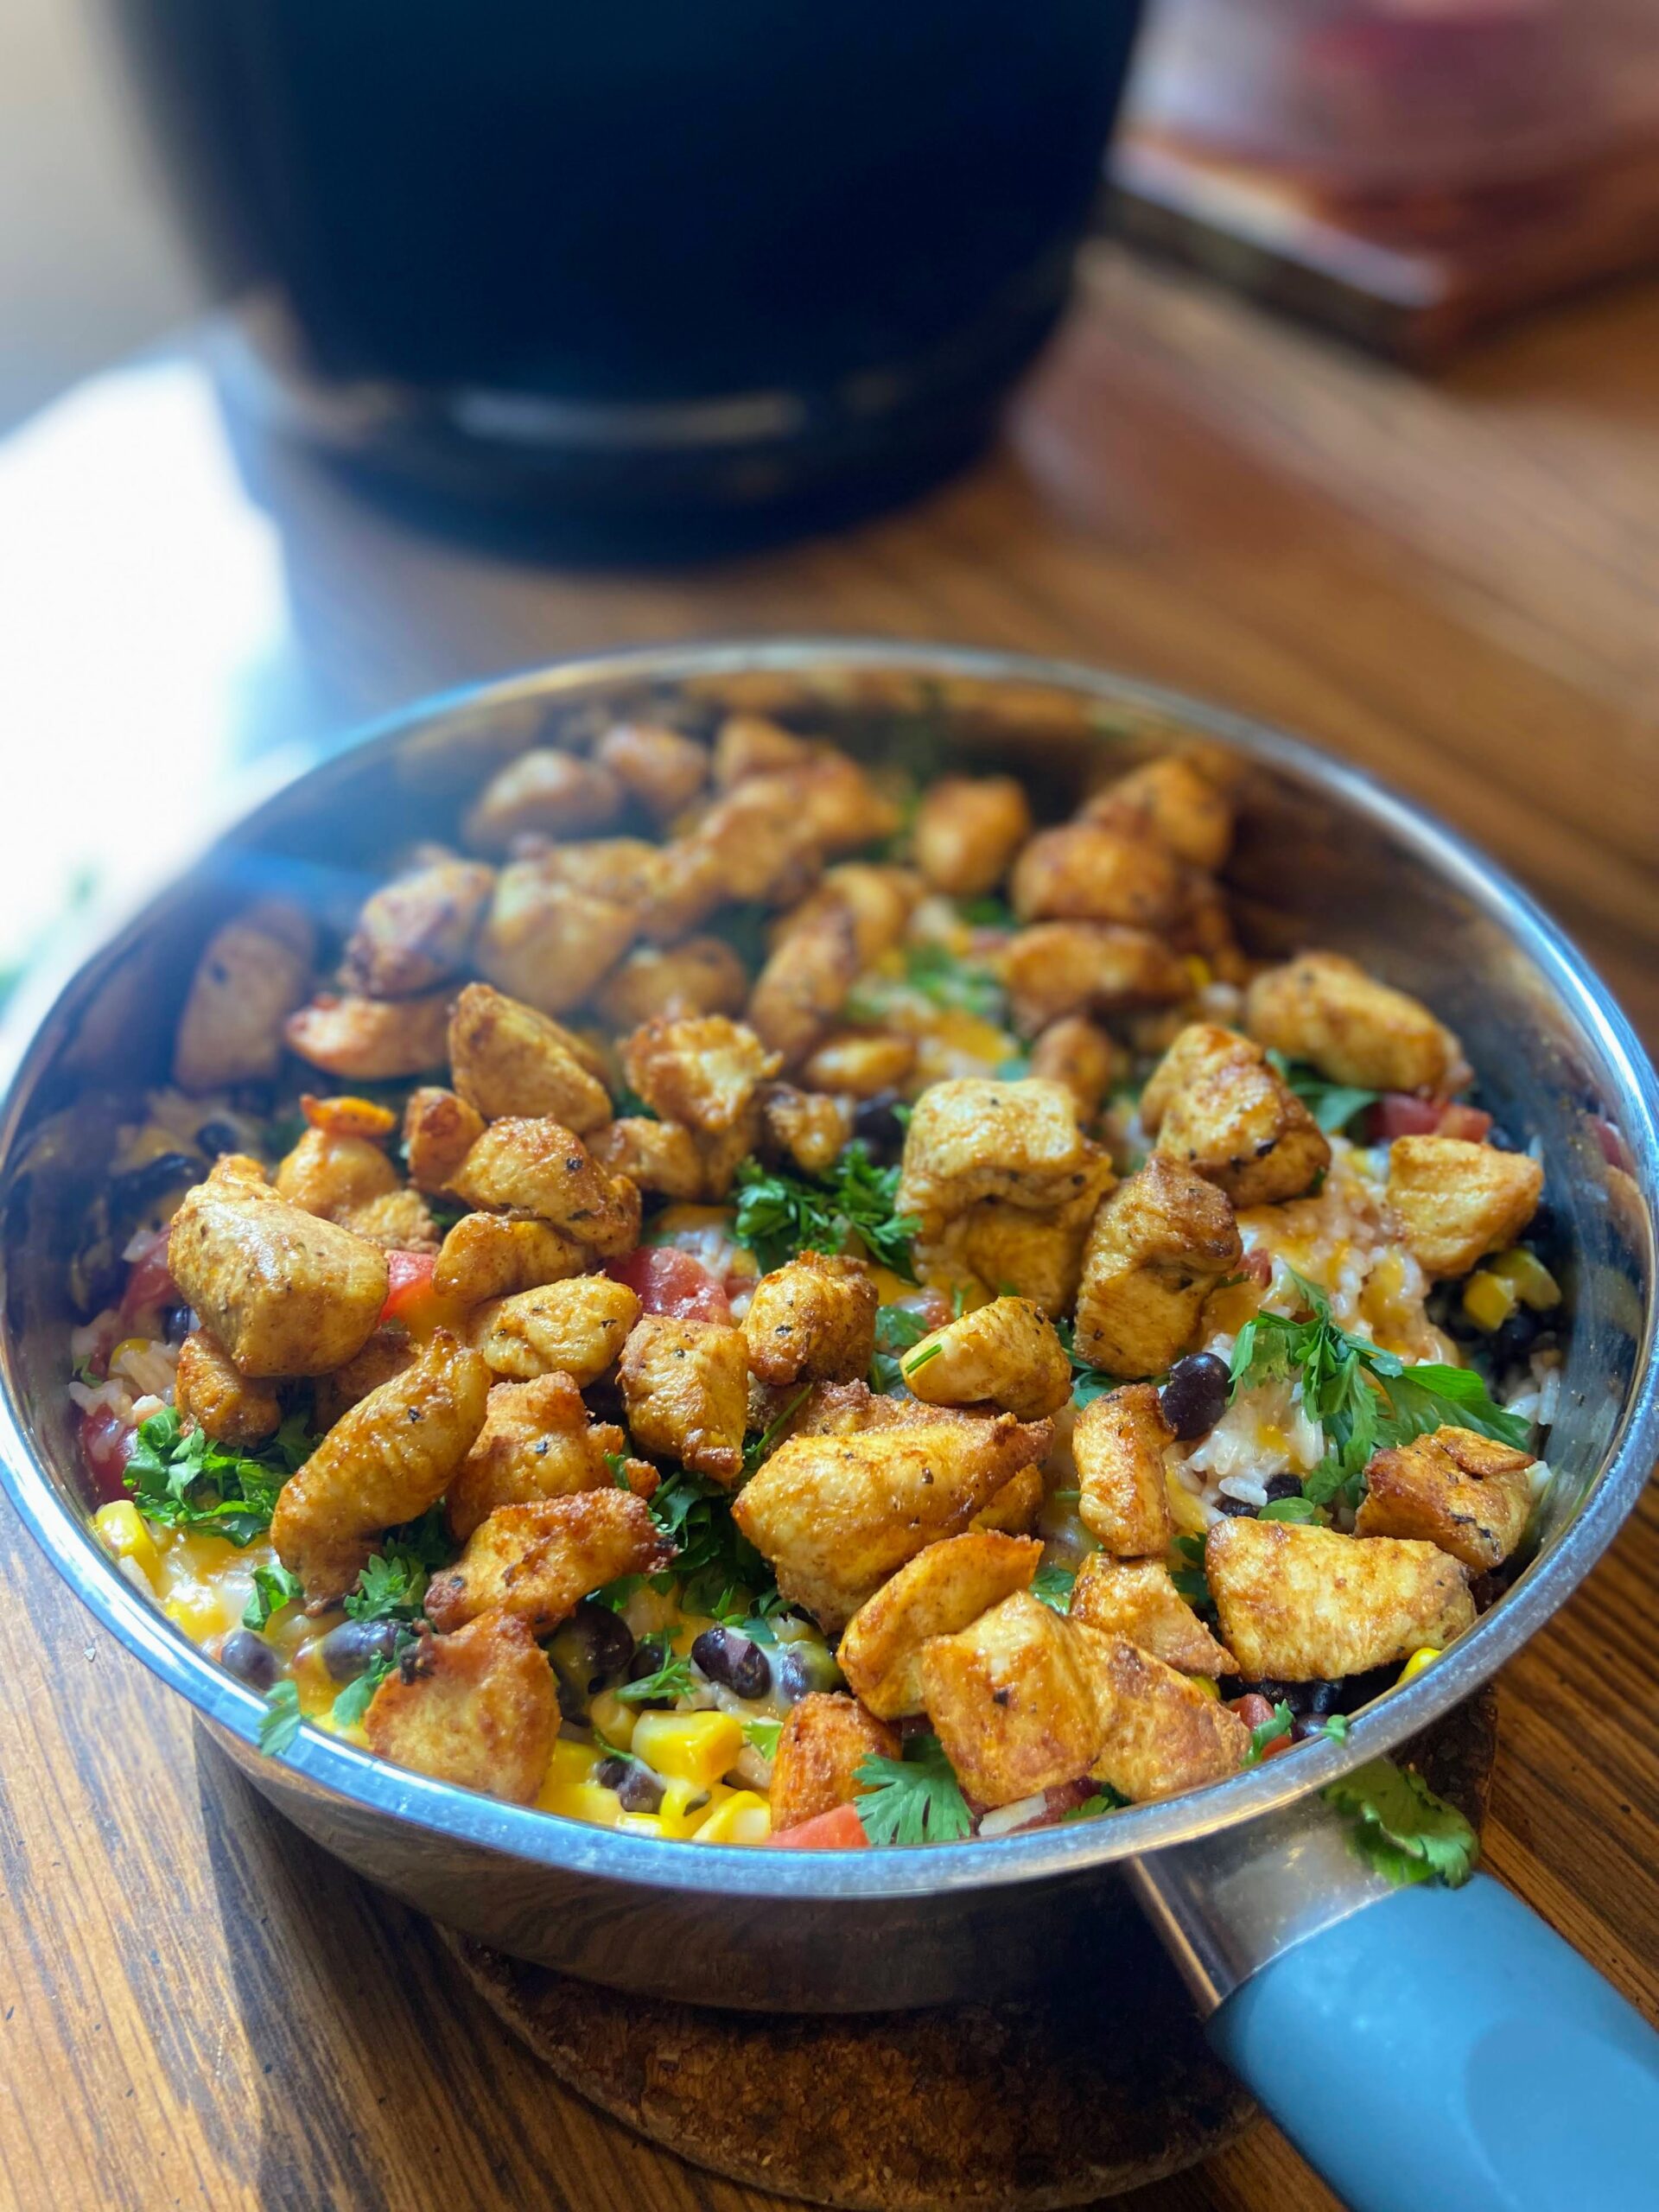
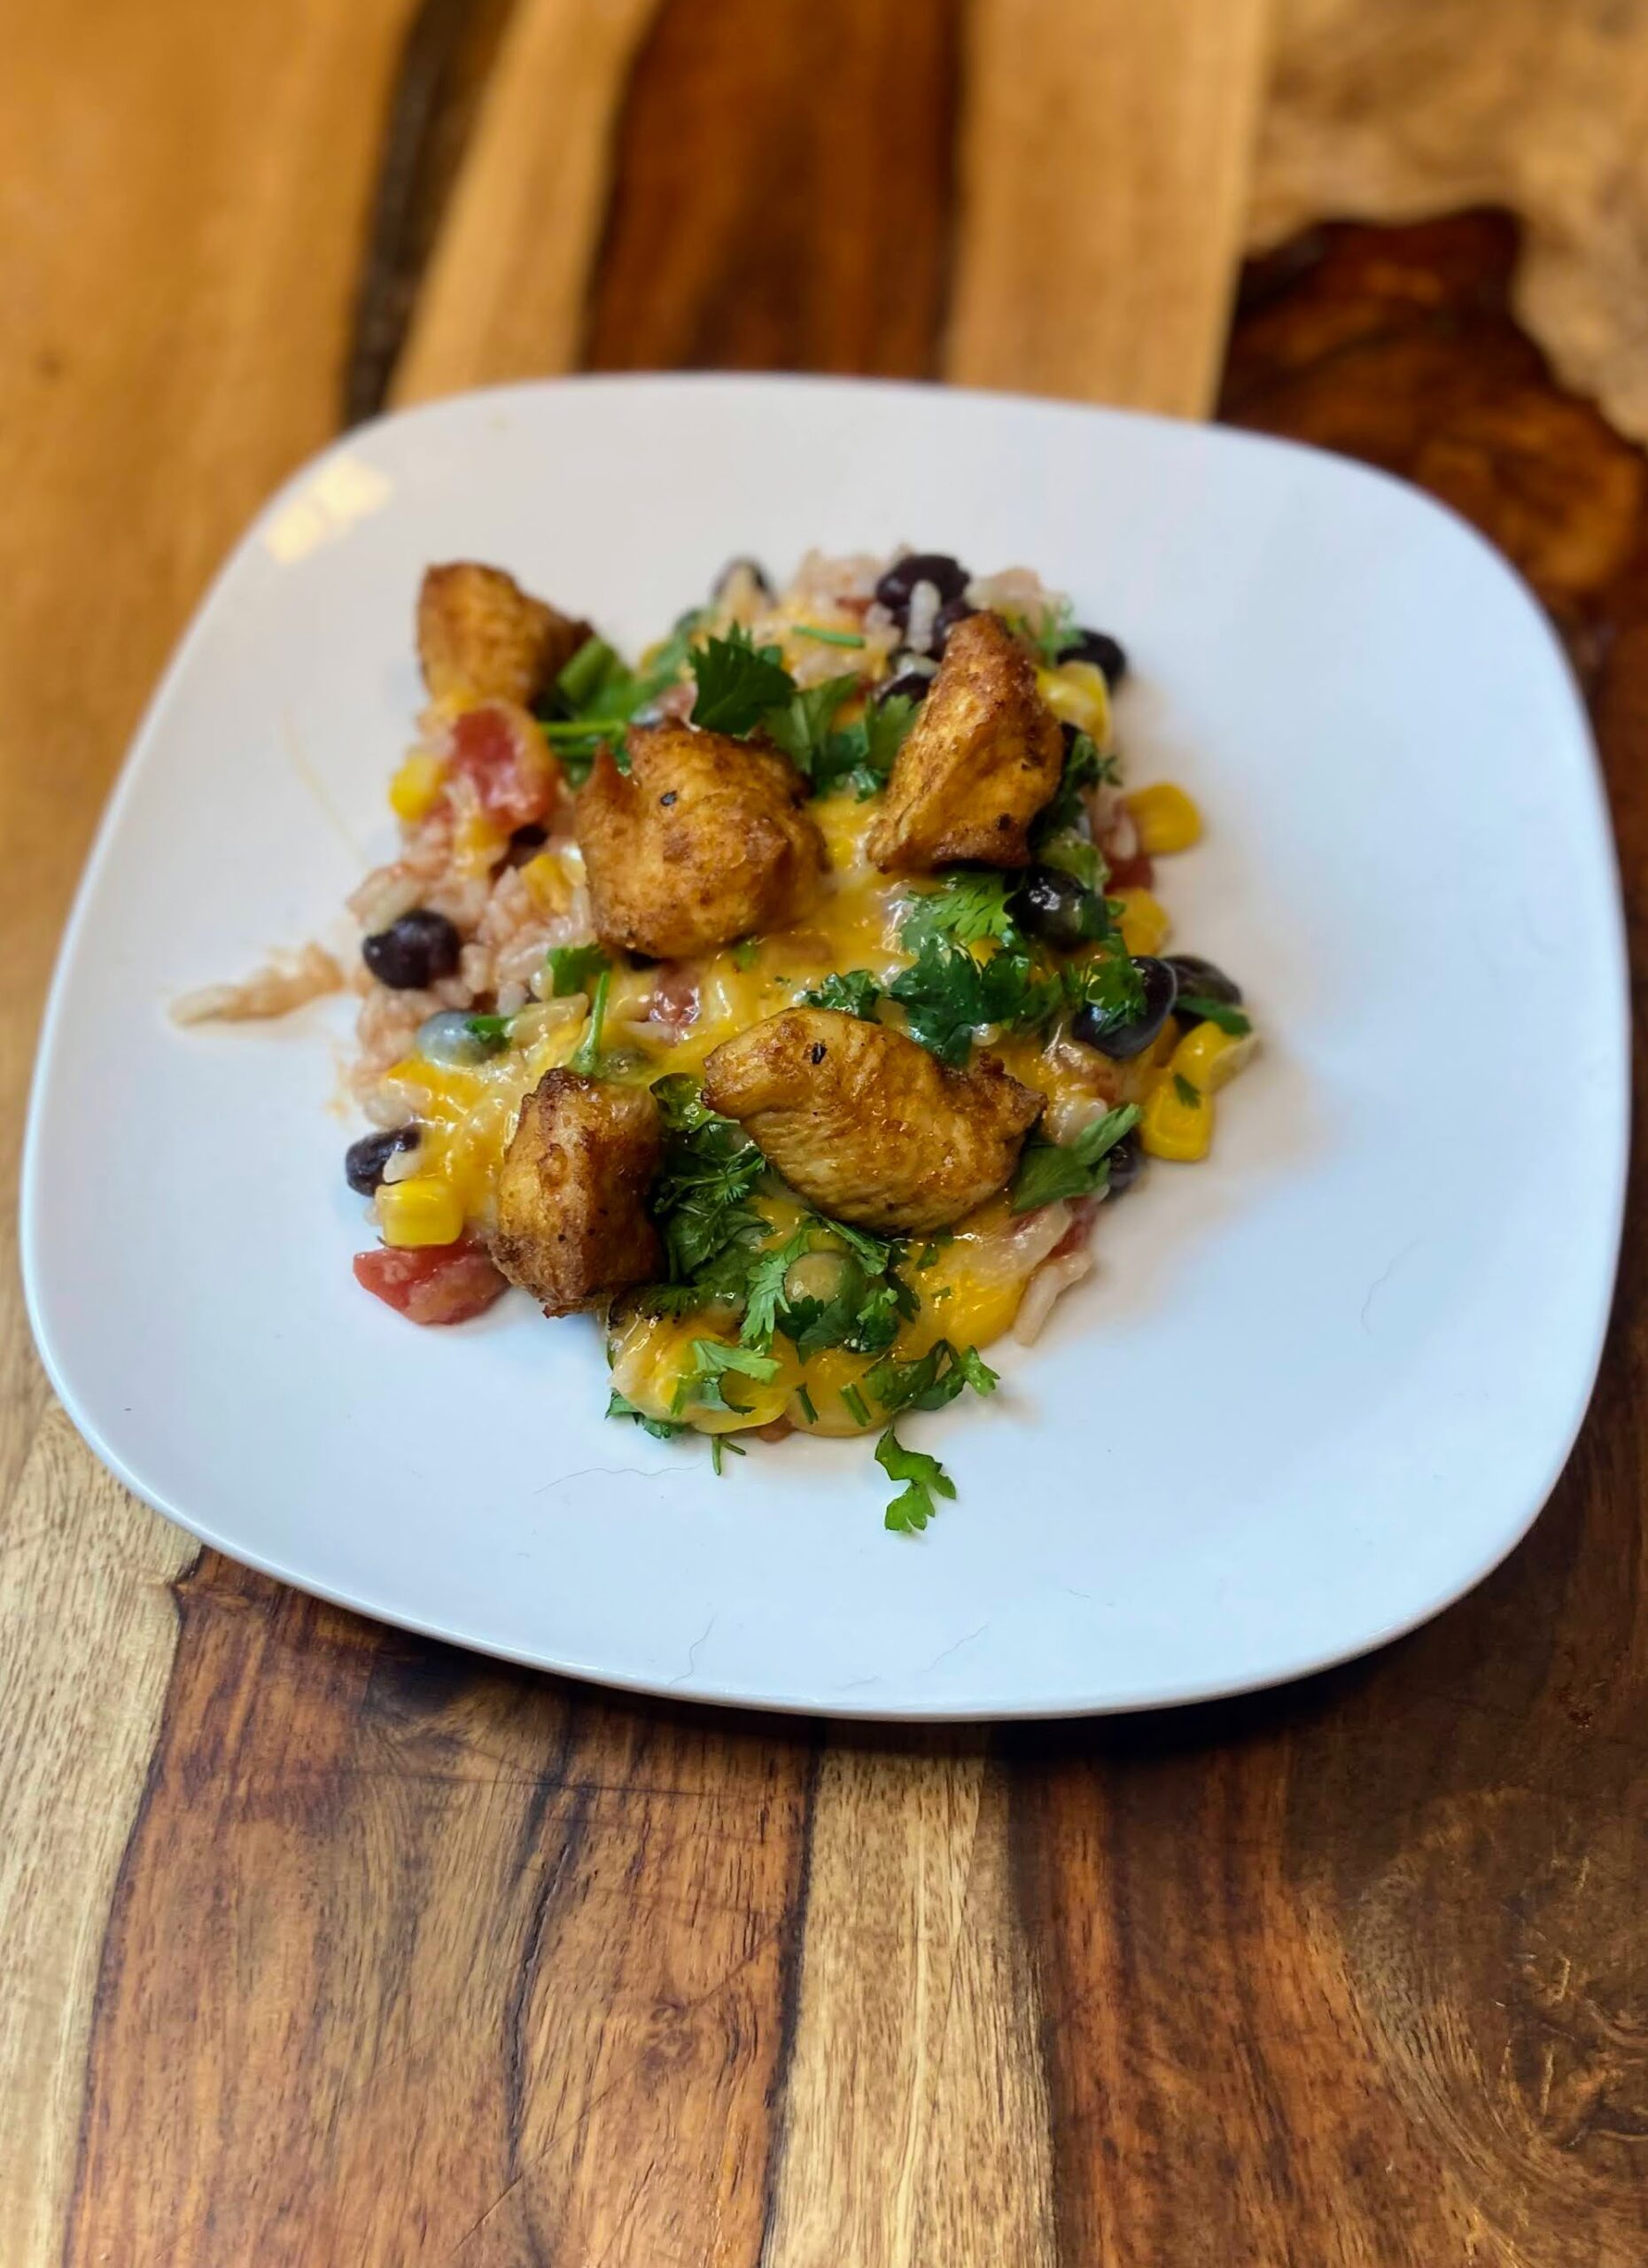
Immediately after the rice mixture is done cooking, top with shredded cheese and cover, removing from heat. Serve once the cheese has melted, topping with chicken, cilantro, and sliced green onions.

Looking for other recipes?
Give my cooking page a try! Or maybe you need to add a sweet treat to your dinner? Baking is the way to go!


Air Fryer Southwest Chicken Skillet
Equipment
- Skillet with a cover
Ingredients
- 1 ½ pounds chicken breast cubed into bitesize pieces
- 1 cup long grain white rice
- 1 can unsalted diced tomatoes
- 1 can black beans rinsed
- 1 cup frozen corn
- 1 cup shredded cheese
- Fresh cilantro and green onions optional
- Salt and pepper to taste
Seasoning
- 1 teaspoon chili powder
- 1 teaspoon ground coriander
- 1 teaspoon ground cumin
- 1 teaspoon paprika
- ½ teaspoon salt
- ½ teaspoon garlic powder
- ½ teaspoon oregano
- Dash of cayenne pepper
Instructions
- Combine seasoning mix. Reserve ½ tablespoon and set aside for seasoning the rice.
- Mix the remaining seasoning mix with 2 tablespoons olive oil and 1 tablespoon water. Place the cubed chicken in a plastic bag. Pour the seasoning mixture over the chicken, massaging it into pieces. Seal and allow to marinate for at least 3 hours.
- When you are ready to cook the chicken, start the rice according to the package directions. Once the water is boiling, add rice and the diced tomatoes, black beans, frozen corn, and reserved seasoning blend. Add additional salt and pepper to taste.
- Meanwhile, preheat an air fryer to 380 degrees. Spray with cooking spray. Cook chicken for 10-15 minutes, tossing once or twice.
- Immediately after the rice mixture is done cooking, top with shredded cheese and cover, removing from heat. Serve once the cheese has melted, topping with chicken, cilantro, and sliced green onions.