Last Updated on August 10, 2021 by Jess
Recently, my family and I were away from home for a week. I don’t know about you, but when I get home from a week away, I need at least another day to reset. I do not want to do a thing but sit on the couch for hours, even if I was in the car for six hours leading up to getting home. And although the fridge is empty (if we did things right before we left), I certainly do not want to go grocery shopping. That, my friends, is unfortunate because I still need food for lunch the next day. However, I have discovered quick fried rice and my life has become a little easier and definitely a lot tastier.
After said trip, I looked around at what we had for food and realized we were low on proteins, at least any that were thawed. I am passionate about eating wholesome foods that are minimally processed, so this was a bit of a problem. However, I love me some brown rice with vegetables. I had some instant brown rice on hand as well as frozen Asian vegetables. Good. We also had cooked some Asian food while on vacation, so those flavors were on my mind. I opened the refrigerator to gather some liquid aminos and saw eggs. Eggs! Oh man, I can make a quick fried rice for lunch!
I felt as though I was winning at life. This meal had a starch/carb, vegetables, and a protein; a complete meal. It came together in less than 15 minutes, which is a major win in my book. Measuring is somewhat optional as you can really find flavors you love. Finally, nothing was processed and the ingredients are pantry items at our house. Let me tell you, this recipe is going into my everyday cooking brain when I need a quick, wholesome meal. I hope it does for you too!
Your Ingredients
- 2 cups brown rice, cooked (instant or regular)
- 8 ounces frozen mixed vegetables
- 1-2 eggs, whisked
- ½ tablespoon sesame oil
- ½ teaspoon minced garlic
Seasonings, to taste:
- Ground ginger (¼-½ teaspoon)
- Pinch of red pepper flakes
- Onion Powder
- Soy sauce or liquid aminos (½ – 1 tablespoon)
Cook the vegetables according to the directions on the package. We adore these awesome steam bags that Ziploc makes for steaming frozen and raw vegetables in the microwave. (Here’s the link for them if you want to check them out: Ziploc Zip n’ Steam Bags)
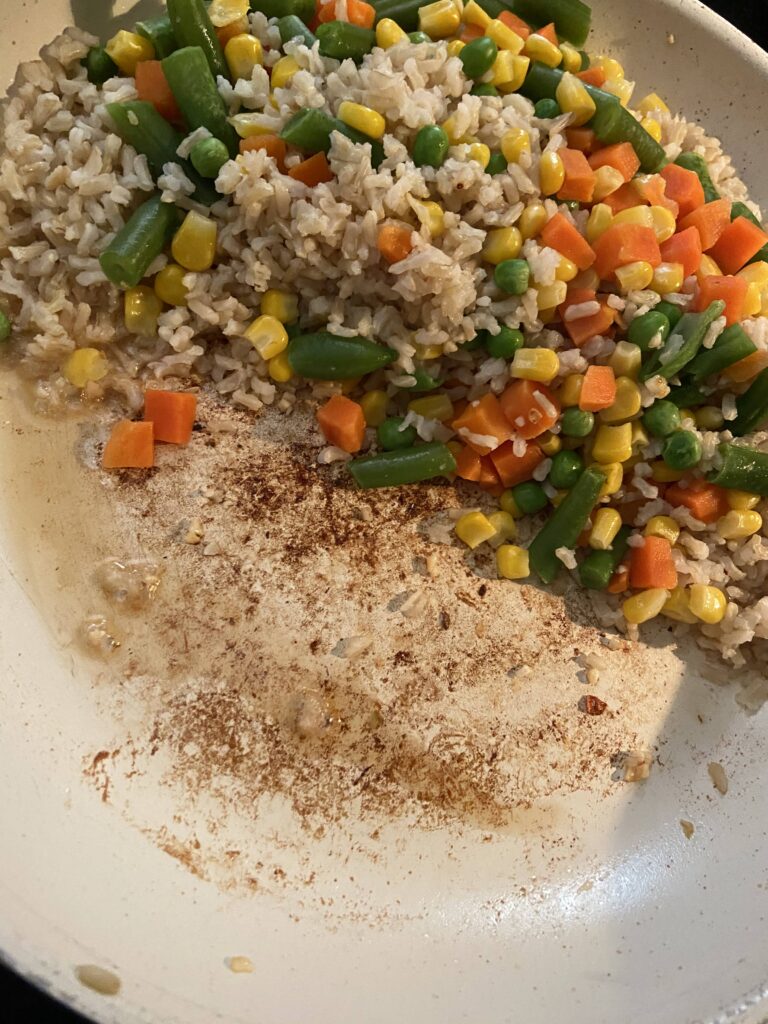
Meanwhile, heat the oil in a large skillet over medium high heat. Add the garlic and cook for 30 seconds, until fragrant. Add the rice, steamed vegetables, and seasonings to taste. Allow to cook for 2-3 minutes, stirring every 30 seconds or so.
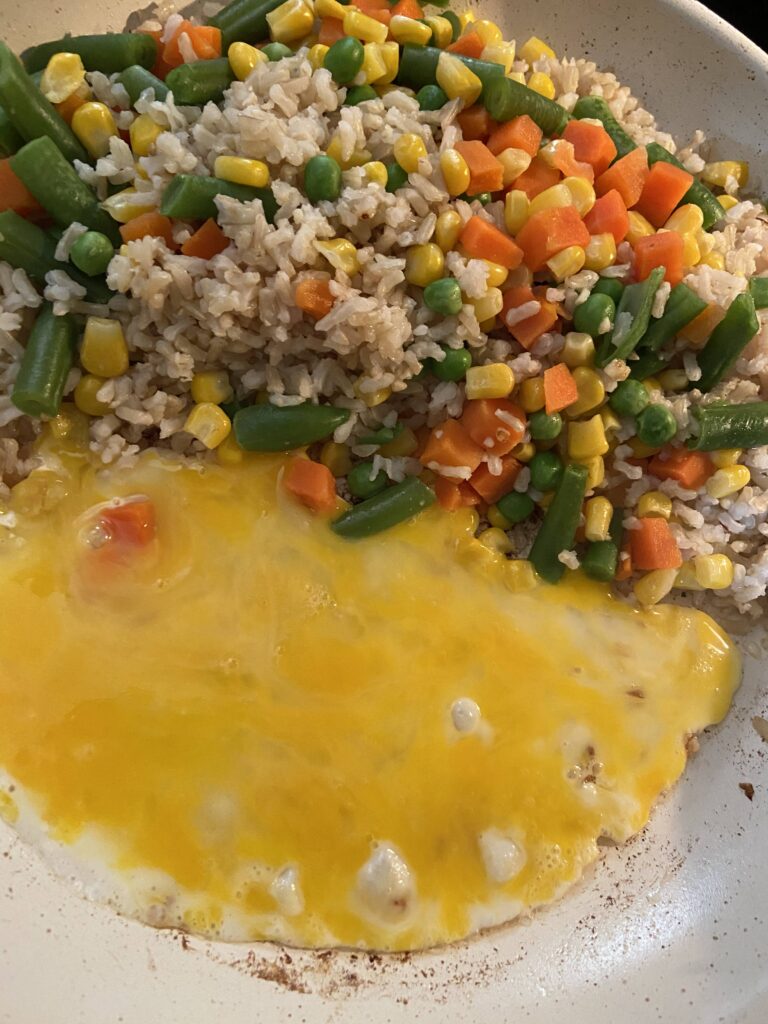
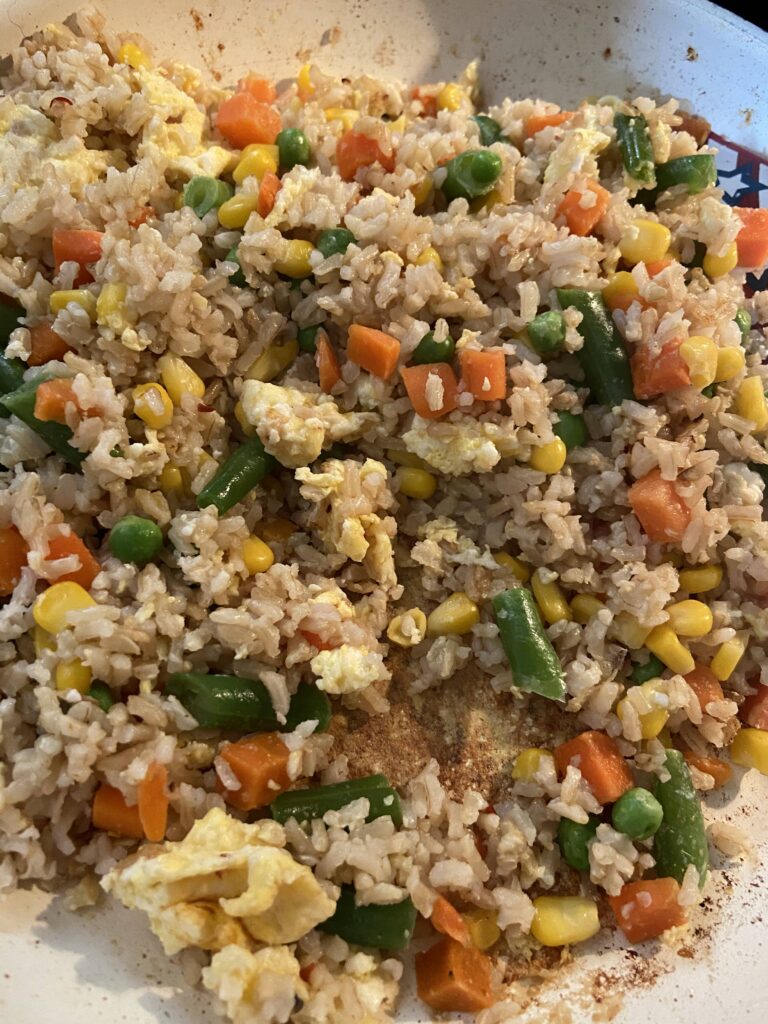
Push rice and vegetable mixture to the side. Pour in the whisked egg(s) in the cleared spot (spraying with cooking spray prior if there is worry the egg will stick. I add a touch more sesame oil). Allow to cook 1-2 minutes, as though you are going to scramble the egg. Once the egg is starting to become solid, fully incorporate it into the rice and vegetable mixture. Saute until the egg is fully cooked. Taste and add more soy sauce, ginger, or red pepper flakes as needed.
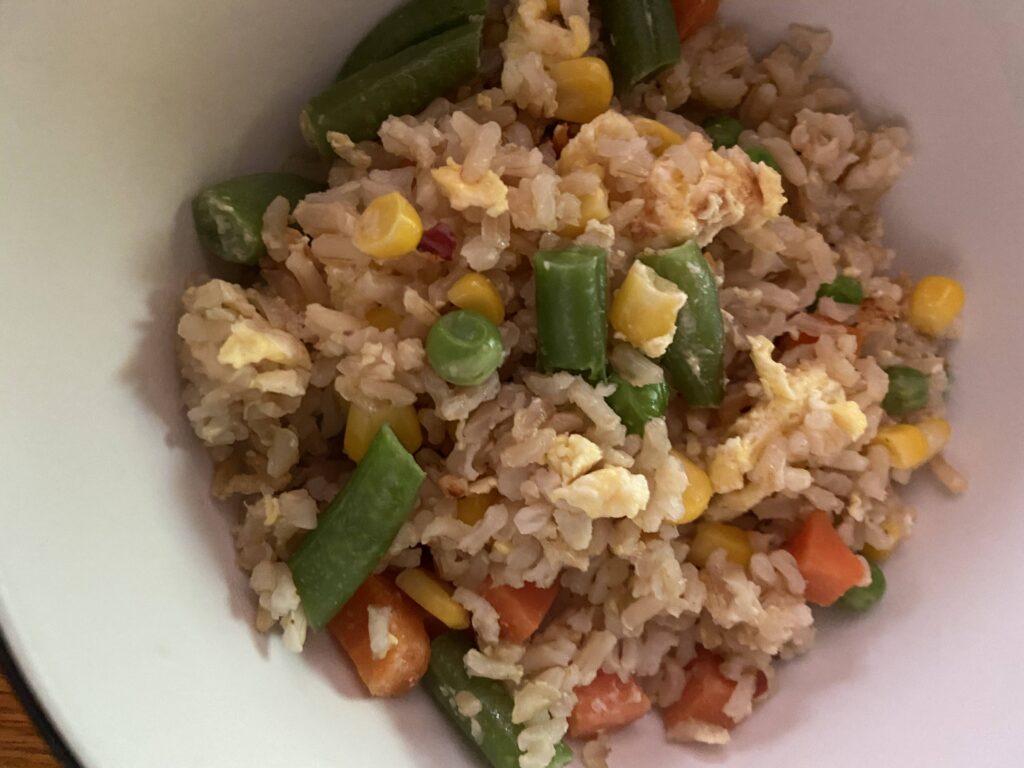
Quick and easy. Delish, wholesome, and a complete meal from your pantry. That’s what I call a winner in my book. Give it a try next time you’re not quite ready to make a run to the grocery store. Or maybe anytime you need a meal at your fingertip in minutes.

Push the rice aside. Eggs need room! Add the eggs. Cook away little eggs. Mix it up… …and serve!
Looking for other from scratch recipes to cook for a meal? Click below.
Tools of the Trade
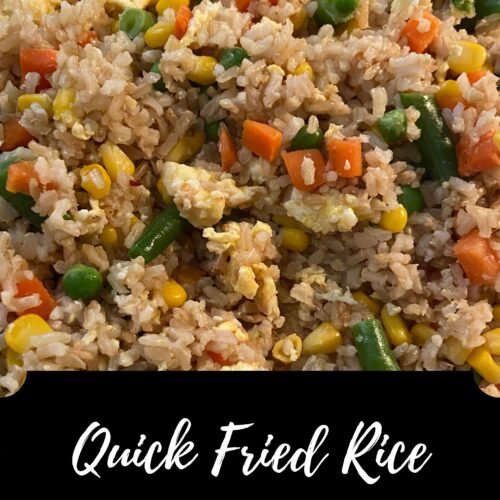
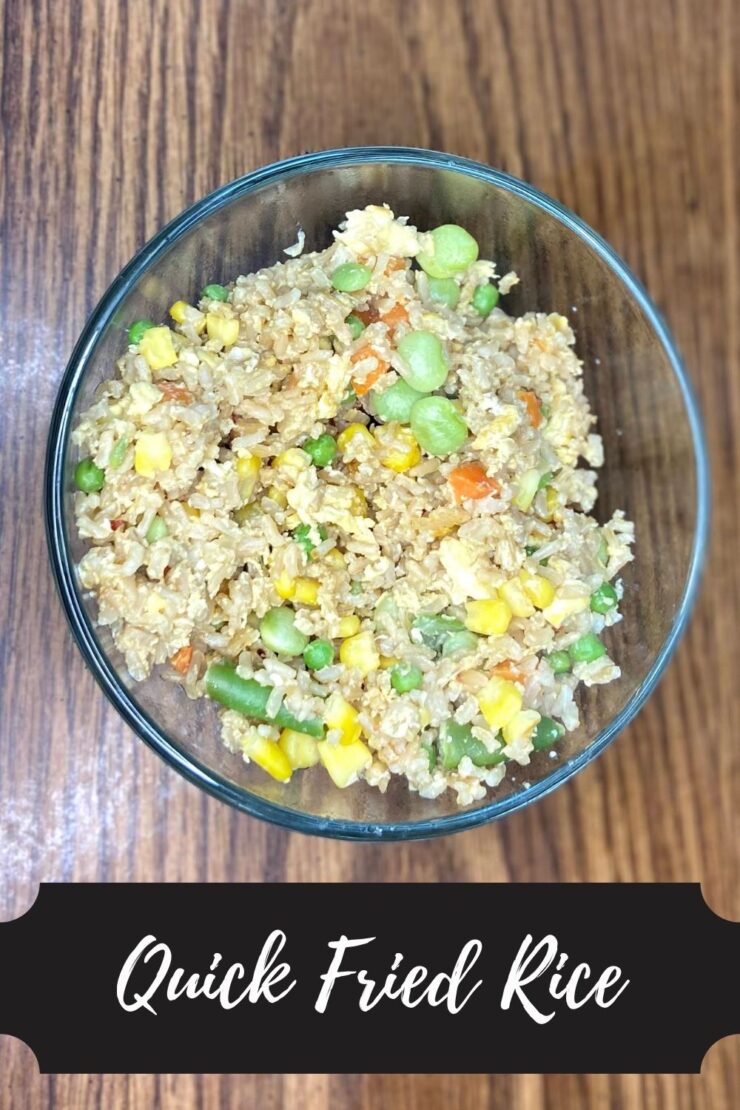
Quick Fried Rice
Ingredients
- 2 cups brown rice cooked (instant or regular)
- 8 ounces frozen mixed vegetables
- 1-2 eggs whisked
- ½ tablespoon sesame oil
- ½ teaspoon minced garlic
Seasonings, to taste:
- Ground ginger ¼-½ teaspoon
- Pinch of red pepper flakes
- Soy sauce or liquid aminos ½ – 1 tablespoon
- onion powder
Instructions
- Cook the vegetables according to the directions on the package.
- Meanwhile, heat the oil in a large skillet over medium high heat. Add the garlic and cook for 30 seconds, until fragrant.
- Add the rice, steamed vegetables, and seasonings to taste. Allow to cook for 2-3 minutes, stirring every 30 seconds or so.
- Push rice and vegetable mixture to the side.
- Pour in the whisked egg(s) in the cleared spot, spraying with cooking spray if necessary.
- Allow to cook 1-2 minutes.
- Once the egg is starting to become solid, fully incorporate it into the rice and vegetable mixture.
- Sauté until the egg is fully cooked.
- Taste and add more soy sauce, ginger, or red pepper flakes as needed.