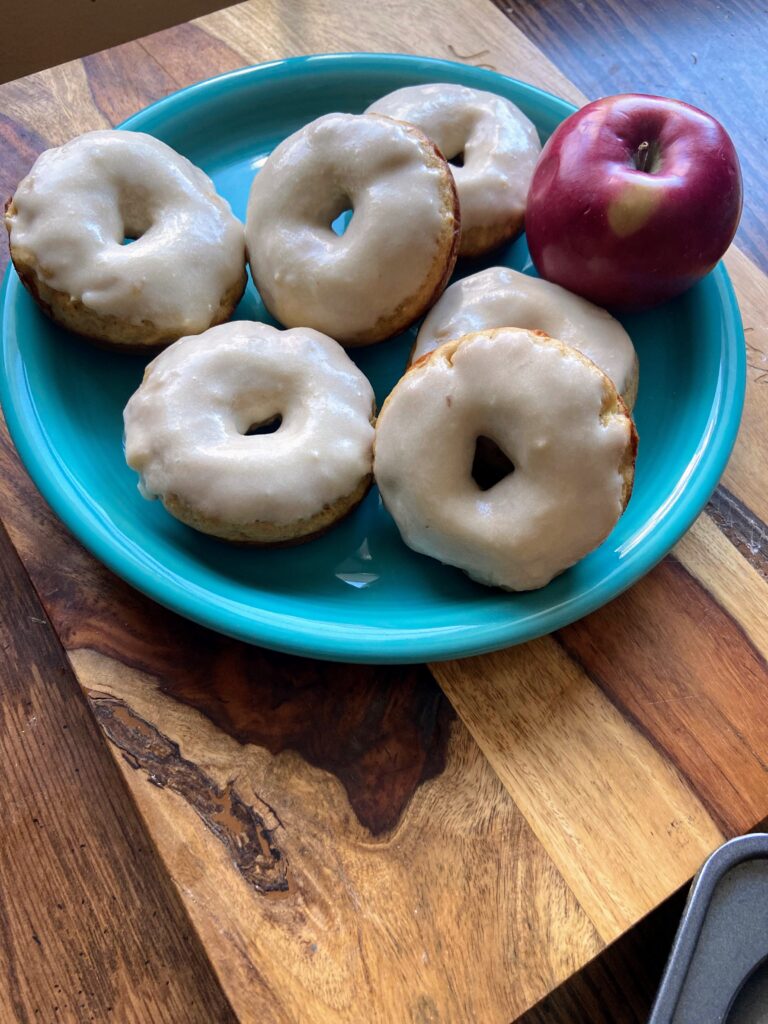
Apple Pie Donuts

Last Updated on January 27, 2023 by Jess

How is an apple pie donuts recipe created in the last month of the year in Wisconsin? Picture this: 

It’s December 20th and my mini me gets to bring a treat to school for the holiday party. All year, she has brought apples for a snack for herself, so she naturally chooses apples (and candy canes) as her treat. So off to the store we go to buy bags of apples for her and her classmates. Then a winter storm hits and school is canceled, canceling her party and leaving us with A LOT of apples. 

Don’t get me wrong, my family eats a lot of fruit, but I had JUST finished creating apple sauce with the last of our fall apples and I wasn’t sure what to do with them. Then I spied my donut pan (a gift for the Mr. with a donut cookbook a few Valentine’s Days ago), and got to thinking, “I haven’t played with a donut recipe in a lonnnggg time.” 

And that winter storm? It was still going so I had nothing but time on my hands. I set to work. 

If you know me, you likely know I live for more simple, from scratch recipes with a healthy twist. I wanted these donuts to have the flavor of apple without a whole lot of chunks of apple in them. So out went some of the butter and oil I usually add and in went applesauce (Healthy and flavor! Big win!). To give a greater apple pie flavor, I amped up the cinnamon and nutmeg. And the frosting? Oh my goodness, it’s the best part. To give an apple flavor, I swapped more applesauce for the milk and it worked SO well. I can’t wait for you to give them a try!

Ready to get baking? Let’s go!

Your Ingredients for Apple Pie Donuts

  • 3 tablespoons butter, melted
  • ½ cup unsweetened applesauce
  • ½ cup packed light brown sugar
  • ¼ cup white sugar
  • 2 large eggs
  • 2 teaspoons vanilla 
  • ½ cup plain Greek yogurt (or low sugar vanilla)
  • 2 tablespoons milk 
  • 2 ¼ cup flour
  • 2 teaspoons baking powder
  • ½ teaspoon baking soda
  • 1 teaspoon cinnamon 
  • ¼  teaspoon ground nutmeg
  • ¾ teaspoon salt 
  • ½ cup apples, diced finely

Donut Frosting

  • 2 tablespoons butter, softened
  • 1 teaspoon vanilla
  • 3 tablespoons unsweetened applesauce
  • 2 cups powdered sugar

Your Steps to Apple Pie Donuts

Preheat the oven to 350 degrees. Spray a regular donut pan with non-stick cooking spray. 

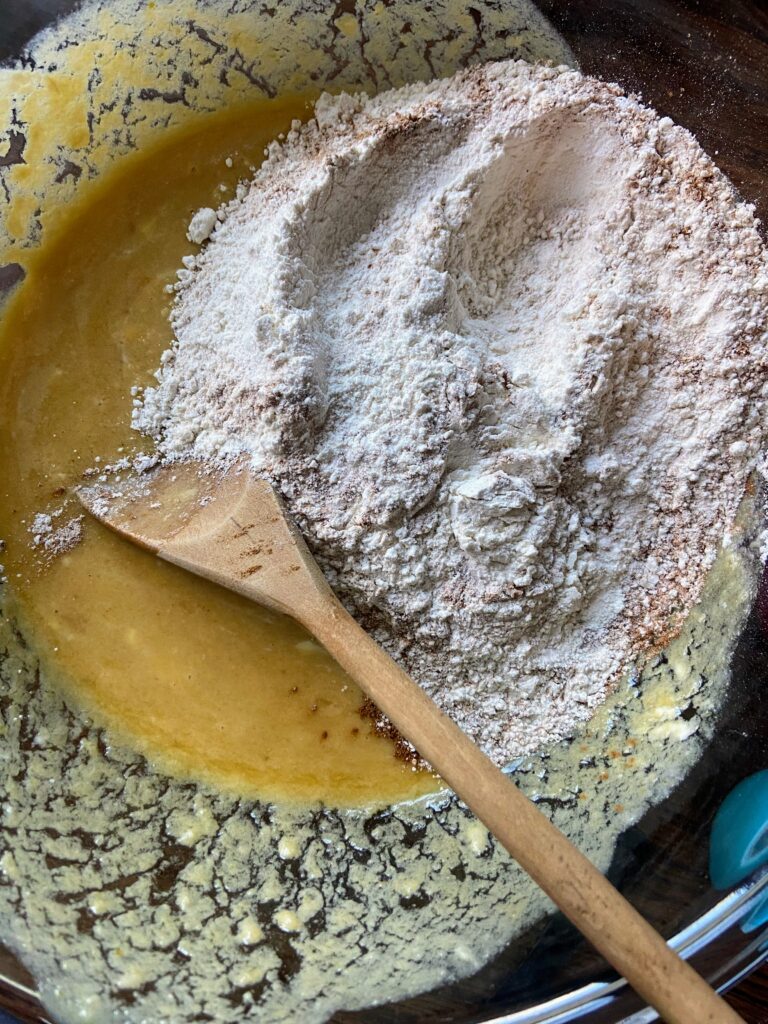
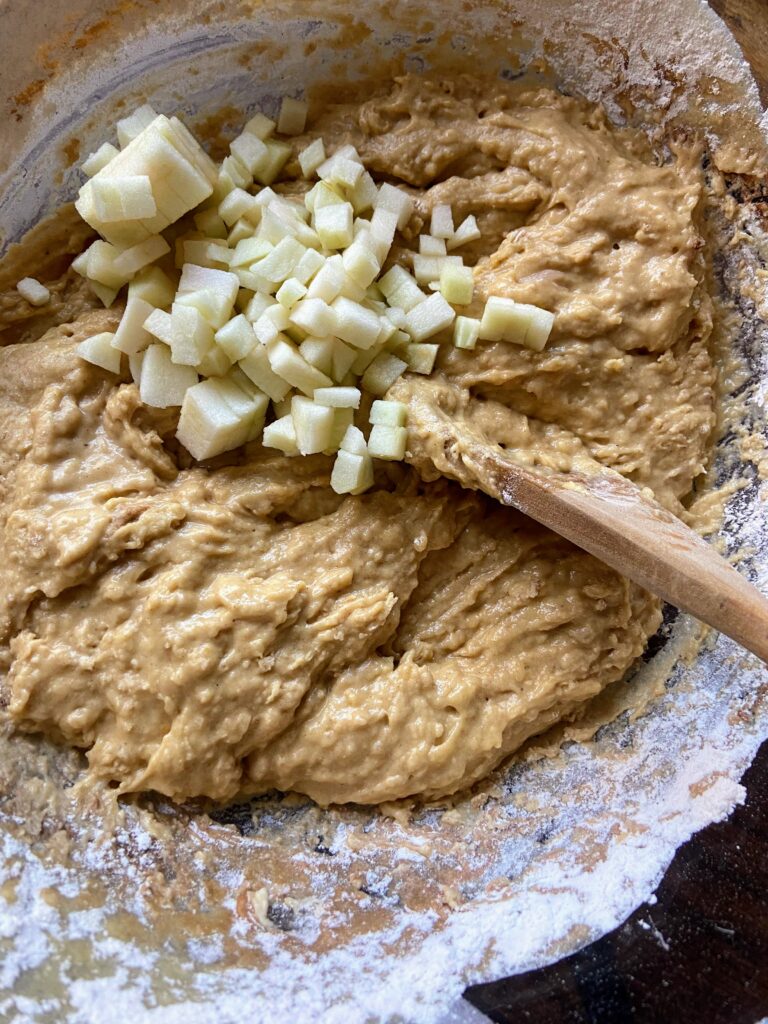
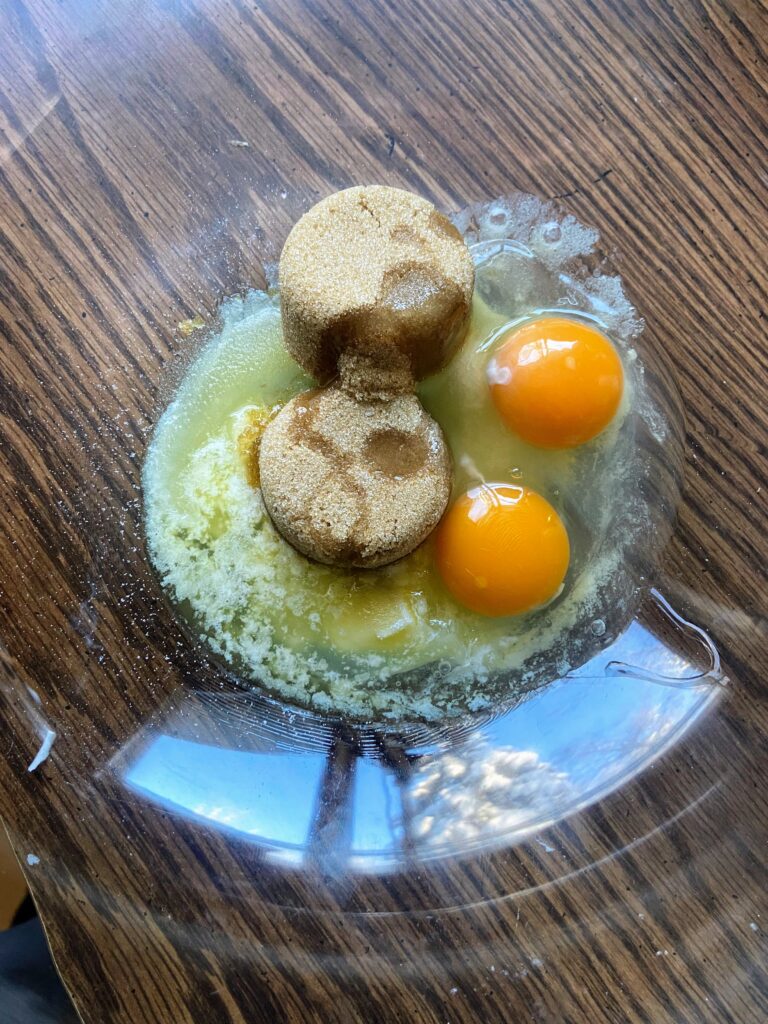
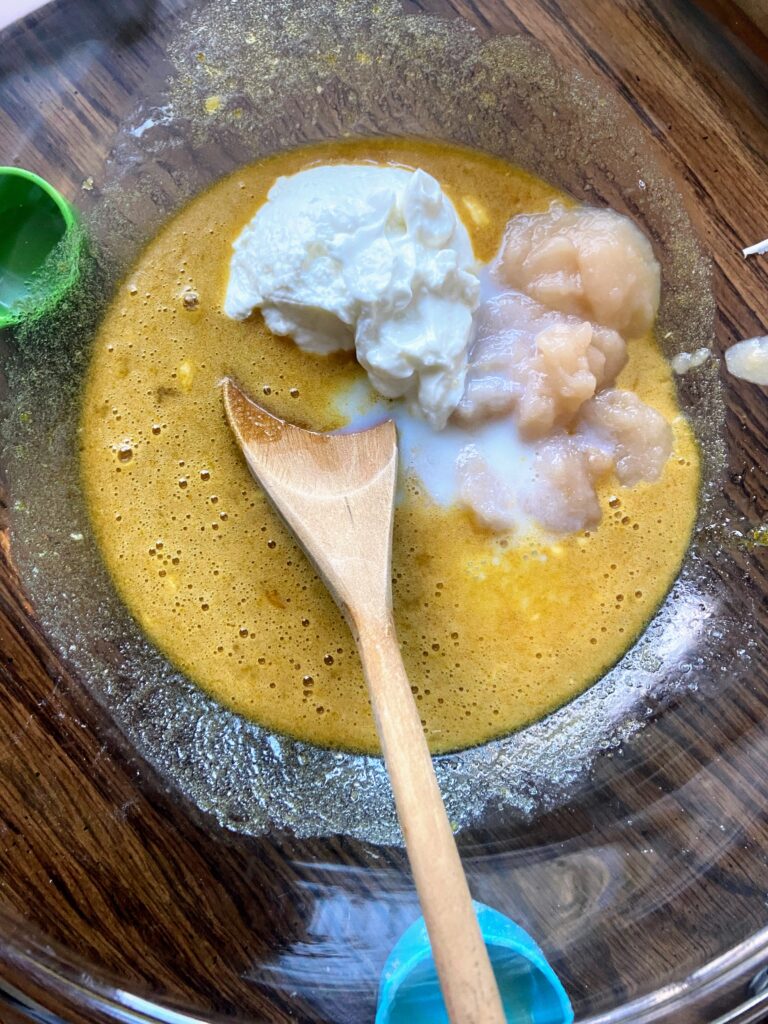
In a large bowl, combine butter, sugar, eggs, and vanilla. Stir in applesauce, milk, and yogurt. Whisk until smooth. In a separate bowl, combine flour, baking powder, baking soda, cinnamon, nutmeg, and salt.  Add to wet ingredients and stir until fully incorporated. Fold in the apples.

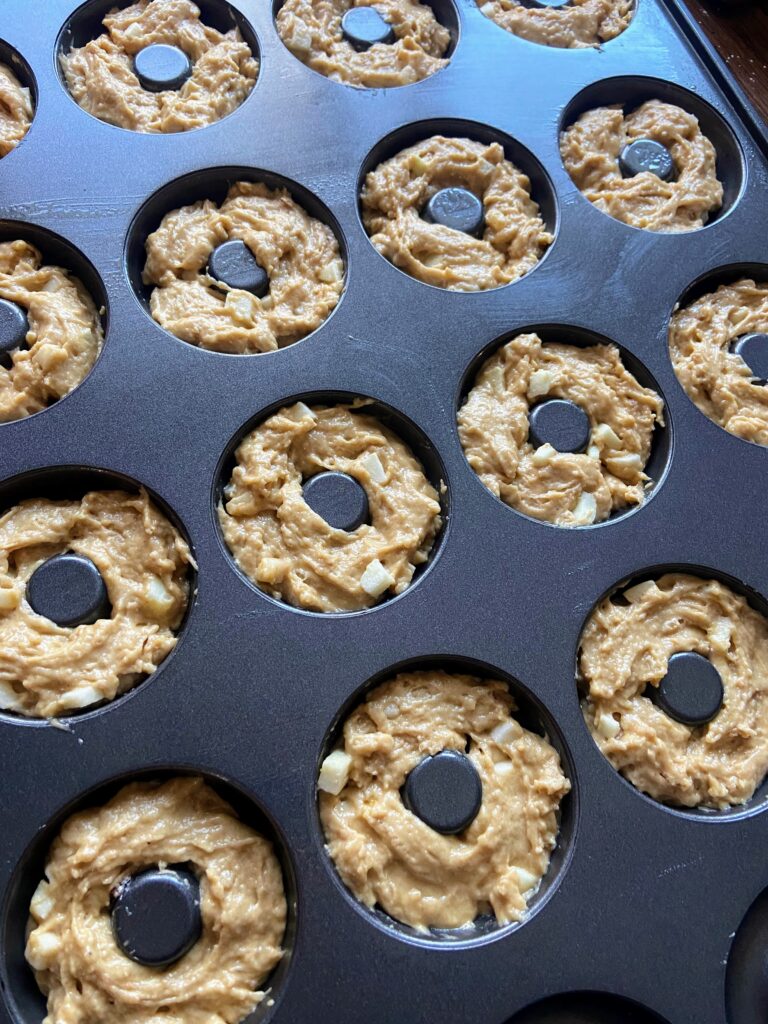
Divide the batter among 16 donut cavities, filling ¾ of the way full. Bake for 12-14 minutes, until firm to the touch or passes the toothpick test (a toothpick inserted comes out clean). Allow to cool in the pan for 10 minutes. Remove the donuts from the pan and place on a cooling rack. 

While the donuts finish cooling, mix donut frosting. Using a fork, cream the butter. Add vanilla and mix until combined. Mix in applesauce, still using the fork. Whisk in the powdered sugar with the fork until smooth. 

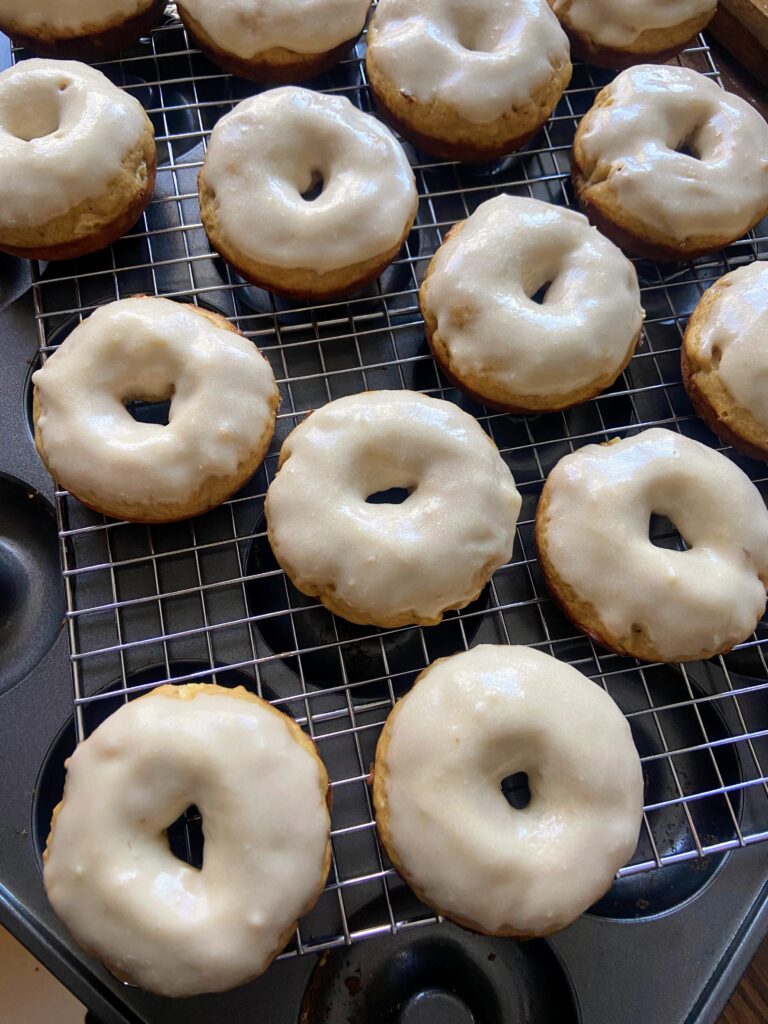
When cool, frost or dip each donut in the frosting. It is a great consistency that you can dip it like a glaze but it will hold up like a frosting. Cover them anyway you choose!
Apple Pie Donuts

Love apple pie? These baked apple pie donuts with a great frosting  will give you that warm comforting feeling you get from pie and ice cream!
Prep Time 20 minutes
Cook Time 16 minutes
Course Appetizer, Breakfast, Dessert, Sweets
Cuisine American
Servings 16 donuts

Equipment

Ingredients
  

  • 3 tablespoons butter melted
  • ½ cup unsweetened applesauce
  • ½ cup packed light brown sugar
  • ¼ cup white sugar
  • 2 large eggs
  • 2 teaspoons vanilla
  • ½ cup plain Greek yogurt or low sugar vanilla
  • 2 tablespoons milk
  • 2 ¼ cup flour
  • 2 teaspoons baking powder
  • ½ teaspoon baking soda
  • 1 teaspoon cinnamon
  • ¼ teaspoon ground nutmeg
  • ¾ teaspoon salt
  • ½ cup apples diced finely

Donut Frosting

  • 2 tablespoons butter softened
  • 1 teaspoon vanilla
  • 3 tablespoons unsweetened applesauce
  • 2 cups powdered sugar

Instructions
 

  • Preheat the oven to 350 degrees. Spray a regular donut pan with non-stick cooking spray.
  • In a large bowl, combine butter, sugar, eggs, and vanilla. Stir in applesauce, milk and yogurt. Whisk until smooth.
  • In a separate bowl, combine flour, baking powder, baking soda, cinnamon, nutmeg, and salt.
  • Add to wet ingredients and stir until fully incorporated. Fold in the apples
  • Divide the batter among 16 donut cavities, filling ¾ of the way full.
  • Bake for 12-14 minutes, until firm to the touch or passes the toothpick test (a toothpick inserted comes out clean).
  • Allow to cool in the pan for 10 minutes. Remove the donuts from the pan and place on a cooling rack.
  • While the donuts finish cooling, mix donut frosting. Using a fork, cream the butter. Add vanilla and mix until combined. Mix in applesauce, still using the fork. Whisk in the powdered sugar with the fork until smooth.
  • When cool, frost or dip each donut in the frosting. It is a great consistency that you can dip it like a glaze but it will hold up like a frosting.
Keyword apple and cinnamon, apple pie, apple recipe, apples, baked donuts, Breakfast, donut recipe, donuts
Tried this recipe?Let us know how it was!

LOOKING FOR OTHER GREAT RECIPES?

Check out the delicious breakfast inspiration below or head right to my breakfast page!

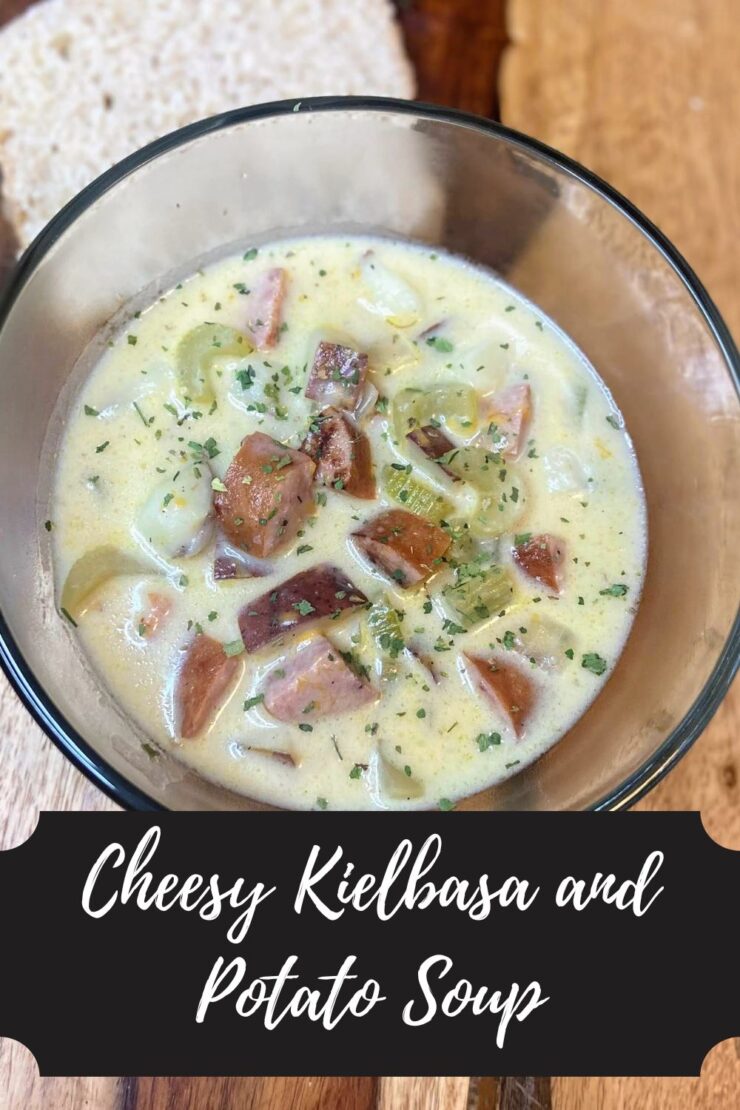
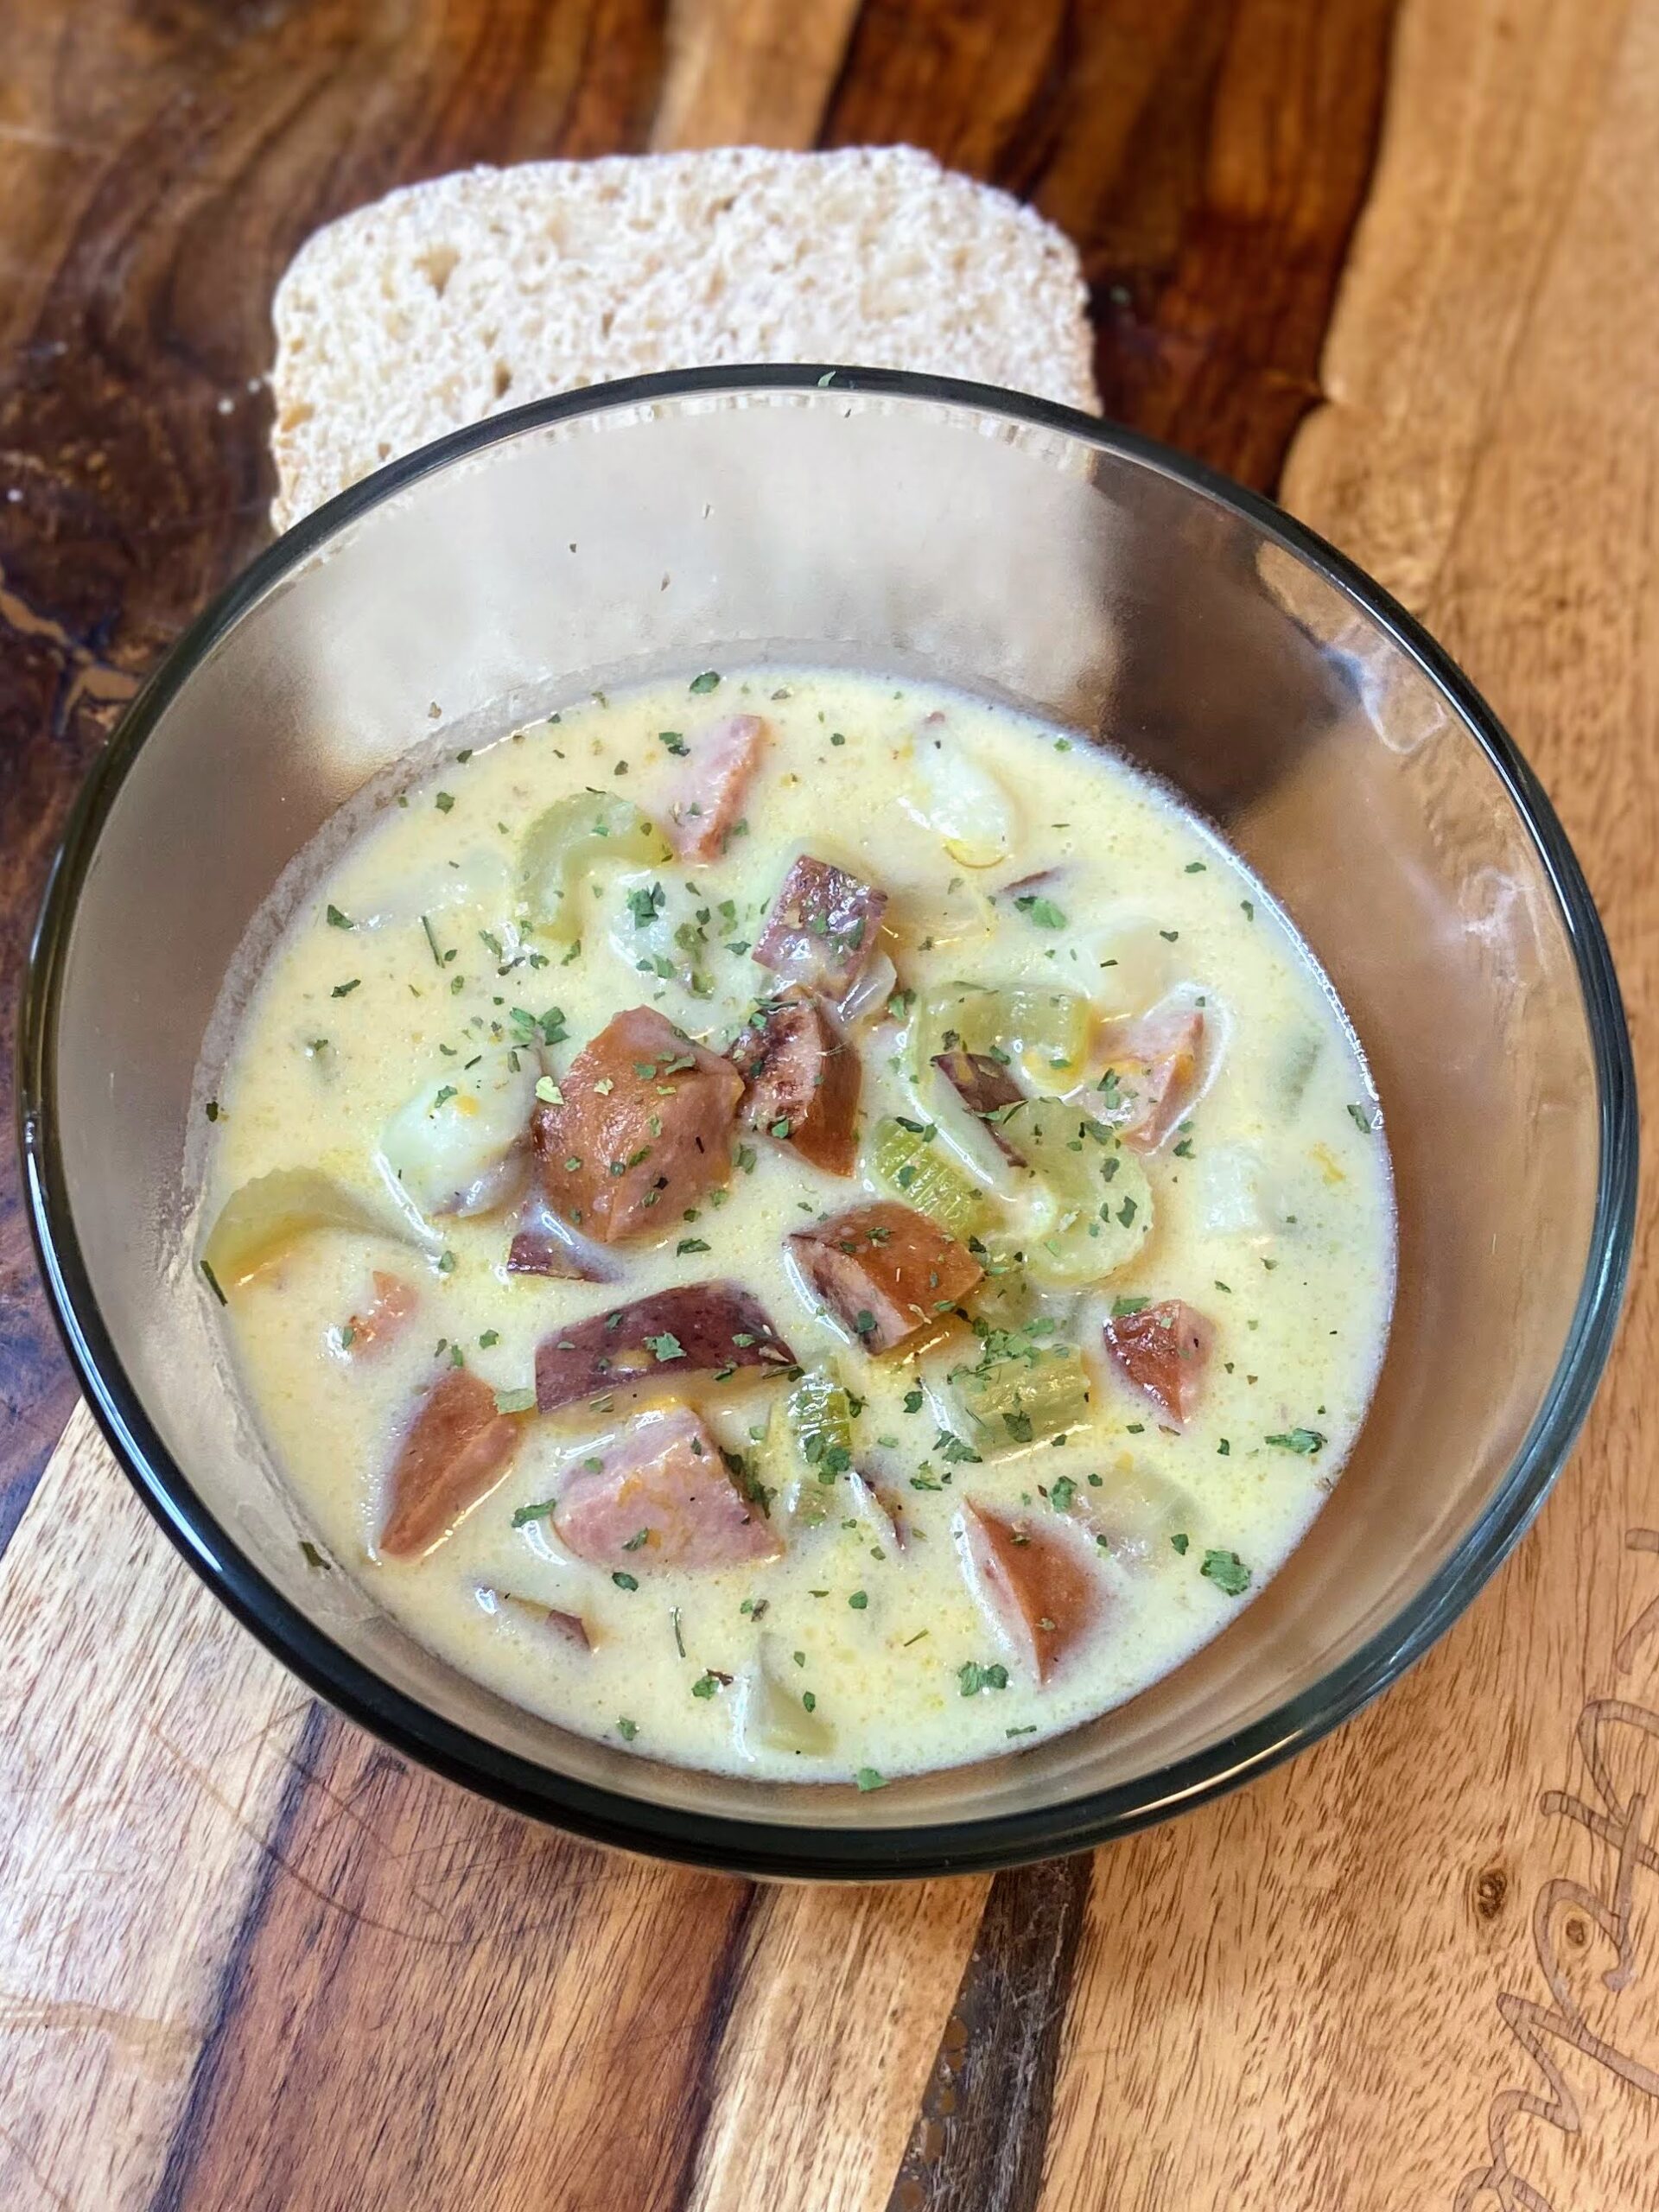
Cheesy Kielbasa and Potato Soup

Last Updated on December 23, 2022 by Jess

It’s no secret that if you asked me about my favorite category of food, I would say soups and stews without hesitation. I love the creation of them; the chopping, the fact that you don’t really have to measure, the slow cooking on the stove that you get to walk over and lovingly stir throughout the cook time. I love all of it. So when the temperature really began to drop and our evenings got a little less chaotic, I immediately set out to create a new soup recipe: Cheesy Kielbasa and Potato Soup.

I didn’t grow up eating kielbasa. Looking back, I don’t know why because it seems like a perfect meal for our little family of four. However, the Mr. did; so when we got married, it quickly became a staple every couple weeks. It’s great because it keeps well in the fridge so you can grab it at the grocery store and save it for the hectic nights. And my kids LOVE it. 

Generally speaking, if we aren’t eating it with scalloped potatoes and green beans (my kid’s favorite), we are mixing it up in this Kielbasa Quinoa Bowl (SO DANG GOOD!), and now we will add this recipe for Cheesy Kielbasa and Potato Soup to the list of go to kielbasa recipes. 

Think of this soup as your traditional potato and ham soup with a twist. The kielbasa adds another layer of flavor with its own unique spice blend. Let’s get cooking!

Your Ingredients 

  • 1 ½ tablespoons olive oil 
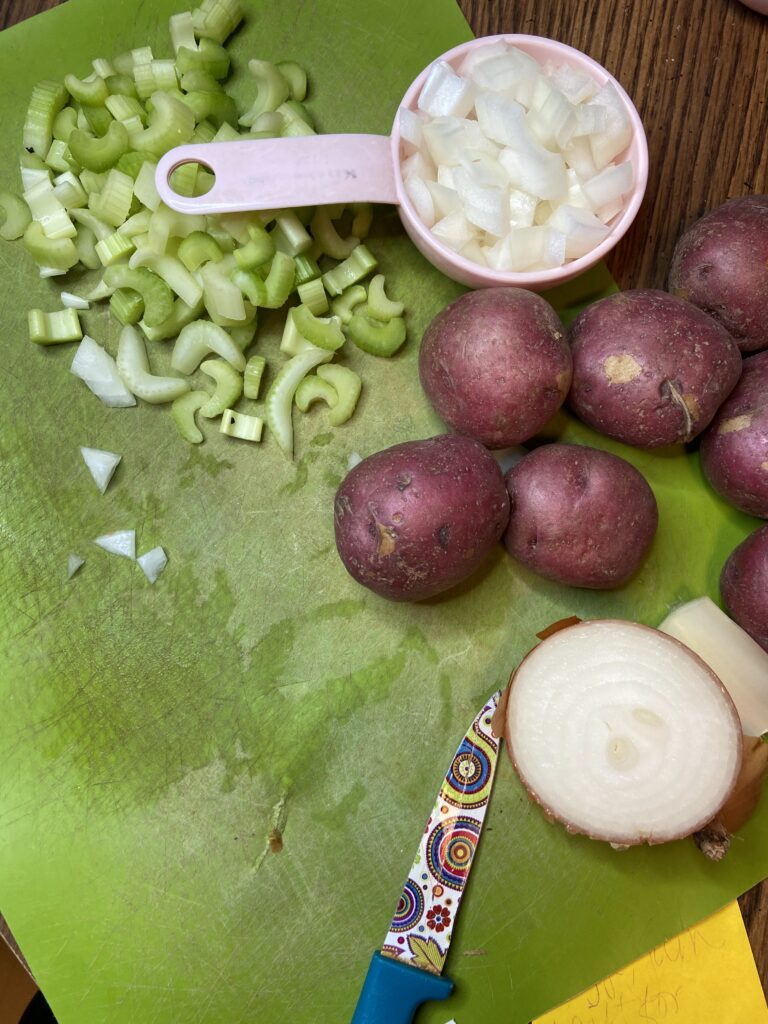
  • 1 cup diced celery
  • ¾ cup diced onion
  • 4 cups diced potato (I leave the skin on)
  • 3 cloves garlic, minced
  • 3 cups chicken stock 
  • 2 cups diced kielbasa
  • ½ teaspoon pepper 
  • 2 tablespoons butter
  • 2 tablespoons flour
  • 2 ½ cups milk 
  • 1 ½ -2 cups freshly shredded cheddar cheese 
  • Salt, to taste 

Your Steps to Cheesy Kielbasa and Potato Soup 

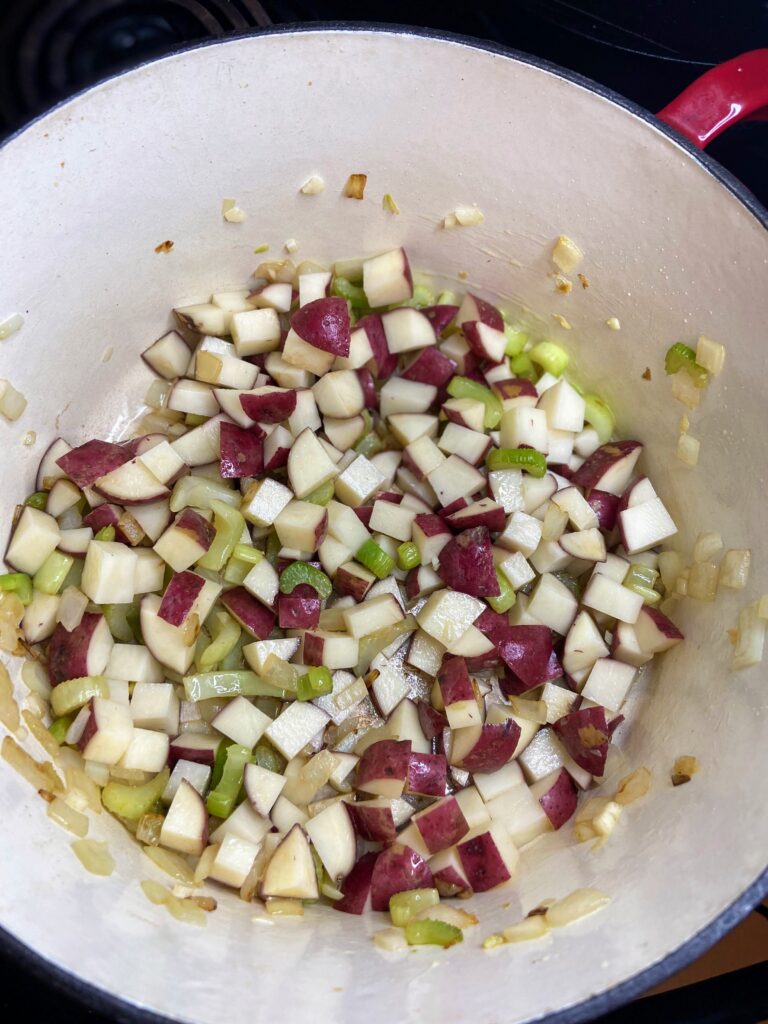
In a large dutch oven (Bring on the cast iron. I love it so much!), heat the olive oil over medium. Once hot, add celery and onion. Cook until soft, about 10 minutes. Add potatoes and garlic and cook for an additional 5 minutes, giving some color to the potatoes. Slowly add chicken stock and pepper, cooking until the potatoes are soft, approximately 10 minutes. 

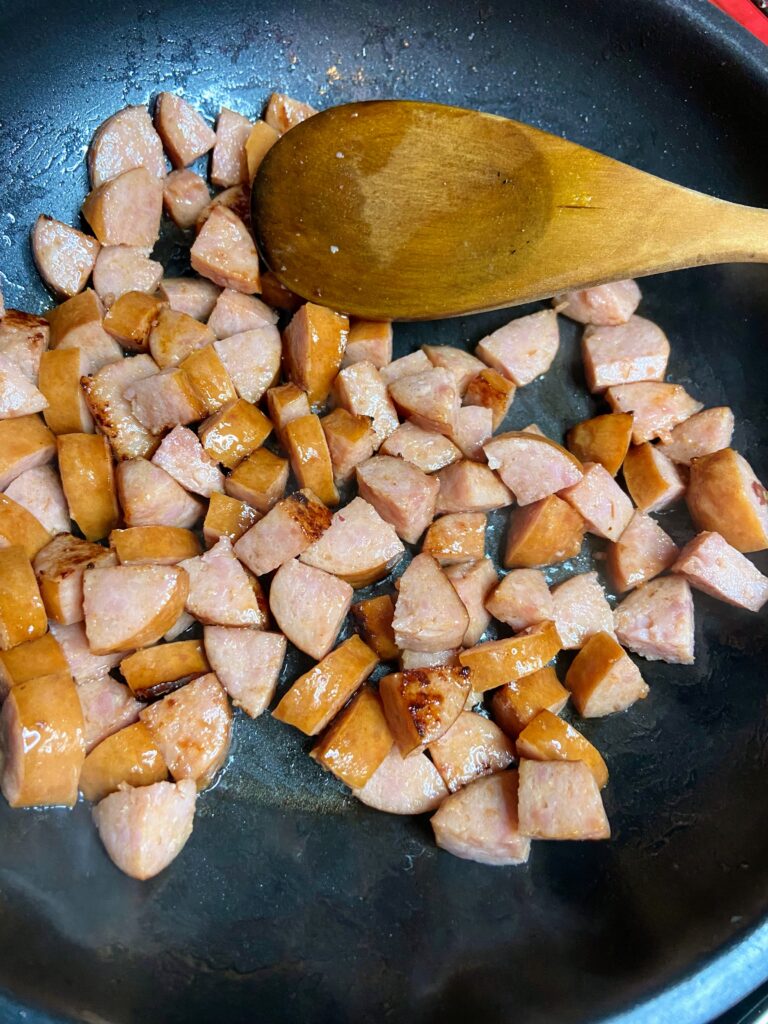
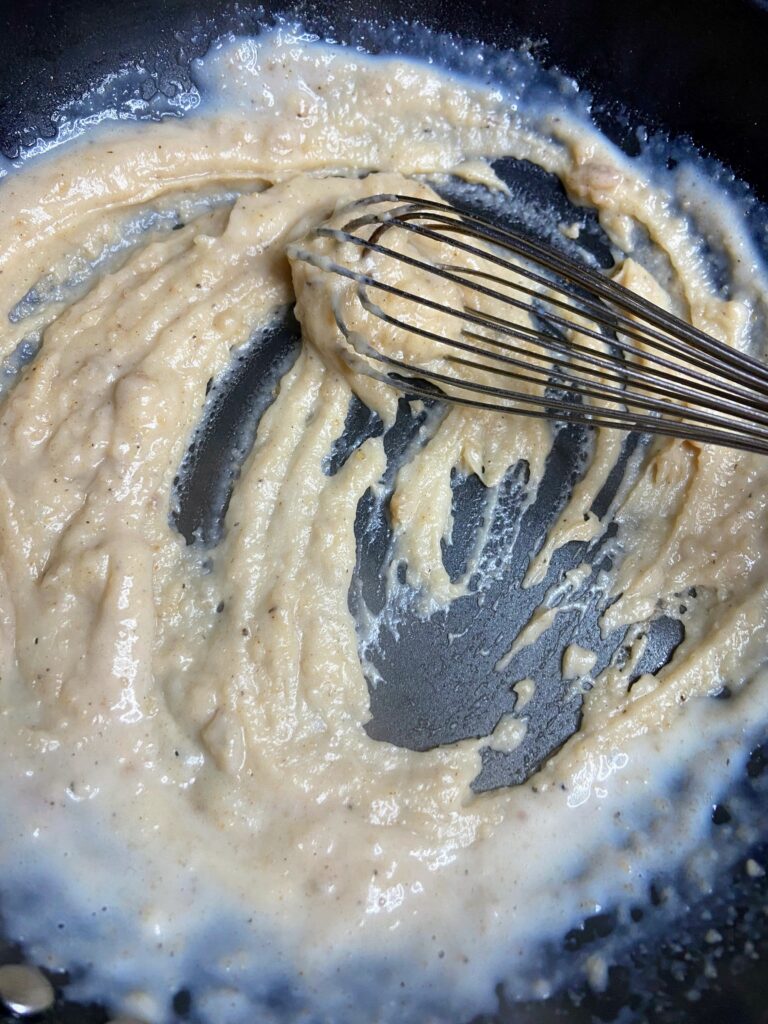
While the potatoes are cooking, heat a saucepan. Cook the diced kielbasa until just crispy, about 5 minutes. Kielbasa can be oily, so this will pull that excess oil rather than adding it to the soup. Remove the sausage from the pan, and place on a paper towel. Reserve the grease and add enough butter to reach 2 tablespoons of fat. Stir in flour and whisk until the roux starts to bubble. Continue to whisk for about 2 minutes over medium heat.

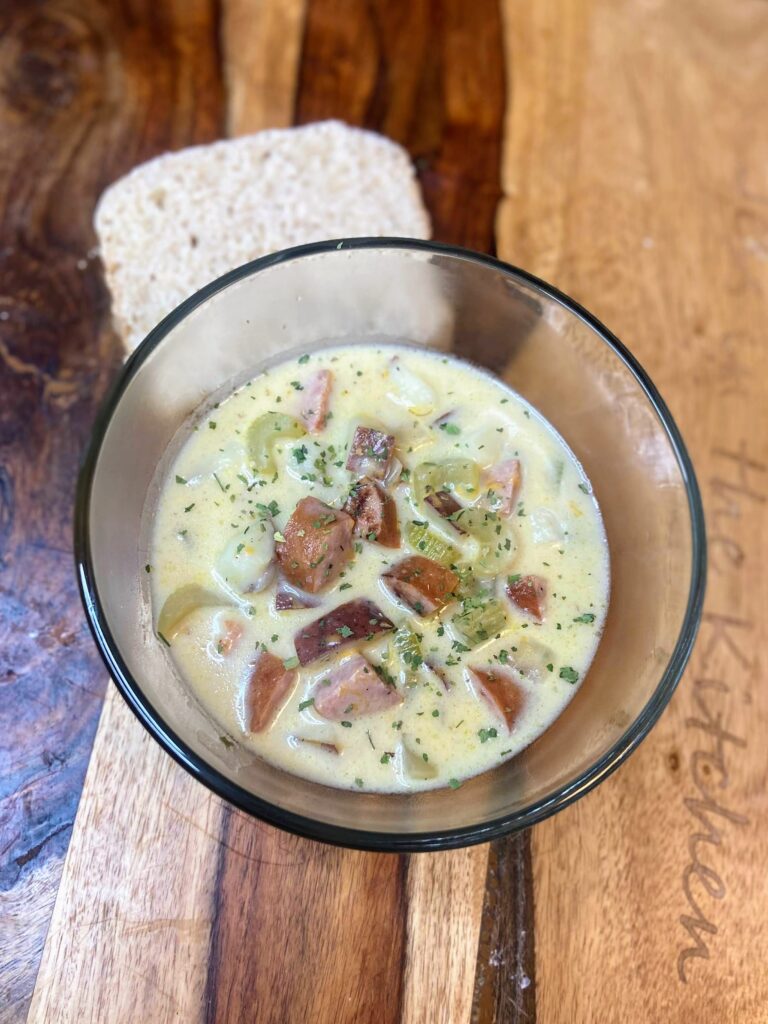
SLOWLY stir in the milk, ⅓ of a cup at a time, whisking the whole time. Once the milk has been incorporated, stir it into the simmered vegetables. Add freshly shredded cheese (This matters. Pre shredded cheese doesn’t melt as well) and the kielbasa. Cook over low-medium heat until the cheese has incorporated. Serve it up with some fresh bread, a salad, and top with parsley if you choose! 

Cheesy Kielbasa and Potato Soup

Grab your dutch oven and cook up a batch of this comforting and cozy cheesy kielbasa and potato soup for you and your family!
Prep Time 30 minutes
Cook Time 20 minutes
Servings 6 servings

Ingredients
  

  • 1 ½ tablespoons olive oil
  • 1 cup diced celery
  • ¾ cup diced onion
  • 4 cups diced potato I leave the skin on
  • 3 cloves garlic minced
  • 3 cups chicken stock
  • 2 cups diced kielbasa
  • ½ teaspoon pepper
  • 2 tablespoons butter
  • 2 tablespoons flour
  • 2 ½ cups milk
  • 1 ½ -2 cups freshly shredded cheddar cheese
  • Salt to taste

Instructions
 

  • In a large dutch oven, heat the olive oil over medium. Once hot, add celery and onion. Cook until soft, about 10 minutes. Add potatoes and garlic and cook for an additional 5 minutes, giving some color to the potatoes. Slowly add chicken stock and pepper, cooking until the potatoes are soft, approximately 10 minutes. 
  • While the potatoes are cooking, heat a saucepan.
  • Cook the diced kielbasa until just crispy, about 5 minutes. Kielbasa can be oily, so this will pull that excess oil rather than adding it to the soup. Remove the sausage from the pan, and place on a paper towel.
  • Reserve the grease and add enough butter to reach 2 tablespoons of fat. Stir in flour and whisk until the roux starts to bubble. Continue to whisk for about 2 minutes over medium heat.
  • SLOWLY stir in the milk, ⅓ of a cup at a time, whisking the whole time. Once the milk has been incorporated, stir it into the simmered vegetables.
  • Add freshly shredded cheese (This matters. Pre shredded cheese doesn’t melt as well) and the kielbasa.
  • Cook over low-medium heat until the cheese has incorporated.
  • Serve it up with some fresh bread, a salad, and top with parsley if you choose!

Notes

Note: If you or someone you love is gluten free, you can totally skip the roux. Simply add the milk (preferably 2% to thicken the soup up a bit) to the chicken stock and skip the flour and butter. 
Also, if you want to thicken your soup without the flour and butter, an option is to hit the soup with an immersion blender for just a bit before you add the kielbasa and cheese. This is a great way to given the perception of a creamy soup without adding the extra stuff. 
Tried this recipe?Let us know how it was!

Oh the Soups you can make!

If you dug this soup, I have a few more favorites that you may want to try!

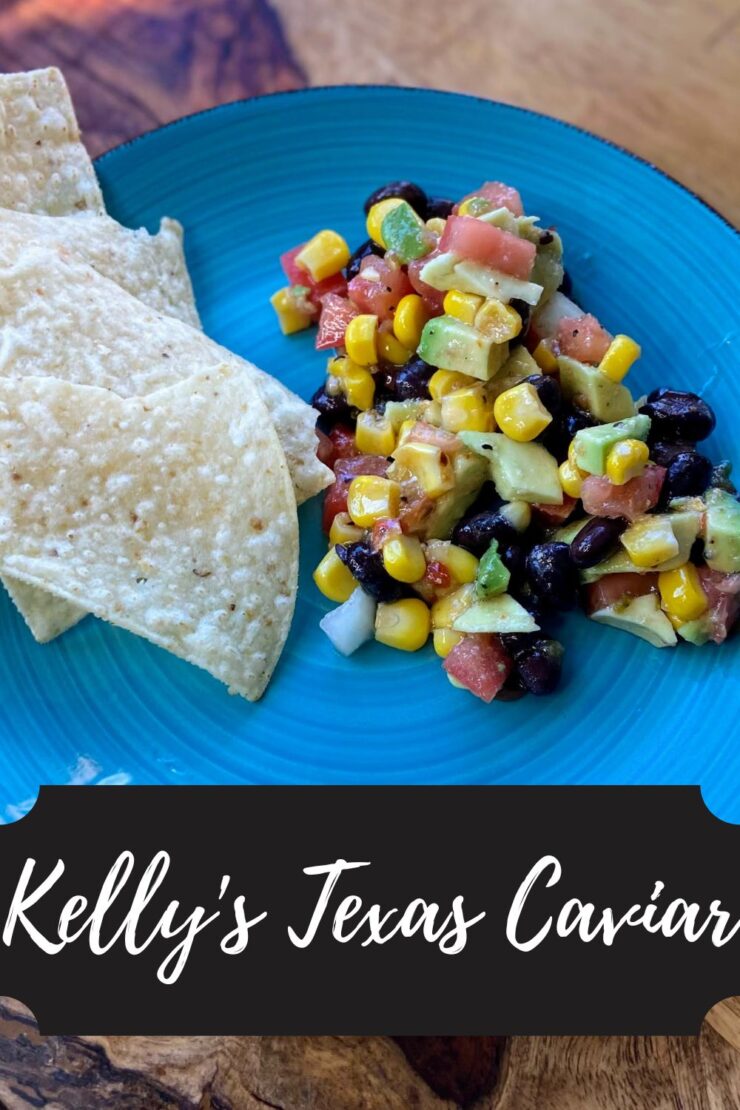
Kelly’s Texas Caviar

What’s your go-to “I have to bring a dish to pass” dish that you can do without opening a cookbook or look at the recipe? For as long as I can remember, my sister has been bringing Texas Caviar. She brings it so often, she had started worrying that people didn’t actually like it and she should maybe stop bringing it. At about that time, my big kiddo asked her, “Aunty, can I please have the Texas Caviar recipe? I want to be able to make it at home.” 

Needless to say, she learned that we weren’t tired of it at all. And after that weekend, I think we mixed up a batch at our home three or four weekends in a row. Now I think I have the recipe memorized too!

What I love about Texas Caviar is that it is truly a side dish I can feel really good about eating. It is chuck full of vegetables and although it is generally served with chips, it’s easy to load those chips with the dip. It also eats well as a simple side without the chips. 

So when it’s been a crazy month of prepping for the holidays and time for recipe creation has been minimal, I asked my sissy if I could share her take on Texas Caviar. This weekend seemed a perfect weekend to share it as the holidays ramp up and you either

  1. Need to add more vegetables in your diet because man, the sweets and indulgence are catching up to you and sneaking some veggies in would help. Or…
  2. You have a party you get to bring a side to but your inspiration is less than stellar.

Let me tell you, Texas Caviar is THE choice for one (or both!) of those. 

Ready to create together? Let’s Go!

Your Ingredients 

  • 14 ounces Mexicorn, drained
  • 1 can low sodium black beans, drained and rinsed
  • 2 avocados
  • 4 Roma tomatoes
  • 1 medium onion
  • 1 package dry Italian dressing mix
  • ⅓ cup olive oil
  • ⅓ cup red wine vinegar 

Your Steps to Texas Caviar 

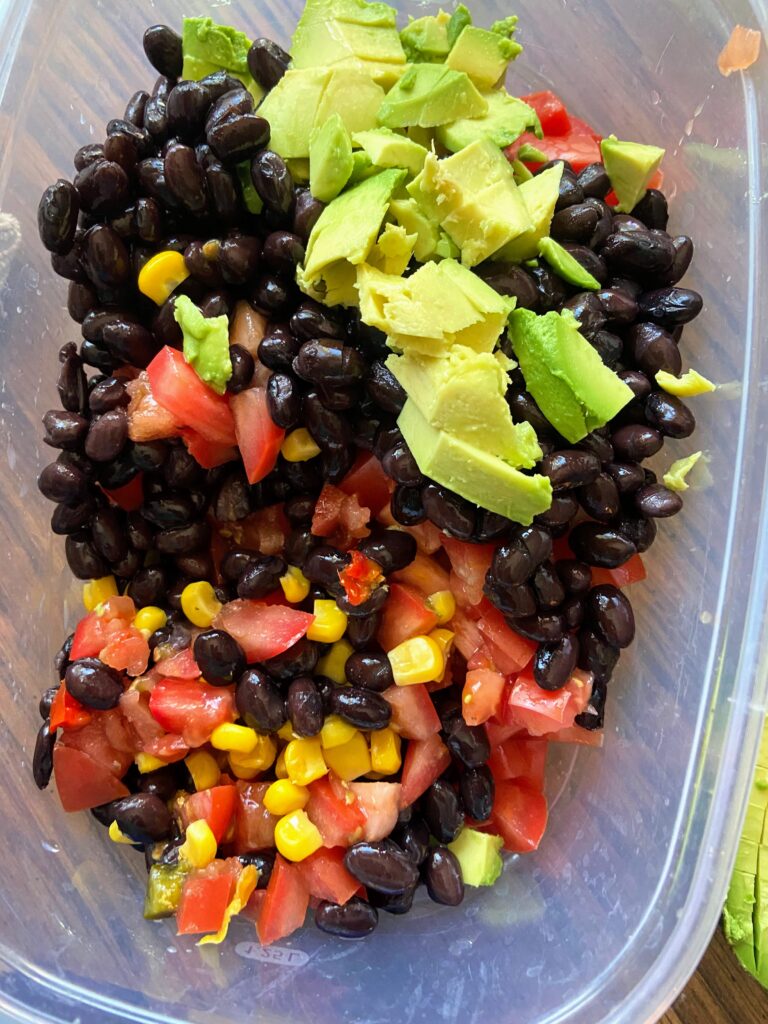
Dice the avocados, Roma tomatoes, and onion. In a large bowl, combine corn, black beans, avocado, tomato, and onion. Stir well. 

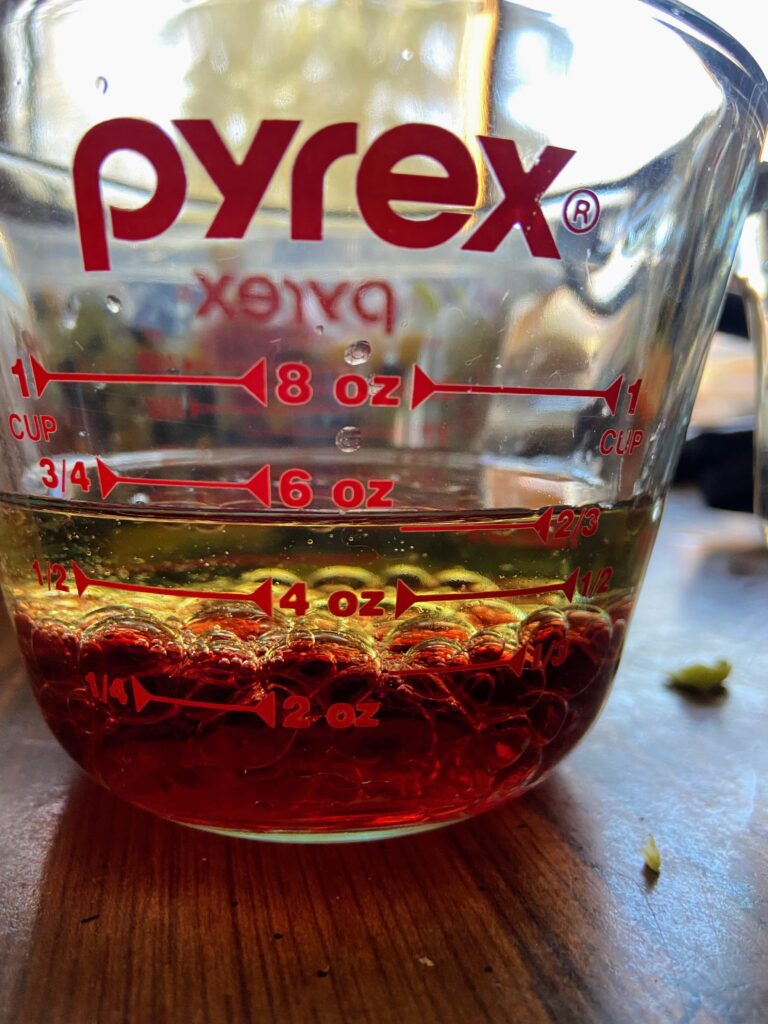
In a small bowl, combine dressing mix, olive oil, and red wine vinegar. Whisk together and promptly pour over the vegetable mixture. Stir well. The dip is best if it is allowed to chill and marinate for an hour or so, but can be eaten immediately. Good luck waiting. I never can!

Kelly’s Texas Caviar

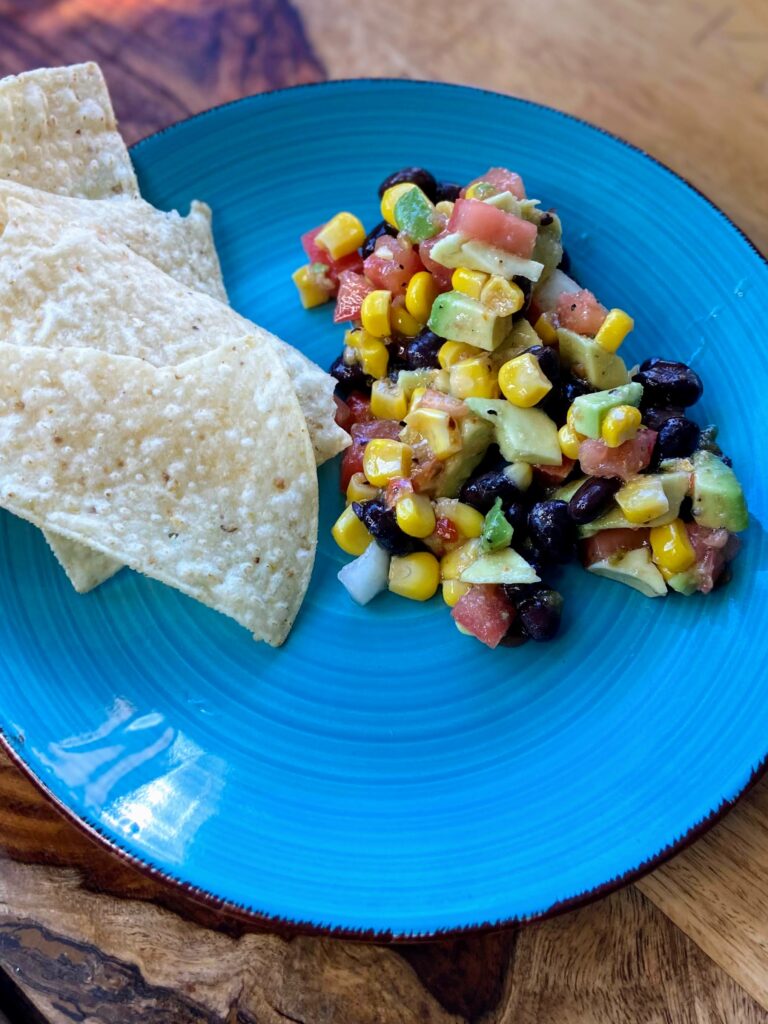
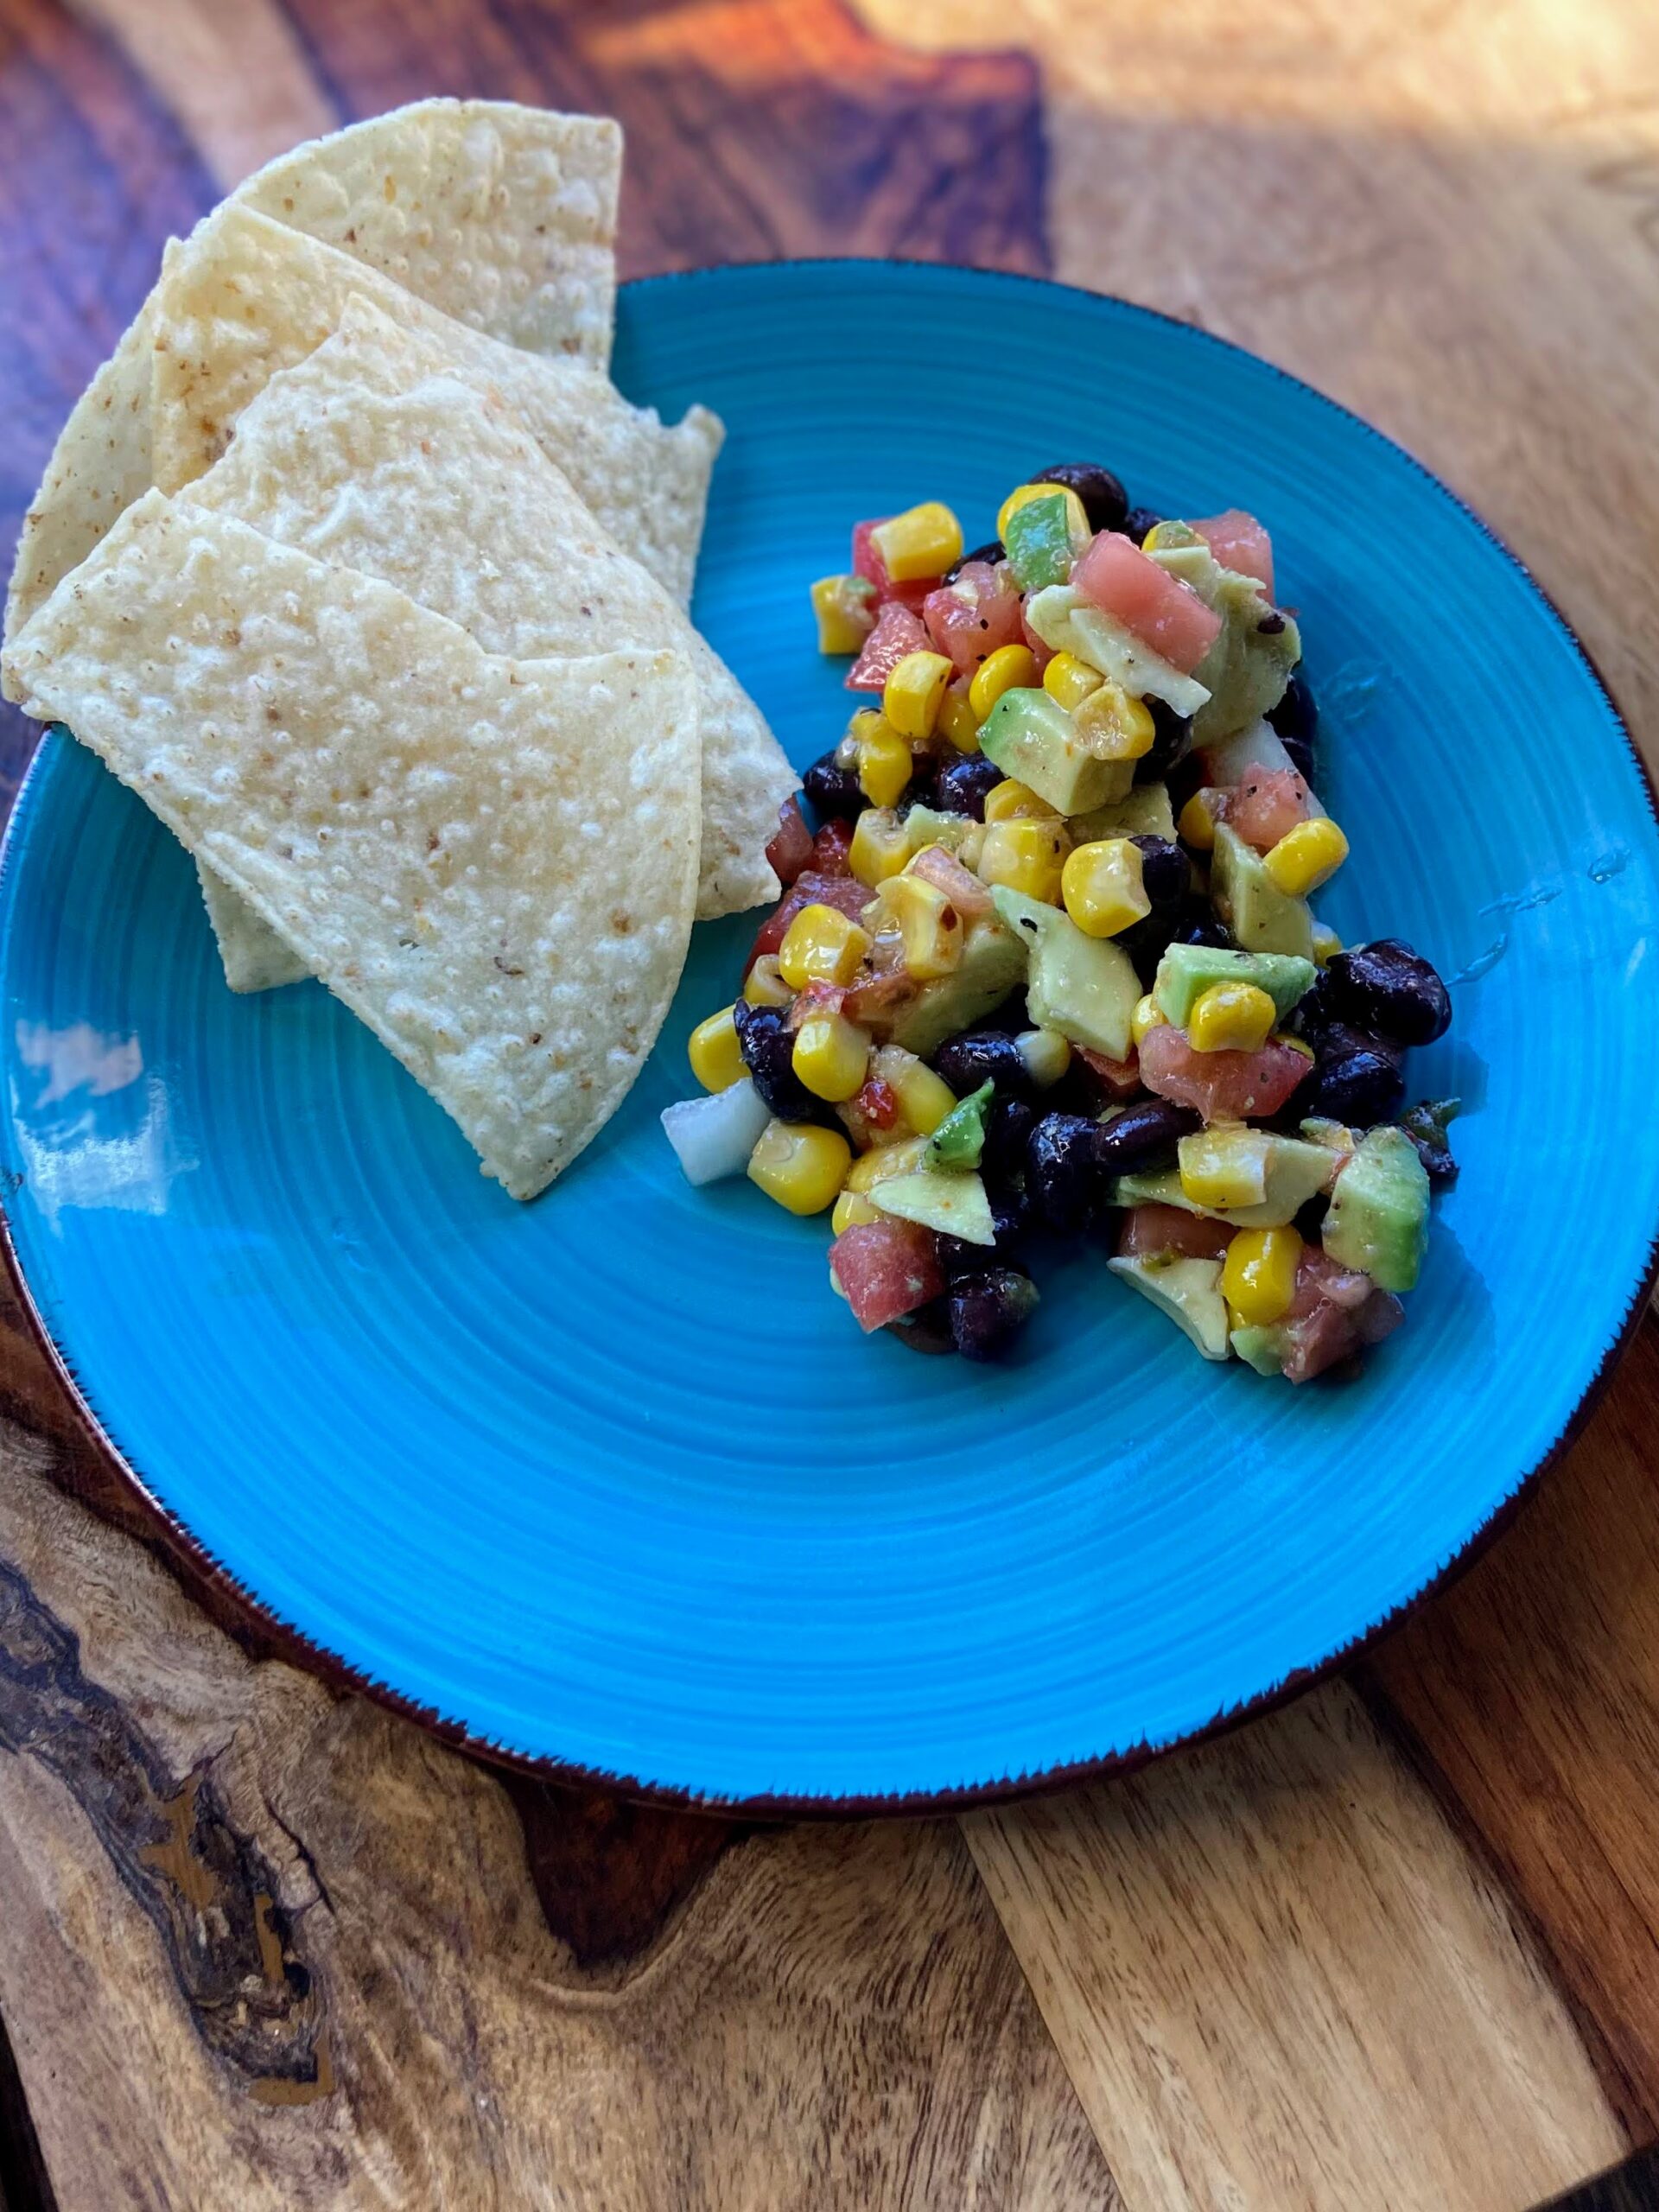
Just eight ingredients and about ten minutes of work and you’ll have a great, fresh flavorful dip or side dish with this Texas Caviar.
5 from 1 vote
Prep Time 10 minutes
Cook Time 0 minutes
Course Appetizer
Cuisine American
Servings 8

Ingredients
  

  • 14 ounces Mexicorn drained
  • 1 can low sodium black beans drained and rinsed
  • 2 avocados
  • 4 Roma tomatoes
  • 1 medium onion
  • 1 package dry Italian dressing mix
  • cup olive oil
  • cup red wine vinegar

Instructions
 

  • Dice the avocados, Roma tomatoes, and onion. In a large bowl, combine corn, black beans, avocado, tomato, and onion. Stir well.
  • In a small bowl, combine dressing mix, olive oil, and red wine vinegar.
  • Whisk together and promptly pour over the vegetable mixture. Stir well.
  • The dip is best if it is allowed to chill and marinate for an hour or so, but can be eaten immediately.
Keyword avocado, cherry tomatoes, chips and dip, dips, dish to pass, side dish, Texas caviar
Tried this recipe?Let us know how it was!

Looking for other fun sides?

Give some of these a try!

Buckeye Balls

Last Updated on December 11, 2022 by Jess

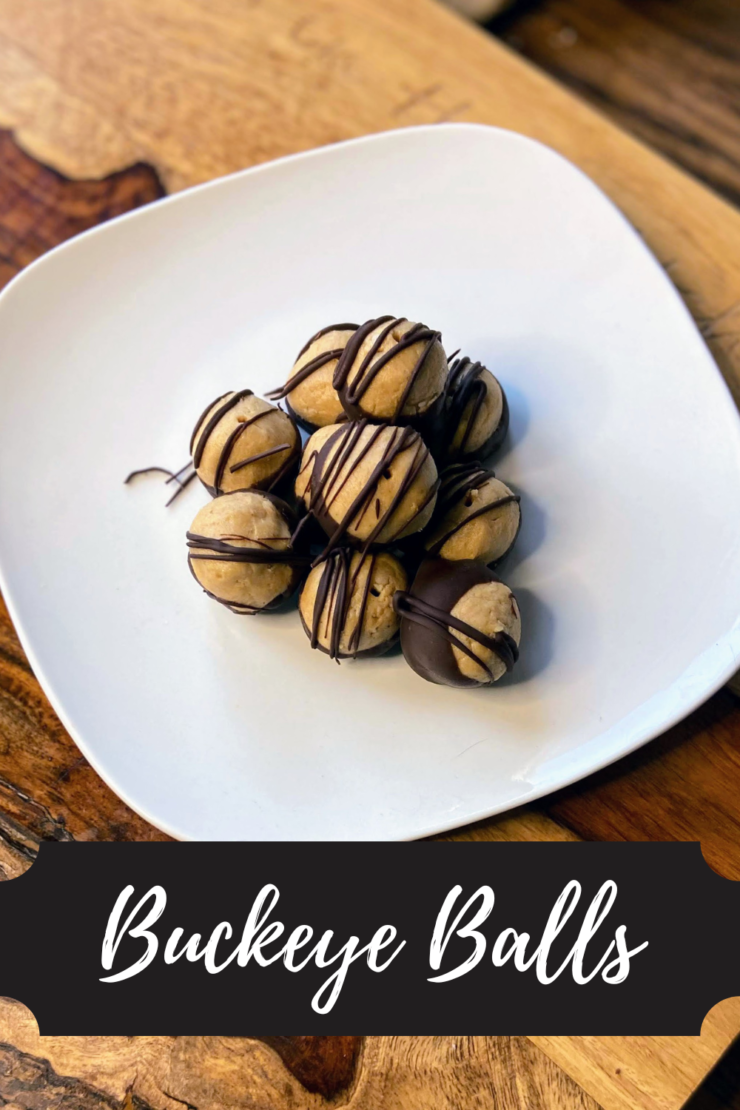
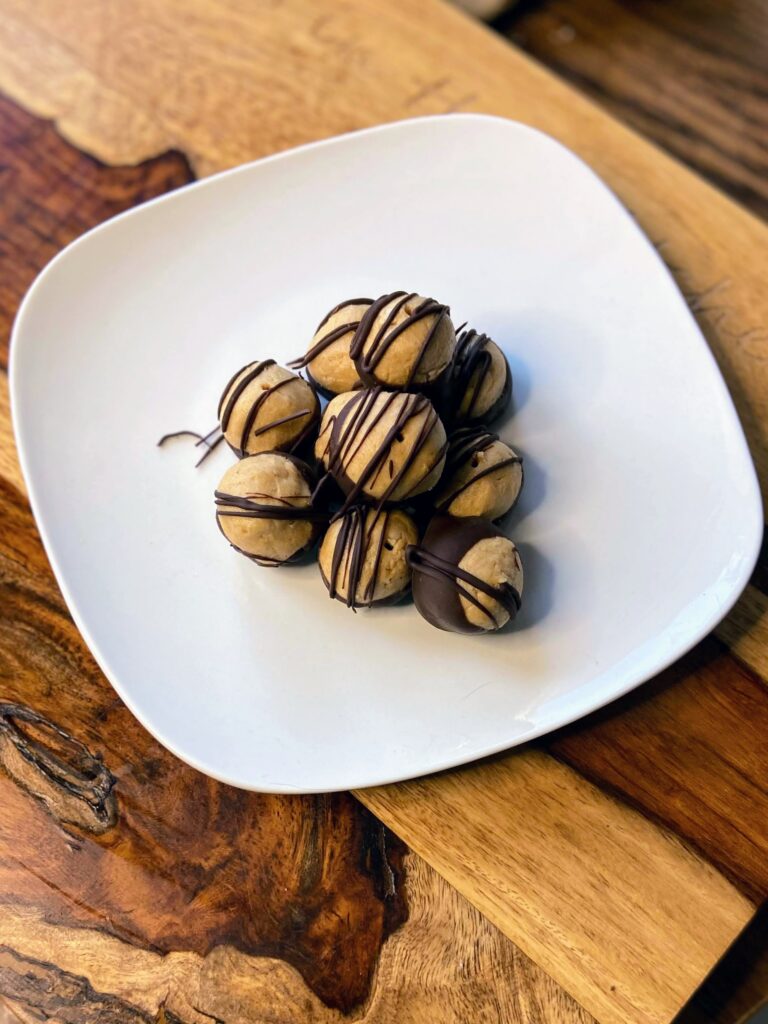
I’ll be honest, I hadn’t heard of Buckeye Balls until about ten years ago. I was pursuing a foodie magazine a number of years ago around the holidays, and they had a section on holiday candy making. And I don’t know about you, but the pairing of chocolate and peanut butter ranks right up there in the top of flavor pairings in my world. So I quickly mixed up a batch, and instantly fell in love. 

Now, they have become a staple in my holiday baking and candy baking. It’s the number one request from my sissy when I am baking for our Winter Solstice celebration (I grew up celebrating the solstice more than Christmas). What I love about Buckeye Balls is that they mix up SUPER quick. They are no bake. And the chill time isn’t even terribly long. Forgot you were supposed to bring a treat for a party in the evening? These are a perfect idea!

This recipe will result in about 50 teaspoon sized treats. (I know many recipes call for larger Buckeye Balls, but I dig bite size treats.) 

Your Ingredients

  • ¾ cup creamy peanut butter
  • ¼ cup butter, softened
  • ½ teaspoon vanilla
  • 2 cups powdered sugar
  • ½ cup semisweet chocolate chips
  • ½ tablespoon coconut oil 

Your Steps to Buckeye Balls

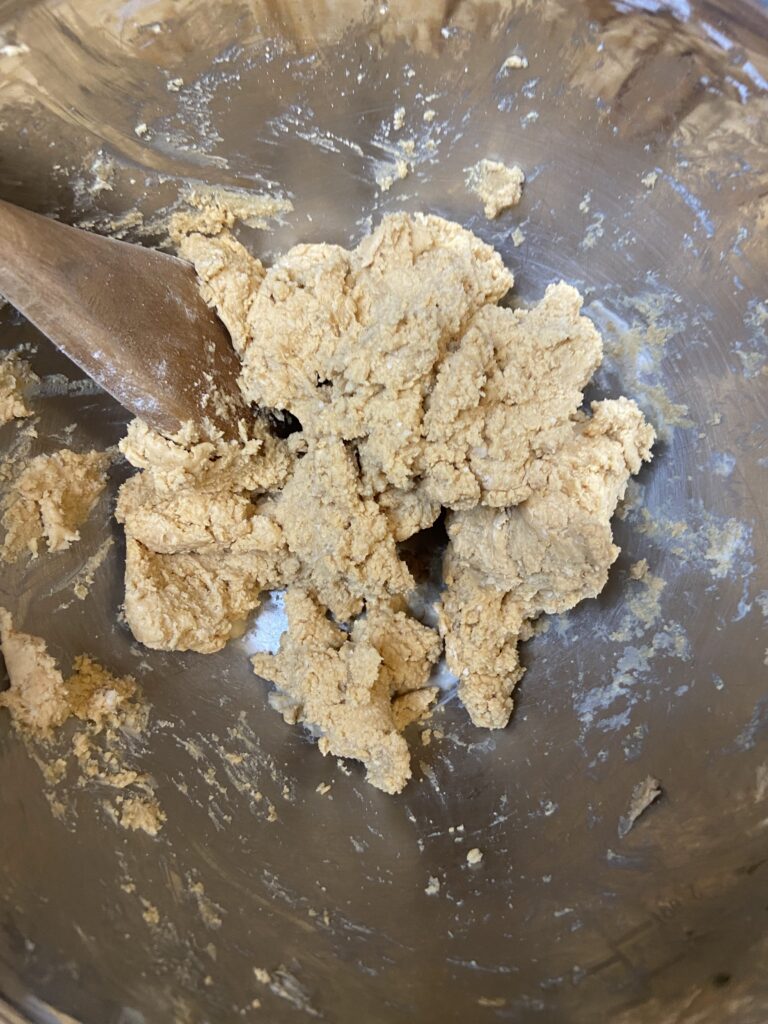
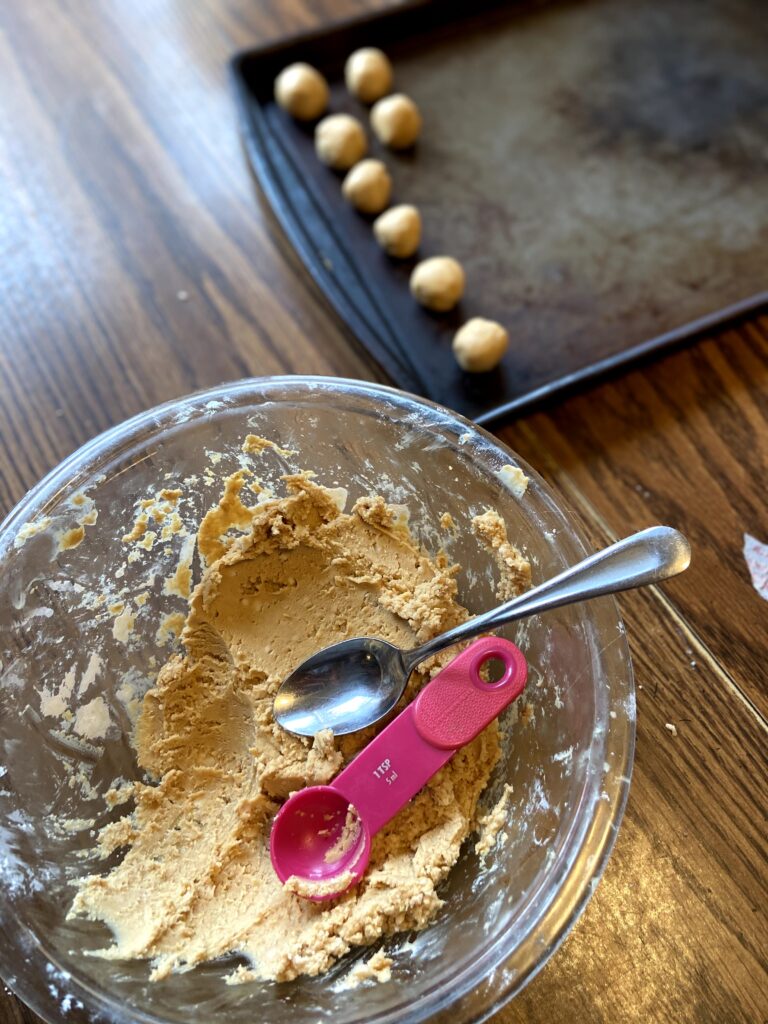
Combine sugar, peanut butter, vanilla and butter. Cream well, being sure to get all “corners” of the bowl. Use a teaspoon to measure and your hands to form balls with the mixture. Place on a lined baking sheet and chill for 1-2 hours. 

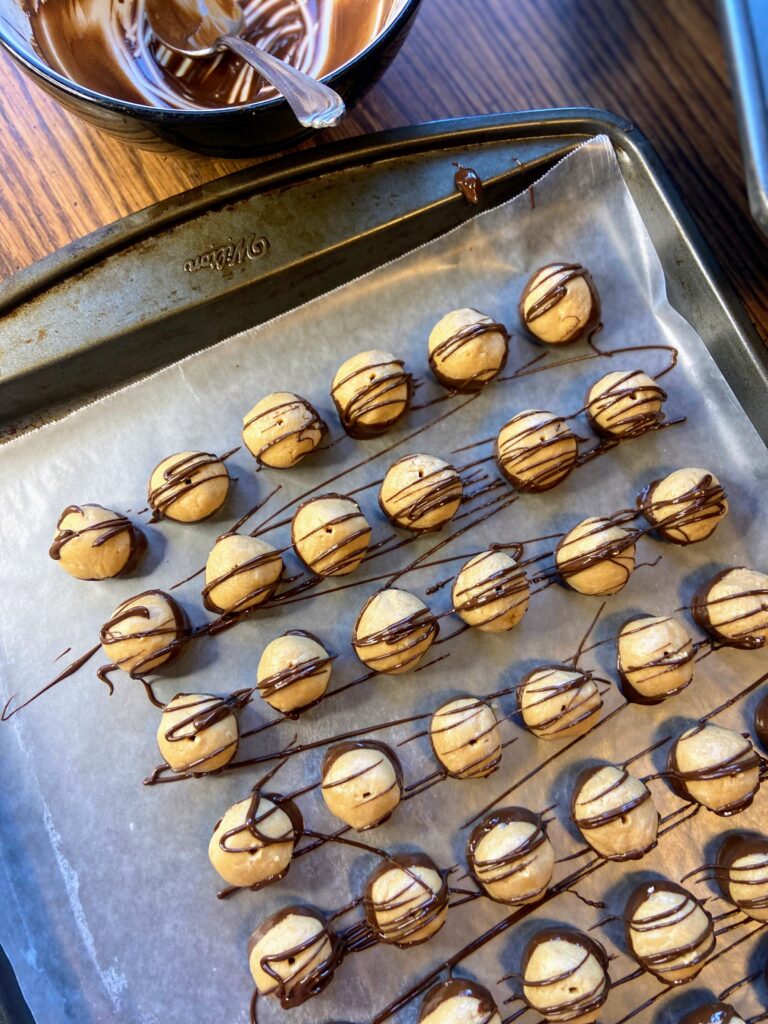
Once chilled, melt coconut oil and chocolate chips in the microwave, 30 seconds at a time, until smooth. Dip balls into chocolate using a toothpick (or fingers, but this is crazy messy). You can cover the hole formed from the toothpick, leave it, or drizzle the leftover chocolate like (this is what I like to do!) If you are going to drizzle, you truly don’t need anything fancy. Simply spoon the leftover chocolate into a small zipper baggy, snip the corner (smaller rather than larger), and squeeze and drizzle!

Buckeye Balls

Peanut butter and chocolate pair so nicely in these quick and delicious Buckeye Balls. Great for any holiday treat tray!
5 from 1 vote
Prep Time 40 minutes
Cook Time 0 minutes
Chill Time 1 hour
Course Dessert
Cuisine American
Servings 50 candies

Ingredients
  

  • ¾ cup creamy peanut butter
  • ¼ cup butter softened
  • ½ teaspoon vanilla
  • 2 cups powdered sugar
  • ½ cup semisweet chocolate chips
  • ½ tablespoon coconut oil

Instructions
 

  • Combine sugar, peanut butter, vanilla and butter. Cream well, being sure to get all “corners” of the bowl.
  • Use a teaspoon to measure and your hands to form balls with the mixture. Place on a lined baking sheet and chill for 1-2 hours.
  • Once chilled, melt coconut oil and chocolate chips in the microwave, 30 seconds at a time, until smooth.
  • Dip balls into chocolate using a toothpick.
  • You can cover the hole formed from the toothpick, leave it, or drizzle with the leftover chocolate.
Keyword buckeye balls, candies, candy making, chocolate, chocolate and peanut butter, peanut butter
Tried this recipe?Let us know how it was!

Looking for other sweets and treats?

Check out a few of the recipes below or head to my baking page!
Ground Italian Venison

Last Updated on December 6, 2022 by Jess

If you’ve been around since the summer, you know that I love growing, harvesting, and preserving my own food. I live for the garden in the summer and filling the freezer and shelves with homegrown produce brings me such joy. But as the garden gives way to fall, a new type of preserving takes over our kitchen: that of wild game. The Mr. loves hunting; our main protein source is deer. We process our deer ourselves and end up with chops, ground venison, various flavors of canned venison, and this delicious blend of ground Italian venison. 

I haven’t thought this was much of a recipe to share, but I tell friends and family about it, and they always seem happy to learn more, so here we are. This is a great recipe if you aren’t a sausage maker (we aren’t…yet), but want to add another way to use the ground venison you have. 

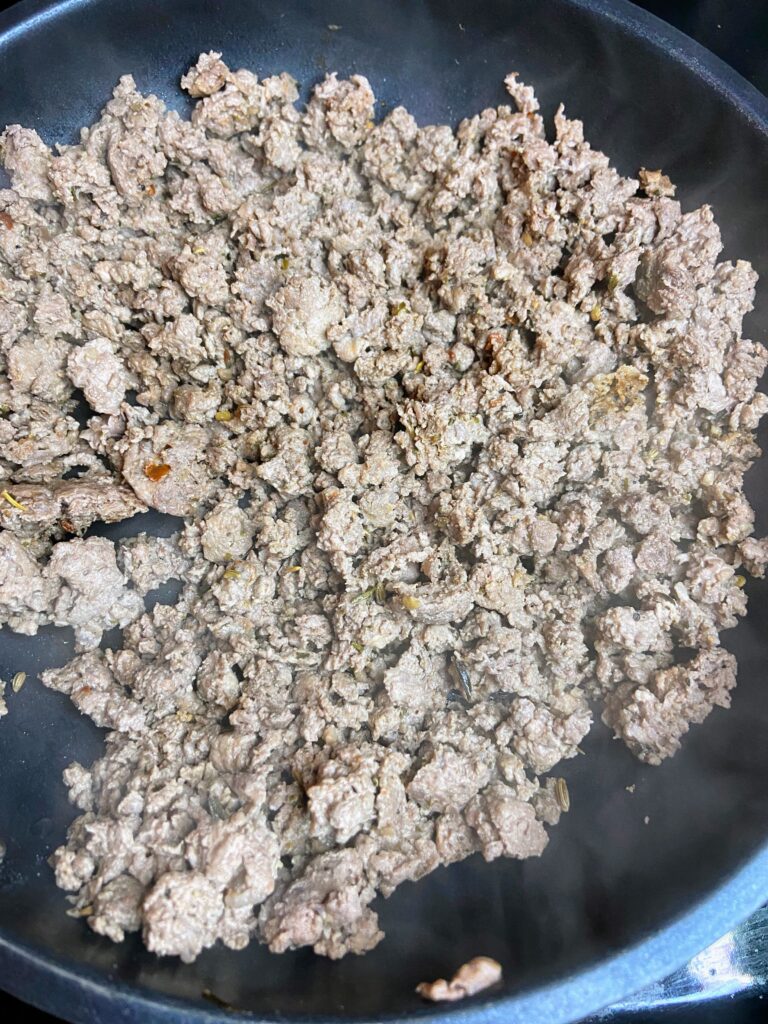
We love putting together a batch or two of this ground Italian venison to have for options when we eat pasta (strong Italian roots here!). I don’t know if you’ve tried yet, but ground Italian sausage is far superior to ground beef in your bolognese. However, we like to know where our protein comes from and the Italian sausage from the store just doesn’t cut it. This is a great alternative and gets us closer to sustainability. 

Ready to get Started?

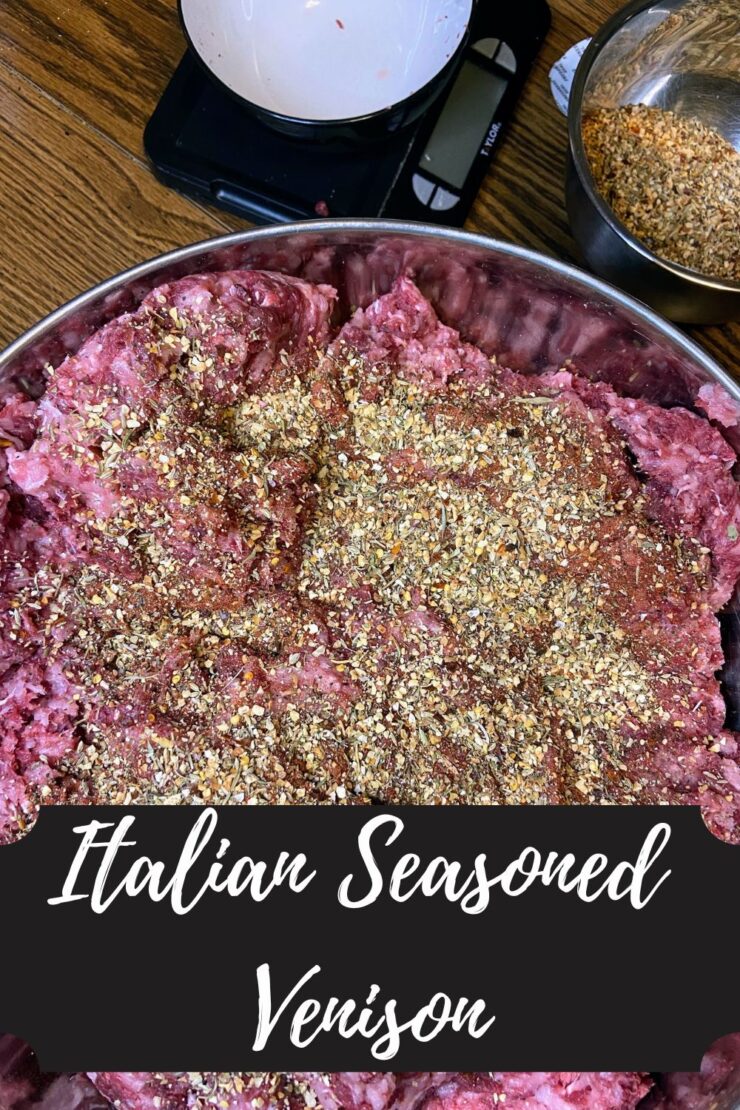
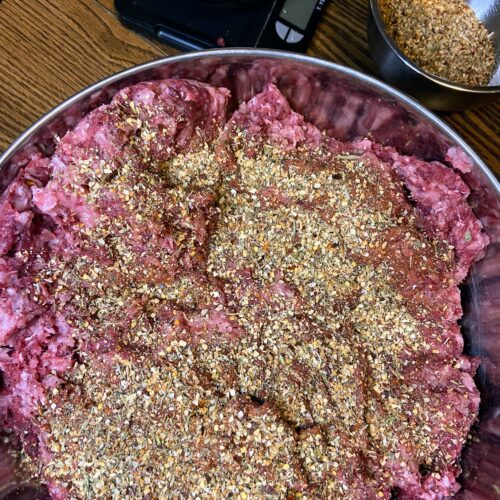
The recipe is simple enough: equal parts pork shoulder slices and venison slices. Then, based on how much meat we have, I create an Italian sausage seasoning mixture from Tastes of Lizzy T. She does a recipe for 2 pounds of meat. 

Typically, we do a large batch (at least 10 pounds of each protein). The math teacher in me will share how much you need for every TEN pounds of meat. If you have different increments and don’t want to do the math, check out Tastes of Lizzy T for the 2 pound measurements. It’s great!
Your Steps to Ground Italian Venison

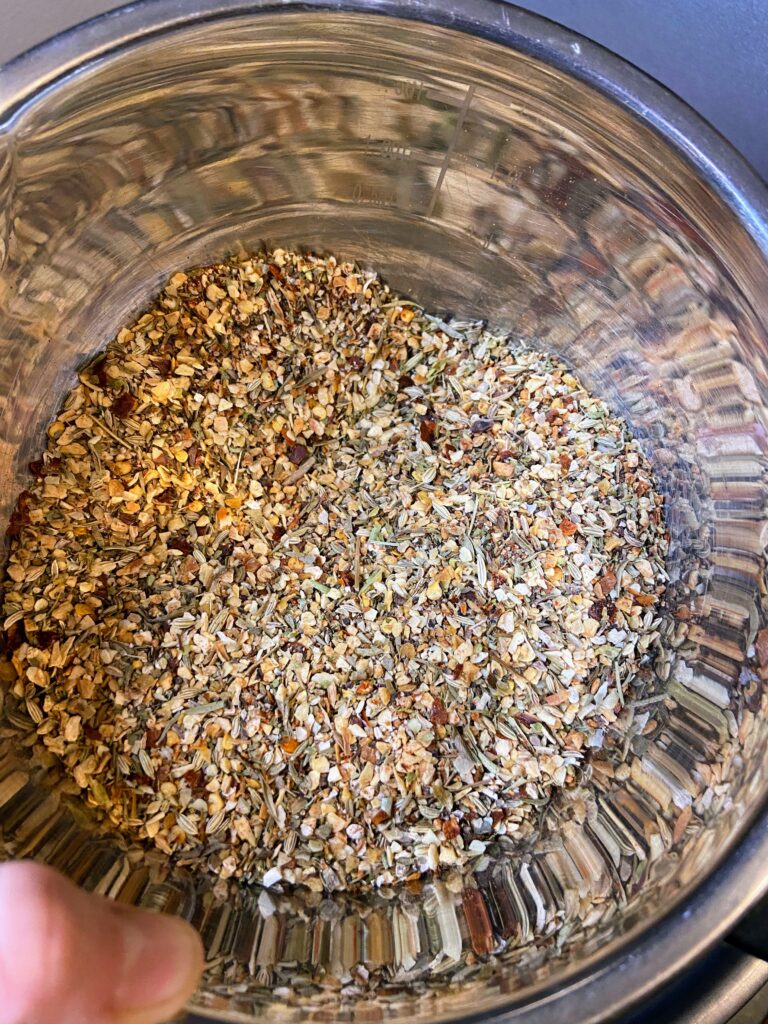
For every TEN pounds of meat, combine the following: 

  • 3 tablespoons dried parsley
  • 3 tablespoons dried Italian seasoning
  • 2 ½ tablespoons black pepper
  • 1 tablespoon fennel seed 
  • 1 tablespoon paprika
  • 1 1/2 -2 tablespoons red pepper flakes
  • 3 tablespoons salt 
  • 5 tablespoons minced garlic
  • 2 tablespoons minced onion

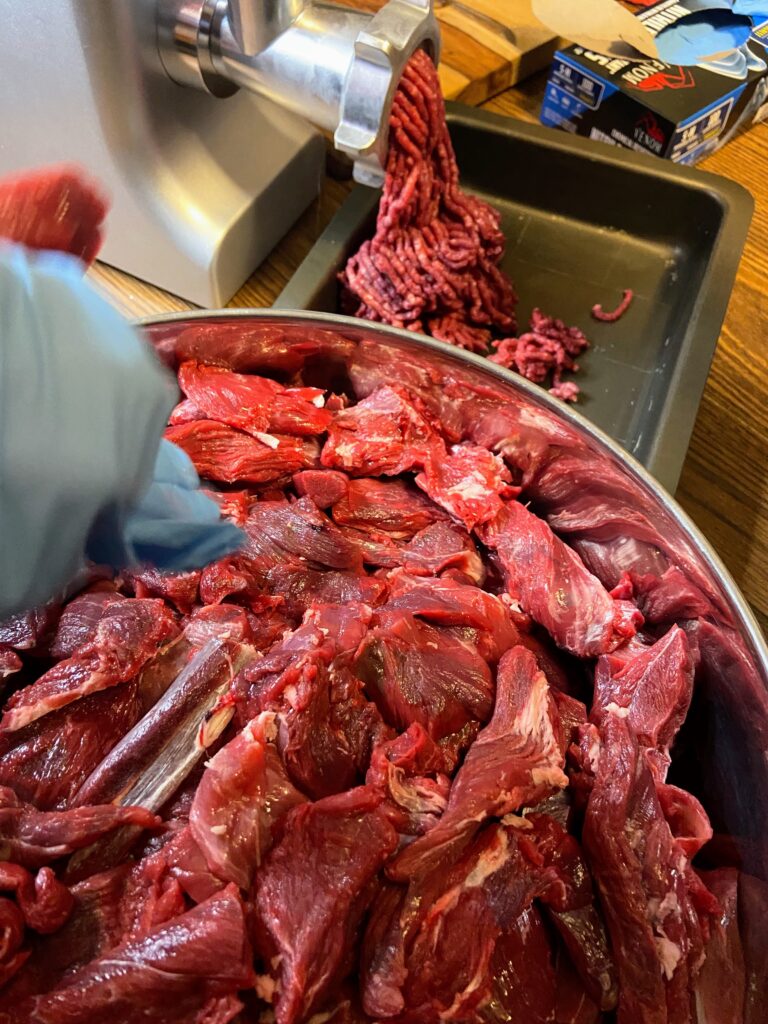
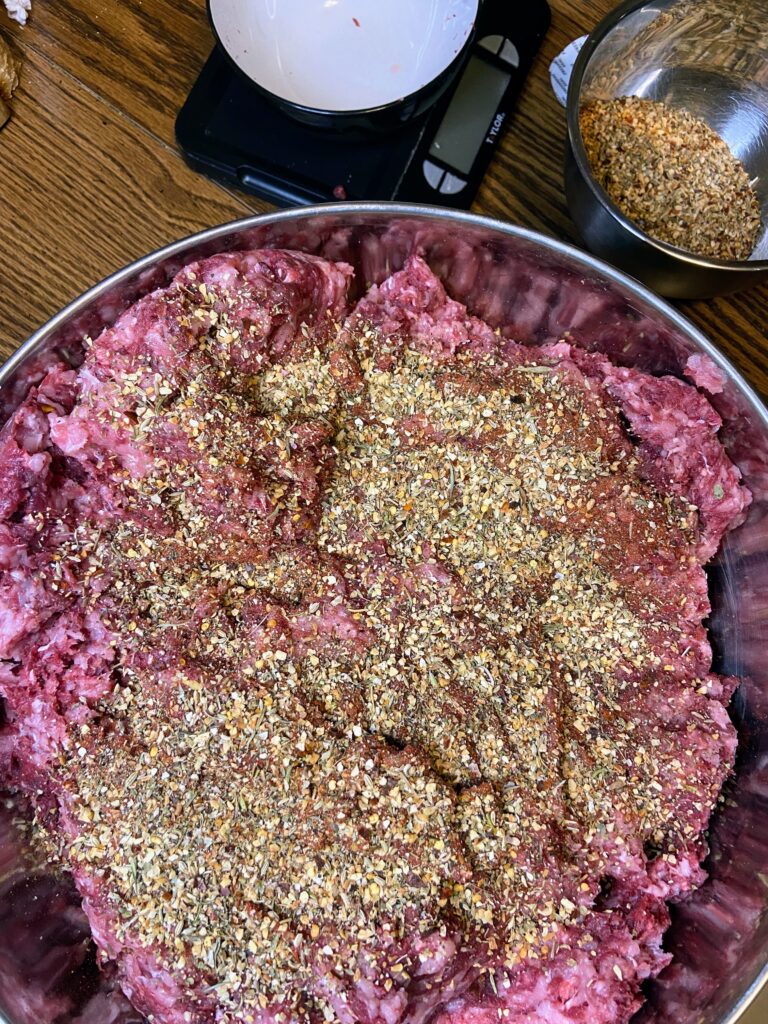
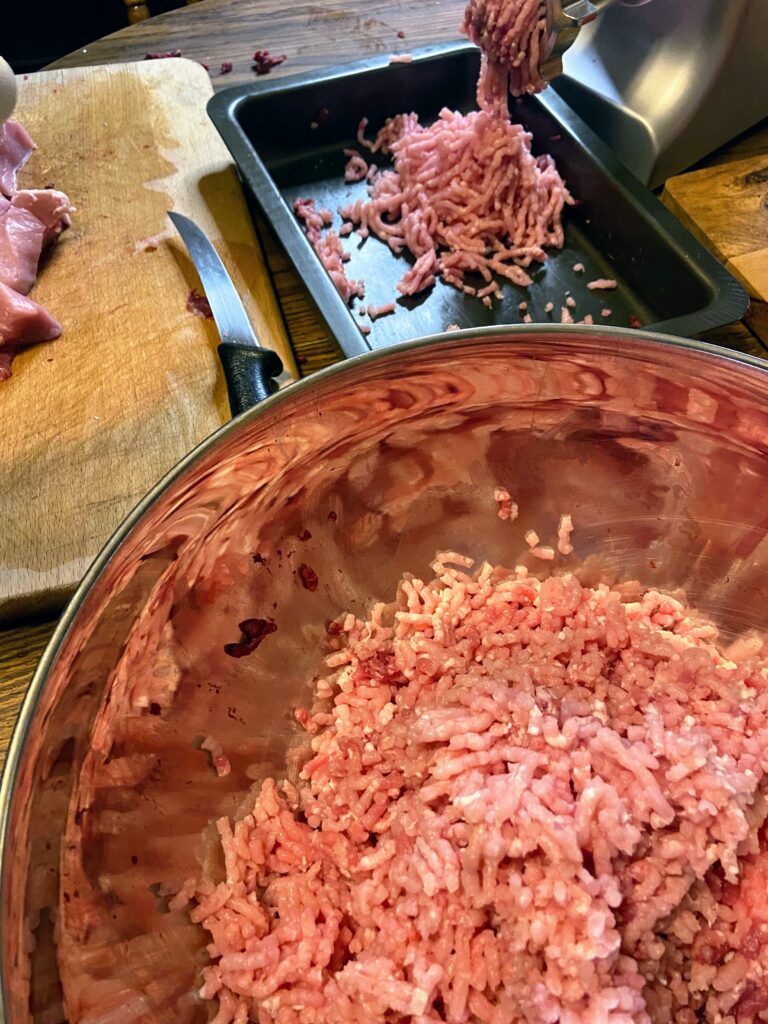
Measure and grind 10 pounds each of venison and pork shoulder. In a large bowl, combine both proteins and mix well. Add about ⅓ of the spice mixture and mix the meat, being sure to pull from the bottom. Add another ⅓, mixing again. Finally, add remaining spice mixture, being sure to grab all the meat from the bottom, mixing thoroughly. 

Using a food scale, measure meat in one pound increments. Place into freezer bags, flattening and removing air as you seal them. Wrap with freezer paper and label. 

Tools of the Trade

These are some great tools that you will need to create this Italian Seasoned Venison.

Ground Italian Venison

Looking for different ways to use your home processed venison? Give this ground Italian venison a try to change it up!
Prep Time 40 minutes
Cook Time 0 minutes
Course Main Course
Cuisine American, Homesteading, Preserving
Servings 10 pounds

Ingredients
  

  • 5 pounds venison cleaned and cubed
  • 5 pounds pork shoulder cubed
  • 3 tablespoons dried parsley
  • 3 tablespoons dried Italian seasoning
  • 2 ½ tablespoons black pepper
  • 1 tablespoon fennel seed
  • 1 tablespoon paprika
  • 1 1/2 -2 tablespoons red pepper flakes
  • 3 tablespoons salt
  • 5 tablespoons dried minced garlic
  • 2 tablespoons dried minced onion

Instructions
 

  • Mix all spices in a small bowl.
  • Measure and grind 5 pounds each of venison and pork shoulder.
  • In a large bowl, combine both proteins and mix well.
  • Add about ⅓ of the spice mixture and mix the meat, being sure to pull from the bottom. Add another ⅓, mixing again.
  • Finally, add remaining spice mixture, being sure to grab all the meat from the bottom, mixing thoroughly.
  • Using a food scale, measure meat in one pound increments.
  • Place into freezer bags, flattening and removing air as you seal them. Wrap with freezer paper and label.
Keyword freezing, Italian, Italian venison, preserving venison, venison, venison recipe
Tried this recipe?Let us know how it was!

Looking for other venison Recipes?

Check out these ideas for more venison recipes.