Apple and Oatmeal Muffins

Last Updated on November 17, 2021 by Jess

At our house, we get very few days where both my husband and I are not working, getting to enjoy a true “weekend.” He’s a property manager of a state park which means his busy time is the opposite of my teacher schedule’s busy time. When we do get those special days that we are both home, breakfast can be a production. He’s in charge of the eggs (for all of the cooking I love to do, he still makes the best eggs…scrambled, omelette, you name it, he can do it). As for me, I love to put together some sort of baked good, warming the house with the oven and making the house smell just delightful.

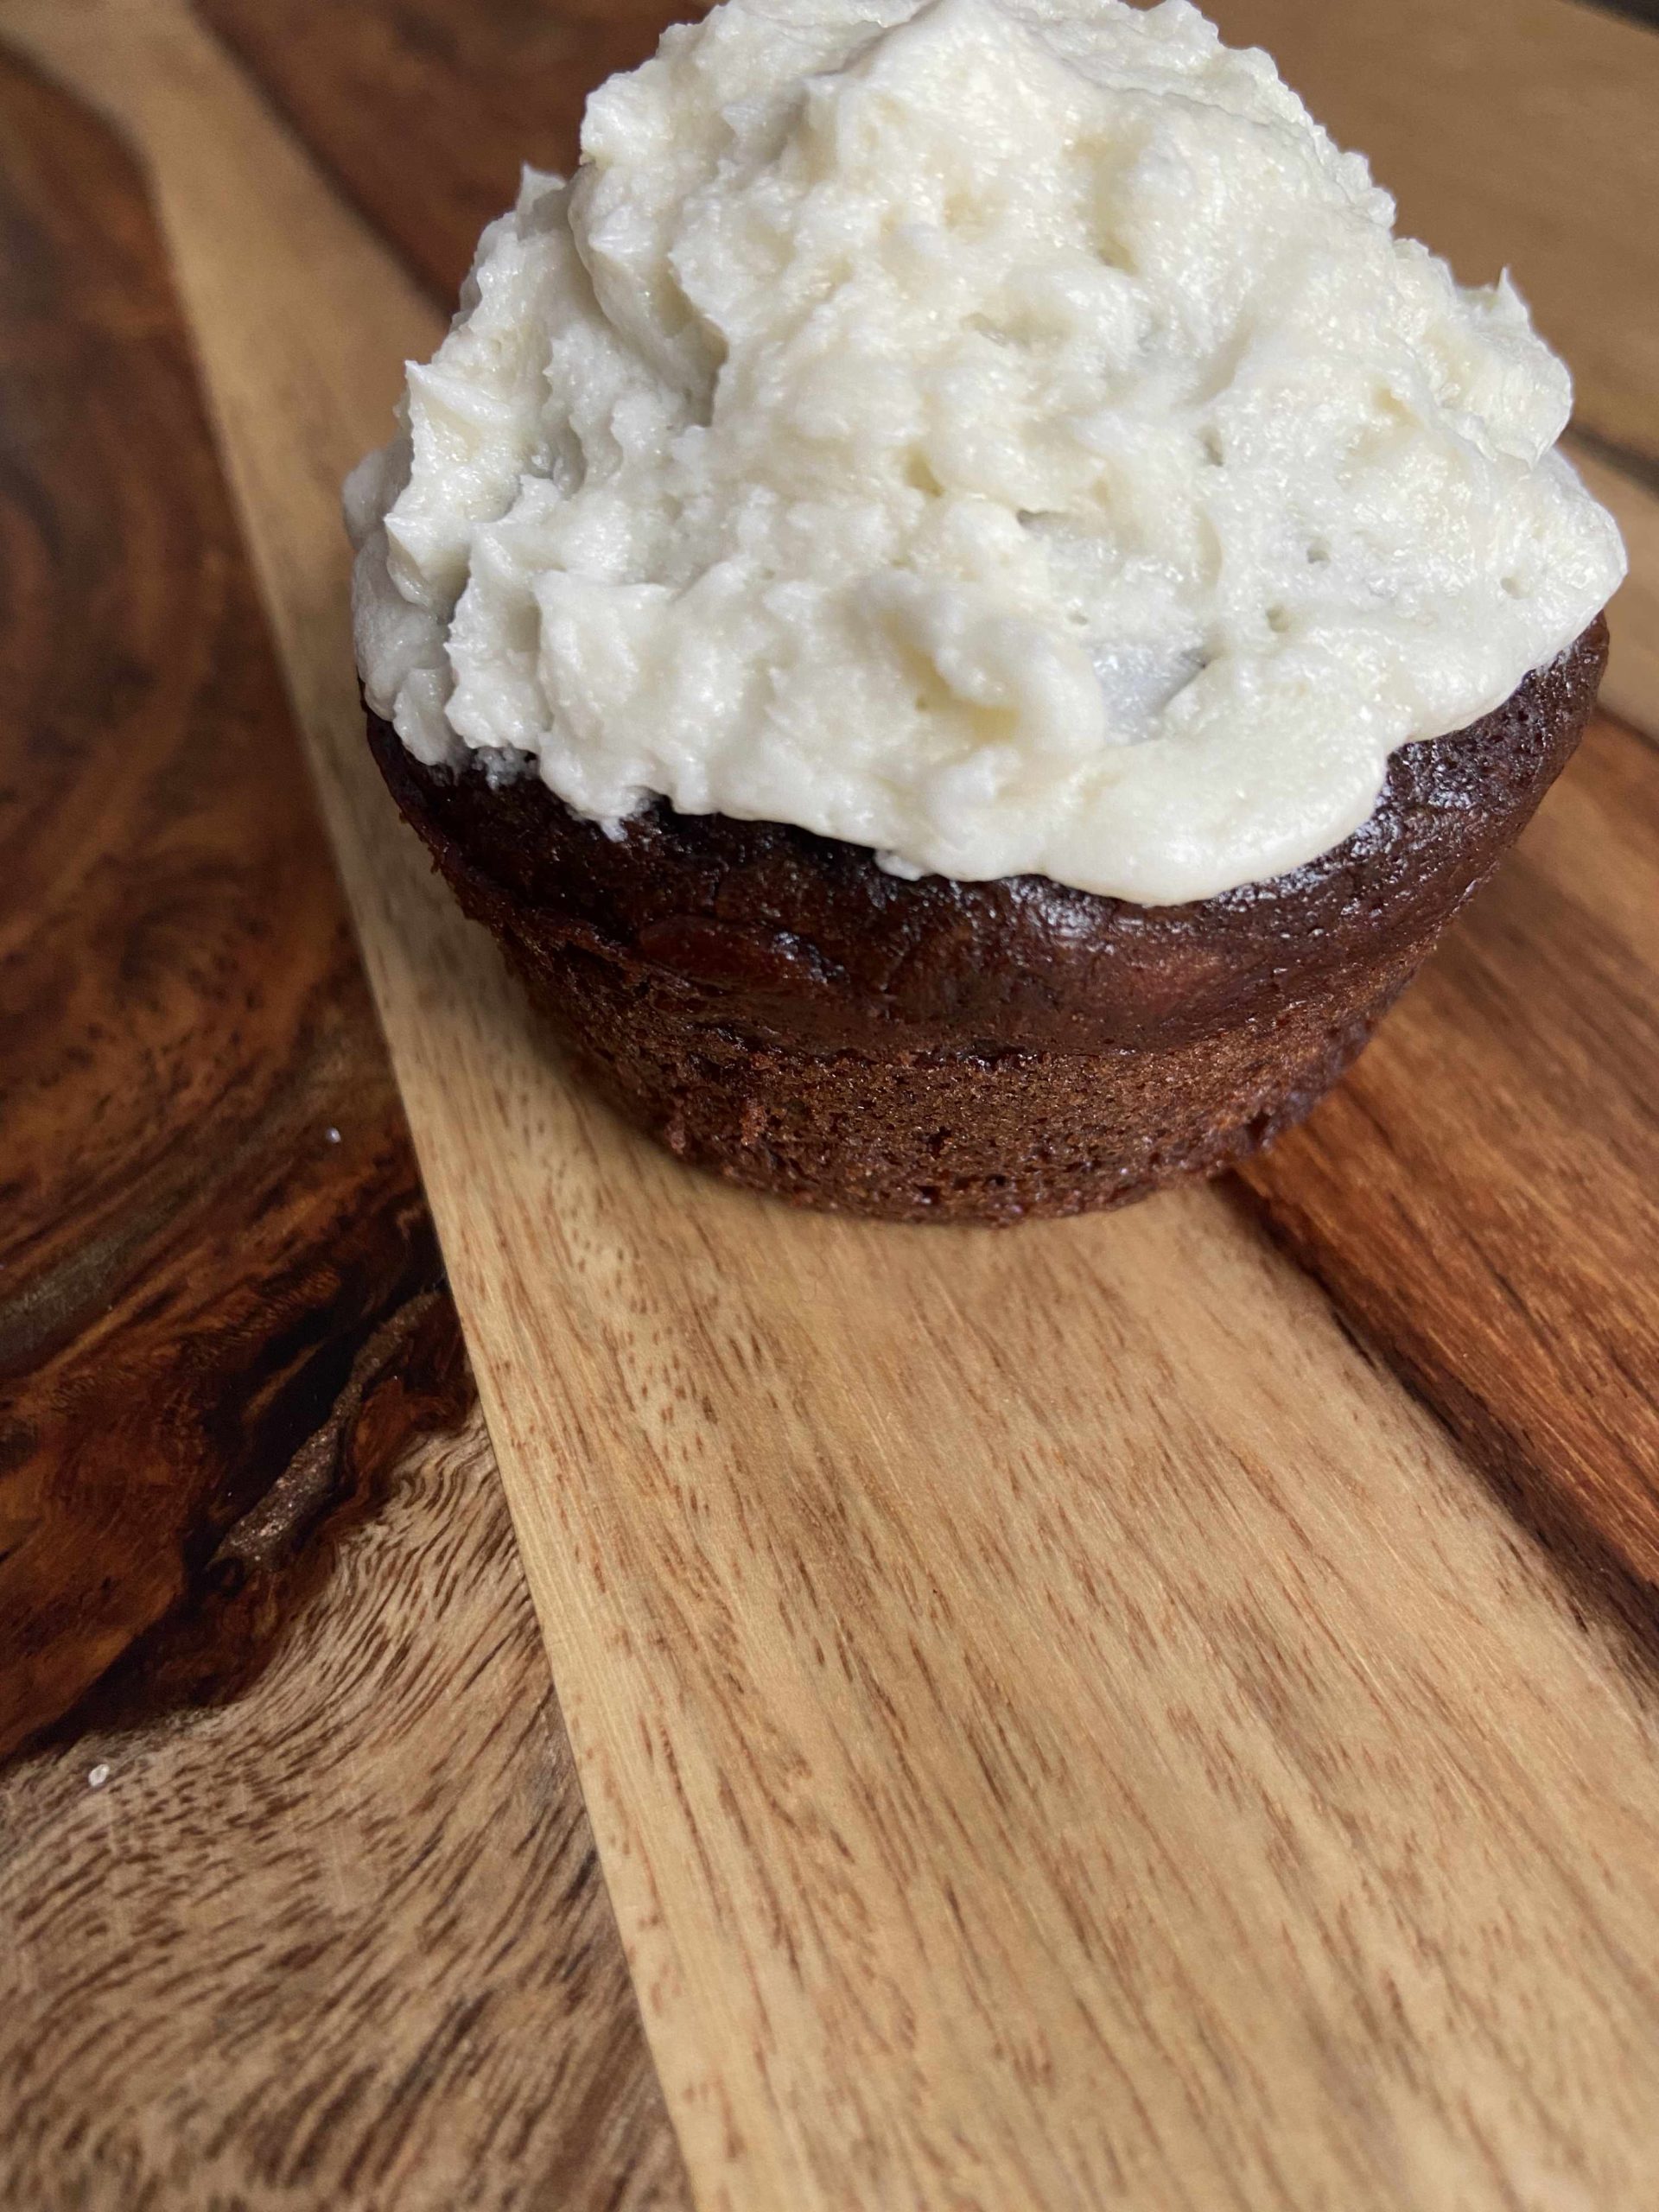
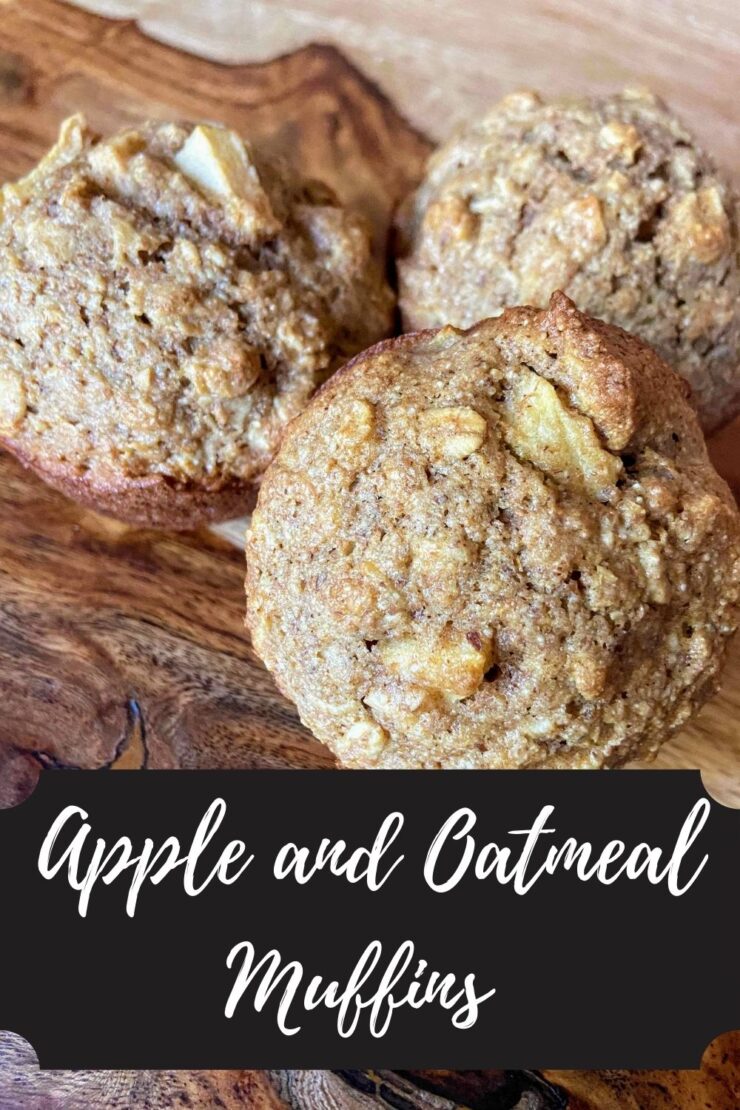
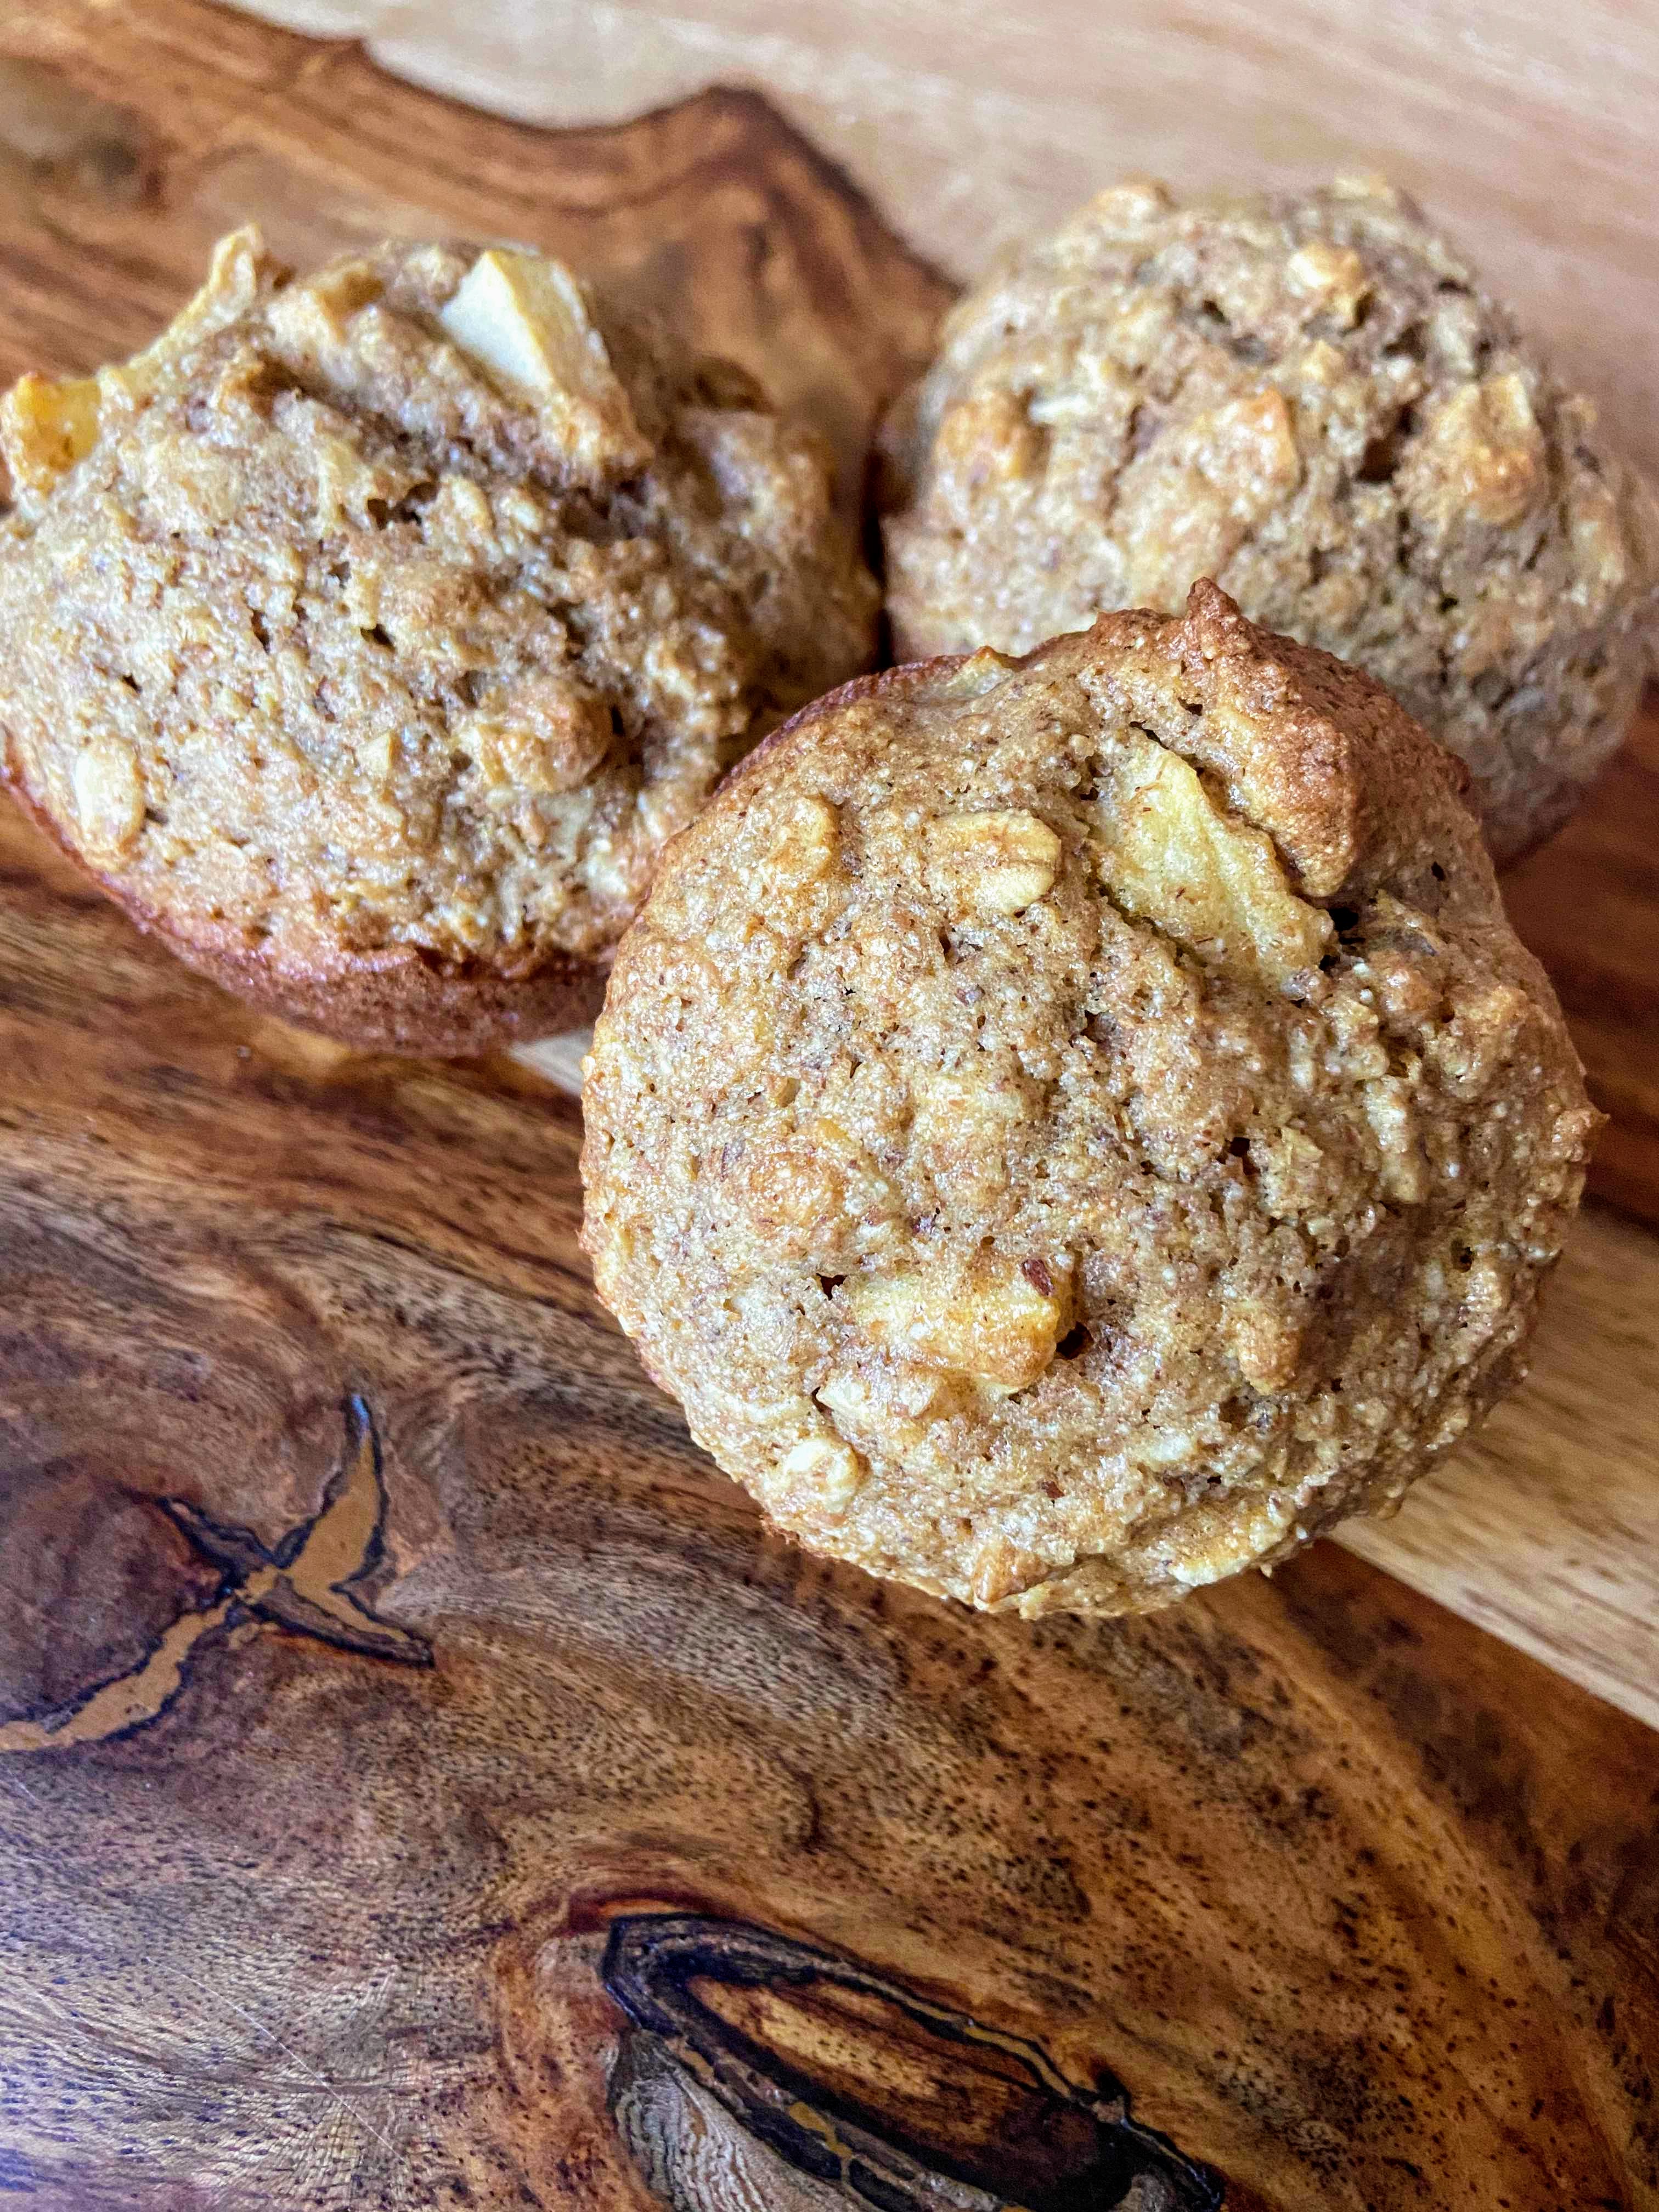
This past weekend, I was inspired by all the muffins I saw on social media. What resulted was this clean, healthy apple and oatmeal muffin. Texture in the oatmeal and apple and just the right amount of cinnamon. My family approved and ate them all week. I loved them for a mid morning snack while I have been checking up on my students virtually. If you have a busy lifestyle, mix up a double batch and throw them in the freezer. 

Note that I have been into using maple syrup for my sweetener because we have it on hand and it’s a fun way for me to challenge myself to make the swap for refined sugar. If you don’t have access to maple syrup there are a few options here: 

  • Use honey instead 
  • Use regular sugar (or maybe brown for a hint of molasses?) and leave out the flax to compensate for dry ingredient addition. 

Okay, enough talk. Let’s get baking so you and your family can enjoy these muffins too!

Your ingredients (for approximately 18 regular sized muffins):

  • 2 cups old fashioned oatmeal
  • 1 ½ cups whole wheat flour
  • 1 teaspoon baking powder
  • ¾ teaspoon cinnamon 
  • ½ teaspoon salt 
  • 2 tablespoons ground flaxseed (If you don’t have this, you can leave it out, but I would replace with flour to keep the consistency right)
  • ¼ teaspoon nutmeg 
  • 1 cup milk
  • ¾ cup maple syrup 
  • ⅓ cup oil of your choice (vegetable, olive, coconut)
  • 1 egg, beaten
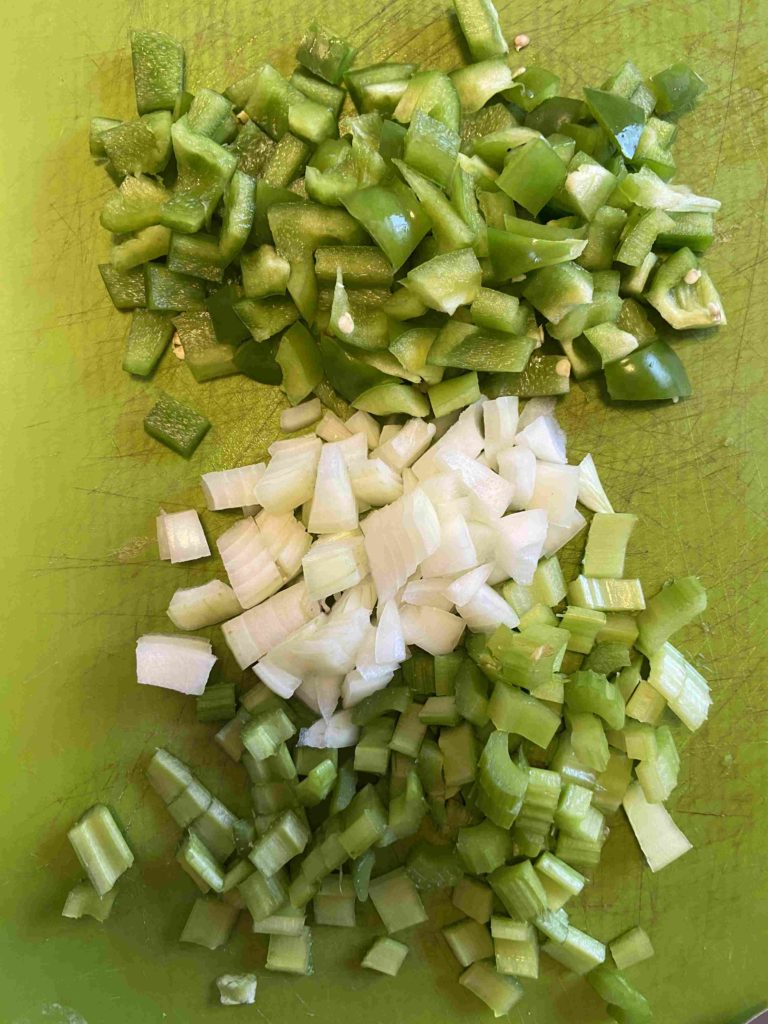
  • 1 apple, peeled and diced (about 1 cup) 
  • ½ cup chopped nuts (optional-if you dig additional texture)

Your Steps to Apple and Oatmeal Muffins

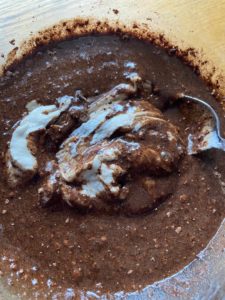
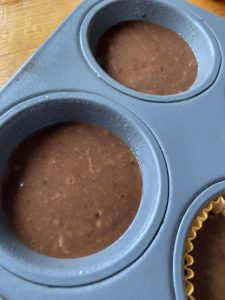
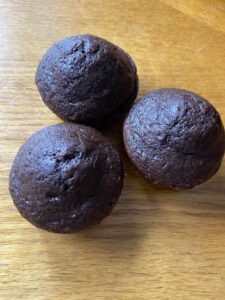
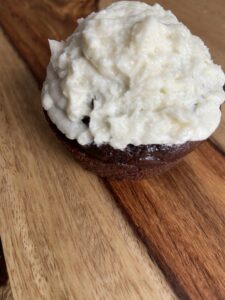
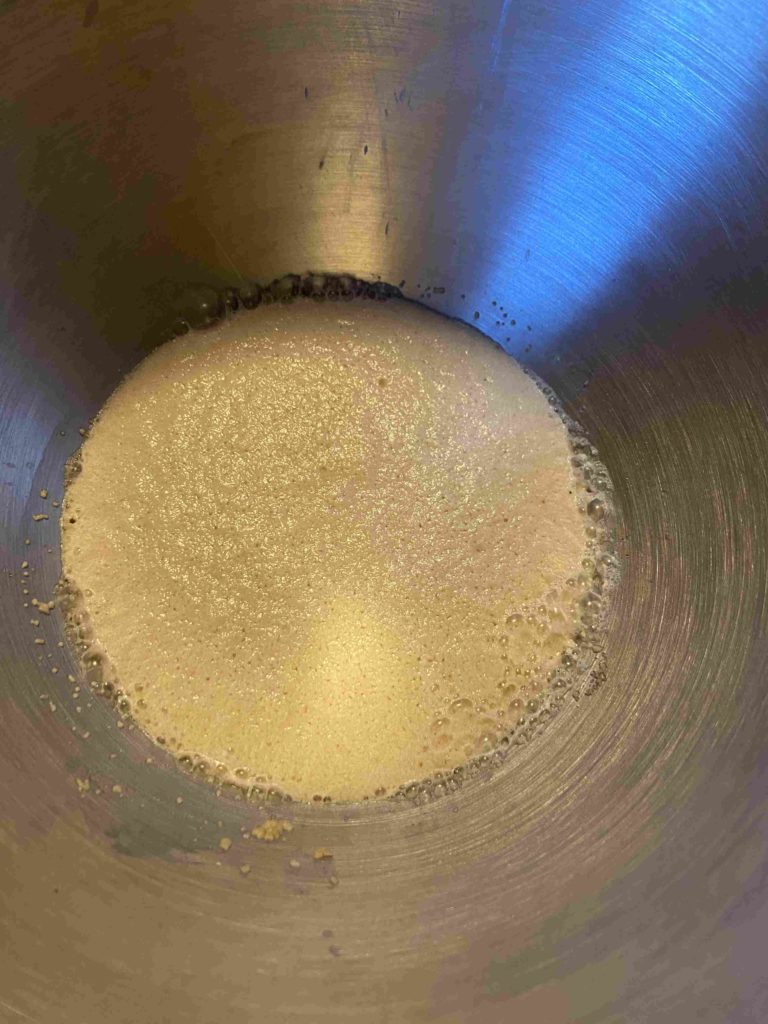
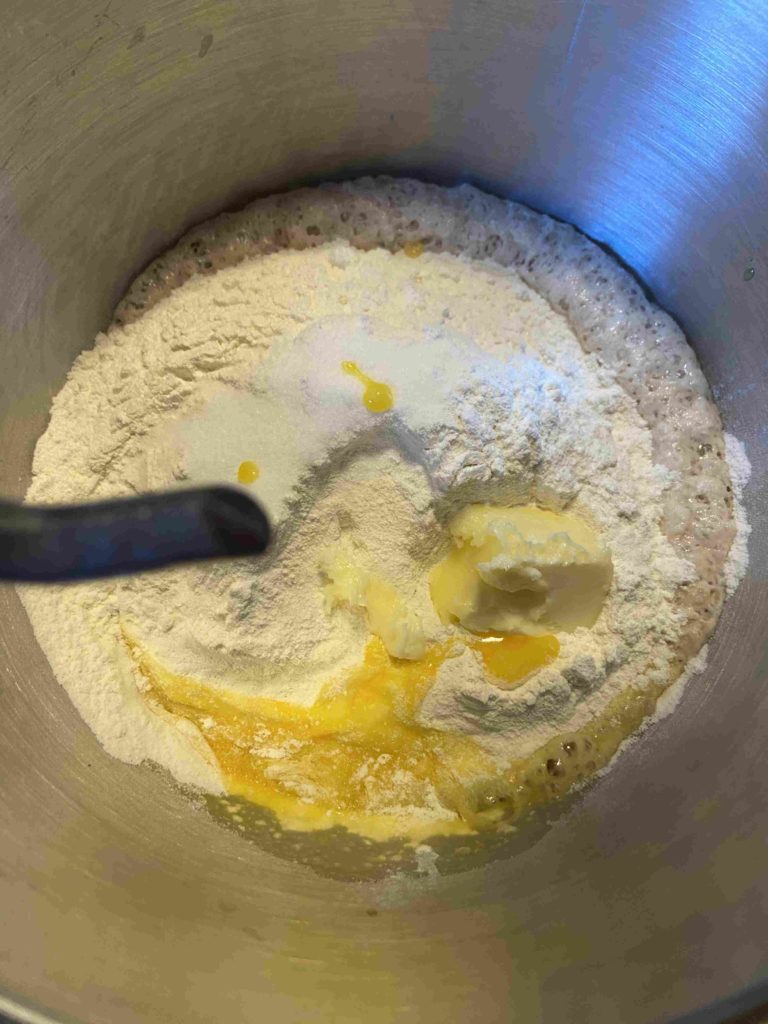
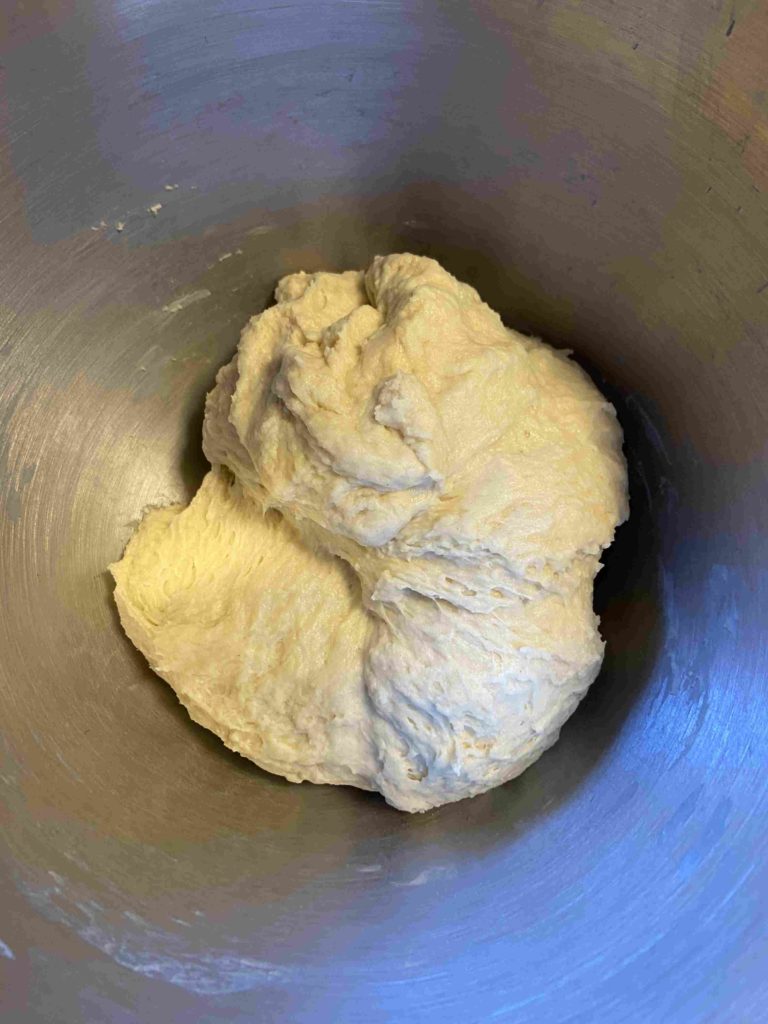
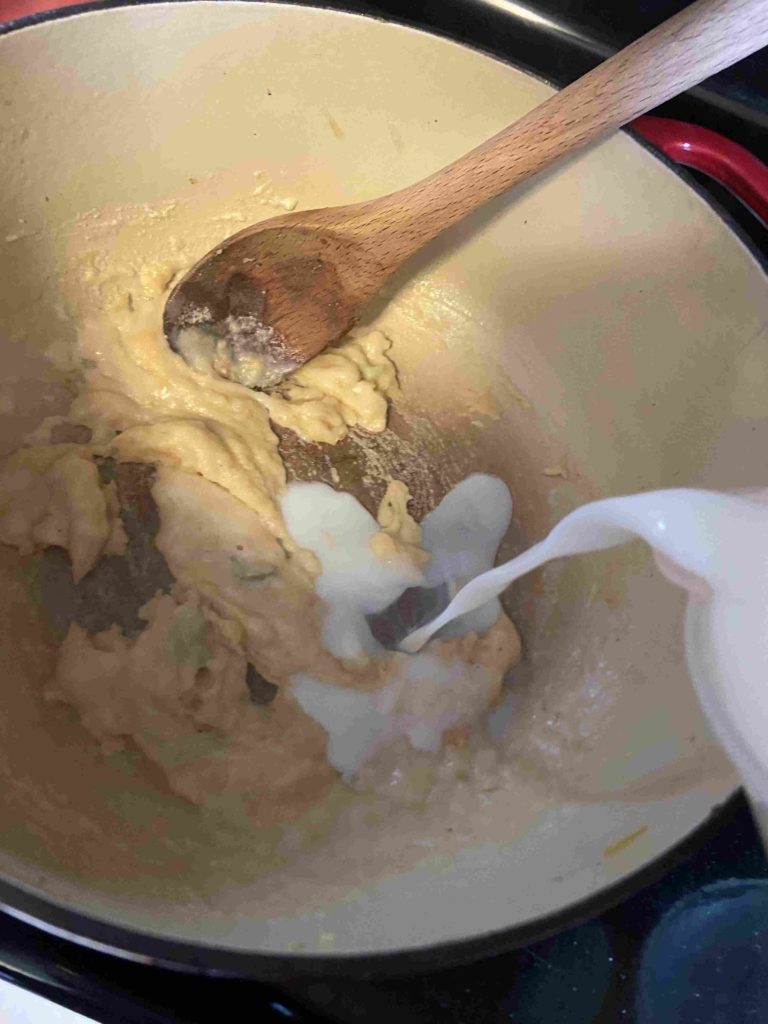
Preheat oven to 400 degrees and move a rack to the center of the oven. In a large bowl, combine oatmeal, flour, baking powder, cinnamon, salt, and nutmeg. In a separate bowl, mix milk, maple syrup, oil, egg. Mix into the dry ingredients until just incorporated. Fold in apples. Pour into greased or line muffin tins approximately ¾ of the way full. Bake for 16-22 minutes. Enjoy right out of the oven with just a hint of butter, because if you ask me, there isn’t much better than a baked good straight out of the oven with a very small tab of butter. Yum!
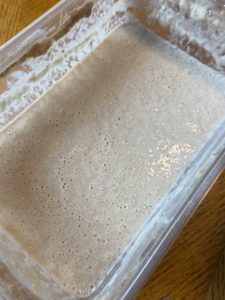
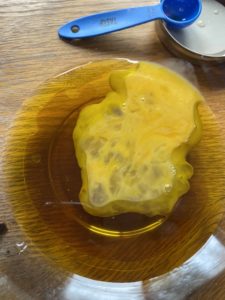
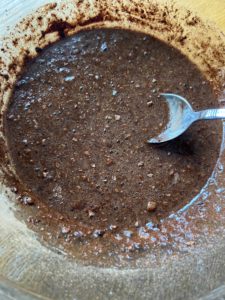
Looking for more baking recipes? Check out my baking page here!

Apple and Oatmeal Muffins

Light and full of good for you ingredients, these muffins will hit the spot and be on the table in 30 minutes.
Prep Time 10 minutes
Cook Time 18 minutes
Servings 12 muffins

Ingredients
  

  • 2 cups old fashioned oatmeal
  • 1 ½ cups whole wheat flour
  • 1 teaspoon baking powder
  • ¾ teaspoon cinnamon
  • ½ teaspoon salt
  • 2 tablespoons ground flaxseed If you don’t have this, you can leave it out, but I would replace with flour to keep the consistency right
  • ¼ teaspoon nutmeg
  • 1 cup milk
  • ¾ cup maple syrup
  • cup olive oil
  • 1 egg beaten
  • 1 apple peeled and diced (about 1 cup)
  • ½ cup chopped nuts optional-if you dig additional texture

Instructions
 

  • Preheat oven to 400 degrees and move a rack to the center of the oven.
  • In a large bowl, combine oatmeal, flour, baking powder, cinnamon, salt, and nutmeg.
  • In a separate bowl, mix milk, maple syrup, oil, egg.
  • Mix into the dry ingredients until just incorporated. Fold in apples and nuts.
  • Pour into greased or line muffin tins approximately ¾ of the way full. Bake for 16-22 minutes.
Tried this recipe?Let us know how it was!

Homemade Peanut Butter

Last Updated on May 14, 2023 by Jess

Do you ever think to yourself, “I know I could easily buy this for much cheaper, BUT can I make it from scratch? I mean, just because I can?” I function in that world quite often; It has rubbed off on my children. Case in point, last night. I rarely eat the Oreos my husband buys, but last night, I thought, “Oooo…a crumbled Oreo on ice cream sounds so good.”

I went to grab an Oreo, and of course my husband and children had JUST finished them hours ago. When I pointed out to my family that of course I decided I wanted one right after they finished them, my 5-year-old daughter quickly responded, “Maybe you can find a recipe to make them homemade?!” I have apparently created monsters (Or not, because how cool is it that both of my children get excited about making things from scratch?! #momwin)

The “what can I make from scratch” itch has been stronger since we started being “safer at home.” My kids’ go to lunch is peanut butter and jelly on a tortilla shell. I like it on sourdough. Because we have a substantial garden and I love canning, we also have enough homemade jelly and jam to feed a small army.

So let’s see, I have a fresh loaf of sourdough bread. I have homegrown and canned black raspberry jam open in the fridge. Wouldn’t it be awesome if I made homemade peanut butter so the whole sandwich was produced by me? (This is another passion of mine…having the whole meal be from scratch and the protein harvested by my husband through hunting. So fun!). I gave it a try and the results were delicious. When my 10-year-old son (the go-to taste tester) gave it a try, he just closed his eyes and smiled. He makes it special.

This process was so much easier than I expected and your kids will be tickled pink to know they took peanuts from the pantry and made peanut butter from them! Give it a try!

Your ingredients

  • 1/2 cup dry roasted peanuts
  • 1 – 1 1/2 teaspoons olive oil (or other oil, I went olive)
  • 1/2 – 1 teaspoon honey (to taste)

(Feel free to double or triple this recipe. I wanted to start small in case we didn’t love it. It was such an easy process that making it in small, fresh batches is a great idea too!)

Your Steps to Homemade Peanut Butter

Place the peanuts in a small food processor and pulse on high. This will take a few minutes. Be patient. As I watched the peanut go from whole to chopped to a large sand texture, I thought there was no way they were going to turn to butter. Keep going.

Once you have obtained a very fine sand texture, drizzle oil into the mixture, 1/2 teaspoon at a time, blending it in as you go. Again, be patient and suddenly you’ll think, “Holy cow! I made peanut butter!” The initial plan was not to put honey in mine, but I gave it a try and thought it would be good to have it be a touch sweeter. I added 1/2 teaspoon, blended it in, and then gave it to my son. He gave it two thumbs up so I stopped there. If you have a sweeter tooth than we do, you may want to add a little more.

What I love about this peanut butter is that you can control the consistency. I like a little texture so I opt for crunchy on my PB and Js. While I didn’t get crunchy per say, I did have texture which was good. I haven’t tried it yet, but you could totally mix in some additional chopped peanuts for true crunchy peanut butter. I hope you enjoy it as much we did at our house. Although I have a hard time sharing…I mean, they get all the Oreos right?

Let me know what you think! —Jess

PS…Ready for a game changer? Put a thin layer of homemade peanut butter on BOTH sides of the bread then put the jelly/jam on one side. My PB and J game has been forever changed because of this small hint!

TOOLS OF THE TRADE

I do love my little food processor for creating small batches. Sometimes bigger isn’t always better, right?

Looking for homemade jam or jelly to pair with your peanut butter? Check out my canning and preserving page to get a recipe! Click the button below! Or click any of the pictures below for the direct link!

Homemade Peanut Butter

From scratch food is almost always better, but sometimes it isn't easy. Not the case with this homemade peanut butter! You are truly five minutes away!
Prep Time 10 minutes
Cook Time 0 minutes
Course Appetizer
Cuisine American
Servings 4

Ingredients
  

  • 1/2 cup dry roasted peanuts
  • 1 – 1 1/2 teaspoons olive oil or other oil, I went olive
  • 1/2 – 1 teaspoon honey to taste
  • dash of salt optional

Instructions
 

  • Place the peanuts in a small food processor and pulse on high. This will take a few minutes. Be patient.
  • Once you have obtained a very fine sand texture, drizzle oil into the mixture, 1/2 teaspoon at a time, blending it in as you go.
  • Drizzle in honey and sprinkle in salt. Blend once more.
Keyword peanut butter, peanuts, sandwiches
Tried this recipe?Let us know how it was!

So Simple Tomato Soup

Last Updated on September 24, 2023 by Jess

I’ve always enjoyed a grilled cheese and some tomato soup. It wasn’t on my top list of favorites, but it definitely provides a source of comfort. Then I started baking sourdough bread and let me tell you, homemade sourdough quite possibly makes the best grilled cheese you’ll ever have. It’s been my “easy lunch” on the weekend countless times because it makes me so happy. Wait, you don’t bake sourdough…yet? What are you waiting for? Check it out here!

Okay, I digress. Sourdough grilled cheese is incredible, but tomato soup makes it so much better. And alas, we don’t generally have it on hand anymore since I make my own soups from scratch (I have an entire Pinterest board dedicated to soup…it’s a bit of an obsession). But recently it was chilly out and I just needed tomato soup. I looked around my fridge and pantry and put this together in flash…along with a grilled cheese of course.

A few notes from me: Most tomato soups (and creamy soups in general) call for heavy cream. I never have that on hand, and I like to make soups with things that I have on hand. I find that milk works just fine and makes for a slightly lighter soup without compromising too much. If you dig a creamier soup, feel free to use heavy cream rather than milk. If you haven’t noticed yet, I like to sneak all the veggies I can into a meal. It’s how I roll. This soup isn’t any different. Finally, this soup makes use of an immersion blender/stick blender (click here to see which one I have). If you don’t have one, it’s a pretty sweet kitchen gadget that has tons of uses and doesn’t take up too much space. I recommend it 🙂

Okay, let’s get cooking!

Your ingredients:

  • 1 cup diced carrot
  • 1/3 cup diced onion
  • 1 tablespoon olive oil
  • 1 cup diced zucchini (about 1 small)
  • 1/2 cup tomato paste
  • 2 14.5 ounce cans diced tomatoes (I used one salt free and one garlic seasoned), NOT drained
  • 1/2 teaspoon pepper (or to taste)
  • 1/2 teaspoon salt
  • 1 teaspoon minced garlic
  • 1 teaspoon dried basil
  • 2 cups chicken stock/broth
  • 1 cup milk (I used 1%)
  • 1/2 tablespoon honey (to taste)

Directions:

Heat oil over medium heat in a large kettle. Once hot, add carrot, onion salt, pepper, and basil. Sauté for 8-10 minutes, until soft. Add minced garlic, zucchini, cooking for an addition 5-8 minutes. Stir in tomato paste and allow to just caramelize. (If you are worried about burning it, you can skip the caramelize). Stir in diced tomatoes and chicken stock. Allow to simmer for 10 minutes, making sure your vegetables are nice and soft. Hit all your soup goodness with the immersion blender and blend until smooth (a shorter time if you want texture, a longer time if you want a more commercial tomato soup). Slowly stir in milk and honey. Leave over the heat until warm.

If you want a thicker soup, feel free to allow it to cook down a little bit. But if you’re like me at all, you’ll just be itching to get that warm goodness in your belly and you’ll eat it right away, complete with a grilled cheese. Yum!

So Simple Tomato Soup

A few easy, on hand ingredients combine to make a simple from scratch tomato soup everyone will love!
5 from 1 vote
15 minutes
Total Time 20 minutes
Course Side Dish
Cuisine American
Servings 4

Ingredients
  

  • 1 cup diced carrot
  • 1/3 cup diced onion
  • 1 tablespoon olive oil
  • 1 cup diced zucchini about 1 small
  • 1/2 cup tomato paste
  • 2 14.5 ounce cans diced tomatoes NOT drained
  • 1/2 teaspoon pepper or to taste
  • 1/2 teaspoon salt
  • 1 teaspoon minced garlic
  • 1 teaspoon dried basil
  • 2 cups chicken stock/broth
  • 1 cup milk I used 1%
  • 1/2 tablespoon honey to taste

Instructions
 

  • Heat oil over medium heat in a large kettle. Once hot, add carrot, onion salt, pepper, and basil. Sauté for 8-10 minutes, until soft.
  • Add minced garlic, zucchini, cooking for an addition 5-8 minutes.
  • Stir in tomato paste and allow to just caramelize. (If you are worried about burning it, you can skip the caramelize).
  • Stir in diced tomatoes and chicken stock. Allow to simmer for 10 minutes, making sure your vegetables are nice and soft.
  • Blend until smooth using an immersion blender and blend. (a shorter time if you want texture, a longer time if you want a more commercial tomato soup).
  • Slowly stir in milk and honey. Leave over the heat until warm.
  • If you want a thicker soup, feel free to allow it to cook down a little bit.
Keyword Gluten Free, soup recipe, tomato soup
Tried this recipe?Let us know how it was!

Looking for other soup recipes?

Check out some of the recipes below!

Sourdough Chocolate Cupcakes with Vanilla Frosting

Last Updated on September 29, 2021 by Jess

I have loved my sourdough starter from day one. I named it “Fred” (I mean, it rhymes with bread) and put a reminder in my phone to remember to feed it. Once I felt I had “mastered” (Do we ever really master anything?!) regular sourdough bread, I immediately got on Pinterest and started looking for other recipes to use my starter discard. Anything that I could bake with or without yeast, I wanted to use my sourdough starter. It was a challenge I made for myself and I loved bringing in new recipes for my colleagues at school to share and get input.

Like so many things, that wained over time. I still baked beyond bread, but generally not more than once a month. Then I decided to teach a few friends how to bake with sourdough and my passion was re-lite. (Thank you new sourdough friends! I appreciate you all so much!)

Enter this sourdough chocolate cake.

Before I share the recipe for sourdough chocolate cupcakes, I want to give just a little background. Working from home with my kids has brought some unexpected perks, one being a newfound kiddo interest in cooking and baking with me in the kitchen. My 10 year old has kicked butt and my 5 year old daughter is just itching to help. For Easter, she insisted she wanted to make cupcakes from scratch. “Great,” I say. “What kind?” “CHOCOLATE!” she says. I tried to convince her we should do a carrot cake but there was no talking her out of chocolate.

Then I saw my healthy, just doubled starter sitting on the table in all it’s glory. Inspiration station baby. I did a little research and I stumbled upon this recipe from King Arthur’s Flour. After some tweaking here and there and came up with my own version. I know I haven’t had a chocolate cake in quite some time, but I did declare one of the best I have had. They turned out marvelous, light and fluffy, sweet but not overly so. I hope the next time you either have excess starter or are just in the mood, you give these a try! –Jess

Your ingredients

  • 1/2 cup sourdough starter discard, recently fed
  • 1/2 cup unsweetened almond milk (regular milk would do just fine too!)
  • 1 cup all purpose flour
  • 2/3 cup real maple syrup
  • 1/4 cup olive oil
  • 1/2 tablespoon vanilla
  • 1 egg, beaten
  • 1/3 cup cocoa powder
  • 1/2 teaspoon salt
  • 3/4 teaspoon baking soda
  • 1/3 cup chopped dark chocolate (I used Nestle’s dark chocolate chips…a recent obsession at our house)

Your Steps for Sourdough Chocolate Cupcakes

In a small bowl, combine starter, almond milk, and flour. Cover and set aside for 1/2 hour to an hour.

Meanwhile, mix cocoa powder, salt and baking soda in a small bowl. Combine maple syrup, olive oil, vanilla, and egg (beaten ahead of time) in a large bowl. Stir cocoa powder mixture and chopped dark chocolate into the liquid ingredient bowl. Add starter, milk, and flour mixture. Mix until well combined. It will seem as though it won’t combine. Be patient and take your time. I used a large fork to combine the sourdough starter and chocolate mixture, using a gentle lifting motion.

It may take a few minutes, but suddenly, it will look like a chocolate cake batter rather than a strange marble cake, I promise. Once fully mixed, place in a lined or greased muffin tin and bake at 350 degrees for 14-18 minutes. Mine were done in exactly 16 minutes, bouncing back when I touched them. Allow to cool, then, if you are feeling especially “from scratch,” check out the frosting below!

Note: You could totally double this recipe and have a whole 9 by 13 cake. I just know my family didn’t need that much hanging around our house (We still have slices of lemon pound cake in the fridge that my son put together!)

For the frosting

  • 1/2 cup butter, softened
  • 1 1/2 cup powdered sugar
  • dash of salt
  • 1 teaspoon vanilla extract
  • 2 tablespoons almond milk

I am not calling myself a frosting expert by any means, but I will say that my husband ate ALL the leftovers with pretzels as soon as he got home from work, so it must have been pretty good?

Using an electric mixer, cream butter until light and fluffy. Gradually add powdered sugar, 1/2 cup at a time. Sprinkle with a dash of salt. Add vanilla and almond milk. Mix an additional 30 seconds to a minute. Frost your sourdough chocolate cupcakes. Then try a favorite “delicacy” from my childhood: Frosting on saltine crackers! Might I recommend frosting the non-salted side so that the salt goes on your tongue when you eat it? Yum!

Looking for other sweet treat inspiration? Check out my baking page by clicking the link below:

Sourdough Chocolate Cupcakes

Sourdough Chocolate Cupcakes with Vanilla Frosting: Simple in flavor profile but oh so delicious and a great way to bake sourdough style!
Prep Time 5 minutes
Cook Time 15 minutes
Rest Time 45 minutes
Course Dessert
Cuisine Sourdough
Servings 12 cupcakes

Ingredients
  

  • 1/2 cup sourdough starter discard recently fed
  • 1/2 cup unsweetened almond milk or regular milk
  • 1 cup all purpose flour
  • 2/3 cup real maple syrup
  • 1/4 cup olive oil
  • 1/2 tablespoon vanilla
  • 1 egg beaten
  • 1/3 cup cocoa powder
  • 1/2 teaspoon salt
  • 3/4 teaspoon baking soda
  • 1/3 cup chopped dark chocolate

Frosting

  • 1/2 cup butter softened
  • 1 1/2 cup powdered sugar
  • dash of salt
  • 1 teaspoon vanilla extract
  • 2 tablespoons almond milk

Instructions
 

  • In a small bowl, combine starter, almond milk, and flour. Cover and set aside for 1/2 hour to an hour.
  • Meanwhile, mix cocoa powder, salt and baking soda in a small bowl. Combine maple syrup, olive oil, vanilla, and egg (beaten ahead of time) in a large bowl.
  • Stir cocoa powder mixture and chopped dark chocolate into the liquid ingredient bowl. Add starter, milk, and flour mixture. Mix until well combined. It will seem as though it won’t combine. Be patient and take your time.
  • Once fully mixed, place in a lined or greased muffin tin and bake at 350 degrees for 14-18 minutes, until they bounce back when touched.

Frosting

  • Using an electric mixer, cream butter until light and fluffy.
  • Gradually add powdered sugar, 1/2 cup at a time.
  • Sprinkle with a dash of salt. Add vanilla and almond milk.
  • Mix an additional 30 seconds to a minute. Frost cooled cupcakes.
Keyword chocolate, cupcakes, dessert, sourdough
Tried this recipe?Let us know how it was!

Sloppy Joes and Homemade Rolls

Last Updated on September 26, 2021 by Jess

Inspiration comes from interesting places, doesn’t it? I have this lovely friend who is immensely creative and loves to create food masterpieces often. Since she is working from home part time right now, this happens regularly for her. She shared that she made homemade hamburger rolls and that her husband declared them better than store bought. Well, those lingered in my head and I was intrigued, hoping to find a reason to make them. (Wait for it…Sloppy Joes to come!)

Two days later, my son and I were flipping through my most recent cooking magazine as we are waiting for the time to start teaching and learning from home, and we see Sloppy Joes. Alas, we don’t have any rolls and with COVID-19, we have been strictly holding to one grocery trip a week, and my husband is the one to do it (he’s at work…bummer). But! The recipe of the rolls! So I quickly set to work to put my own spin on a from scratch Sloppy Joe mix with yeast rolls.

Oh my goodness, these rolls. Simple to put together. Leaves the house smelling amazing, and tastes delightful. If yeast wasn’t such a hot commodity right now, I am certain my family would have a batch of these baked up every week. My kids snack on them like crazy. And the Sloppy Joe mix? Once we ate through the first batch of rolls, my kiddos were more than happy to eat it out of the bowl or on top of a slice of sourdough. Needless to say, this was a big hit at our house and lasted for a couple dinners as well as a few lunches for my kiddos. I hope it’s a hit at your house too!

First, the Sloppy Joes

Your ingredients:

  • 2 pounds ground meat (We do home ground venison, but do what suits your family)
  • 1 tablespoon olive oil
  • 1 cup diced green pepper (about 1 pepper)
  • 1/2 cup diced onion
  • 1/2 cup diced celery
  • 2 teaspoons minced garlic
  • 2 1/2 cup beef broth/stock
  • 3 tablespoons pure maple syrup (Or sub in brown sugar. We just have syrup on hand and I like to use it whenever possible)
  • 2/3 cup tomato paste
  • 1/2 teaspoon pepper
  • 1/2 teaspoon Worcestershire sauce
  • 1 teaspoon mustard powder
  • 1/4 cup ketchup
  • 1 tablespoon white vinegar

Brown ground meat in a large sauté pan. Remove and set aside in a bowl. If your protein is lean like venison is, add and heat the olive oil to the pan. Add pepper, onion, celery, and garlic. Sauté for 5-10 minutes, until soft. Stir in remaining ingredients and heat to boiling. Bring down to a simmer, stir in the browned meat, and simmer for 40 minutes over low-medium heat. And just like that, you have delicious, from scratch Sloppy Joe’s! Now for the rolls (After Sloppy Joe pictures of course 🙂 )

From Scratch Dollar rolls

My inspiration came from Cooking with Curls, but I modified her recipe just a touch to suit my own taste. You can find her original post here. Here’s how I put mine together:

Your ingredients:

  • 1 tablespoon instant yeast
  • 1 cup hot water (110-115 degrees Fahrenheit)
  • 2 tablespoons sugar (This has total flexibility though. I accidentally did 2 teaspoons the other day and they turned out fine. The original recipe calls for 4 tablespoons)
  • 1 large egg, beaten
  • 3 1/2 cups all purpose flour
  • 1 1/4 teaspoon salt
  • 2-3 tablespoons butter, divided (1 tablespoon softened and remaining melted to brush on top of the rolls prior to baking)

In a stand mixer bowl, add yeast, sugar, and hot water. Allow to proof for five minutes. Stir in egg, flour, salt, and one tablespoon softened butter. From here, allow stand mixer to mix the ingredients on a low speed for 4 minutes, until a soft dough is formed. Cover the bowl and allow to rest and rise for an hour and a half.

After the dough has risen, turn the dough out onto a lightly floured surface. Cut dough into 9-16 equal pieces, depending on your family likes their rolls. We dig smaller rolls, we we went for 16. Place on a jelly roll pan lined in parchment paper or silicone cookie sheet liners. Cover and allow them to rest an additional hour, until they double in size.

Preheat the oven to 375 degrees. Uncover rolls and brush with melted butter (sprinkle with sesame seeds? I mean, that would be fun!). Bake for 15-18 minutes. Then take in just how good your house smells and revel in the fact that you just made homemade rolls that are SO MUCH BETTER than store bought, I promise!

From Scratch Sloppy Joes

A combination of yeast rolls baked fresh and slow simmered from scratch Sloppy Joes make for a perfect meal and doubles as meal prep for later in the week
Prep Time 20 minutes
Cook Time 40 minutes
Course dinner
Cuisine American
Servings 8 people

Ingredients
  

  • 2 pounds ground meat
  • 1 tablespoon olive oil
  • 1 cup diced green pepper about 1 pepper
  • 1/2 cup diced onion
  • 1/2 cup diced celery
  • 2 teaspoons minced garlic
  • 2 1/2 cup beef broth/stock
  • 3 tablespoons pure maple syrup or brown sugar
  • 2/3 cup tomato paste
  • 1/2 teaspoon pepper
  • 1 teaspoon Worcestershire sauce
  • 1 teaspoon mustard powder
  • 1/4 cup ketchup
  • 1 tablespoon white vinegar

Instructions
 

  • Heat oil in a large kettle. Add ground protein. Brown ground meat. Remove and set aside in a bowl.
  • If your protein is lean like venison is, add and heat additional tablespoon of olive oil to the pan.
  • Add pepper, onion, celery, and garlic. Sauté for 5-10 minutes, until soft.
  • Stir in remaining ingredients and heat to boiling.
  • Bring down to a simmer, stir in the browned meat, and simmer for 40 minutes over low-medium heat, until thickened.
Keyword dinner, lunch, sandwiches, sloppy joes
Tried this recipe?Let us know how it was!

Creamy Ham and Potato Soup

Last Updated on January 29, 2023 by Jess

I had a favorite ham and potato soup from my early days of cooking. Let me tell you, it was thickened by cheddar cheese, so it was a soup after my Wisconsin heart. Then I tried my mother in law’s new recipe. It was delish. So of course, I was inspired to reevaluate my own recipe and developed this beauty. My favorite part? The number of ingredients is low and it comes together so quickly! Give it a try on a cold dreary day when you need a steaming bowl of soup to warm your hands and soul.

Your ingredients

  • 4 cups of diced potatoes (You can peel them if you prefer. I like to leave the peels on. You do you!)
  • 2/3 cup diced celery
  • 2/3 cup diced onion
  • 1 tablespoon minced garlic
  • 1/2 teaspoon ground pepper
  • 1/2 teaspoon salt (my favorite is kosher salt)
  • 3 cups chicken broth (I always make use Orrington Farm’s chicken broth base)
  • 2 cups milk (I used 1%)
  • 3 tablespoons flour
  • 3 tablespoons butter
  • 1 cup diced, cooked ham

Your Steps

In a large kettle (I LOVE my cast iron dutch oven), combine the potatoes, celery, onion, garlic, pepper, salt, and chicken broth. Bring to a boil and then low to a simmer for 15-20 minutes, until potatoes are soft. Remove from heat.

Carefully pour vegetables and stock into a heat safe bowl and set aside. Keeping the kettle heated over medium heat, add the butter and stir until fully melted. Stir in the flour and continue to stir/whisk until a golden brown color is created, about 3 minutes. SLOWLY (I am not good at this part…I am so impatient), stir in the milk, adding 1/3-1/2 cup at a time. Heat and stir until it thickens. Be patient if you can, it will be worth it. Once all milk has been incorporated, slowly reincorporate the chicken stock and vegetables. Add in ham and continue to cook over a medium heat until the ham is heated through. Taste test, and add additional salt and pepper to taste. Serve this ham and potato soup up with a nice side salad and a piece of crusty bread. Yum.

My husband is still in love with the cheesy potato soup, so he likes to stir in a few tablespoons of cheese (Okay, again, Wisconsin. Let’s be real, it’s more like 1/3 cup. We love our cheese.). It makes a great add in, but this soup eats great without it too! Give it a try! Cheers to your time in the kitchen–Jess

Looking for more dinner recipes? Check out my cooking page below:

Creamy Ham and Potato Soup

Ham and Potato pair nicely in this simple, hearty soup.
Prep Time 10 minutes
Cook Time 40 minutes
Course dinner, Soup
Cuisine American
Servings 6

Ingredients
  

  • 4 cups of diced potatoes
  • 2/3 cup diced celery
  • 2/3 cup diced onion
  • 1 tablespoon minced garlic
  • 1/2 teaspoon ground pepper
  • 1/2 teaspoon salt
  • 3 cups chicken broth
  • 2 cups milk
  • 3 tablespoons flour
  • 3 tablespoons butter
  • 1 cup diced cooked ham

Instructions
 

  • In a large kettle, combine the potatoes, celery, onion, garlic, pepper, salt, and chicken broth.
  • Bring to a boil and then low to a simmer for 15-20 minutes, until potatoes are soft. Remove from heat.
  • Carefully pour vegetables and stock into a heat safe bowl and set aside.
  • Keeping the kettle heated over medium heat, add the butter and stir until fully melted.
  • Stir in the flour and continue to stir/whisk until a golden brown color is created, about 3 minutes.
  • Slowly stir in the milk, adding 1/3-1/2 cup at a time. Heat and stir until it thickens.
  • Once all milk has been incorporated, slowly reincorporate the chicken stock and vegetables.
  • Add in ham and continue to cook over a medium heat until the ham is heated through.
  • Taste test, and add additional salt and pepper to taste.
Keyword cast iron cooking, comfort food, ham, Ham and Potato Soup, Potatoes, soups and stews
Tried this recipe?Let us know how it was!