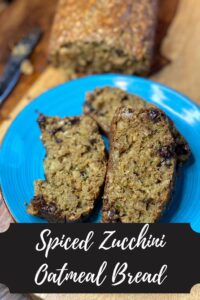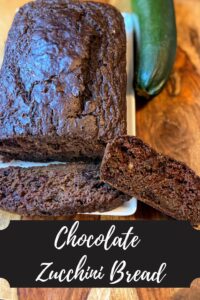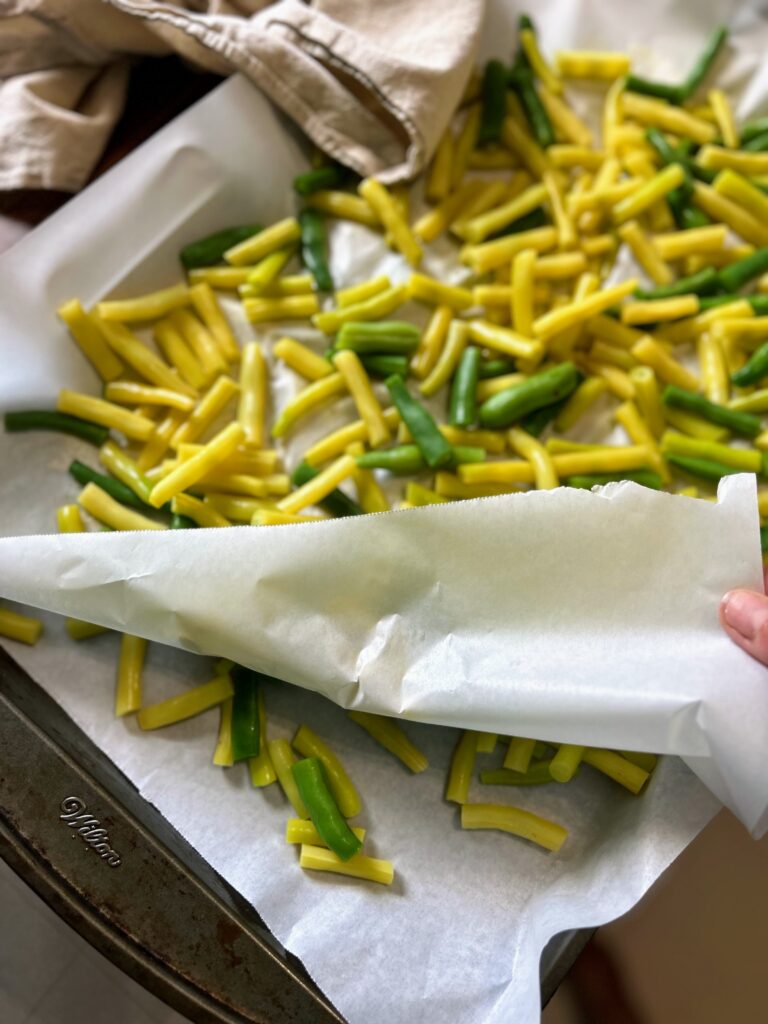
It’s that time of year where gardens everywhere are producing extra amounts of zucchini. Where people are sneaking them onto their neighbors porches, into their cars, you name it. I was deep into Instagram and a woman commented that she planted 11 plants her first time. I think I guffawed at that! If you can relate and have a stack of zucchinis on your counter, maybe give this recipe a go: Zucchini Brownies.
Now listen, I know brownies are necessarily synonymous with healthy sweet treats, but these are pretty darn close. I swapped maple syrup for sugar (seriously, it’s so good!), opted for oatmeal flour rather than regular flour, and used olive oil. All great things, right?
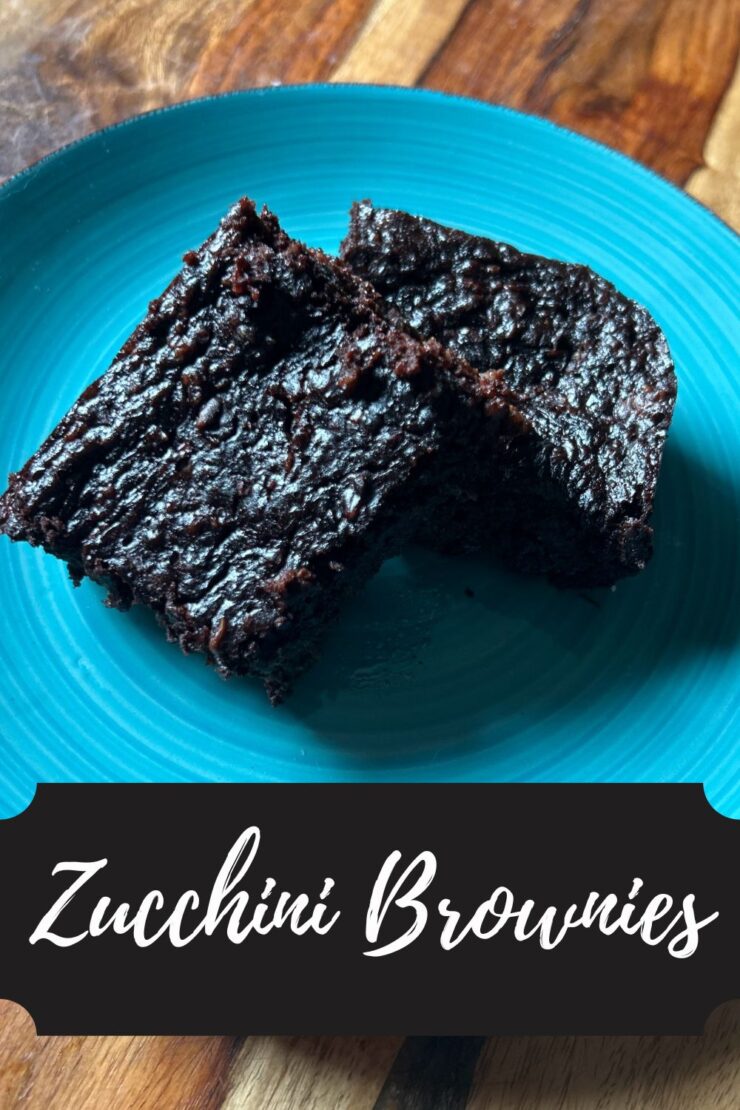
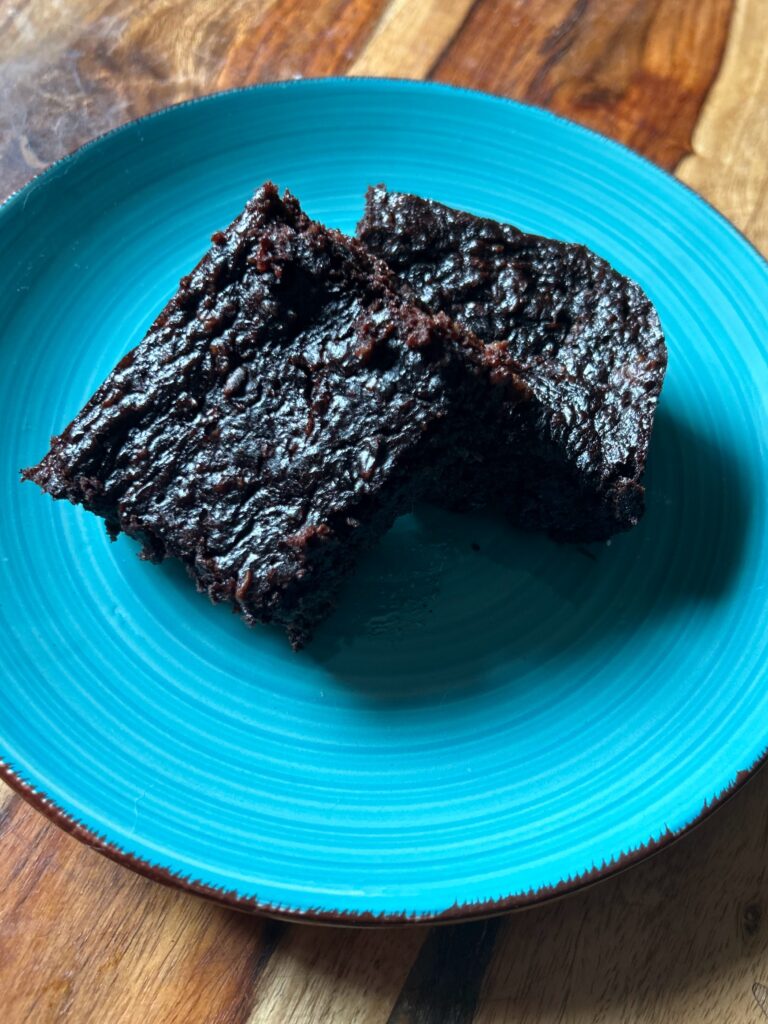
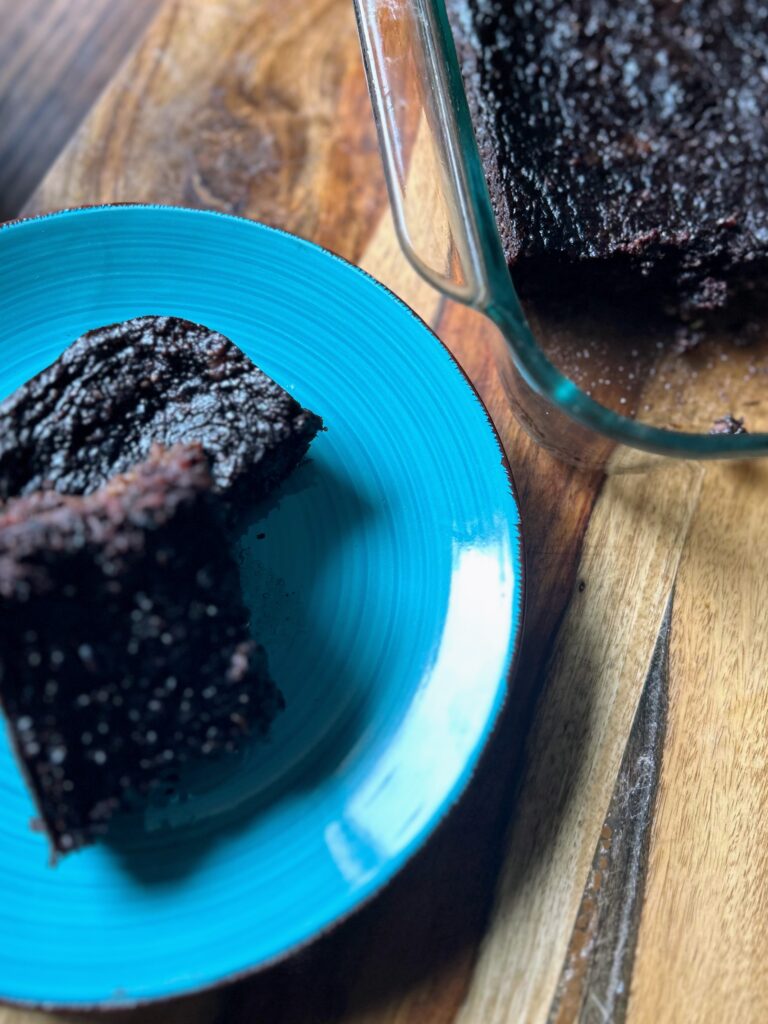
And they are so rich and delicious. The amount of cocoa powder leaves them a dark beautiful brown color and the zucchini adds extra moisture. They get better as the days go by, if you can keep them in your house long enough!
Ready to start baking? Let’s go!
Your Ingredients
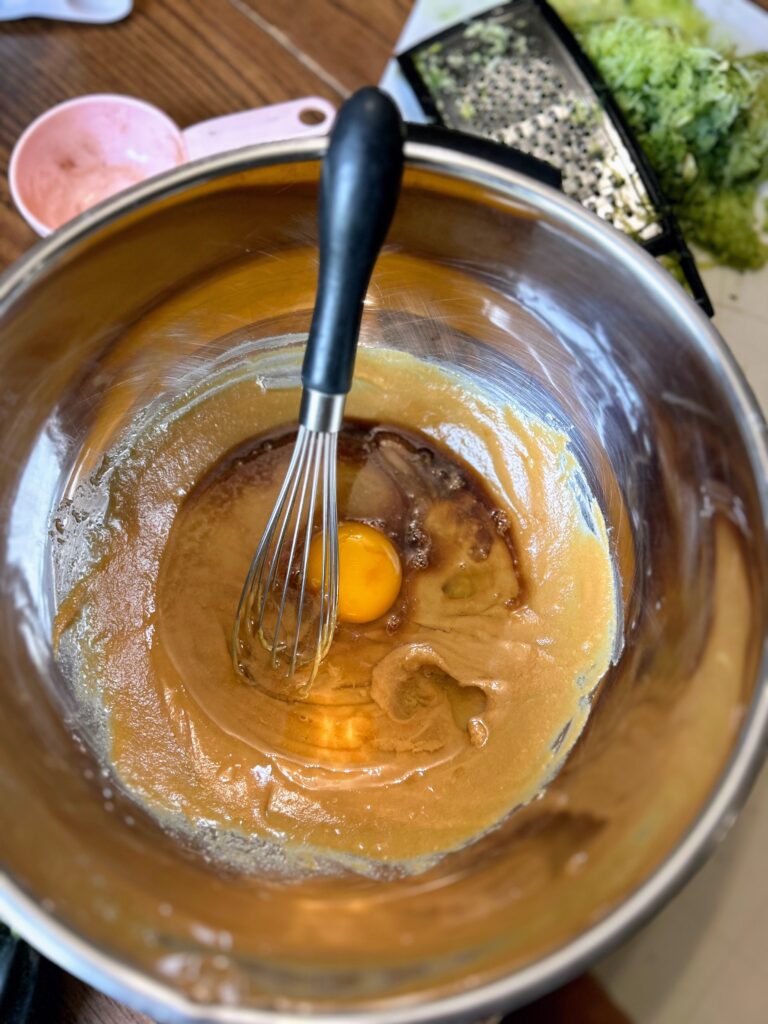
- ⅓ cup nut butter (I did peanut butter but have used almond as well)
- ⅓ cup maple syrup
- 1 egg
- ⅓ cup olive oil
- 2 teaspoon vanilla extract
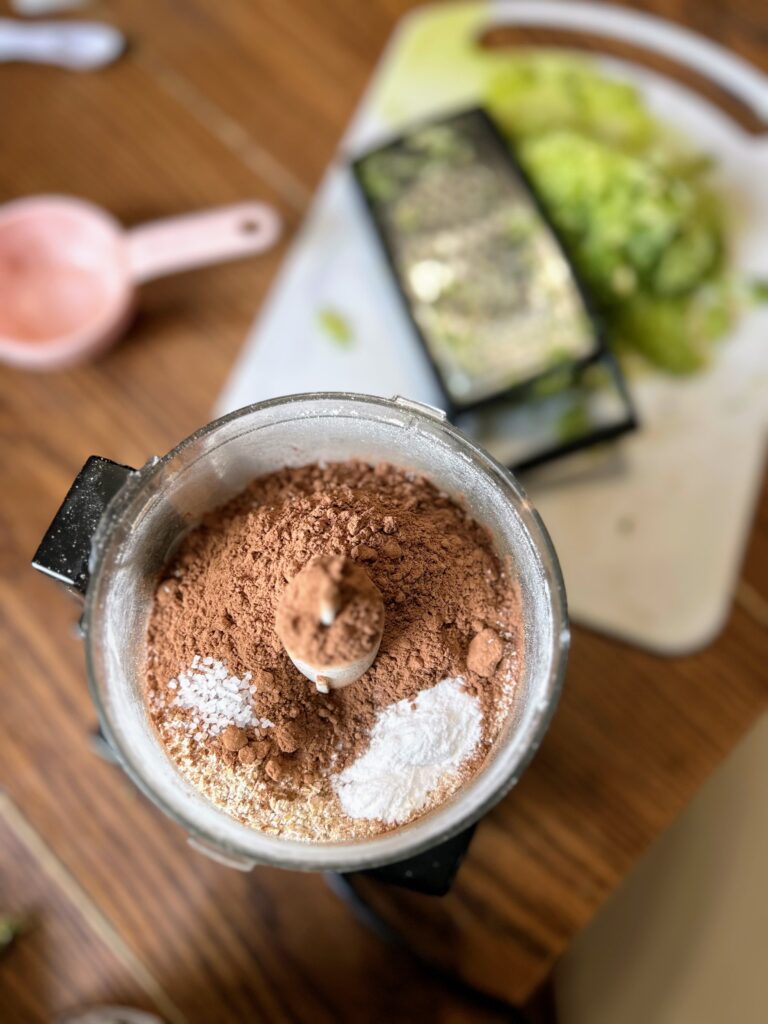
- ½ cup cocoa powder
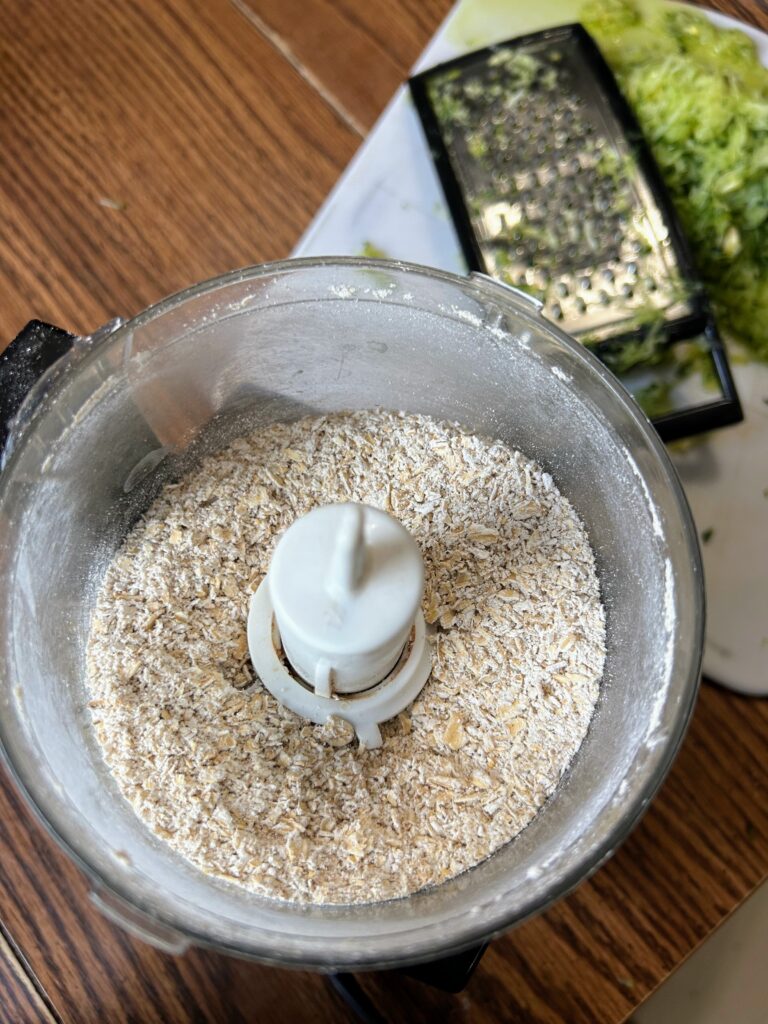
- ½ cup old fashioned oats, made into flour in a food processor after measuring
- 1 teaspoon baking soda
- ¼ teaspoon salt
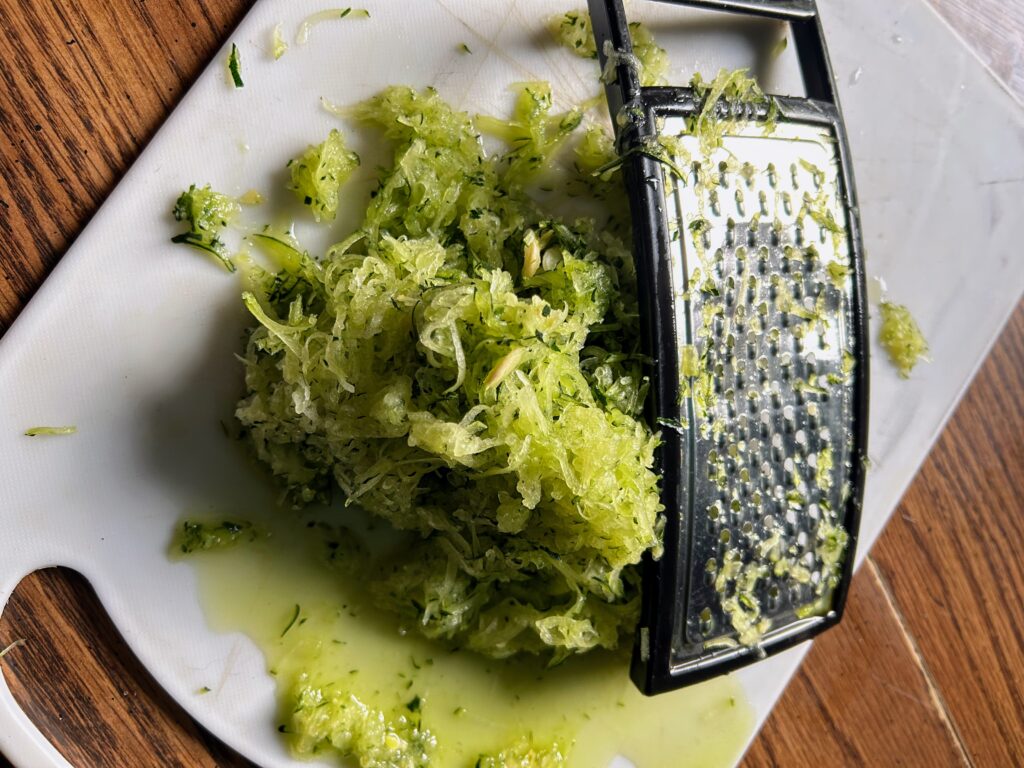
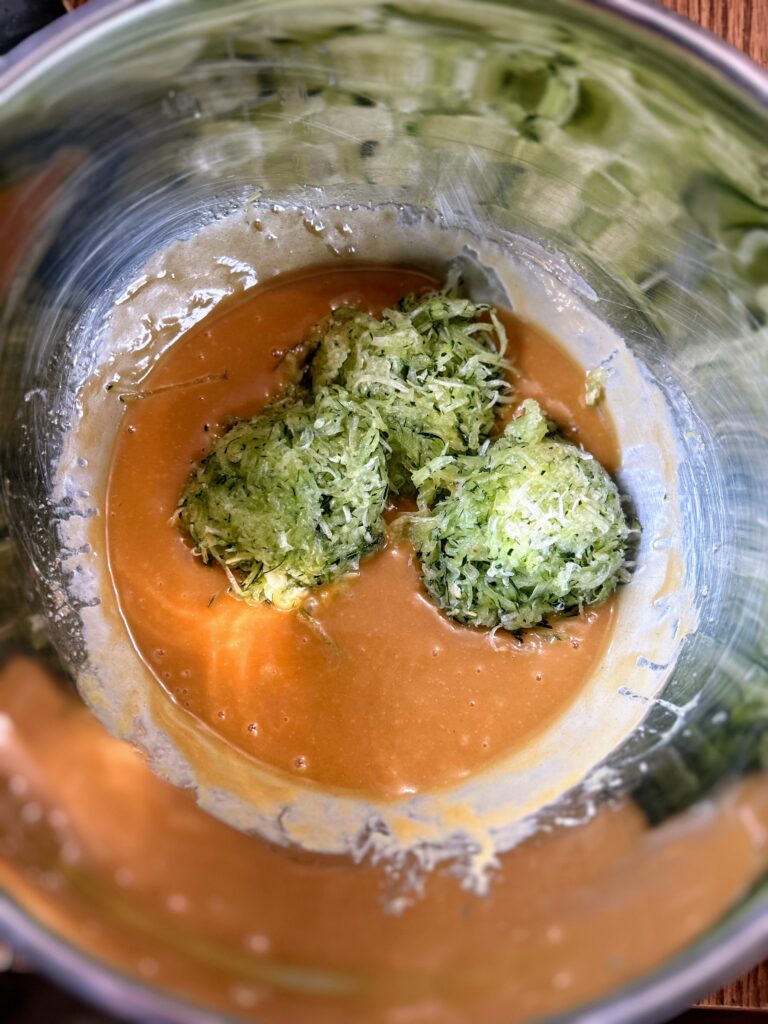
- 1 ½ cups finely shredded zucchini
- ¼-½ cups chocolate chips
Your Steps to Zucchini Brownies
Preheat the oven to 350 degrees. In a food processor, grind oats until a coarse flour is formed. Add cocoa powder, salt, and baking soda. Pulse a few times to mix.
In a large bowl, whisk syrup, nut butter and olive oil together. Add the egg and extract and whisk again. Sir in the zucchini and add the dry ingredients until JUST mixed.
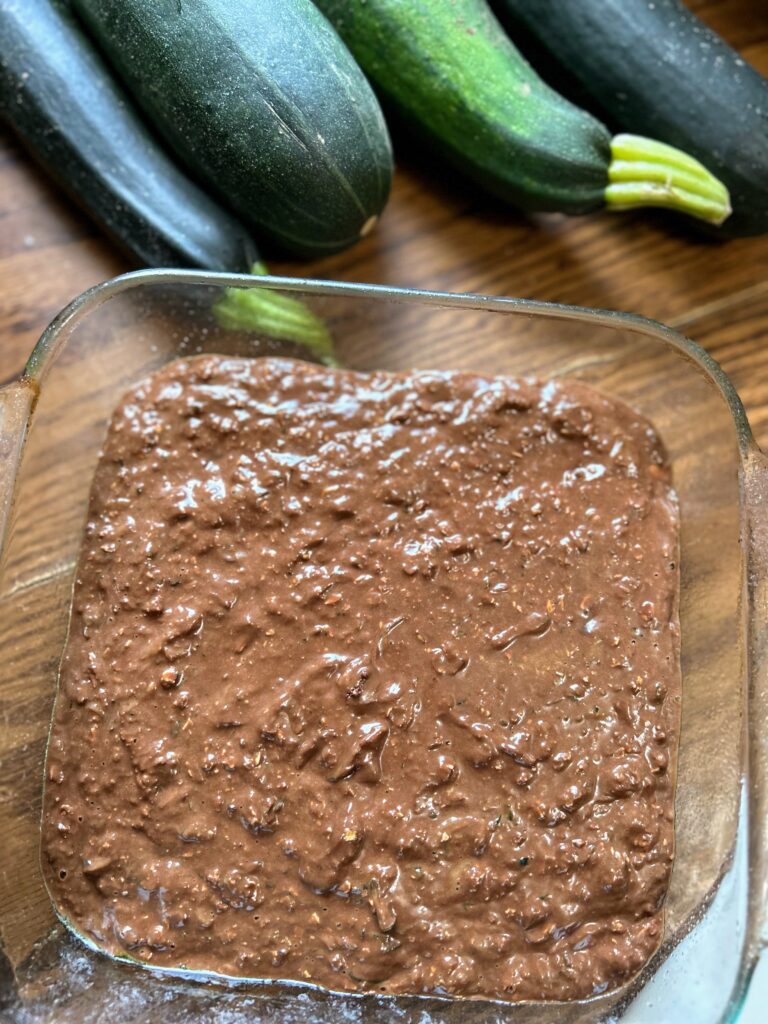
Fold in the chocolate chips (reserving a few to sprinkle on top, if you care to). Pour into a greased 8×8 brownie pan and sprinkle remaining chocolate chips. Bake for 25 minutes, or until set.
Serve them up with a bit of ice cream or a tall glass of milk and watch the zucchini brownies disappear!

Zucchini Brownies
Ingredients
- ⅓ cup nut butter I did peanut butter but have used almond as well
- ⅓ cup maple syrup
- 1 egg
- ⅓ cup olive oil
- 2 teaspoon vanilla extract
- ½ cup cocoa powder
- ½ cup old fashioned oats made into flour in a food processor after measuring
- 1 teaspoon baking soda
- ¼ teaspoon salt
- 1 ½ cups finely shredded zucchini
- ¼-½ cups chocolate chips
Instructions
- Preheat the oven to 350 degrees. In a food processor, grind oats until a coarse flour is formed. Add cocoa powder, salt, and baking soda. Pulse a few times to mix.
- In a large bowl, whisk syrup, nut butter and olive oil together. Add the egg and extract and whisk again. Sir in the zucchini and add the dry ingredients until JUST mixed.
- Fold in the chocolate chips (reserving a few to sprinkle on top, if you care to). Pour into a greased 8×8 brownie pan and sprinkle remaining chocolate chips. Bake for 25 minutes, or until set.
Looking for other zucchini recipes?
You can check out my baking and canning and preserving pages for more inspiration! Our perhaps pick one of my favorites below!