Last Updated on December 28, 2021 by Jess
Well, I didn’t think I was a breakfast person. I have often declared that I am not a “breakfast for dinner” kind of gal because I don’t really care for breakfast food. Don’t get me wrong, I never skip breakfast. Ever. However, once I have eaten some breakfast food, I am done with it for the day. But then I made this English muffin breakfast bake and I don’t know friends, I may be convinced to create it for dinner!
If you have experimented with breakfast bakes in the past, I am sure you have had one or two that just never seemed to finish cooking. It may be that the crescent rolls are doughy or that the eggs are runny. (These two problems inspired me to make a tortilla bake that was delish. You can check that one out here!) This one baked up nice and doesn’t have either issue and I am giving the English muffins all the credit!
What’s great about this particular recipe is that it gets fully prepped the night before and bakes up in the morning (You have to pull it out 30 minutes before you bake!) You can even do the browning of the sausage and dicing of the English muffins a few days in advance to save more time the night before. It also provides enough for a small crowd of 8-12 people, depending on the types of eaters you have. Add in some fruit, coffee, and juice and you’re set!
Ready to get prepping? Let’s go!
Your Ingredients
- 1 pound bulk breakfast sausage
- 1 cup sweet peppers, any color, diced and divided
- 1/2 cup diced onion
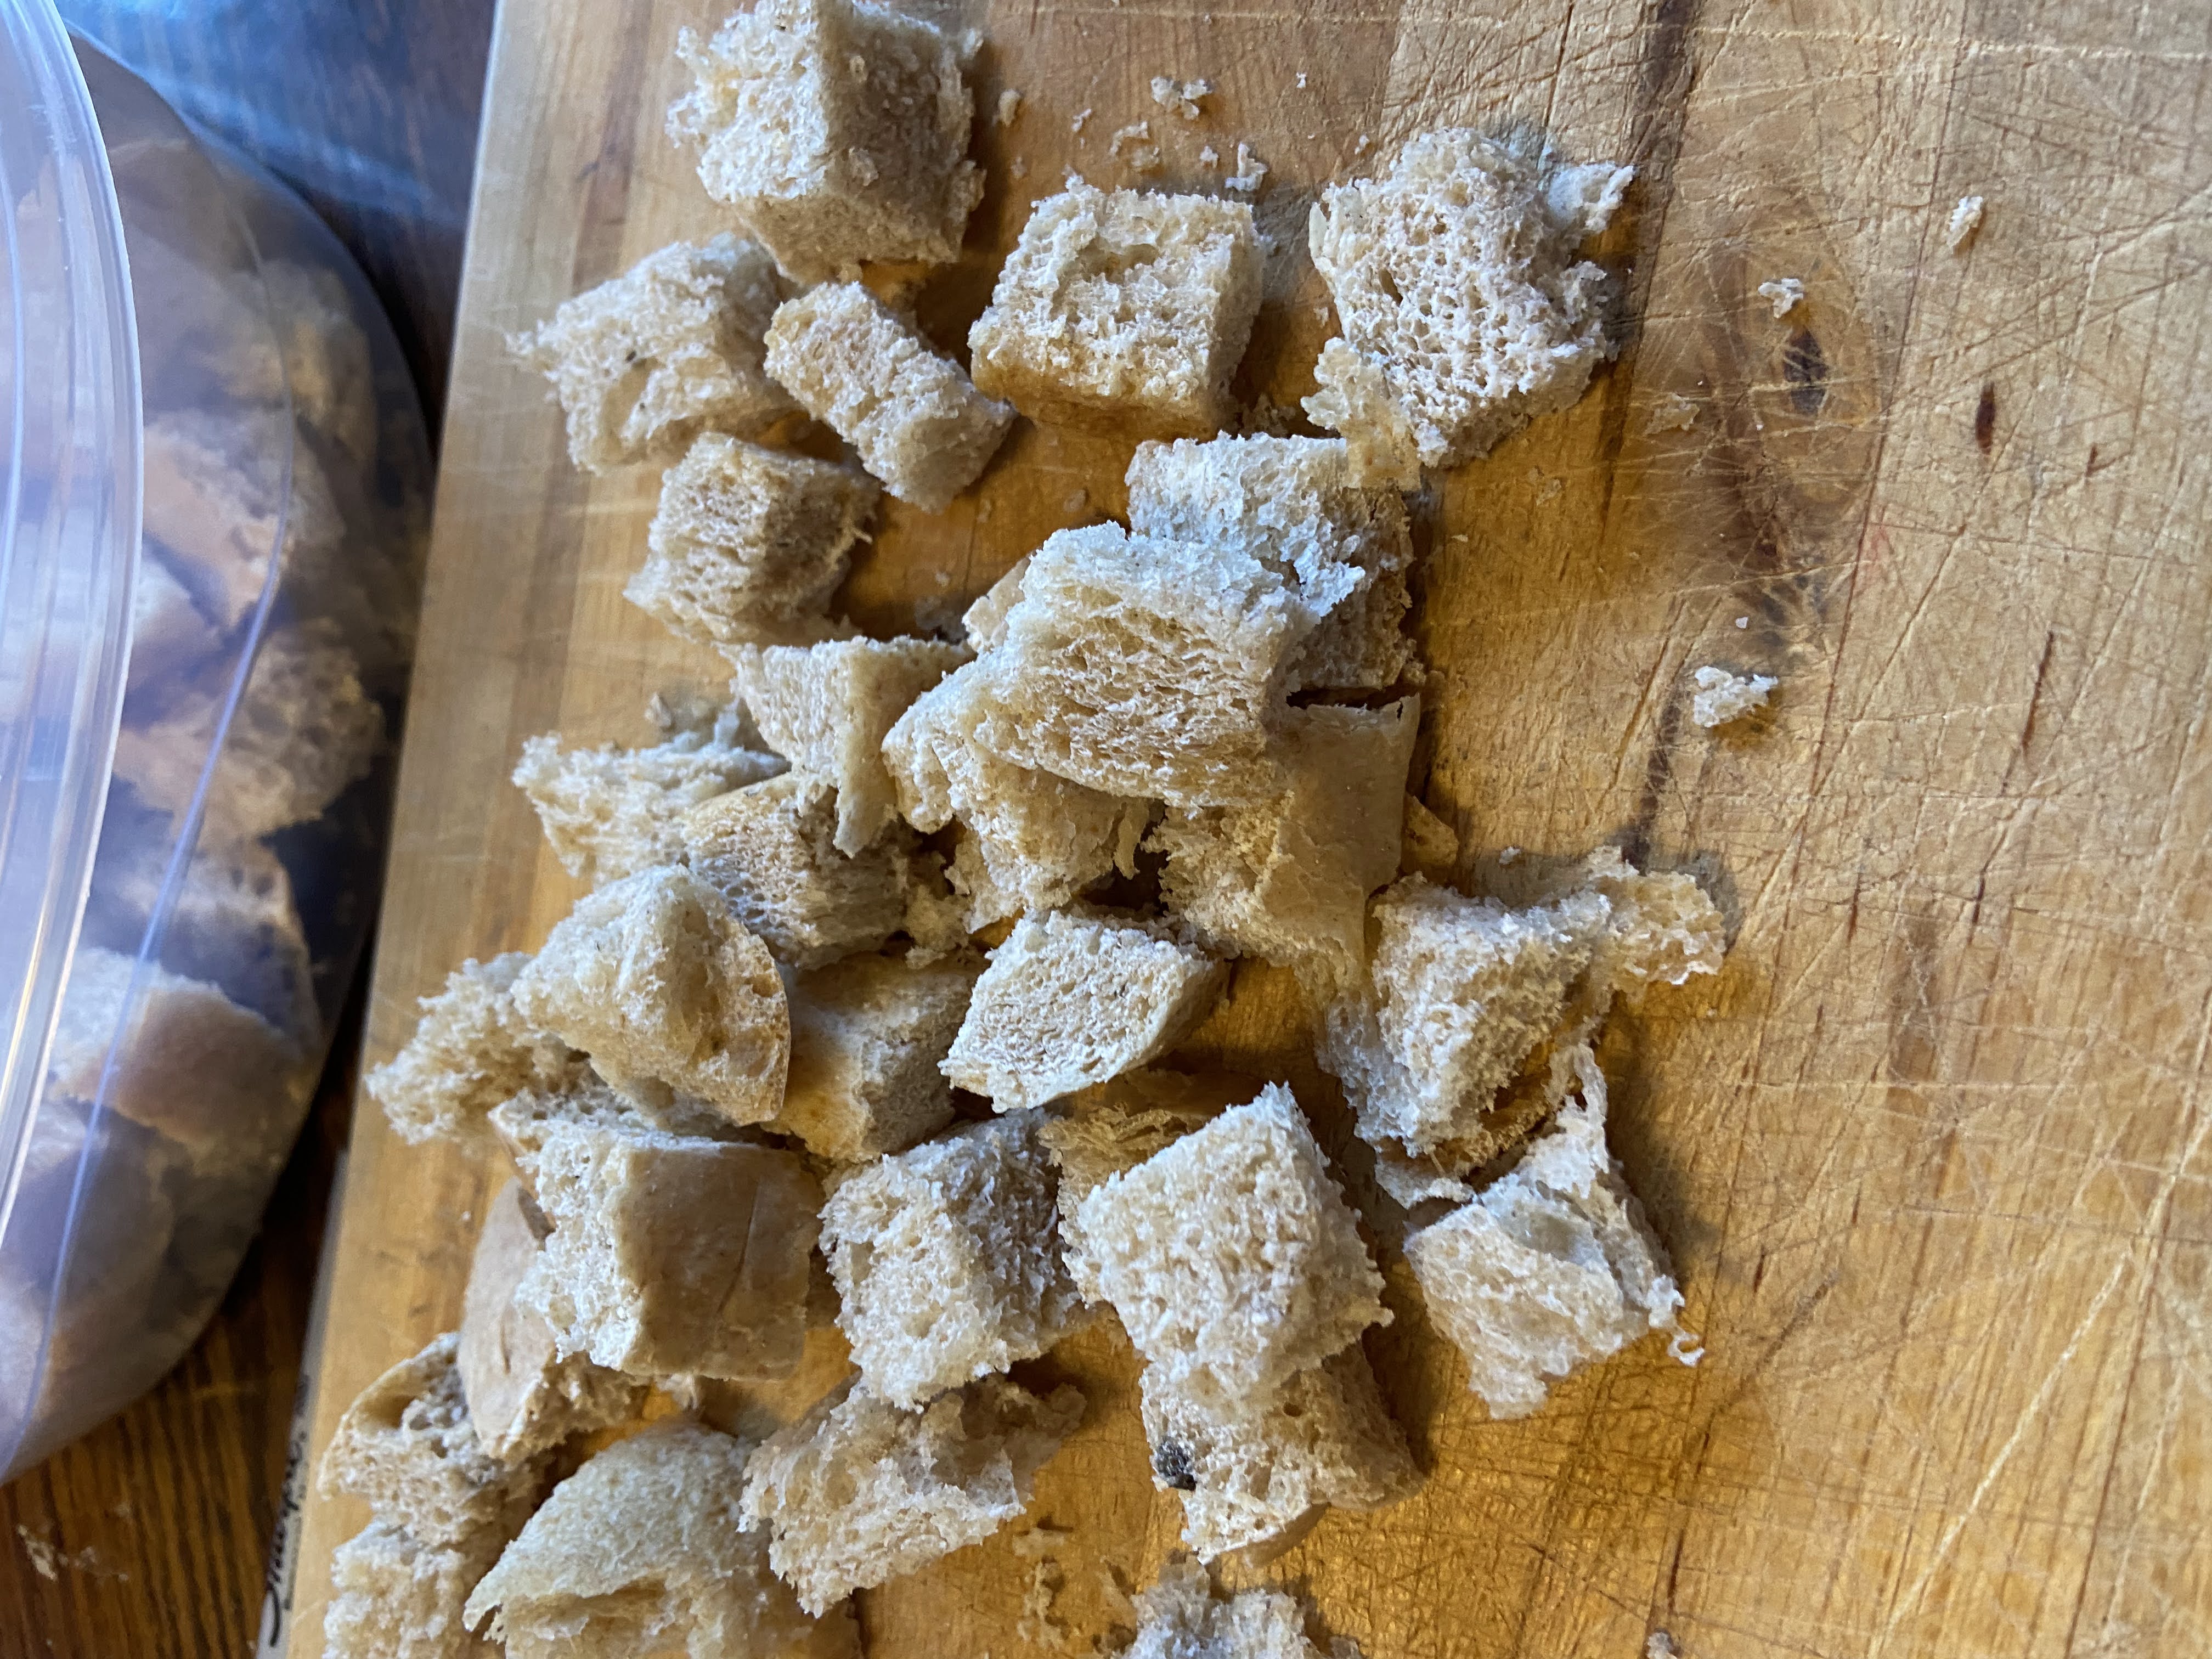
- 6 English muffins, cut into cubes
- 1 cup shredded cheddar cheese
- 1 cup shredded mozzarella cheese
- 12 eggs
- 2 cups milk
- ½ teaspoon salt
- ½ teaspoon pepper
- ¼ teaspoon garlic powder
- ½ teaspoon paprika
Your Steps To a Great English Muffin Breakfast Bake
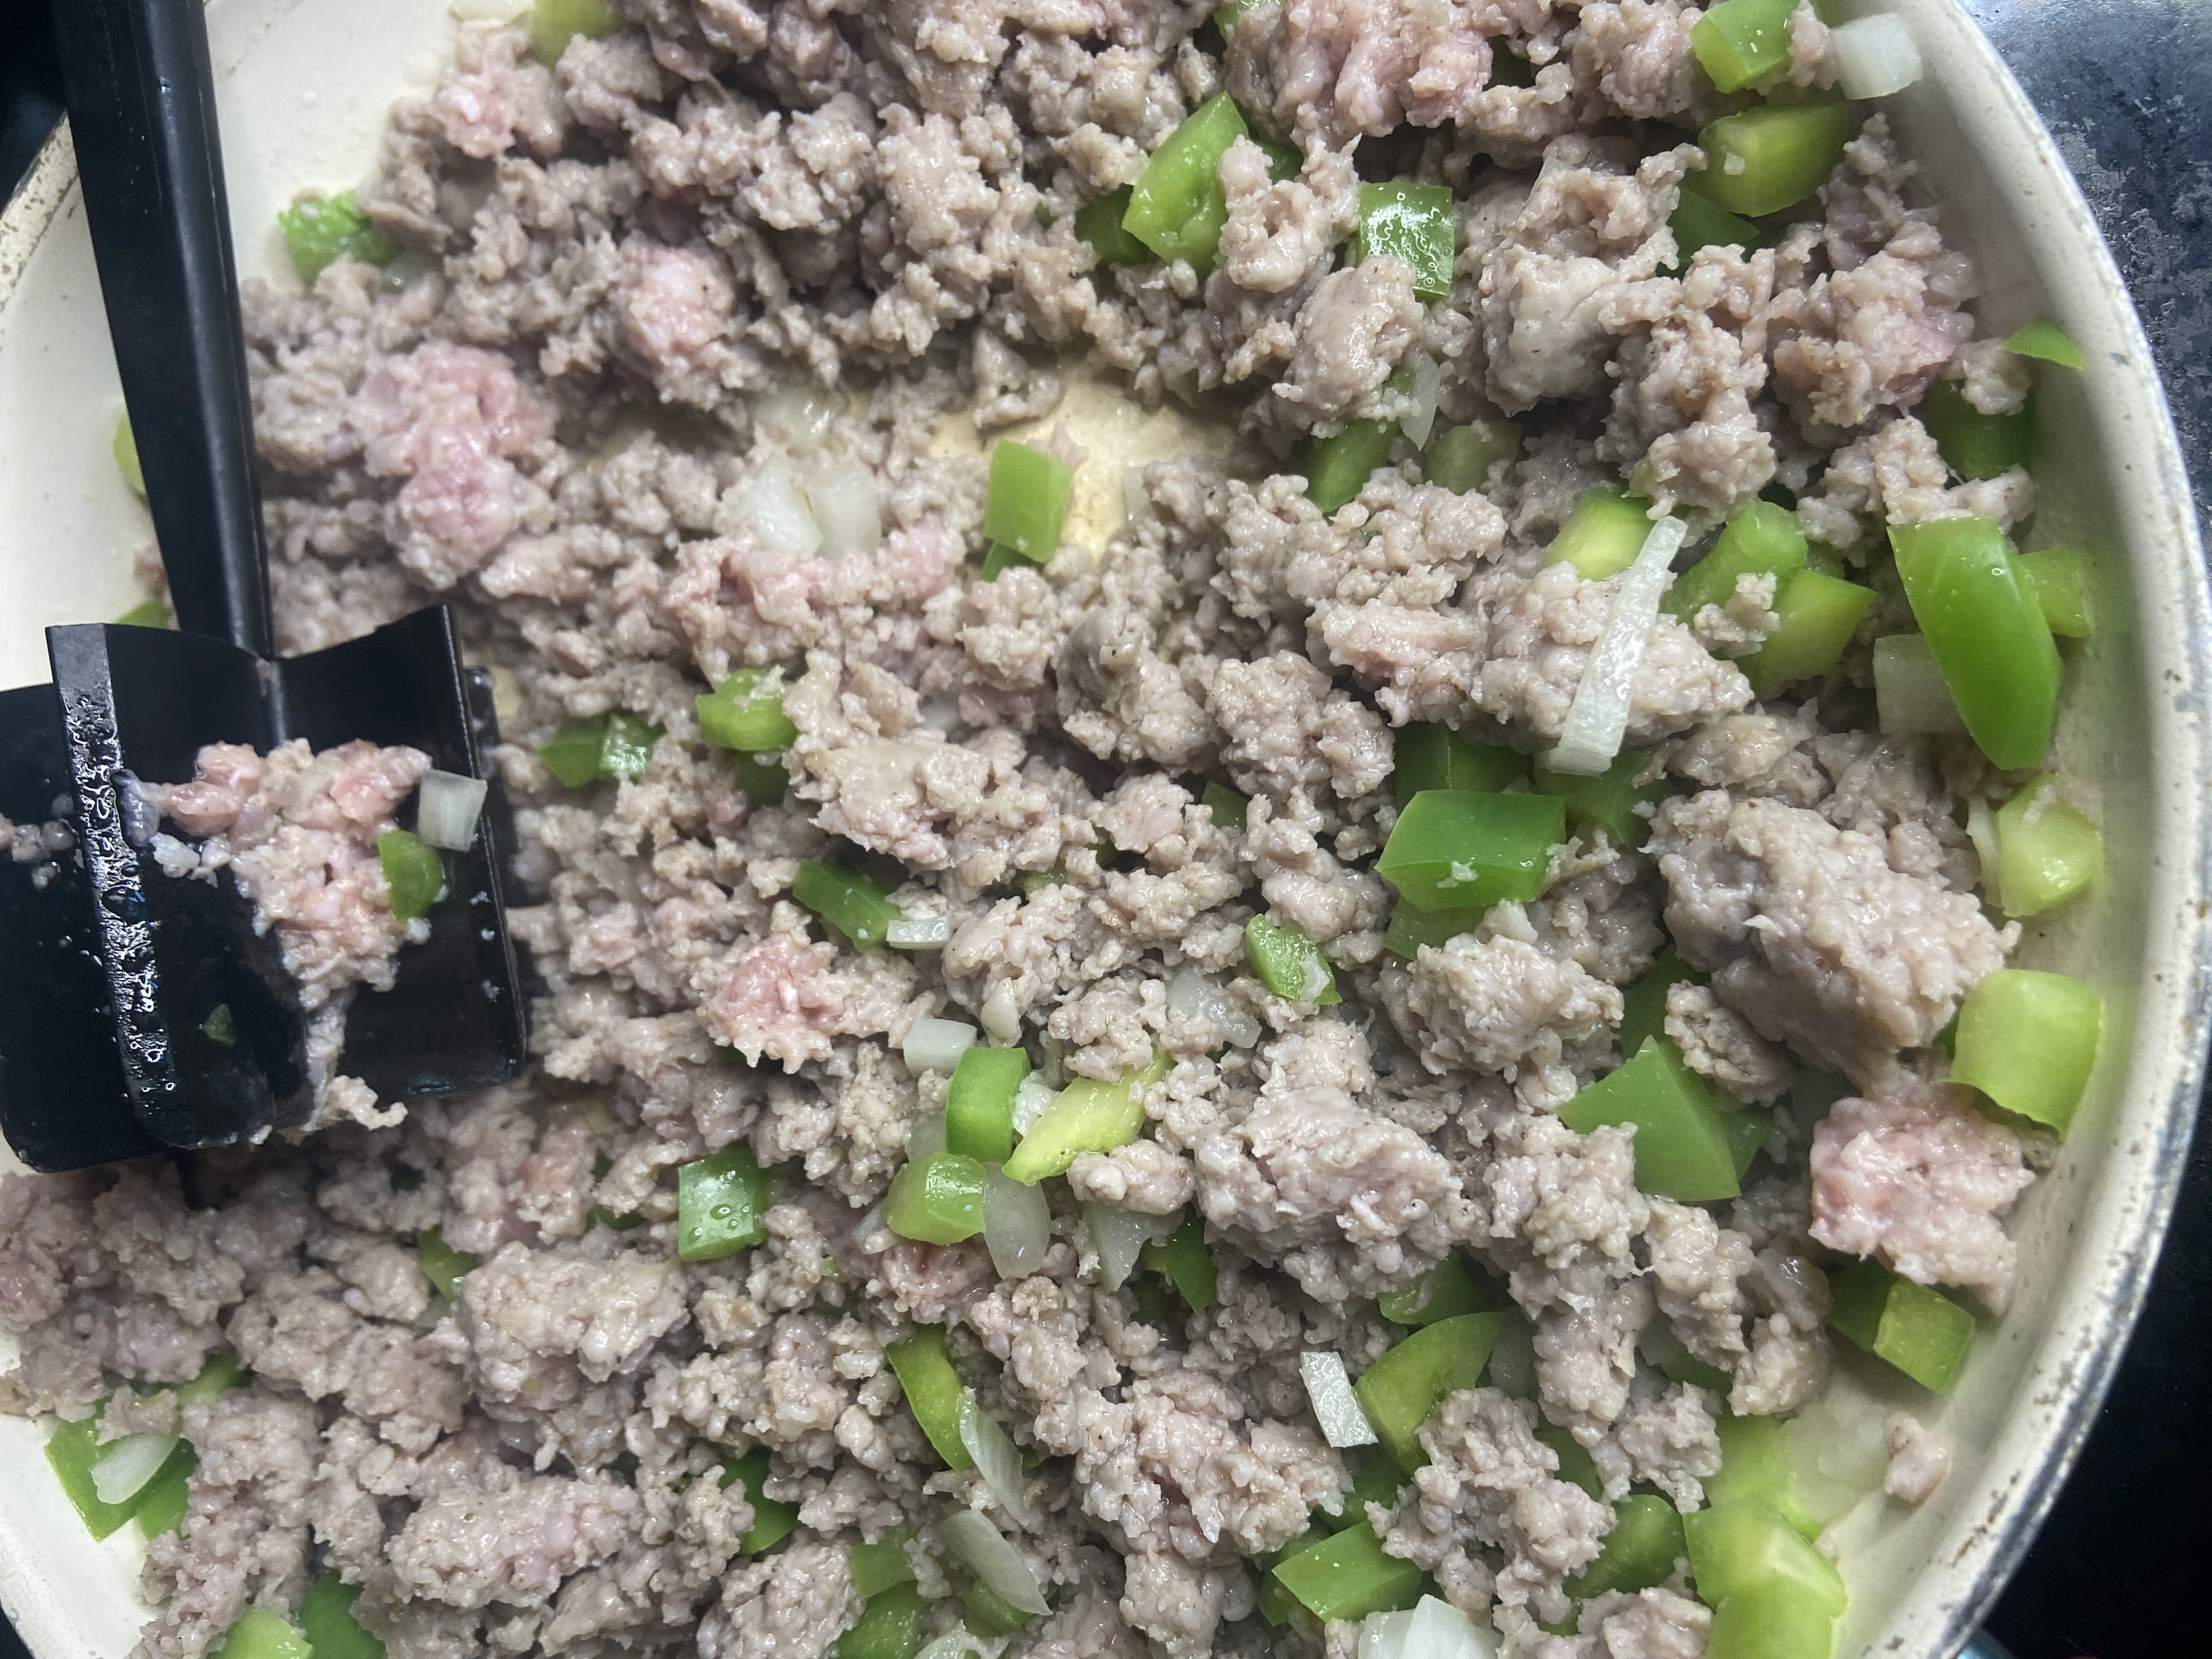
In a medium pan, brown breakfast sausage with 1/2 cup sweet peppers and the diced onion. Cook until sausage is cooked through and peppers and onions are soft. Drain and set aside.
The night before serving, grease a 9×11 baking pan. Cut the English muffins into 1 inch chunks and layer into the bottom of the pan. In a medium bowl, whisk eggs, milk, salt, pepper, and paprika. Pour over the English muffins. Sprinkle in sausage mixture. Top with cheese and additional diced pepper. Cover and allow to chill overnight.
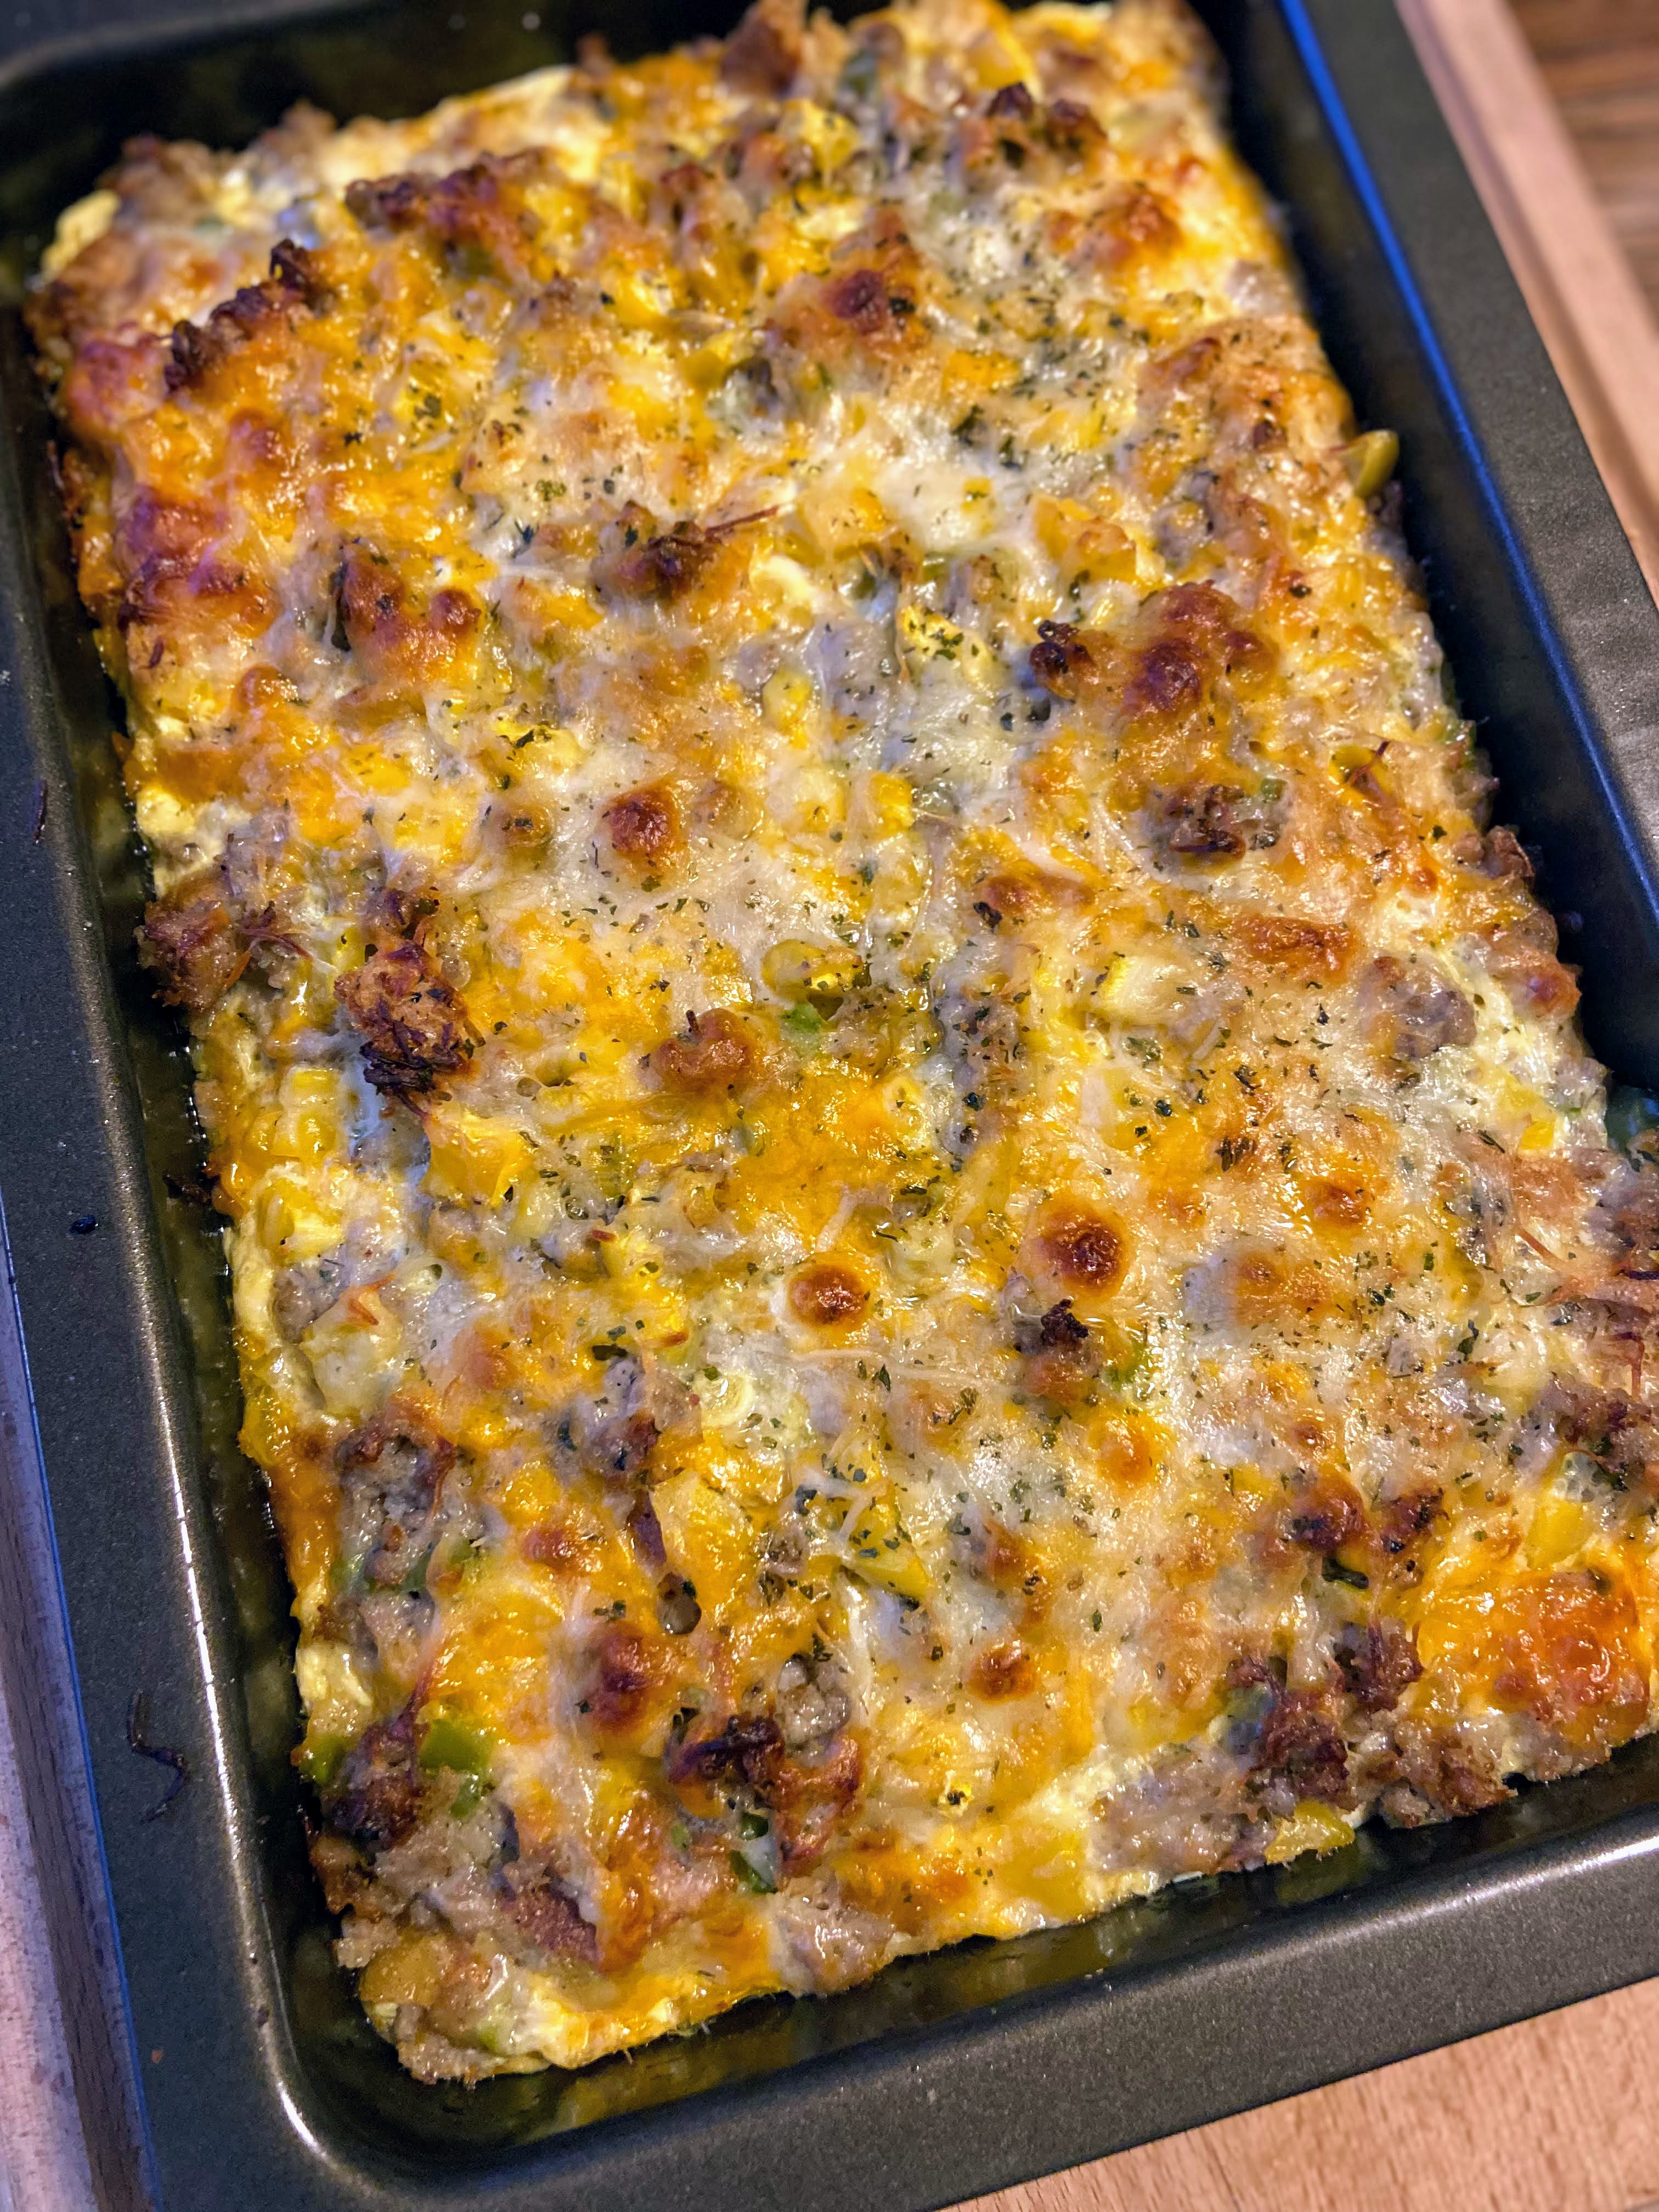
In the morning, remove from the fridge 30 minutes prior to cooking. Bake in a 375 degree oven for 35-45 minutes, until a butter knife can be inserted and comes out clean.
Allow to cool 5 minutes prior to serving.

Brown up the sausage with some onion and green pepper! Dice up some English muffins Combine it all for a delicious meal for everyone!

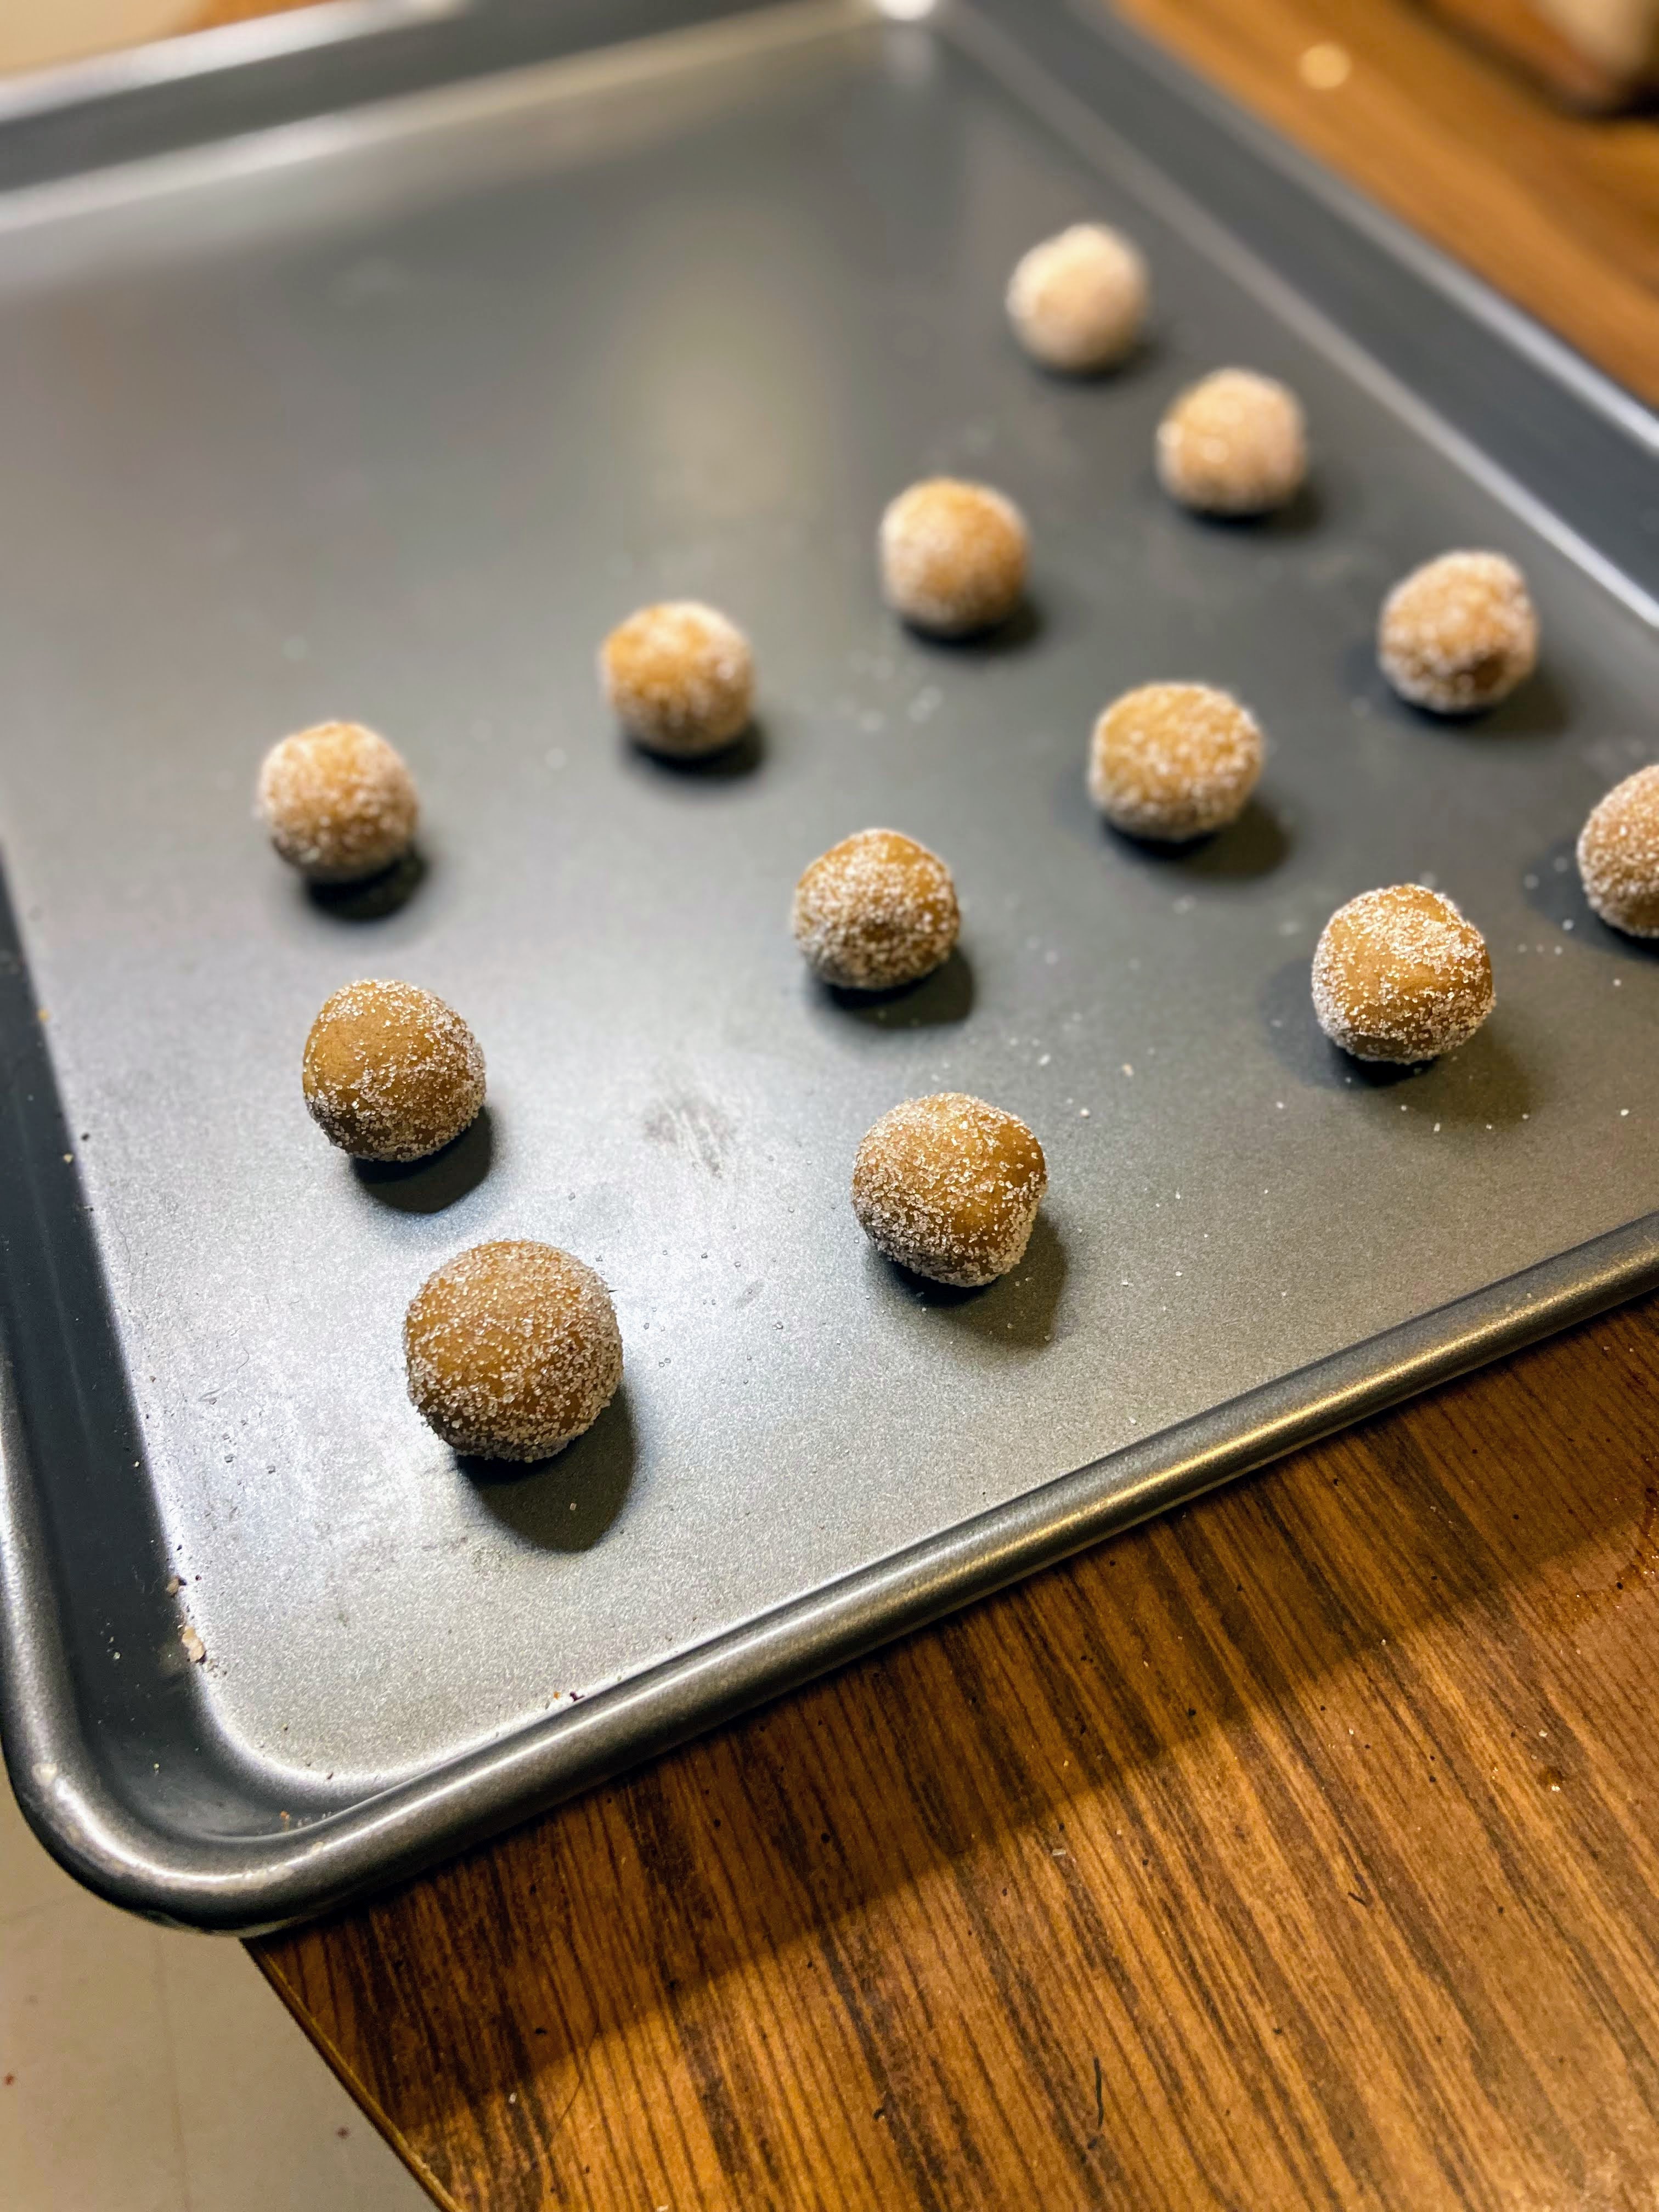
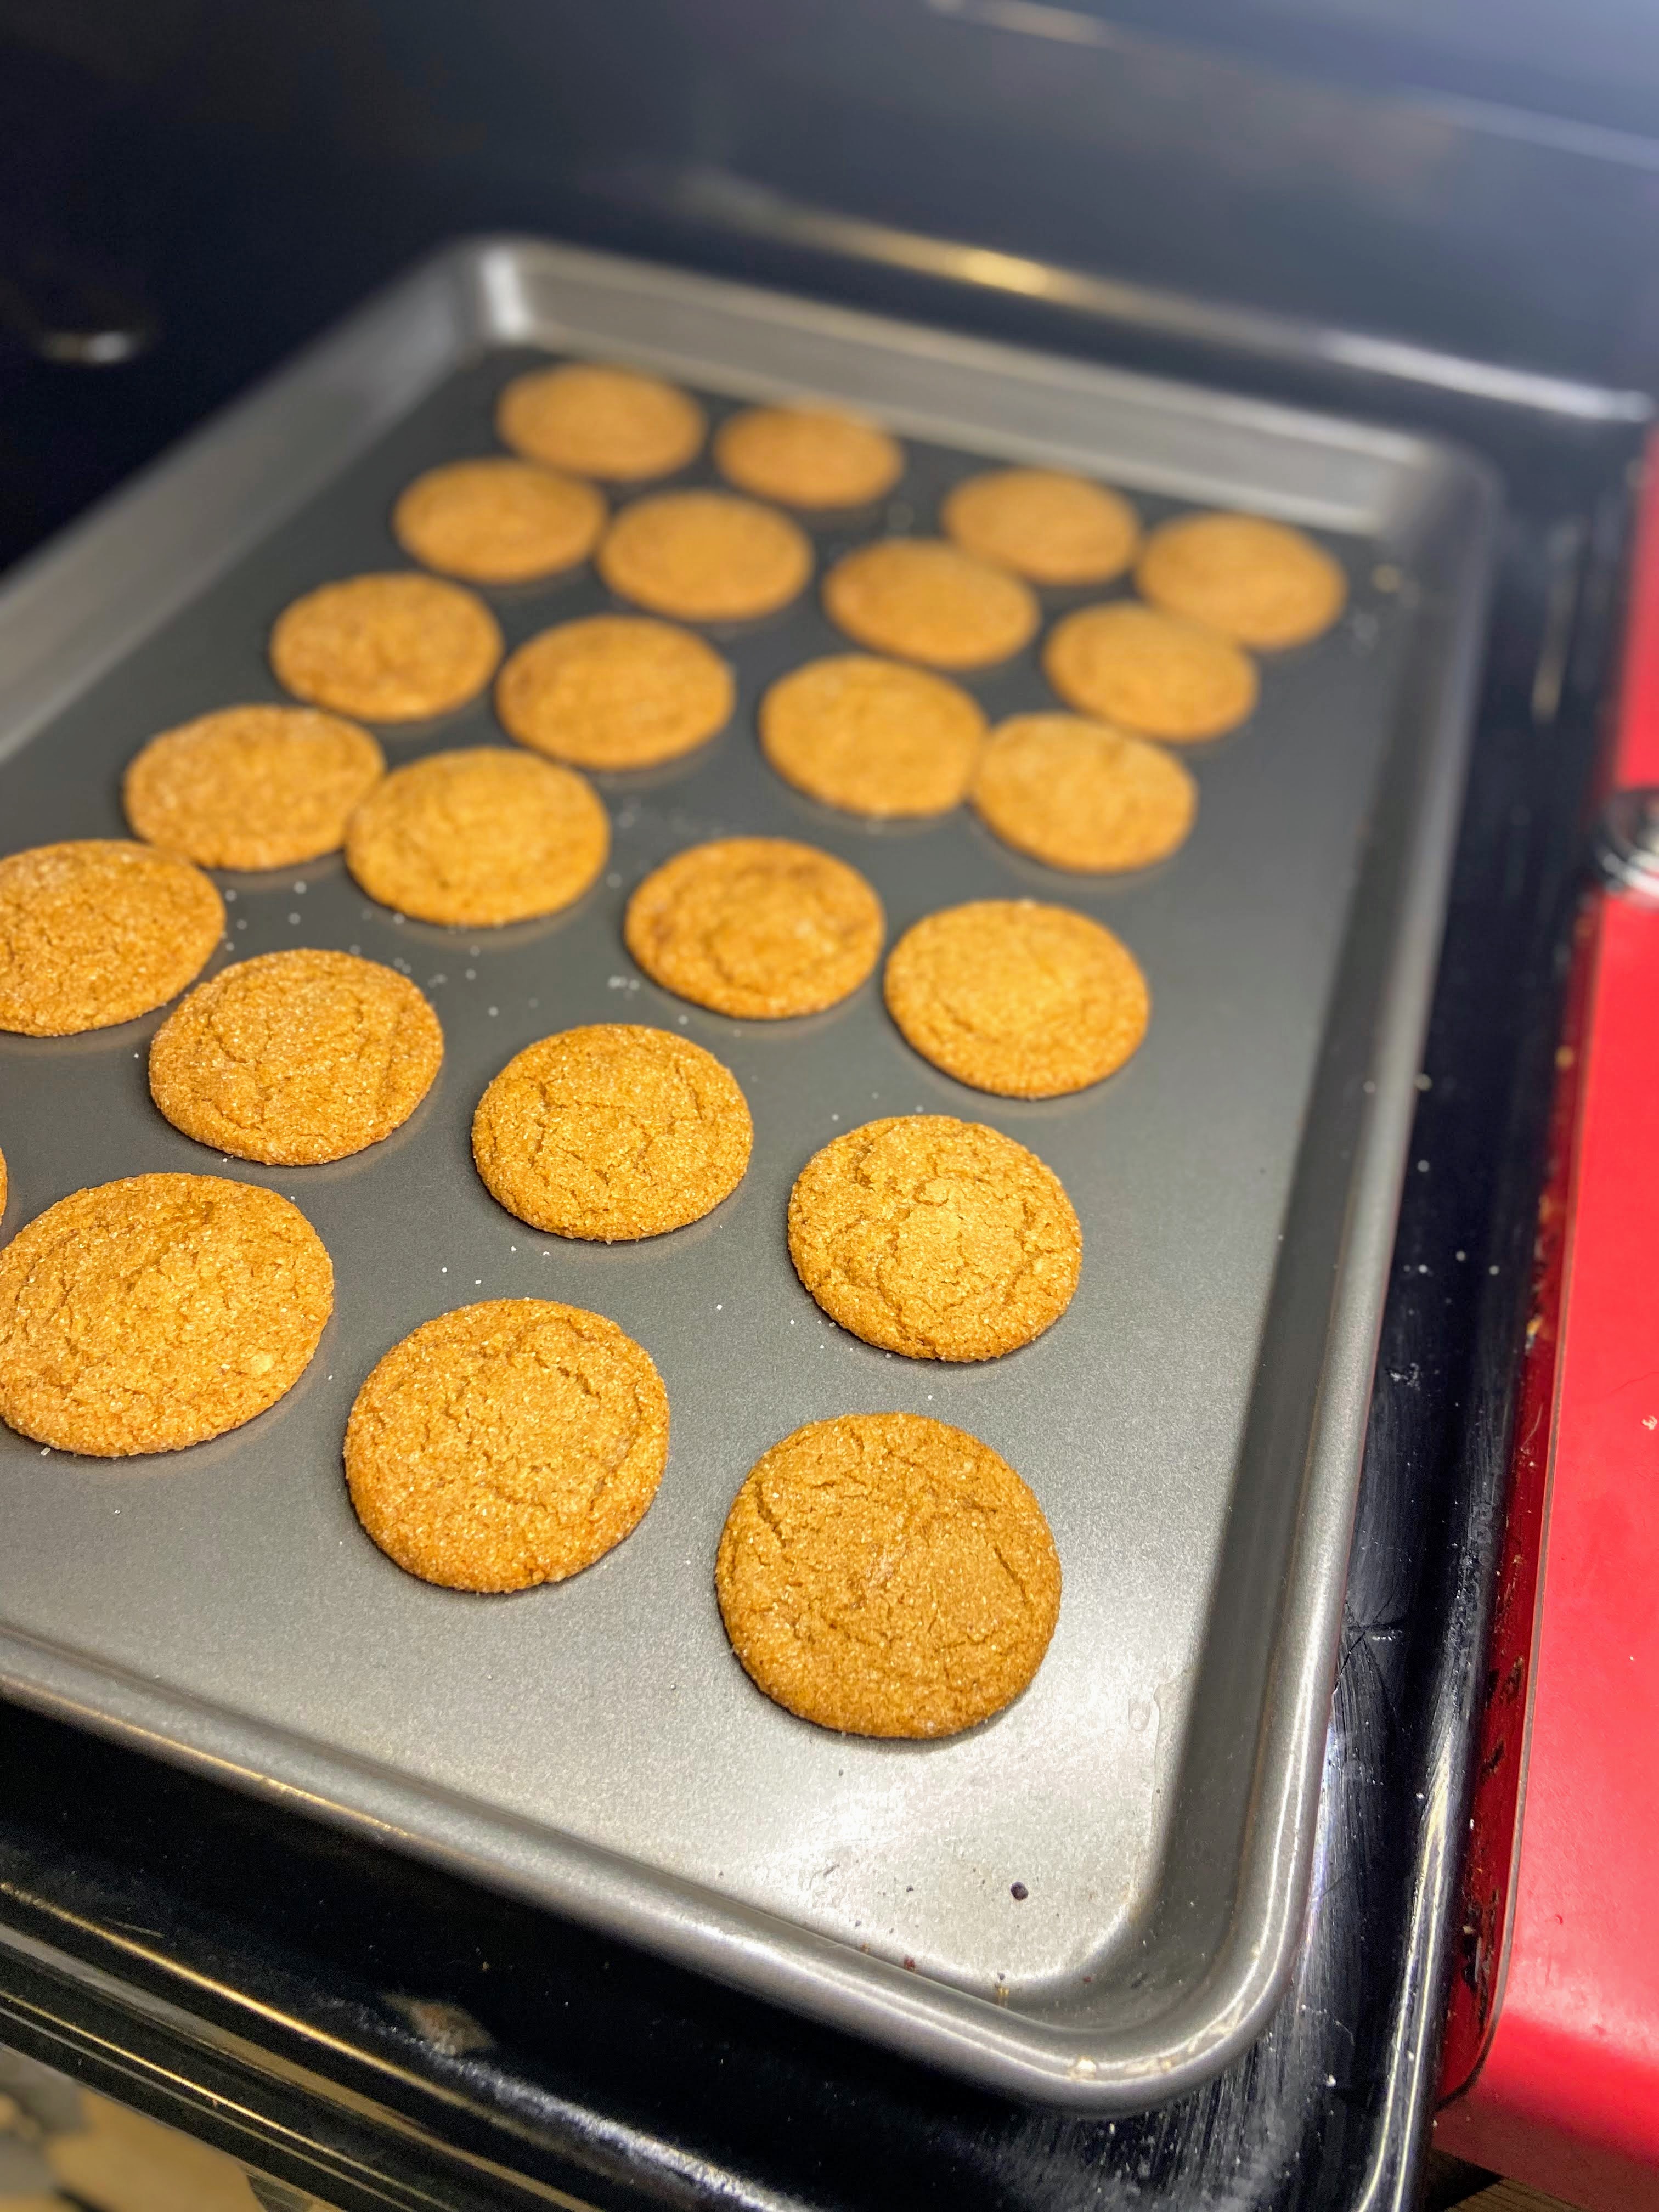
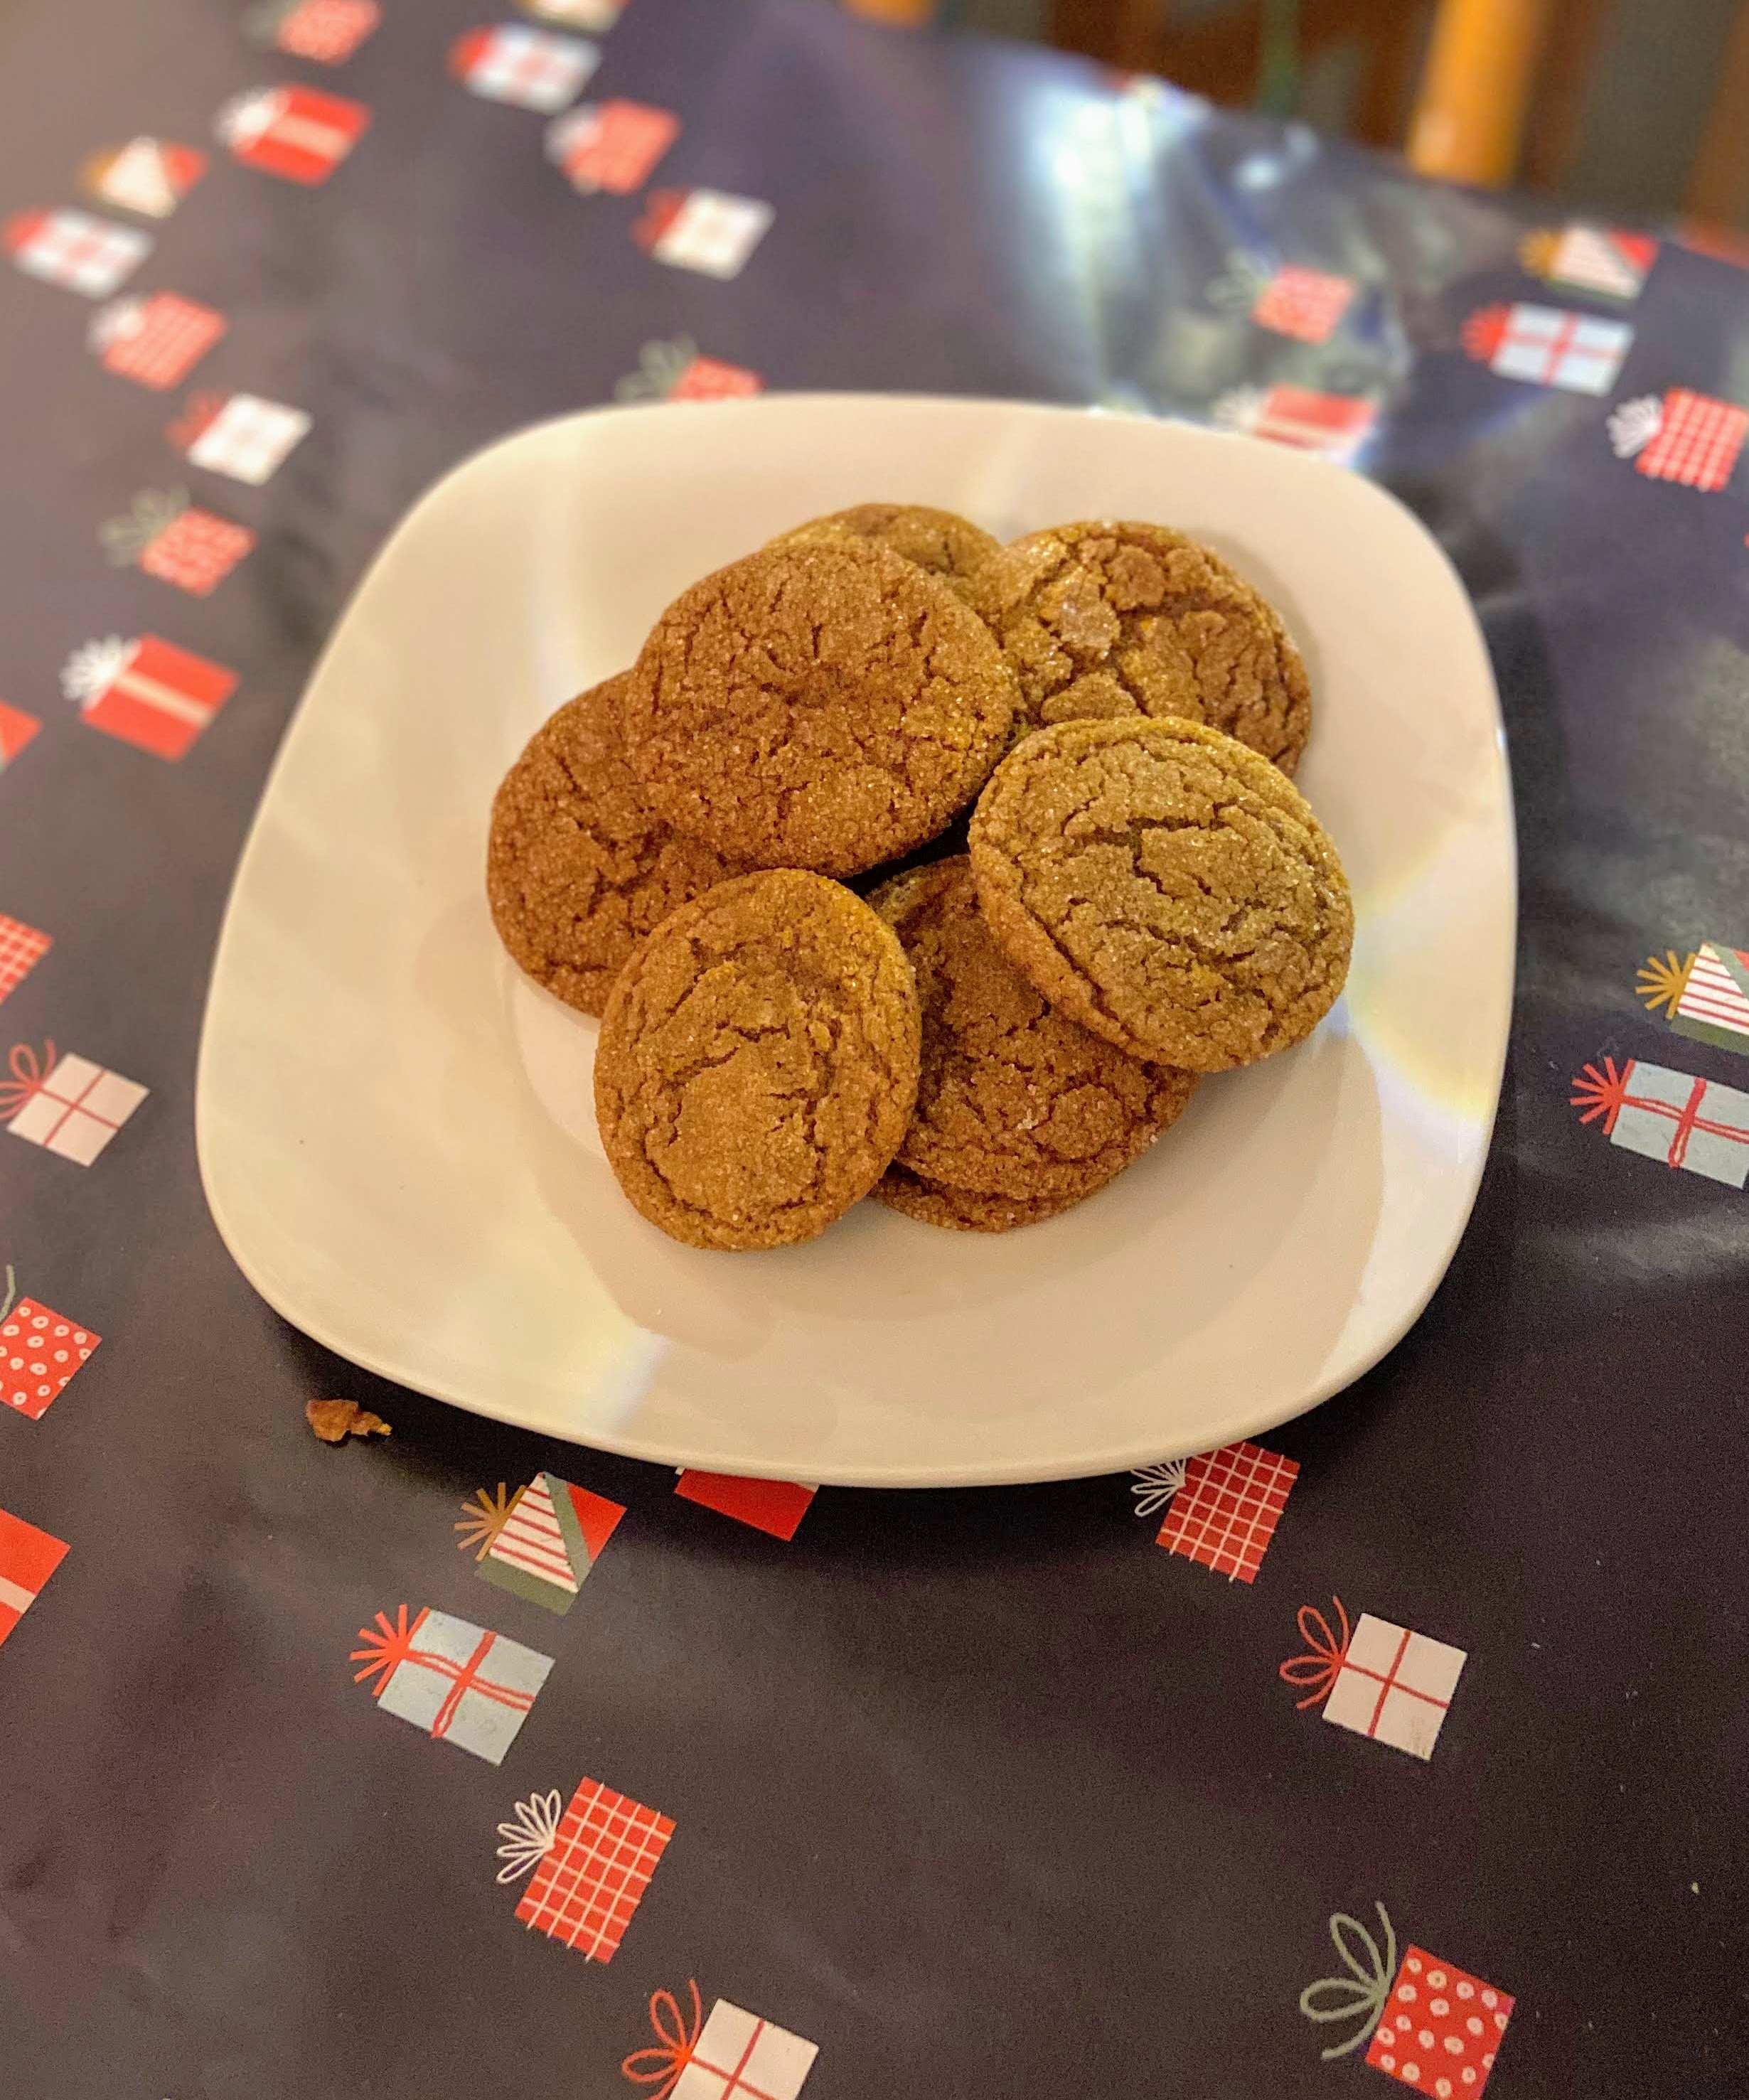
Looking for a sweet treat to add to breakfast? Check these out!


English Muffin Breakfast Bake
Ingredients
- 1 pound bulk breakfast sausage
- 1 cup sweet peppers any color, diced and divided
- 1/2 cup diced onion
- 6 English muffins cut into cubes
- 1 cup shredded cheddar cheese
- 1 cup shredded mozzarella cheese
- 12 eggs
- 2 cups milk
- ½ teaspoon salt
- ½ teaspoon pepper
- ¼ teaspoon garlic powder
- ½ teaspoon paprika
Instructions
- In a medium pan, brown breakfast sausage with 1/2 cup sweet peppers and the diced onion. Cook until sausage is cooked through and peppers and onions are soft. Drain and set aside.
- The night before serving, grease a 9×11 baking pan. Cut the English muffins into 1 inch chunks and layer into the bottom of the pan. In a medium bowl, whisk eggs, milk, salt, pepper, and paprika. Pour over the English muffins. Sprinkle in sausage mixture. Top with cheese and additional diced pepper. Cover and allow to chill overnight.
- In the morning, remove from the fridge 30 minutes prior to cooking. Bake in a 375 degree oven for 35-45 minutes, until a butter knife can be inserted and comes out clean.
- Allow to cool 5 minutes prior to serving.