I'm an affiliate
I hope you love the products I recommend! Just so you know, I may collect a share of sales or other compensation from the links on this page. If you use the links, thank you for supporting me! I really appreciate it!
Last Updated on February 5, 2023 by Jess
I can not begin to explain how excited I am to share this recipe. It’s two years in the making, and I am almost shaking in anticipation and am simply giddy. I was ready to share it last year; then the Mr. was skunked in the deer hunting category and we never put any pressure canned venison stew on our shelves. Tear.
This year, he was determined to fill our freezer and got out early and often for the bow season. The hard work paid off and he came home with a seven pointer near the end of September. We fully process our deer at home. Even though I am not a hunter myself, I grew up grinding, weighing, and wrapping venison for the freezer. My husband has been a hunter from the moment he could be. In fact, the very first meal he cooked for me in the college dorms was a pheasant he shot the weekend before (his parents knew there must be a girl in the picture when he called to get the recipe!).
But I digress and now I have to backtrack. About 8 years ago, we purchased a pressure canner to safely pressure can the excess of green beans I was growing. Once I had a pressure canner, it was only a matter of time before I canned meat. I was in a canning group on facebook that inspired me to give it a try. The act of canning meat didn’t scare me. Maybe it’s the fact that I never heard any of those “pressure canner horror stories.” I just dove right in, read canning manuals, and made it happen.
Opening the Jar
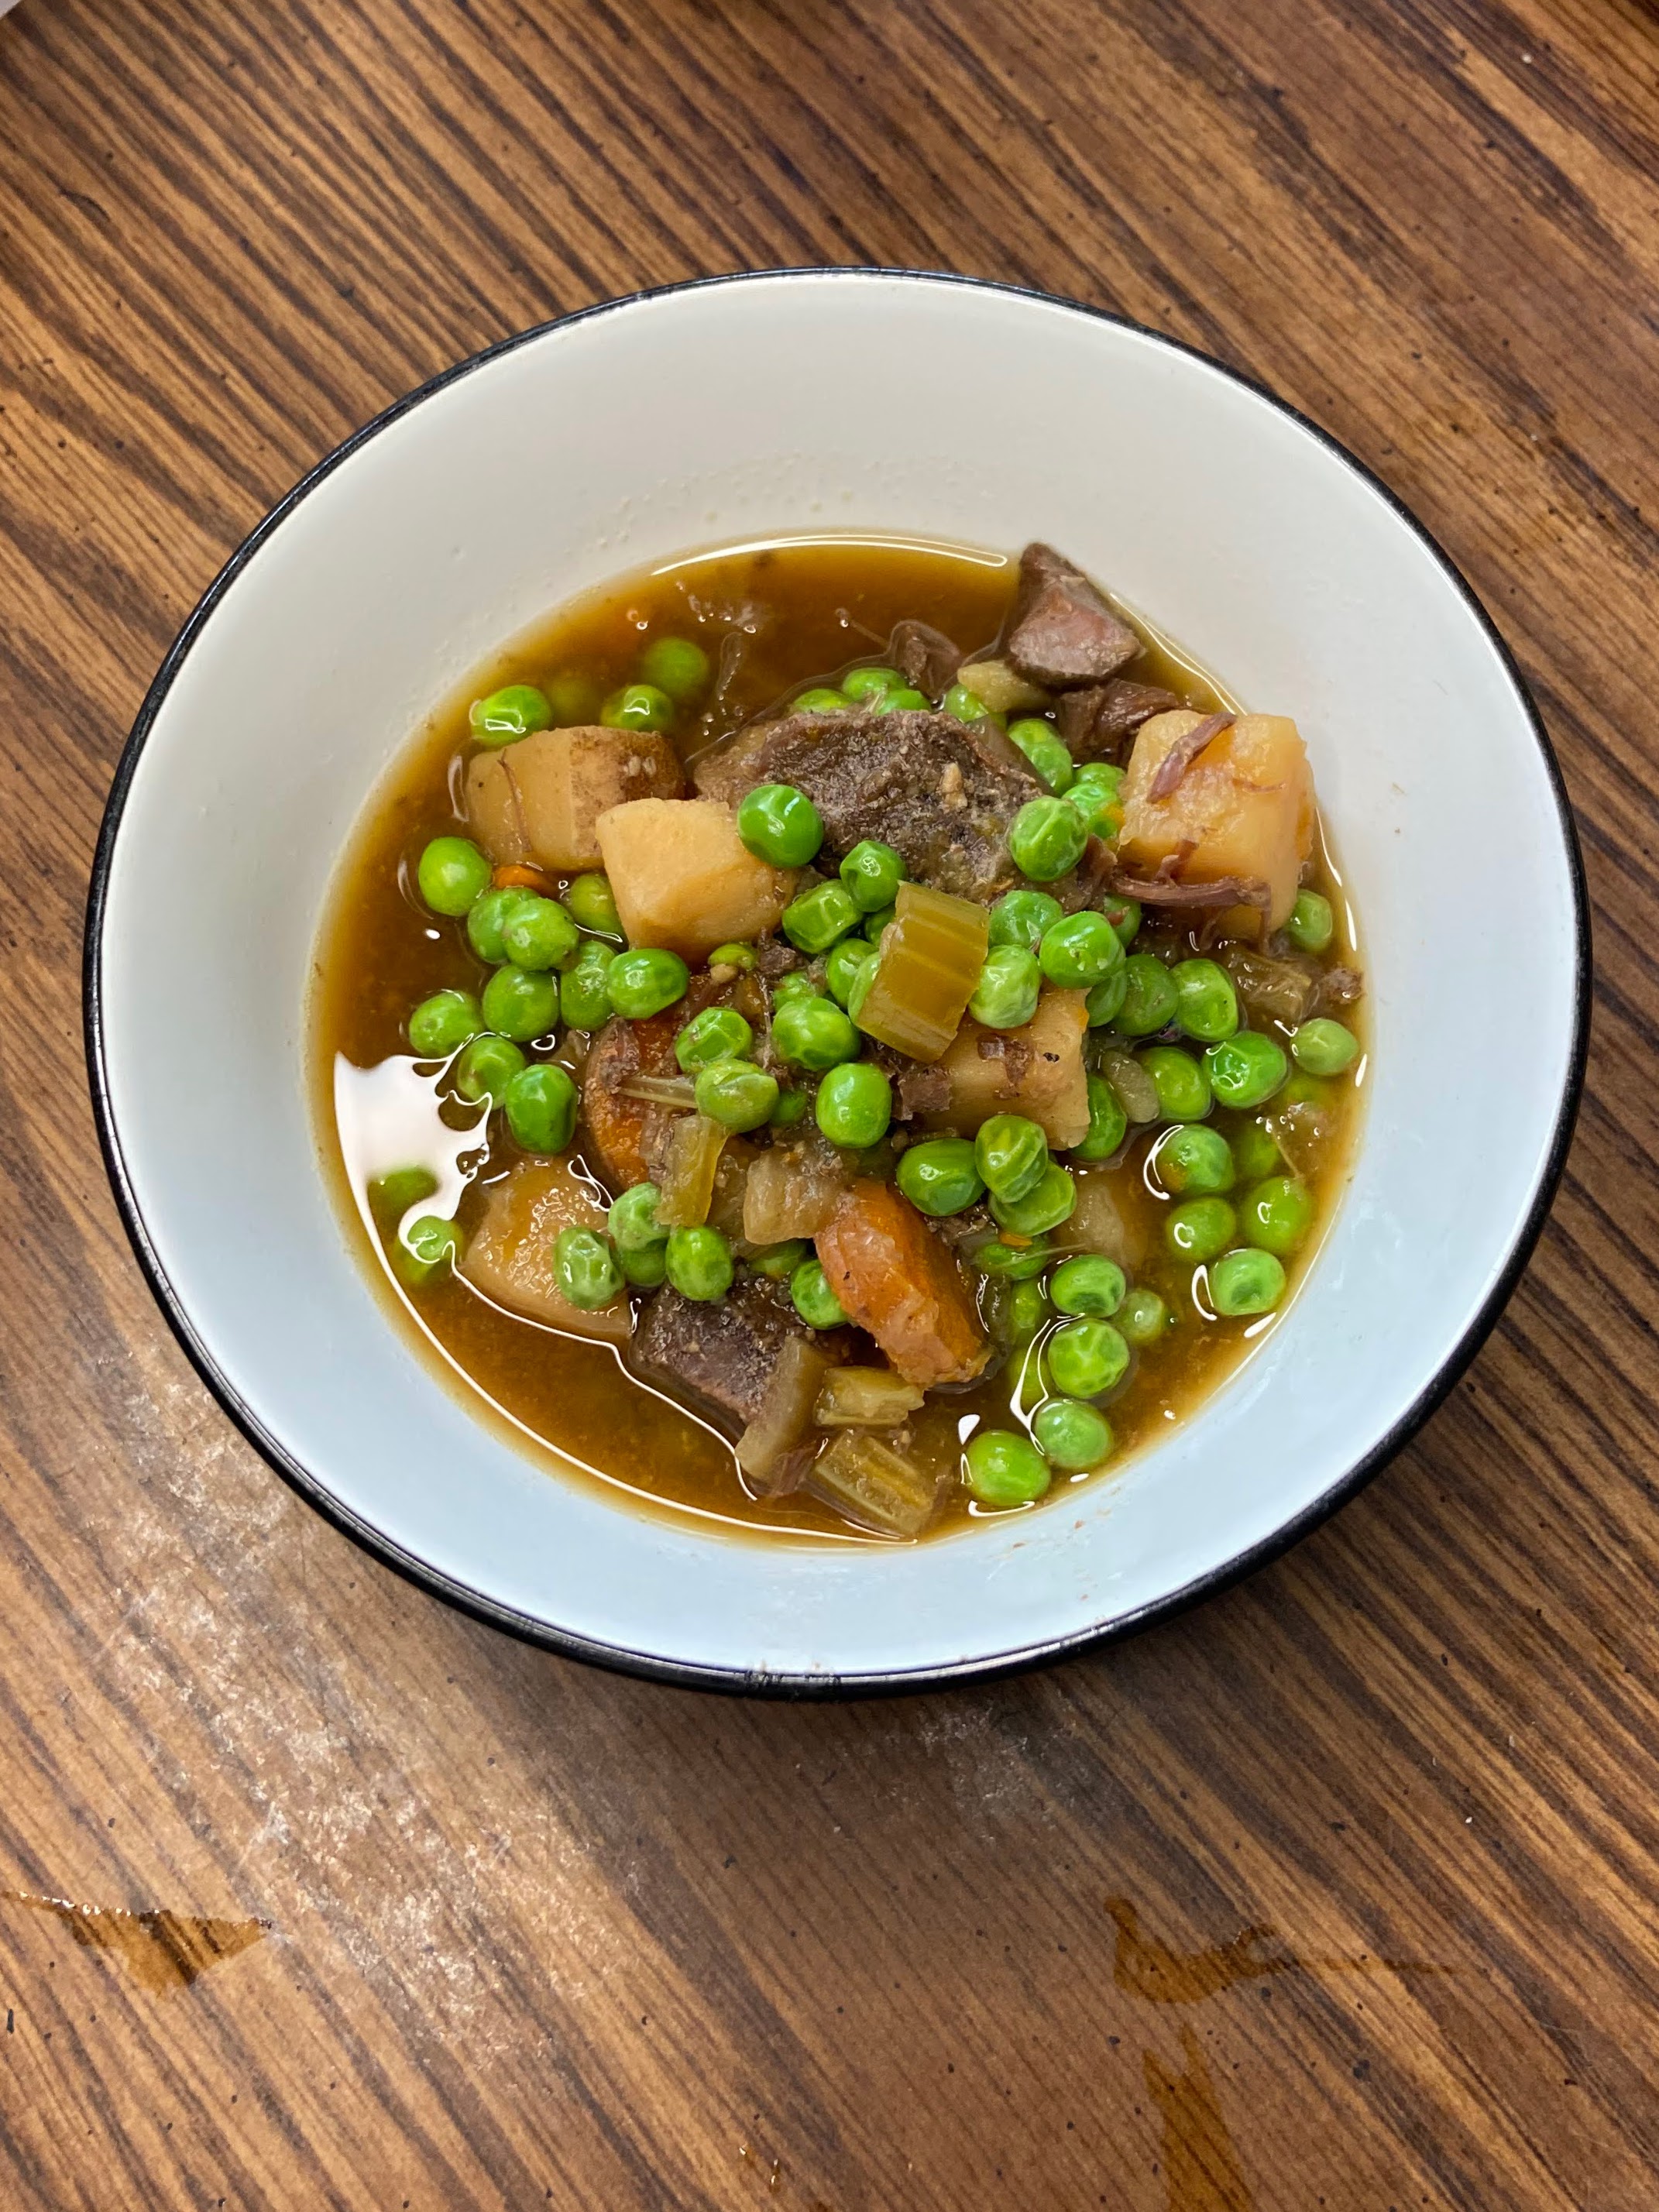
Then it came to actually opening a jar of pressure canned venison stew for dinner and to say I was nervous is an understatement. I cautiously opened it, smelled it, and very hesitantly heated it up. And oh my gosh, I was hooked at the very first bite. The meat is SO tender, the vegetables perfectly cooked. The convenience of it all is perhaps my favorite part. We are in the season of busy week nights with our kids and having homemade venison stew that can go from jar to table in under 10 minutes is incredible. If I am feeling fancy, I do a roux and slowly add the broth first. Short on time? I pour in some frozen peas for extra color and heat it up.
Bottom line? I am beyond excited to share how I prepare this great stew with all of you. I promise there is no reason to be afraid of a pressure canner. Truly, I was 100% a novice who simply did some reading at the beginning. The only caution I want to give is that it does take time (primarily hands off) for it to cook. I would say make sure you have three hours to be around the house, but truly you can be doing other things while it cooks. Just be present.
Ready to create some pressure canned venison stew? Let’s go!
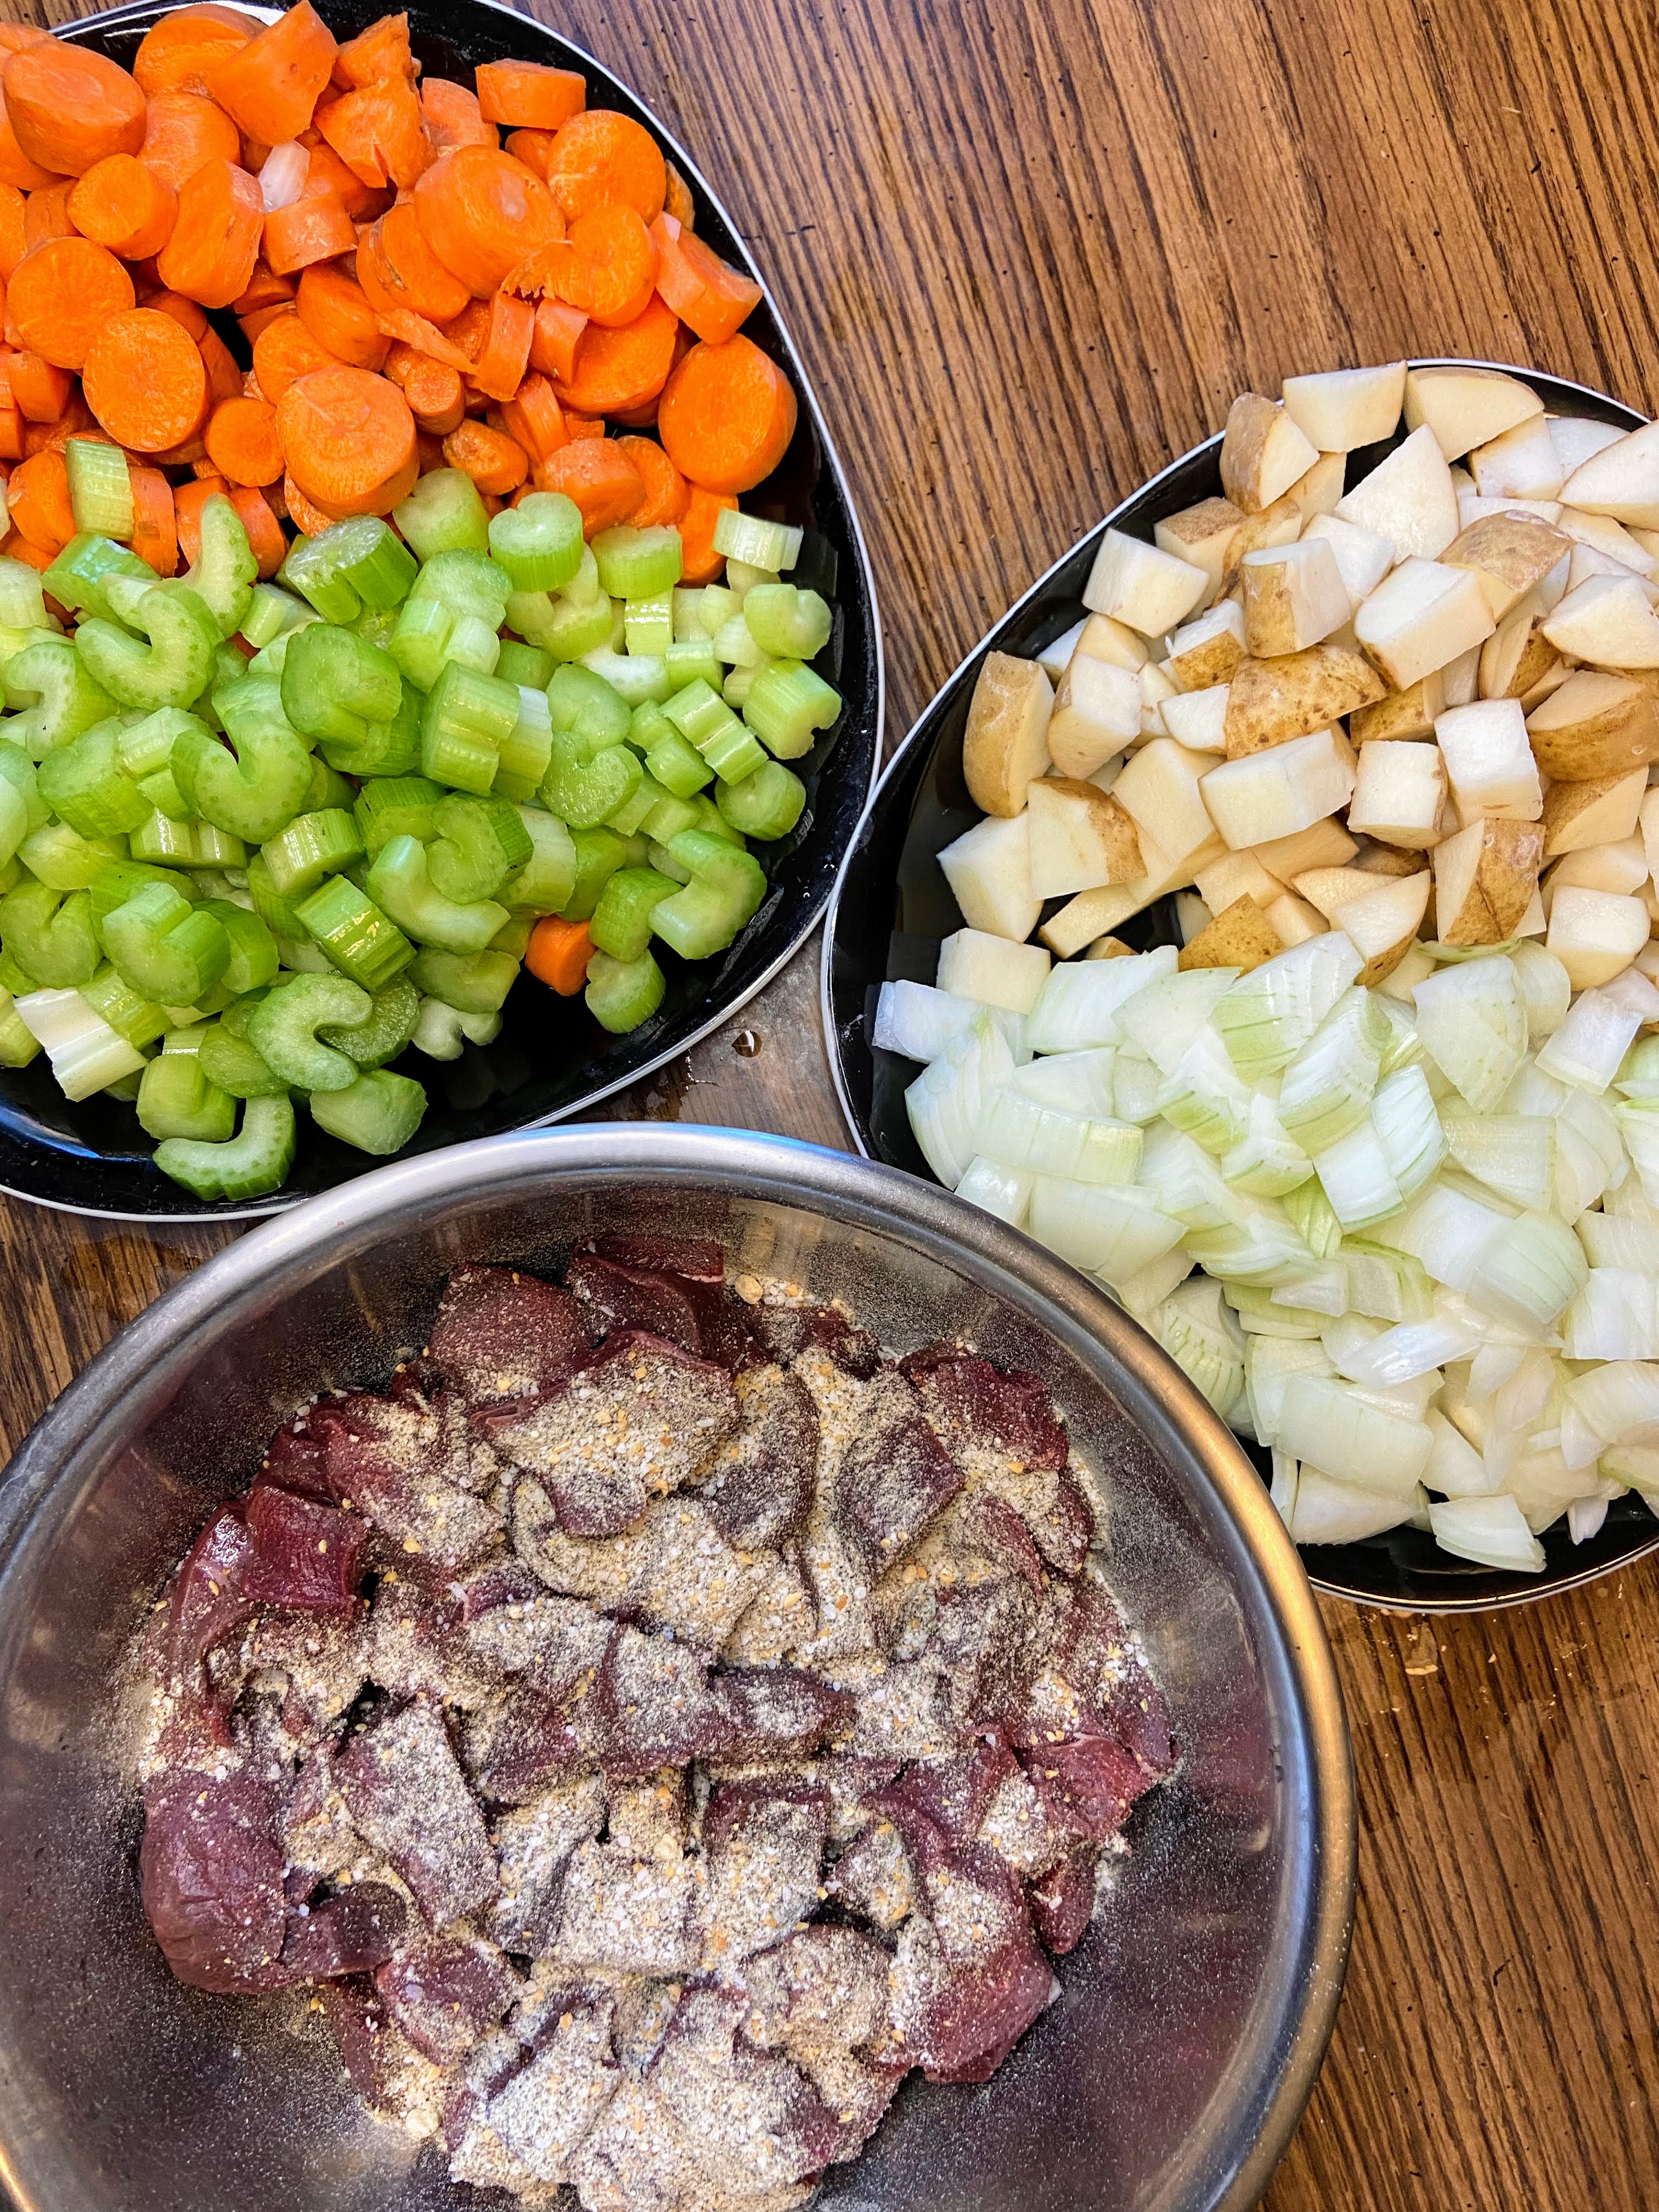
Your Ingredients for Pressure Canned Venison Stew (per quart jar)
- 1 cup cubed venison stew meat, raw
- ½ cup each: diced potatoes, celery, carrots and onions, cut large (I do just over ½ cup each)
- 3 ladles or so of beef broth
Seasoning (see below)
We keep a seasoning mixture on hand of 1 part pepper, 1 part dried minced garlic, 1 part dried minced onion, and 1-2 parts kosher salt. I use this on everything from chicken to venison to roasted vegetables. It’s fantastic and versatile. When I am canning meat, I season every 2 ½ pounds of meat with about 1-2 tablespoons seasoning mix. This is to our taste.
Tools of the Trade
Normally, I put this at the end of a post, but with a pressure canner, I feel as though I should put it at the beginning. I love using my weighted pressure canner. It doesn’t stress me out and I can create so many great things with it. I also think a canning funnel is a must here.
Before you start this process, make sure you read the general directions to your own pressure canner. They may differ from what I am sharing, and you should always follow those directions first. Also, if you are a beginner canner or even advanced, it is always a great idea to check out the National Center for Home Preservation Site for more information!
Your Steps to Pressure Canned Venison Stew
Begin by preparing your canner and jars. Wash and sterilize quart jars, rings, and lids. Keep warm. Check the seal and center vent of your lid of the canner. Set aside.
Heat beef broth just to boiling, and then reduce to a simmer. You can be heating this while you fill the jars. It will be ladeled over the meat and vegetables.
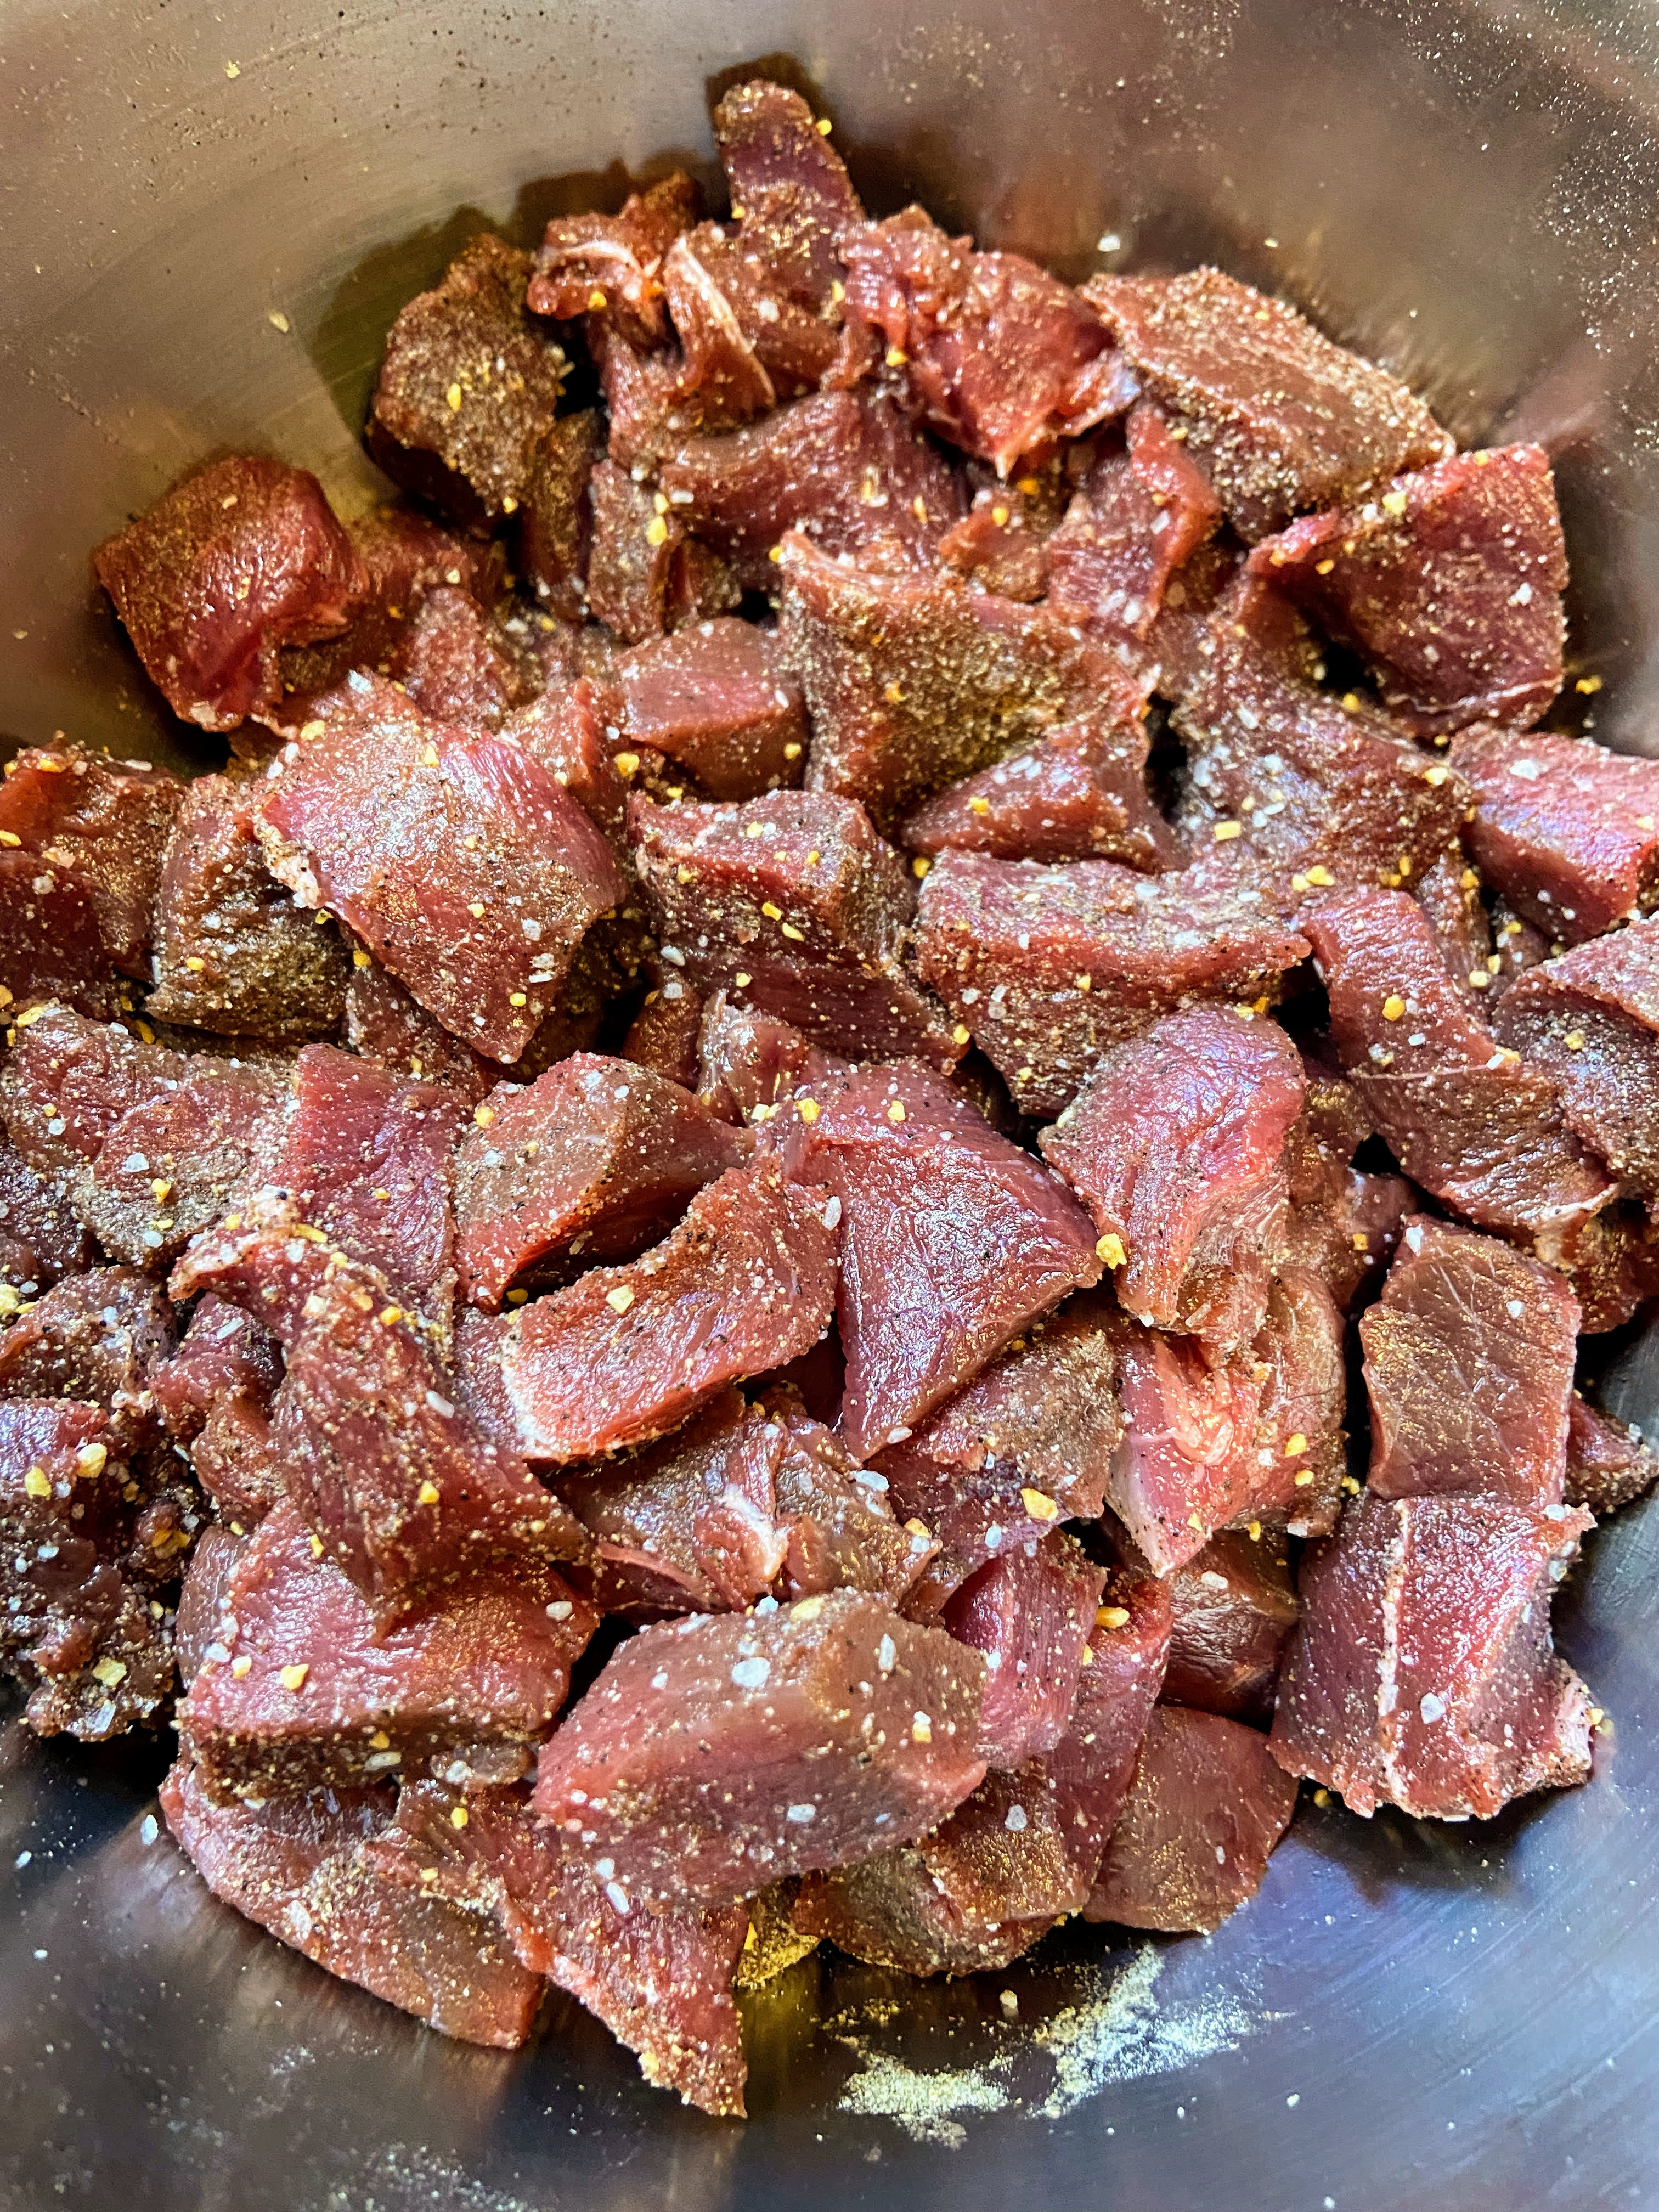
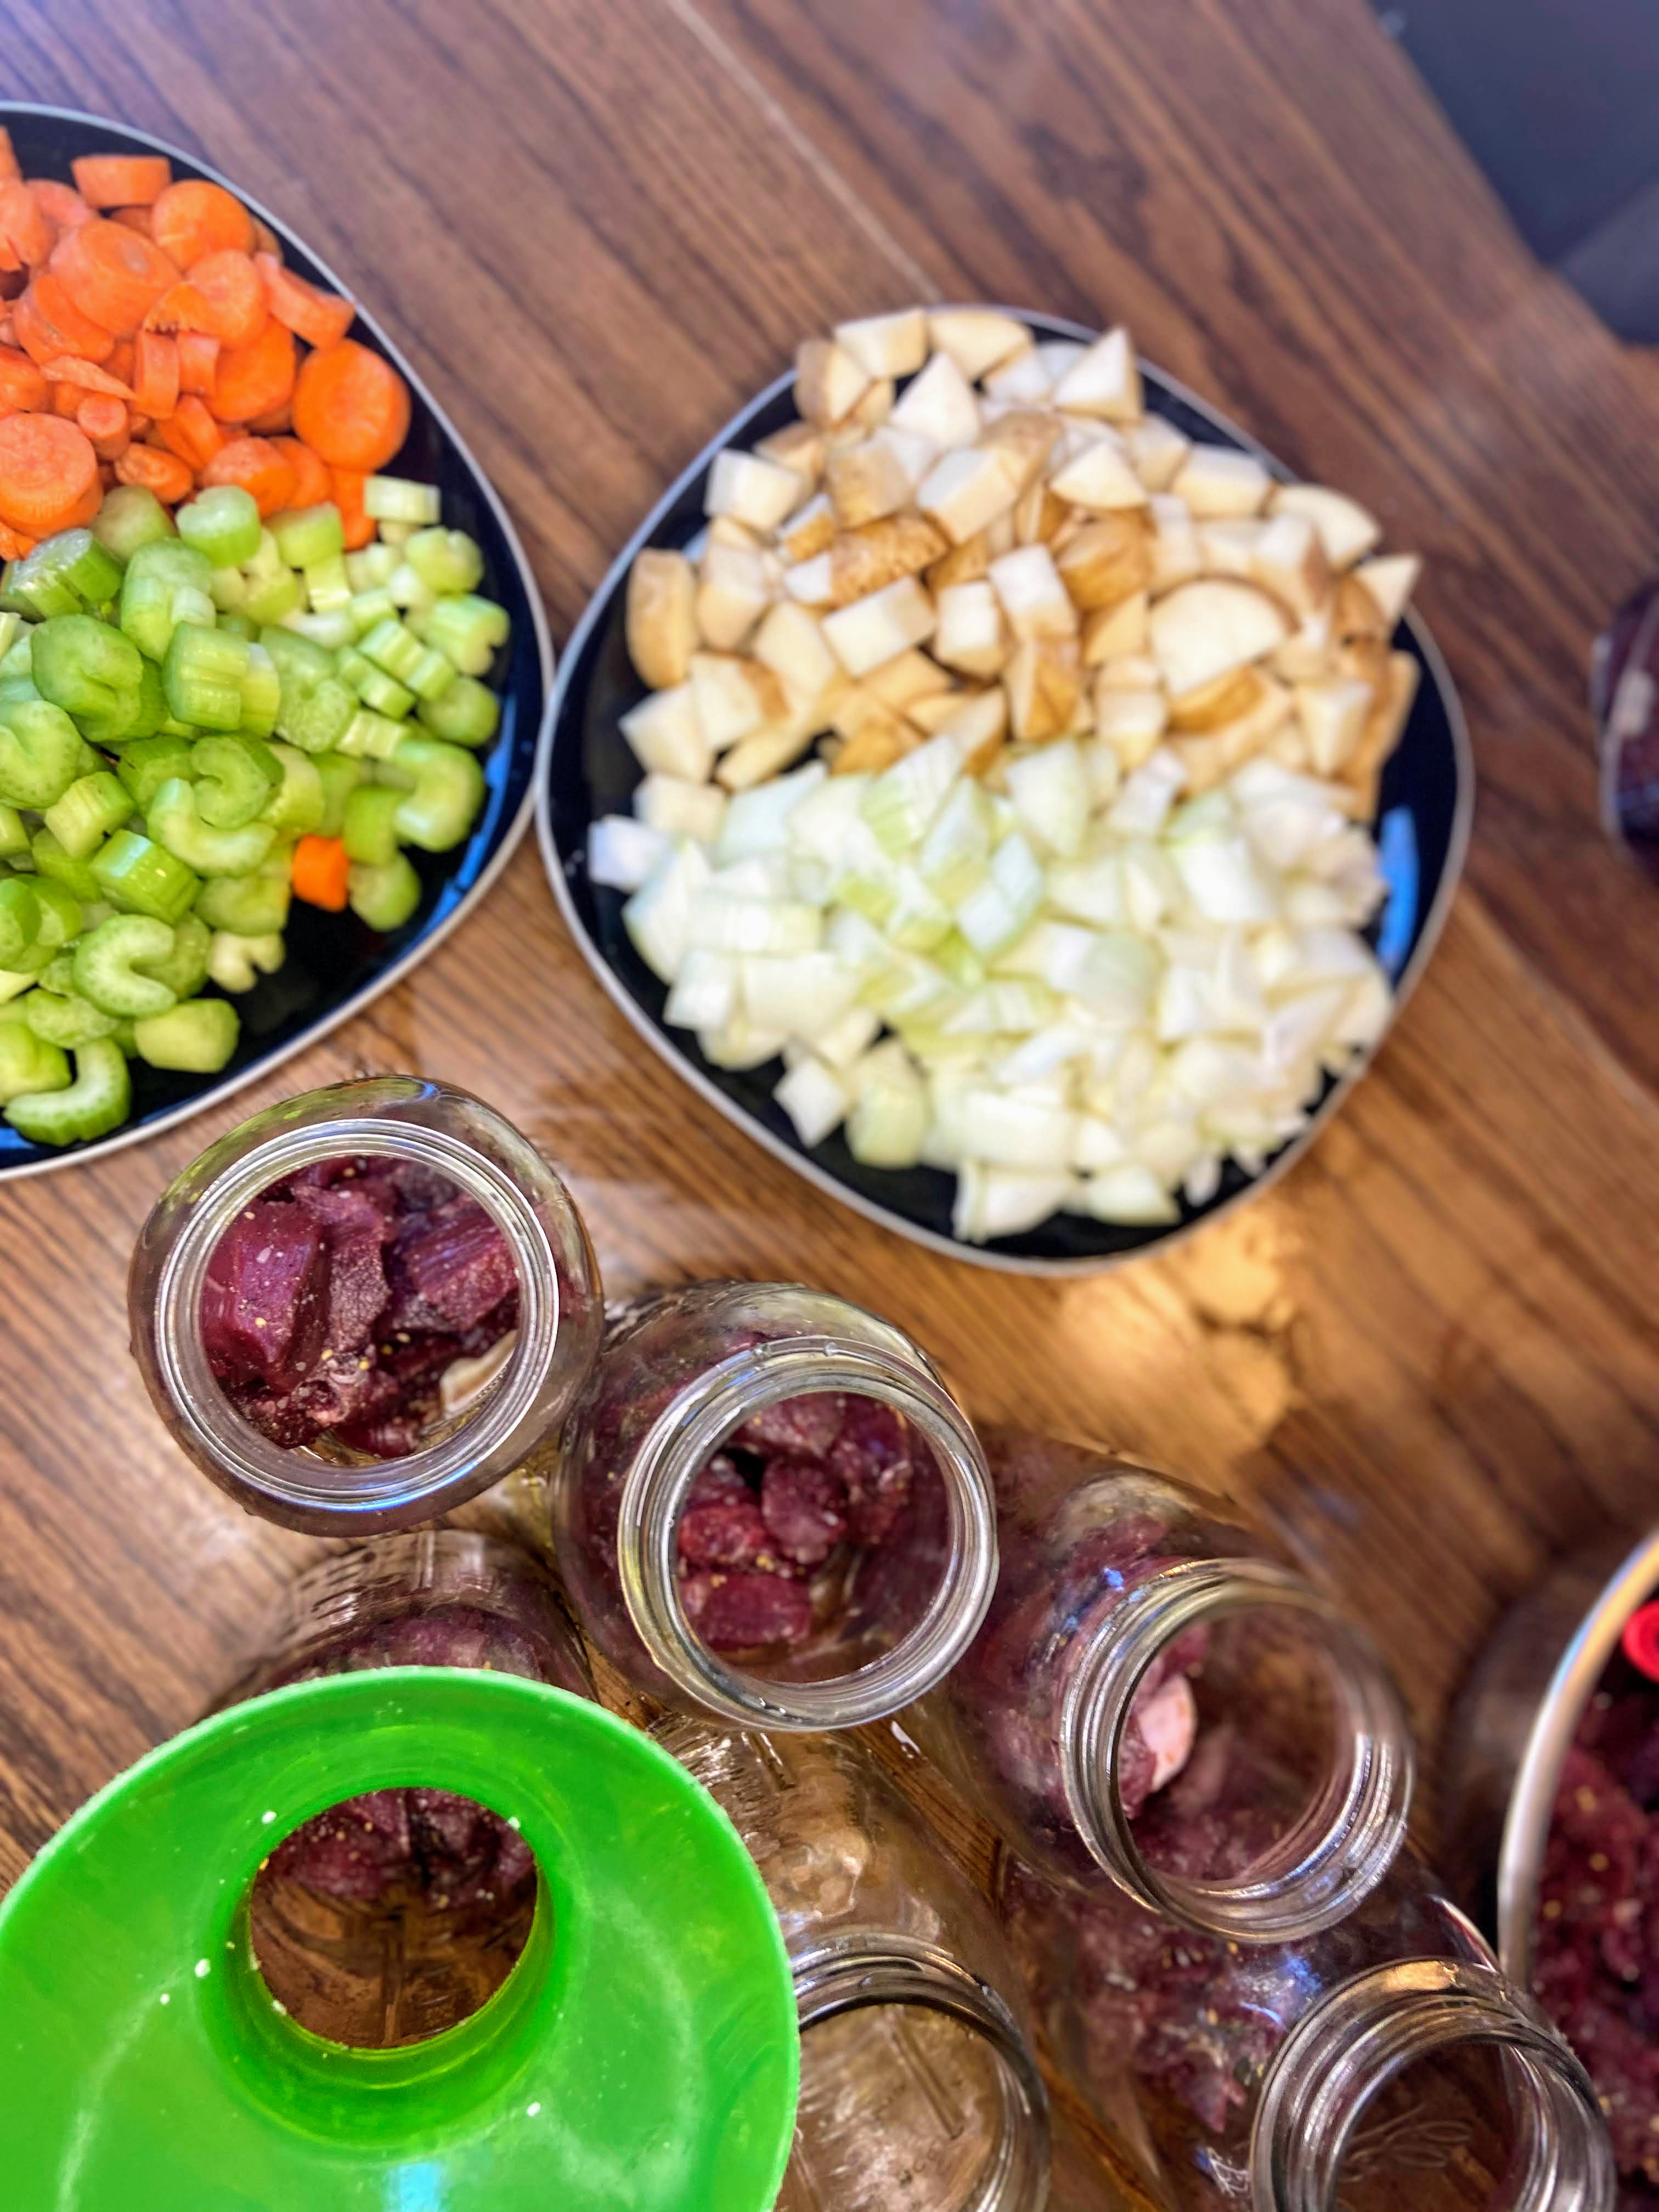
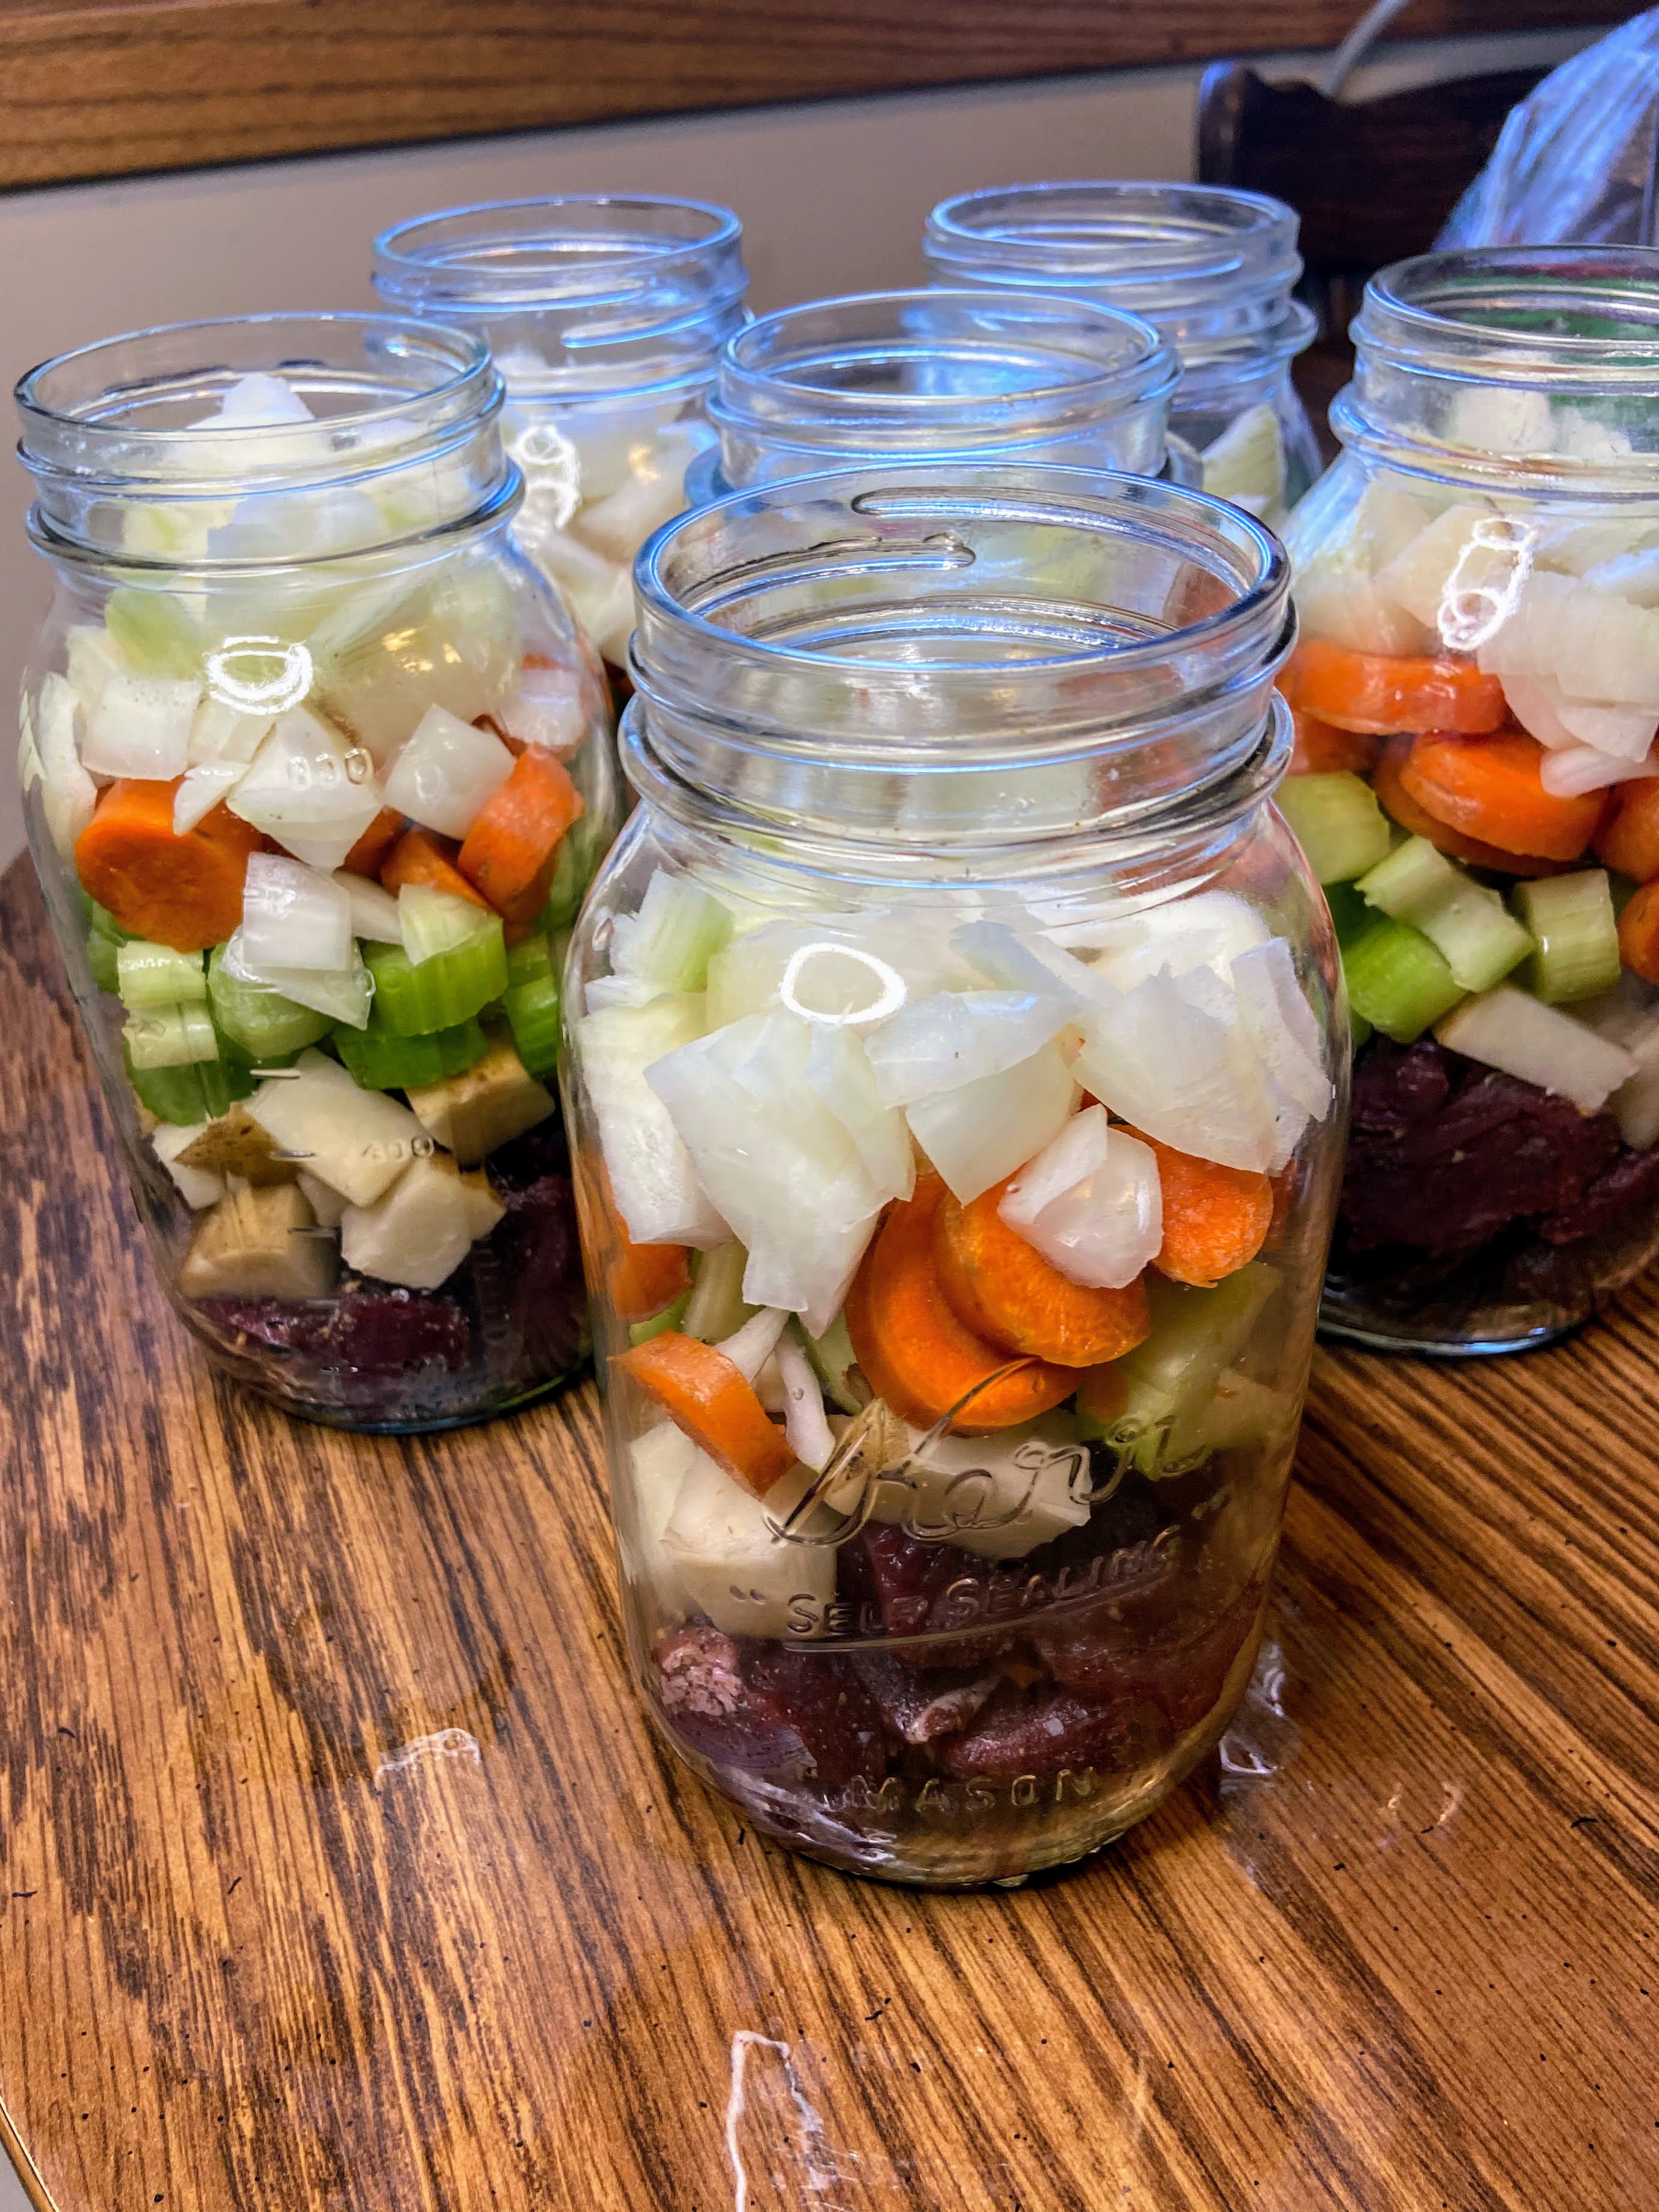
Season prepared meat with seasoning mixture mentioned above (2 tablespoons per 2 ½ pounds of meat). Using a canning funnel, stuff jars with 1 cup of raw meat each. Add potatoes, onions, carrots, and celery. You may need to shake the jars a little to get things to fit all the way. Make sure you have 1 inch of headspace.
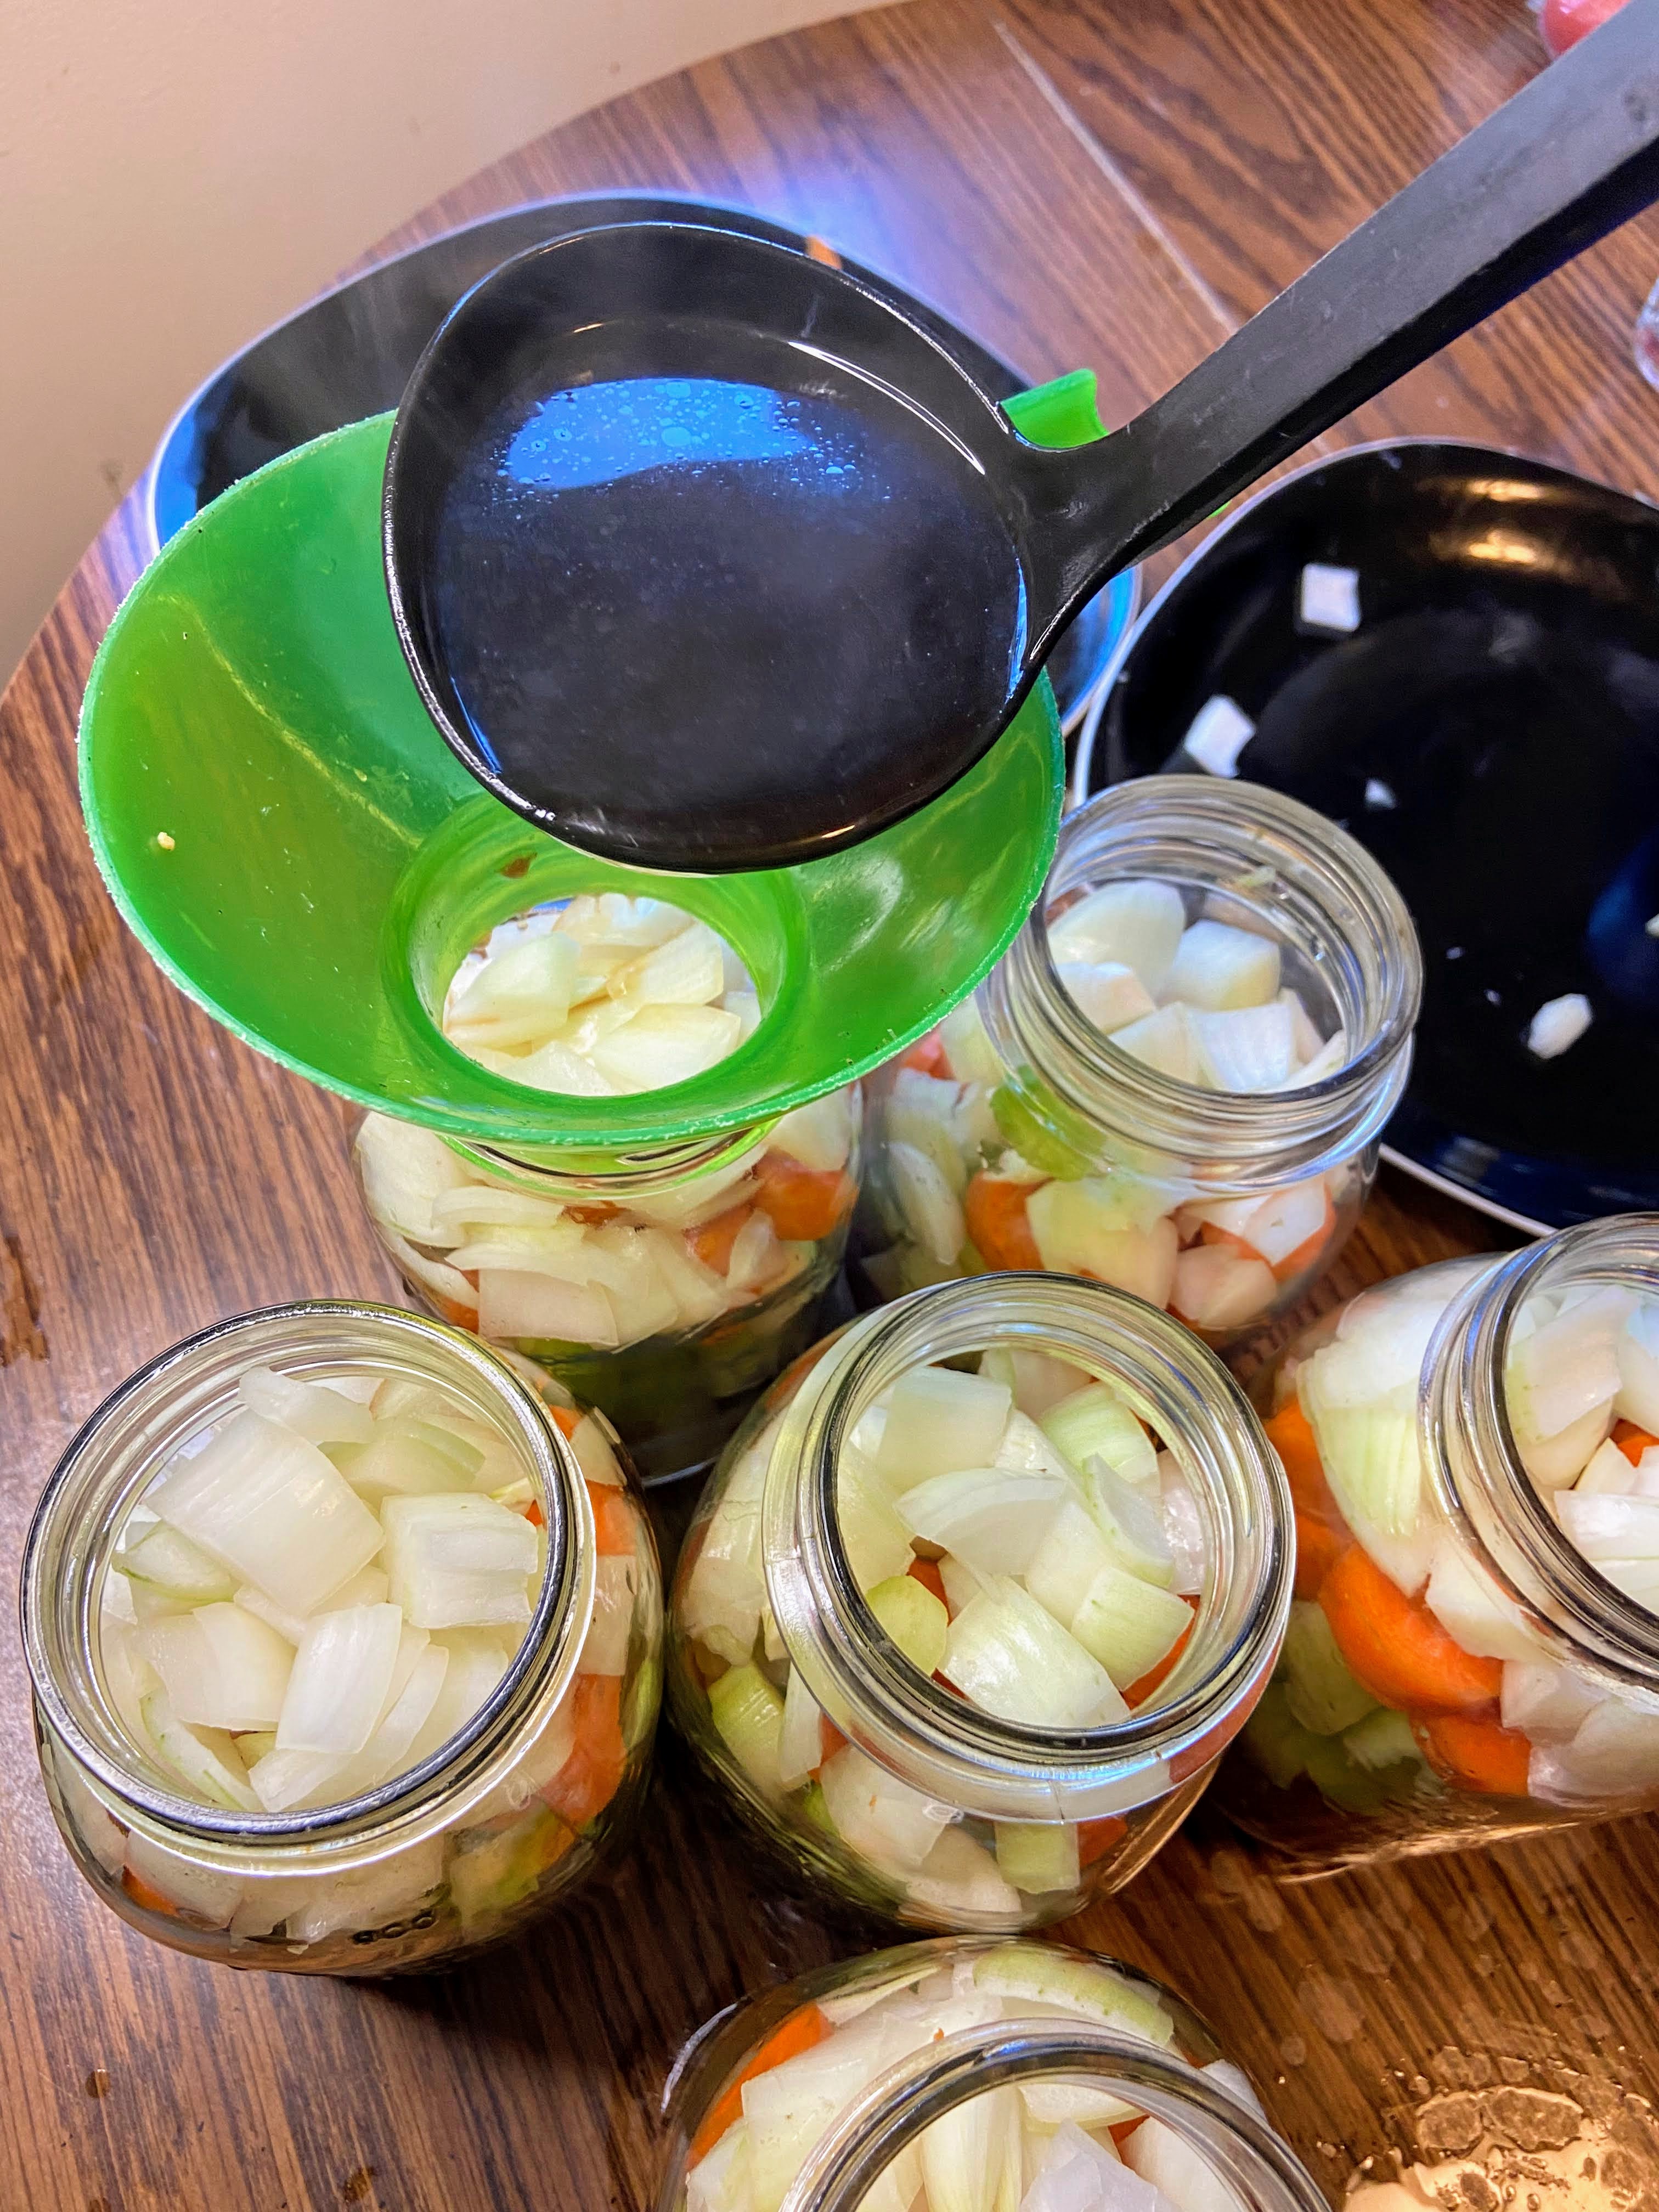
Ladle simmering beef broth over the meat and vegetables, filling the jars to about ¾-⅘ of the way full. The meat itself will create its own broth as it cooks. I have found that if you over fill the jars with broth, siphoning occurs. ¾-⅘ of the way seems to be a perfect amount.
Canning Time!
Wipe rims with a damp cloth, center the lid on the jar and adjust the band to fingertip tight.
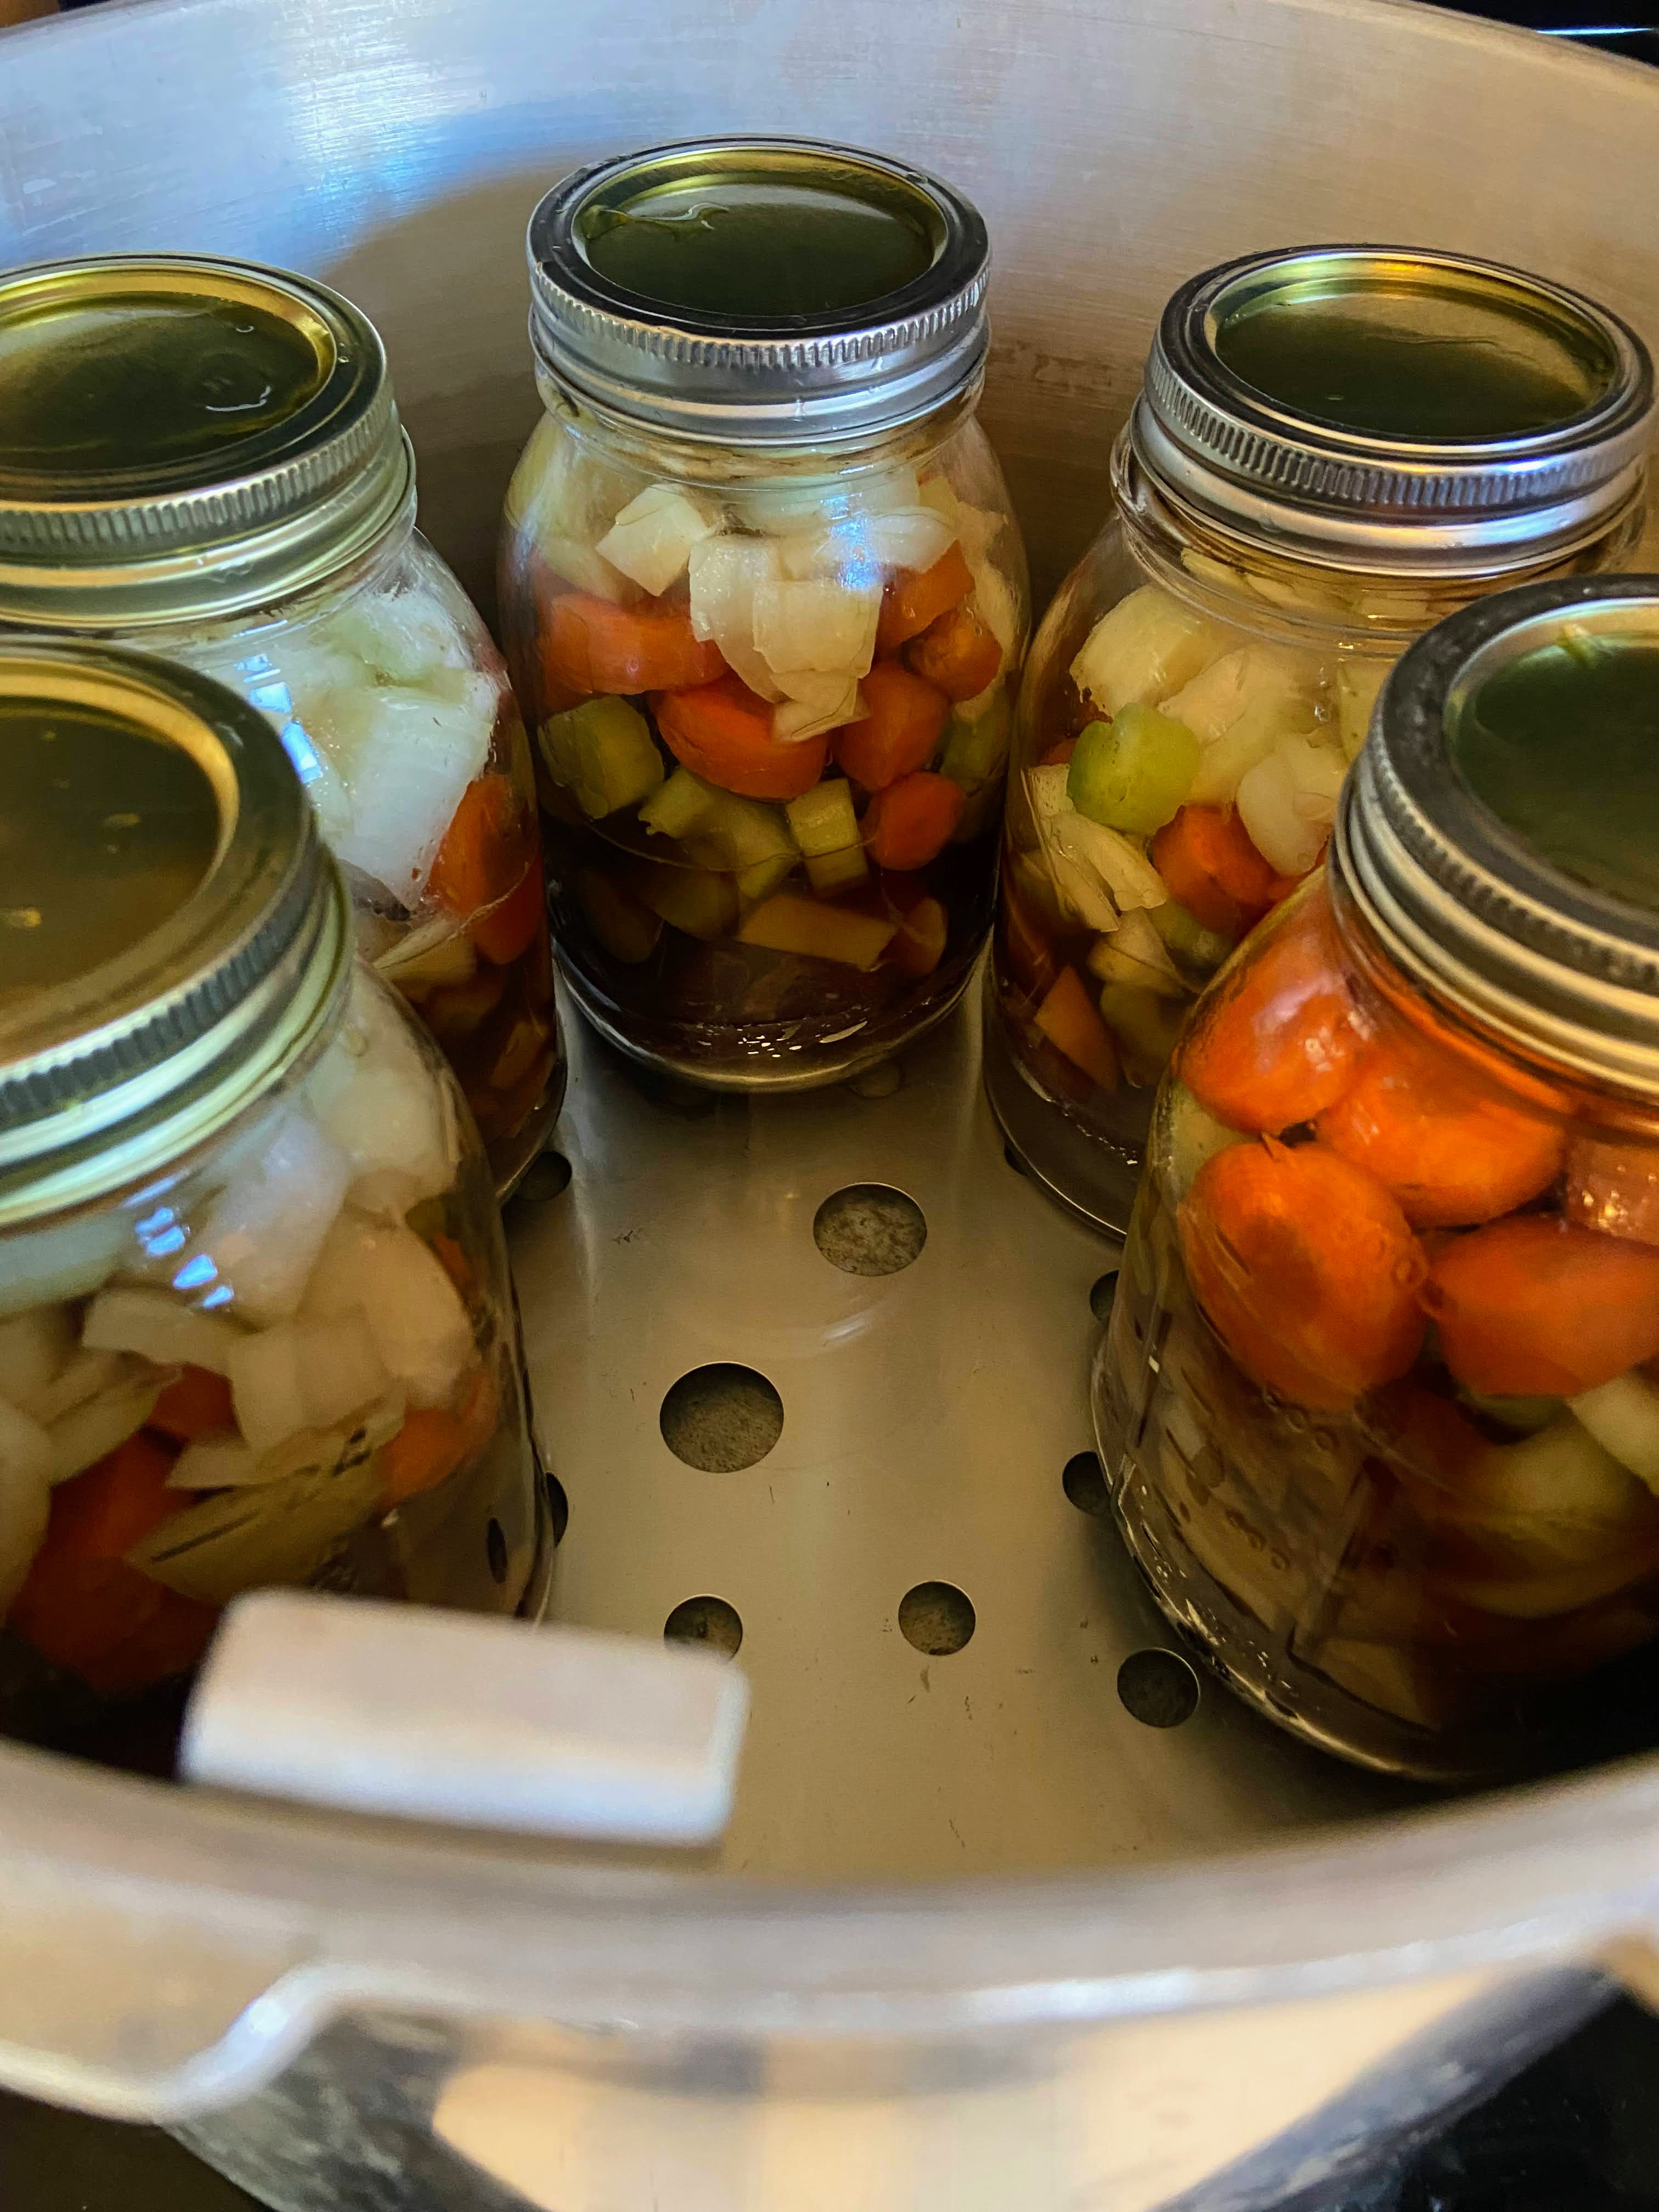
Place jars on the rack of a prepared pressure canner (mine needs 3 quarts of hot water plus a splash of vinegar).
Place the lid on the canner and heat to high heat. Once a steady stream of steam can be seen/felt, vent for 10 minutes, adjusting the heat if needed to have a steady but not crazy stream of steam. After 10 minutes, put the weighted gauge on the vent. You will want 10 pounds if your altitude is under 1000 ft; 15 pounds if you are over 1000 ft.
Once the weight starts to jiggle (indicating it has reached the appropriate pressure), begin timing. You will need to process pint jars for 75 minutes and quart jars for 90 minutes. Once the timer has gone off, turn off and remove the canner from heat. Allow the pressure to drop on the canner all the way (read specific canner instructions for the indicator). Remove weight and allow to cool an additional 10 minutes. Remove jars from canner; do not retighten bands. Cool 12 hours, then check their seals, label, and store jars.
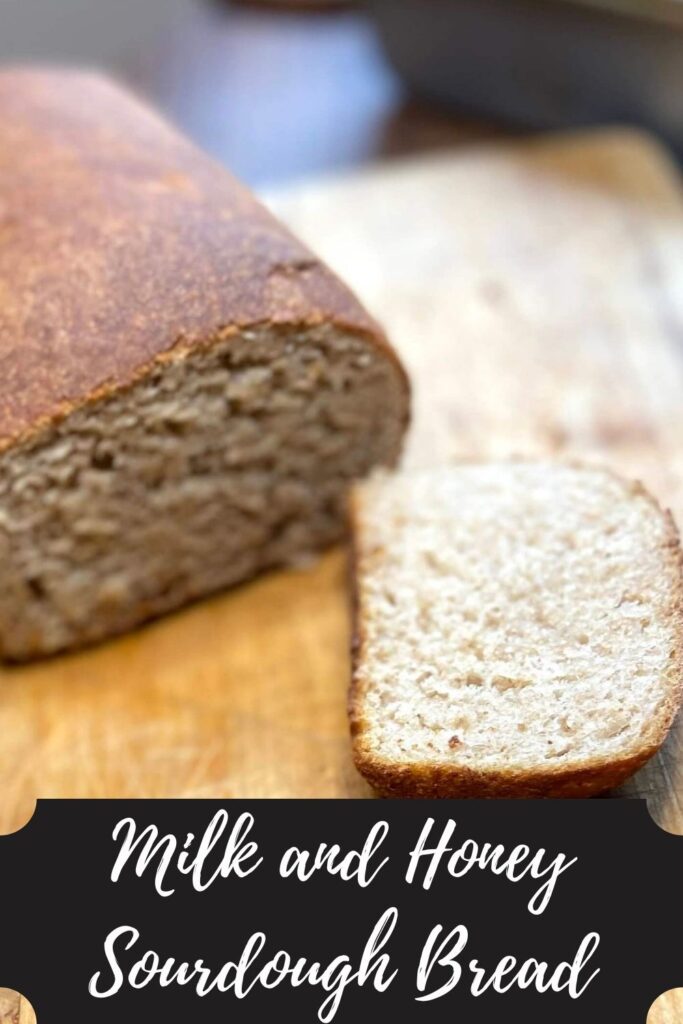
We like to enjoy our stew with some frozen peas and fresh sourdough bread. Not a sourdough baker? Click here to learn more!
Let me reiterate, this is what works for my pressure canner. I HIGHLY recommend reading and then rereading your own pressure canner directions. They aren’t hard to use, but you also don’t want to dedicate this time and effort to have something not work out.
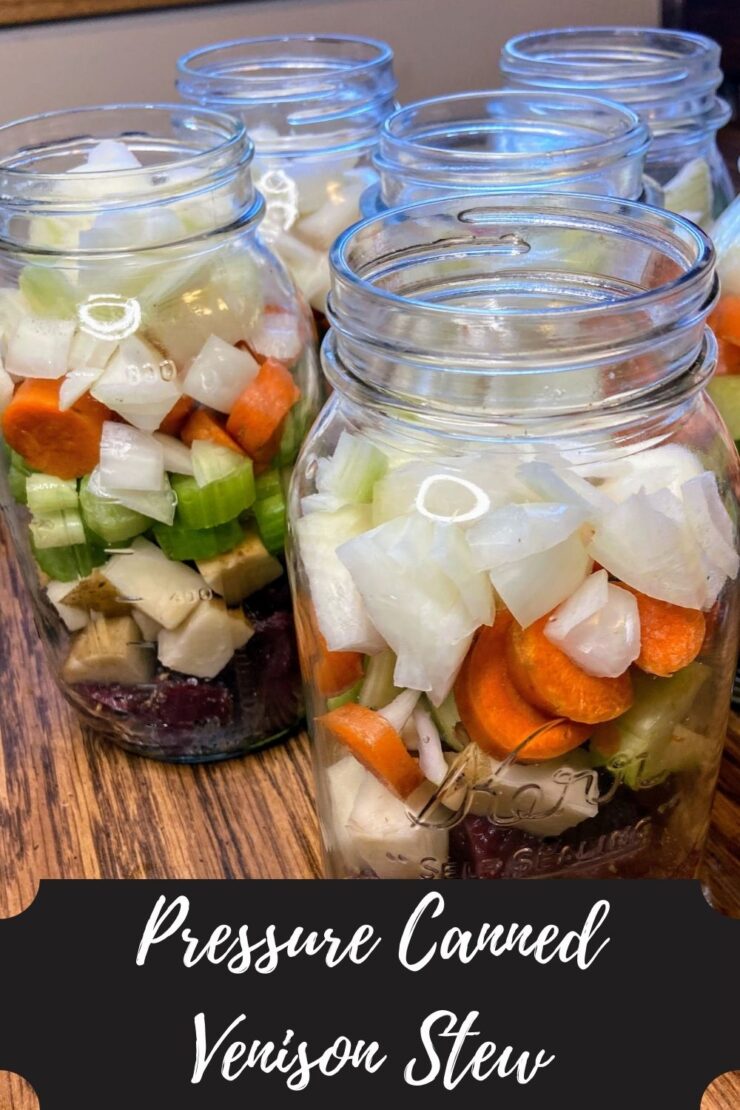
Pressure Canned Venison Stew
Equipment
Ingredients
- 7 cups cubed venison stew meat
- 4 cups chopped onion
- 4 cups diced carrot
- 4 cups diced potato
- 4 cups chopped celery
- ¼ cup seasoning
- 10-12 cups beef broth
Instructions
- Begin by preparing your canner and jars. Wash and sterilize quart jars, rings, and lids. Keep warm. Check the seal and center vent of your lid the canner. Set aside.
- Heat beef broth just to boiling, and then reduce to a simmer.
- Season prepared meat with seasoning mixture. Fill jars with 1 cup of seasoned meat and 1/2 cup each of celery, carrots, onions, and potatoes.
- Ladle simmering beef broth over the meat and vegetables, filling the jars to about ¾-⅘ of the way full.
- Wipe rims with a damp cloth, center the lid on the jar and adjust the band to fingertip tight.
- Place jars on the rack of a prepared pressure canner (mine needs 3 quarts of hot water plus a splash of vinegar).
- Process quart jars for 90 minutes at 10 pounds. If your altitude is greater than 1000 feet, use 15 pounds. Follow the directions of your pressure canner or see the more detailed directions in the notes.
Notes
Once the weight starts to jiggle (indicating it has reached the appropriate pressure), begin timing. You will need to process pint jars for 75 minutes and quart jars for 90 minutes. Once the timer has gone off, turn off and remove the canner from heat. Allow the pressure to drop on the canner all the way (read specific canner instructions for the indicator). Remove weight and allow to cool an additional 10 minutes. Remove jars from canner; do not retighten bands. Cool 12 hours, then check their seals, label, and store jars.
Looking for some sourdough to pair it with? Or perhaps other venison inspiration? Check out the links below!
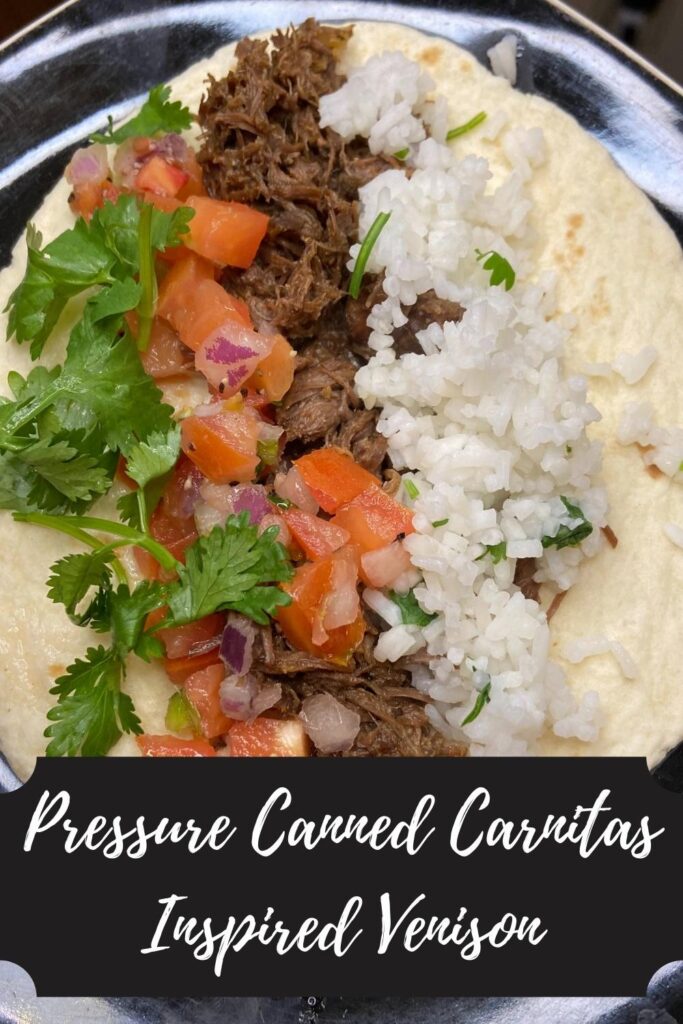
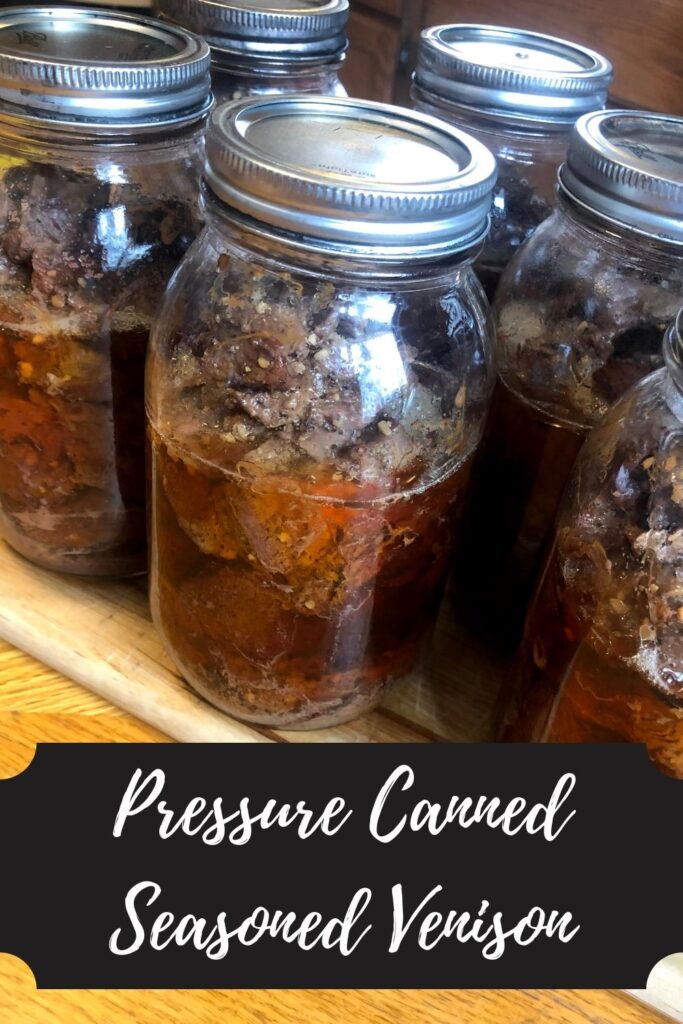
[…] harvested from the woods. I also fill my shelves with pressure canned venison: Both in the form of venison stew and pressure canned seasoned […]
Can you add homemade venison bone broth instead of beef broth?
I can’t see any reason why you can’t! I think it’s a great idea. Get all the health benefits, for sure!
[…] Venison stew […]
[…] Venison Stew with Vegetables […]
Absolutely amazing. This was my first year processing my own deer, and this is the perfect recipe for all the stew meat I had from it. Already canned one batch, the most savory stew I’ve ever had. In the middle of canning my second batch as I type this. Thanks for sharing!
This made my morning to read! I am so happy you loved it! Thank you for sharing!
Thank you so much for these instructions. This is my first time canning, I have never even seen it down before and my pressure canners instructions left a lot out, didn’t even specify pressure or water amount but your recipe and instructions helped me so much. I added some cultural ingredients to my stew ( we Swedes like our game with thyme, juniper berries and bay leaves) but it was so nice that you even had instructions for high altitude ( Boise , 3000 ft). Will definitely check out more of your recipes!!
Jenny! I am SO happy to hear that it worked well for you! I am also sorry to hear that your canner didn’t give you all the information. Such a bummer!
I hope you love it as much as we do! It’s a perfect meal for busy busy weeknights.
Would ground venison work as well?
You know Shea, I don’t see why not! I have yet to can ground venison, but it has the same processing times as stew meat, so it should work. I am not sure how the texture would be when it comes out. My research recommends pairing it with some ground pork to counter the leanness of venison. I have always raw packed my venison, but some people prefer to hot pack it by cooking it down ahead of time. Good luck and please let me know how it turns out!
Thinking about trying this tomorrow. I was considering starting the meat first. My only question is, your finished jars don’t seem to have a lot of liquid in them. Was there siphoning or does the raw pack venison not give off that much liquid. When I do raw pack chicken, the jar is full.
The raw pack venison doesn’t give off as much liquid as chicken, I believe. I also do add a little bit of beef stock (you could totally do venison stock if you make it), but when too much gets put in, their is siphoning. I hope this helps!
Thinking about trying this tomorrow. I was considering searing the meat first. My only question is, your finished jars don’t seem to have a lot of liquid in them. Was there siphoning or does the raw pack venison not give off that much liquid. When I do raw pack chicken, the jar is full.
[…] Venison Stew […]
[…] Venison Stew […]
I filled my jars ¾ full but the venison didn’t make as much of is own juices. They’re complete but with more than a 1″ headspace now that everything has cooked down in the jars. Do you think that will affect long term storage?
I nearly always have a bit of headspace, and have never had a problem 🙂
What is the recipe for the seasoning? I don’t understand the 1 part. Thanks Rita
Hi Rita! I do a mixture of 1 part each of: pepper, dried minced garlic, and dried minced onion. Then 1-2 parts of canning or kosher salt.
That is, for example, do 1 tablespoon each of pepper, garlic, and onion. Then 1-2 tablespoons salt.
When I mix it, I do a large batch and use it for all sorts of things. I typically do 1/4 cup of the pepper, garlic, and onion and just shy of 1/2 cup of salt, but we will use it all year long! I hope that helps. ~Jess
Is there anything I can add to the stew when I can it to thicken it up a bit?
You can’t thicken it while you can it, but I have made a roux of flour and butter (equal parts) and then slowly added the broth first to thicken it up!
Shea, you shouldn’t raw-pack ground meat, but otherwise, yes, it should work with ground venison. Brown the meat first and put it in the jar, then top with the veggies and broth. Ground meat is denser, so needs to be lightly cooked and crumbled so it doesn’t pack together too much for the heat and pressure to penetrate to the center of the jar (it’s the same reason you can’t pressure can pumpkin puree at home, but cubed pumpkin in liquid is fine).
Thank you so much! I was just thinking about this comment!
[…] Venison Stew with Vegetables […]
hello. Is this a safe canning recipe?
Yes! I follow the recommendations from the powers that be: the national center for home food preservation 🙂
Thanks for asking!
But I would always, always recommend you check out their page if you are worried.
Hi! I have a lot of dietary issues (ironically, I can eat most home canned foods) but one of the things I can’t eat is white potatoes. Could I substitute in sweet potatoes? Would that ultimately end in a softer product for the potatoes?
Thank you very much!
Oh man! What a bummer Naomi! I would say yes, but I would be curious how they would hold up. Safety wise, totally okay. In fact, in my research, sweet potatoes have similar processing times to meat, so that’s good news! The extension office of Georgia (the first one I looked at) recommends cooking them first. I have never canned sweet potato, so I am not sure what I would do. Keep me updated!