Last Updated on October 8, 2024 by Jess
Something about Jambalaya is cozy, warming. It isn’t quite a soup or stew, but it sure has that comforting feeling. It’s a dish that we every so often just happen to have all the ingredients for, although I never shopped for them specifically with the intent of making jambalaya. This chicken and sausage jambalaya skips the shrimp and comes together in about 40 minutes and even less if you are on top of things enough to have cooked rice ahead of time.
About the rice
I may be a genius; Or maybe not, but let me share this awesome hack I had the last time I prepared jambalaya. I love a good long grain brown rice, but it takes time (35-40 minutes cook time plus the coming to temperature). It also takes up a burner while I am prepping everything else. But friends, it doesn’t need a lot of attention.
Enter the morning: As soon as I got done with my morning walk, I started heating 2 cups of chicken stock with some pepper and 1 cup long grain rice on the stove; Lowered it to a simmer once it was boiling, and let it do it’s thing. By the time I was done getting ready for the day and had my breakfast in me, my rice was done. Sweet! One less thing to worry about in the evening. It worked out perfect and a hack I will definitely be doing again!
I was able to throw the rest of this quick chicken and sausage jambalaya together after I got home from work on a weeknight. That’s a win, right? And we even had enough for us to eat it a second night, which is my jam.
Ready to get cooking a delicious, comforting dish your family will love? Let’s go!
Your Ingredients
- 4 cups long grain rice, cooked
- 1 large green pepper, diced
- 4 stalks of celery, diced
- 1 teaspoon minced garlic
- 1 medium onion, diced
- 4 tablespoons olive oil, divided
- 16 ounces chicken breast, cubed and seasoned with salt and pepper
- 3 Andouille sausage links, sliced into discs
- 1 can diced tomatoes
- 2 cups chicken stock
- 1 teaspoon cumin
- 1 teaspoon chili powder
- ½ teaspoon thyme
- Salt and pepper
- Dash of cayenne pepper if desired
Your Steps to Chicken and Sausage Jambalaya
If you haven’t cooked the long grain rice yet, get that started. I recommend cooking it in a little chicken stock with some pepper to add a flavor boost, but regular water with some salt and pepper will work just fine. Cook according to directions. (We always have regular rice on hand as well as brown Minute rice. We cook the one that matches our time frame, but check my hack in the intro!)
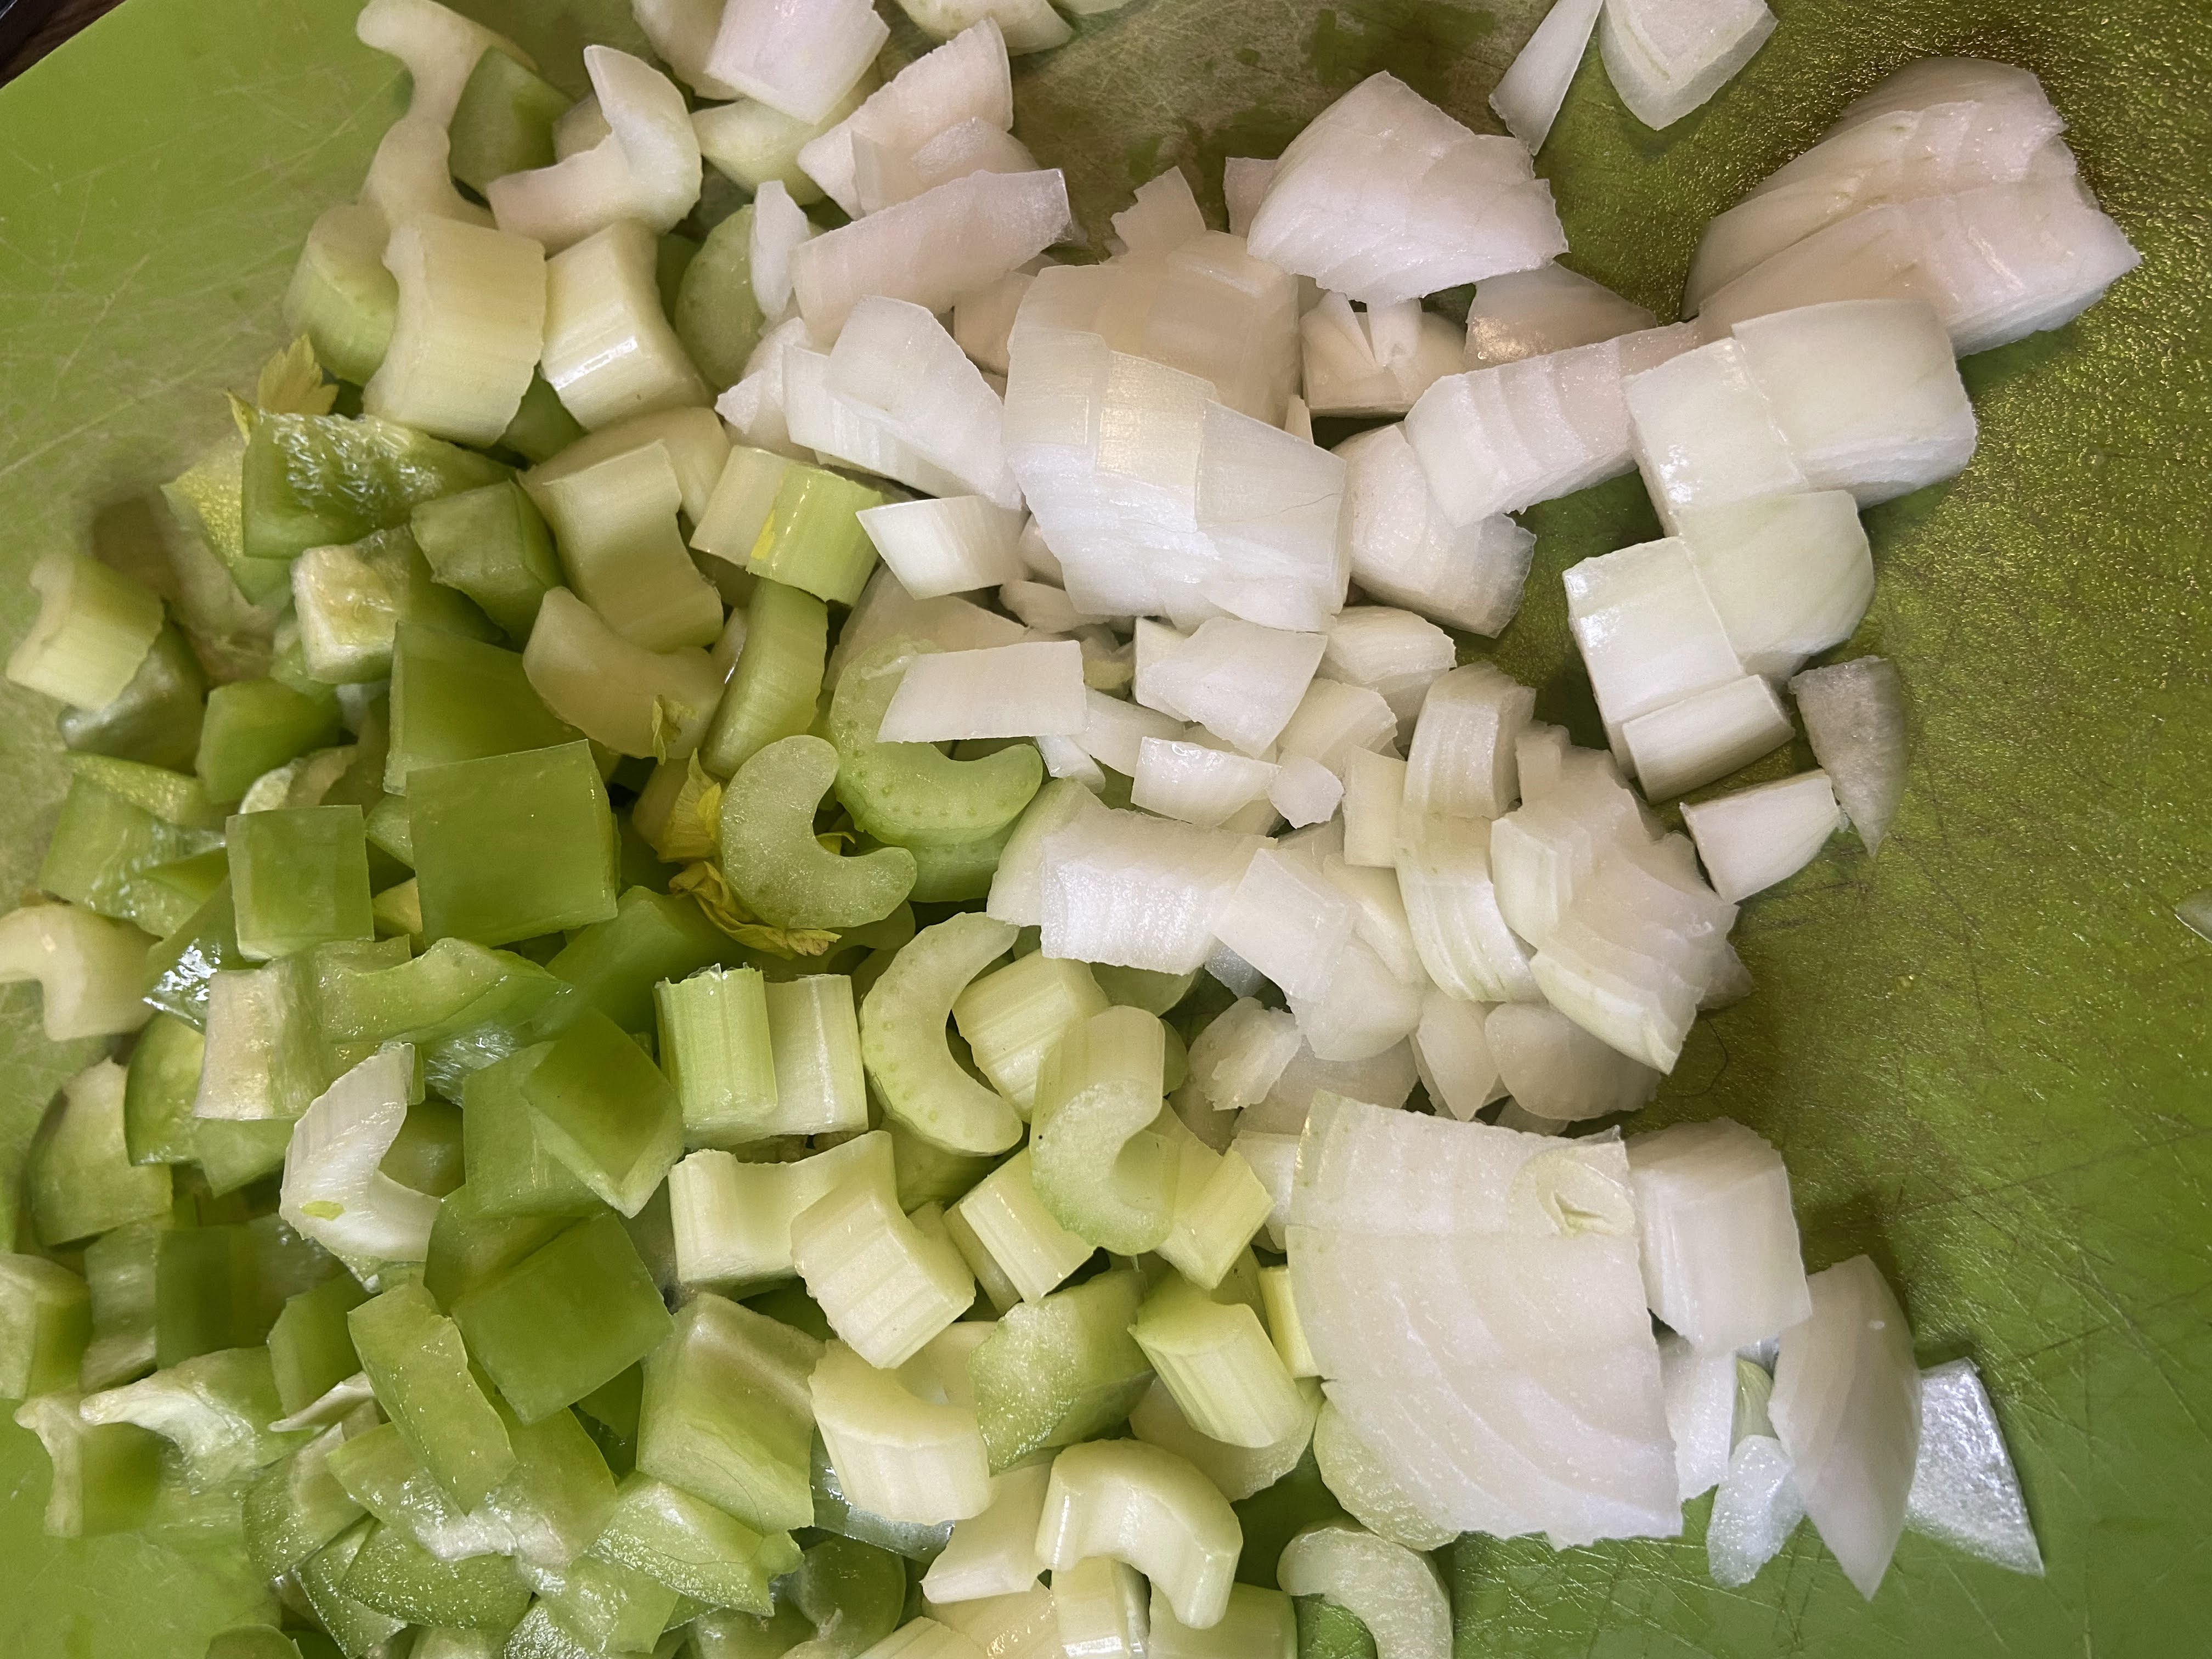
In a large Dutch oven, heat 2 tablespoons olive oil over medium heat. Add green pepper, celery, onion, and garlic. Cook until softened, about 8 minutes. Remove from pan and set aside.
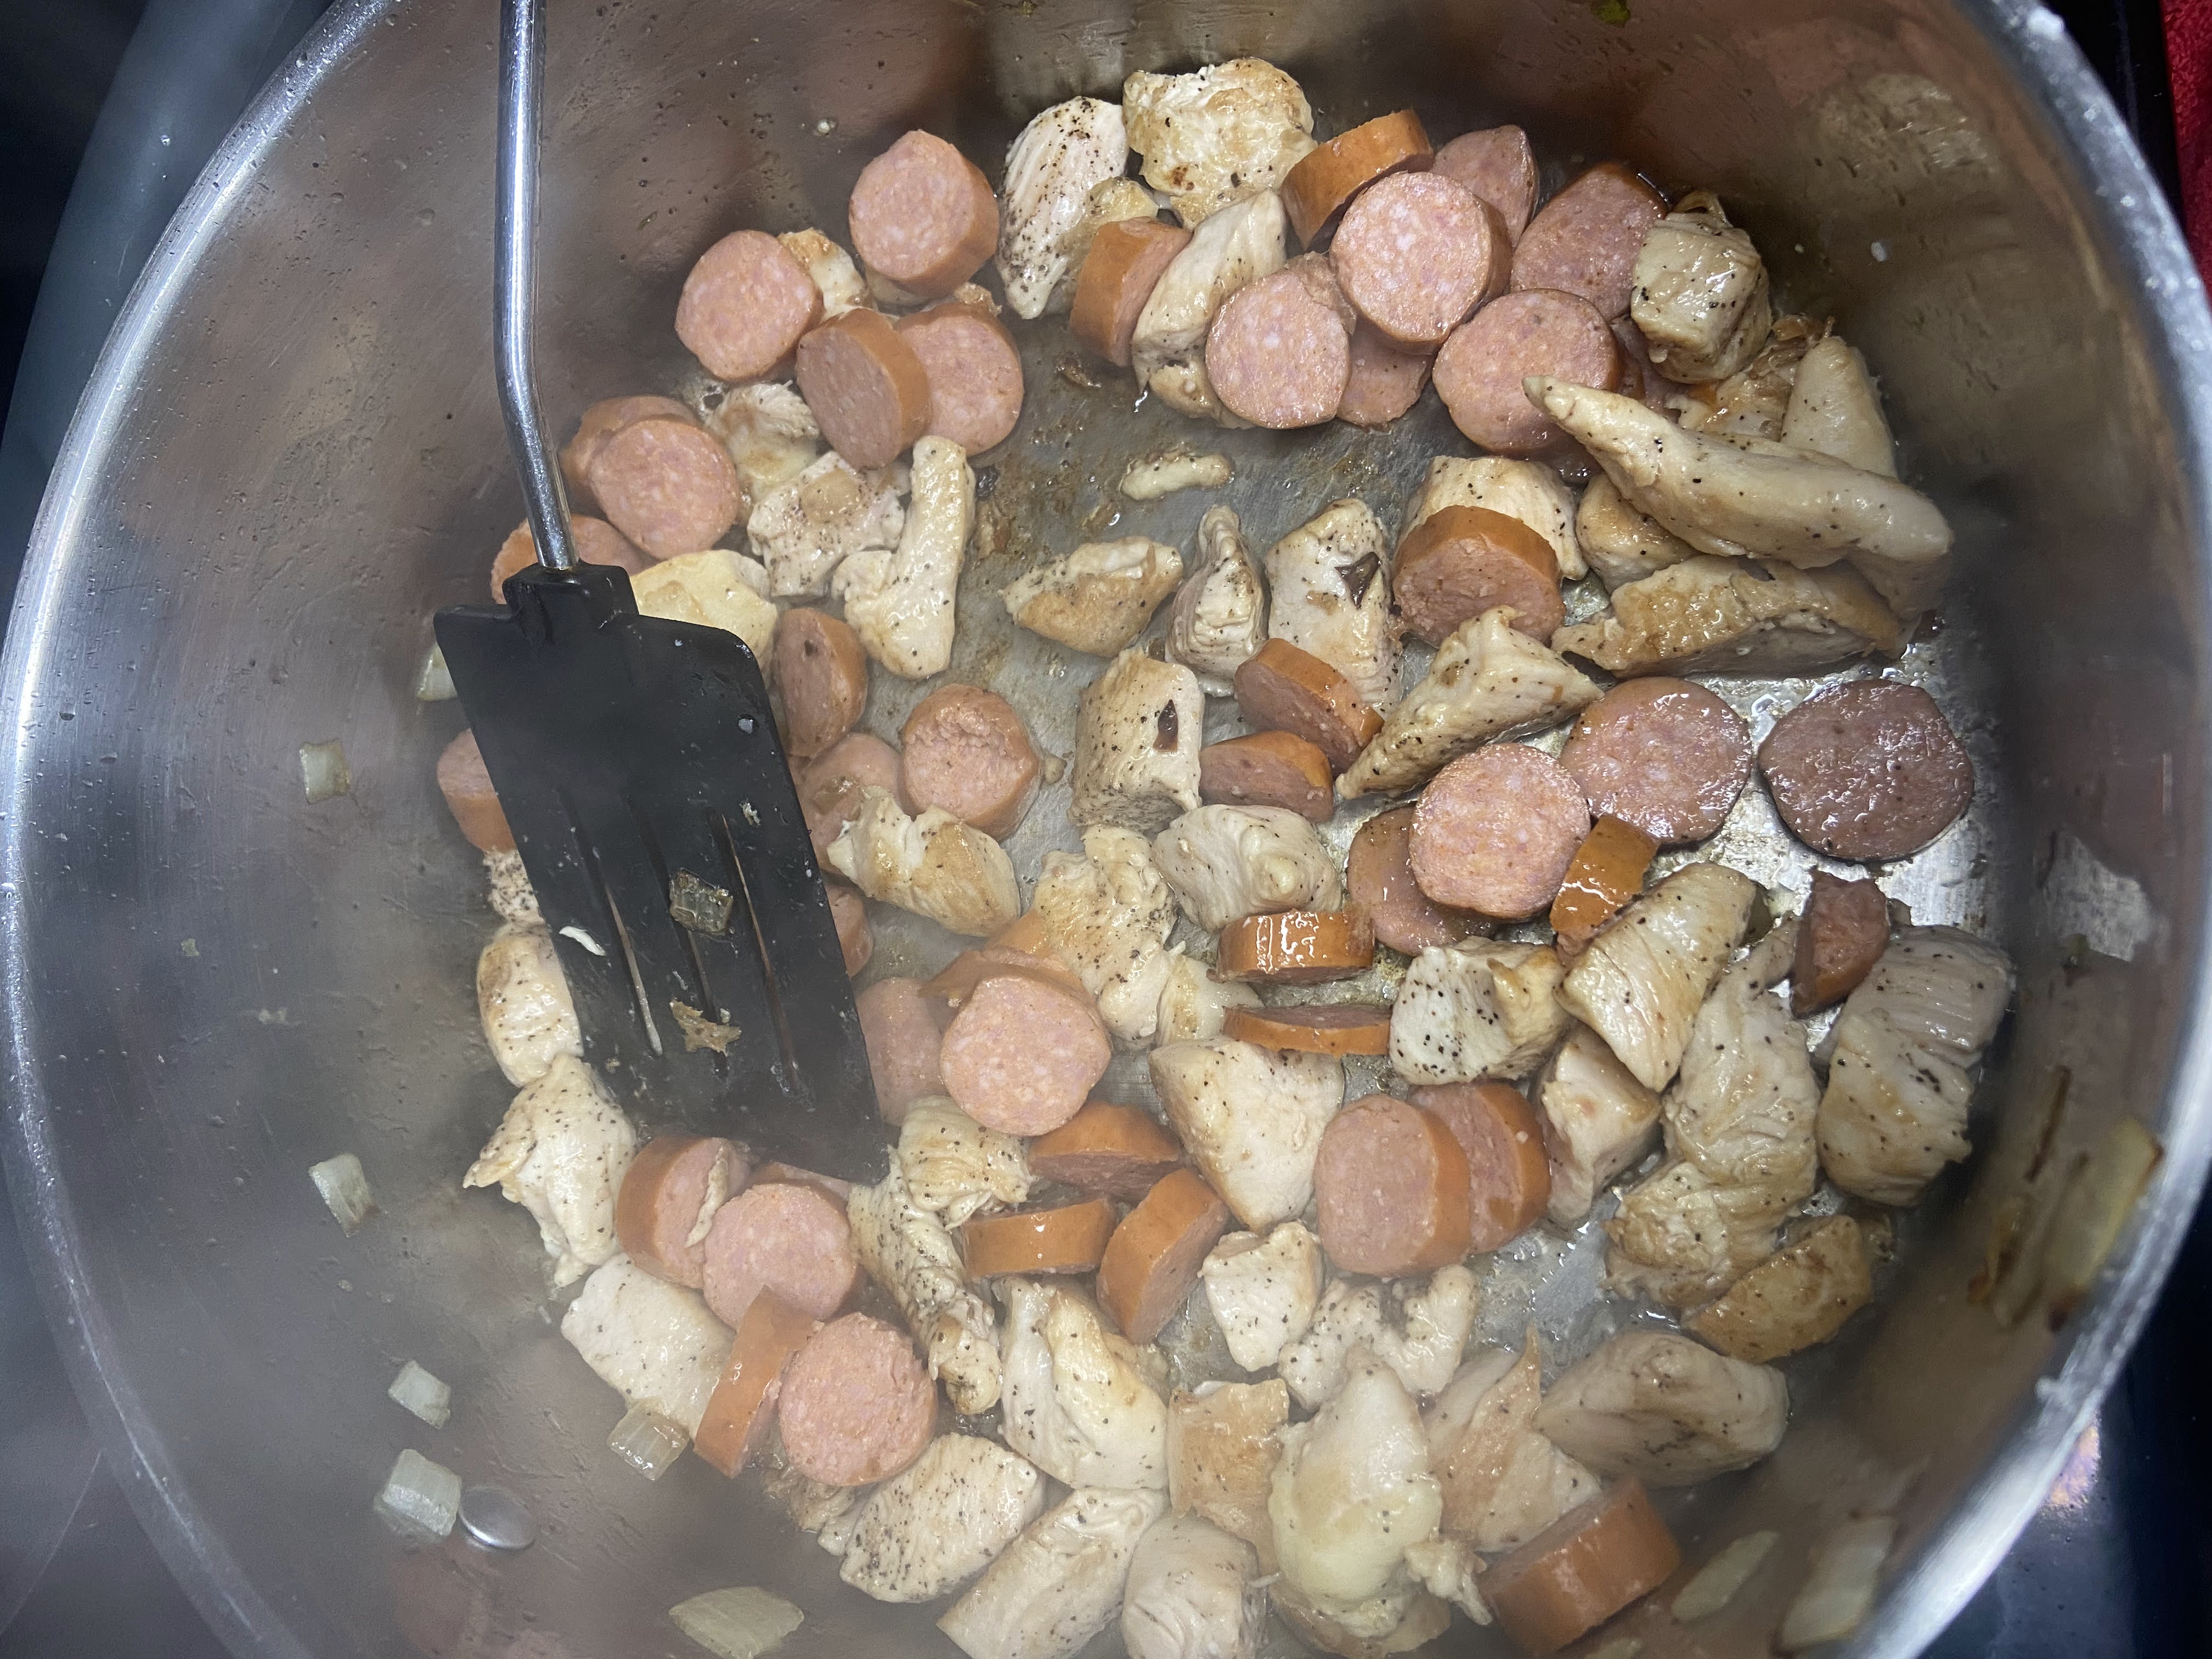
Add remaining oil to the Dutch oven. Once hot, add seasoned chicken. Cook, stirring every couple minutes. At the six minute mark, add sliced sausage links. Cook an additional 5 minutes. Season with cumin, chili powder, thyme, and a dash of cayenne pepper.
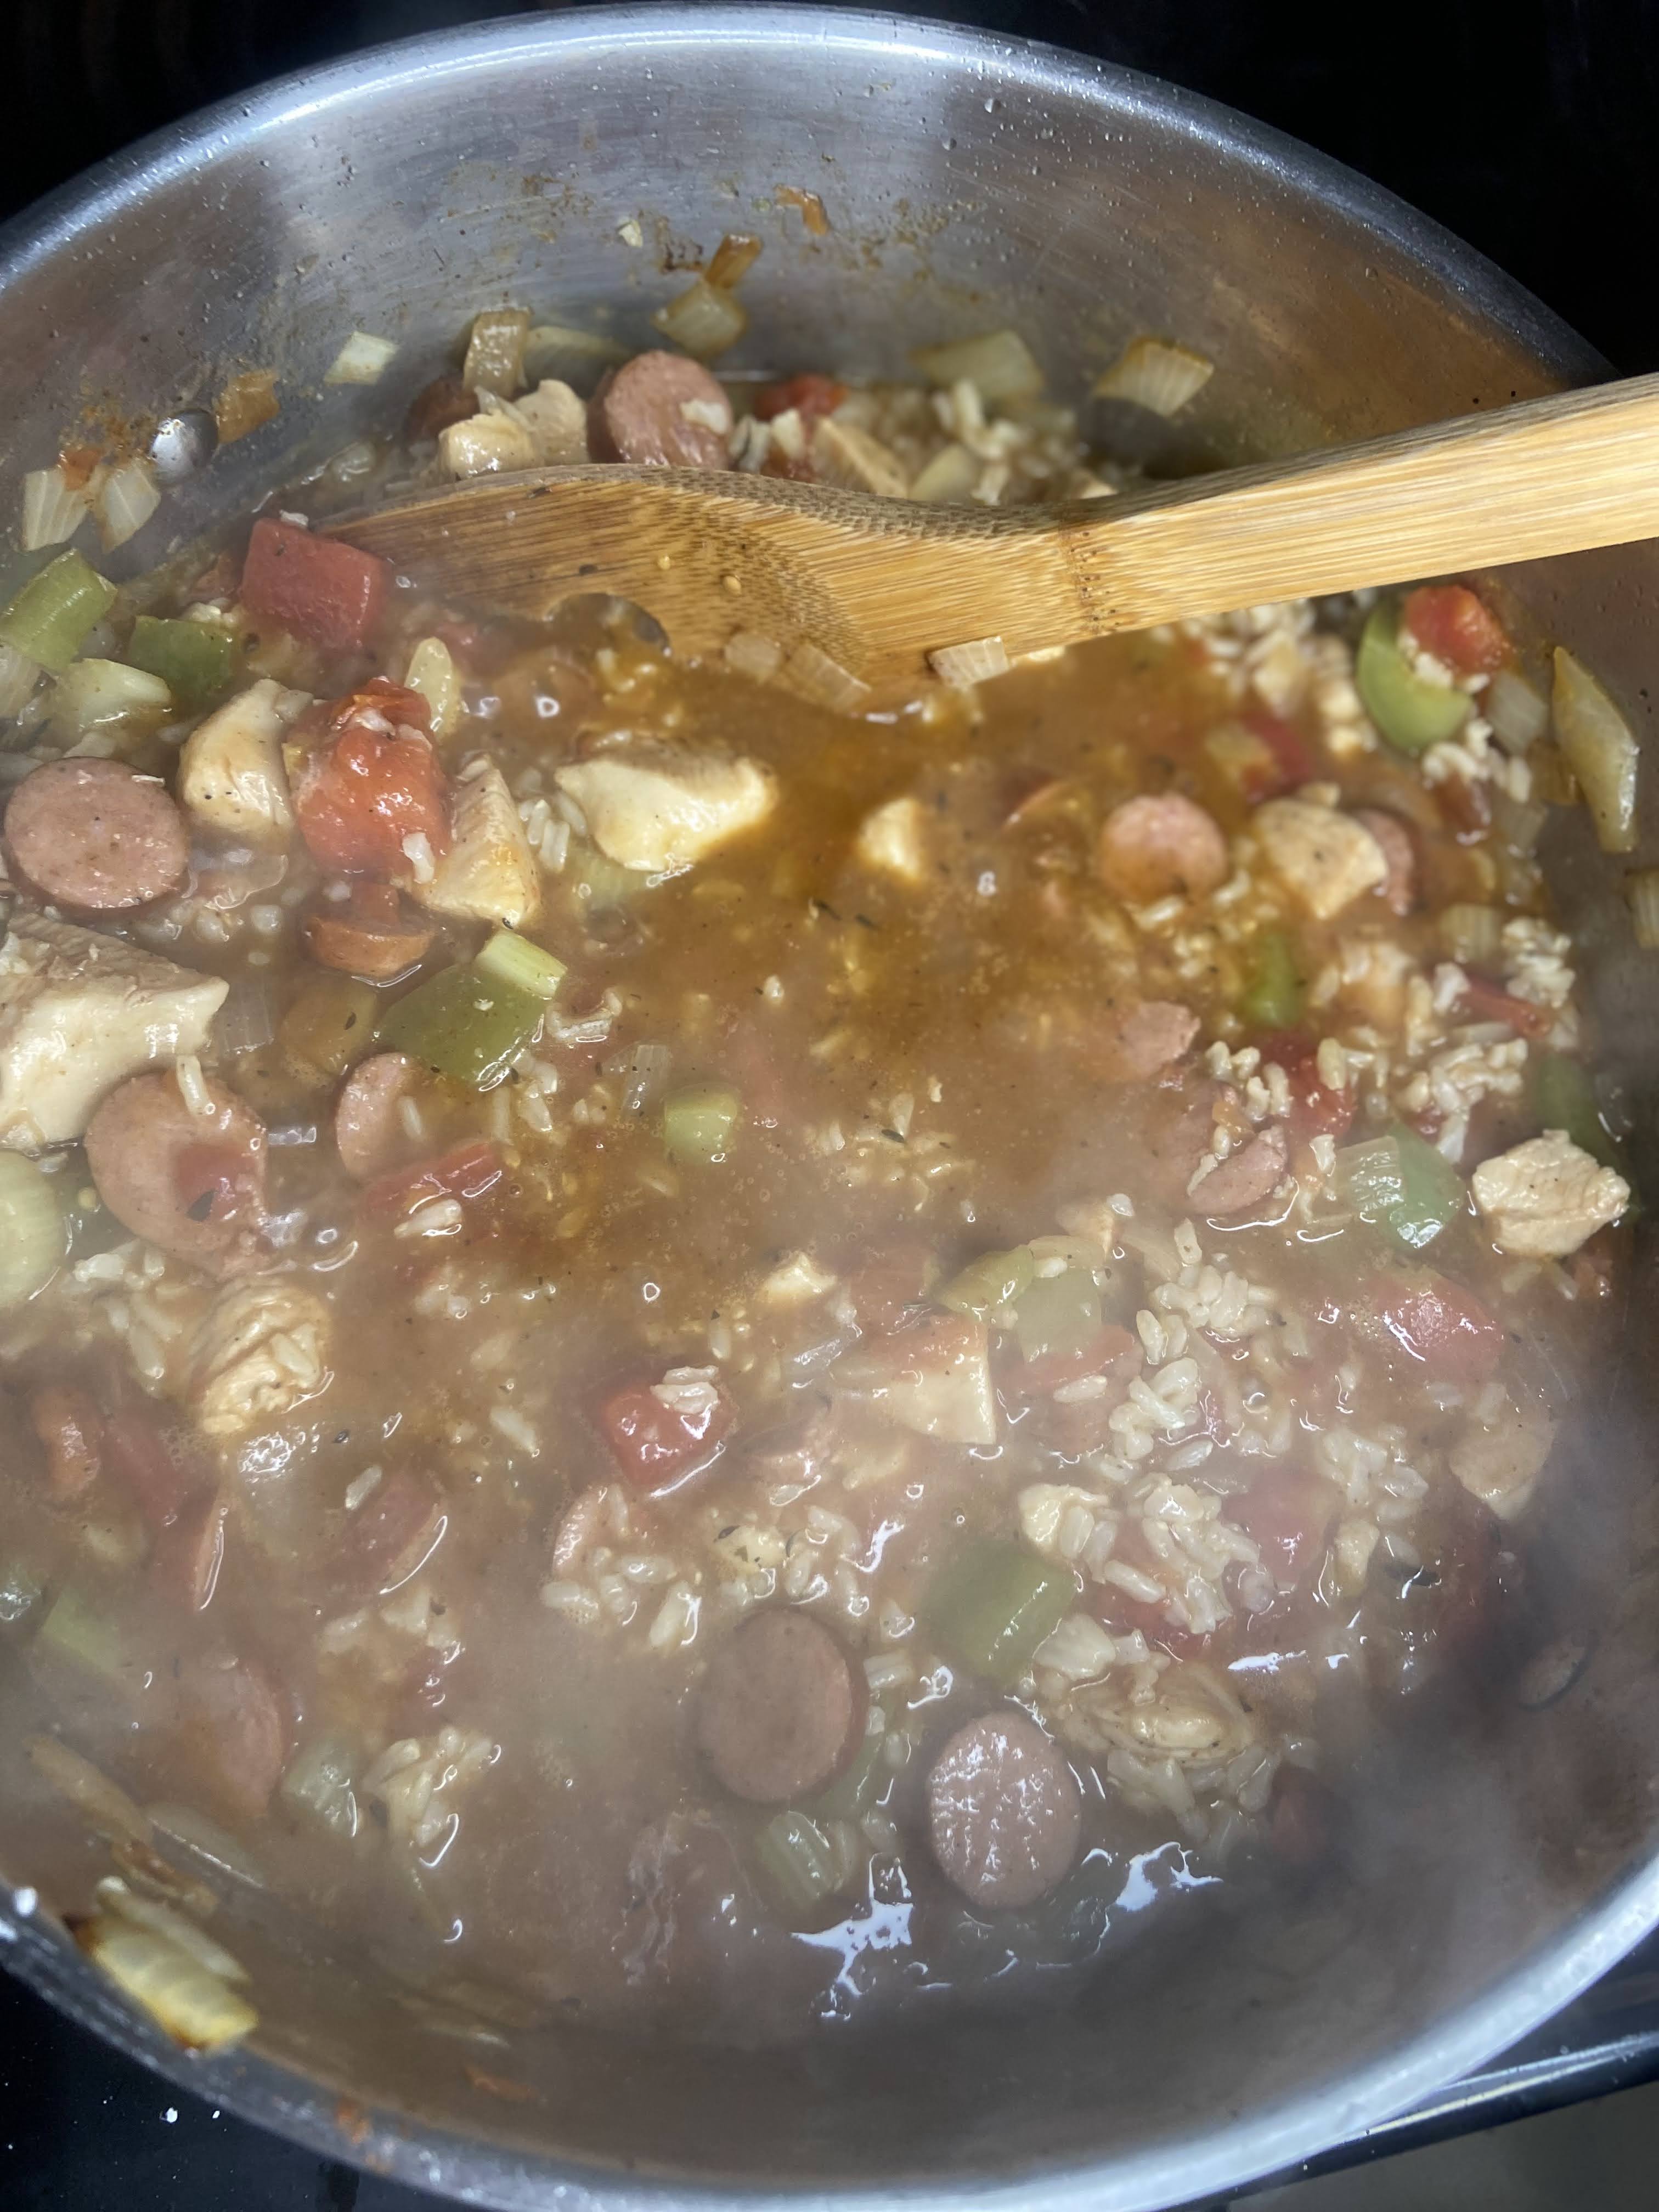
Stir in chicken stock and diced tomatoes. Heat to a boil, and then slower to a simmer. Add cooked rice and vegetable medley. Cook until heated through and thickened, 5-10 minutes.
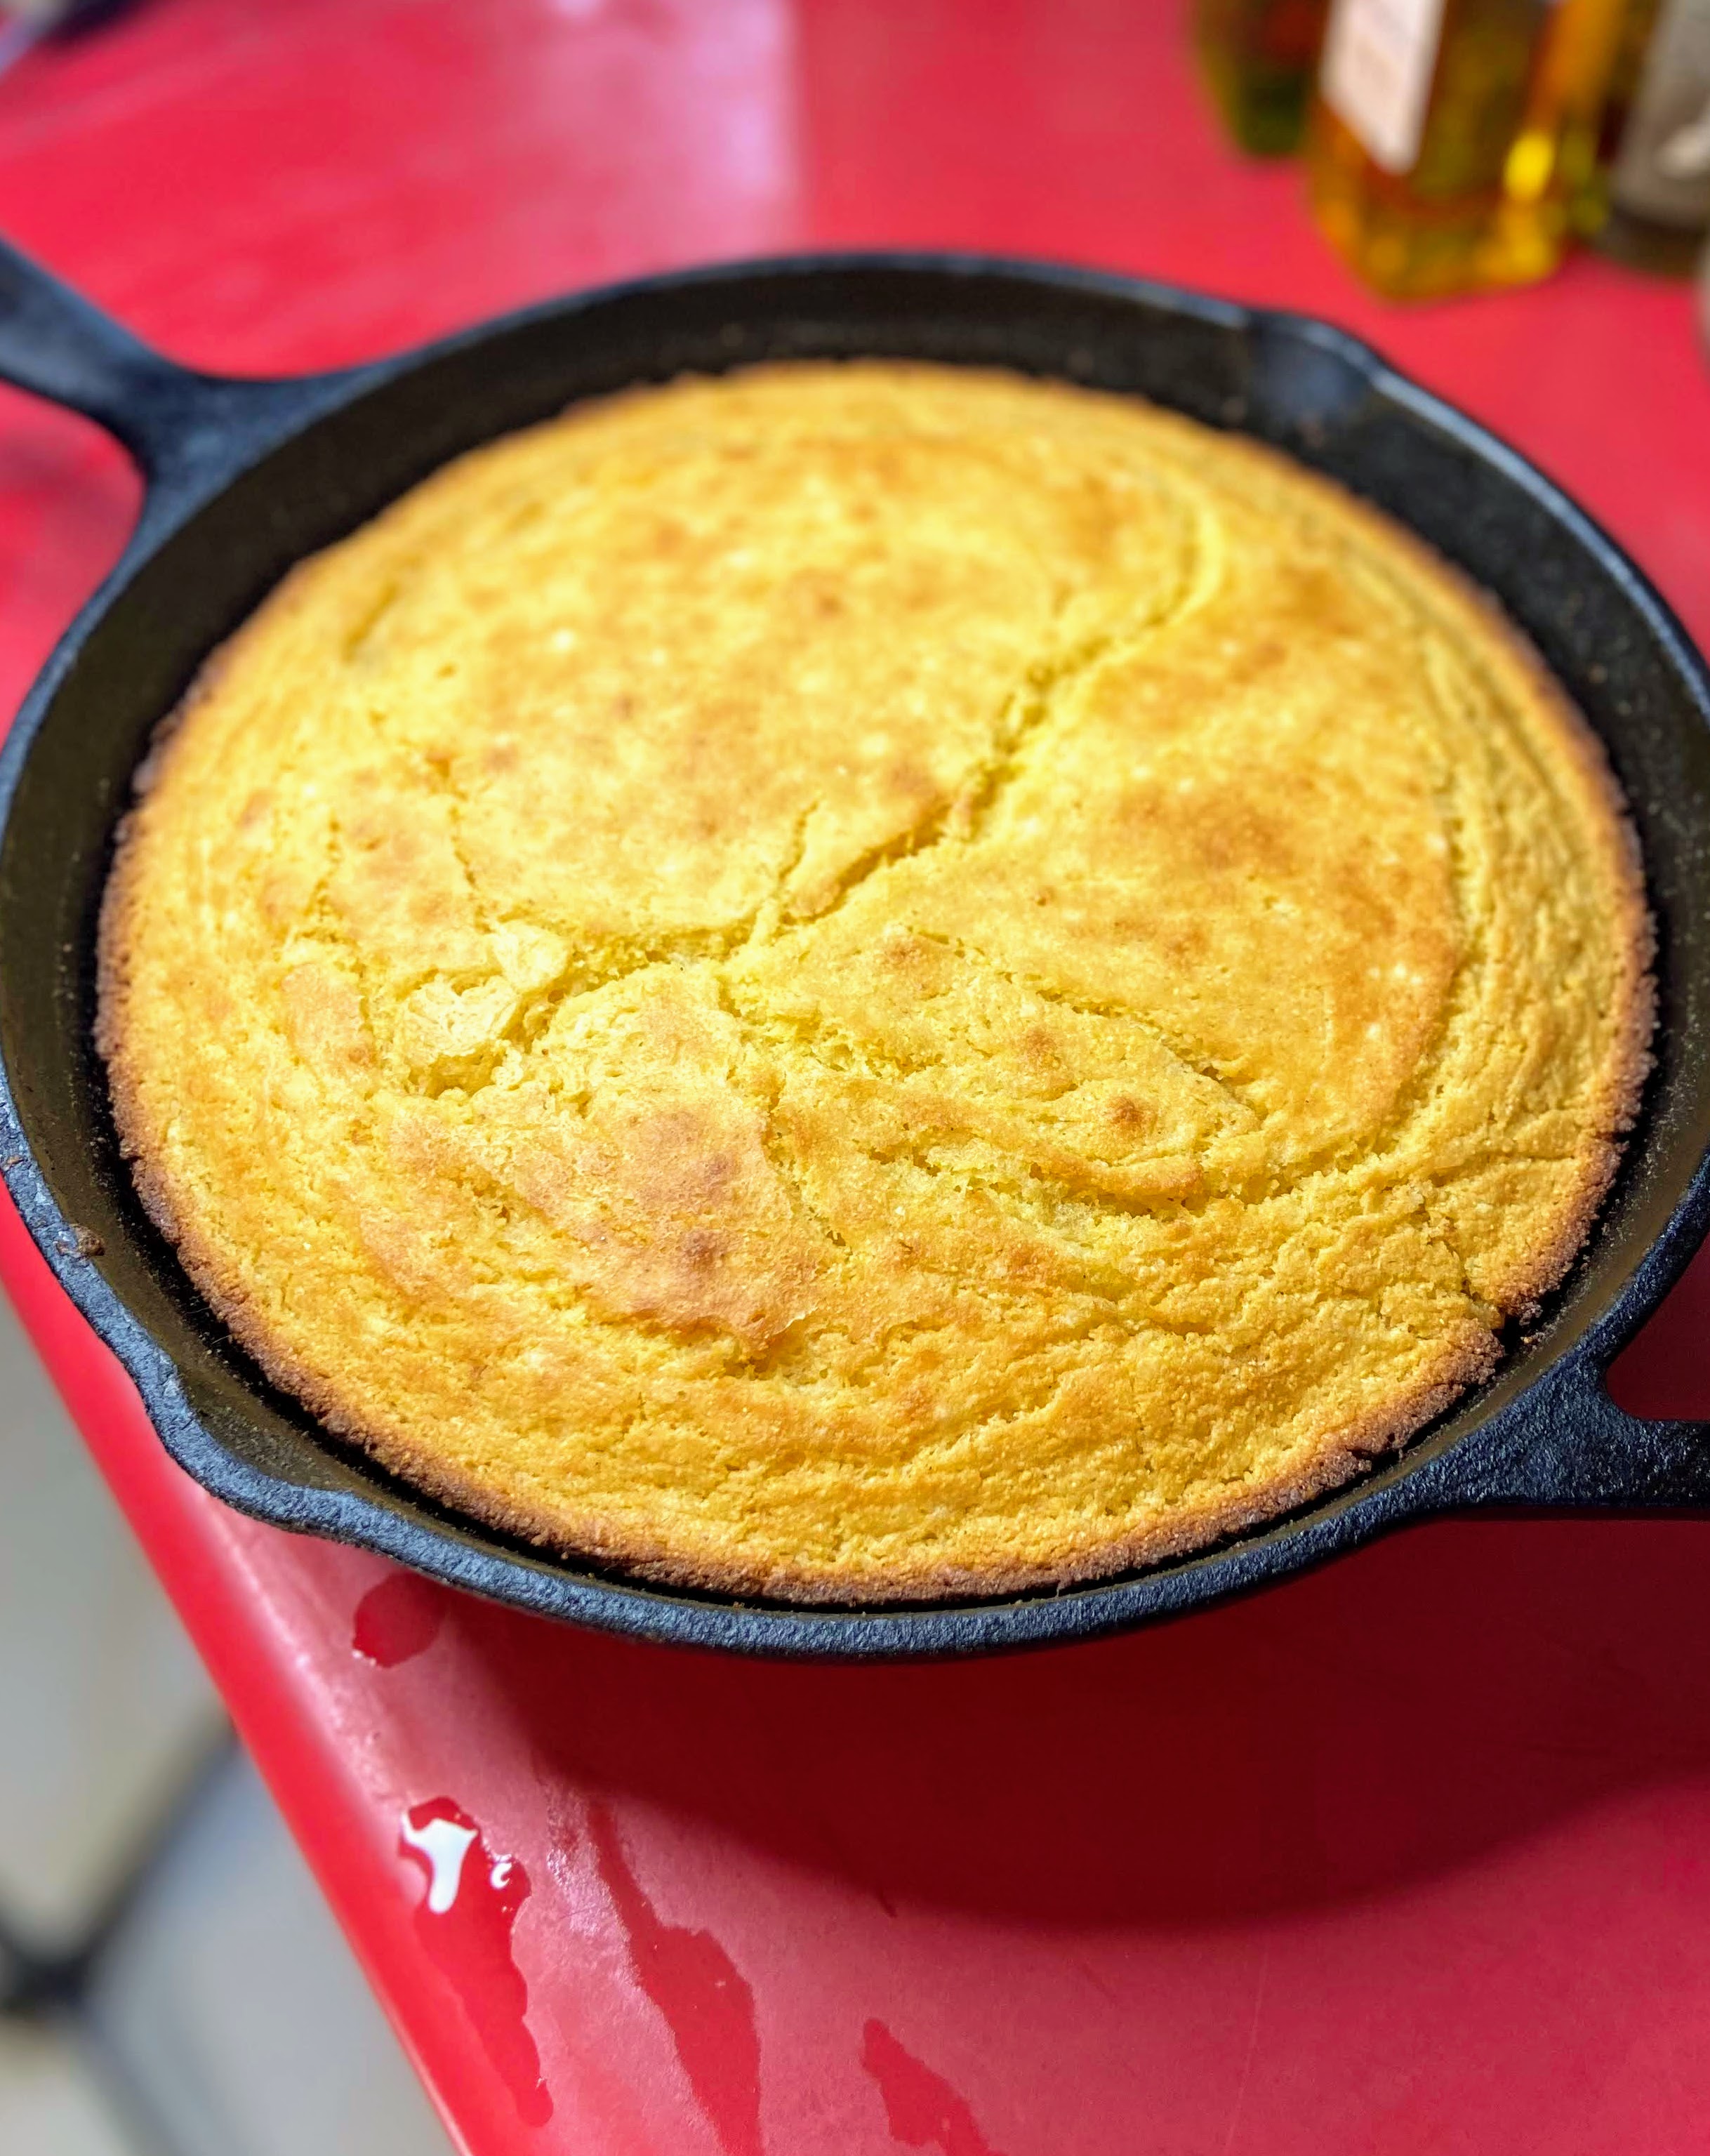
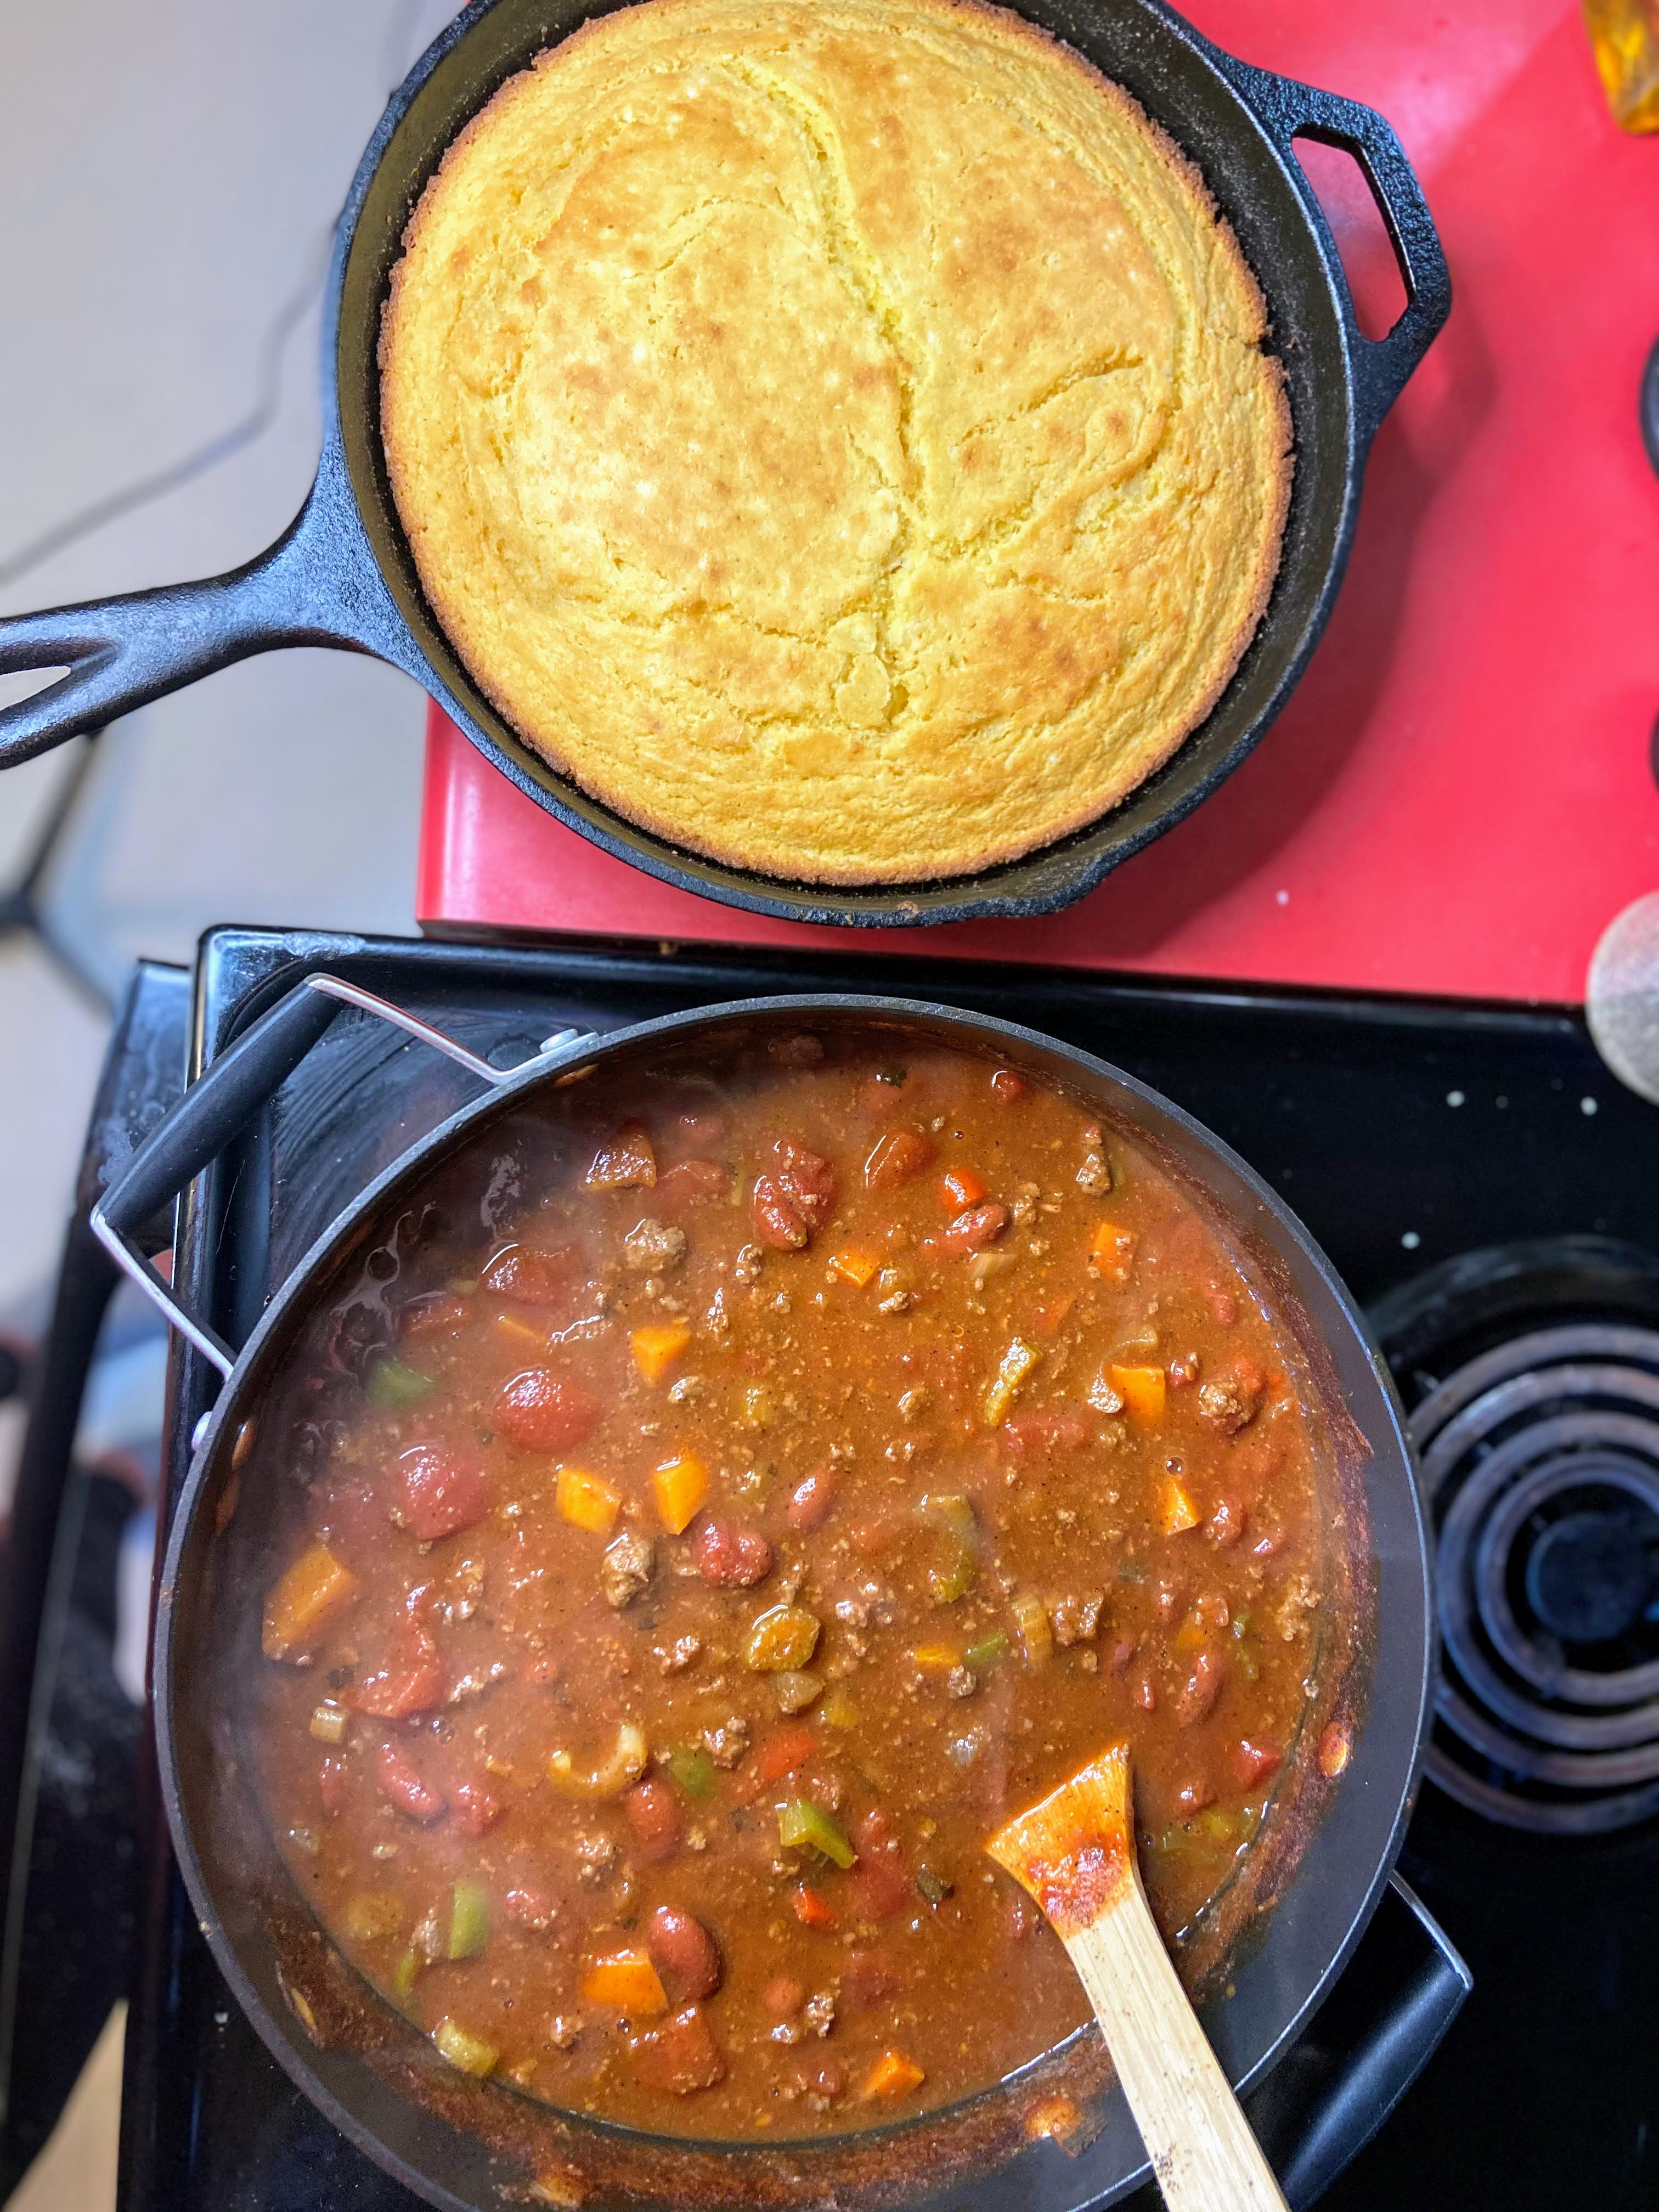
Can I recommend some corn bread or sourdough to pair with this comforting meal? Click the links below to get the recipes!

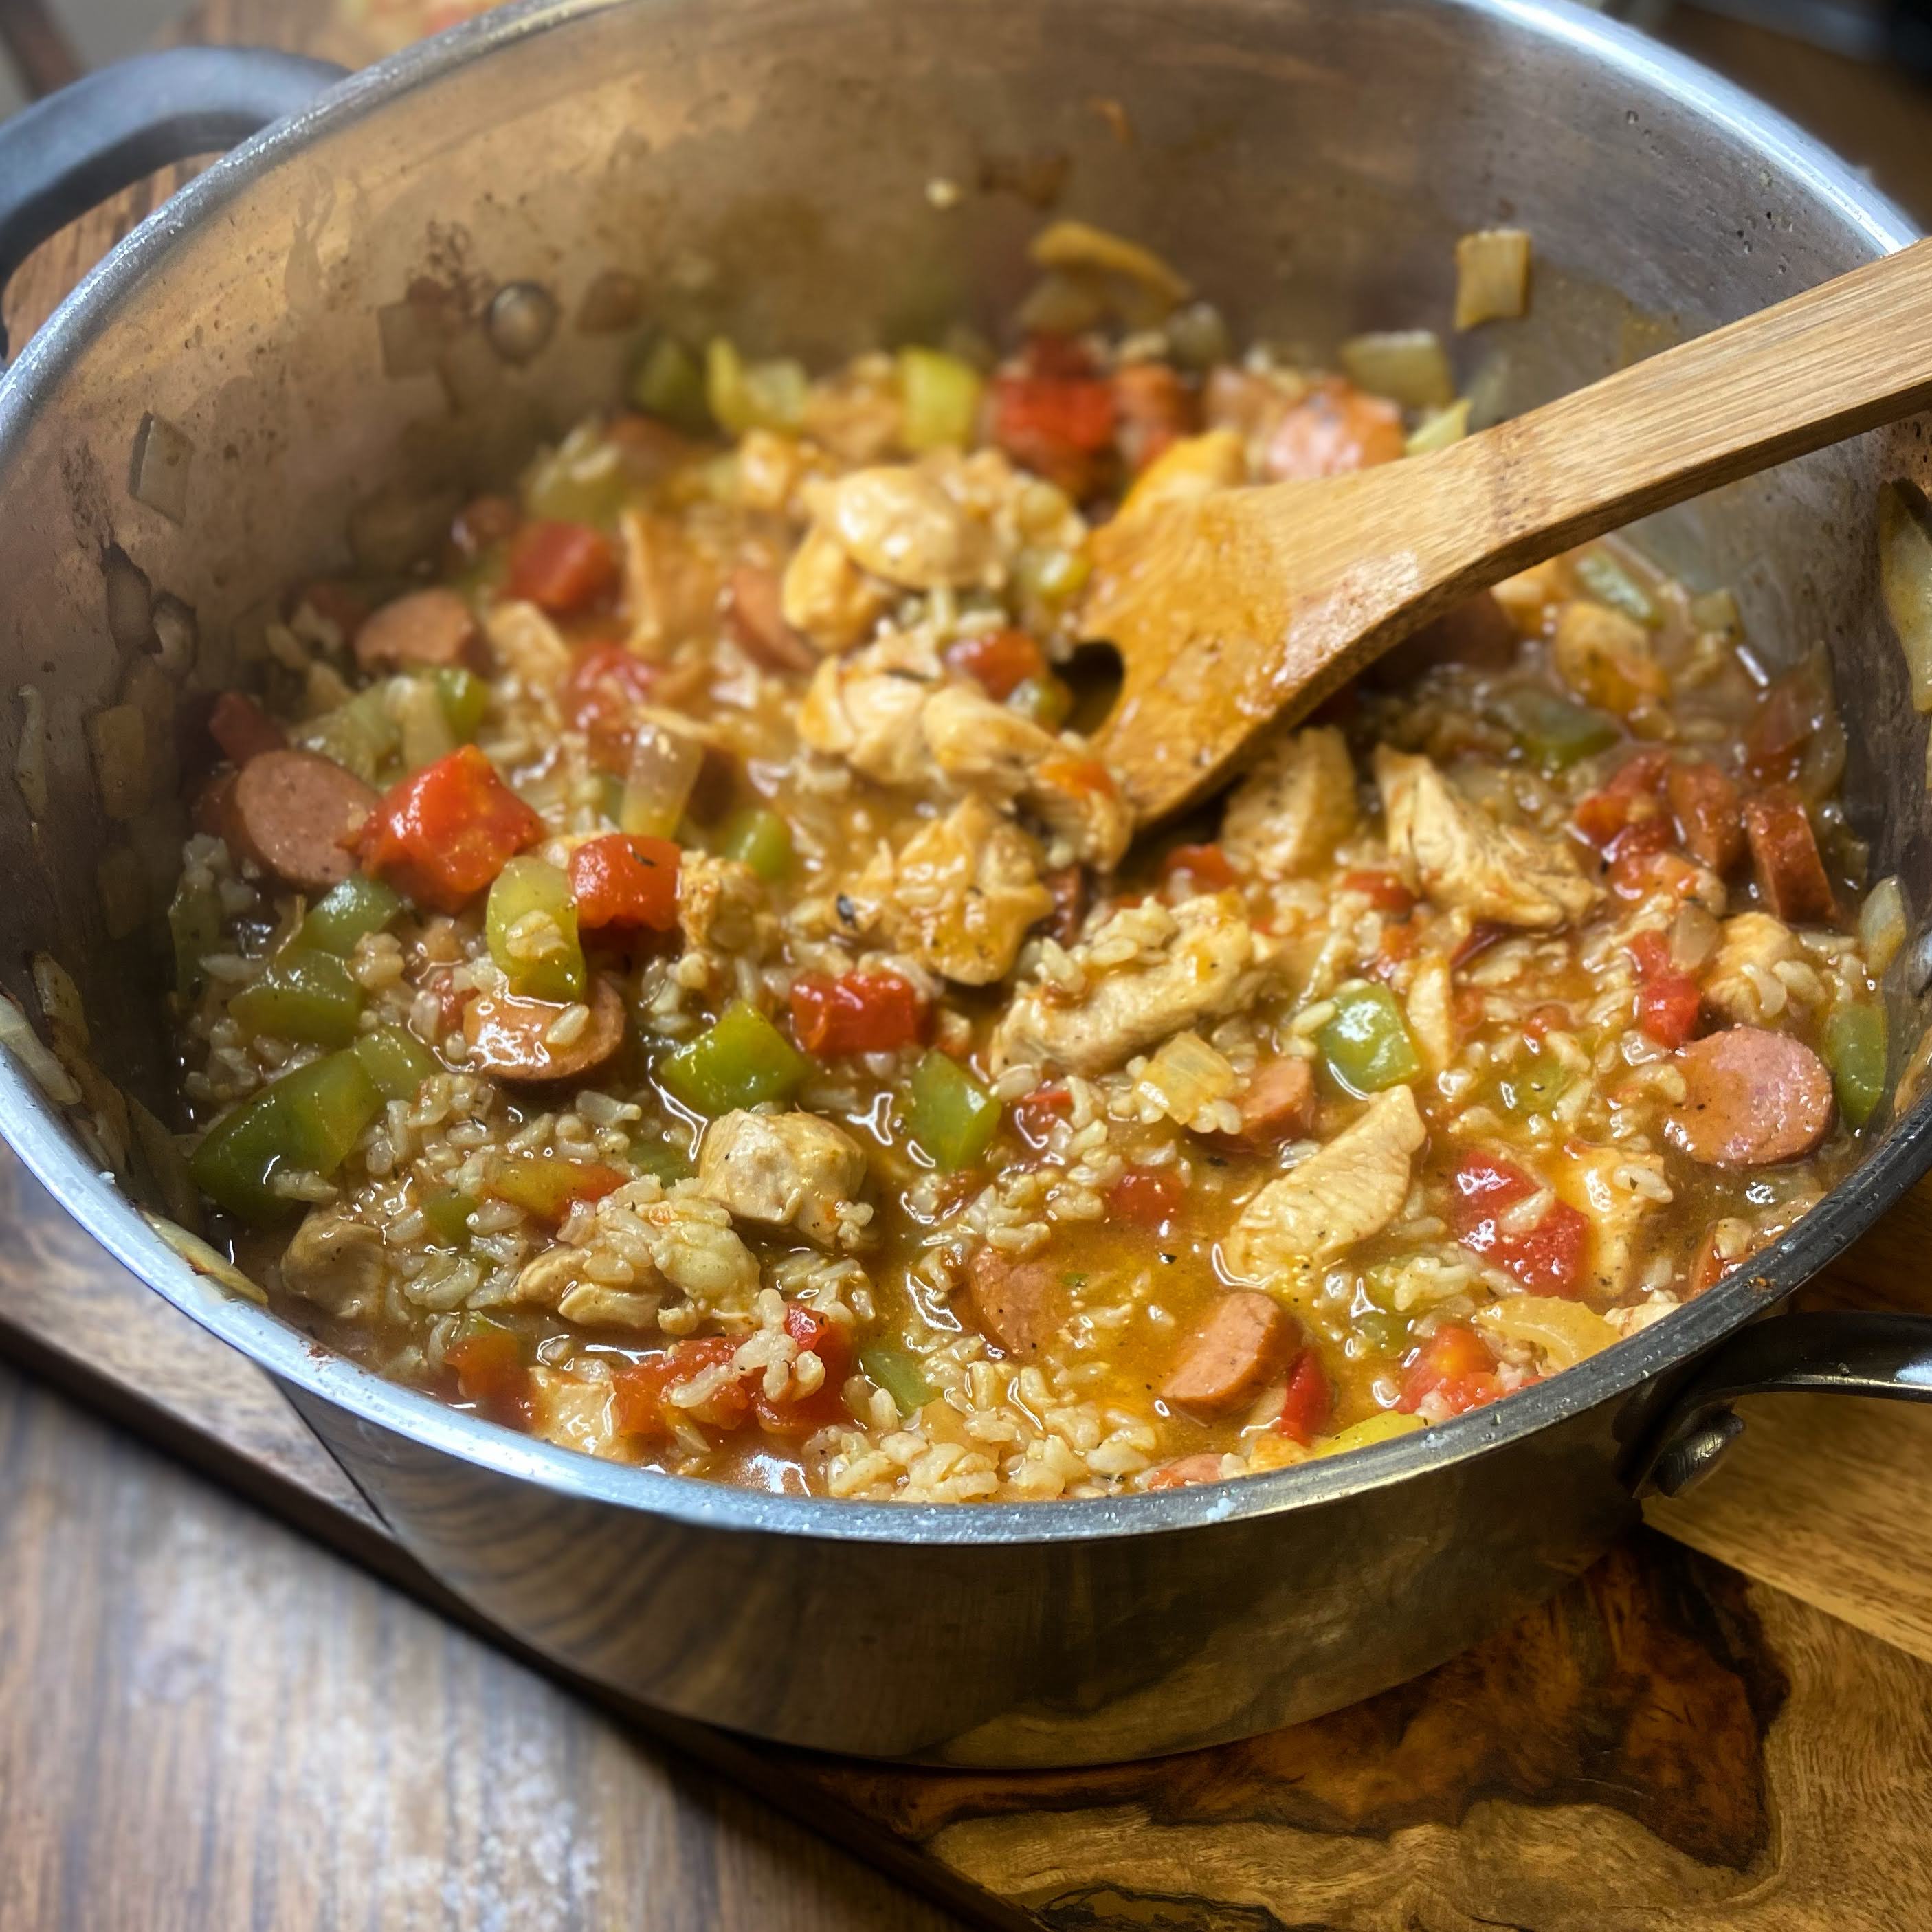
Chicken and Sausage Jambalaya
Ingredients
- 4 cups long grain rice cooked
- 1 large green pepper diced
- 4 stalks of celery diced
- 1 medium onion diced
- 4 tablespoons olive oil divided
- 16 ounces chicken breast cubed and seasoned with salt and pepper
- 3 Andouille sausage links sliced into discs
- 1 can diced tomatoes
- 2 cups chicken stock
- 1 teaspoon minced garlic
- 1 teaspoon cumin
- 1 teaspoon chili powder
- ½ teaspoon thyme
- Salt and pepper
- Dash of cayenne pepper if desired
Instructions
- If you haven’t cooked the long grain rice yet, get that started. I recommend cooking it in a little chicken stock with some pepper to add a flavor boost, but regular water with some salt and pepper will work just fine. Cook according to directions on package.
- In a large Dutch oven, heat 2 tablespoons olive oil over medium heat. Add green pepper, celery, onion, and garlic. Cook until softened, about 8 minutes. Remove from pan and set aside.
- Add remaining oil to the Dutch oven. Once hot, add seasoned chicken. Cook, stirring every couple minutes. At the six minute mark, add sliced sausage links. Cook an additional 5 minutes. Season with cumin, chili powder, thyme, and a dash of cayenne pepper.
- Stir in chicken stock and diced tomatoes. Heat to a boil, and then slower to a simmer. Add cooked rice and vegetable medley. Cook until heated through and thickened, 5-10 minutes.