Last Updated on February 27, 2022 by Jess
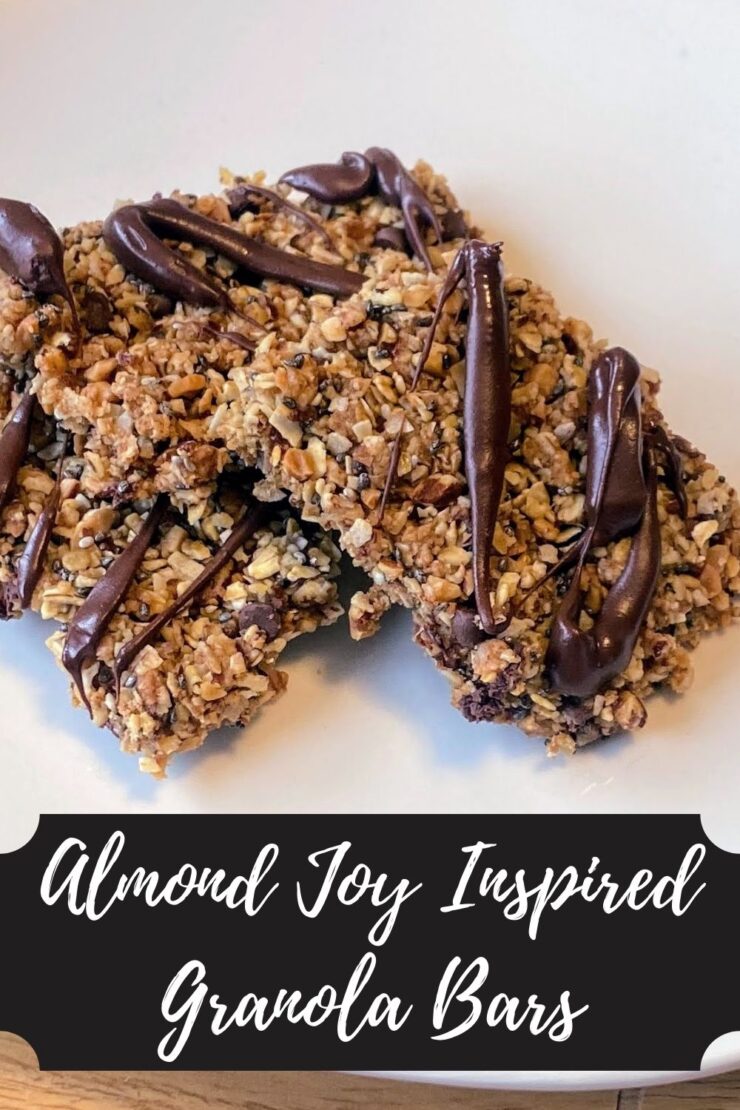
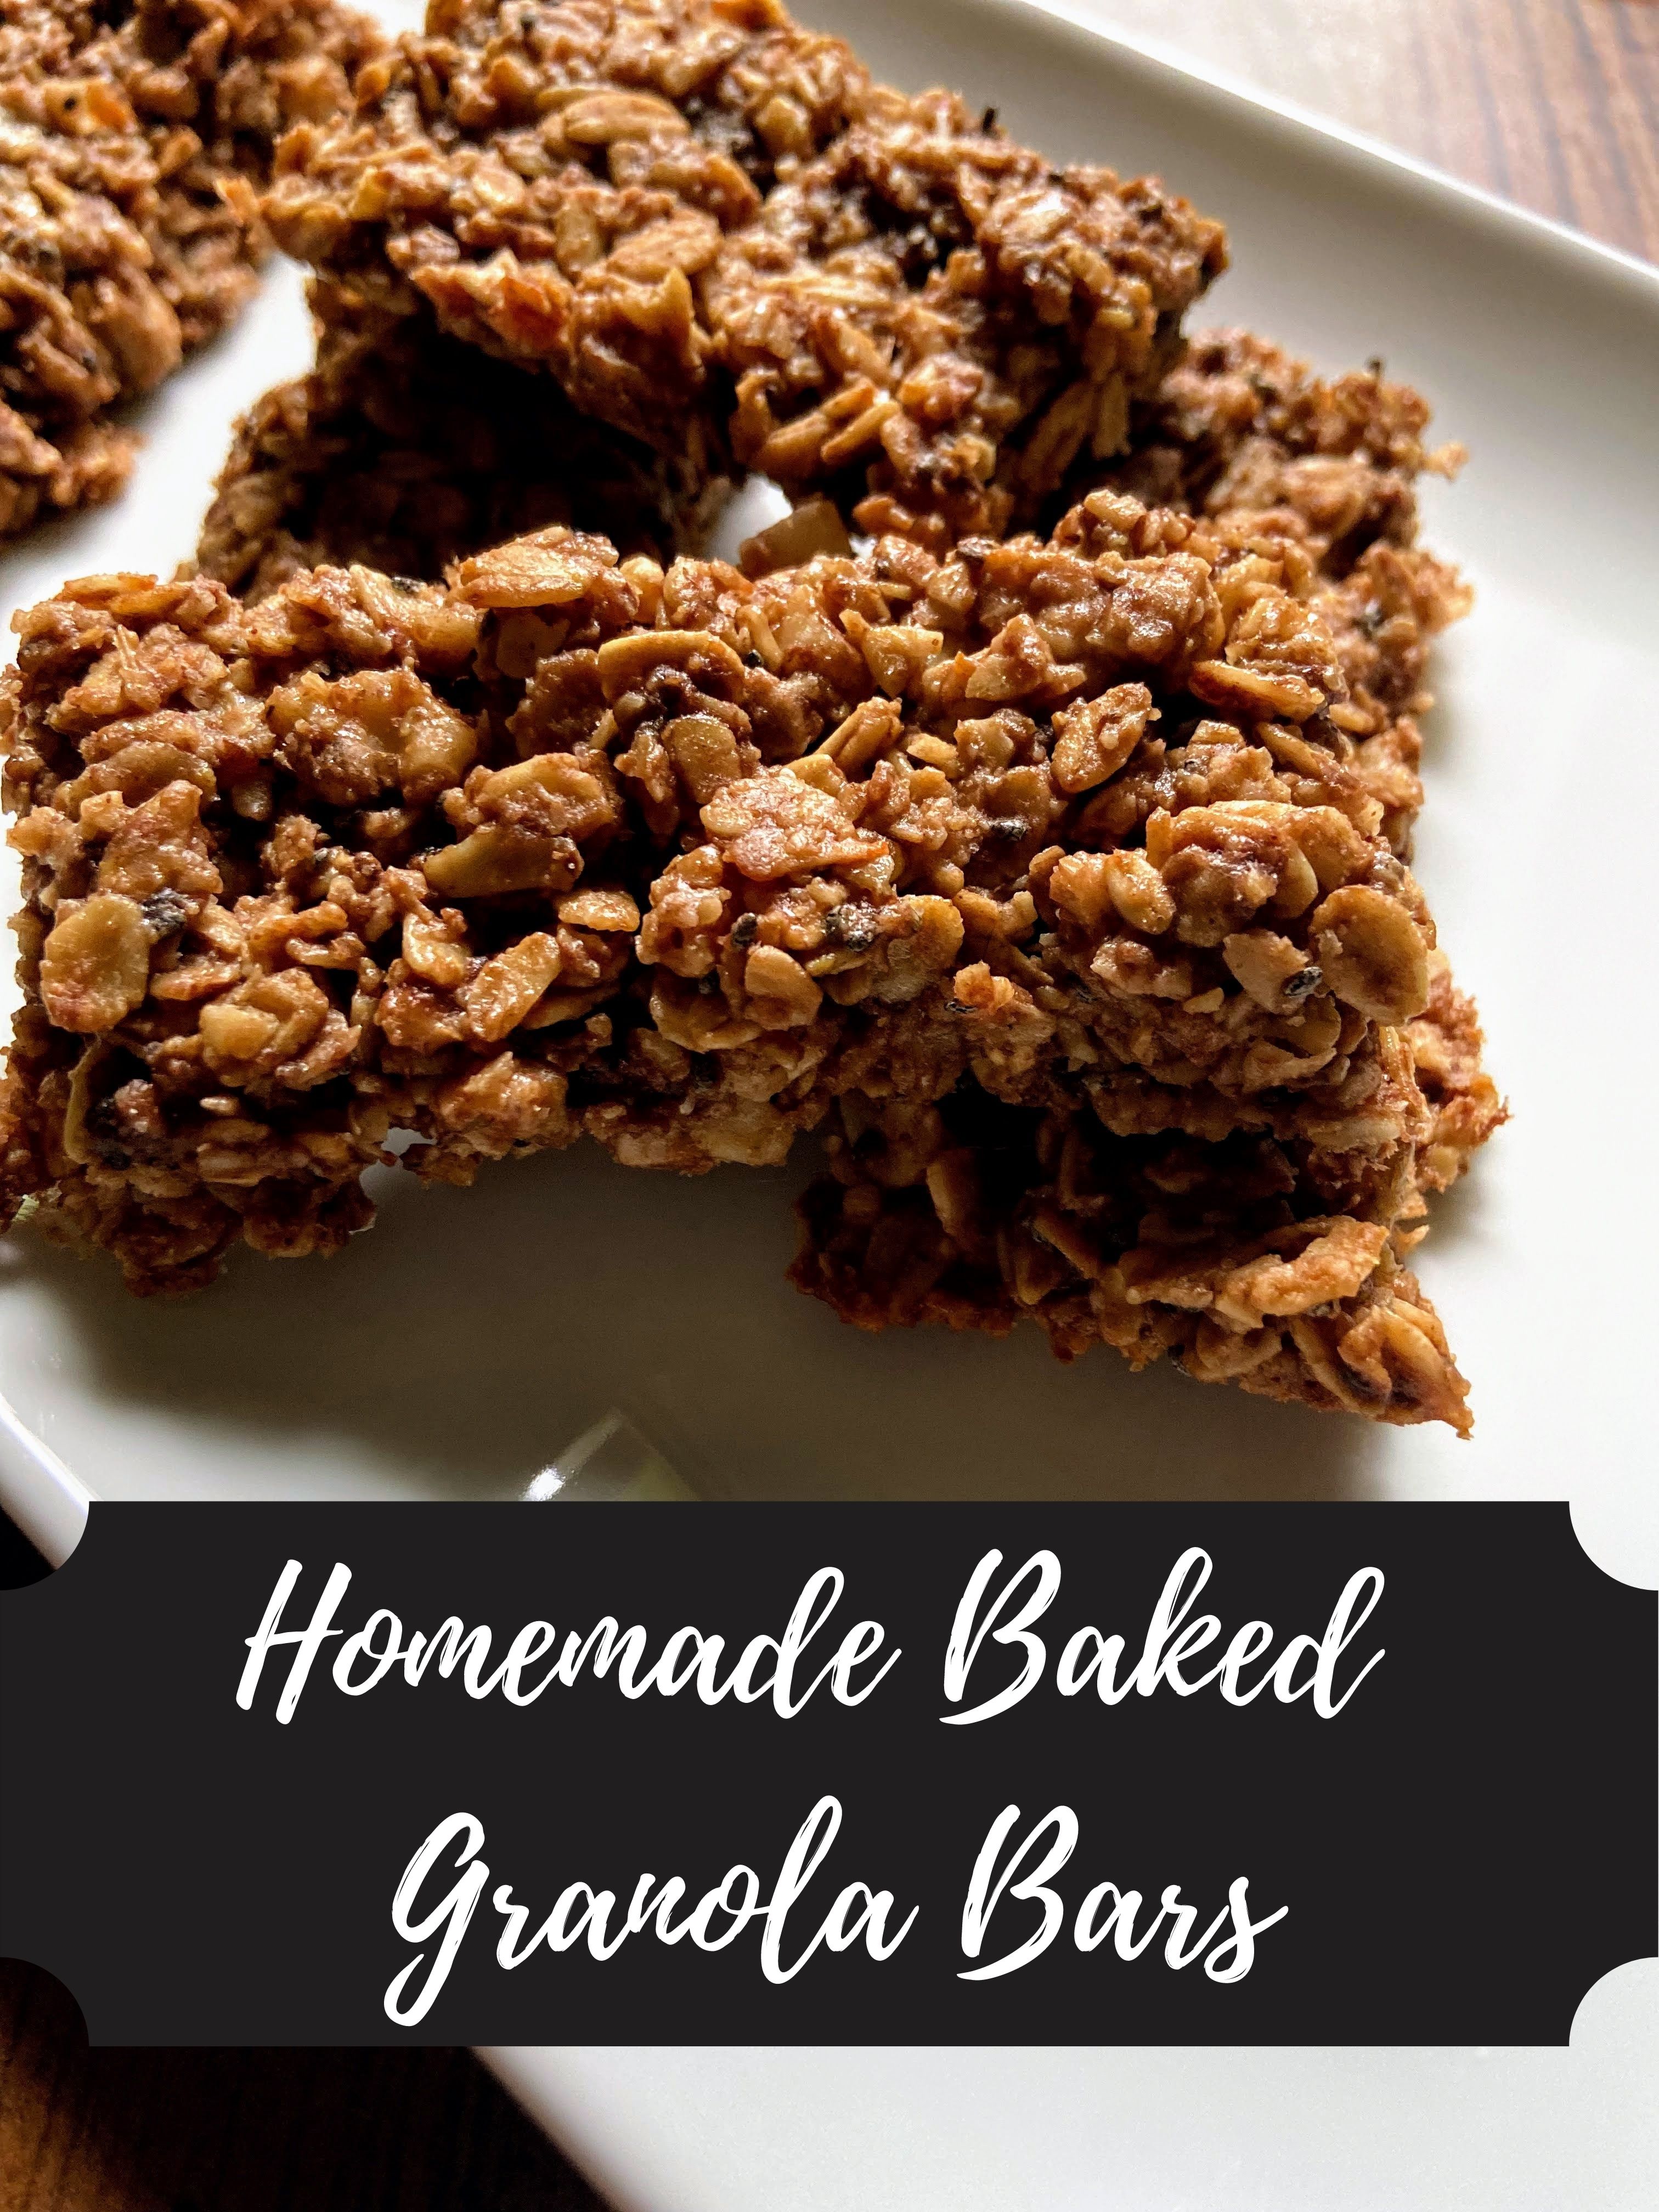
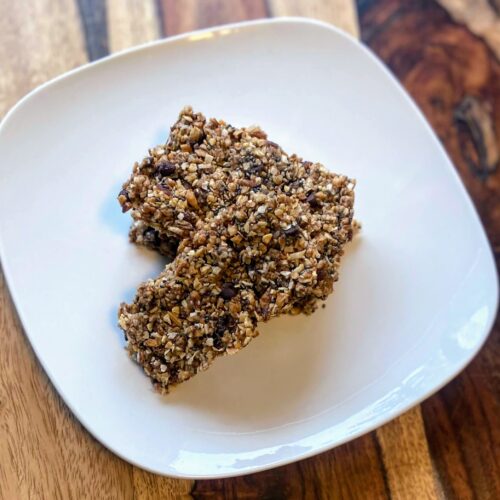
My family is a family that consumes granola bars. (Correction: My mini-me is sitting with me and said I should write, “My family is a family that LOVES granola bars!”) I like them for a quick snack before a run or to hold me over between breakfast and lunch. My kids love them…all the time. But what I don’t love is the added sugar and extra ingredients. This leads to me working to create my own, cleaner version that I can feel good about snacking on. Recently, I looked around my cupboard and found the ingredients for Almond Joy Inspired Granola Bars and was on a mission. These are simple to make, they only dirty up about four dishes, and keep well without needing refrigeration. Yay!
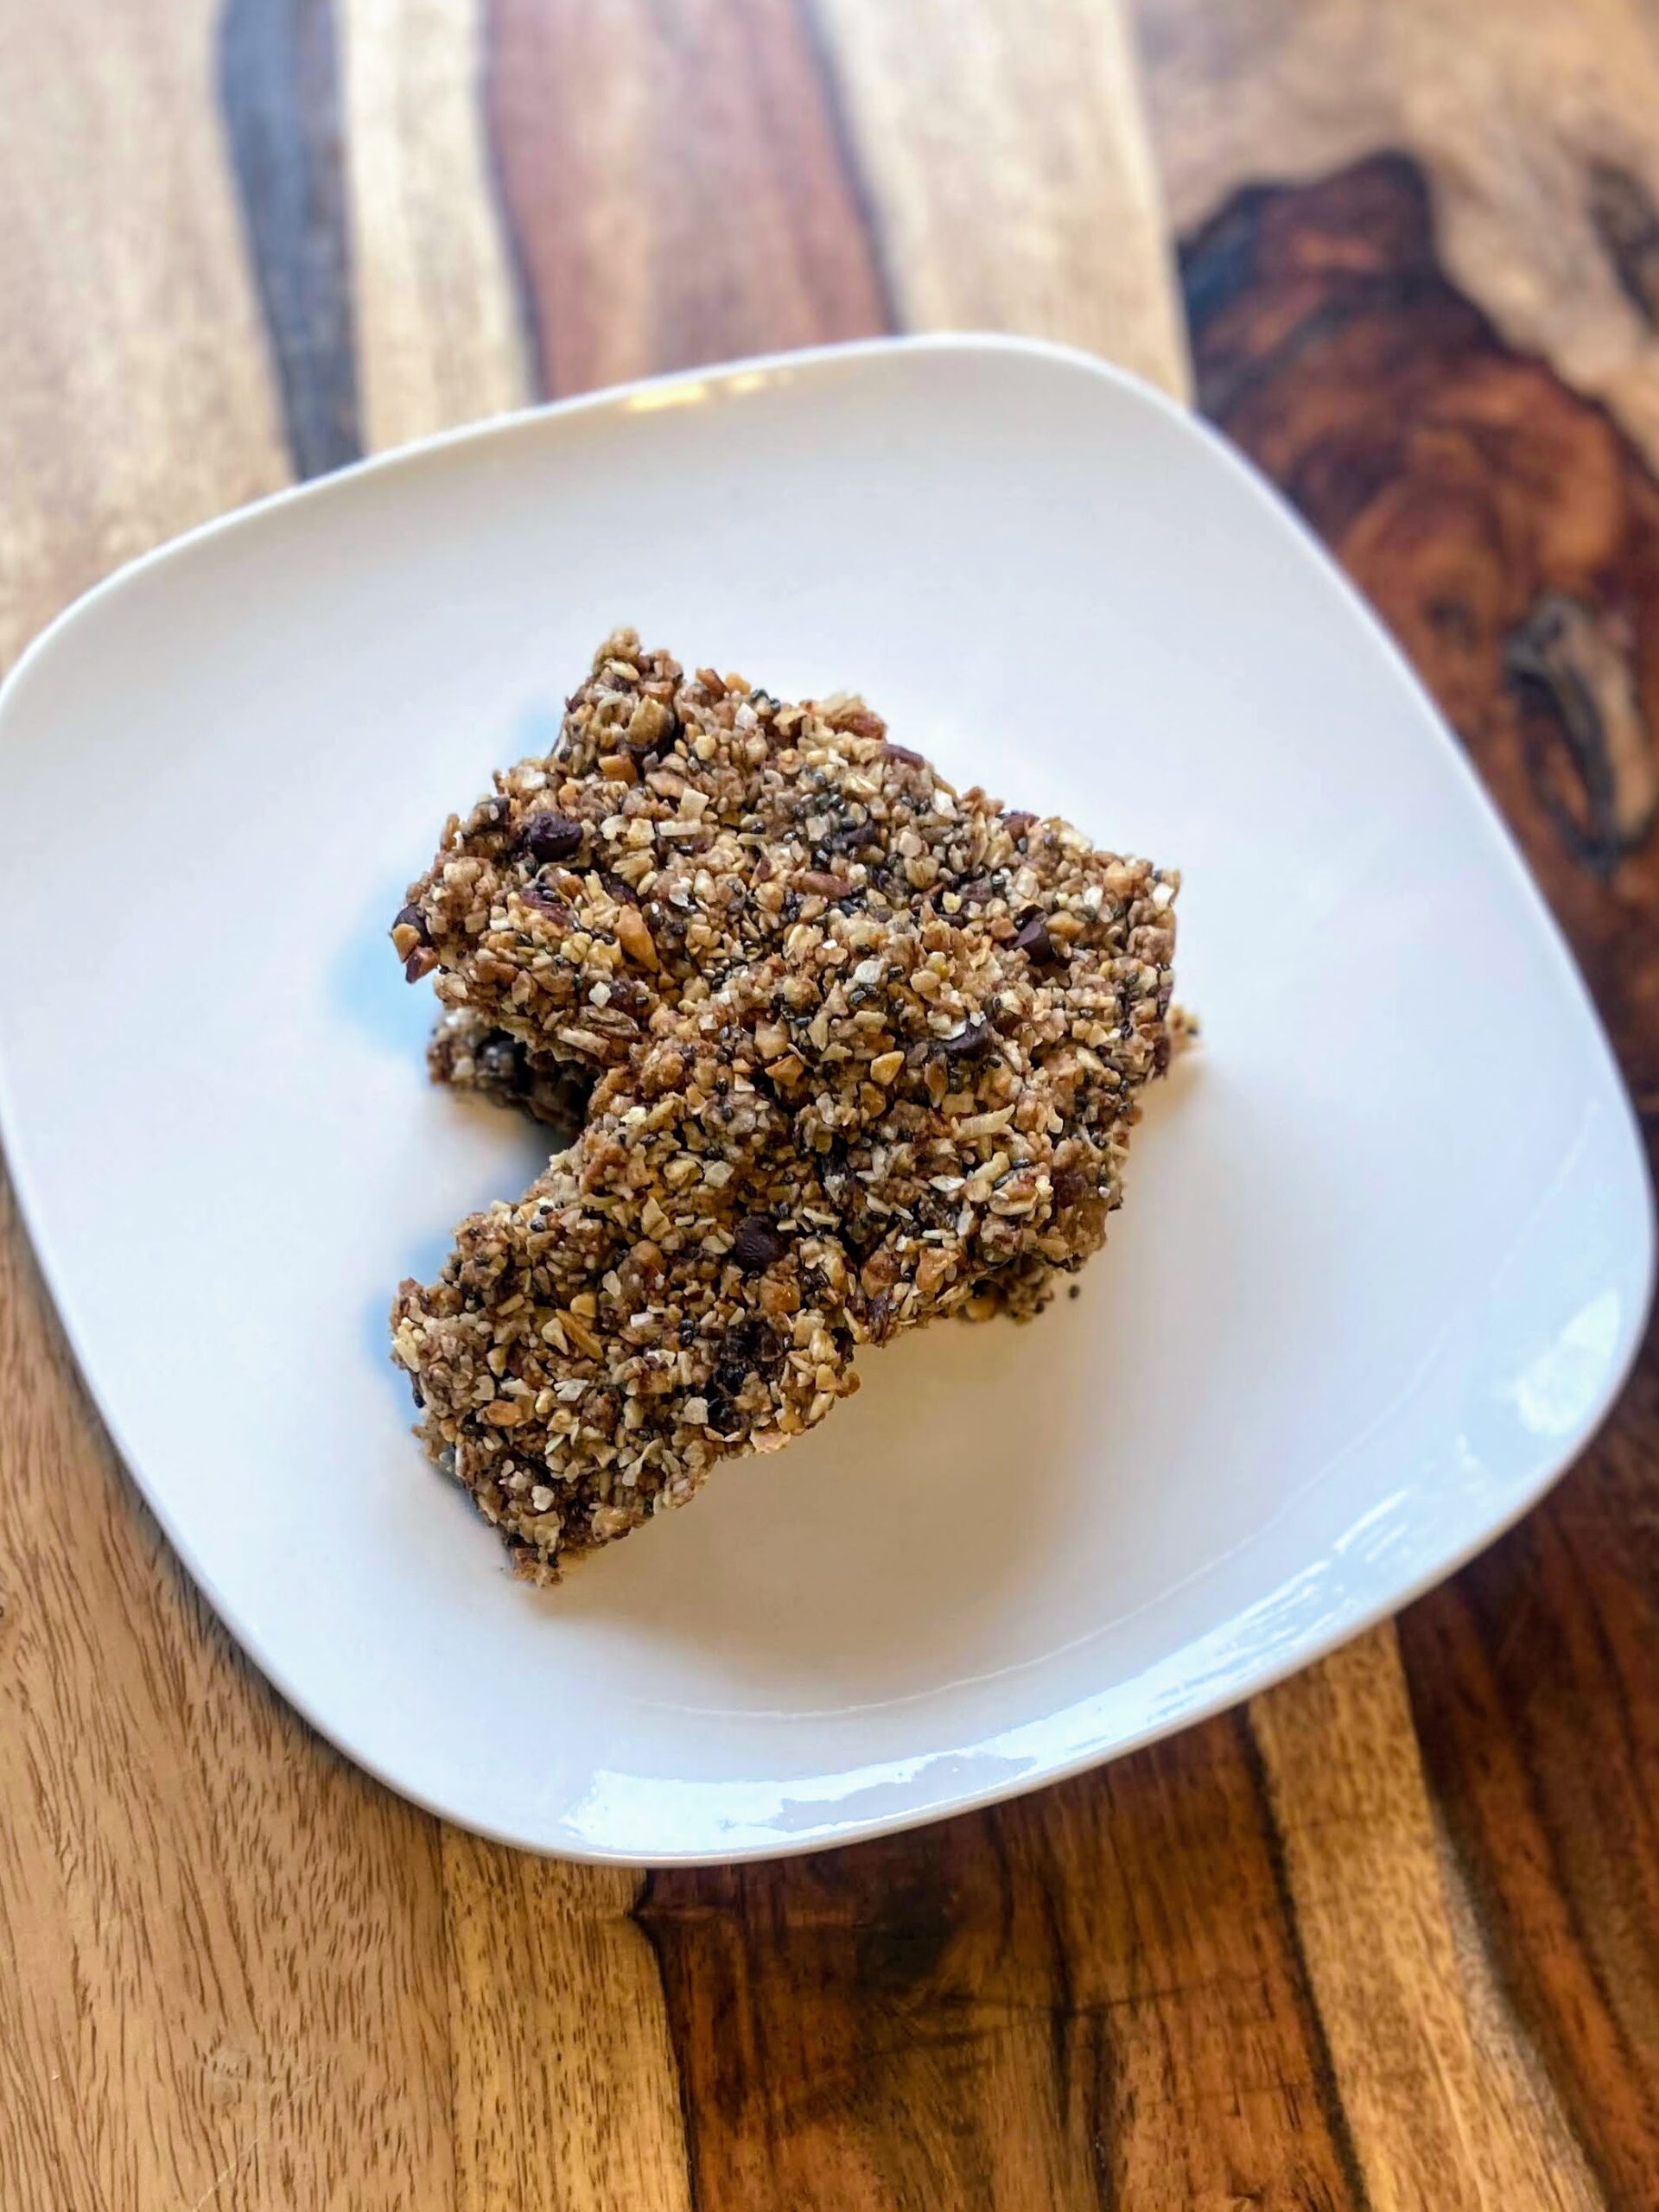
And the approval rating? Well, my mom came to visit, gave them a try, and said, “I think you need to bake these for our family vacation.” Double yay! I think they make a great snack that is the perfect amount of sweet without overdoing it. AND the crumbles that may form at the end of the batch would be great as a topping on any yogurt. I can’t wait for you to give them a try!
Your Ingredients
- 1 cup old fashioned oats
- ¾ cup unsweetened coconut
- ¾ cup lightly salted almonds
- ¼ cup almond butter
- ¼ cup dates
- ½ cup honey
- ¼ teaspoon salt
- 2 tablespoons chia seeds
- ½-¾ cup mini chocolate chips, divided
- 1 teaspoon coconut oil
Your Steps to Almond Joy Inspired Granola Bars
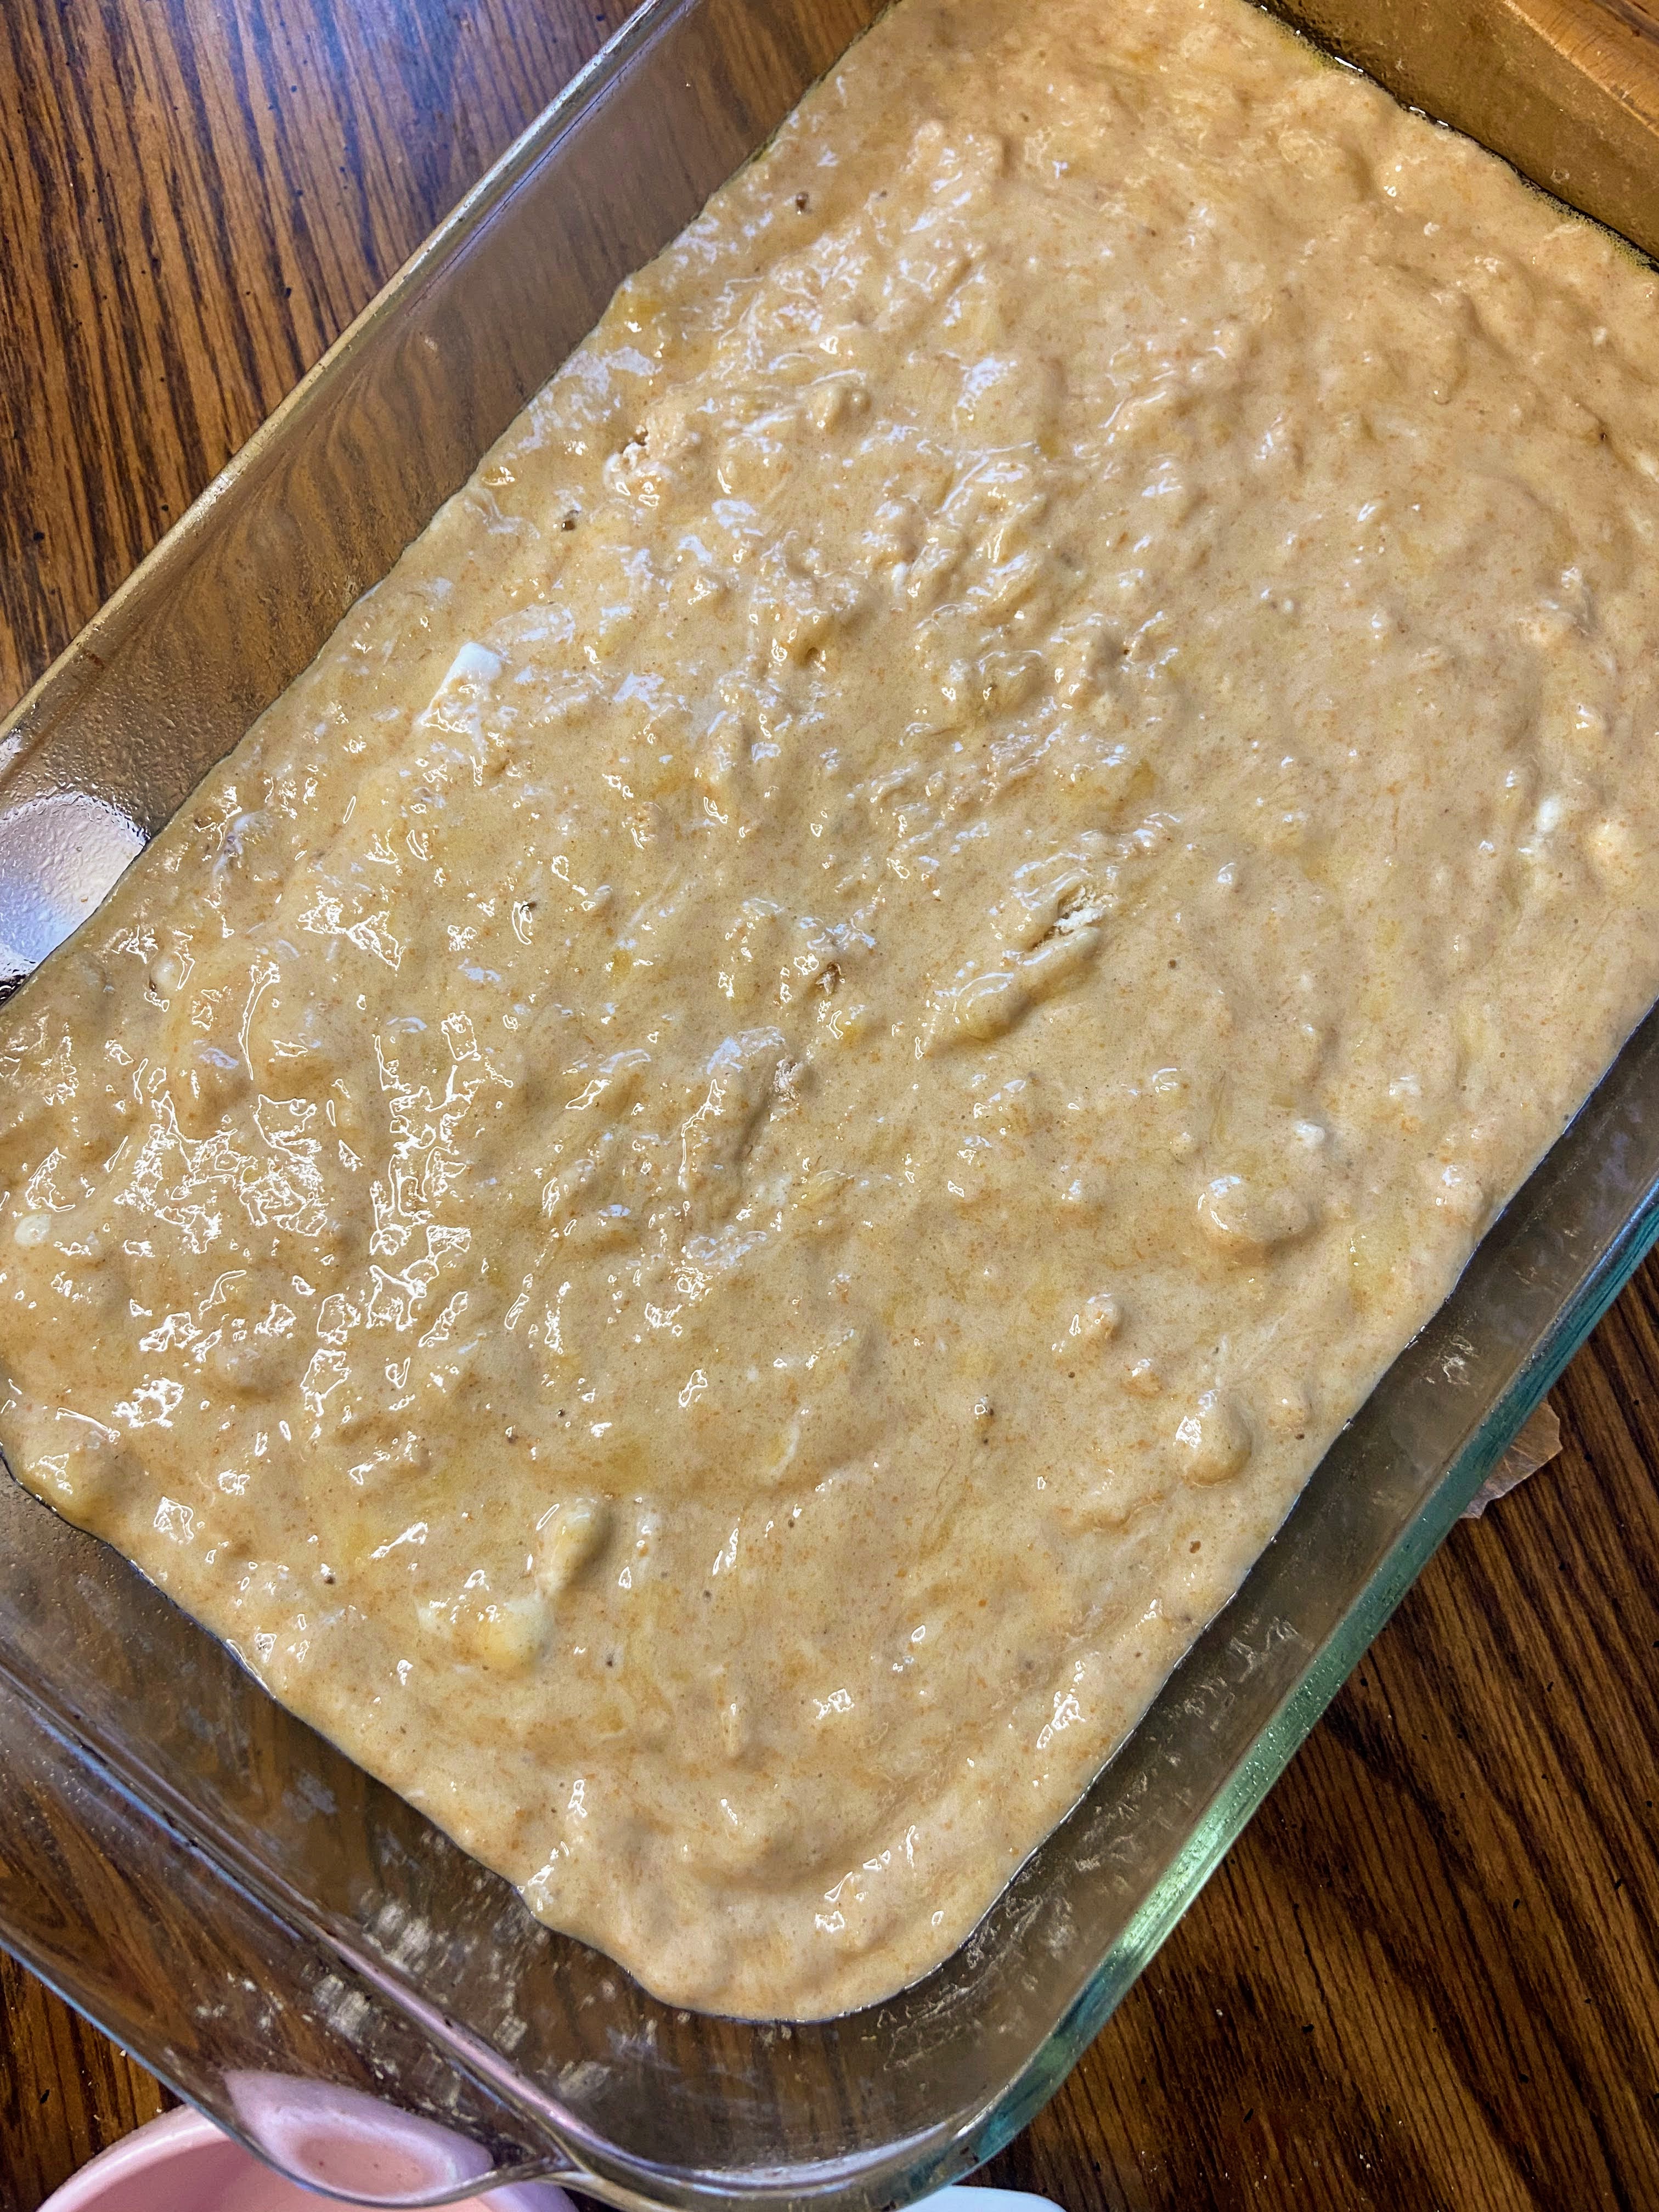
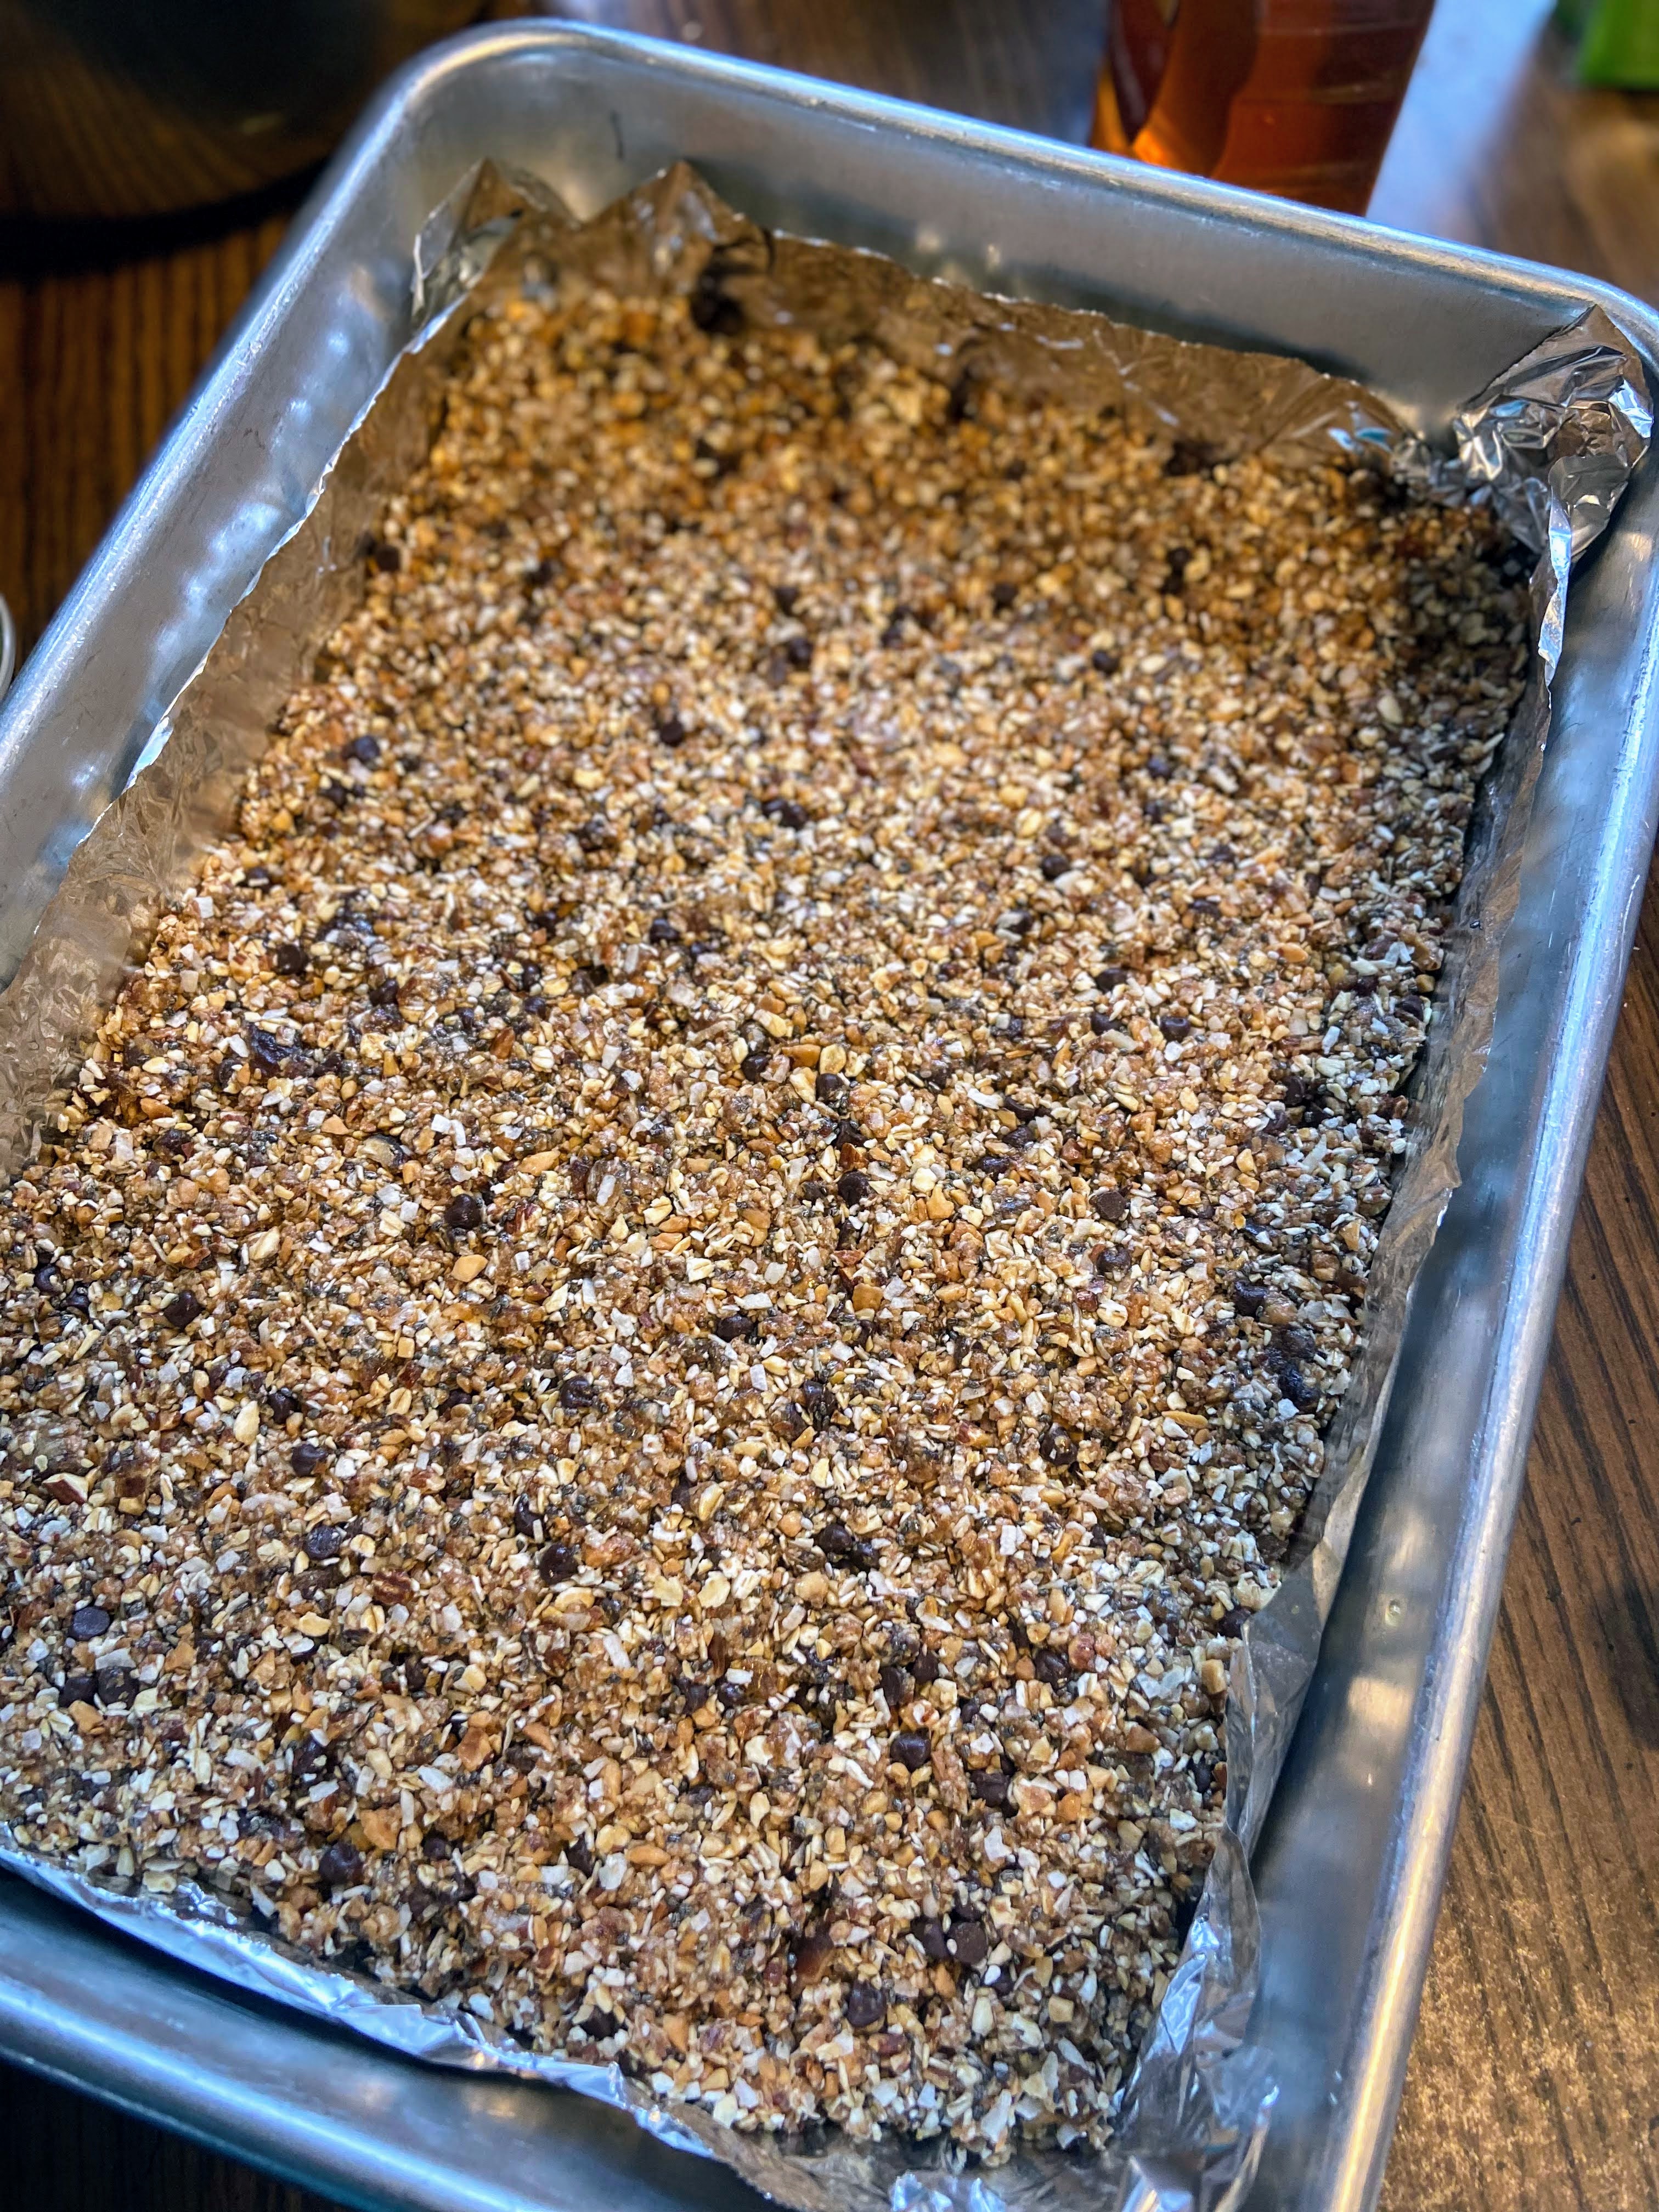
Preheat the oven to 350 degrees. Prepare a 9×13 baking dish by lining it first with foil and then spraying it with cooking spray.
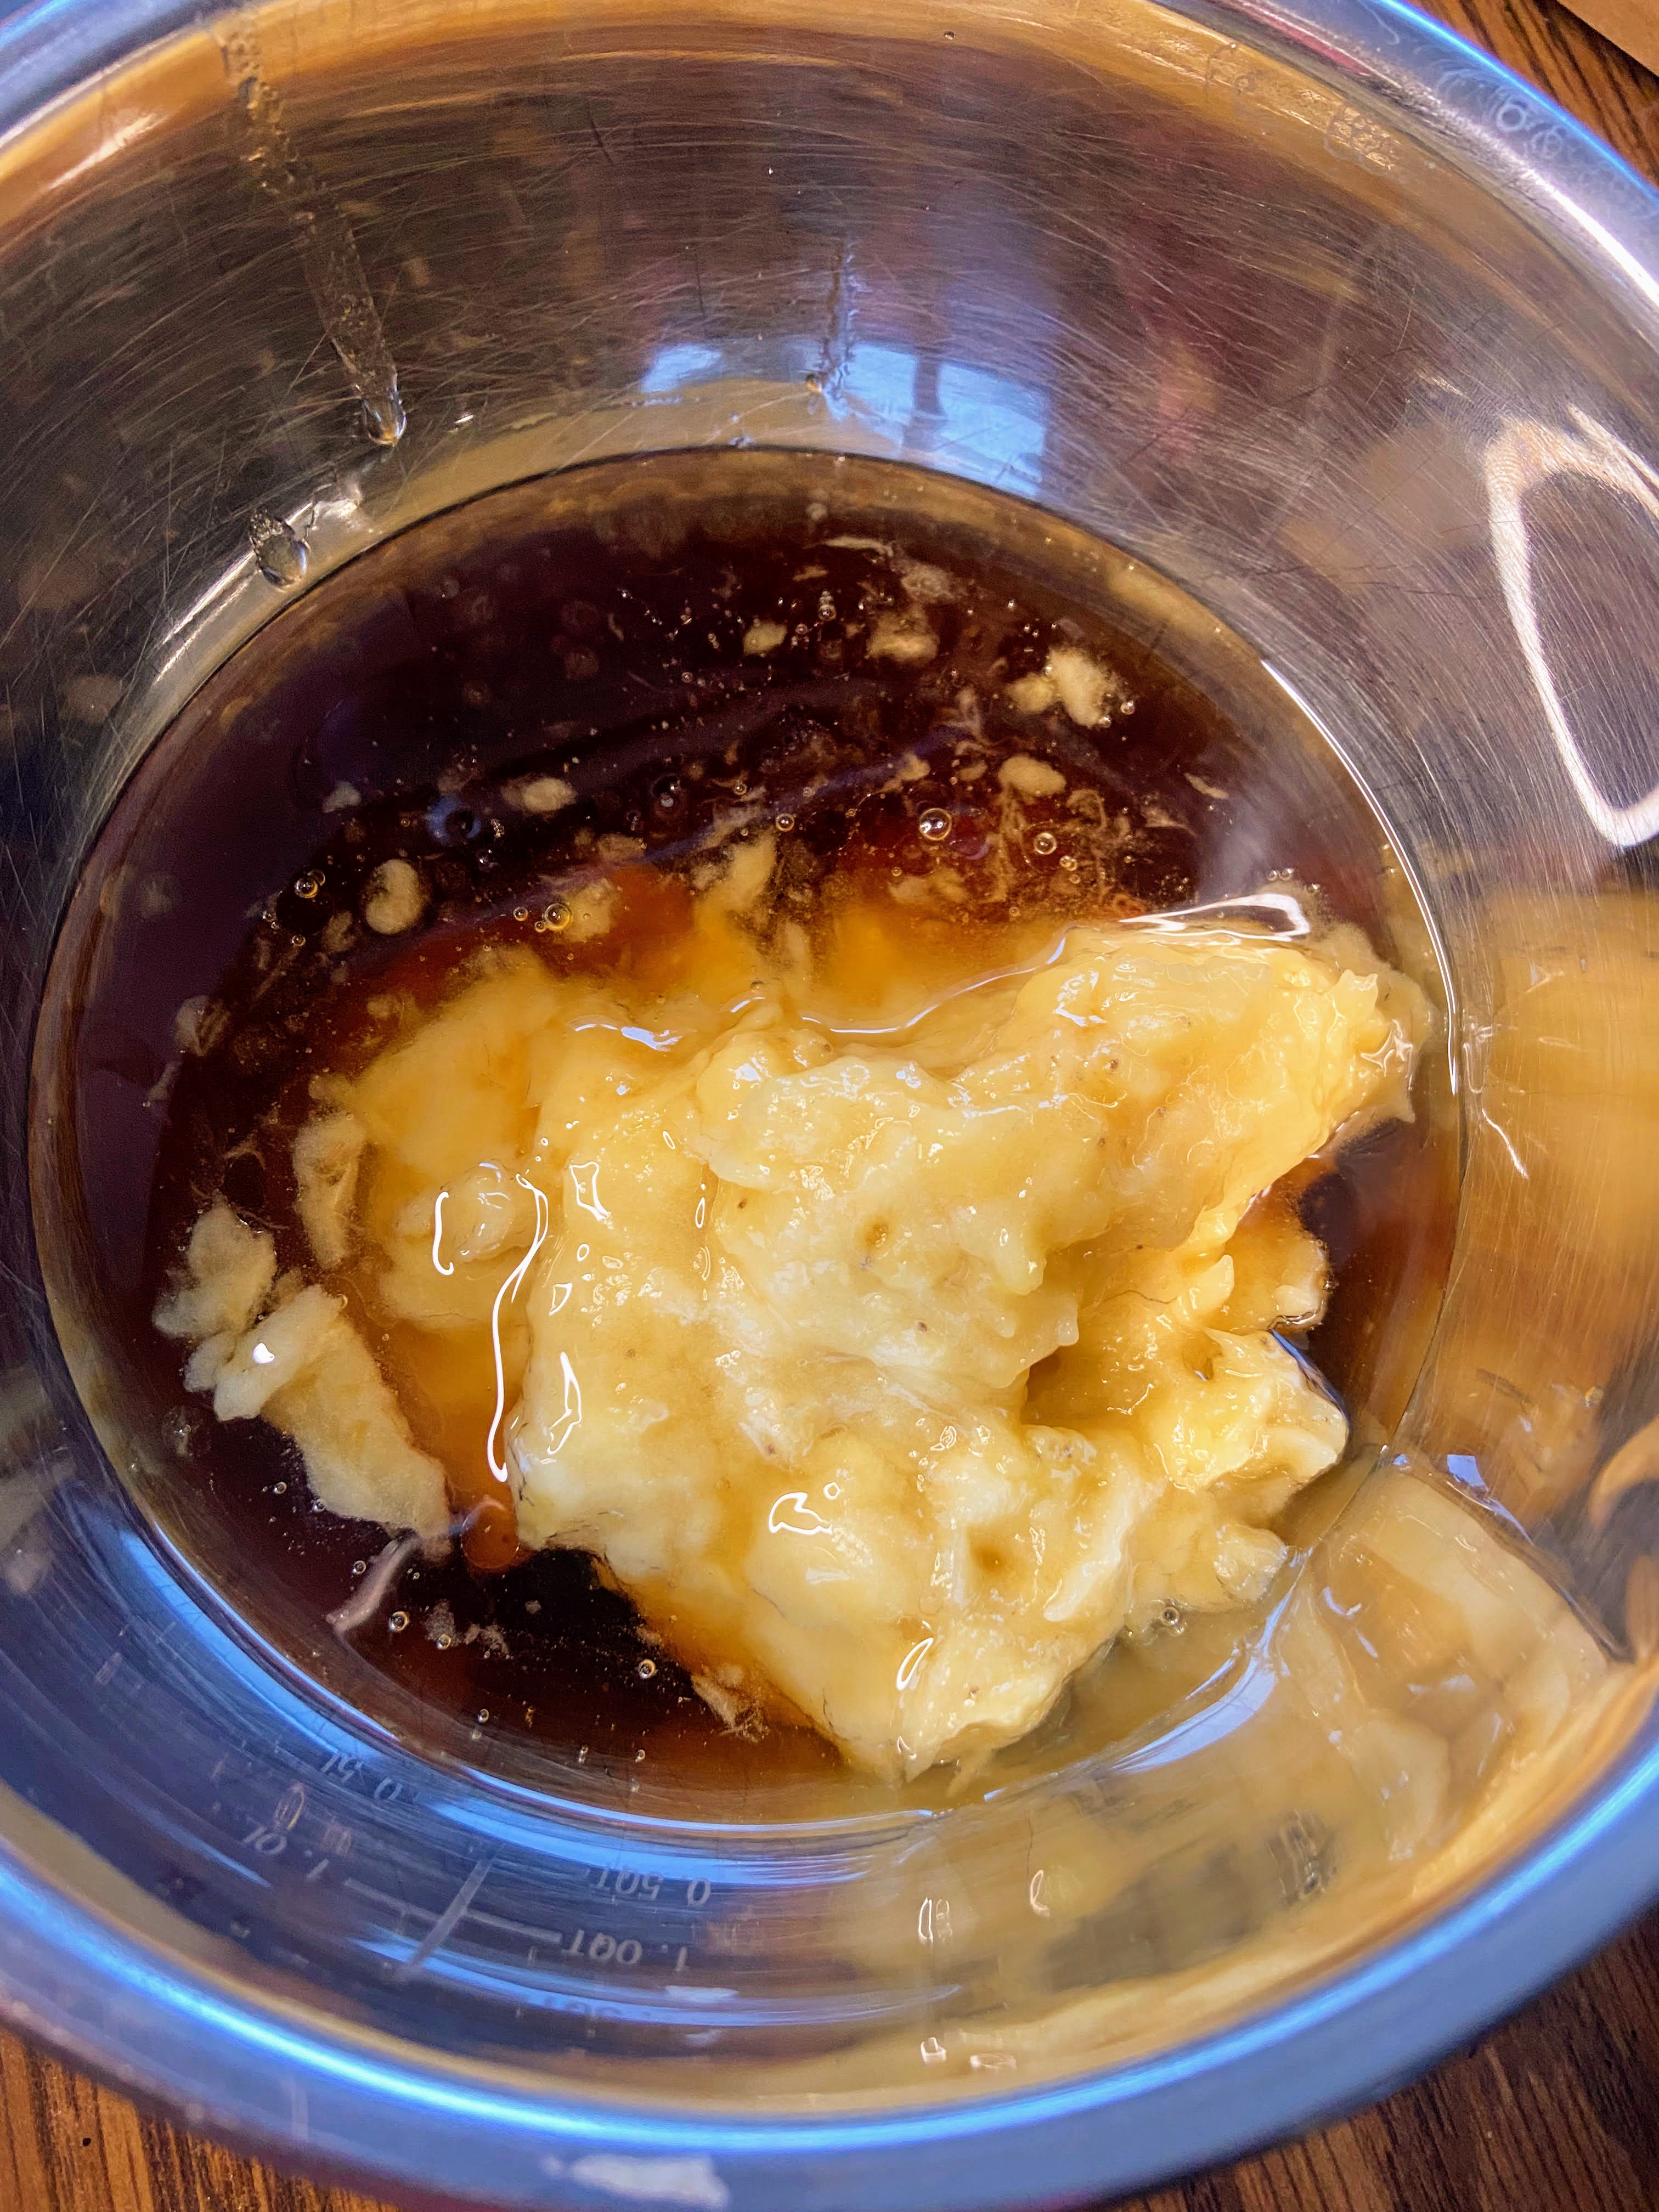
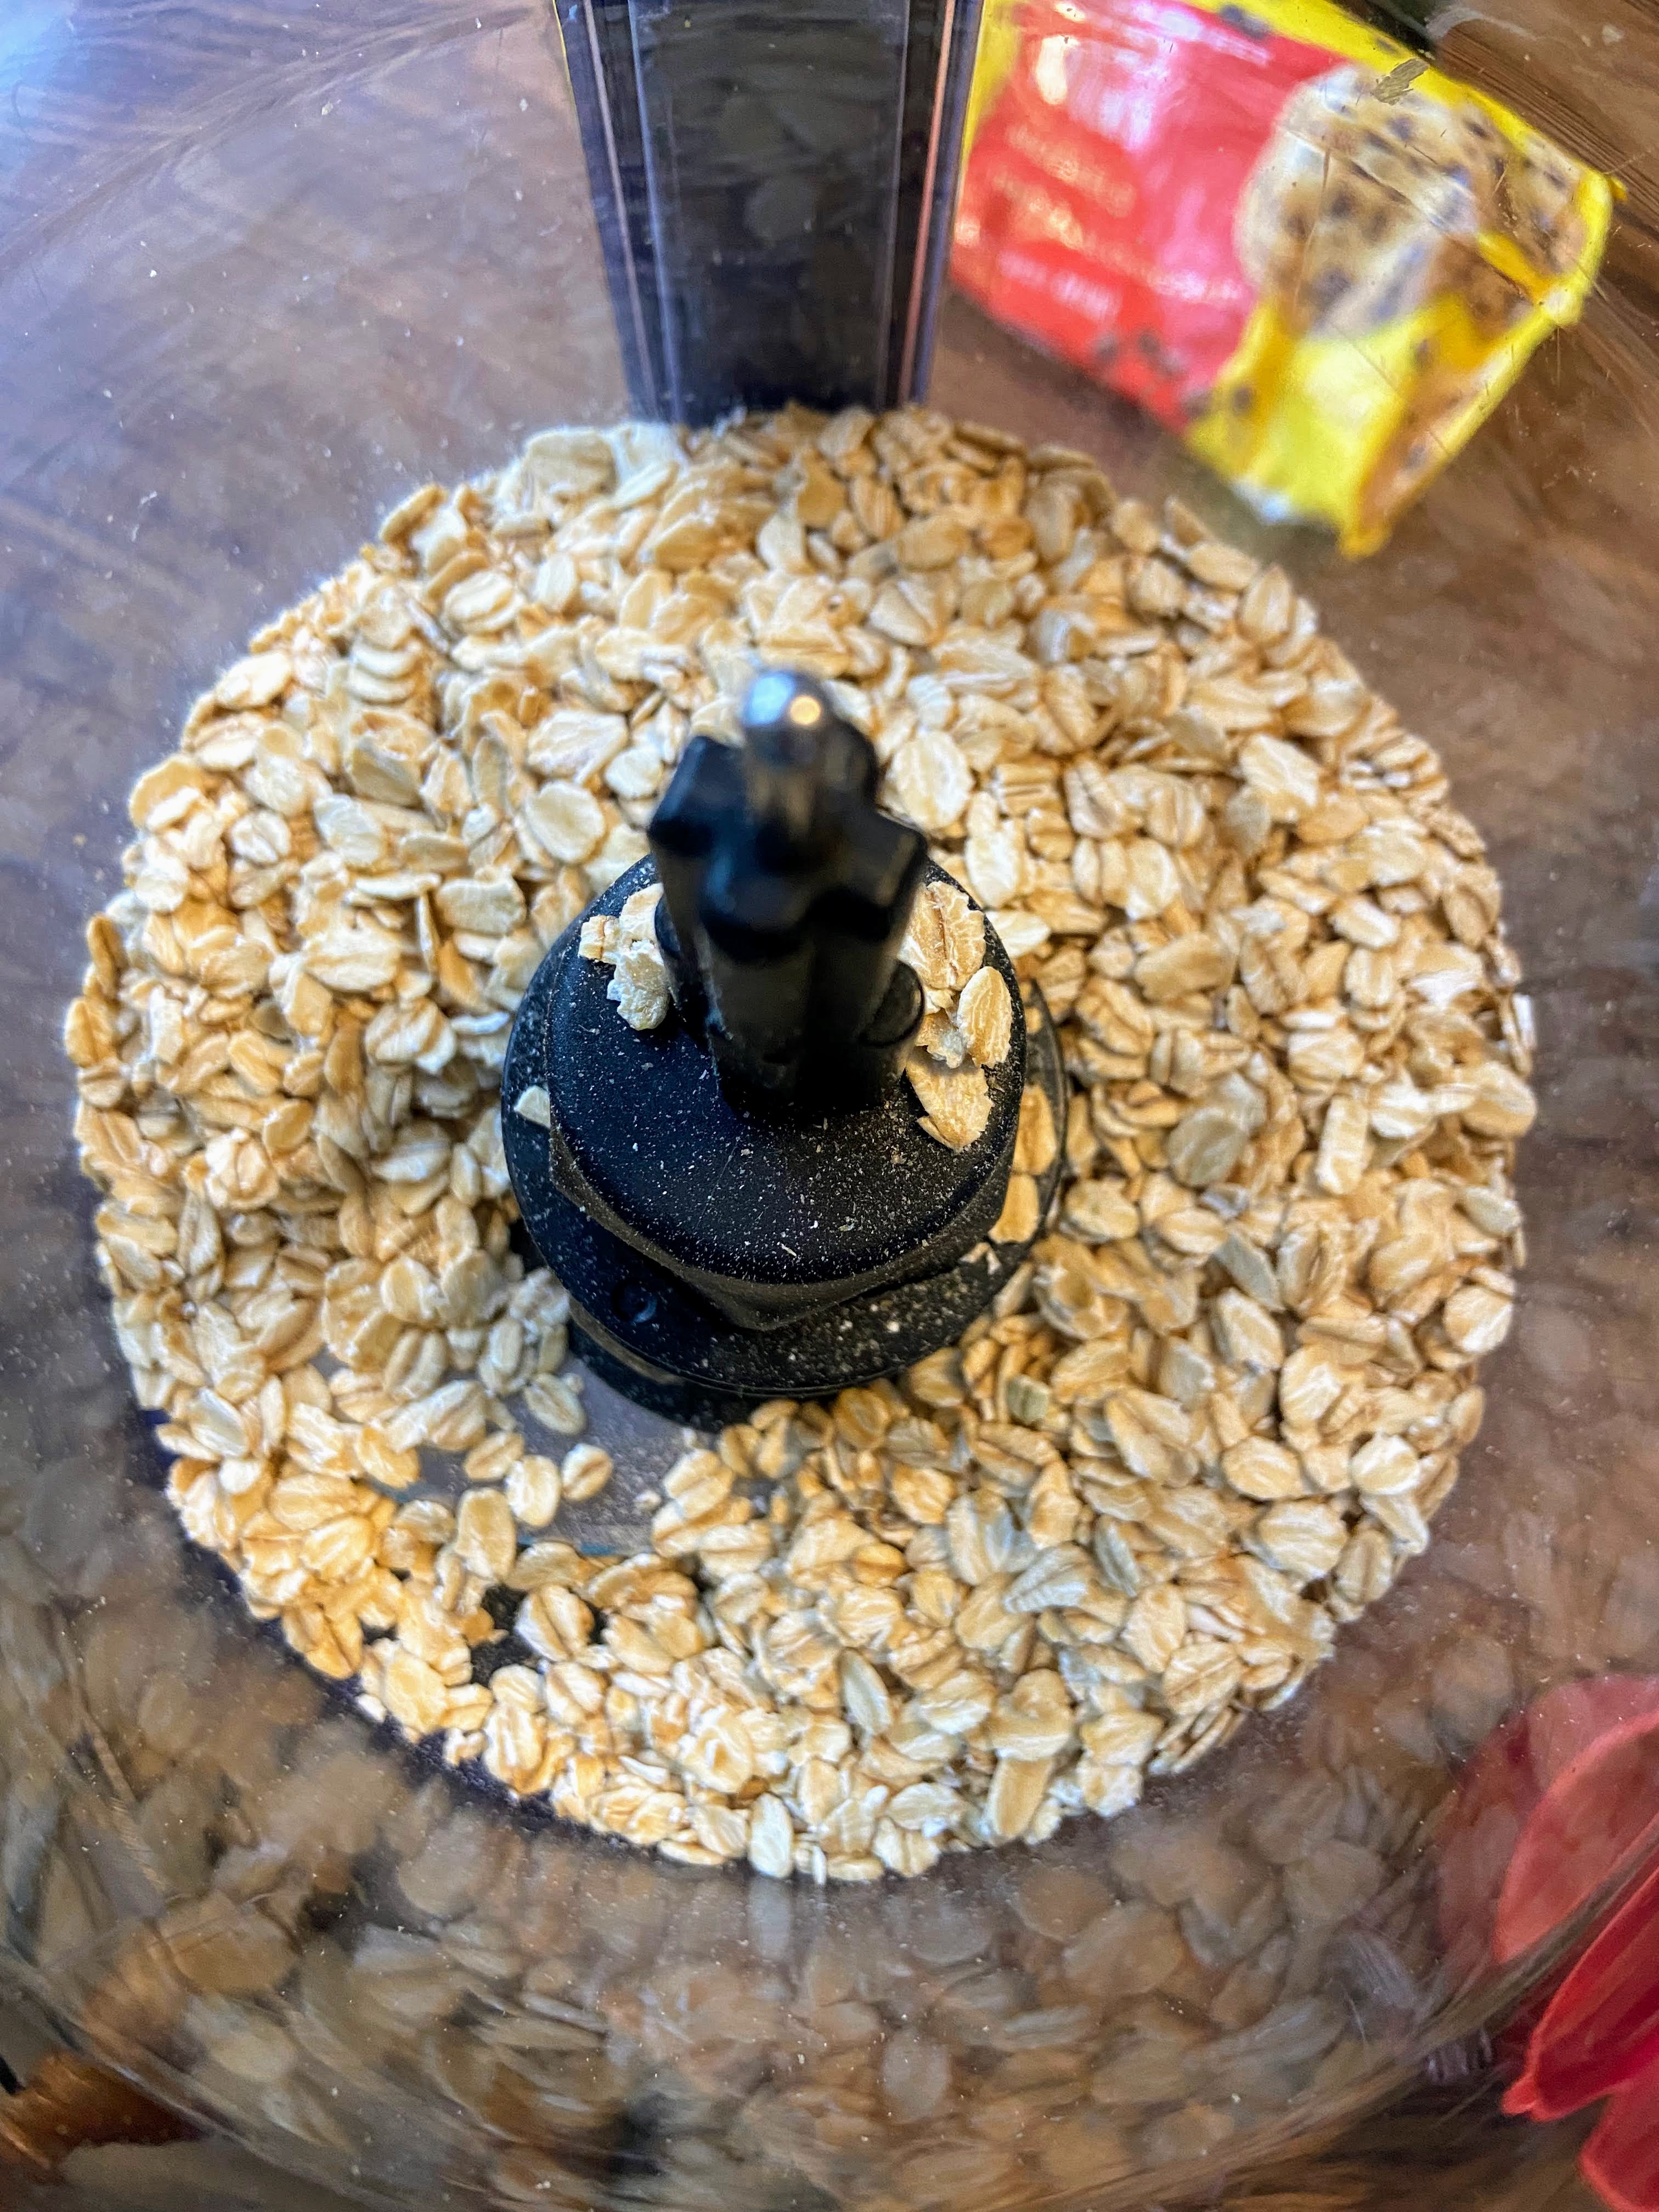
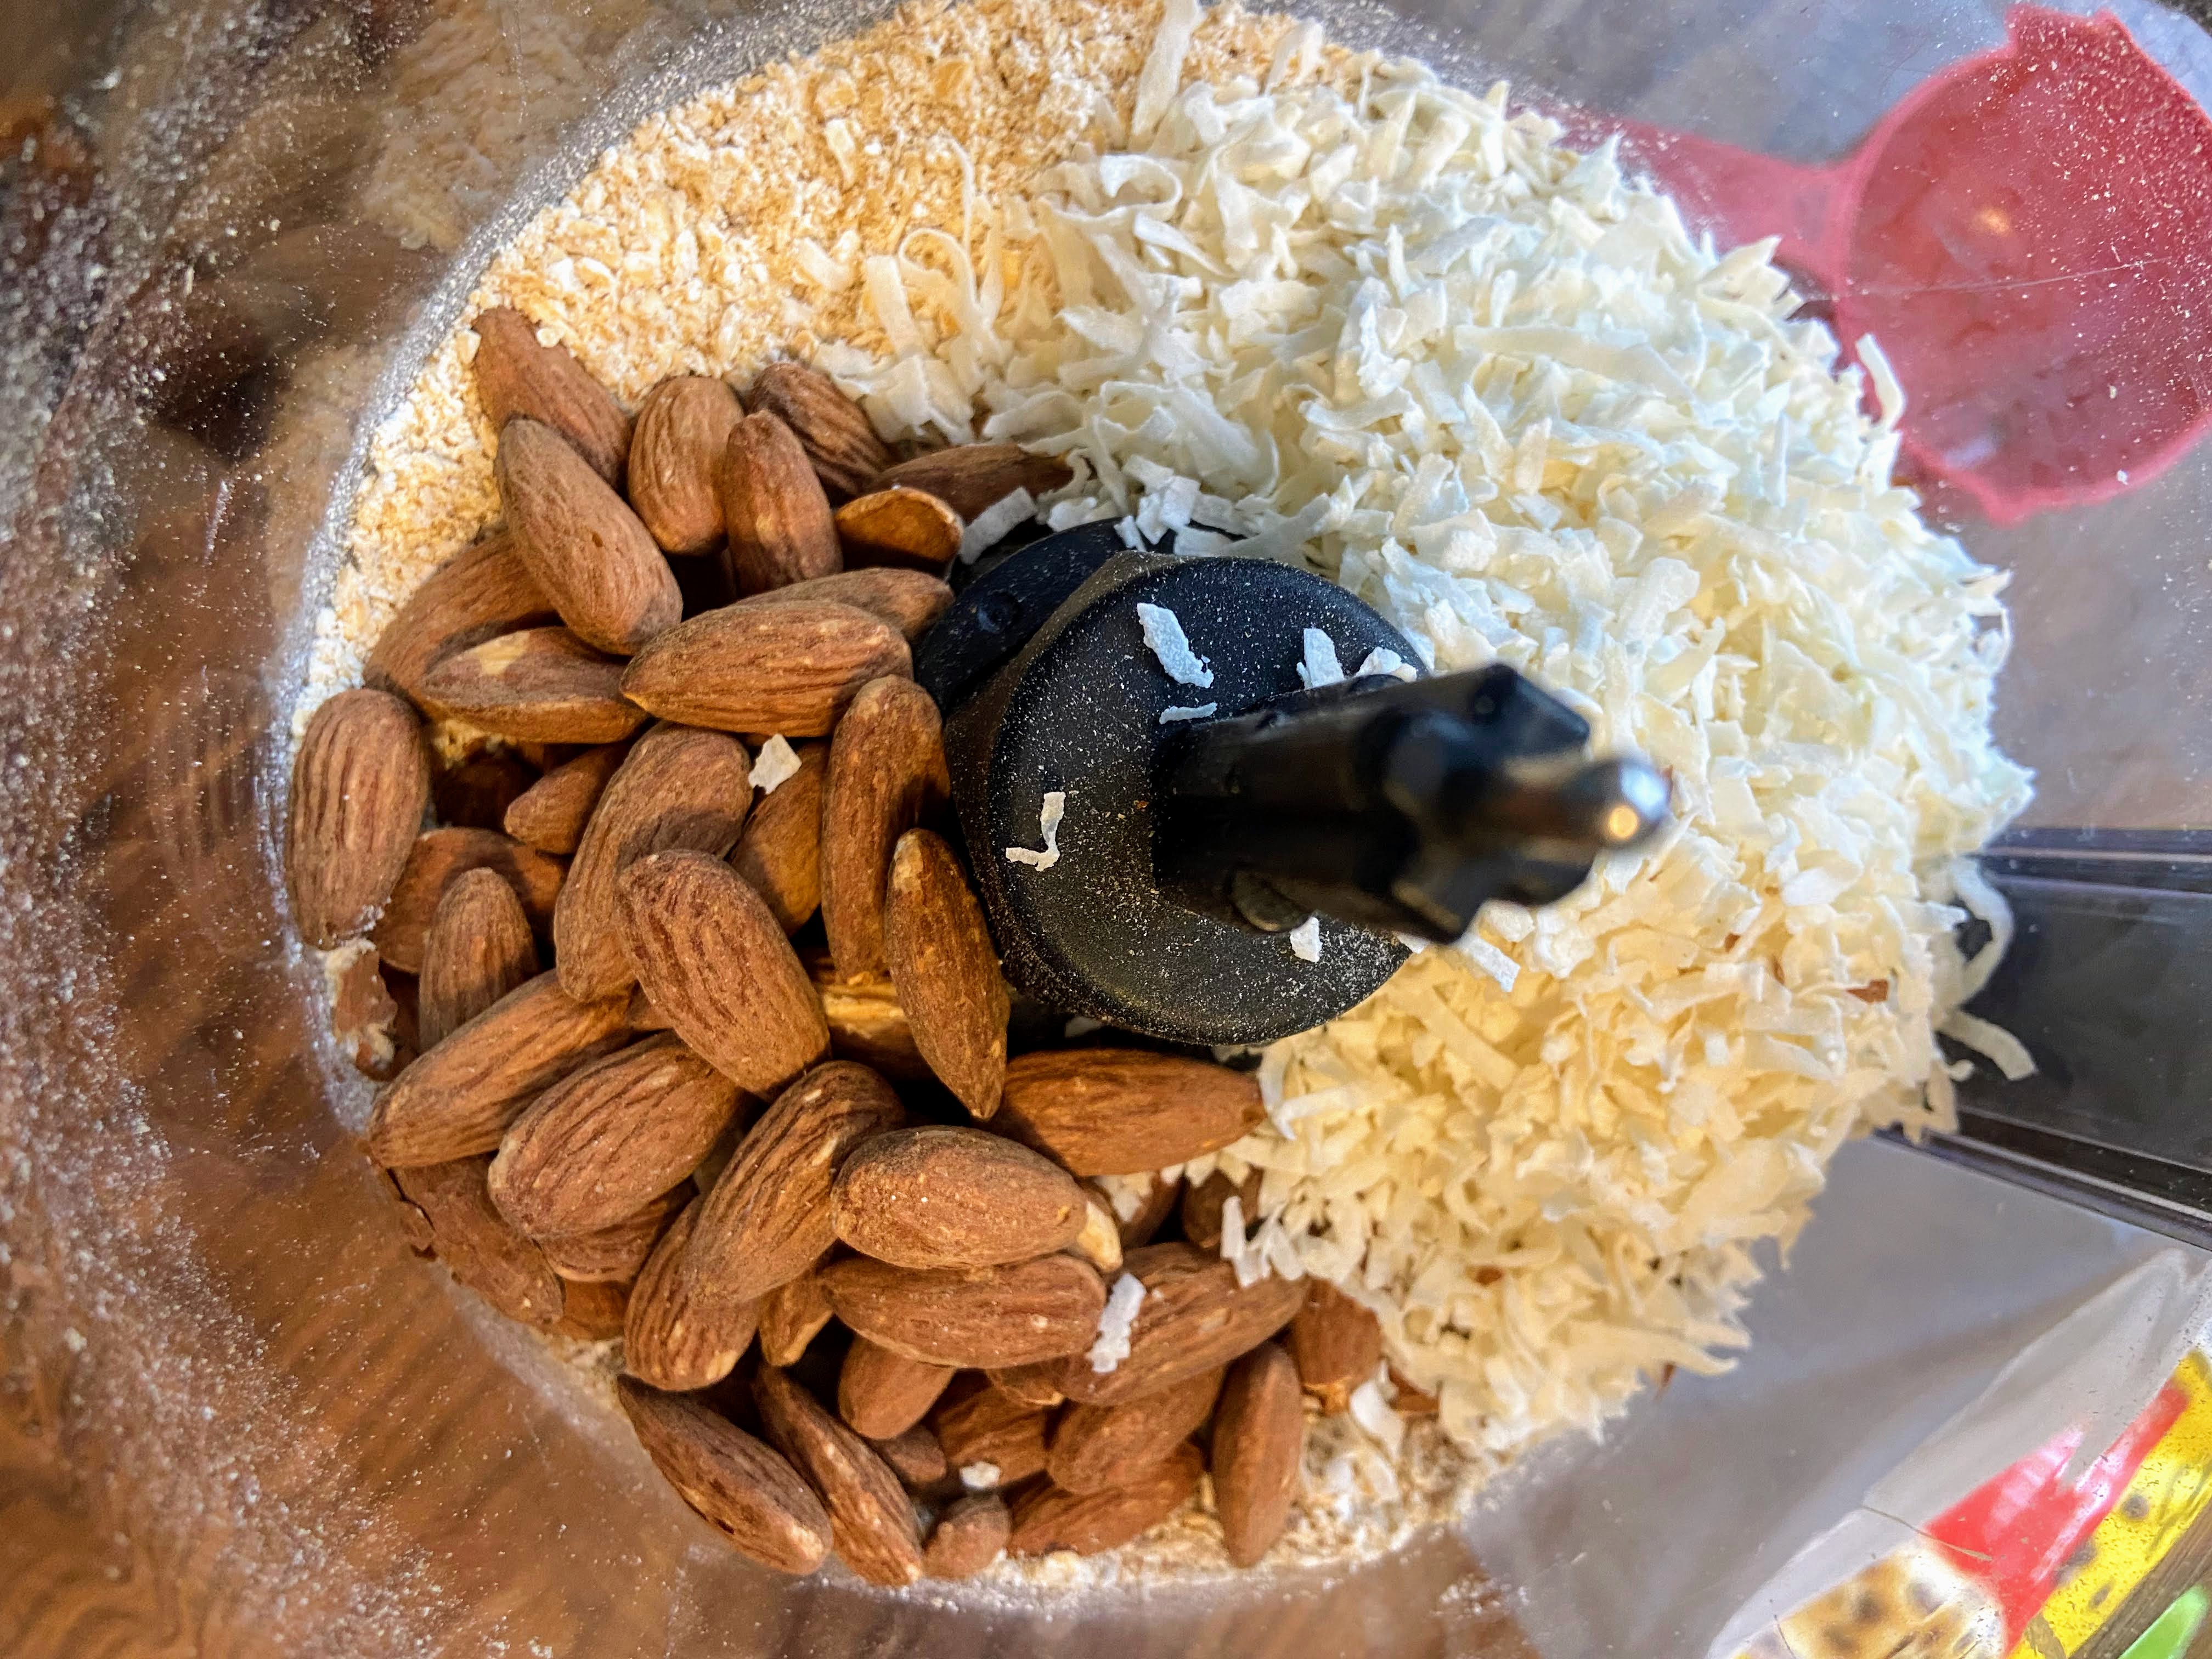
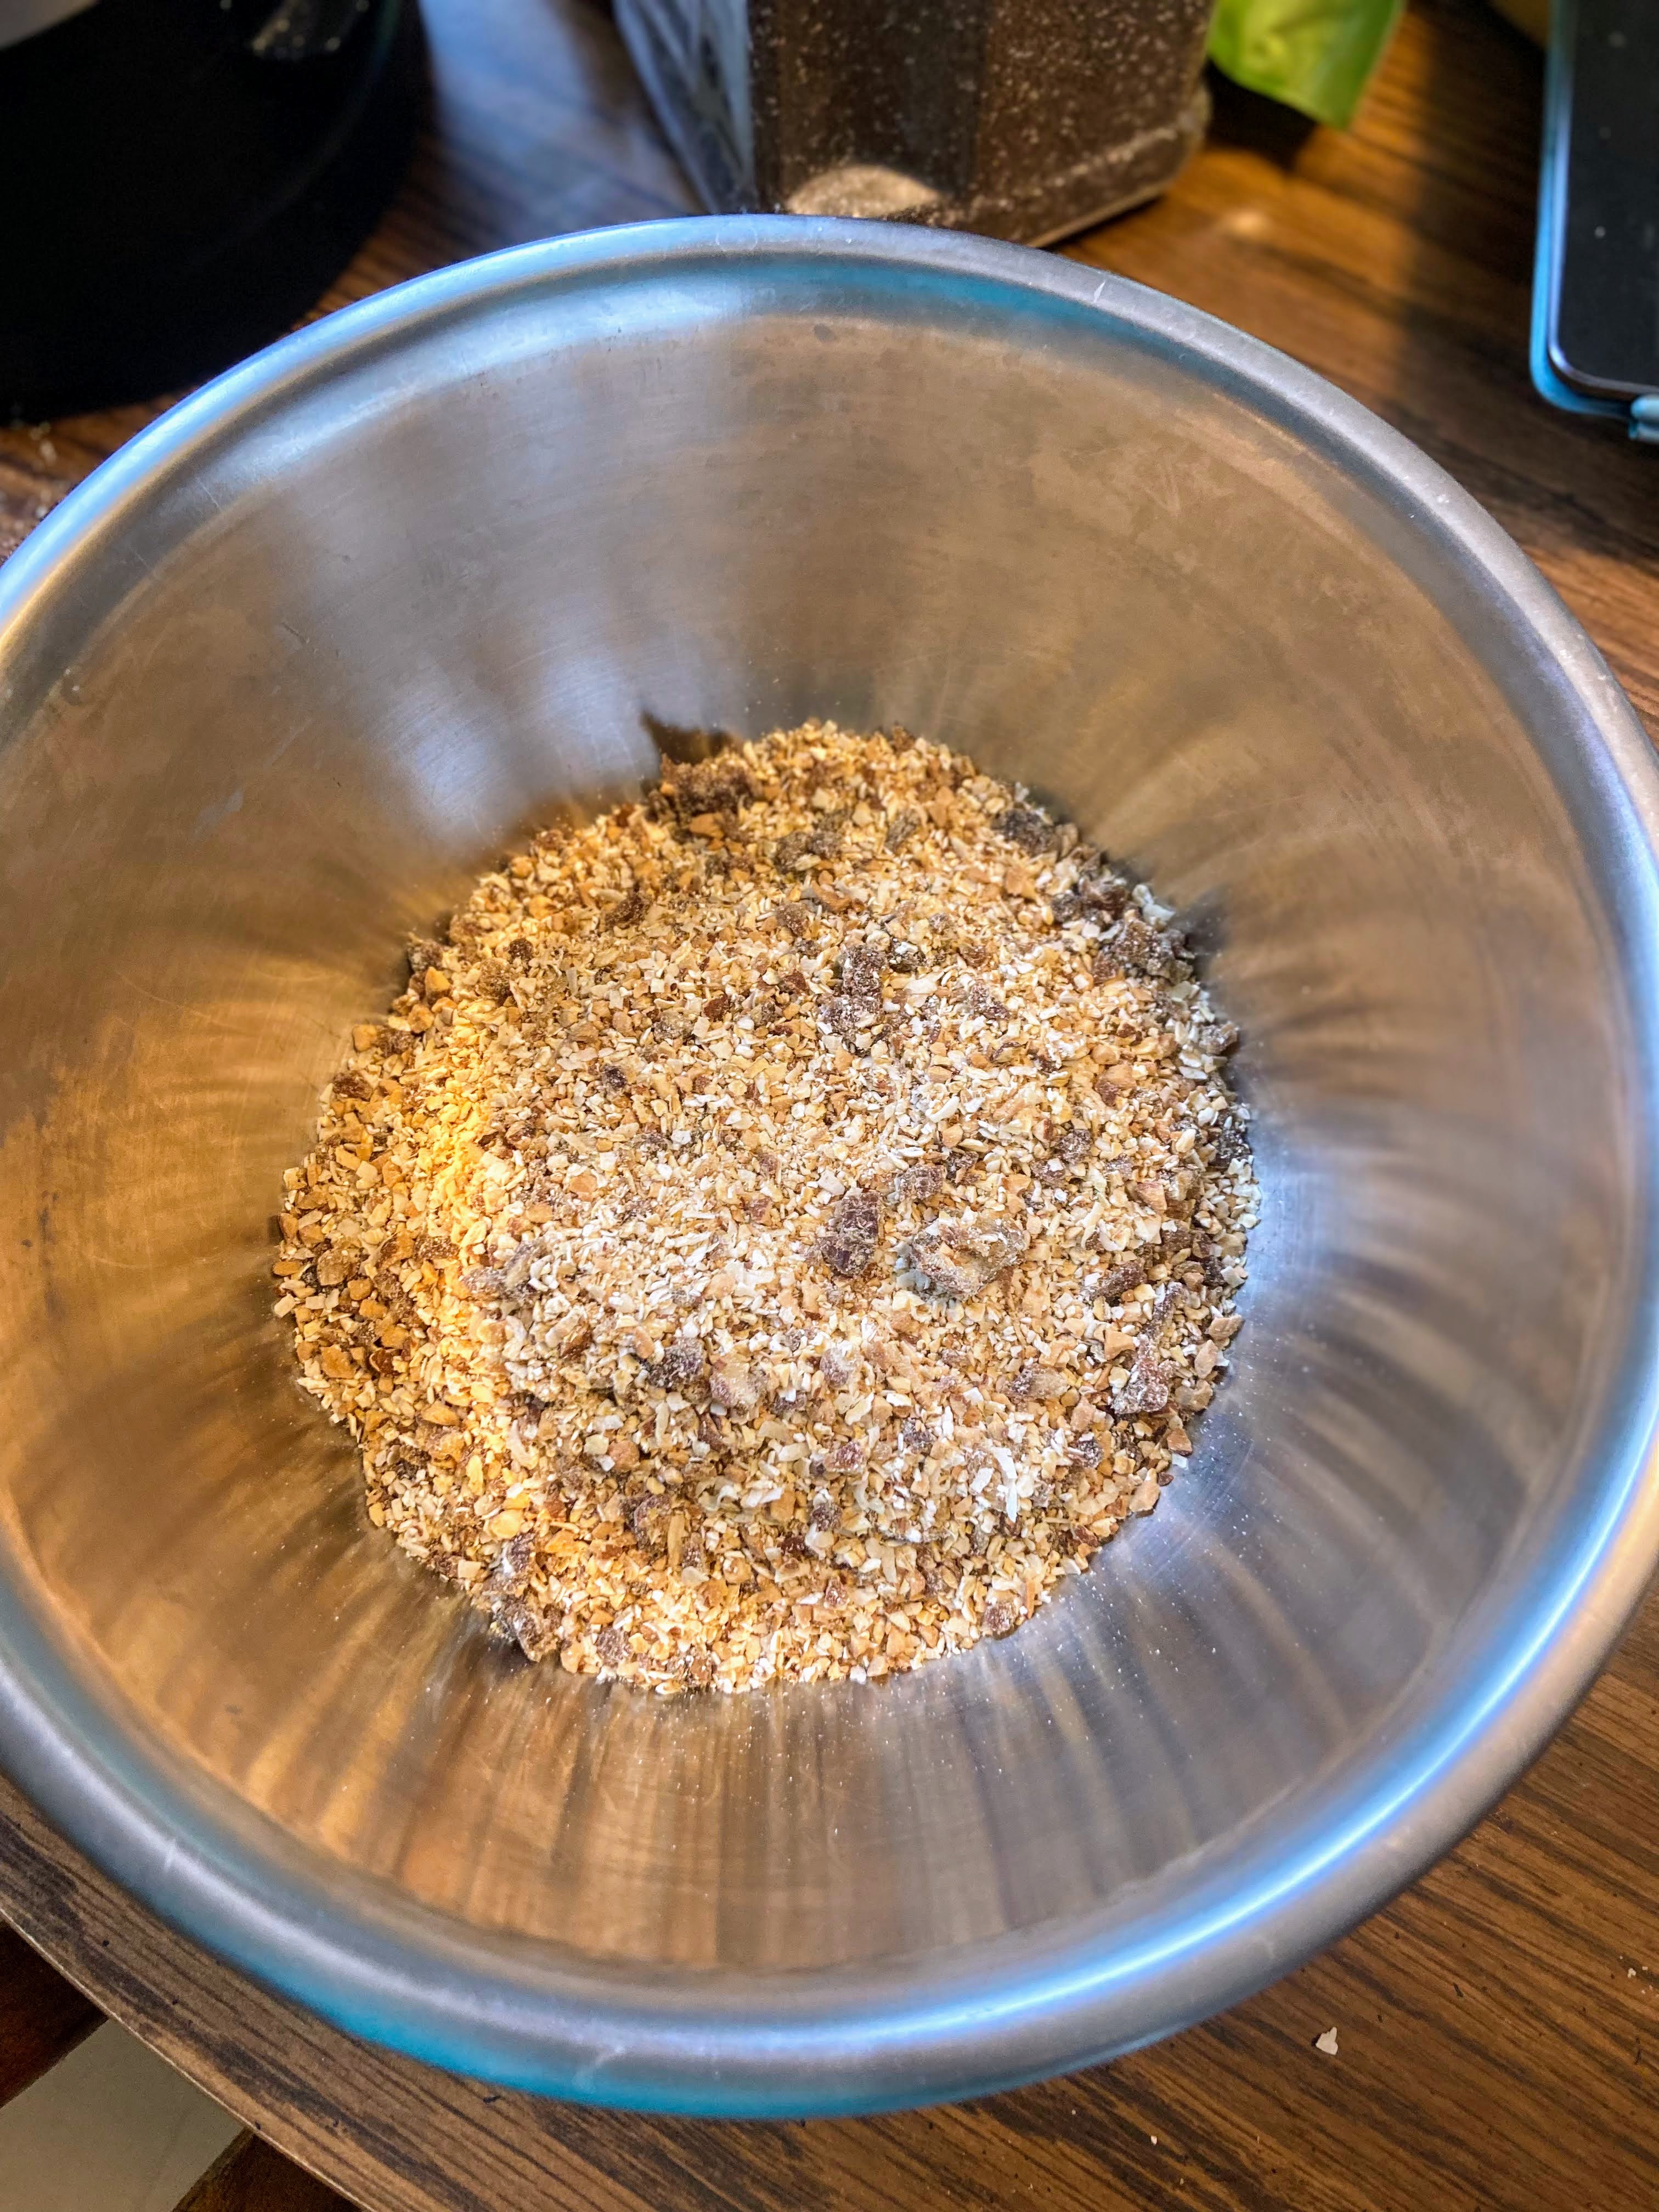
Place the old-fashioned oats in a food processor (I love my Kitchen Aid 7 cup food processor) Grind until a rough flour is formed. Add almonds and unsweetened coconut. Grind for additional 20-30 seconds. Add dates and grind once more, until the dates are broken down. Remove from the food processor and place in a medium-sized bowl.
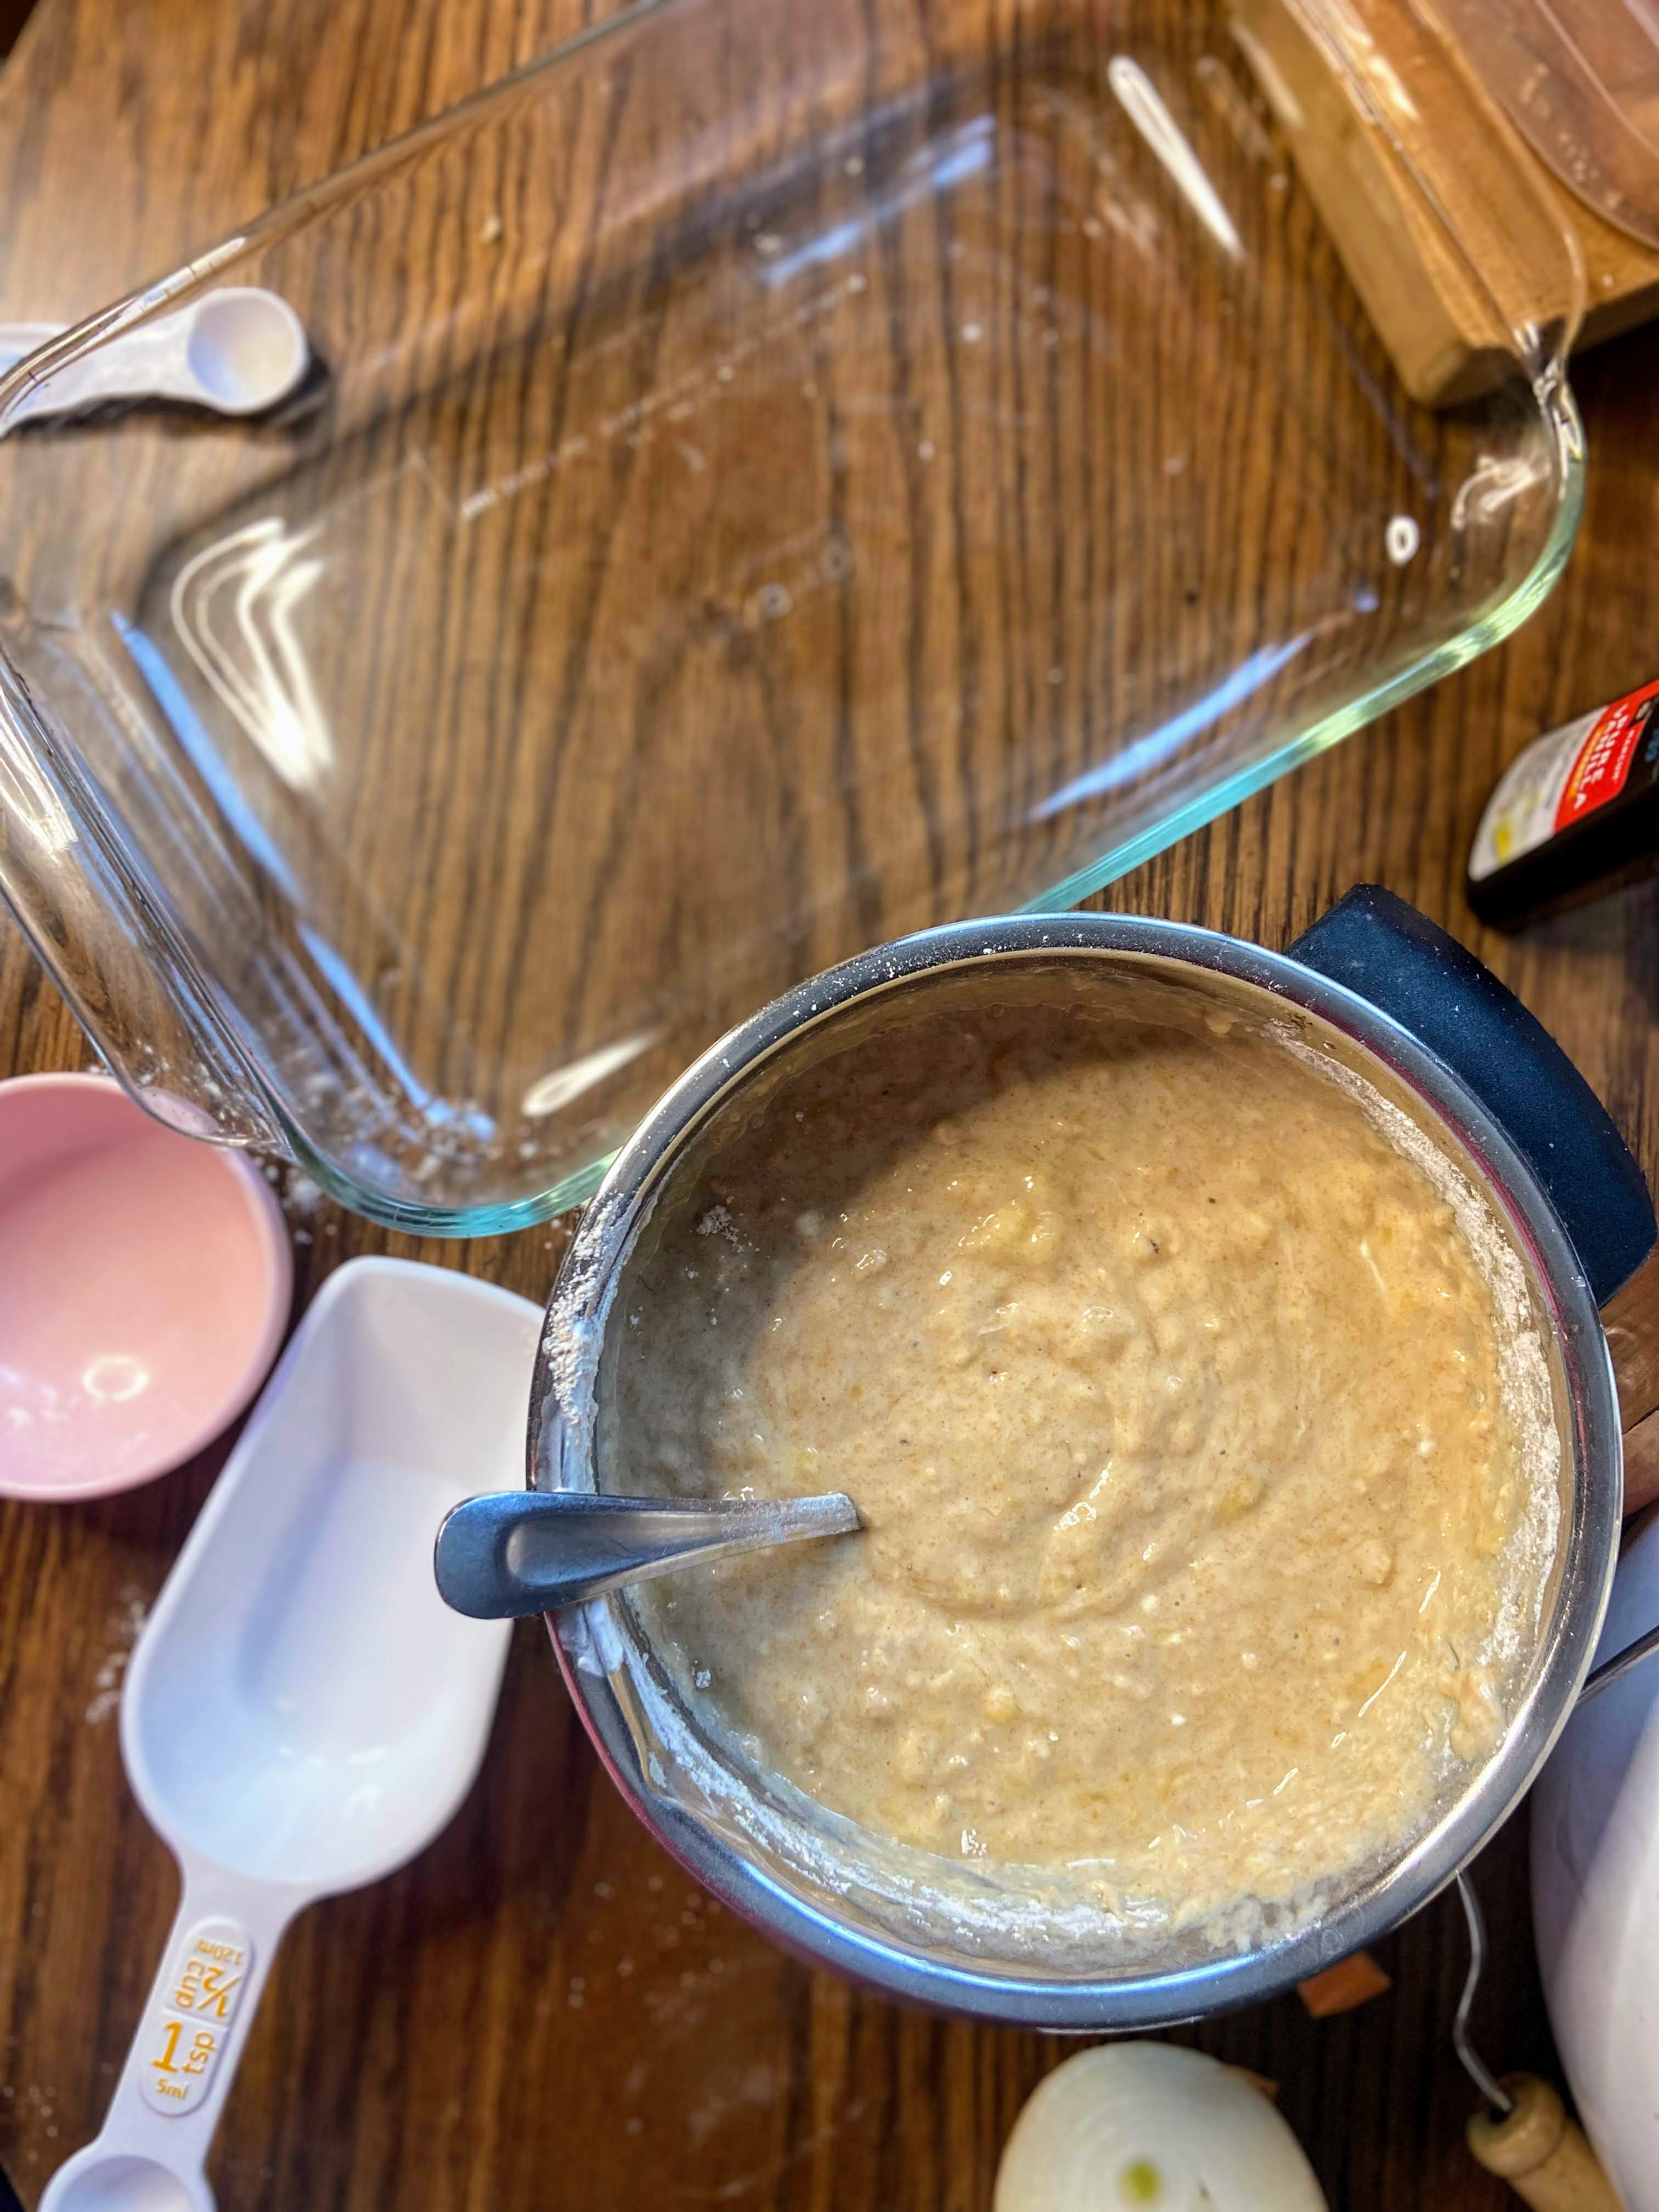
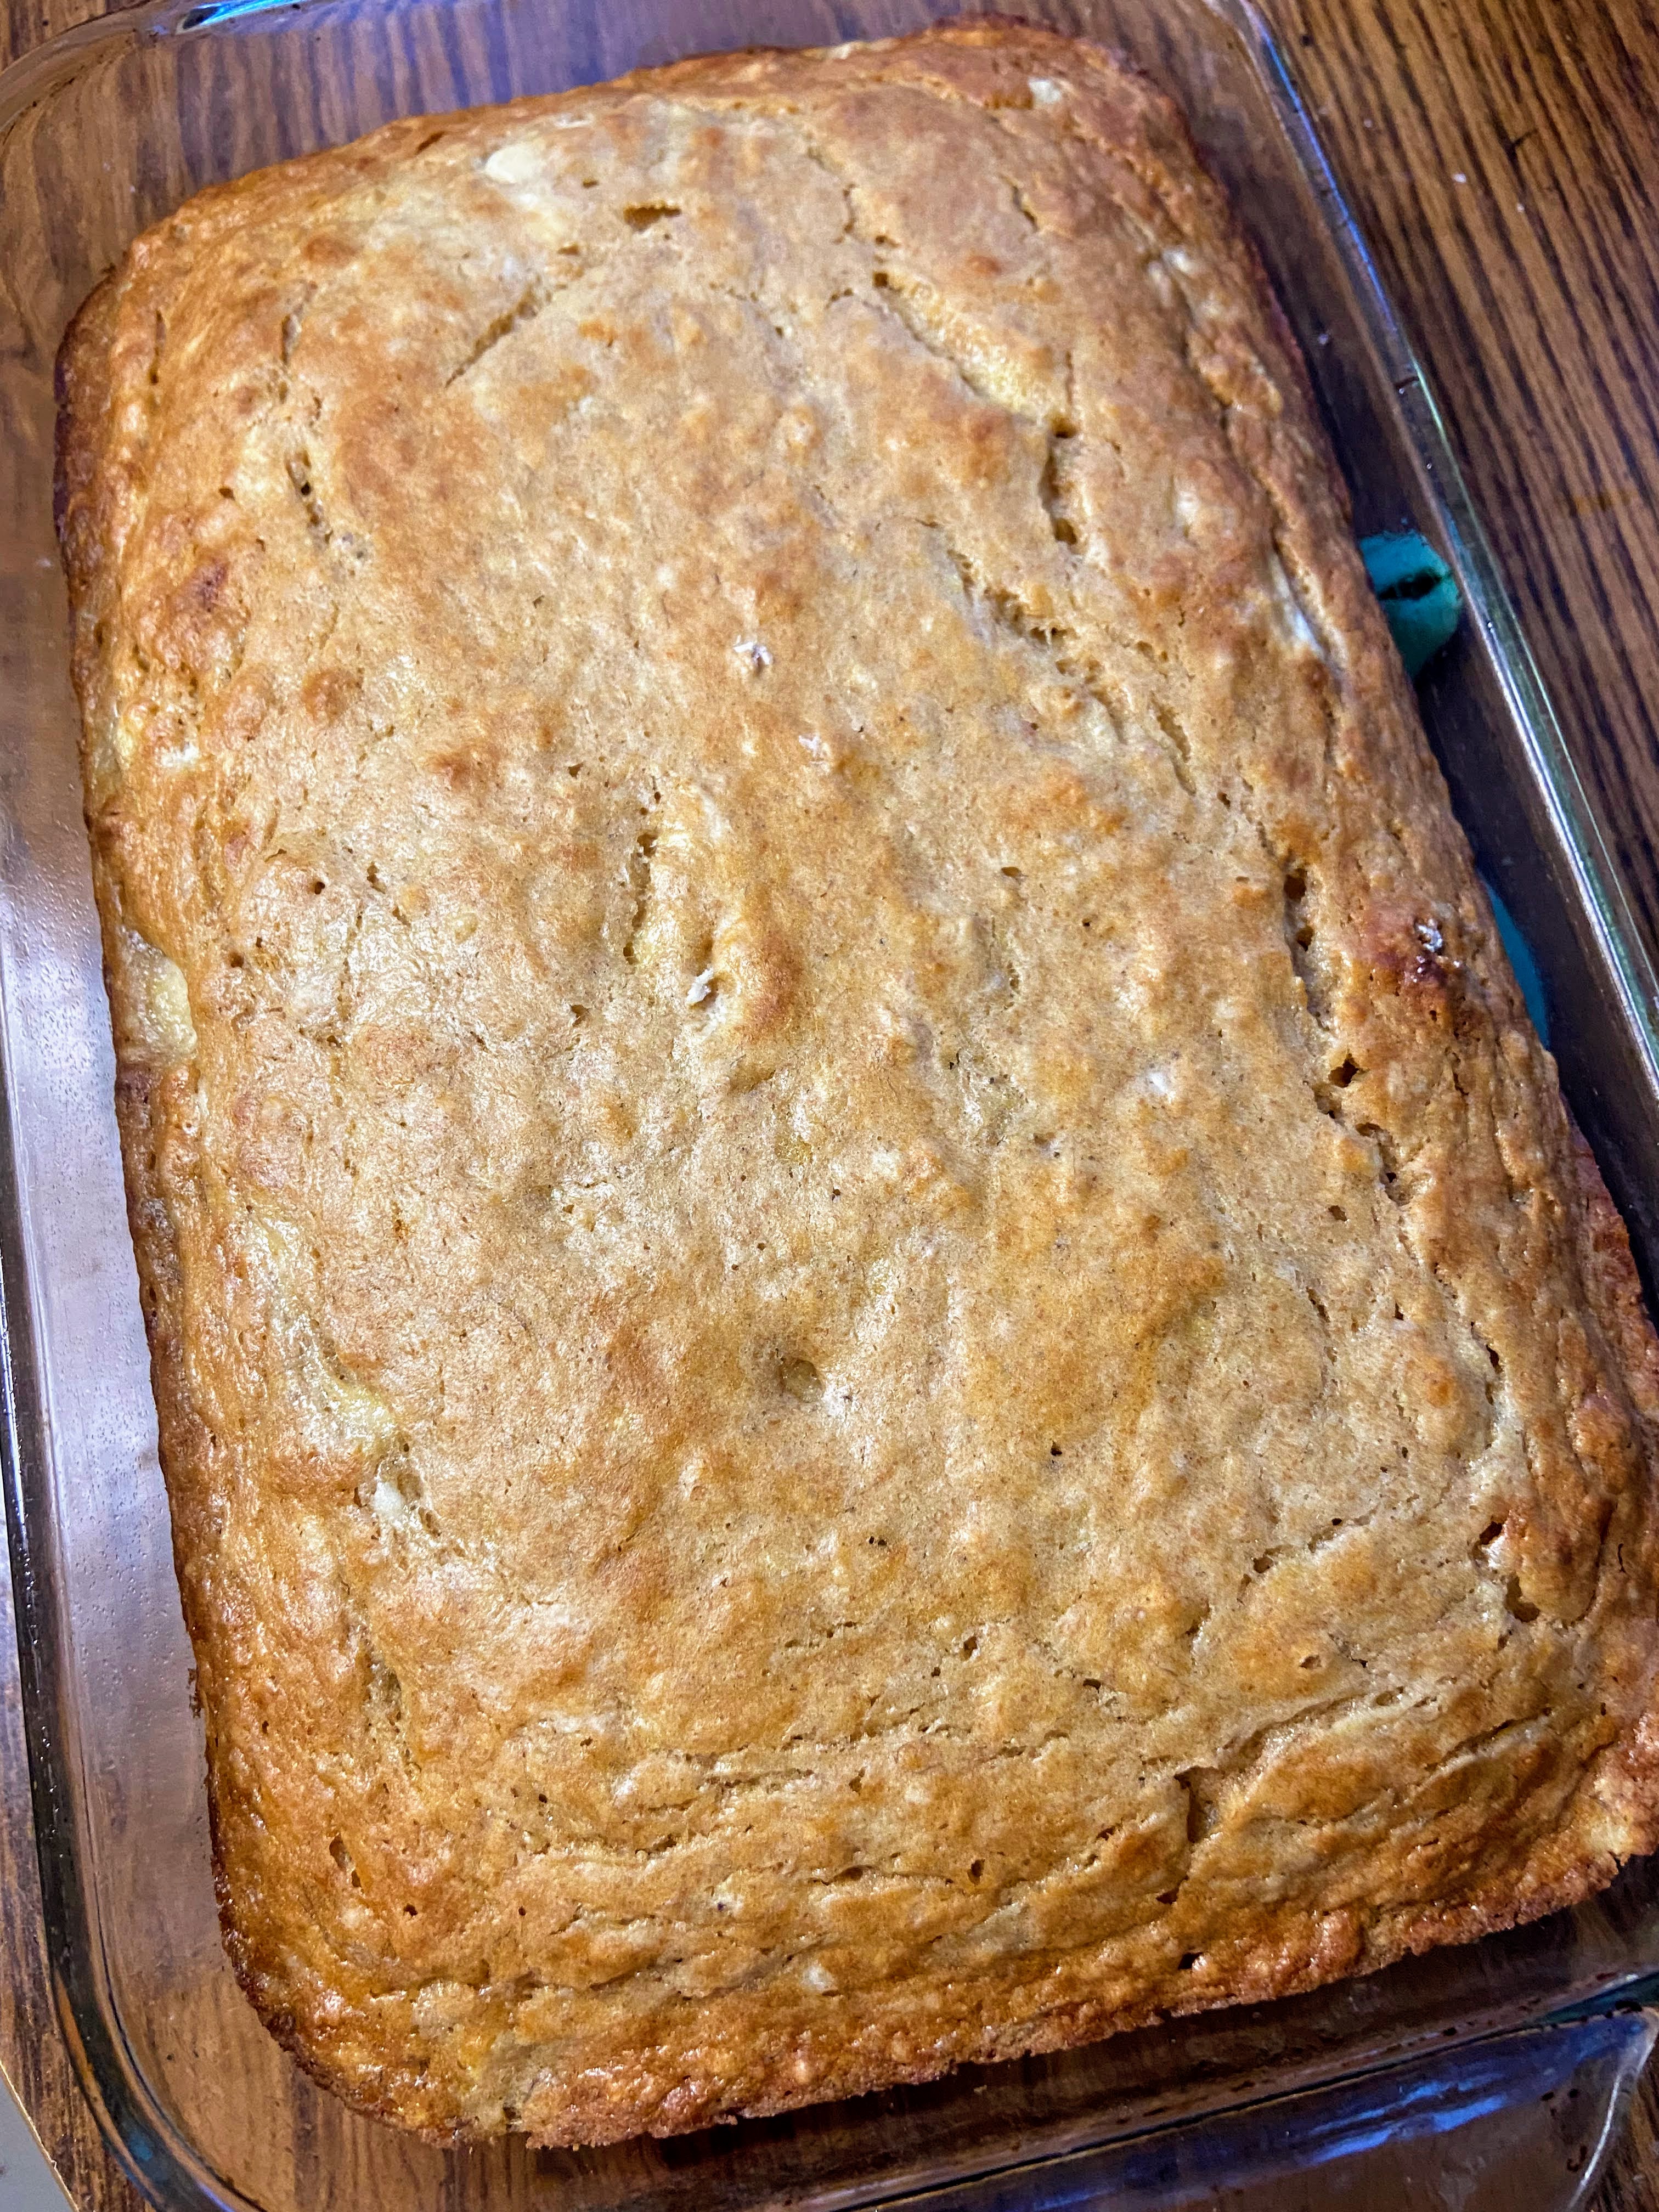
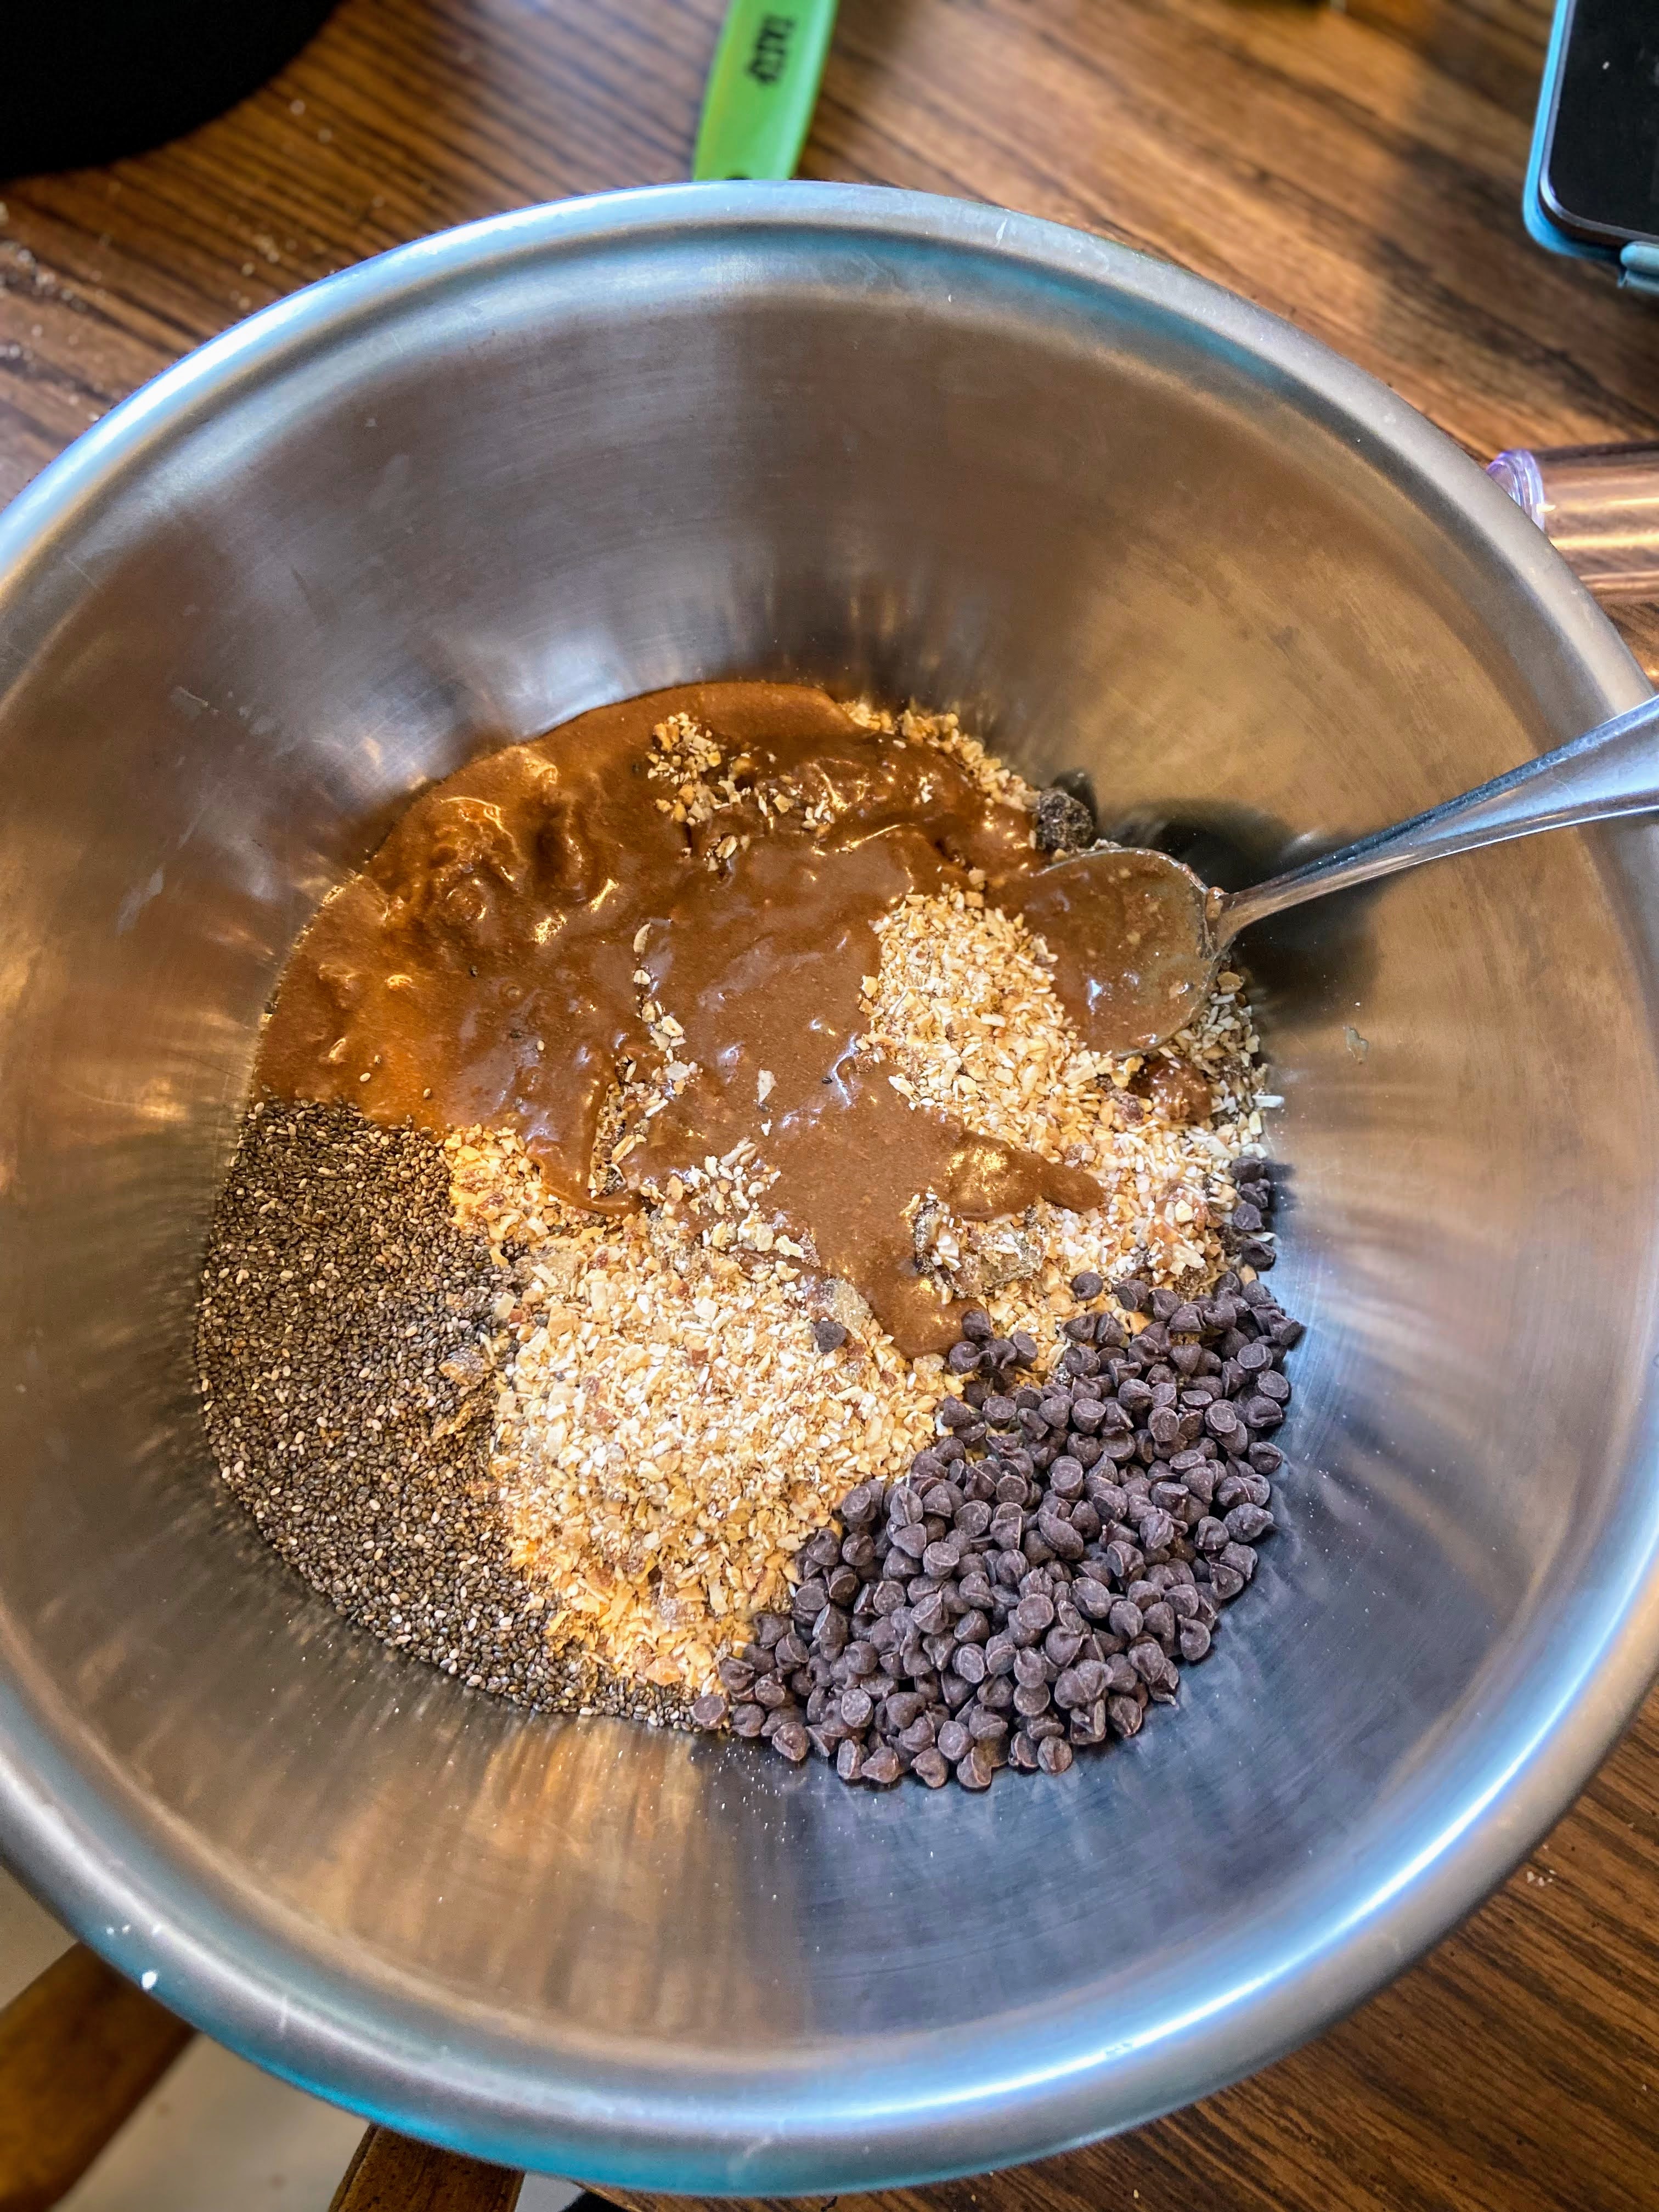
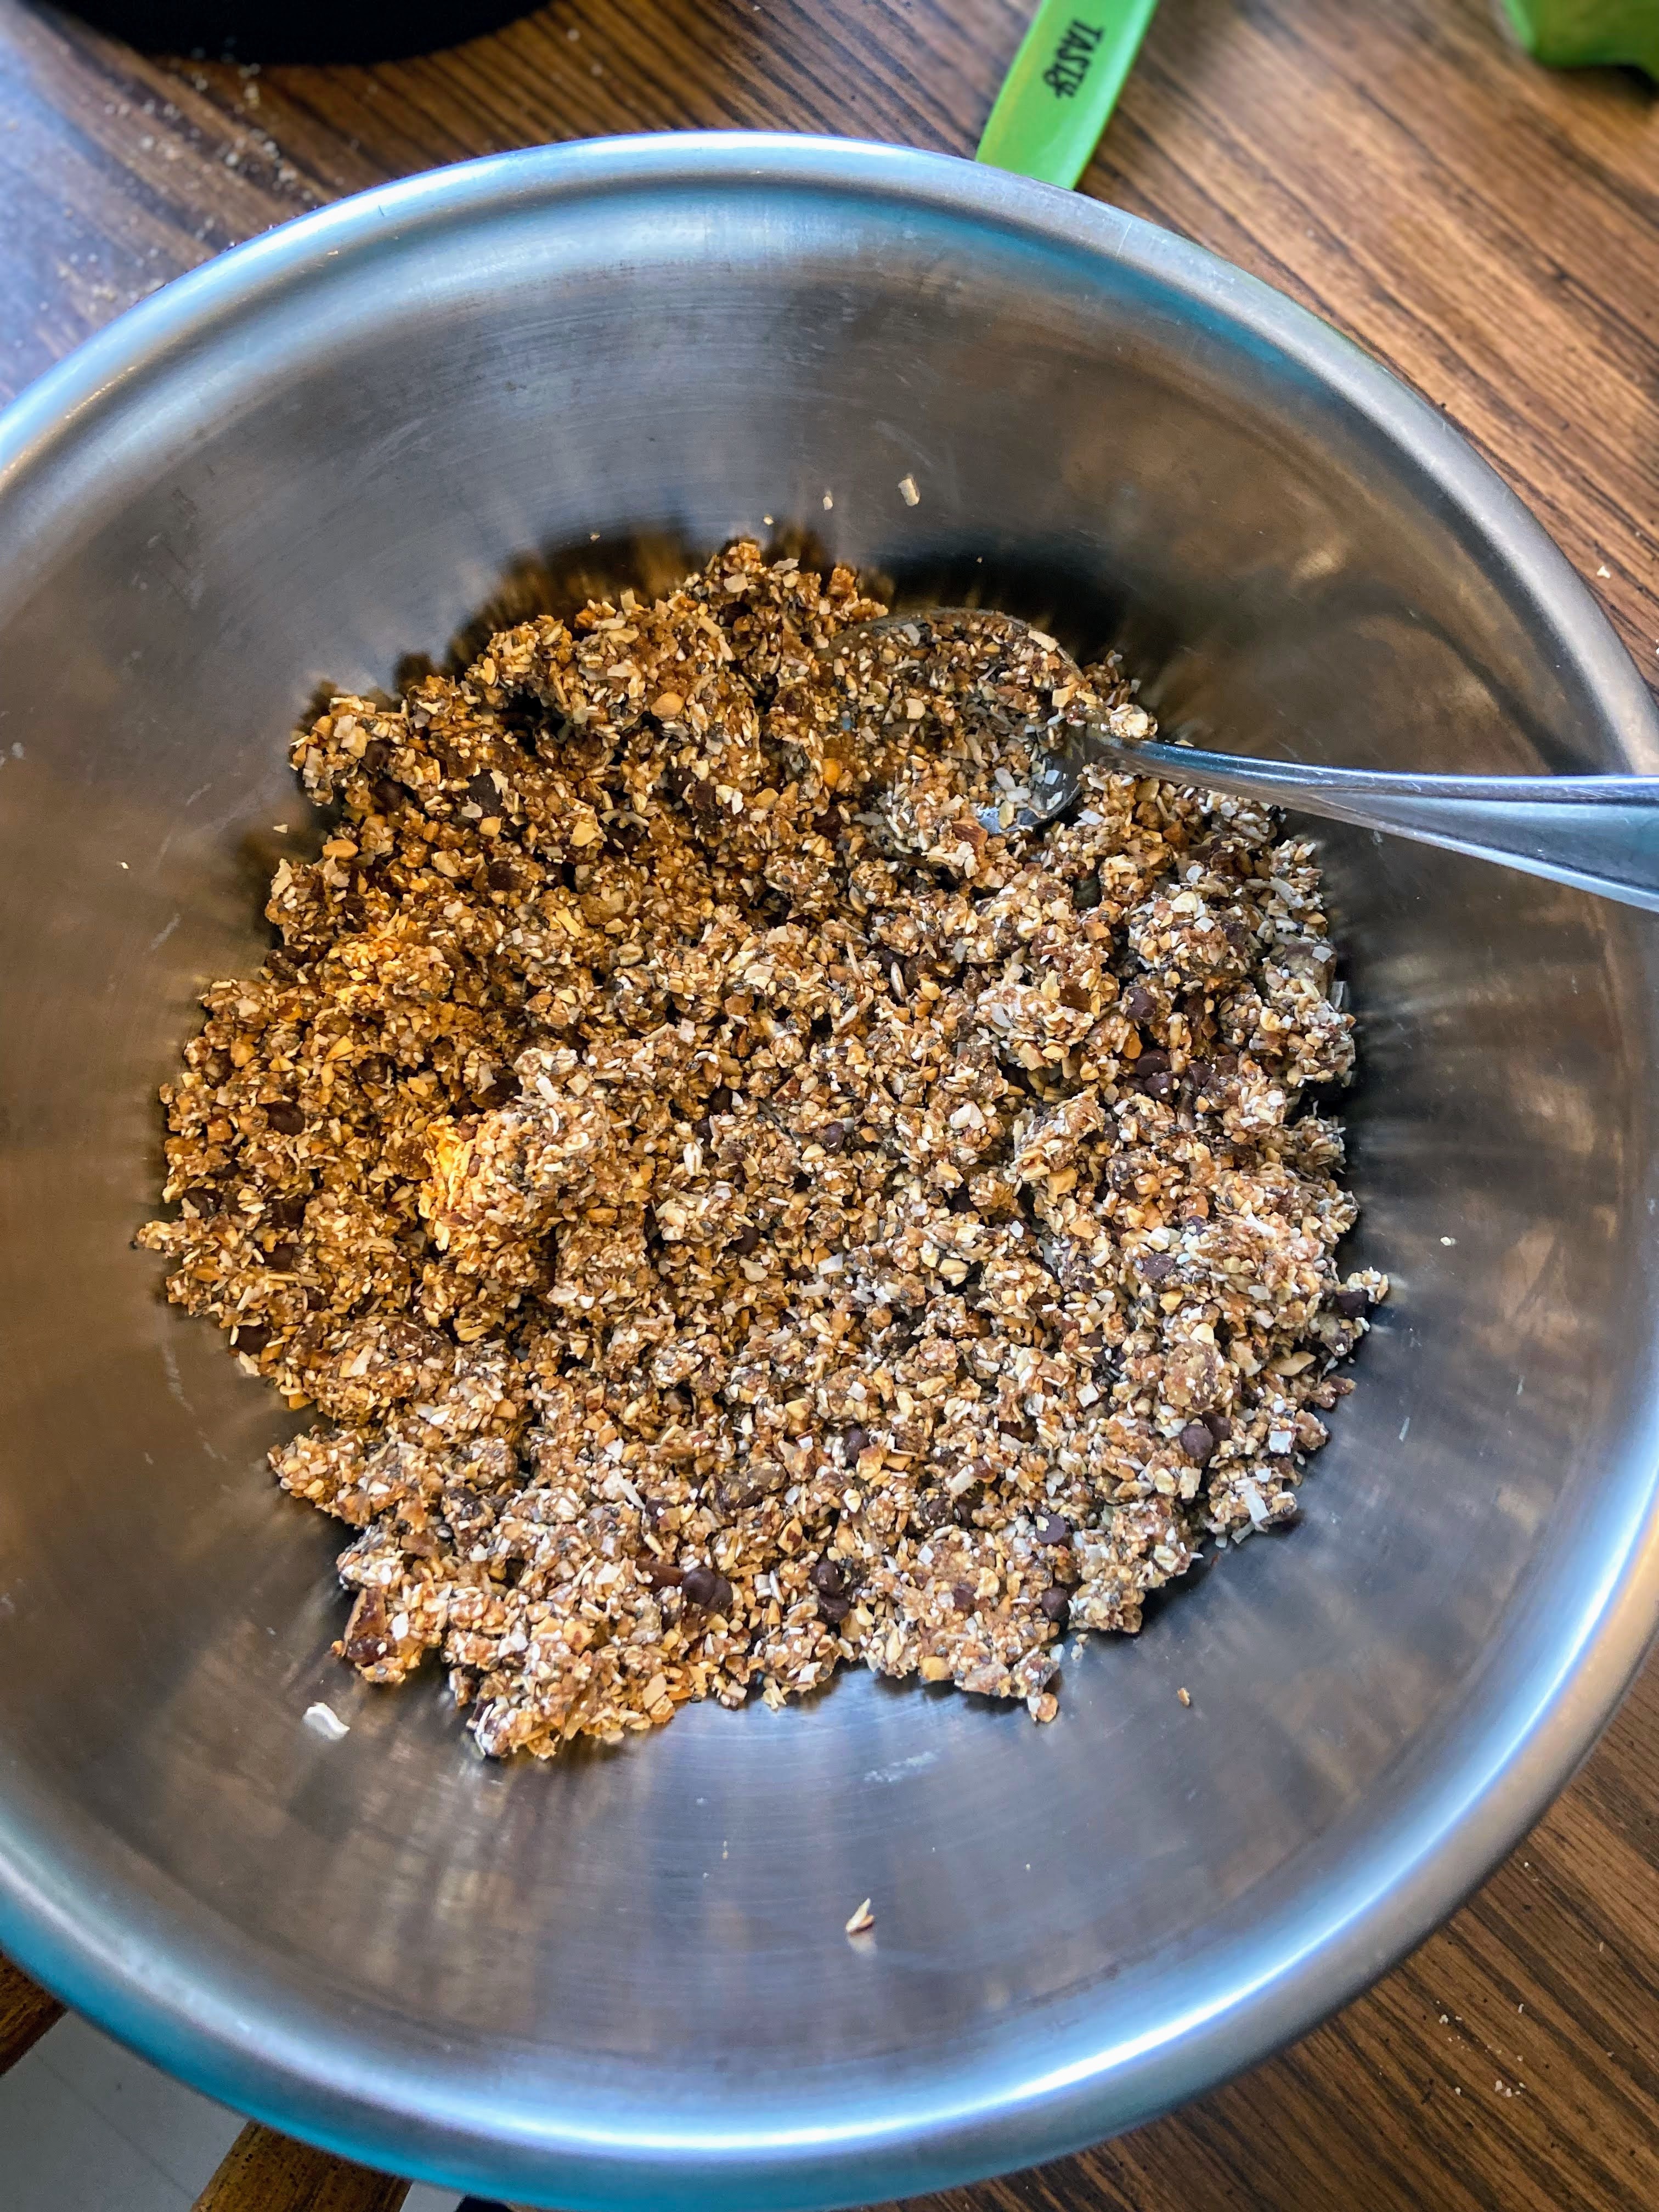
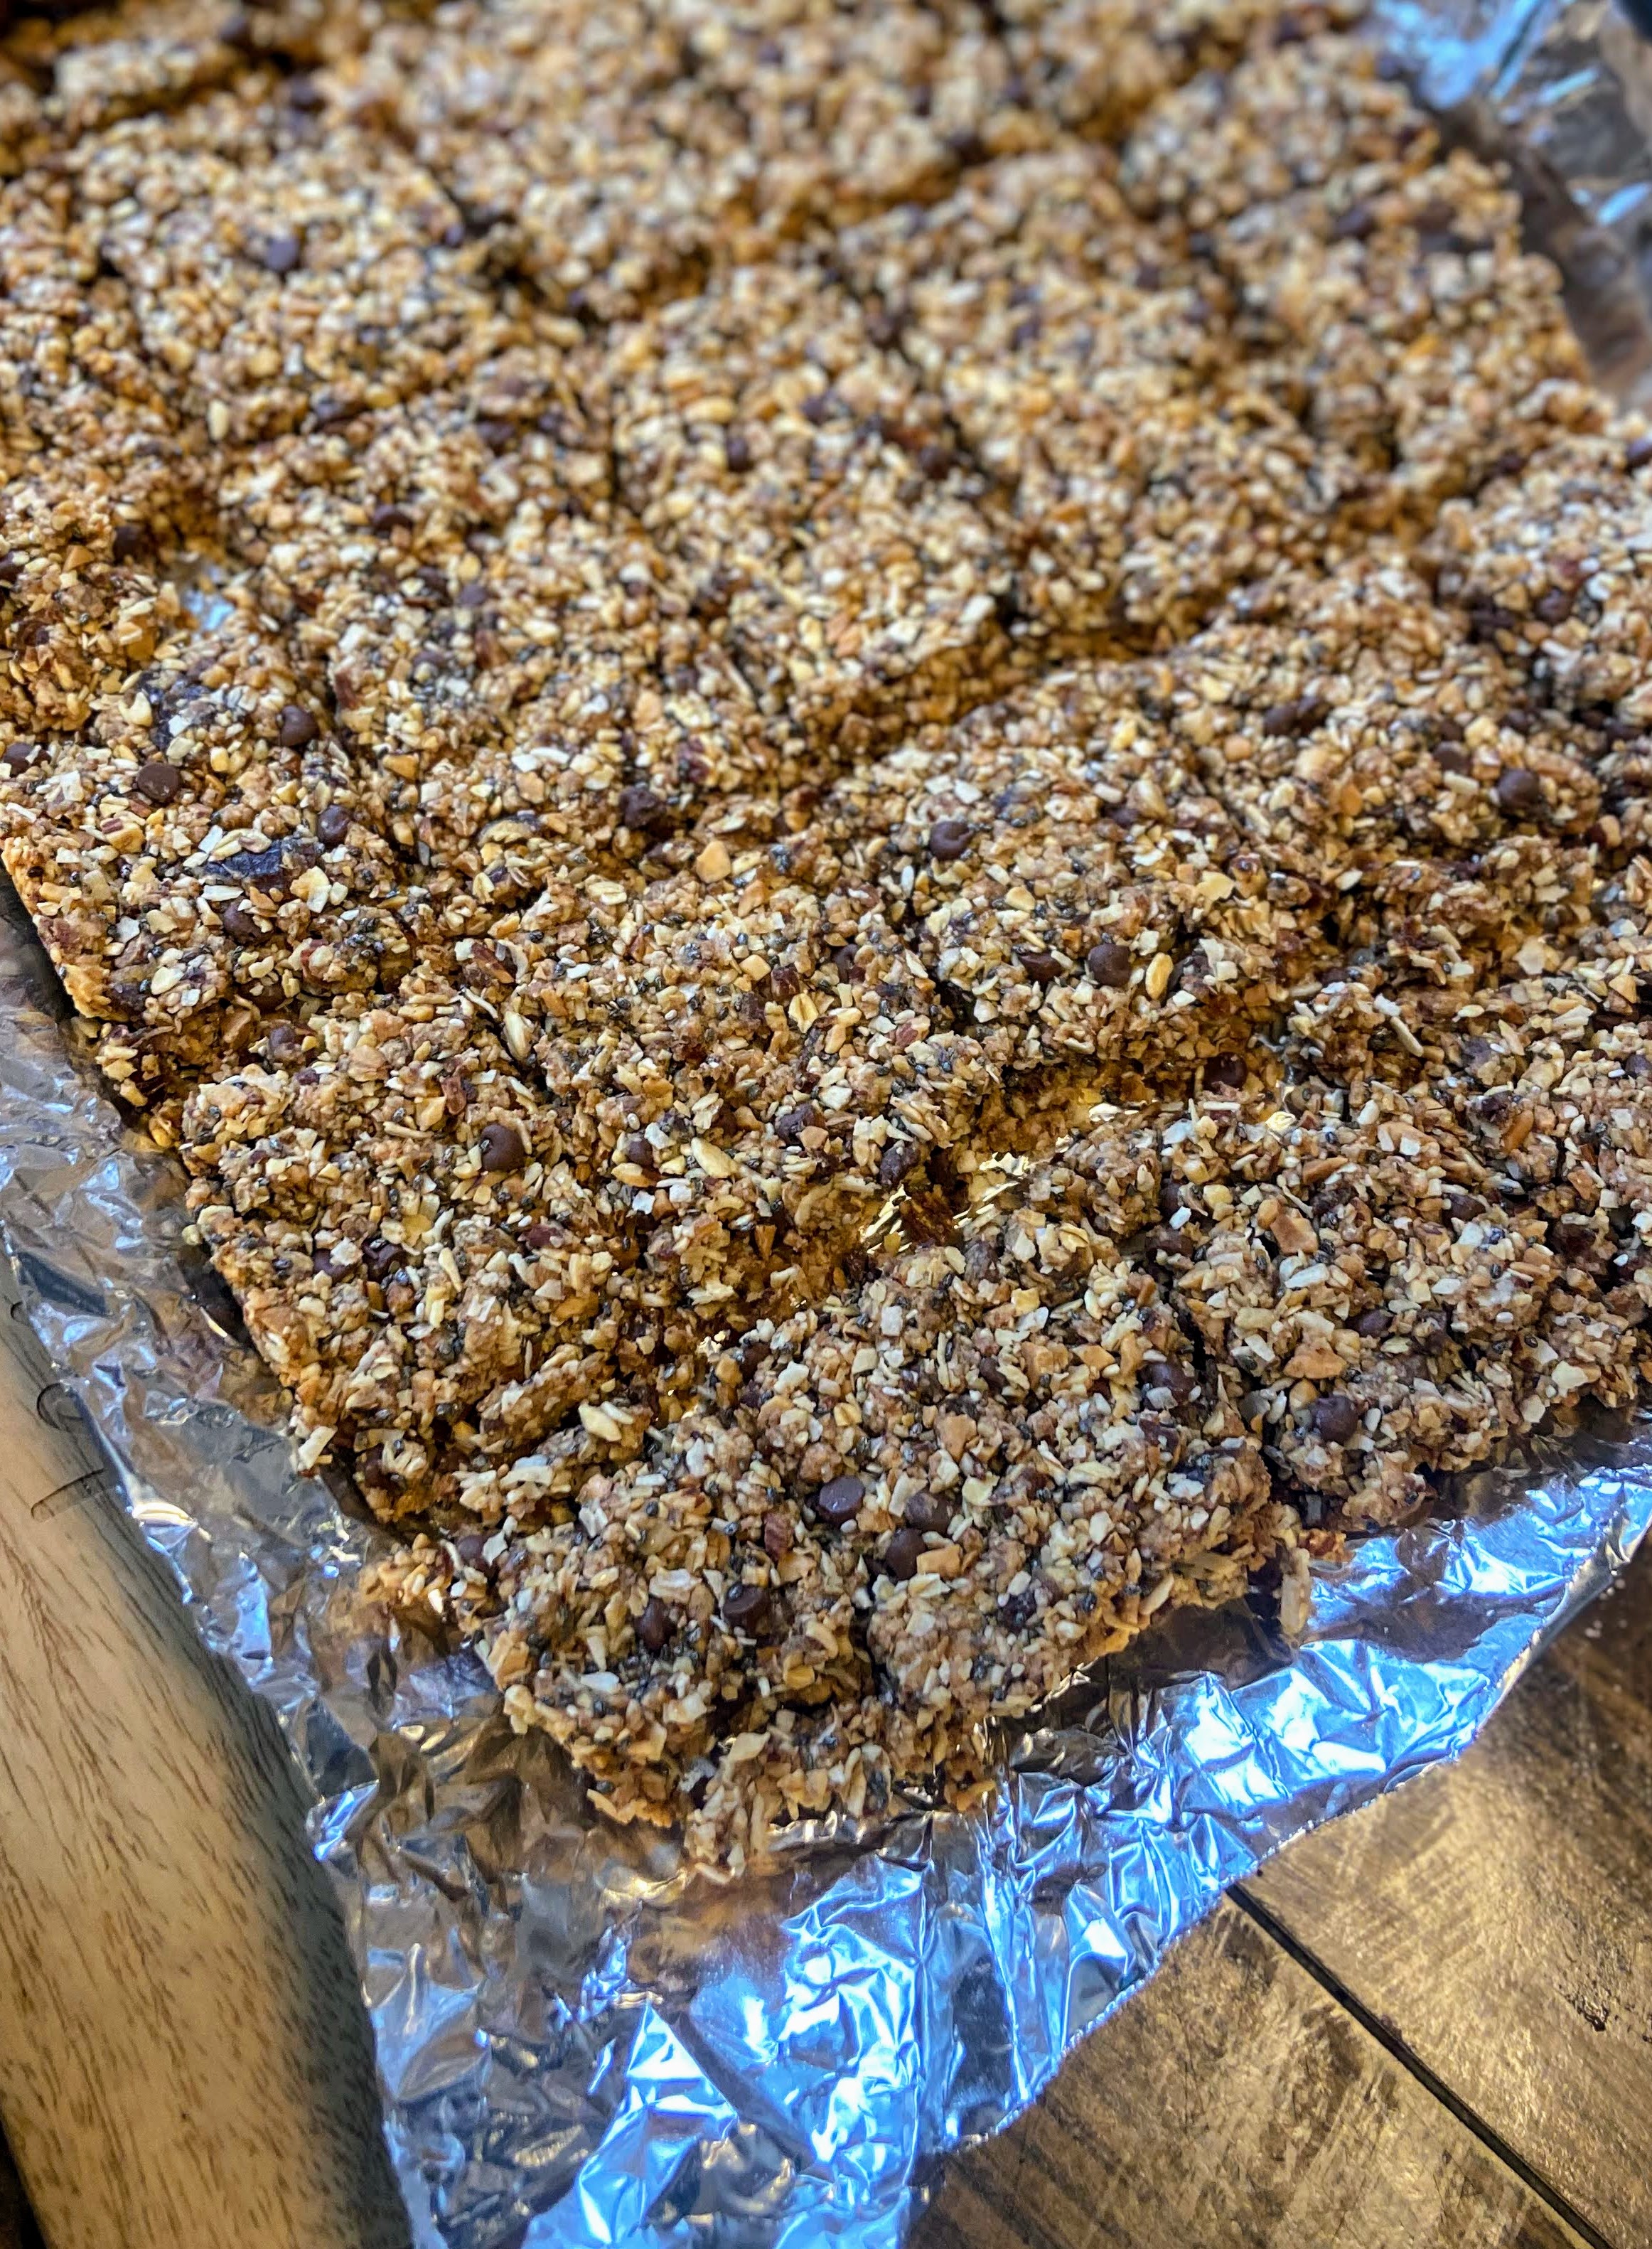
Combine almond butter and ¼ cup of honey. Microwave for 30 seconds, just to soften it. Mix well and stir into the oats mixture. Add remaining honey, salt, chia seeds, and ¼ cup (or more if you want a little more chocolate) mini chocolate chips. Add additional honey if needed, by the tablespoon. Press the mixture into the prepared pan. Bake for 13-15 minutes, cutting into bars halfway through (A steel scraper/chopper like this guy works great!).
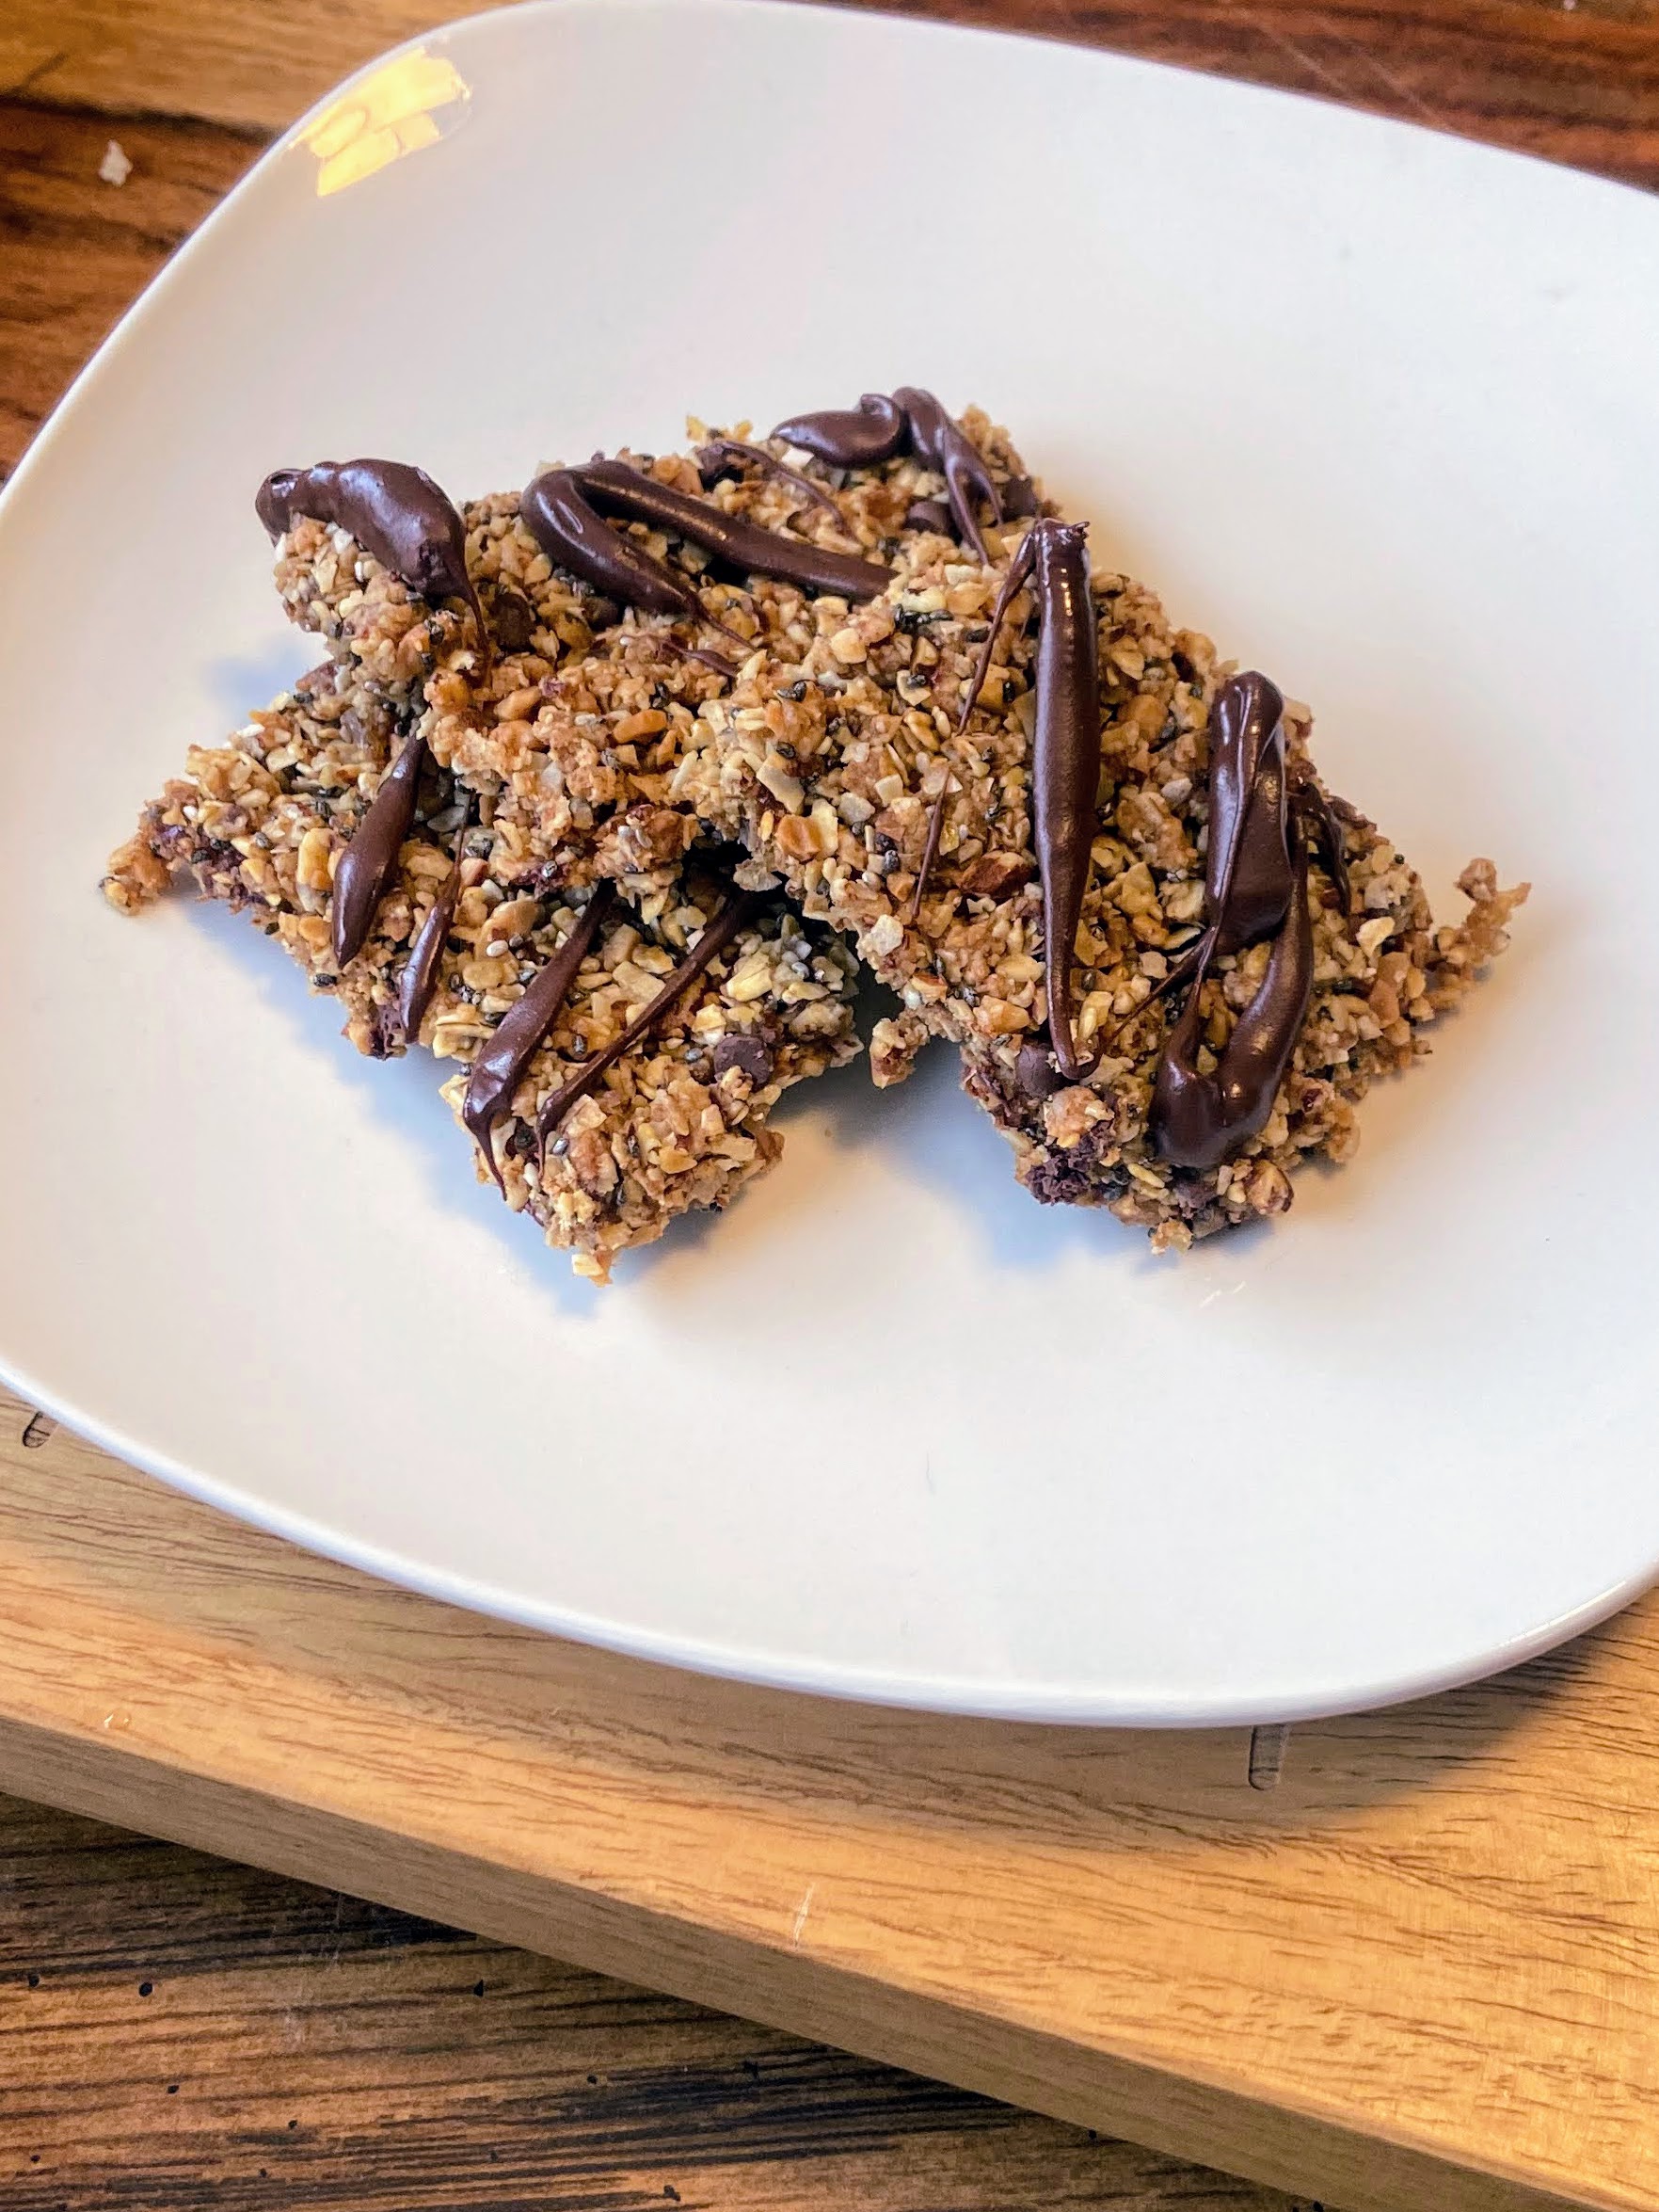
Once cooled, feel free to add a drizzle of chocolate by combining remaining chocolate chips and coconut oil in a microwave-safe container and microwaving for 30-second increments, until smooth. Spoon into a plastic baggie, snip the corner, and drizzle onto the completed bars. Be mindful not to snip the corner too large.
Looking for some other sweet treats for your family? Check out the recipe inspiration below or head over to my baking page!
Almond Joy Granola Bars
Equipment
Ingredients
- 1 cup old fashioned oats
- ¾ cup unsweetened coconut
- ¾ cup lightly salted almonds
- ¼ cup almond butter
- ¼ cup dates
- ½ cup honey
- ¼ teaspoon salt
- 2 tablespoons chia seeds
- ½-¾ cup mini chocolate chips divided
- 1 teaspoon coconut oil
Instructions
- Preheat the oven to 350 degrees. Prepare a 9×13 baking dish by lining it first with foil and then spraying it with cooking spray.
- Place the old-fashioned oats in a food processor. Grind until a rough flour is formed. Add almonds and unsweetened coconut. Grind for additional 20-30 seconds.
- Add dates and grind once more, until the dates are broken down. Remove from the food processor and place in a medium-sized bowl.
- Combine almond butter and ¼ cup of honey. Microwave for 30 seconds, just to soften it. Mix well and stir into the oats mixture.
- Add remaining honey, salt, chia seeds, and ¼ cup mini chocolate chips. Add additional honey if needed, by the tablespoon.
- Press the mixture into the prepared pan. Bake for 13-15 minutes, cutting into bars halfway through (A steel scraper/chopper like this guy works great!).
- Once cooled, feel free to add a drizzle of chocolate by combining remaining chocolate chips and coconut oil in a microwave-safe container and microwaving for 30-second increments, until smooth.
- Spoon into a plastic baggie, snip the corner, and drizzle onto the completed bars. Be mindful not to snip the corner too large.