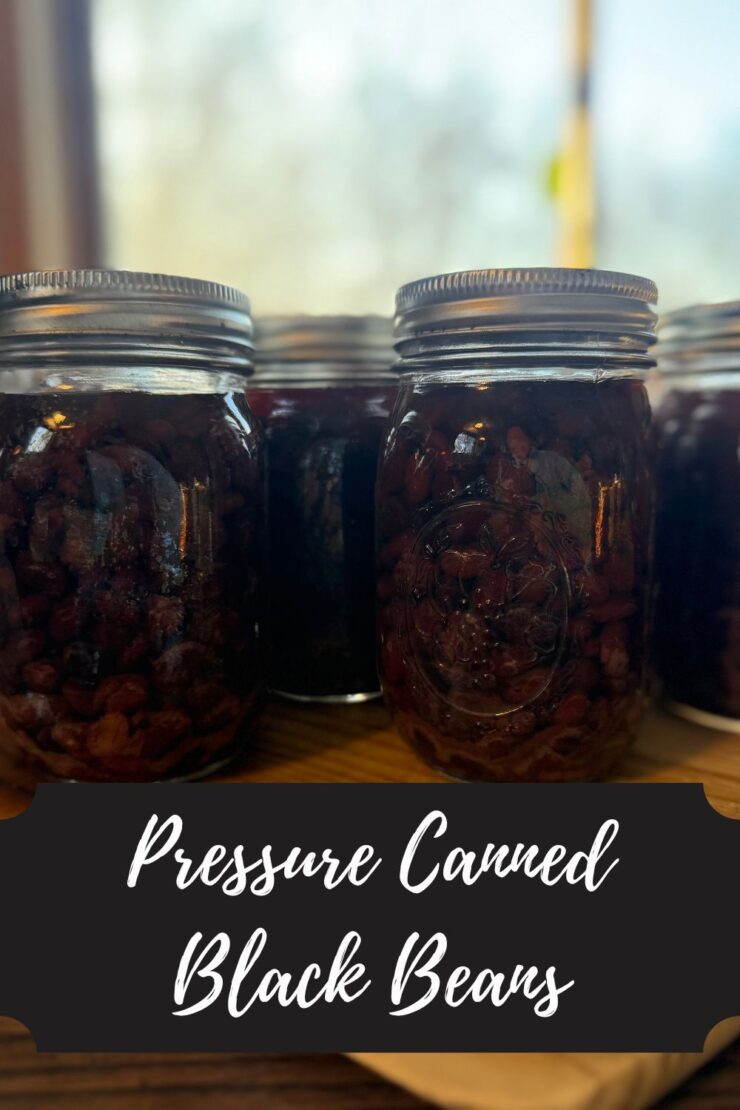
Periodically, I get the craving to do some low key canning in the winter. I miss the time spent in the kitchen prepping and creating. For the last few winters, I have found pressure canned black beans to be the perfect project on those few and far between free weekends. They truly take minimal effort and the results are most definitely outstanding!
I also adore having a stock of black beans on the shelves. They are a great addition to so many meals and the cost effectiveness of me canning them versus buying them is top notch. Are you ready to join me in this adventure in the kitchen too? Let’s go!
Tools of the Trade
Normally, I put this at the end of a post, but with a pressure canner, I feel as though I should put it at the beginning. I love using my weighted pressure canner. It doesn’t stress me out and I can create so many great things with it. I also think a canning funnel is a must here.
Before you start this process, make sure you read the general directions to your own pressure canner. They may differ from what I am sharing, and you should always follow those directions first. Also, if you are a beginner canner or even advanced, I highly recommend checking out the National Center for Home Preservation. It has great information that’s easy to follow.
I also have a fantastic book called Not Your Mama’s Canning Book by Rebecca Lindamood that provides some fun enhancements you can do to canning beans, rather it be black beans, kidney beans, or garbanzo beans. Here, I’ll share simple pressure canned black beans, but she can give you additional flavor ideas!
Your Steps to Pressure Canned Black Beans
The Prep for pressure canned black beans
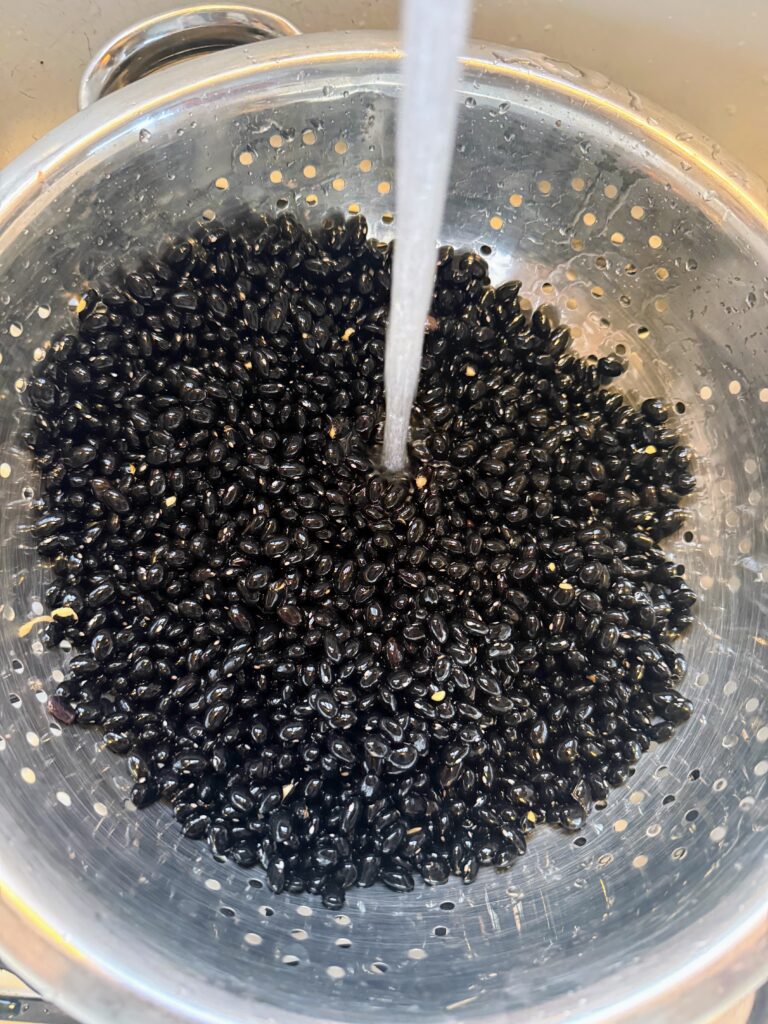
Begin by rinsing and picking through your dried black beans. Drain. (Two pounds of dried black beans will result in about 7-9 pints of beans when you are said and done.)
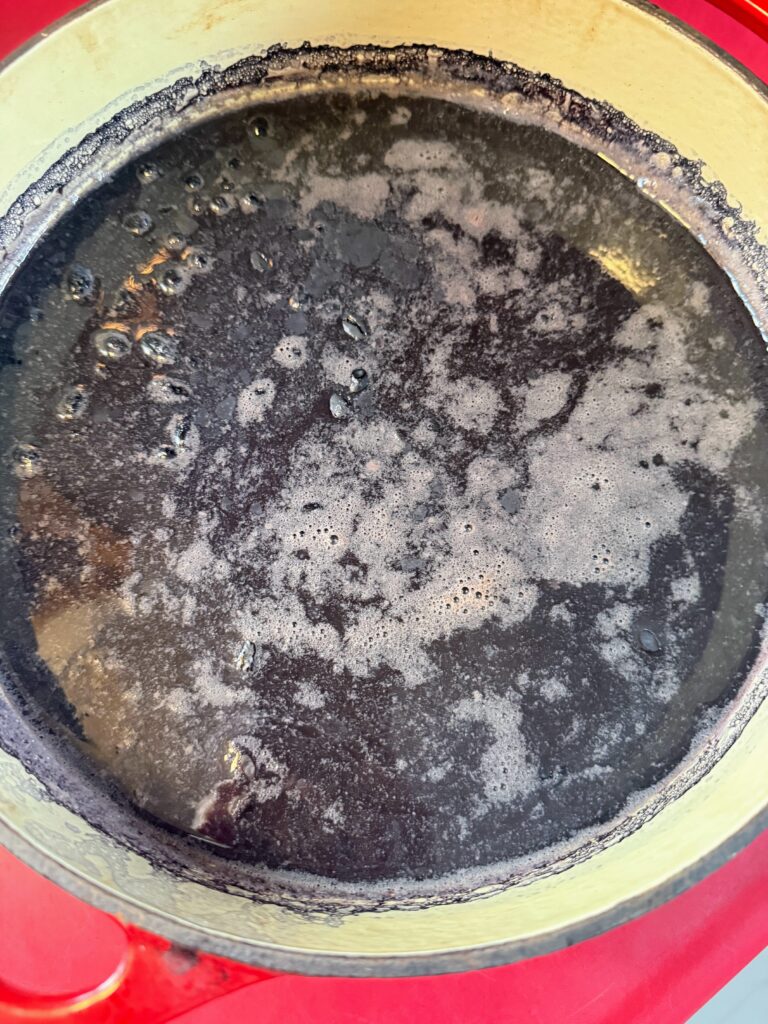
Put the beans in a large saucepan. Add water to cover them by about 2-3 inches. Bring the beans and water to a boil and boil for two minutes. Remove from the heat and allow the beans to soak for an hour.
Drain off the soaking water and recover the beans with an additional 2-3 inches of water. Bring the water and beans to a boil and simmer for 30 minutes. While this is happening, begin to prepare your canner and jars. Wash and sterilize pint jars, rings, and lids. Keep warm. I like to heat my lids in water on a very low heat on the stove. Check the seal and the center vent of the lid of your canner. Set aside.
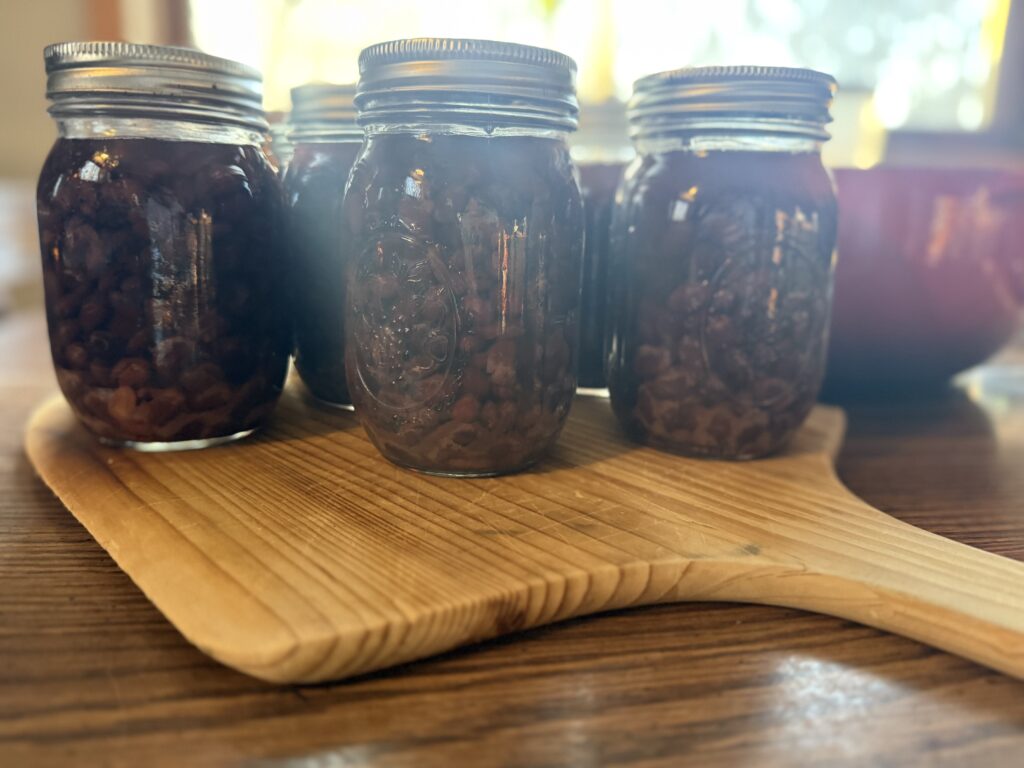
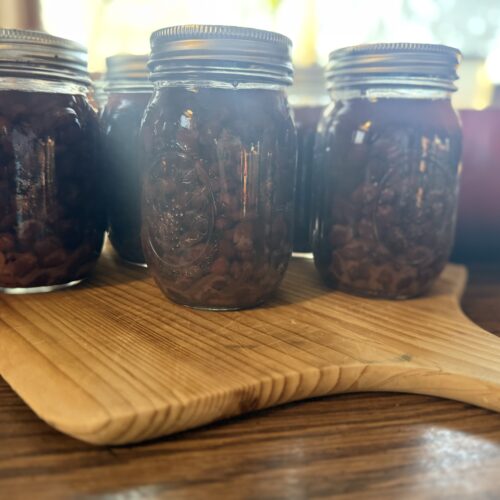
When the beans are done simmering, ladle them (with liquid) into hot jars. I like to add ½ teaspoon of canning salt to each jar, but you can also leave them unsalted. Leave 1 inch headspace.
The Pressure Canning
Remove the air bubbles and clean the jar rim with a damp, clean cloth. Place the lid and then the ring, adjusting to fingertip-tight. Place jars on the rack of a prepared pressure canner (mine needs 3 quarts of hot water plus a splash of vinegar, but check the directions of yours).
Adjust and lock the lid on the canner and heat to high heat. Once a steady stream of steam can be seen/felt, vent for 10 minutes, adjusting the heat if needed to have a steady but not crazy stream of steam. After 10 minutes, put the weighted gauge on the vent. You will want 10 pounds if your altitude is under 1000 ft; 15 pounds if you are over 1000 ft.
Once the weight starts to jiggle (indicating it has reached the appropriate pressure), begin timing. You will need to process pint jars for 75 minutes.
Once the timer has gone off, turn off and remove the canner from heat. Allow the pressure to drop on the canner all the way (read specific canner instructions for the indicator-this takes about 45 minutes). Remove weight and allow to cool an additional 10 minutes. Remove jars from canner; do not retighten bands. Cool 12 hours, then check their seals, label, and store jars.
I store my jars without the rings so I know if there is a false seal or if the jar has come unsealed while being stored, but some do not.

Pressure Canned Black Beans
Equipment
Ingredients
- 2 pounds dried black beans rinsed and sorted
- 2 ½ teaspoon salt optional
Instructions
- Begin by preparing your canner and jars. Wash and sterilize quart jars, rings, and lids. Keep warm. Check the seal and center vent of your lid the canner. Set aside.
- If you have not done so, rinse and sort the black beans. Place the beans in a large saucepan and cover with 2-3 inches of water. Bring to a boil and allow to boil for 2 minutes. Remove from heat and rest for 30 minutes.
- Drain off the soaking water and re-cover the beans with an additional 2-3 inches of water. Bring the water and beans to a boil and reduce to a simmer. Simmer for 30 minutes. Remove from heat
- Fill jars with prepared beans, leaving 1 inch of head space. Add 1/2 teaspoon of salt to each jar if preferred.
- Wipe rims with a damp cloth, center the lid on the jar and adjust the band to fingertip tight.
- Place jars on the rack of a prepared pressure canner (mine needs 3 quarts of hot water plus a splash of vinegar).
- Process pint jars for 75 minutes at 10 pounds. If your altitude is greater than 1000 feet, use 15 pounds. Follow the directions of your pressure canner or see the more detailed directions in the notes.
Notes
Now that you have black beans…
Here are a few of my favorite black bean recipes!