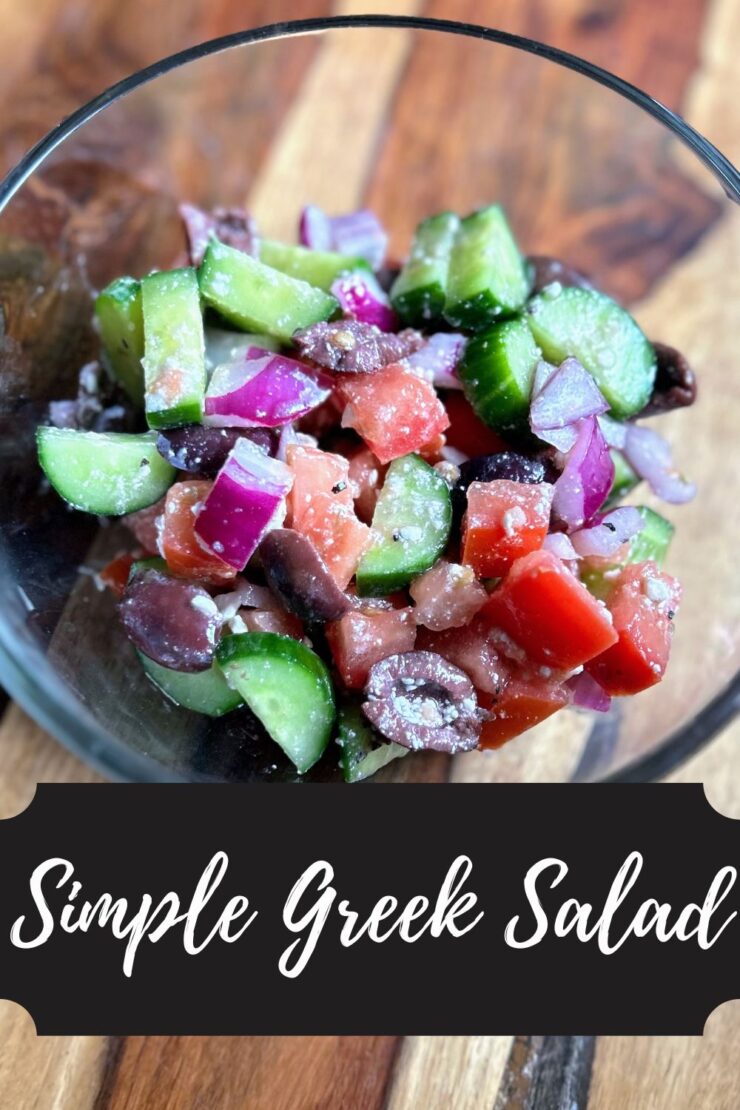
Not too terribly long ago, we had friends gift us some ground lamb after we checked in on their lambs while they were away. I’ll be honest, my only experience with lamb was in a gyro, and I am a HUGE fan. (although I am starting to think it’s just for the tzatziki sauce…am I right?!) However, I had never had an experience with ground lamb and quickly asked the friend how to use it. Burgers, of course! Well, you need a side if you’re having lamb burgers and this beautiful and delicious Simple Greek Salad was created.
It quickly became a go to salad for me, with little to no measurements. I simply needed to make sure that I had cucumbers, feta, and kalamata olives on hand (every other ingredient is a pantry item for our household. And truly, feta is getting added to the list because “everything is betta with feta!”). No kalamata olives? No problem. Swap them out for black olives.
I did recently take the time to measure out all of the ingredients should I could share it out with my friends. If a Greek Salad ISN’T on your summer salad list, let’s get it on there!
Your Ingredients
- 2 cups chopped Roma tomatoes
- 2 cups chopped cucumbers (preferably English or snacking)
- ⅔ cup diced red onions
- ½ cup sliced kalamata olives (or black olives)
- 3 tablespoons crumbled feta cheese
- 2 tablespoons red wine vinegar
- 2 tablespoons olive oil
- ½ teaspoon minced garlic
- ¼ teaspoon dijon mustard
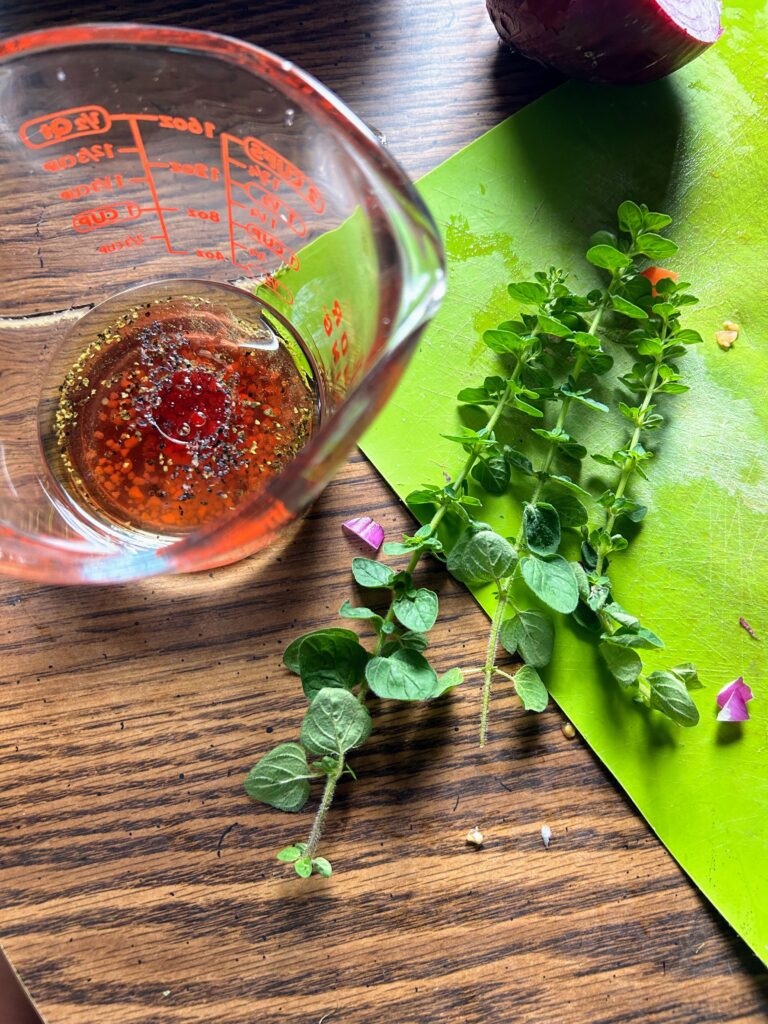
- 1 tablespoon chopped fresh oregano (or 1 teaspoon dried)
- Salt and pepper, to taste
Your Steps to Simple Greek Salad
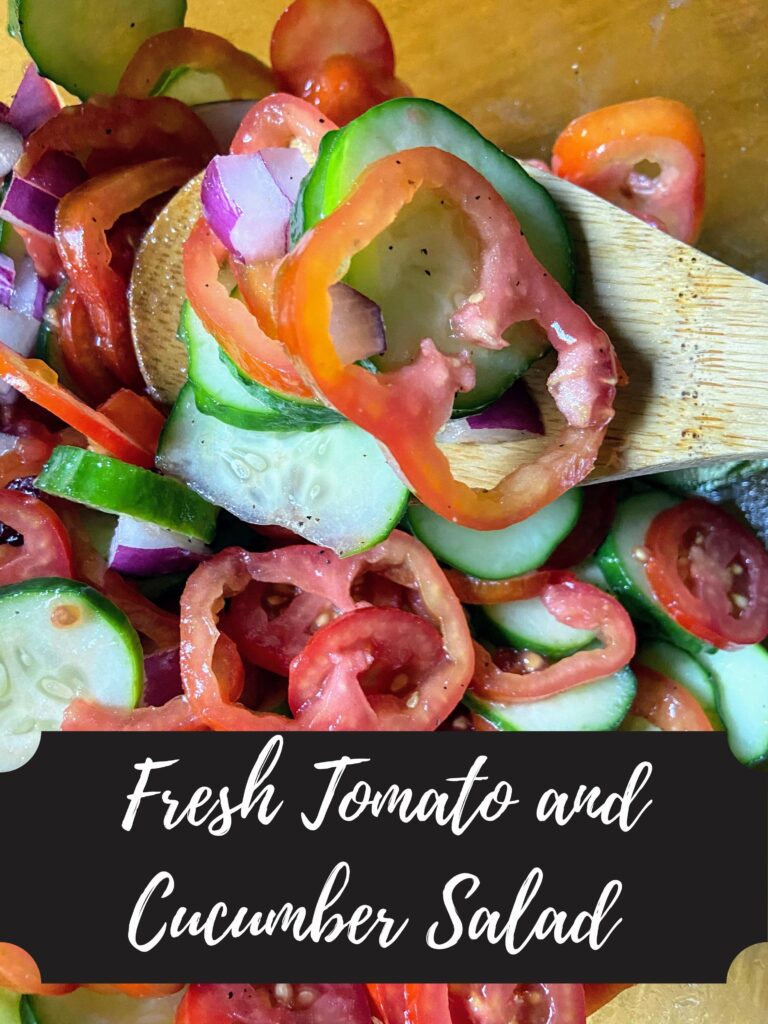
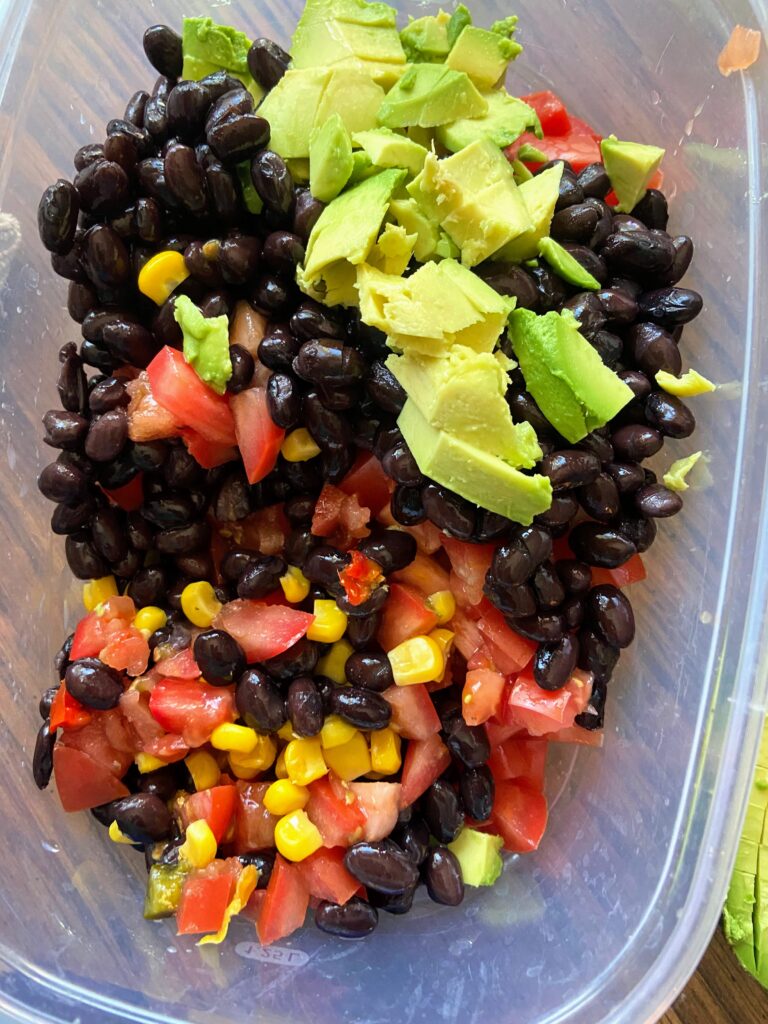
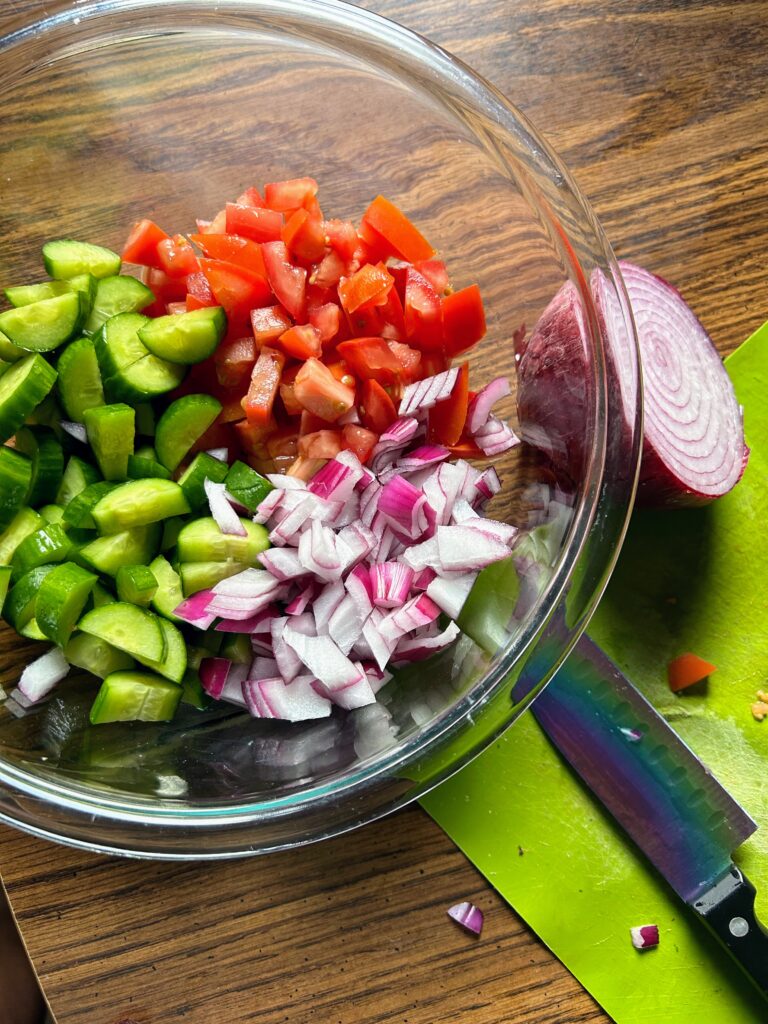
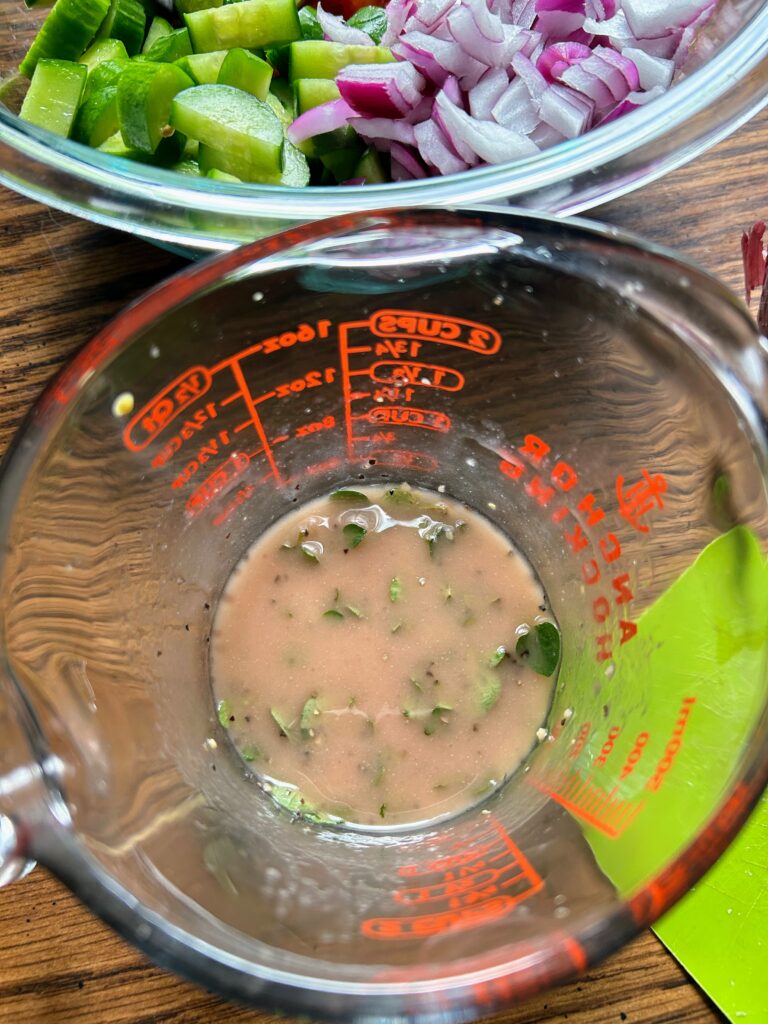
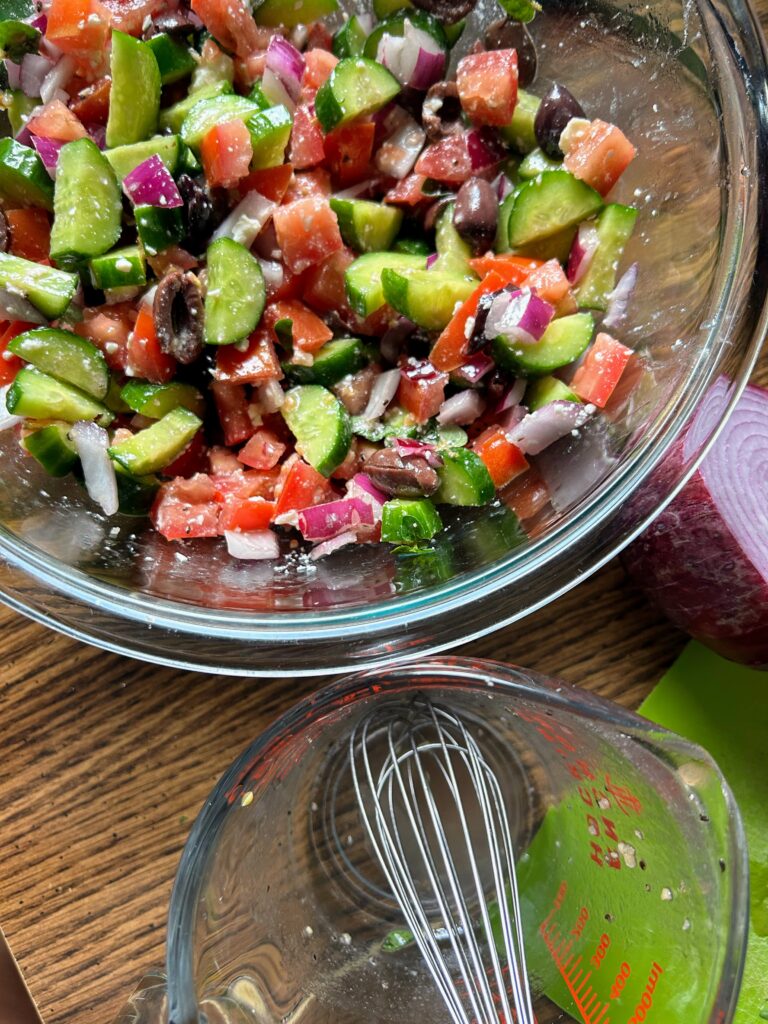
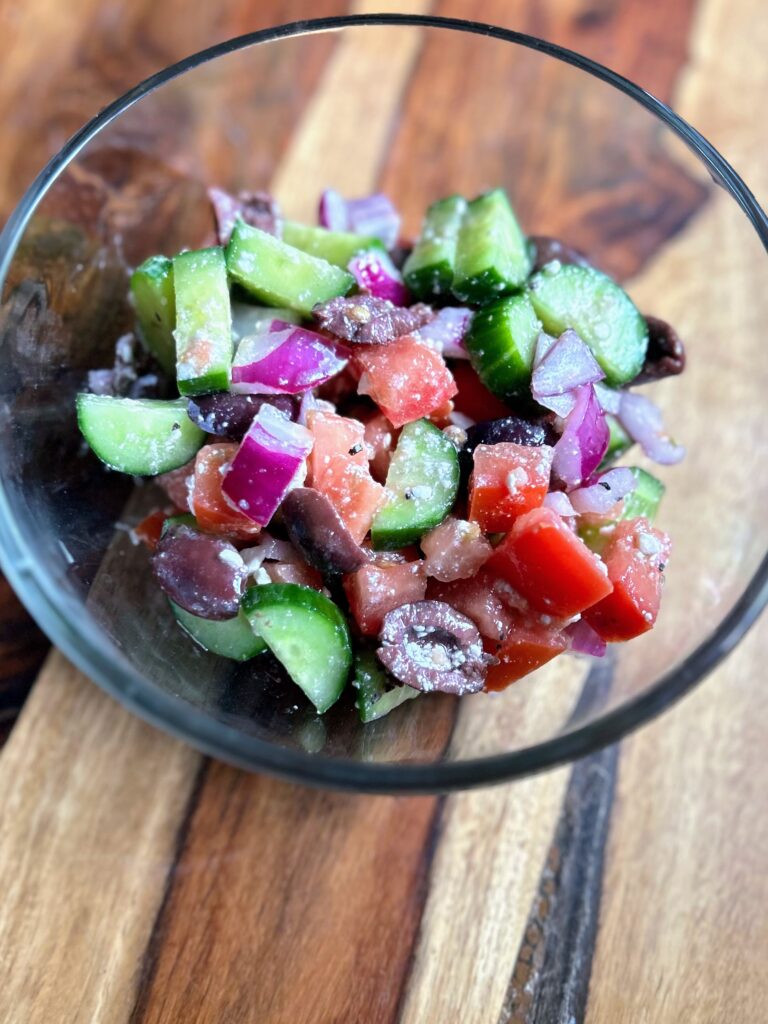
In a large bowl, combine tomatoes, cucumbers, and red onions. Add olives and feta cheese and stir once more.
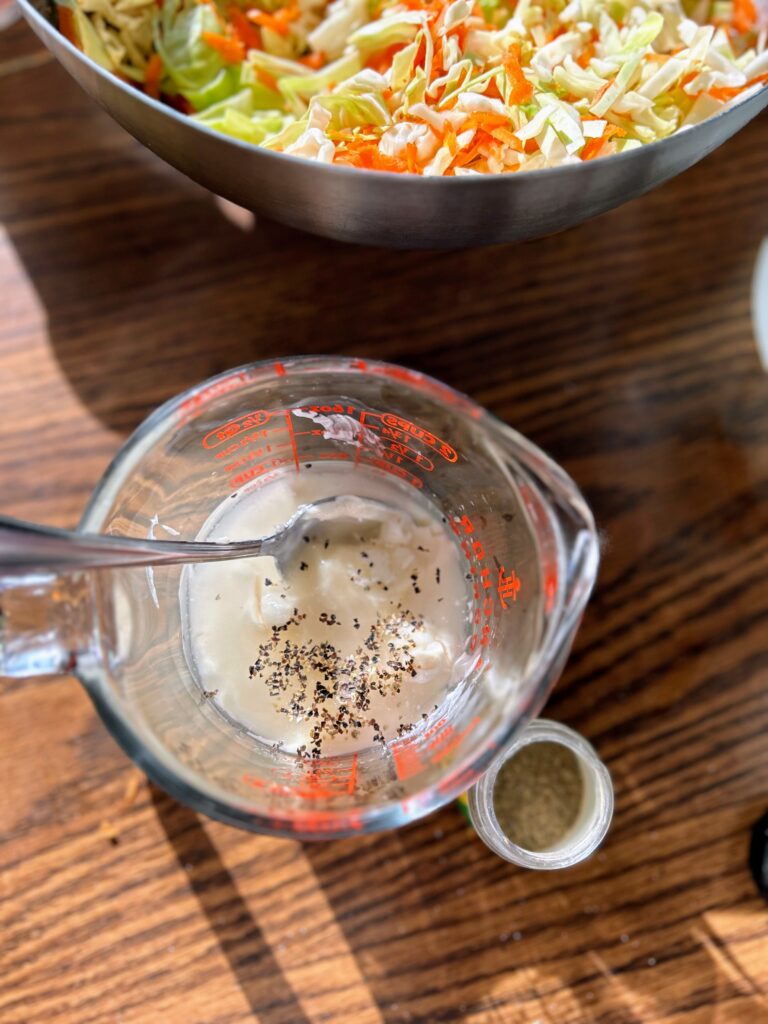
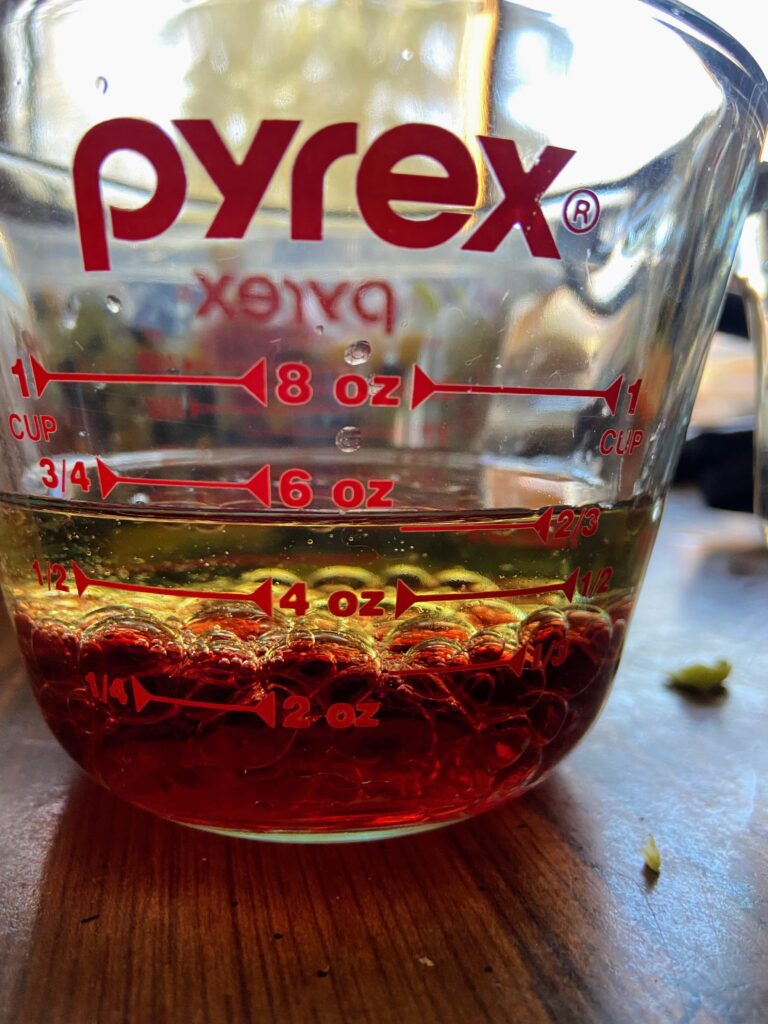
In a glass mason jar with a lid or liquid measuring cup, combine vinegar, oil, garlic, mustard, oregano, salt, and pepper. If using a mason jar, cover and shake well. If using the measuring cup, whisk well.
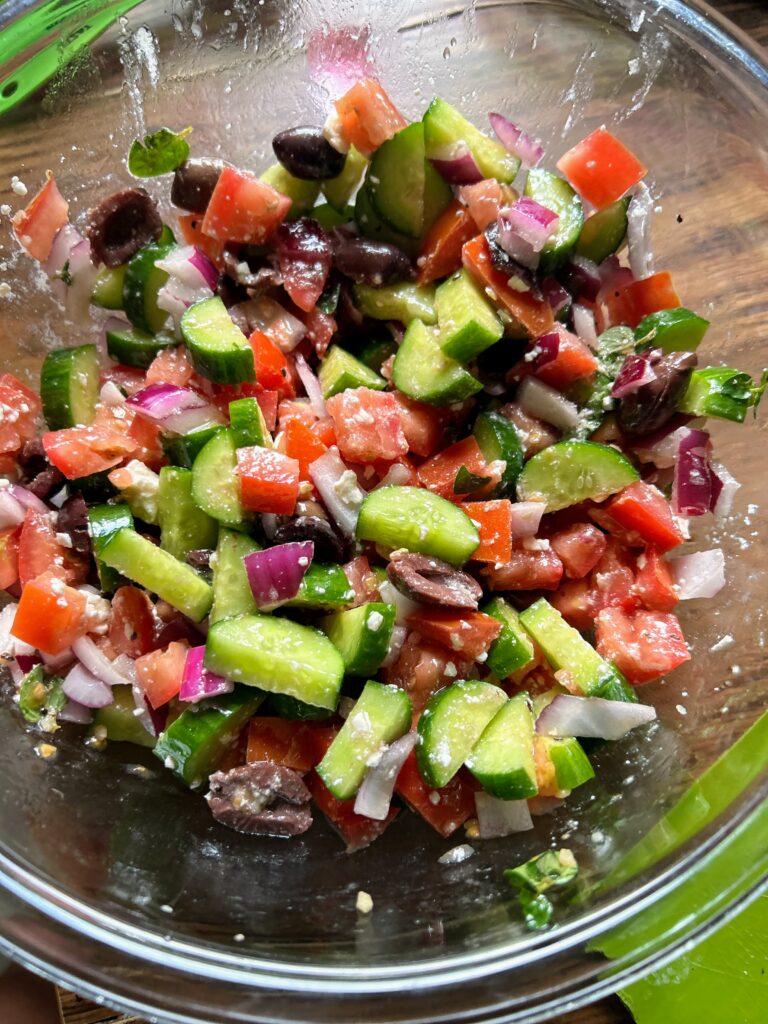
Pour the dressing over the vegetables and allow to mellow over a few hours, if you are able. If you prefer a saucier salad, add 1 part red wine vinegar to 1 part olive oil, mixed together first.
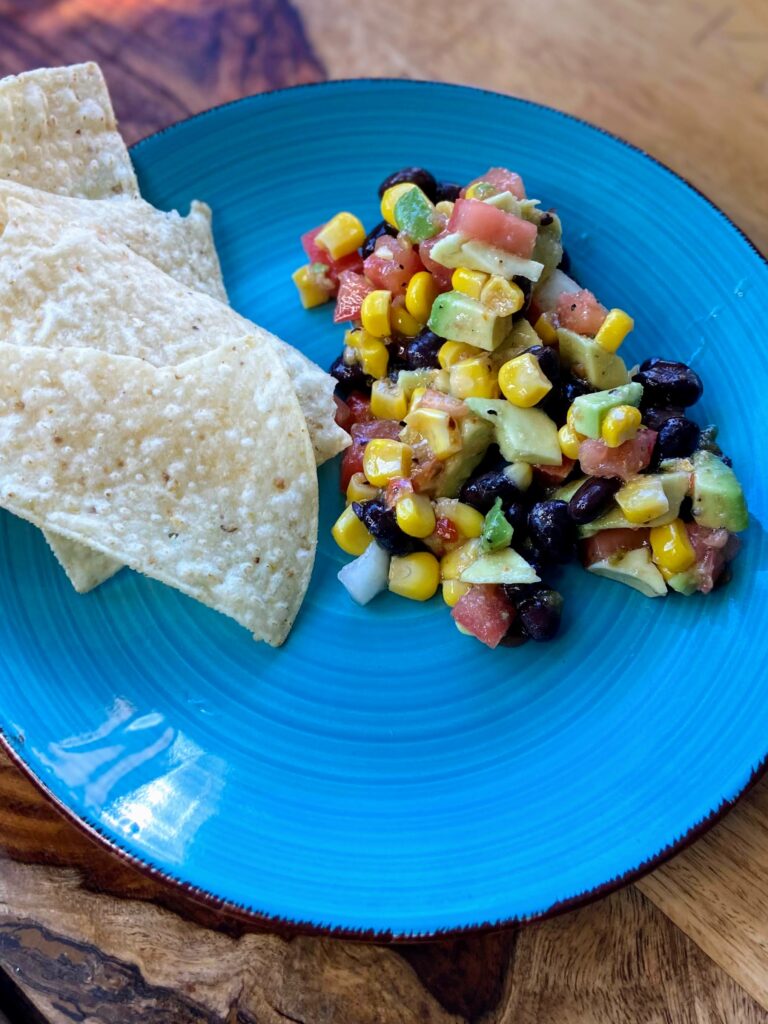
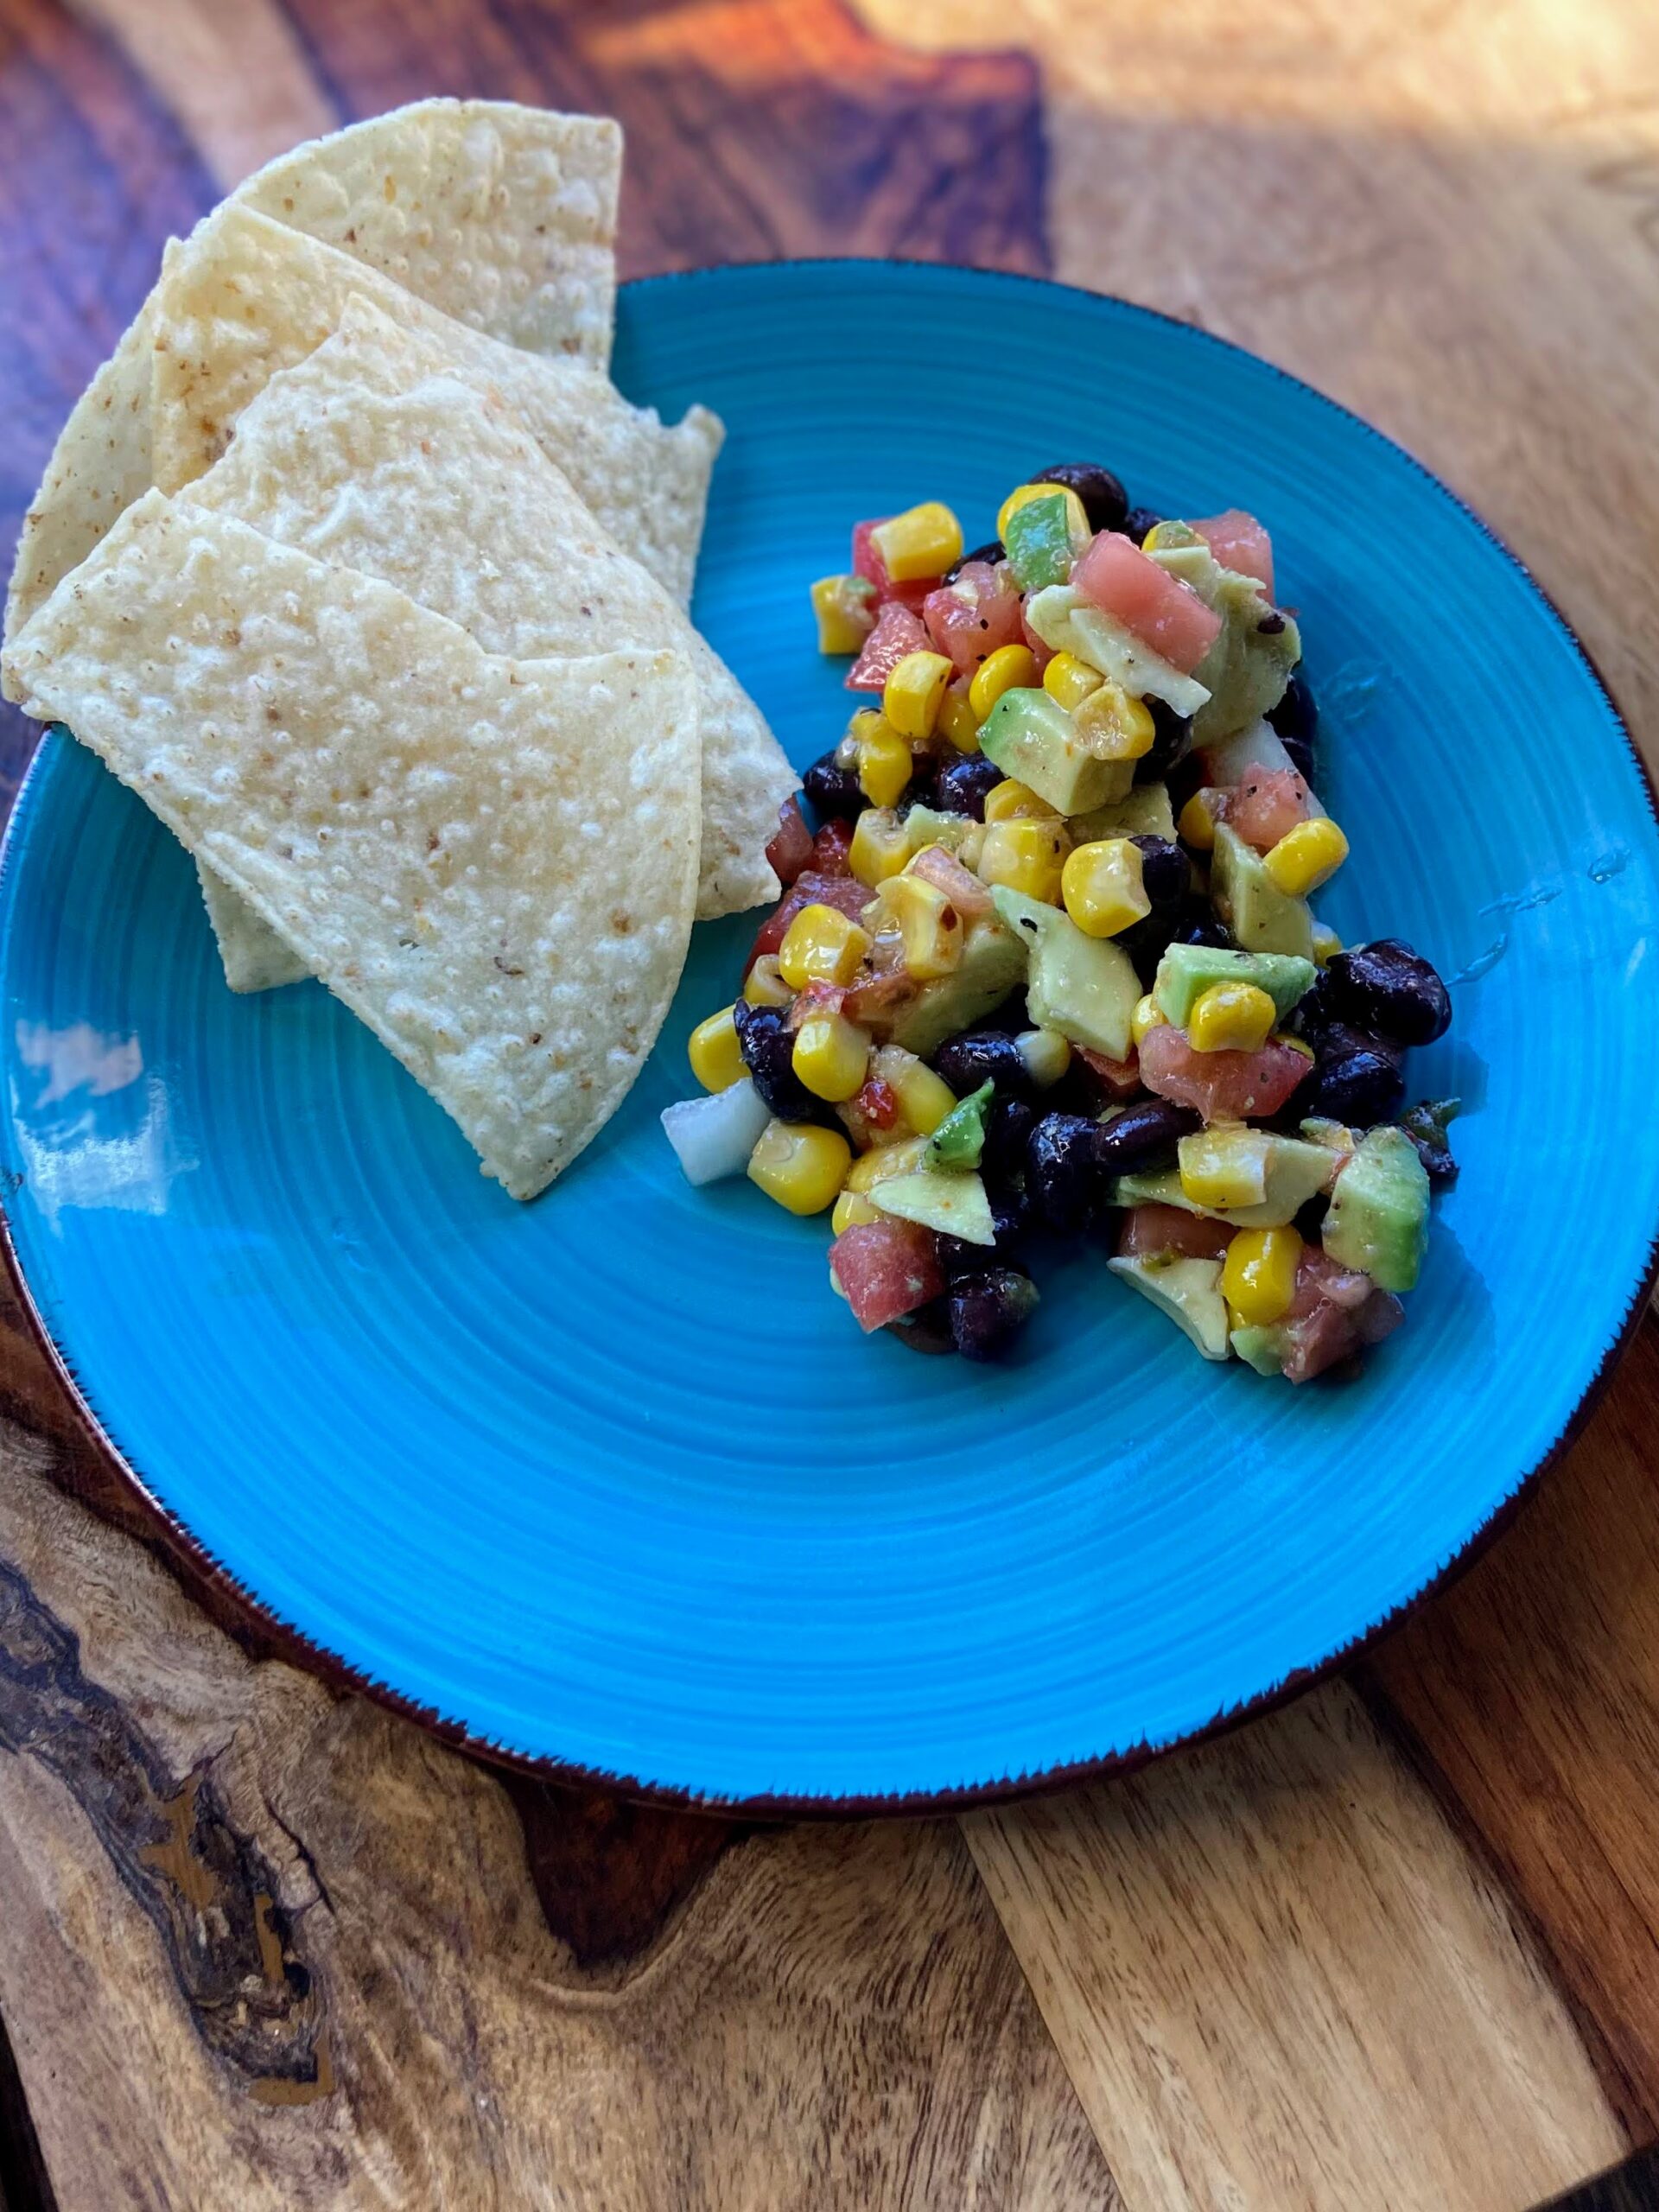
Enjoy!
Tools of the trade
I have a few tools I love and to when I am making any salad. First and foremost, I can’t live without my flexible cutting boards. I think they are a must in the kitchen. Closely behind that, I did my small whisk and glass measuring cups for making my dressing.
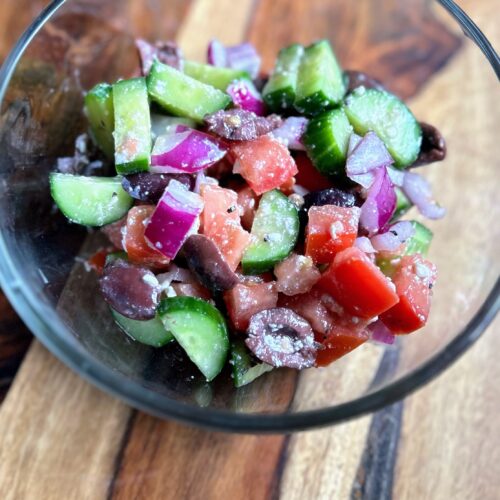
Simple Greek Salad
Equipment
Ingredients
- 2 cups chopped Roma tomatoes
- 2 cups chopped cucumbers preferably English or snacking
- ⅔ cup diced red onions
- ½ cup sliced kalamata olives or black olives
- 3 tablespoons crumbled feta cheese
- 2 tablespoons red wine vinegar
- 2 tablespoons olive oil
- ½ teaspoon minced garlic
- ¼ teaspoon dijon mustard
- 1 tablespoon chopped fresh oregano or 1 teaspoon dried
- Salt and pepper
Instructions
- In a large bowl, combine tomatoes, cucumbers, and red onions. Add olives and feta cheese and stir once more.
- In a glass mason jar with a lid or liquid measuring cup, combine vinegar, oil, garlic, mustard, oregano, salt, and pepper. If using a mason jar, cover and shake well. If using the measuring cup, whisk well.
- Pour the dressing over the vegetables and allow to mellow over a few hours, if you are able. If you prefer a saucier salad, add 1 part red wine vinegar to 1 part olive oil, mixed together first.
- Enjoy!
Looking for other great sides?
Check out my cooking page or see if any of the recipes below are a perfect fit for you!