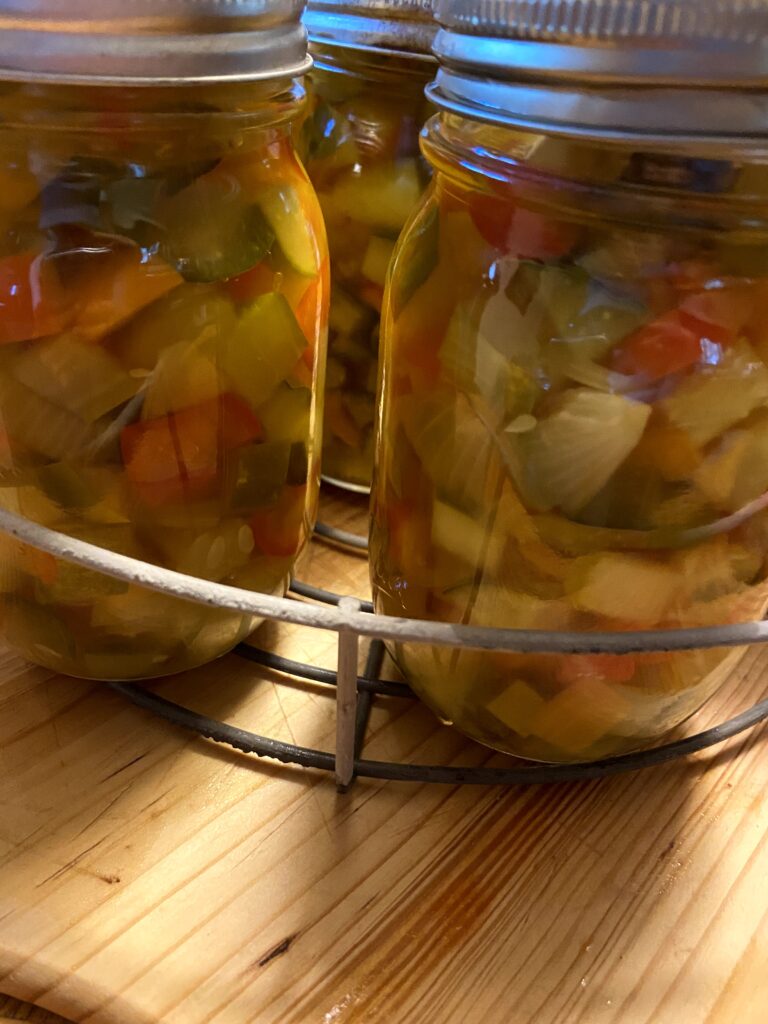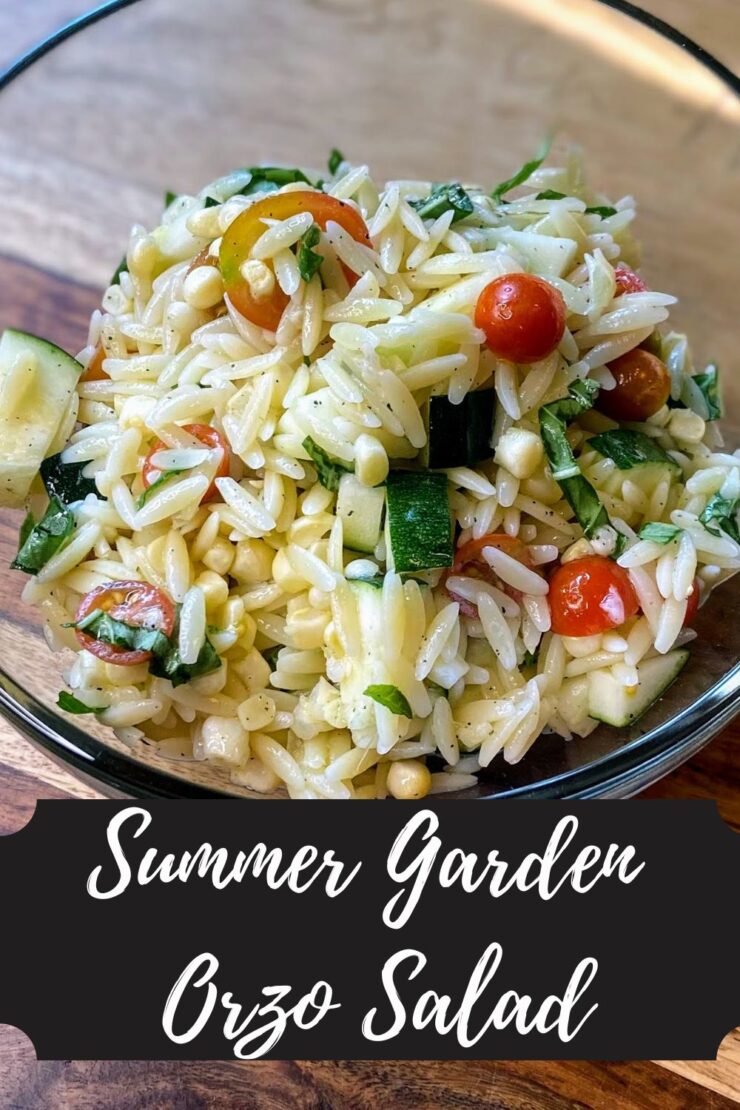
This time of year, my kitchen table is littered with fresh vegetables. Often, I am set on preserving them for eating in the cold winter months. It helps me remember the summer flavors. However, I also try to cook with the fresh vegetables so we can enjoy the fruits of our labor right away. This summer garden orzo salad takes just a few simple ingredients to create a beautiful and light dish for all the summer cooking.
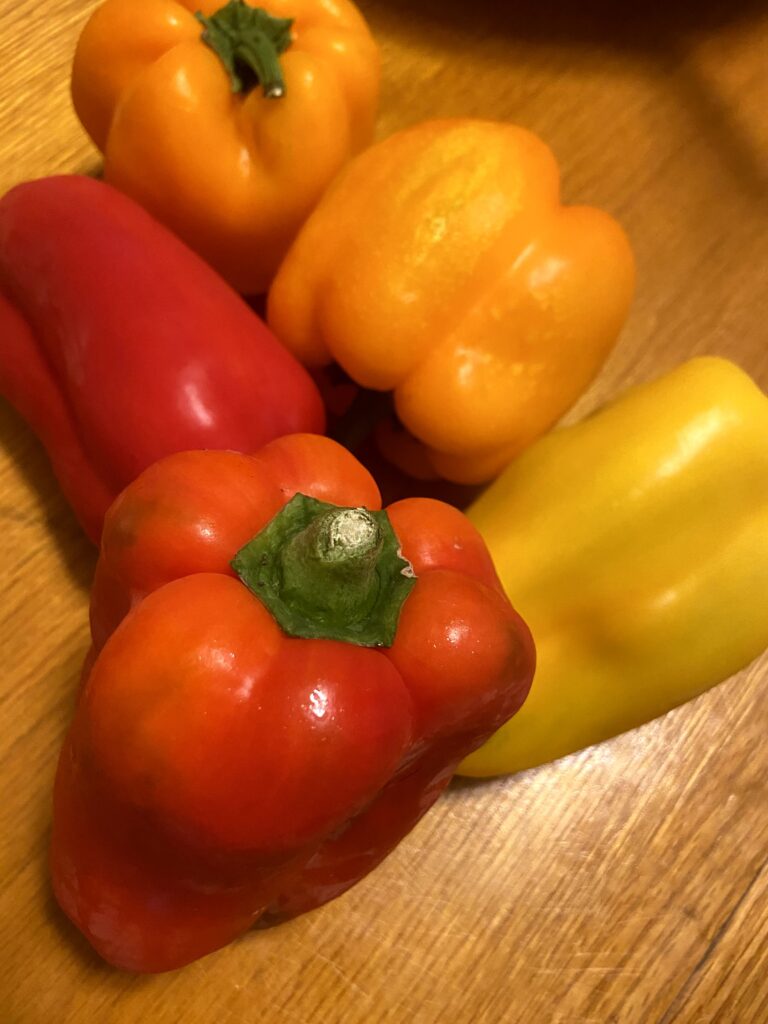
I especially love it because all of the vegetables present are ripening at the same time. As you harvest the zucchini, you are checking the tomatoes. The fragrance of the basil is heavy. And corn can JUST come off the stalk if you’re lucky. No garden? No problem! These are all easily found at the farmer’s market for the freshest taste!
And as for the orzo? I have always loved it. It’s pasta, but has the feel of rice. In this recipe, a little goes a long way, so while we are only making about three servings of orzo, this side will create about 5-6 servings.
Ready to get cooking? Let’s go!
Your Ingredients for Summer Garden Orzo Salad
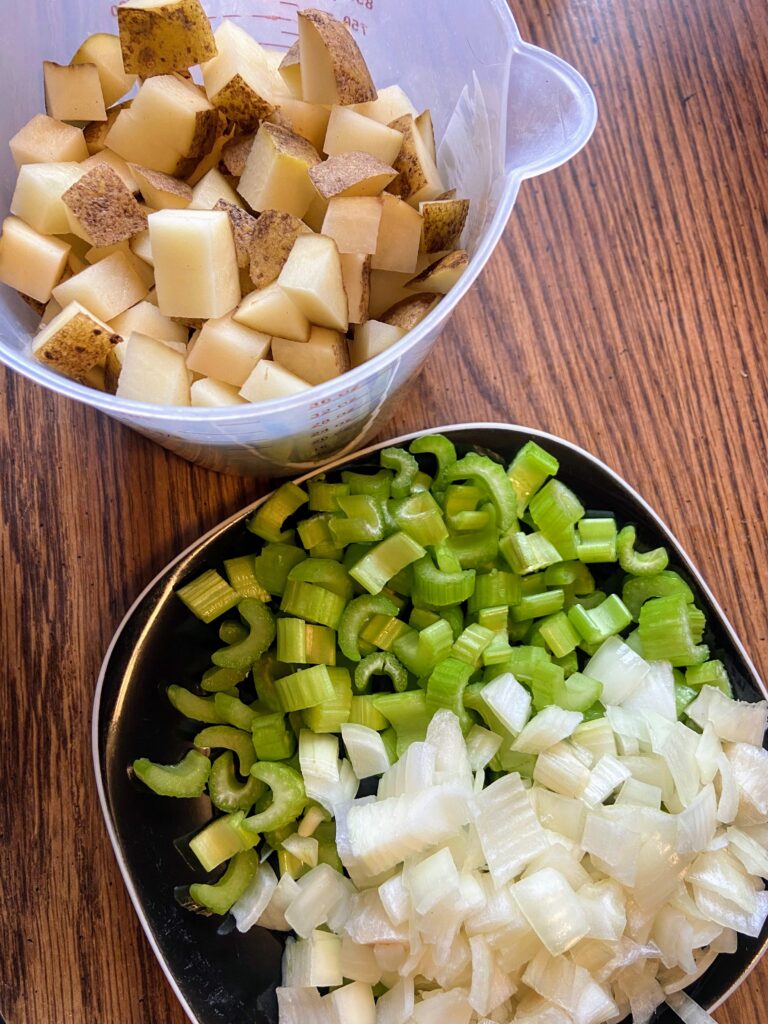
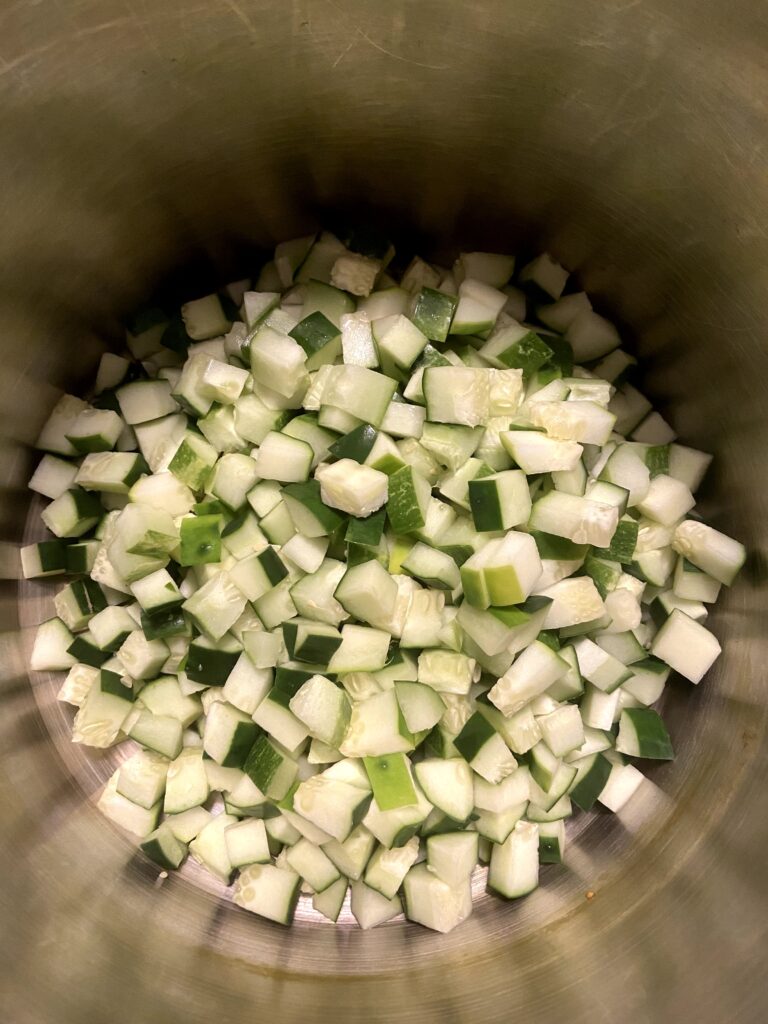
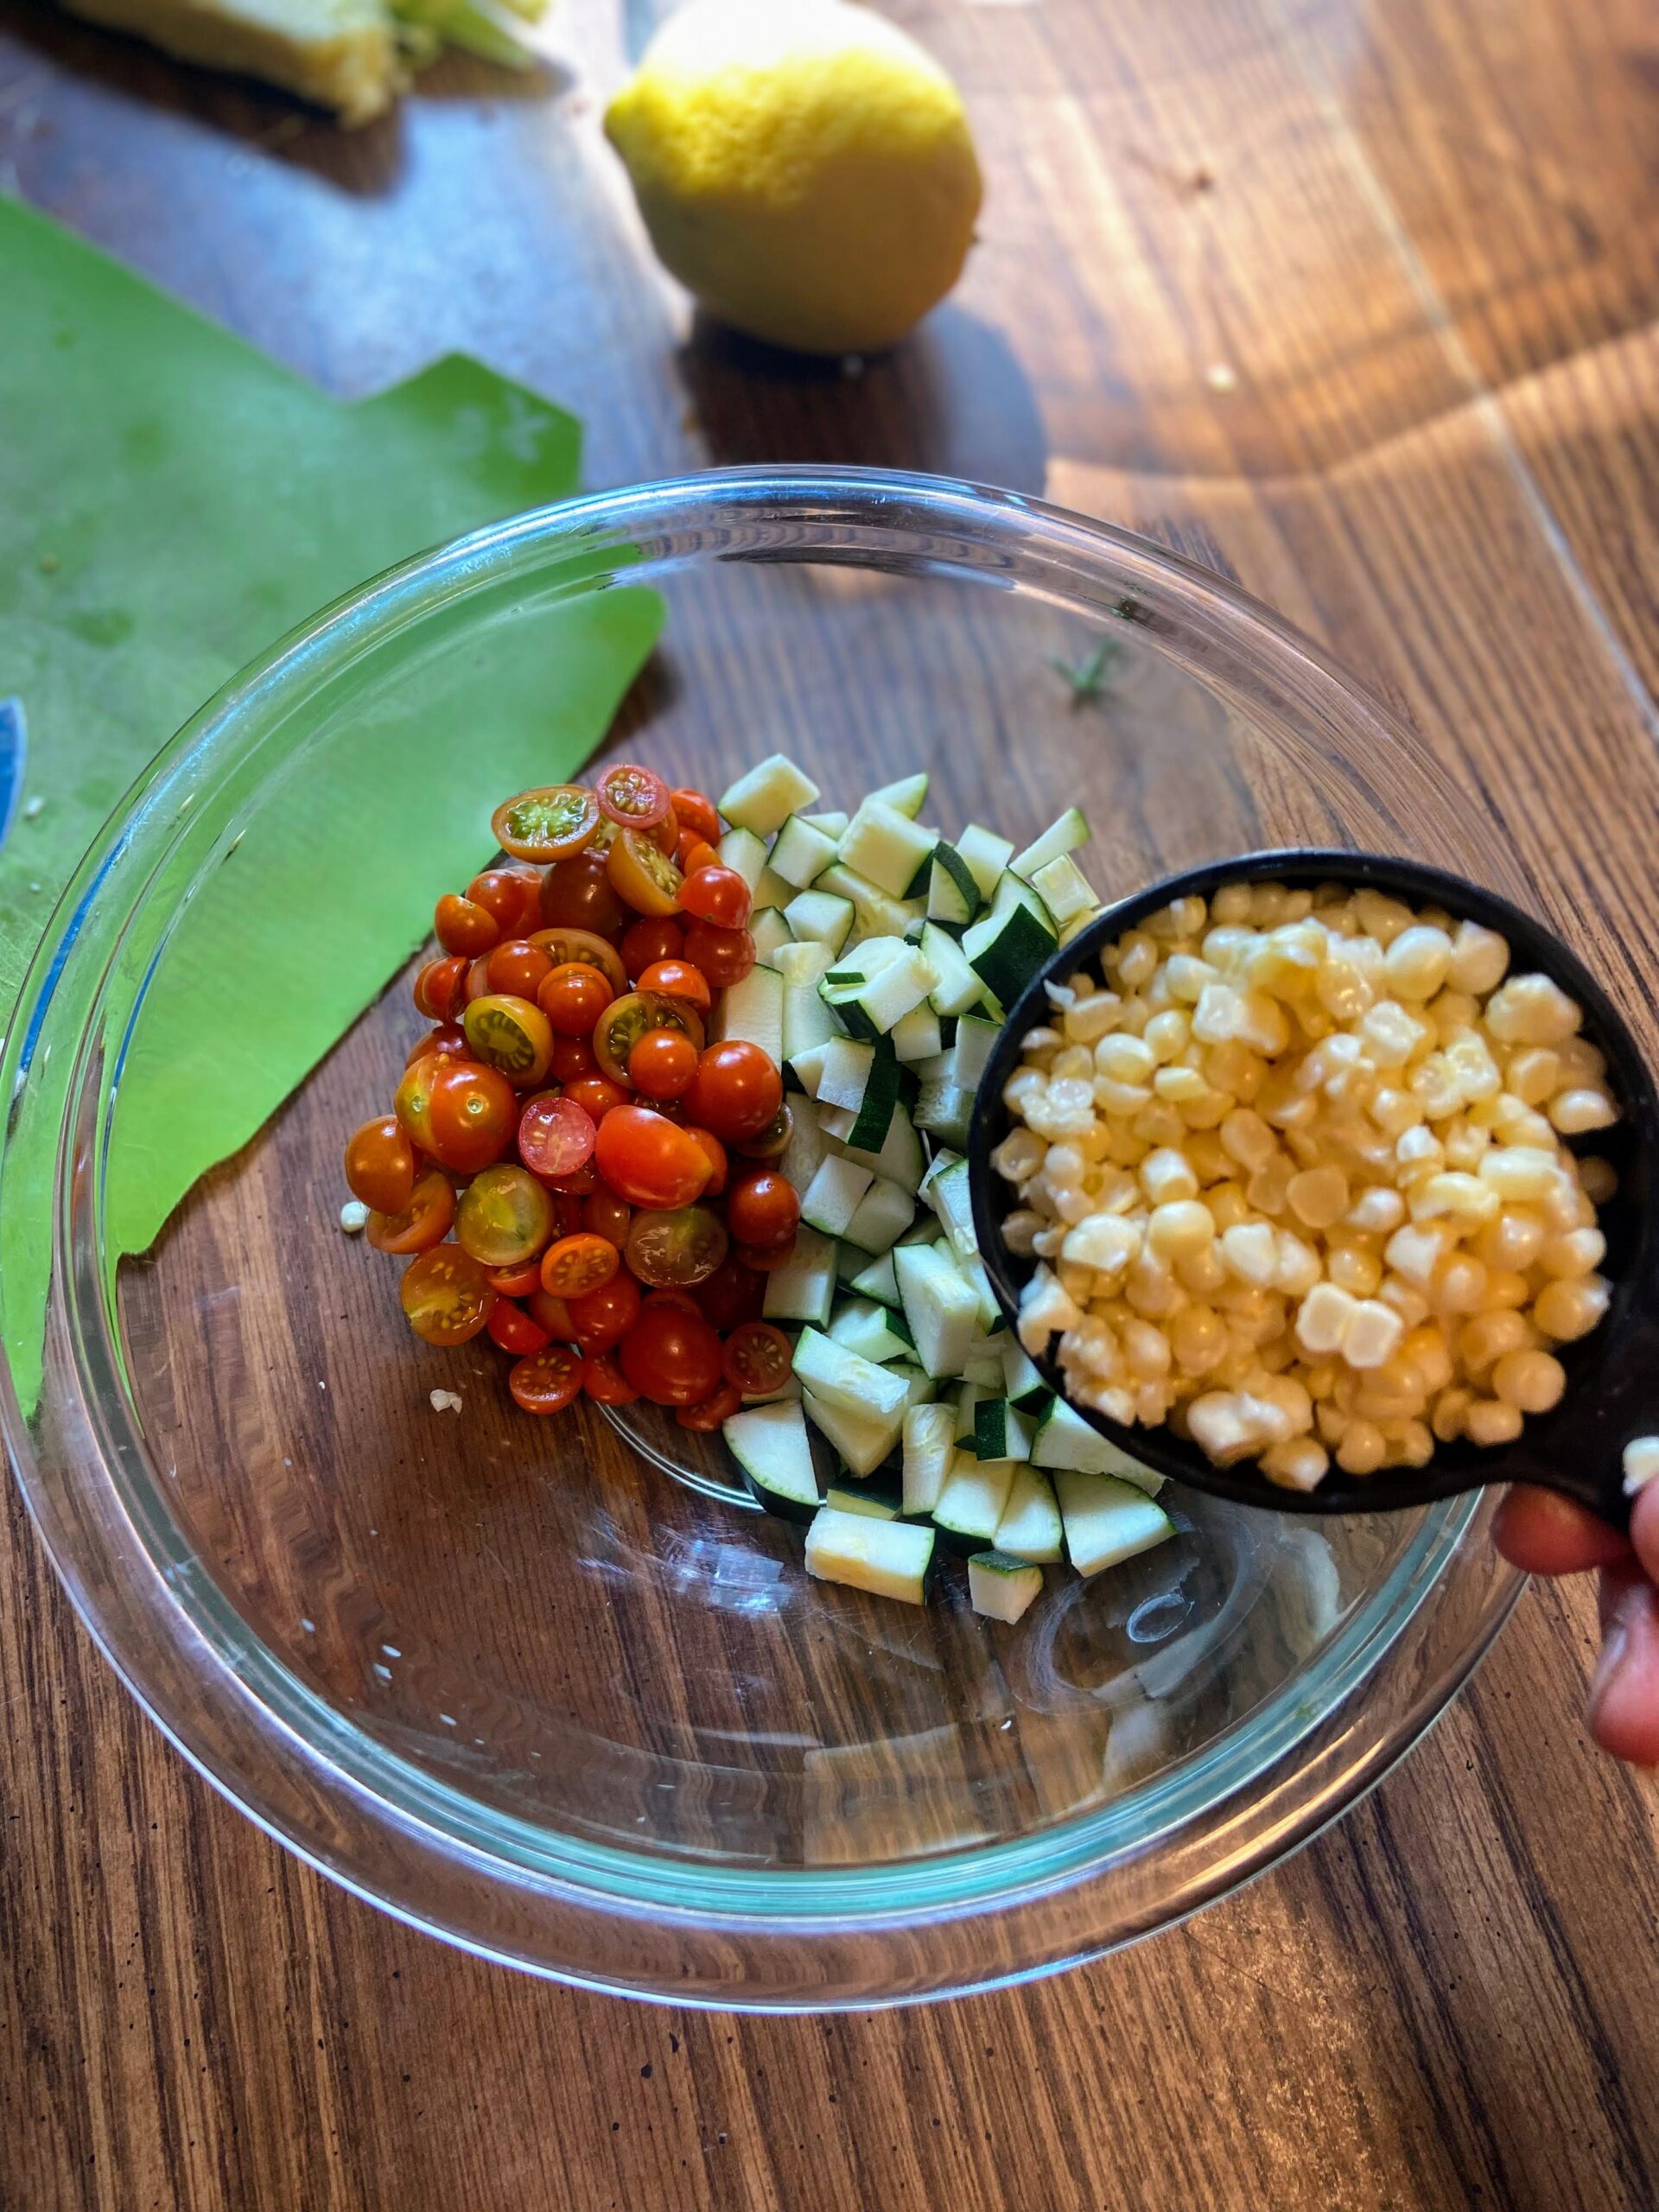
- 1 small zucchini, diced (about 2 cups)
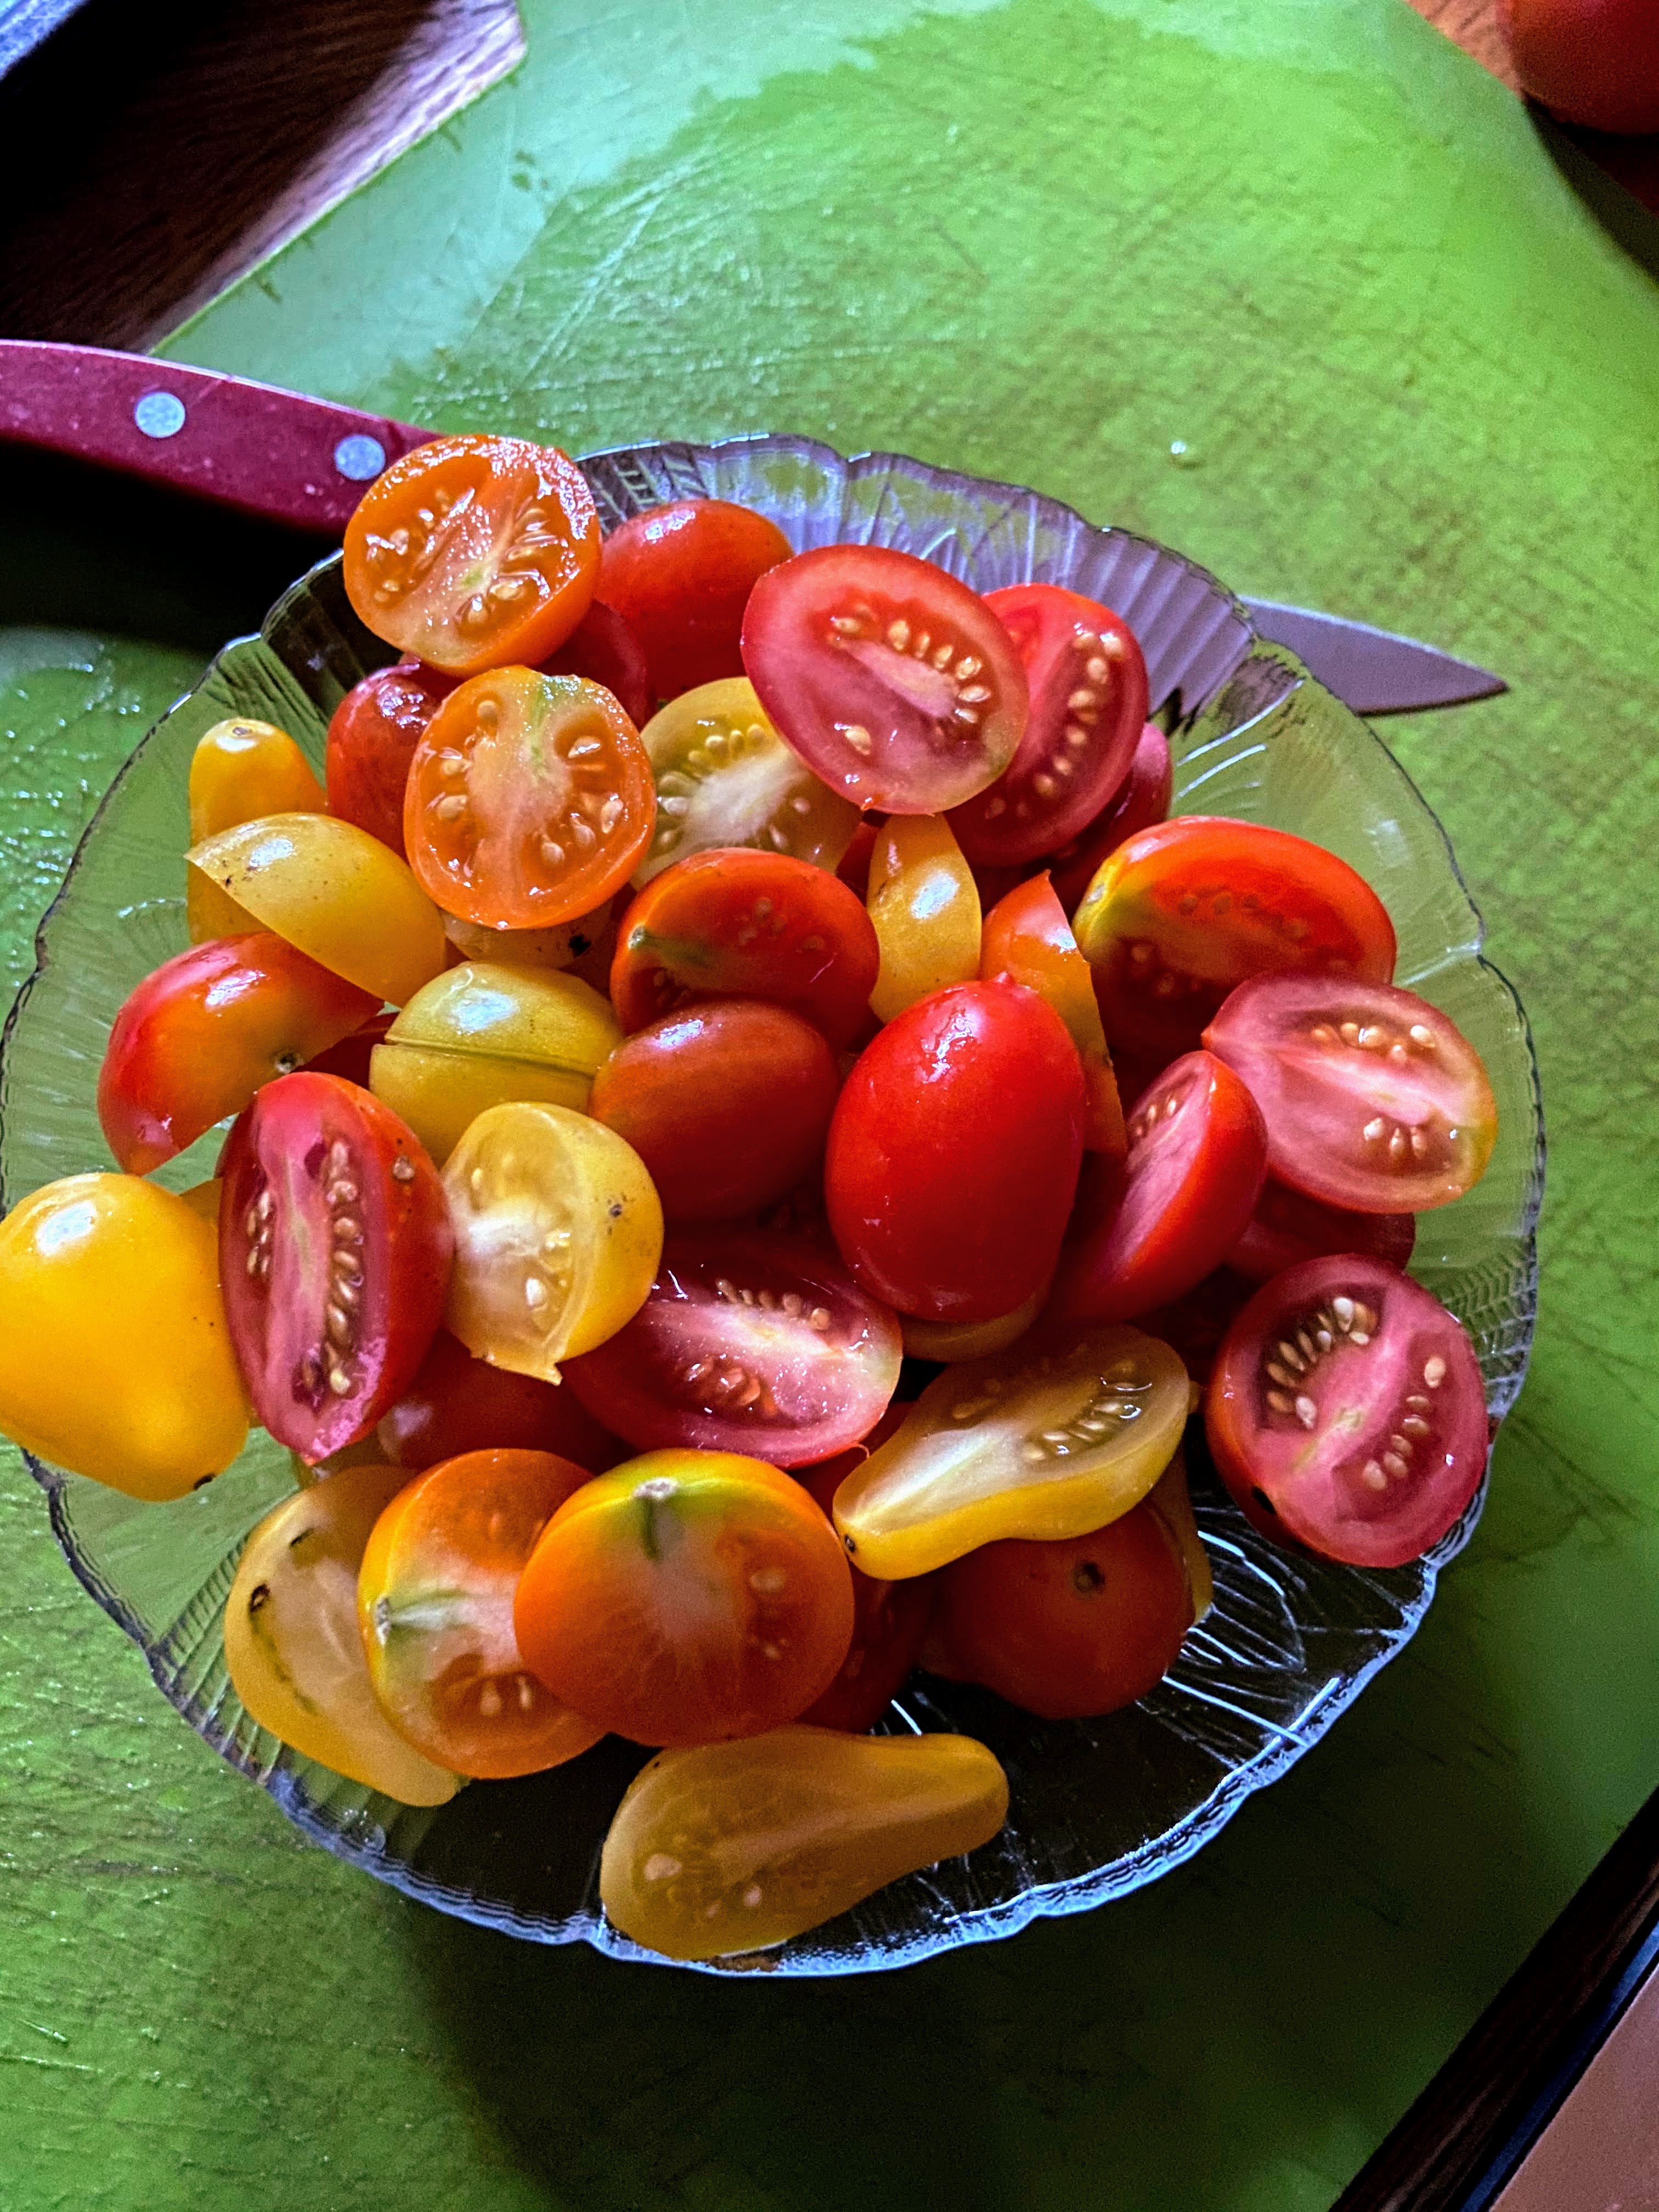
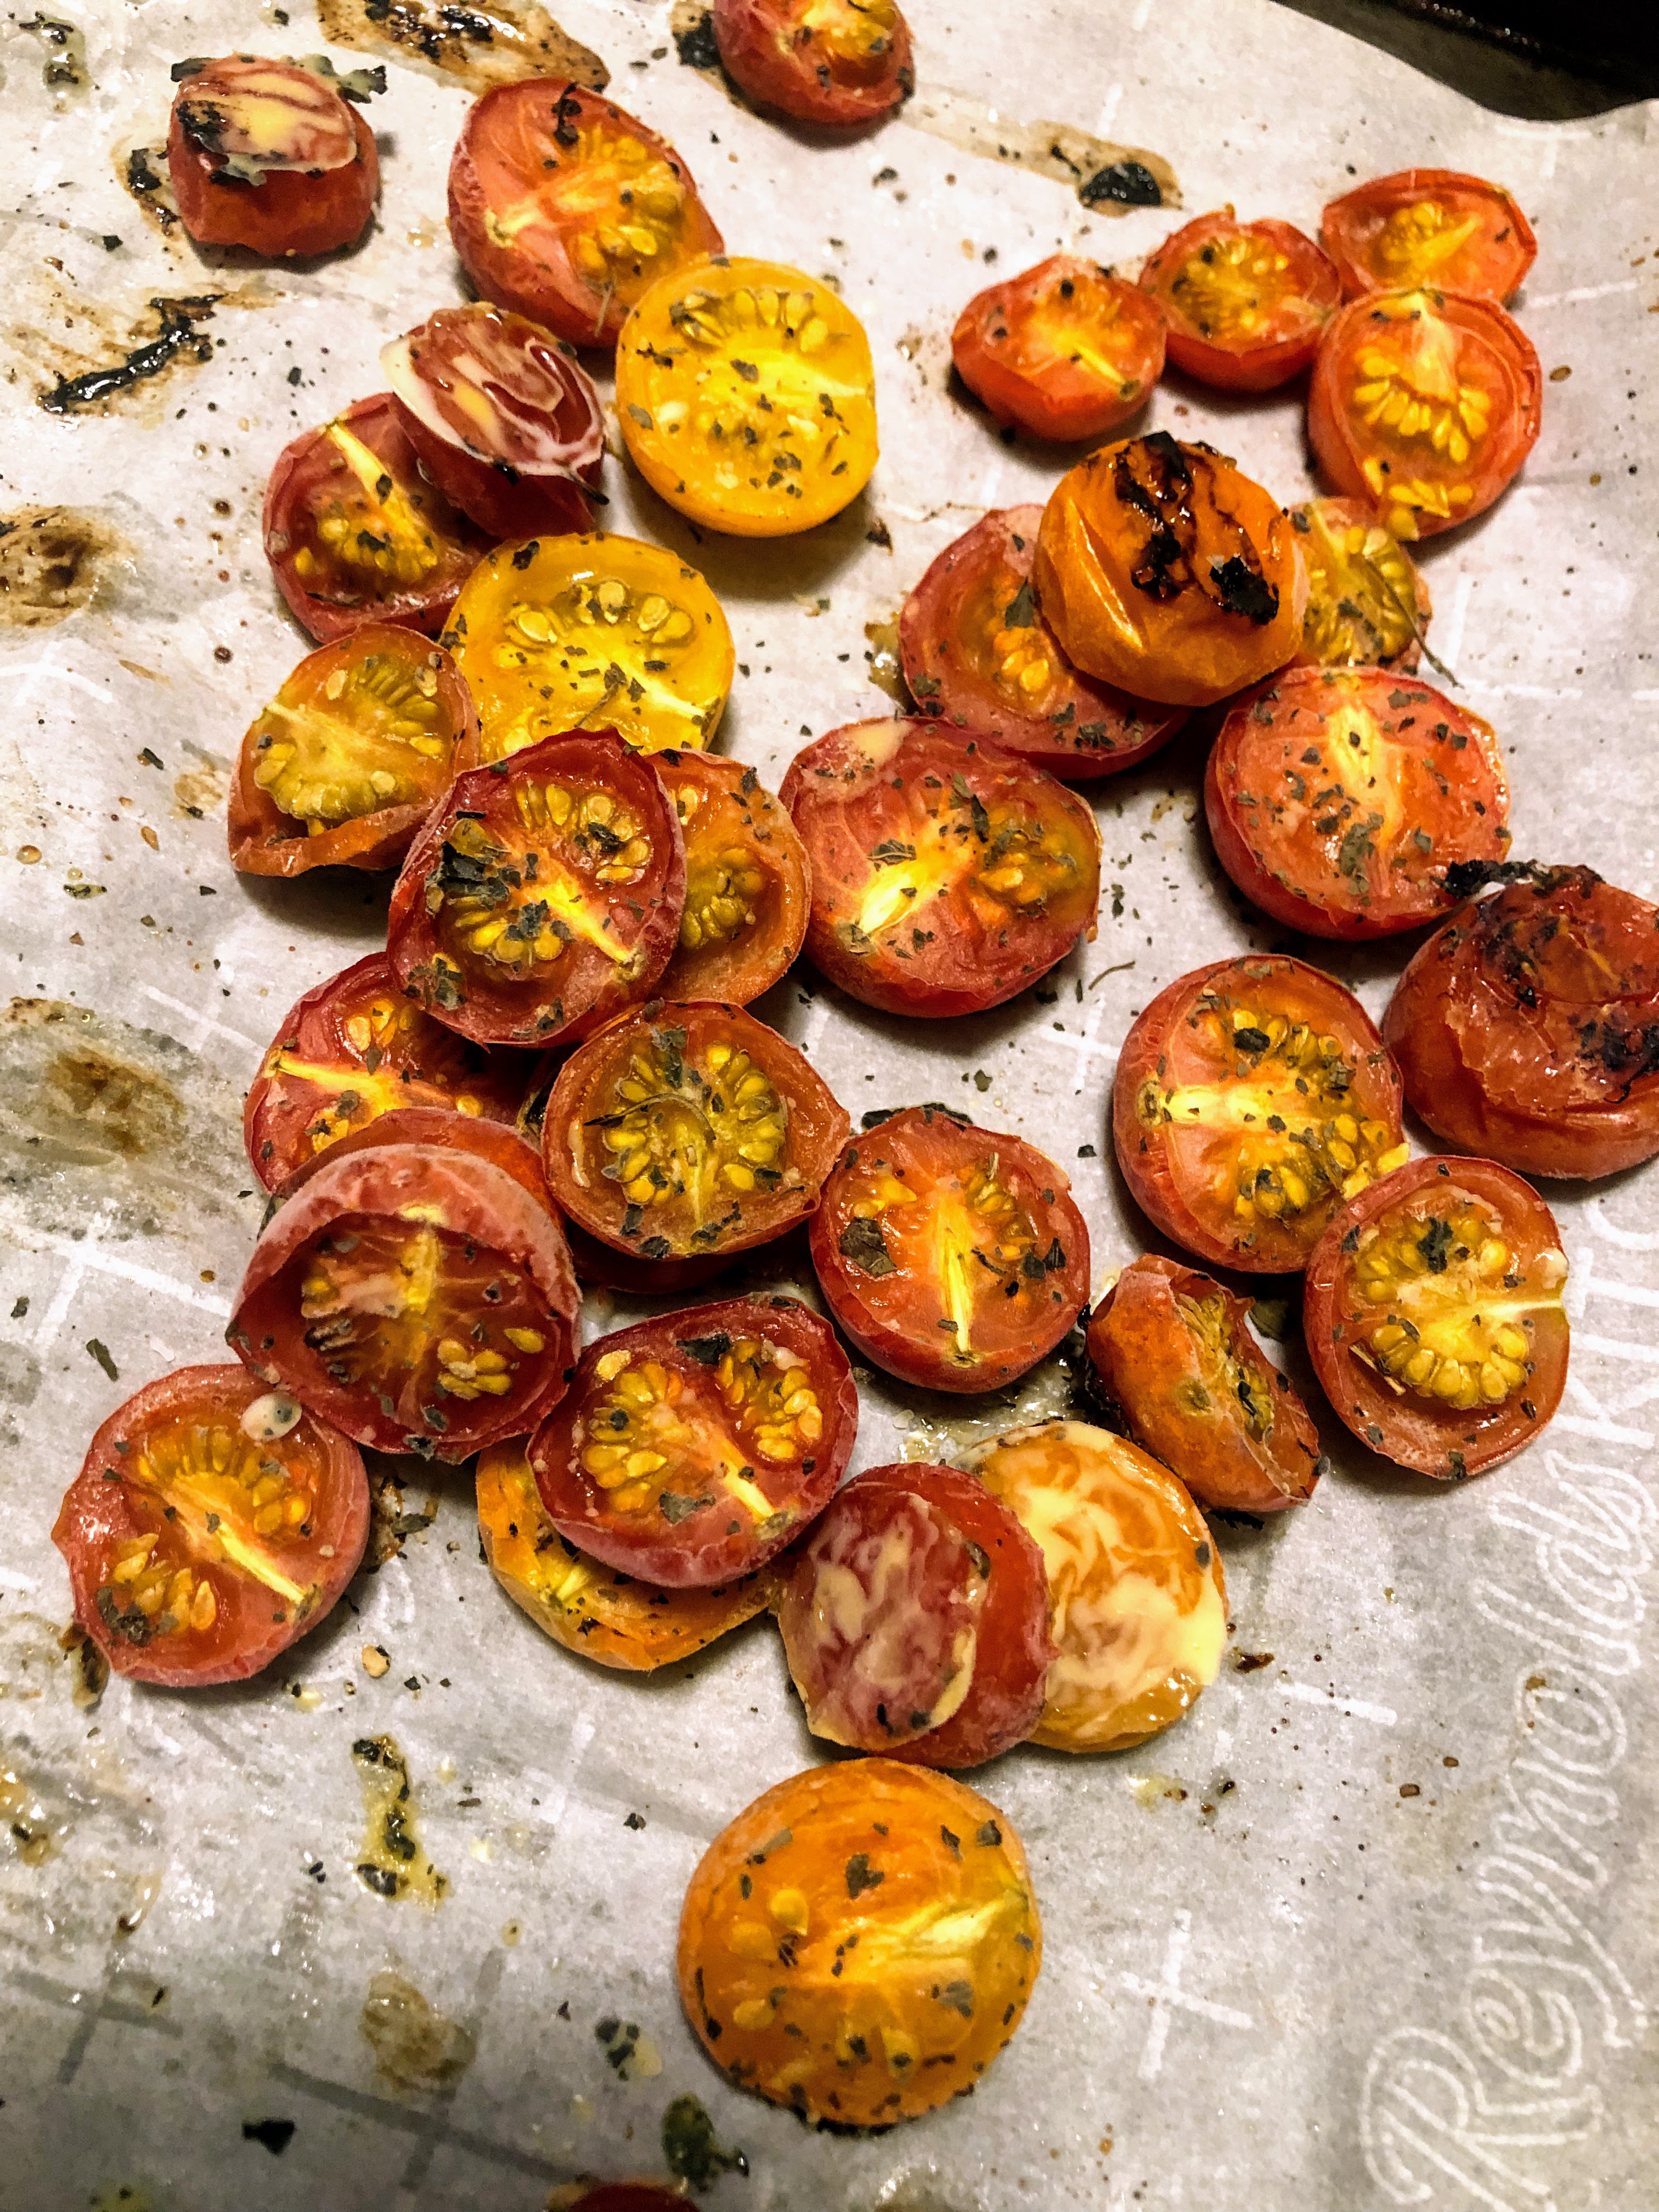
- 1 cup halved cherry tomatoes
- 1 cup fresh corn, cut off the cob
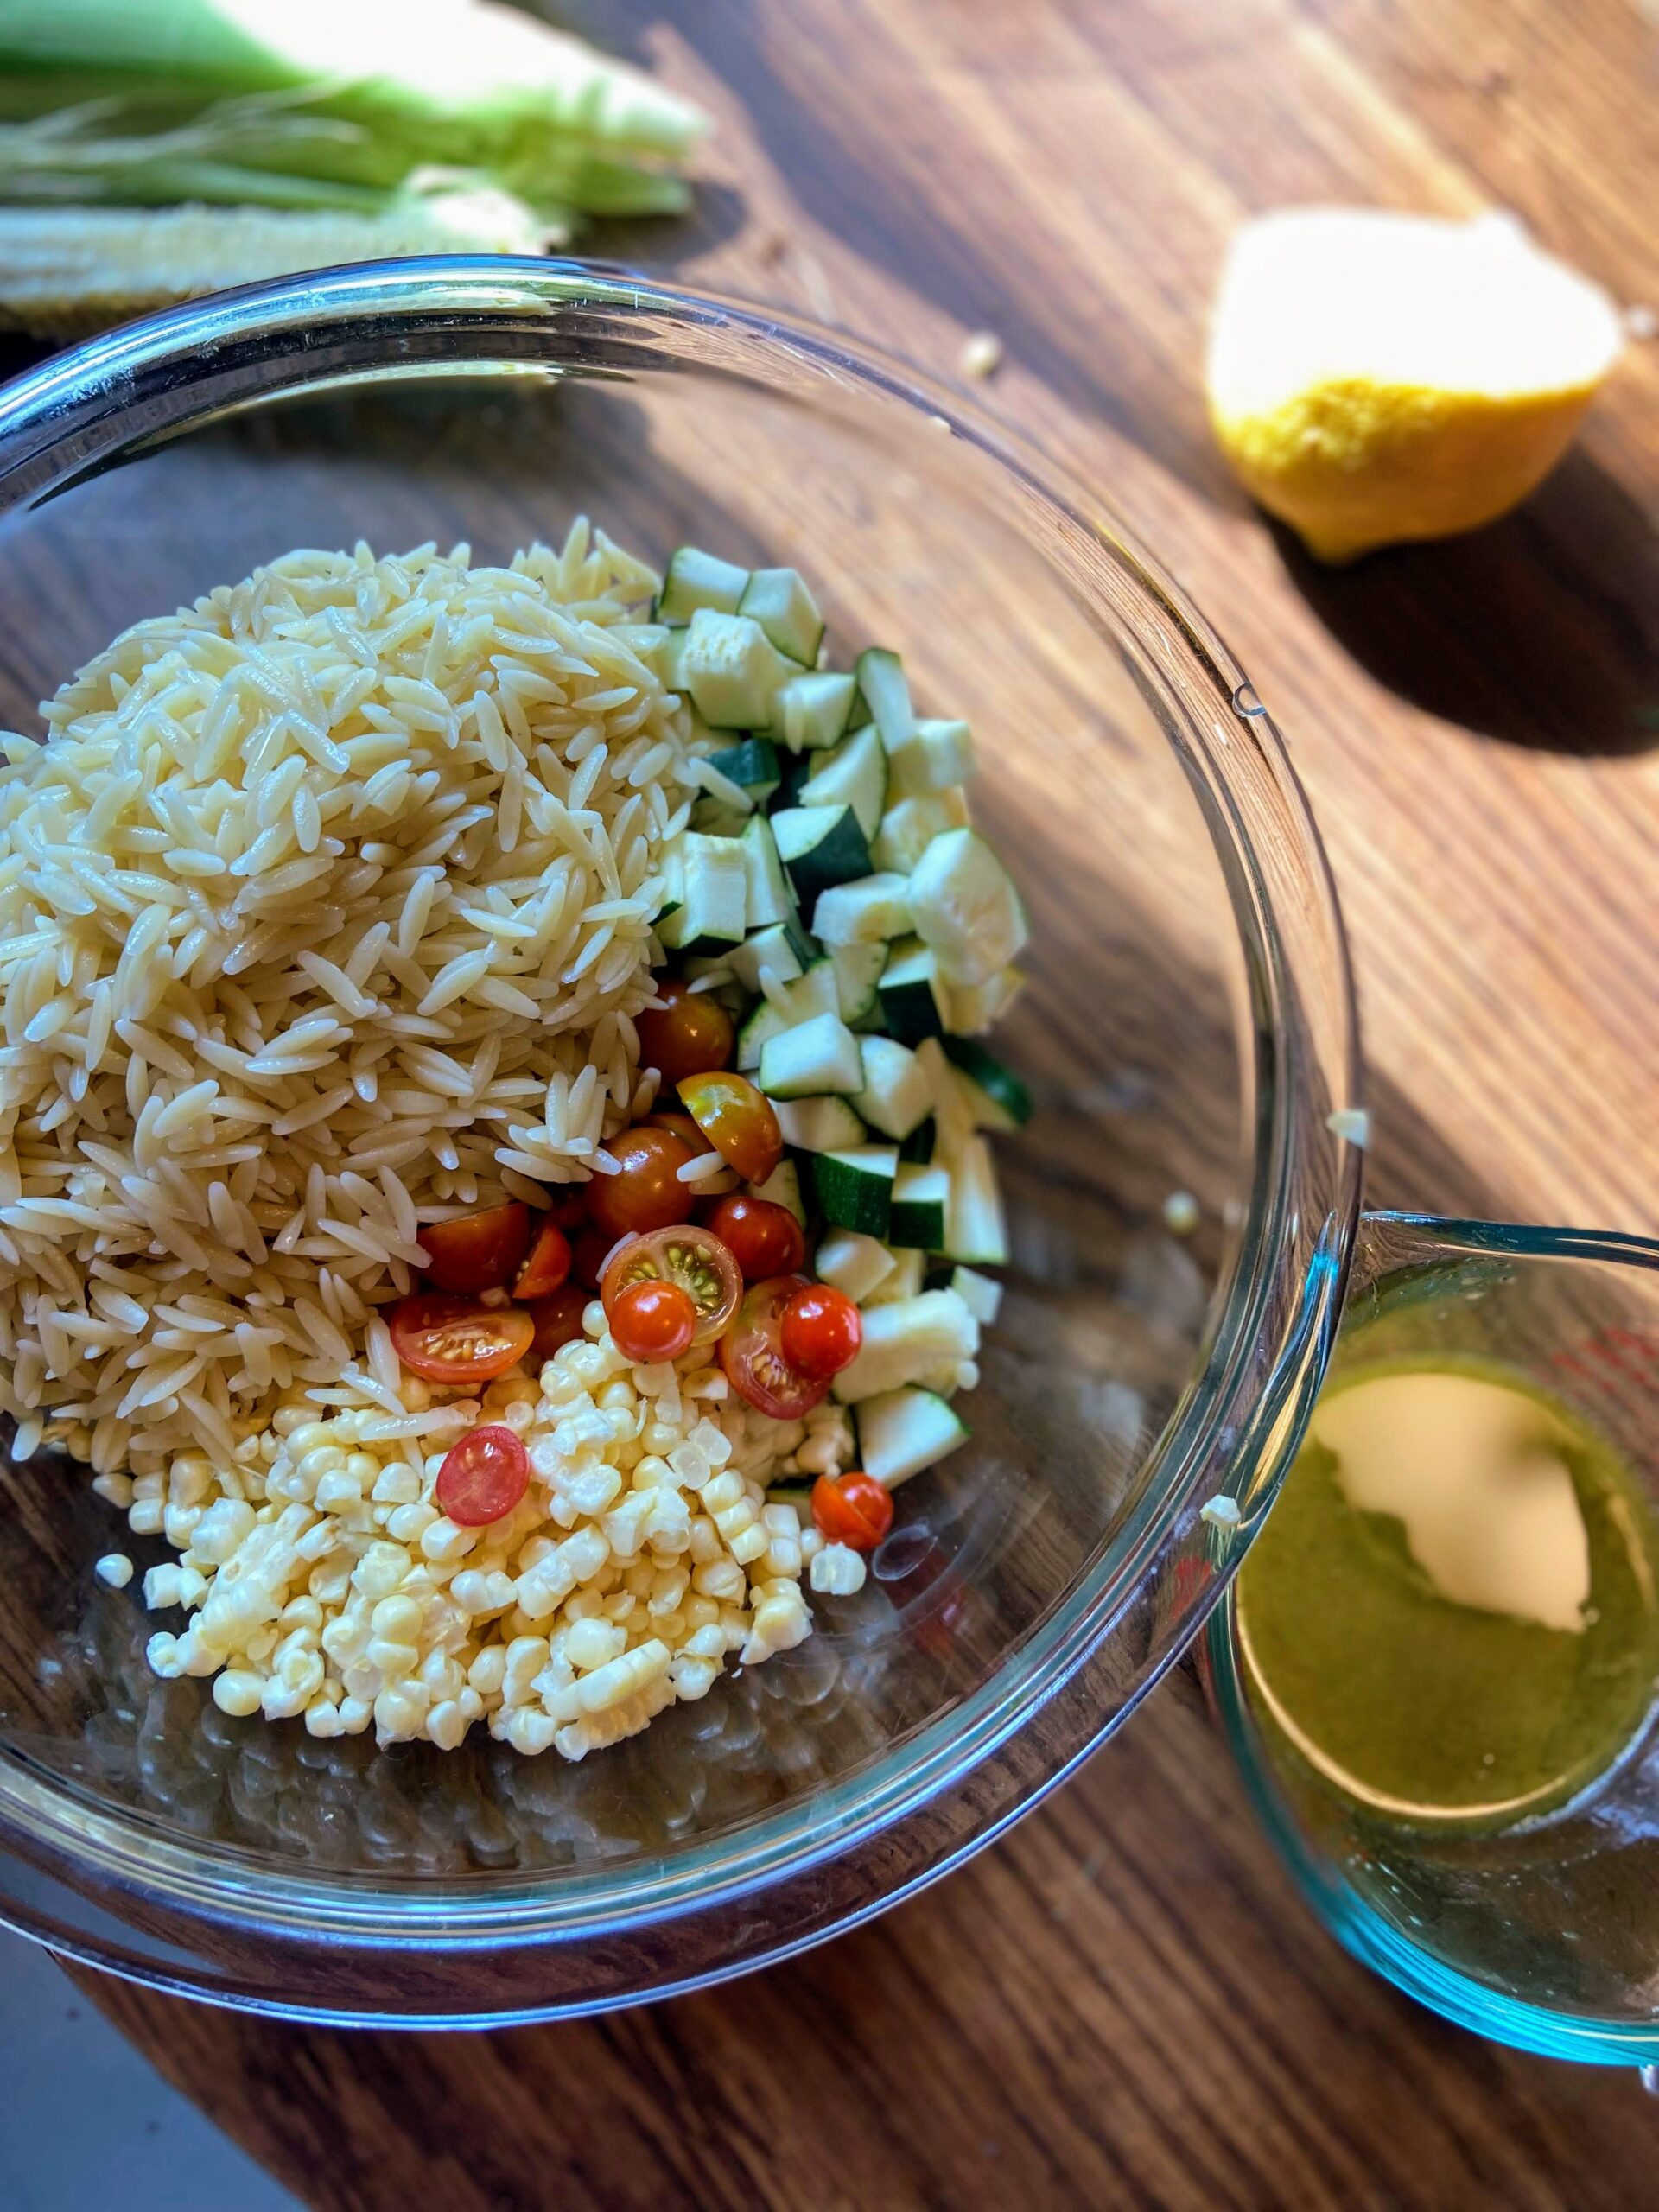
- 1 cup dried orzo
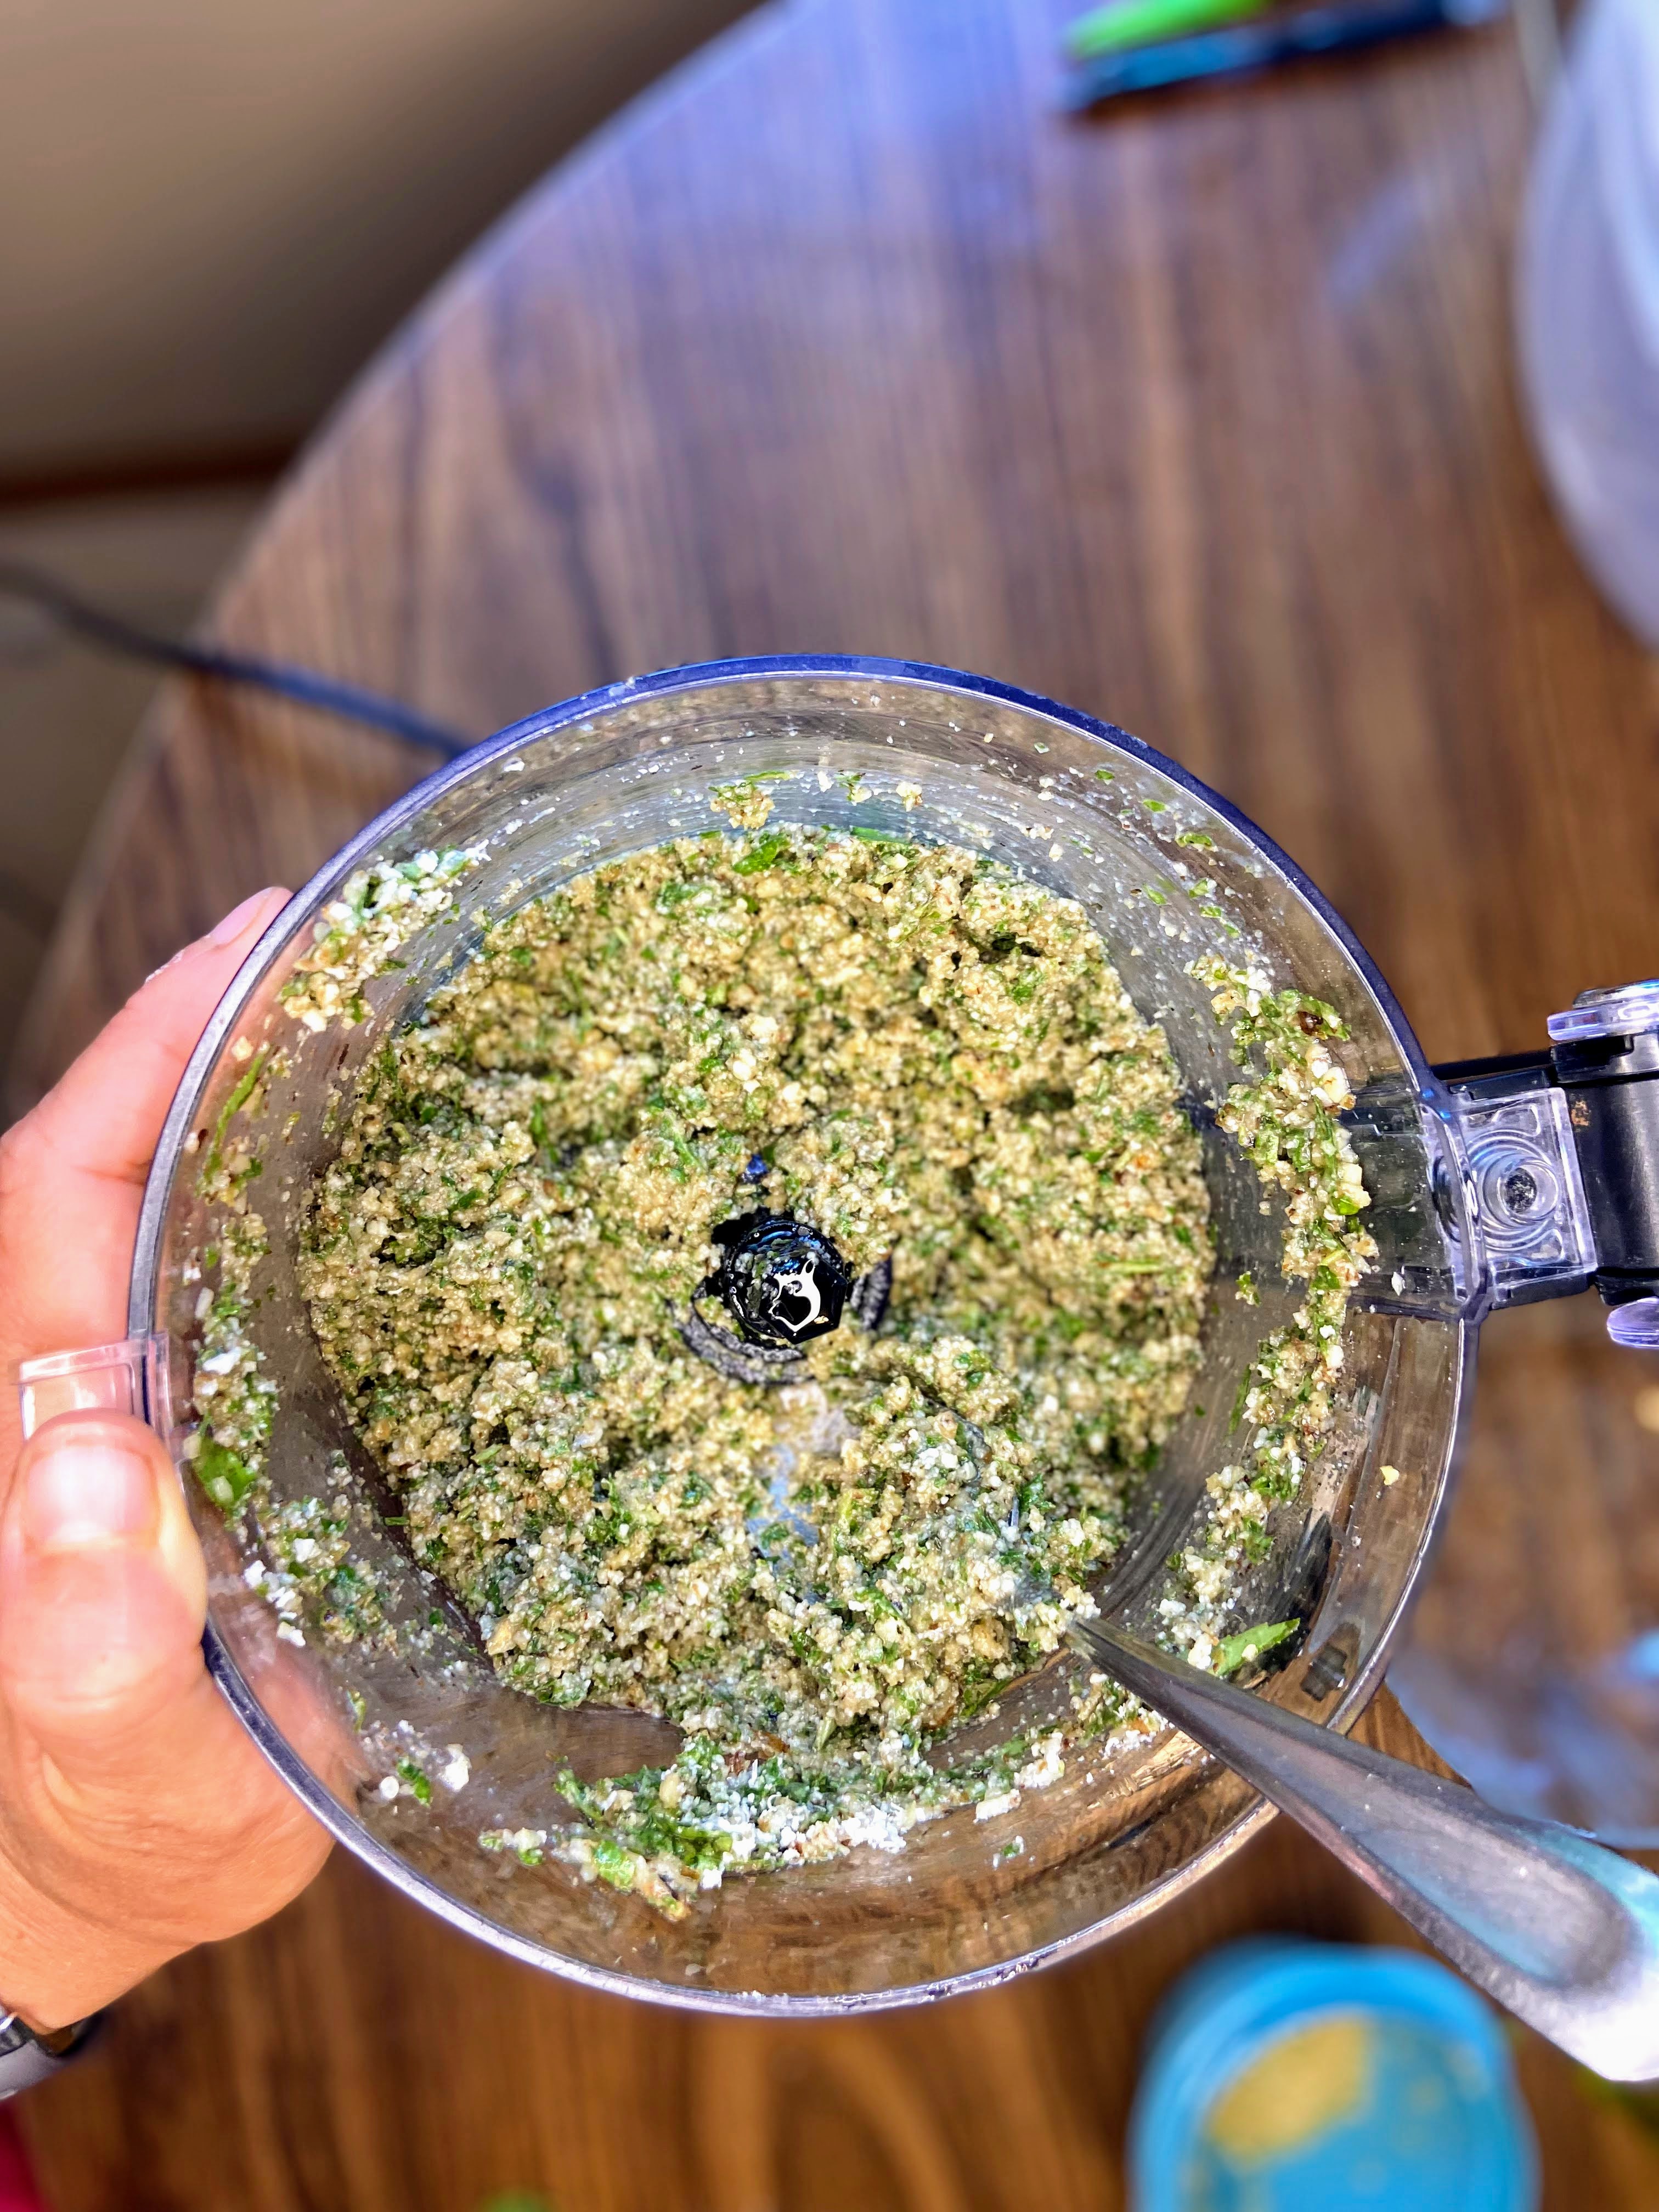
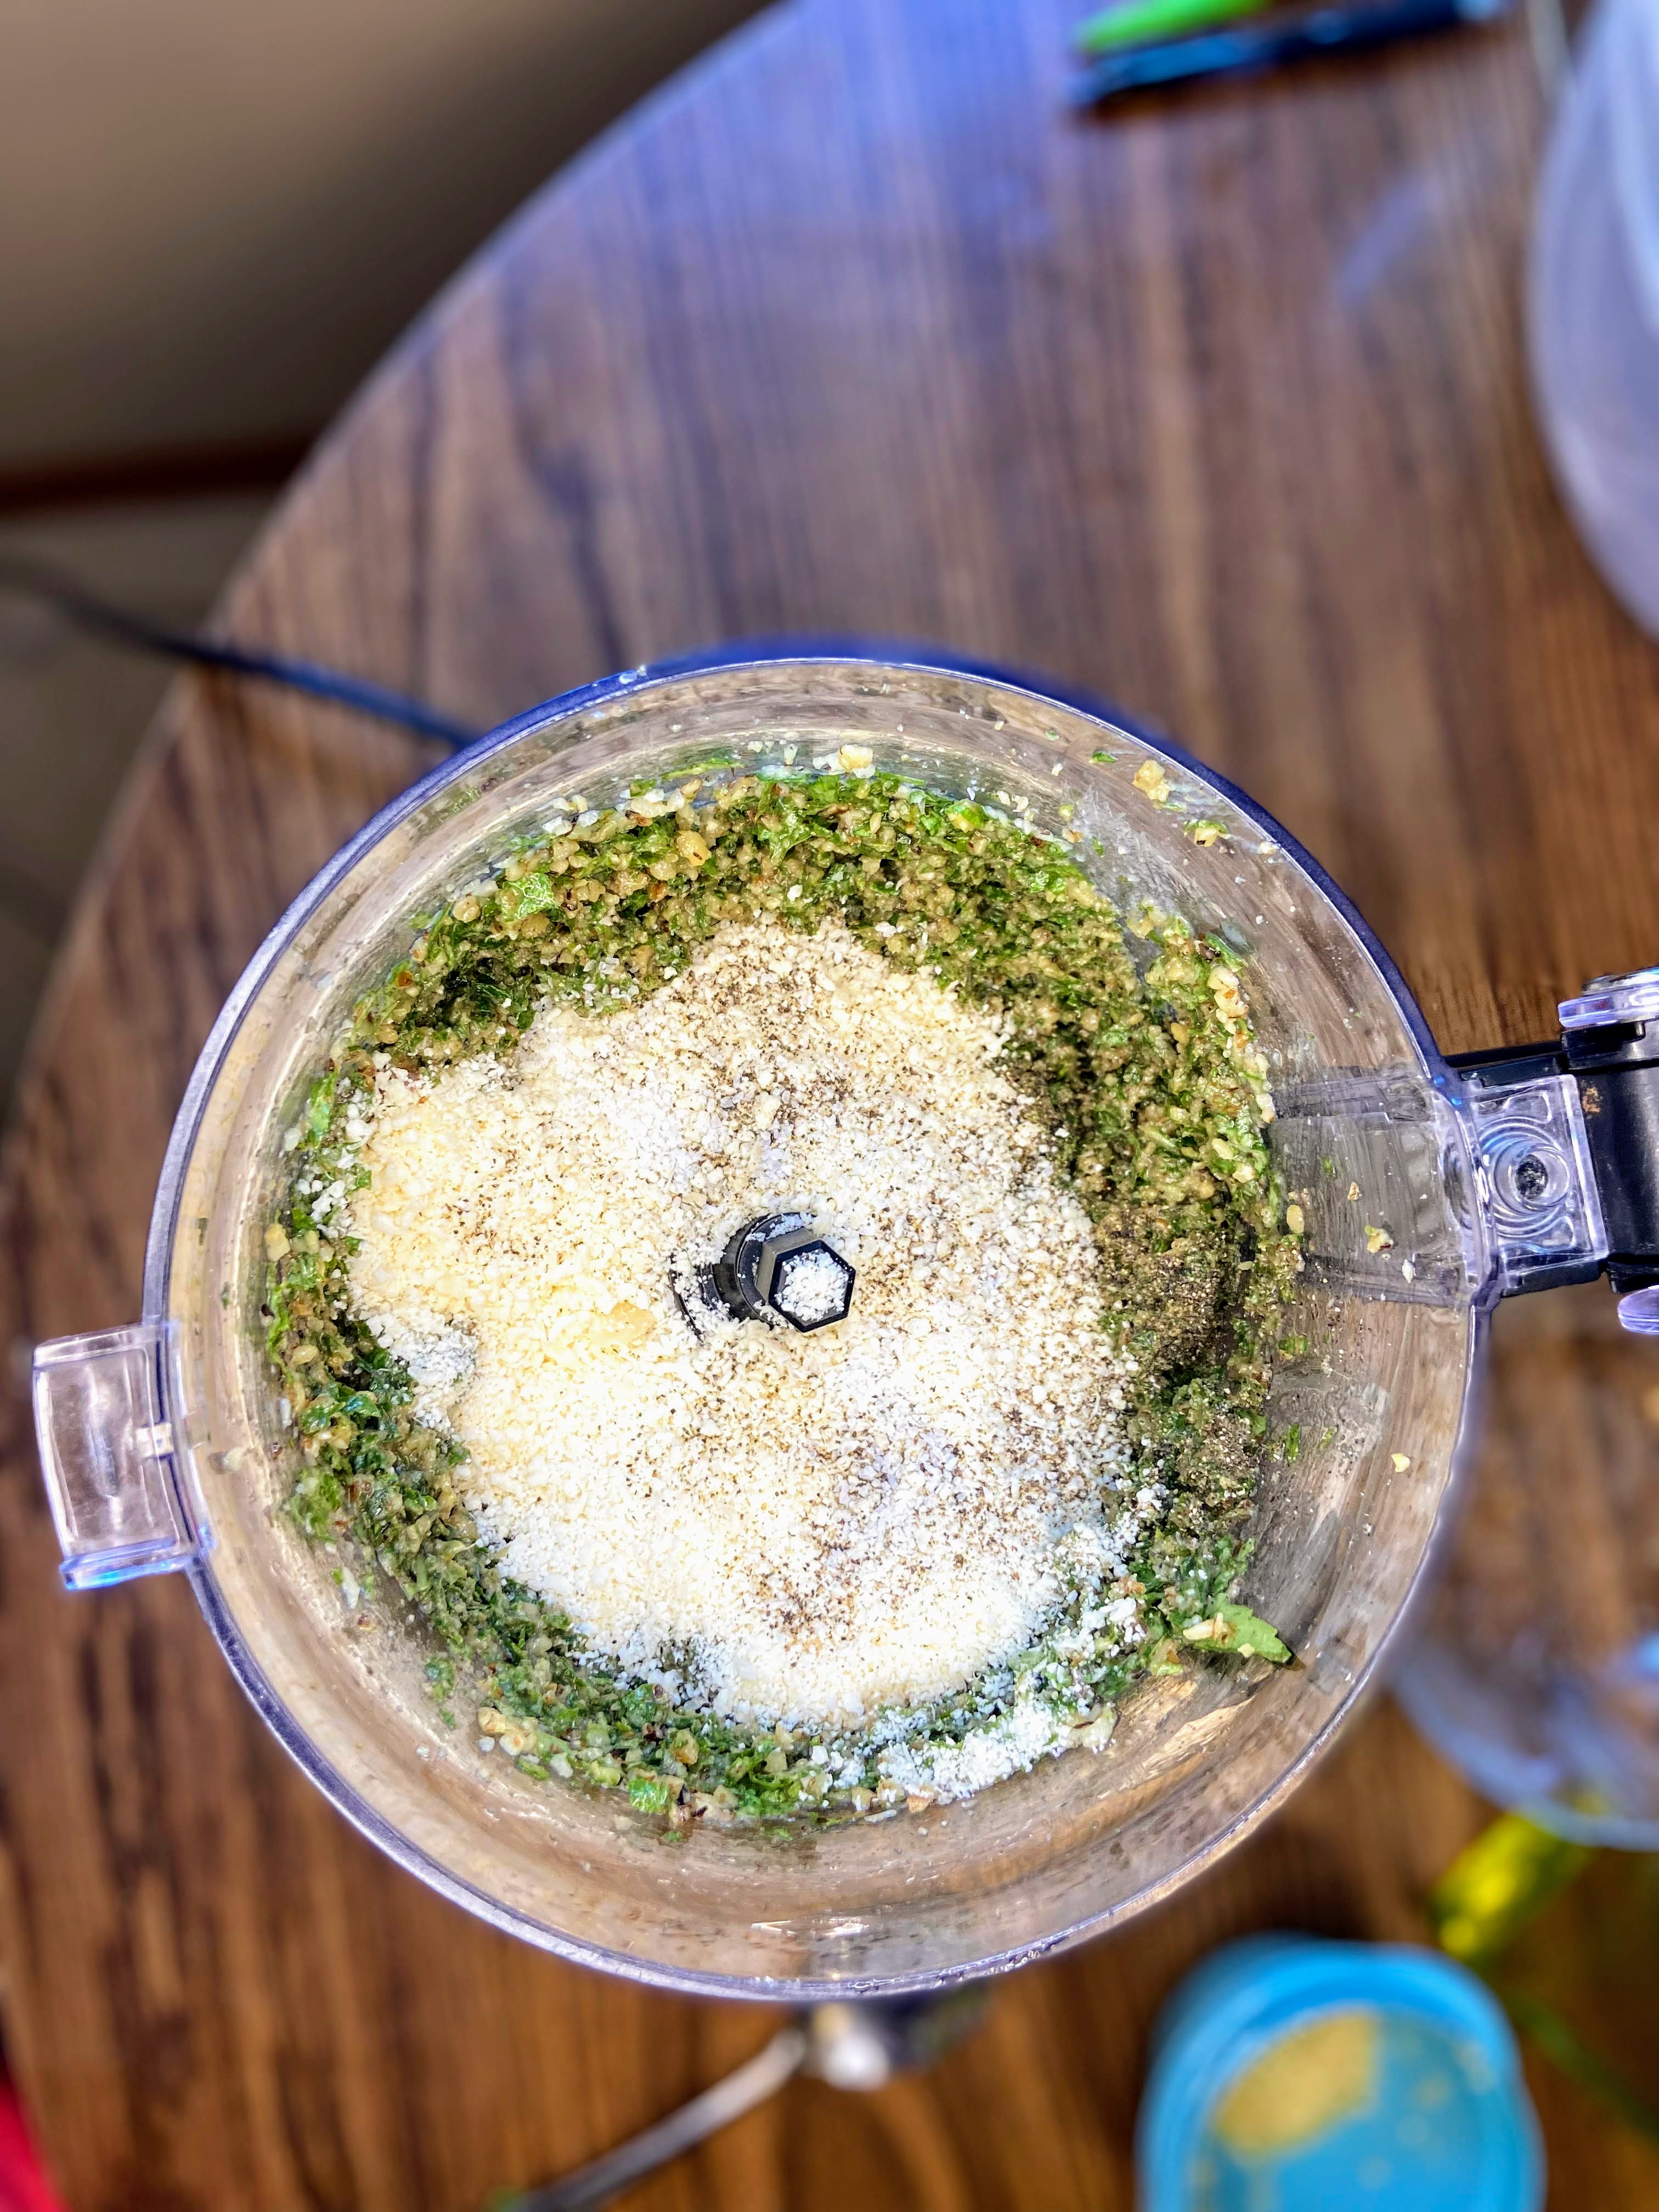
- ¼ cup fresh basil, very lightly packed
- 3 tablespoons olive oil
- 3 tablespoons white wine vinegar
- Juice from half of a lemon
- ½ teaspoon pepper
- ½ teaspoon salt
Your Steps
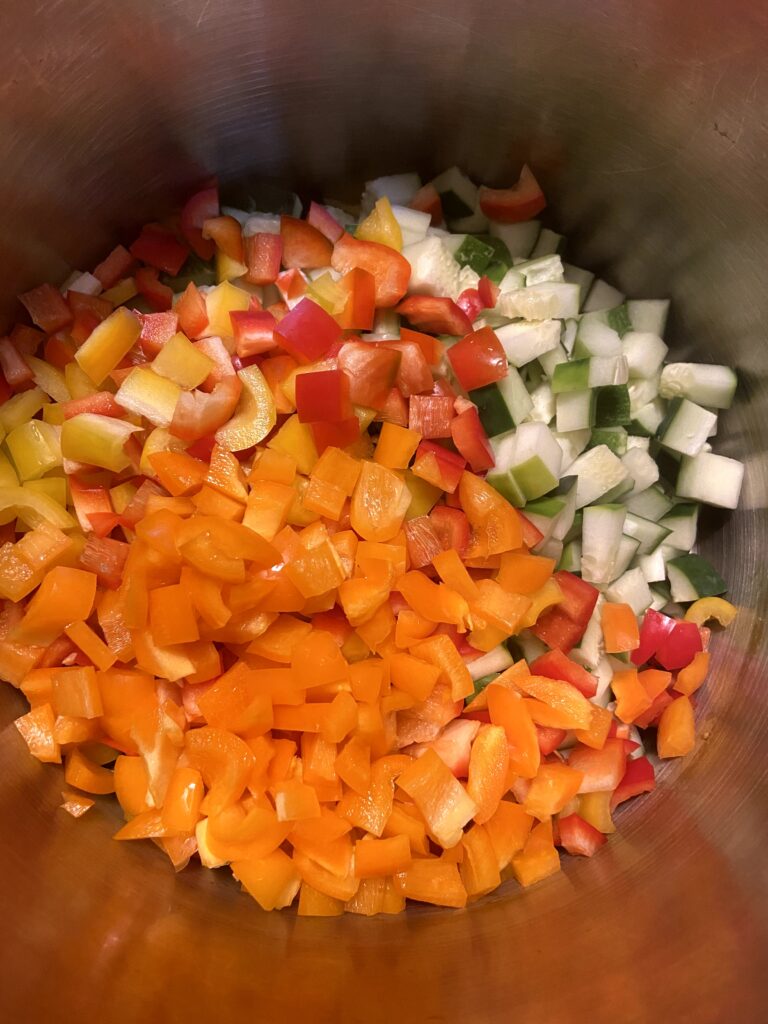
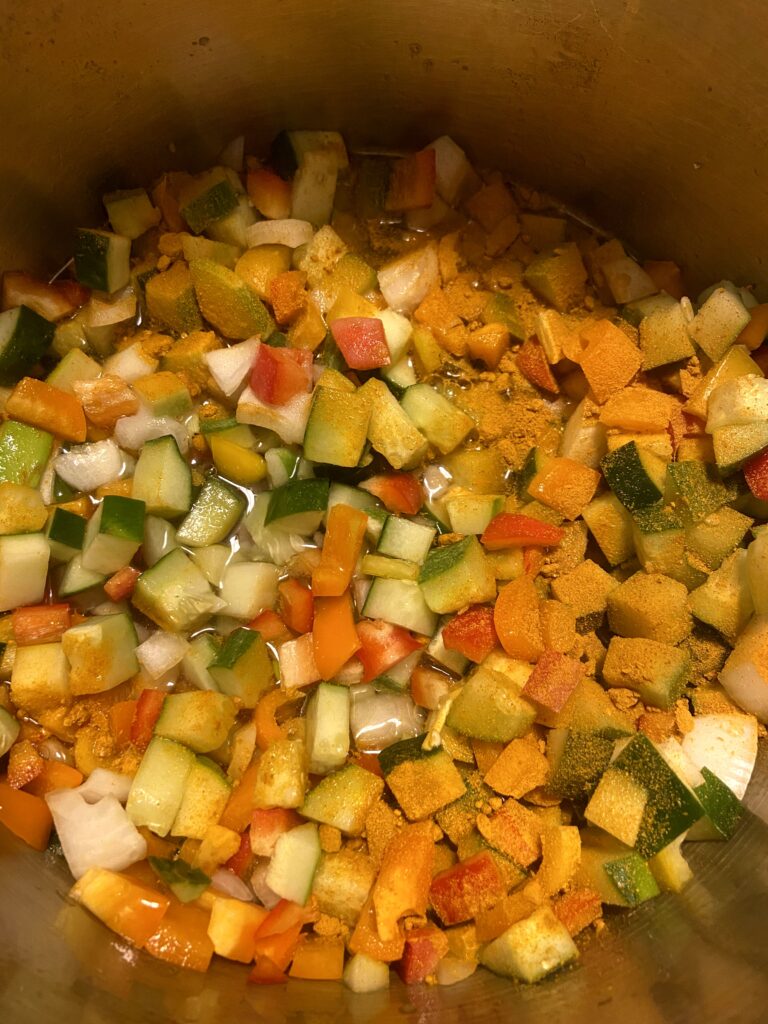
Begin by cooking the orzo to al dente according to the package directions. While the orzo is cooking, dice zucchini and cherry tomatoes. Cut the corn from the cob. Set aside.
Meanwhile, combine olive oil, vinegar, lemon juice, pepper, and salt in a liquid measuring cup. Whisk together.
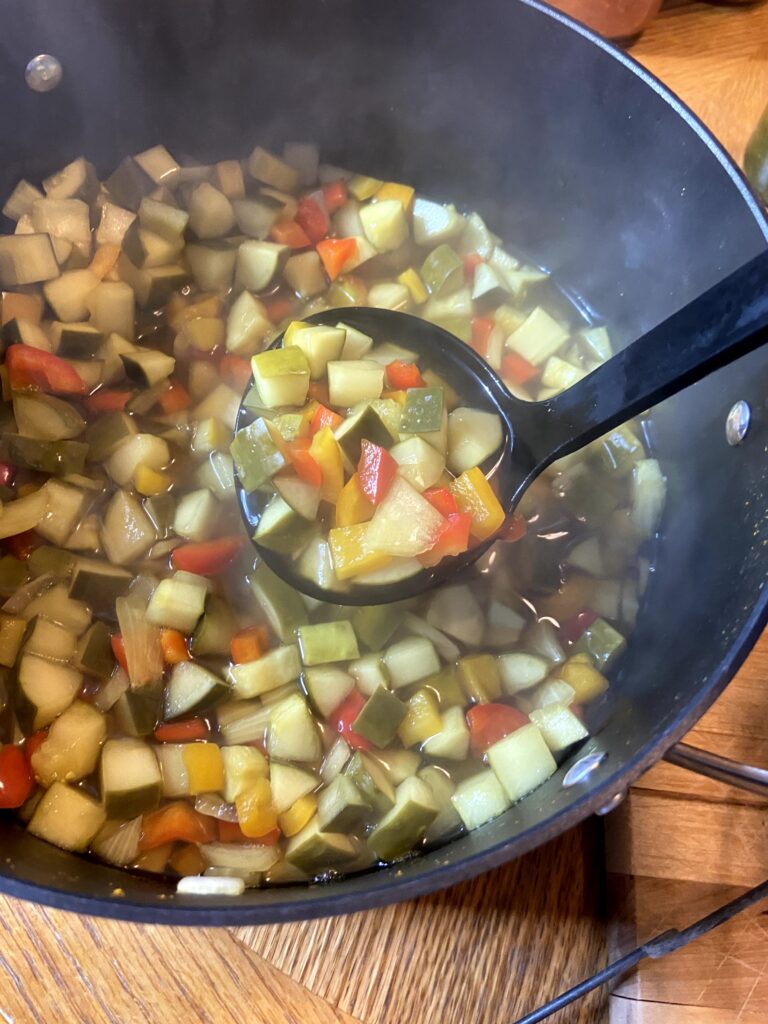
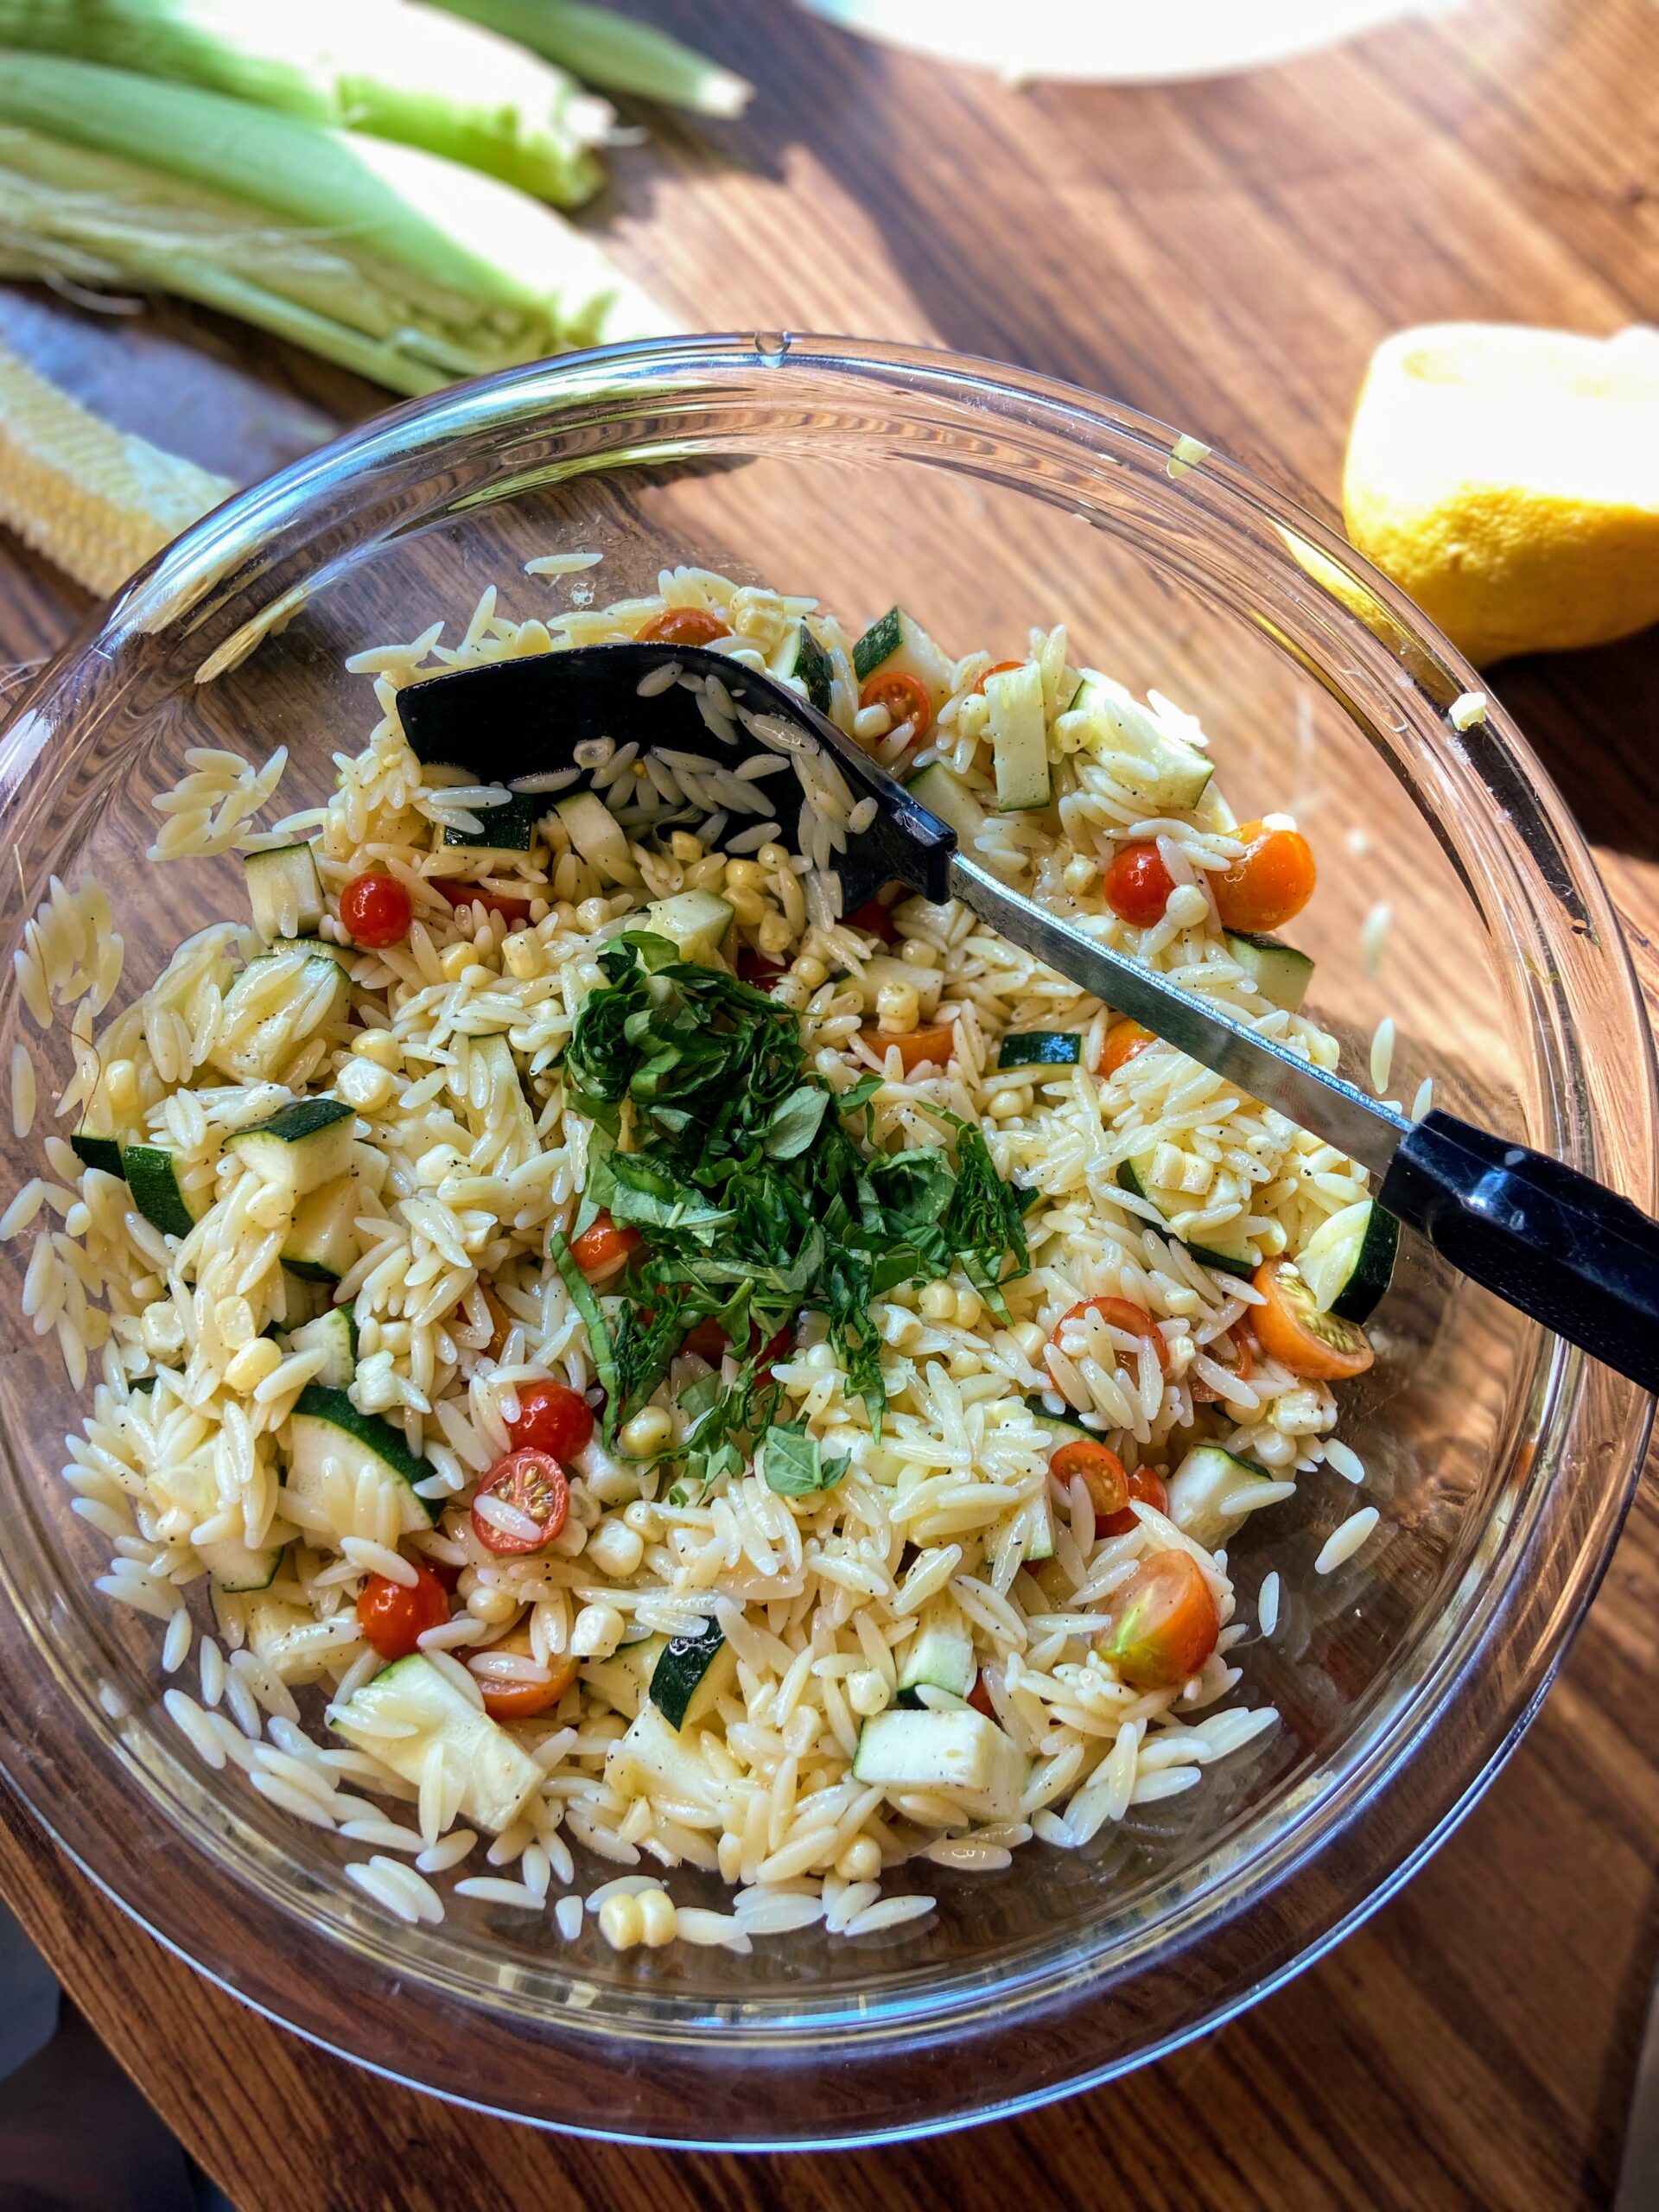
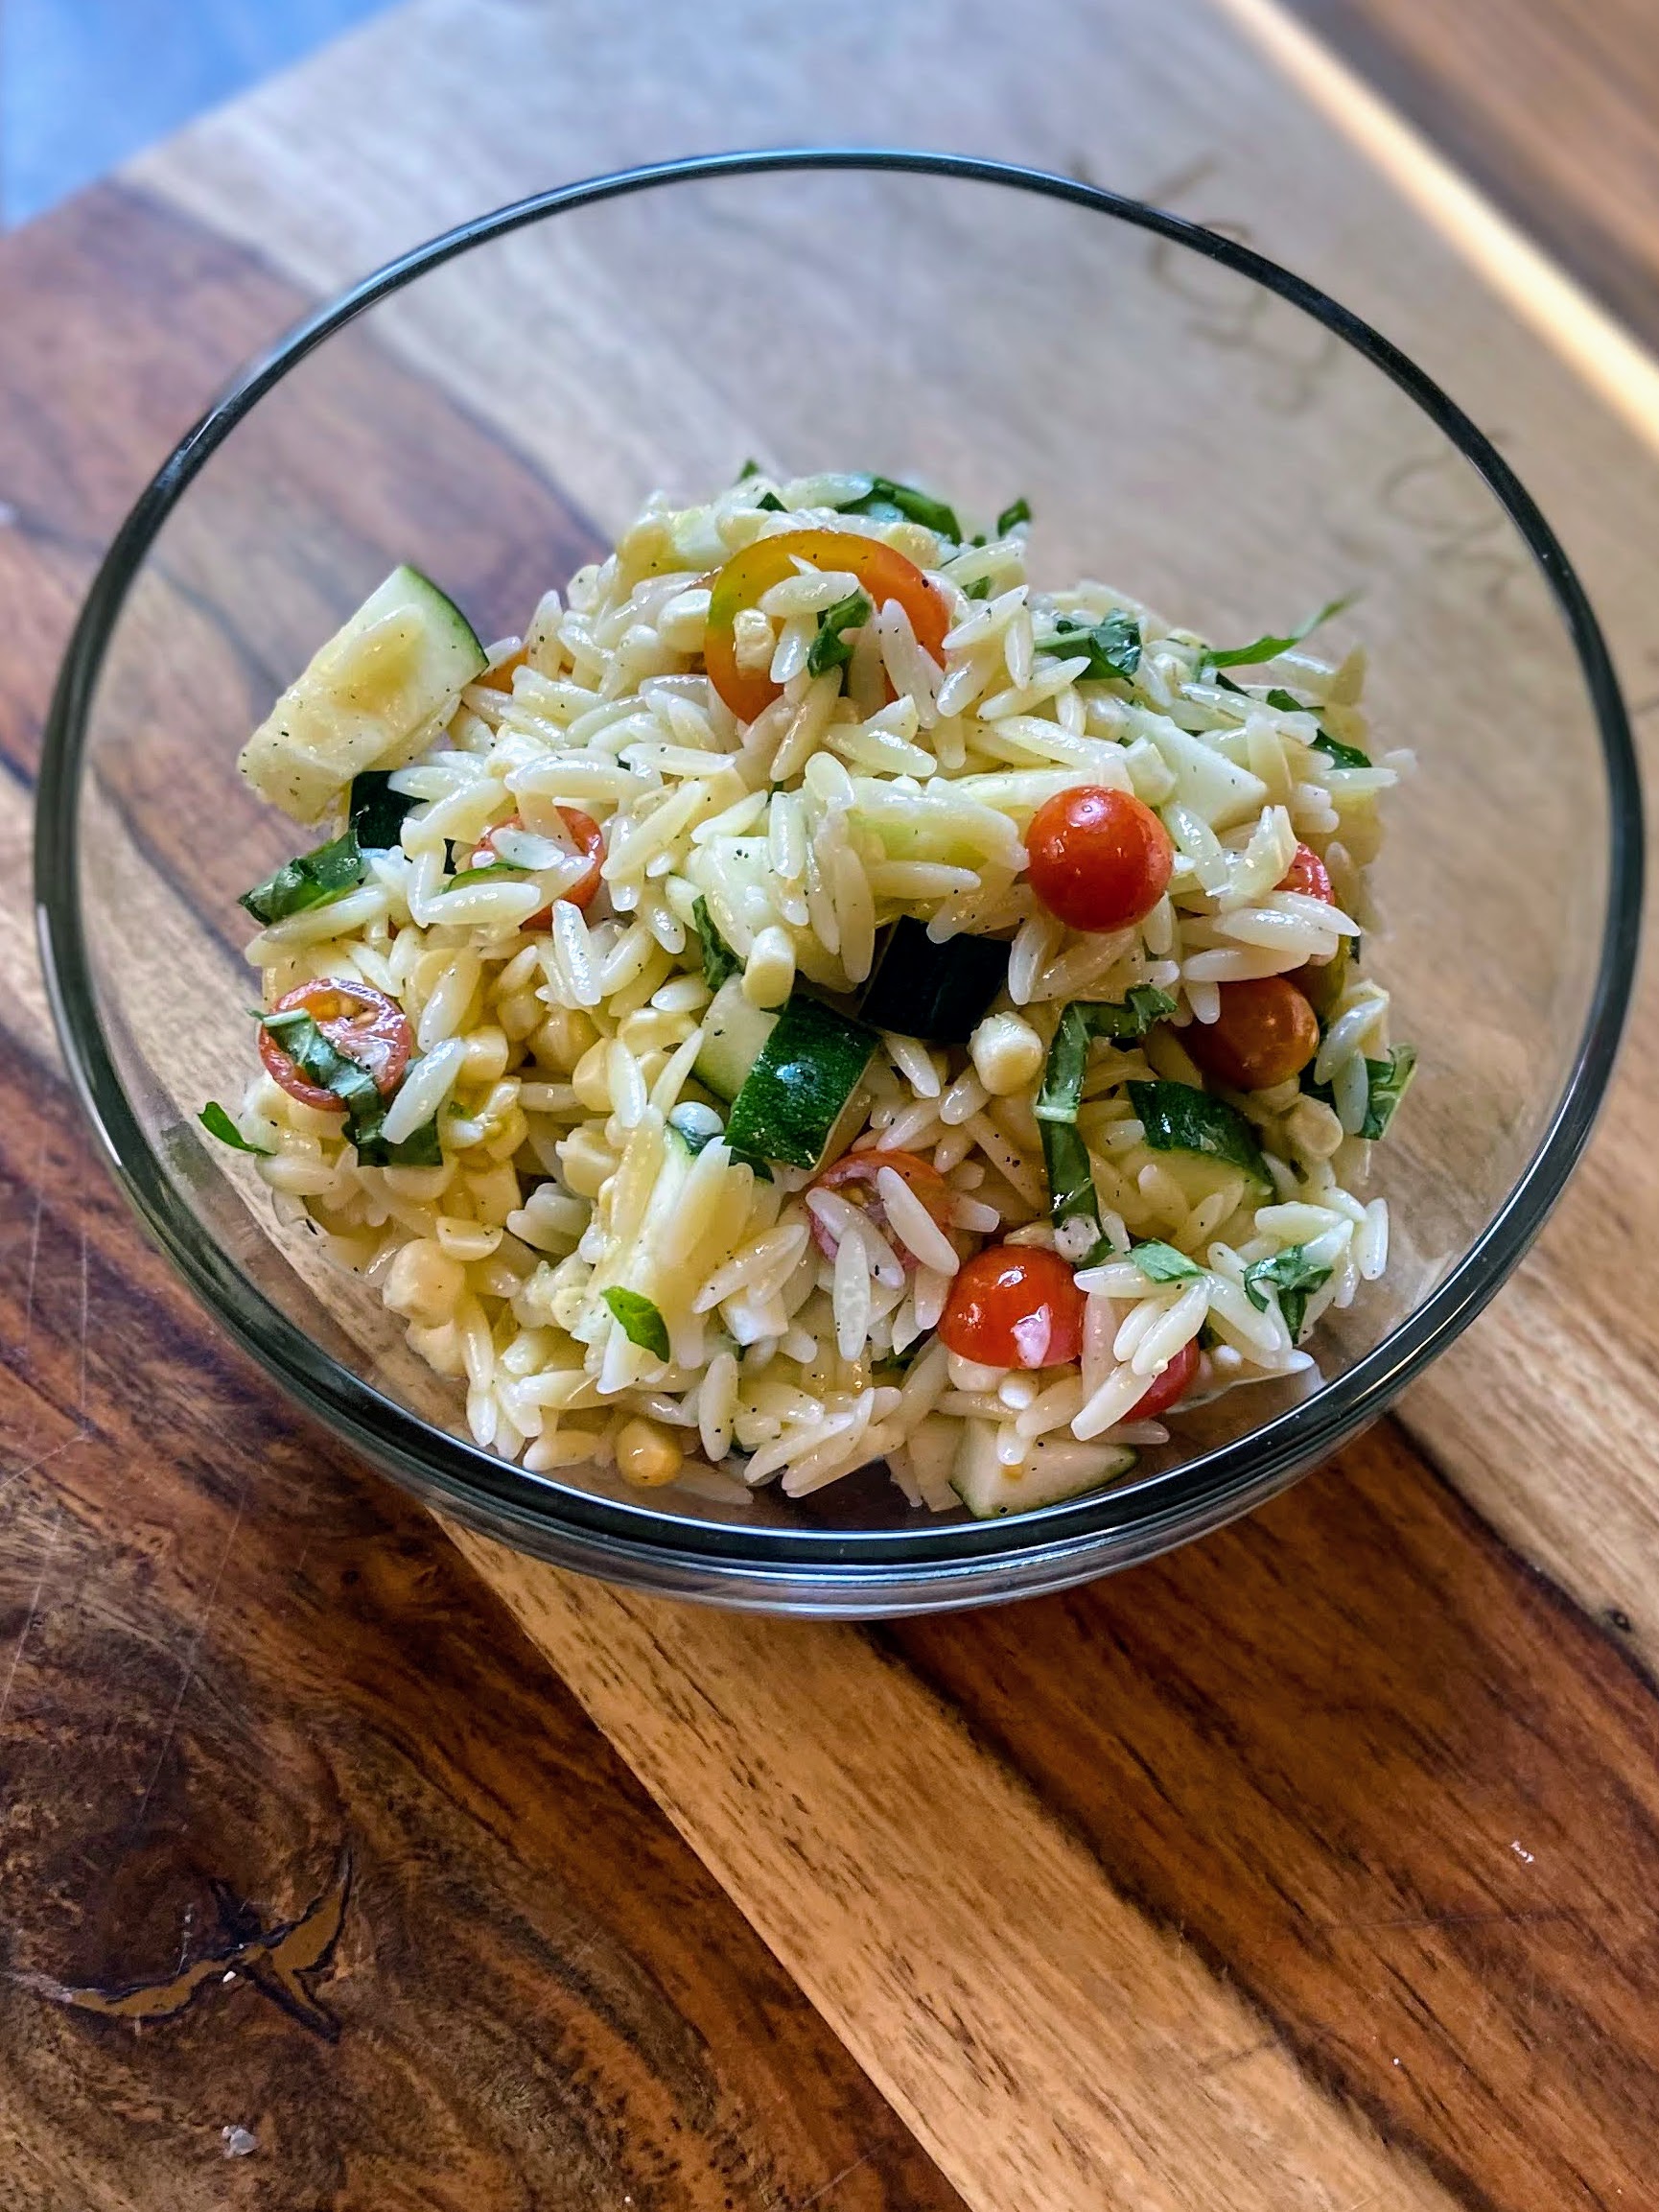
Drain the orzo and rinse with cool water. Combine the orzo and vegetables in a large boil. Whisk the dressing once more and then pour over the salad mixture. Stir to combine. Chiffon the basil into the bowl and stir once more. For the best flavor, allow the salad to chill for 2-3 hours, but I am awful at that. I always just have to dive in!


Tools of the trade!
I have a few tools I use daily in my kitchen, without fail. I adore my flexible cutting boards (Seriously, if you don’t have them yet, invest. You’ll thank me!) I also really dig my Pyrex bowls that come with covers. They go from mixing to table to the fridge without another messy dish. Finally, whenever I am making salads that require dressing, I love my 1 cup liquid measuring cup. Everything gets measured right into there for pouring ease!
Summer Garden Orzo Salad
Ingredients
- 1 small zucchini diced (about 2 cups)
- 1 cup halved cherry tomatoes
- 1 cup fresh corn cut off the cob
- 1 cup dried orzo
- ¼ cup fresh basil very lightly packed
- 3 tablespoons olive oil
- 3 tablespoons white wine vinegar
- Juice from half of a lemon
- ½ teaspoon pepper
- ½ teaspoon salt
Instructions
- Begin by coooking the orzo to al dente according to the package directions. While the orzo is cooking, dice zucchini and cherry tomatoes. Cut the corn from the cob. Set aside.
- Meanwhile, combine olive oil, vinegar, lemon juice, pepper, and salt in a liquid measuring cup. Whisk together.
- Drain the orzo and rinse with cool water. Combine the orzo and vegetables in a large boil.
- Whisk the dressing once more and then pour over the salad mixture. Stir to combine.
- Chiffon the basil into the bowl and stir once more.
- For the best flavor, allow the salad to chill for 2-3 hours.
Looking for other great recipes to pair with the Summer Garden Orzo Salad?
Give any of these a try! Or head to my baking or cooking page!