I'm an affiliate
I hope you love the products I recommend! Just so you know, I may collect a share of sales or other compensation from the links on this page. If you use the links, thank you for supporting me! I really appreciate it!
Last Updated on August 9, 2025 by Jess
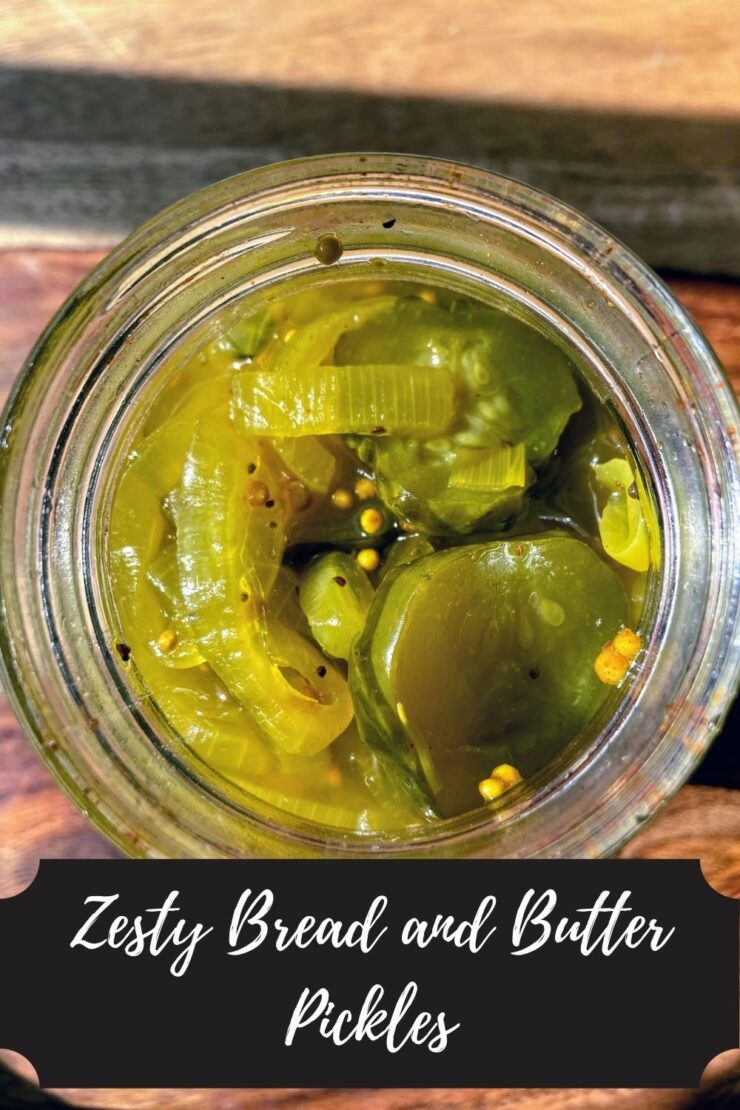
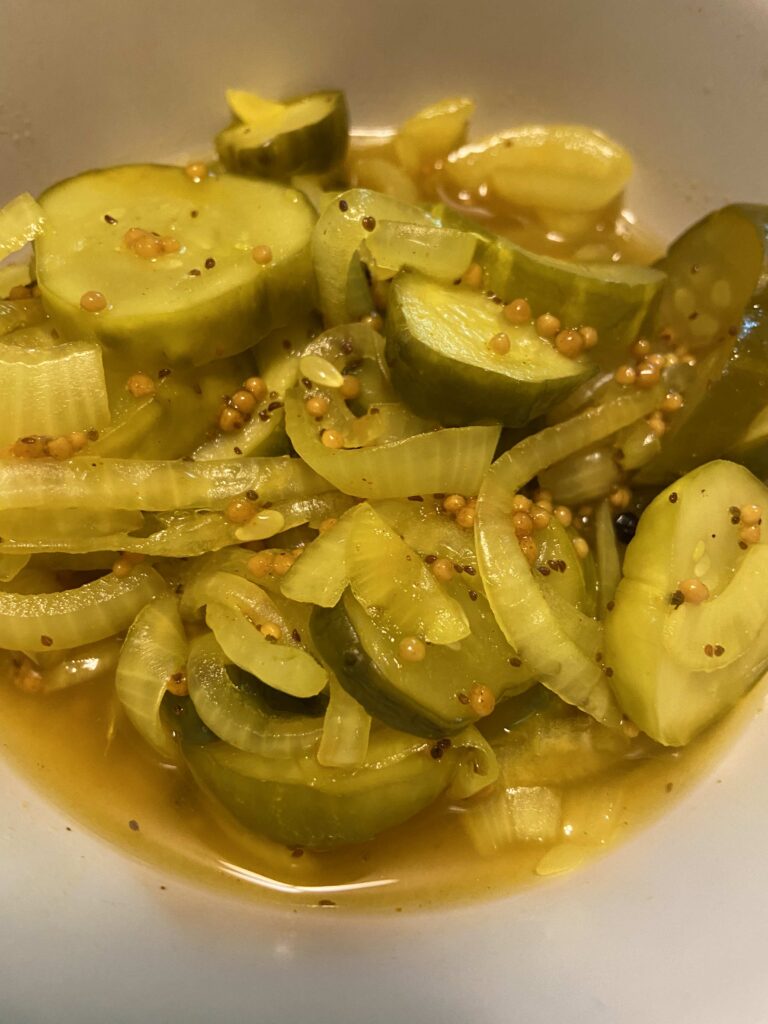
What’s going on in the Jess’s kitchen lately? Let me tell you, so much processing and canning of vegetables from the garden. Most recently, we have had a bumper crop of cucumbers. I have been embracing serving them fresh from the garden, but we can’t quite keep up with them still. When that happens, I love to create some pickles; this week, it was bread and butter pickles that were to die for!
Until recently, I would have scoffed at bread and butter pickles. Pickles should be full of dill and garlic, and that’s it. At least that’s the way I used to feel. I’m not certain what turned me on to bread and butter (maybe a trip to the farmer’s market?), but once I had them, I was hooked. I love the combination of all the spices that mix to make a sweet pickle with a kick.
A transition, covid style.
However, I had never done them truly by scratch. I had always purchased Mrs. Wage’s Zesty Bread and Butter mix. Family and friends raved about them and the Mrs. Wage’s mixes are a cinch to through together so I stuck with them.
Then COVID hit and I especially loved the challenge of cooking with the items I had on hand. It just so happens that I had all the spices needed to make “from scratch” bread and butter pickles from the Ball canning book, so I had to give it a try. The results? Spectacular. I could eat these pickles all day and they truly are a special treat you might not know you love…yet. And lucky for you, I am going to share the recipe below 🙂 Give it a try!
Your Ingredients
- 4 pounds pickling cucumbers
- 2 pounds onions
- ⅓ cup pickling salt
- Ice cubes
- 3 cups vinegar, 5% acidity
- 2 cups white sugar
- 2 tablespoons whole mustard seed
- 1 teaspoon turmeric
- 2 teaspoons celery seed
- 1 teaspoon black peppercorns
- 1 teaspoon ground ginger
Your Utensils
- Water bath canner with rack and lid
- Eight pint jars with lids and rings (wide or narrow mouth)
- Large, non reactive kettle to cook the cucumbers and onions in the pickling brine
Before you begin…
If you’re new to canning, be sure to check out Ball’s Book of Canning or The National Center for Home Food Preservation for more detailed information. I will give you the low down, but it will be short and sweet. You will want to read up more, I promise 🙂
Let’s Get Canning!
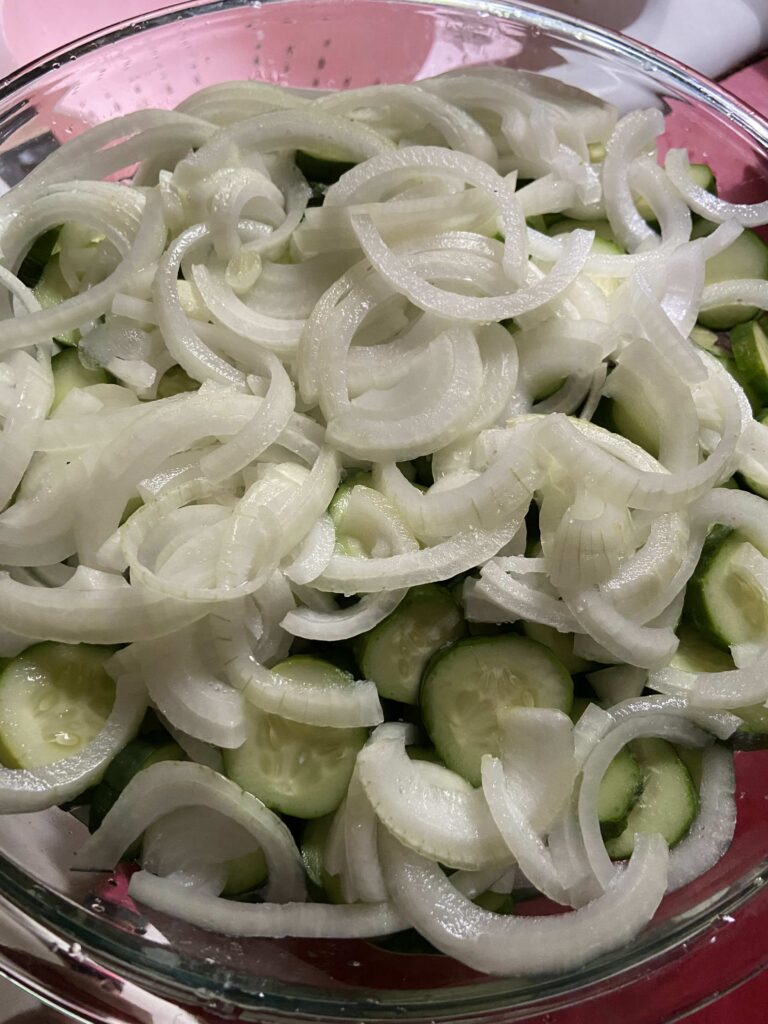
To begin, trim both ends of cucumbers. As you are doing so, slice into ¼ inch slices. In addition, slice the onions into thin slices. Layer ⅓ of the cucumbers and onions in a large bowl. Cover with ⅓ of the canning salt. Repeat two more times. Top the final layer with ice cubes. Allow the bowl to sit for 1 ½ hours.
After approximately one hour, begin to prepare jars, lids, and rings by washing and keeping warm. I generally set the jars in the rack of canner and have it rest above the water. Begin heating the water bath canner (make sure water will be at least one inch above jars once submerged). It is better to have too much water than too little.
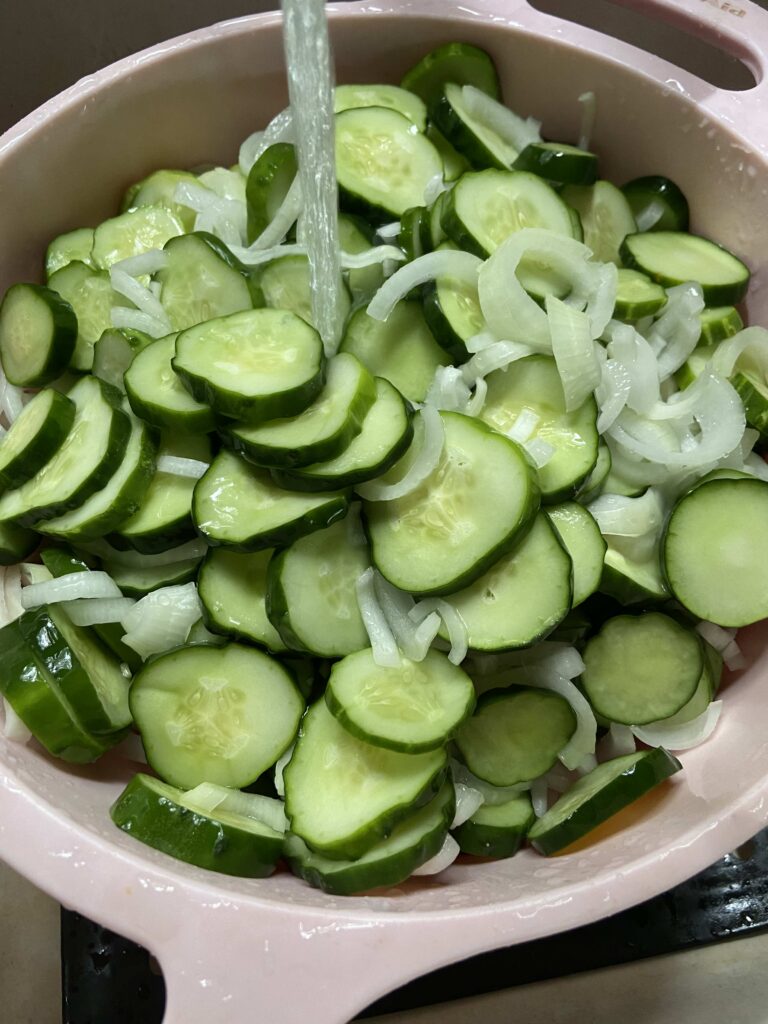
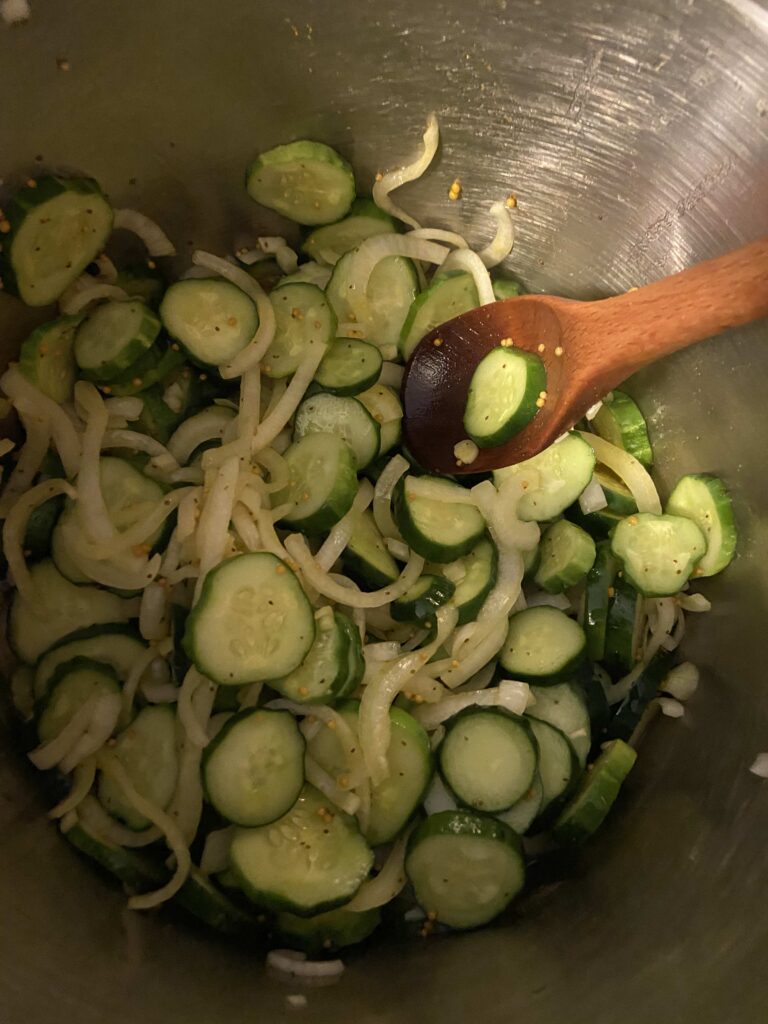
After the cucumbers and onions have rested, rinse with cold water and allow to drain. Combine vinegar, sugar, and spices in a large non-reactive kettle. Heat over a medium heat, slowly reaching a boil. Add drained pickles and onions. Cook until the liquid returns to a boil. Remove from heat.
Time to finish it up !
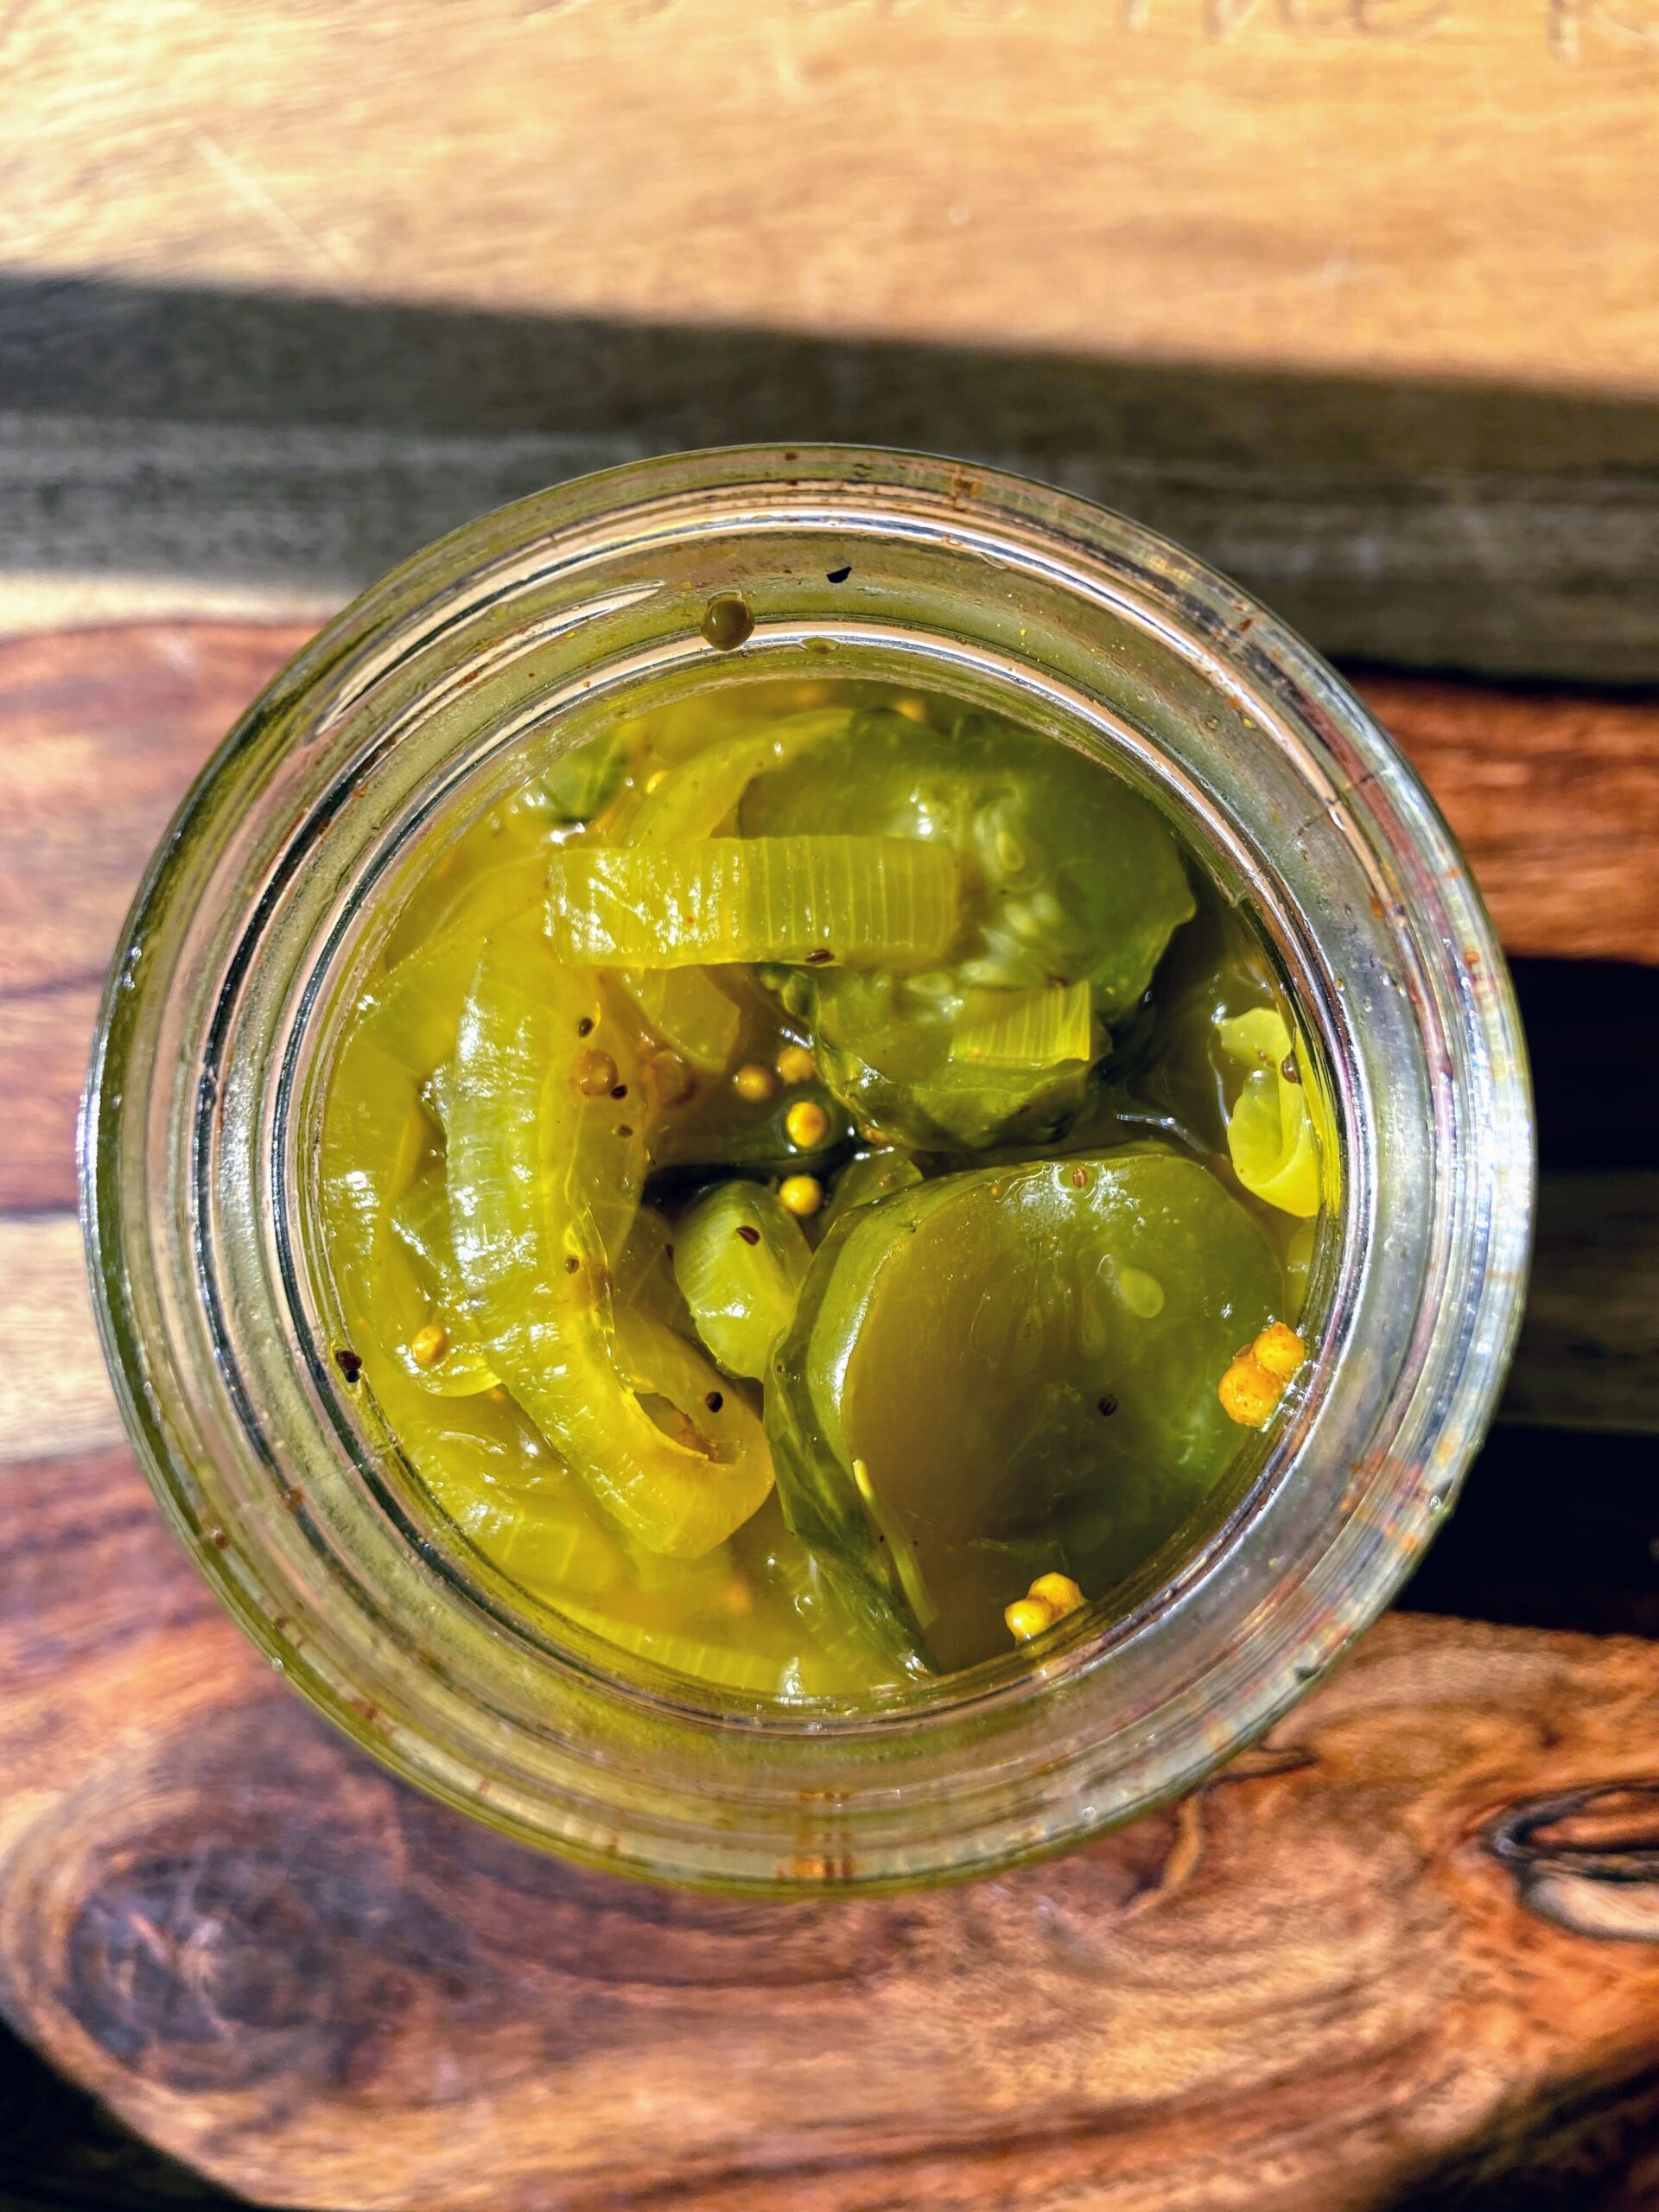
Ladle cucumbers, onions, and liquid into hot jars, leaving ½ inch headspace. Be sure to equally distribute the pickling brine into each jar. Wipe jar rim with a damp, clean cloth. Put lids and rings on, tightening to finger tip tight. Lower into canner, raising heat and bringing to a rolling boil. Process for 15 min, adjusting for altitude (if over 1000 feet). Remove the canner from heat, and allow jars to rest 5 min. Remove from canner and allow to cool at least 12 hours before storing jars. Any jars that do not seal can go straight into the refrigerator for you to enjoy in the next few weeks.
There is no need to tighten rings. In fact, it is recommended they are removed entirely while storing. I have had enough pickles to fill anywhere from seven to eight pint jars. If you have extra, you can store them in a container with a lid and stick them right in the fridge!

Tools of the Trade
While you can truly can with any deep kettle and rack to keep the jars off the bottom of the canner, it is definitely easier if you invest in a few of the tools listed below!
Looking for more ways to savor summer in a jar? Check out the page below:
Zesty Bread and Butter Pickles
Equipment
- pint canning jars with lids
Ingredients
- 4 pounds pickling cucumbers
- 2 pounds onions
- ⅓ cup pickling salt
- Ice cubes
- 3 cups vinegar 5% acidity
- 2 cups white sugar
- 2 tablespoons mustard seed
- 1 teaspoon turmeric
- 2 teaspoons celery seed
- 1 teaspoon black peppercorns
- 1 teaspoon ground ginger
Instructions
- Trim both ends of cucumbers and slice into ¼ inch slices. Slice the onions into thin slices.
- Layer ⅓ of the cucumbers and onions in a large bowl. Cover with ⅓ of the canning salt. Repeat two more times.
- Top the final layer with ice cubes. Allow the bowl to sit for 1 ½ hours.
- After approximately one hour, begin to prepare jars, lids, and rings by washing and keeping warm. Begin heating the water bath canner over medium high heat.
- After the cucumbers and onions have rested, rinse with cold water and allow to drain.
- Combine vinegar, sugar, and spices in a large non-reactive kettle.
- Heat over a medium heat, slowly reaching a boil. Add drained pickles and onions.
- Cook until the liquid returns to a boil. Remove from heat.
- Ladle cucumbers, onions, and liquid into hot jars, leaving ½ inch headspace. (Be sure to equally distribute the pickling brine into each jar.)
- Wipe jar rim with a damp, clean cloth. Put lids and rings on, tightening to fingertip tight.
- Lower into canner, raising heat and bringing to a rolling boil.
- Process for 15 min, adjusting for altitude (if over 1000 feet).
- Remove the canner from heat, and allow jars to rest 5 min. Remove from the canner and allow to cool at least 12 hours before storing jars.
HEre are a few of my other favorite canning recipes!
How does this recipe compare to Vlasic’s Zesty Bread and Butter Pickles? It appears they use hot red peppers instead of ginger for the heat factor.
Ooo..I don’t know Kaye! I have never eaten them. Crazy thing, I didn’t know I liked them until I canned them the first time, so I have never purchased store brand! I wish I could tell you 🙂
I got 14 pints but had to double the liquid to have enough.
That sounds about right Sharon! This recipe is for 7 pints, but I always prep an extra jar so I am not scrambling when it’s “go time.” I hope you enjoy them as much as we do!
I would like to try this recipe. How long are these good for? (Shelf life)
The powers that be always say 12-18 months. I have eaten them when they are two years old plus and they have been just fine!I hope you love them!