Over a year ago, I was flipping through my classic Red Betty Crocker Cookbook for my Instagram collab “one book, three recipes” when I stumbled on their version of “Easy Cassoulet.” I went on to read that cassoulet is a traditional French dish that is slow cooked over many hours and has been elevated over the years to be a staple dish. That was essentially the opposite of the recipe I was reading as this dish cooked up in under 10 minutes but I gave it a try!
It had about 5 ingredients and may have been one of the quickest meals I threw together since the protein was kielbasa (a quick cook) and it called for all canned items or frozen vegetables. Surprisingly, it was tasty and my big kiddo told me it tasted like something I’d cooked before, perhaps food from New Orleans? That made sense as New Orleans has a rich French heritage.
Immediately, I had the idea to play with the recipe and make it my own. Find a happy medium between Betty’s 5-10 minute dish and what my research told me was a traditional cassoulet, taking upwards of 12 hours of time to create (there’s beans to soak, you know!). Is this totally authentic? Nope. But is it a take that is accessible to tons of families as a comforting meal that can come together pretty quick with minimal work? Absolutely.
I strive to share meals that bring families together, are full of nutrient dense ingredients, are primarily from scratch, and taste dang good. And I think this does just that! Now let’s get cooking!
Your Ingredients
- 1 green pepper, diced (about 1 ¼ cup)
- 3 stalks celery, diced (about ¾ cup)
- 1 onion, diced (about 1 cup)
- 2 cloves garlic, minced
- 2 cans cannellini beans, one rinsed and drained
- 2 cans diced tomatoes, undrained
- 1 teaspoon dried thyme
- 1 ring sausage, sliced thin (kielbasa if you like it mild, Andouille if you like a kick)
- ½-1 teaspoon pepper
- Salt, to taste
- 2-3 slices of stale crusty bread, for breadcrumbs (1 ¾ cup crumbs total)
- Olive oil
Your Steps to Easy Cassoulet
Preheat the oven 350 degrees. Prepare a 9 ½ by 11 baking dish with cooking spray. Set aside.
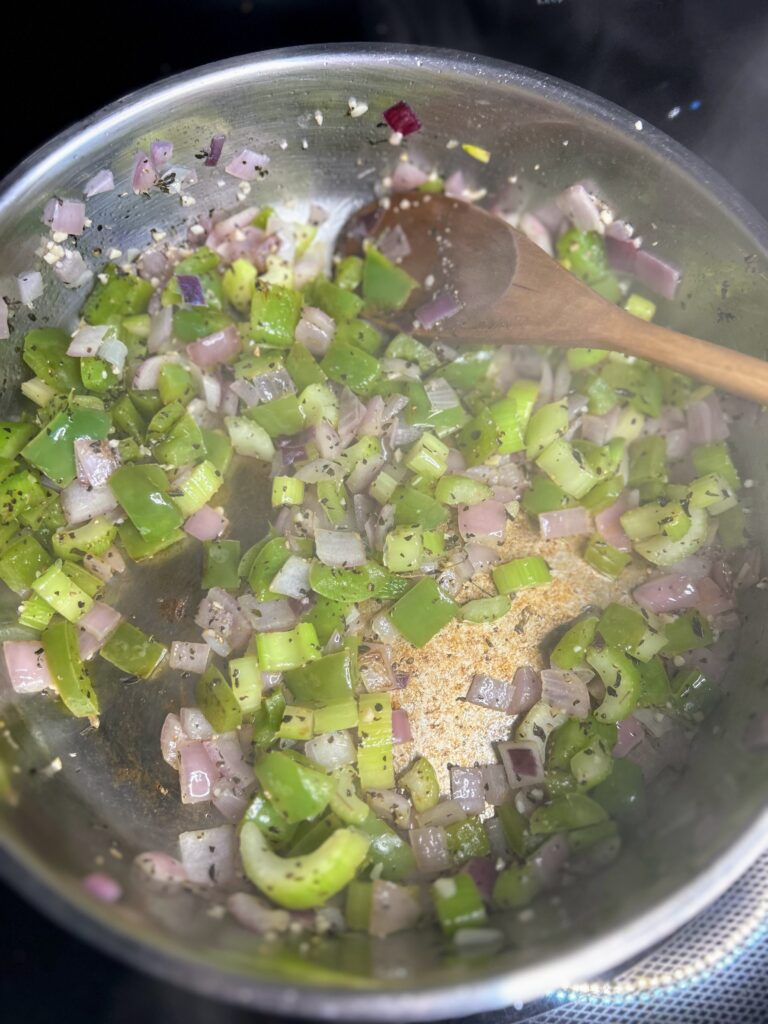
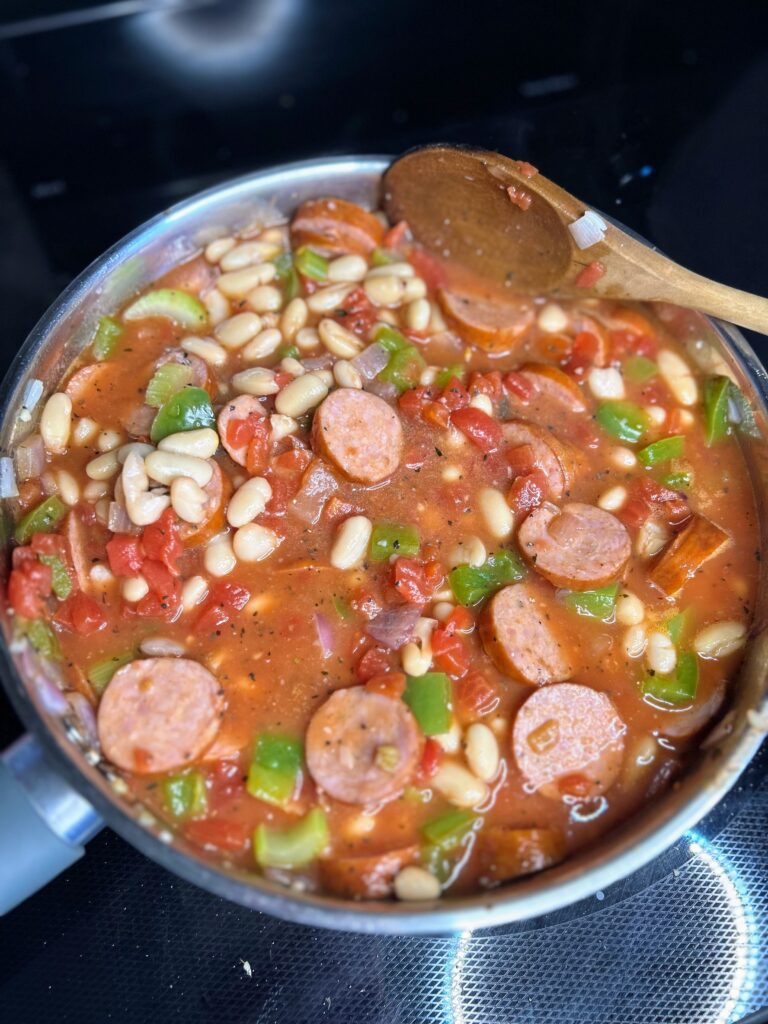
In a large saucepan, heat a tablespoon of olive oil over medium heat. Add green pepper, celery, and onion. Cook until softened and onion is translucent, about 8 minutes. Add pepper, garlic, and thyme, cooking just a minute more.
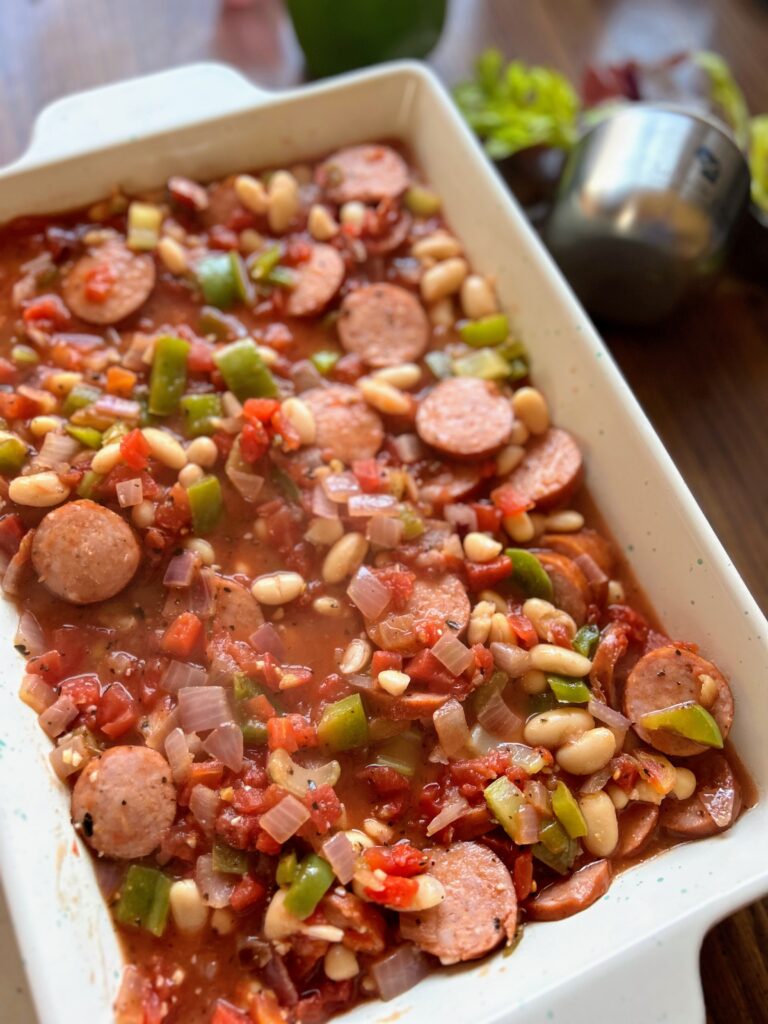
To the pan, add diced tomatoes and sliced sausage. Cook until hot. Stir in beans (one can rinsed and drained, one not). Once the mixture is heated through, carefully pour into the prepared baking dish. Cover with foil and bake for one hour.
Meanwhile, tear the crusty bread into about one inch pieces and place in a food processor. Pulse until rough bread crumbs have been created. Make enough to measure 1 ¾ cup worth of crumbs.
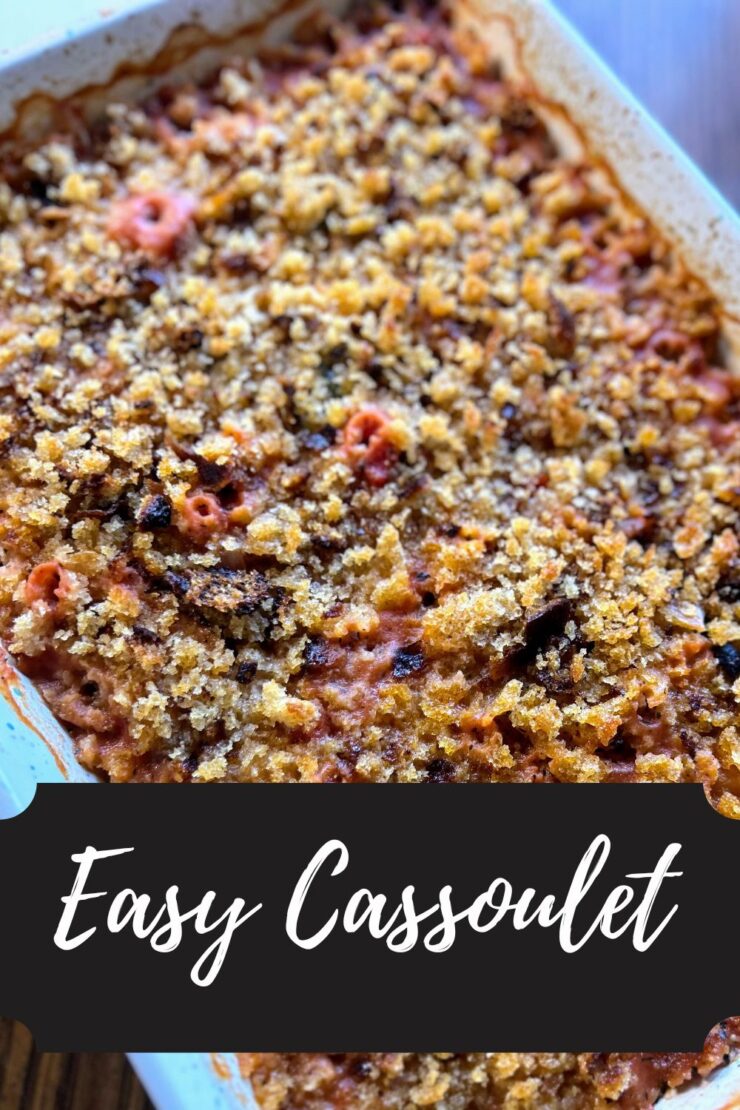
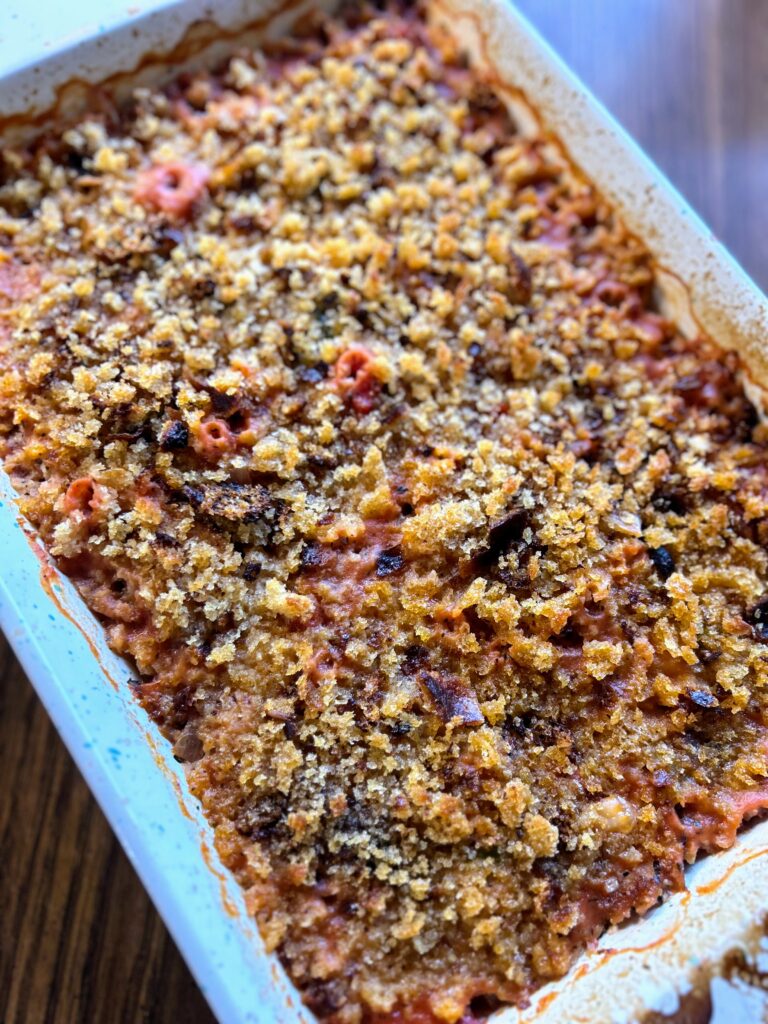
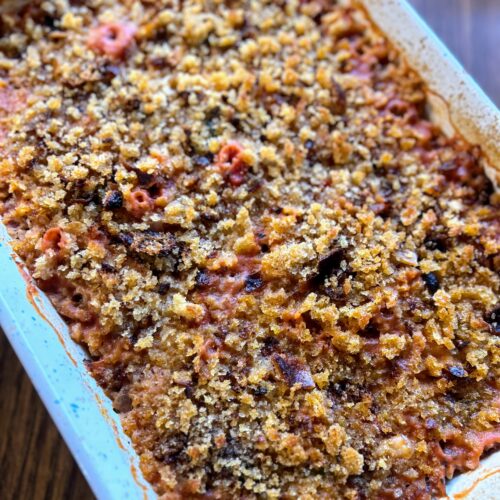
Once the dish has baked for an hour, remove from the oven, top the mixture with bread crumbs and some drizzle of olive oil (A spray with olive oil spray would work too!). Bake an additional 20 minutes, until the bread crumbs are golden brown. Serve up with some additional crusty bread and a salad for a complete meal!

Tools of the Trade
There are a few items you’ll want for this dish and so many that you can make with recipes I have here on Jess in the Kitchen. I am a sucker for Pyrex (although I wanted to use a dish my son gifted me for these pictures!) and a small food processor is perfect for the bread crumbs!
Easy Cassoulet
Ingredients
- 1 green pepper diced (about 1 ¼ cup)
- 3 stalks celery diced (about ¾ cup)
- 1 onion diced (about 1 cup)
- 2 cloves garlic minced
- 2 cans cannellini beans one rinsed and drained
- 2 cans diced tomatoes undrained
- 1 teaspoon dried thyme
- 1 ring sausage sliced thin (kielbasa if you like it mild, Andouille if you like a kick)
- ½-1 teaspoon pepper
- Salt to taste
- 2-3 slices of stale crusty bread for breadcrumbs (1 ¾ cup crumbs total)
- Olive oil
Instructions
- Preheat the oven 350 degrees. Prepare a 9 by 11 baking dish with cooking spray. Set aside.
- In a large saucepan, heat a tablespoon of olive oil over medium heat. Add green pepper, celery, and onion. Cook until softened and onion is translucent, about 8 minutes. Add pepper, garlic, and thyme, cooking just a minute more.
- To the pan, add diced tomatoes and sliced sausage. Cook until hot. Stir in beans (one can rinsed and drained, one not). Once the mixture is heated through, carefully pour into the prepared baking dish. Cover with foil and bake for one hour.
- Meanwhile, tear the crusty bread into about one inch pieces and place in a food processor. Pulse until rough bread crumbs have been created. Make enough to measure 1 ¾ cup worth of crumbs.
- Once the dish has baked for an hour, remove from the oven, top the mixture with bread crumbs and some drizzle of olive oil (A spray with olive oil spray would work too!). Bake an additional 20 minutes, until the bread crumbs are golden brown. Serve up with some additional crusty bread and a salad for a complete meal!
Looking for other dinner inspiration?
Check out my cooking page for all sorts of ideas, or maybe try one of my favorites below!