Last Updated on September 23, 2024 by Jess
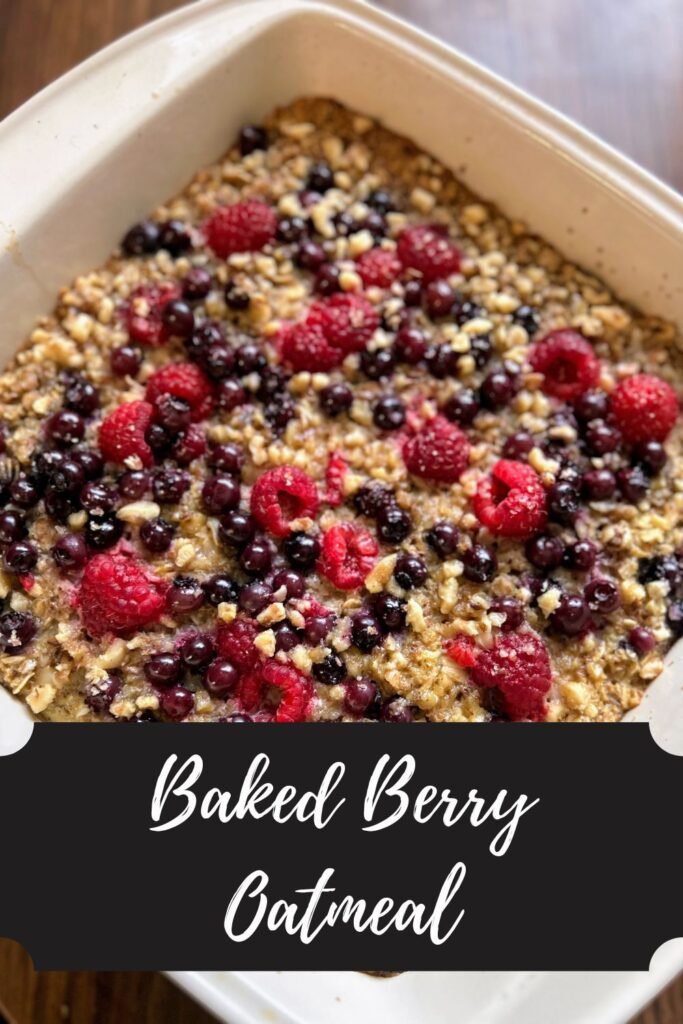
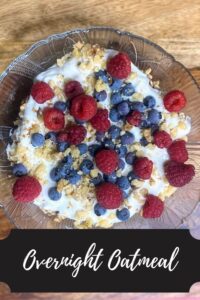
Weekends in the fall are for cozy breakfasts. Warm breakfasts that you can curl your hands around with a cup of coffee and just take in the cool, beautiful weather. At least, that’s what I believe. Most days of the week, I go for overnight oats with Greek yogurt (Grab this recipe here!), but on the weekend, I like to play around with my breakfast a little more and this pumpkin pie baked oatmeal is just the ticket.
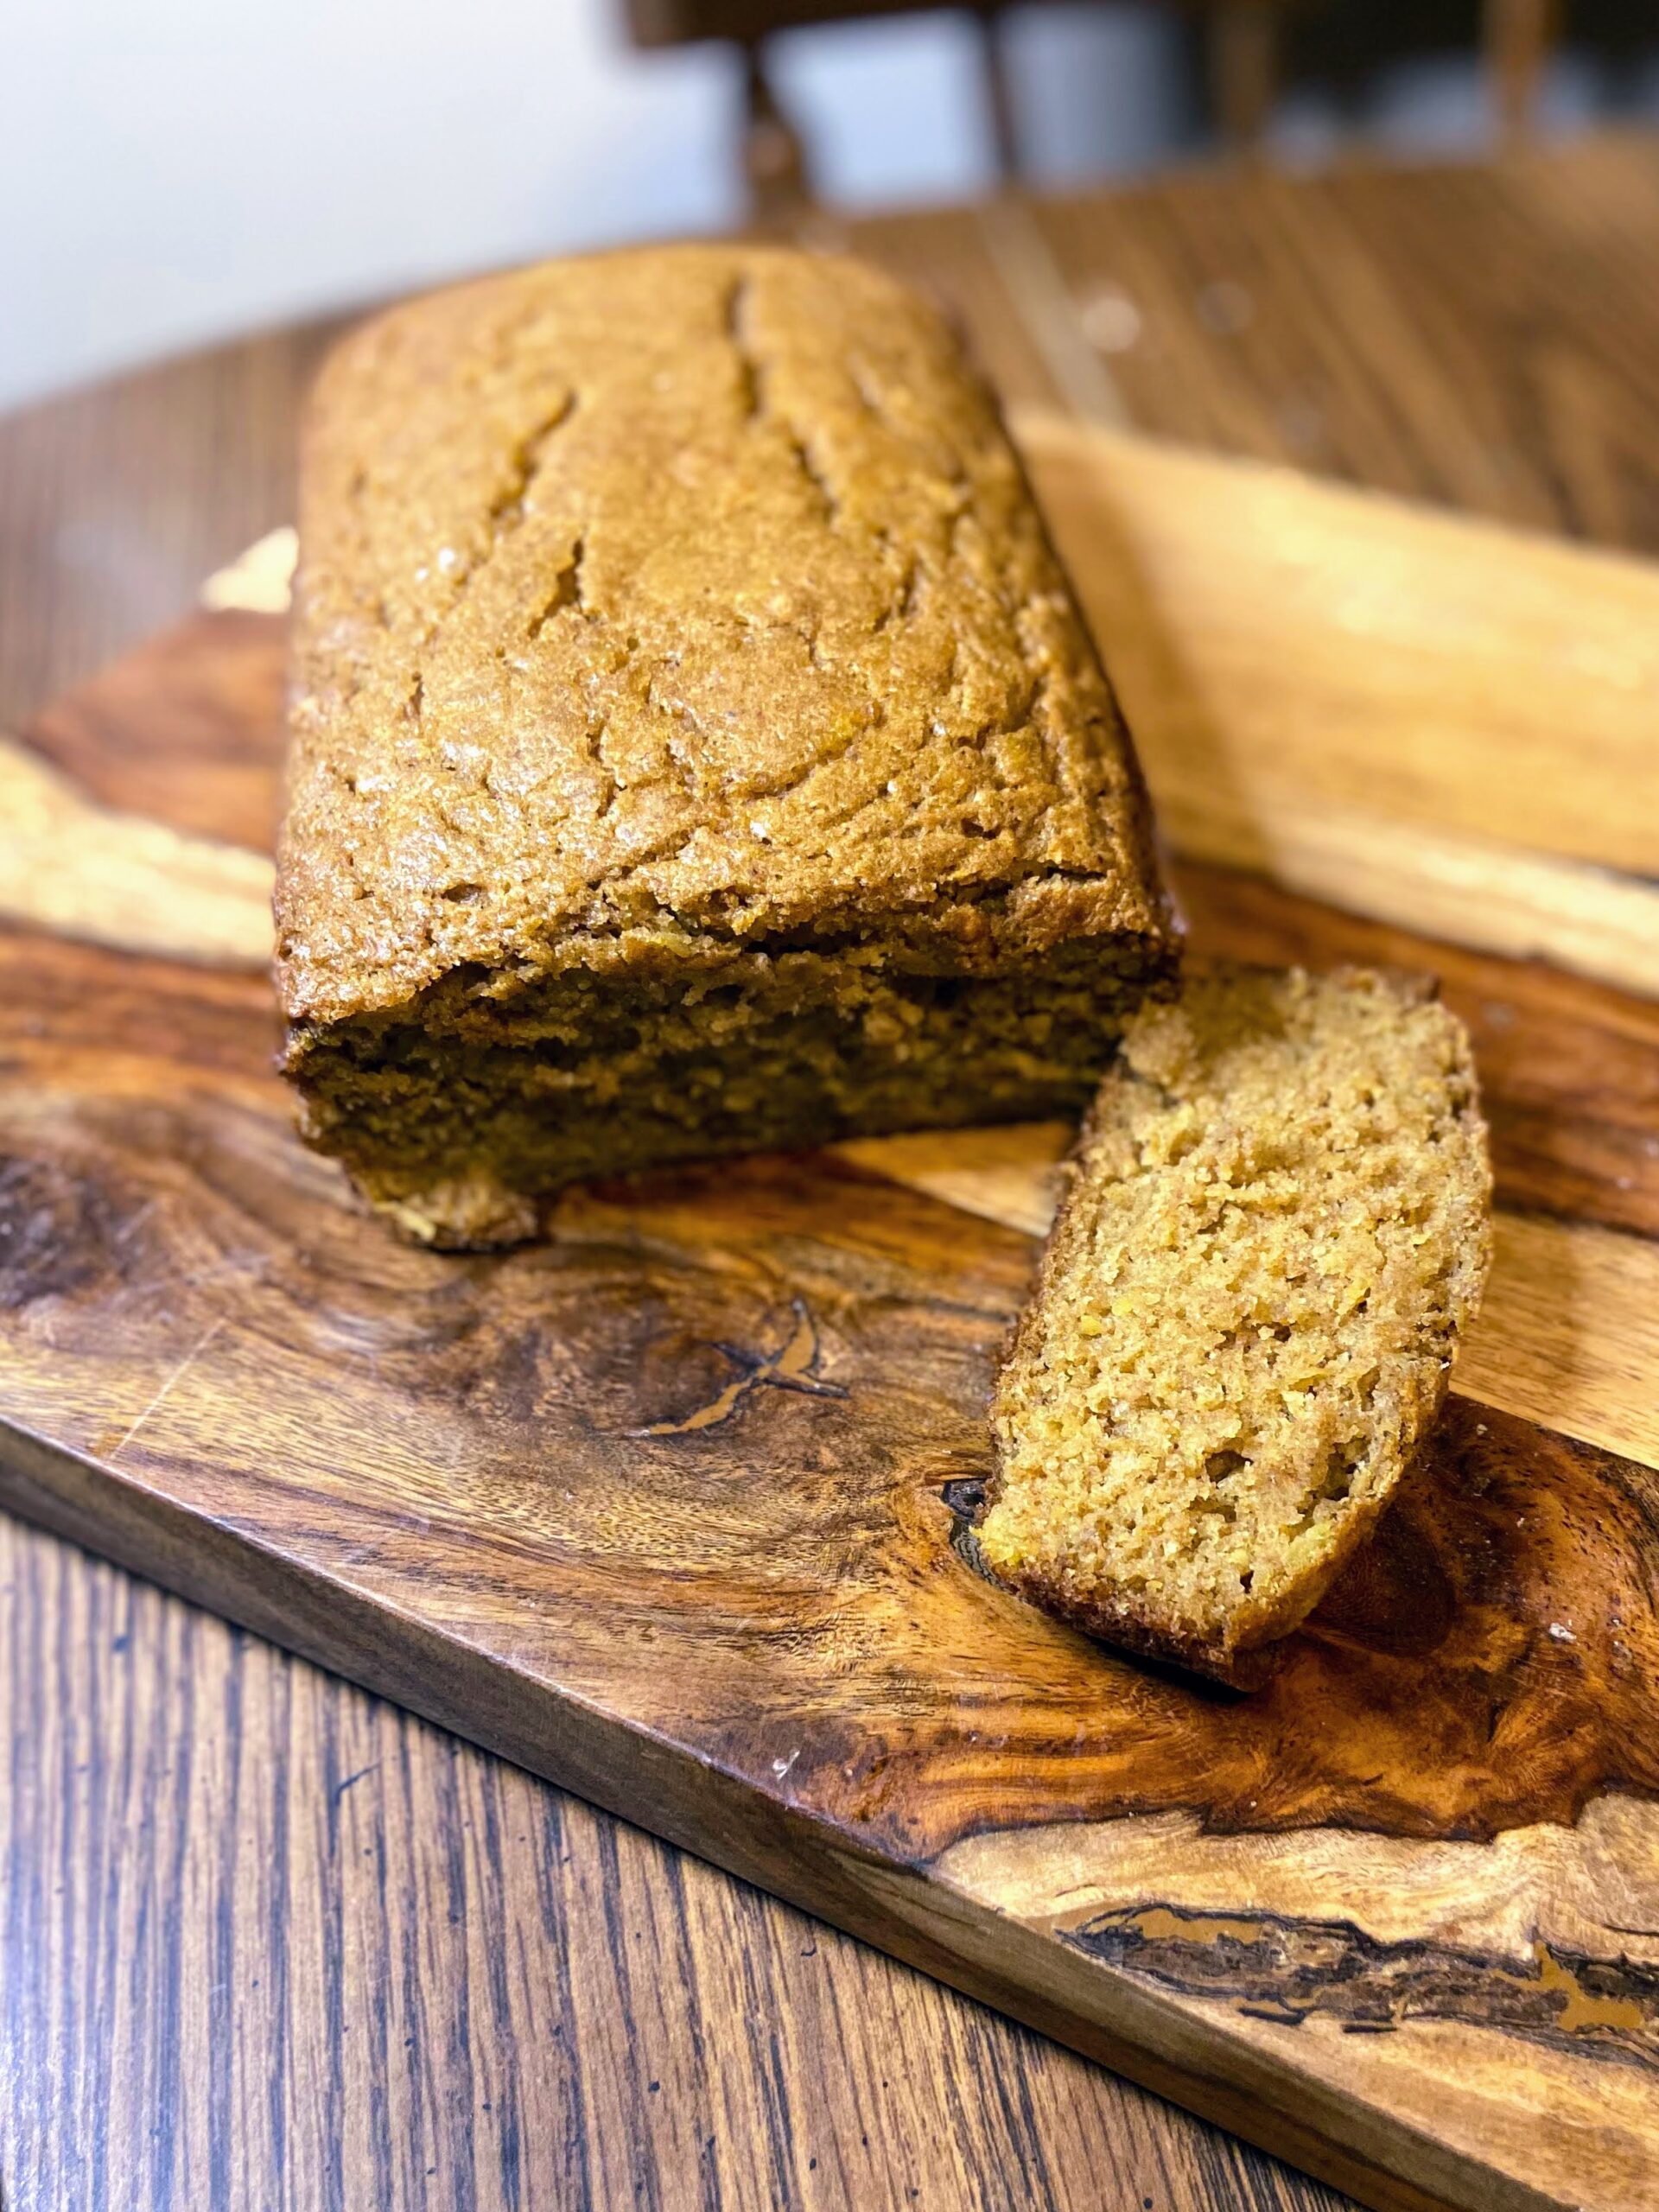
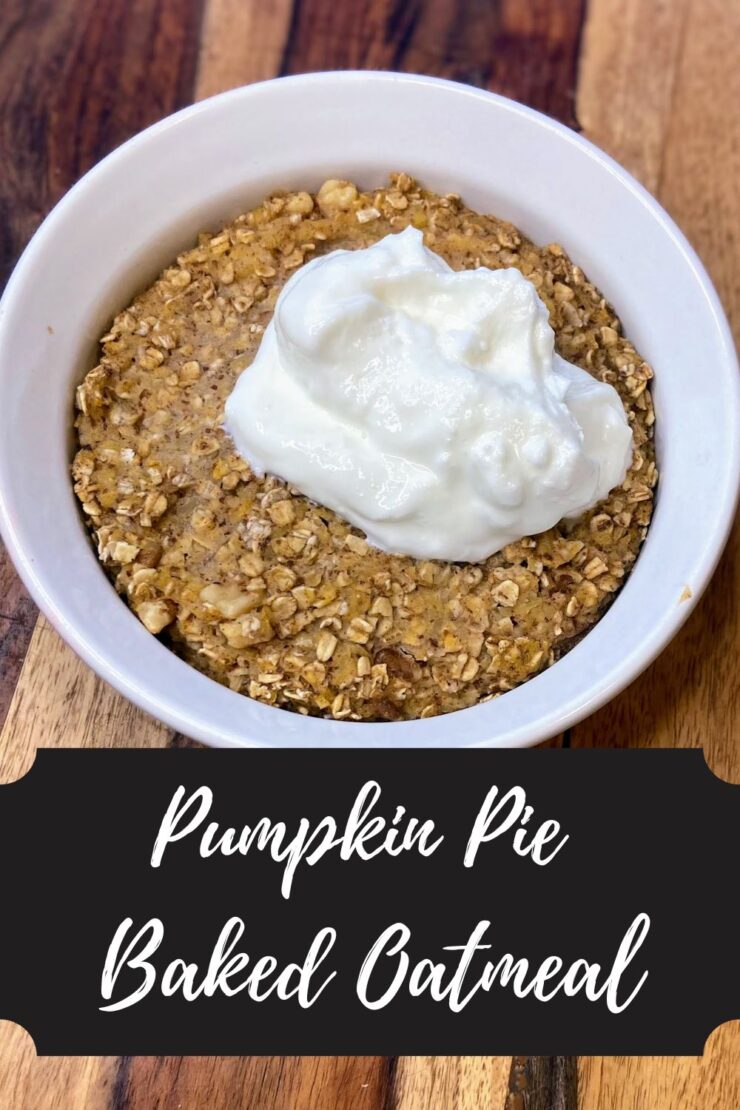
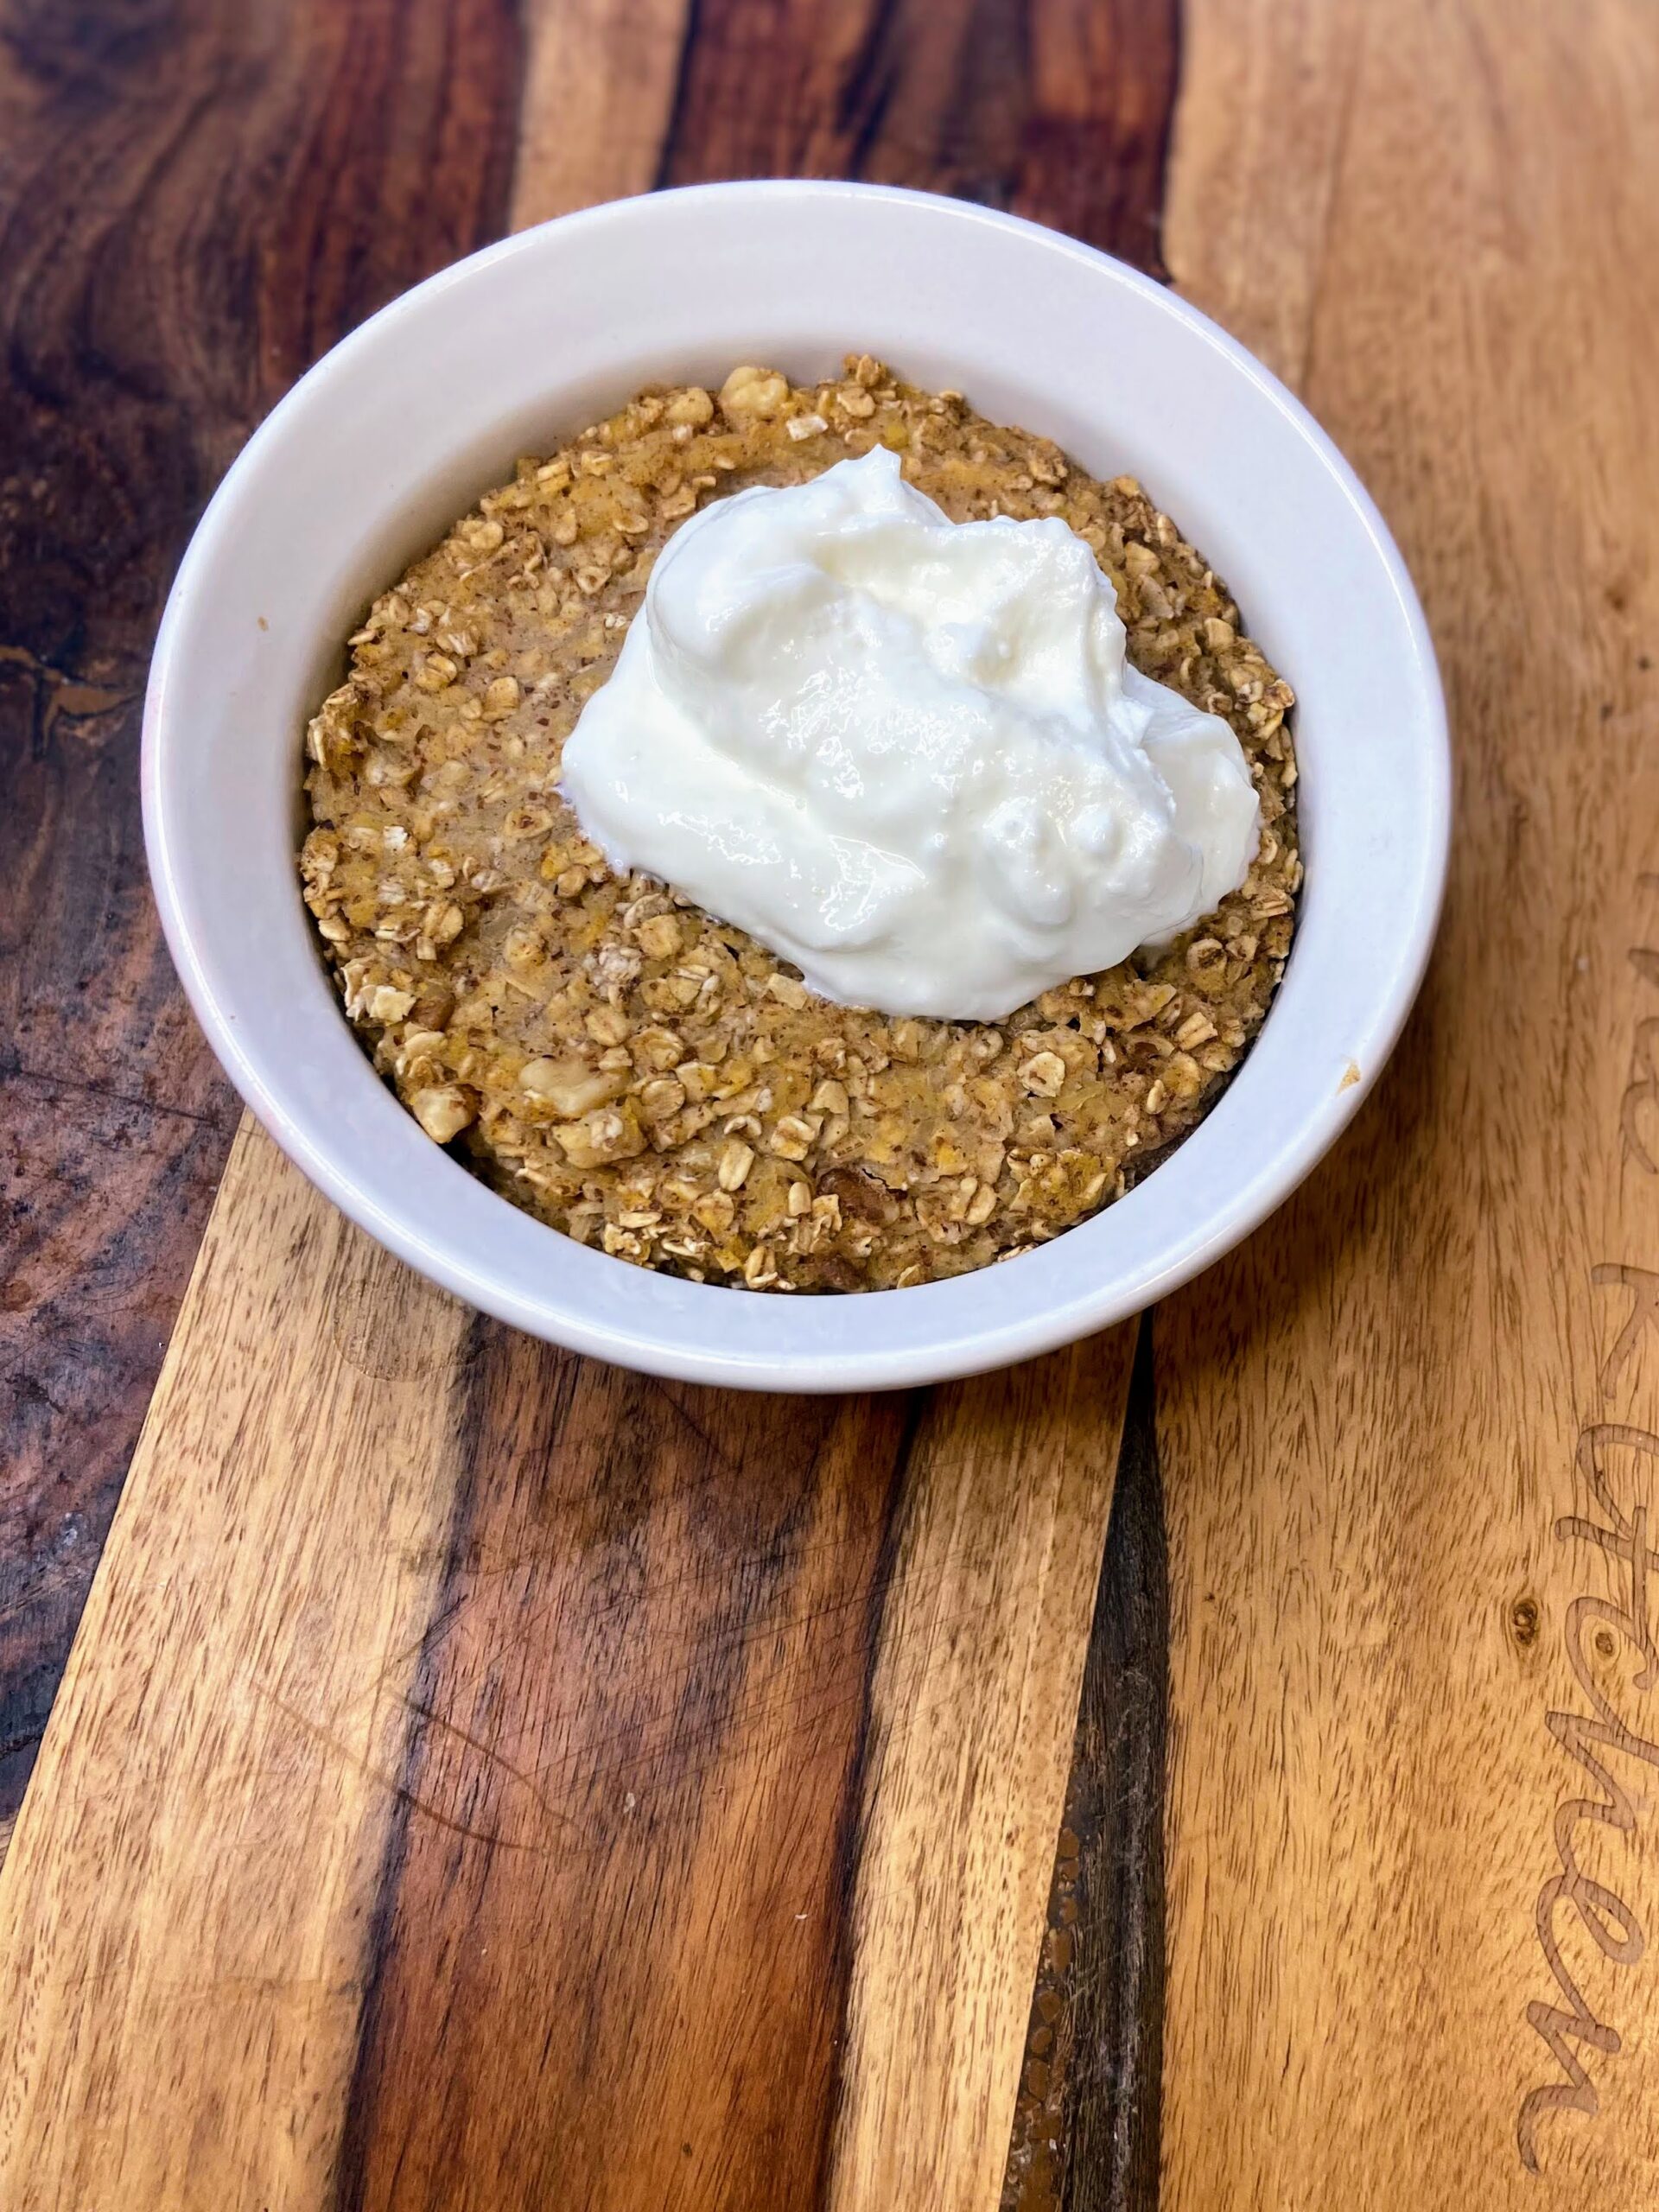
I don’t know your story, but I am a mom that lives for the quiet on the weekends. For me, I intentionally wake up before everyone else so I can enjoy my coffee and breakfast with a candle and some Christmas lights (don’t judge!). I love mixing together baked oatmeal to savor while it’s still before dawn. This pumpkin pie baked oatmeal is a single serving dish of deliciousness that mixes up in minutes and bakes in just twenty minutes. I top it with a little Triple Zero Vanilla Greek Yogurt to get those whipped cream vibes without all the sugar. So dang good!
Ready to make your own breakfast? Let’s go!
Your Ingredients for Pumpkin Pie Baked Oatmeal
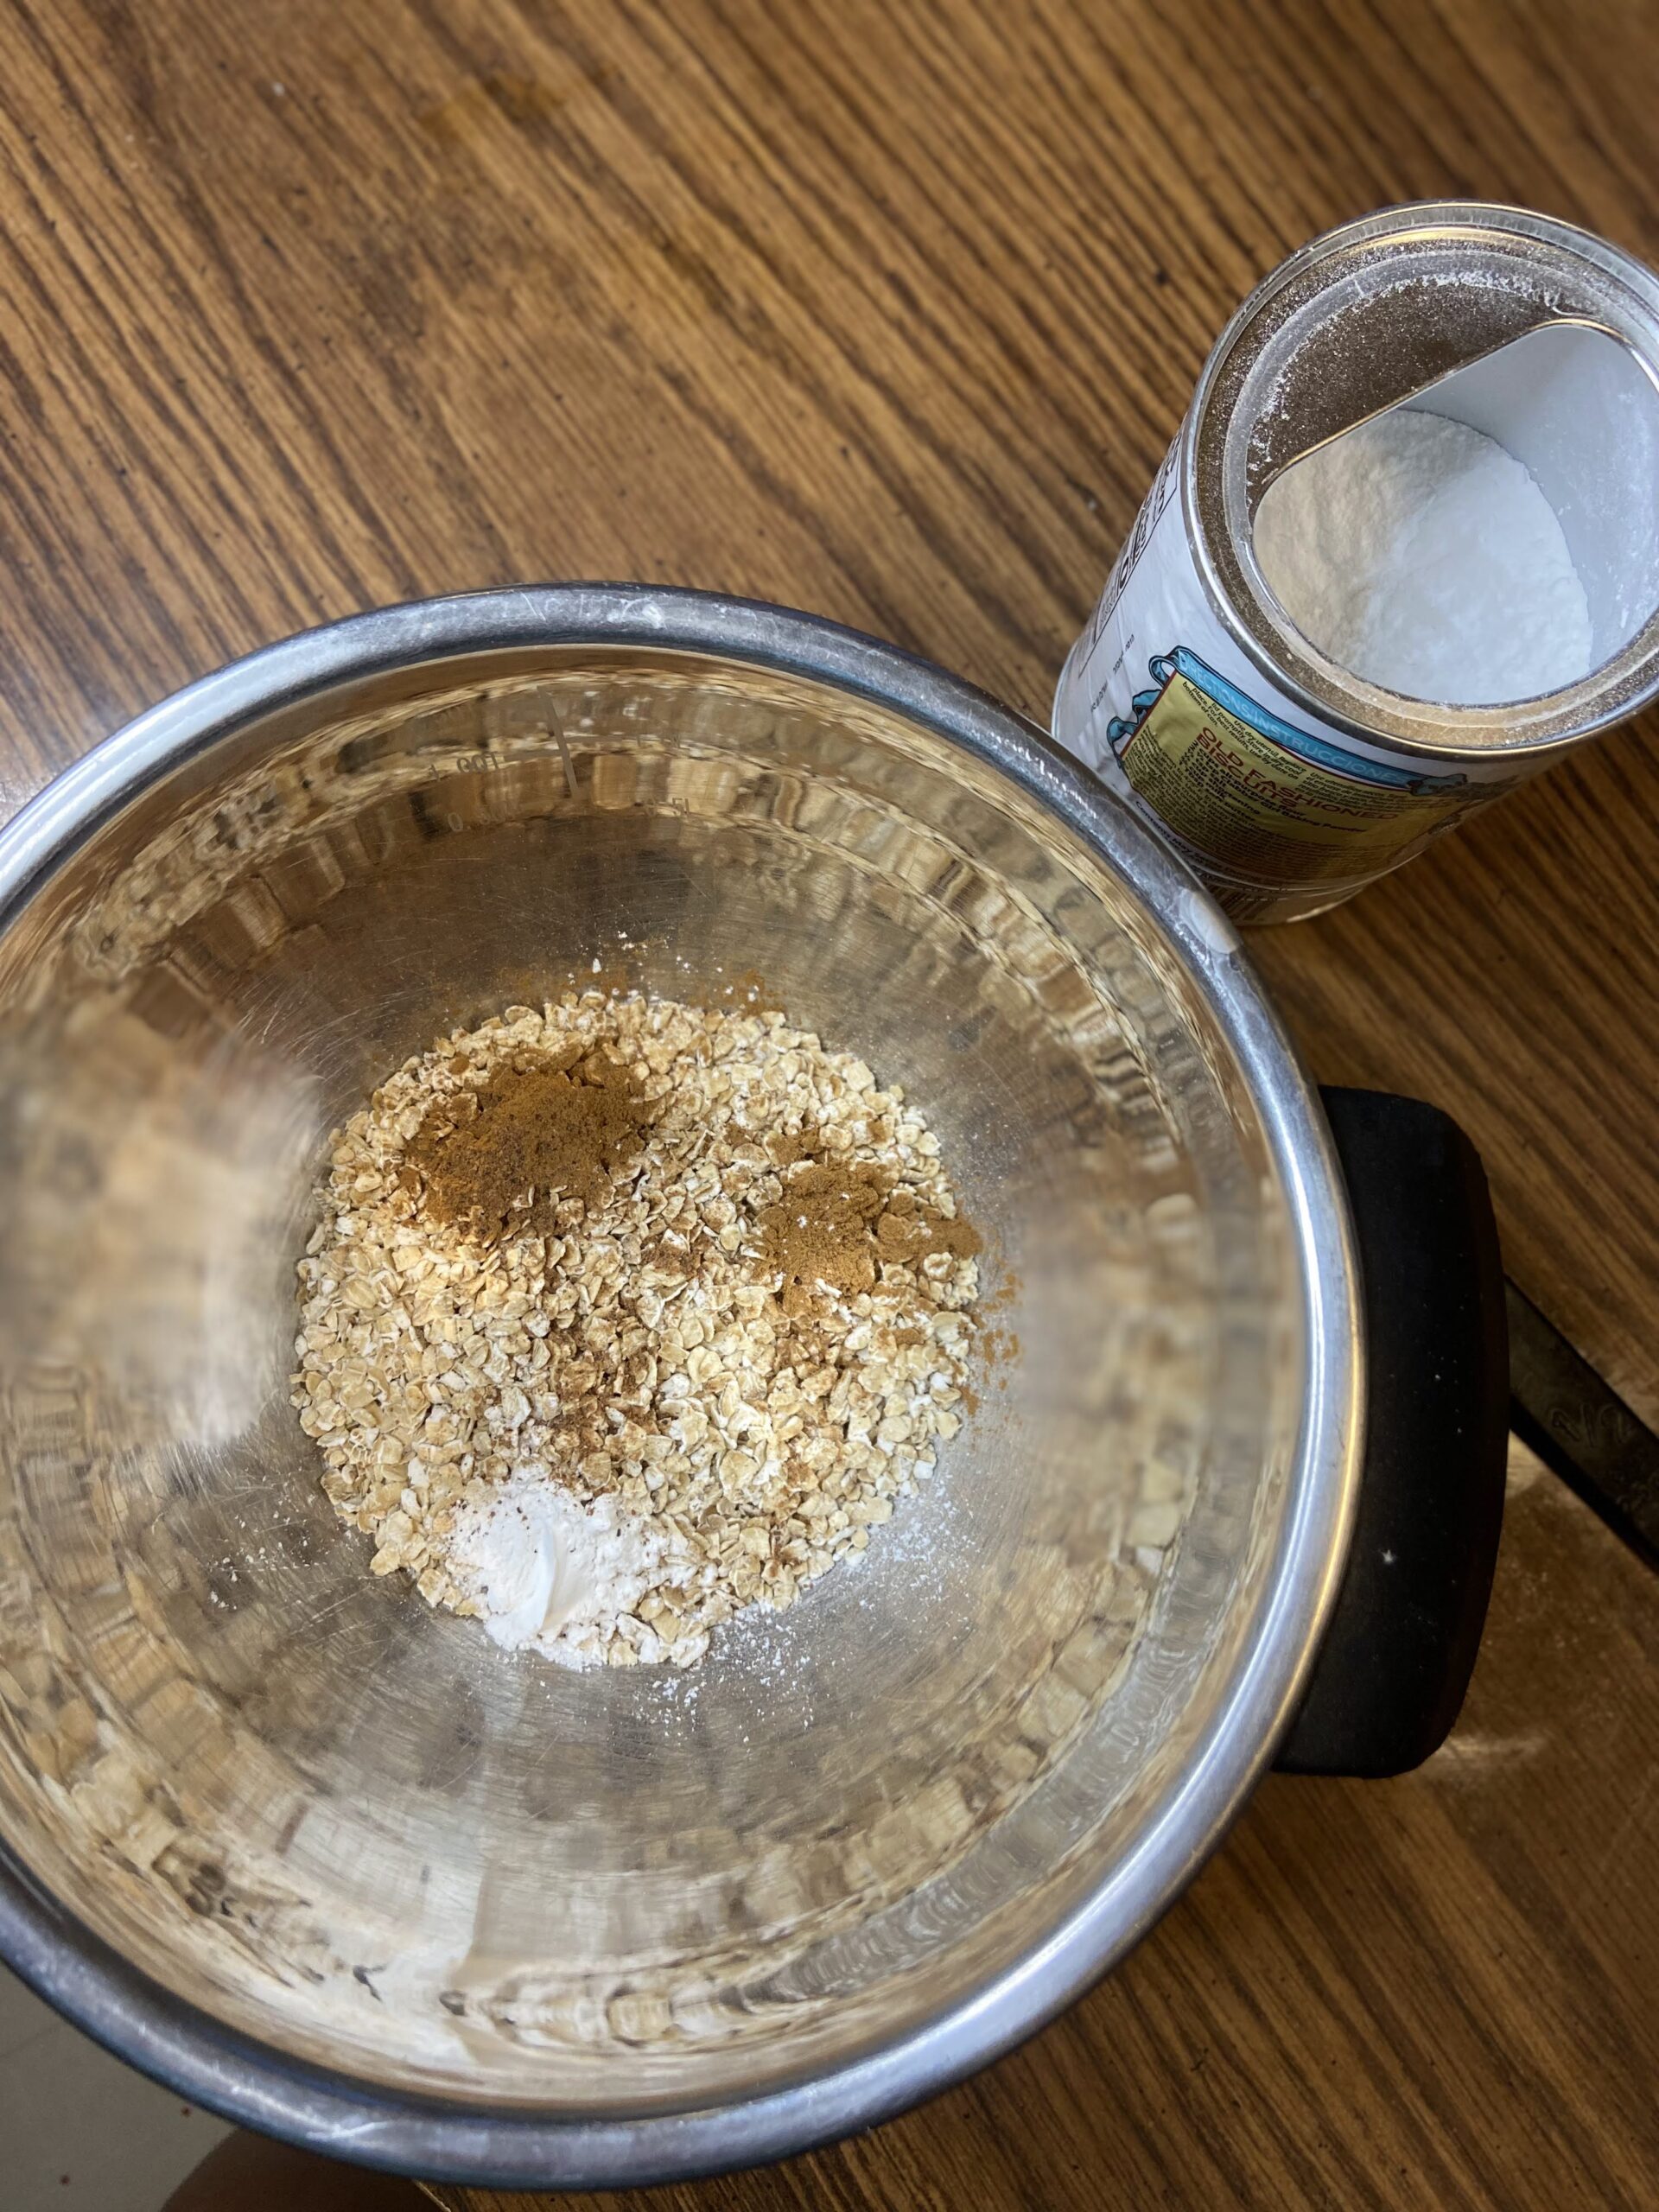
- ½ cup quick oats
- ½ tablespoon ground flaxseed
- ⅛ teaspoon nutmeg
- ½ teaspoon cinnamon
- Pinch of salt
- ½ teaspoon baking powder
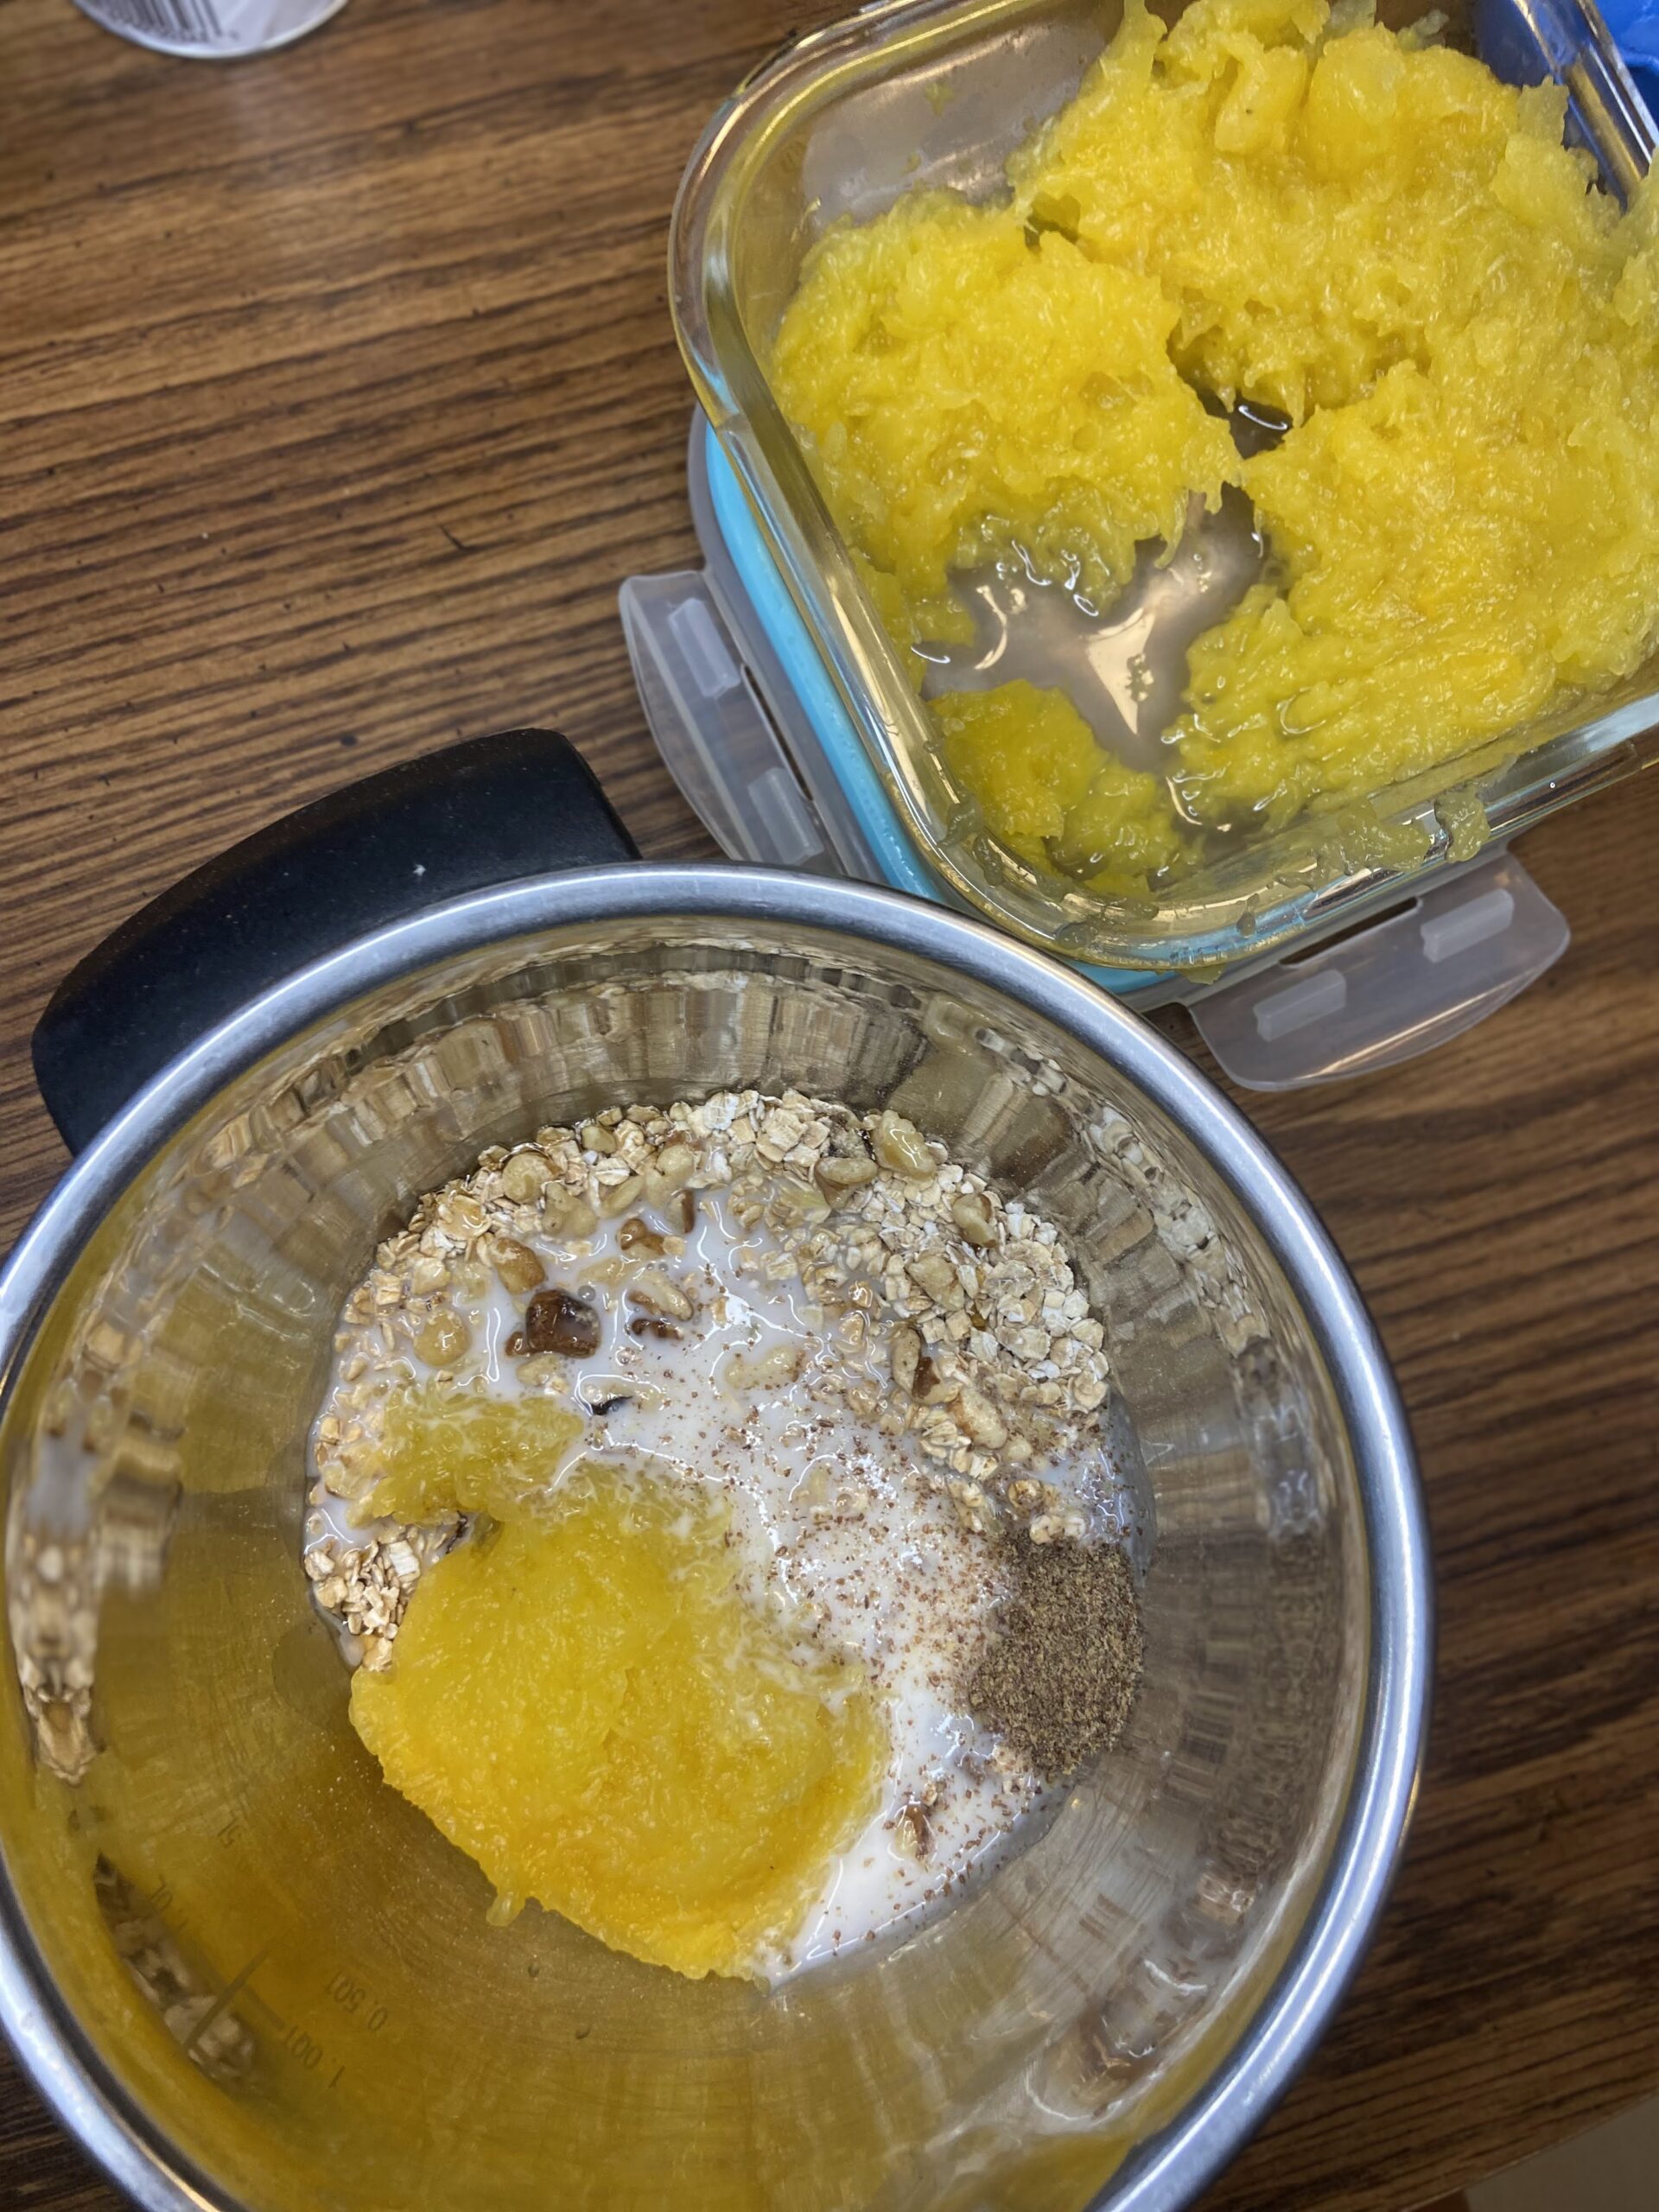
- 1 tablespoon maple syrup
- ⅓ cup unsweetened almond milk (or other milk of your choice)
- ⅛ teaspoon vanilla
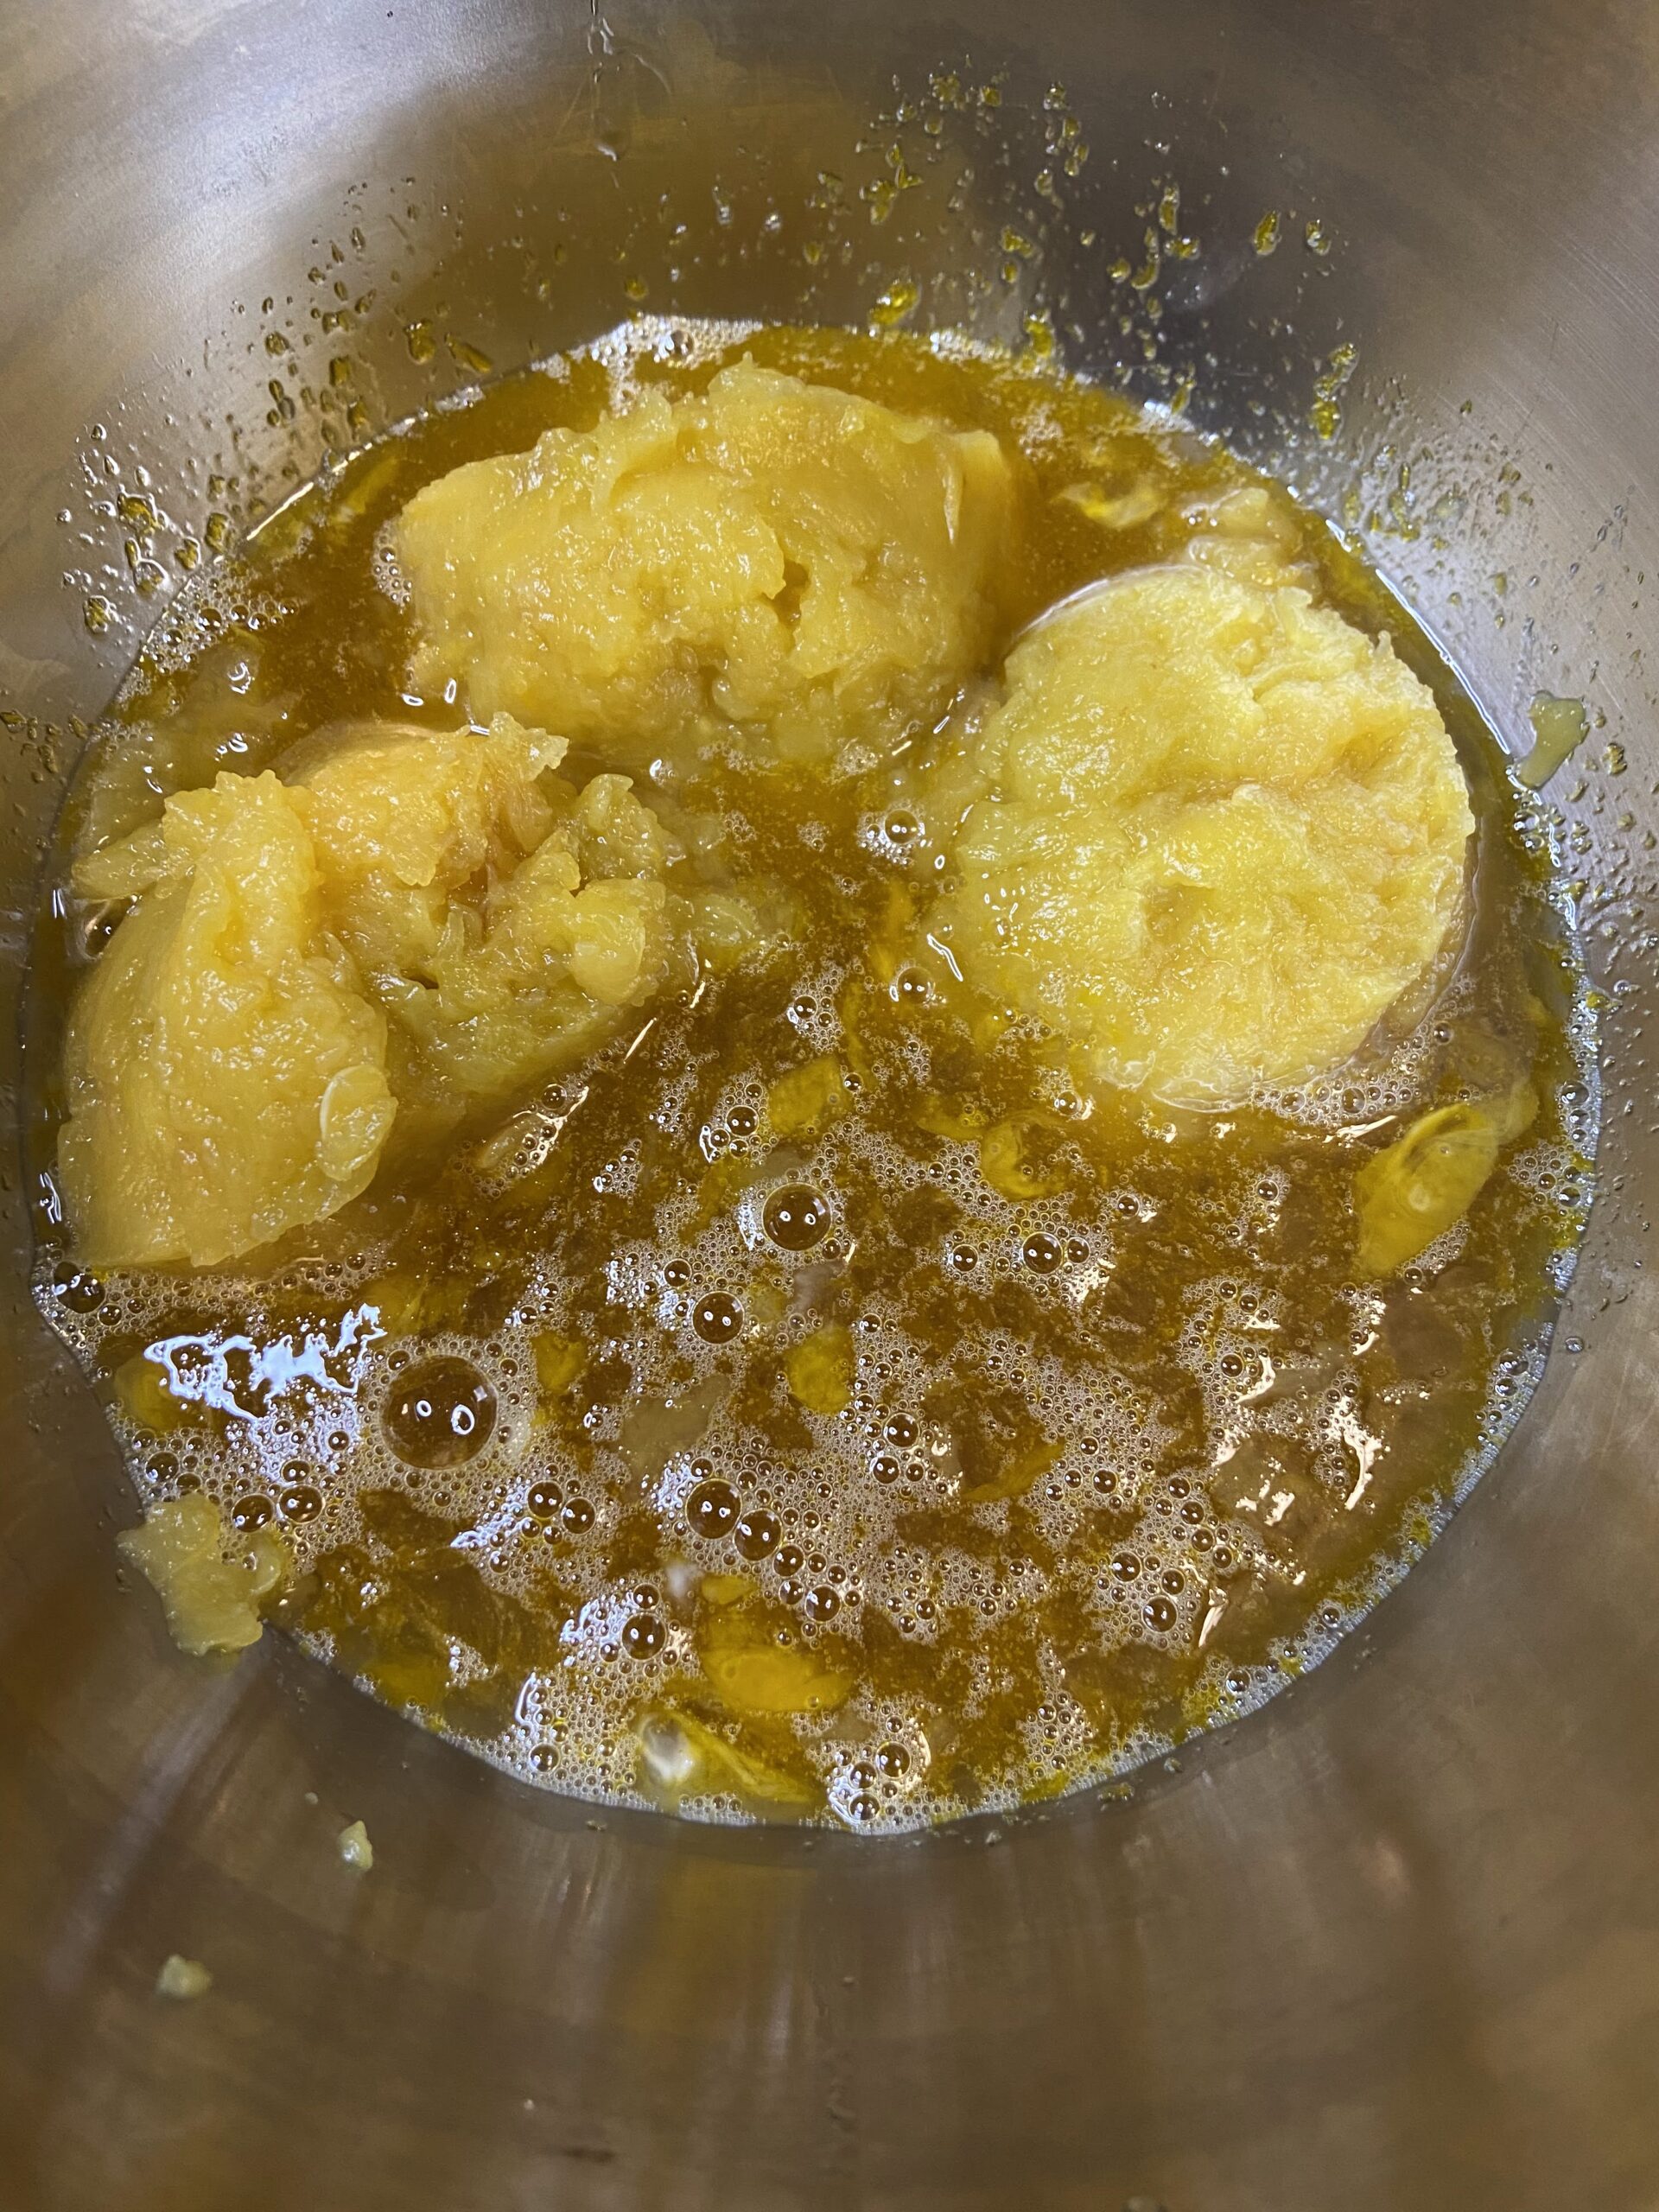
- ½ cup pumpkin puree (I always roast my own! Learn how here!)
2 tablespoons walnuts (optional)
Your Steps
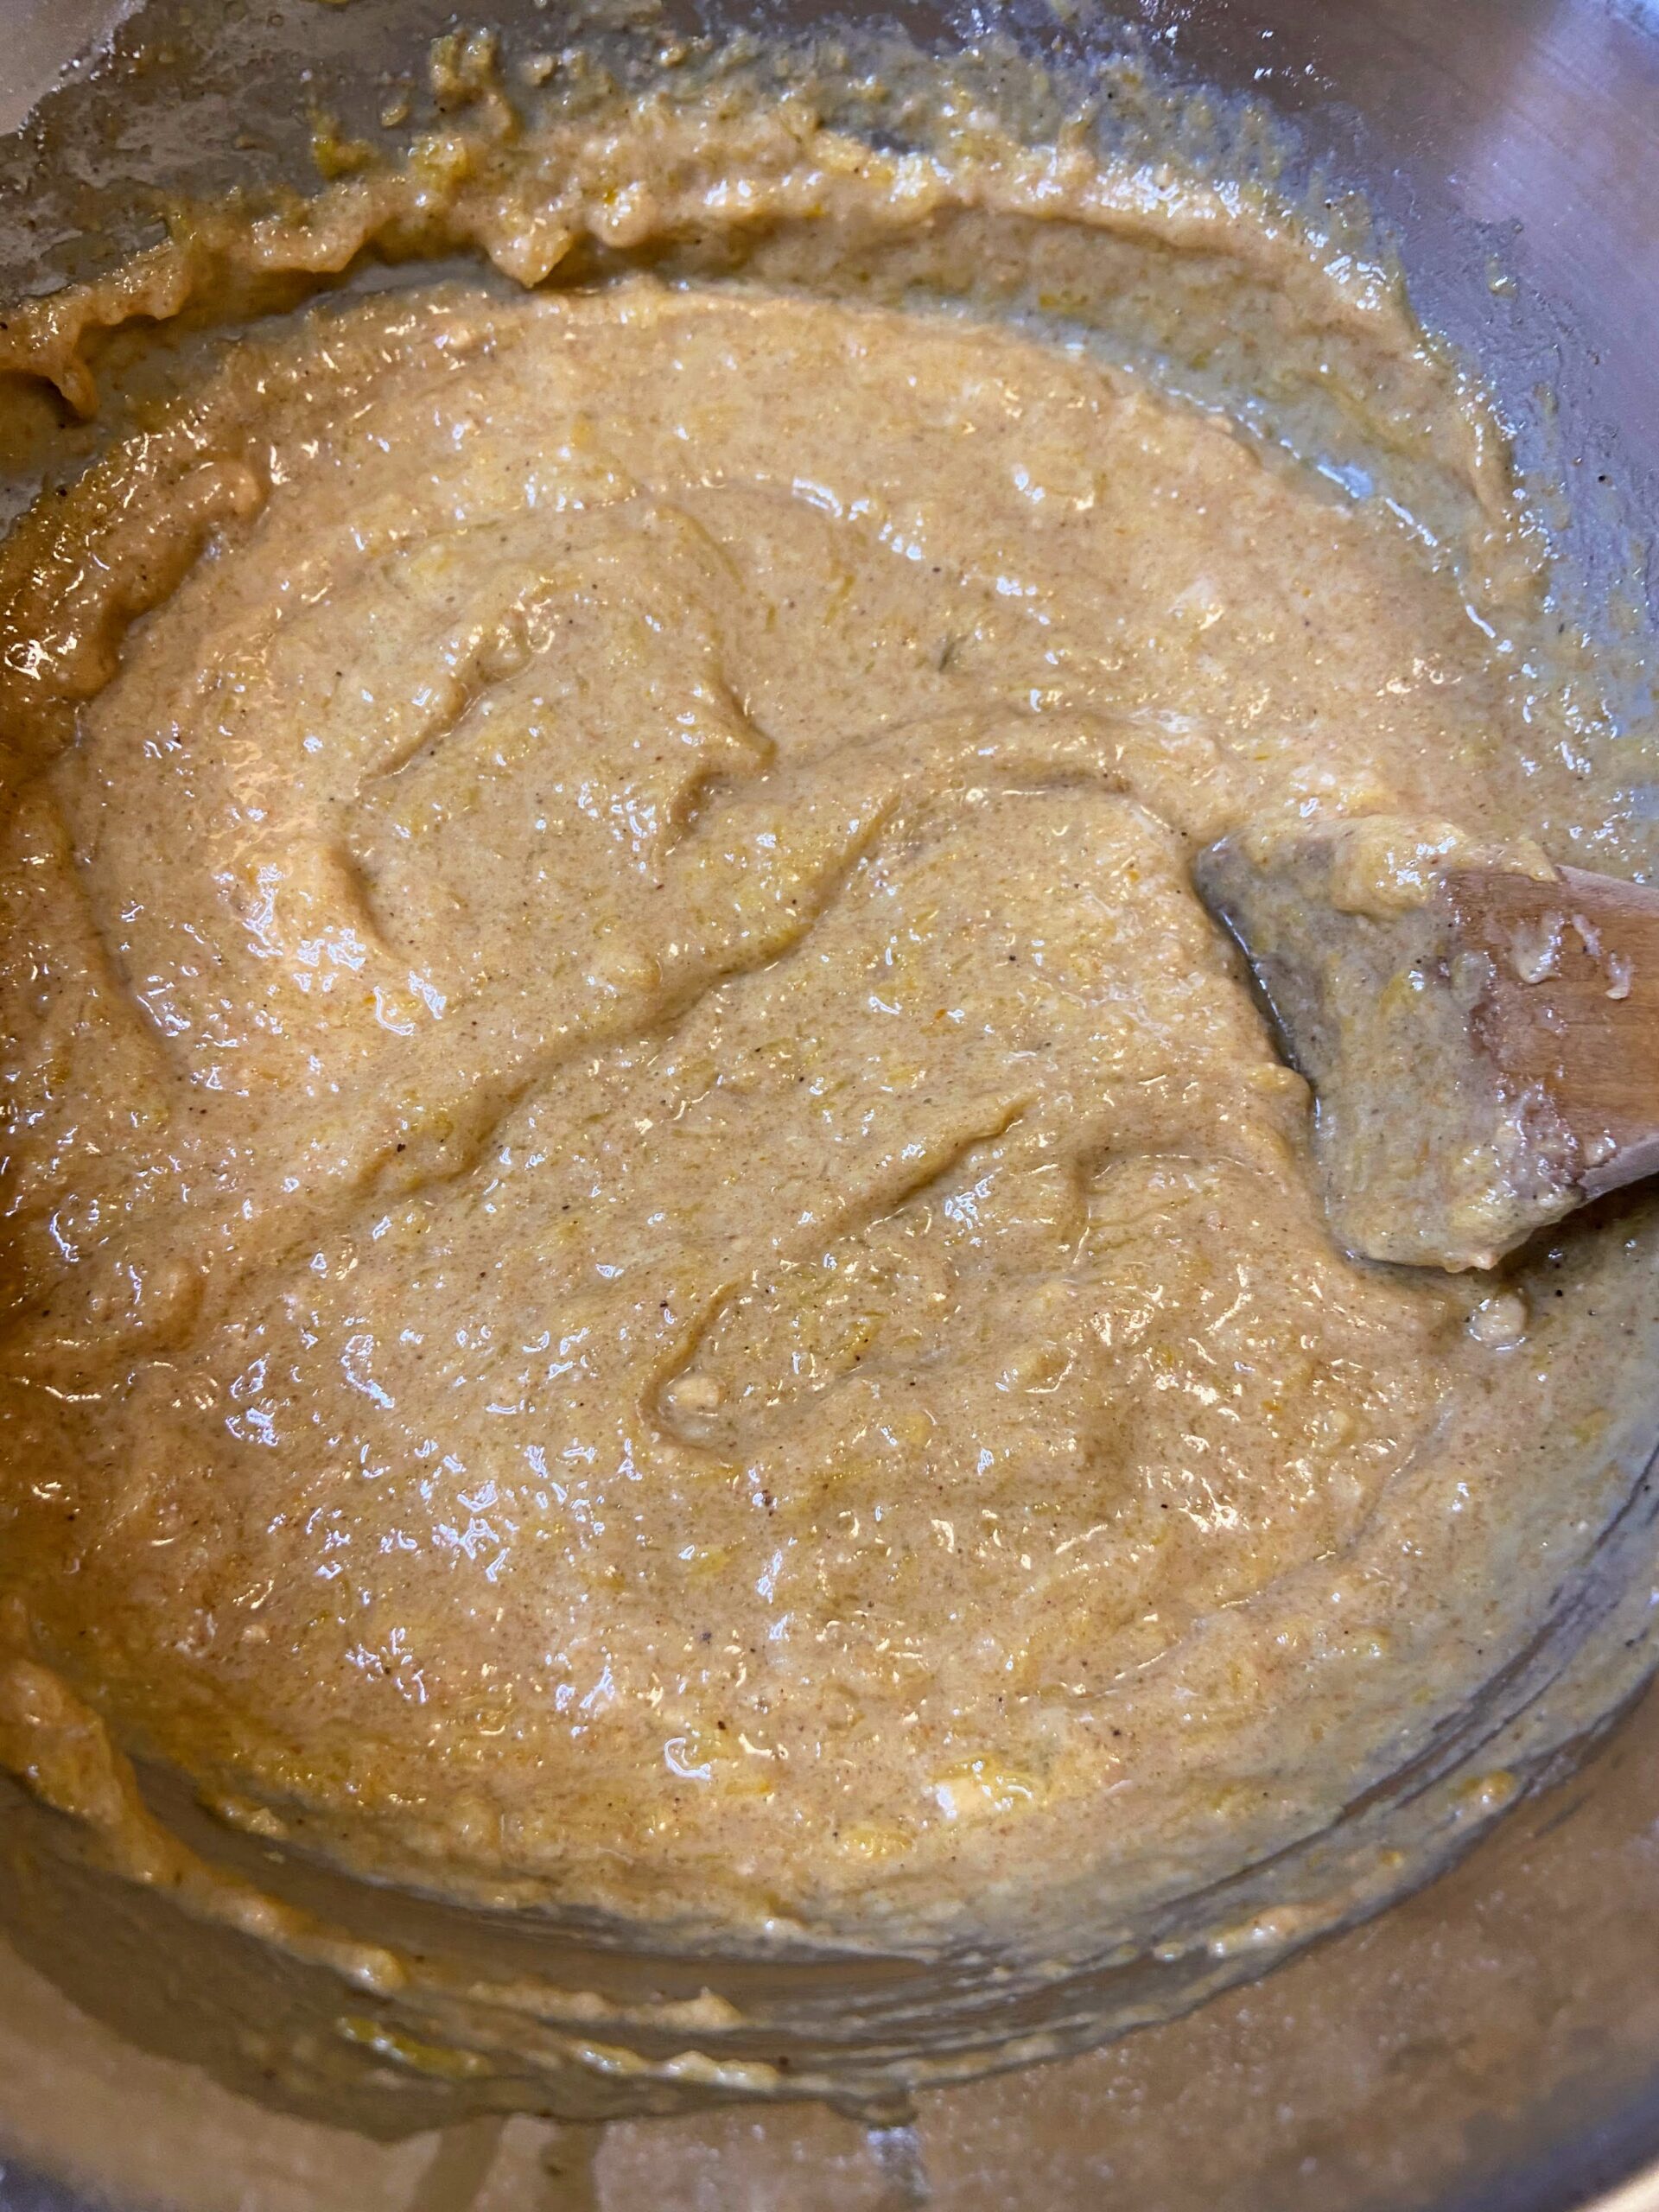
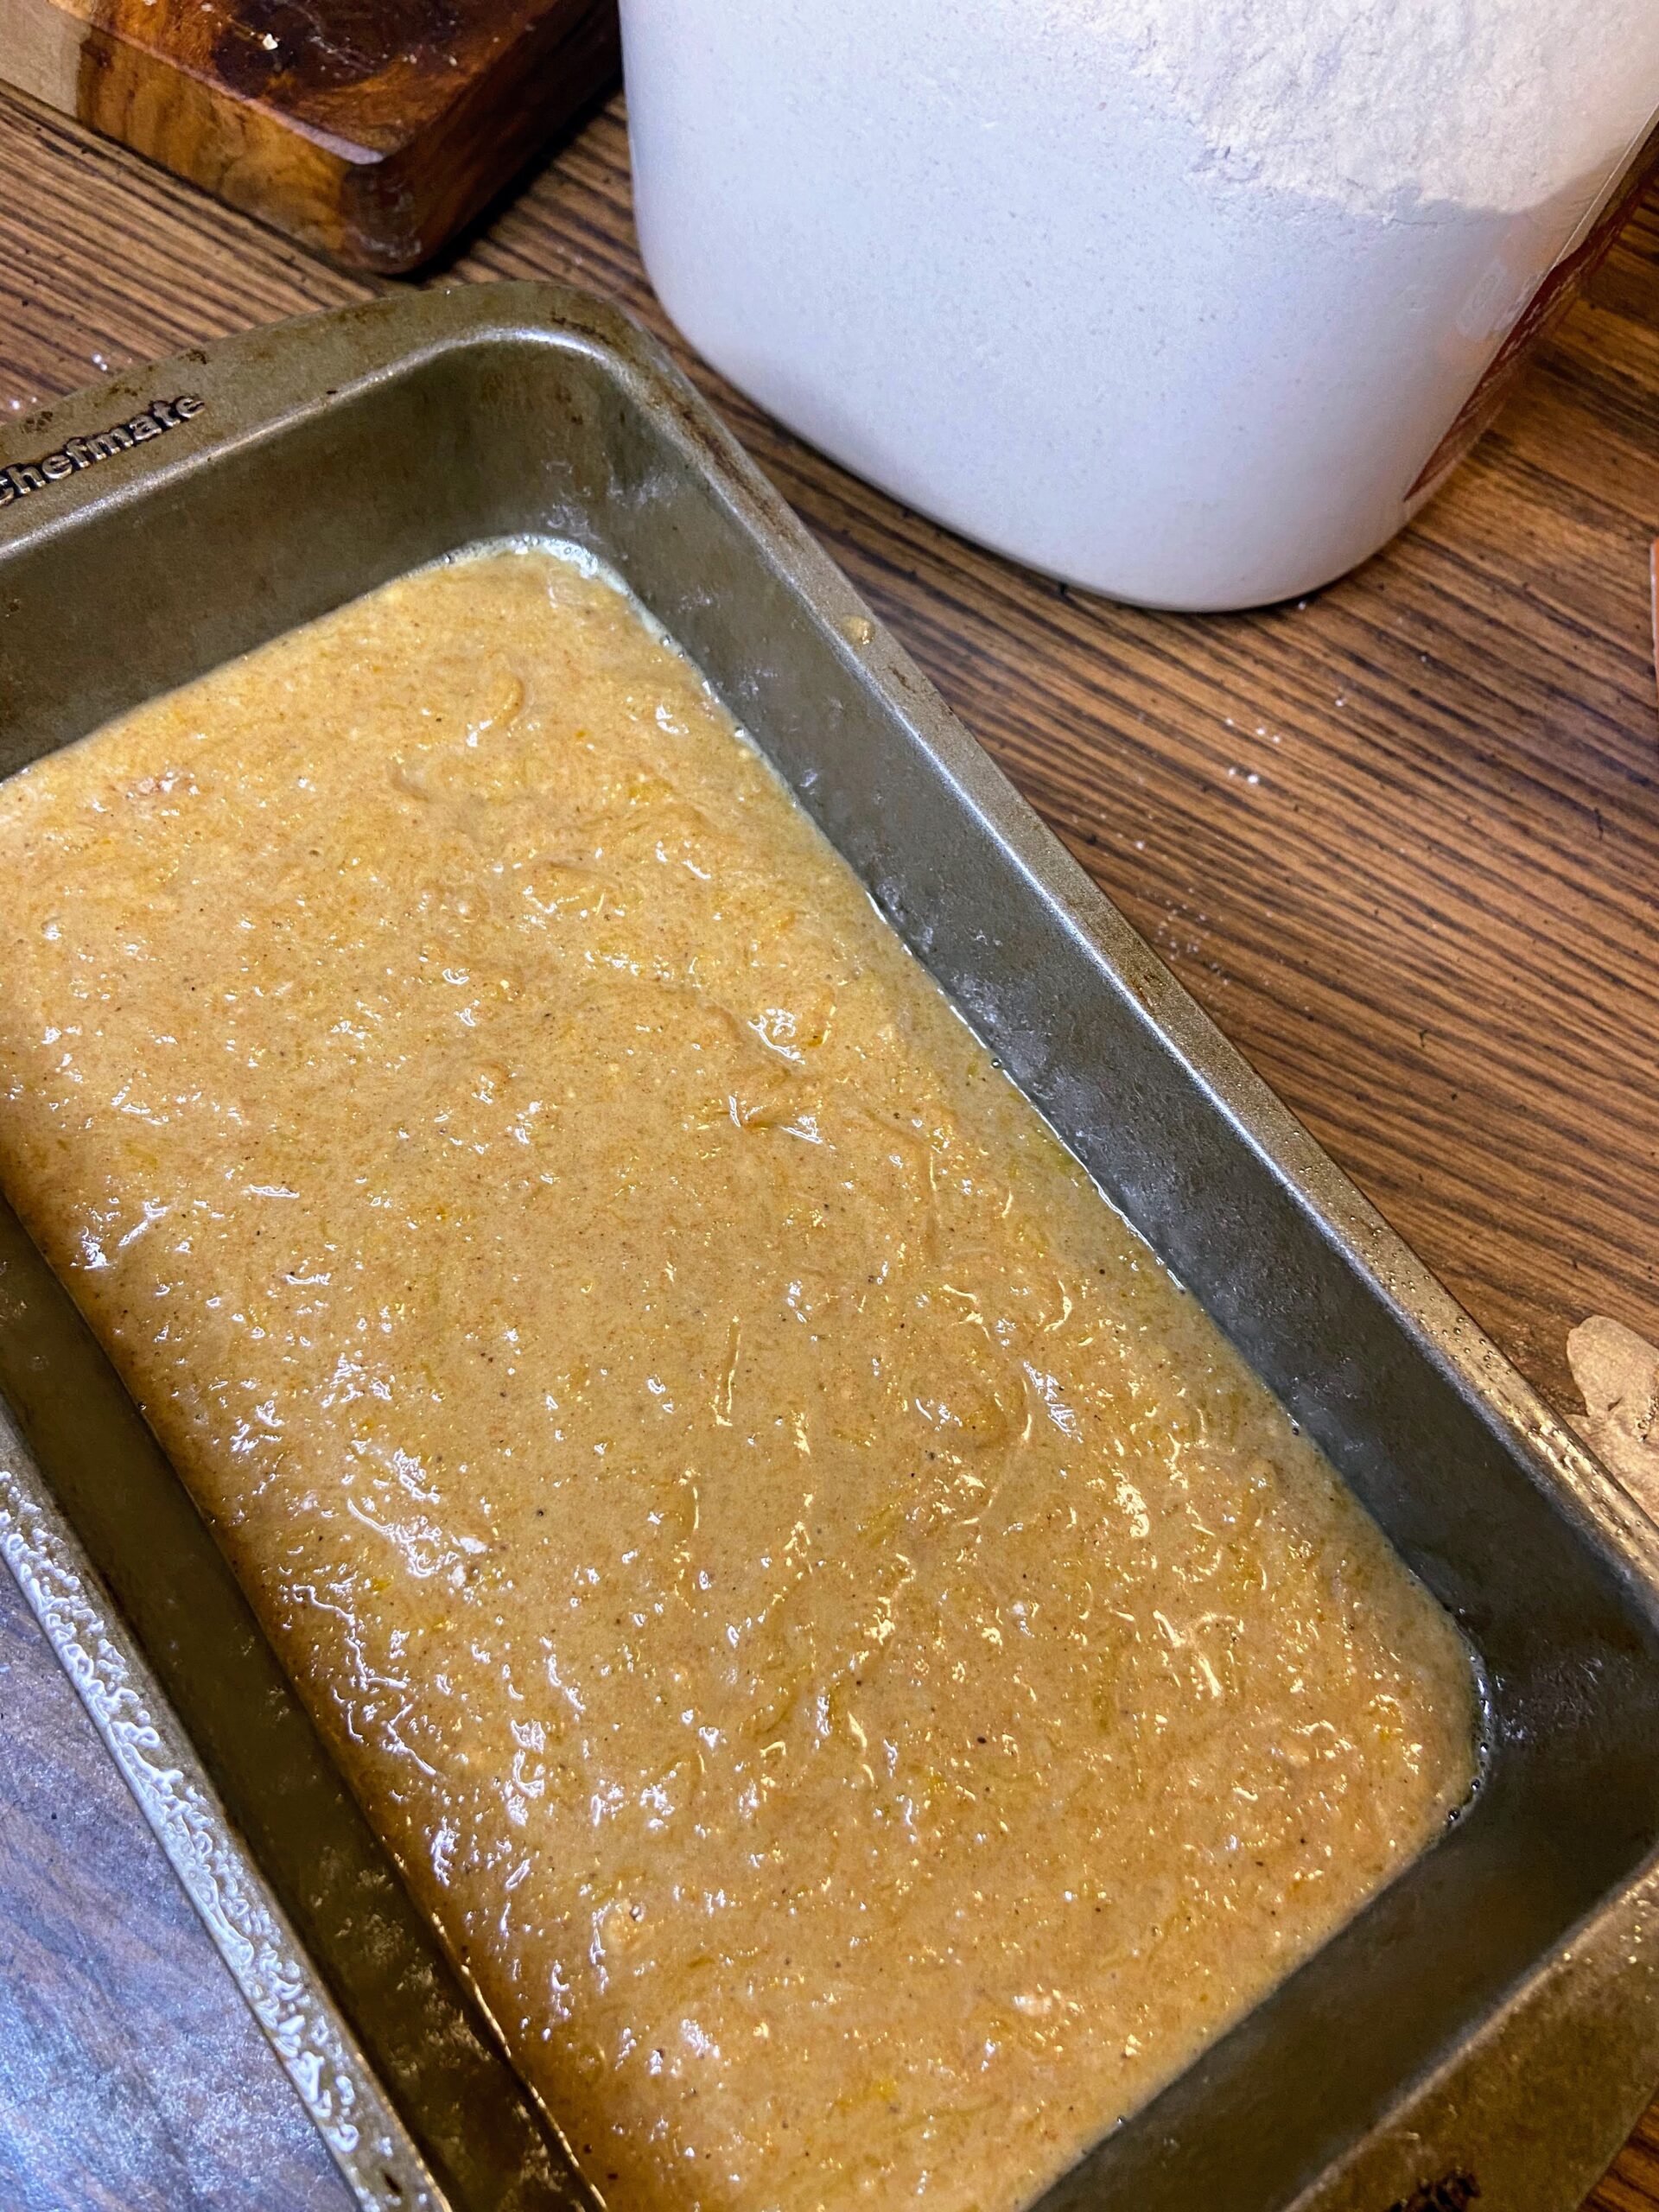
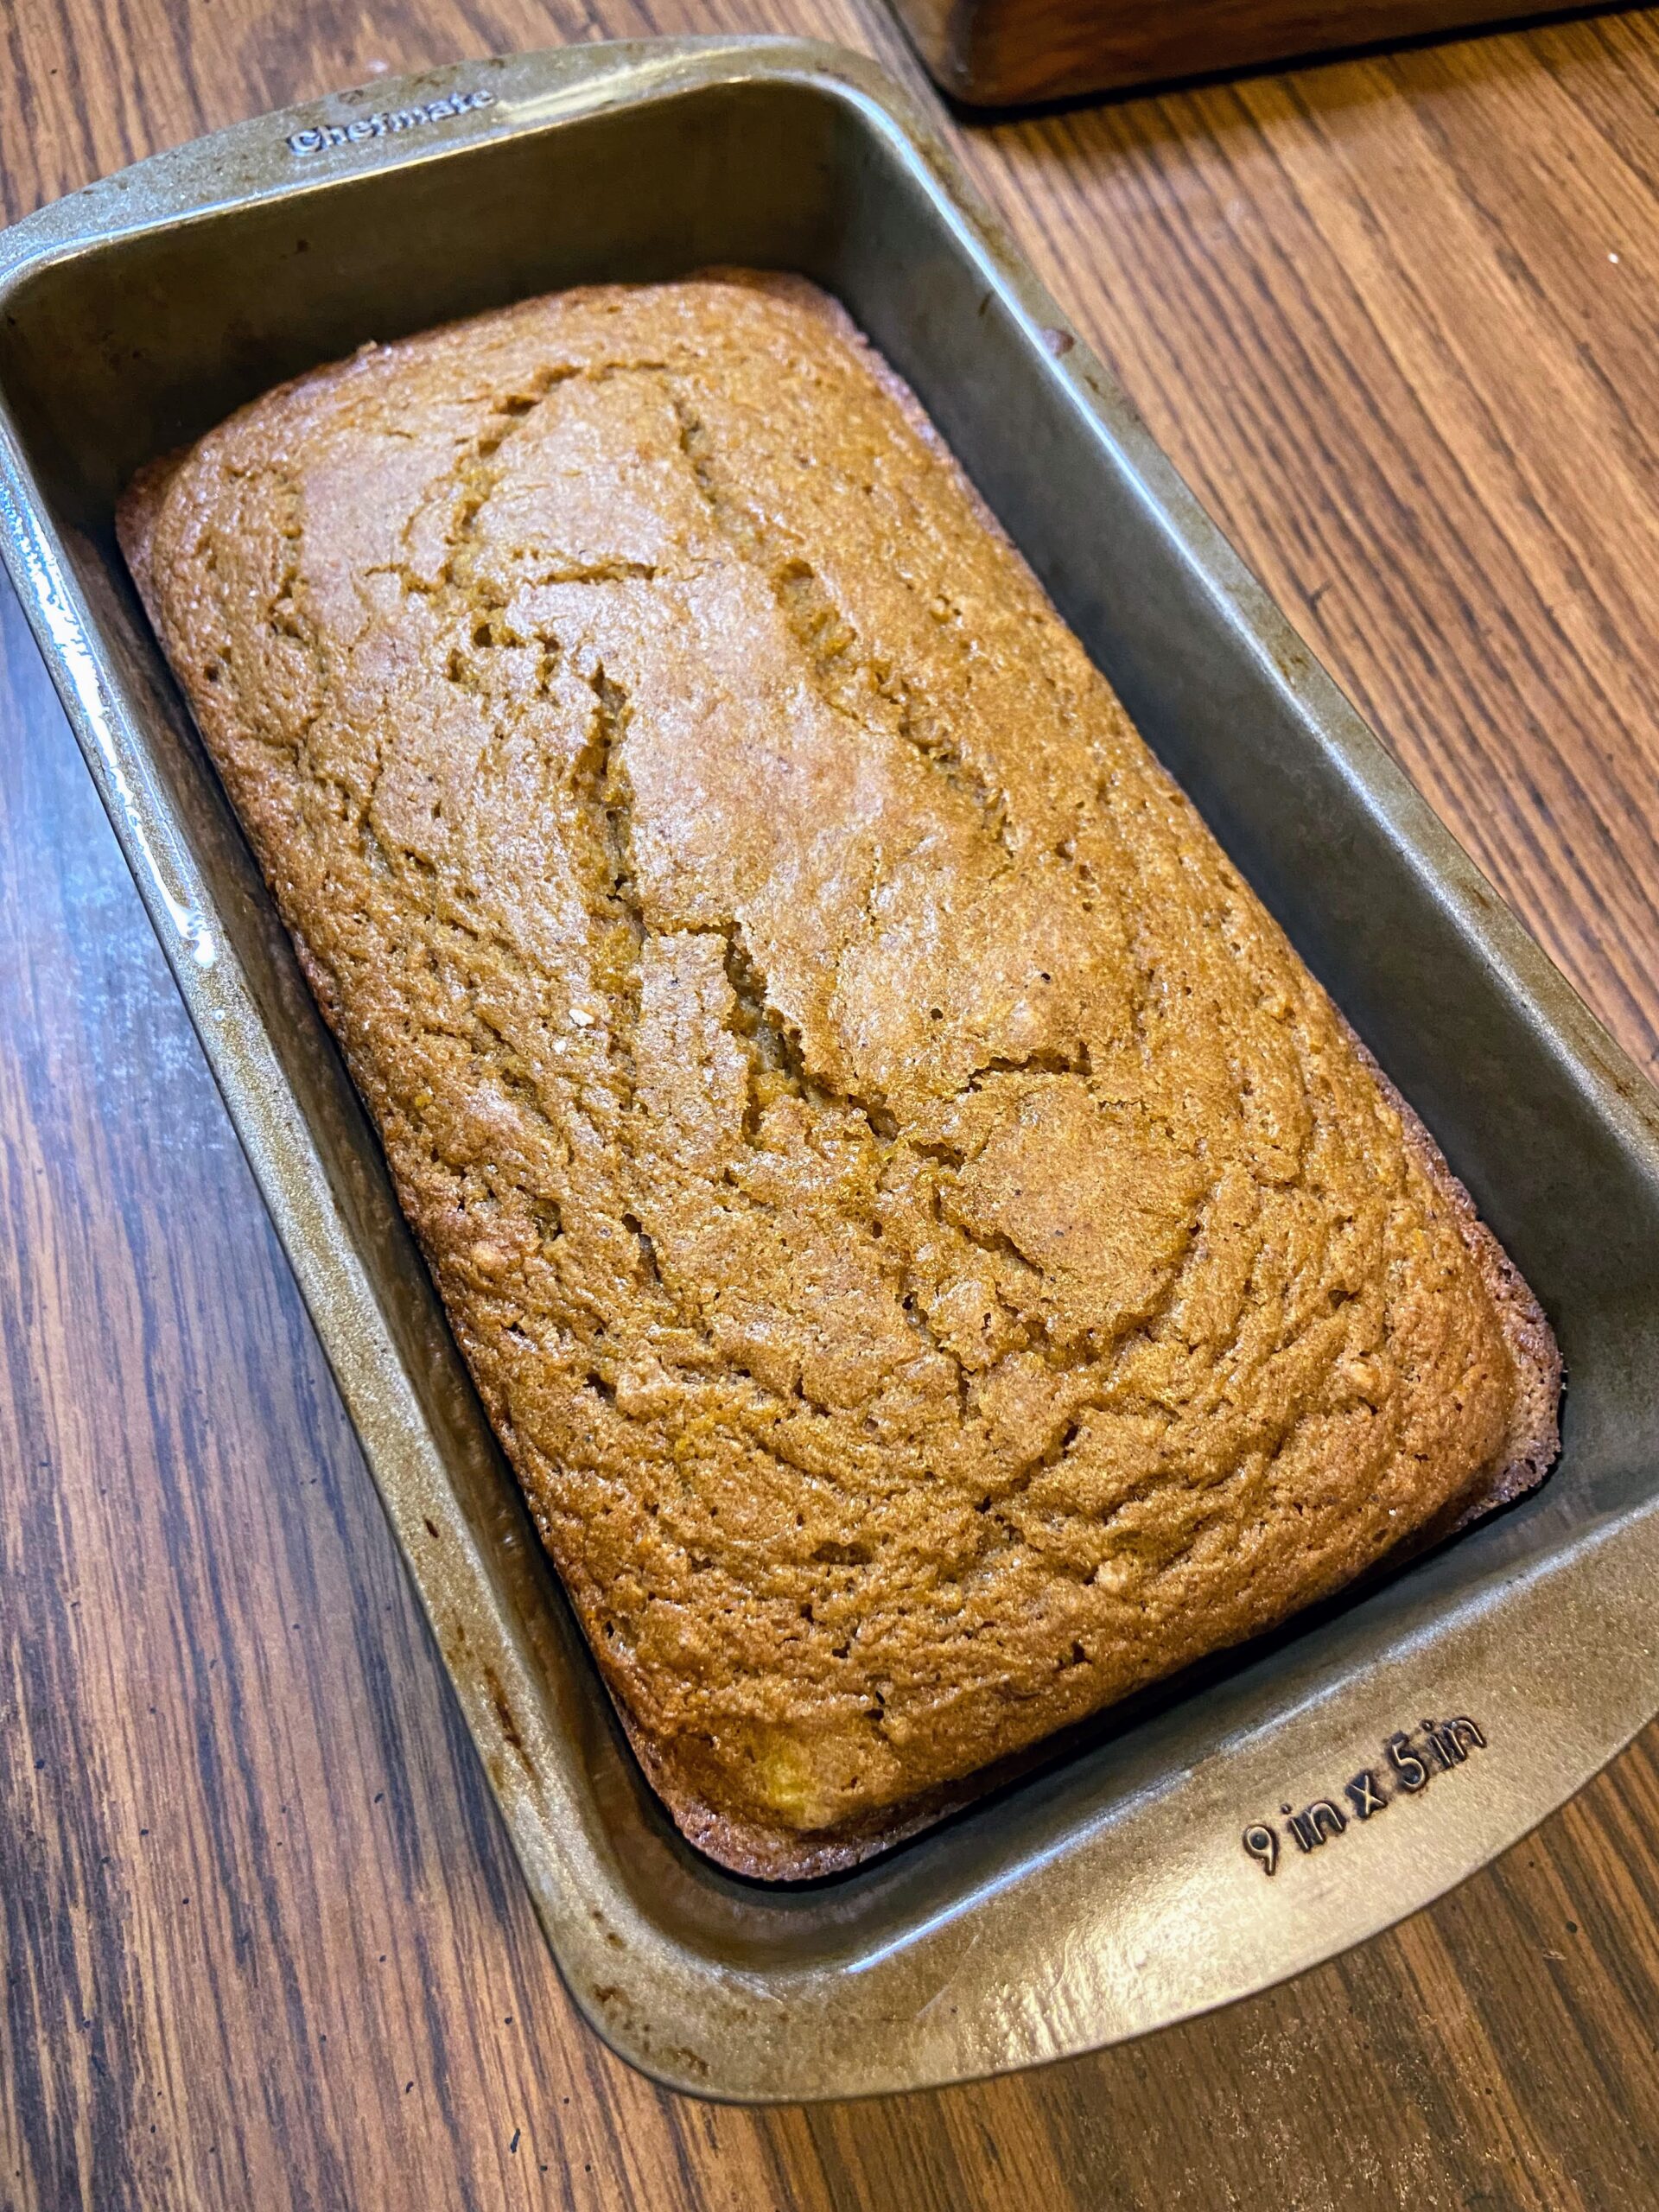
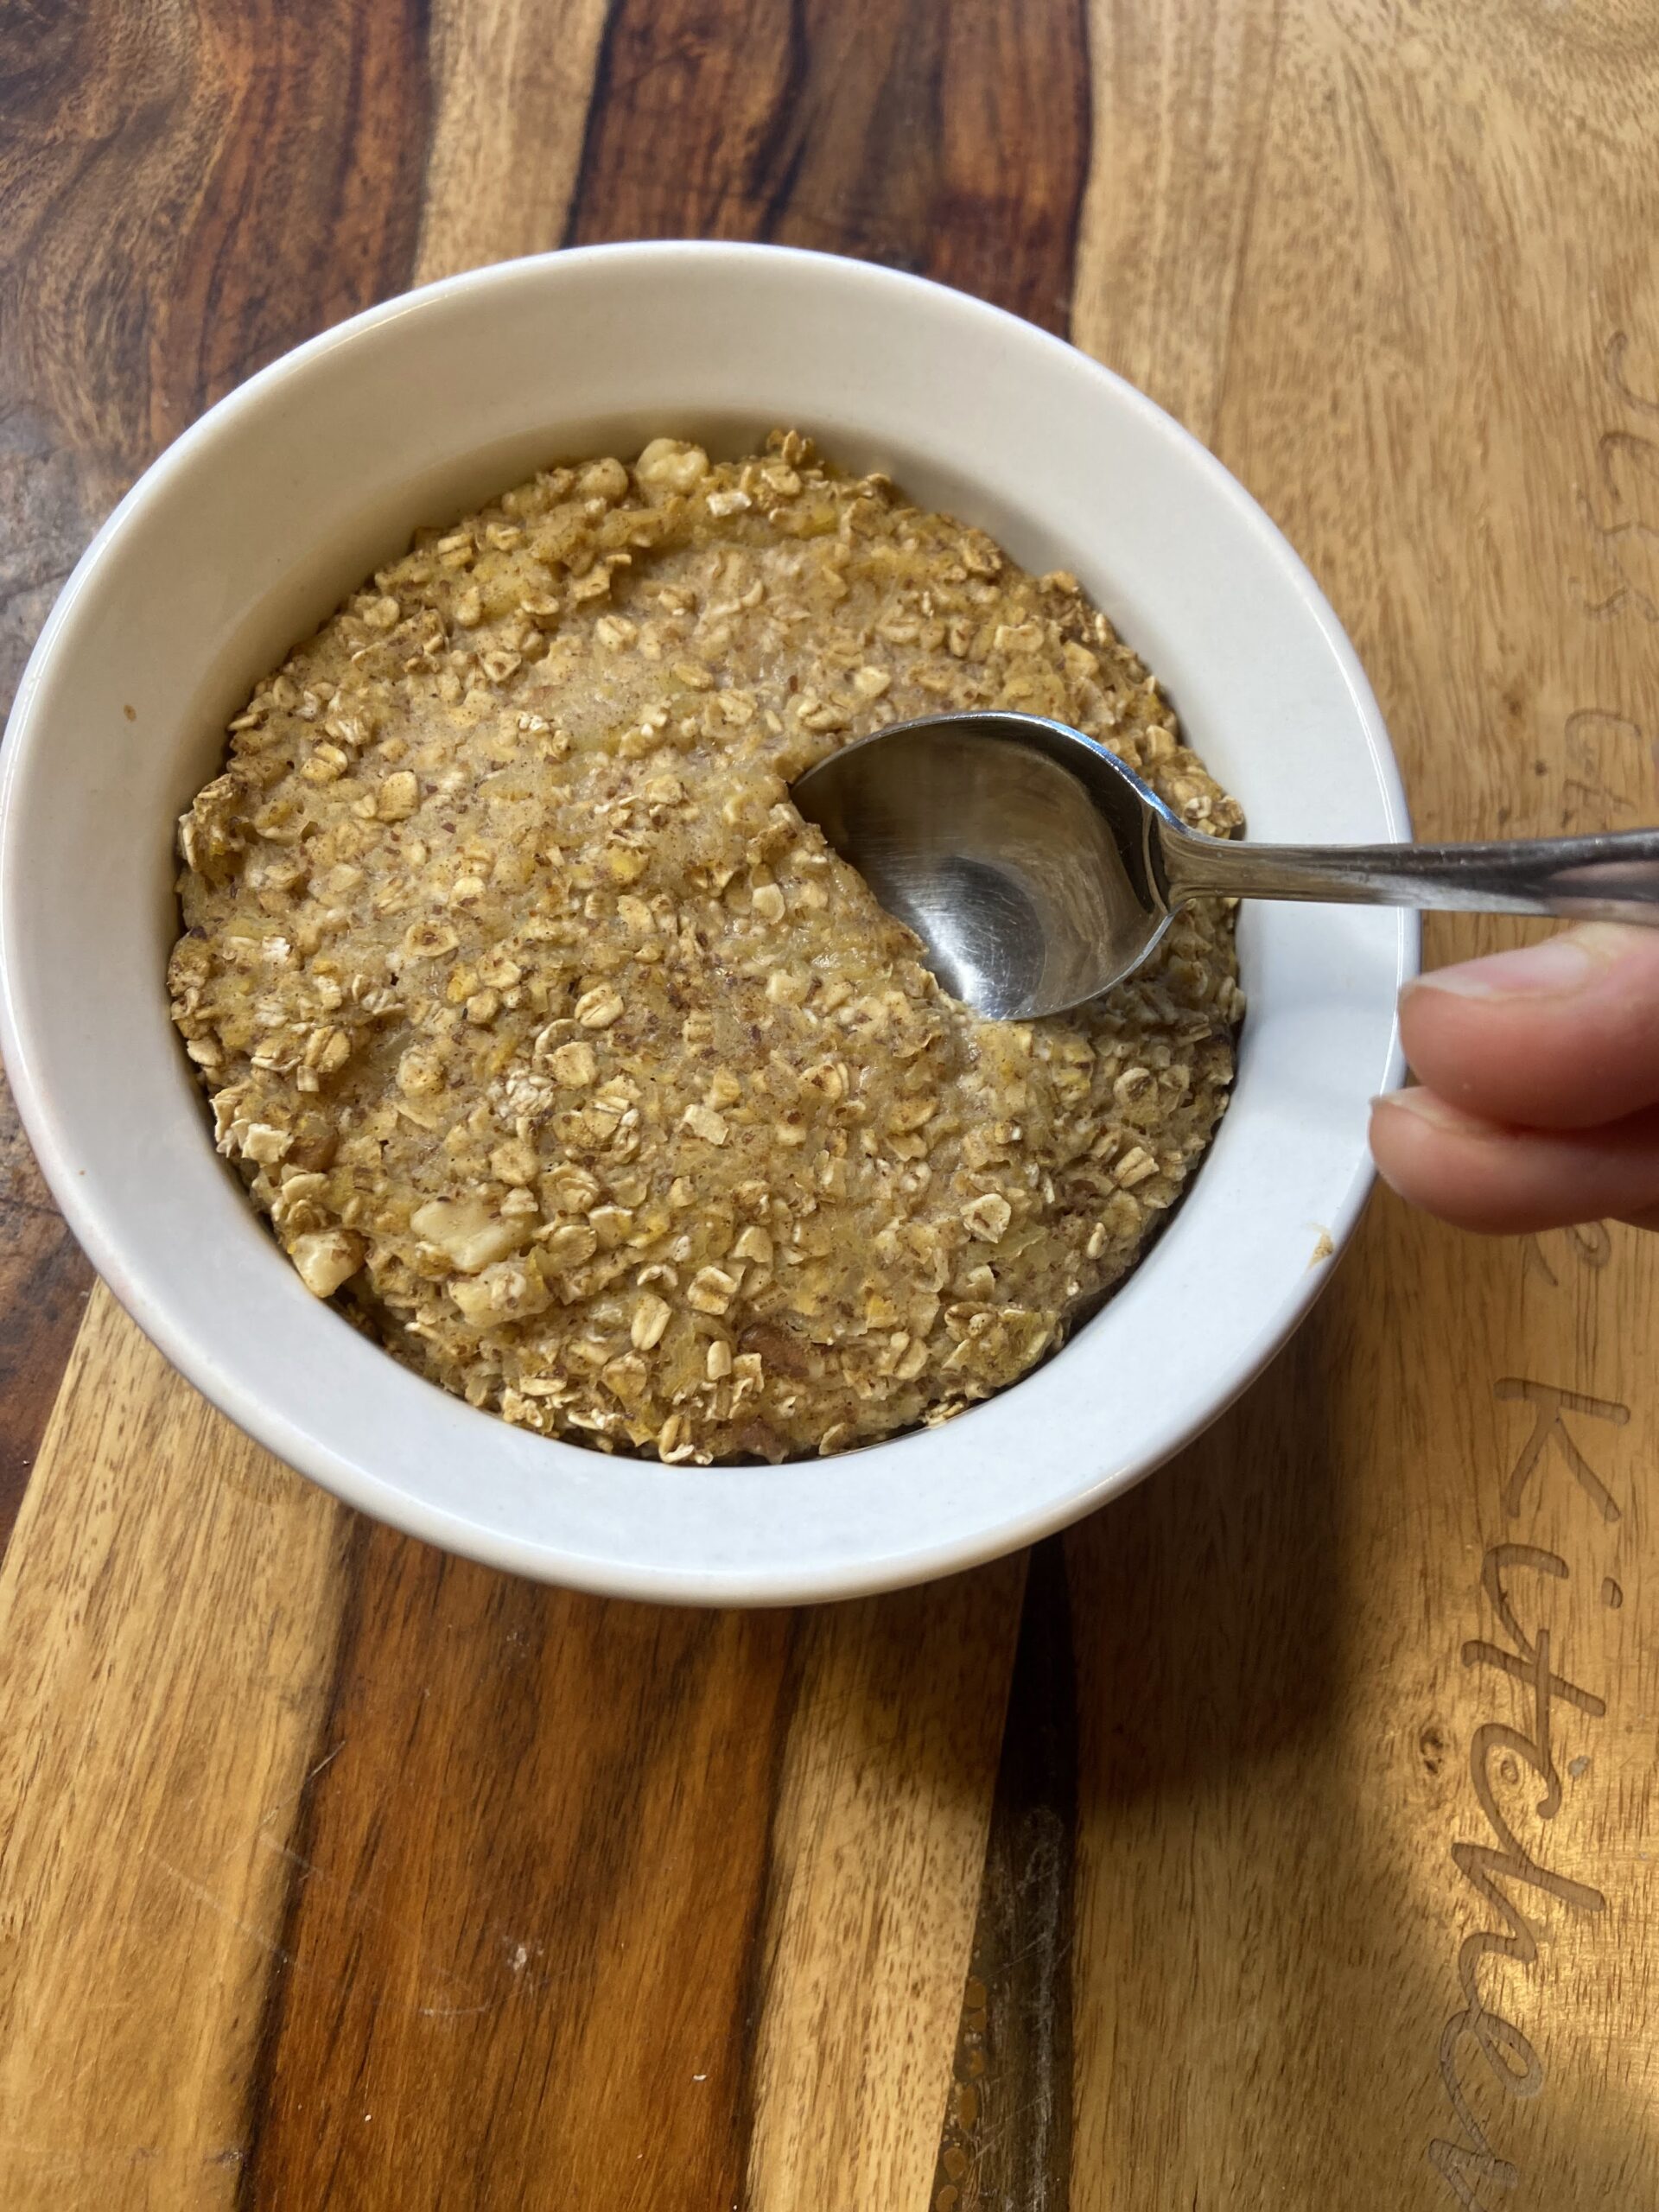
Preheat the oven to 375 degrees. In a small bowl, combine oats, flaxseed, nutmeg, cinnamon, salt, and baking powder. Add remaining ingredients and stir well. Pour the mixture into a small round baking dish. Bake for 15-20 minutes, until the top of the oatmeal is solid. Eat it plain, or top with vanilla Greek yogurt for extra protein and a little treat!


Pumpkin Pie Baked Oatmeal
Ingredients
- ½ cup quick oats
- ½ tablespoon ground flaxseed
- ⅛ teaspoon nutmeg
- ½ teaspoon cinnamon
- Pinch of salt
- ½ teaspoon baking powder
- 1 tablespoon maple syrup
- ⅓ cup unsweetened almond milk or other milk of your choice
- ⅛ teaspoon vanilla
- ½ cup pumpkin puree
- 2 tablespoons walnuts optional
Instructions
- Preheat the oven to 375 degrees.
- In a small bowl, combine oats, flaxseed, nutmeg, cinnamon, salt, and baking powder.
- Add remaining ingredients and stir well. Pour the mixture into a small round baking dish.
- Bake for 15-20 minutes, until the top of the oatmeal is solid.
- Eat it plain, or top with vanilla Greek yogurt for extra protein and a little treat!
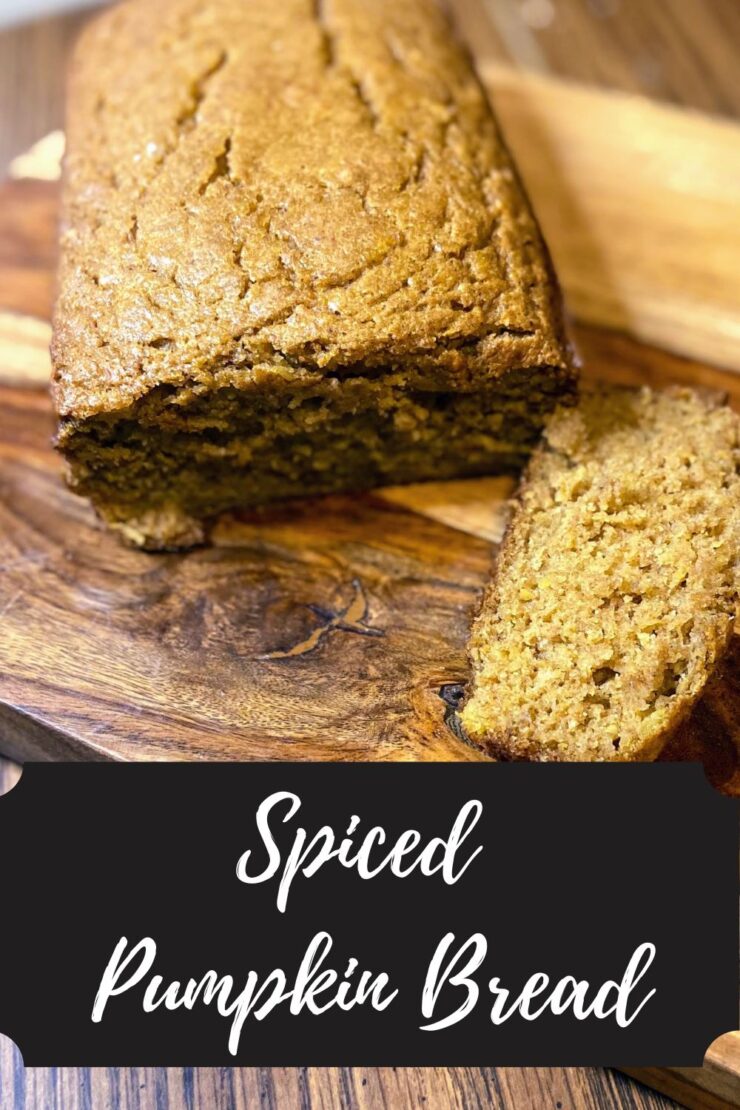
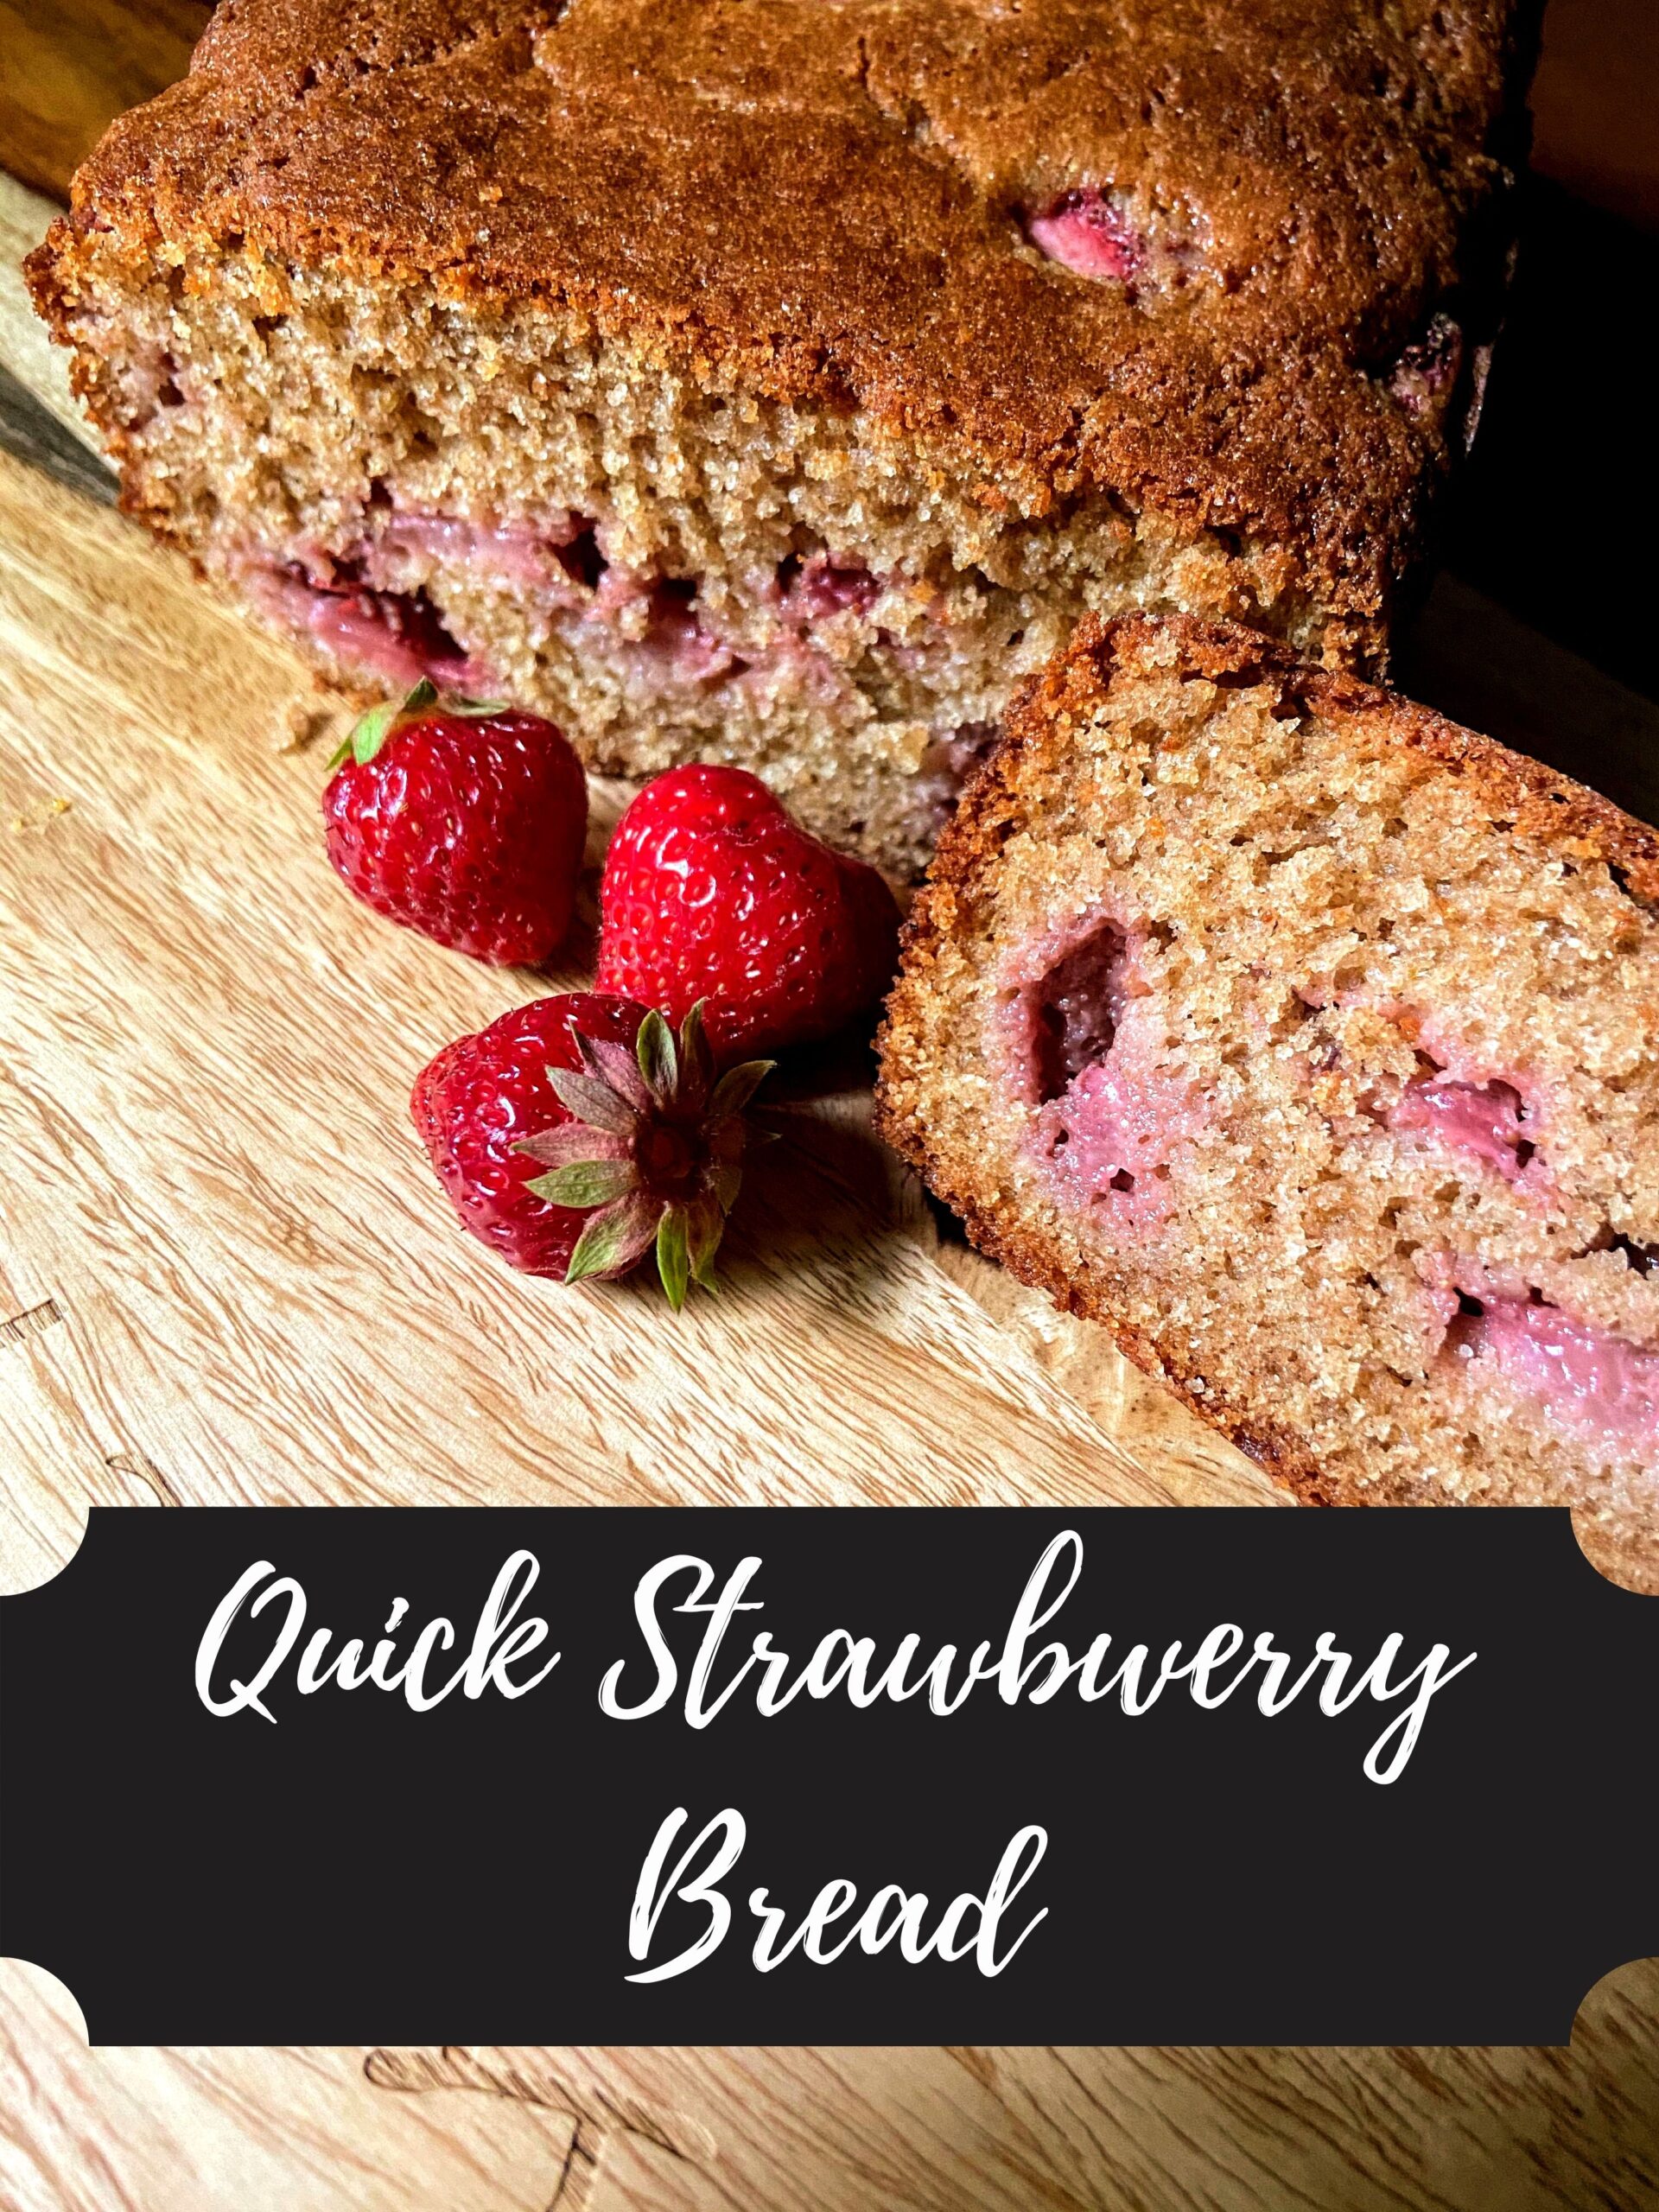
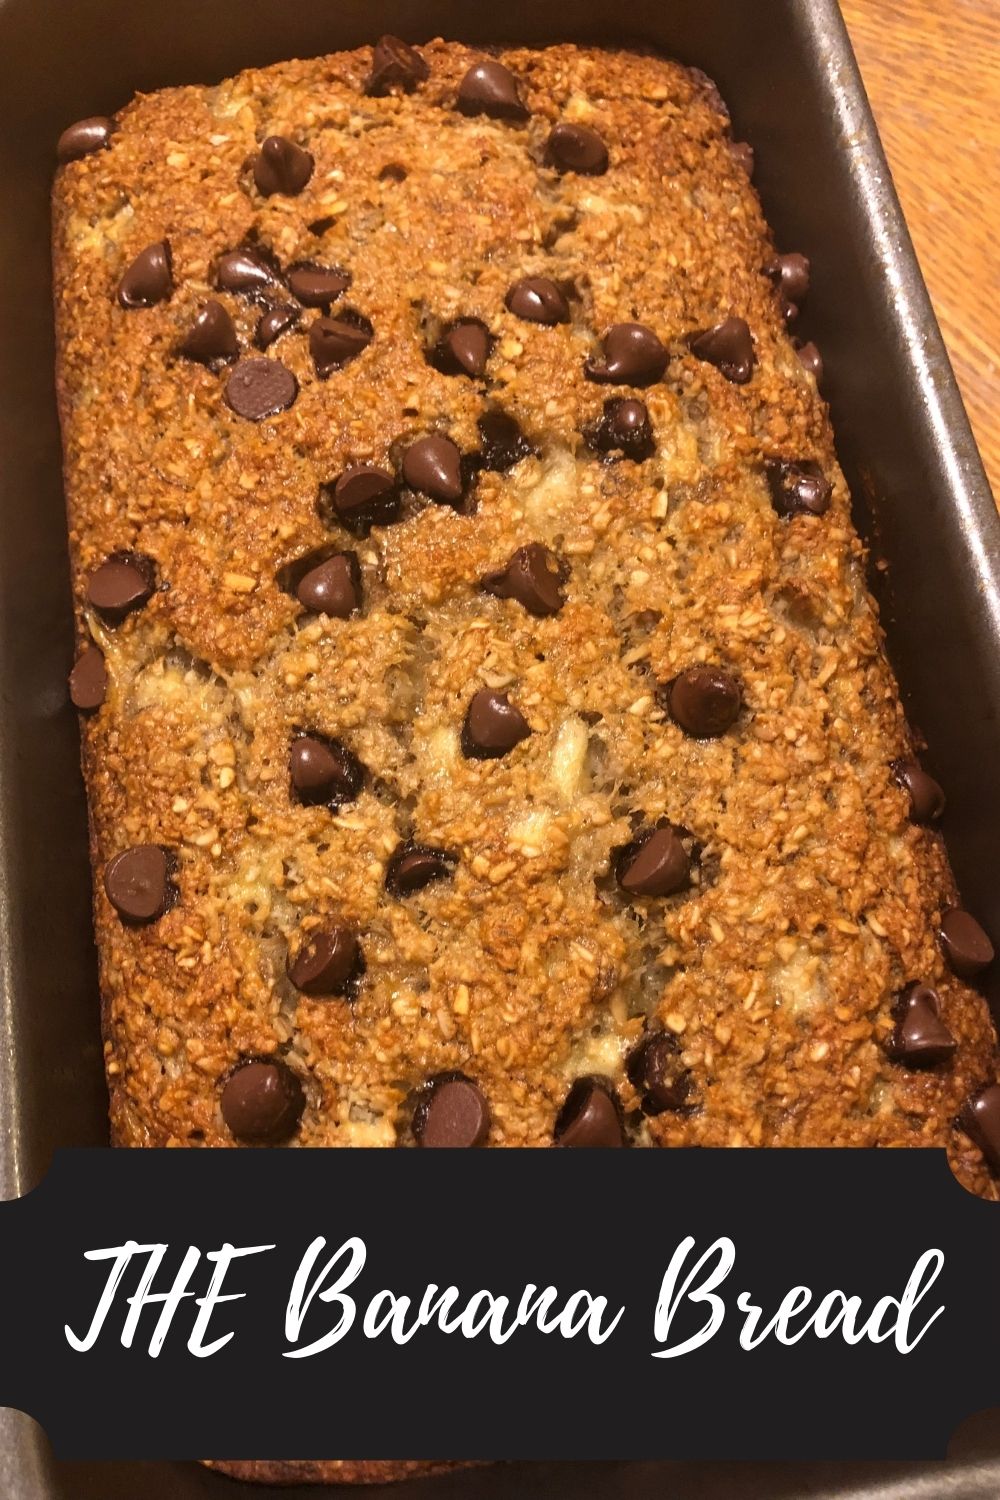
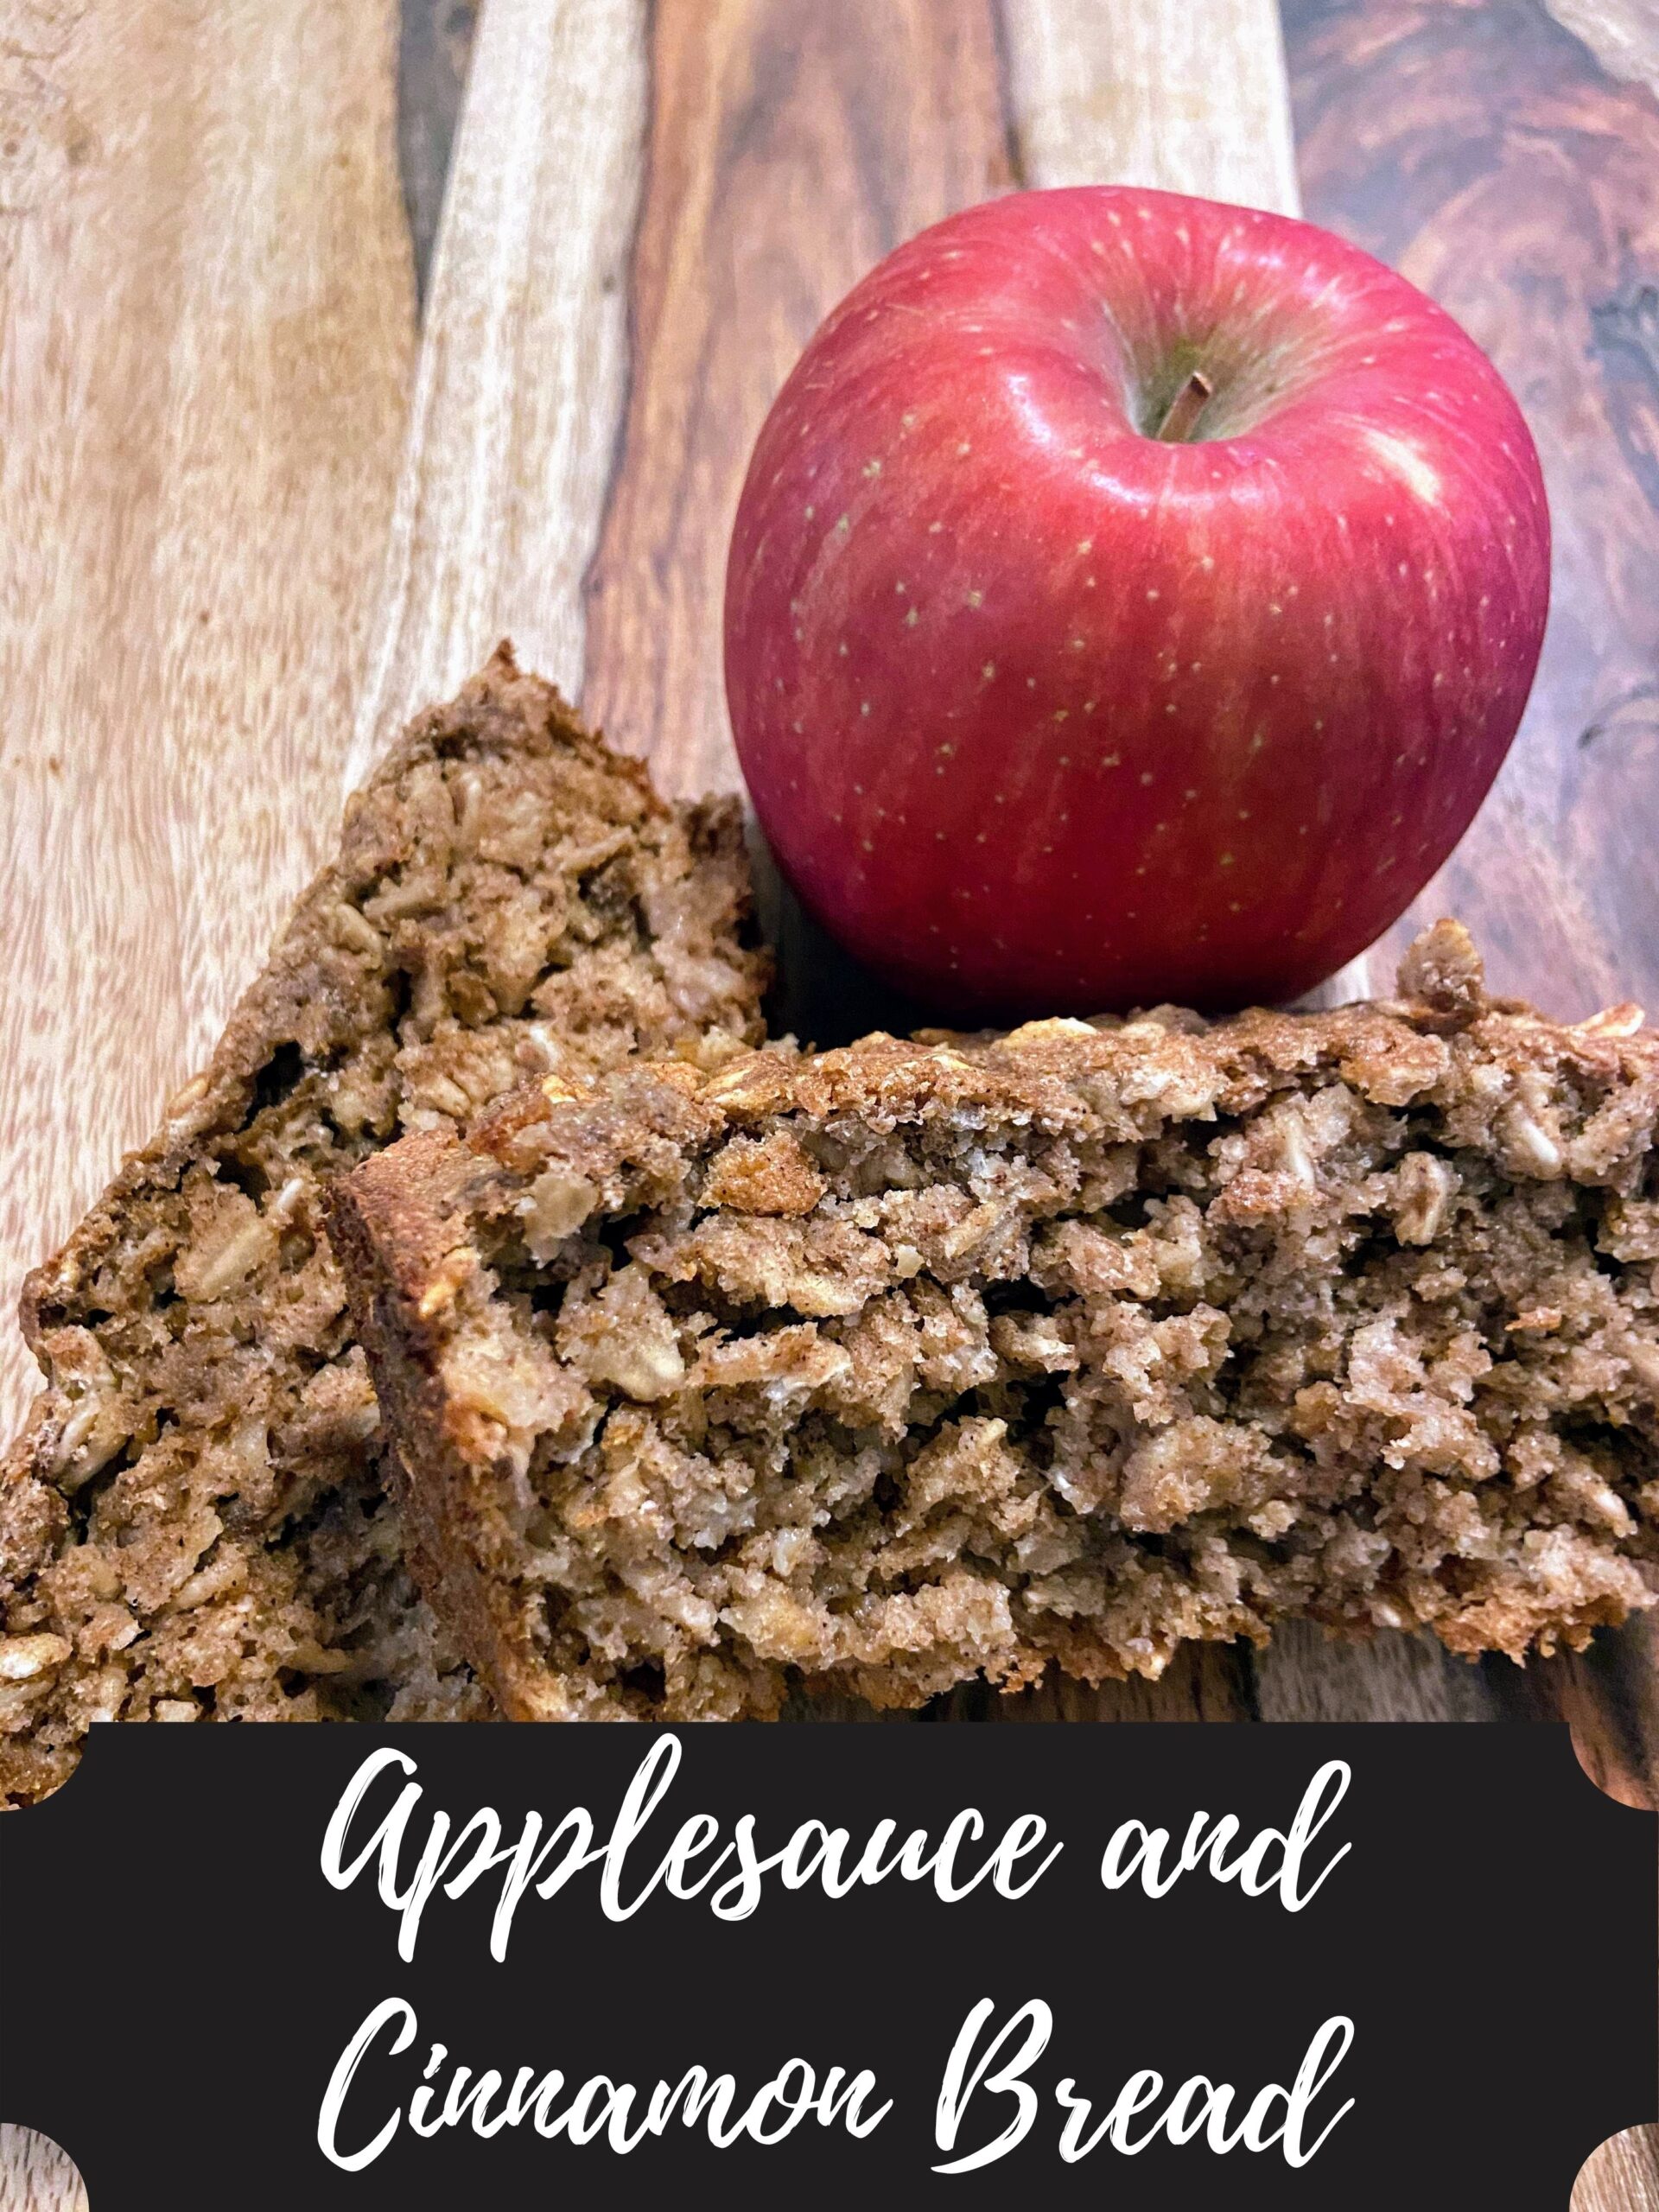
Looking for other breakfast inspiration?
Here are a few of my favorites!