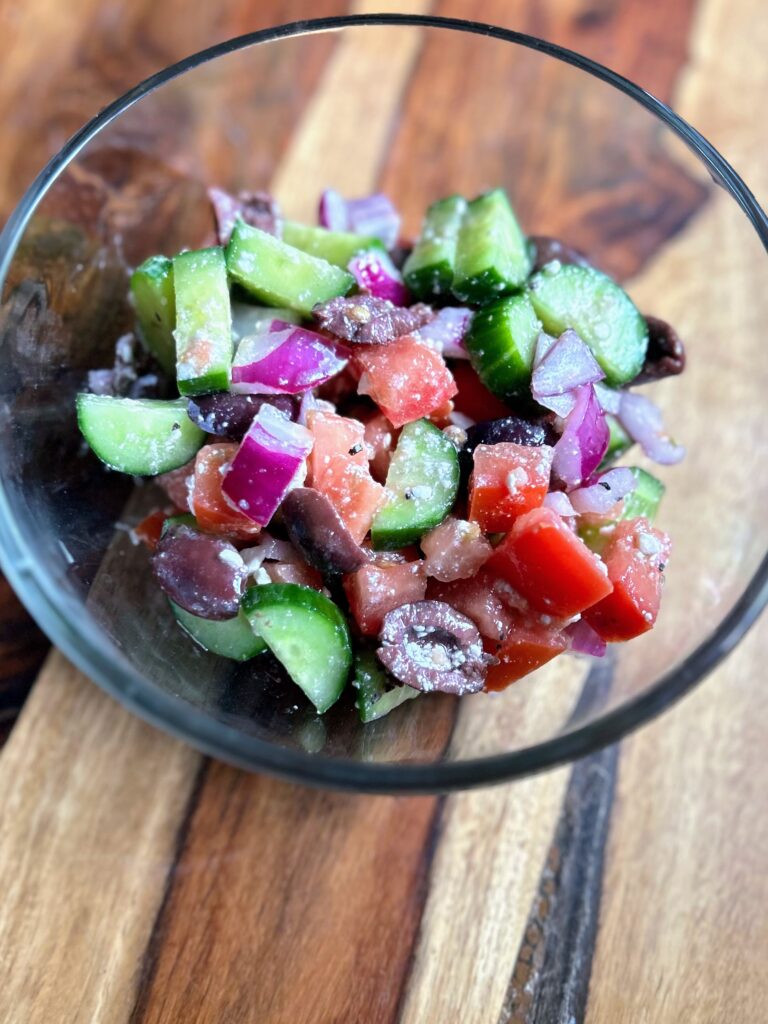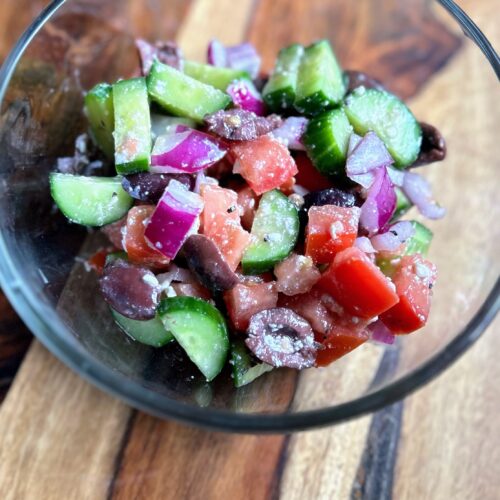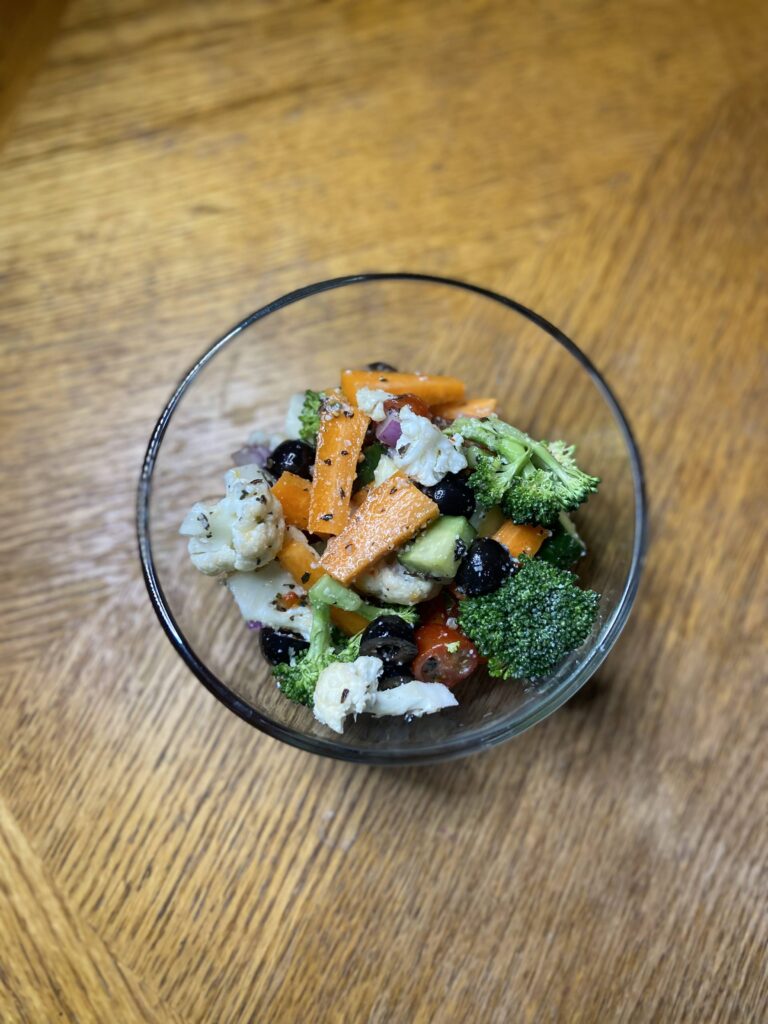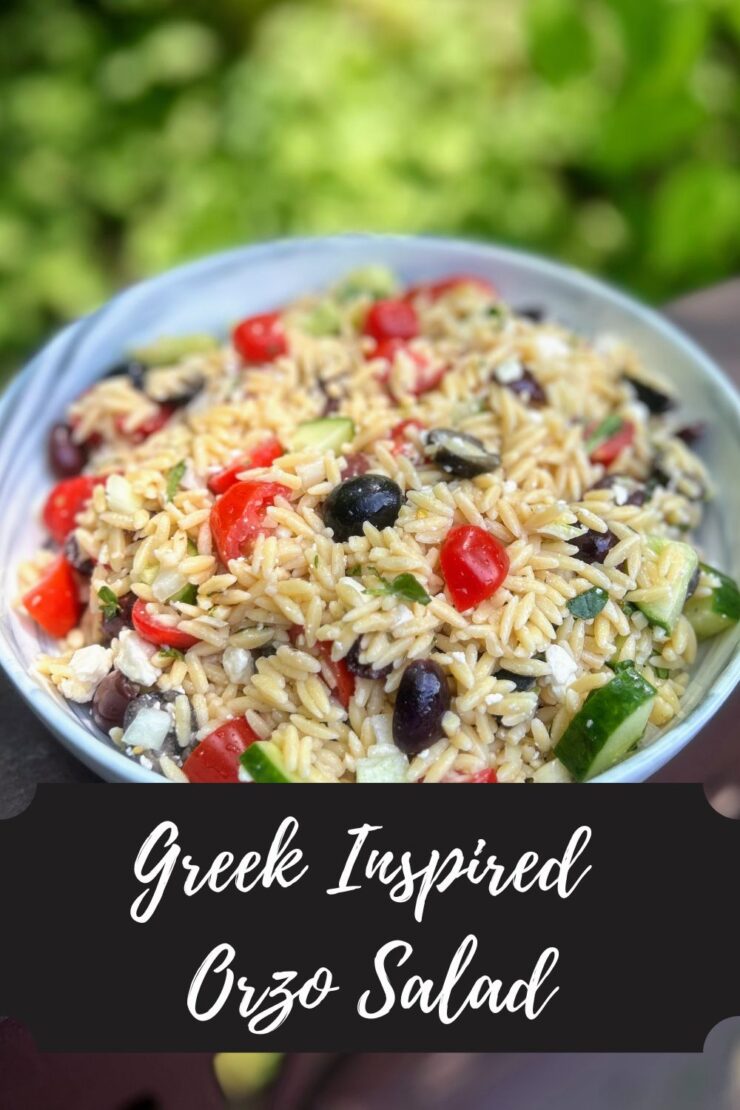
There are a few ingredients that have made their way into our fridge that we ALWAYS have to have on hand, crumbled feta and Kalamata olives being two of them. To quote my nephews, “Everything’s betta with feta!” and “Every day is a good day for a Kalamata olive!” The Mr and I have become a bit obsessed with any kind of Greek inspired salad, topping our lettuce with olives, tomatoes, feta, and a Greek dressing. But it’s BBQ season and everyone needs a good pasta salad to pass: I knew I needed to combine these loves to create a Greek Inspired Orzo Salad.
Maybe you’ve been around awhile and you know my love of orzo. Maybe not. But it is definitely one of my top shapes when it comes to pasta. I don’t know if it’s the similarity to the shape of rice or something from my childhood, but I love it.
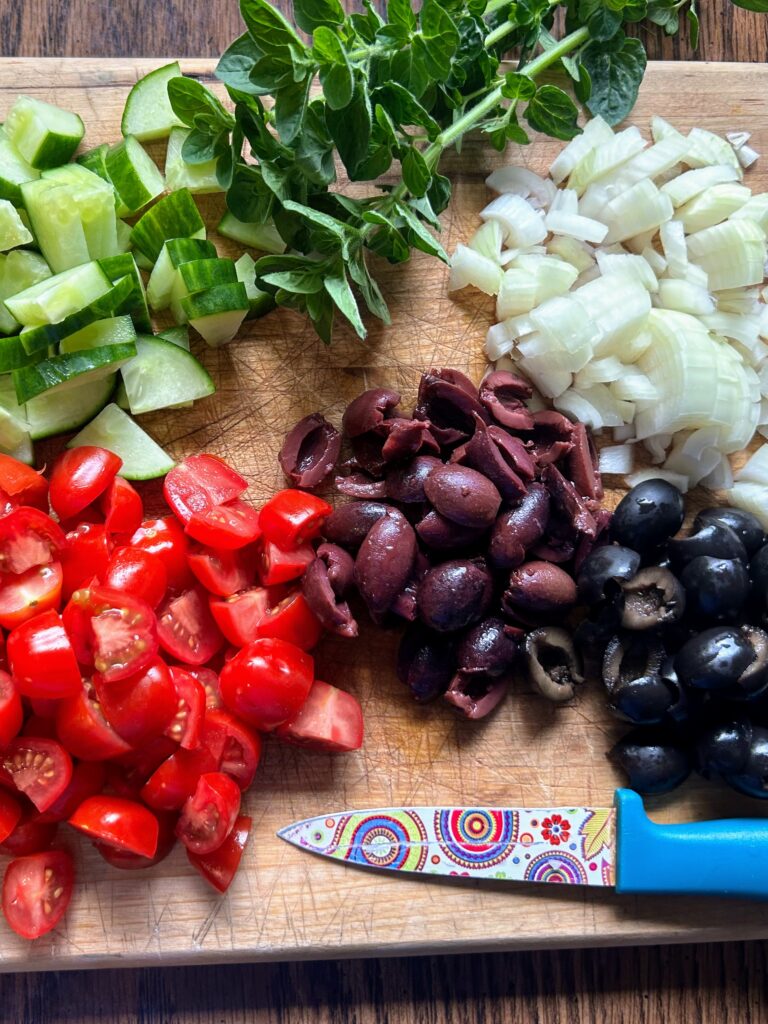
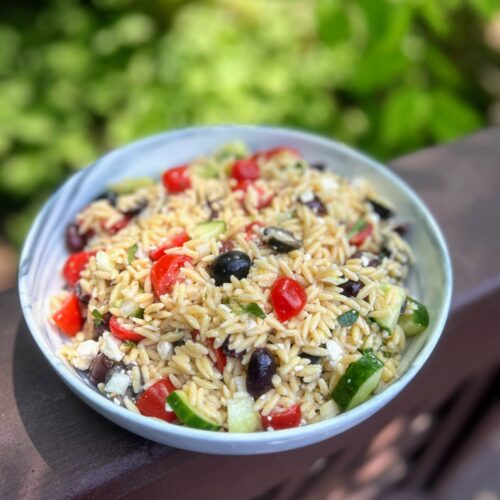
After the orzo, you’ll need a few ingredients: olives, feta cheese, tomatoes, cucumbers, onions, some fresh herbs. You can totally adjust the amounts of each of the ingredients to suit your own tastes. These, with the pasta, make a fresh salad that has a bit of a bite to it that is sure to make your taste buds sing!
If you dig a really juicy salad, feel free to double the dressing. I would start with the original amount and then add more as needed after the salad has had time to sit and marinate.
Now that’s been enough talk. Are we ready to start prepping this great summertime (I mean, who am I kidding…ANY TIME!) salad? Let’s go!
Your Ingredients
- 1 ¾ cups dry orzo
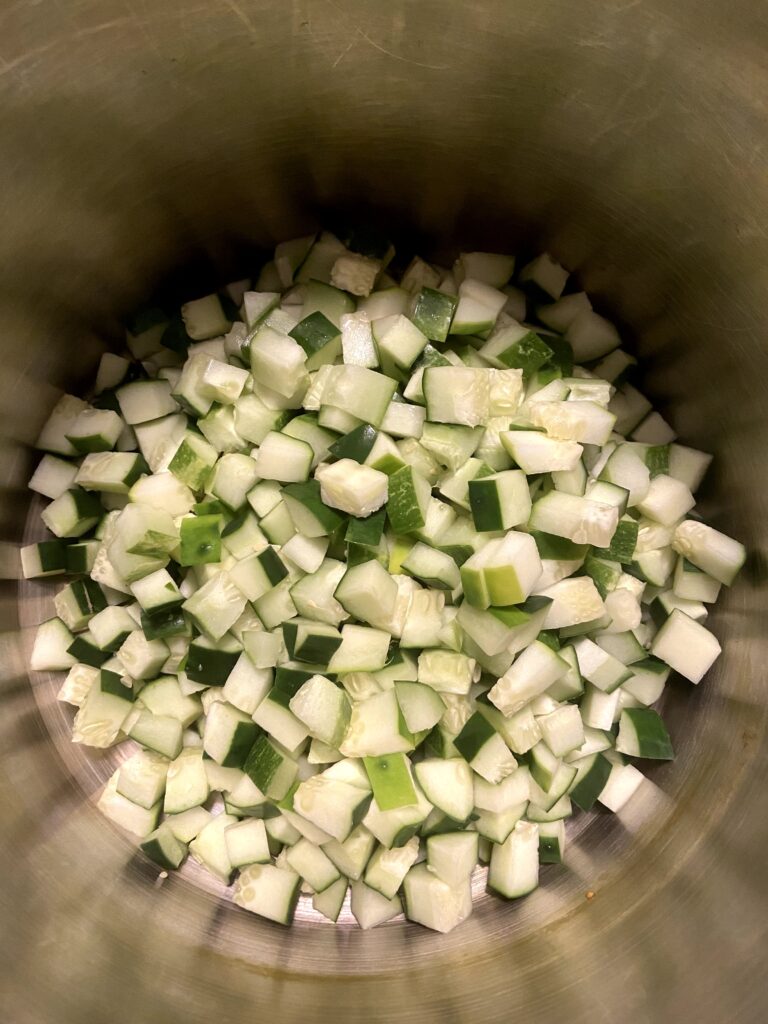
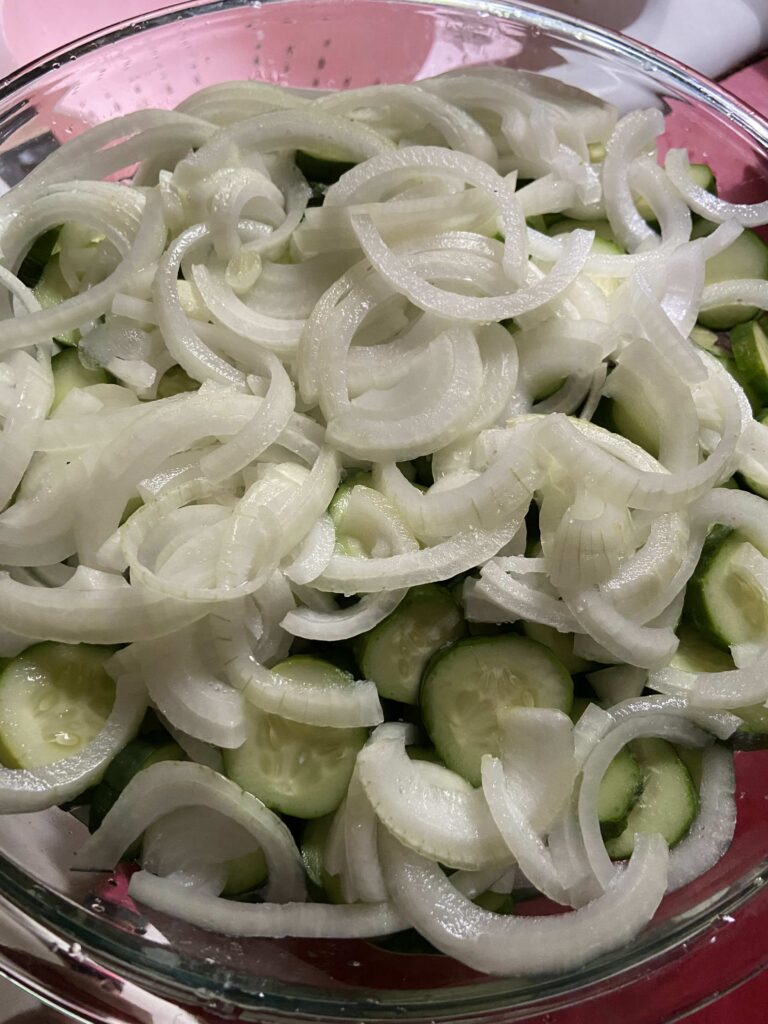
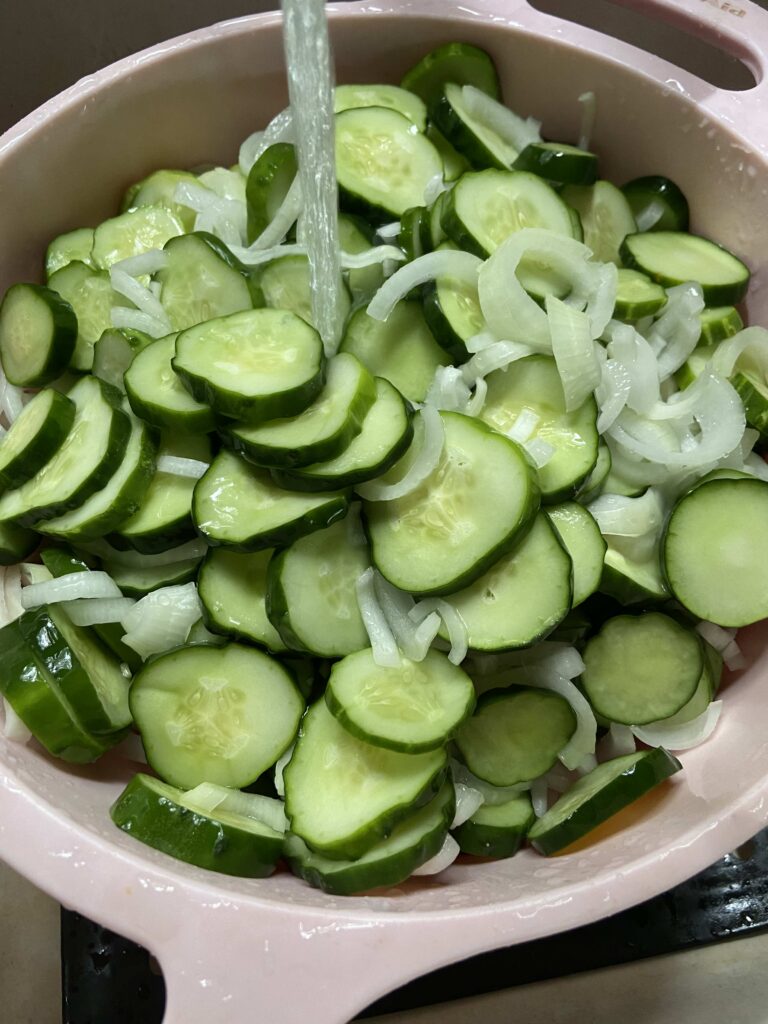
- 1 cup cucumber, diced
- 1 cup grape tomatoes, quartered
- 1/2 cup onion, diced
- 1/2 cup crumbled feta
- 1/3 cup black olives, halved
- 1/3 cup kalamata olives, halved
- fresh basil and oregano, minced about 2 tablespoons of each
Dressing
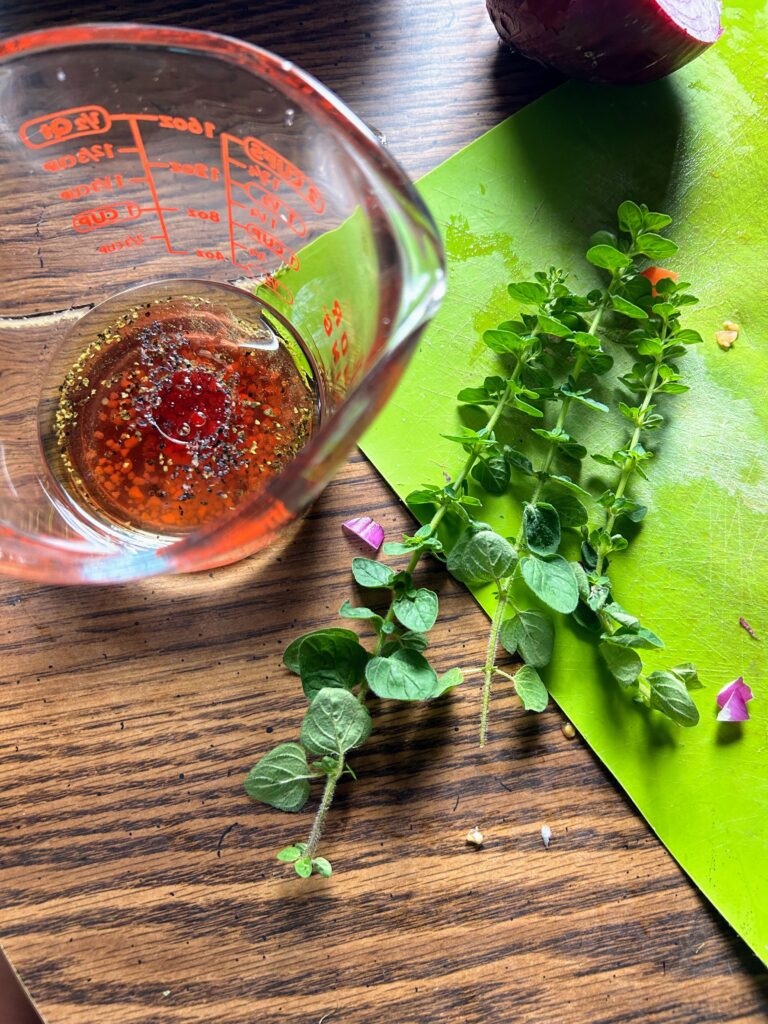
- ¼ cup olive oil
- ⅓ cup red wine vinegar
- ¼ teaspoon garlic powder
- 1 teaspoon dried oregano
- ¼ teaspoon onion powder
- ¼ teaspoon dijon mustard
- salt and pepper
Your Steps to Greek Inspired Orzo Salad
Begin by cooking the orzo to al dente according to package, being sure to salt the water. When finished, drain and rinse with cold water. Set aside.
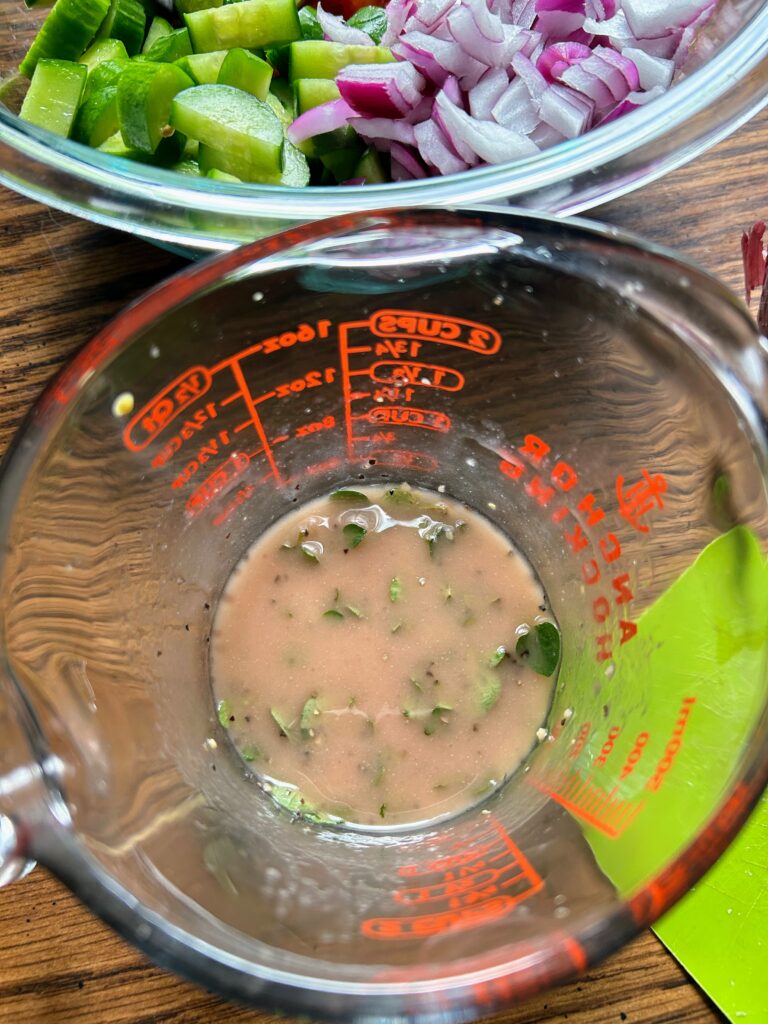
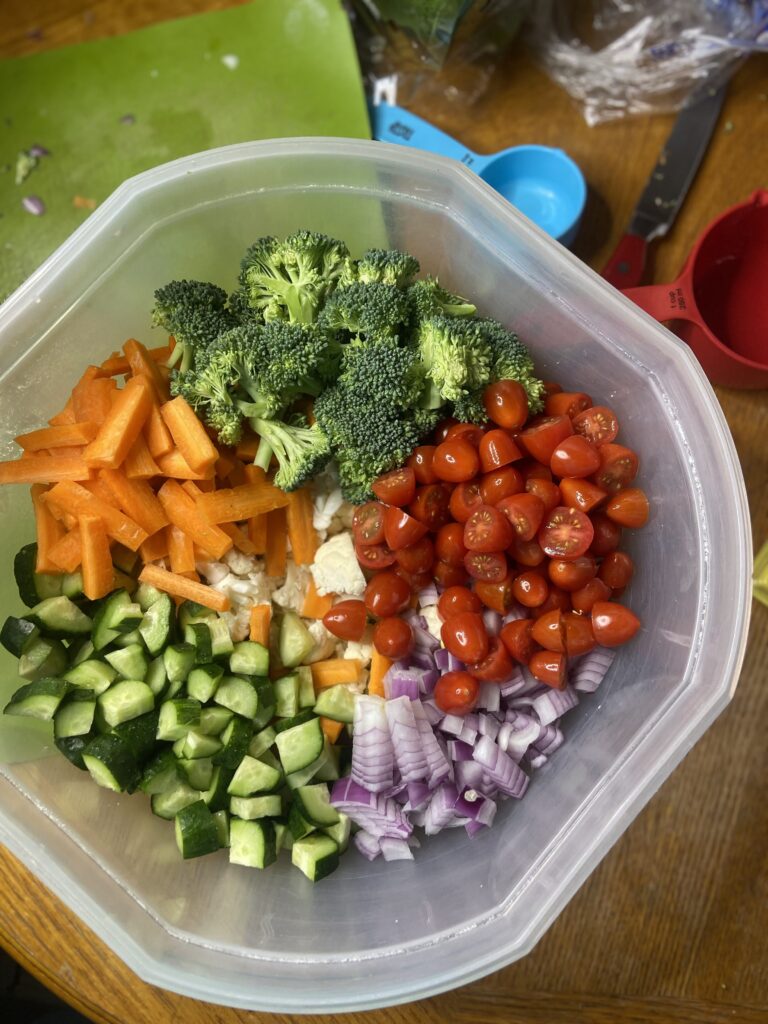
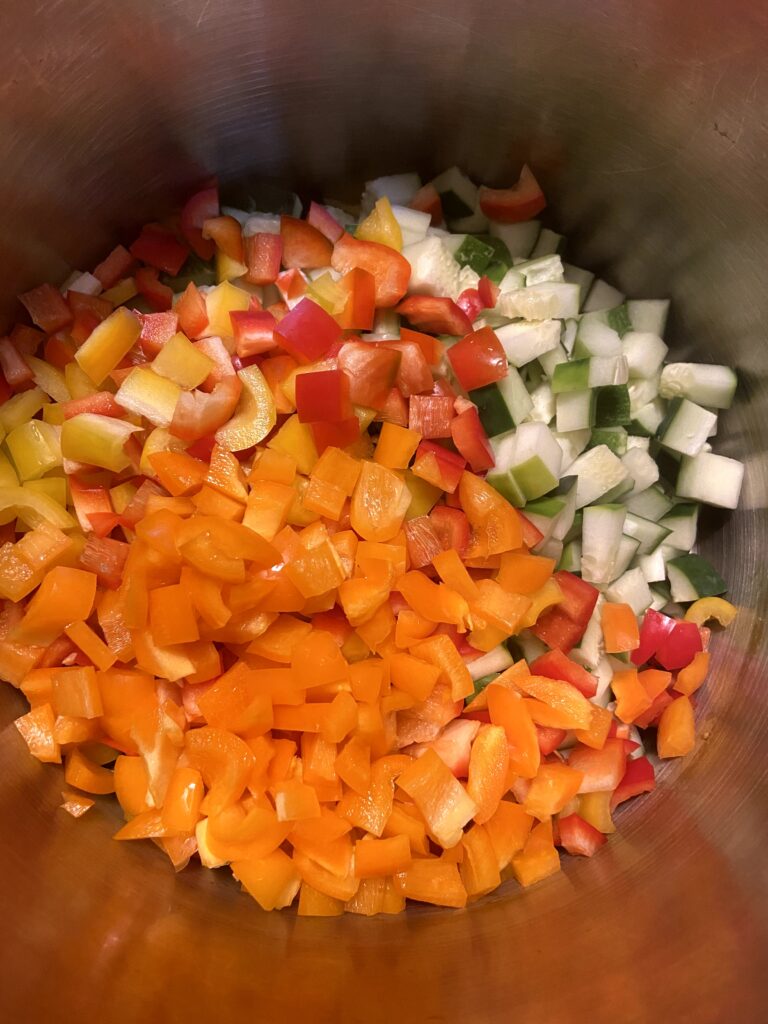
While the orzo is cooking, prep the vegetables. Again, it’s totally okay to have a little more or a little less of anything. You can adjust to your flavors. Love Kalamata olives, but not black, switch it up and do all Kalamata. Or maybe you’re the other way around. I won’t judge! As for the fresh herbs, my favorite way to cut them up is to place them in a coffee mug and use scissors to cut into the mug!
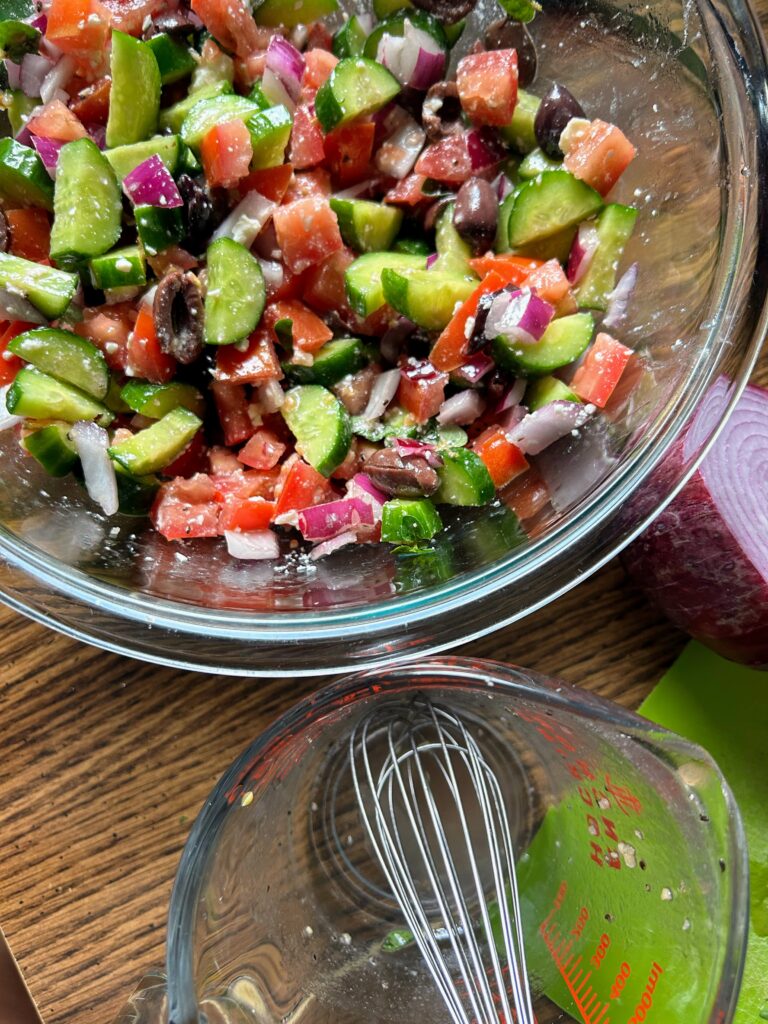
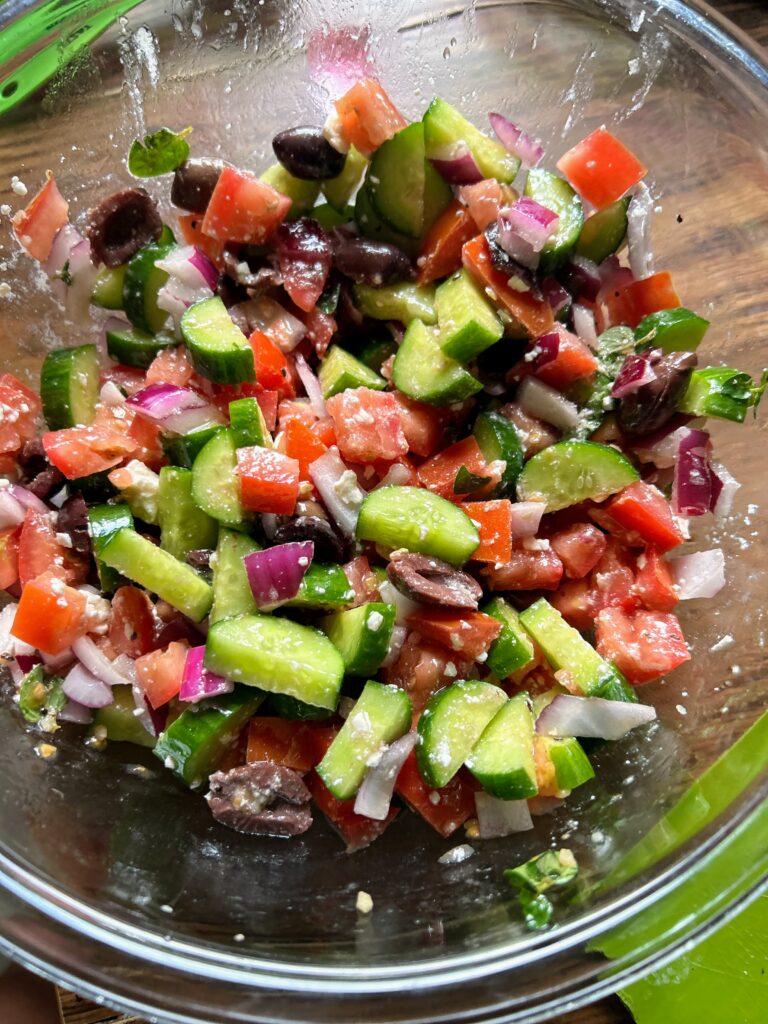
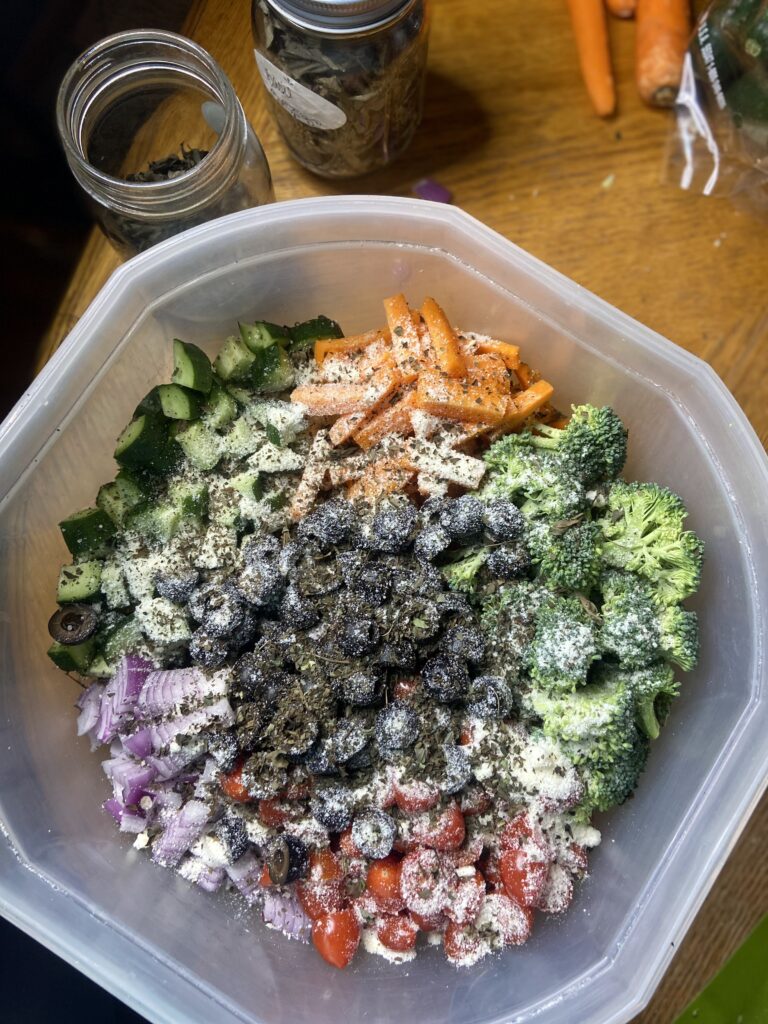
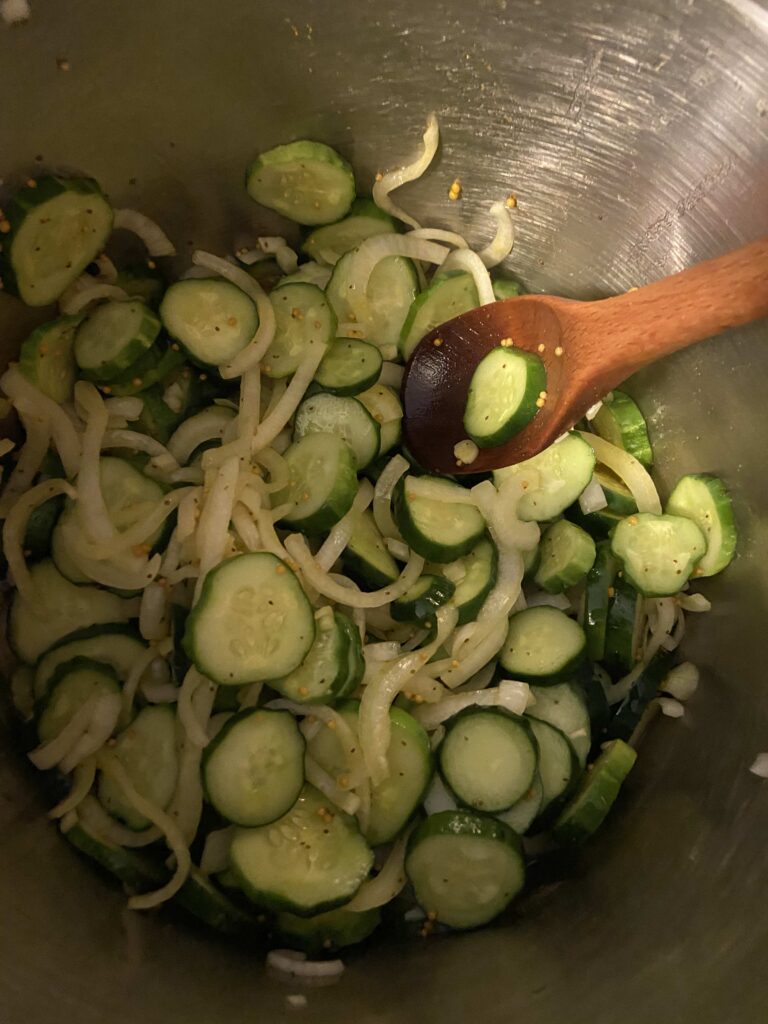
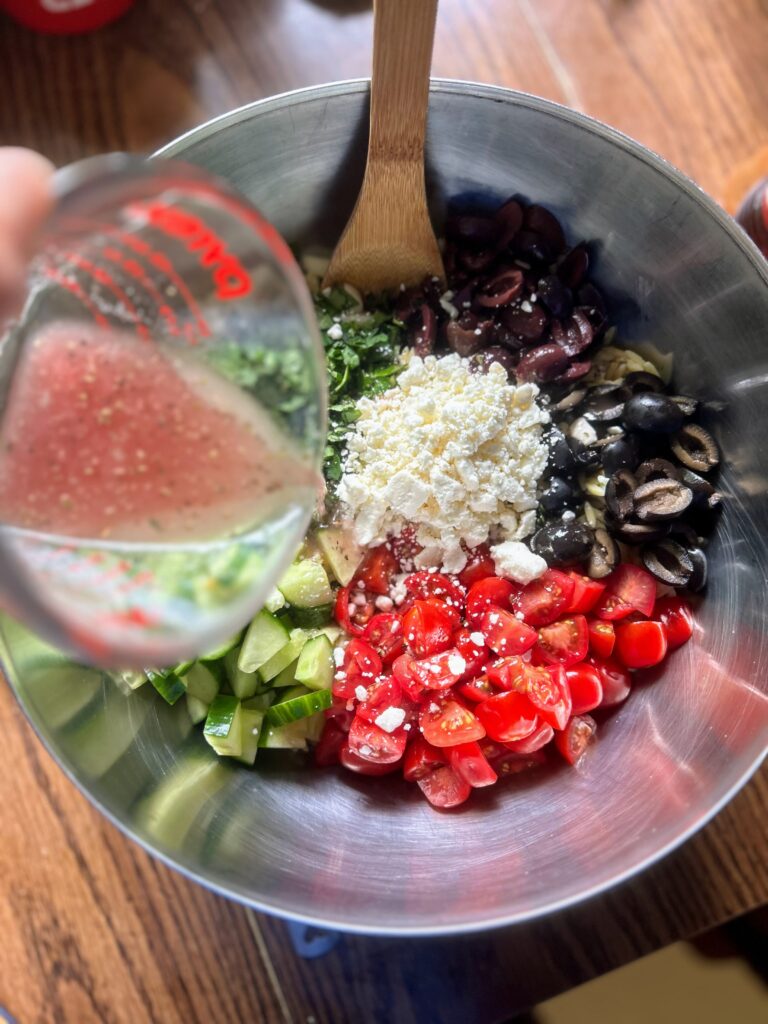
Once the orzo has been rinsed and cooled, combine with the onions, tomatoes, cucumbers, fresh herbs, olives, and feta in a large bowl with a cover. Stir to combine well.
In a liquid measuring cup or mason jar with lid, combine the dressing ingredients (olive oil, vinegar, garlic powder, oregano, onion powder, mustard, salt, and pepper). Whisk or cover and shake vigorously. Immediately pour over the pasta salad, stirring to cover all the ingredients. If you like your salad a little more on the juicy side, double the dressing and add about ⅔ of it to start. You can always add more after it chills. Speaking of chilling…
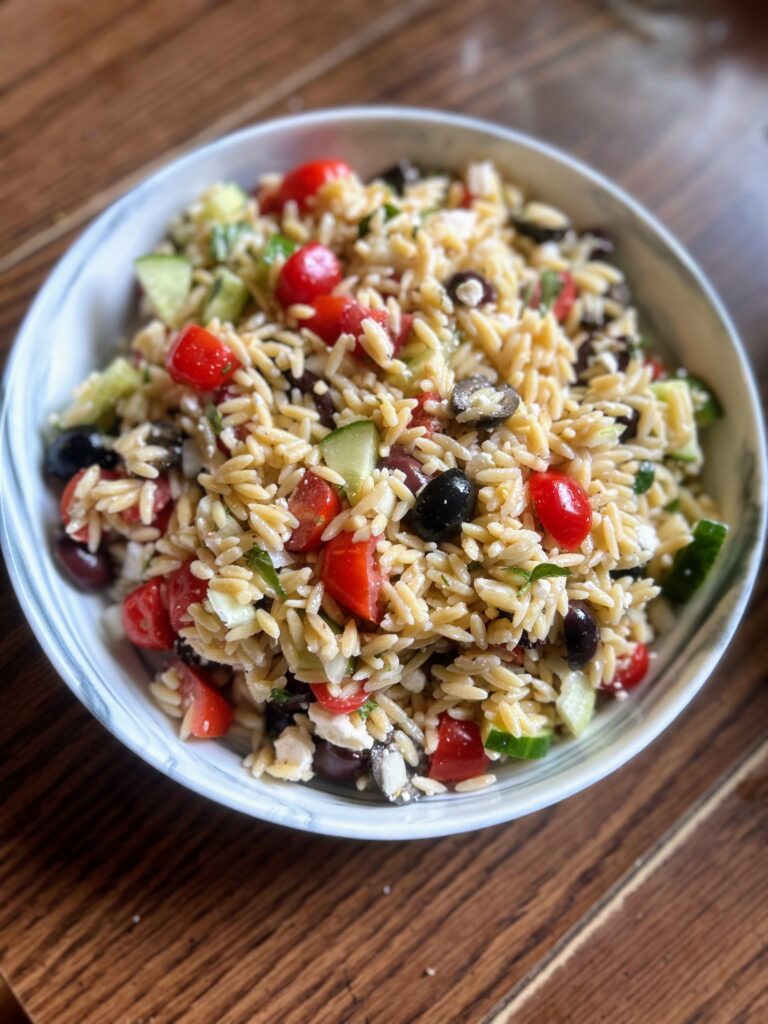
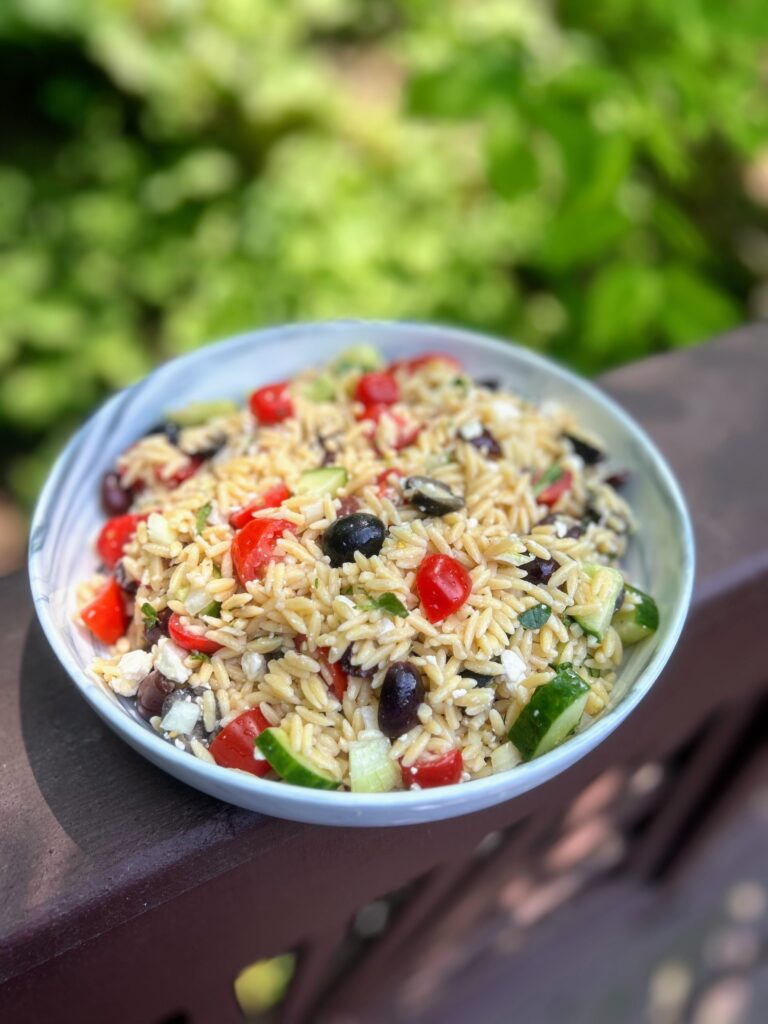
This salad is best if you let it chill for a few hours before serving, but I always have a hard time 1. Planning ahead and 2. Waiting that long because I want to dig in. Best of luck to you on both regards. When you do serve it, I like to sprinkle a little more feta and perhaps a few more olives. They add a little zing I love!
Greek Inspired Orzo Salad
Ingredients
- 1 ¾ cups dry orzo
- 1 cup cucumber diced
- 1 cup grape tomatoes quartered
- 1/2 cup onion diced
- 1/2 cup crumbled feta
- 1/3 cup black olives halved
- 1/3 cup Kalamata olives halved
- fresh basil and oregano minced about 2 tablespoons of each
- Dressing
- ¼ cup olive oil
- ⅓ cup red wine vinegar
- ¼ teaspoon garlic powder
- 1 teaspoon dried oregano
- ¼ teaspoon onion powder
- ¼ teaspoon dijon mustard
- salt and pepper
Instructions
- Begin by cooking the orzo to al dente according to package, being sure to salt the water. When finished, drain and rinse with cold water. Set aside.
- While the orzo is cooking, prep the vegetables and herbs
- Once the orzo has been rinsed and cooled, combine with the onions, tomatoes, cucumbers, fresh herbs, olives, and feta in a large bowl with a cover. Stir to combine well.
- In a liquid measuring cup or mason jar with lid, combine the dressing ingredients (olive oil, vinegar, garlic powder, oregano, onion powder, mustard, salt, and pepper). Whisk or cover and shake vigorously. Immediately pour over the pasta salad, stirring to cover all the ingredients.
- Cover and allow to chill for for an hour before serving.
Notes
Looking for other sides?
These are some of my absolute favorites! You can also head to my cooking page to see what else I have in store!