I adore all things cranberry. Drinks. Bakes. Jams. And how could I almost forget sauce? They are all so delicious. That combination of tart with a bit of sweet is just the perfect treat for my tastebuds. So when I started seeing cranberries on sale this time of year last year, I started thinking about how I could make my own homemade cranberry juice.
After a few Google searches, I learned there were a few different ways to go about canning cranberry juice: A long way that resulted in unsweetened juice that was very concentrated and a less labor intensive way that required you to wait 4-6 weeks before opening a jar. And while I do like to try the fruits of my labor soon after, I figured the quick process with the wait time was the way to go.
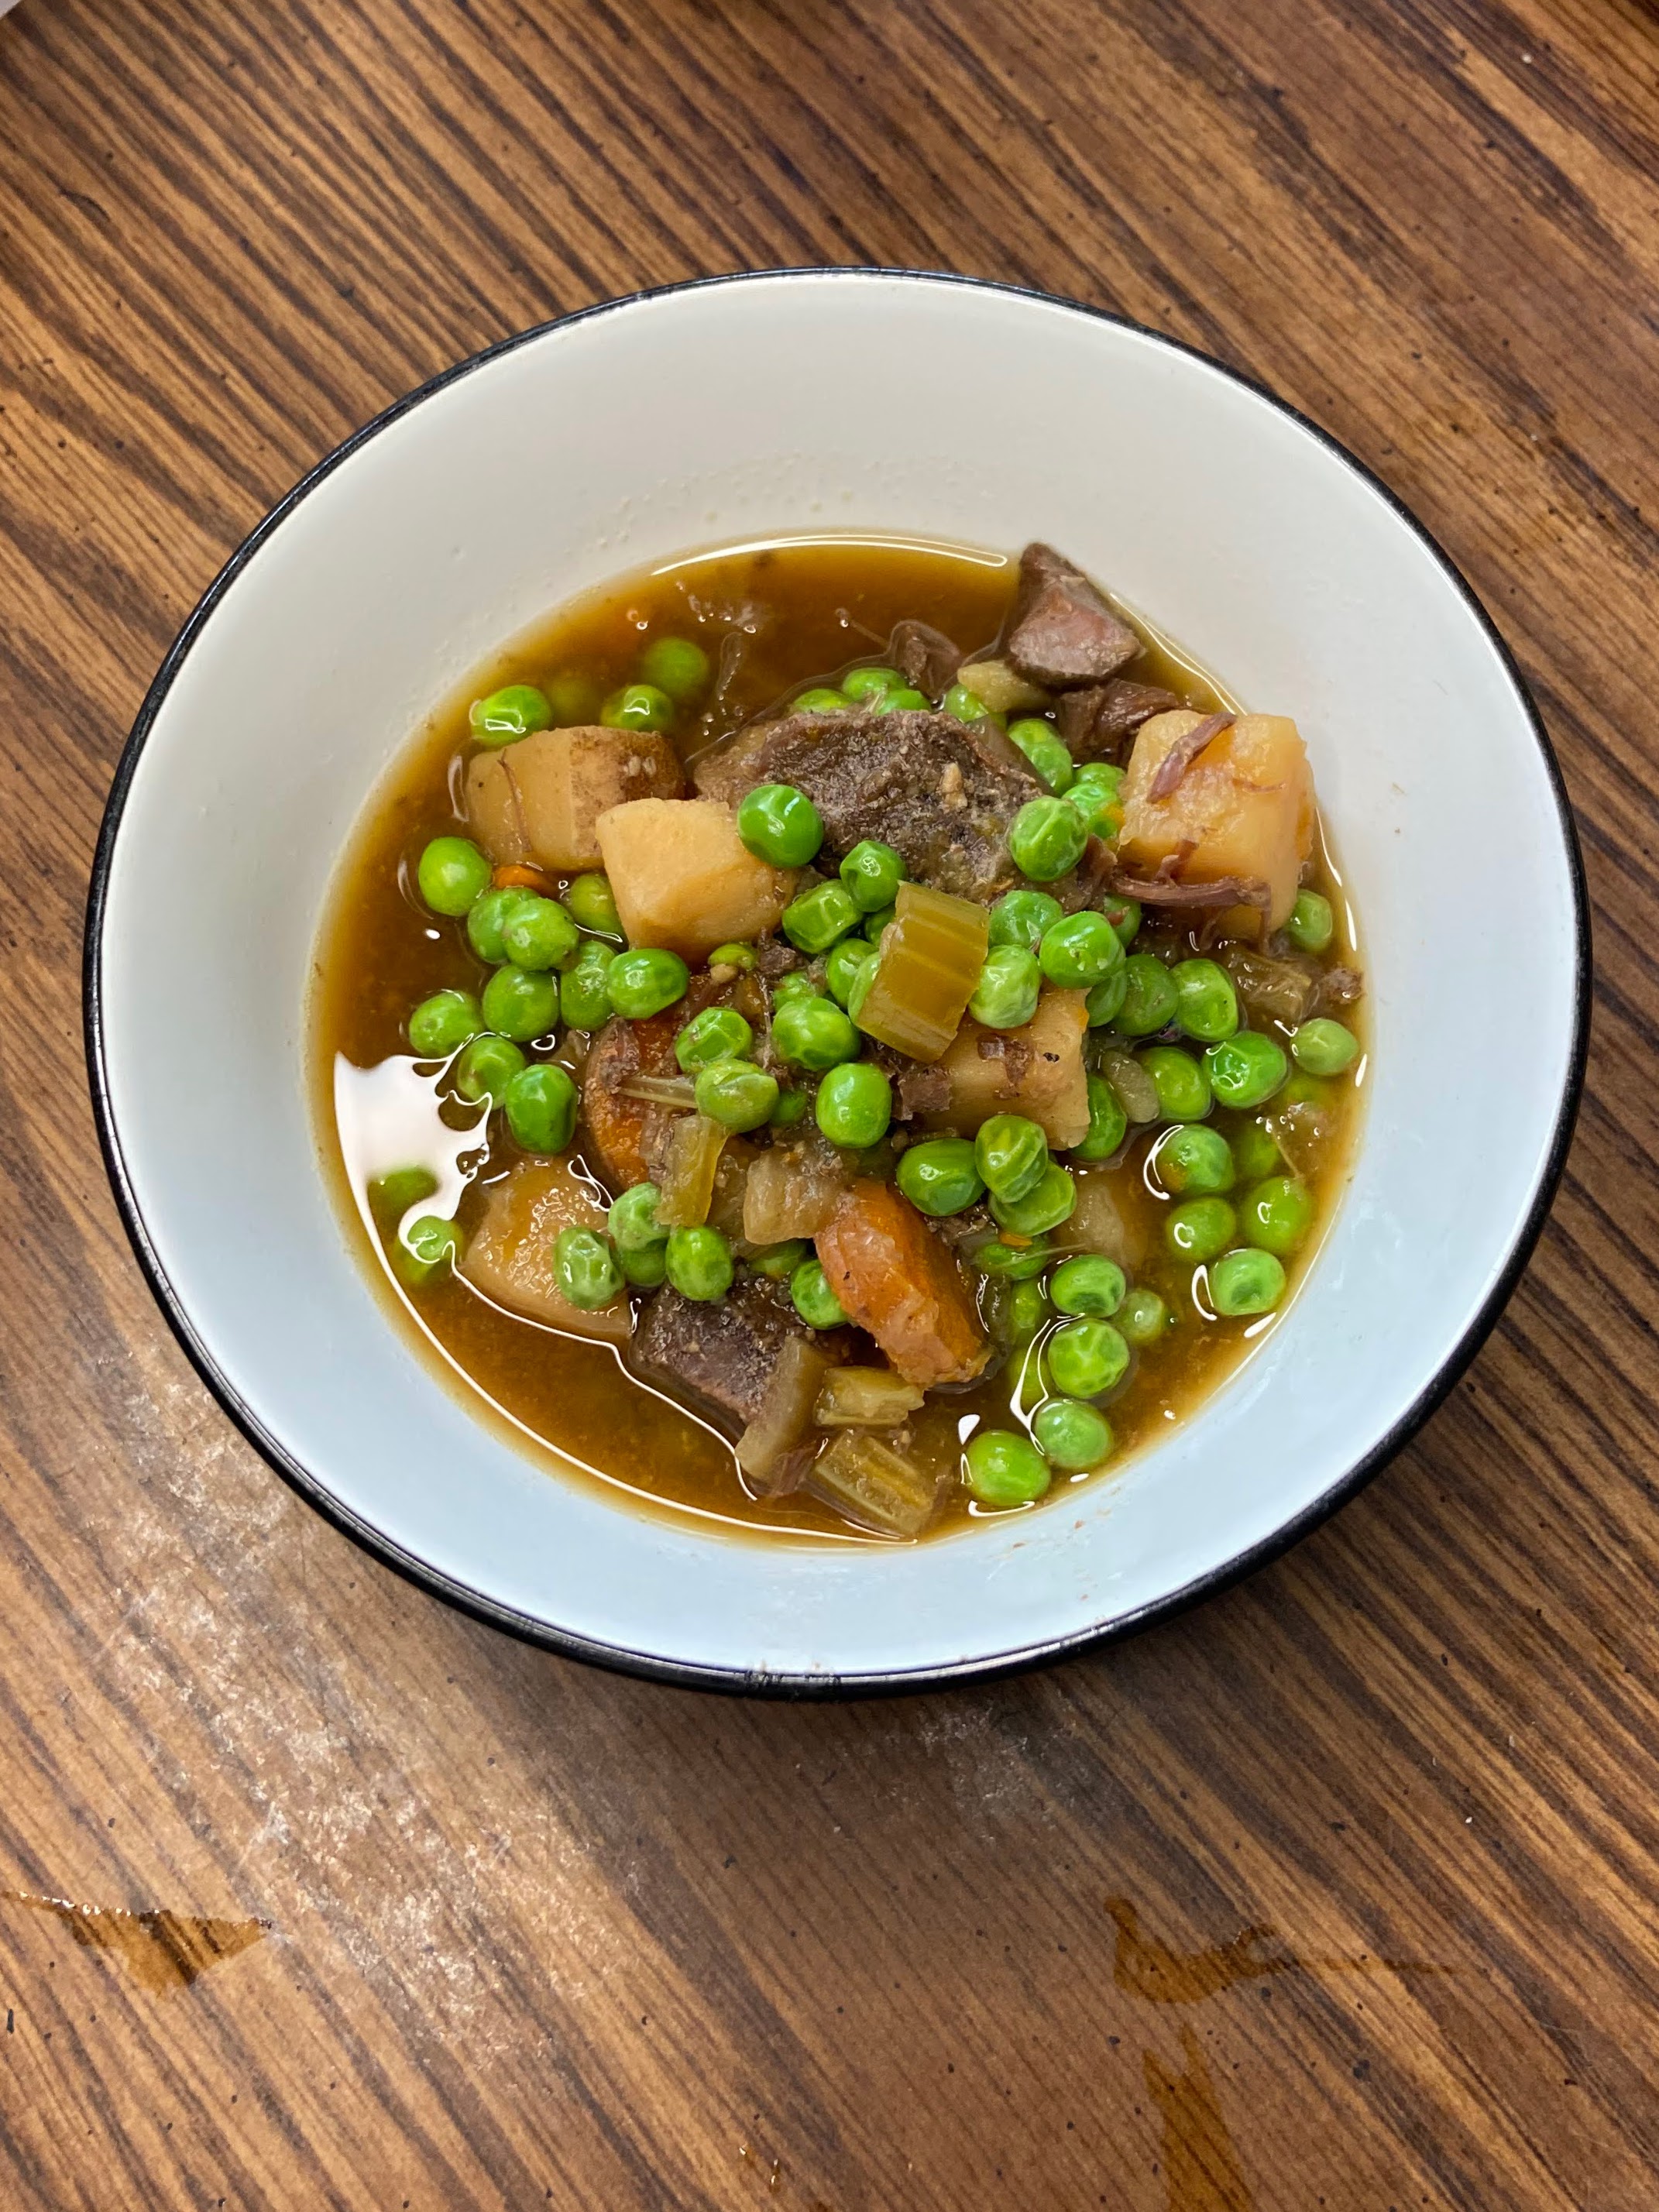
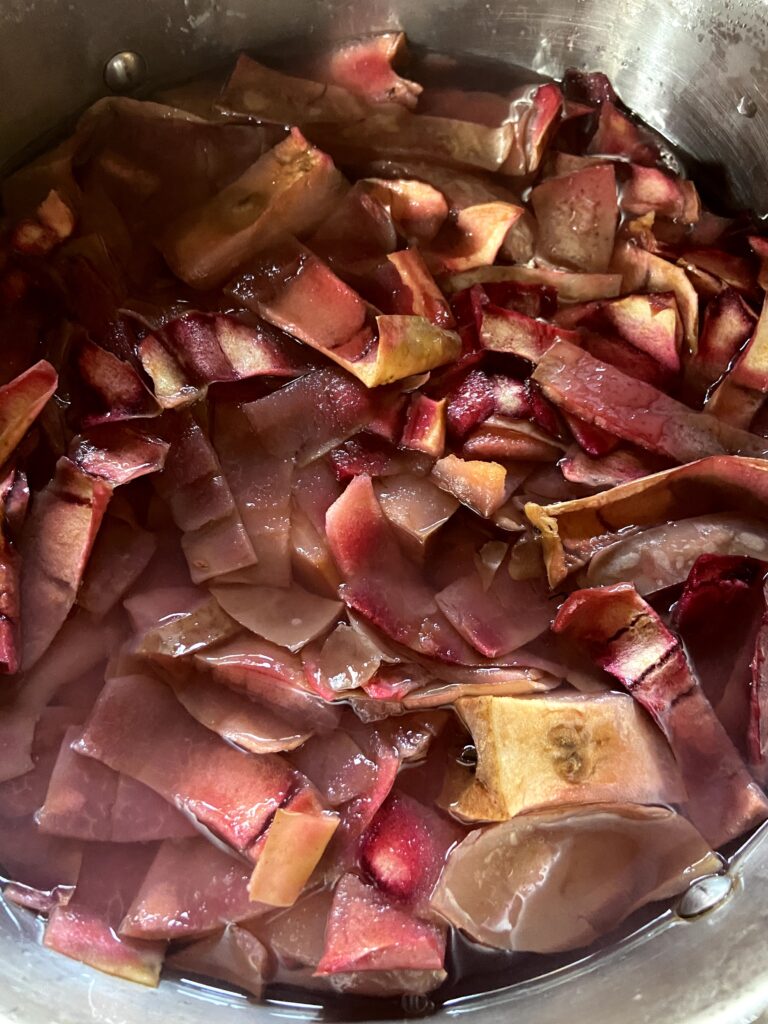
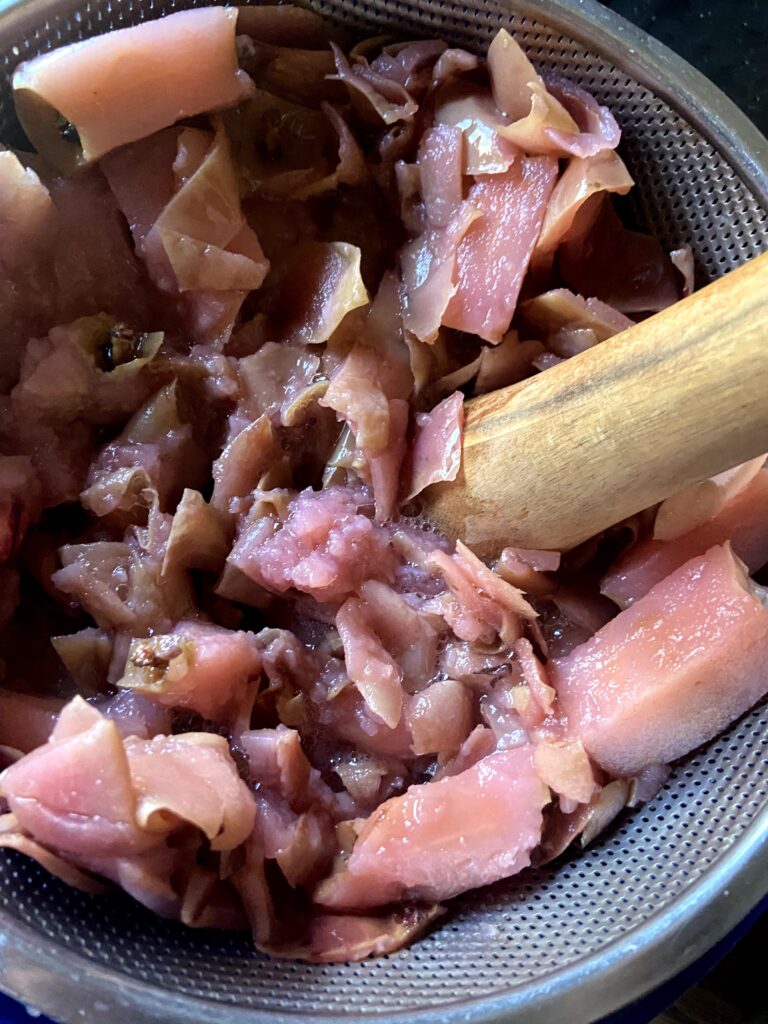
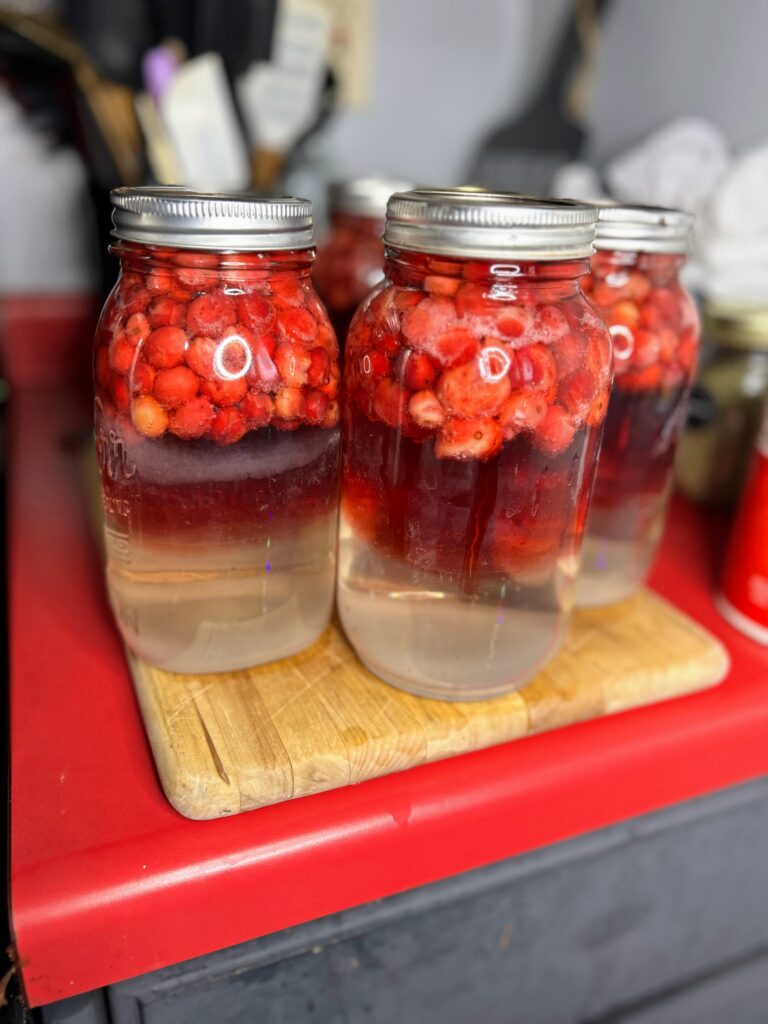
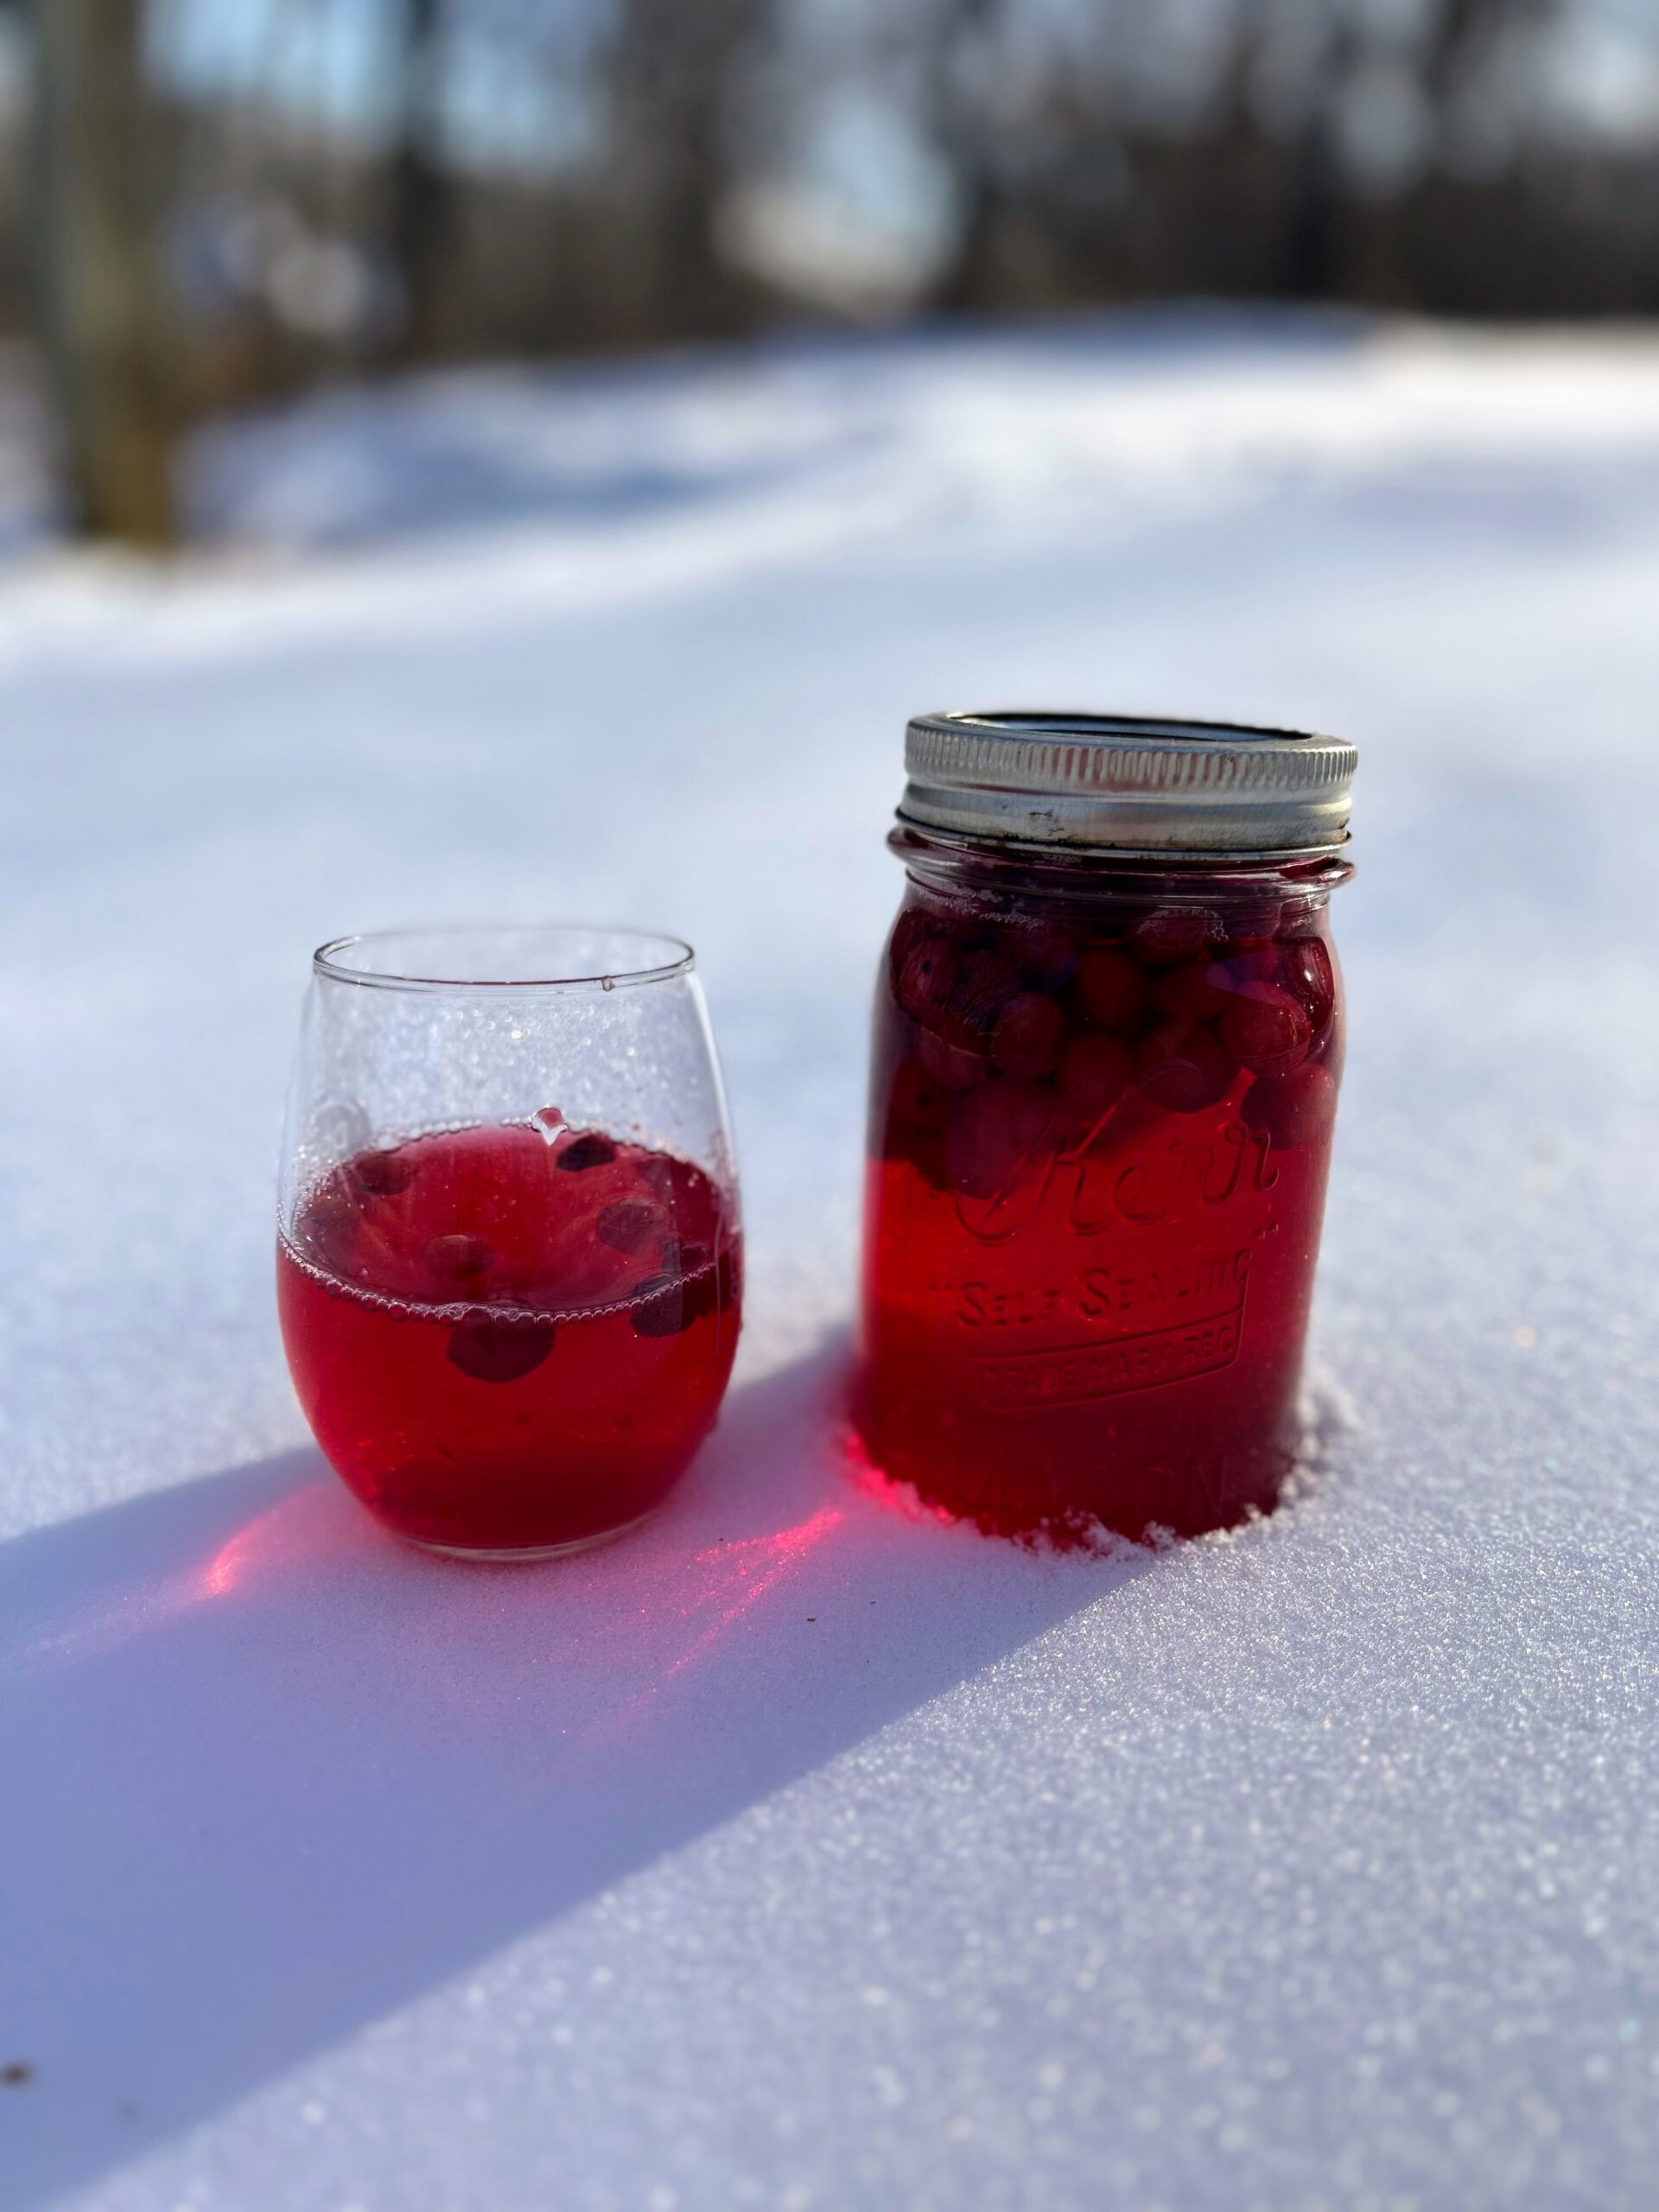
And boy was it ever! What I love about this process is that putting the jars together takes just moments and it requires very little hands on time. The beautiful juice that is formed in a month is the perfect amount of sweet and the berries that have soaked are still tasty. I like to use them as the berry topping in my Greek yogurt. They would also bake nicely into my baked oatmeal recipe.
And good news: 4 bags of cranberries will be just over what you need to make 7 quarts. It should leave you just enough to make a few servings of cranberry sauce (yum, right?!)
About the Canning
This recipe will result in approximately 7 quart jars. You can use wide mouth or narrow mouth jars. Just be sure you have rings and lids for them and that they will all fit in your canner at once.
You will need a water bath canner or large stock pot with a lid. The jars need to be off the bottom of the pot. A water bath canner will have a rack to use. If you use a stock pot, I would invest in canning racks. You can also put a towel down in a pinch, but it is MESSY in terms of getting water everywhere.
It is also helpful to have the tools in a canning kit like this, but it isn’t necessary. Canning would be crazy challenging without the jar funnel and jar tongs. The lid lifter is also very handy.
While we are here, I will give you all the information you need to successfully can a batch of jam. However, if you are new to canning, you may likely want to gather additional information. My favorite places to learn more are The Ball’s Book of Canning or the National Center for Home Food Preservation.
Ready to take advantage of that tart little fruit being in season and make your own homemade cranberry juice?
Let’s do this thing!
Your Ingredients (for 7 quarts of homemade cranberry juice)
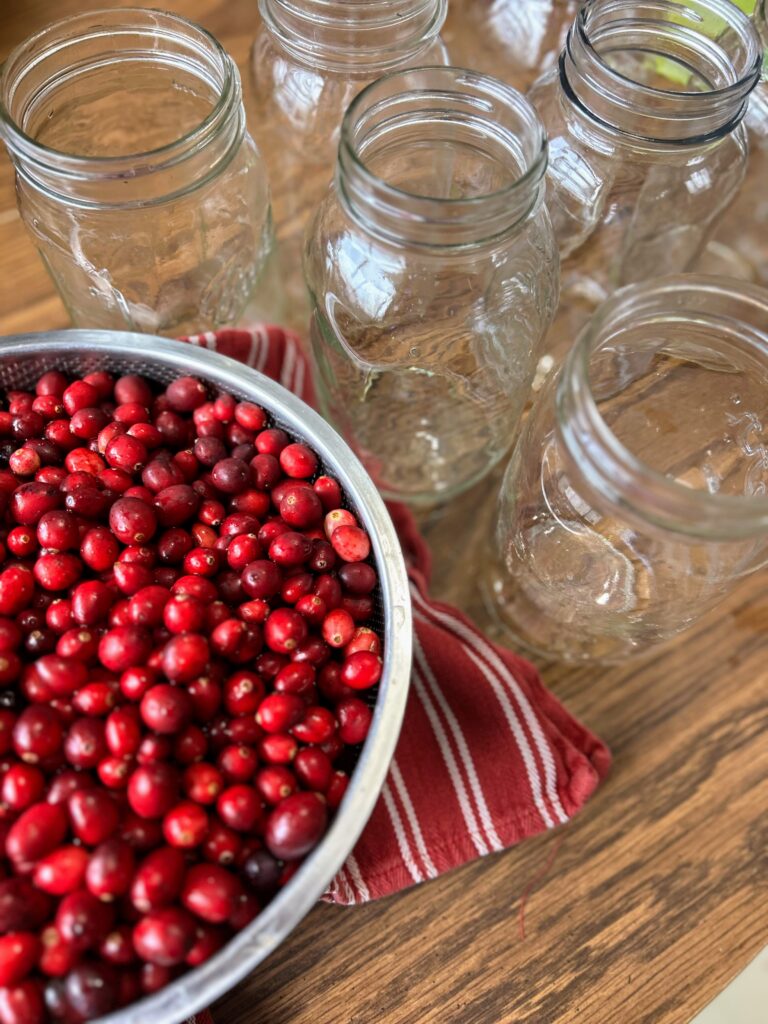
- 4 bags of fresh cranberries, rinsed and picked through, discarding yucky berries
- 1 ¾ – 3 ½ cups of sugar, depending on your level of sweetness
- Boiling water (4-5 quarts)
Your Steps to Homemade Cranberry Juice
Fill the canning kettle with enough water that the jars will be covered by at least ½” water. More is better in this case so over estimate. Begin to heat over high heat. Place the canning rack so that it is hooked over the side of the canner and put clean jars on it to keep them warm. Note: You don’t have to keep the jars in the rack, although it is helpful to keep them warm. You want the jars warm to prevent breaking when they are being filled.
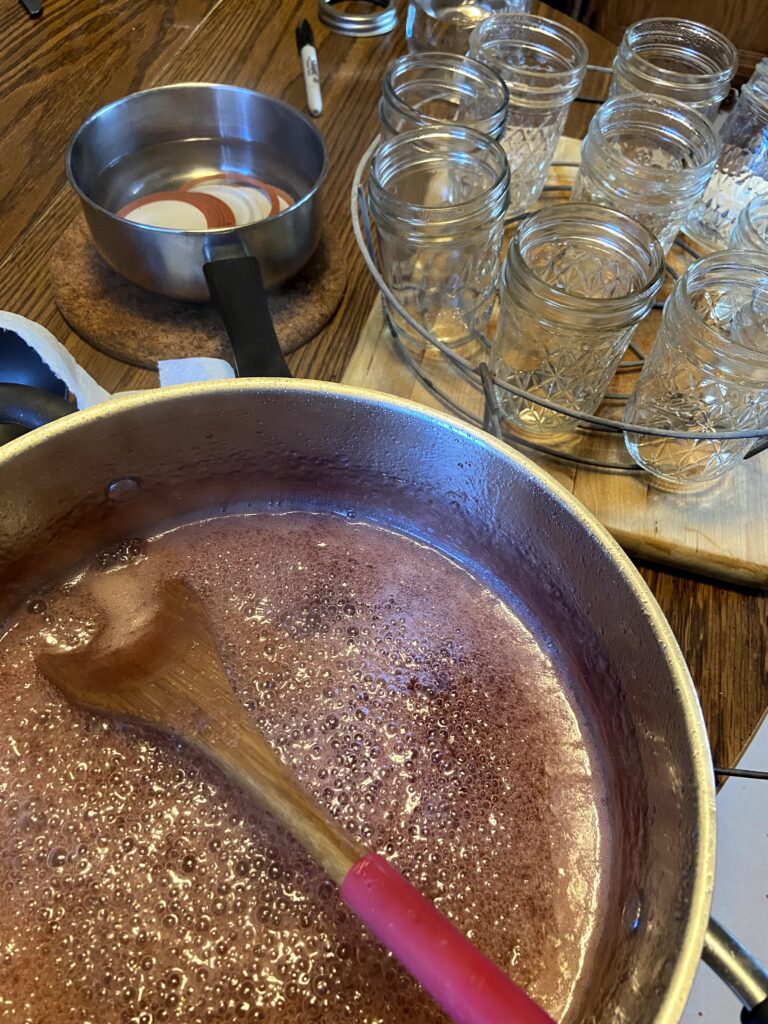
Set the clean rings aside. I like to simmer my lids on low low heat in a small saucepan. Not necessary, but I like to think it helps them seal better.
Start the canner!
If you have not started, begin a large kettle with water and heat over high heat to get it to boiling. Once boiling, you can reduce to a simmer. (Honestly, I don’t measure here. I fill a kettle and if I need to add more water as I am filling jars, I do)
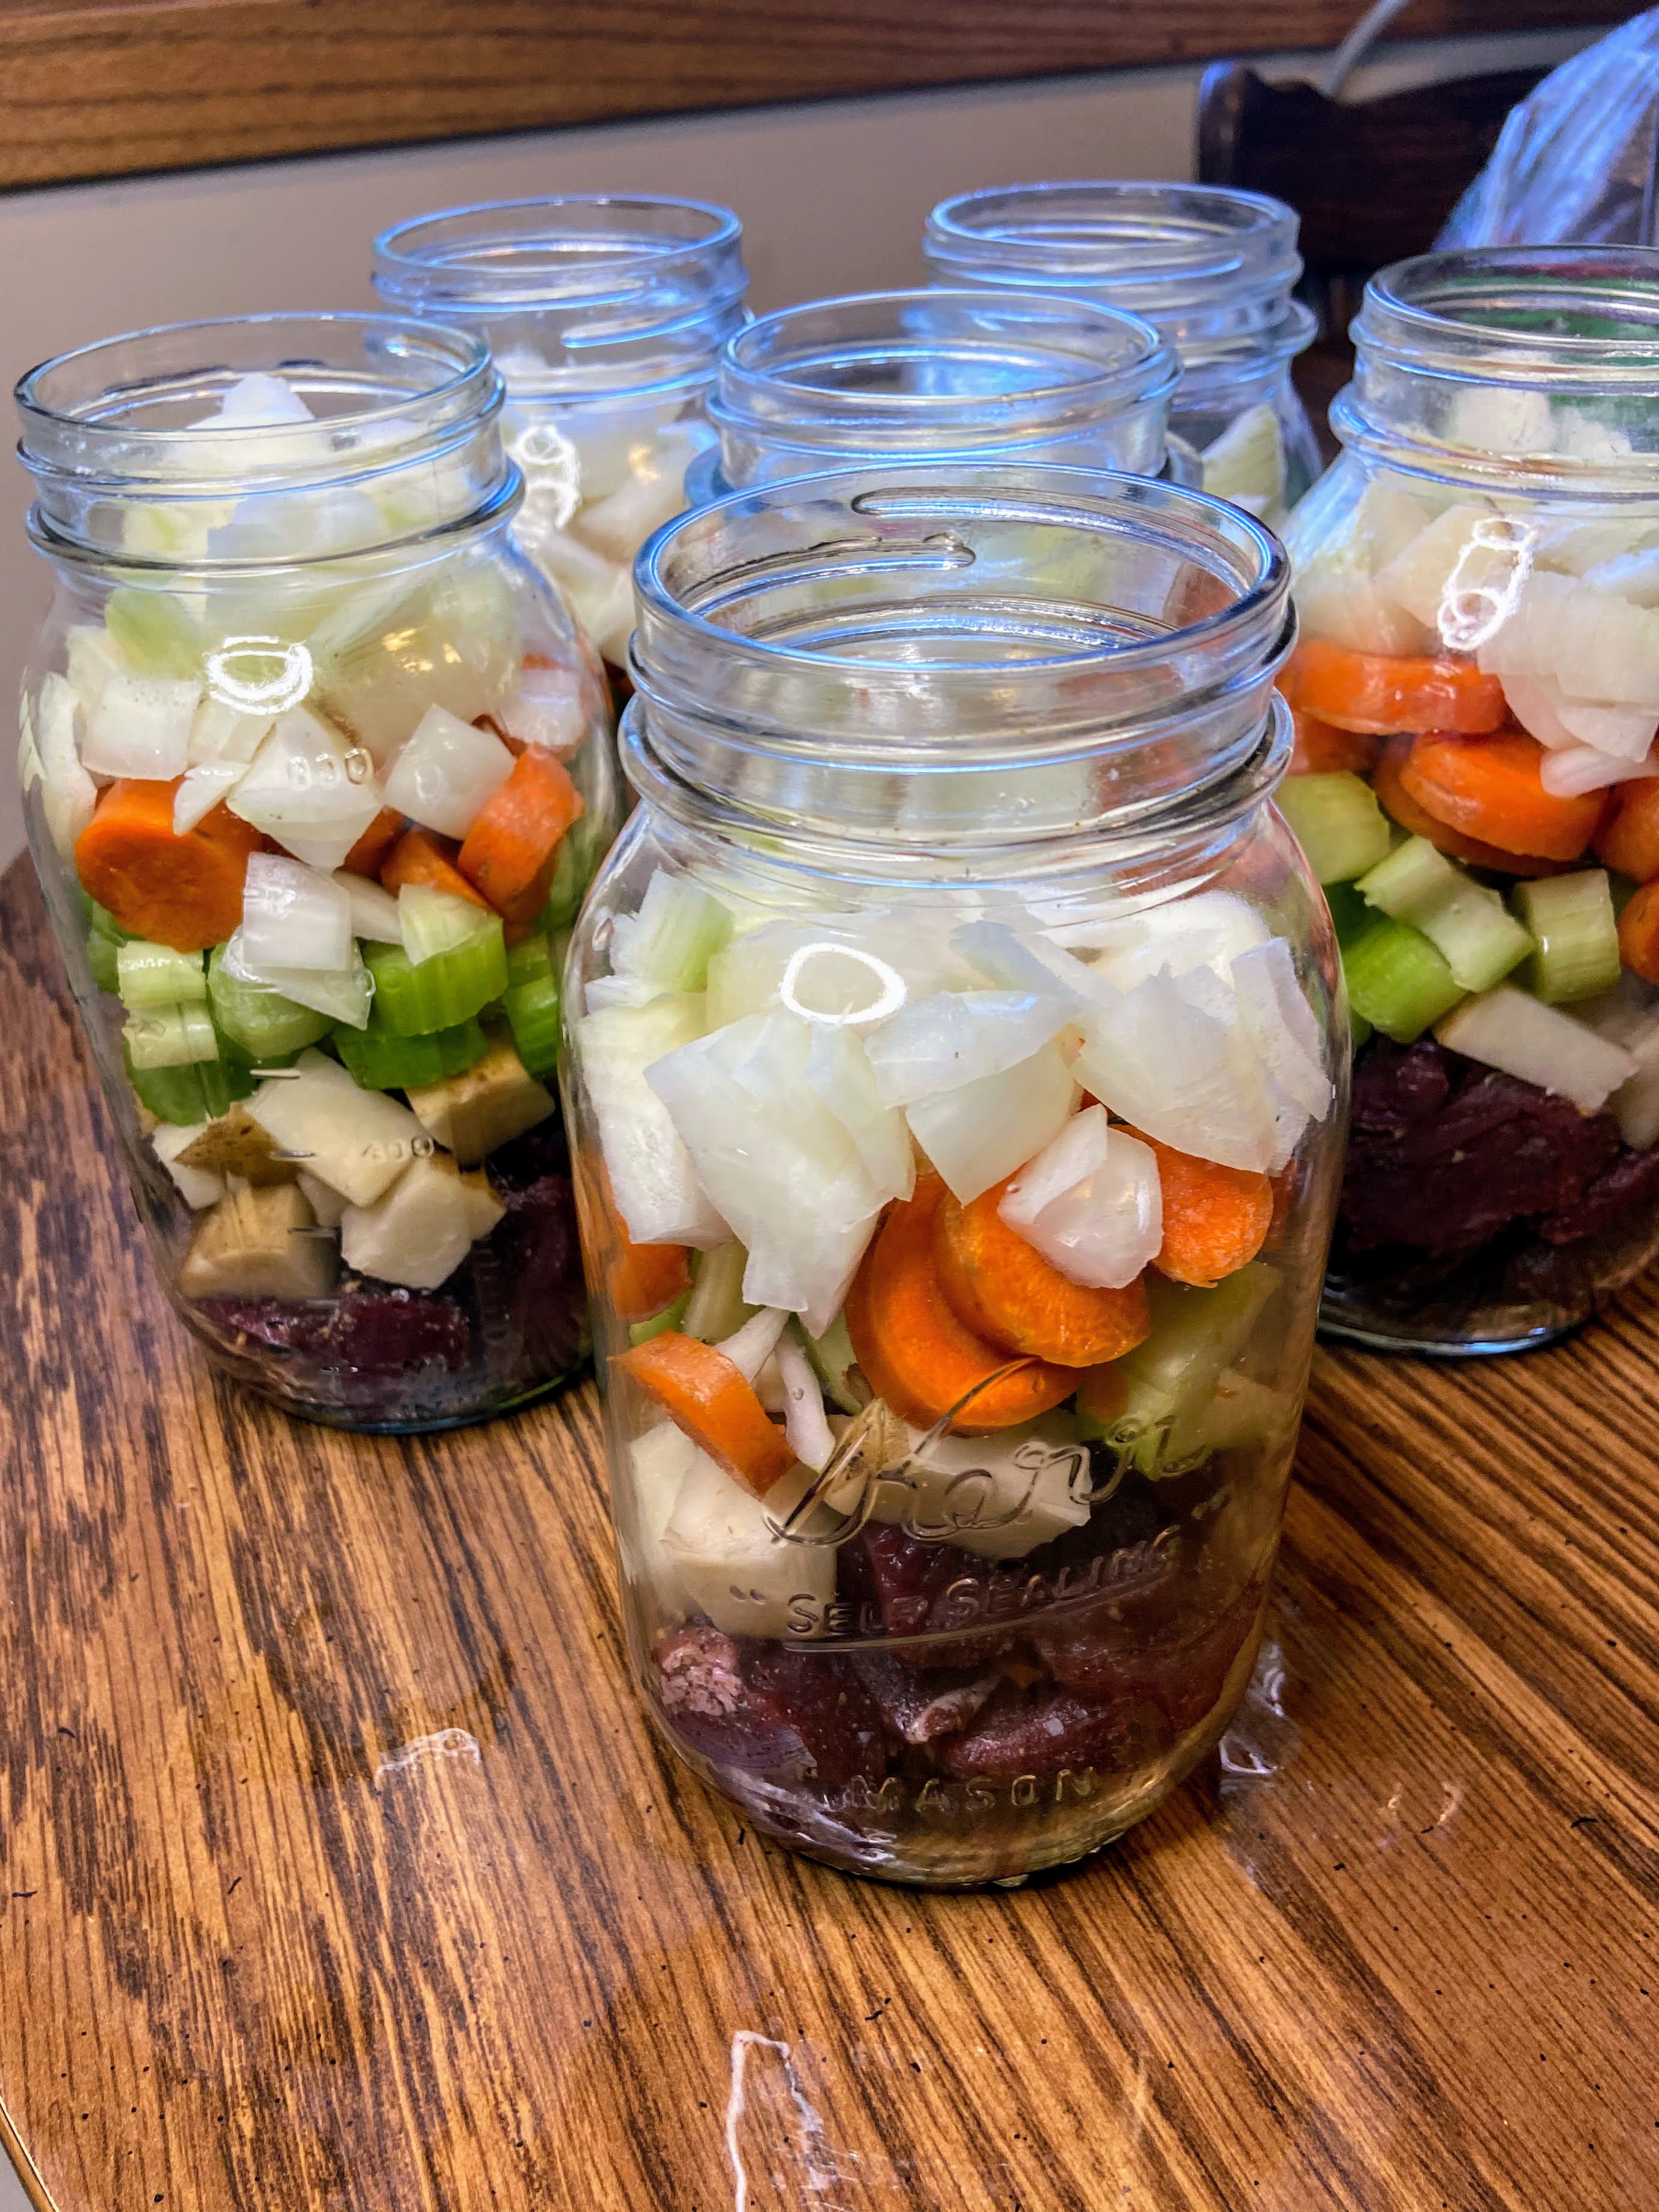
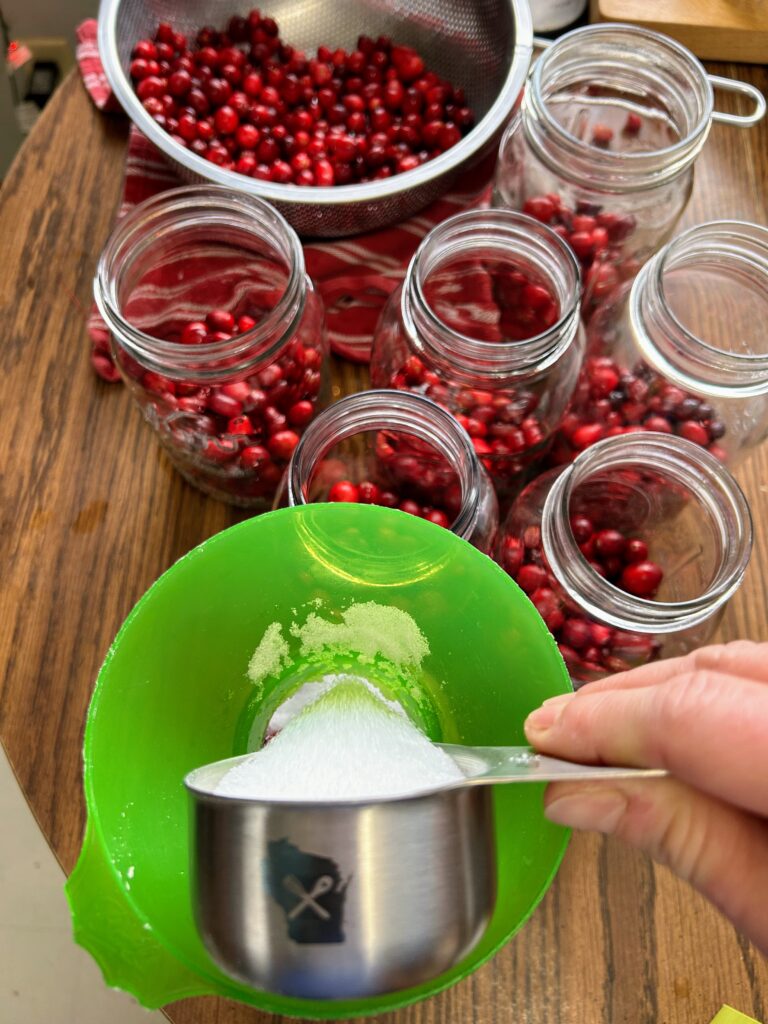
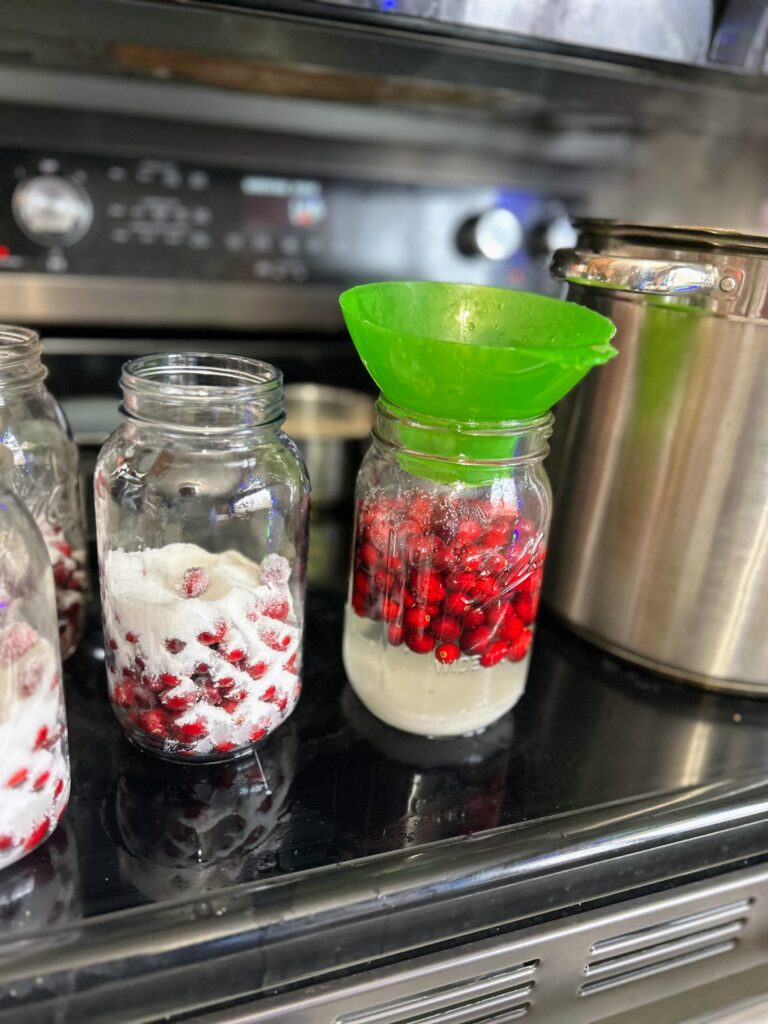
Fill each quart jar with 1 ¾ cups of rinsed cranberries. Add ¼ cup to ½ of sugar to each jar, depending on your sweetness preference. You can not go any lower as the sugar is what draws out the cranberry flavor.
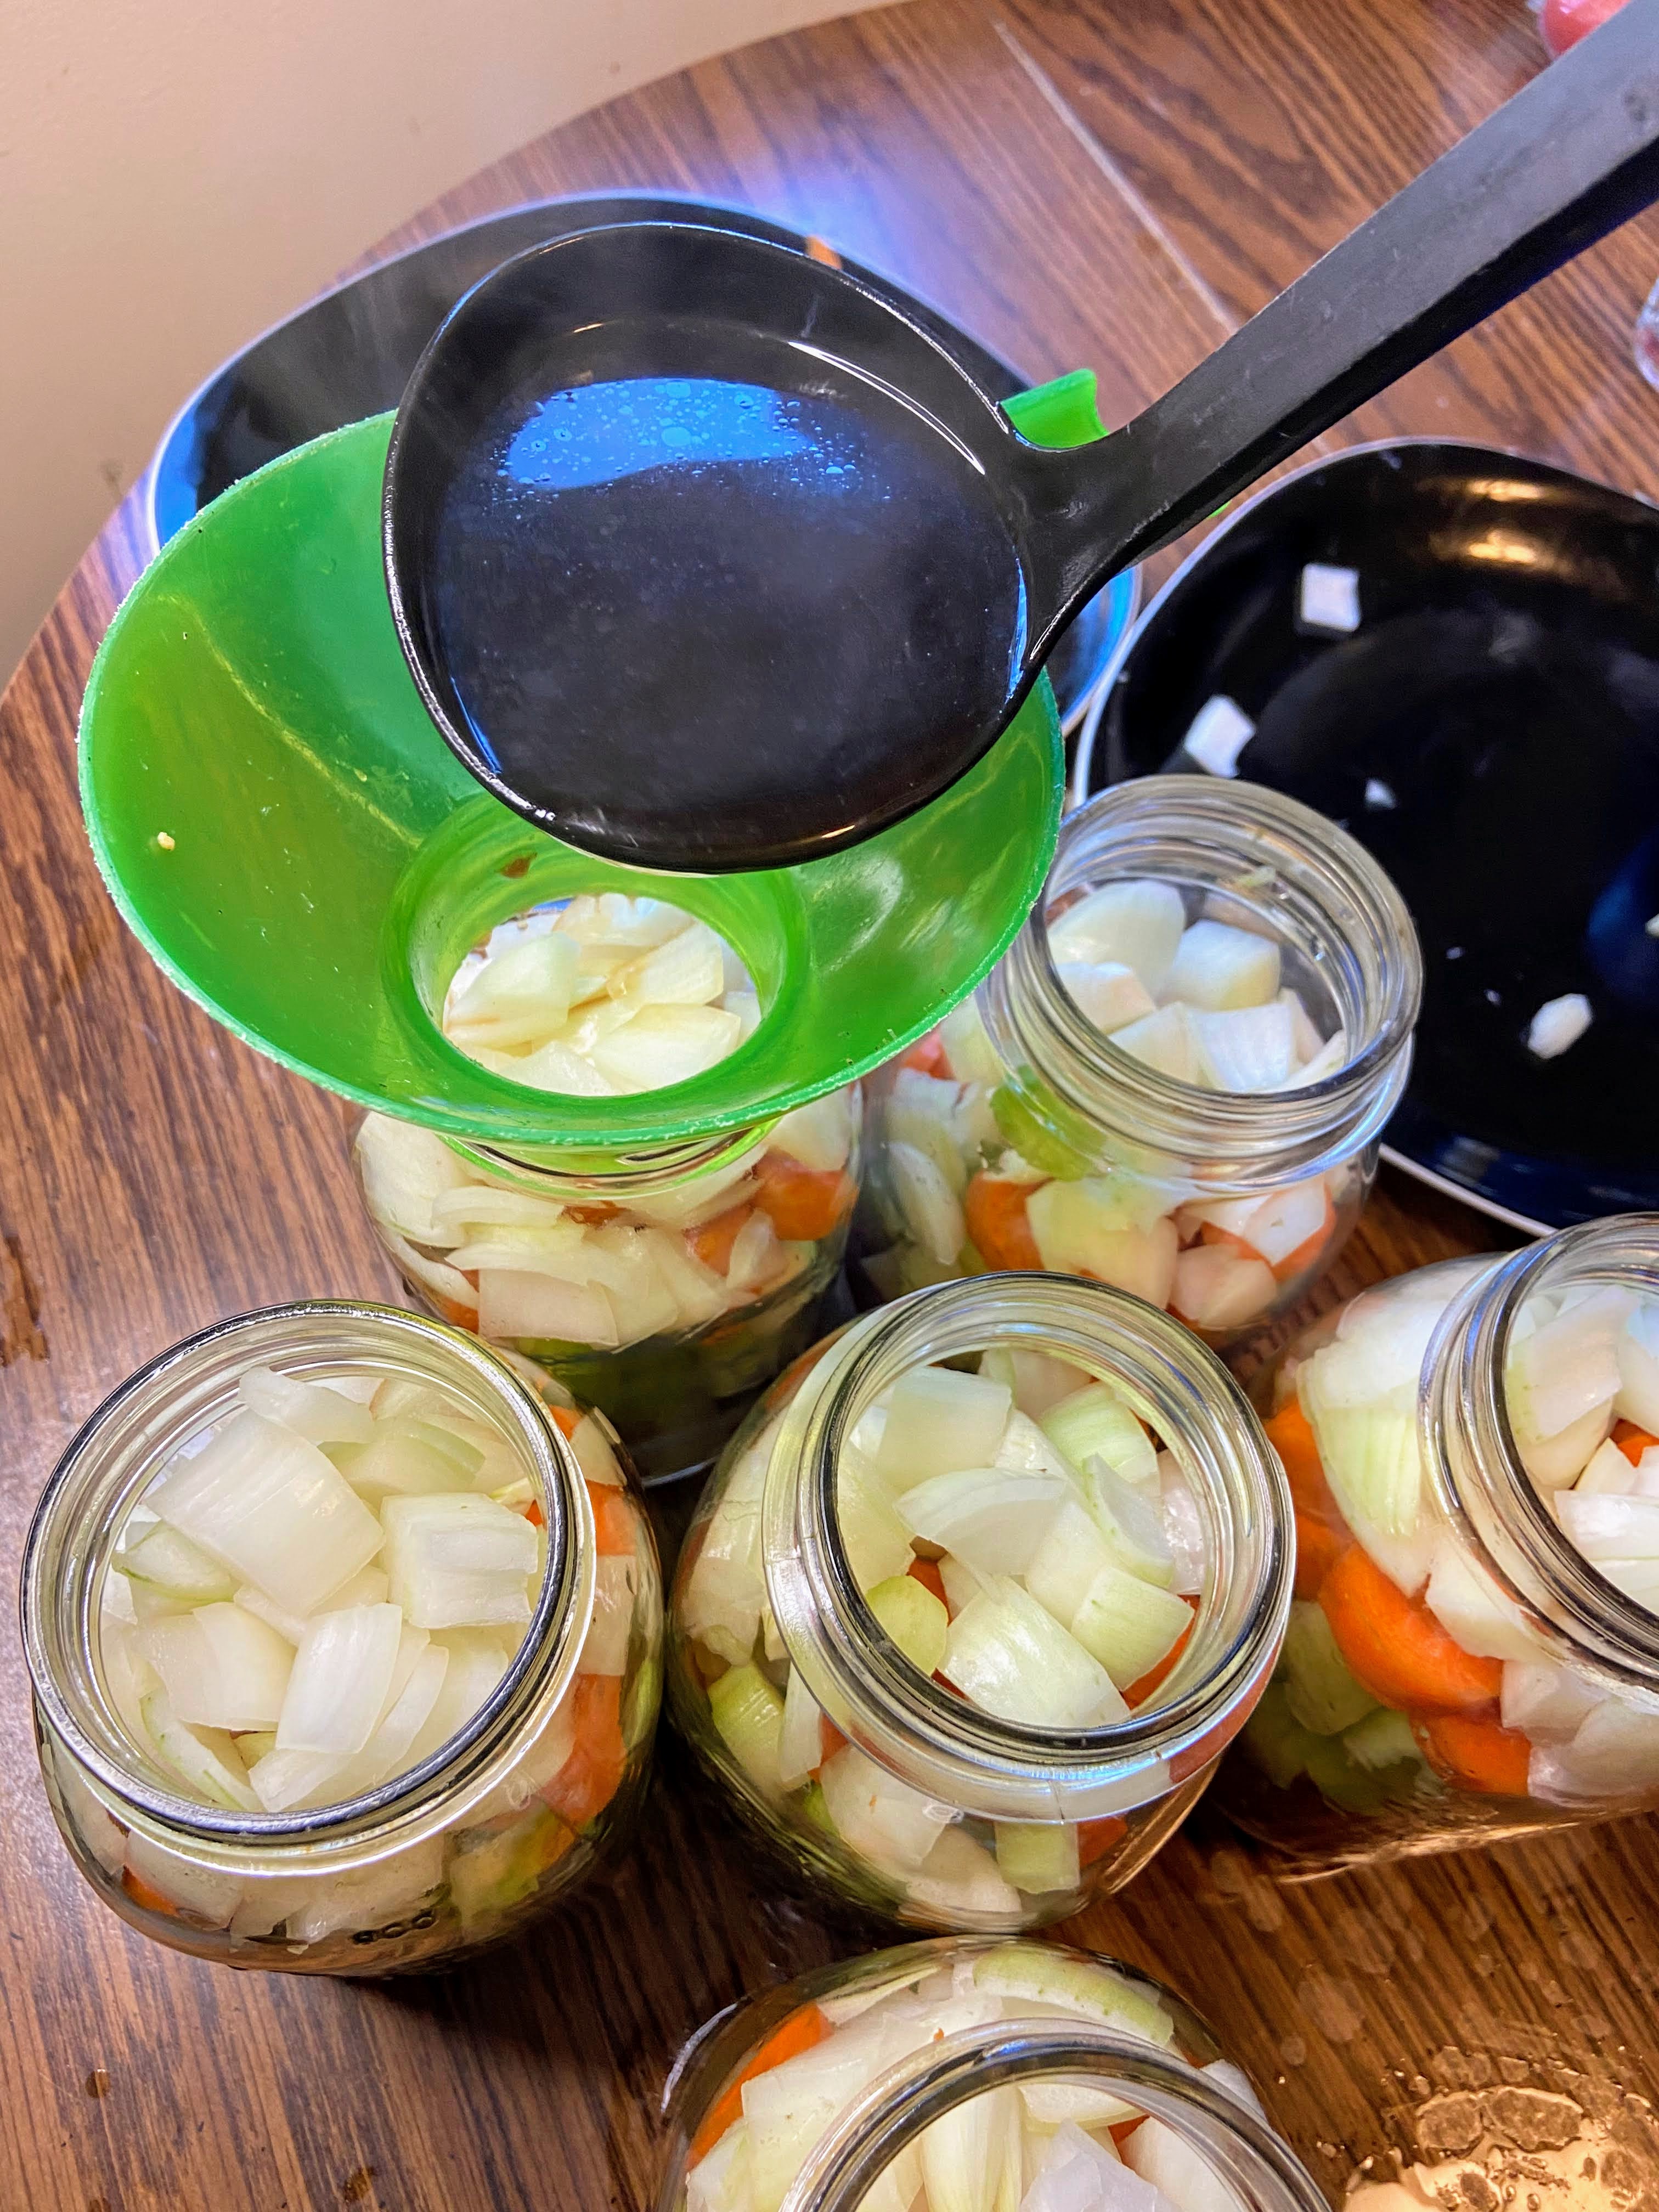
Ladle bowling water into each jar to ½ inch headspace. Wipe the rims of the jars with a damp cloth as you go, top with a lid, and put on a ring so that it is finger tip tight. Fingertip tight means you know it’s tight but you aren’t sealing it so much so that it wouldn’t leak on its side, if that makes sense. (Any leftover jam can go in a small container and get placed in the fridge to be enjoyed immediately)
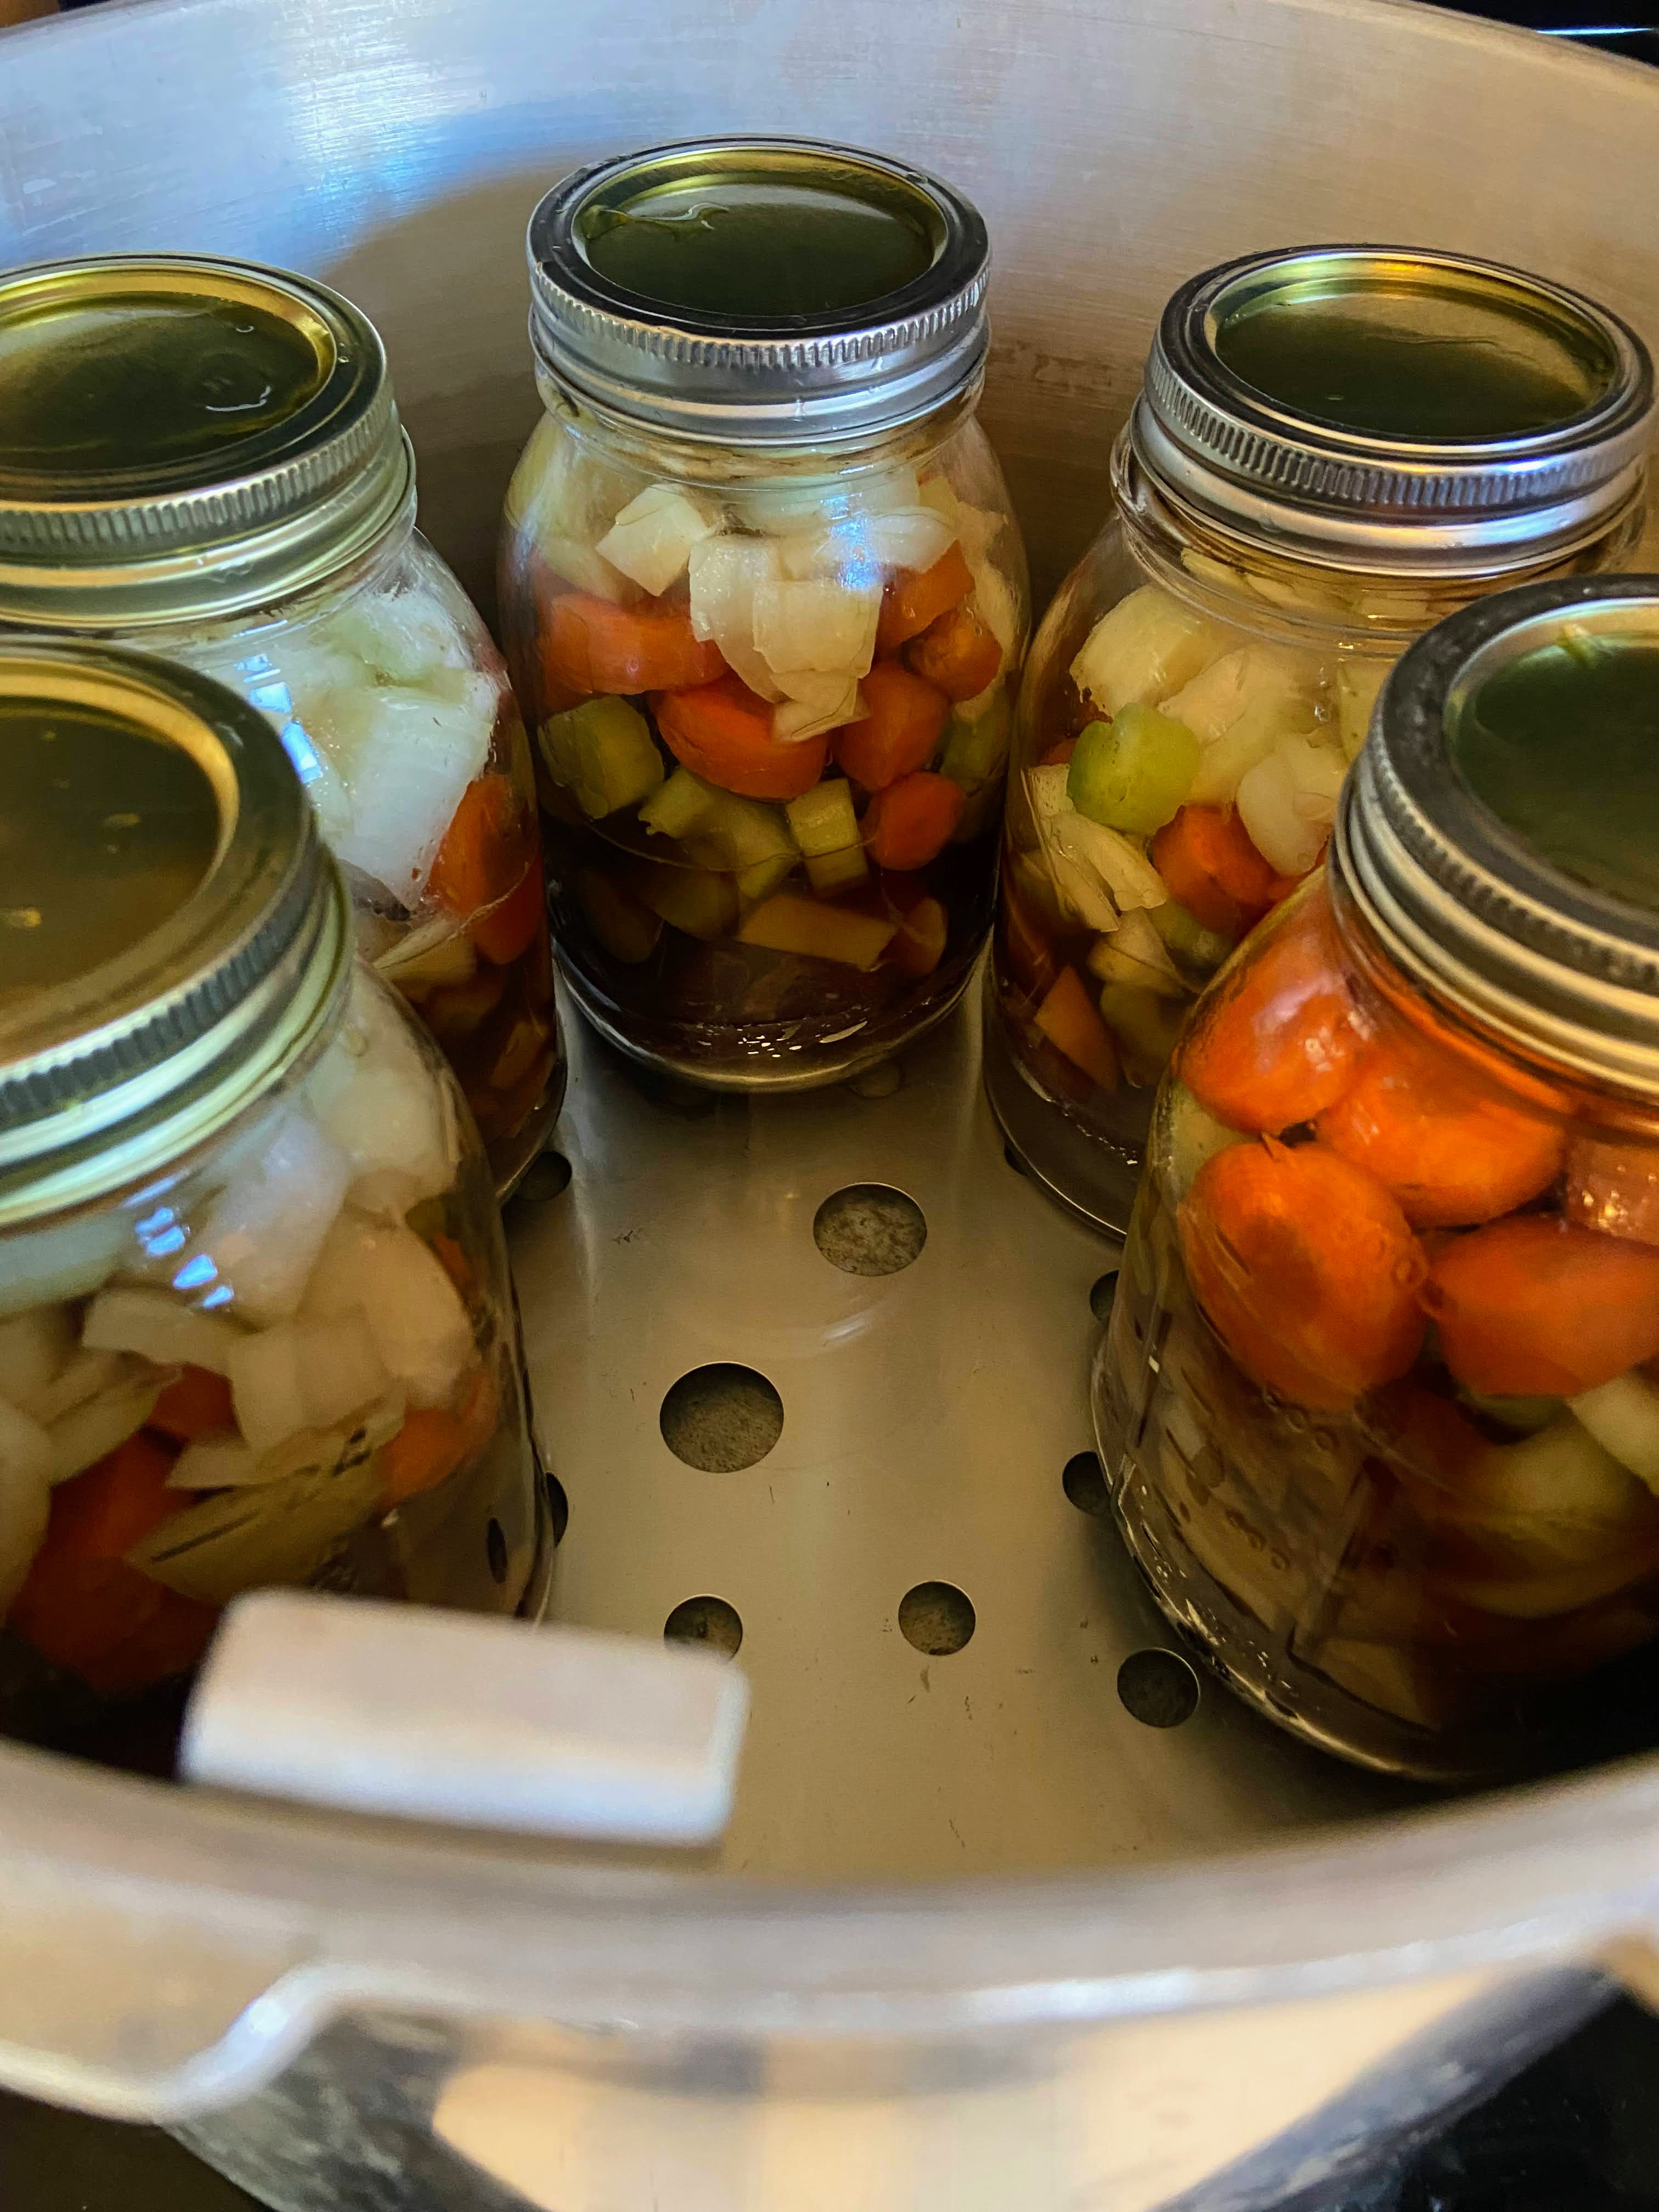
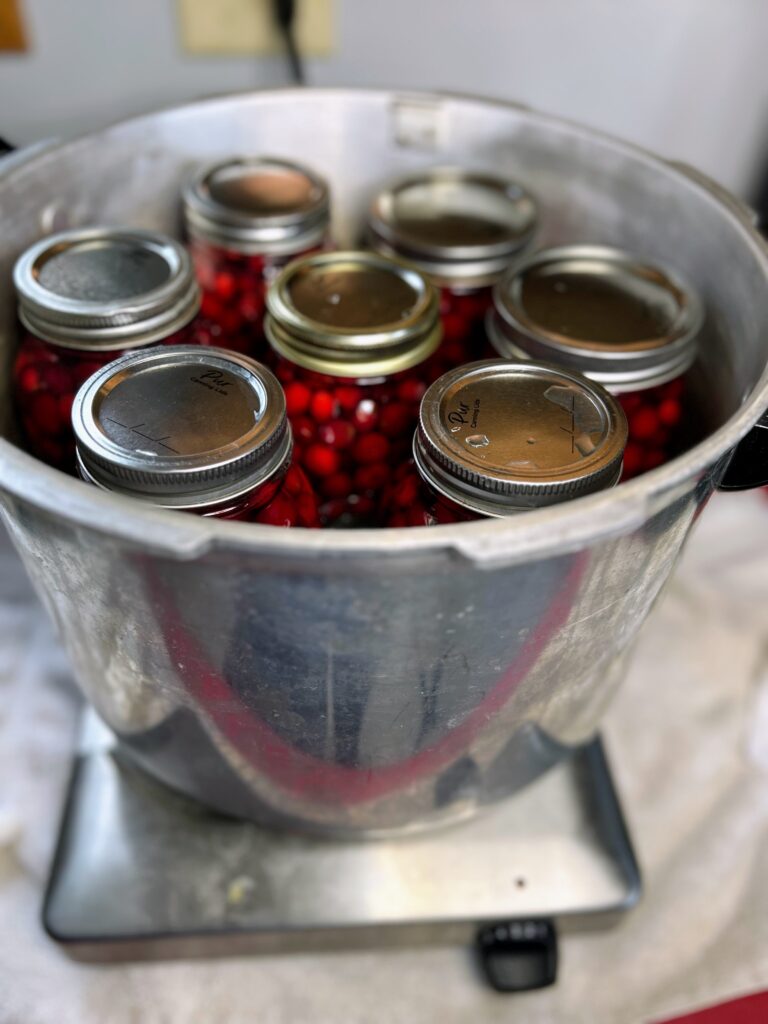
Place jars in JUST about boiling water bath canner. Cover and raise the heat until a rolling boil is reached. Process jars for 25 minutes (adjusting for your altitude…under 1000 feet, you’re good. Over? Add 5 minutes for every 1000 feet). Once the time is complete, remove canner from heat and remove the cover. Allow the jars to sit in the canner for an additional 5 minutes. Then remove and place on a towel on the counter.
Afterward
Listen for the ping as the jars seal and just let them be for 24 hours. I know it will be hard to let them be because you’ll be so proud, but it’s recommended to make sure you get a good seal. Any jars that do not seal can be refrigerated and enjoyed right away. Note: It is recommended to store canned goods with their rings removed so that you can know if a false seal occurs. I generally just loosen them as loose as they can go. In just a few weeks, enjoy your homemade cranberry juice!

Homemade Cranberry Juice
Equipment
- 7 Quart Jars with lids and rings
Ingredients
- 4 bags of fresh cranberries rinsed and picked through
- 1 ¾ – 3 ½ cups of sugar depending on your level of sweetness
- Boiling water 4-5 quarts
Instructions
- Prepare your water bath canner. Fill the canner with enough water so that once the jars are in the canner, they will be covered by at least one inch of water. Cover and begin to heat over a medium-high heat.
- Begin a large kettle with water and heat over high heat to get to boiling. Once boiling, reduce to a simmer.
- Fill each quart jar with 1 ¾ cups of rinsed cranberries. Add ¼ cup to ½ of sugar to each jar, depending on your sweetness preference. You can not go any lower as the sugar is what draws out the cranberry flavor.
- Ladle boiling water into prepared quart jars to ½ inch headspace.
- Wipe the rims with a damp cloth, add lids, and tighten rings to fingertip tight. Put into the water bath canner. When the canner has a steady boil going, time and process for 25 minutes, adjusting for altitude (if you are about 1000 feet, add 5 min)
- Once the processing time is up, remove the canner from heat and let jars rest in the water for an additional 5 minutes. Finally, remove jars from the canner and allow to cool for 12-24 hours before moving.
Notes
- If you have never canned, you can reference the National Center for Home Preservation for more detailed information.
- Sealed jars are shelf-stable, meaning they can be stored on a shelf unrefrigerated. If your jars don’t ping (a sign that they have sealed), they are still good. You will just need to store them in the refrigerator.
- Most sources recommend removing the rings from jars for storage so that you will know if they unseal for any reason. I generally just loosen them as much as I can without removing them.
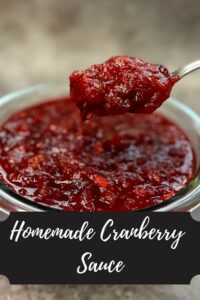
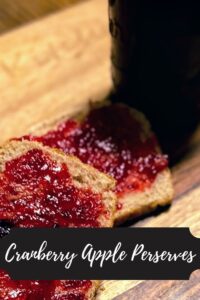
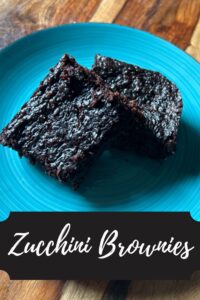
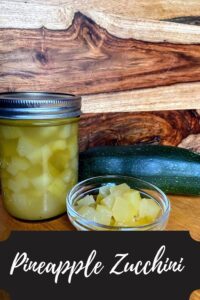
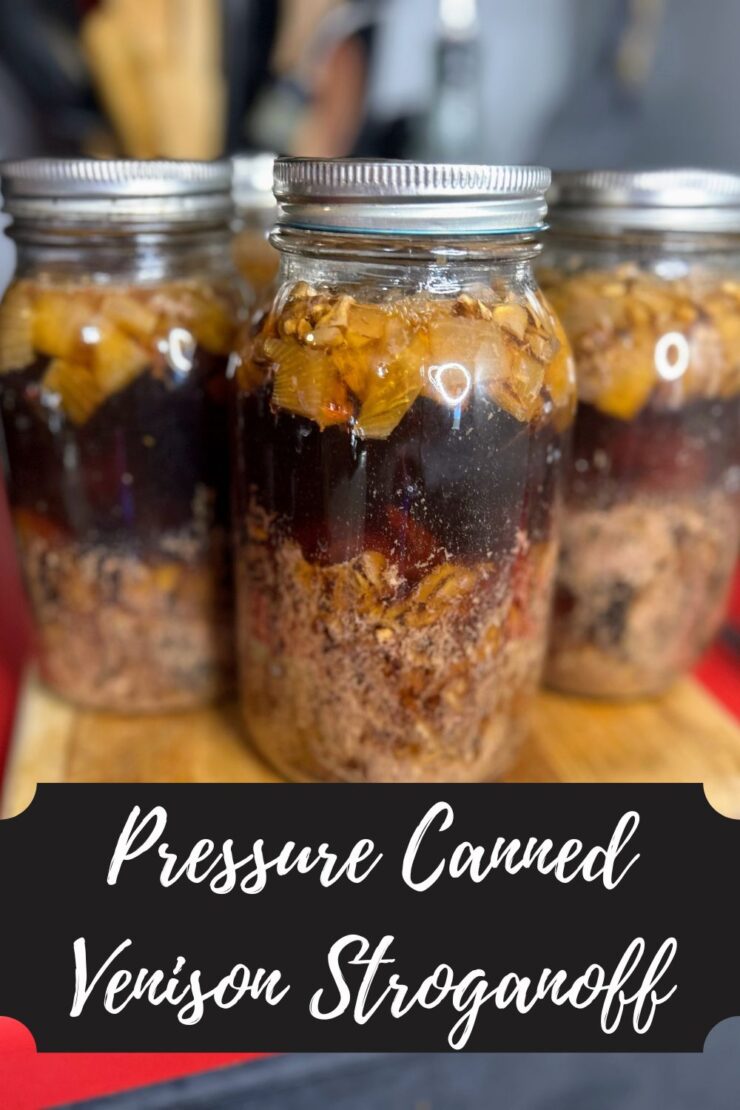
Other fun Cranberry recipes!
These are a few of my favorite cranberry recipes! I hope you find one you love too!