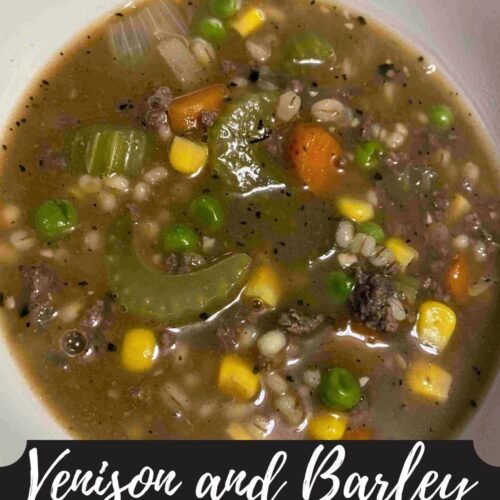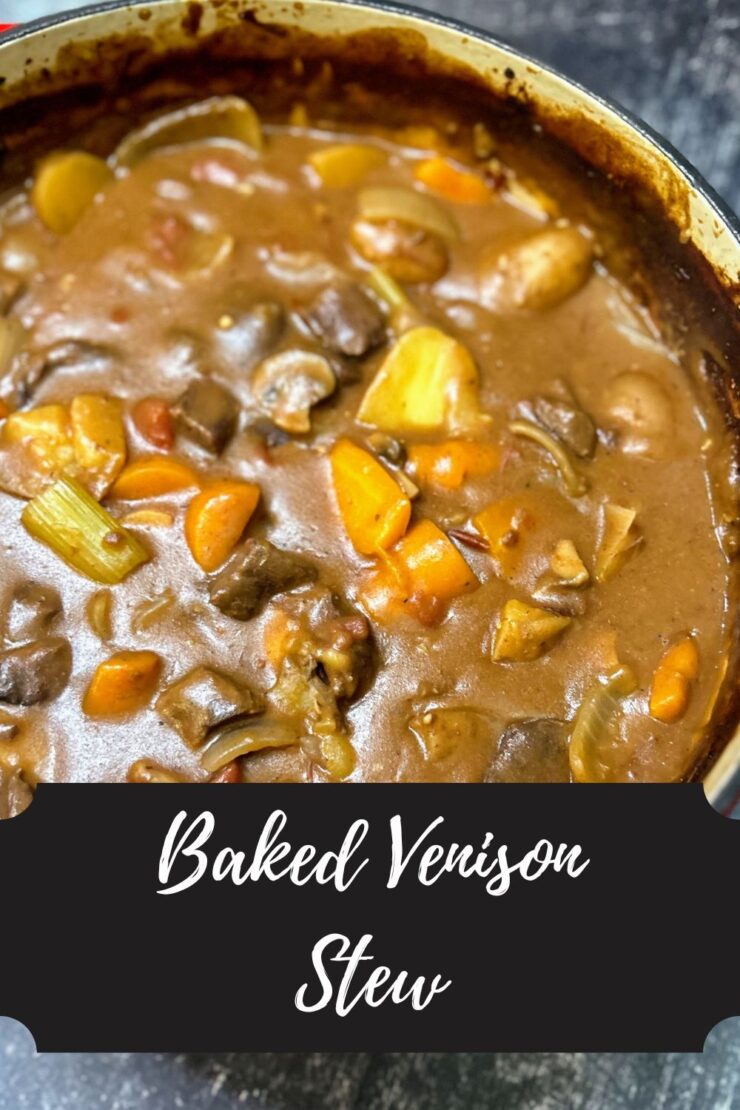
I am not going to sugar coat this: Baked Venison Stew is my new obsession. You guys, it is quite possibly one of the easiest yet most delicious, comforting meals you can make. And when I say easy, I mean, “Roughly chop, dump it in the kettle, put it in the oven and bake” kind of easy. From start to finish, you can have it in the oven in less than ten minutes. It bakes for three hours and turns into perfection.
I know venison may not be a common household protein for many, and guess what, that’s okay! Beef stew meat would work just as well, but for my deer hunting friends, this is the ticket to another recipe you can keep in your back pocket for a comforting autumn and winter meal.
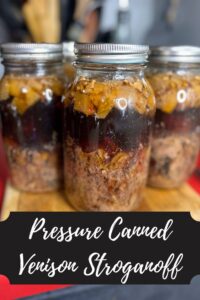
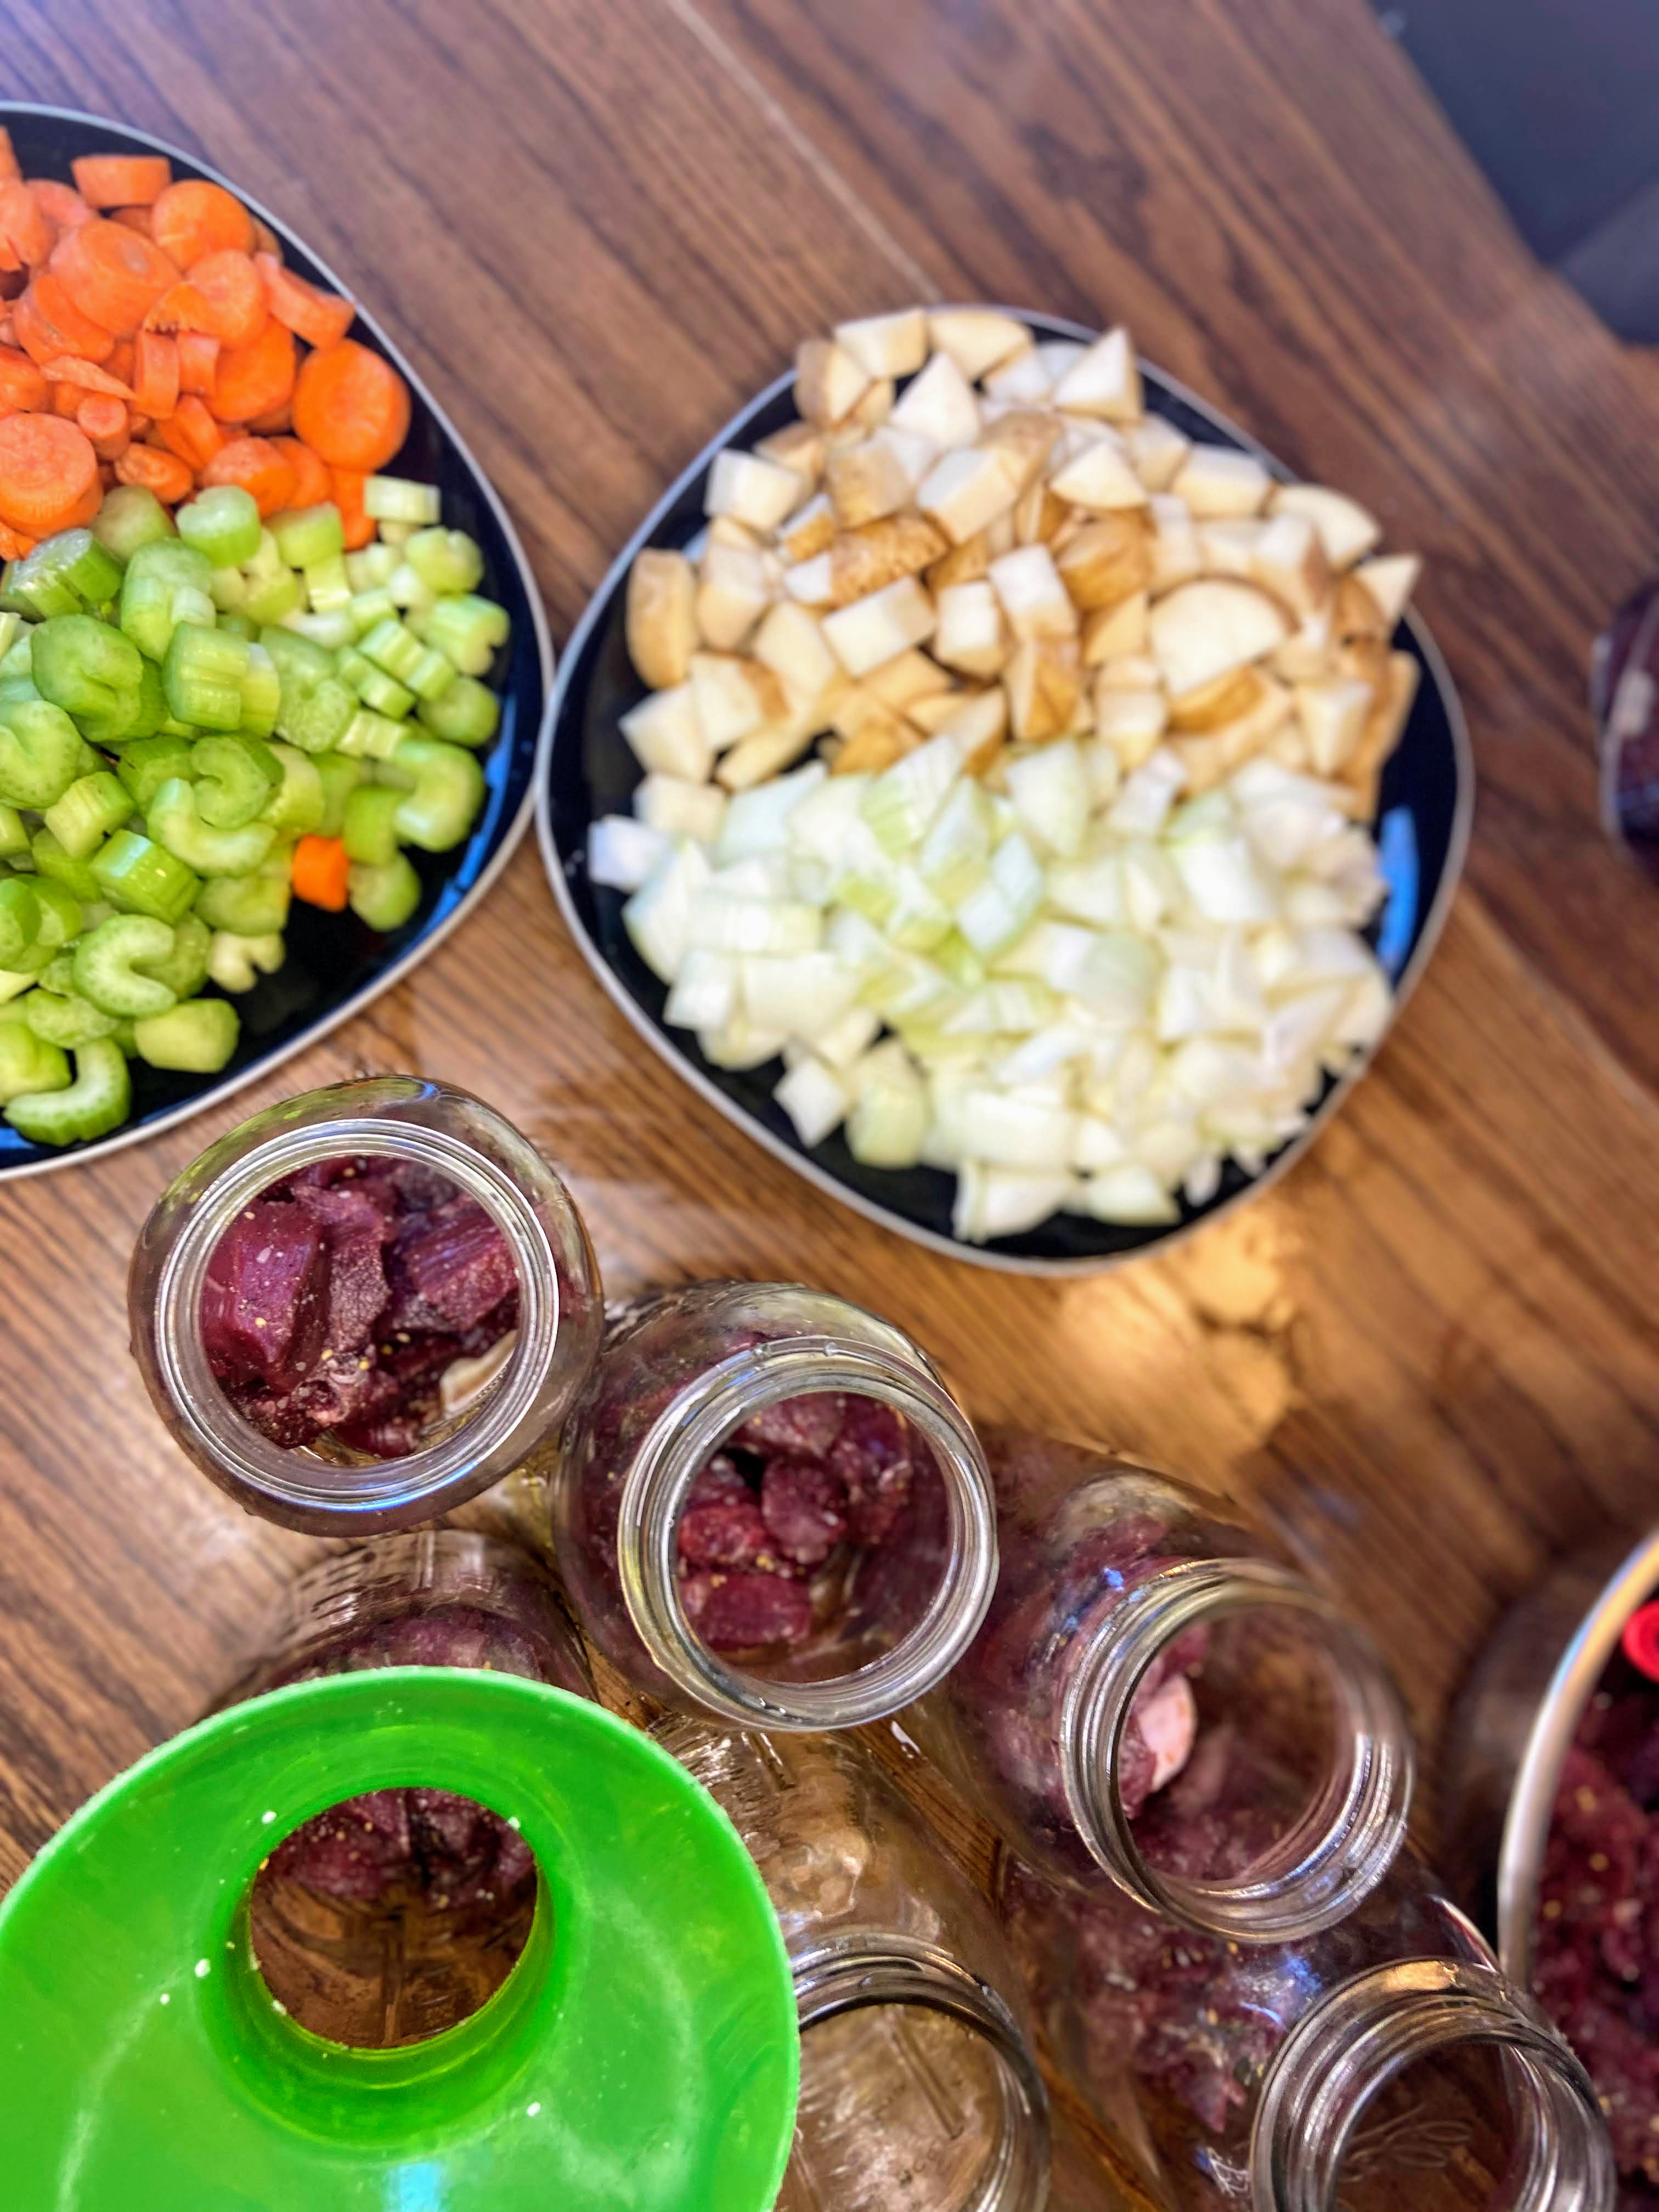
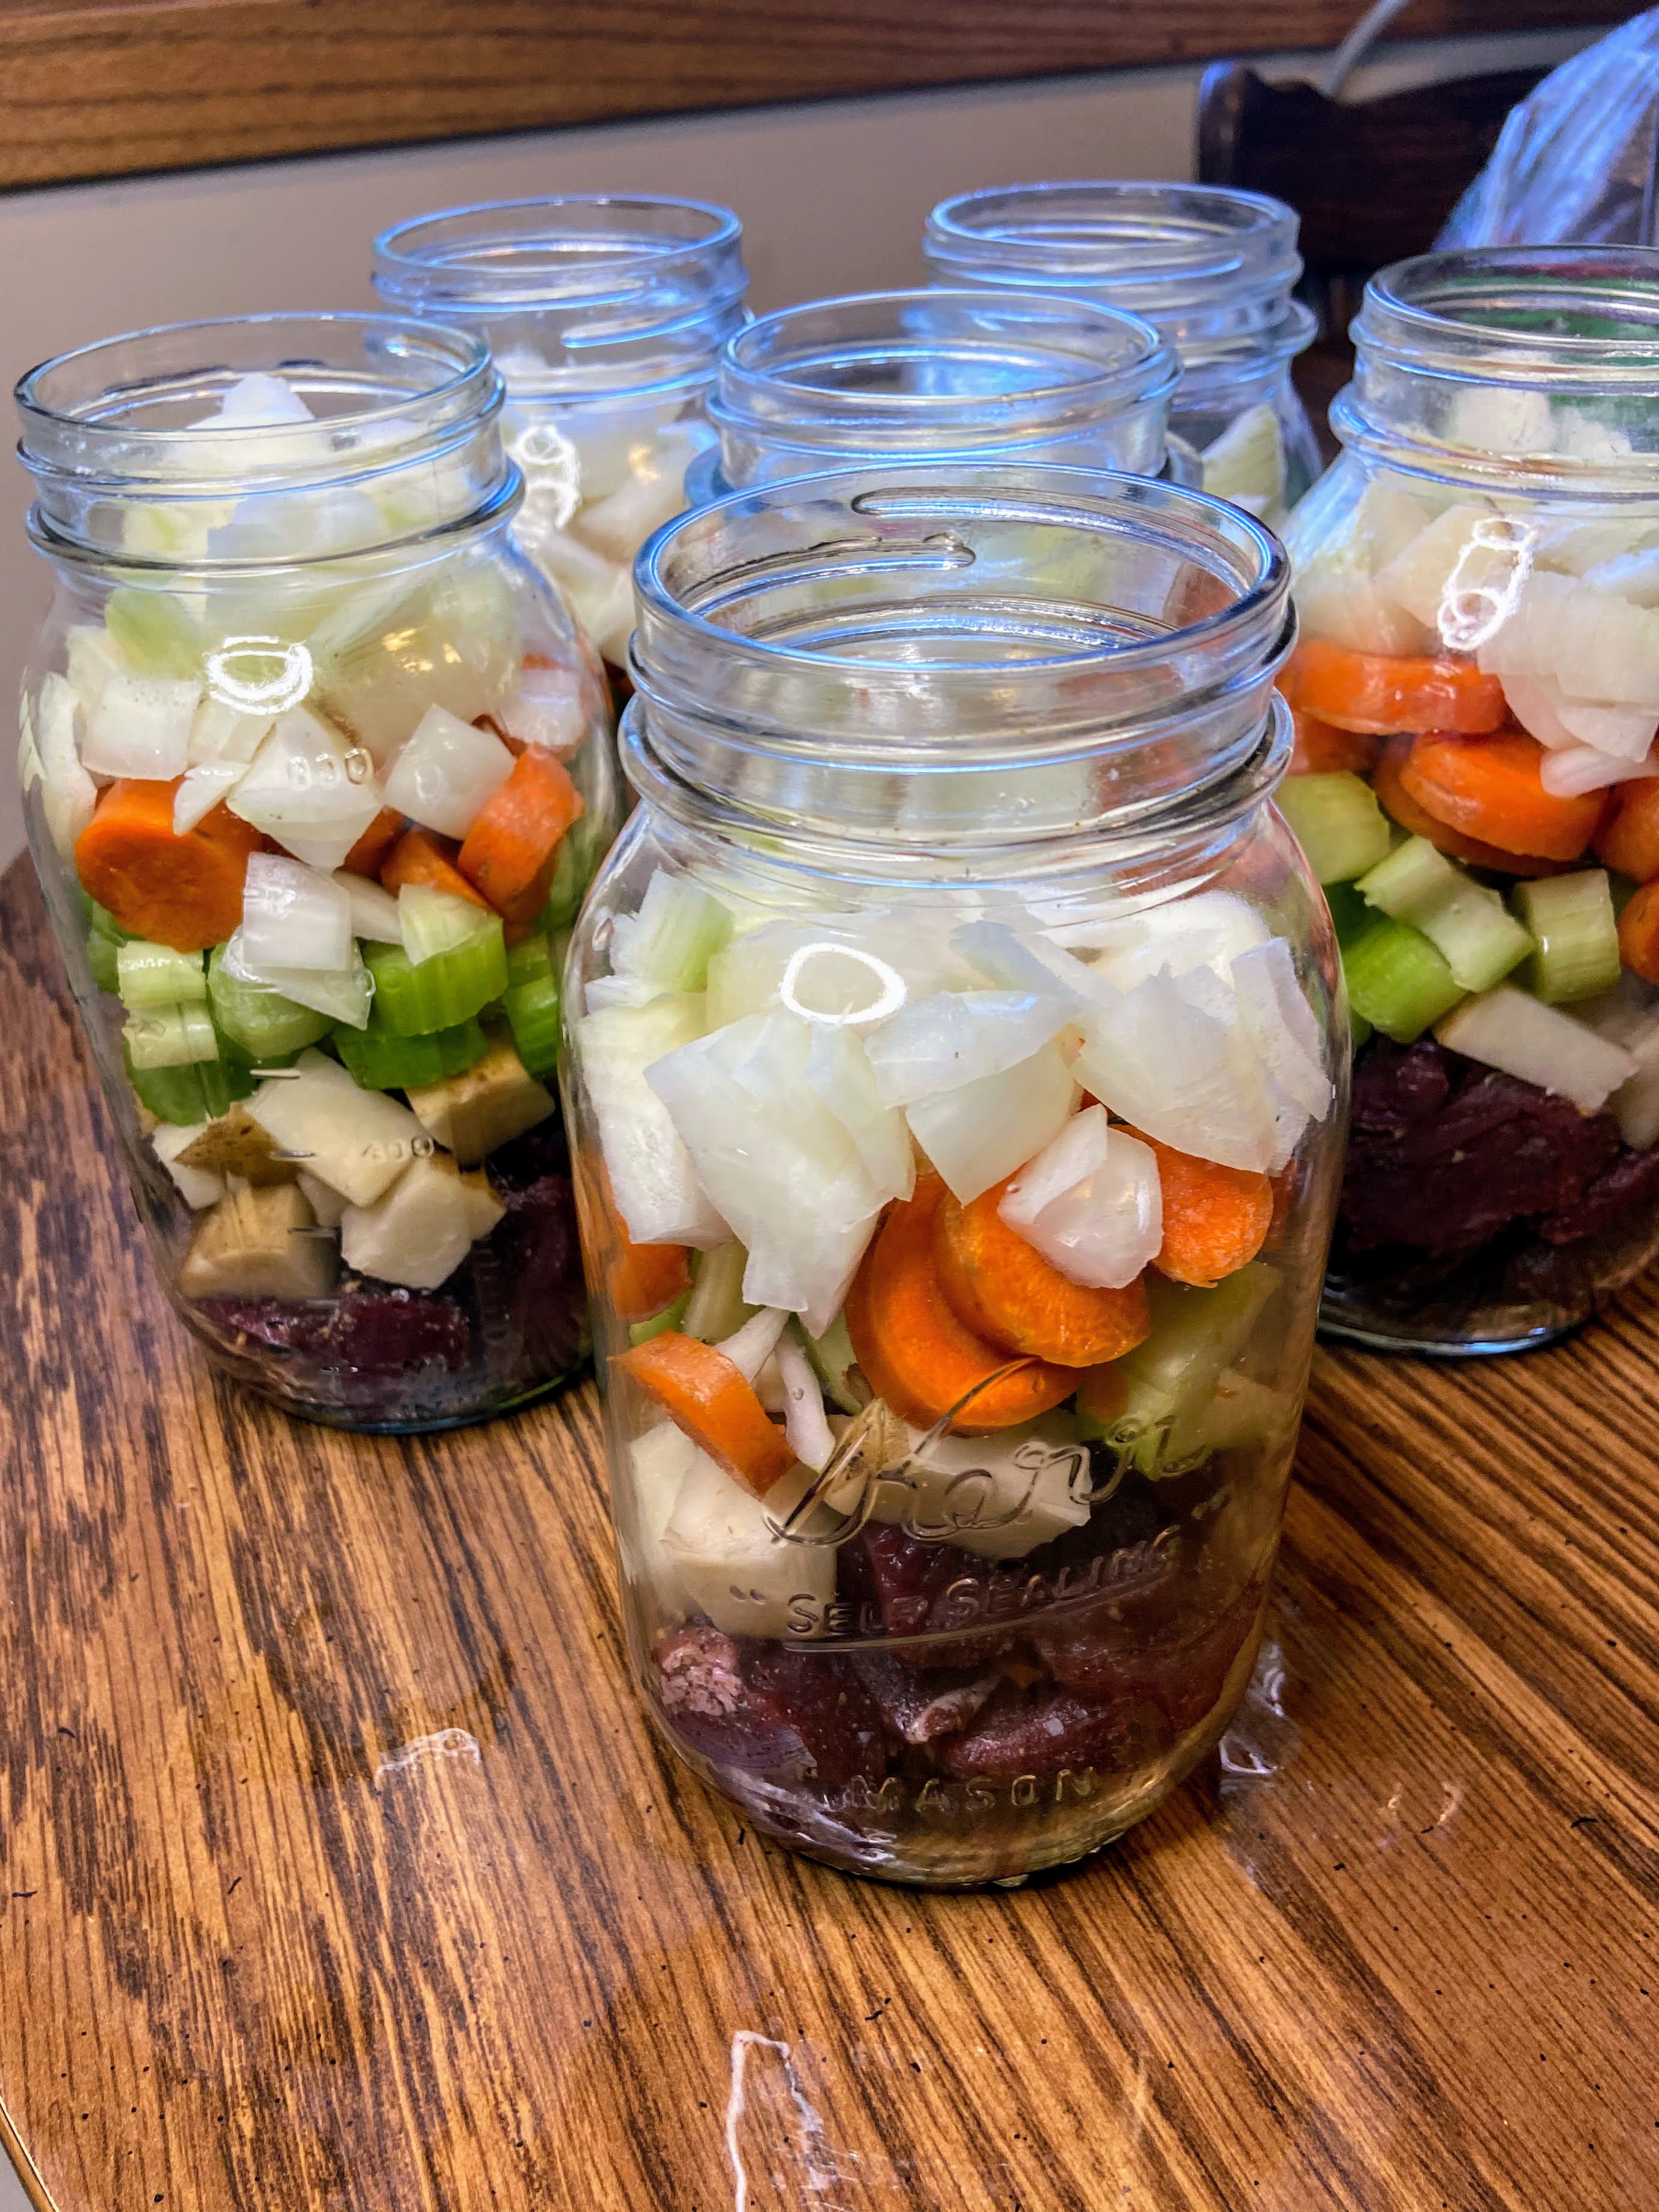
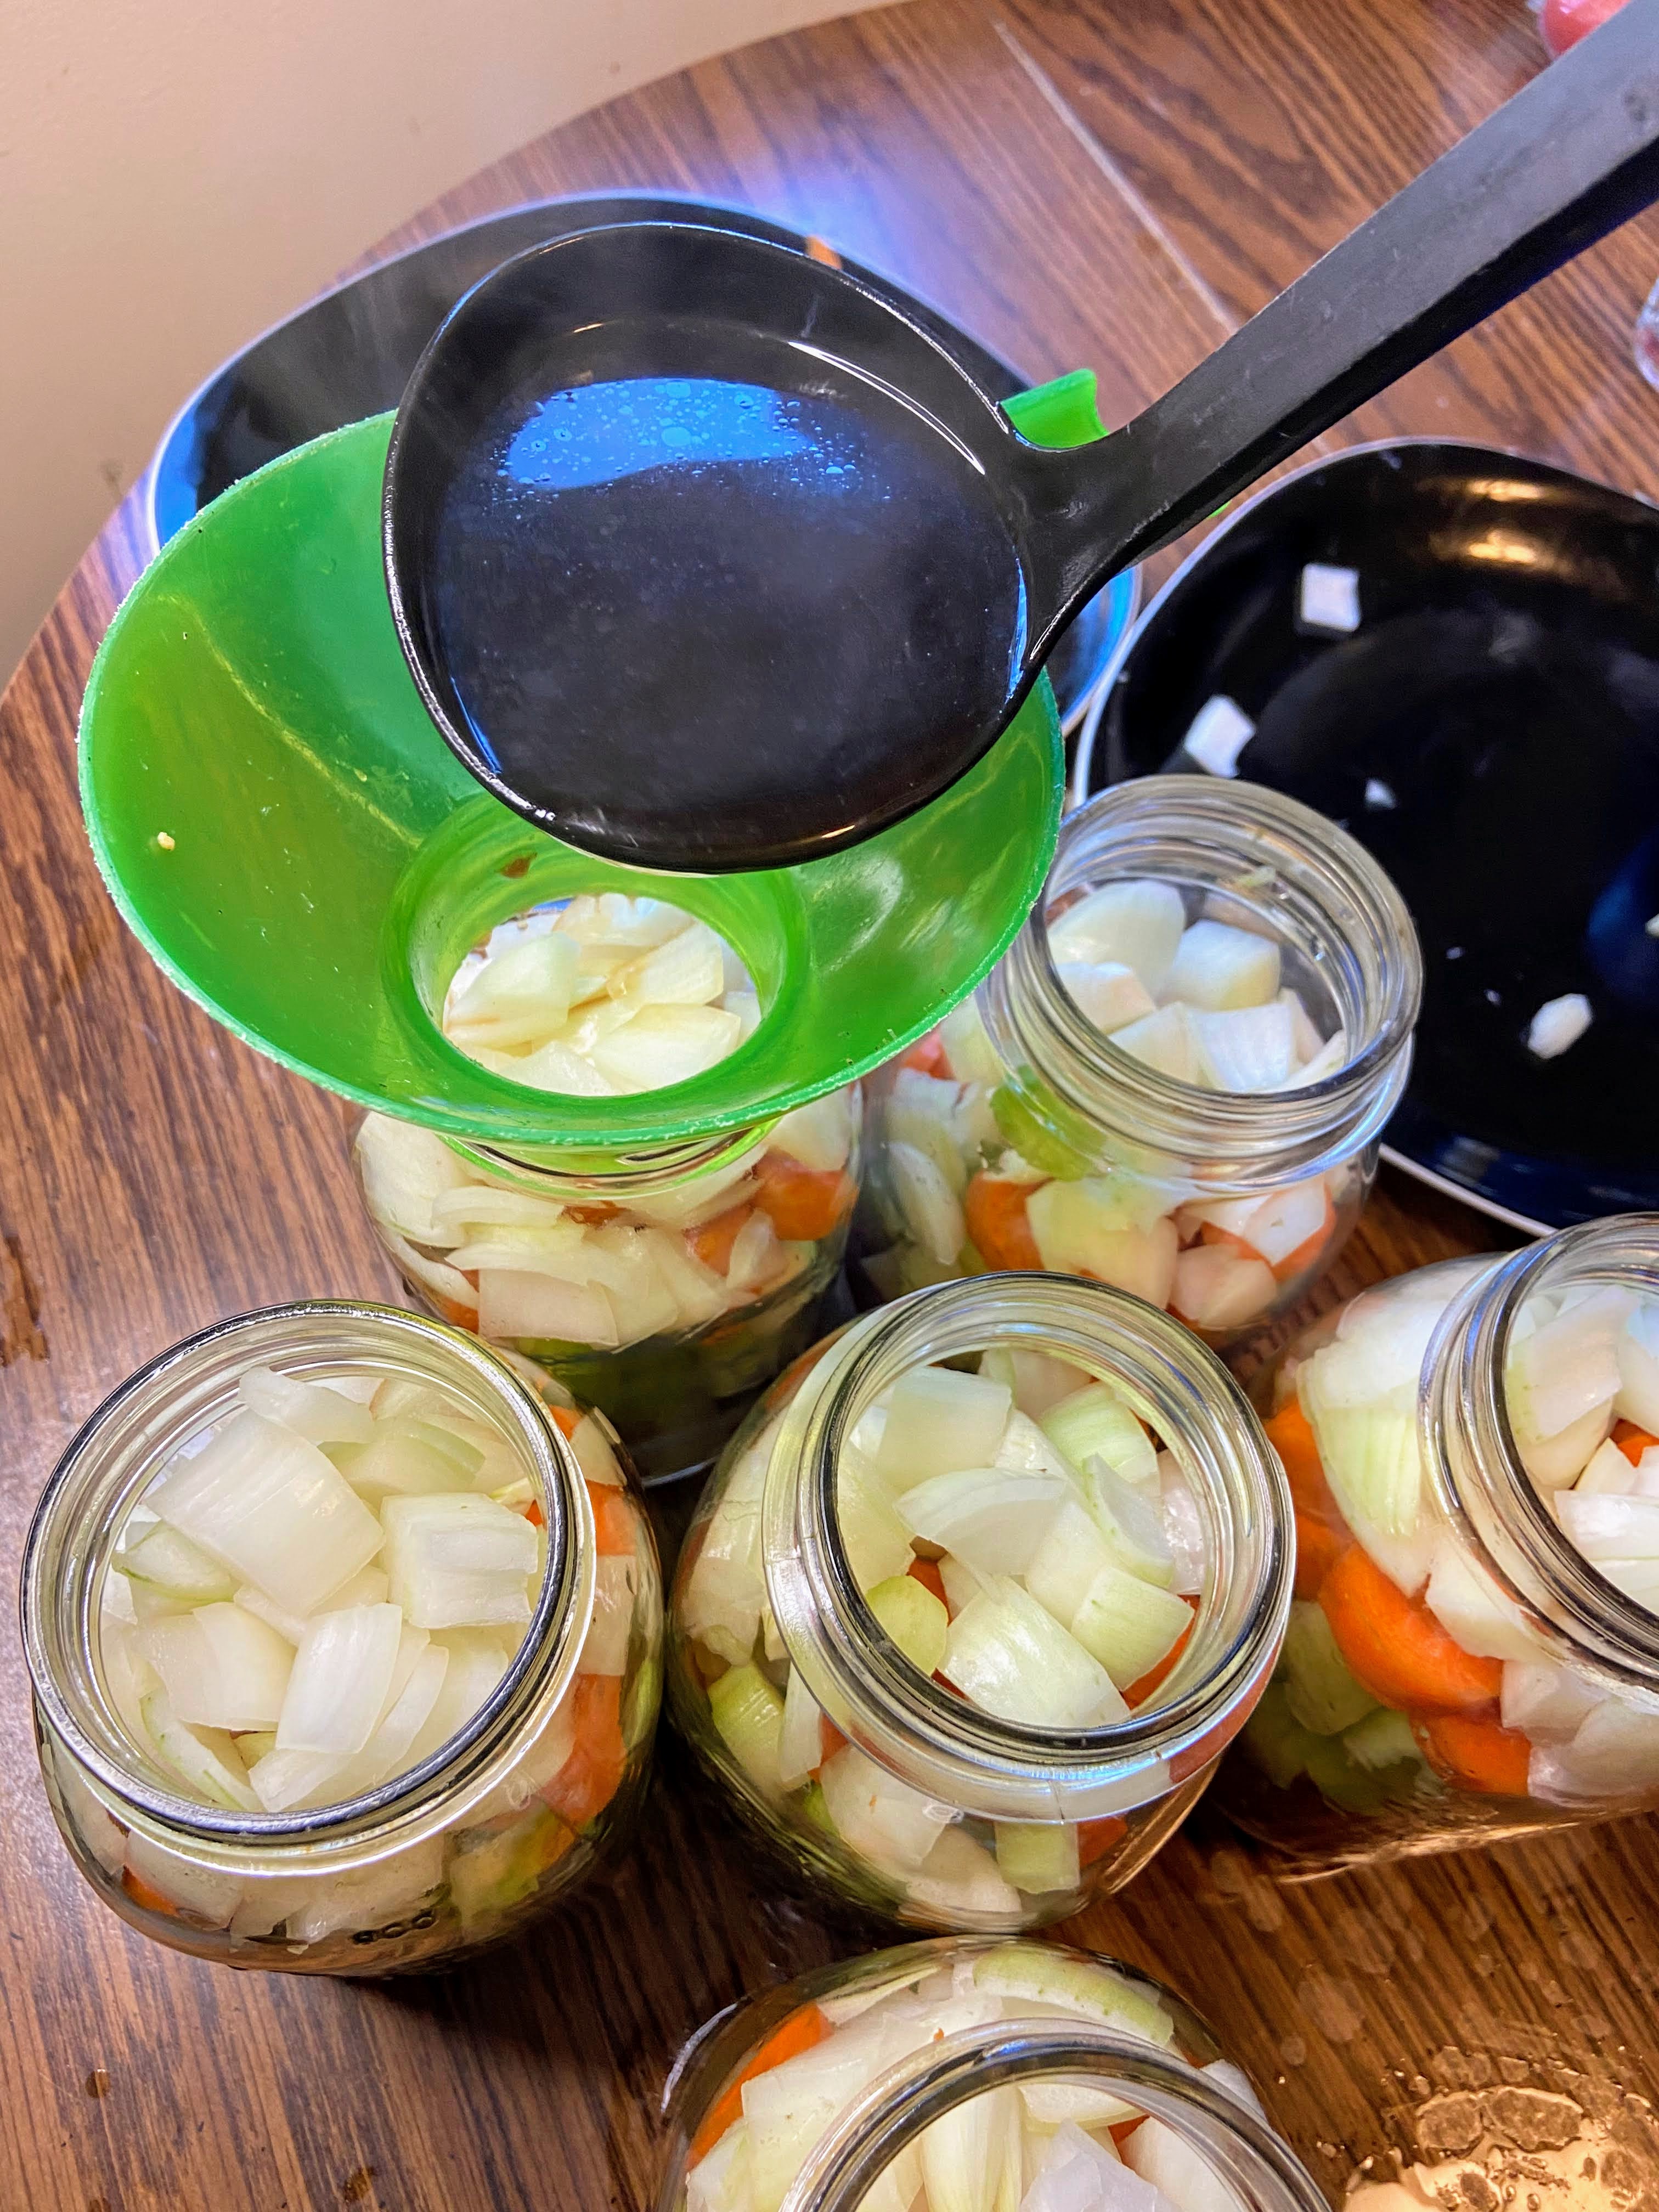
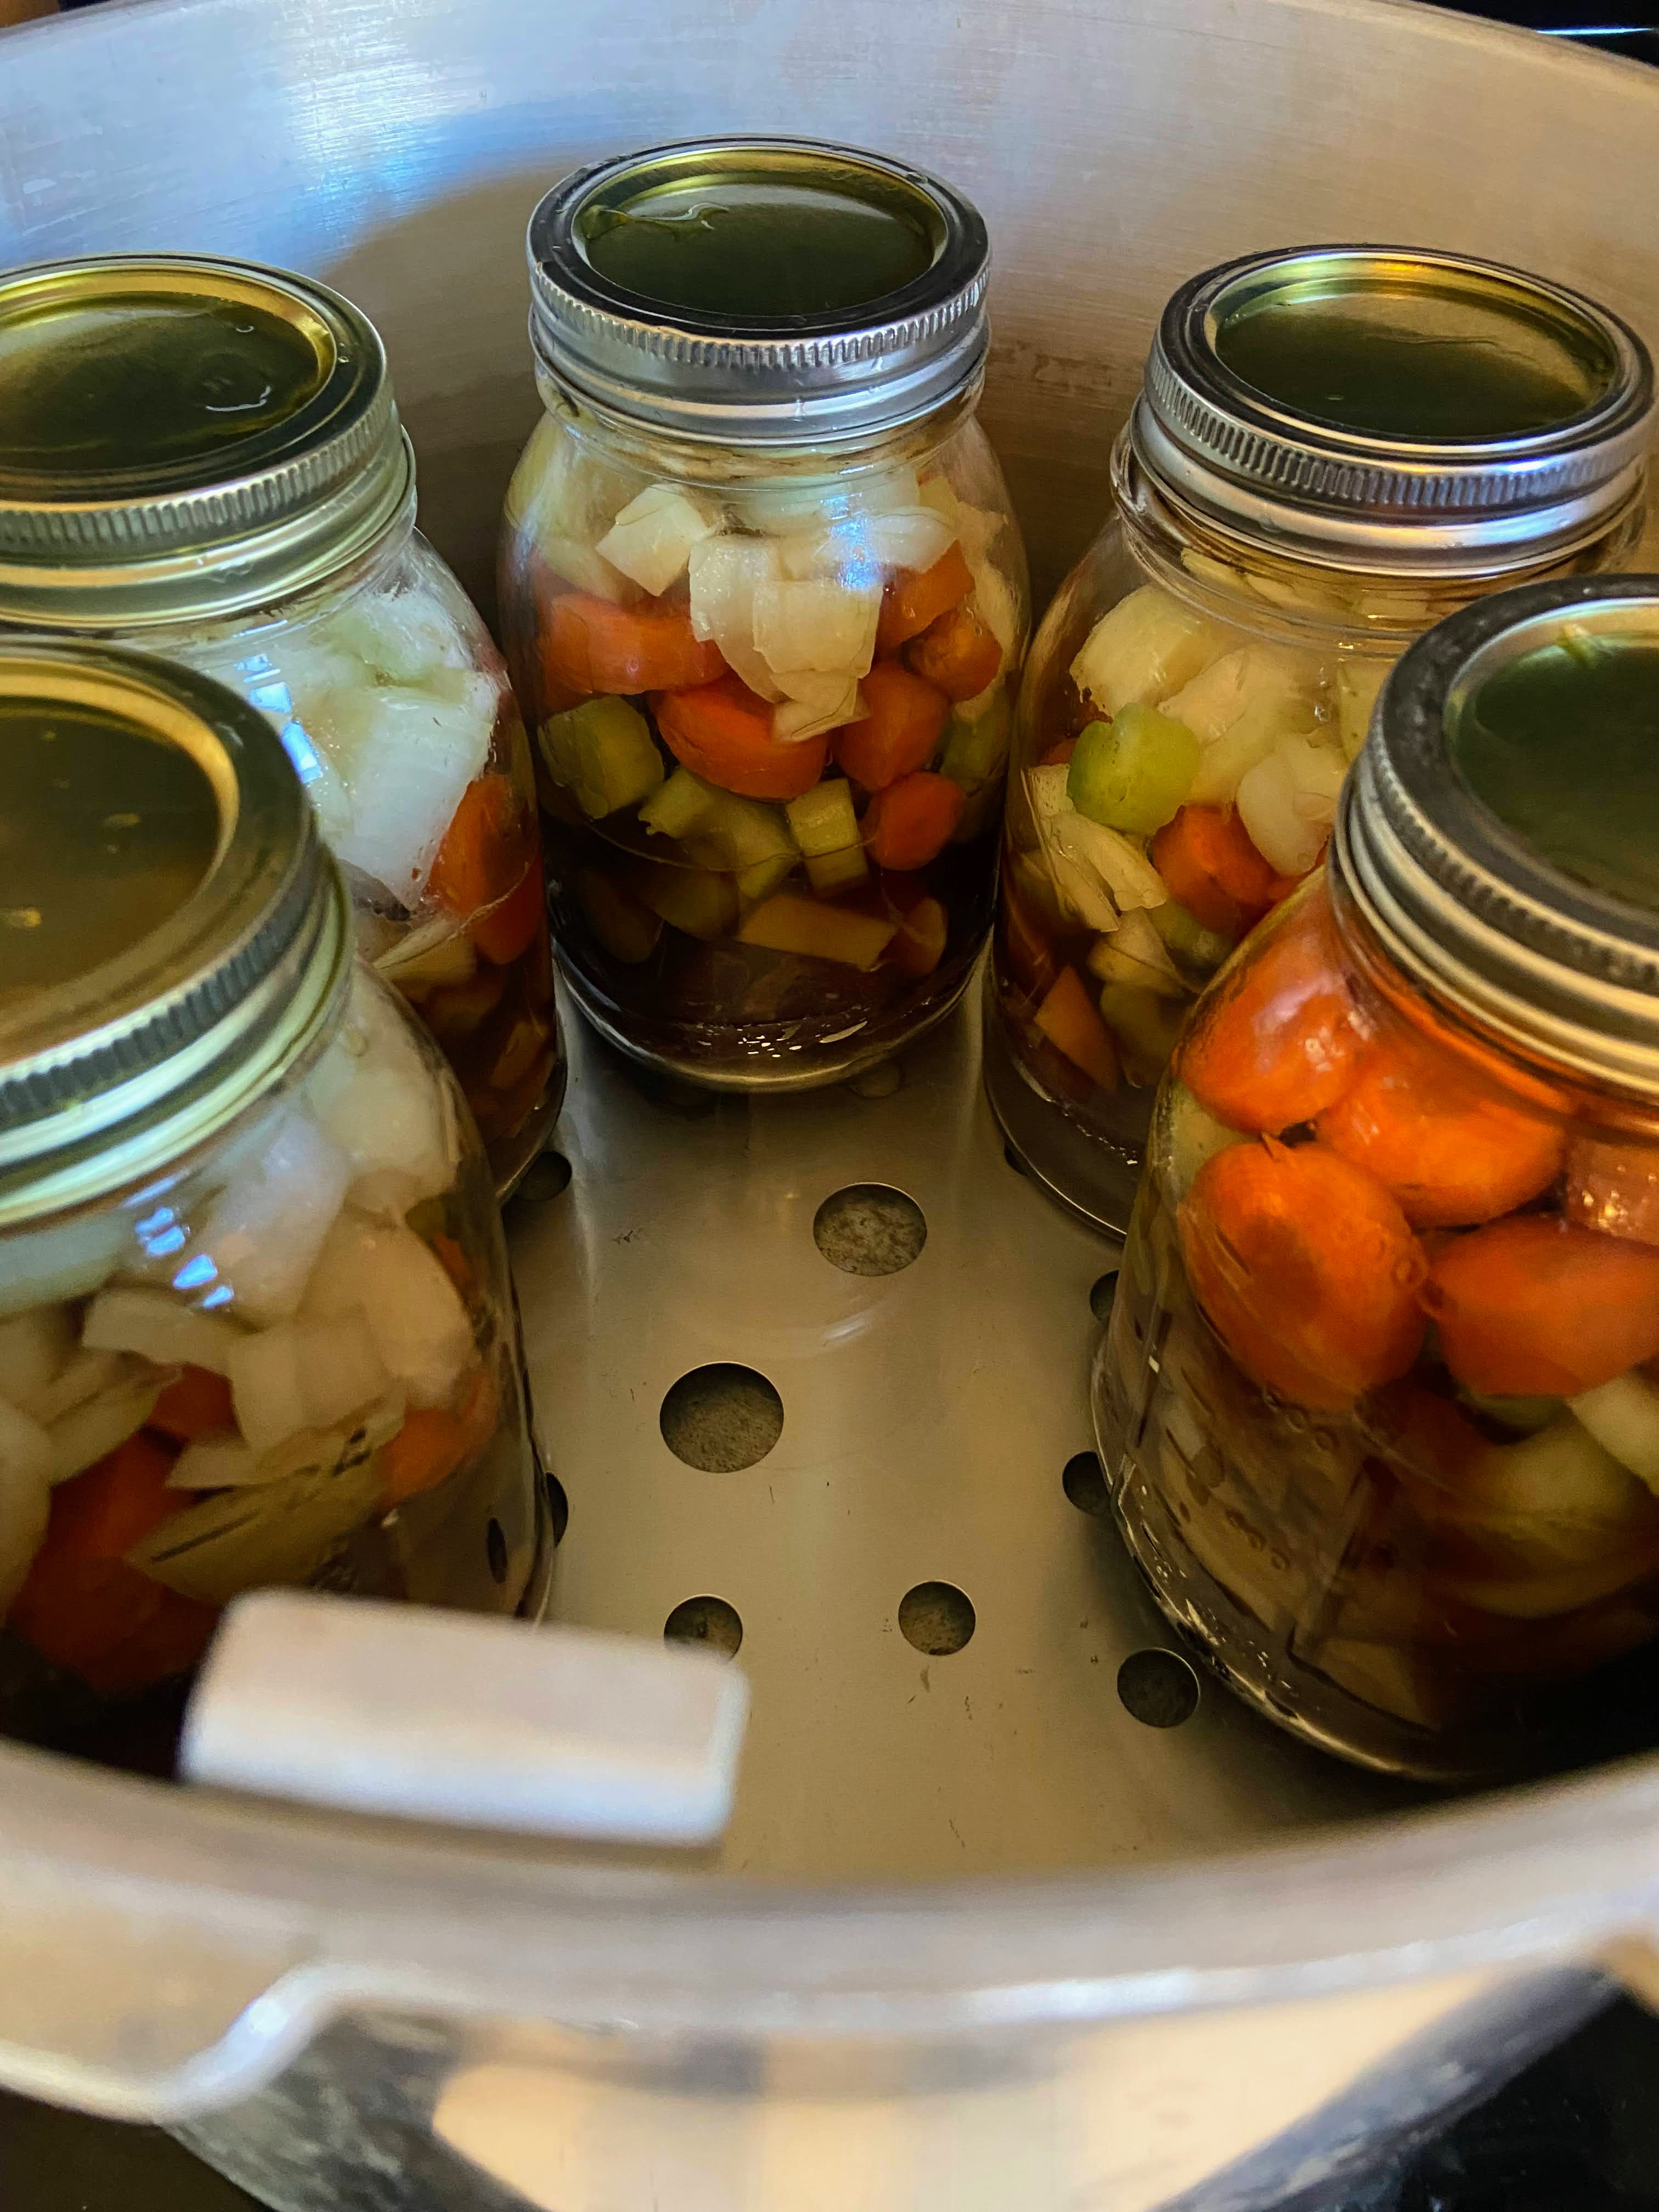
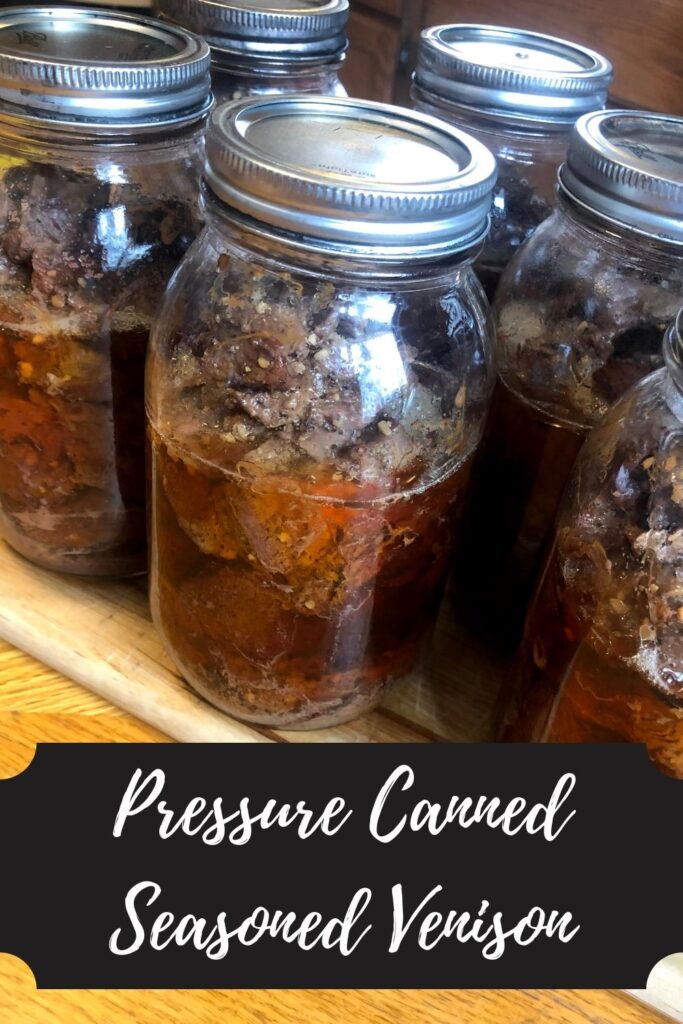
Also, speaking of venison, I have done this recipe two different ways and it has worked beautifully in both: one with raw cubed venison stew meat (as written in the recipe), and also with my canned seasoned venison. In terms of flavor, I would say we can’t tell the difference. The canned seasoned venison is already cooked when it goes into the Dutch oven, so you have to stir with care or it will fall apart. But I think this is good news because sometimes you want stew, but you don’t have thawed stew meat on hand.
The Key to your Baked Venison stew
Finally, key to this recipe is a quality Dutch oven. A quick Google search of Dutch ovens will result in tons of articles about why you need a Dutch oven (Click here to find one!). If you don’t have a cast iron Dutch oven, I can’t recommend it enough. I use it for baking bread and stew and it is my go to pot when I am making any soup or stew on the stove top.
I love my Lodge Dutch Oven! (Truth be told, I often have two Dutch ovens going at one!)
Now, are you ready to start making some baked venison stew? Let’s go!
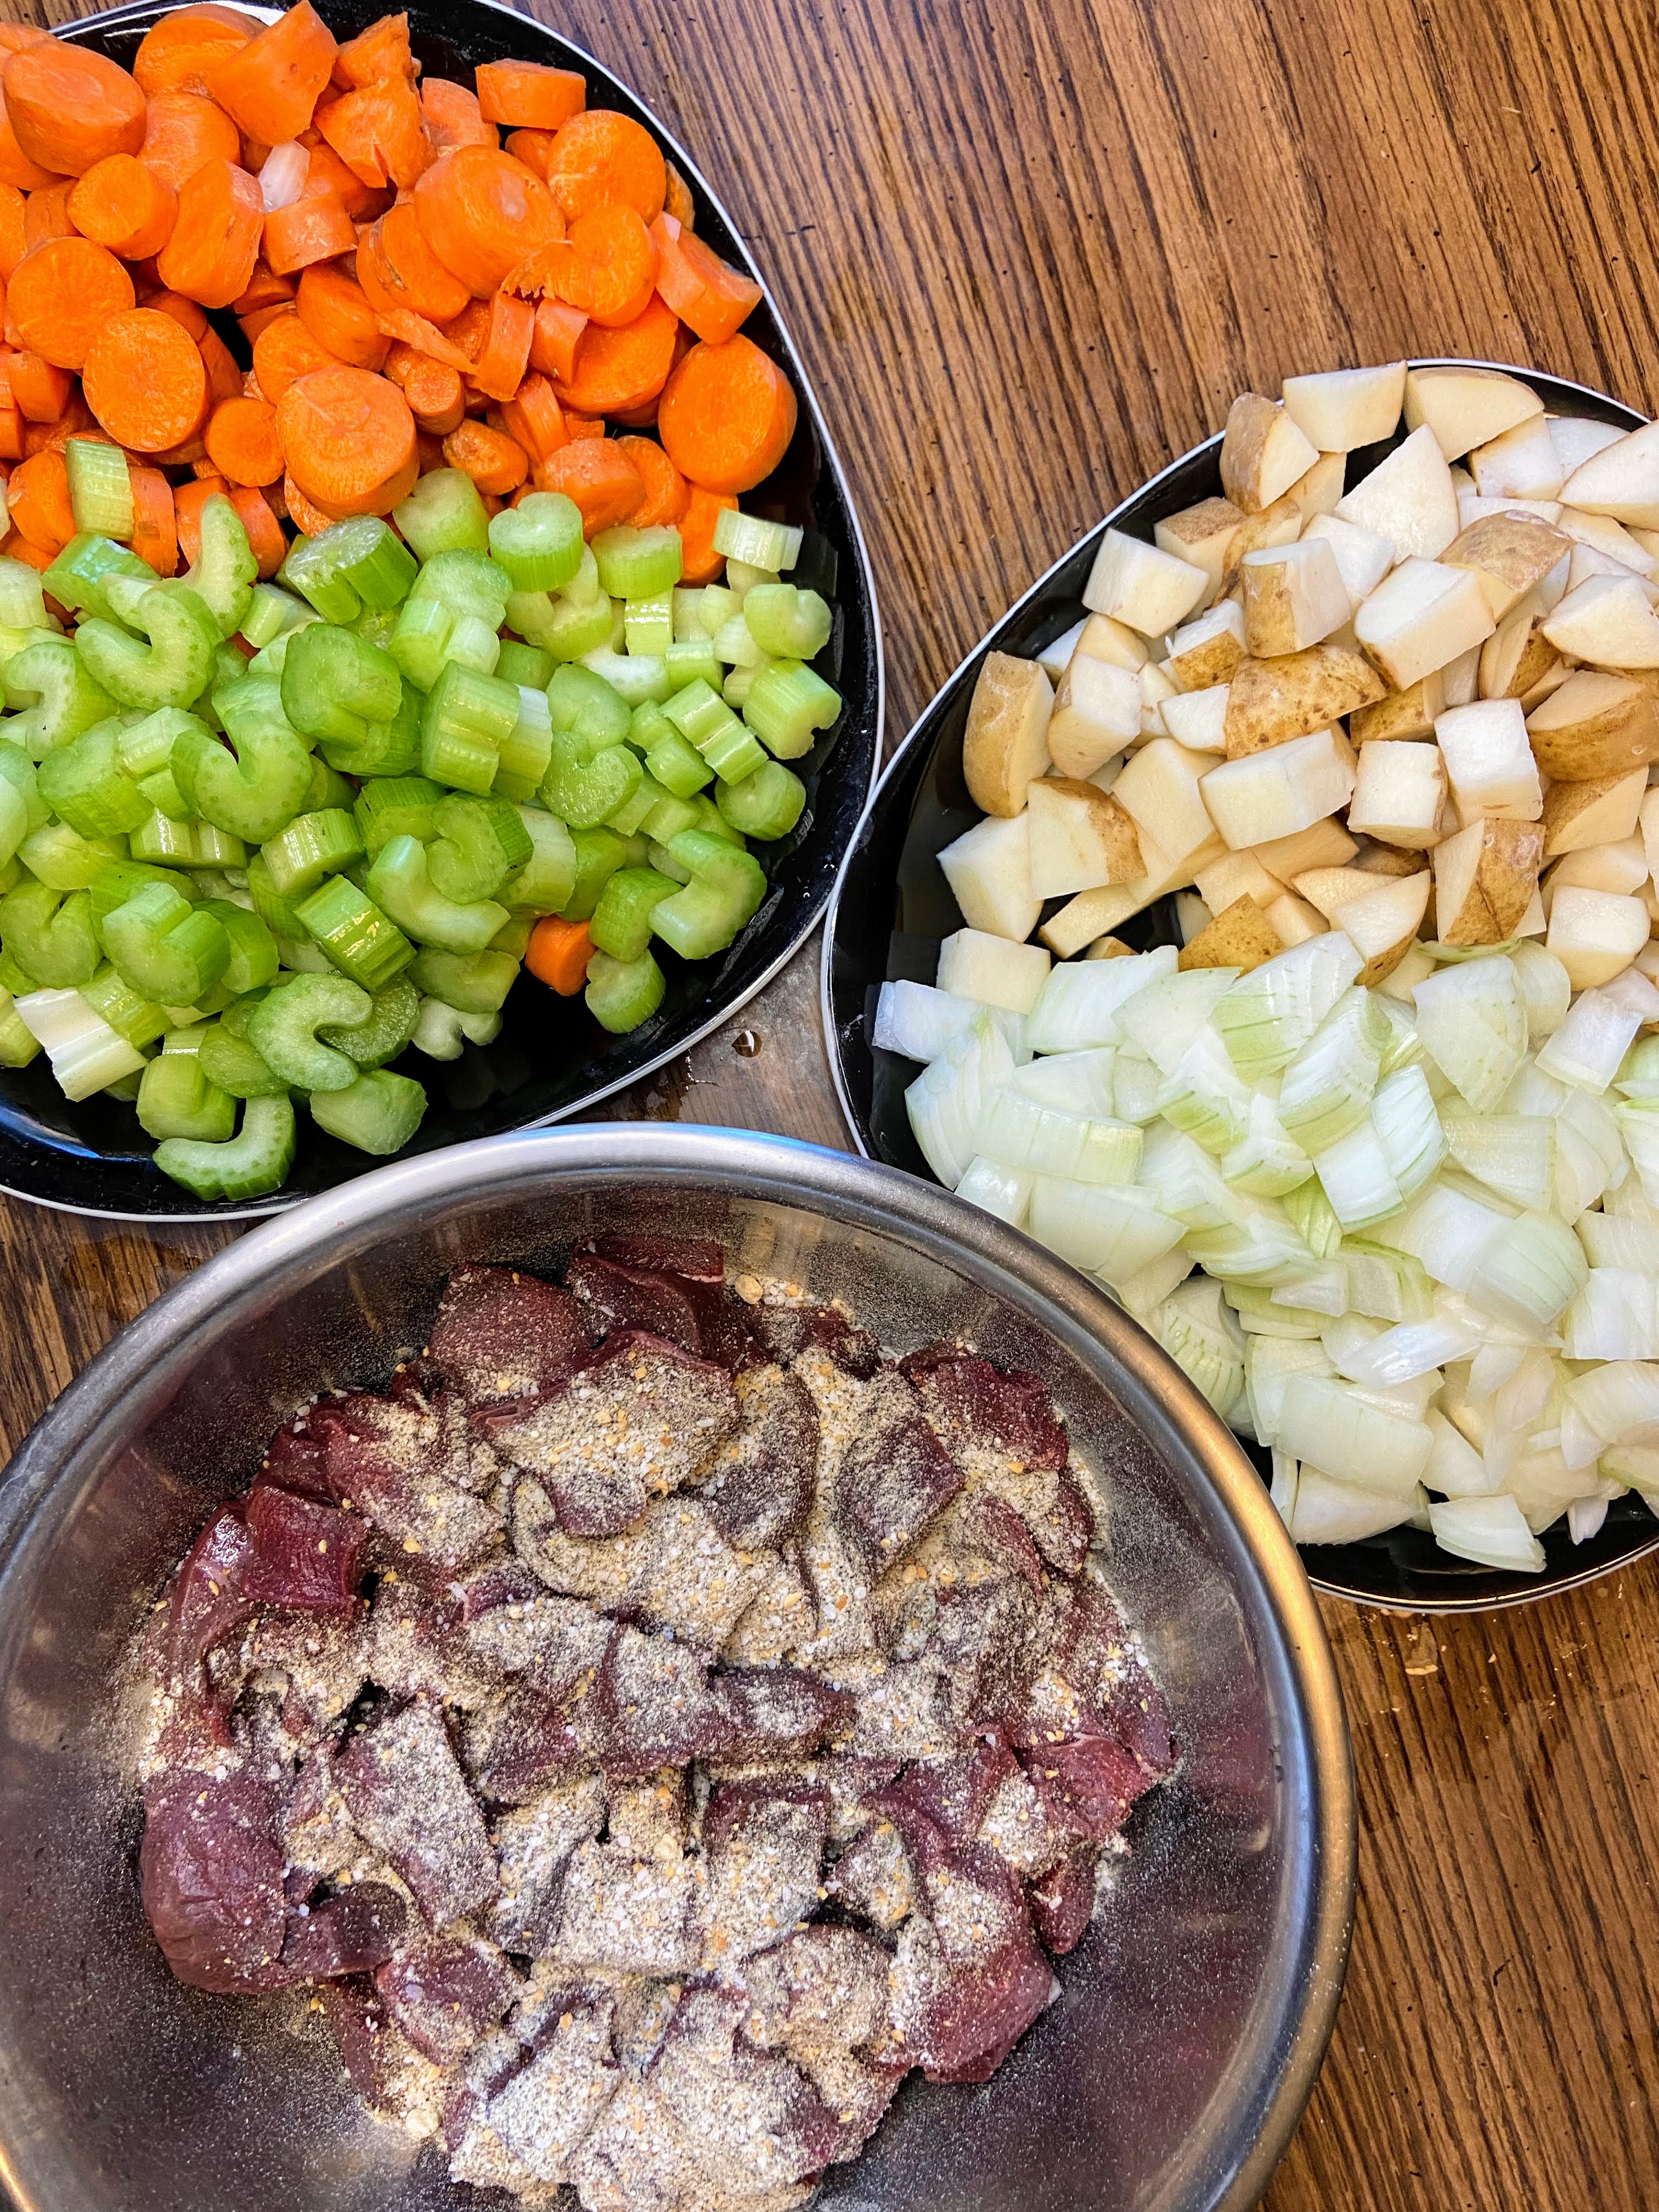
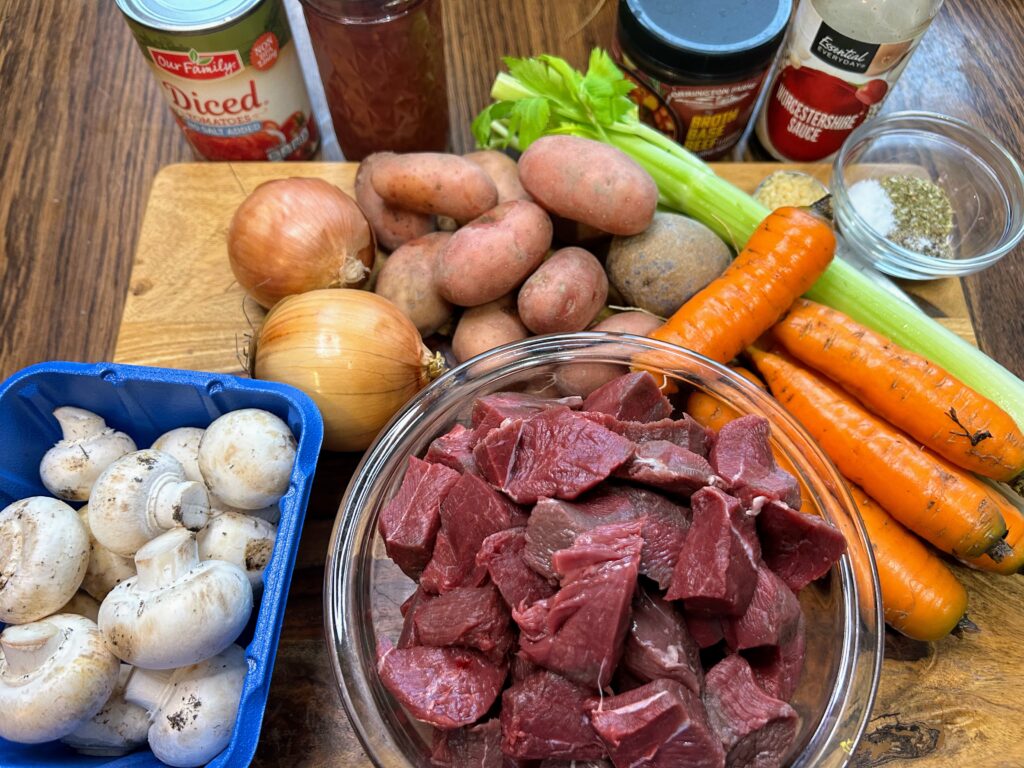
Your Ingredients (for about 10 servings)
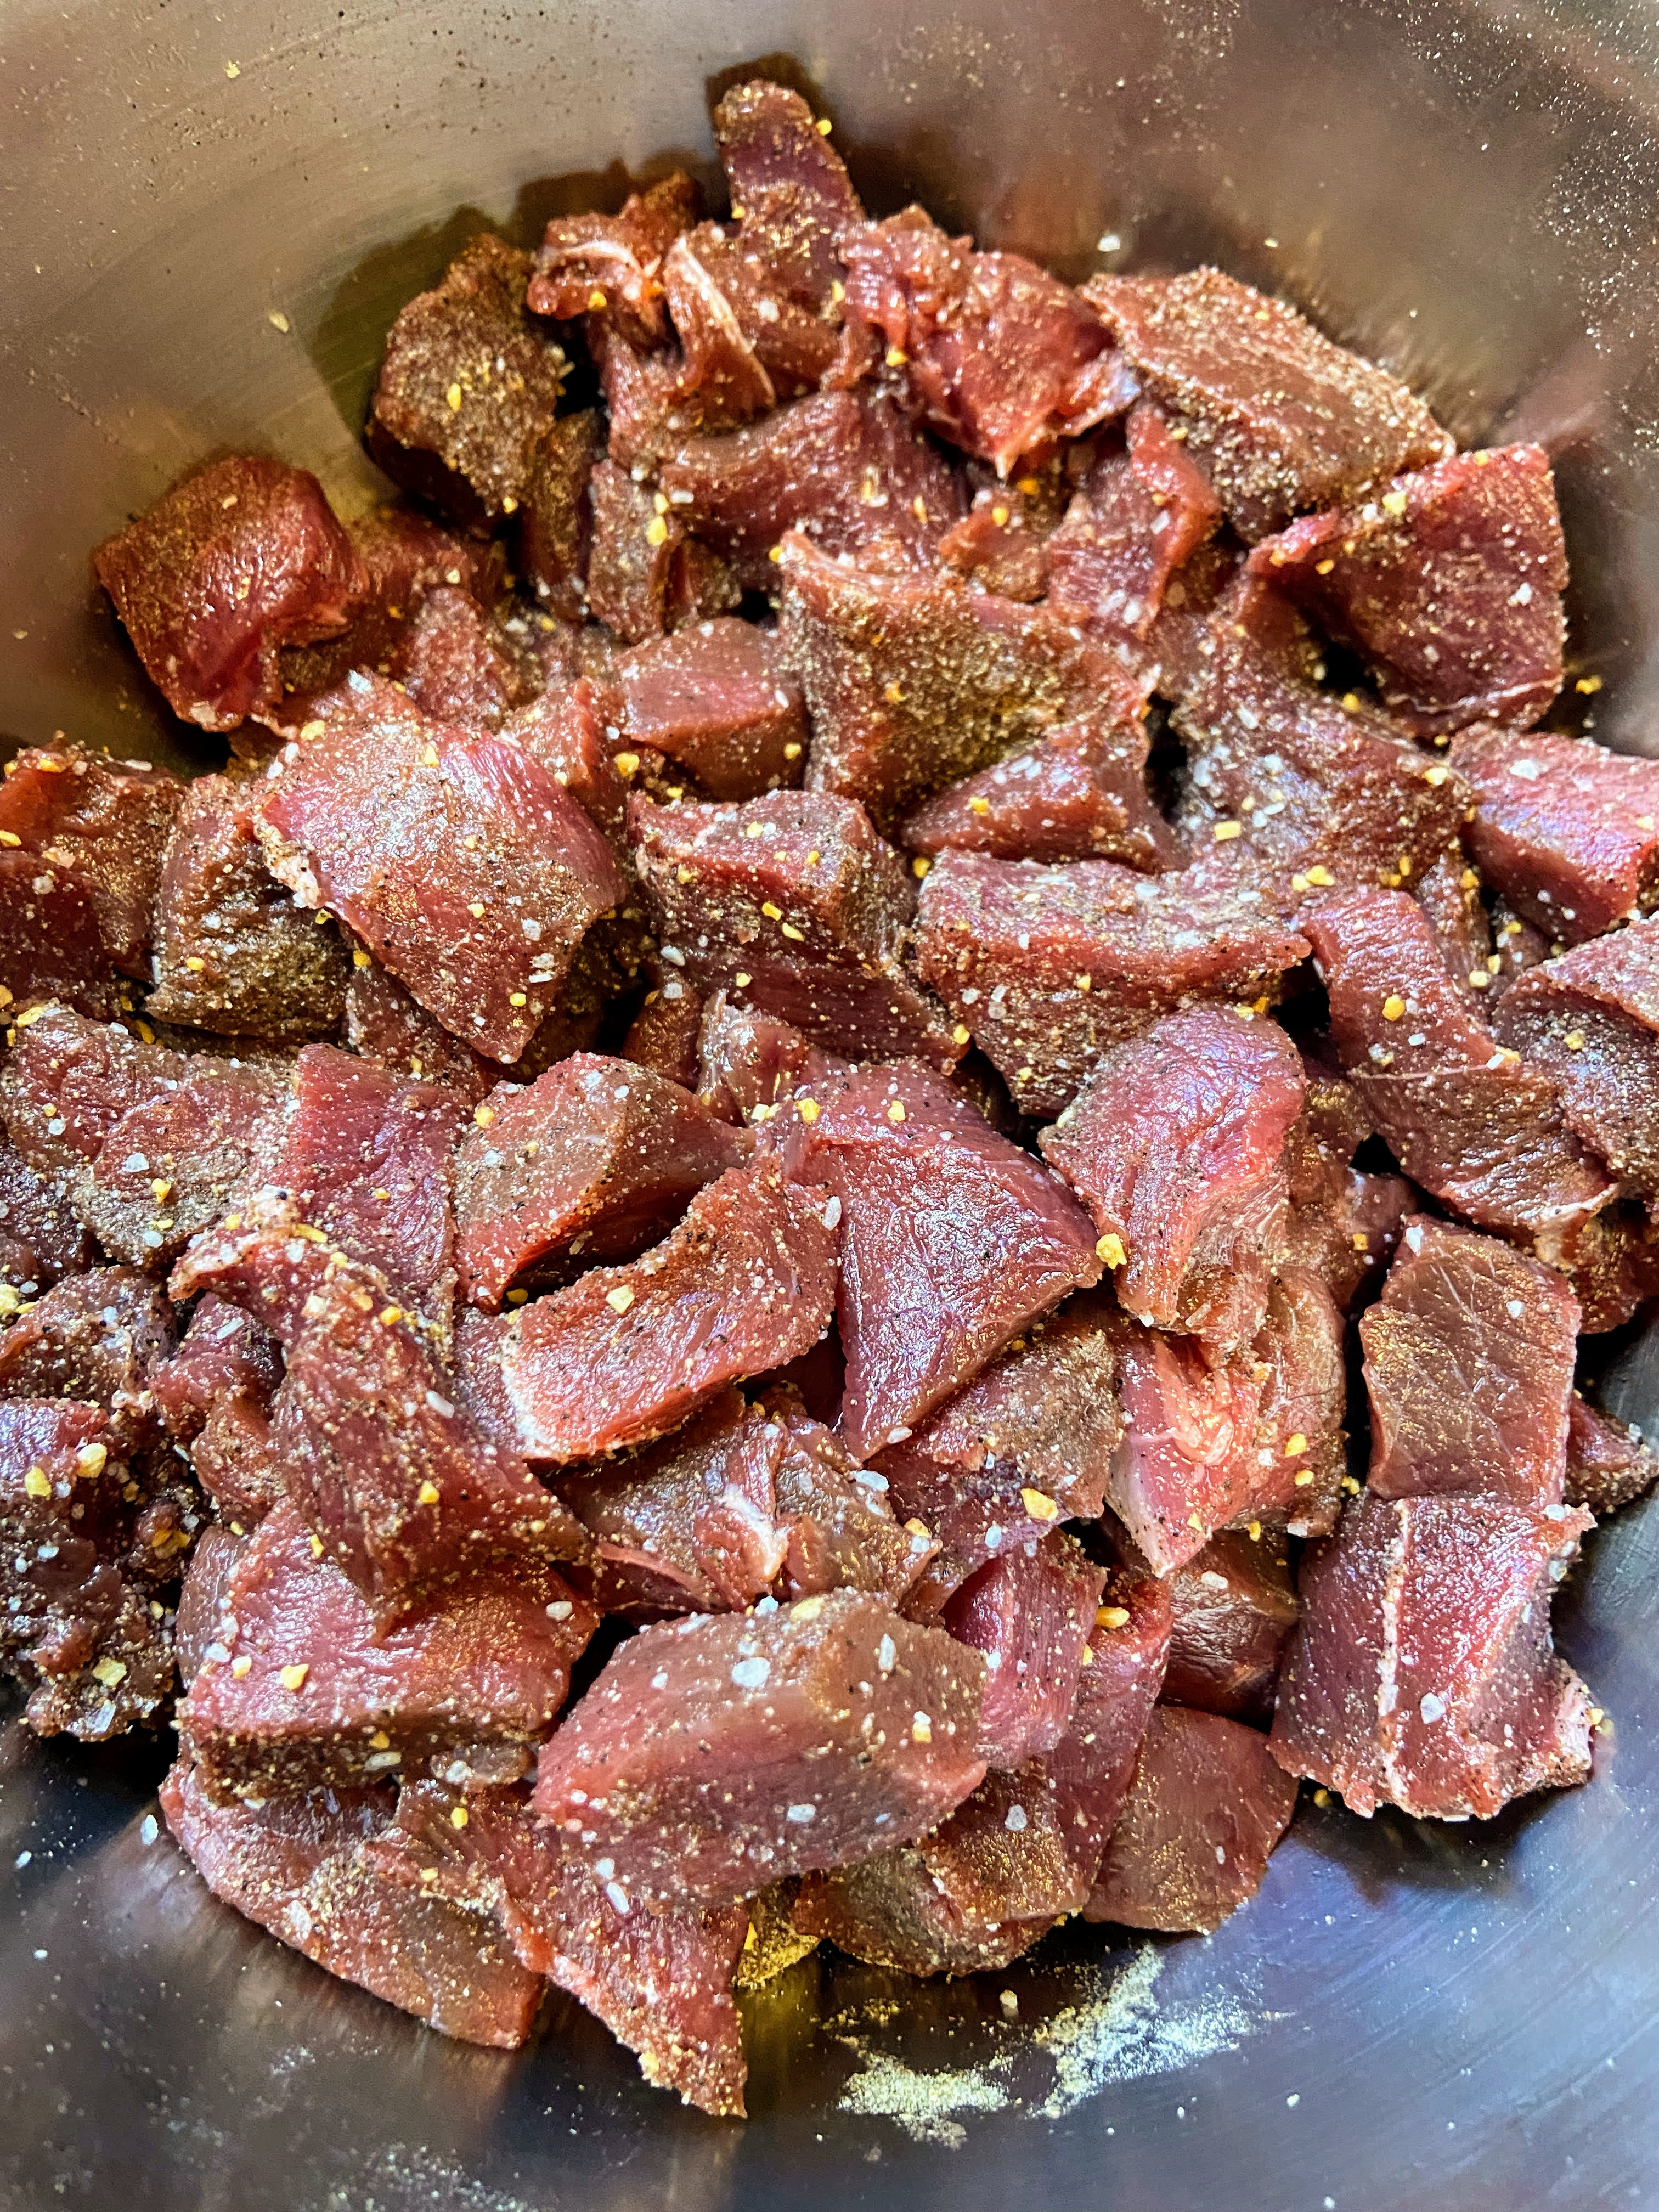
- 2 pounds cubed stew venison
- 4 carrots
- 3 celery stalks
- 2 onions
- 1 1/2 pounds potatoes
- 1 package button mushrooms
- 1 teaspoon each: salt, pepper, dried oregano
- 1 tablespoon minced garlic
- 1 can diced tomatoes
- 12 ounces tomato sauce
- 3 cups beef stock (or venison stock if you have it!)
- 1 tablespoon Worcestershire sauce
- 2/3 cup flour
Your Steps to Baked Venison Stew
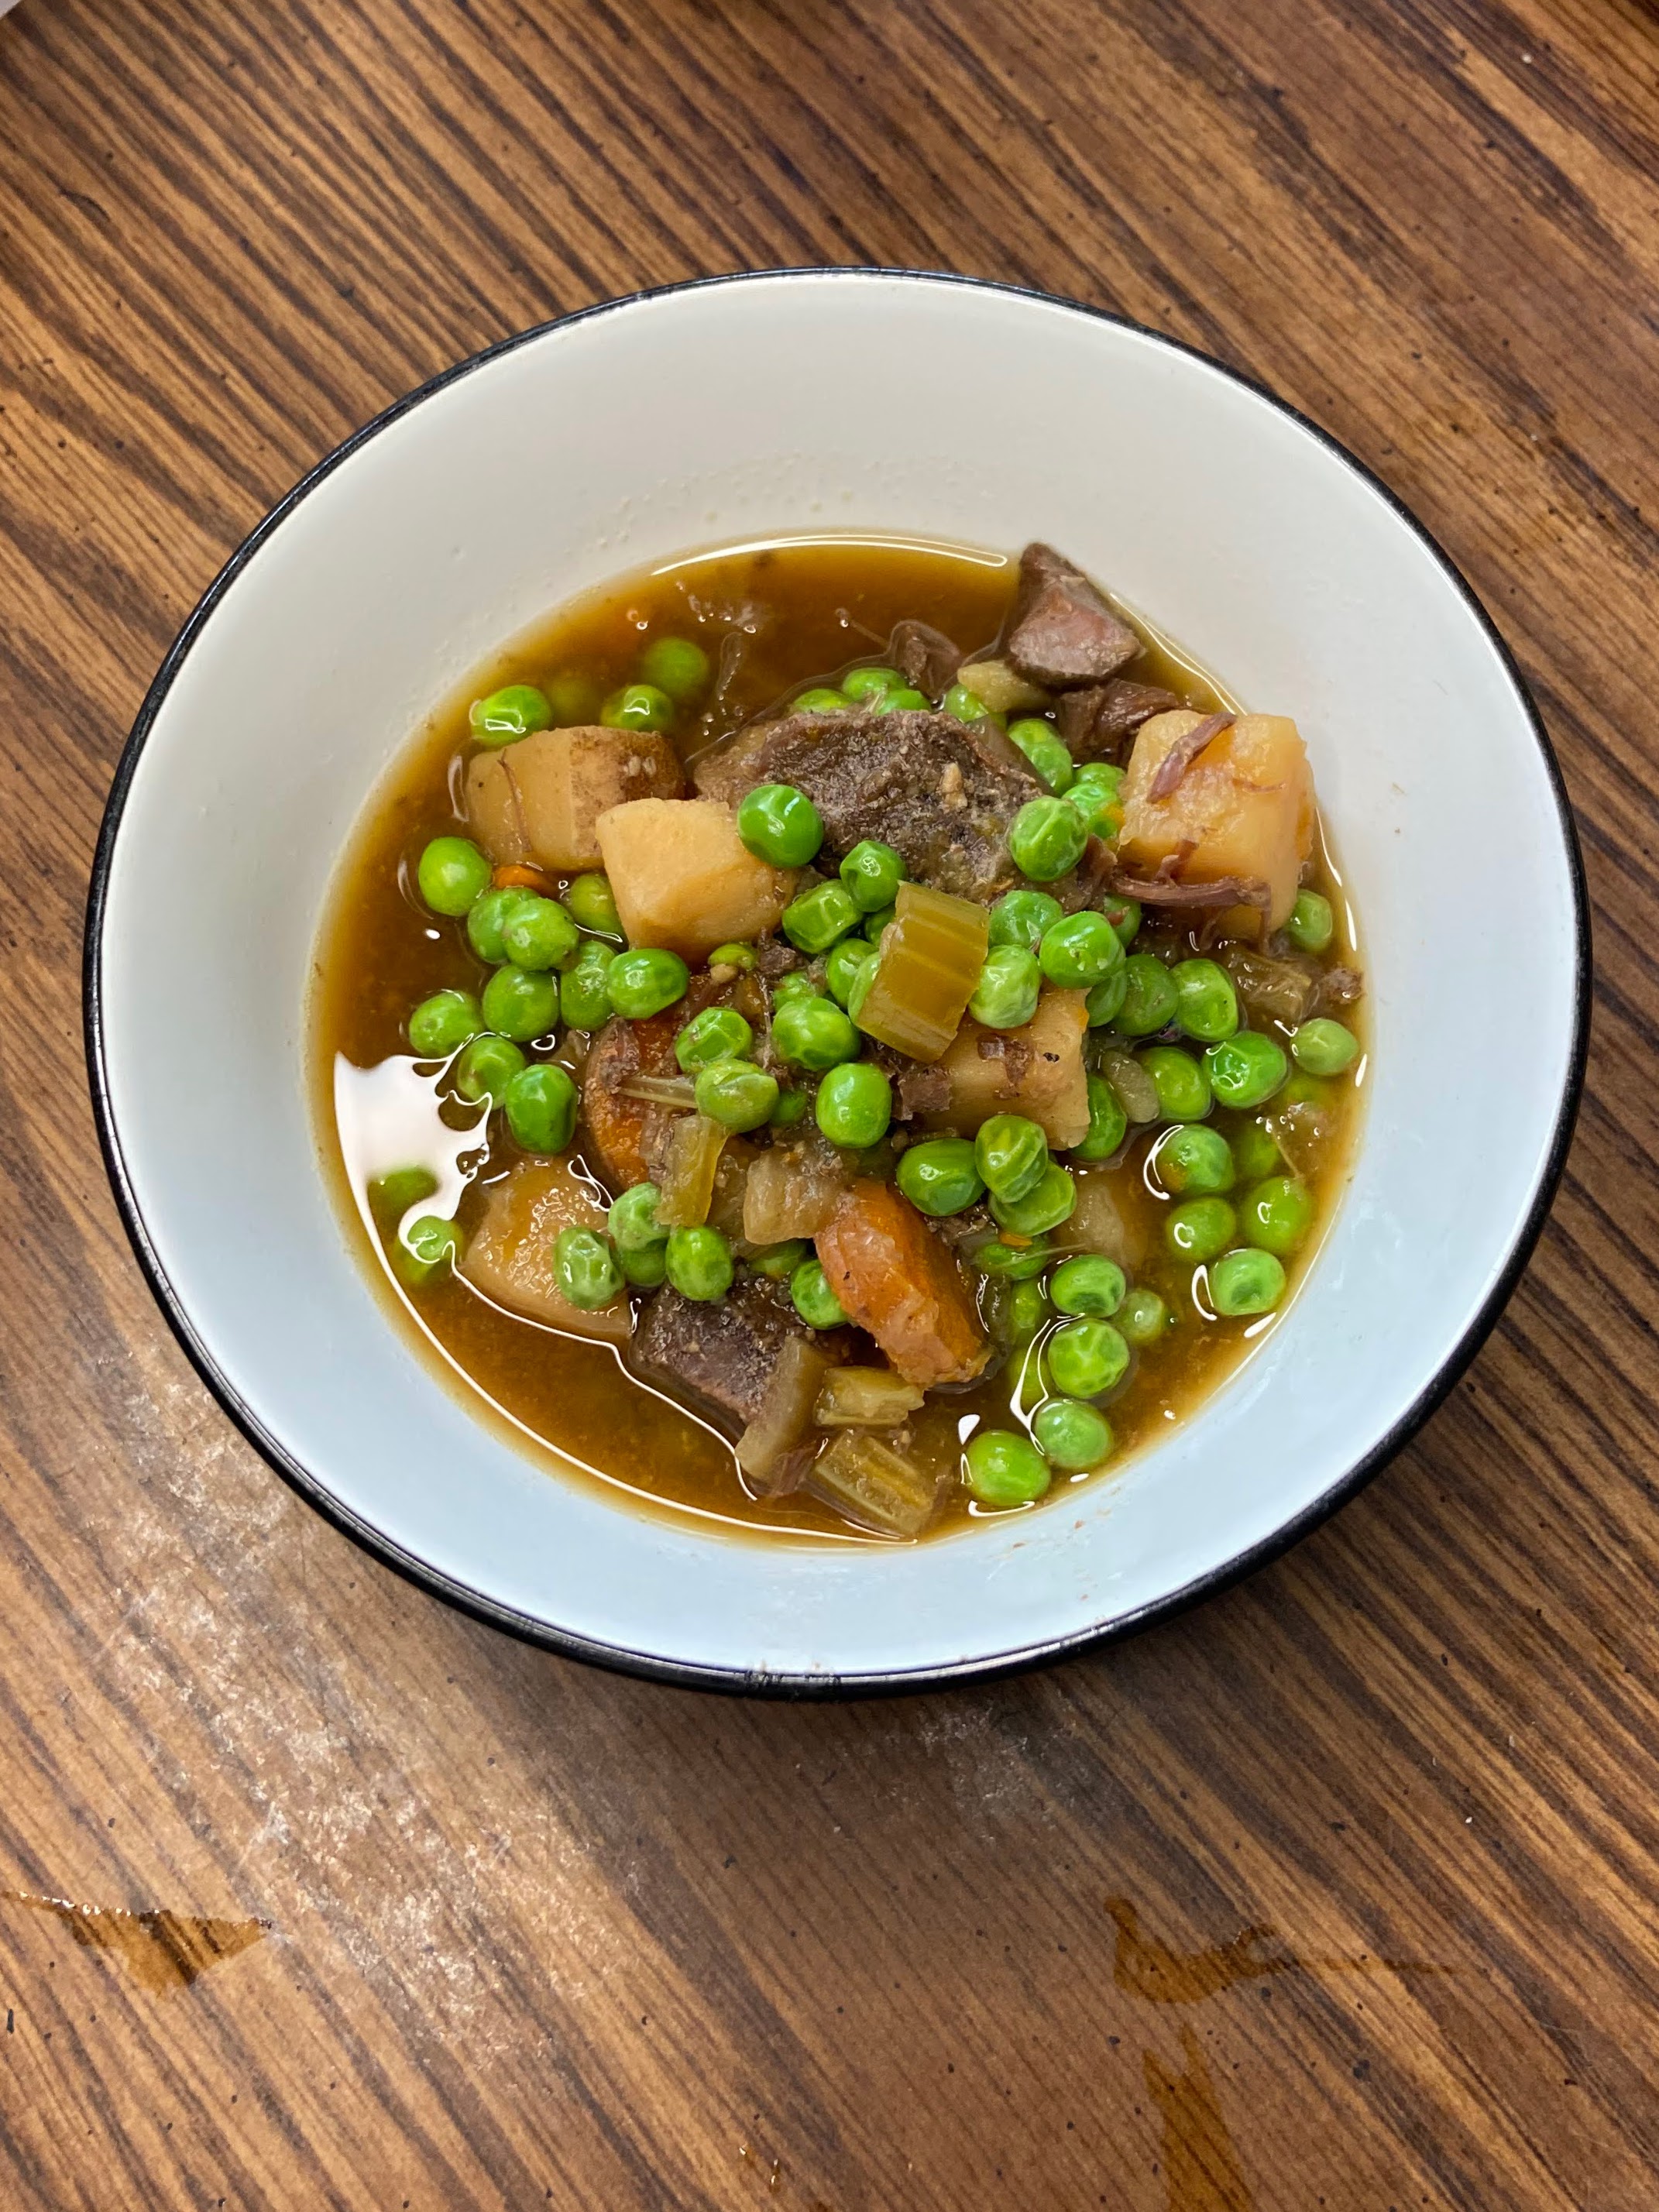
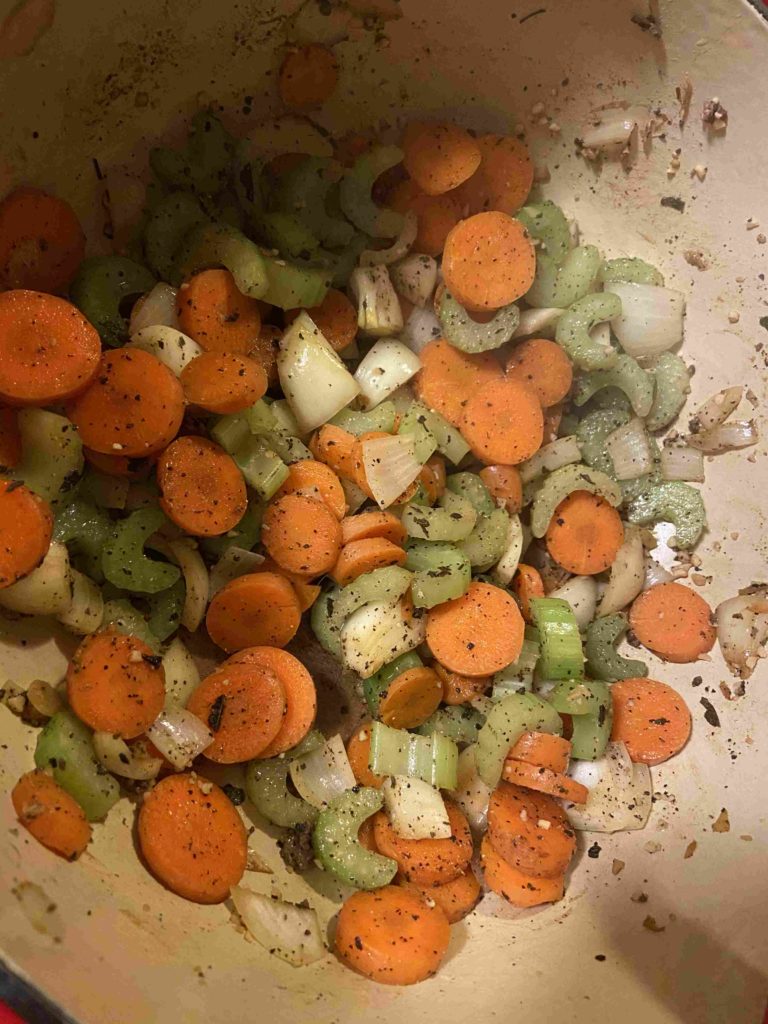
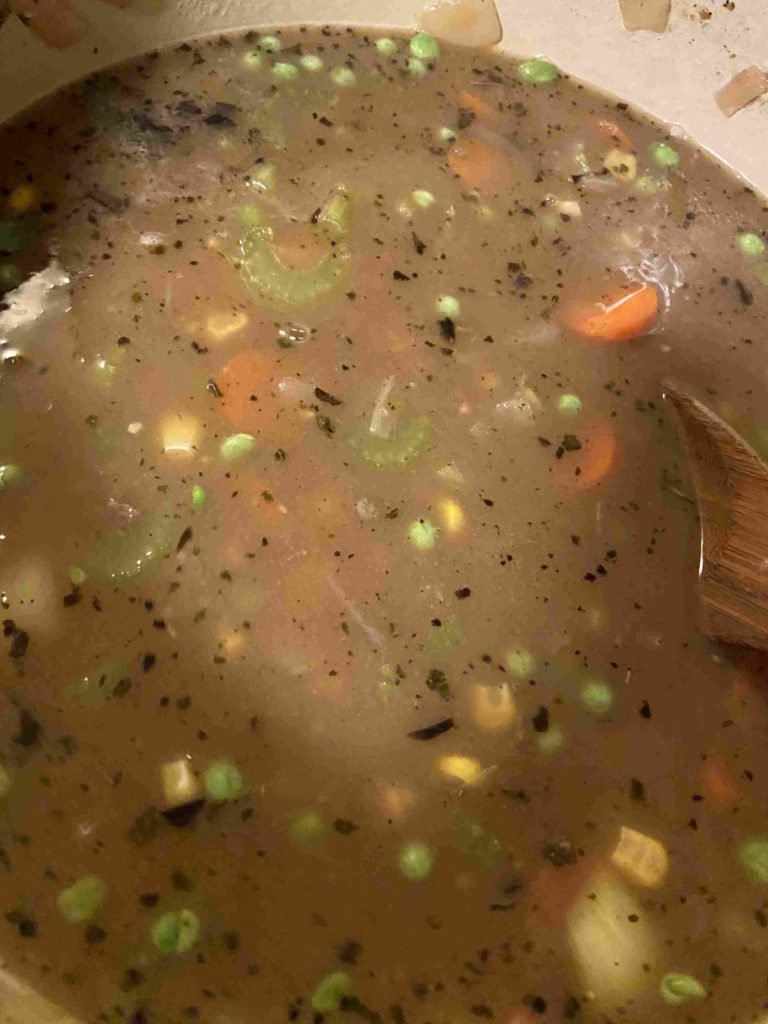
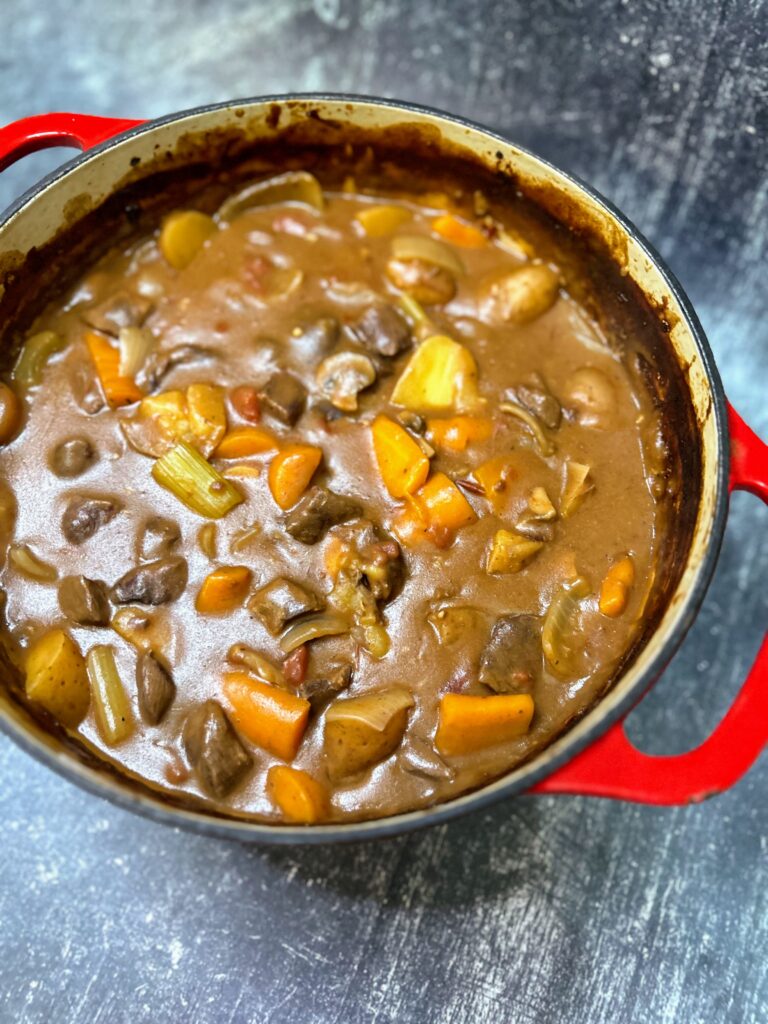
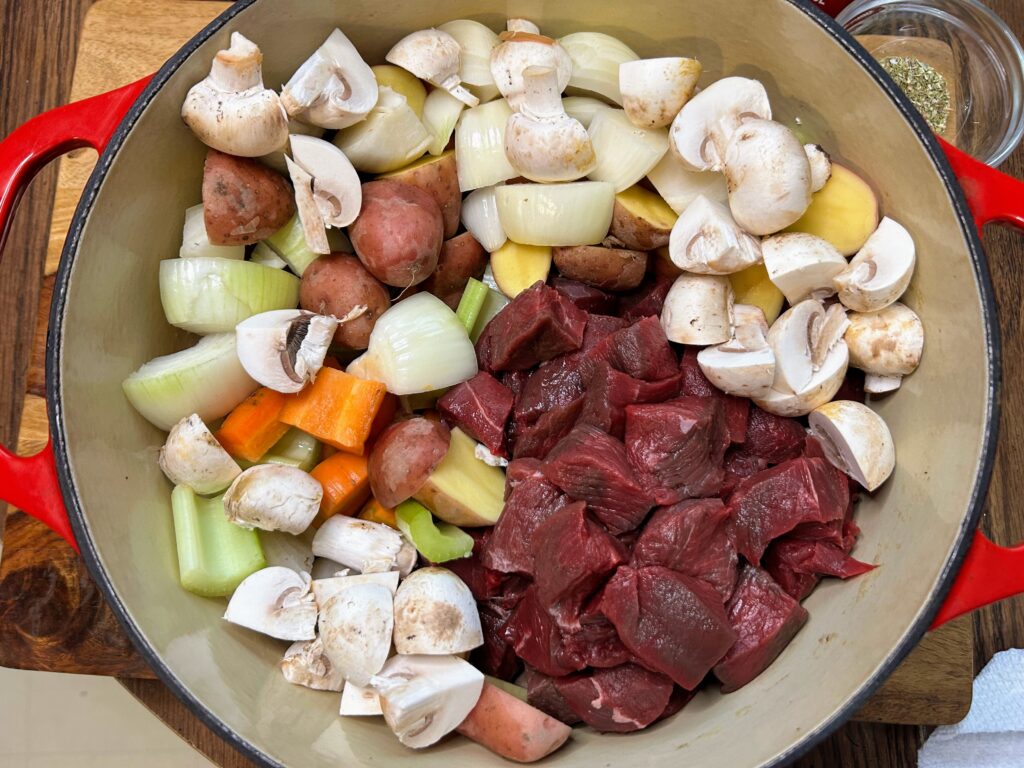
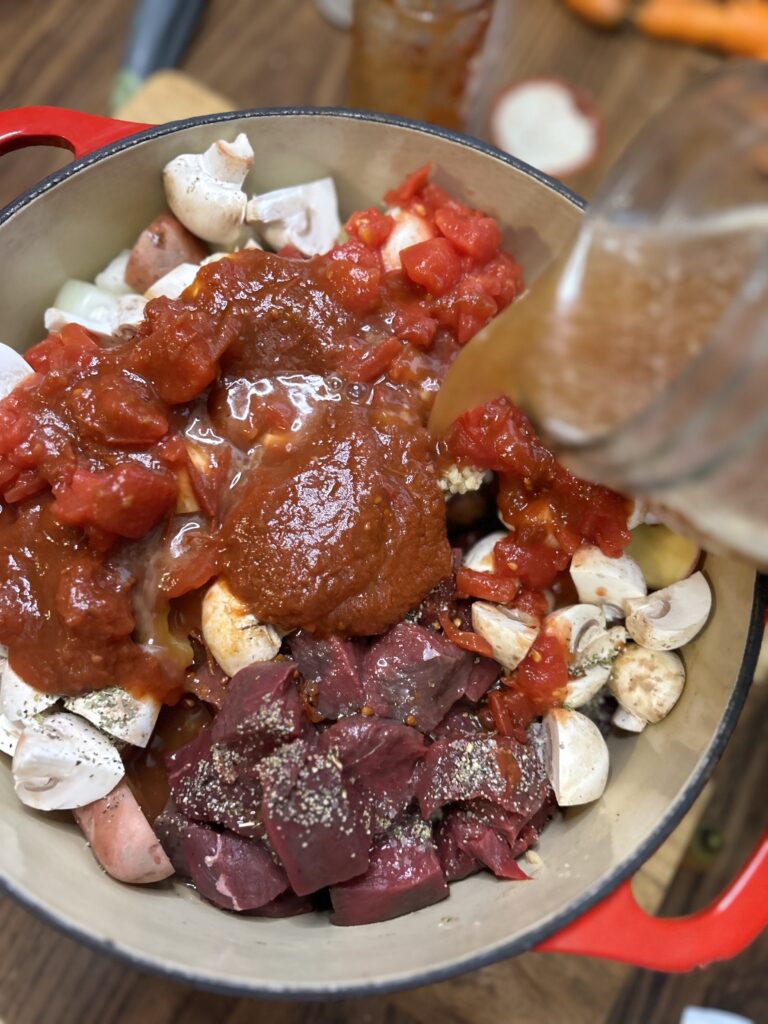
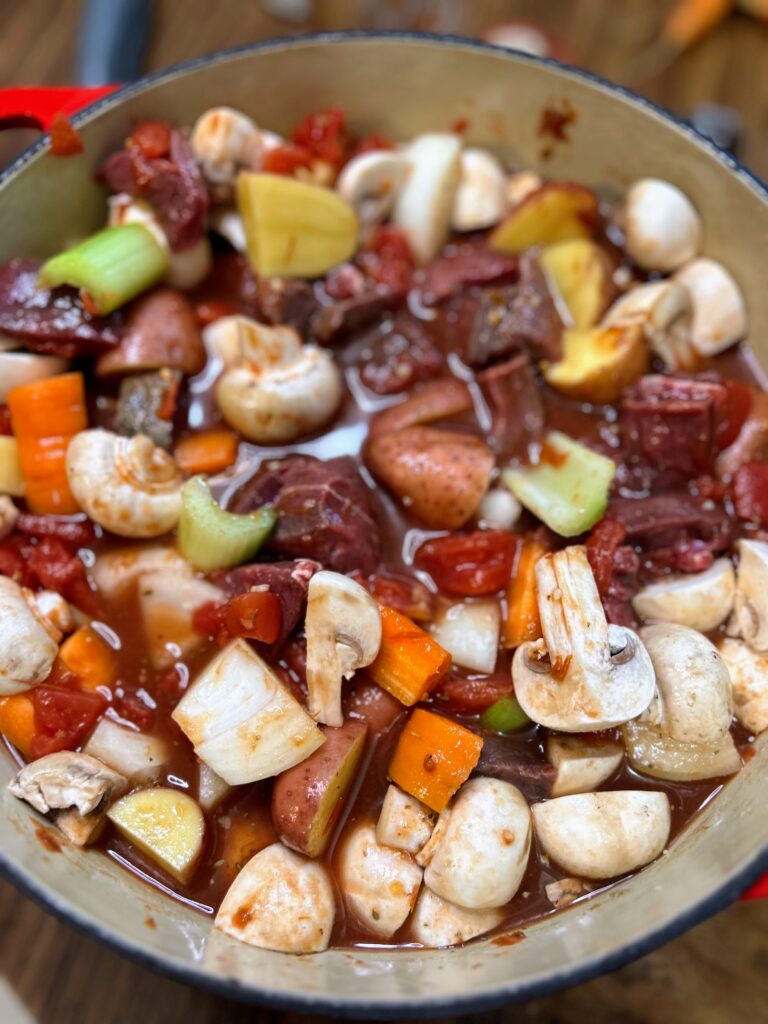
And here’s the easy part! Roughly chop the vegetables. Throw them all in a heavy cast iron Dutch oven and stir well. Cover and bake at 350 degrees for three hours. (Make sure your cover is oven safe!)
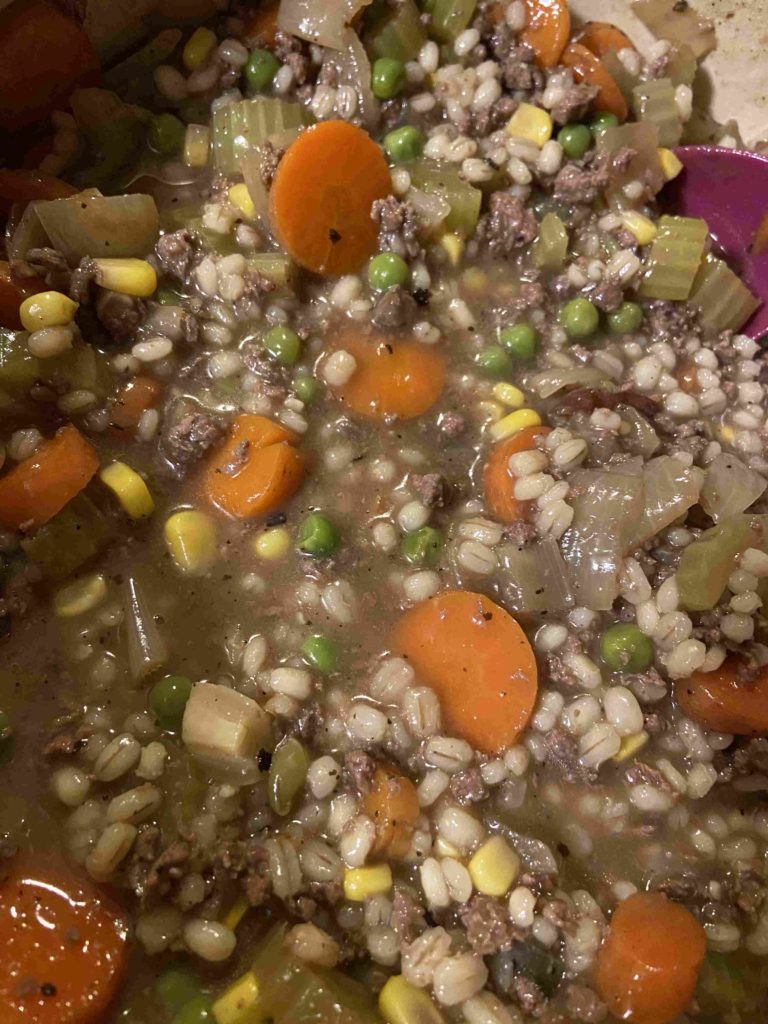
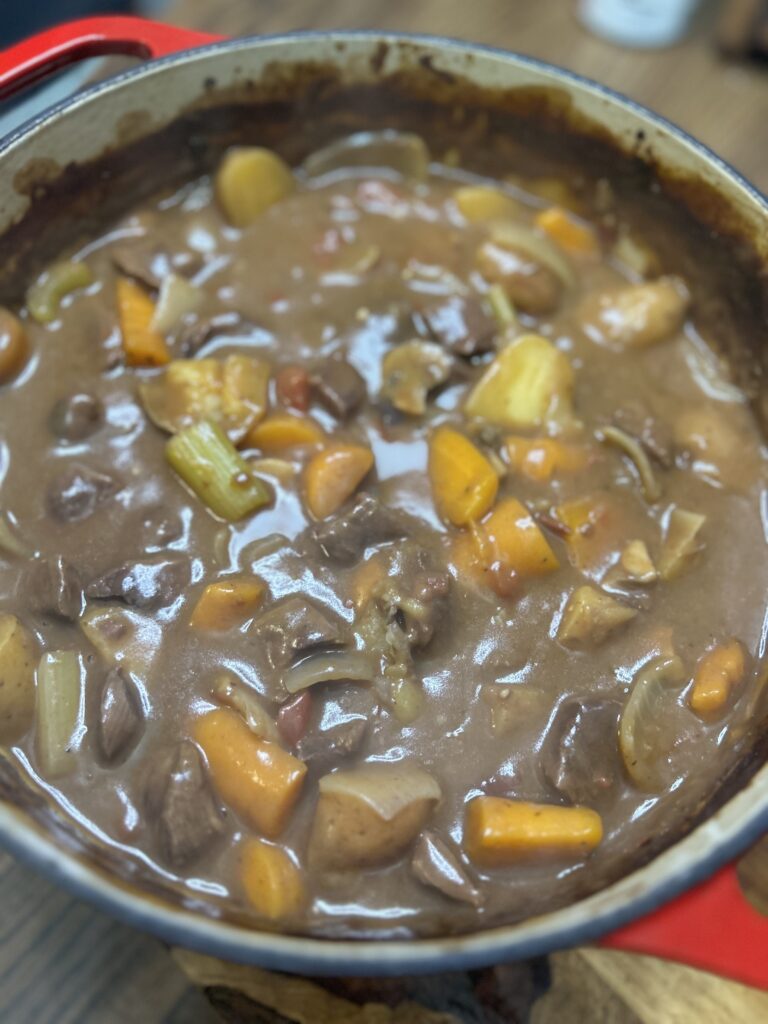
I stir it about every hour to make sure nothing is sticking, but it turns to perfection. Thick and hearty. A perfect meal. If you want yours a little less thick, add another 1/2 cup to 1 full cup of beef stock. But I am telling you, this is comfort in a bowl.

Baked Venison Stew
Equipment
Ingredients
- 2 pounds cubed stew venison
- 4 carrots
- 3 celery stalks
- 2 onions
- 1 1/2 pounds potatoes
- 1 package button mushrooms
- 1 teaspoon each: salt pepper, dried oregano
- 1 tablespoon minced garlic
- 1 can diced tomatoes
- 12 ounces tomato sauce
- 3 cups beef stock or venison stock if you have it!
- 1 tablespoon Worcestershire sauce
- 2/3 cup flour
Instructions
- Roughly chop the vegetables.
- Throw them all in a heavy cast iron Dutch oven and stir well.
- Cover and bake at 350 degrees for three hours. (Make sure your cover is oven safe!)
- Stir every hour or so to make sure nothing is sticking to the bottom.
- If you want it a little less thick, add another 1/2 cup to 1 full cup of beef stock.
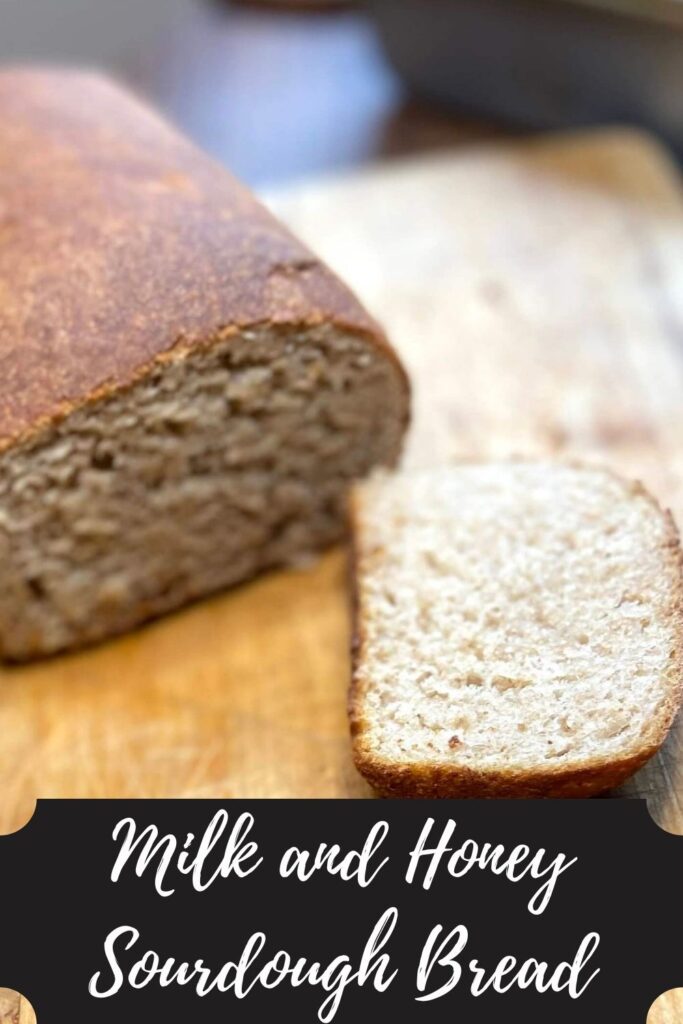
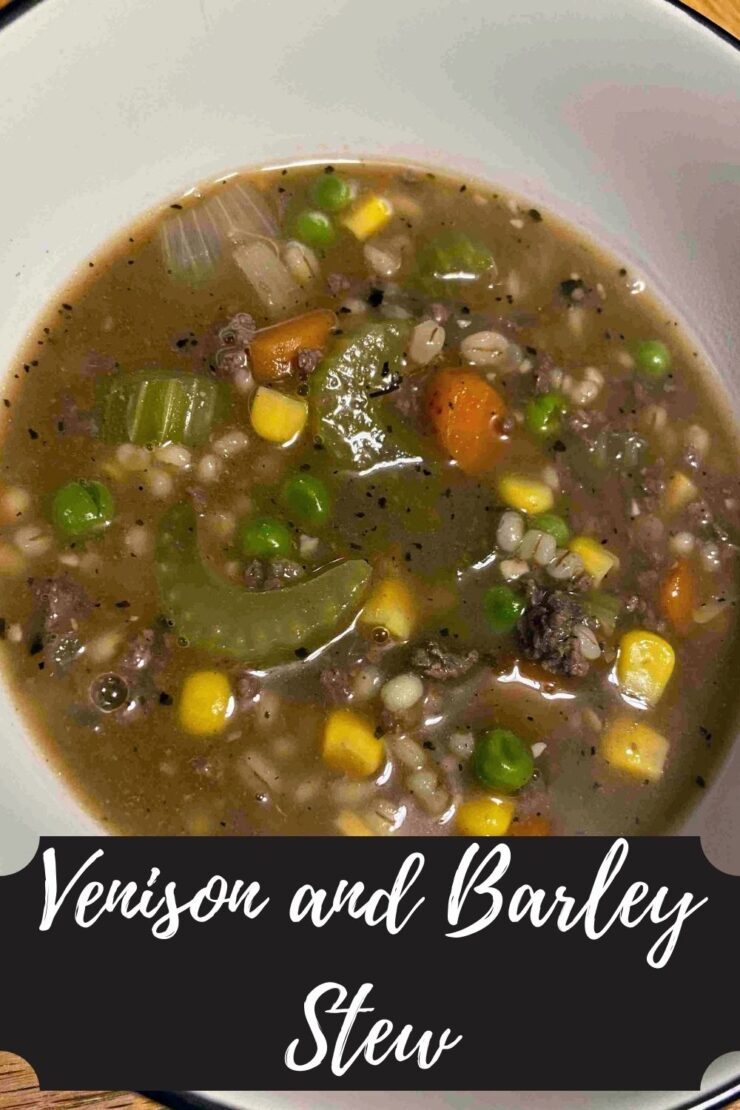
Looking for other venison recipes?
These are some of my favorite ways to use our venison each season!