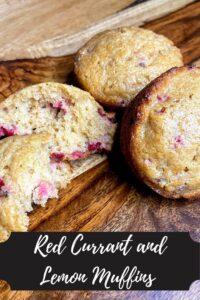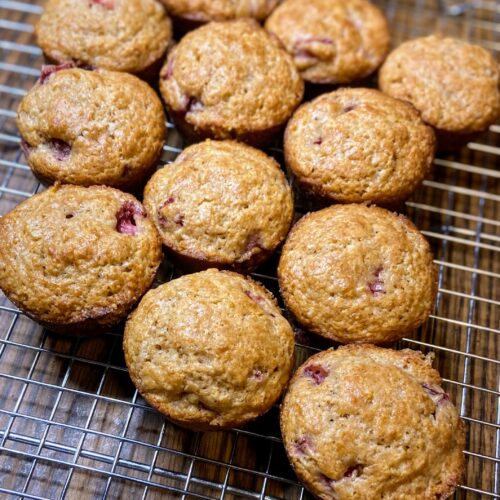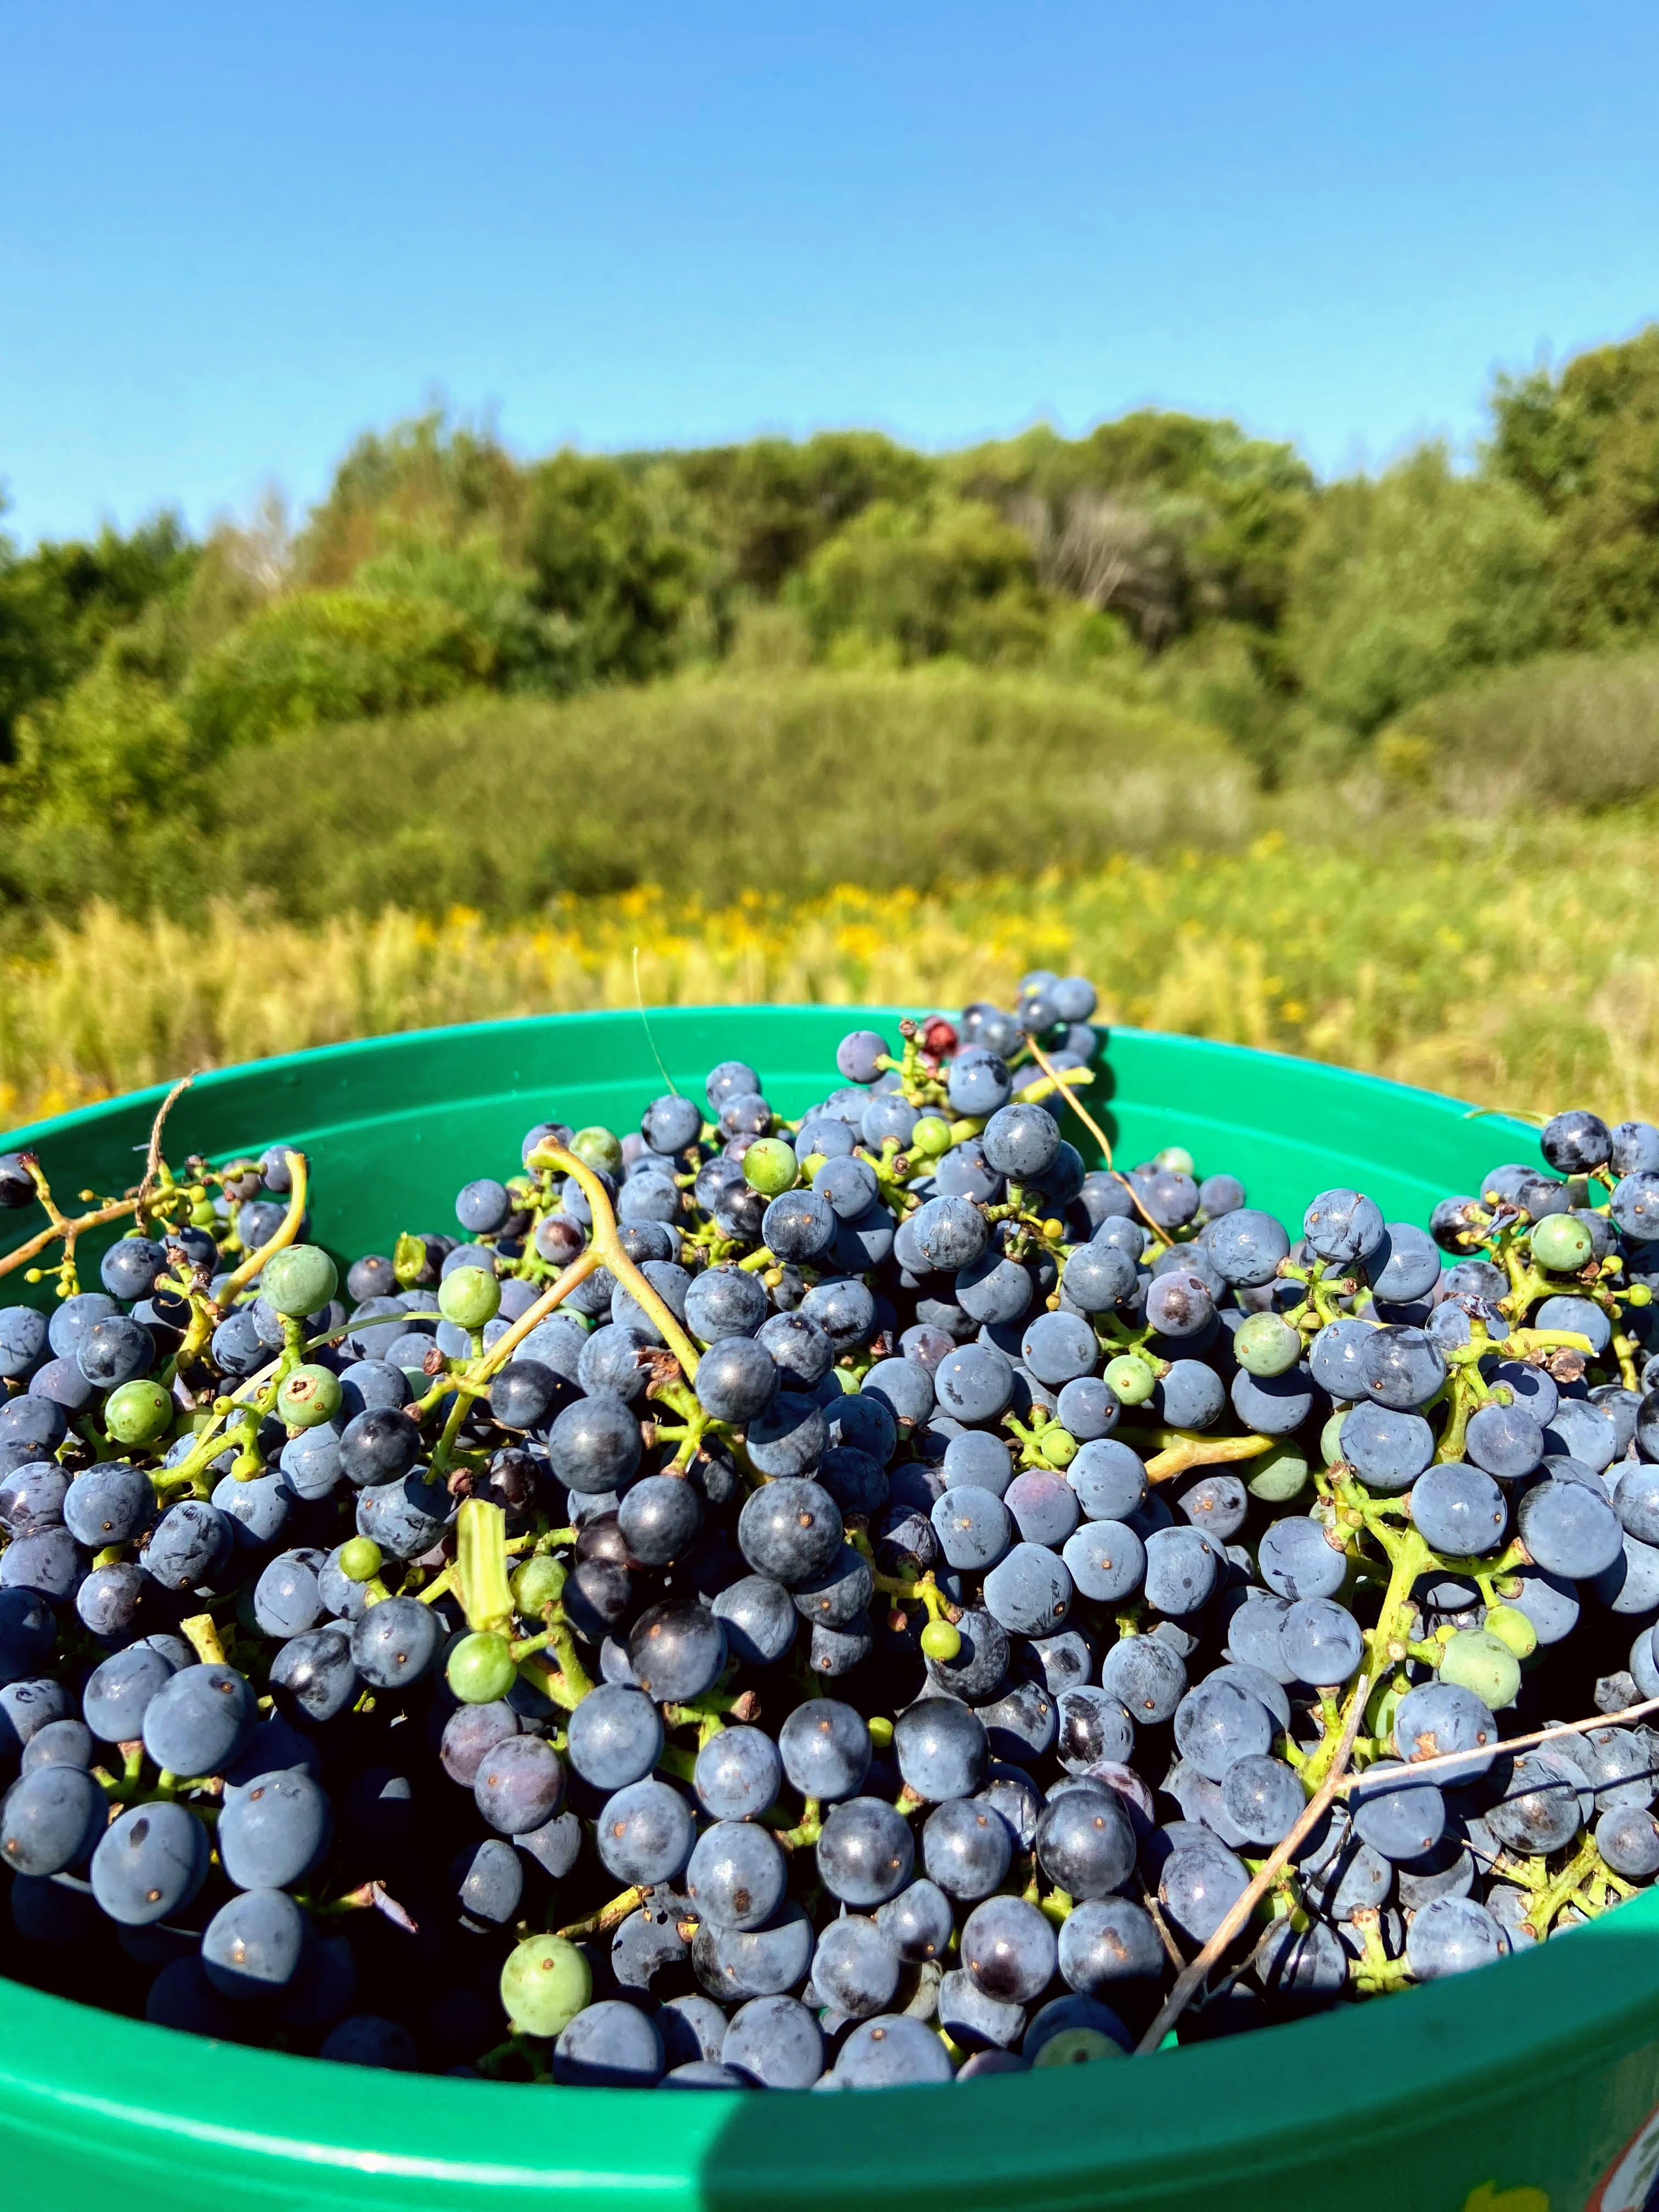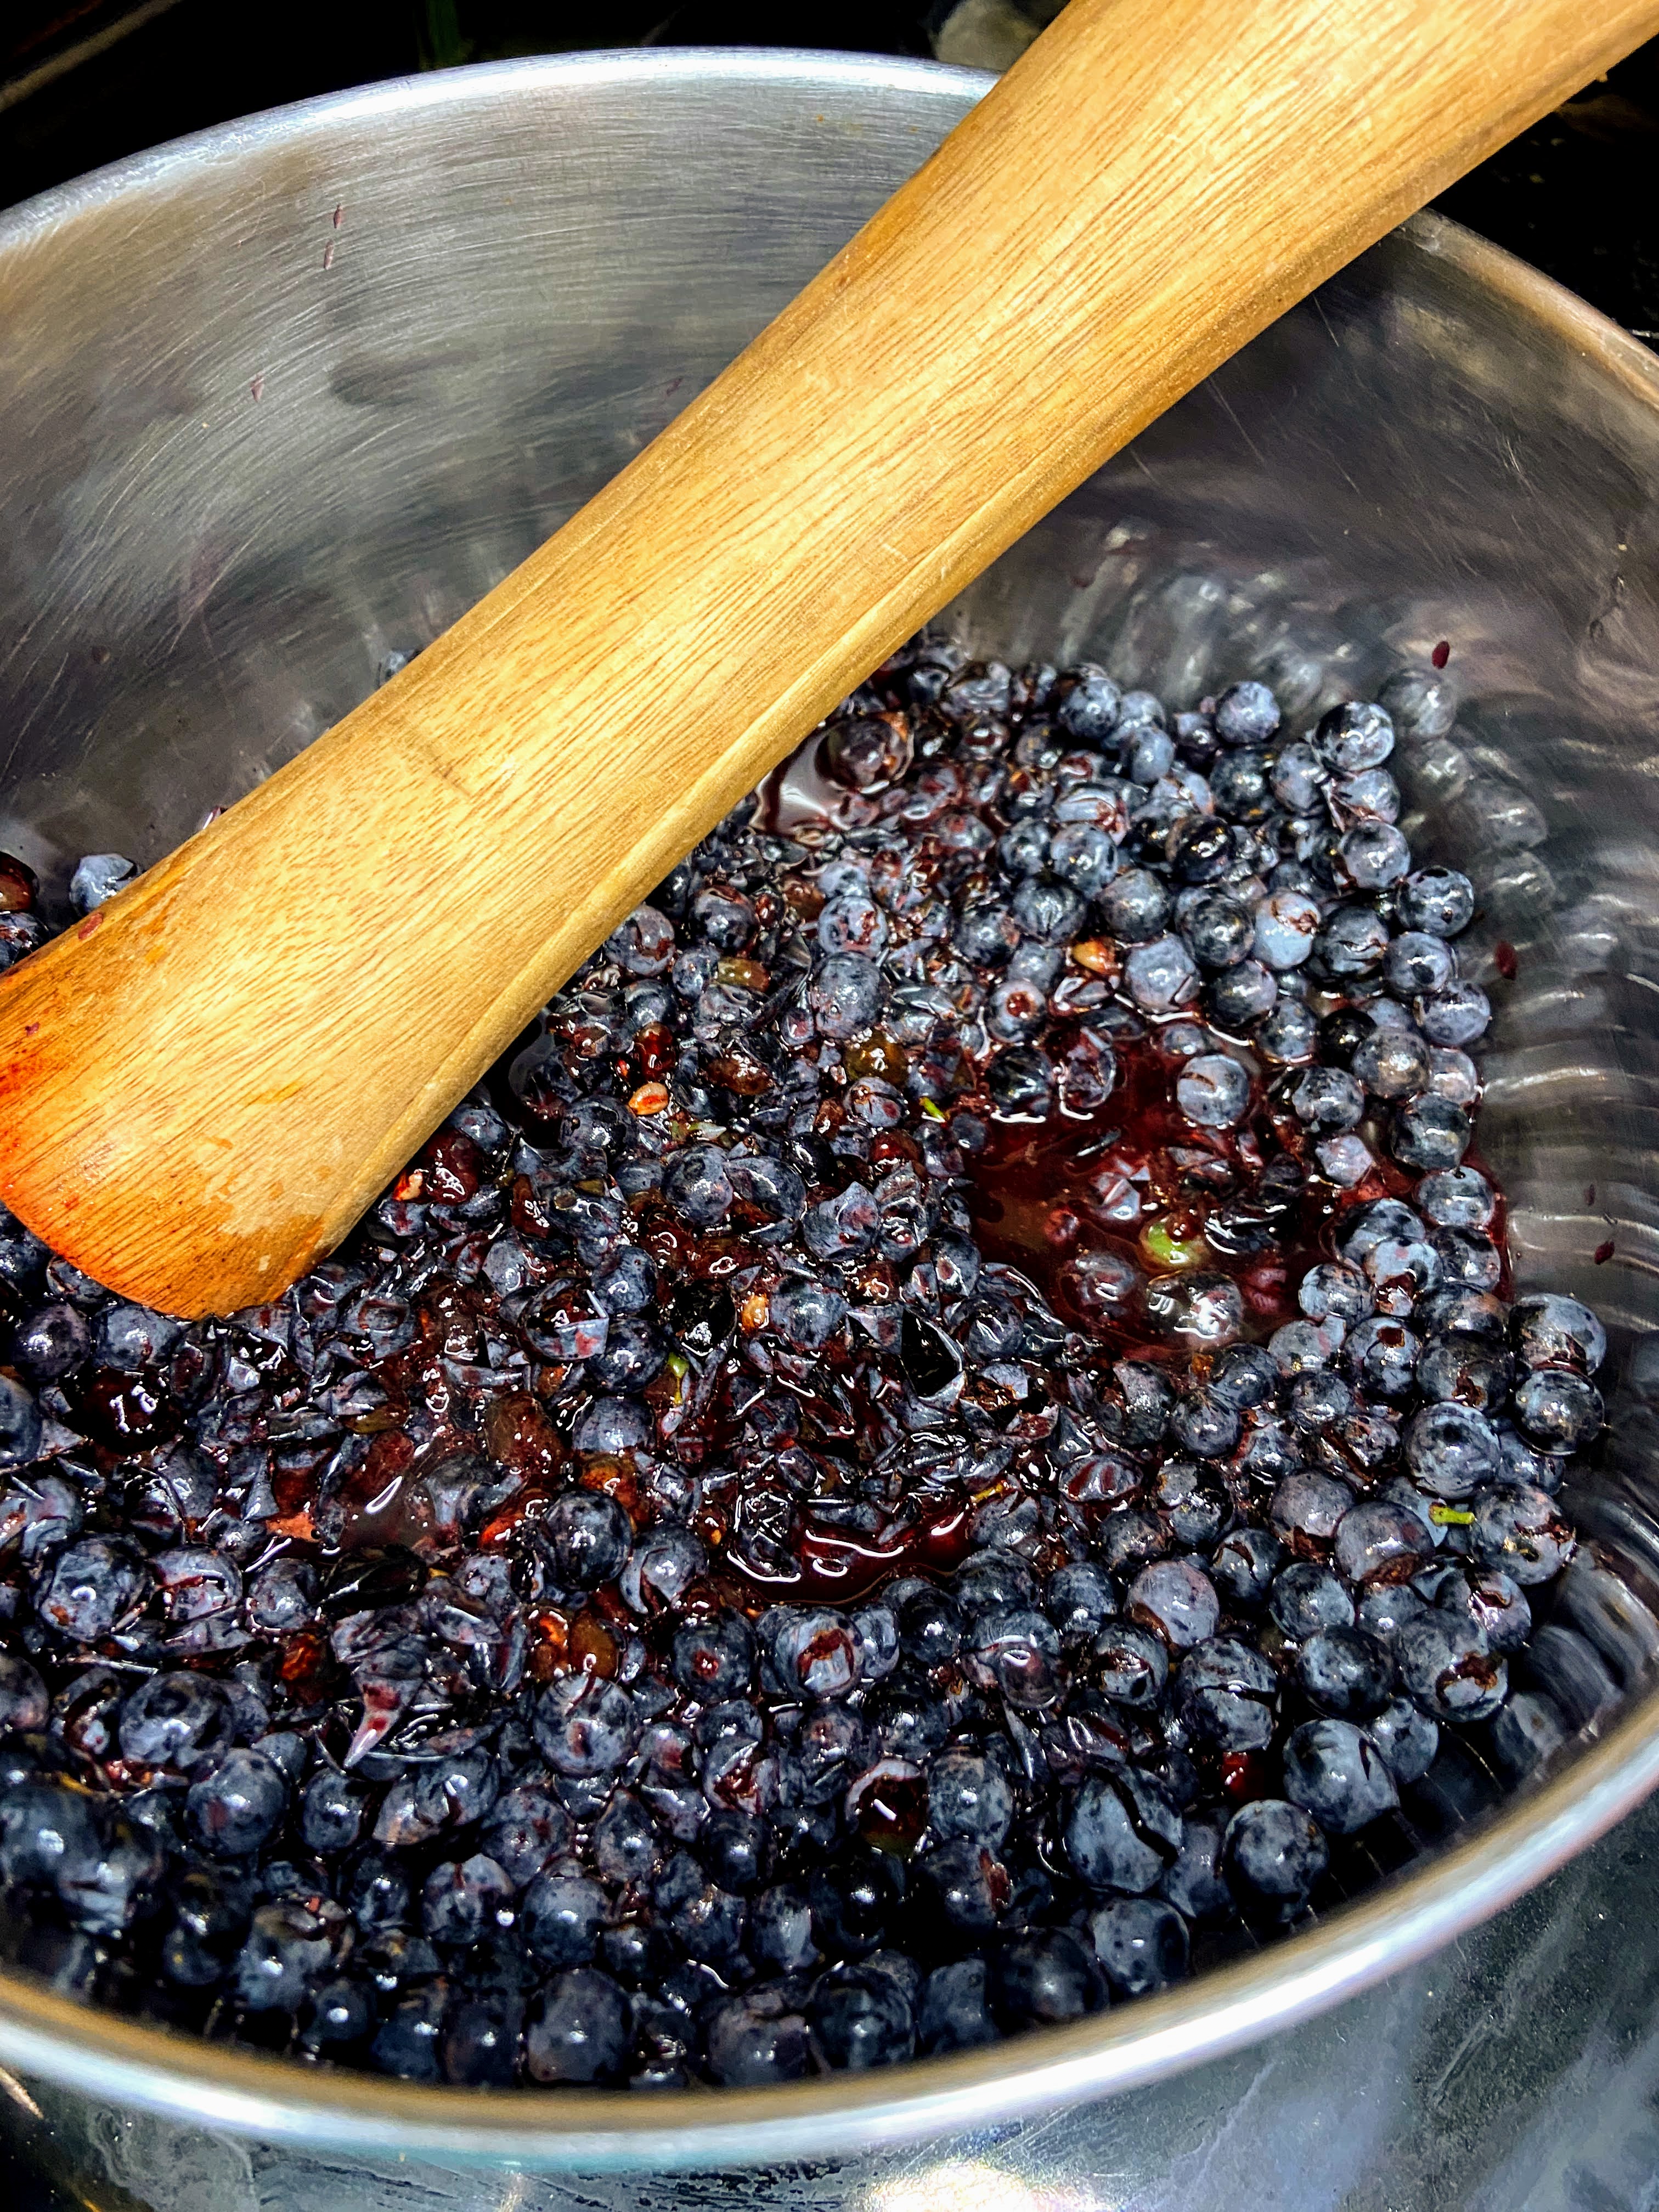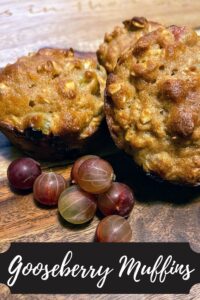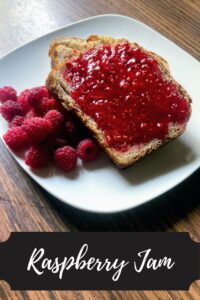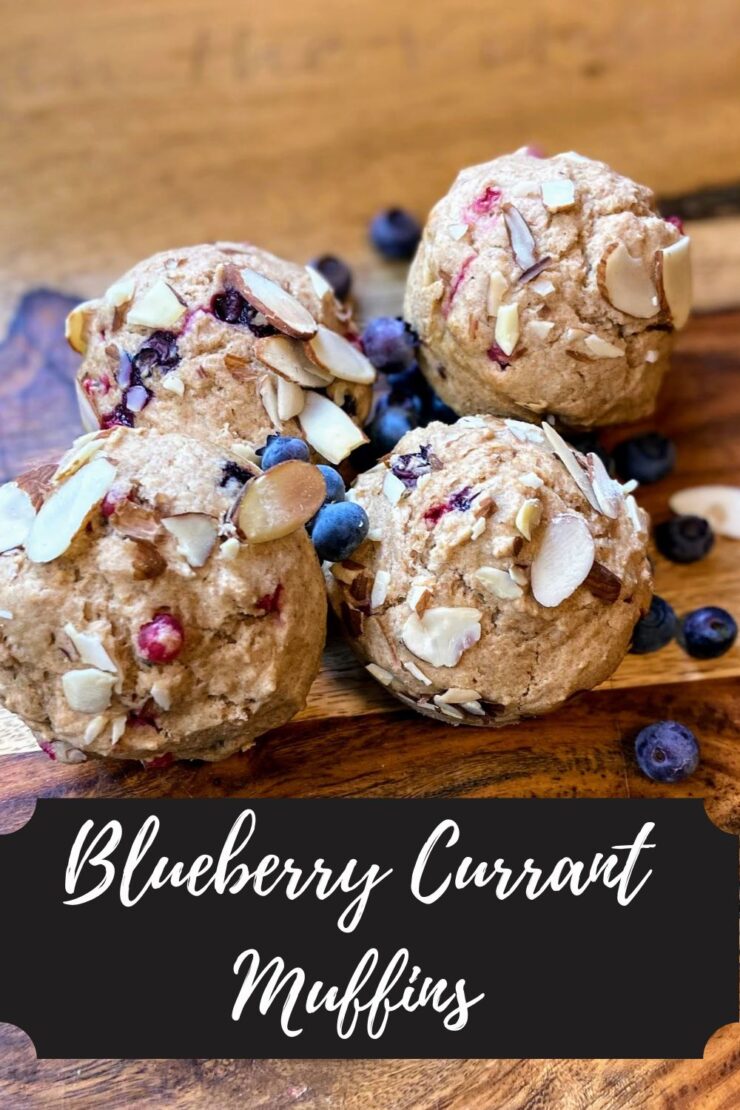
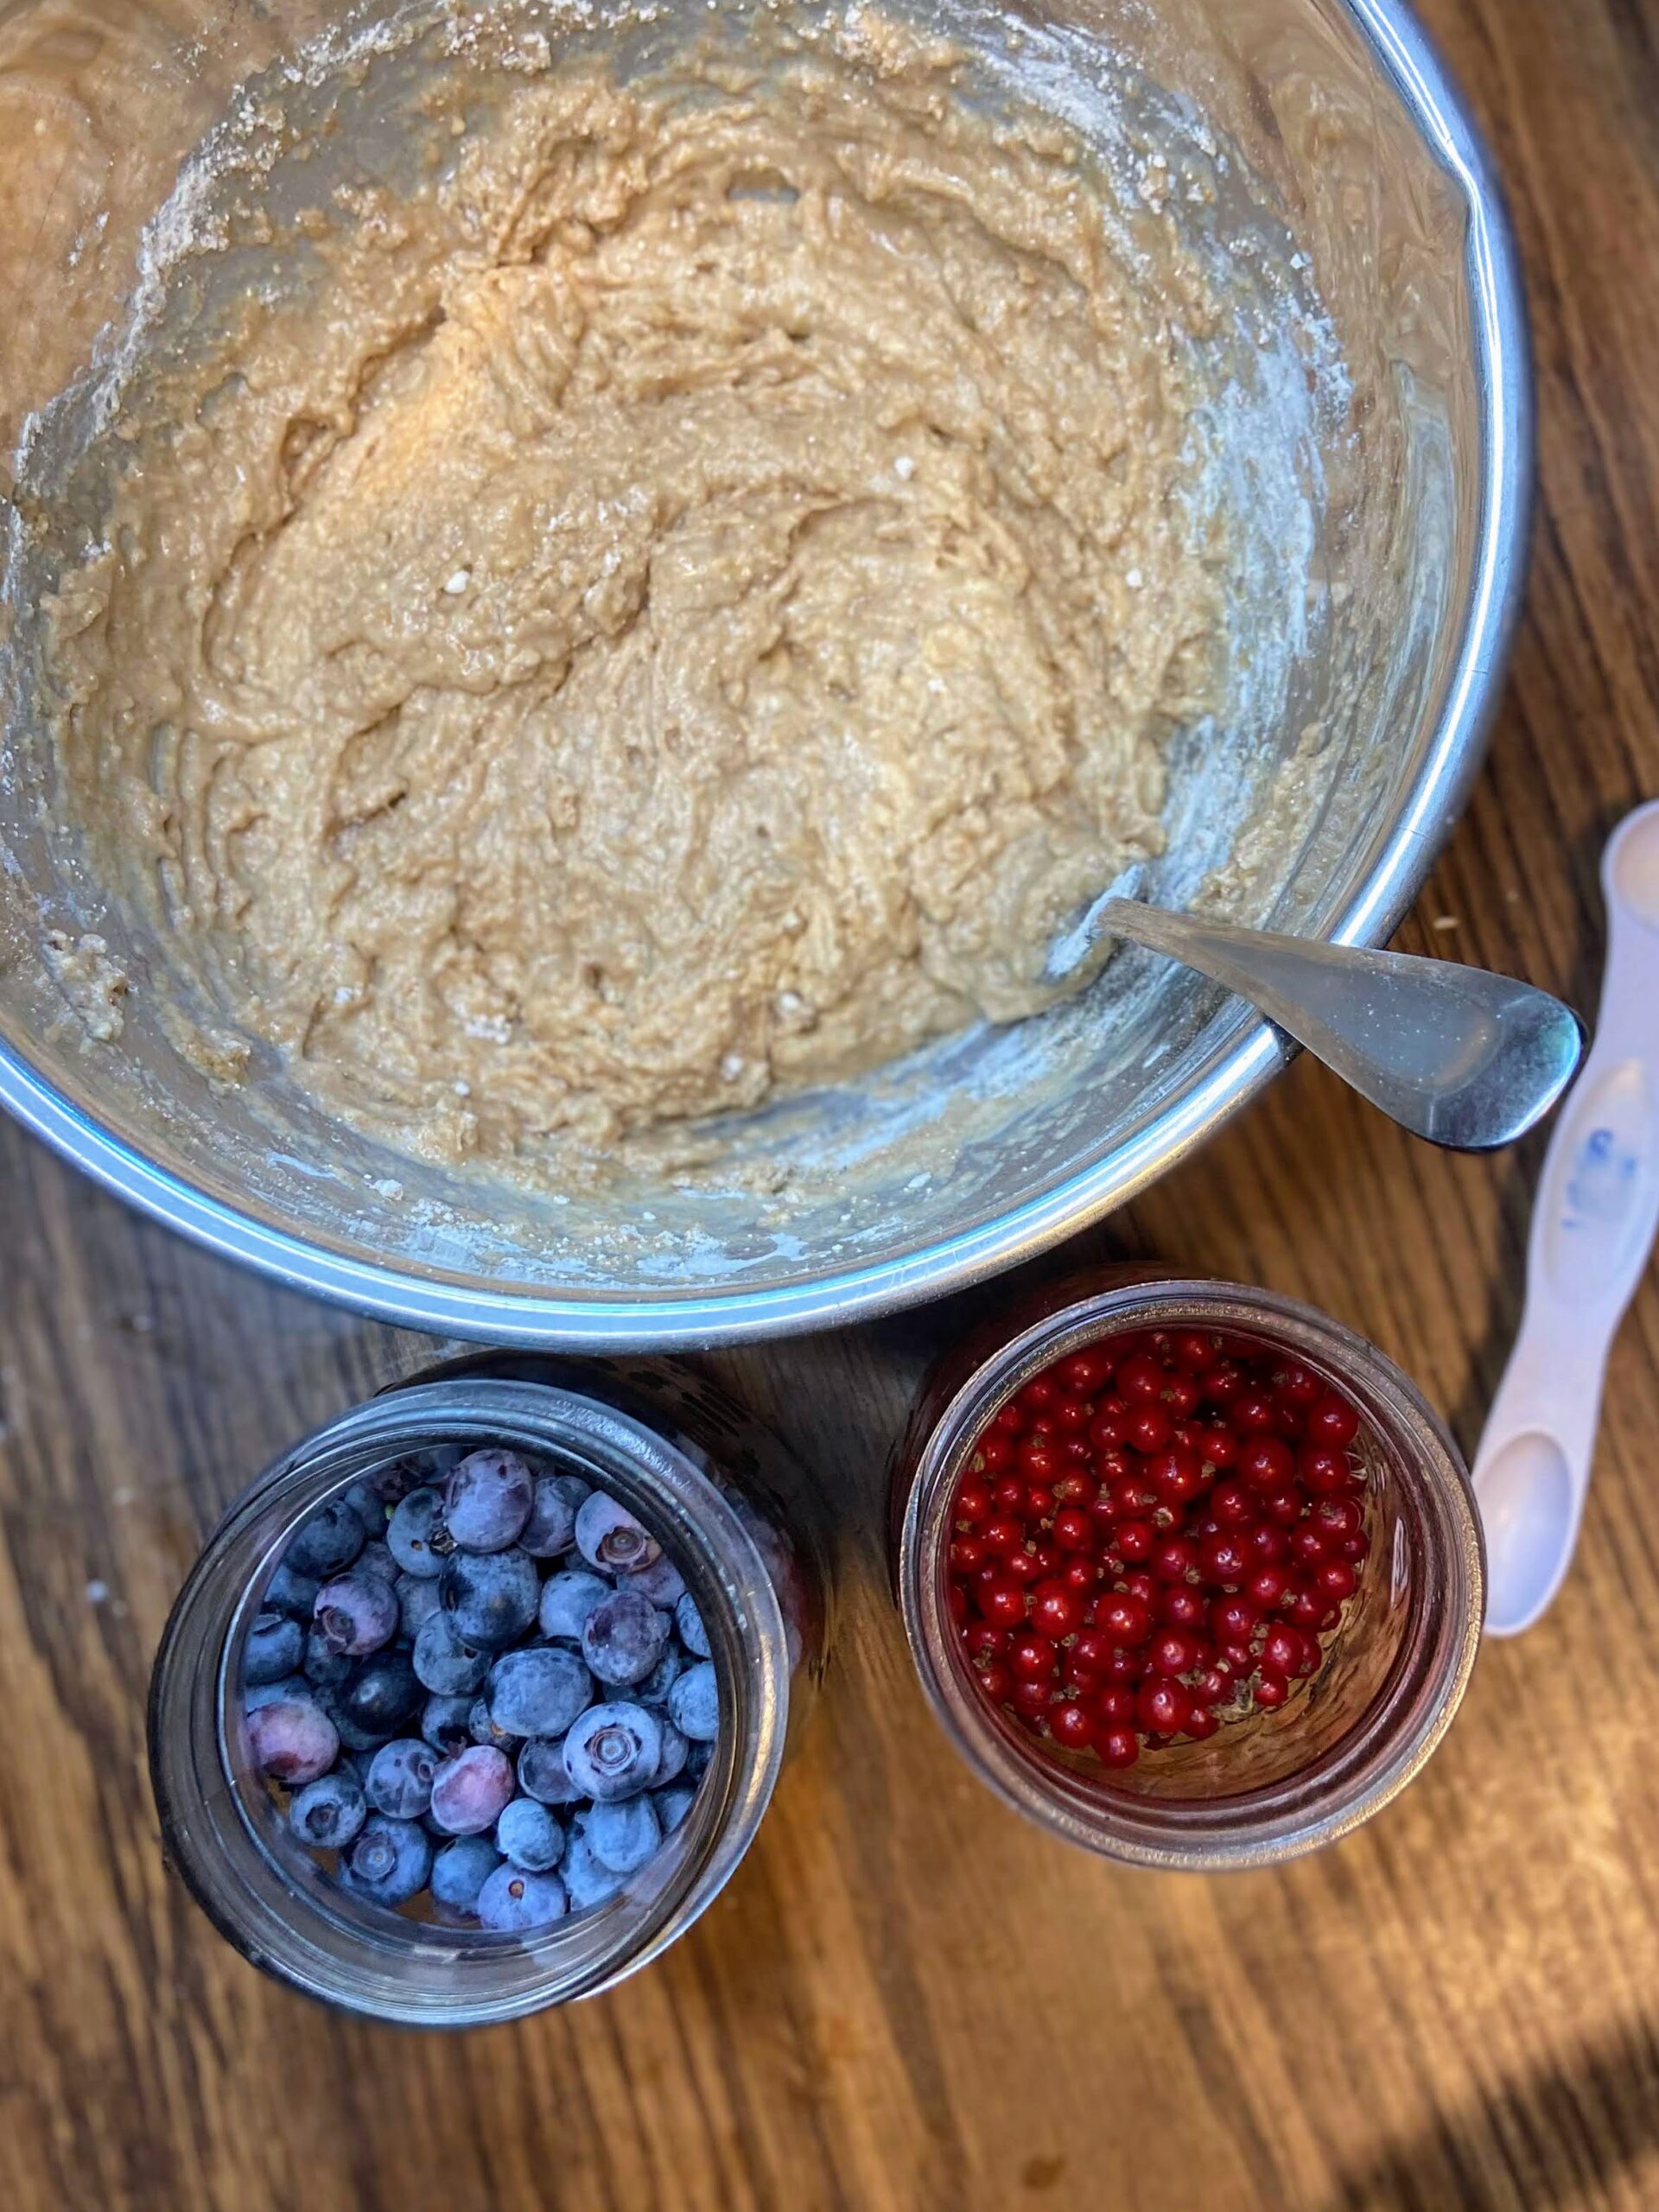
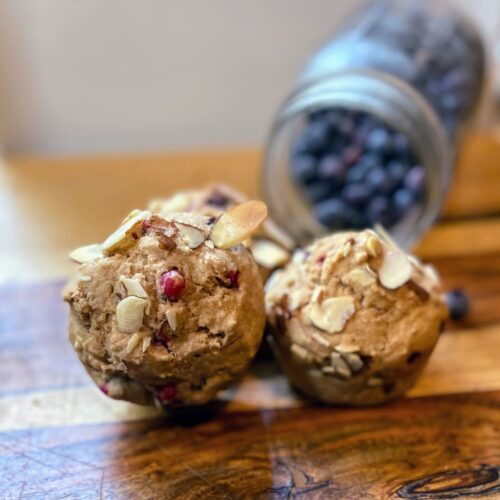
For the last ten years, I have slowly (okay, not so slowly) become an avid gardener, preserver, and aspiring homesteader. I often joke the Mr. that I can’t wait for him to ‘make all the monies’ so I can stay home and grow and create good food. One of most favorite parts of gardening is the harvesting of the berries, which we grow by the pounds. It’s mediative for me. But with all those berries, must come preservation and I dig a good muffin! As the red currants and blueberries came in, I knew I had to combine them to get that beautiful pop of color. And so, I proudly present blueberry currant muffins.
I generally like to keep things healthy around here, but have been straying from that a bit. It’s about balance, right? So I went back to my roots and did a little healthier take on a muffin, using maple syrup (If you’ve never made your own, I can’t recommend it enough. Check out my post on our adventure here!)
I hope you enjoy the bursts of flavor in these muffins as much as we did! Let’s get baking!
Your Ingredients
- ½ cup almond milk
- 1 egg
- ⅓ cup maple syrup
- ¼ teaspoon almond extract
- 2 cups flour (I do high quality whole wheat from Sunrise Flour Mill)
- 2 teaspoons baking soda
- ½ teaspoon salt
- 2 tablespoons coconut oil, melted
- ¾ cup fresh blueberries
- ¼ cup red currants
- ¼ cup sliced almonds
Your Steps to Blueberry Currant Muffins
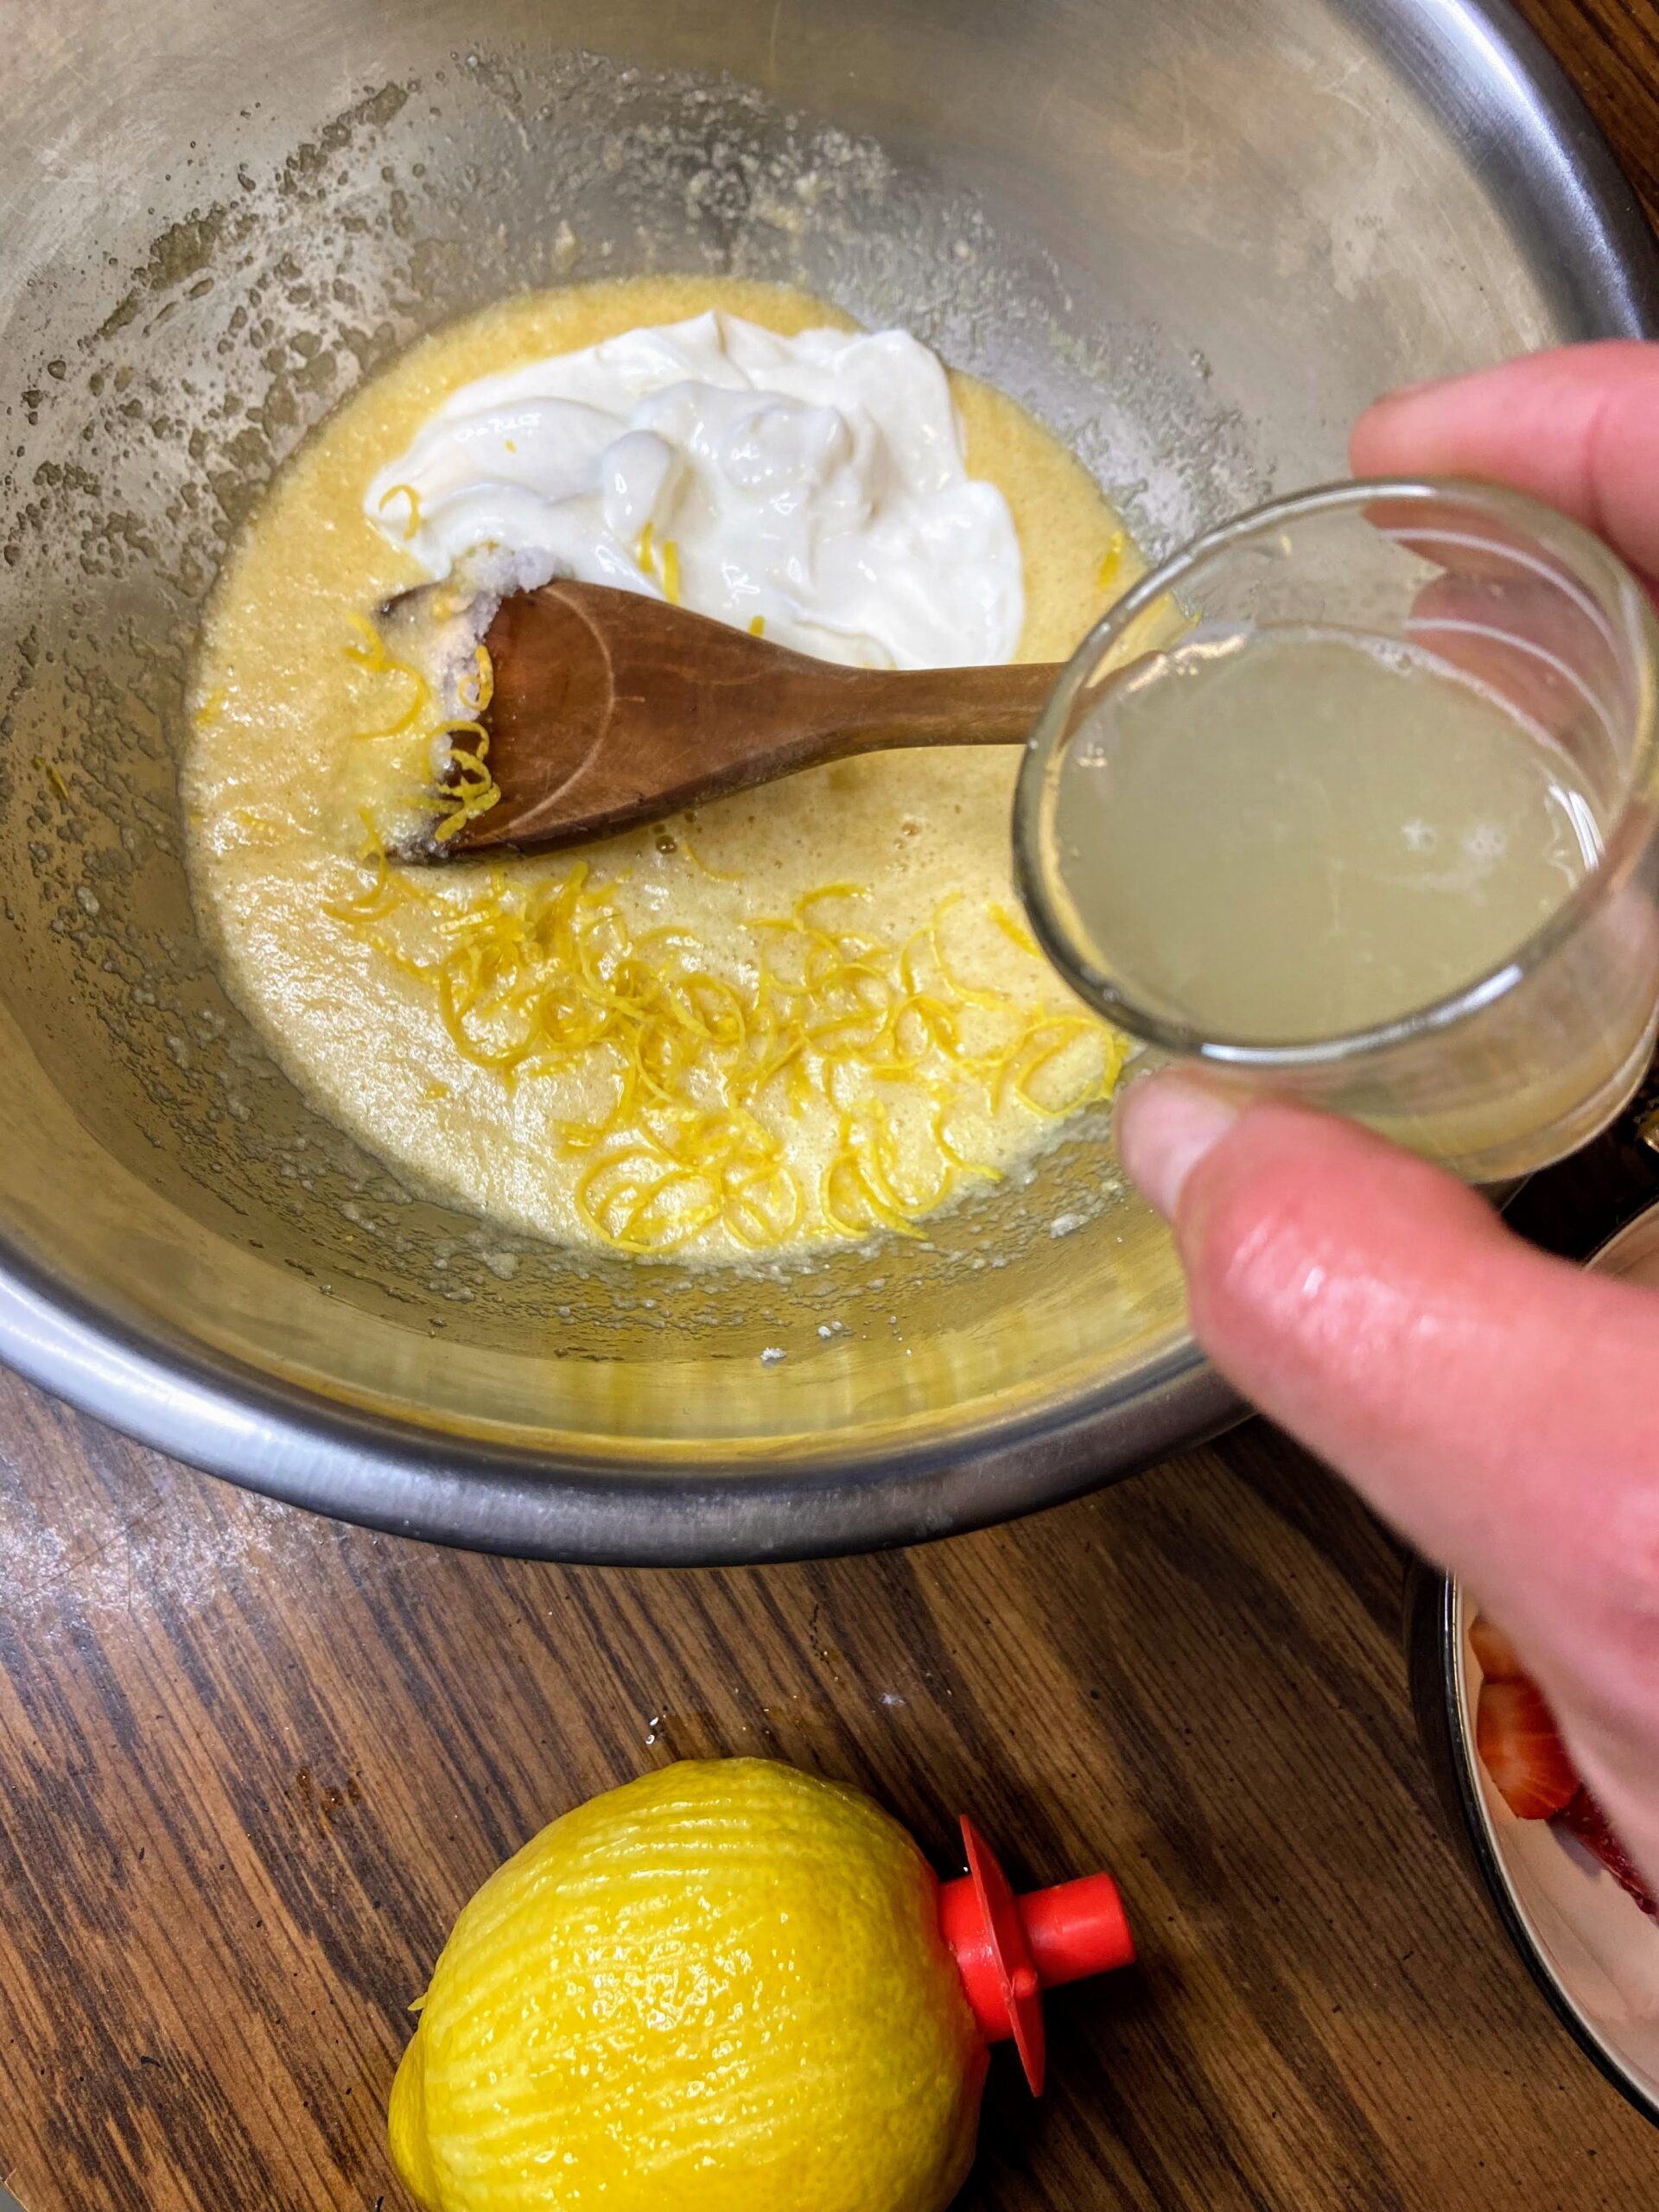
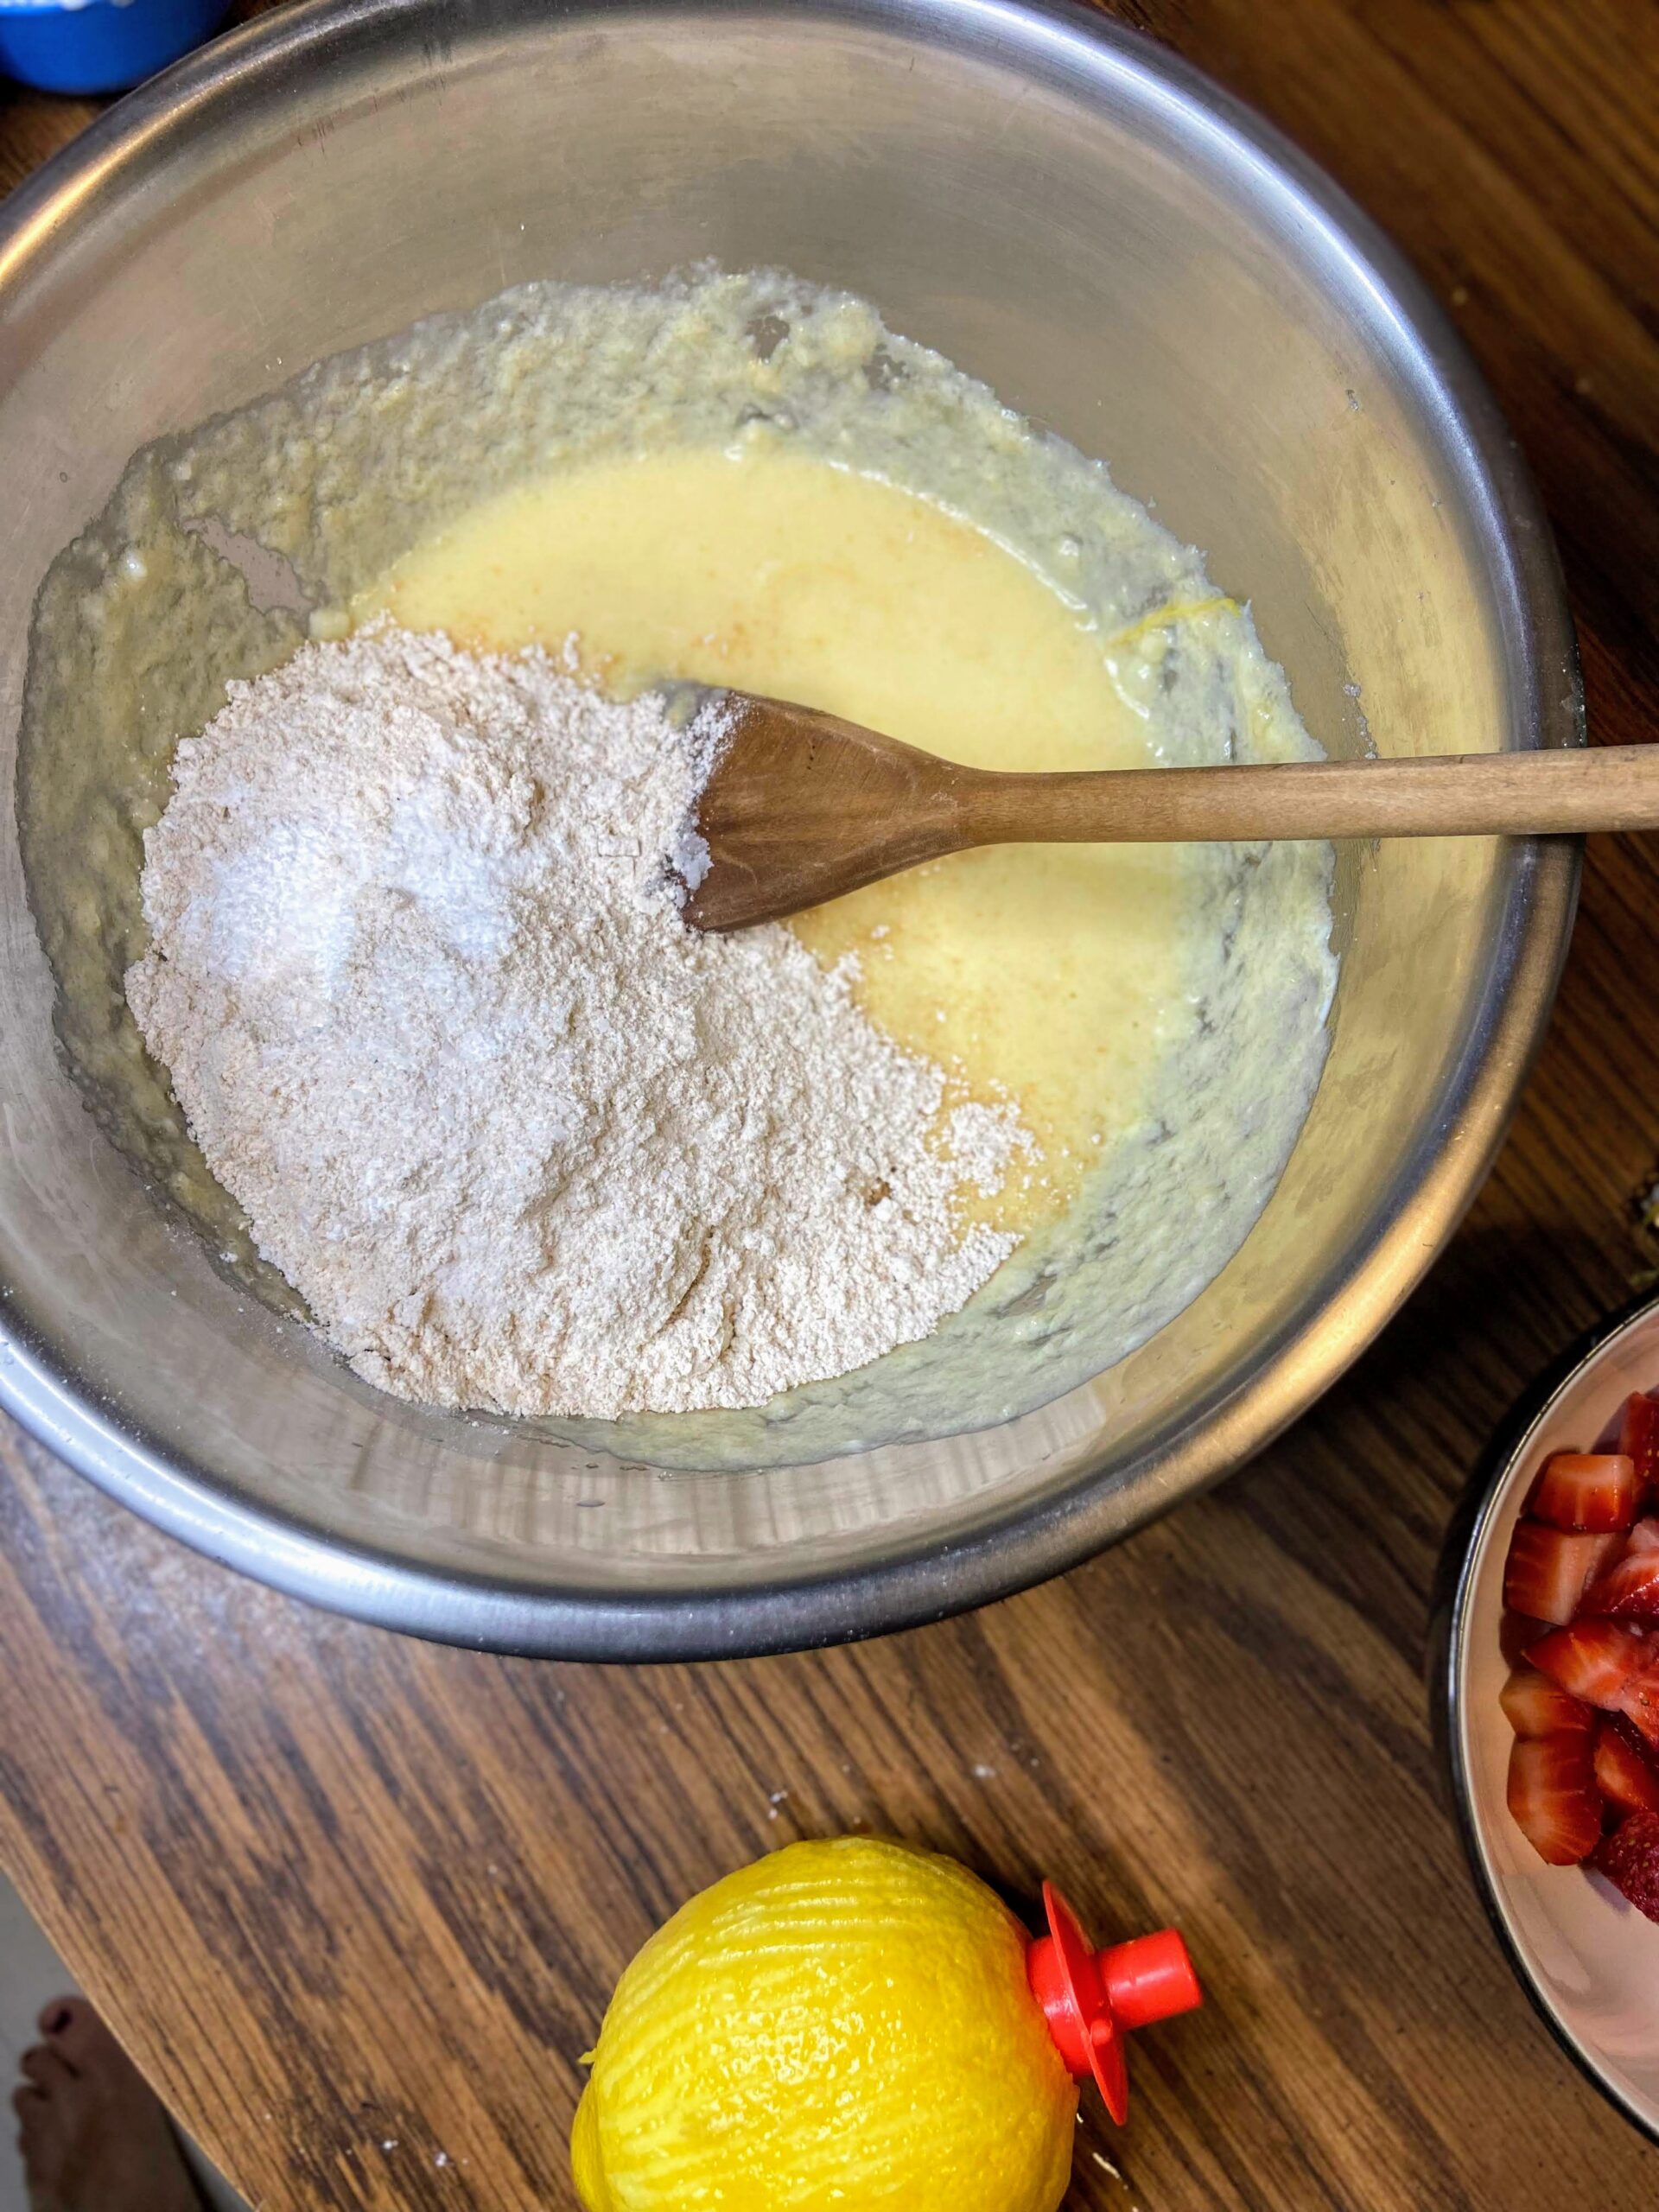
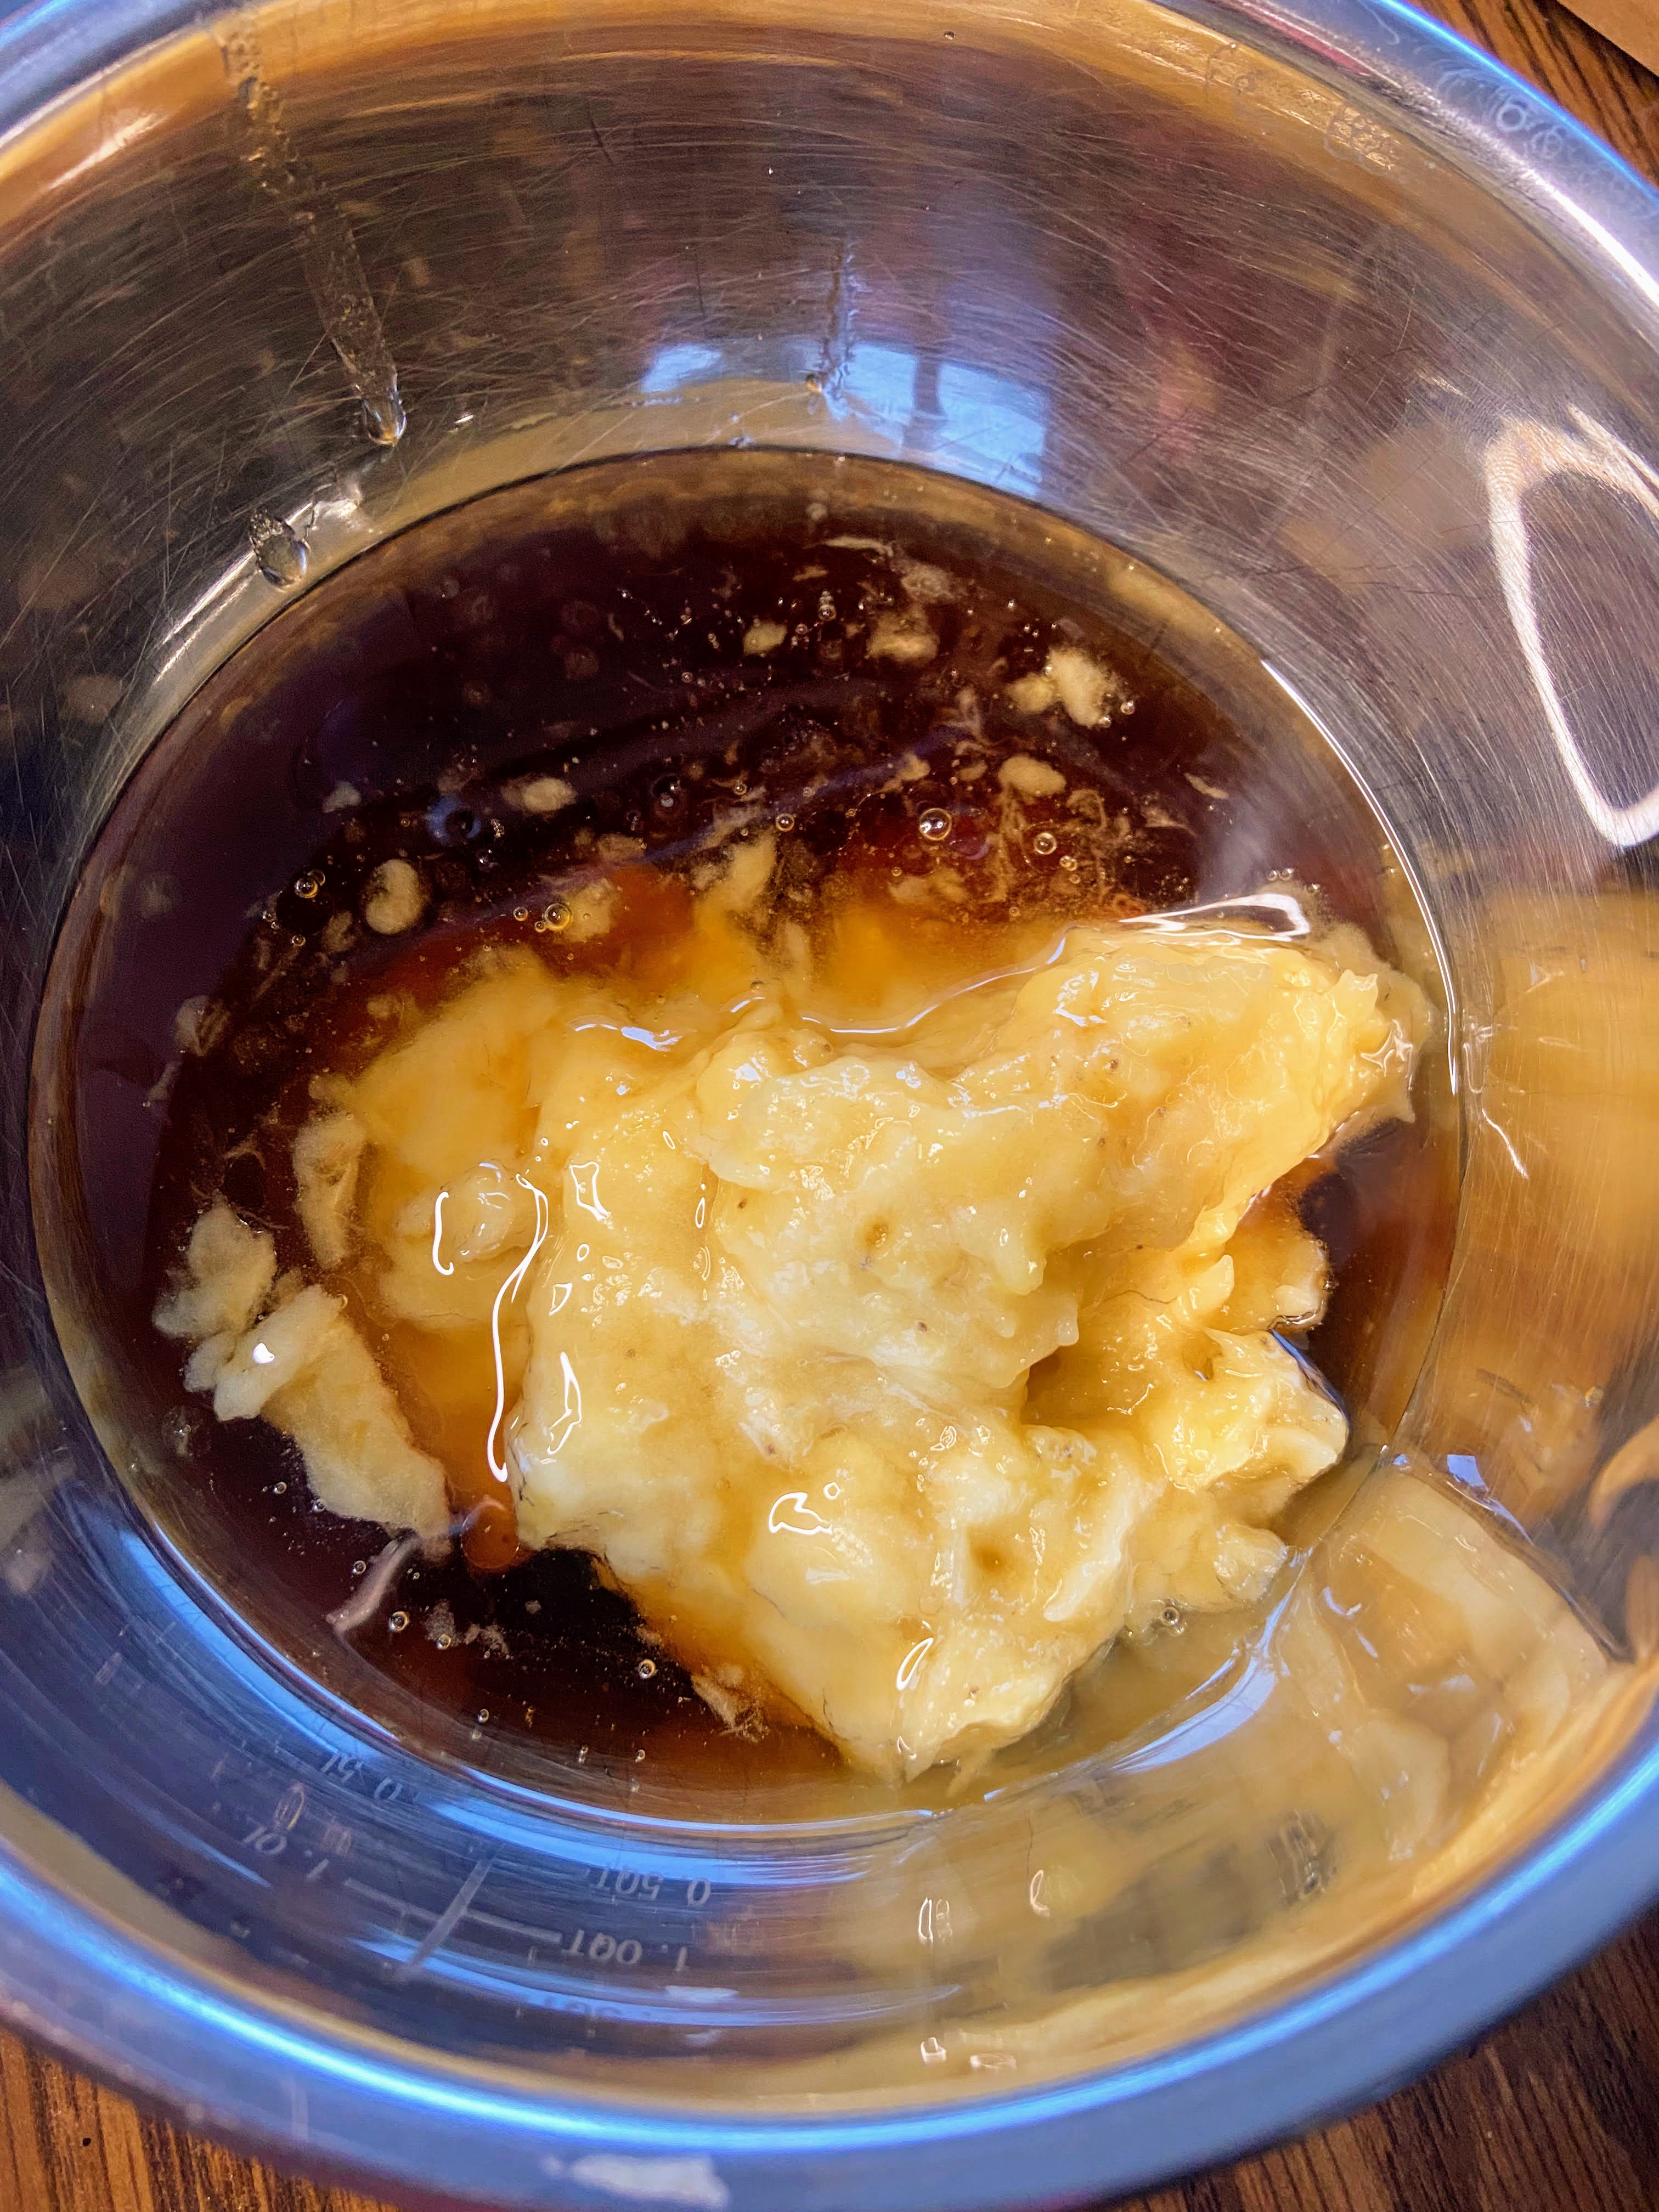
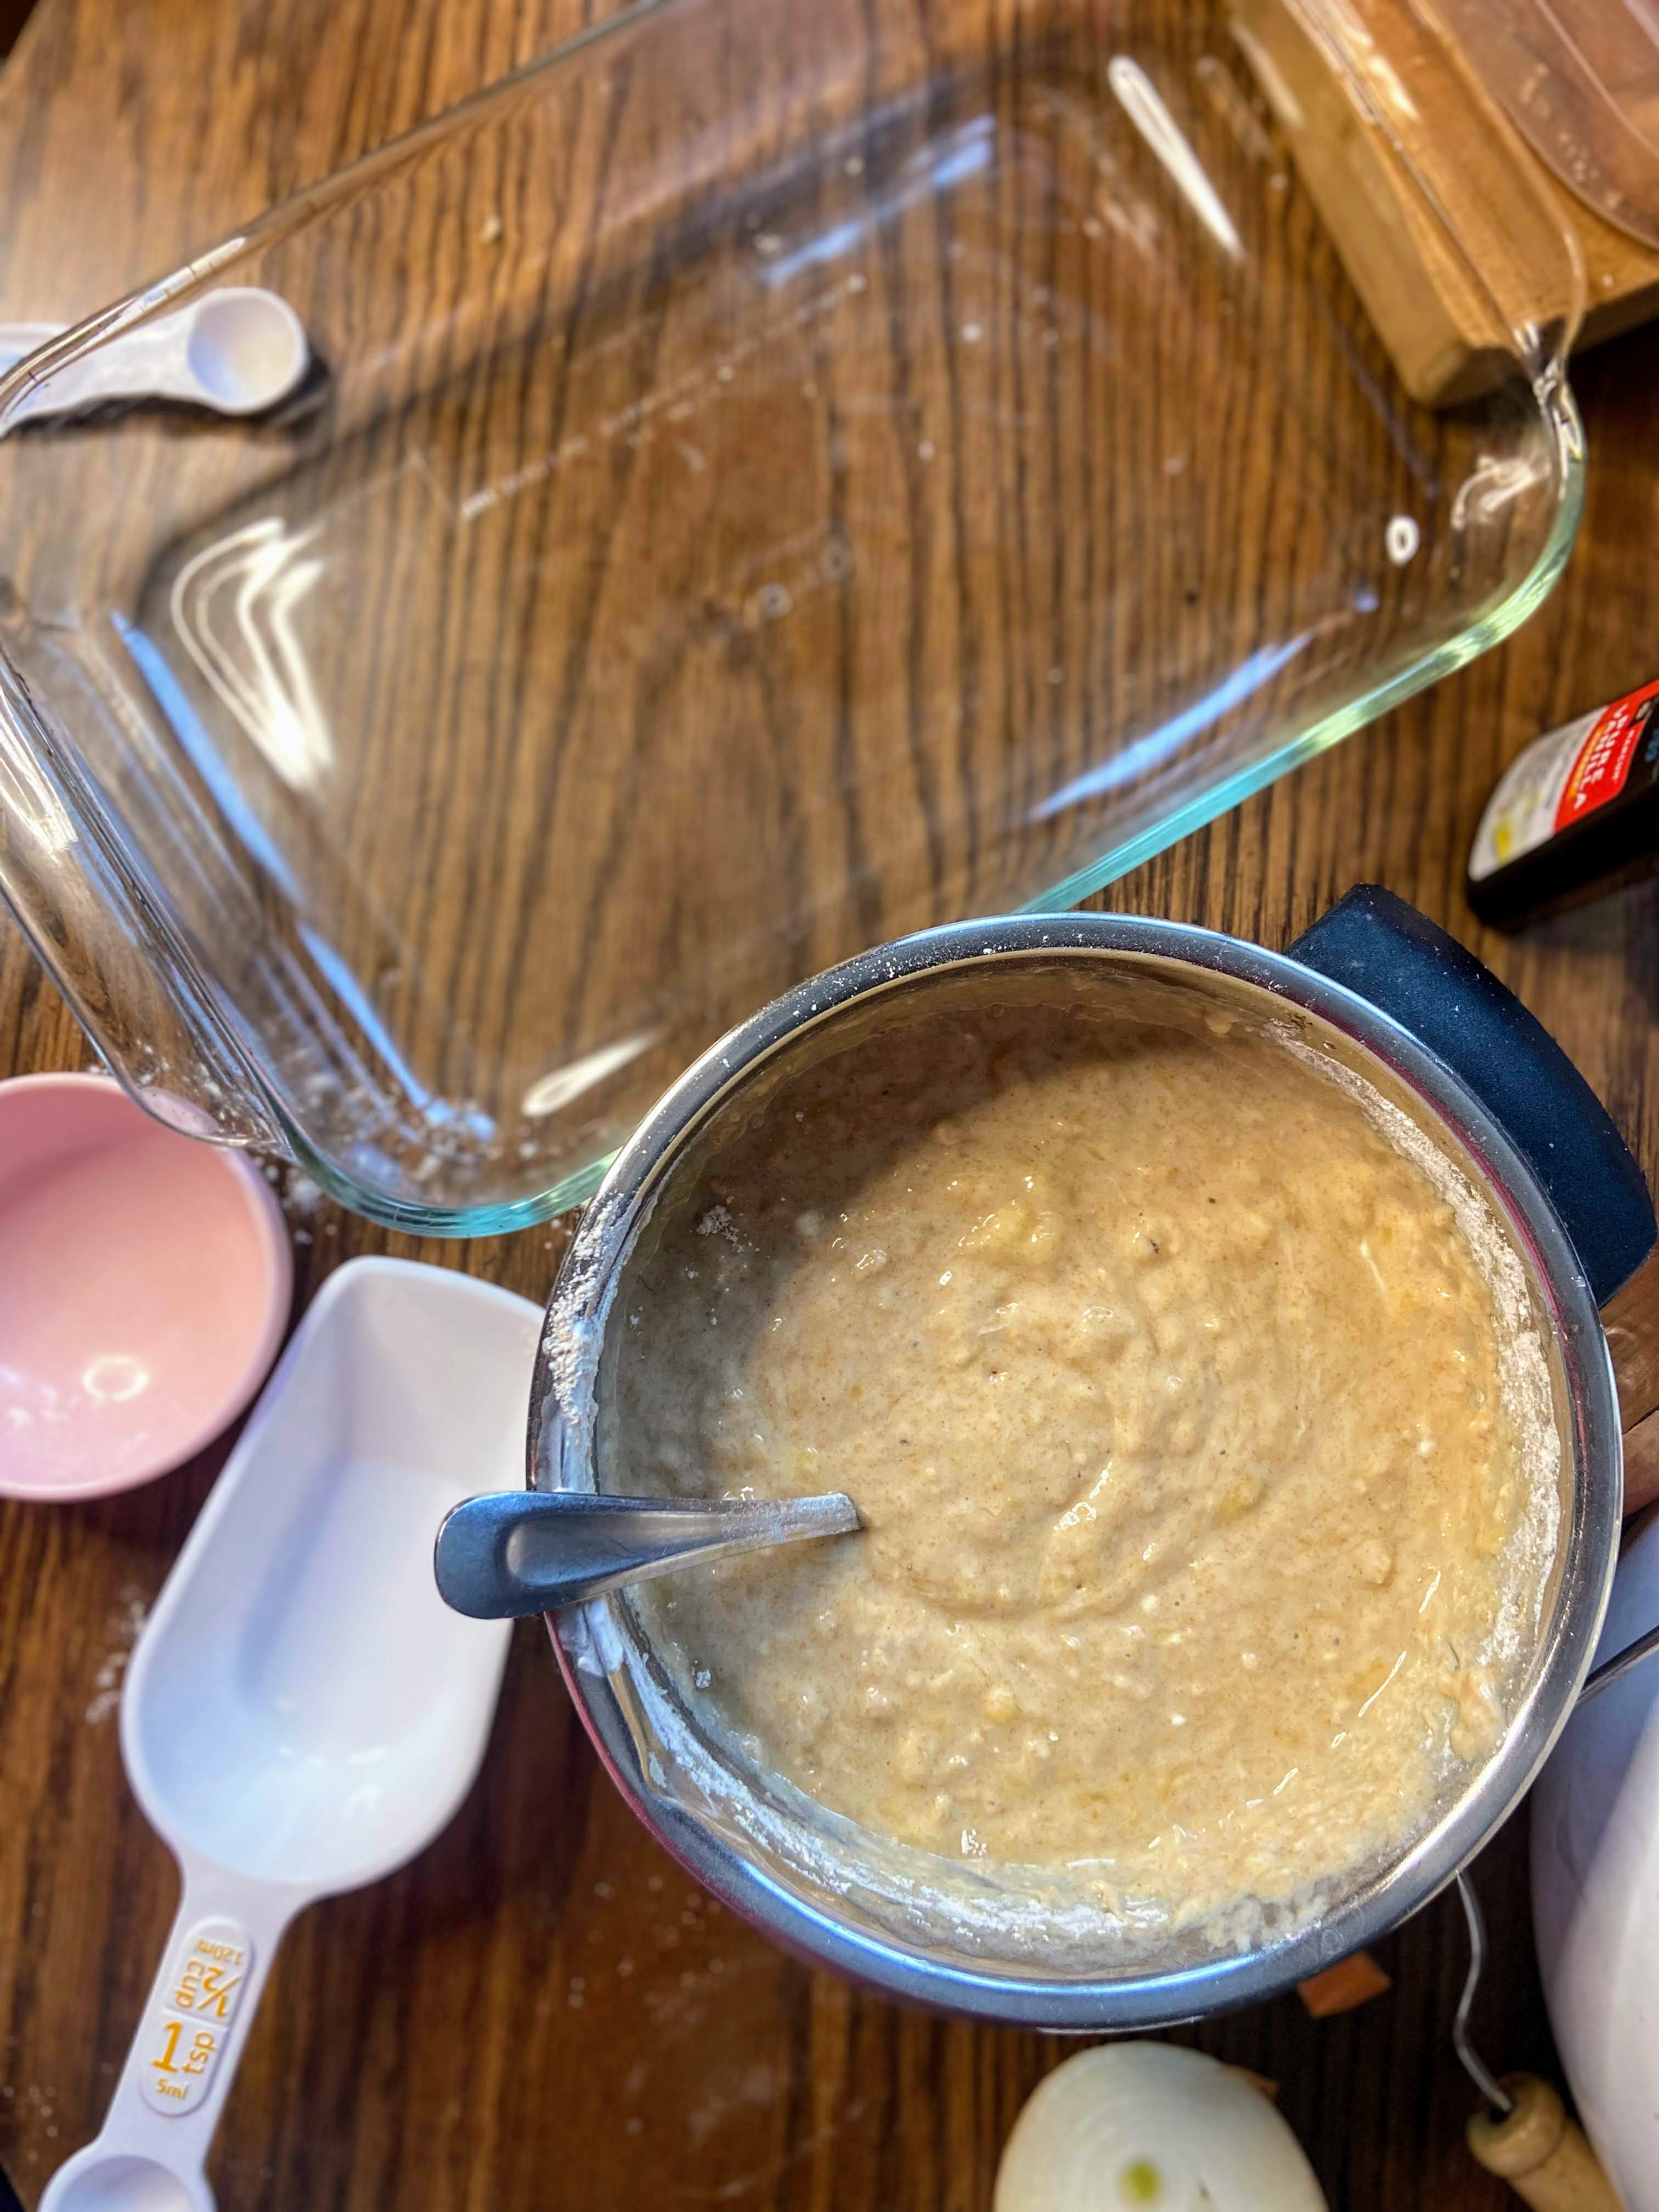
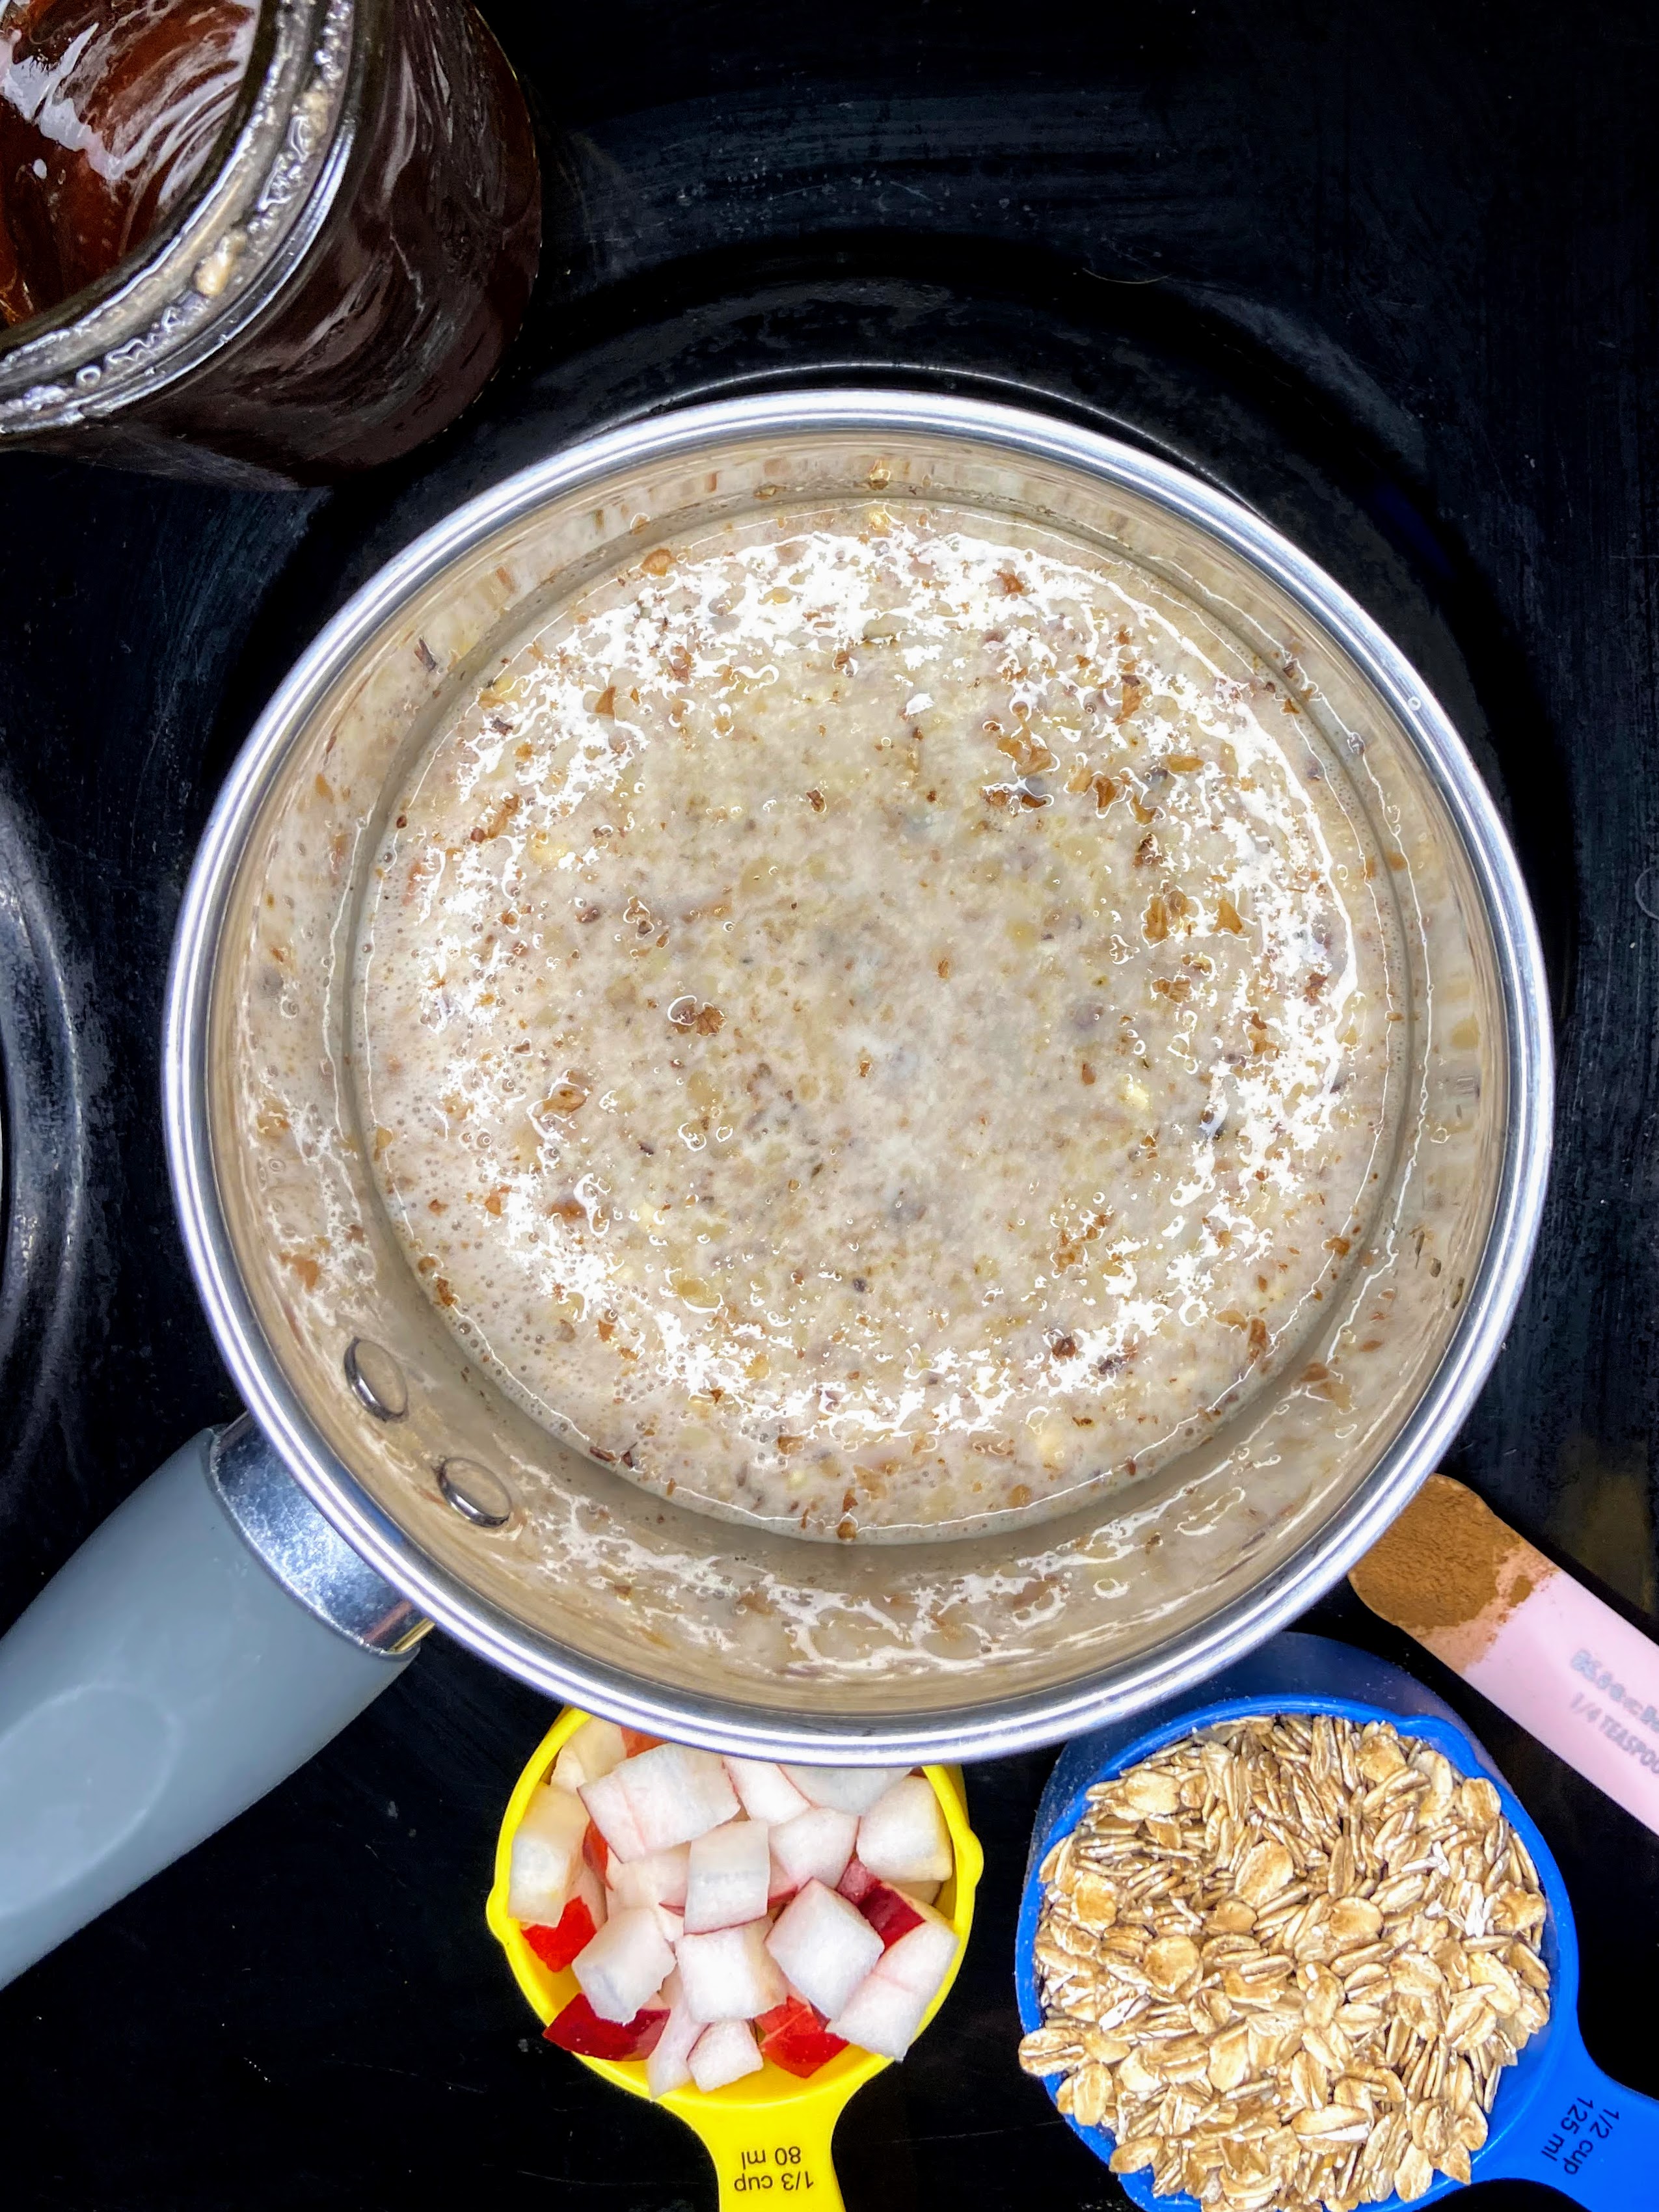
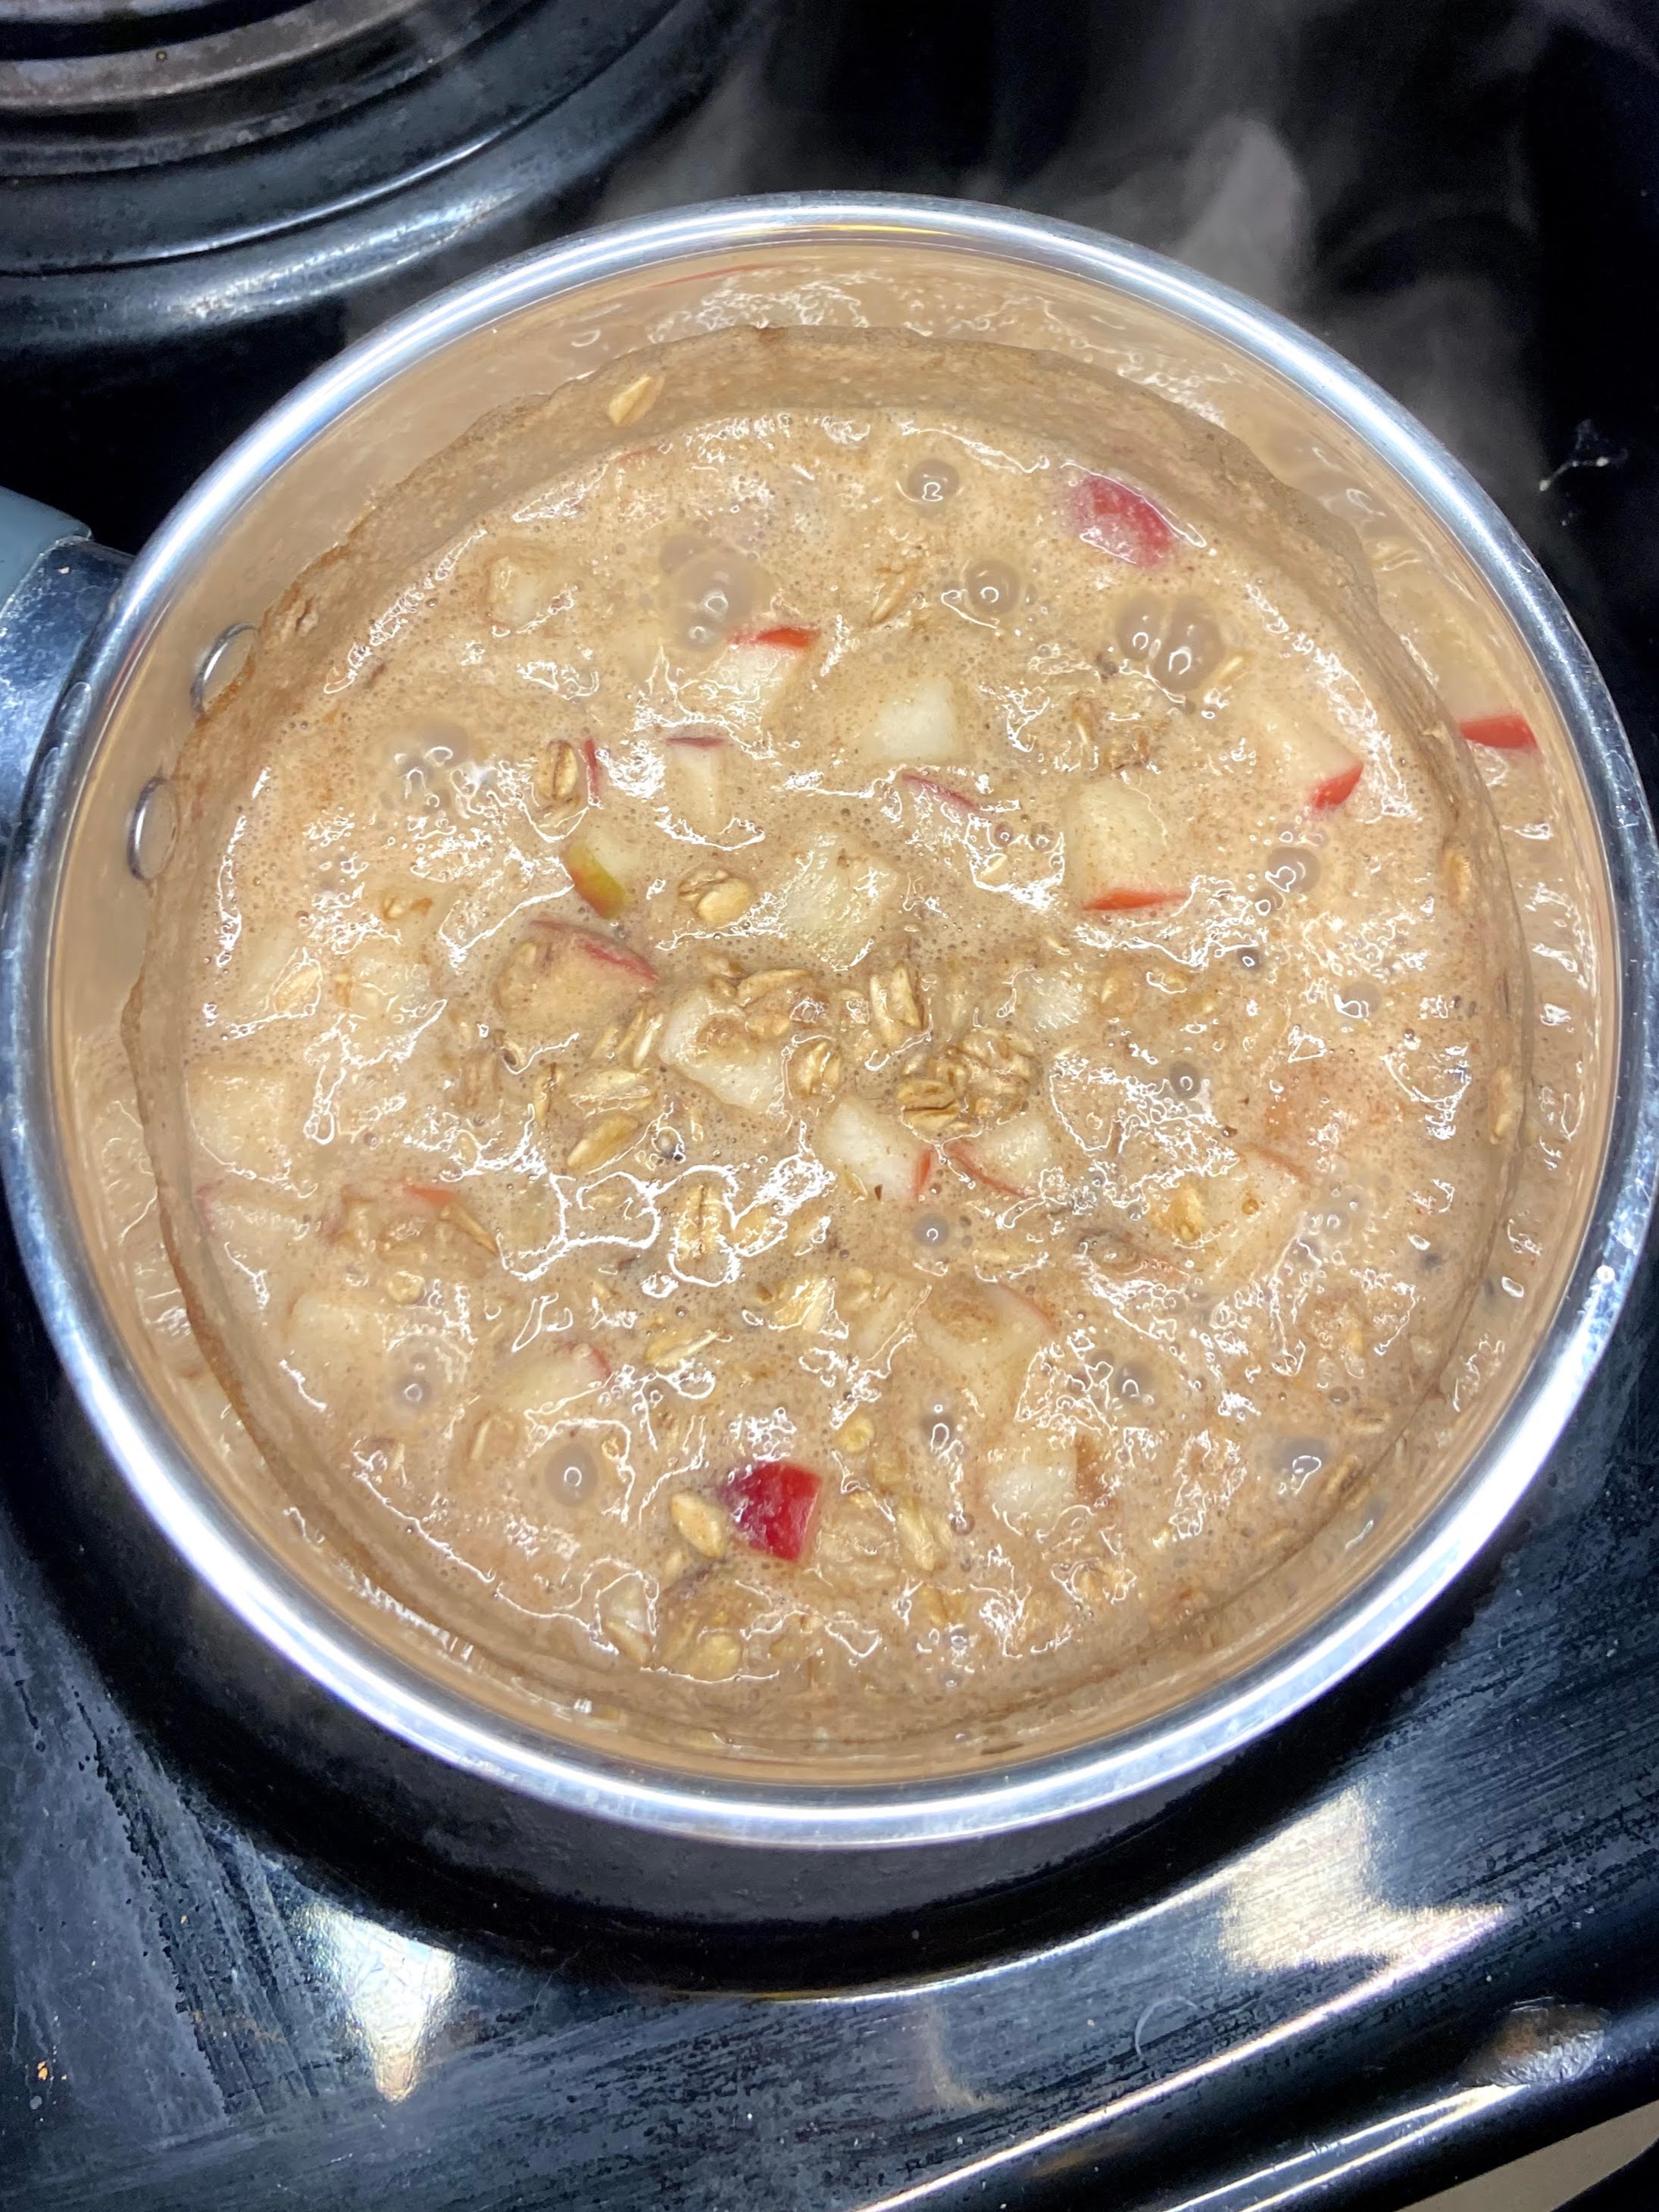
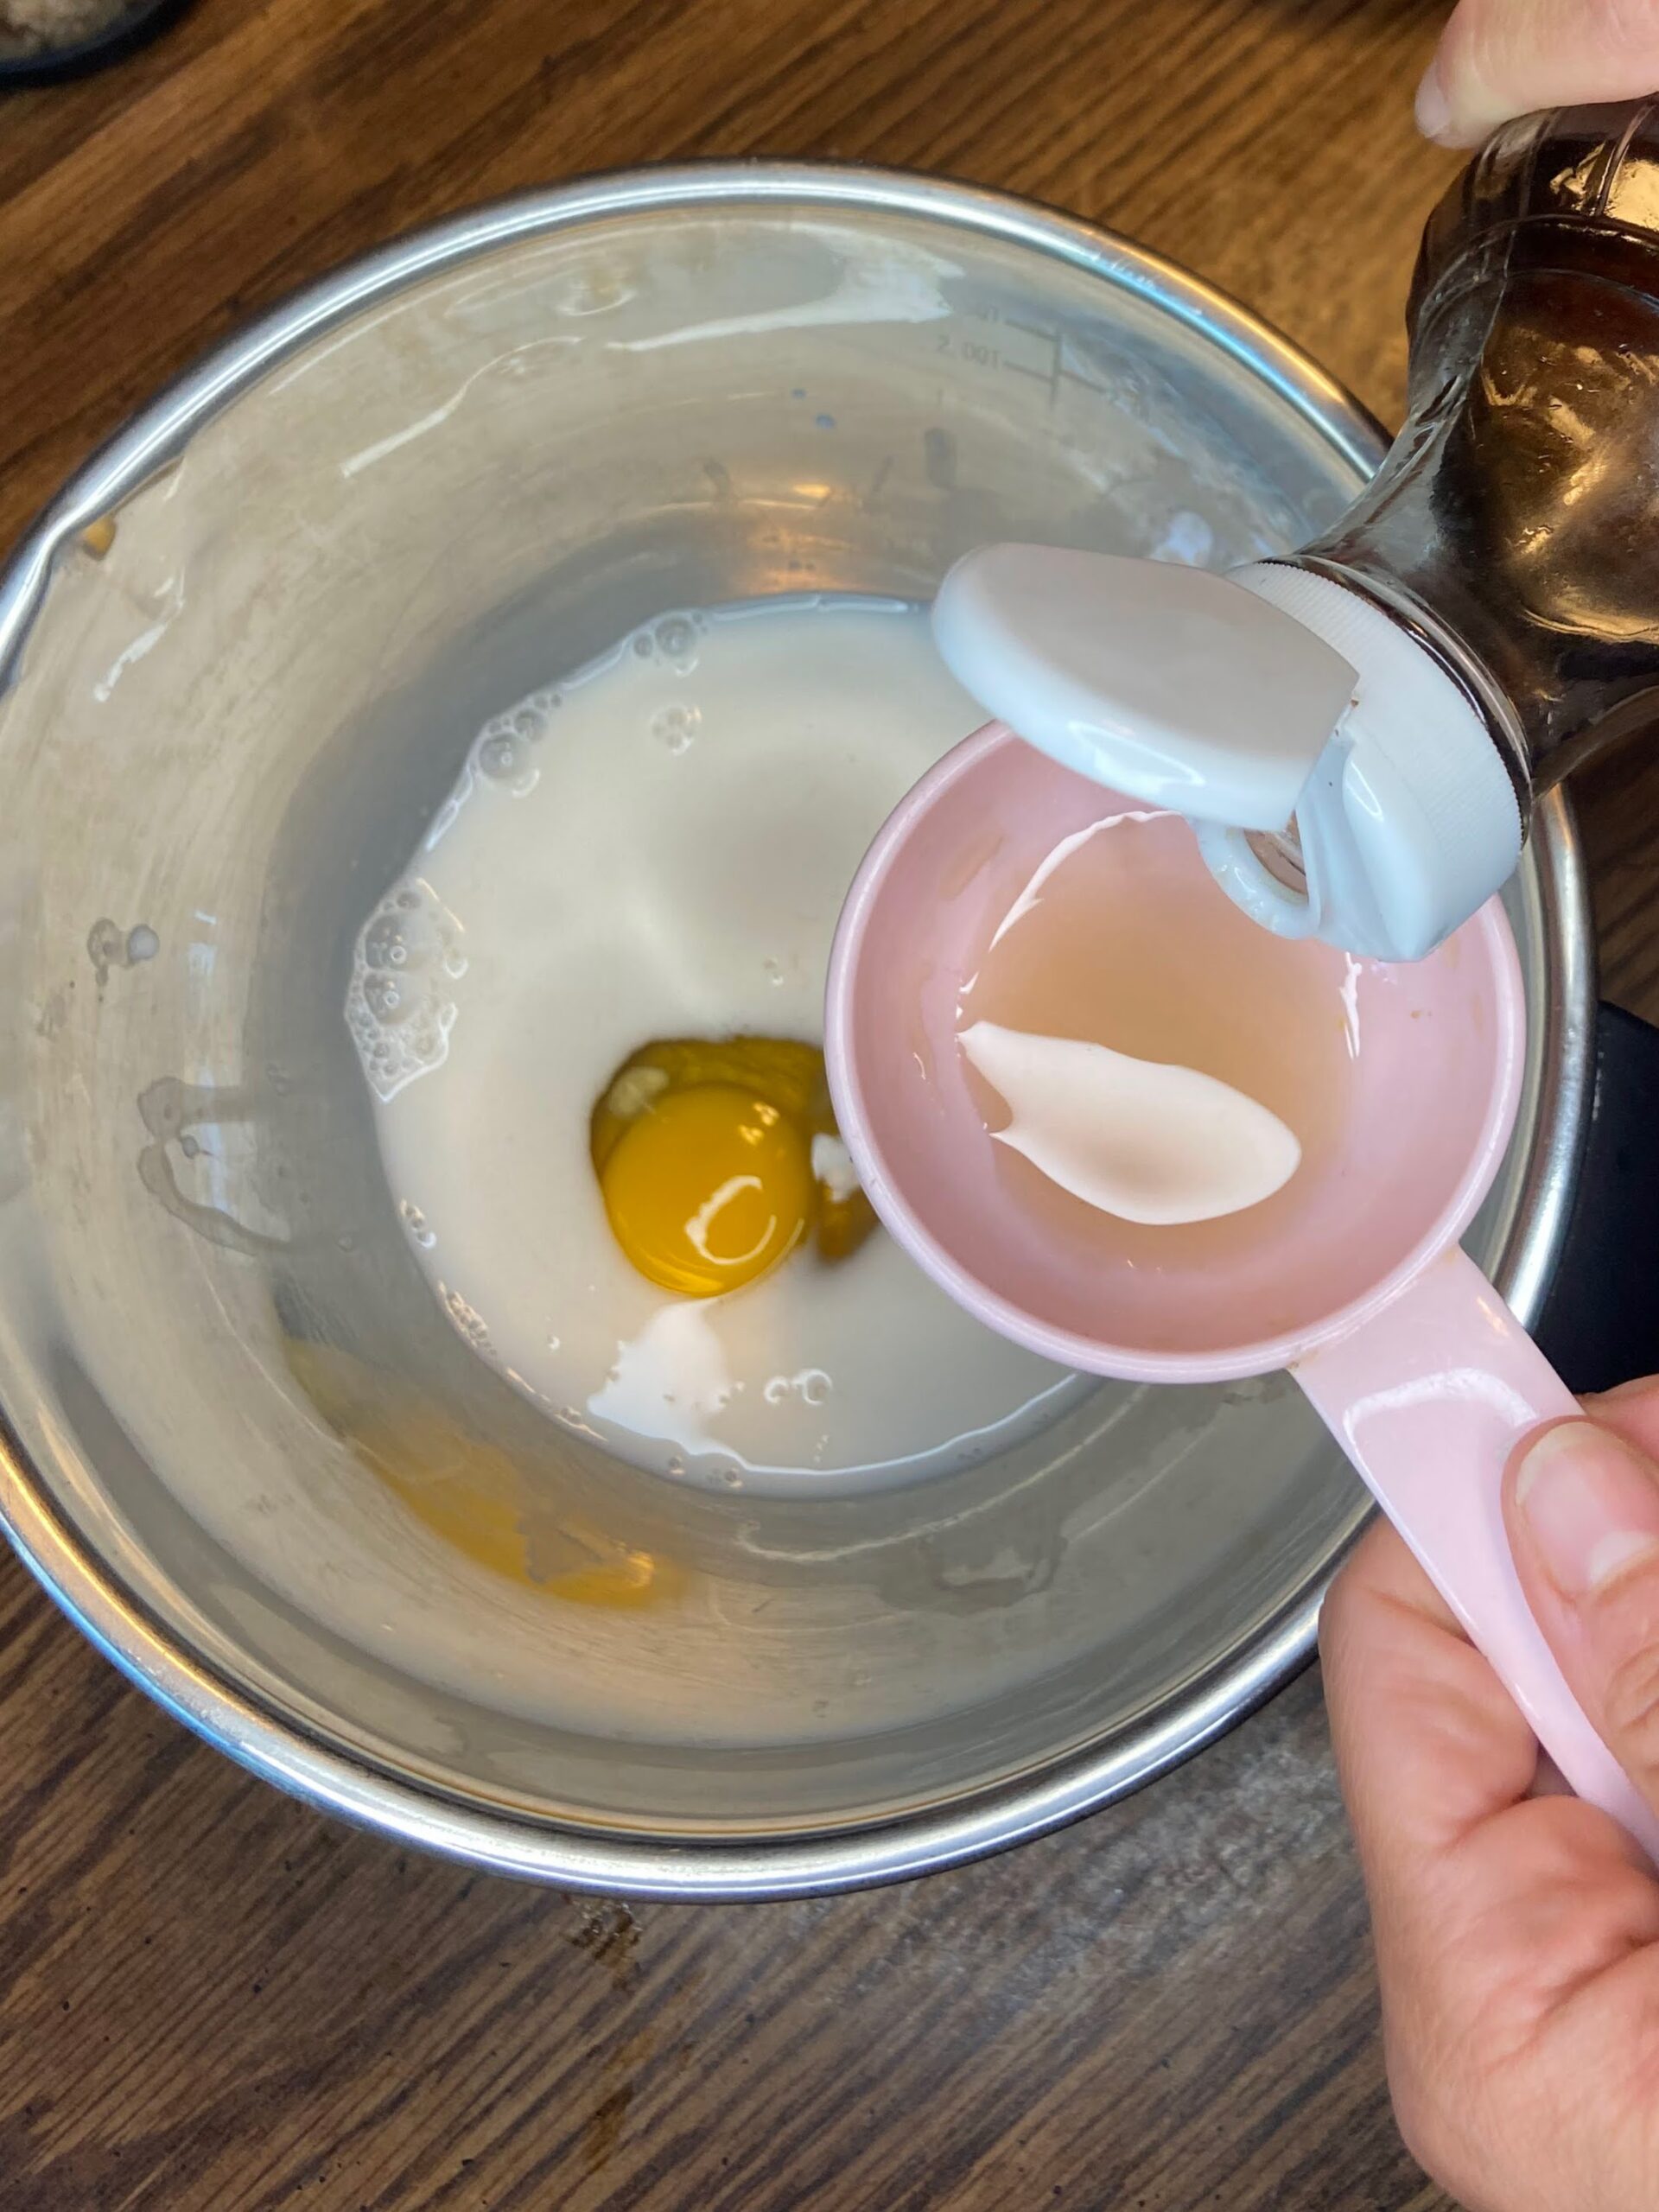
Preheat the oven to 350 degrees. In a medium bowl, combine milk, egg, syrup, and almond extract. Add flour, baking soda, and salt, mixing until just combined.
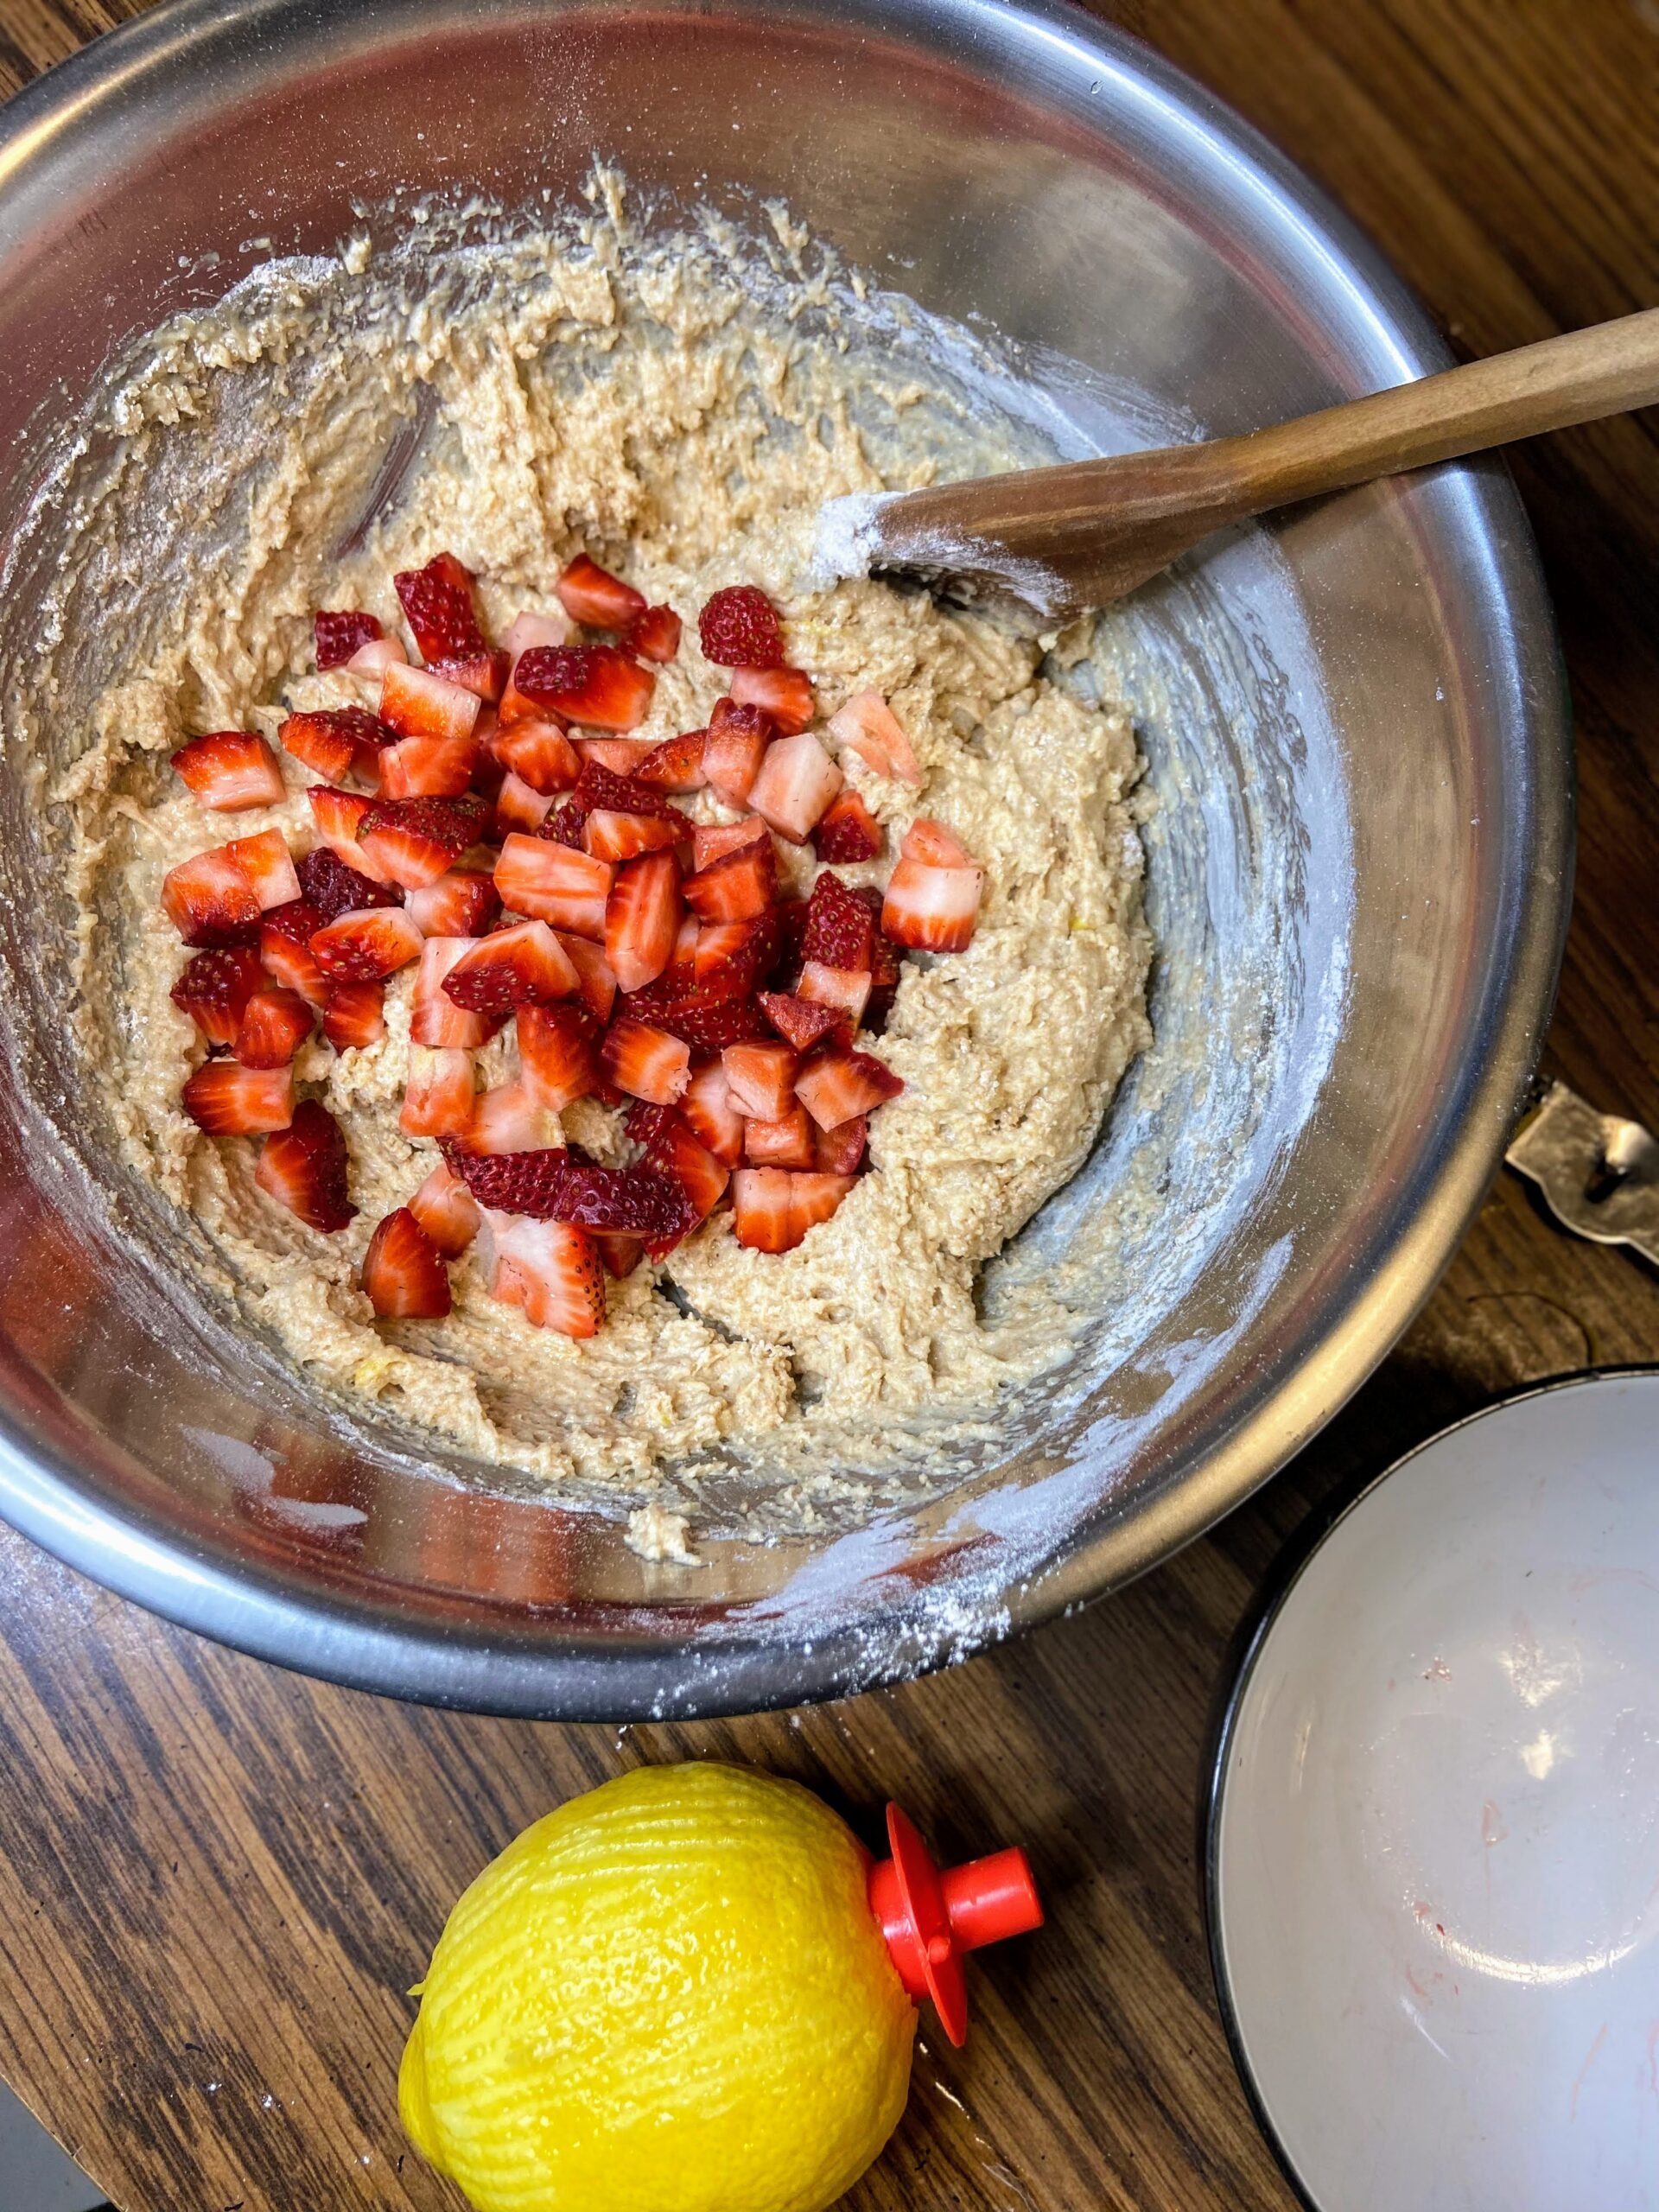
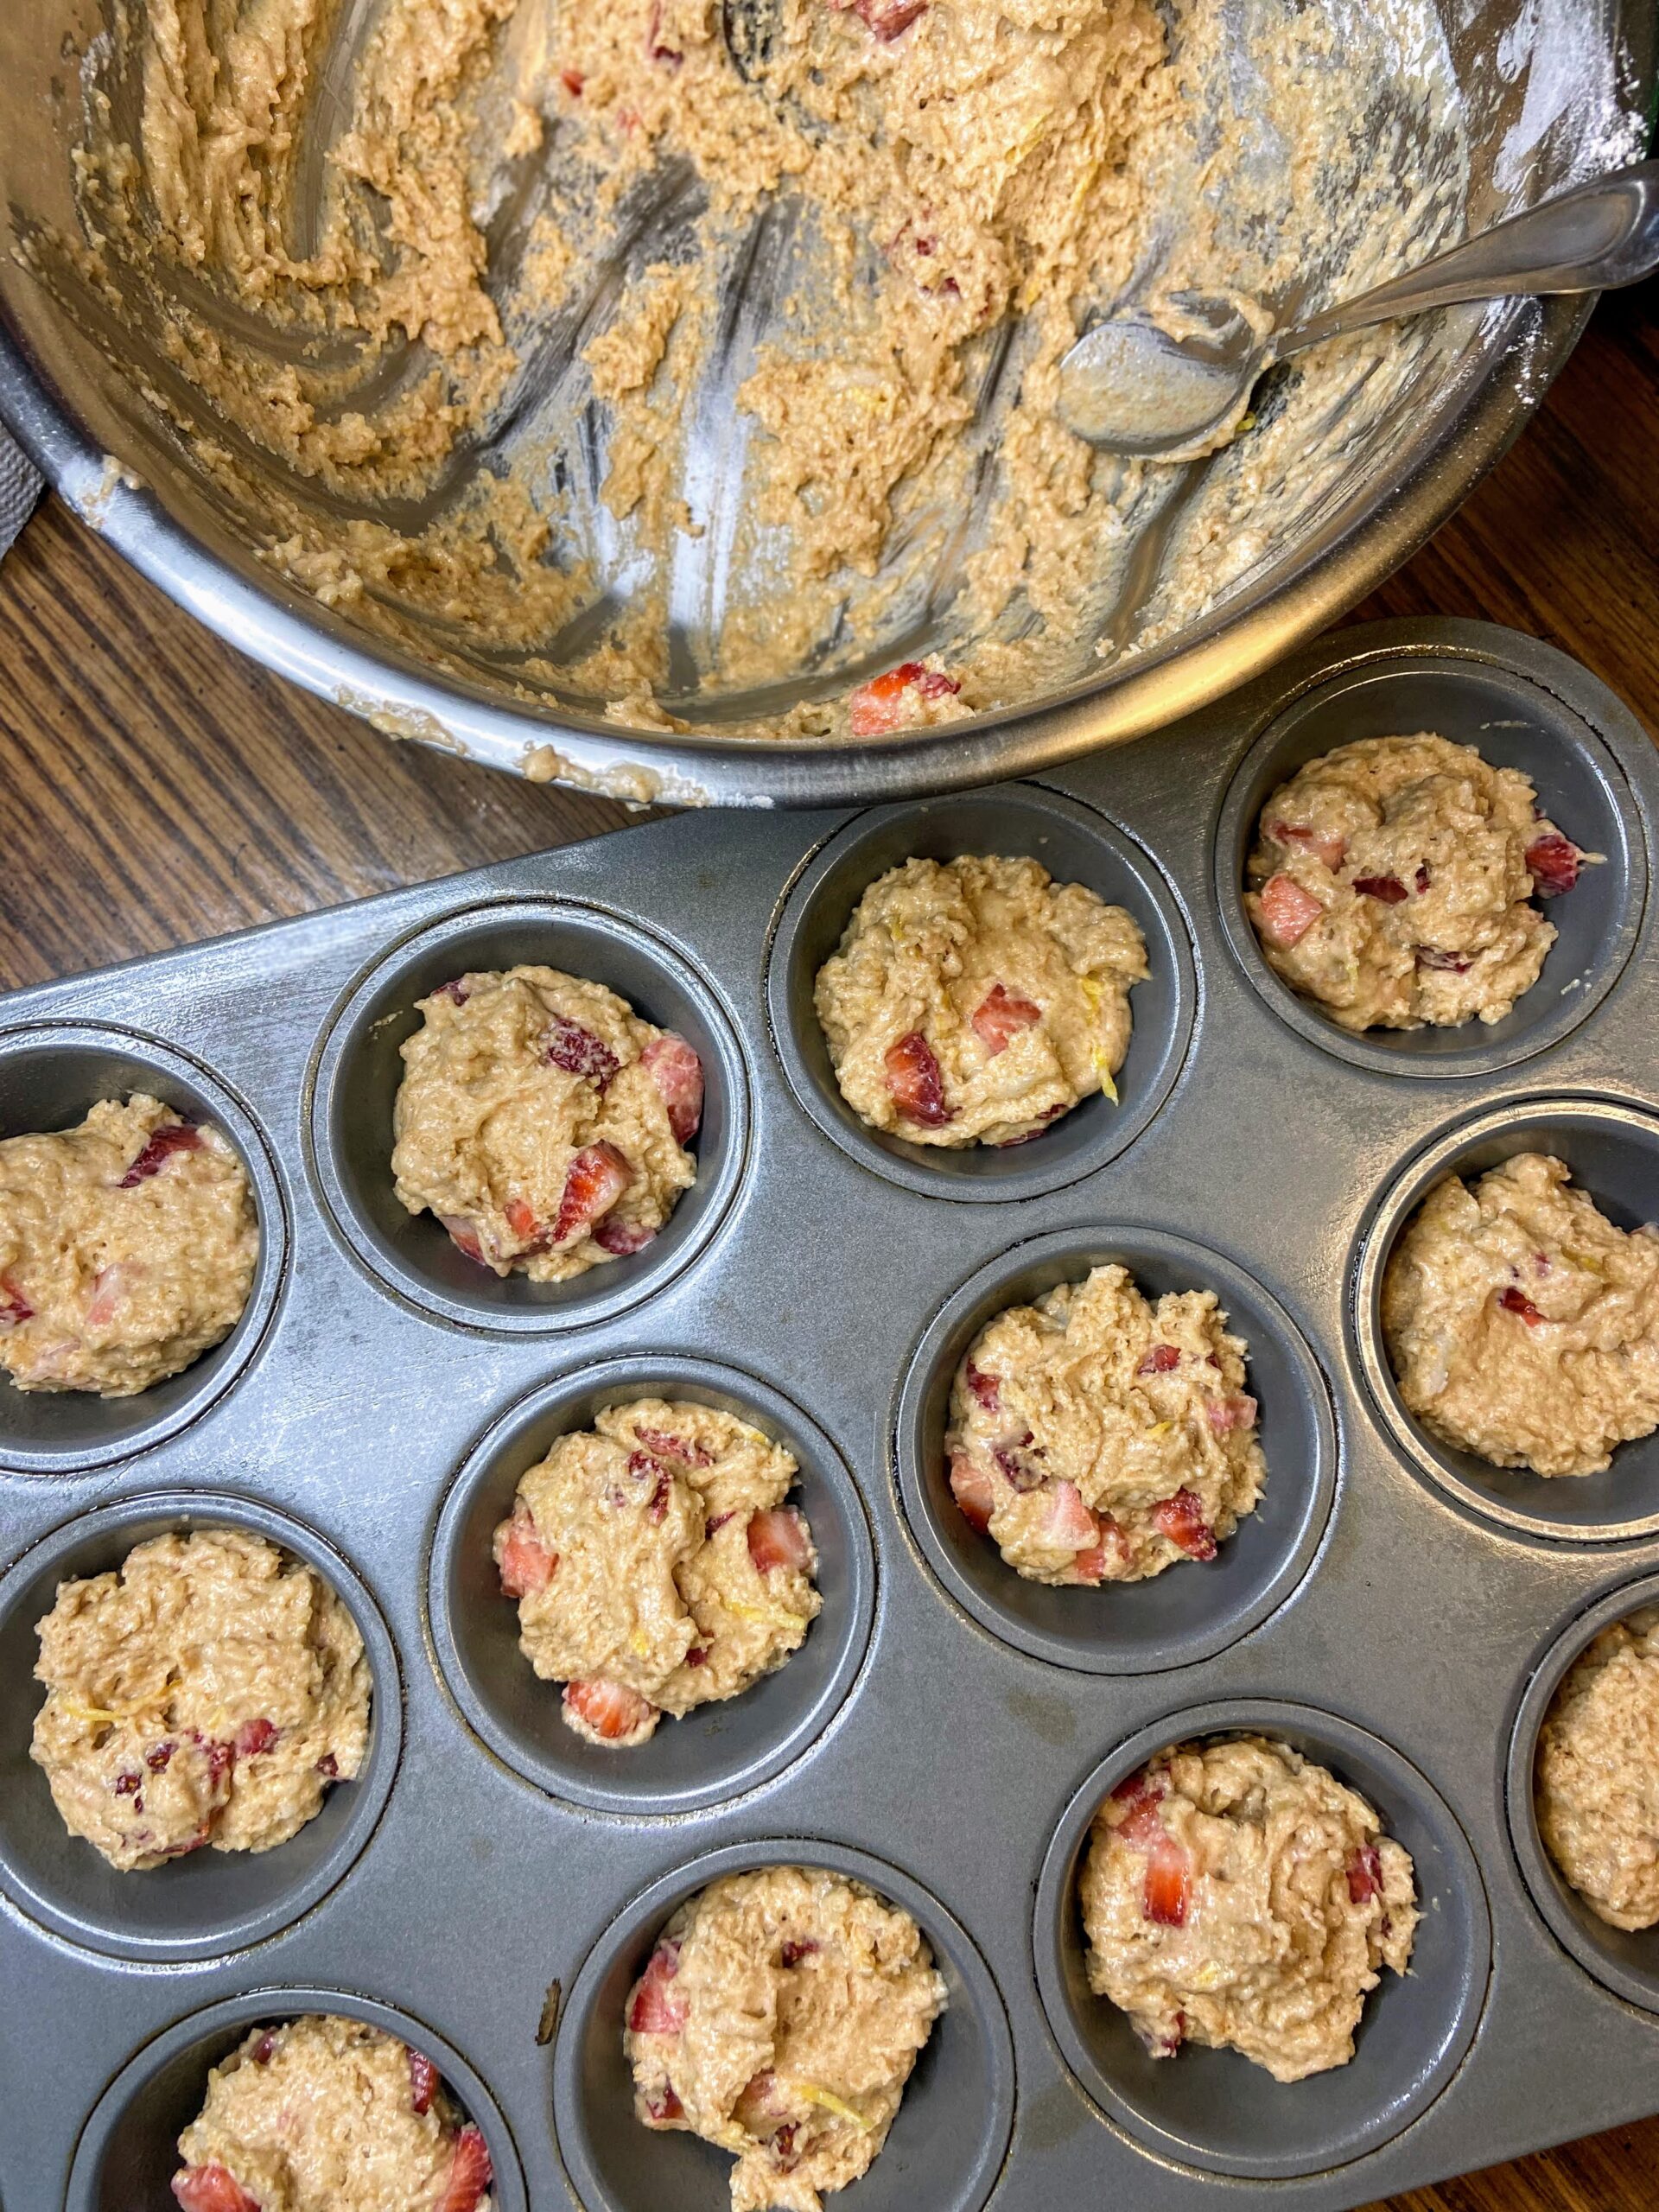
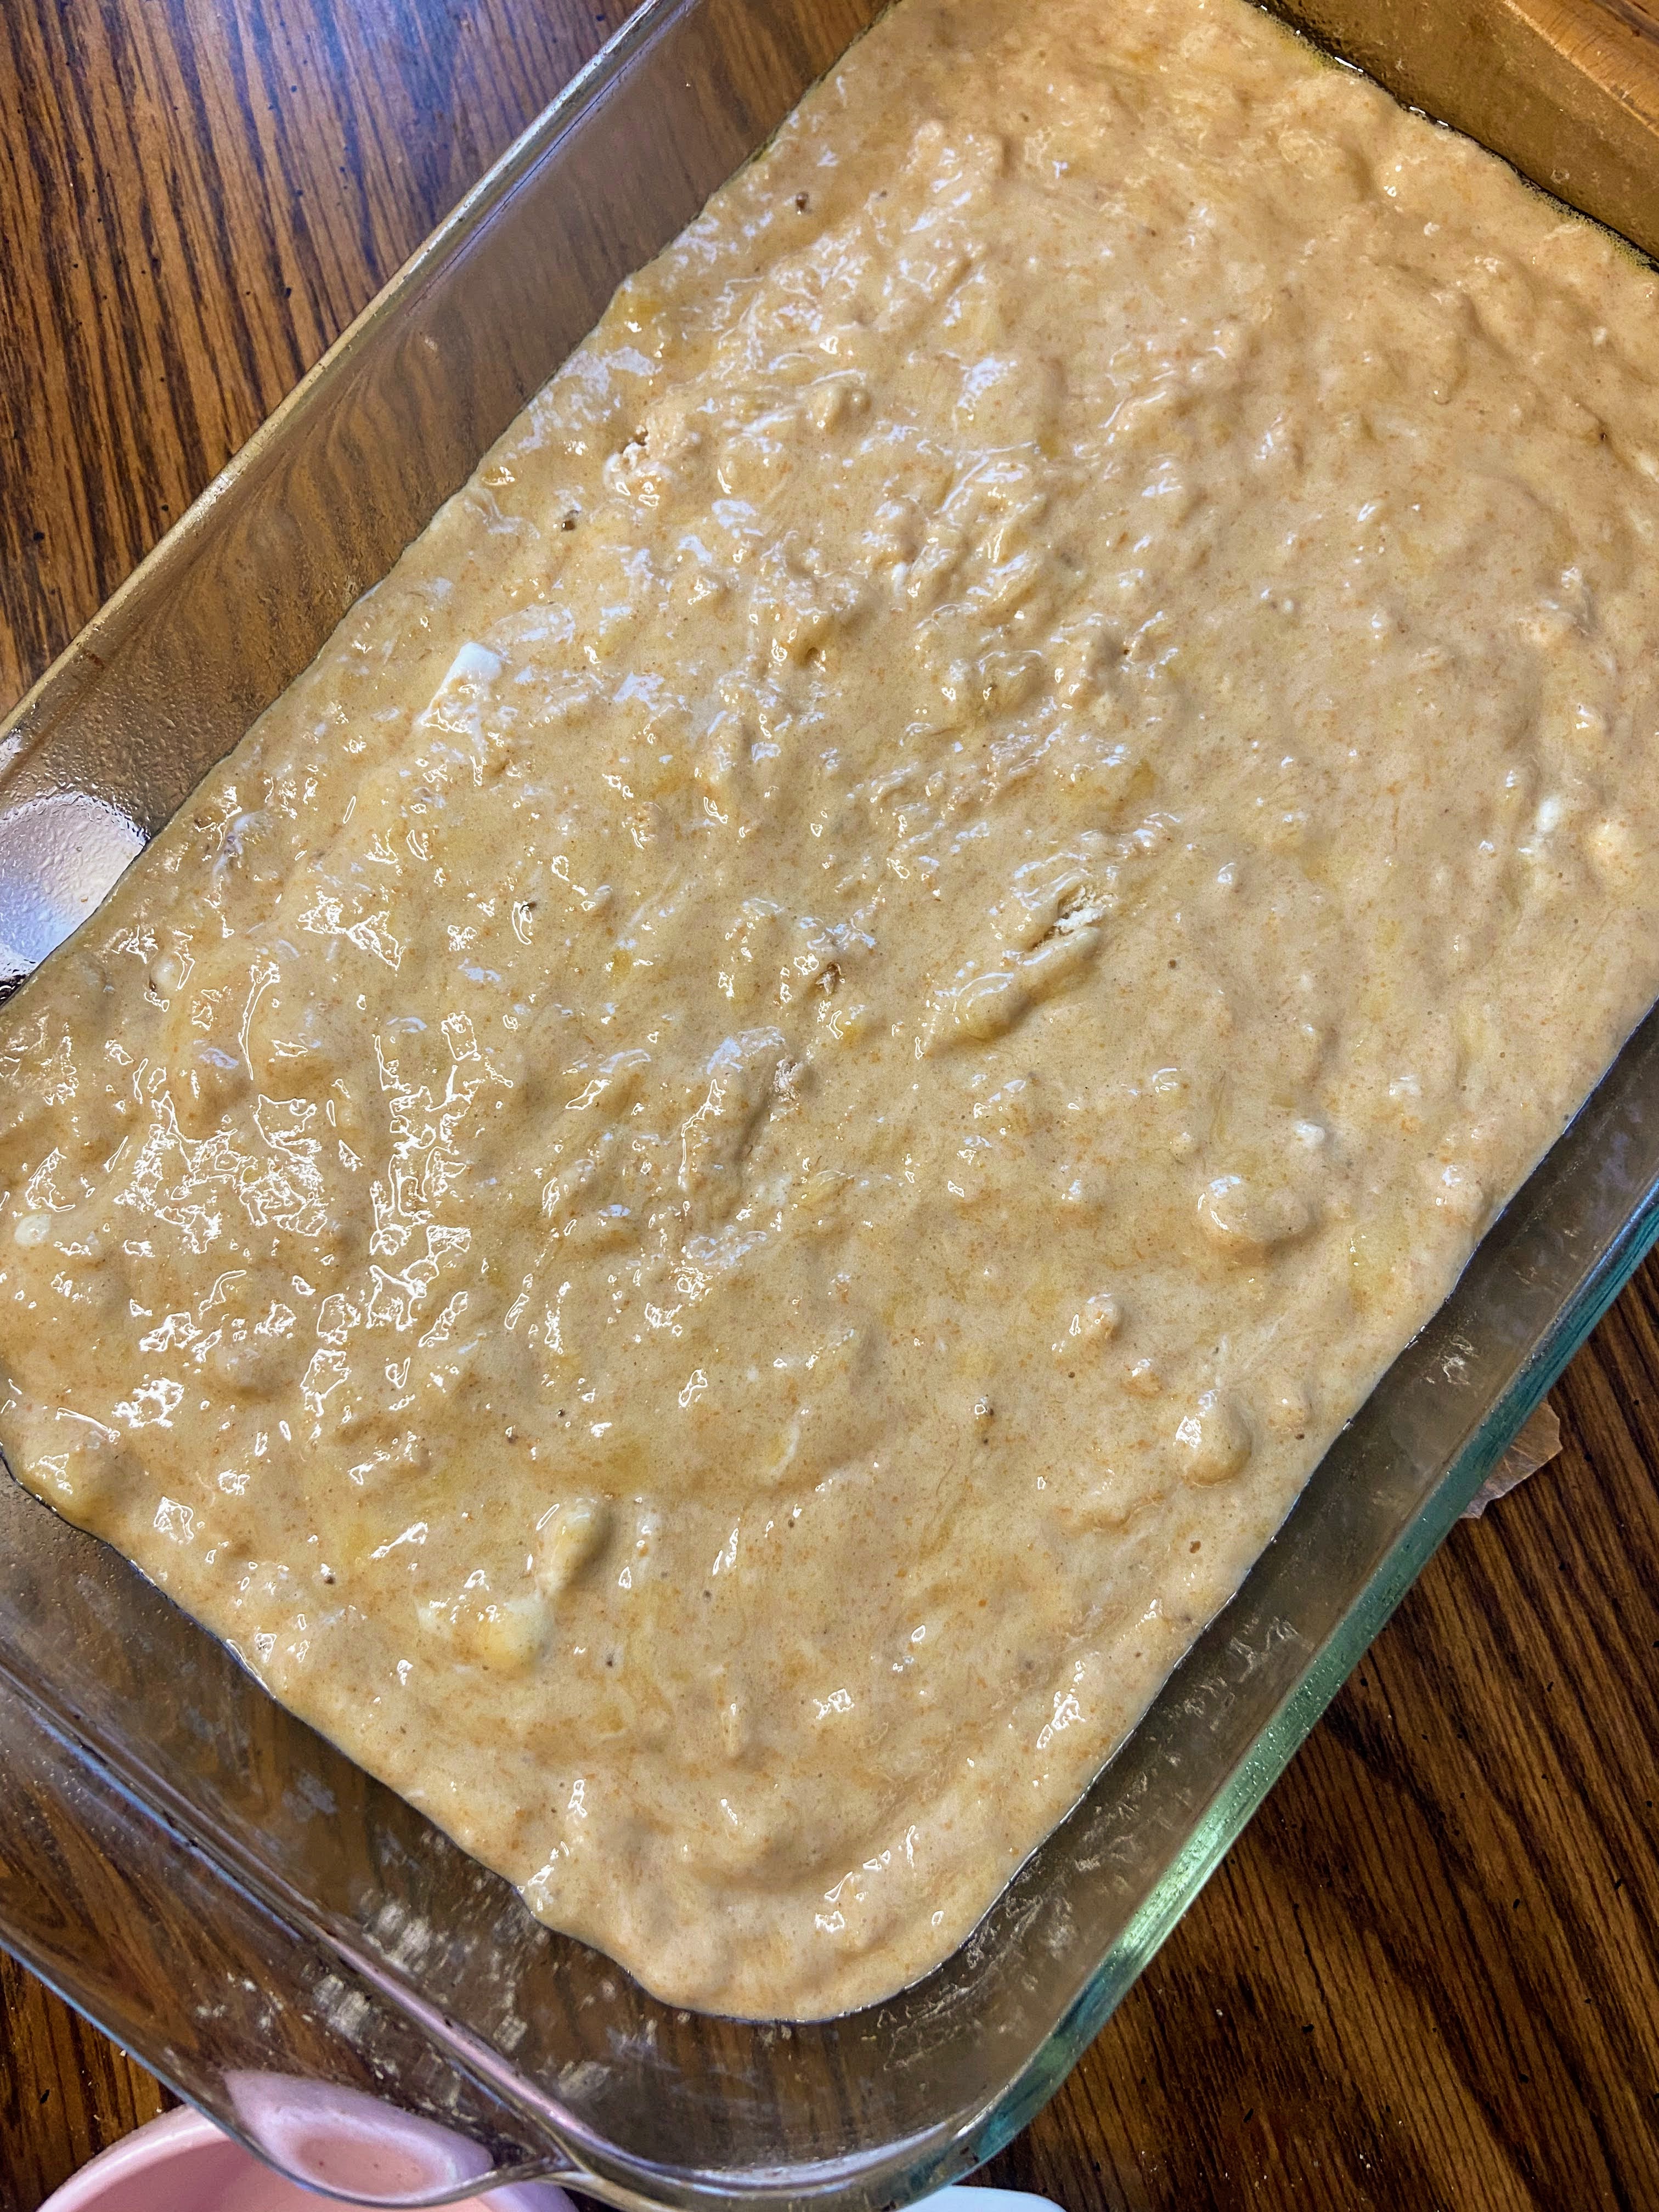
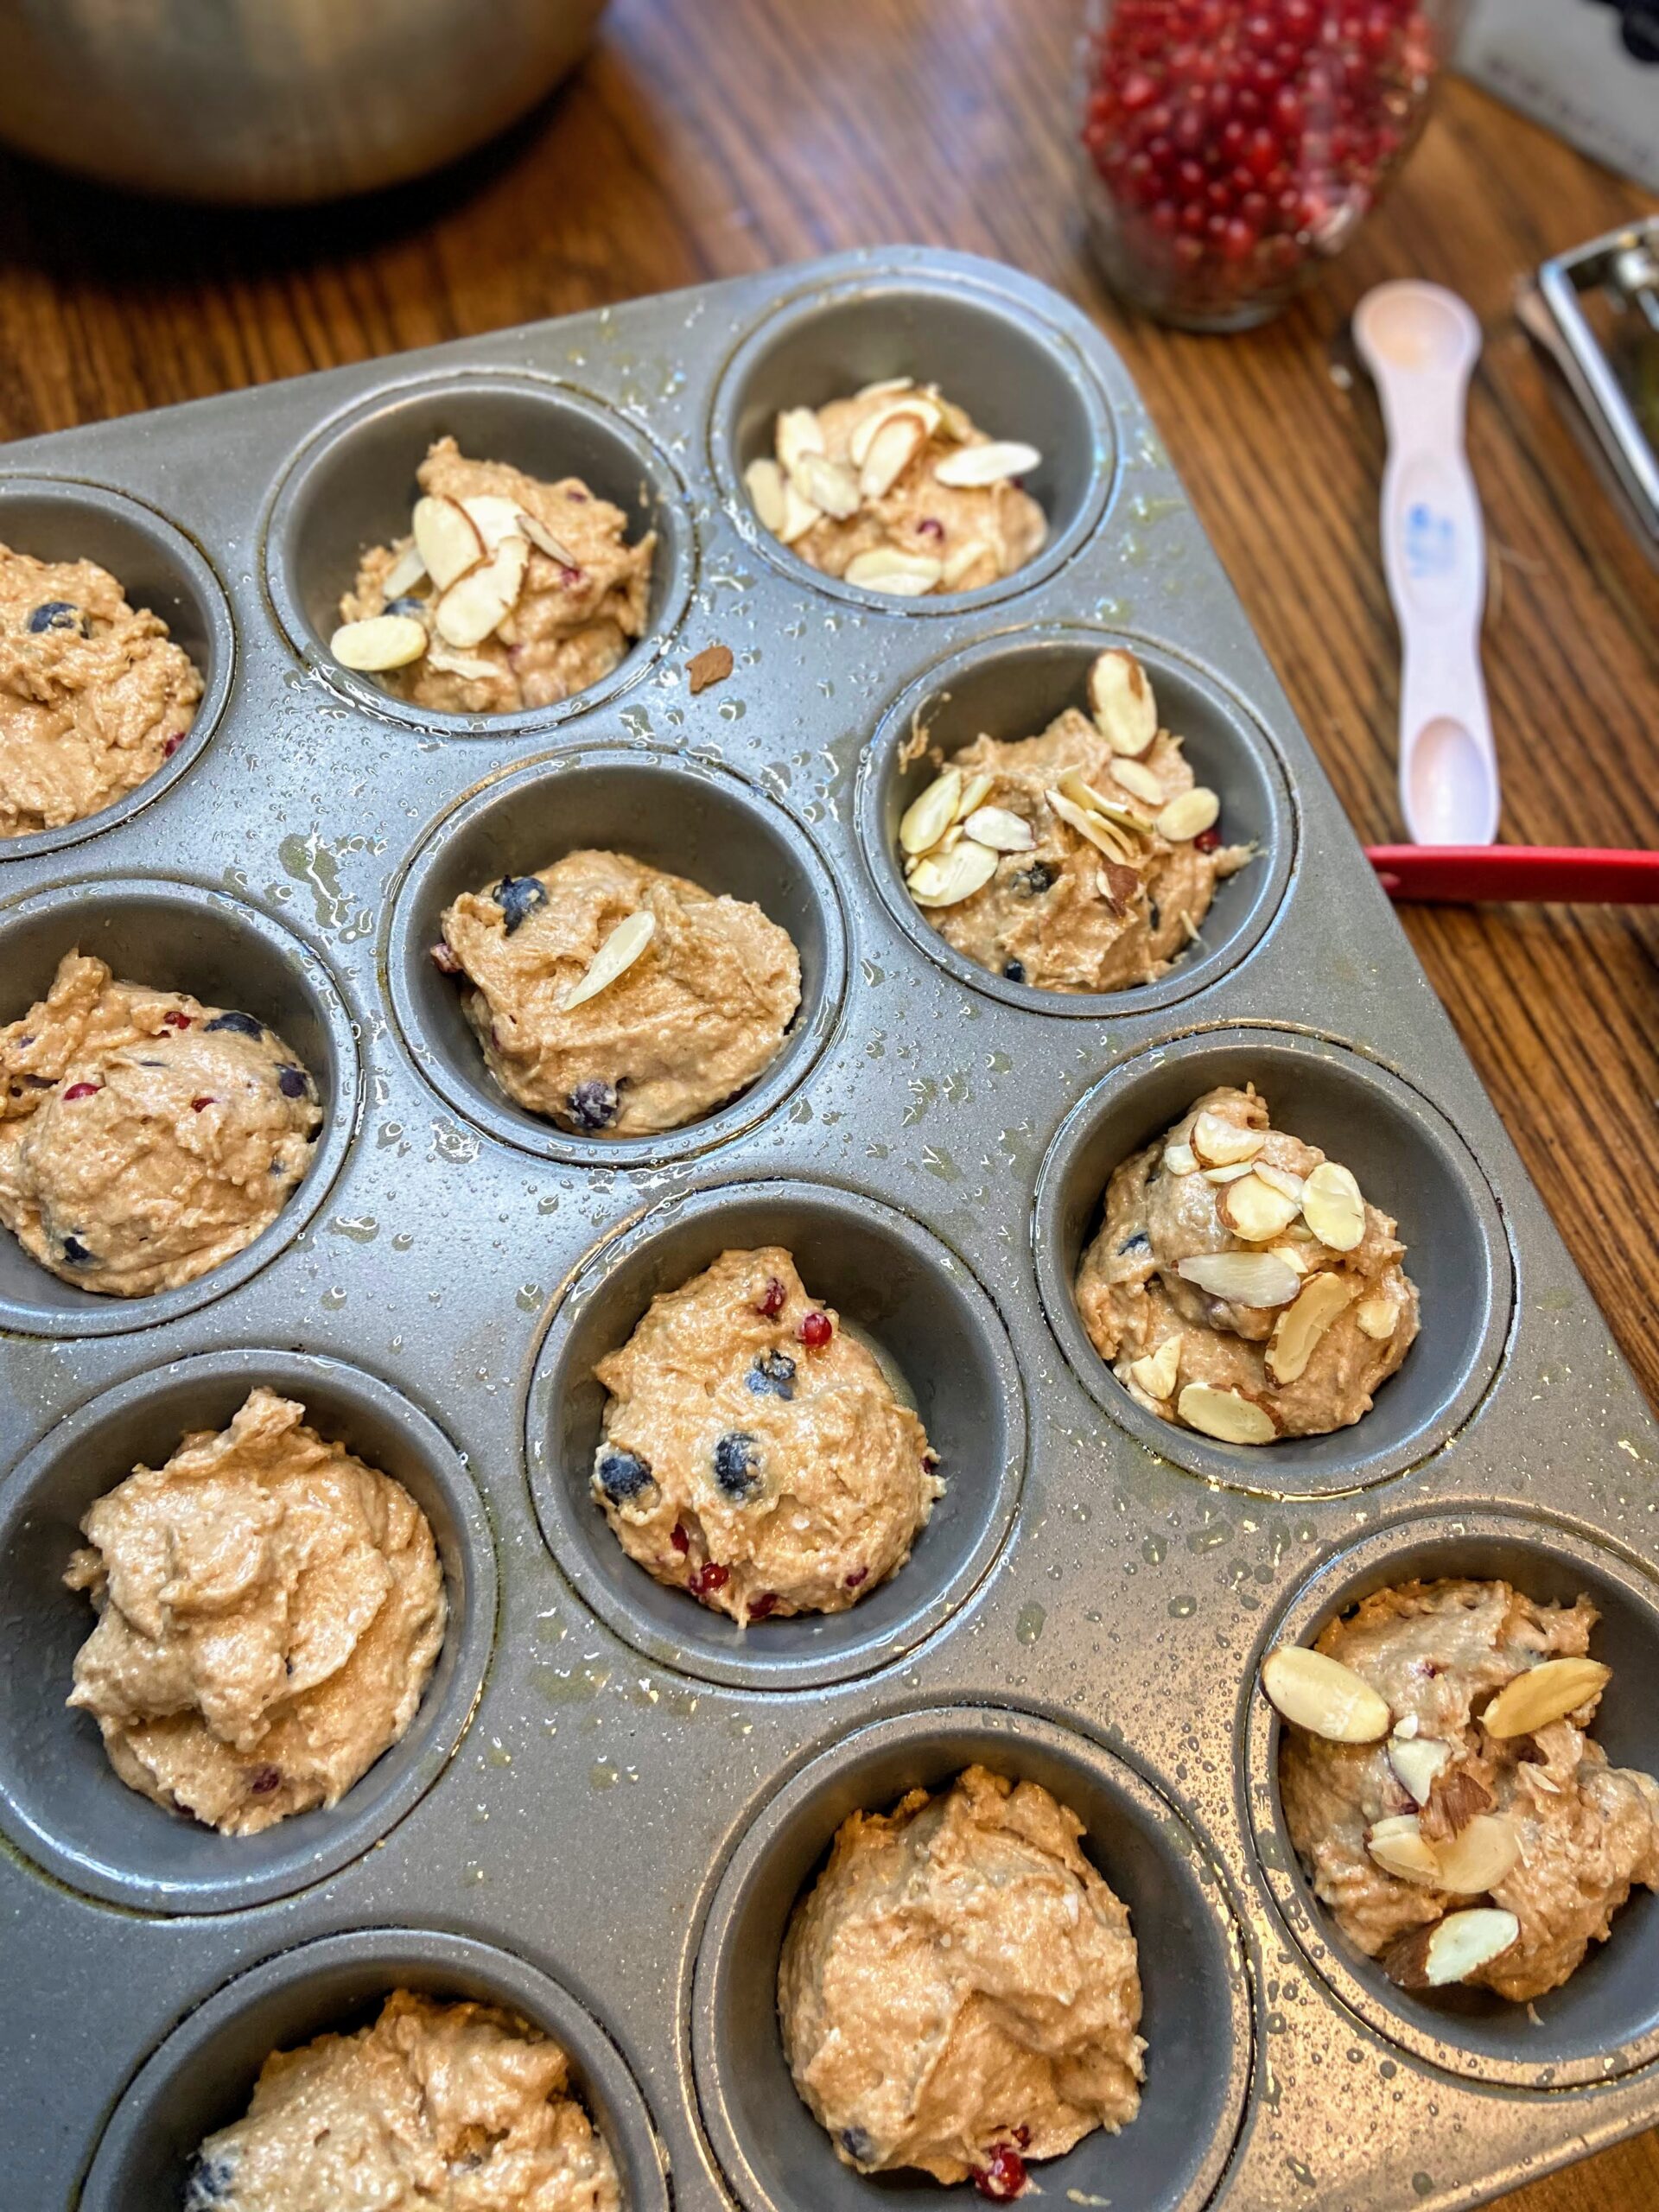
Gently fold in coconut oil, blueberries, and currants. Place in a well greased muffin tin, filling about ¾ of the way.
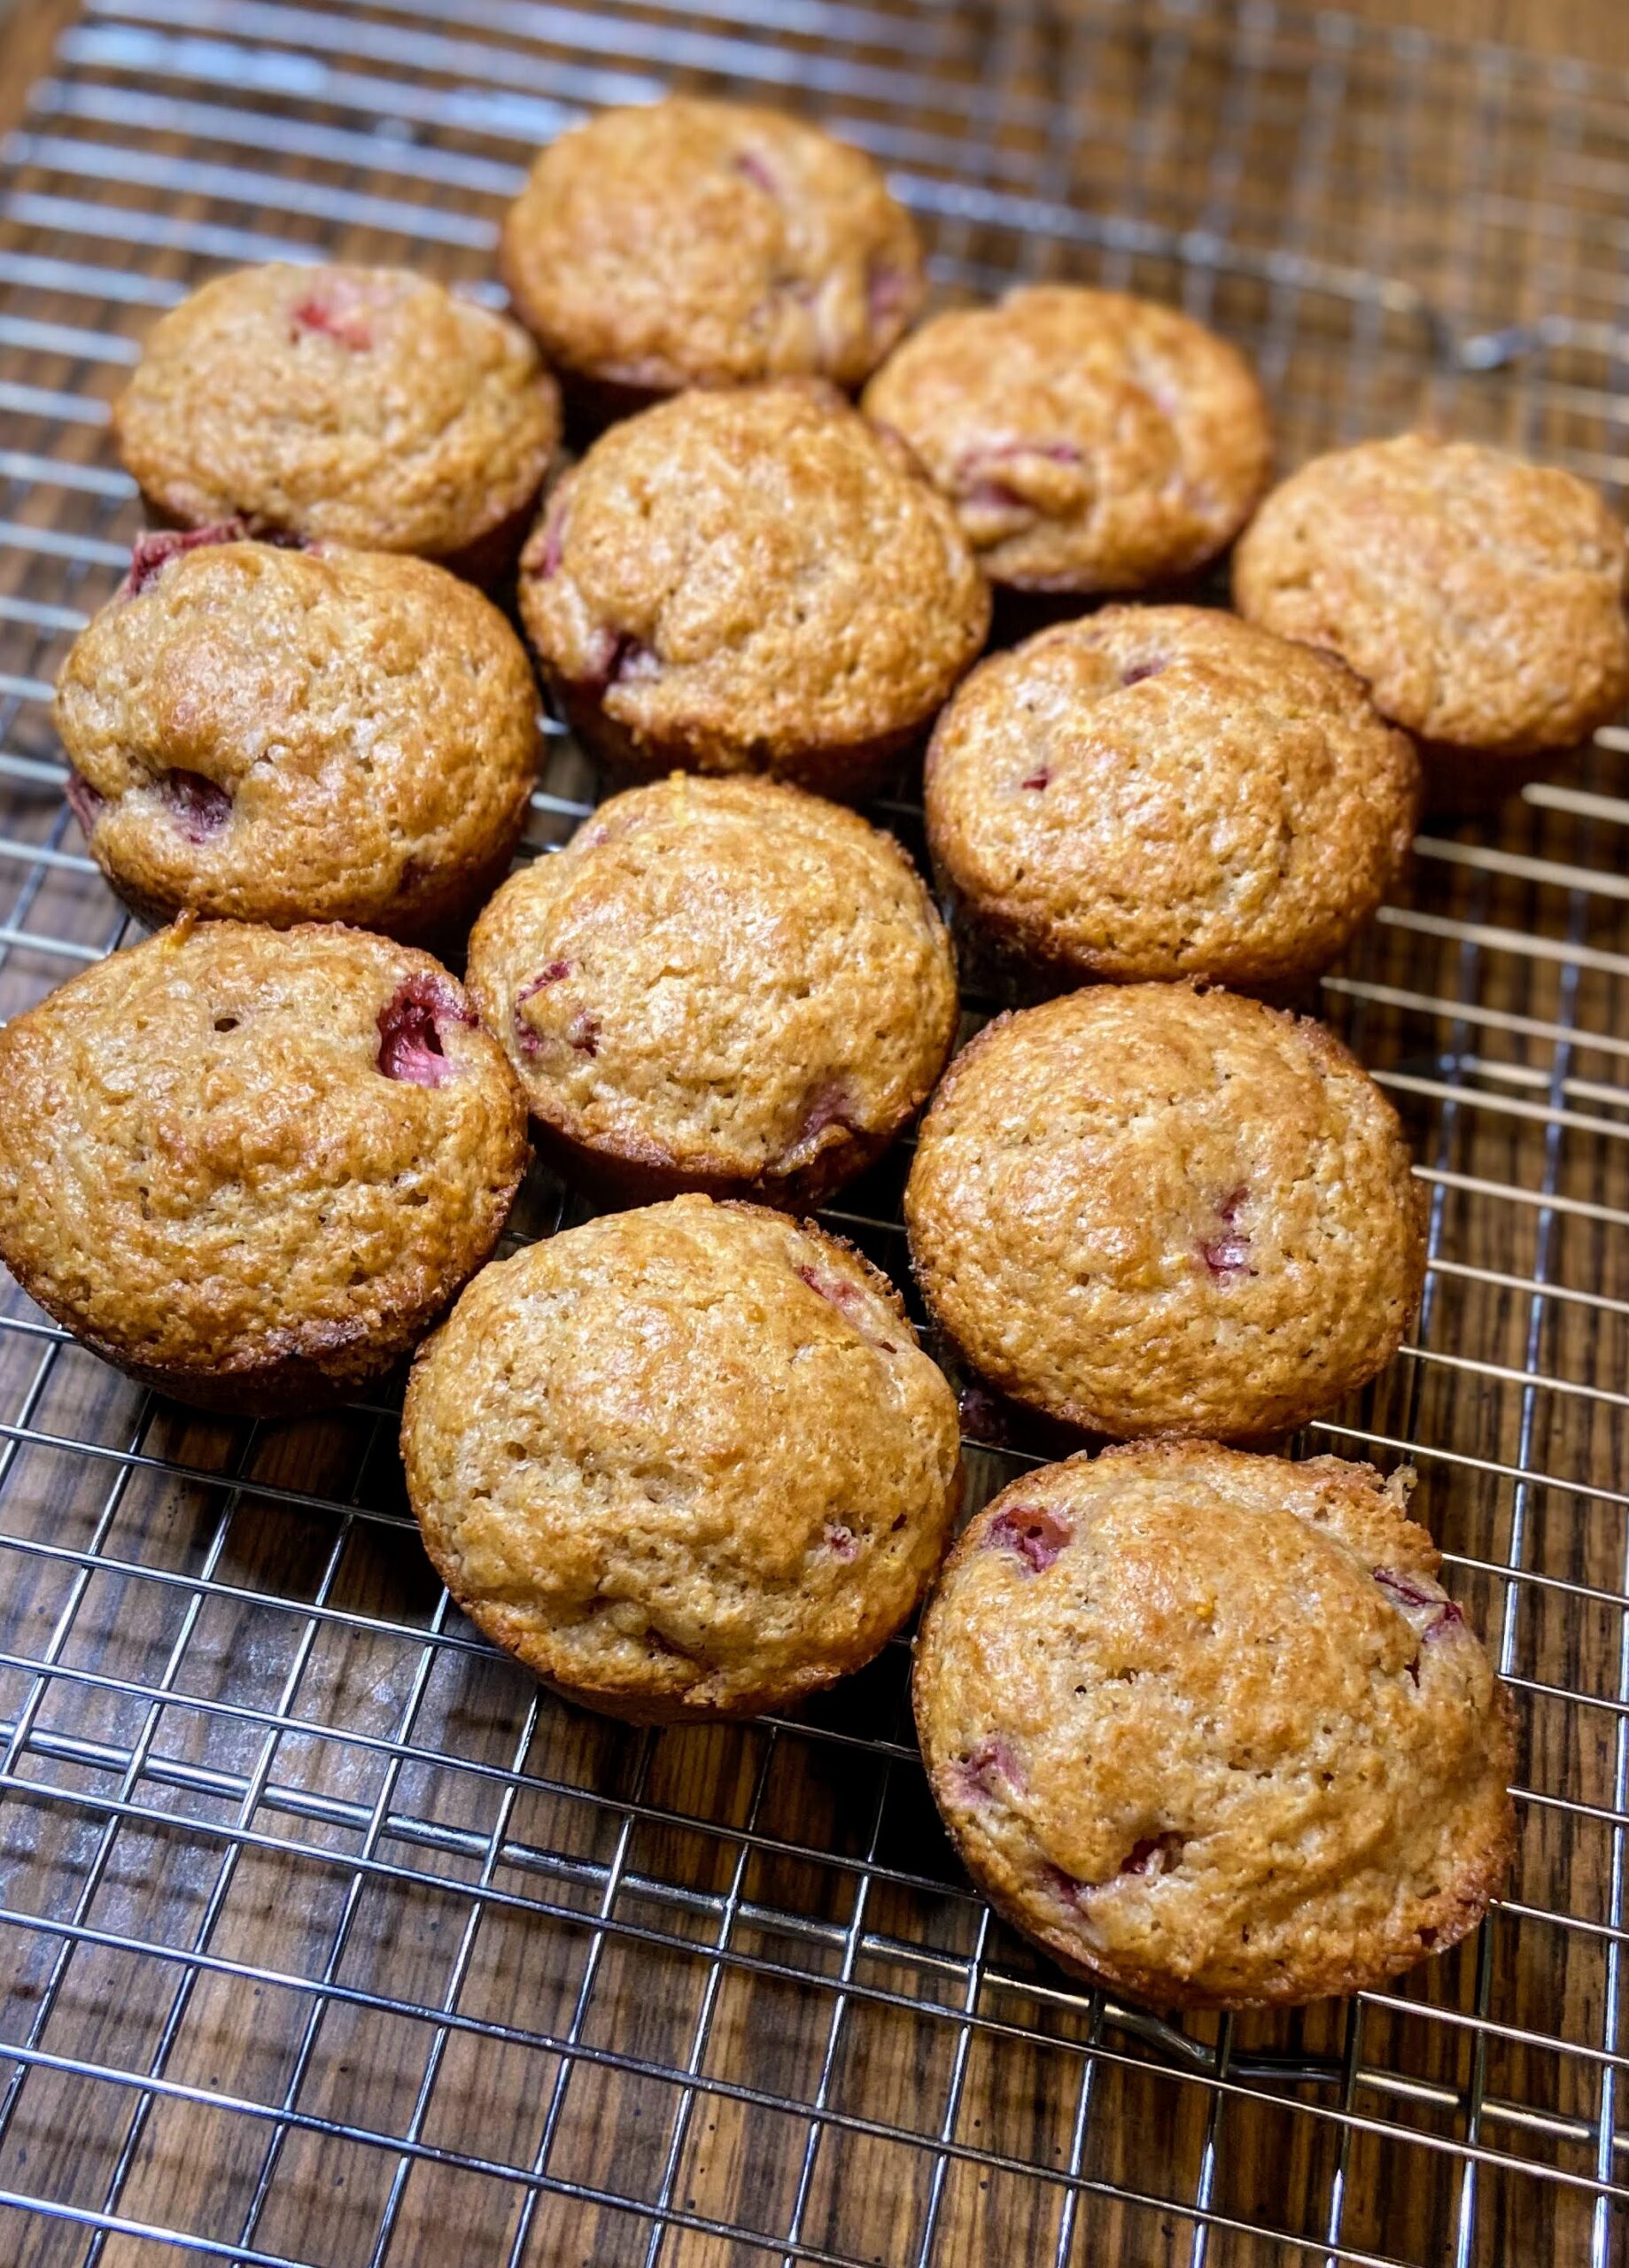
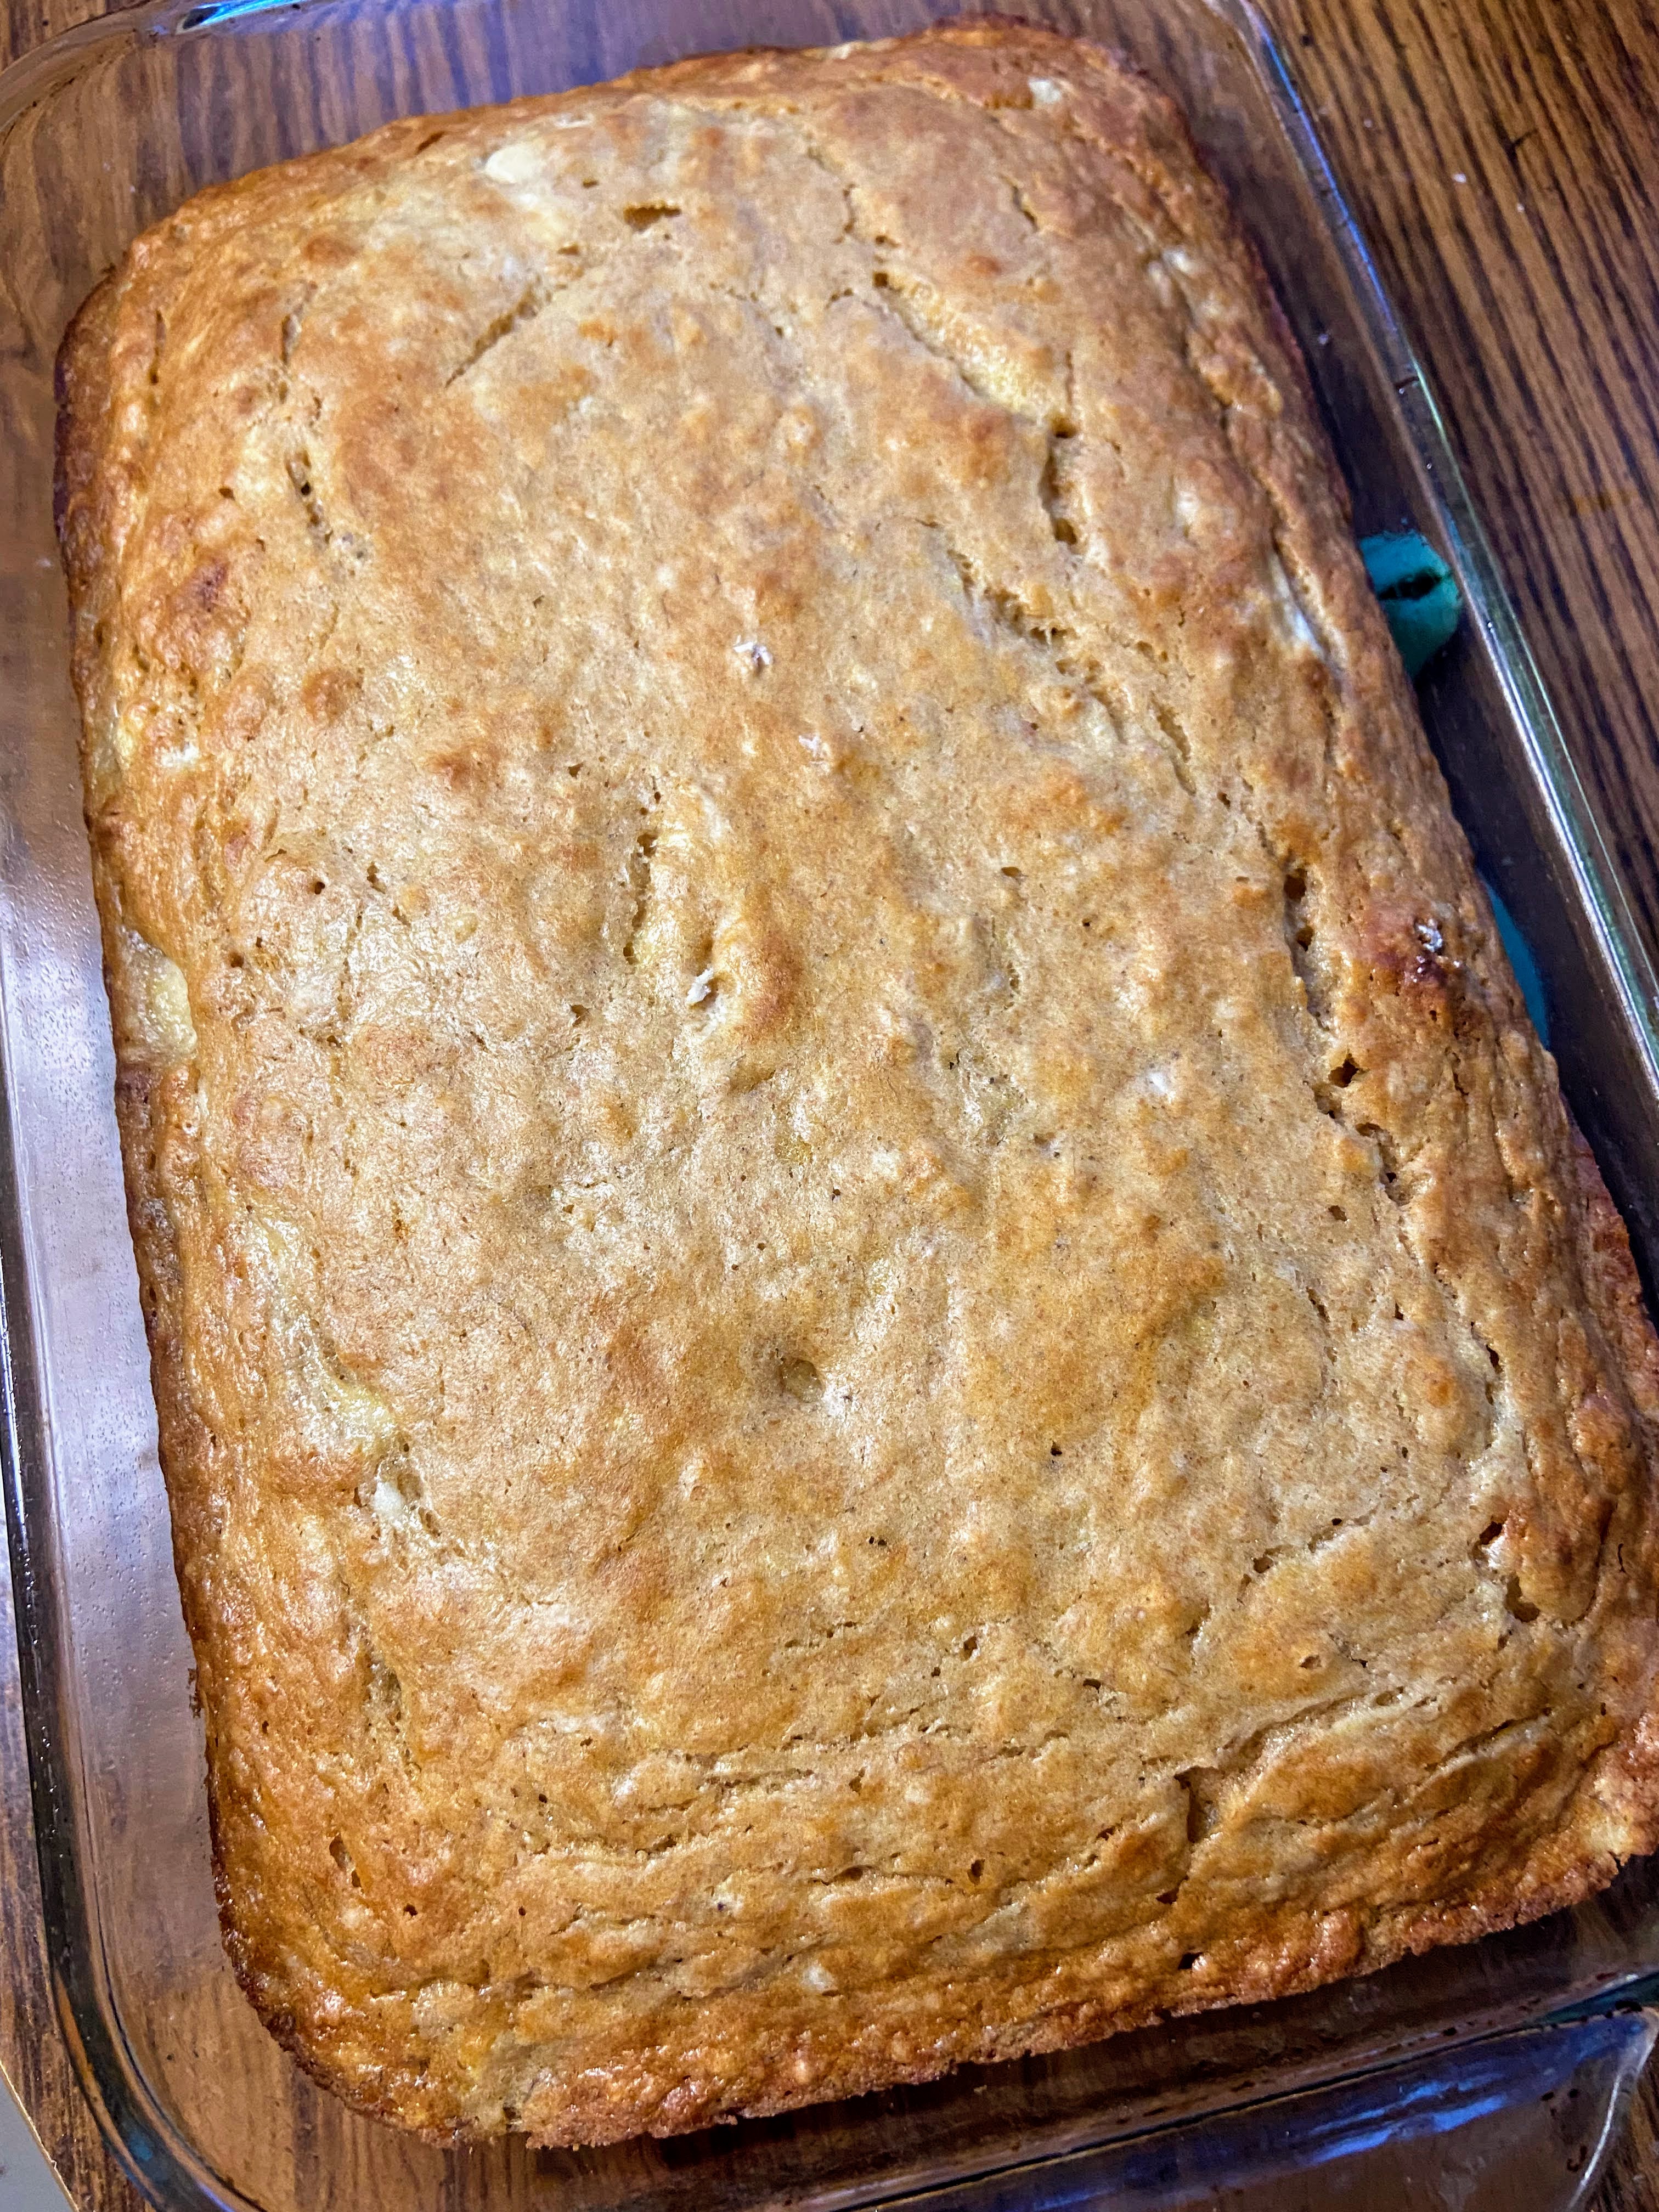
Top with sliced almonds. Bake for 18-22 minutes, until baked through.
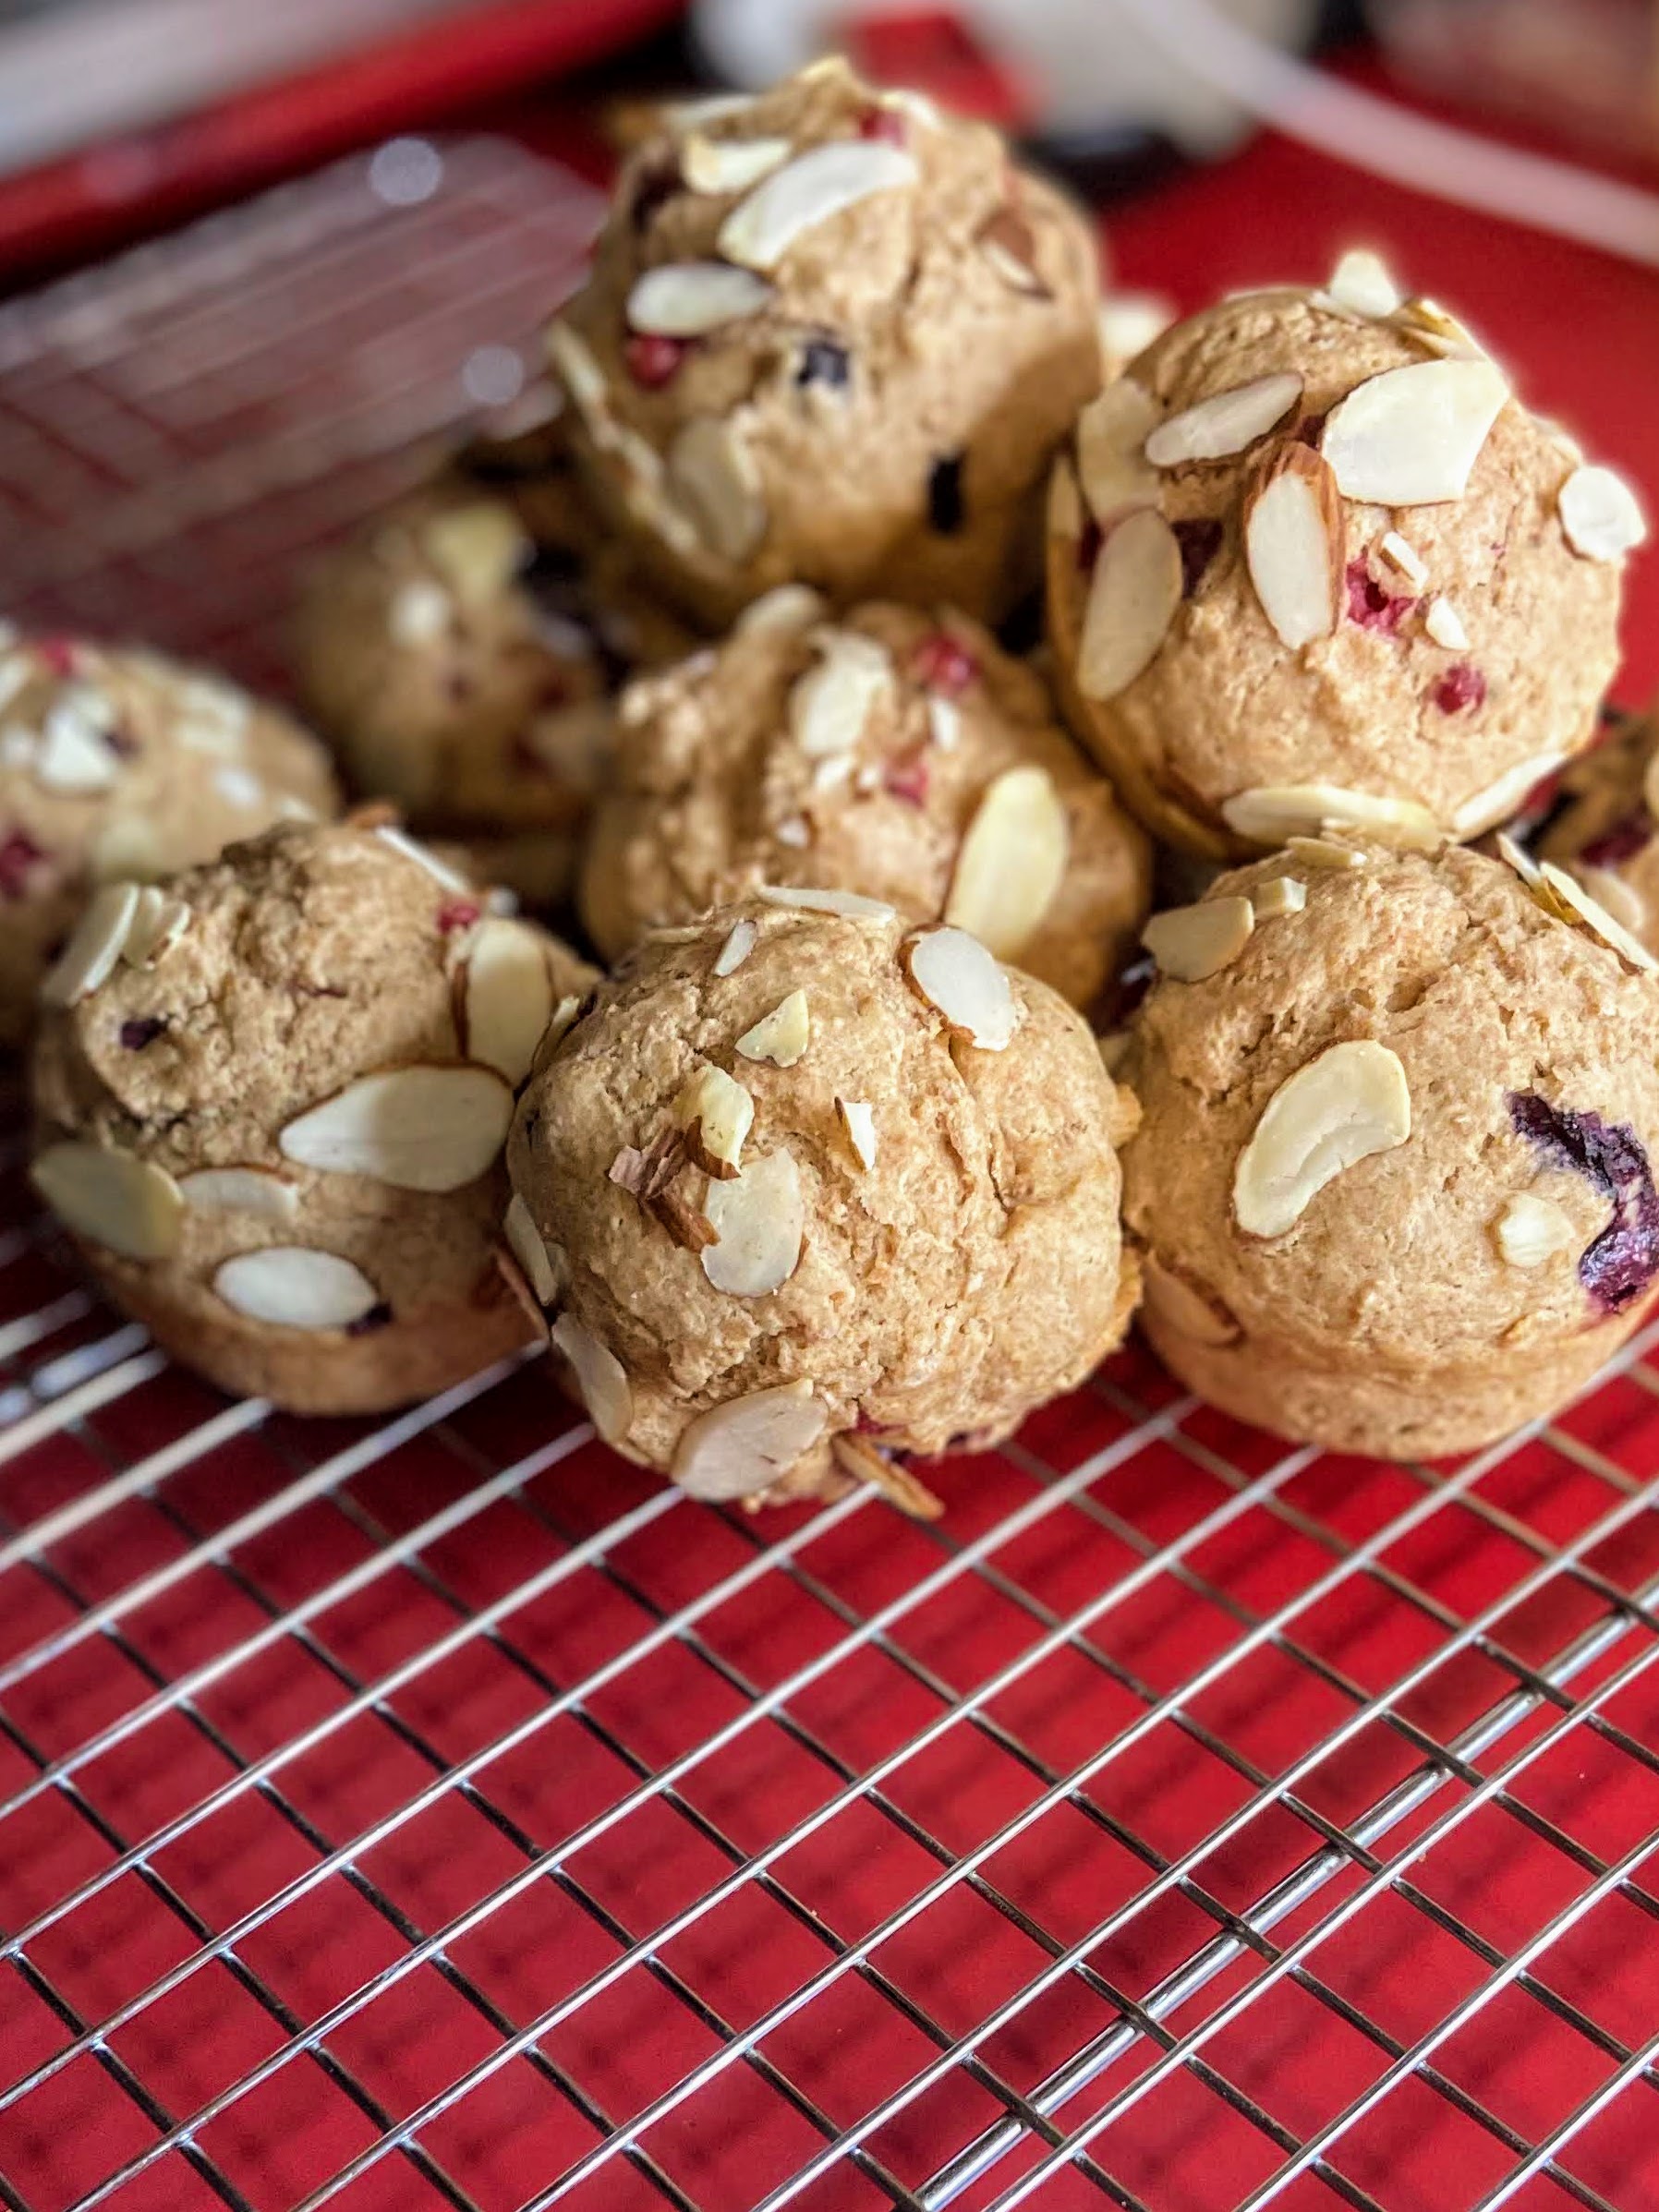
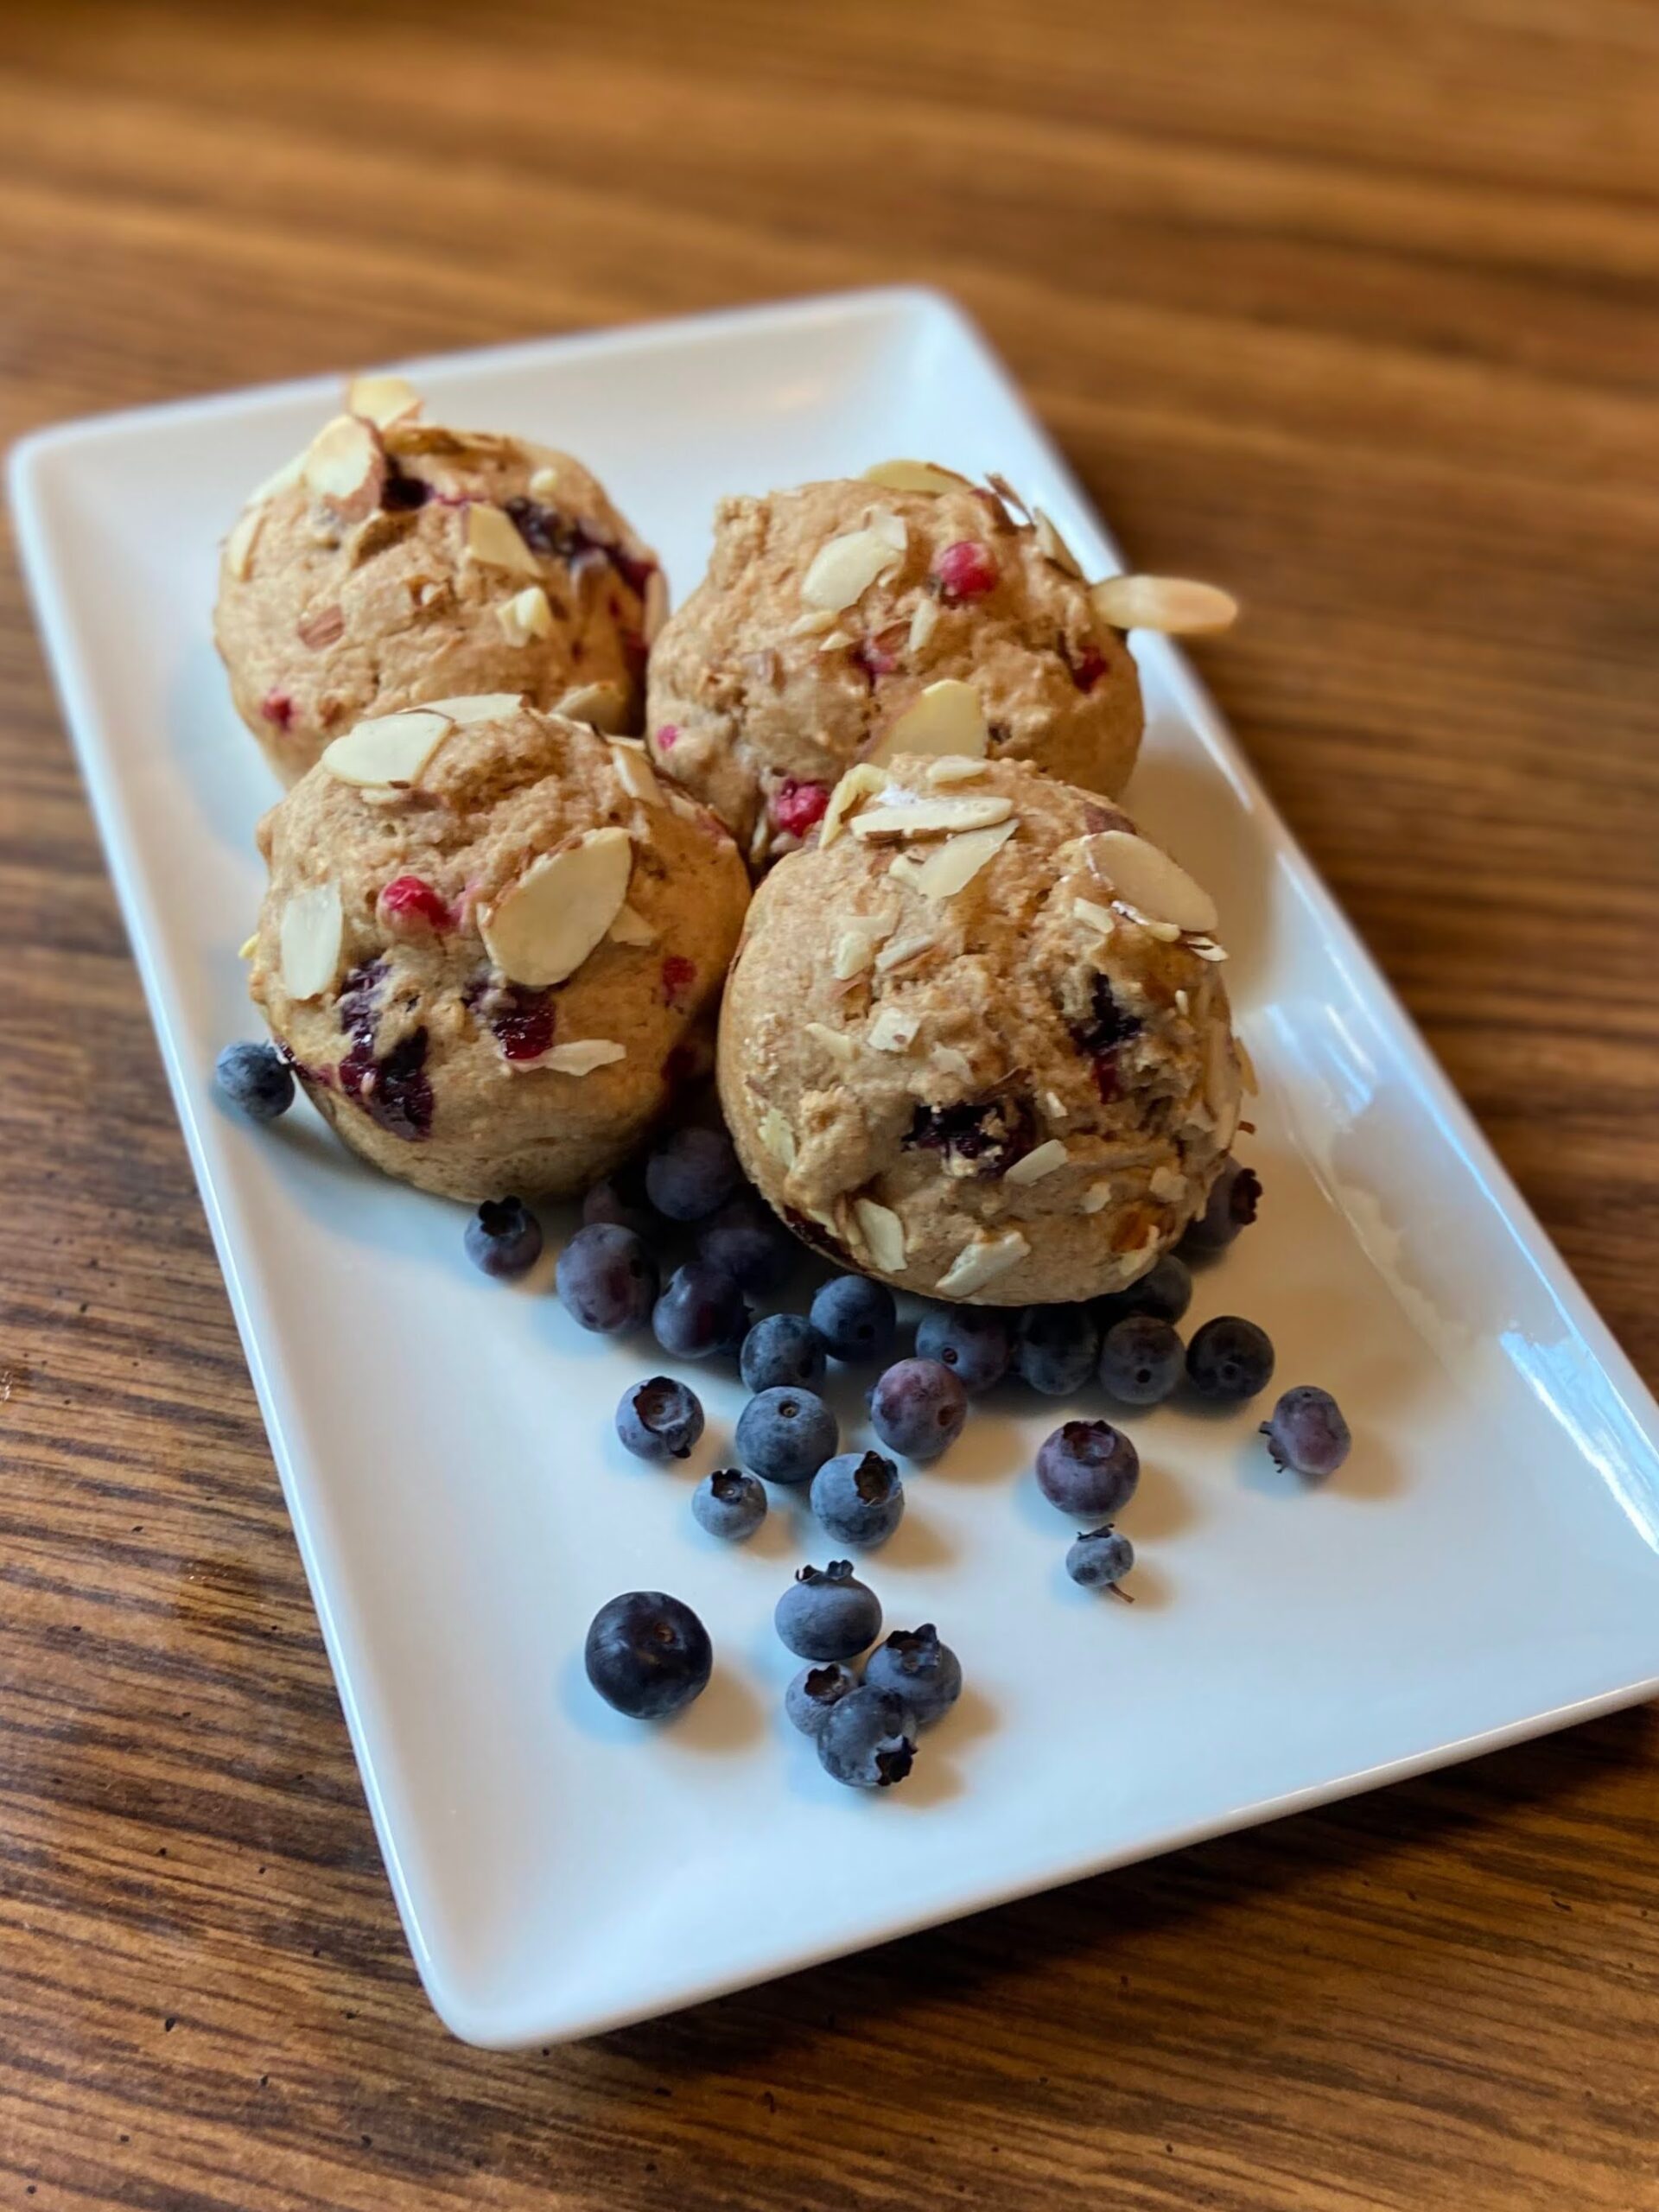
Blueberry Currant Muffins
Equipment
Ingredients
- ½ cup almond milk
- 1 egg
- ⅓ cup maple syrup
- ¼ teaspoon almond extract
- 2 cups flour
- 2 teaspoons baking soda
- ½ teaspoon salt
- 2 tablespoons coconut oil melted
- ¾ cup fresh blueberries
- ¼ cup red currants
- ¼ cup sliced almonds
Instructions
- Preheat the oven to 350 degrees. In a medium bowl, combine milk, egg, syrup, and almond extract.
- Add flour, baking soda, and salt, mixing until just combined.
- Gently fold in coconut oil, blueberries, and currants.
- Place in a well greased muffin tin, filling about ¾ of the way. Top with sliced almonds.
- Bake for 18-22 minutes, until baked through.
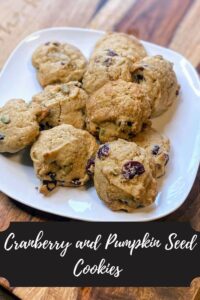
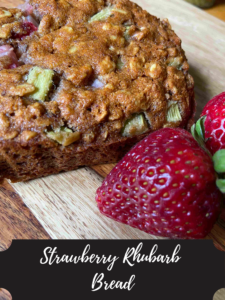
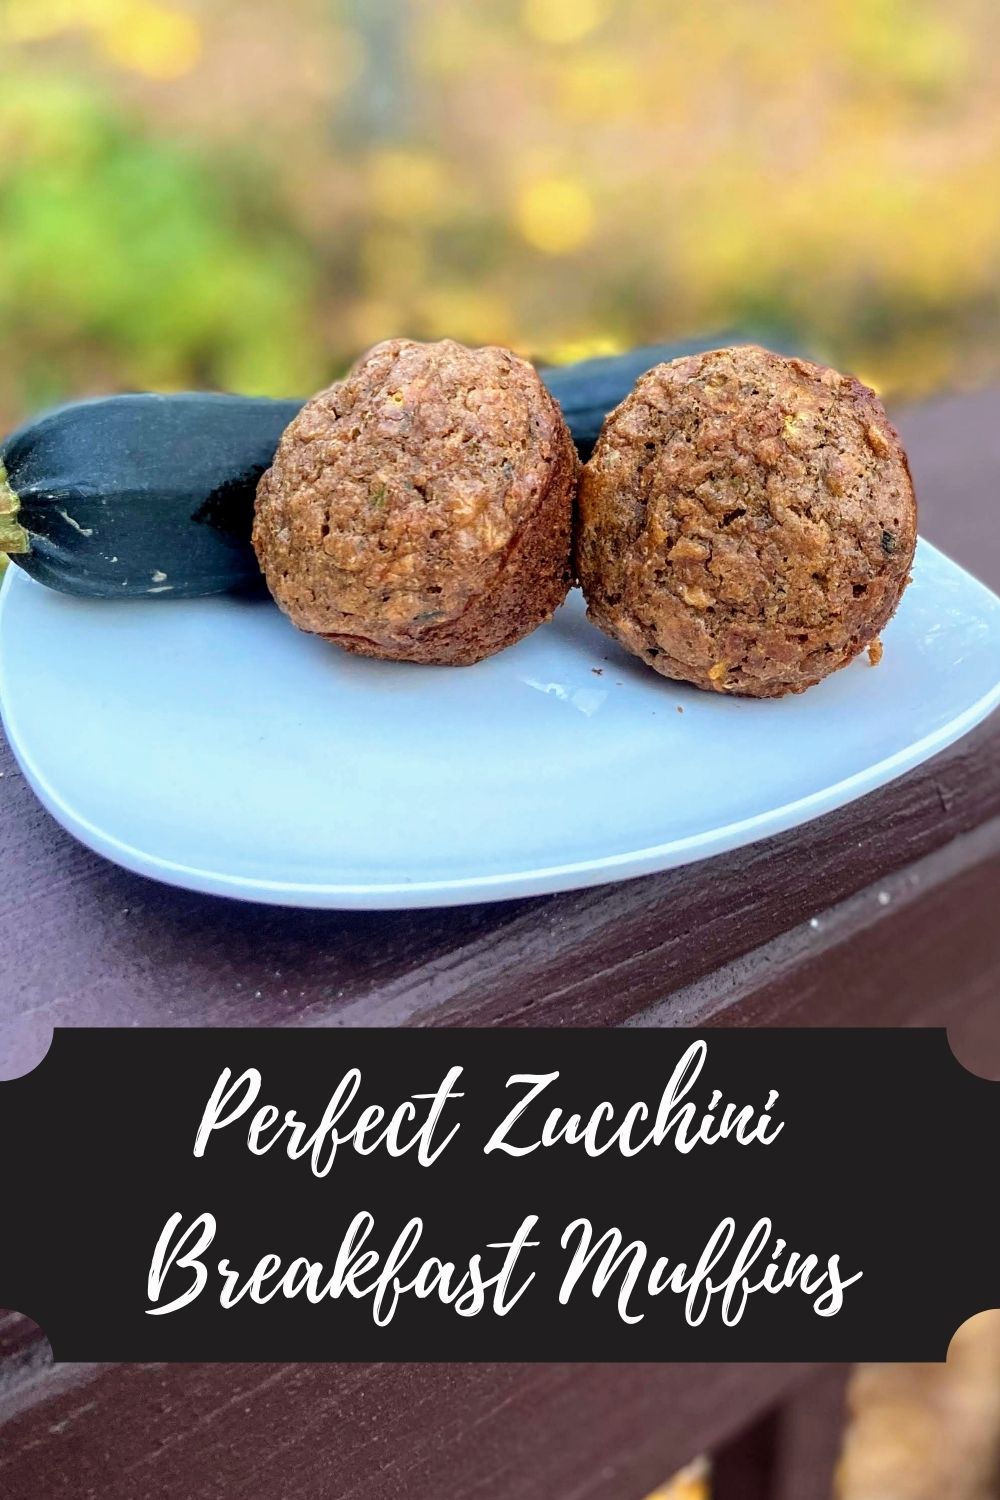
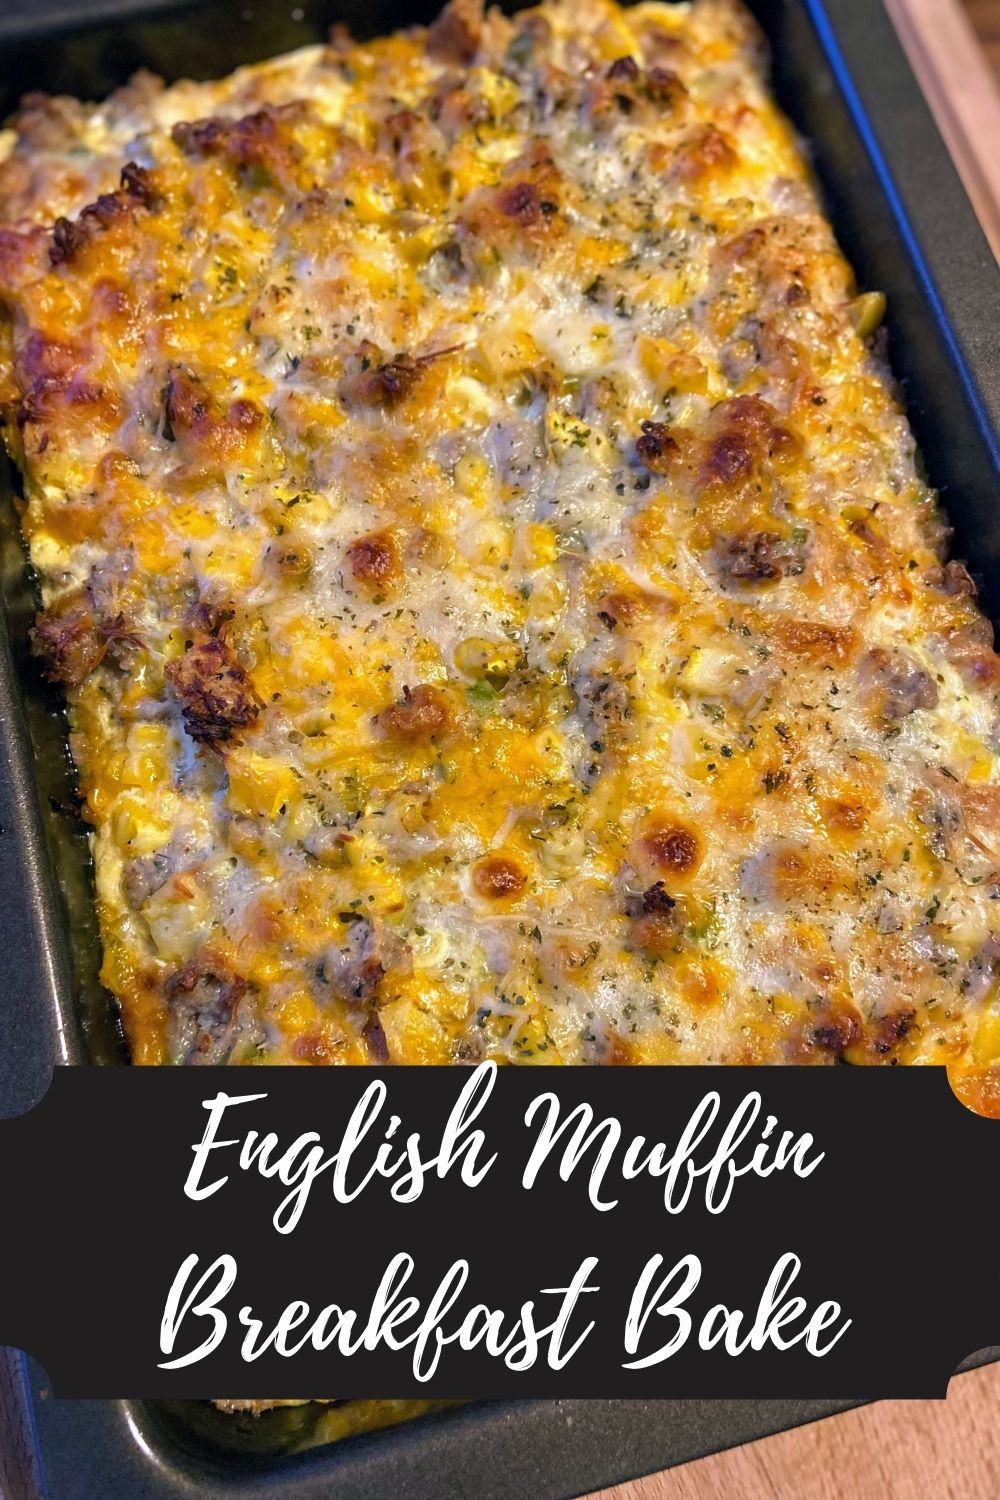
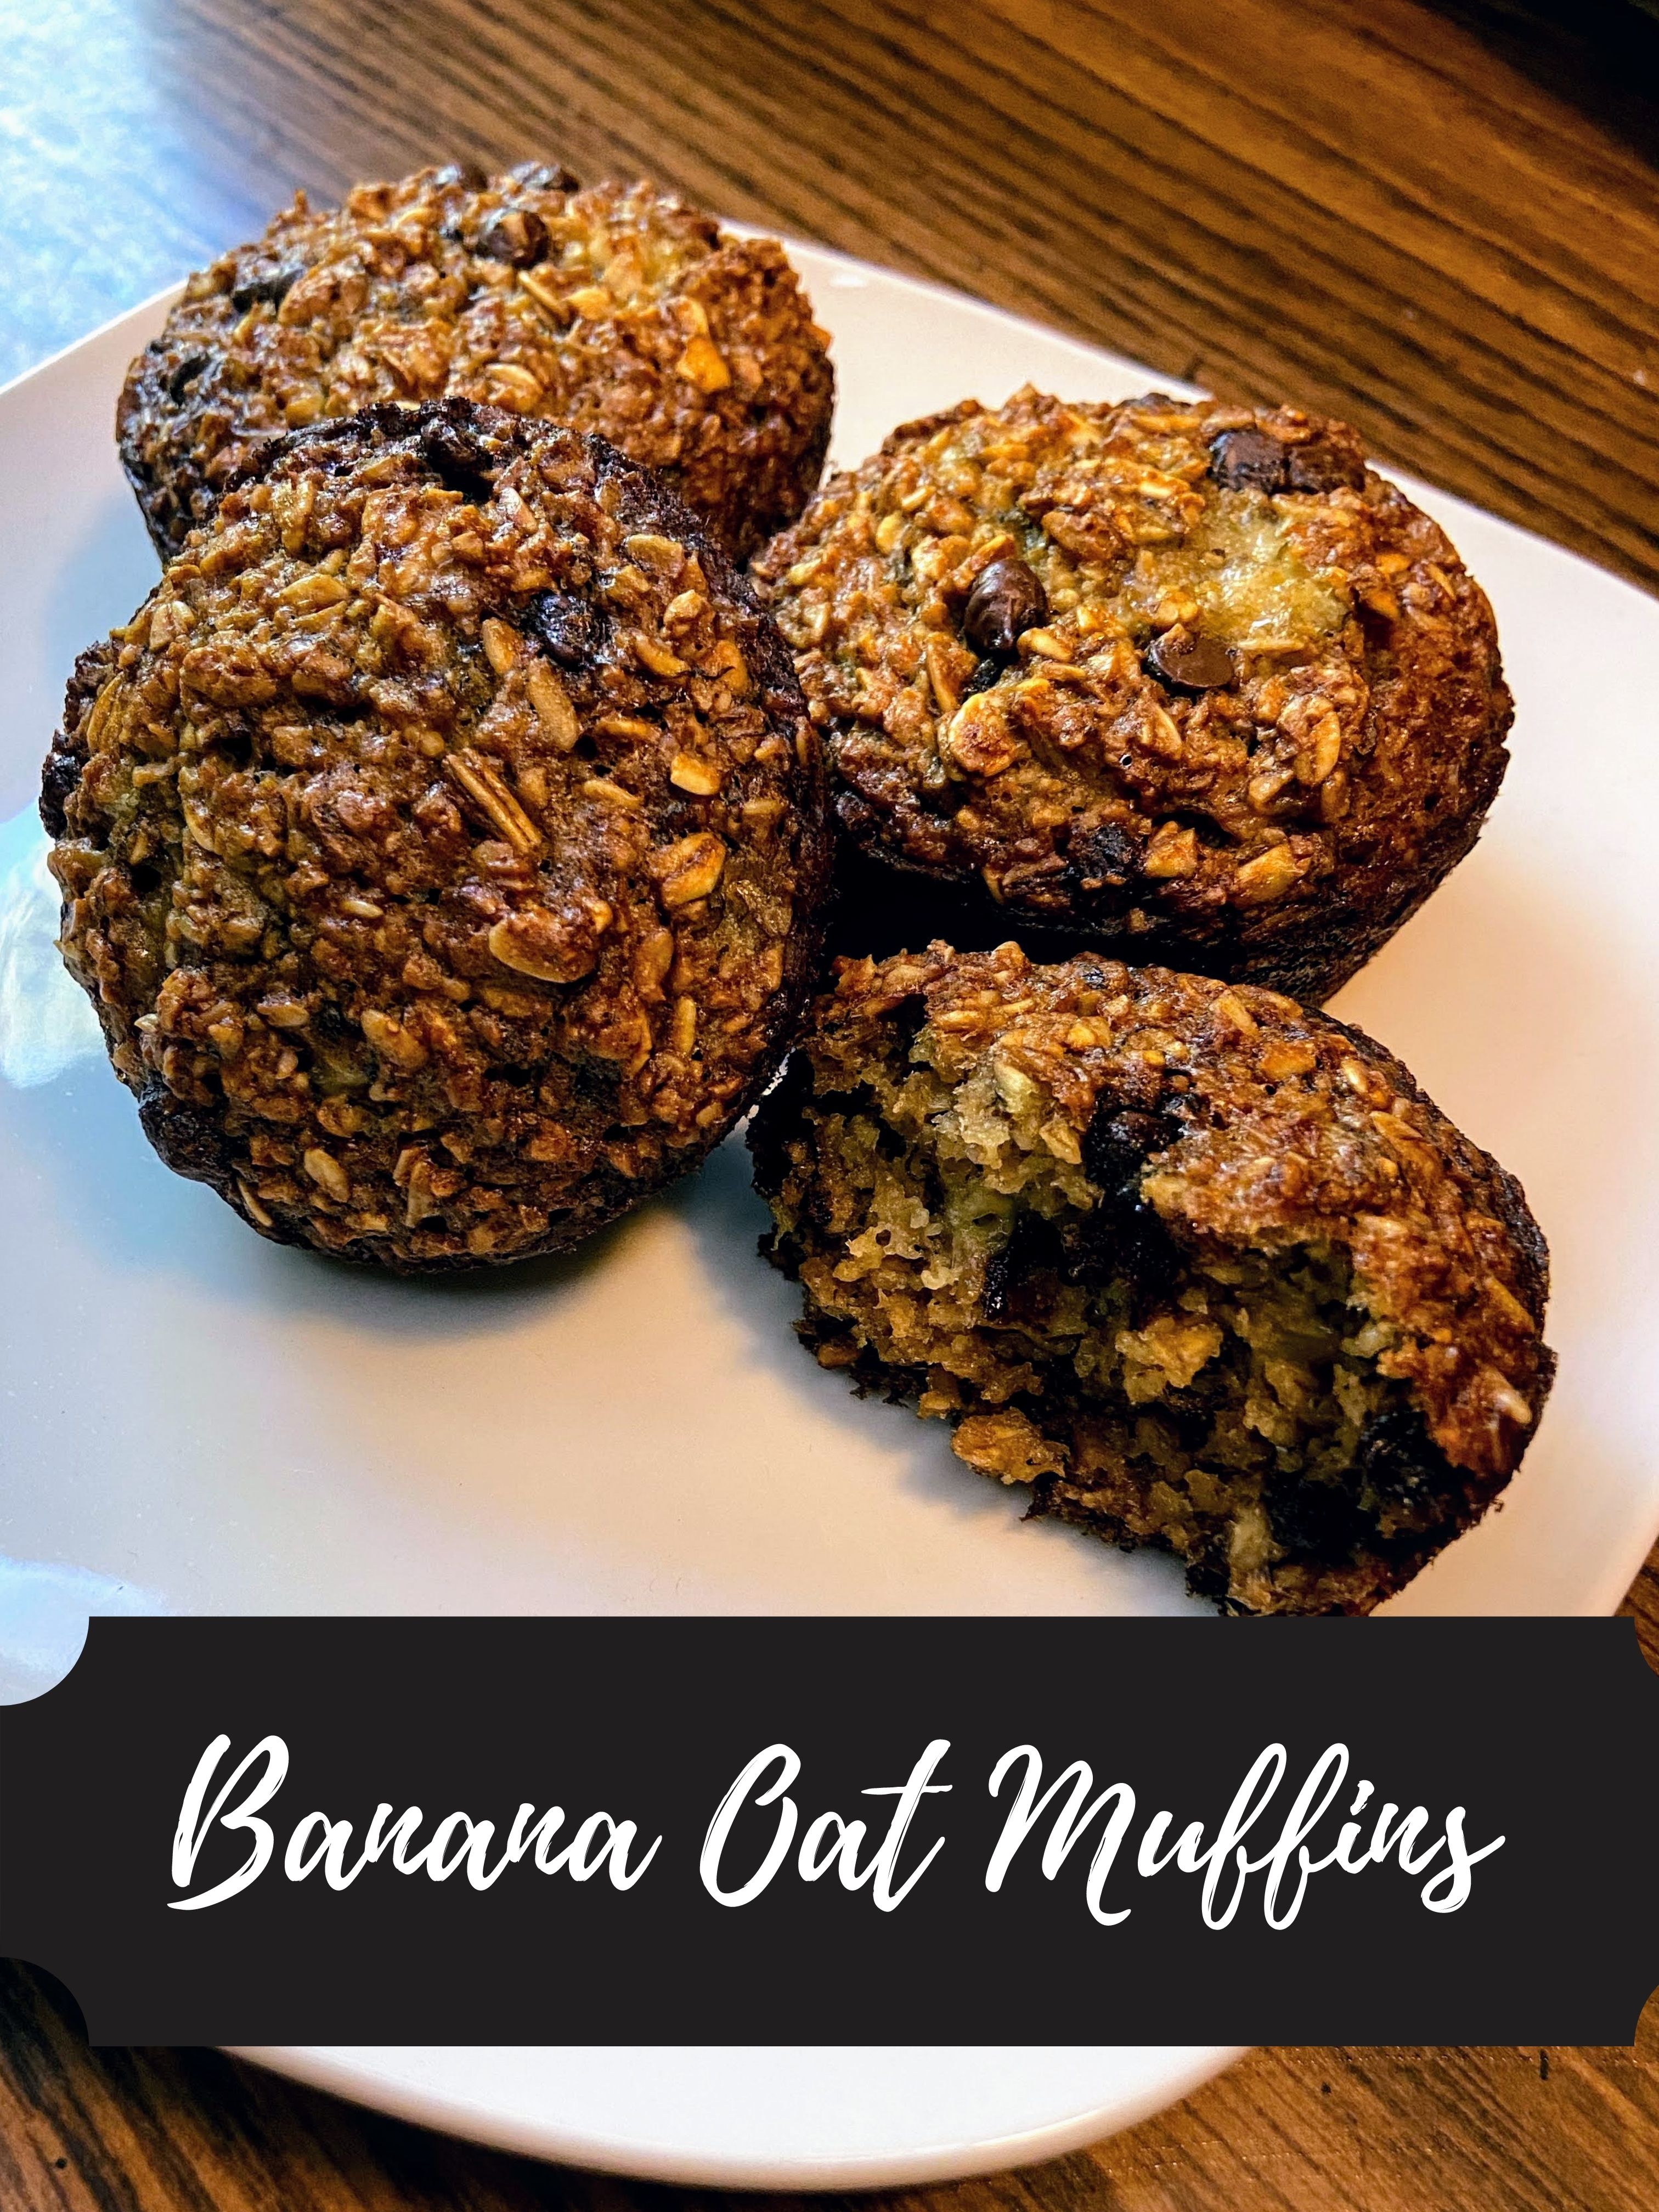
Looking for other great recipes?
Check out my baking page for all things muffins or maybe check out a recipe below!