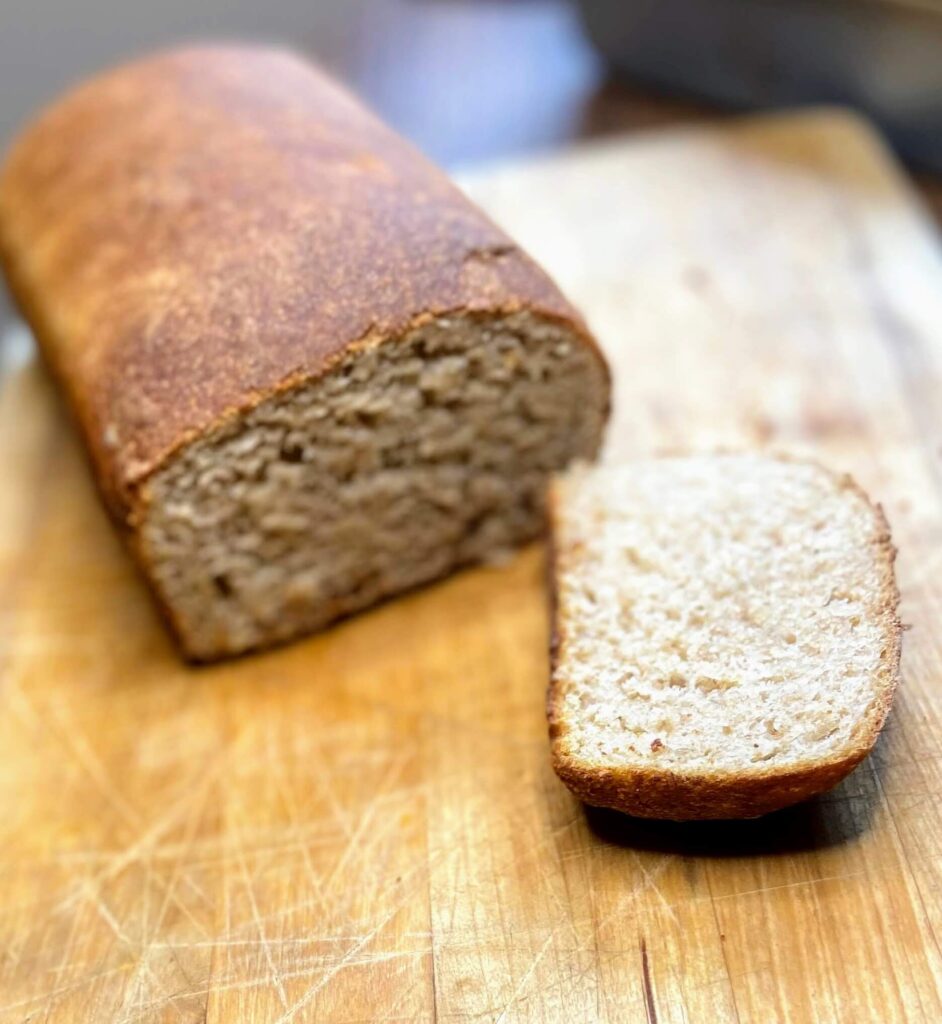
Remember when a pandemic hit the world, and lots of families picked one family member to be the official grocery shopper to limit exposure? I do. And that shopper at our house happened to be my husband. As a high school teacher, I was teaching from home and watching my kiddos at the same time. I was also very focused on still creating great food. But when the Mr. was at work, I had to work with the ingredients we had on hand. I had a meal in mind that needed rolls and alas, we didn’t have any. Solution? Bake your own from scratch Silver Dollar Yeast Rolls.
Now, when we have guests, my husband specifically requests these rolls because they really are that good. Not only have I used them for sloppy joes, but pulled venison, and I have even formed them into brat buns.
Oh hey, and if you’re interested in an awesome Sloppy Joe recipe, check it out by clicking here! I originally made these rolls for my Sloppy Joes, but thought they deserved their own recipe!
Your ingredients Silver Dollar Yeast Rolls
- 1 tablespoon instant yeast
- 1 cup hot water (110-115 degrees Fahrenheit)
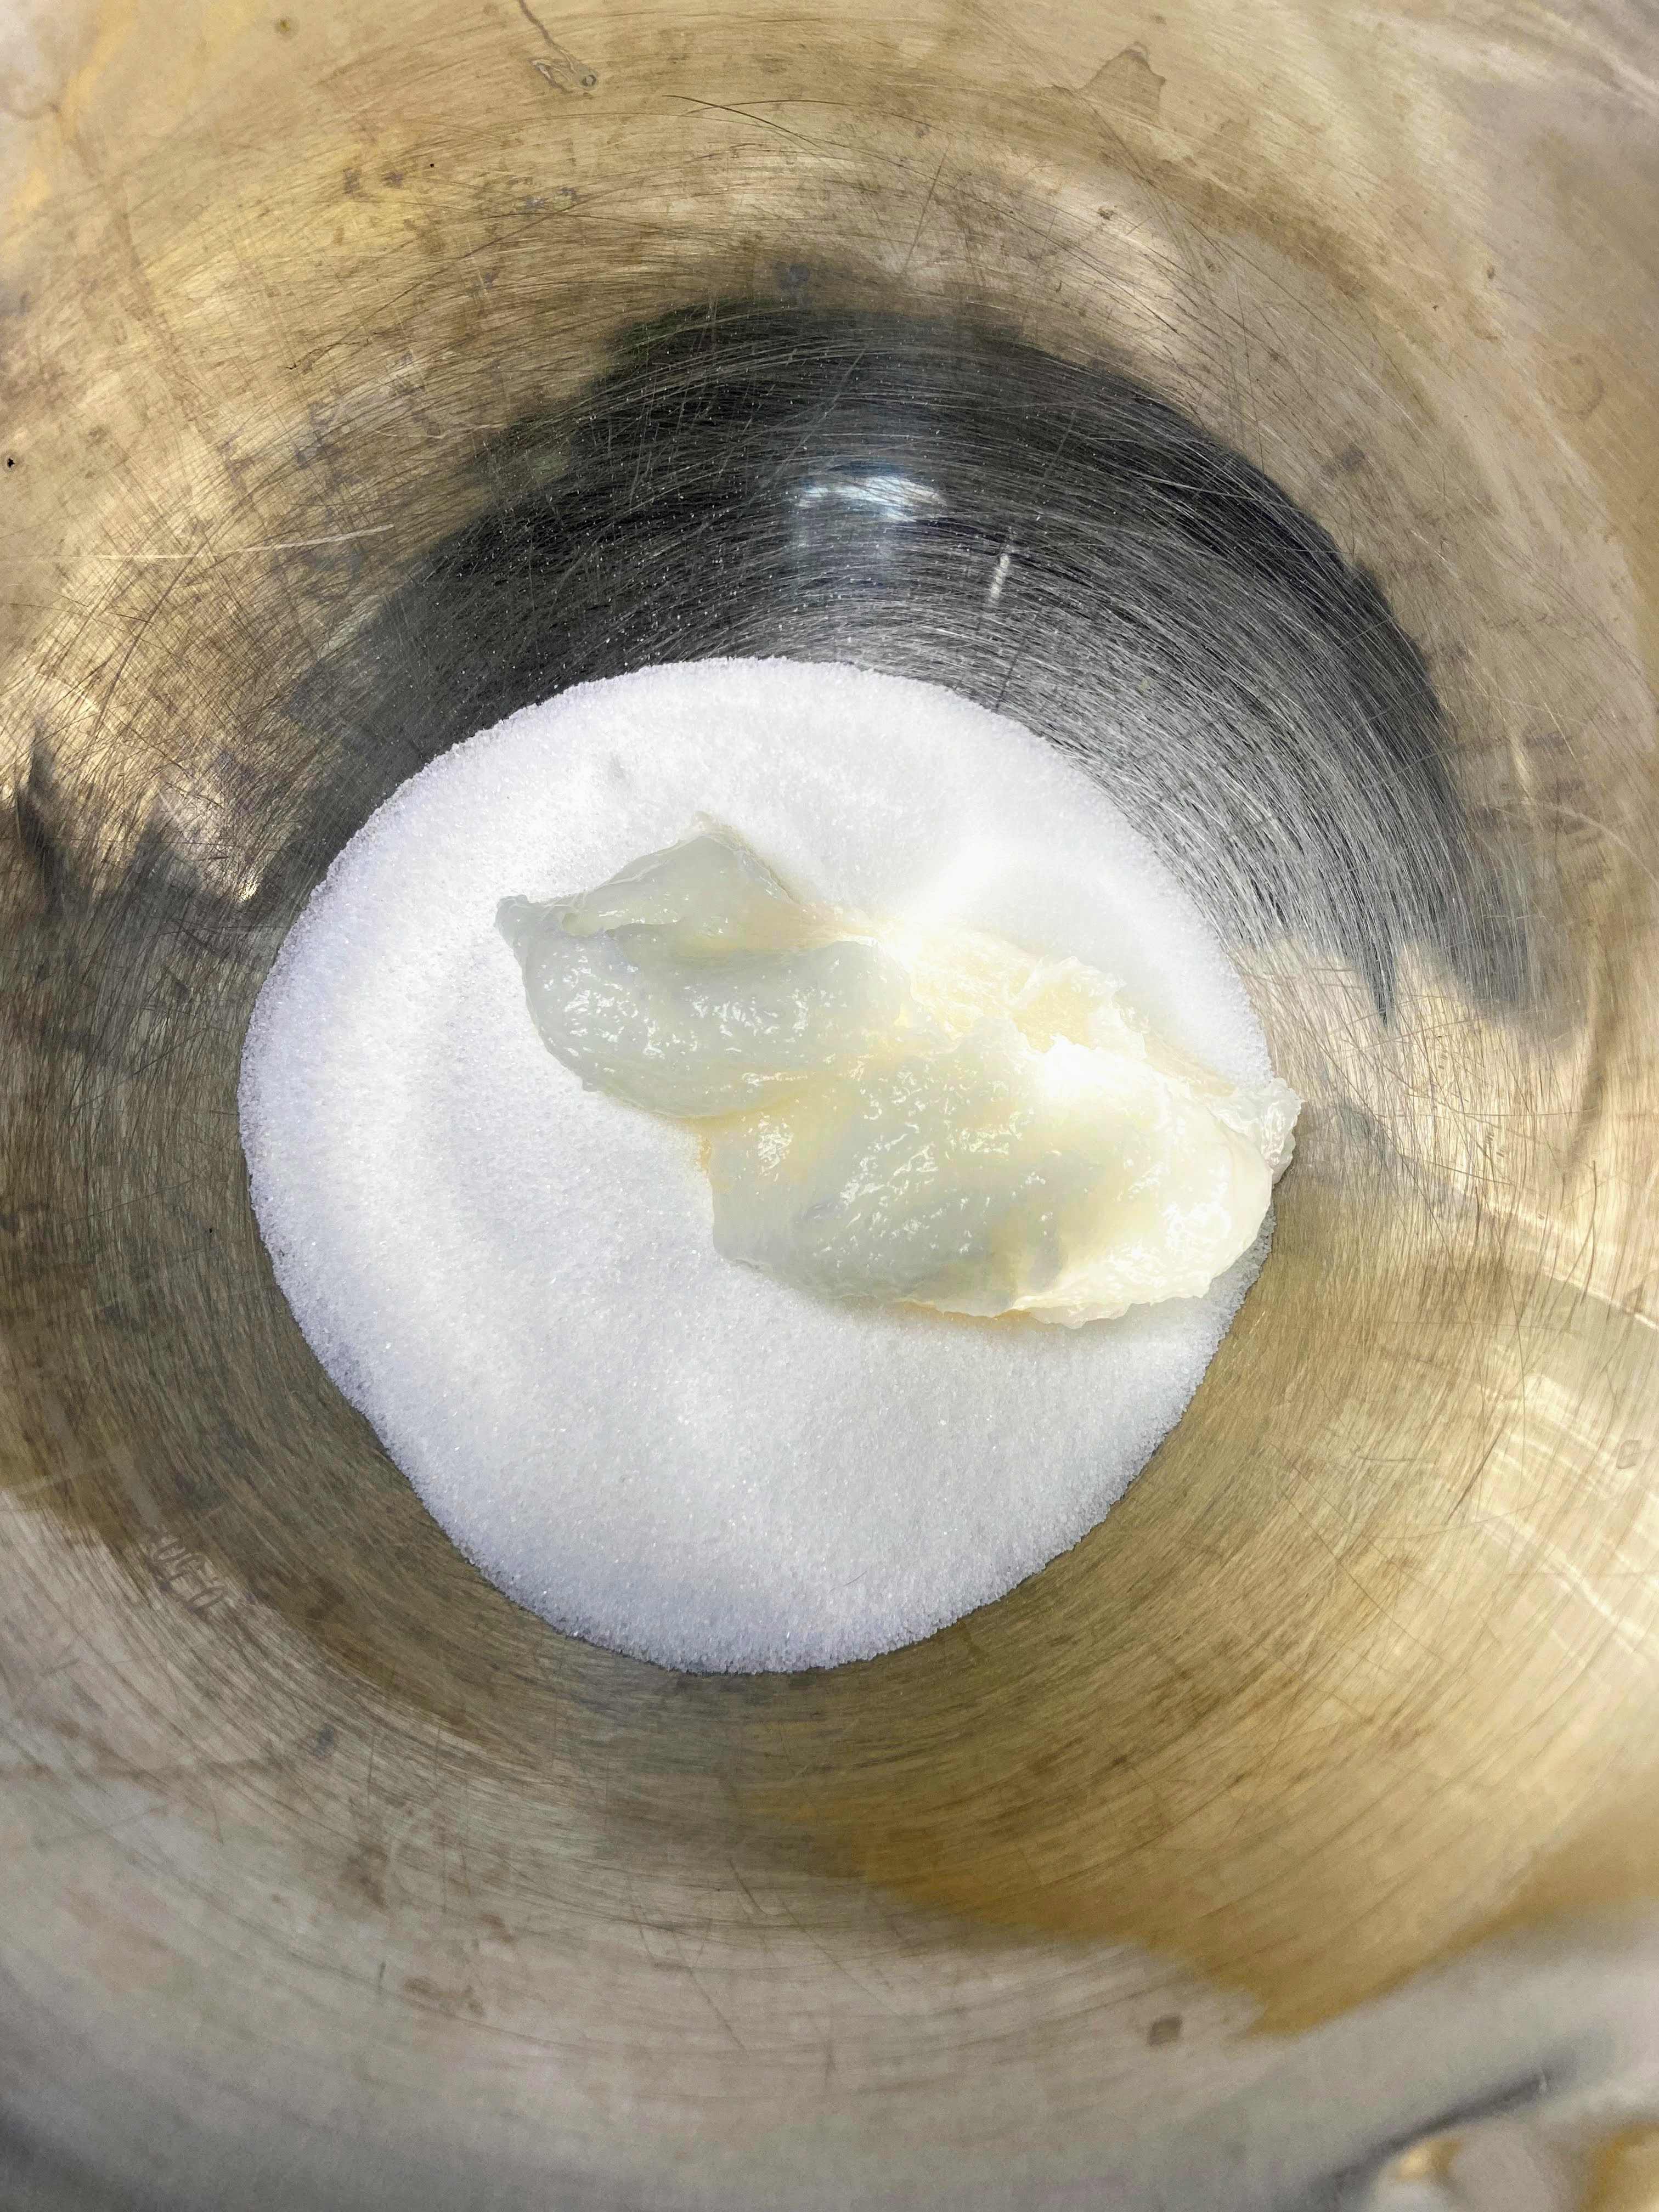
- 3 tablespoons sugar
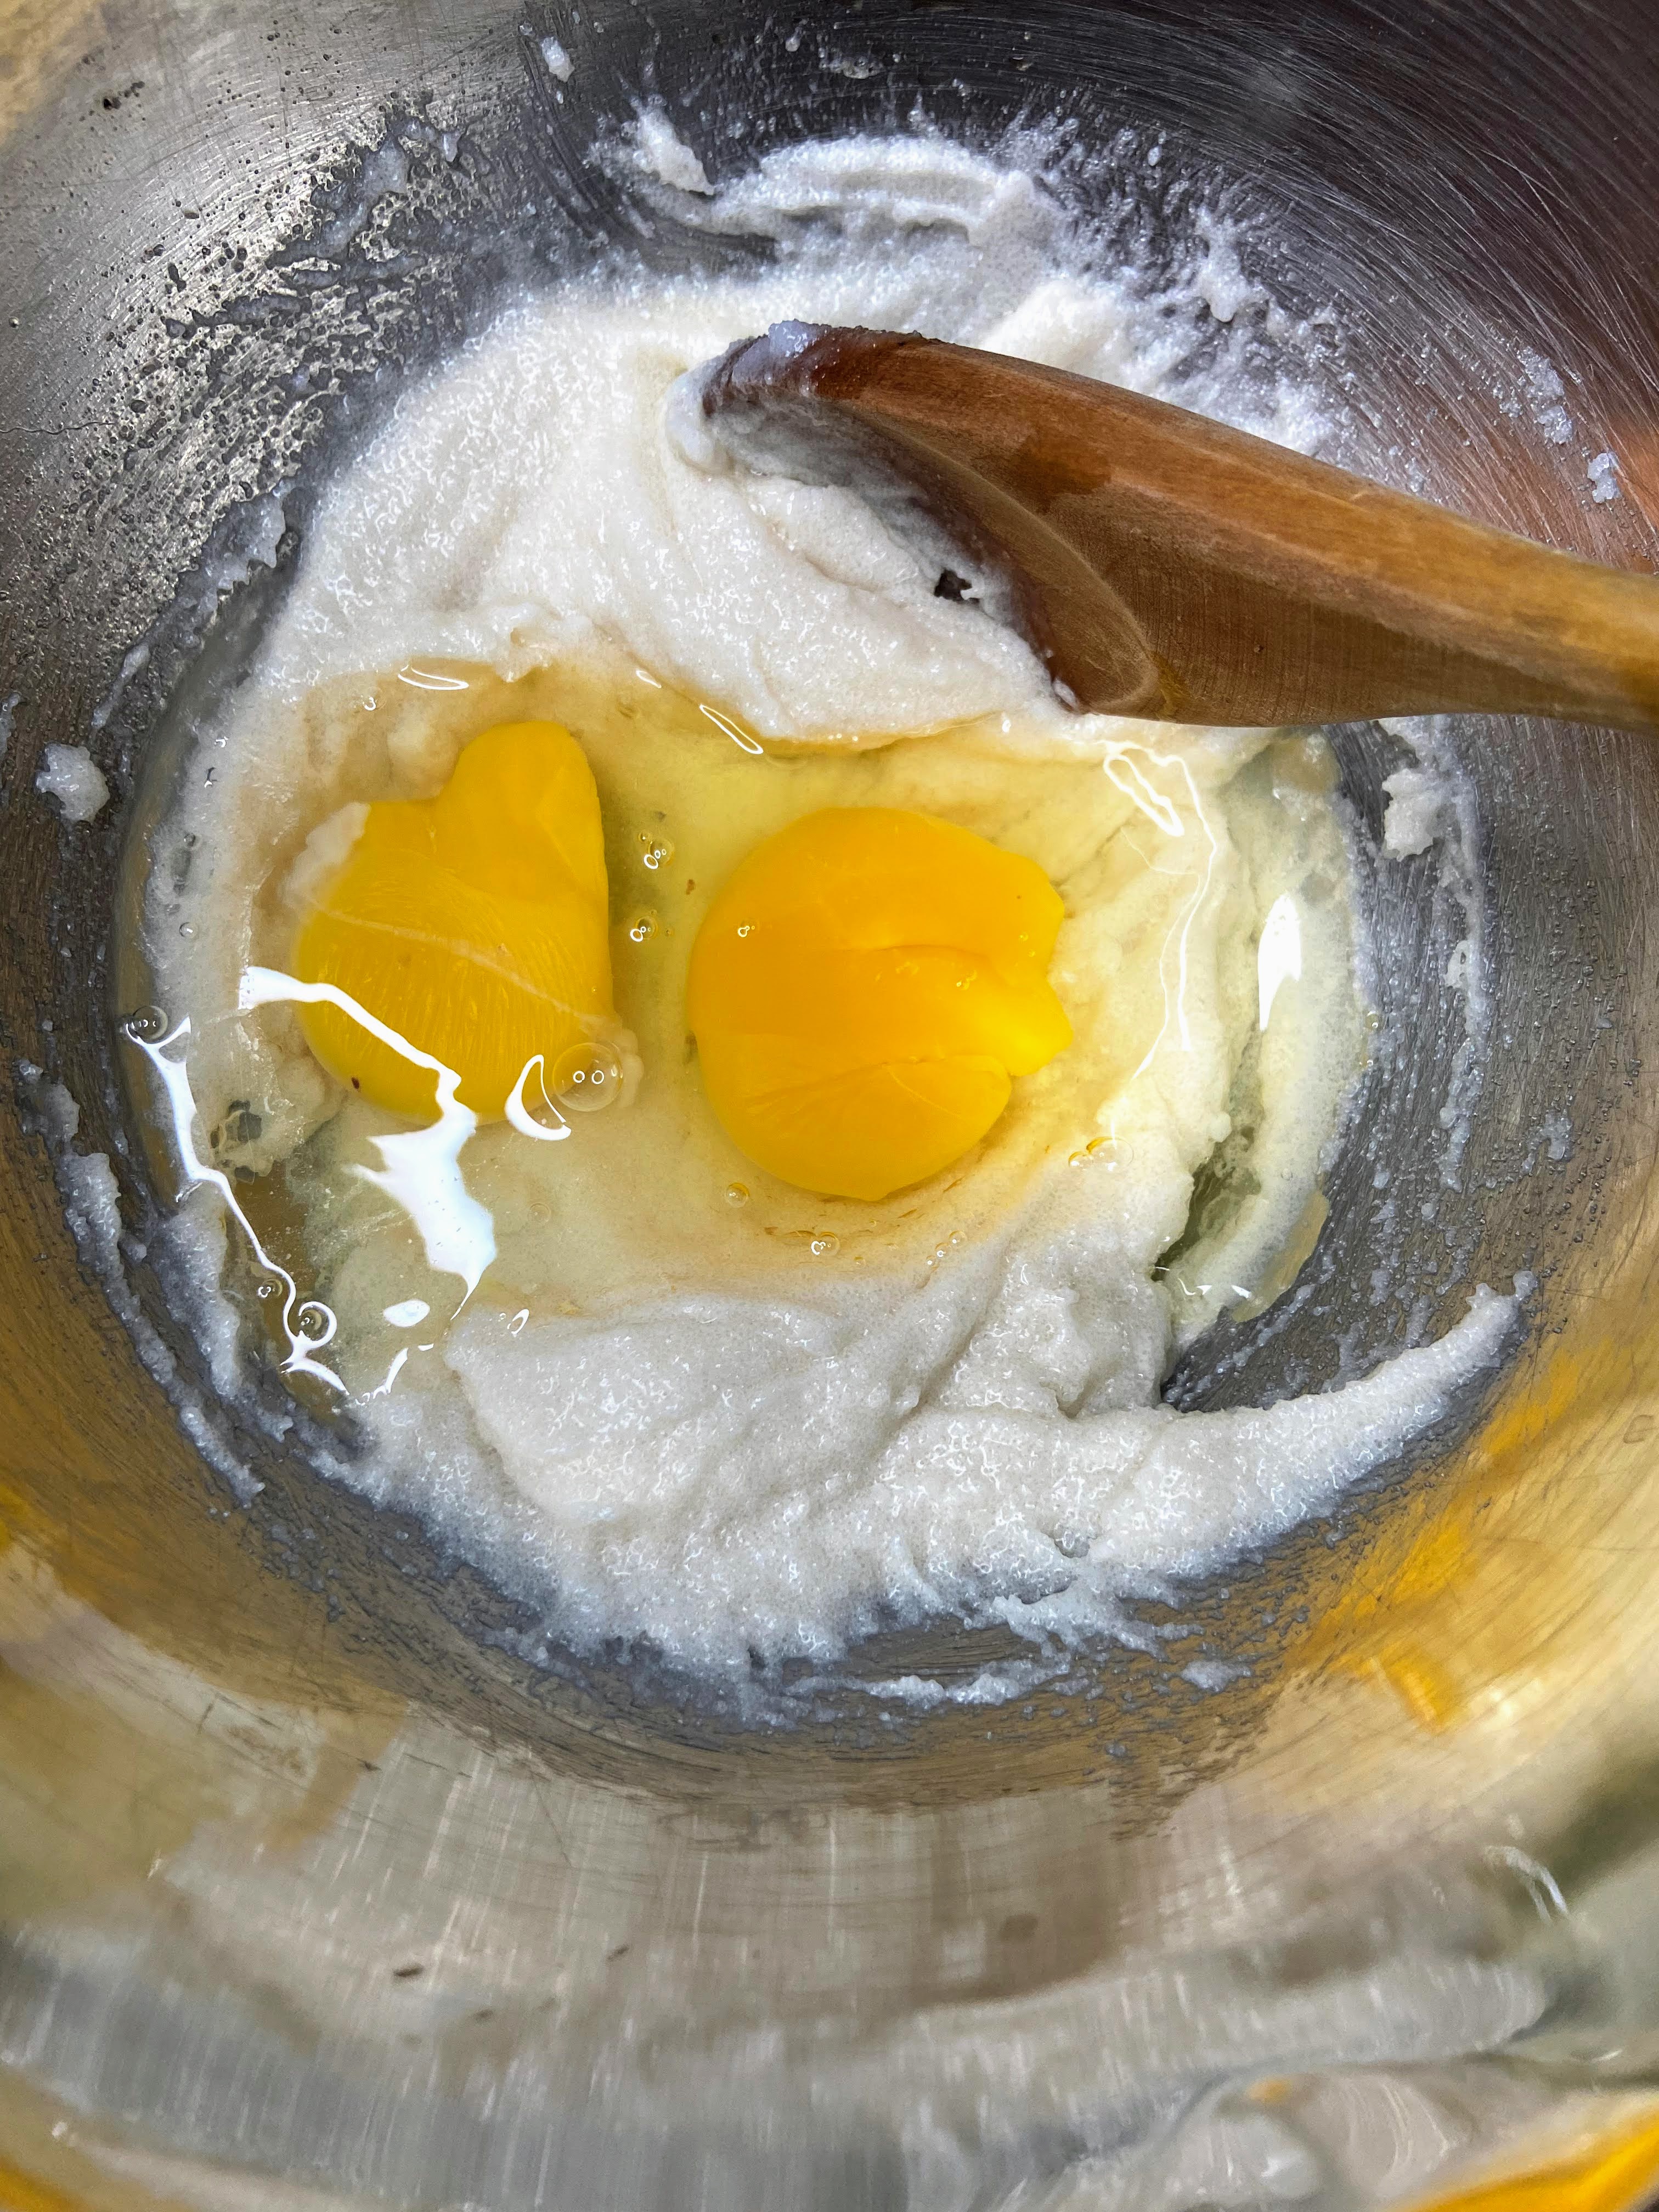
- 1 large egg, beaten
- 3 1/2 cups all purpose flour
- 1 1/4 teaspoon salt
- 2-3 tablespoons butter, divided (1 tablespoon softened and remaining melted to brush on top of the rolls prior to baking)
Your Steps
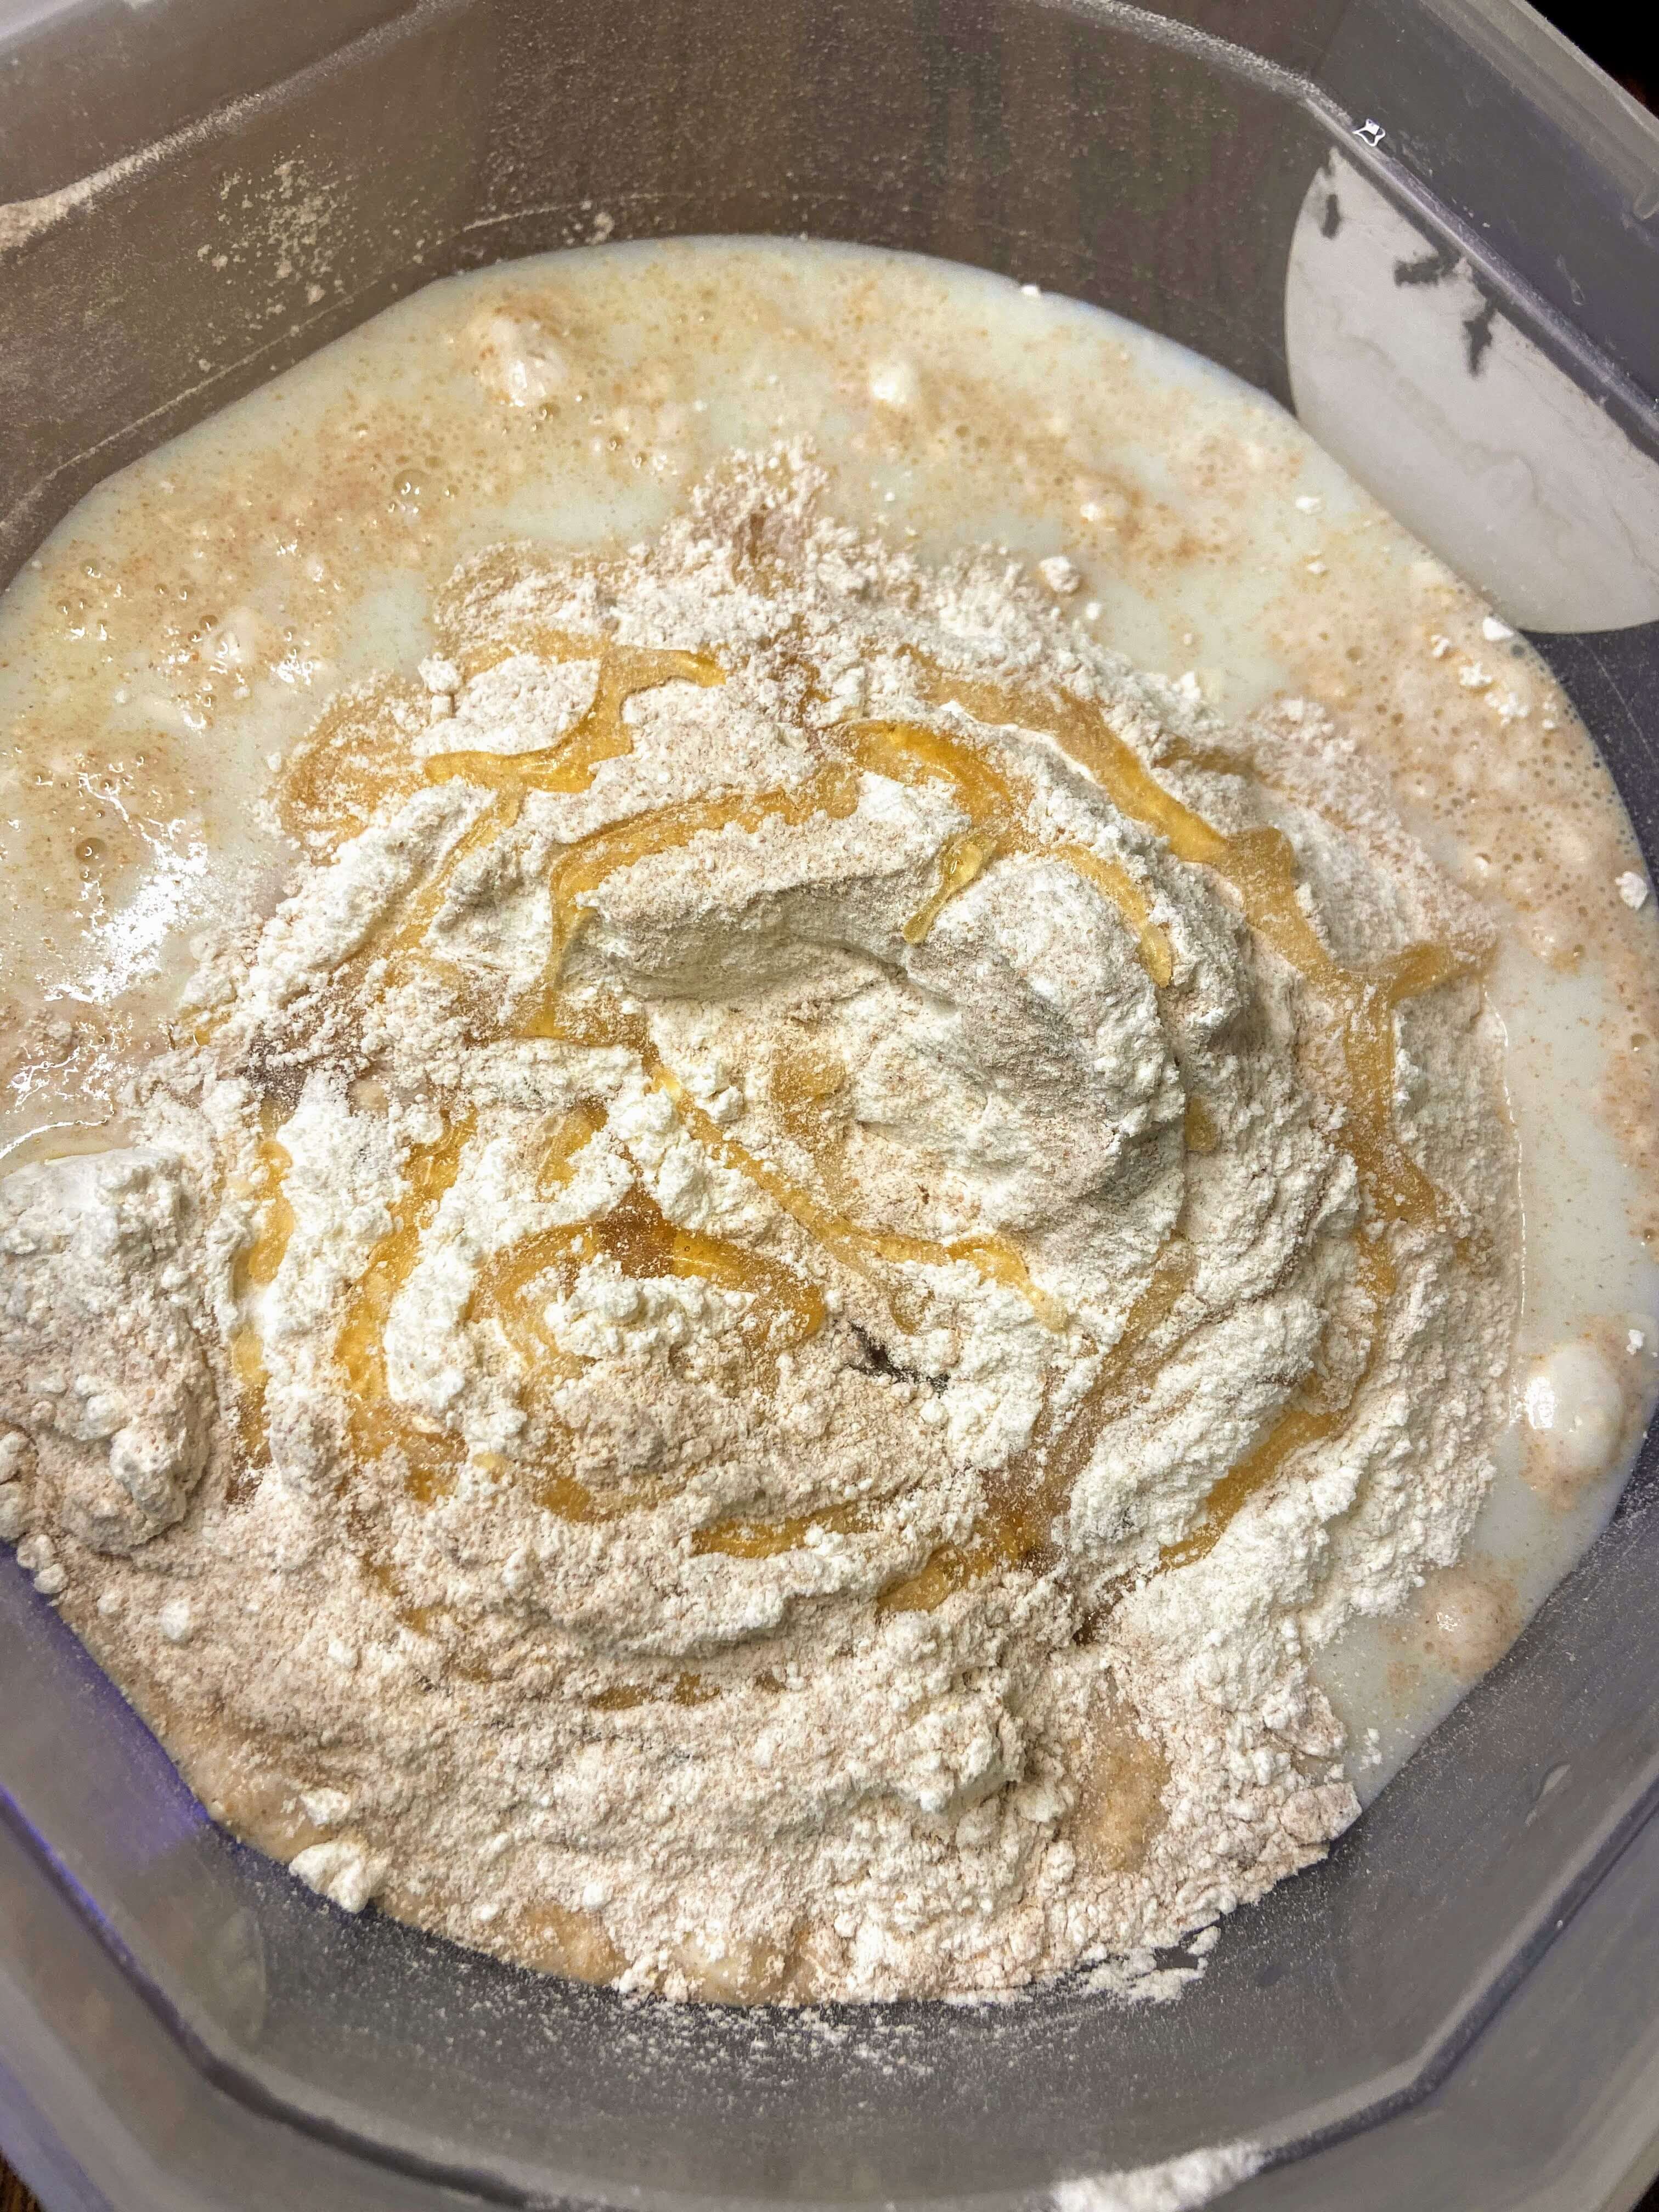
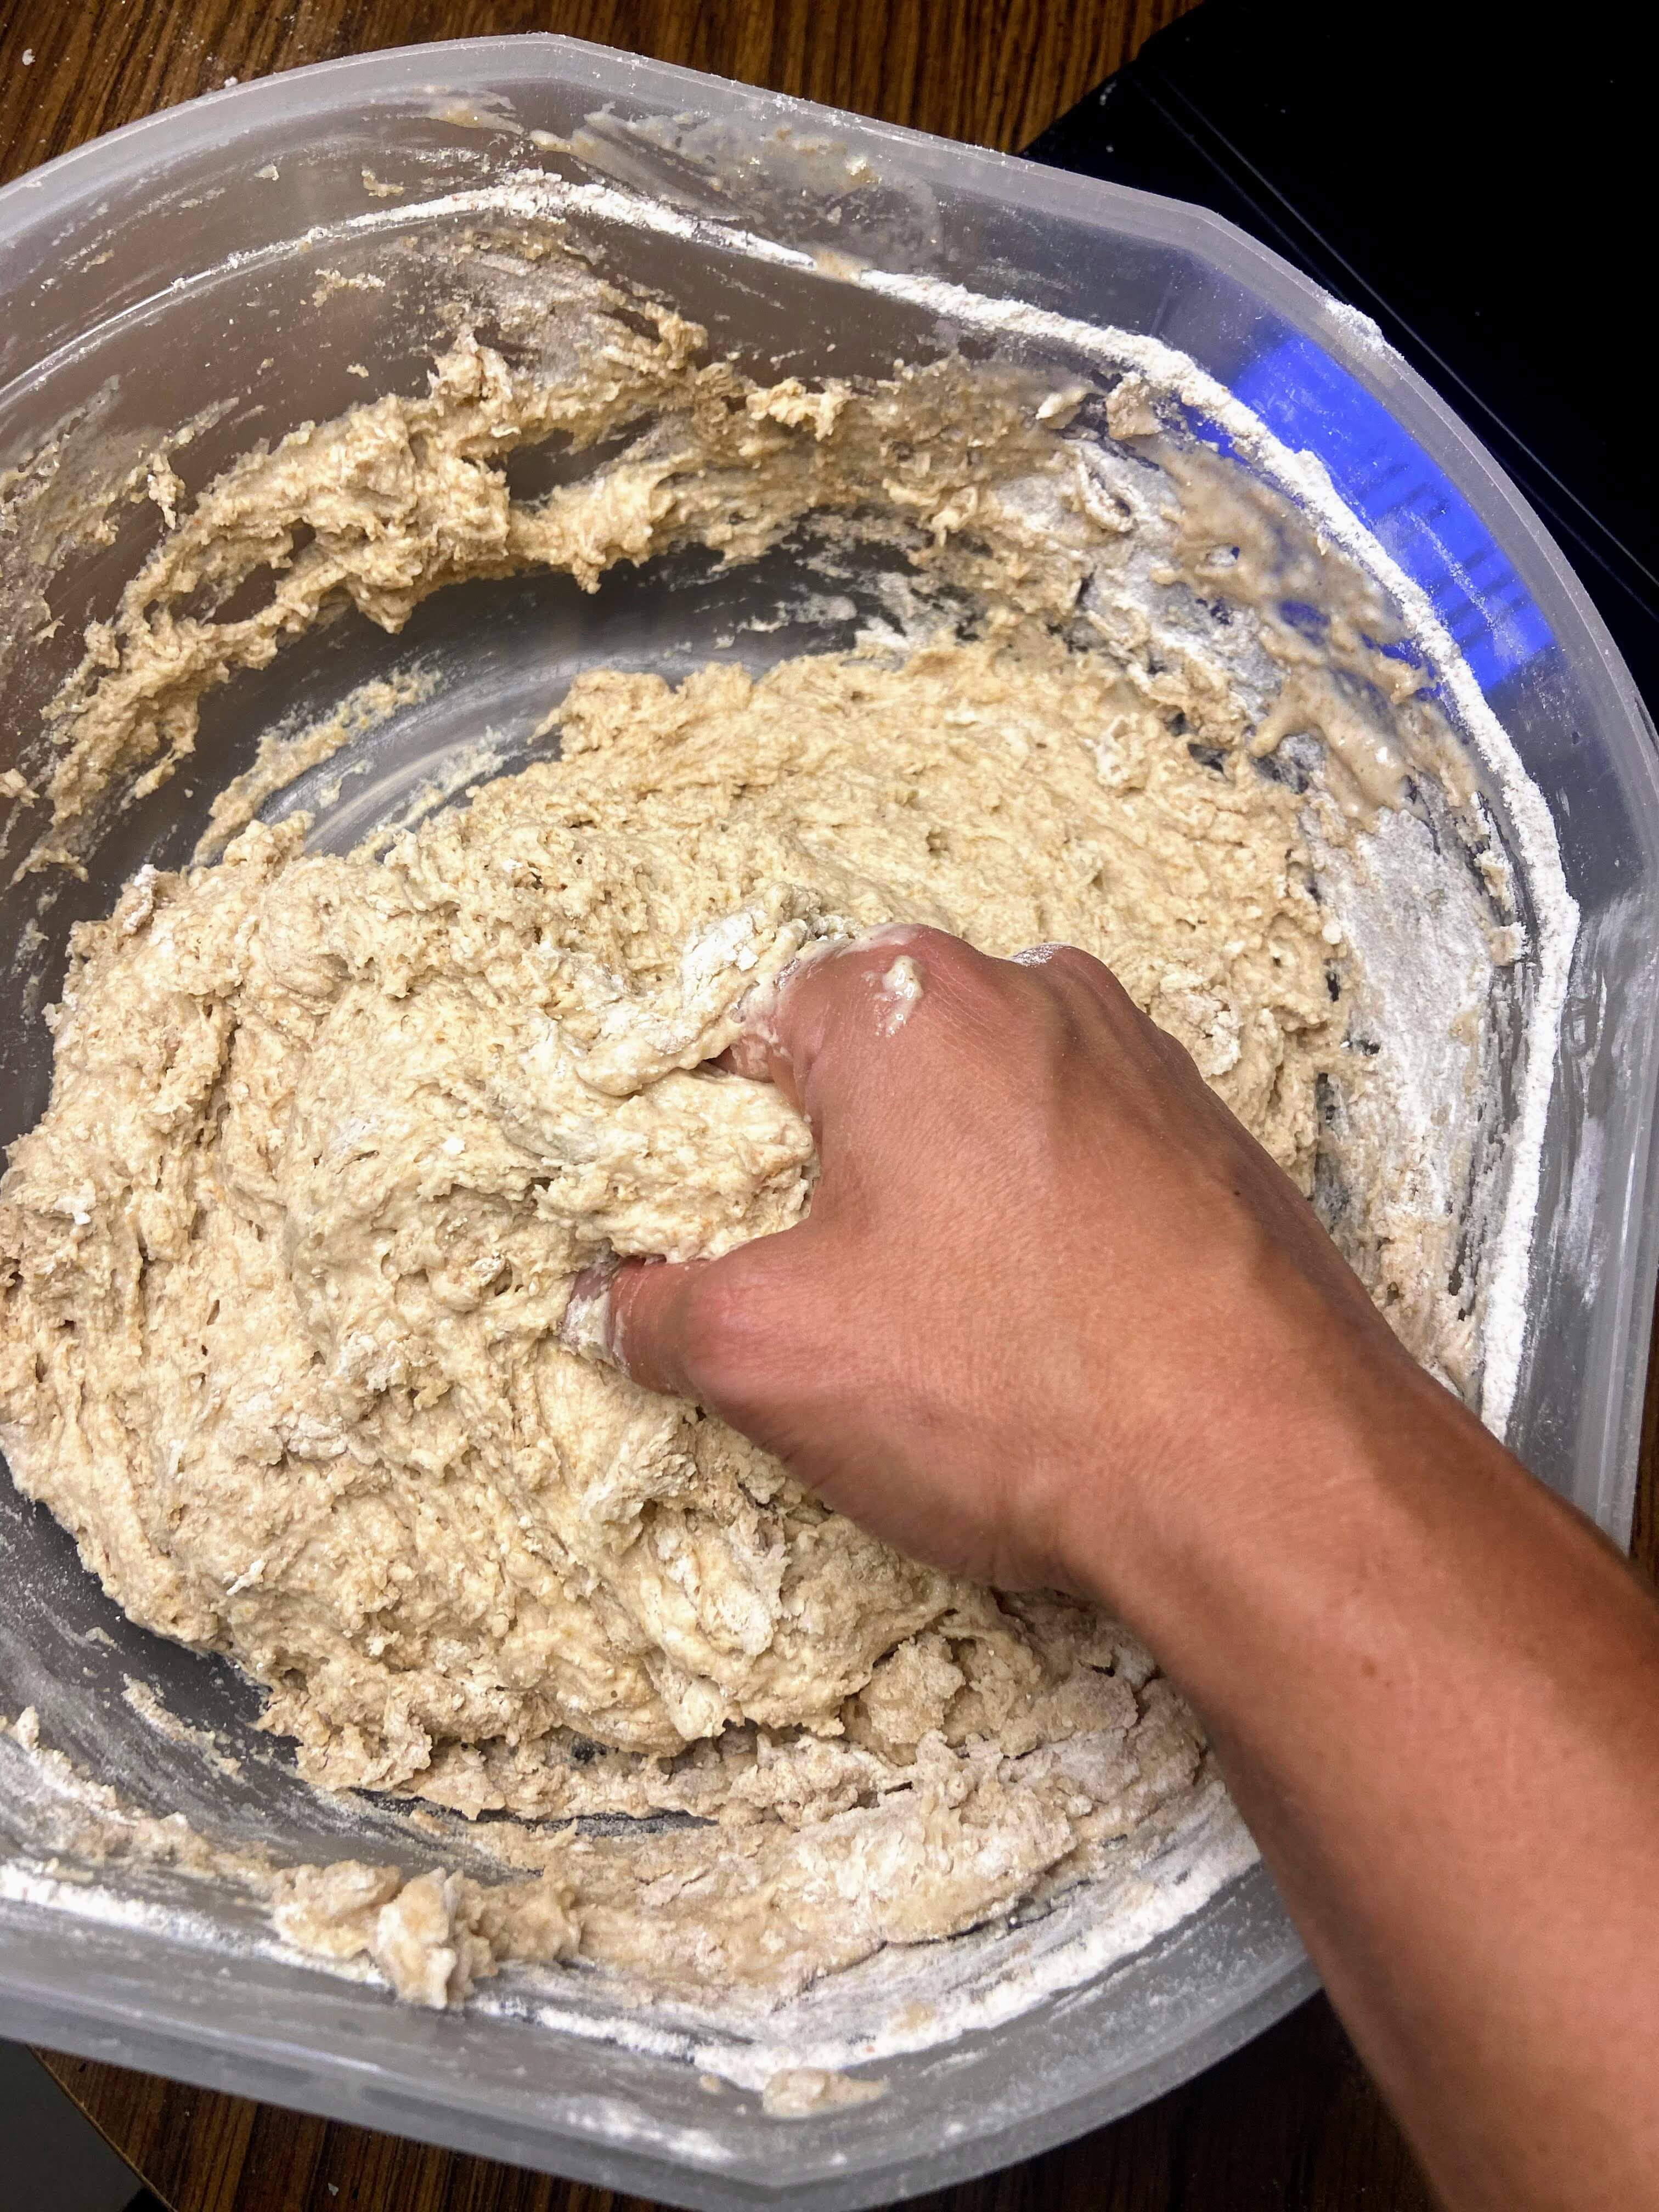
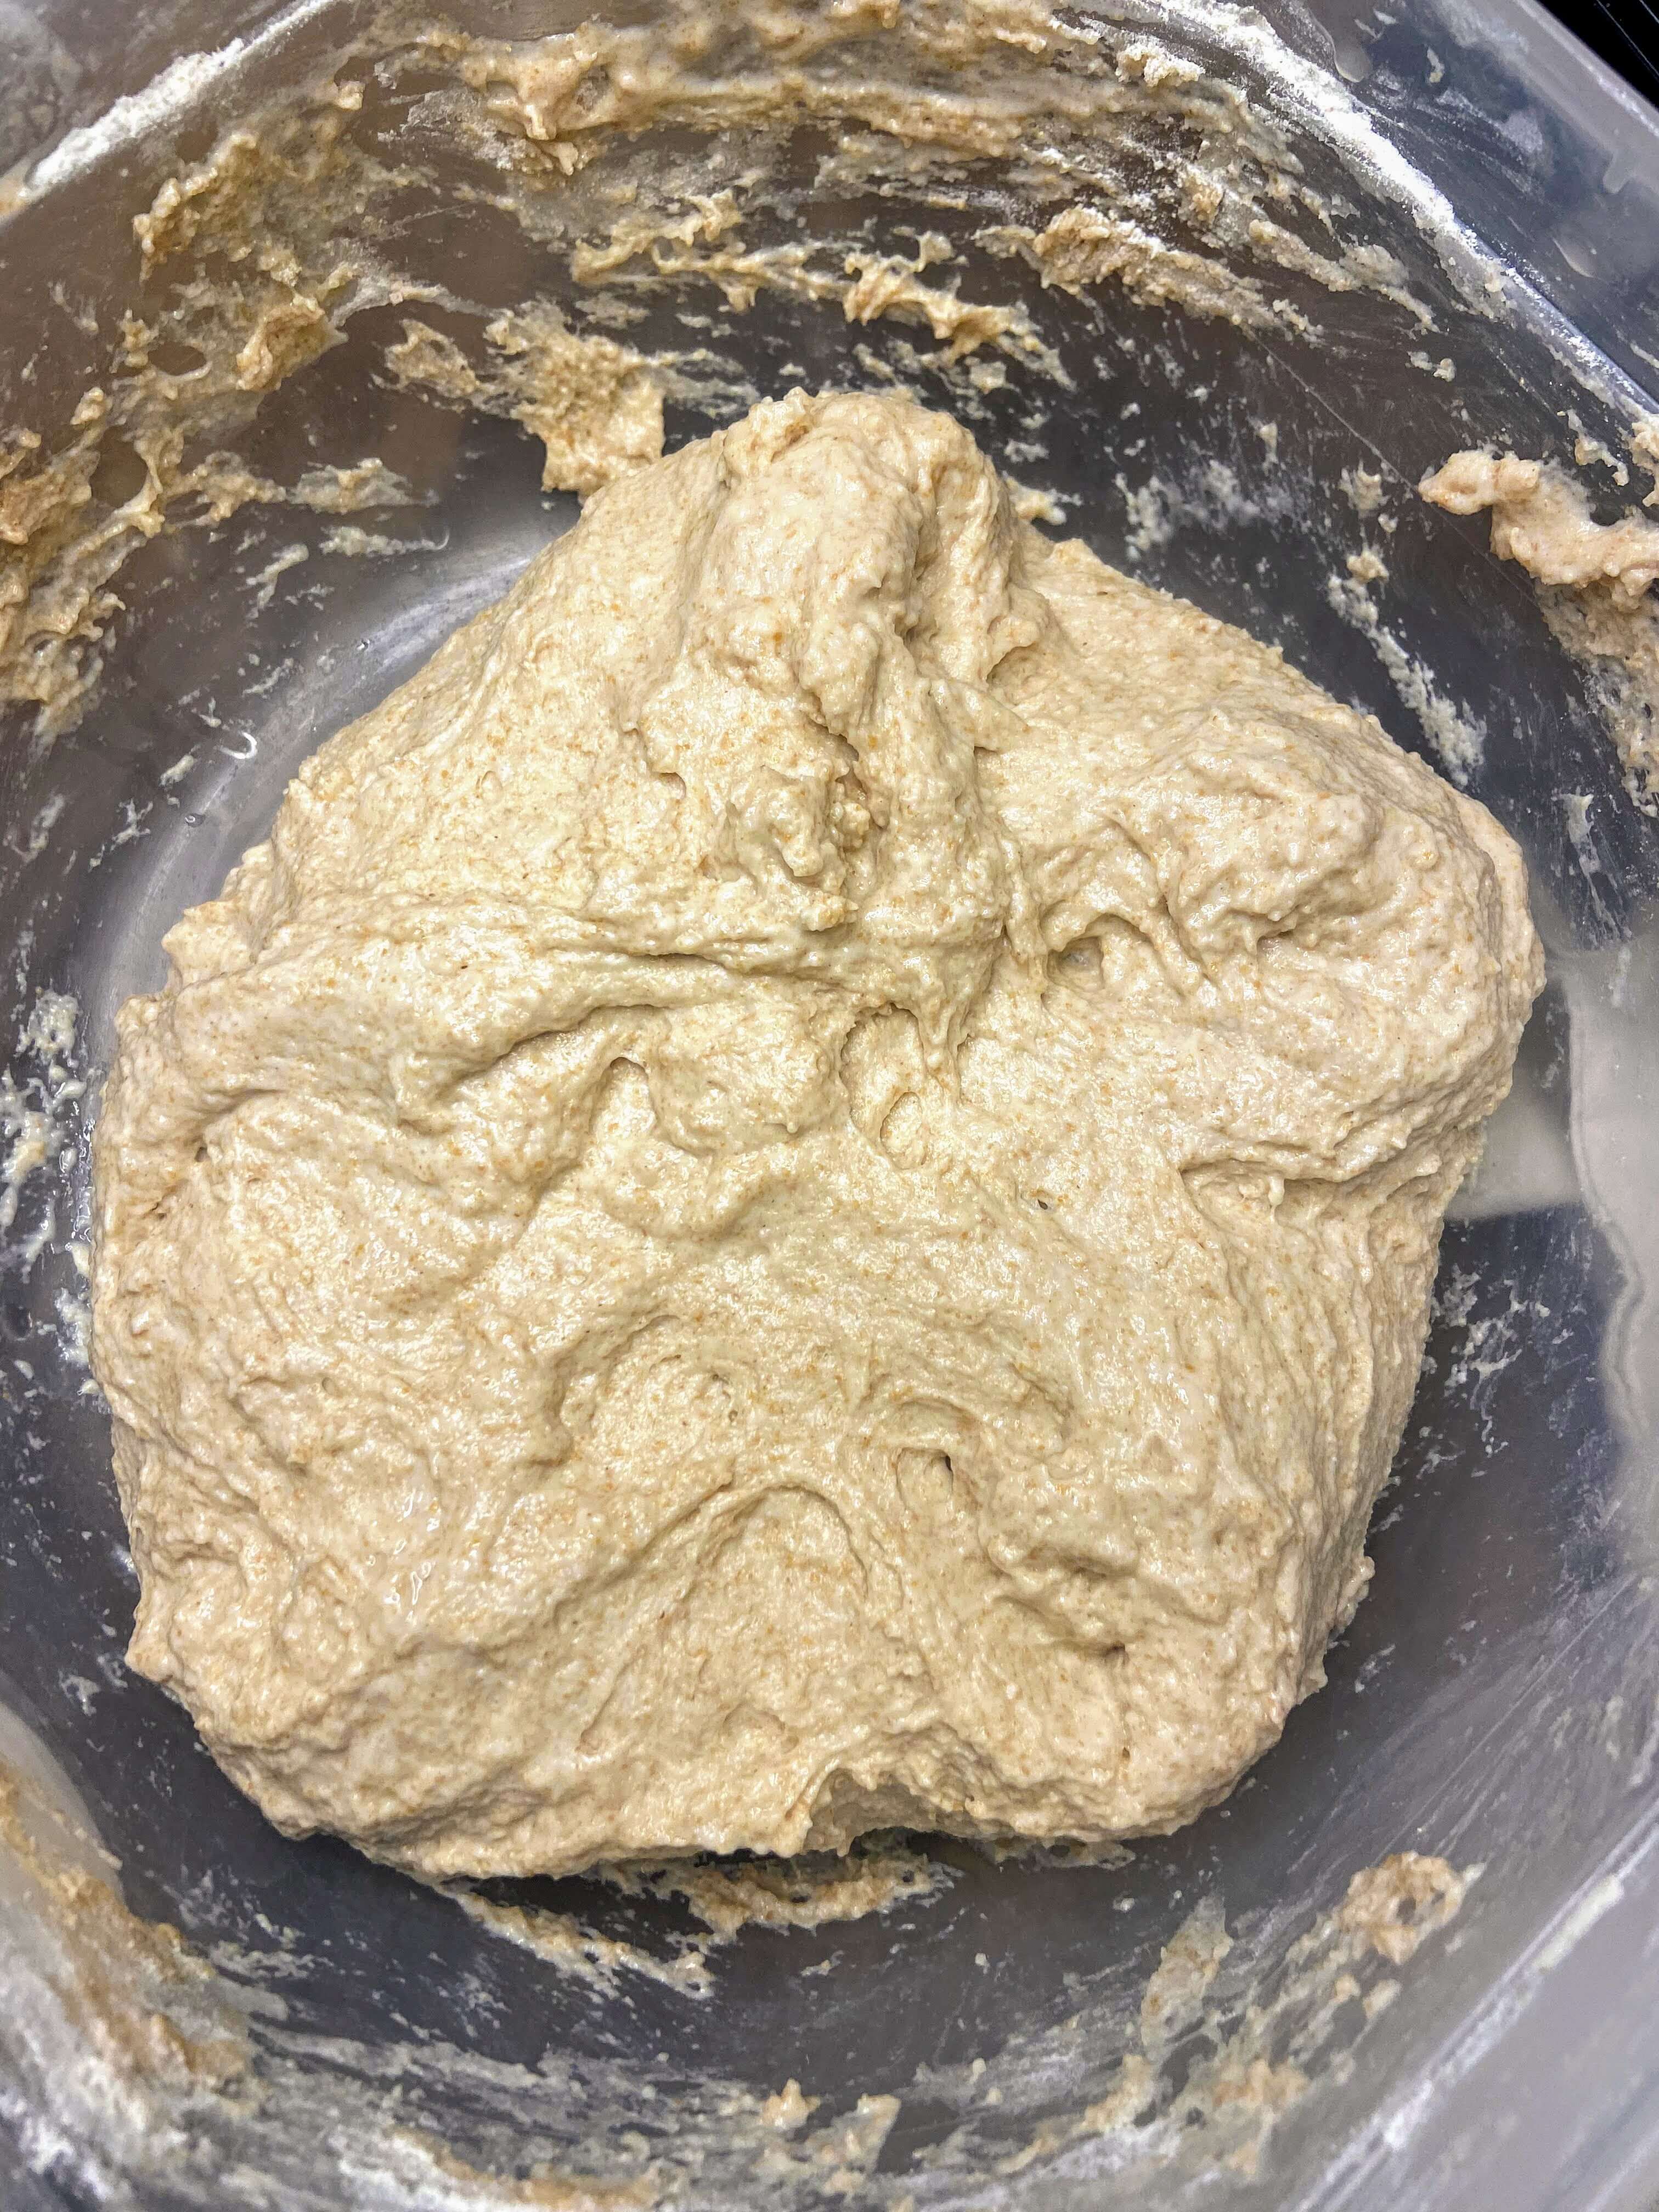
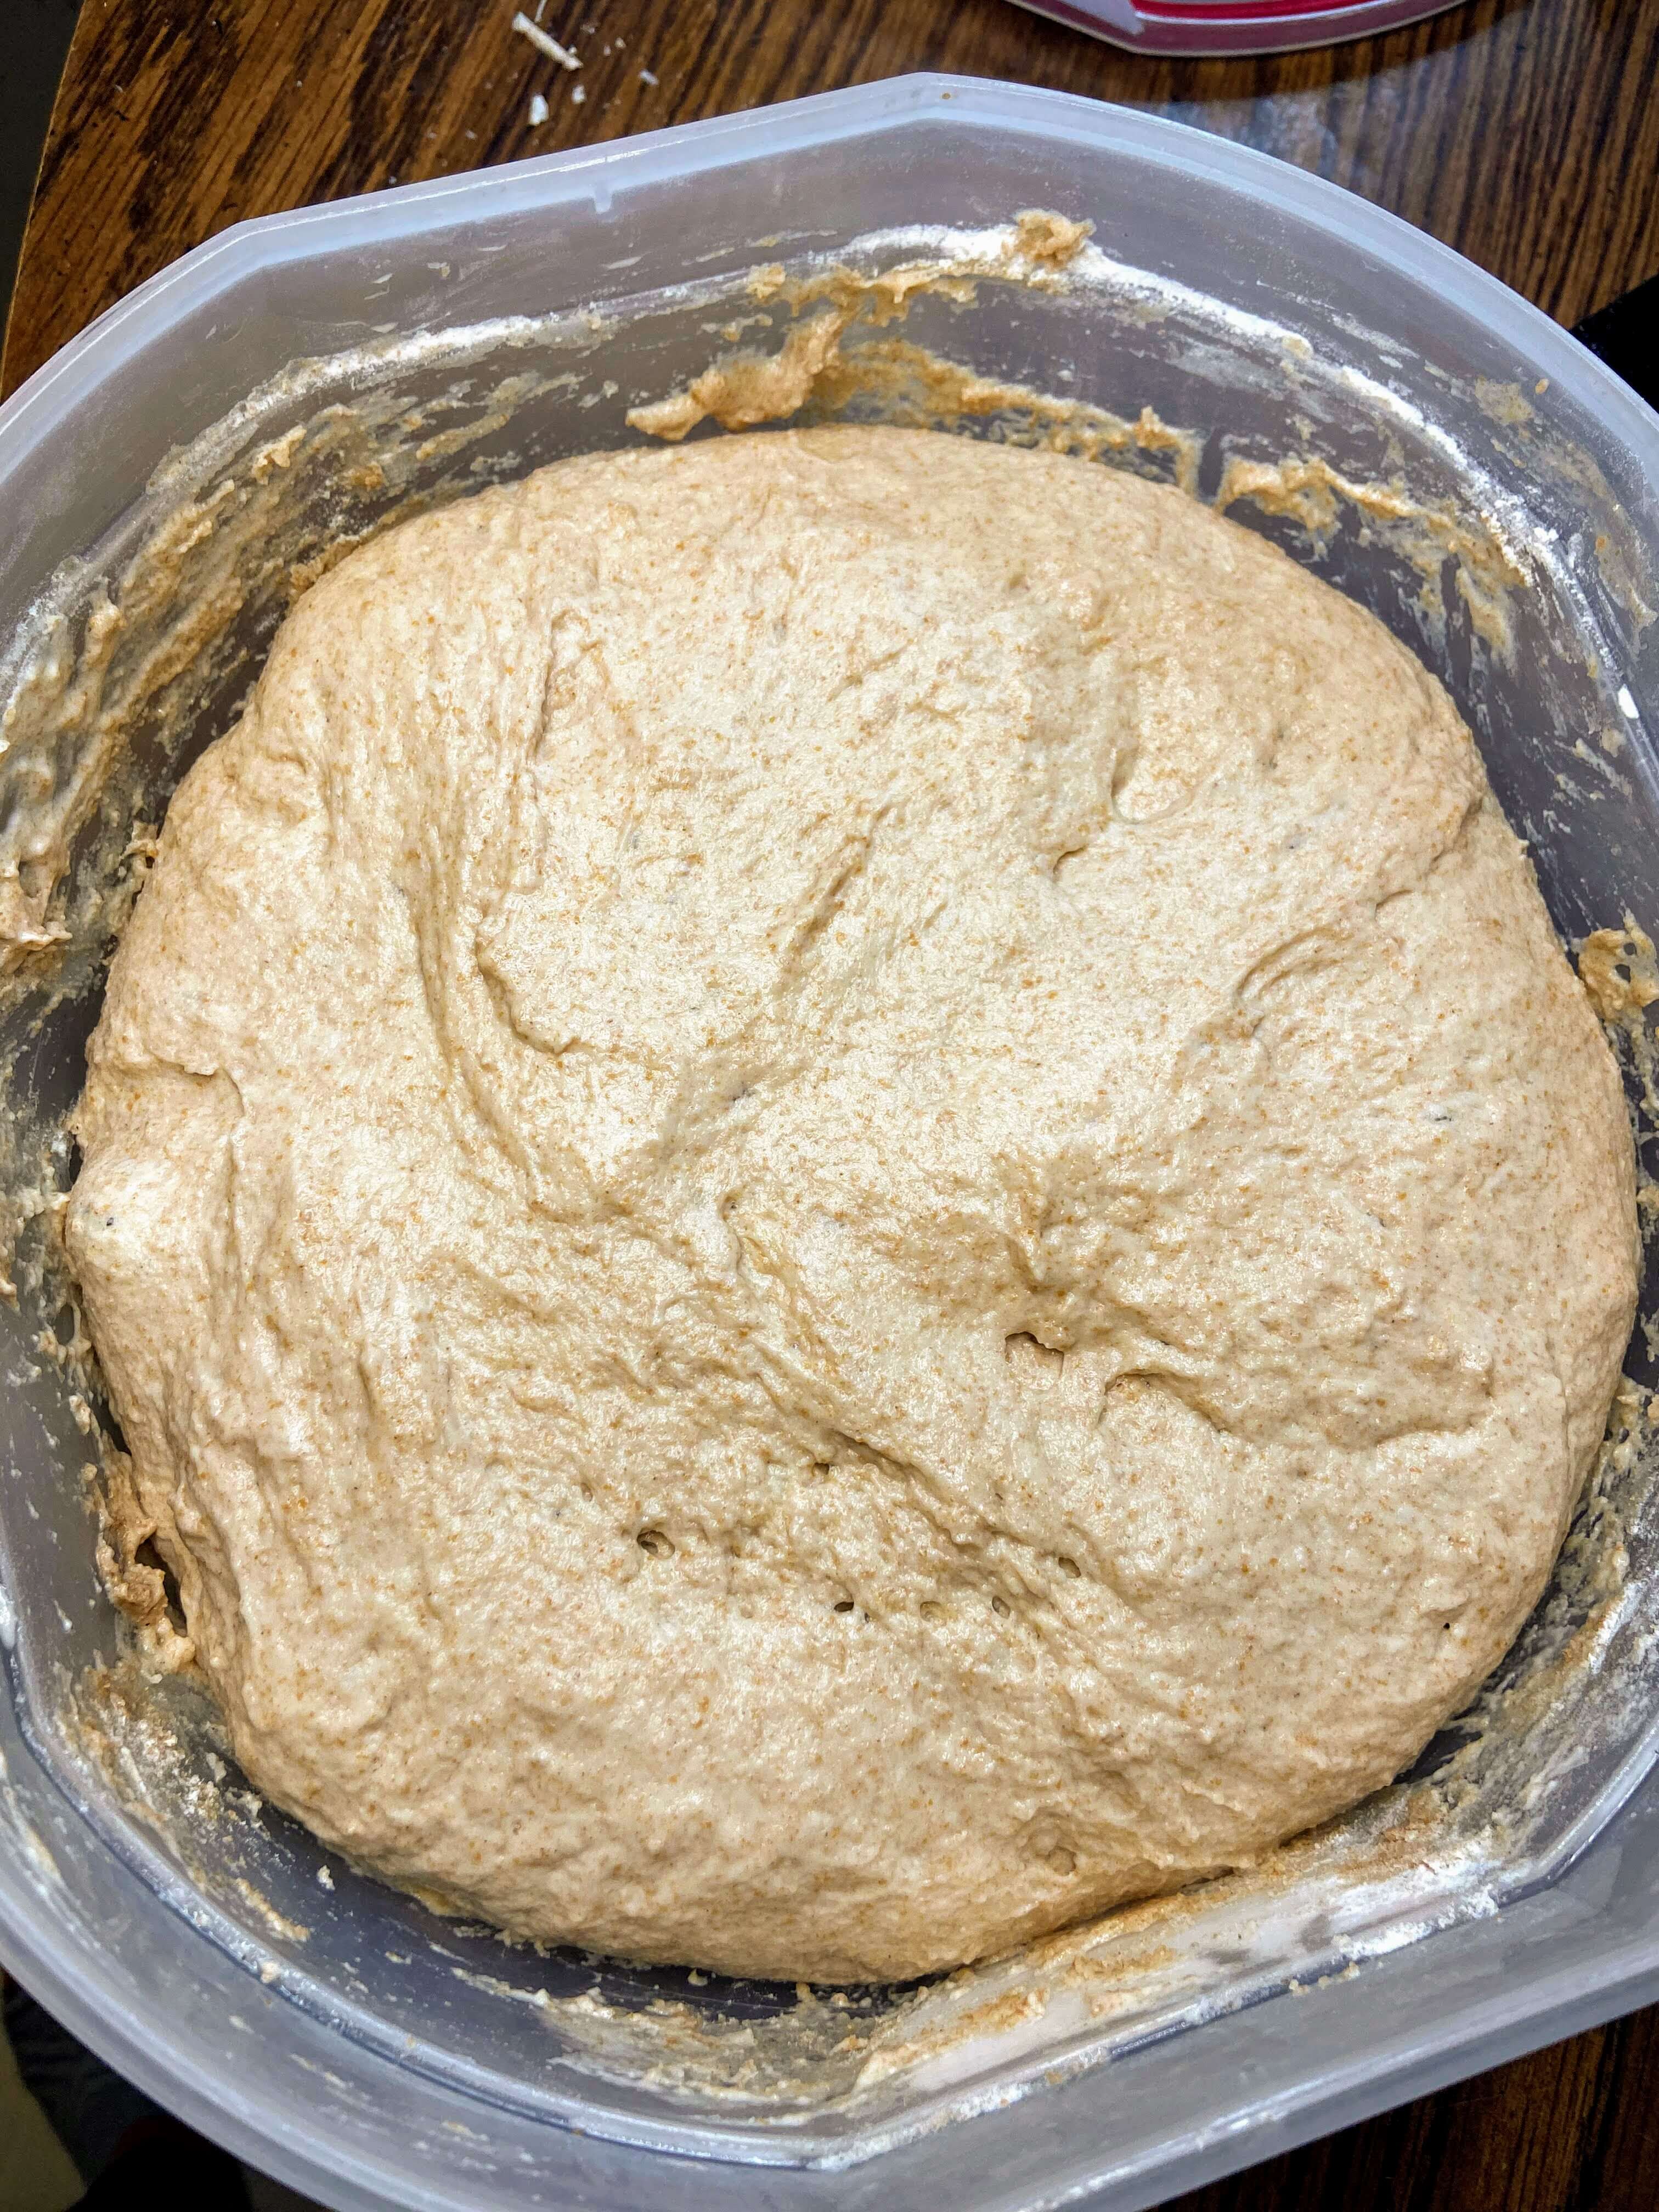
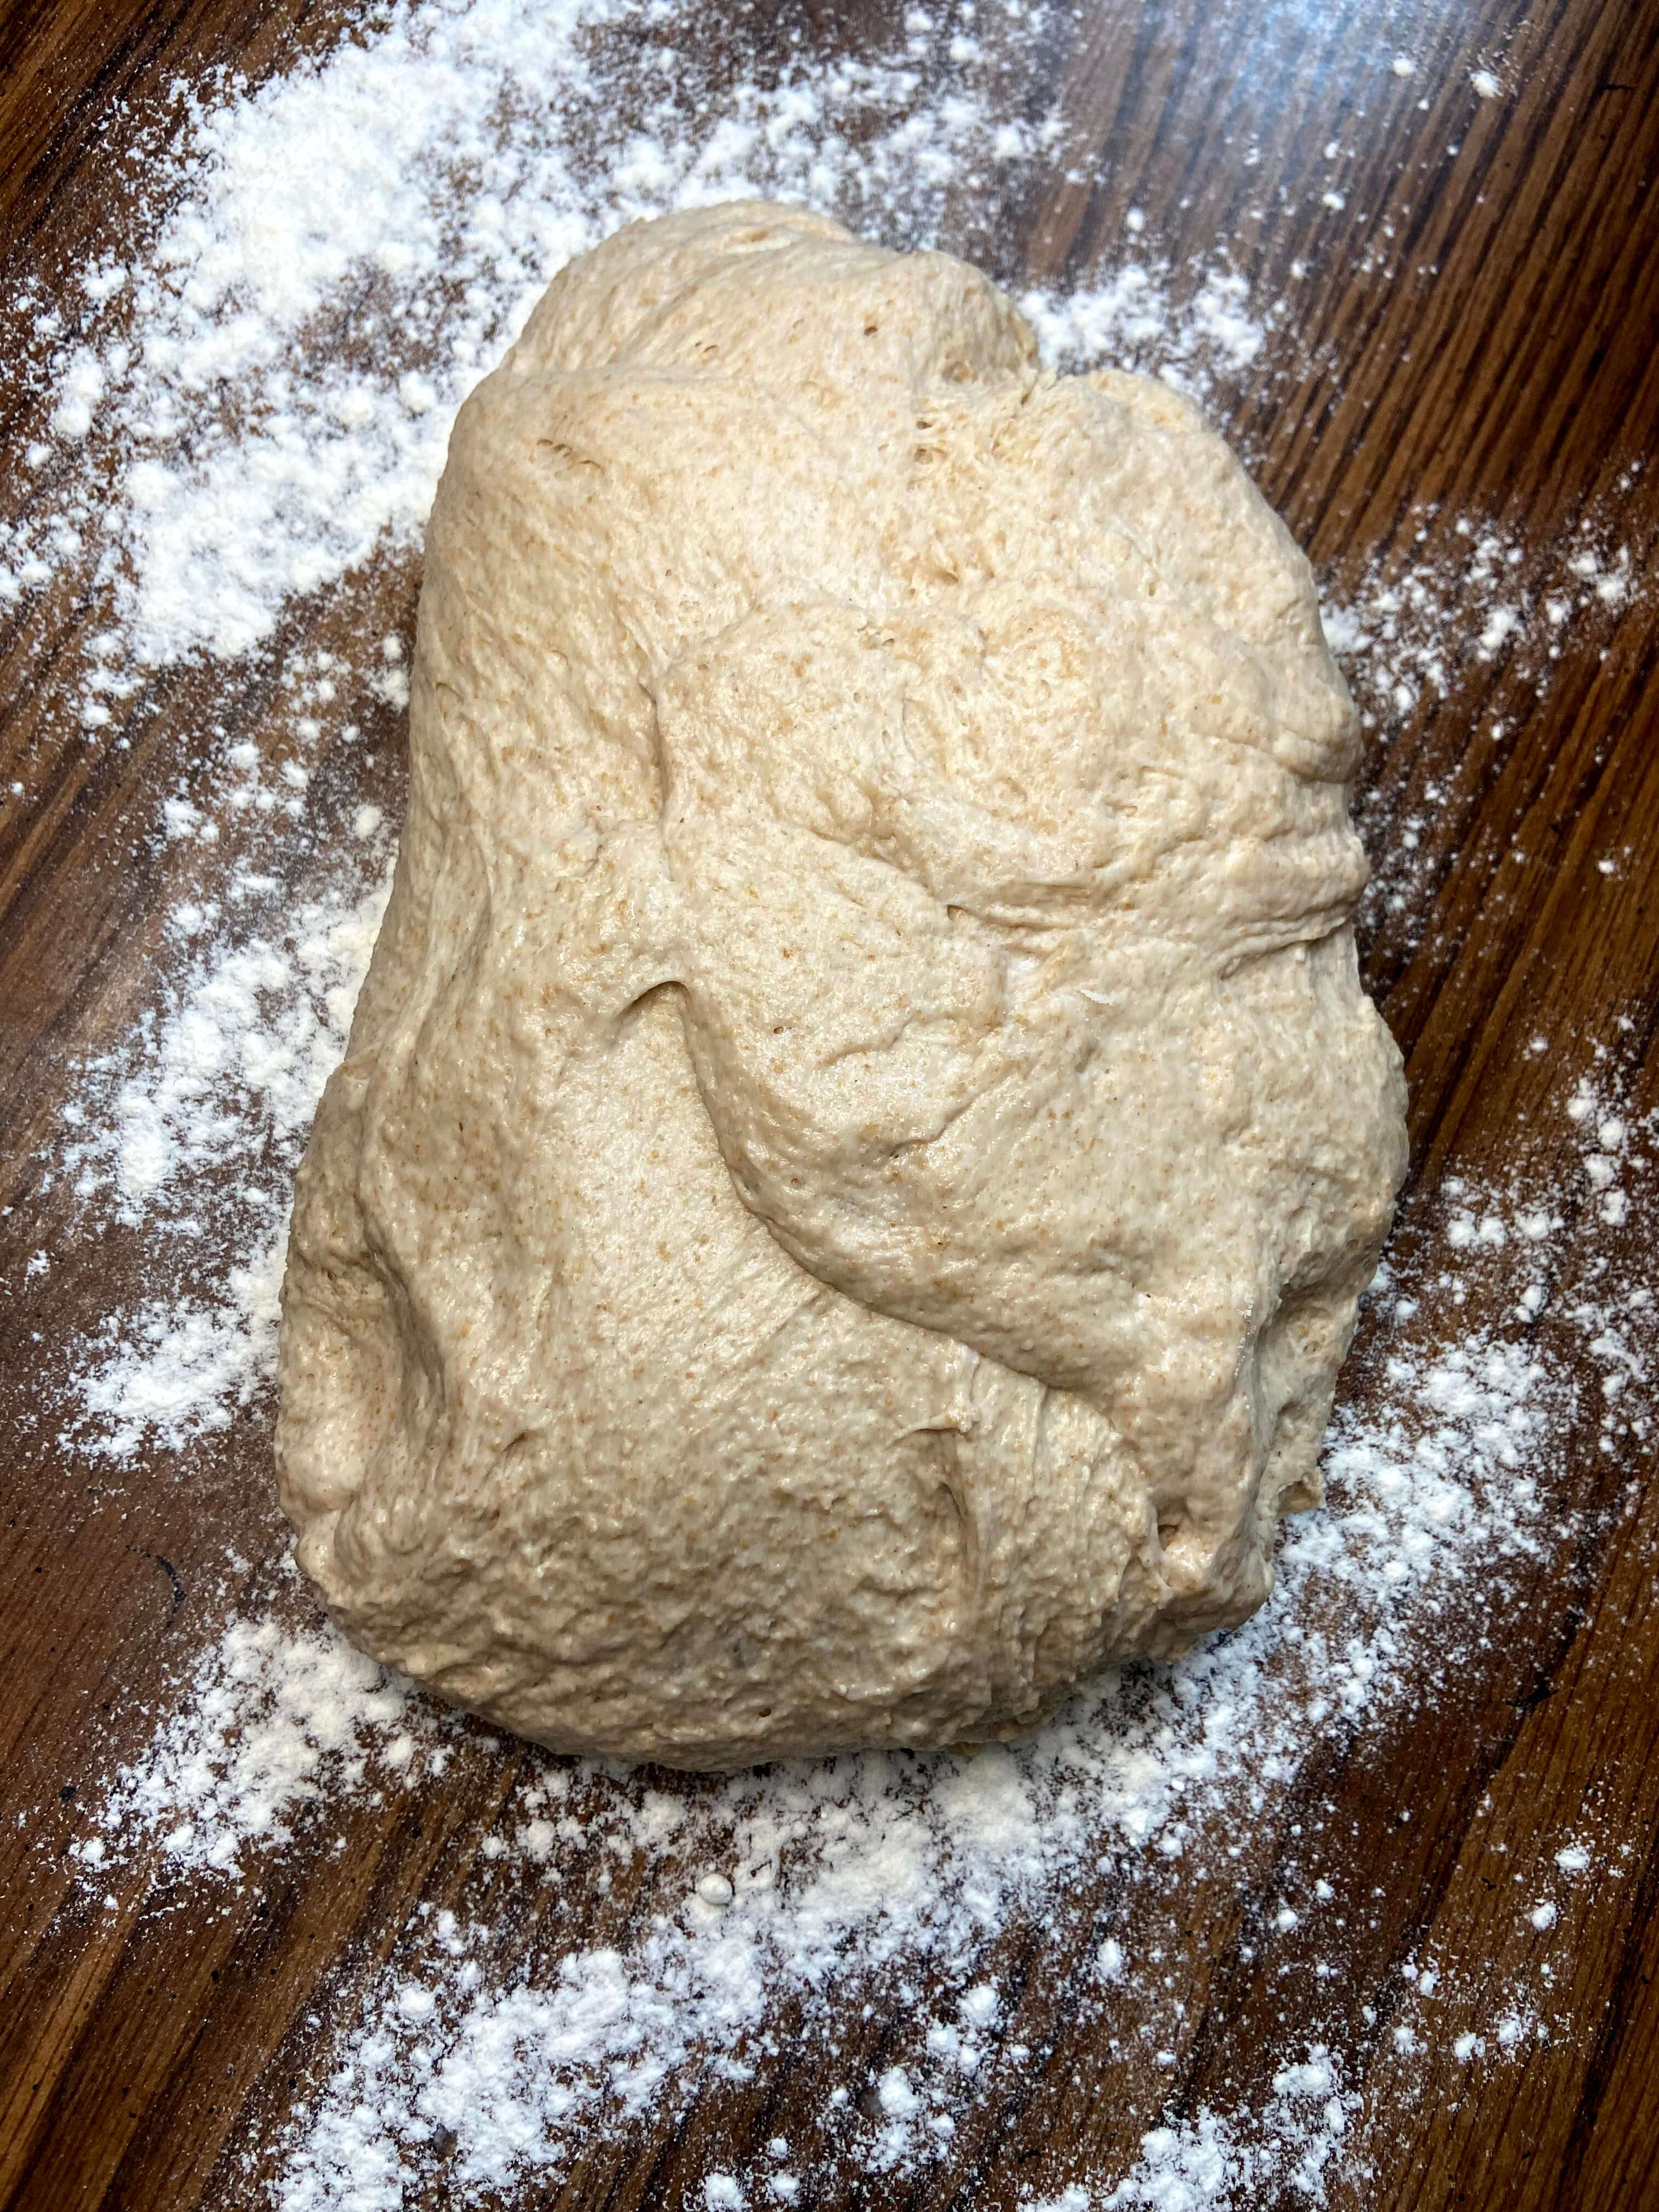
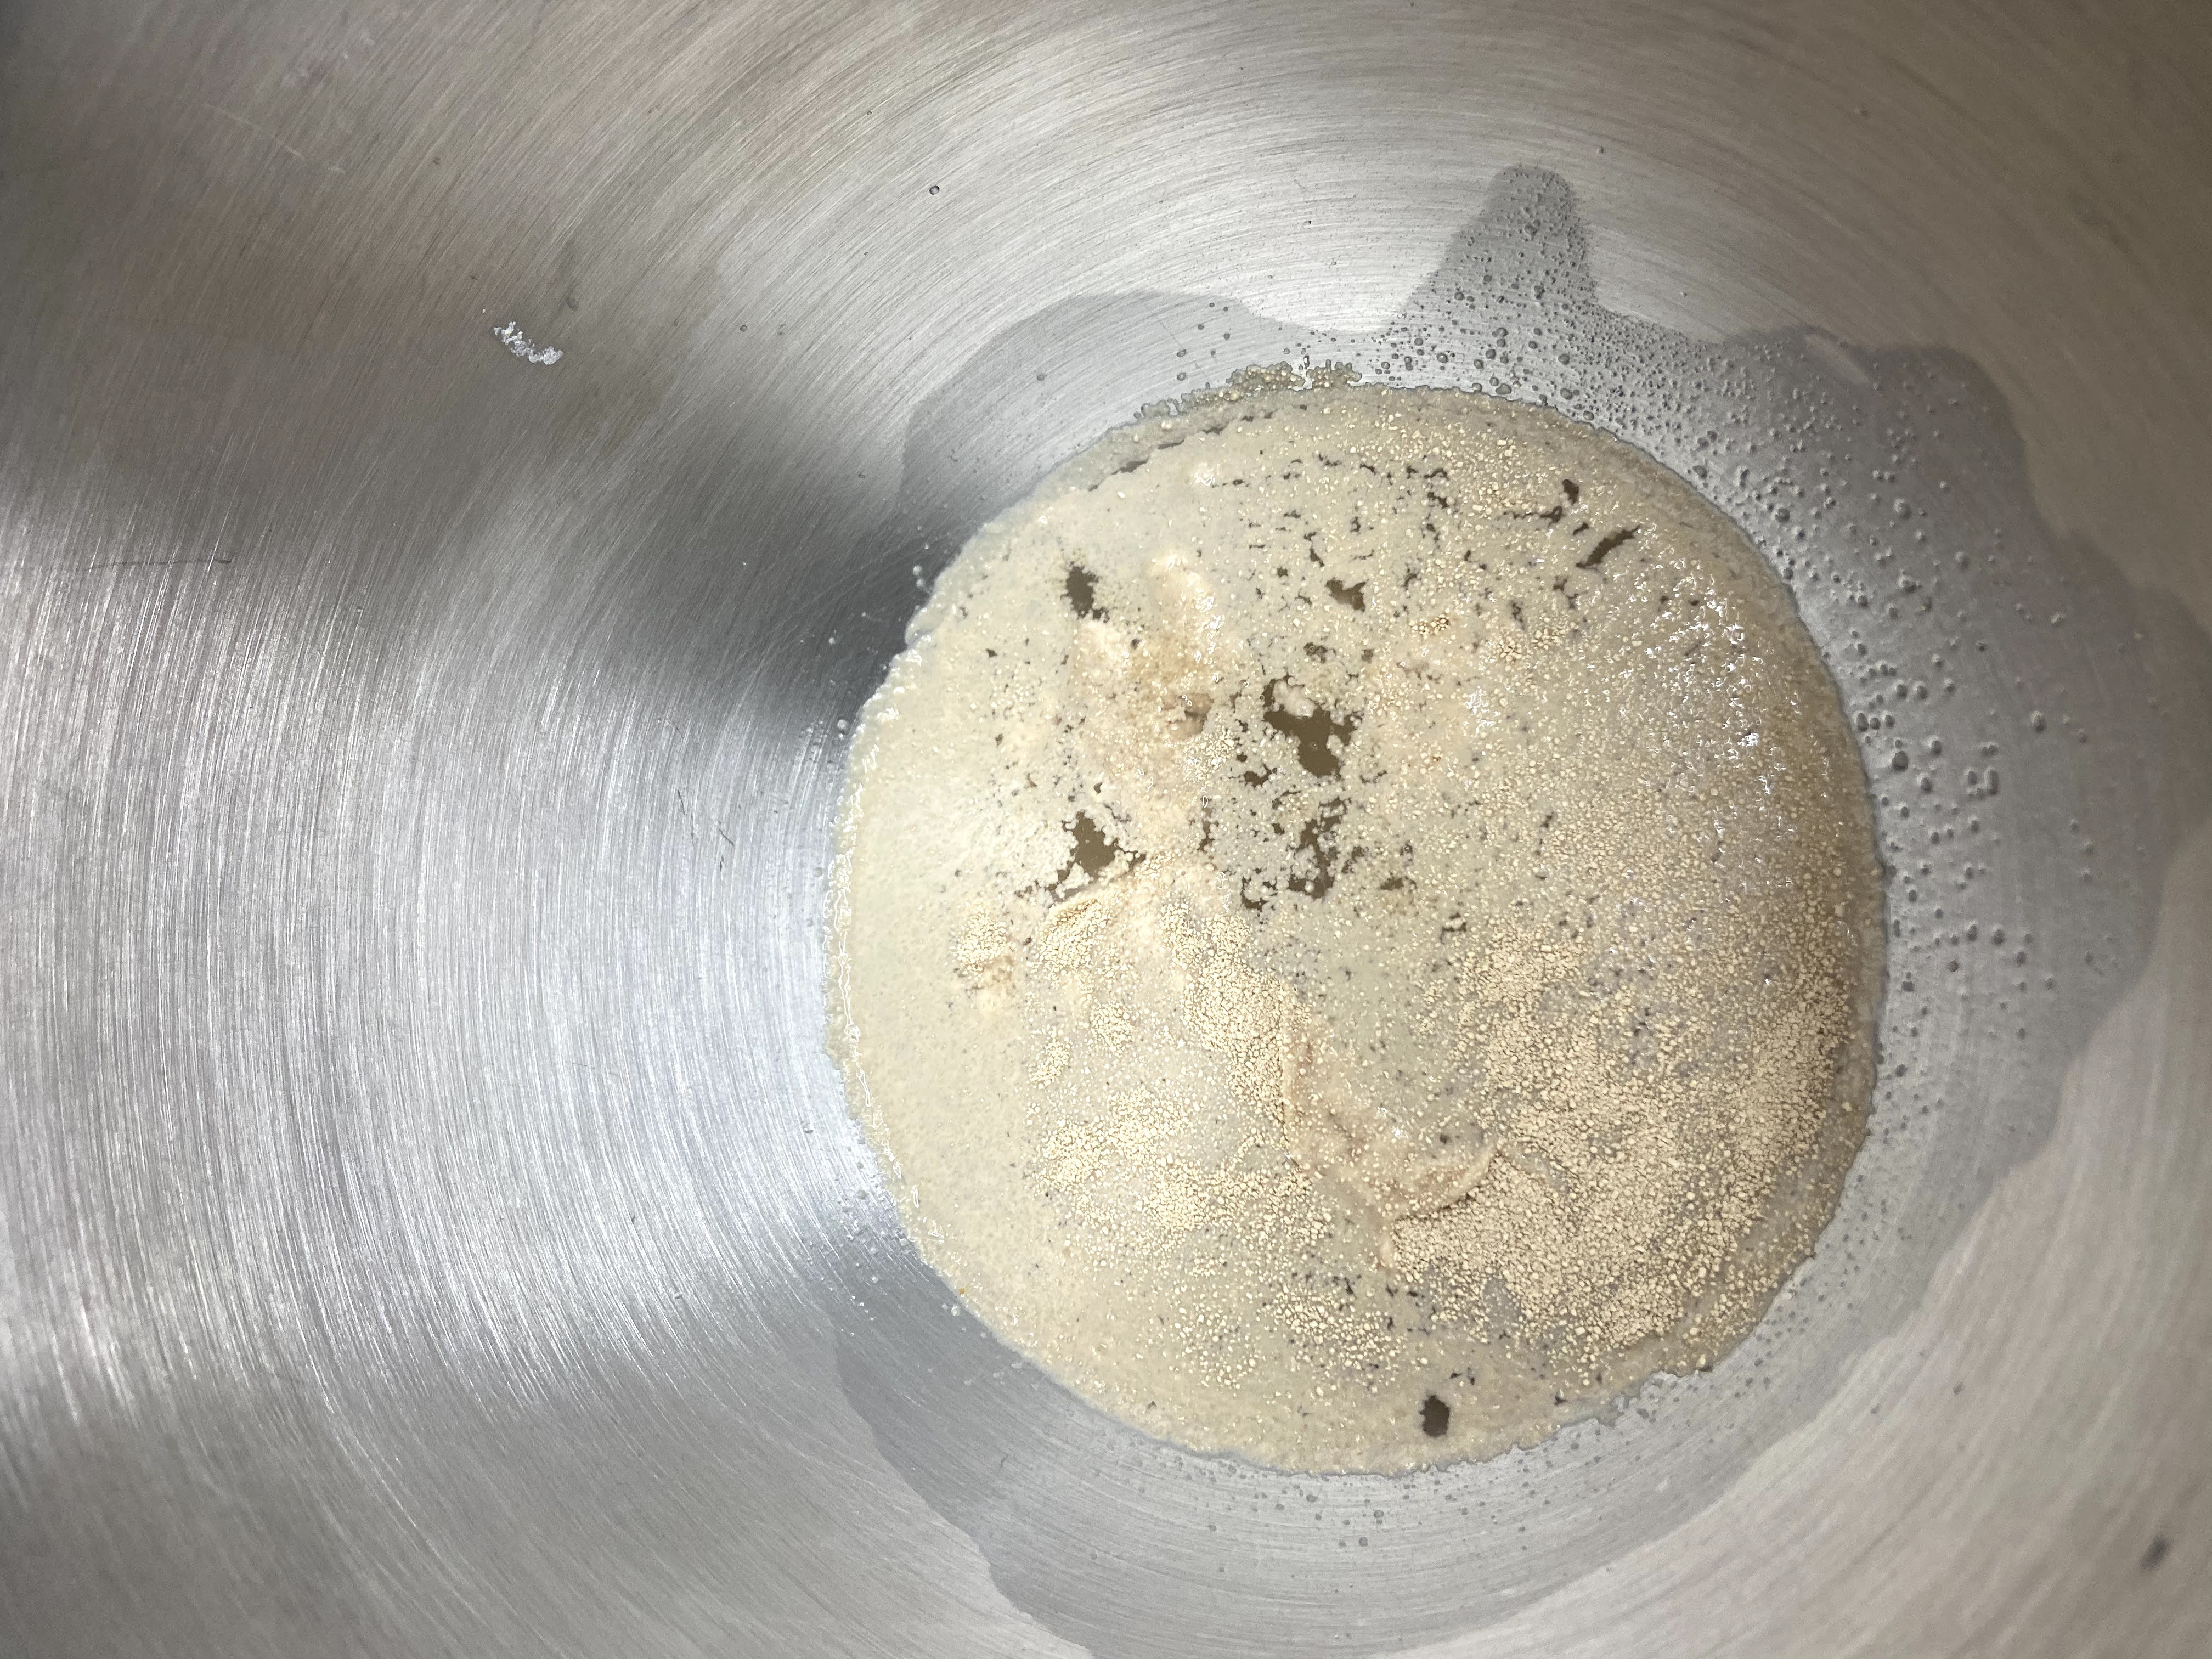
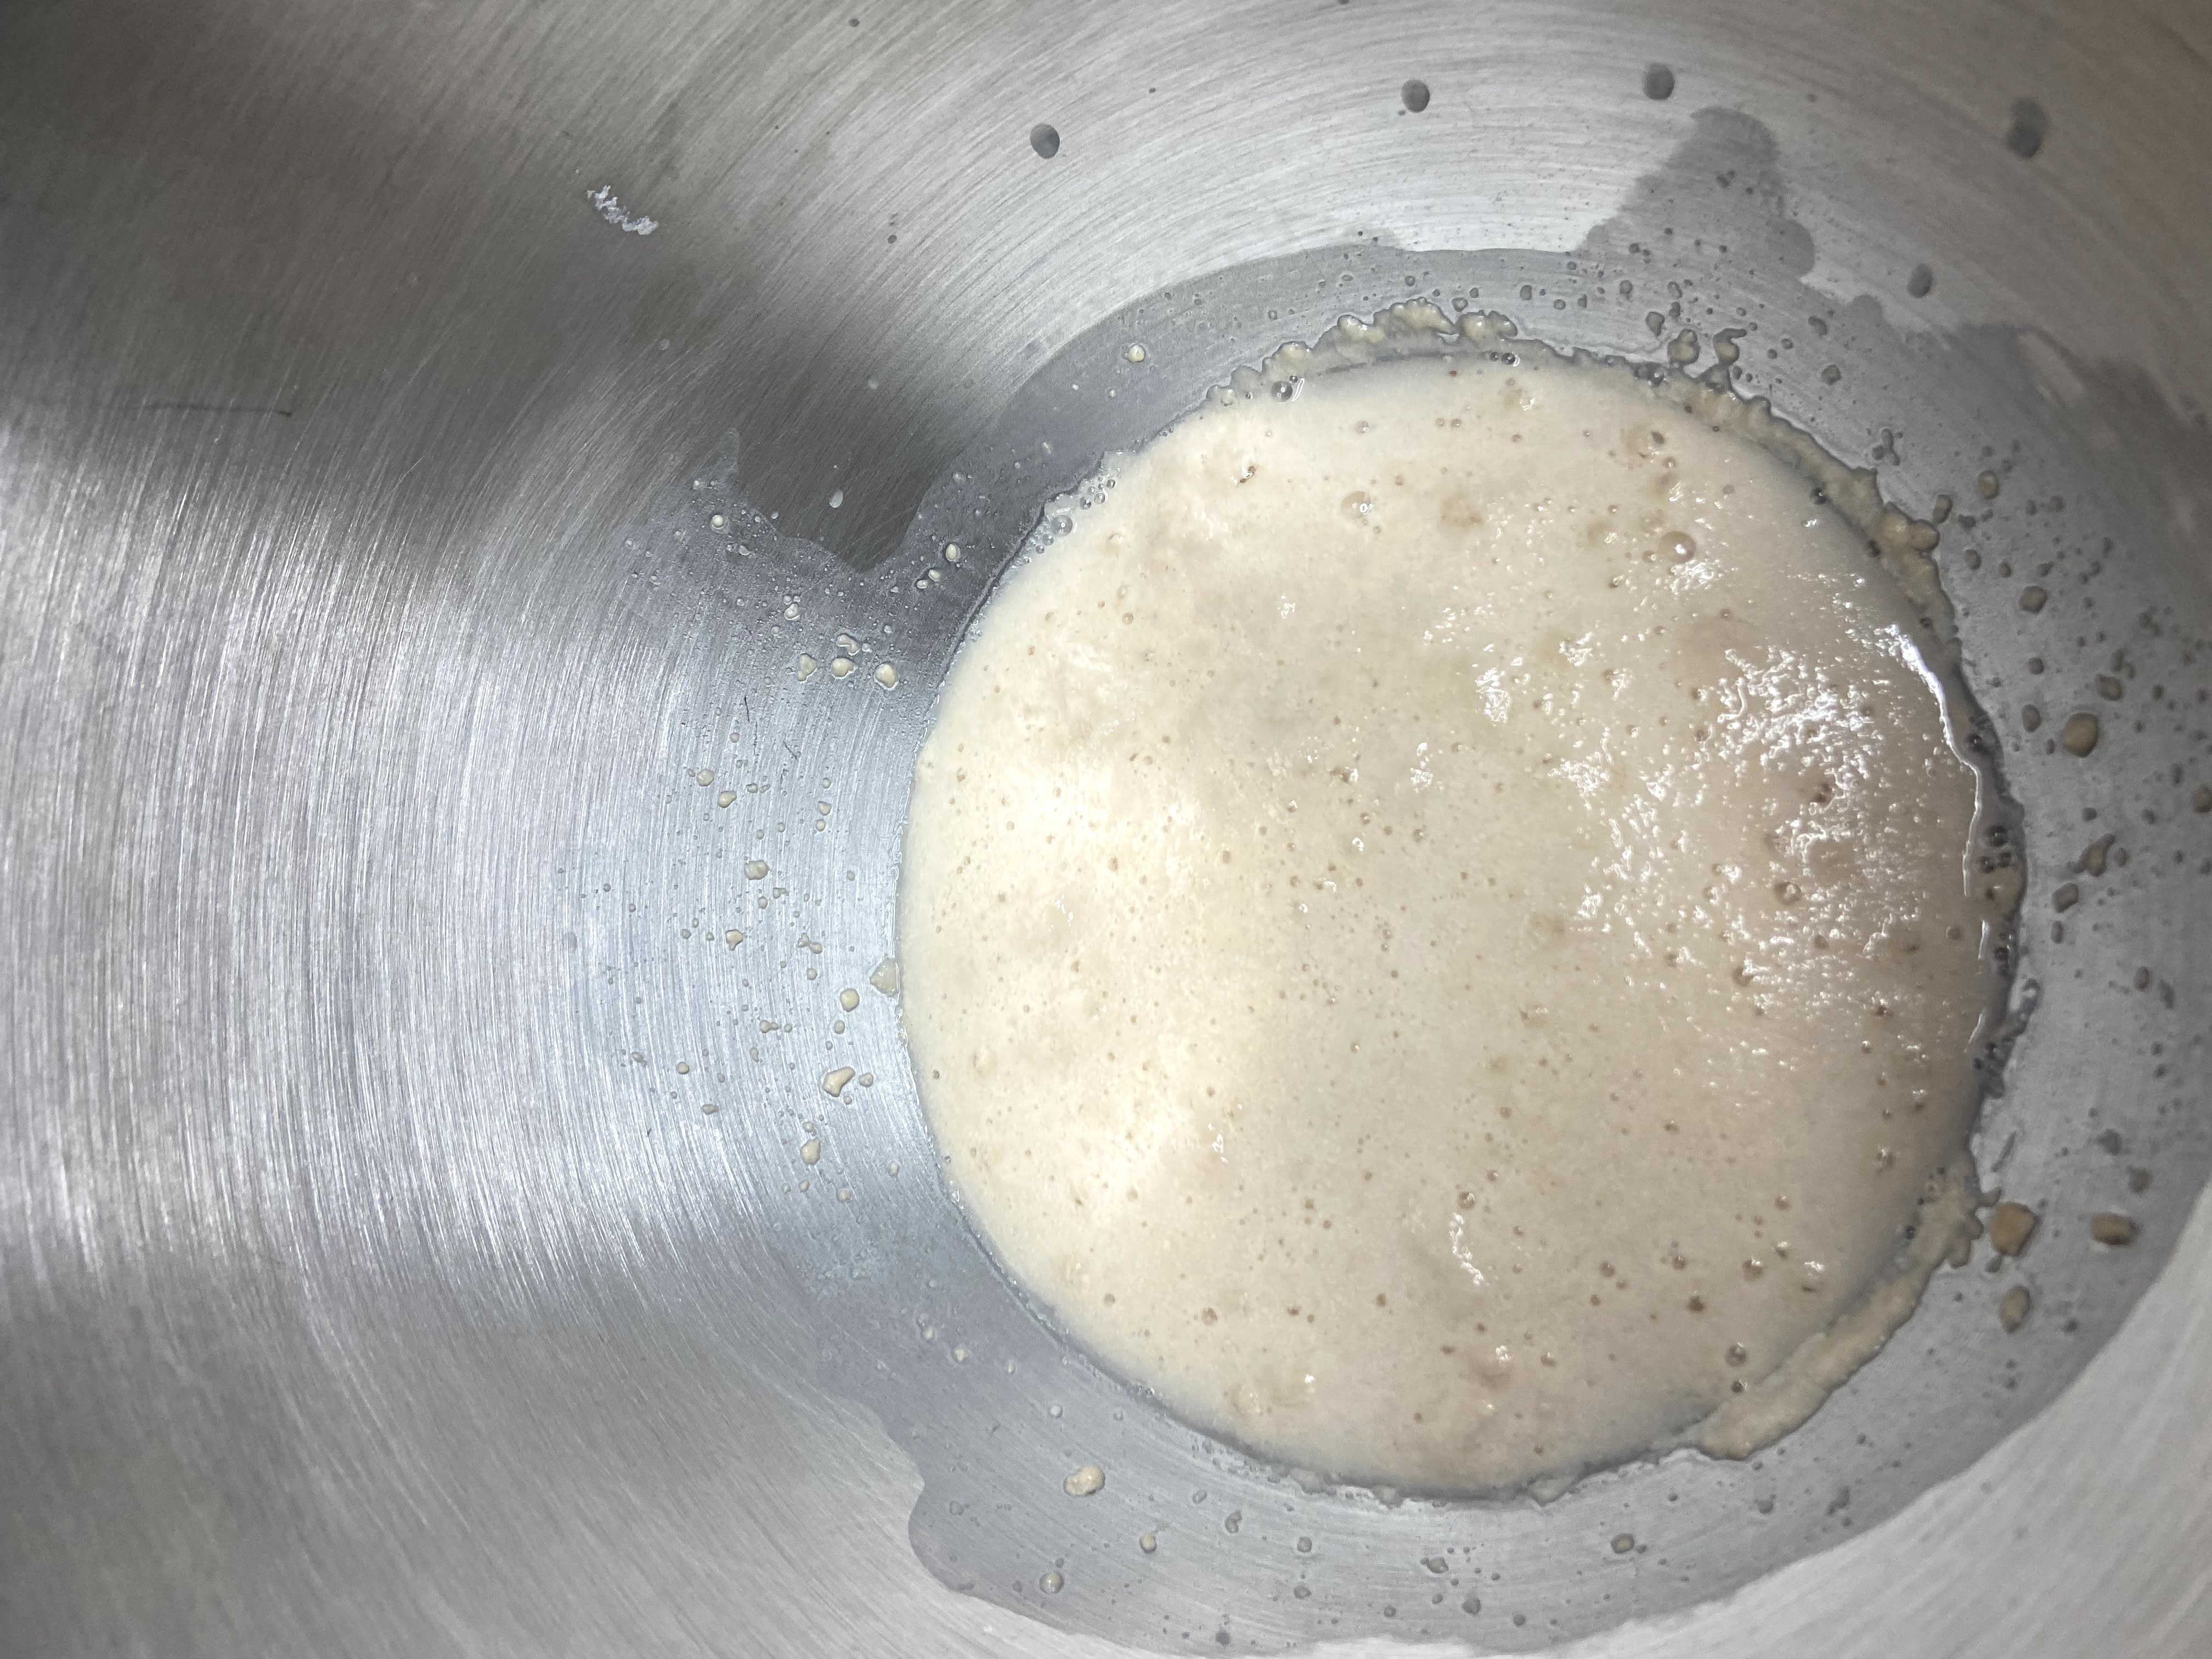
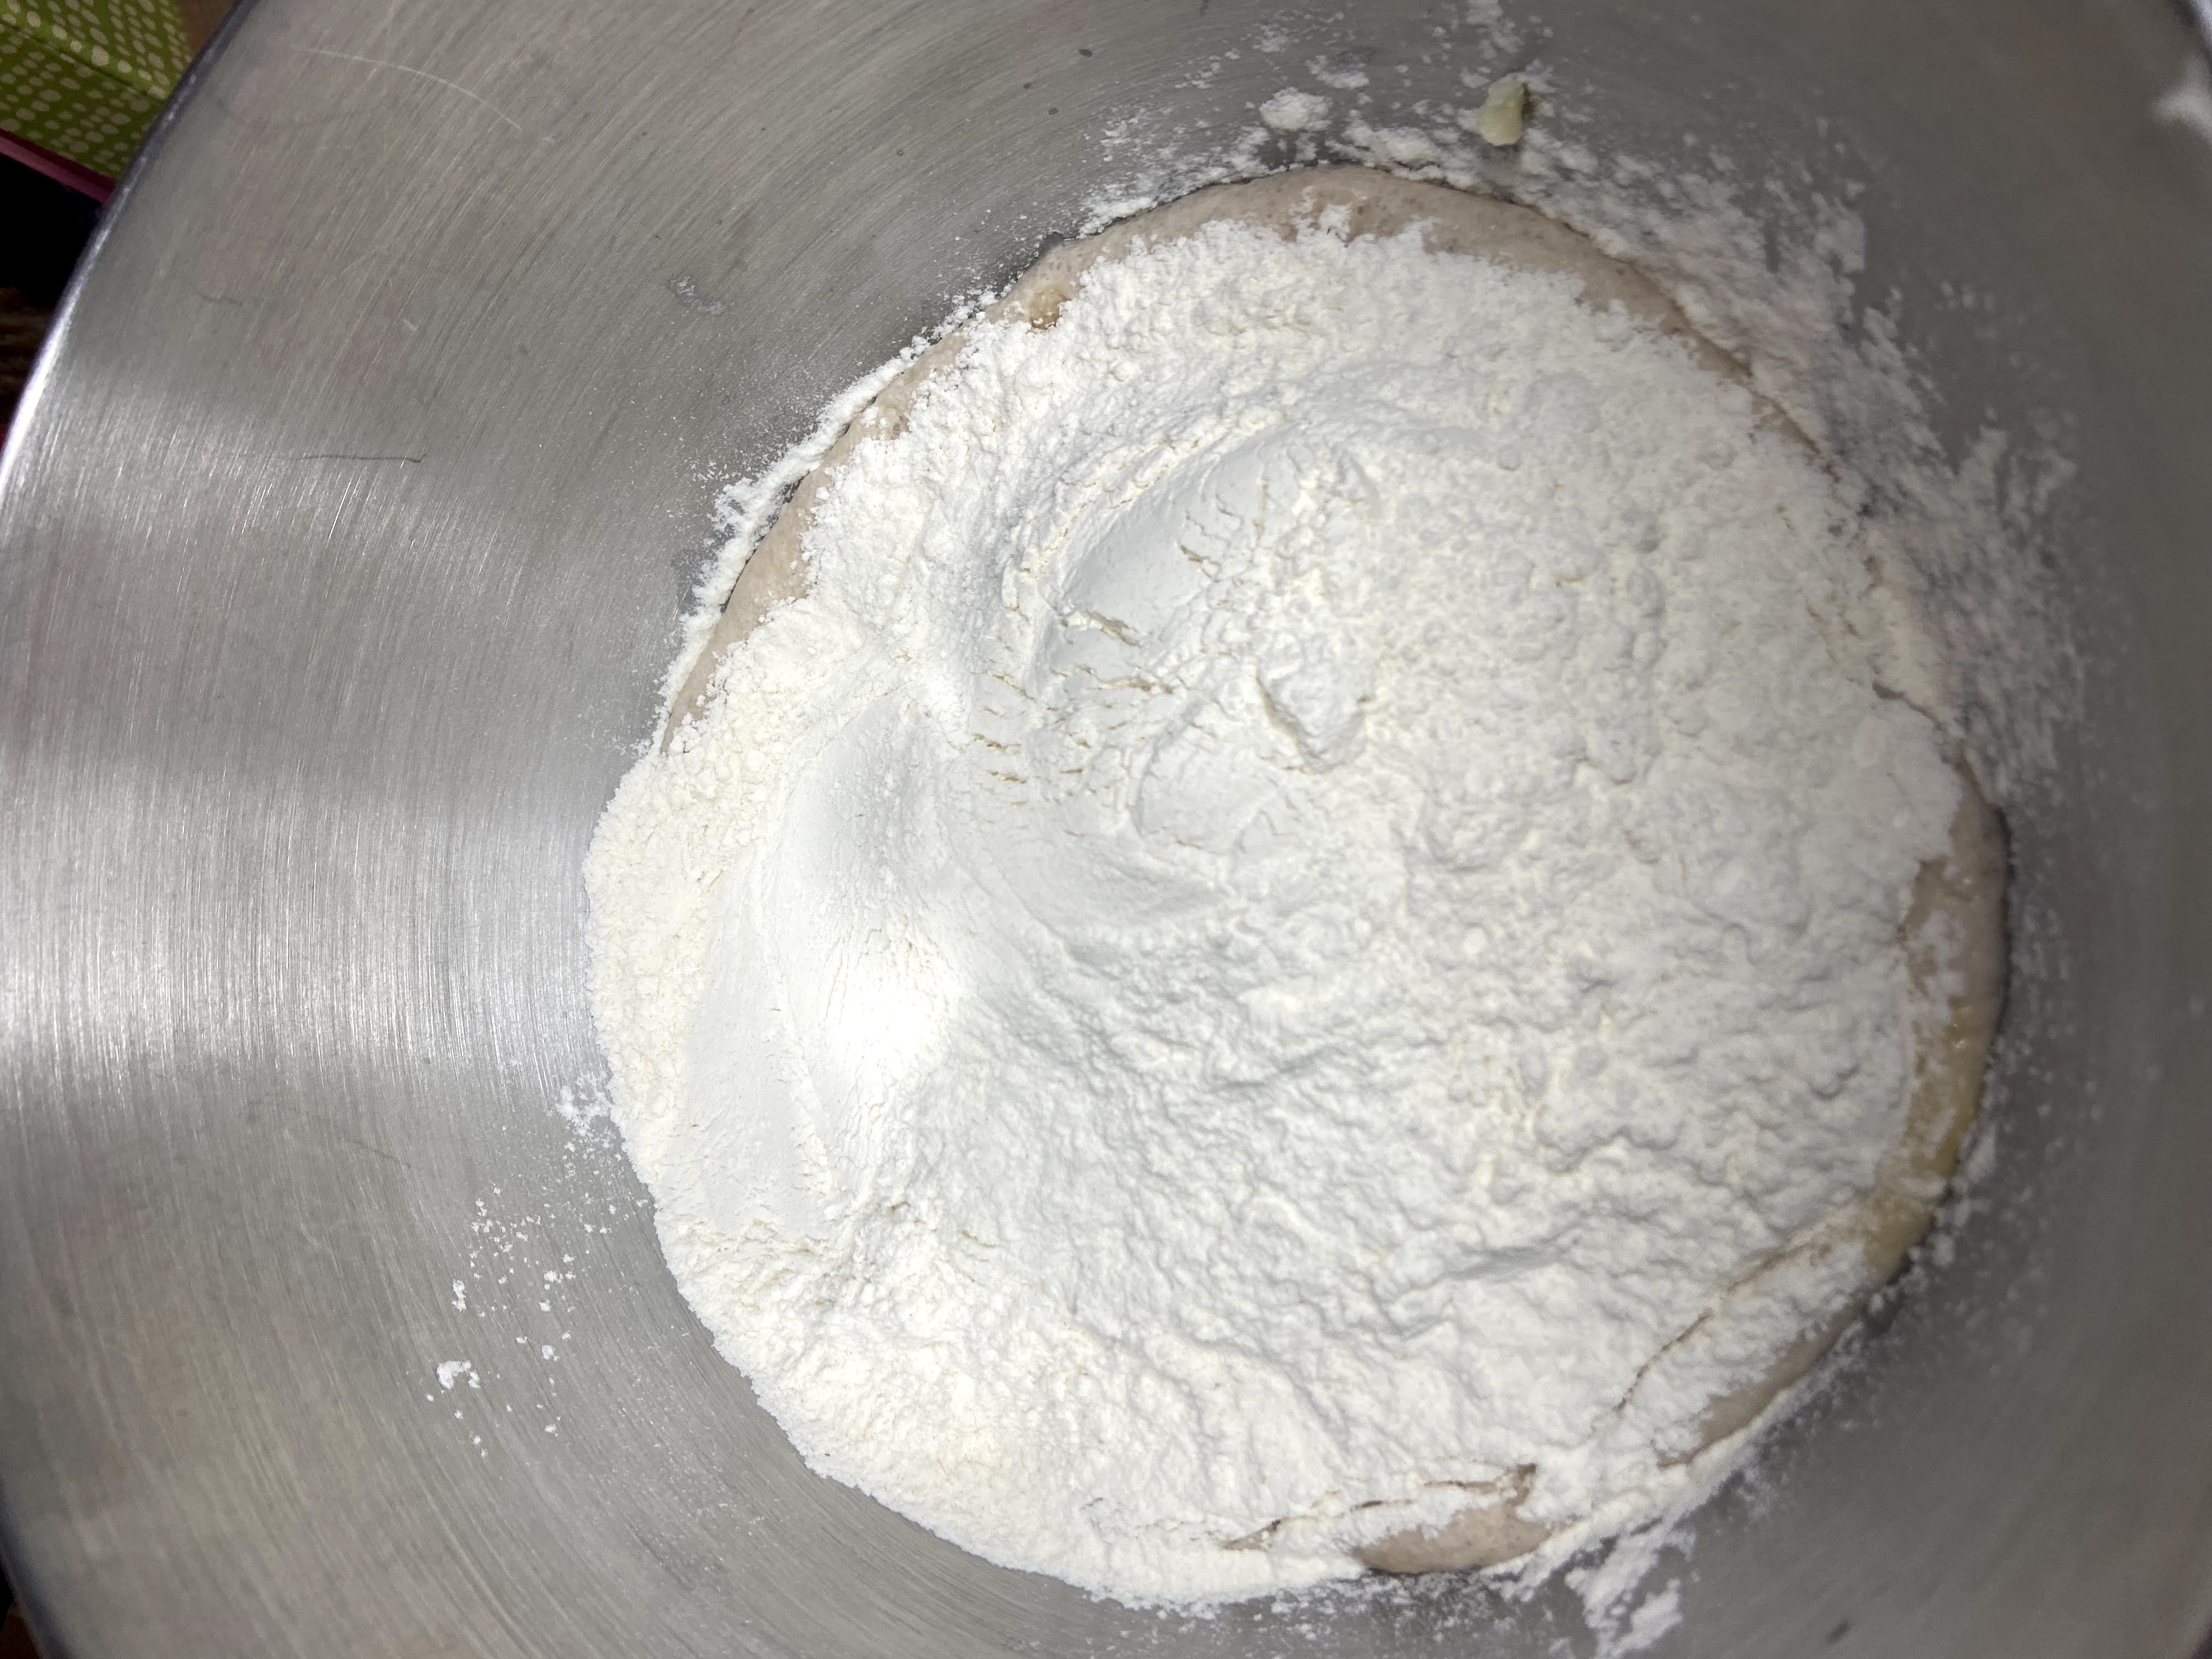
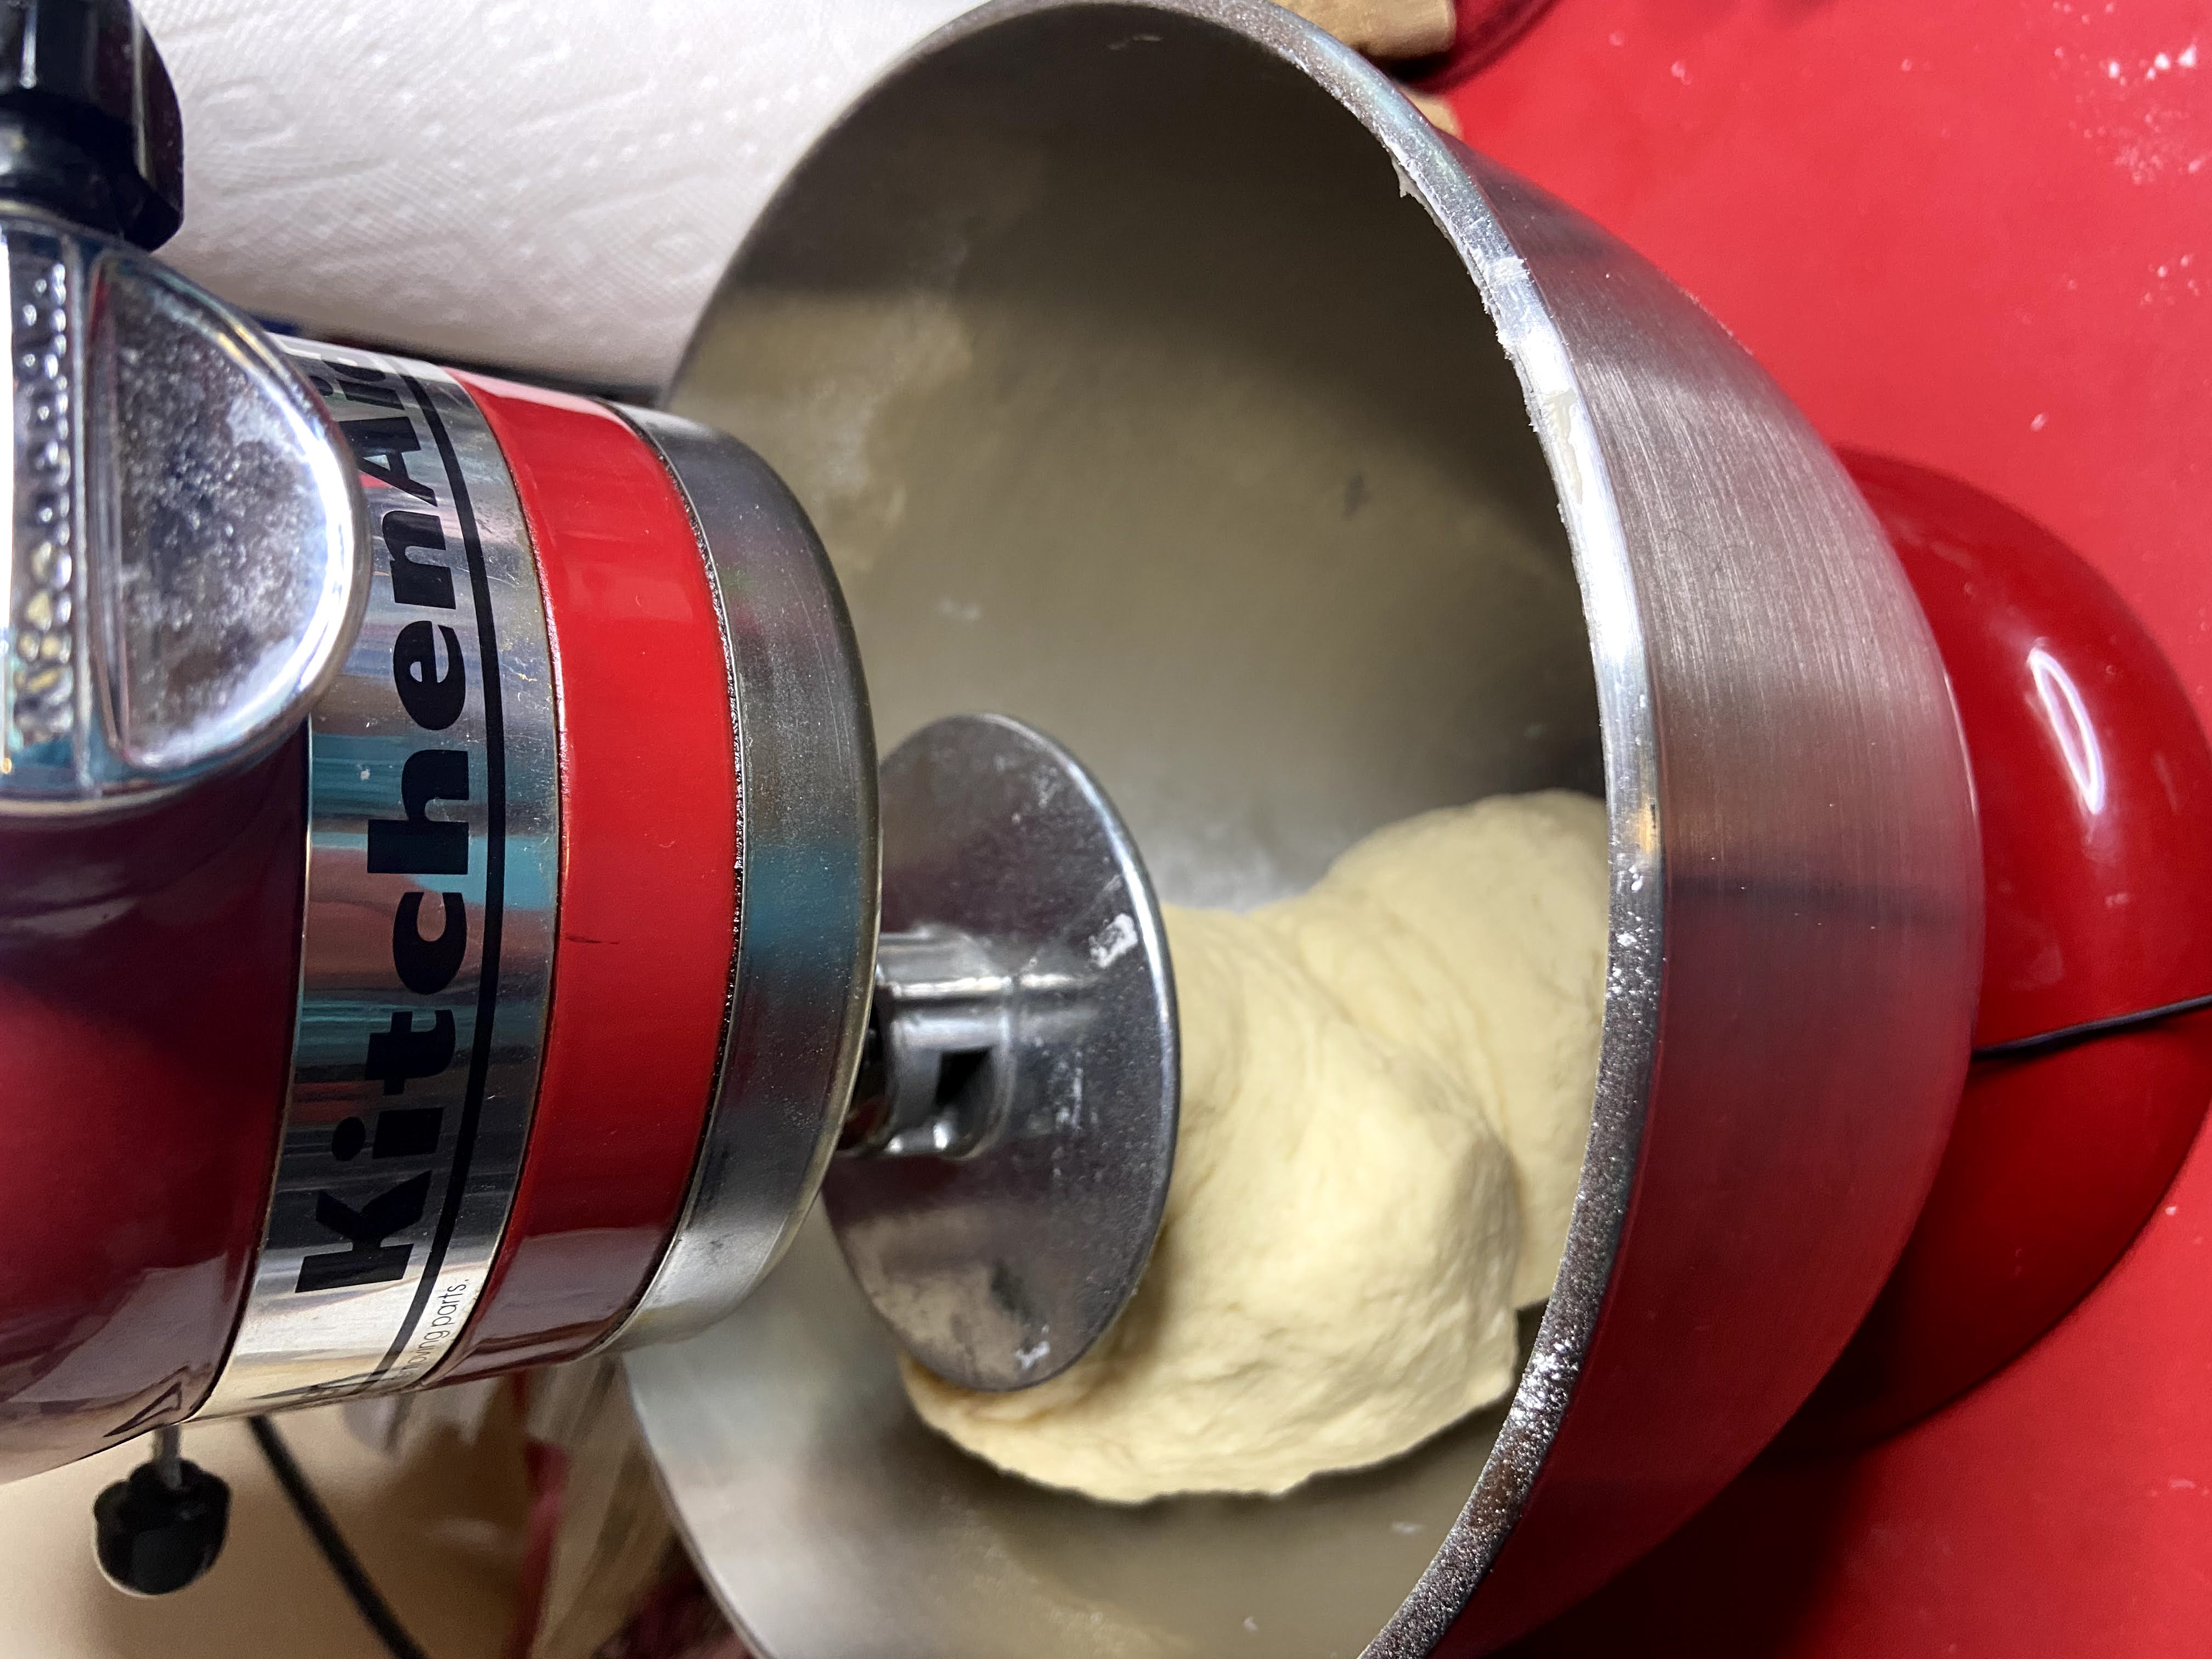
In a stand mixer bowl, add yeast, sugar, and hot water. Allow to proof for five minutes. Stir in egg, flour, salt, and one tablespoon softened butter. From here, allow stand mixer to mix the ingredients on a low speed for 4 minutes, until a soft dough is formed. Cover the bowl and allow to rest and rise for an hour and a half.
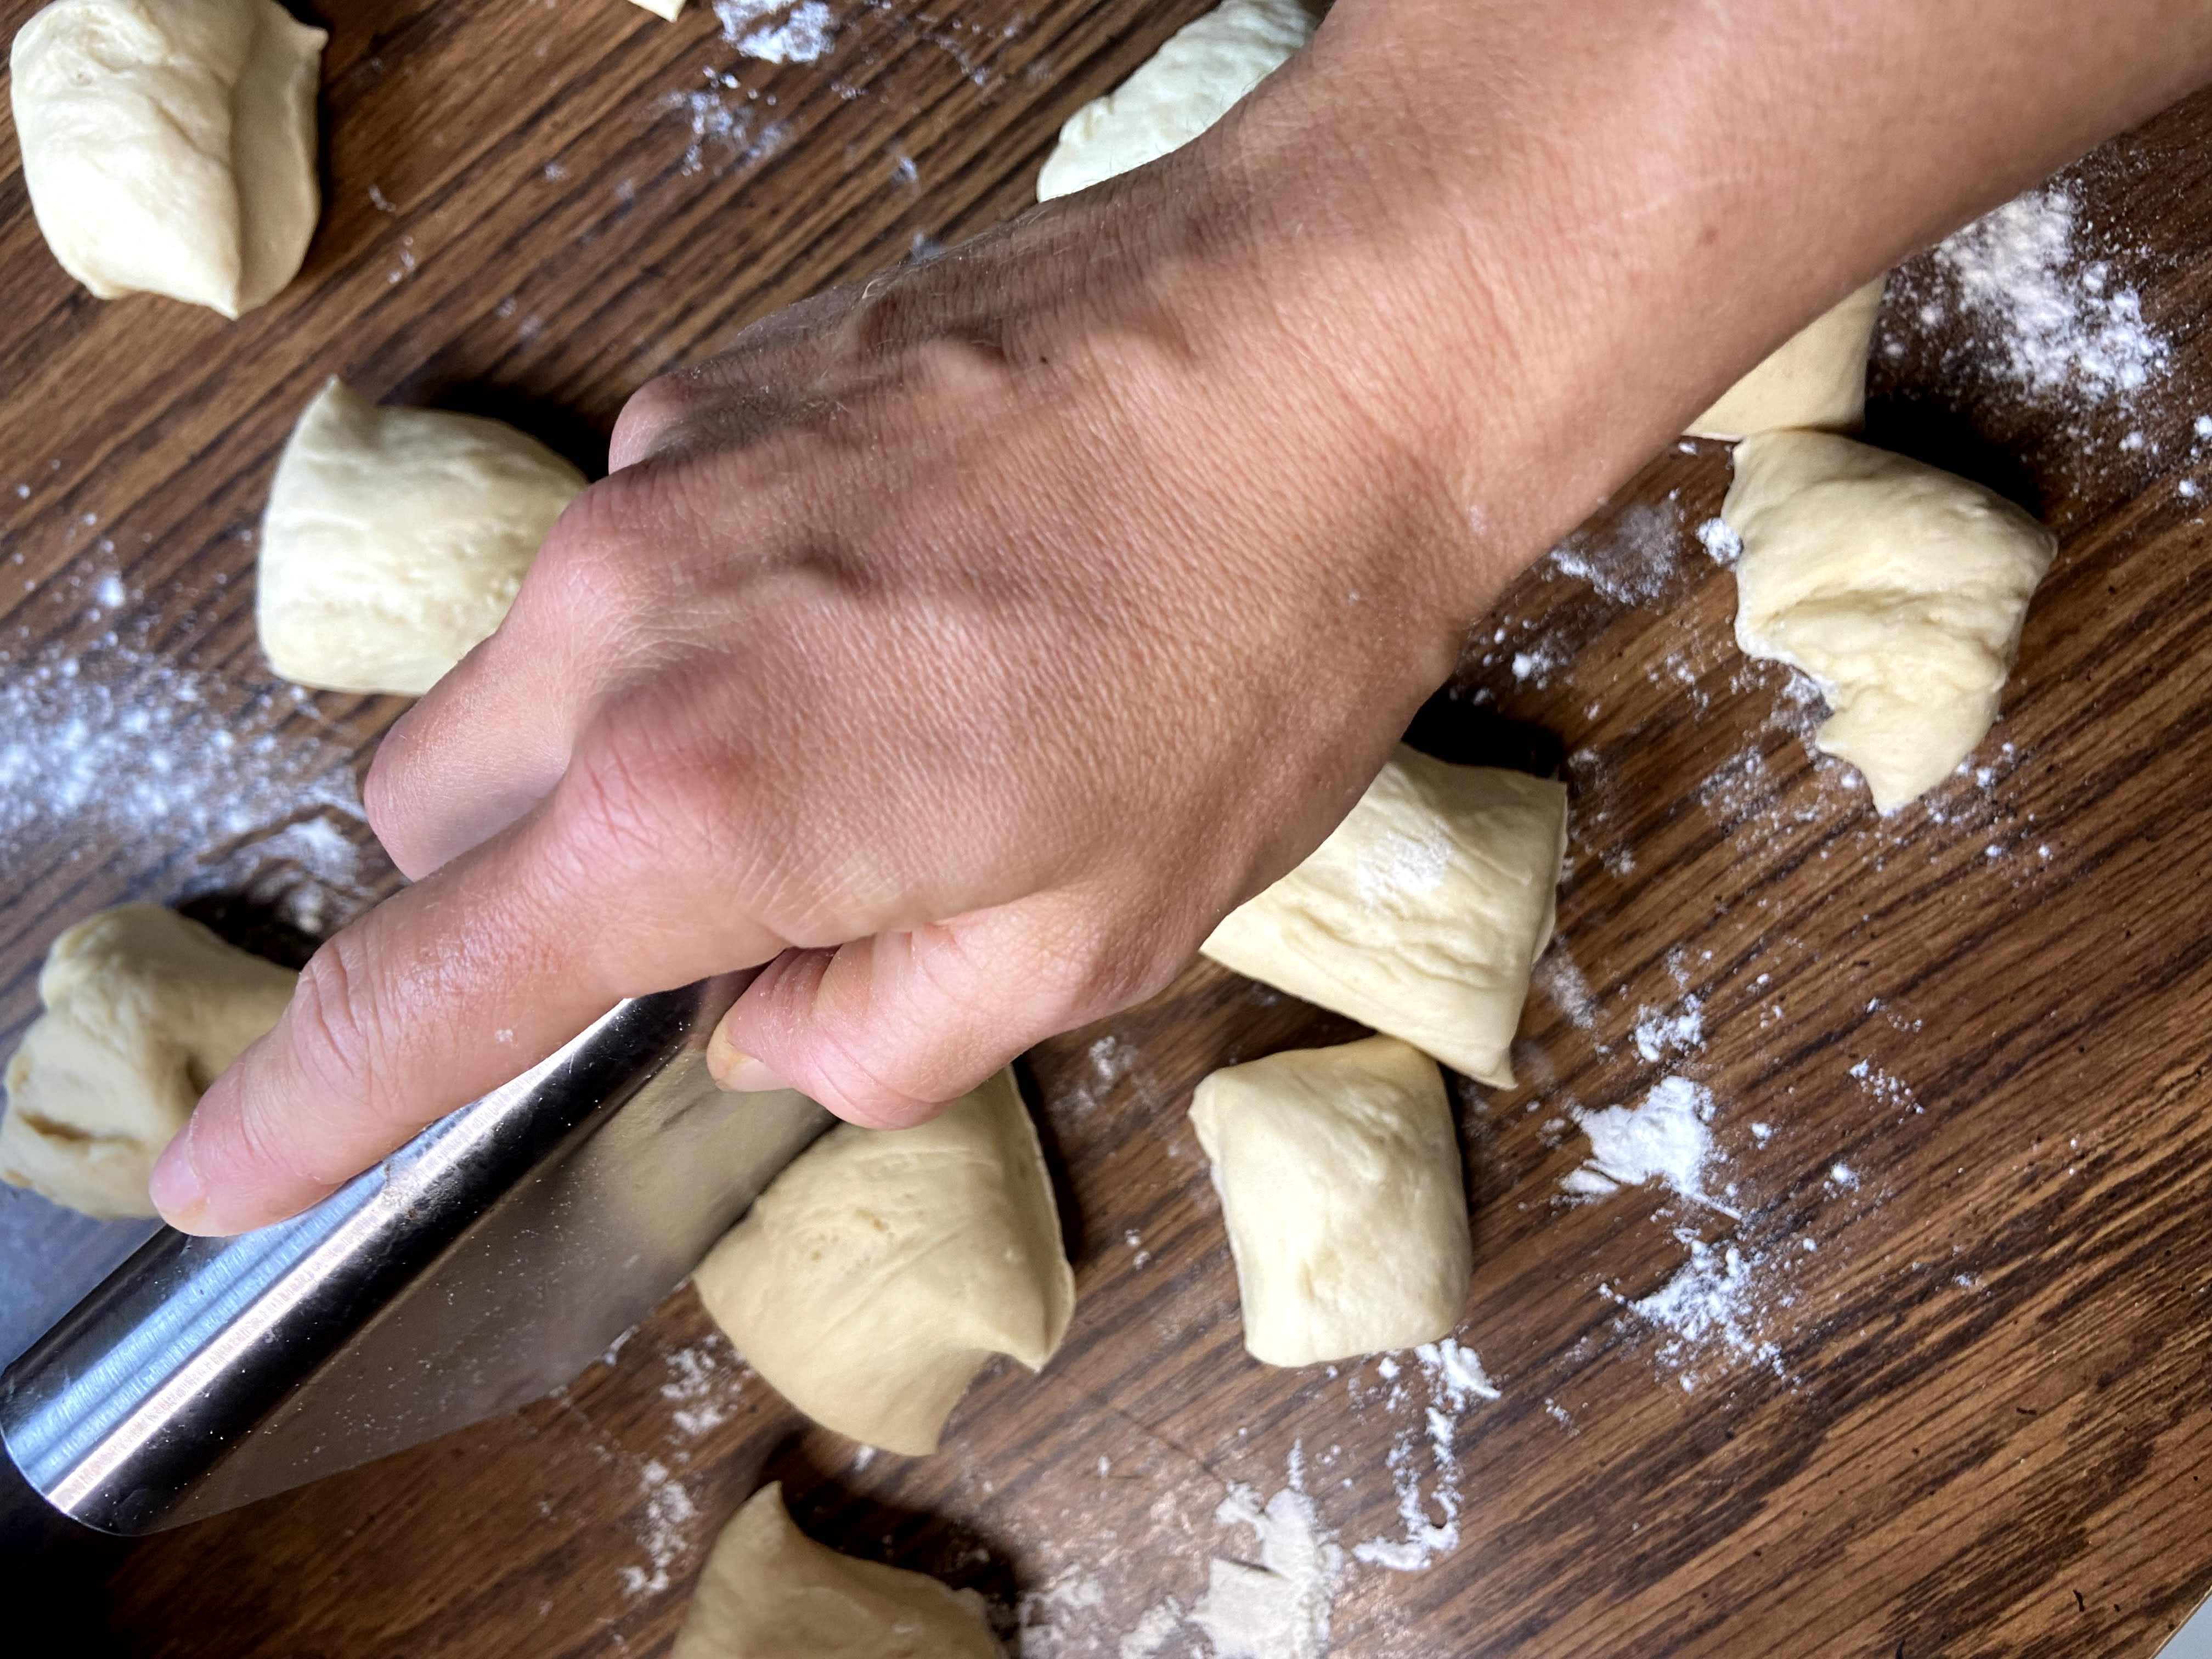
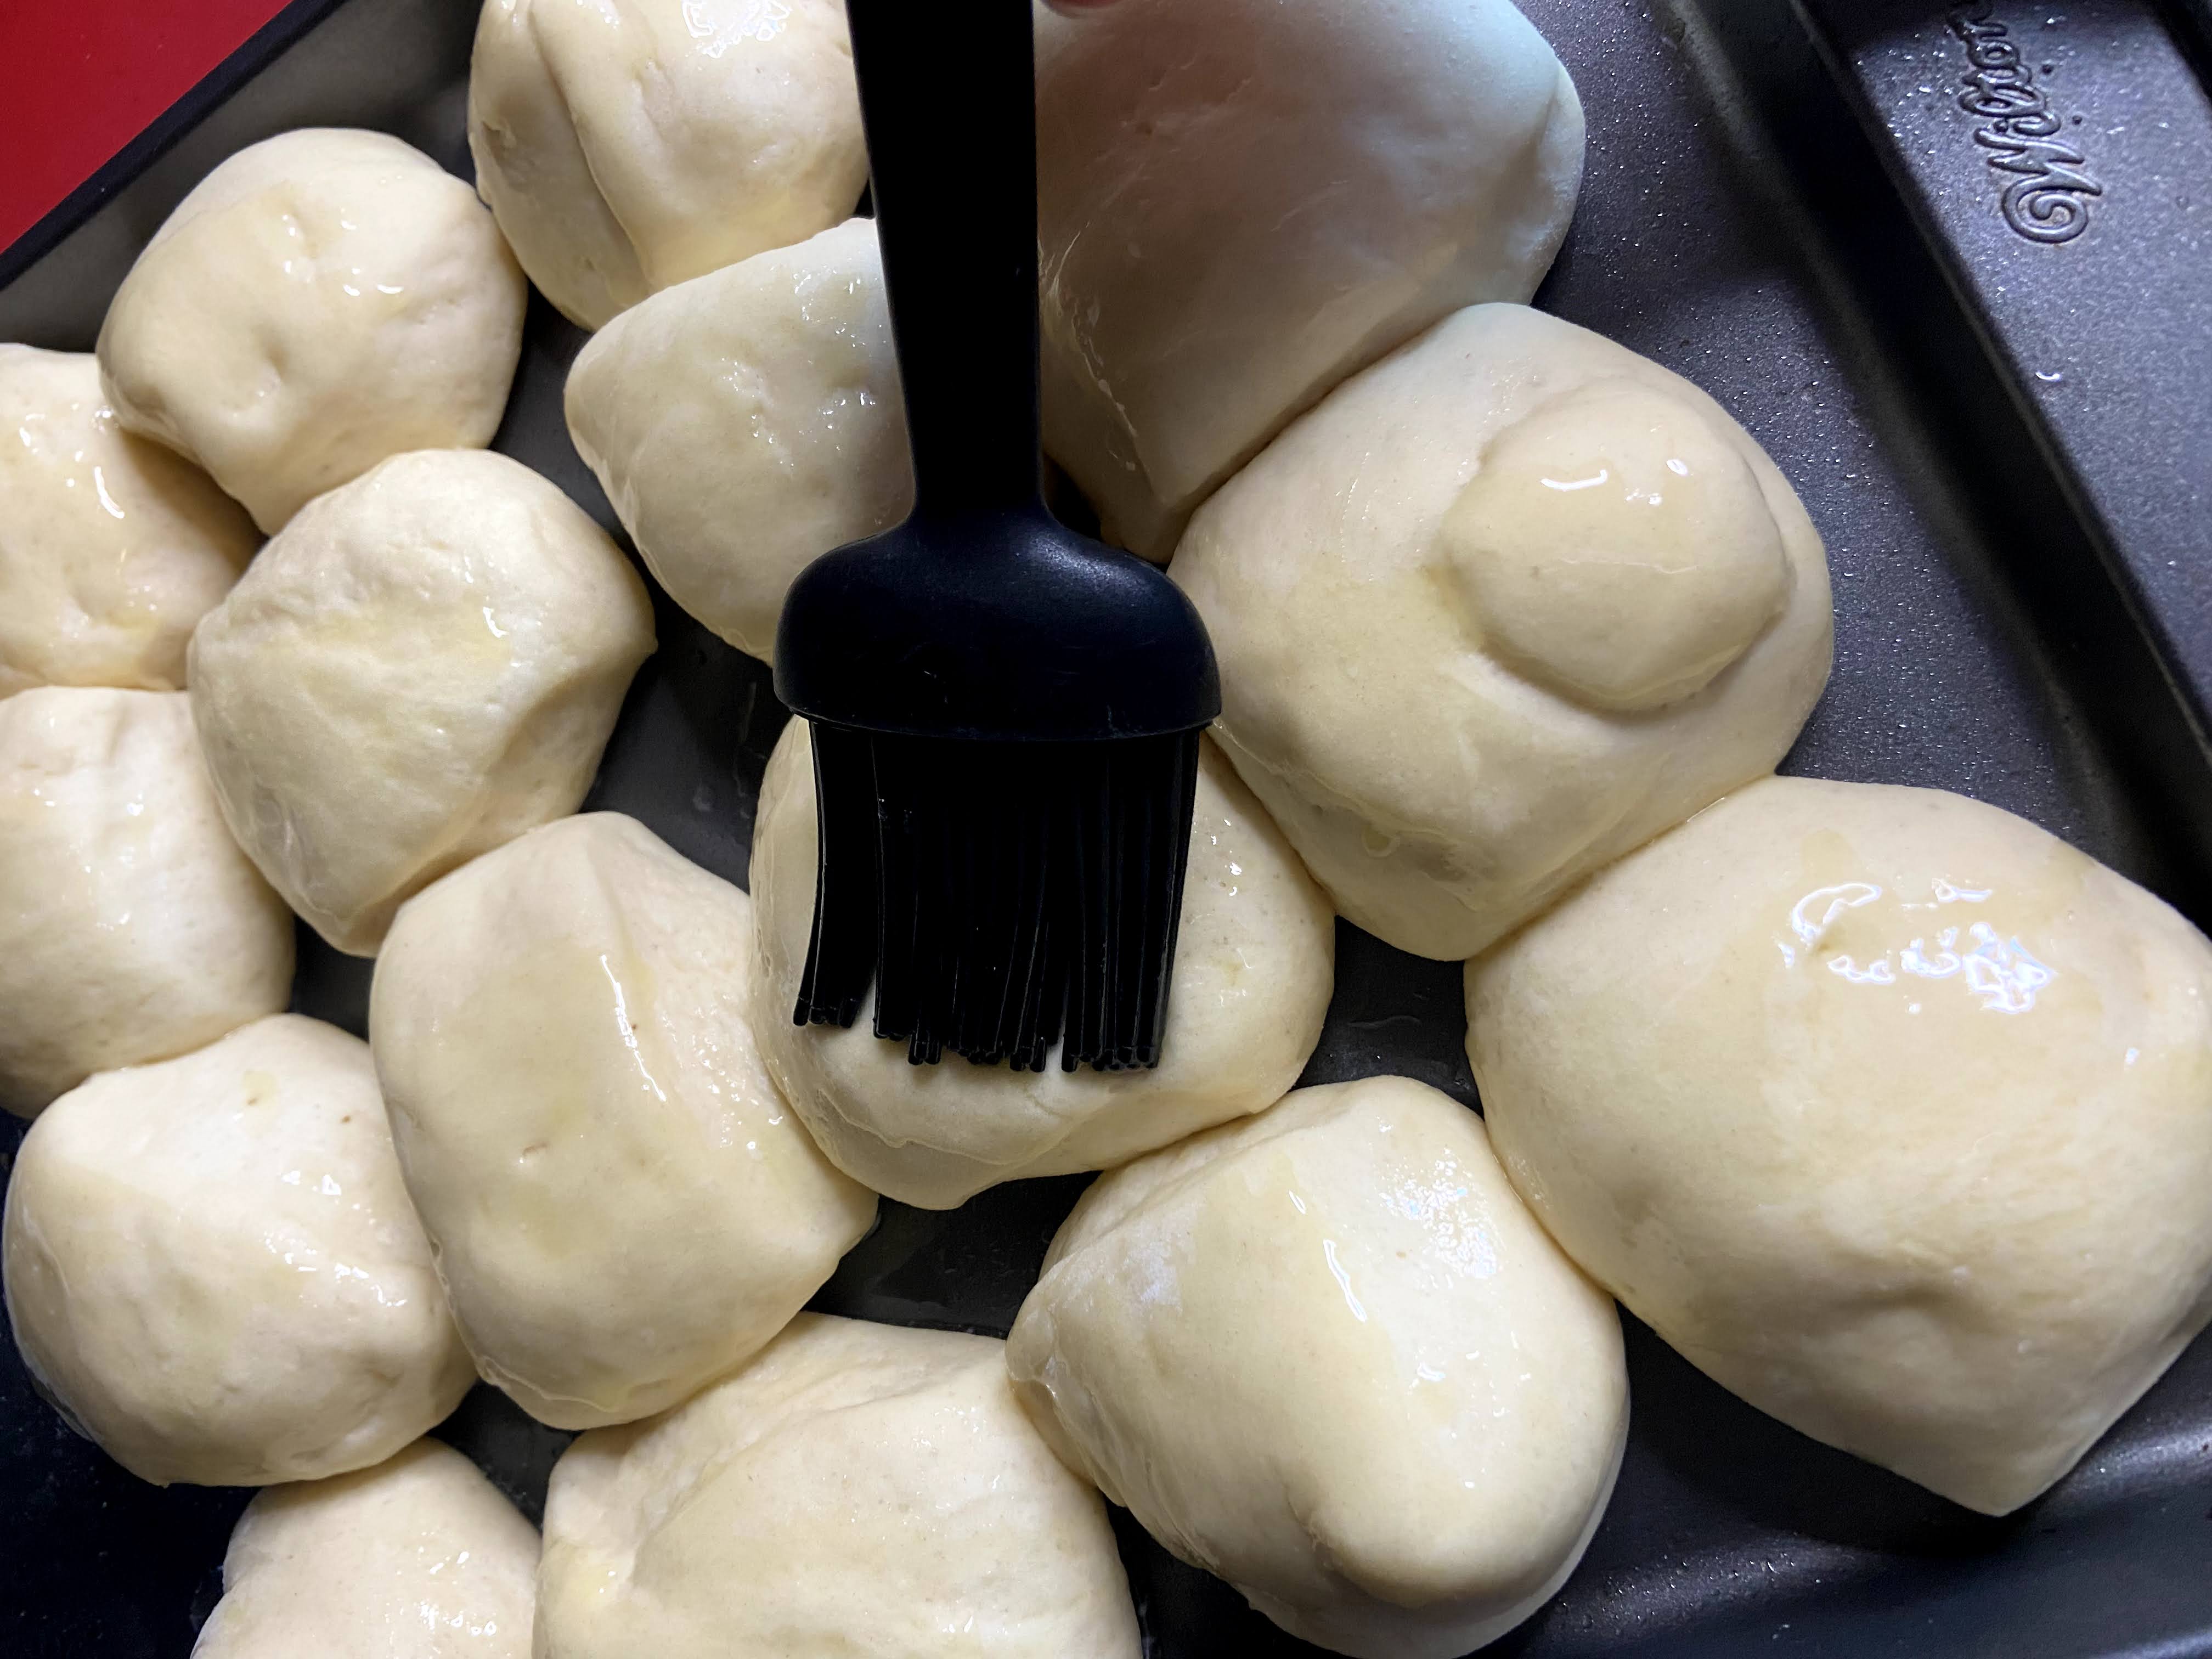
After the dough has risen, turn the dough out onto a lightly floured surface. Cut dough into 9-16 equal pieces, depending on your family likes their rolls. We dig smaller rolls, we we went for 16. Place on a jelly roll pan lined in parchment paper or silicone cookie sheet liners. Cover and allow them to rest an additional hour, until they double in size.
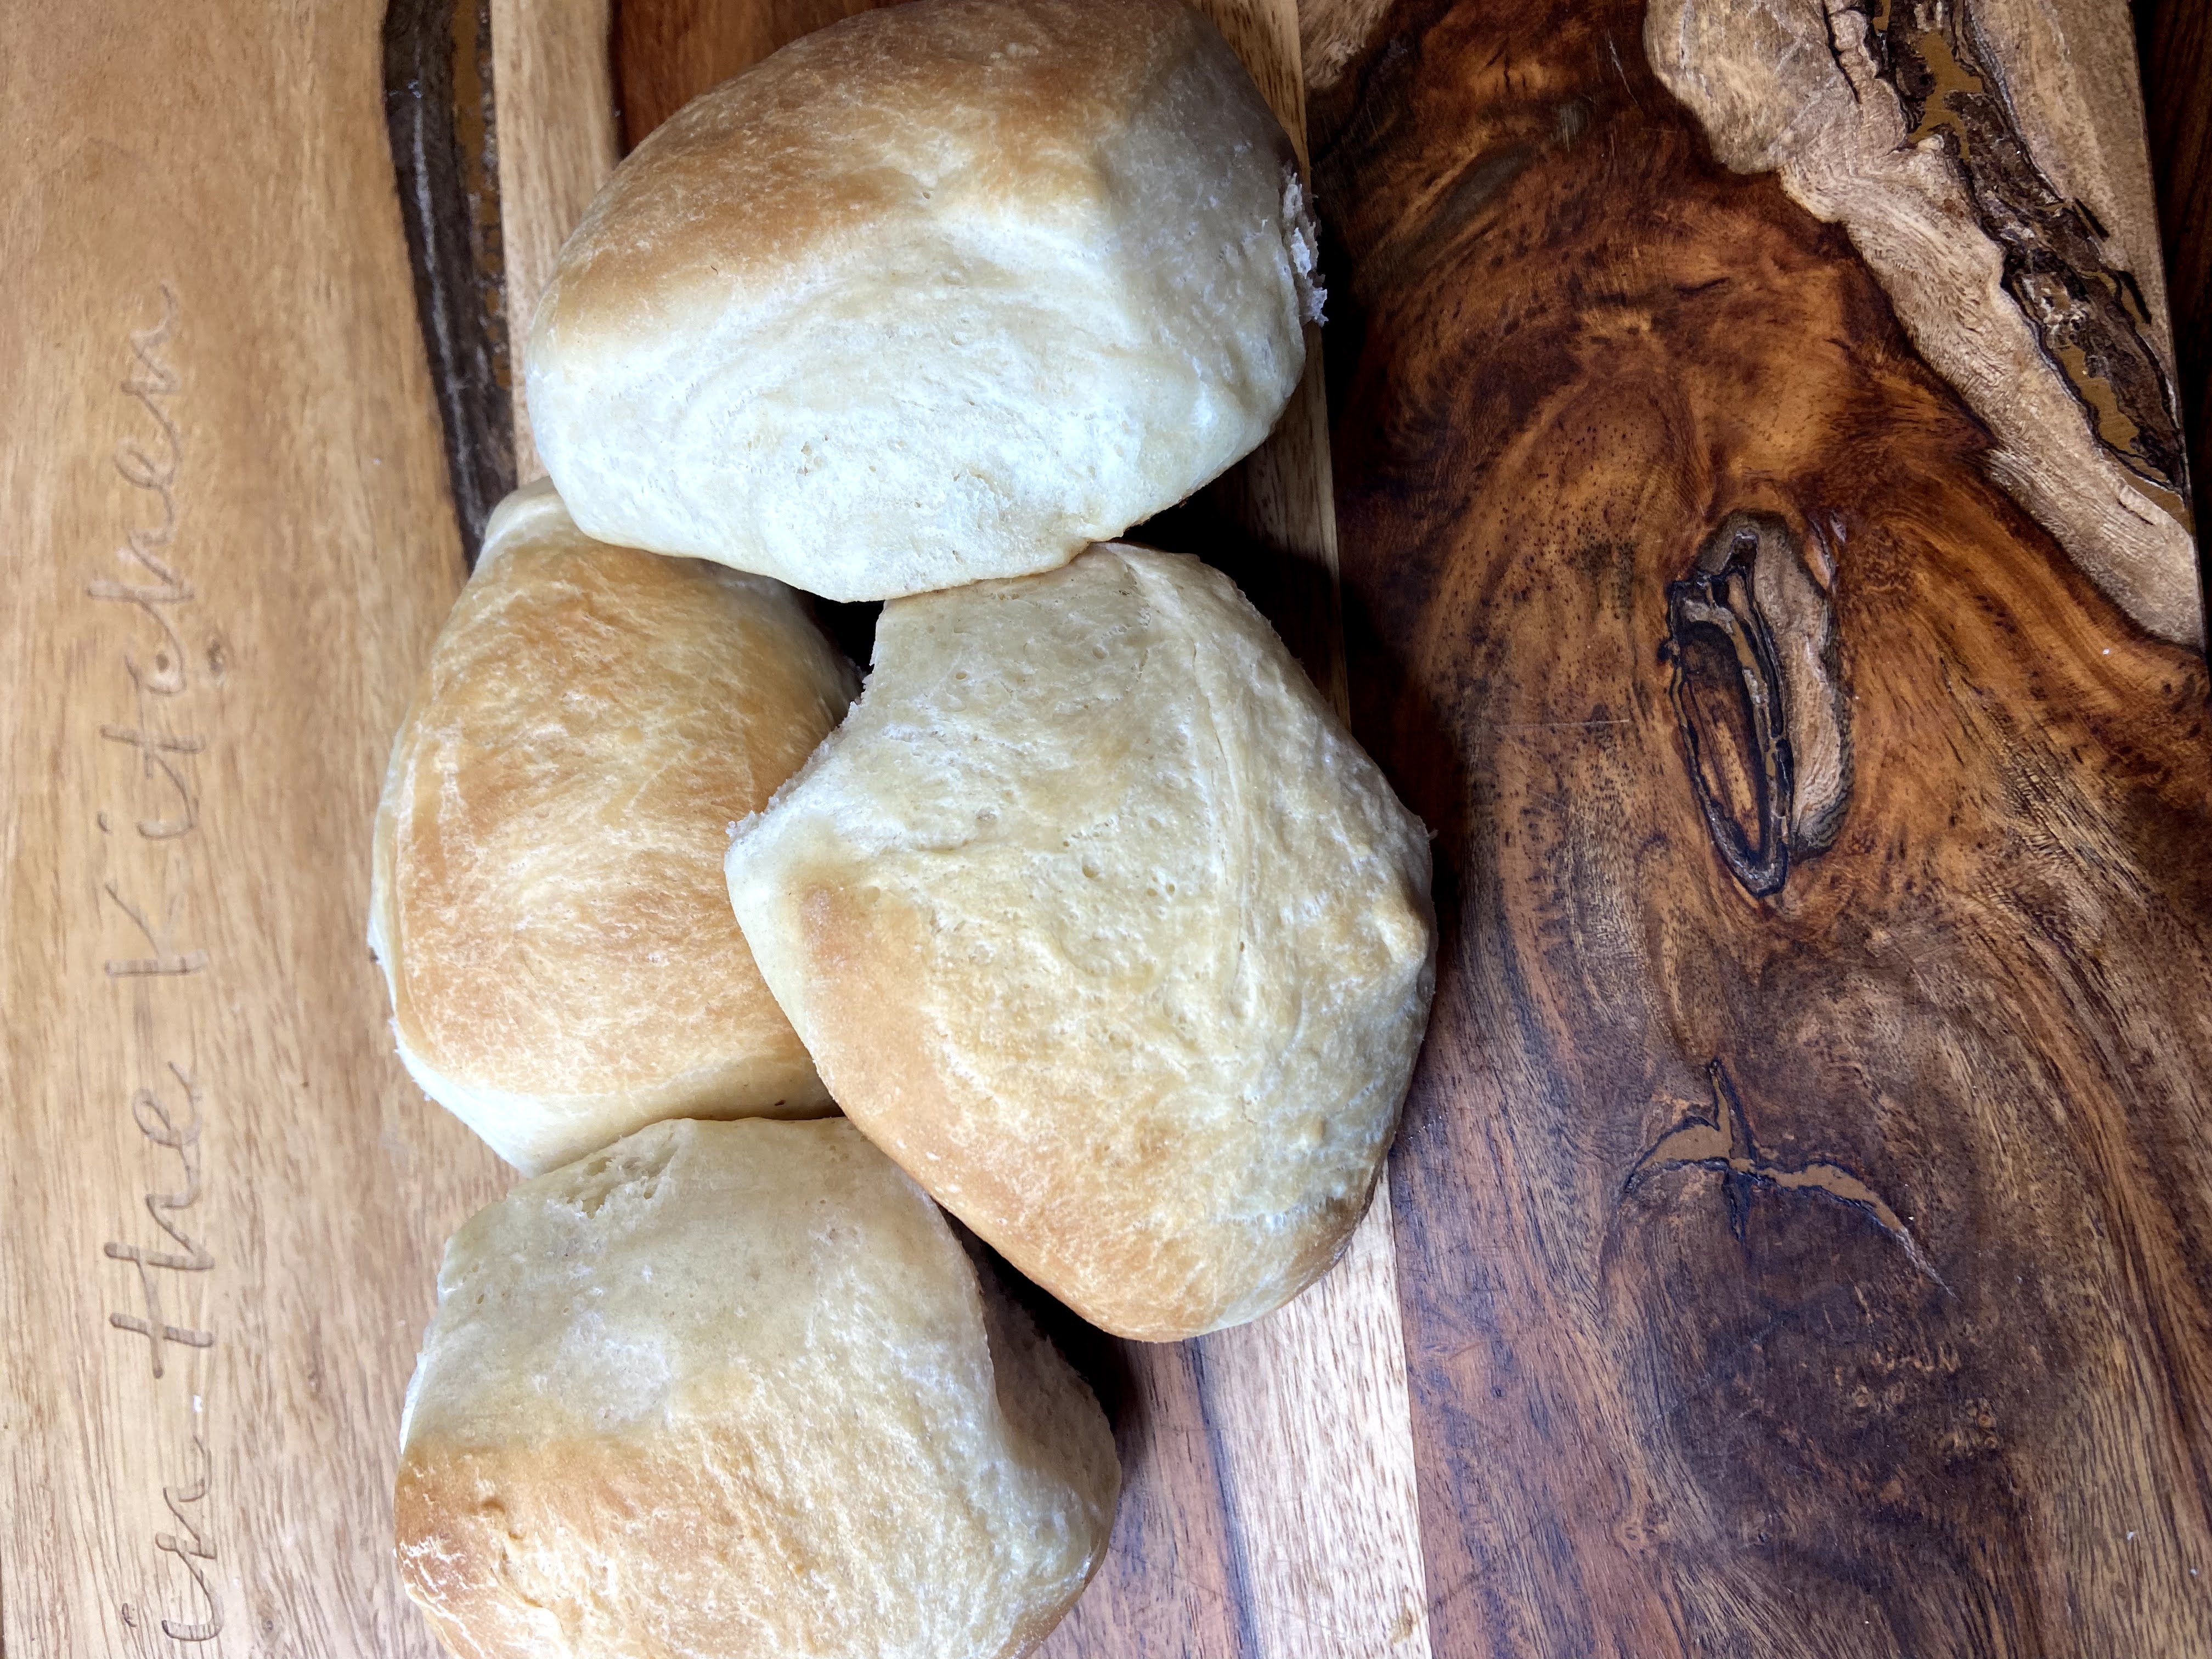
Preheat the oven to 375 degrees. Uncover rolls and brush with melted butter (sprinkle with sesame seeds? I mean, that would be fun!). Bake for 15-18 minutes. Then take in just how good your house smells and revel in the fact that you just made homemade rolls that are SO MUCH BETTER than store bought, I promise!

Silver Dollar Yeast Rolls
Equipment
- Mixer
Ingredients
- 1 tablespoon instant yeast
- 1 cup hot water 110-115 degrees Fahrenheit
- 3 tablespoons sugar
- 1 large egg beaten
- 3 1/2 cups all purpose flour
- 1 1/4 teaspoon salt
- 2-3 tablespoons butter divided (1 tablespoon softened and remaining melted to brush on top of the rolls prior to baking)
Instructions
- In a stand mixer bowl, add yeast, sugar, and hot water. Allow to proof for five minutes.
- Stir in egg, flour, salt, and one tablespoon softened butter. From here, allow stand mixer to mix the ingredients on a low speed for 4 minutes, until a soft dough is formed.
- Cover the bowl and allow to rest and rise for an hour and a half.
- After the dough has risen, turn the dough out onto a lightly floured surface.
- Cut dough into 9-16 equal pieces, depending on your family likes their rolls.
- Place on a jelly roll pan lined in parchment paper or silicone cookie sheet liners.
- Cover and allow them to rest an additional hour, until they double in size.
- Preheat the oven to 375 degrees. Uncover rolls and brush with melted butter. Bake for 15-18 minutes, until golden brown.