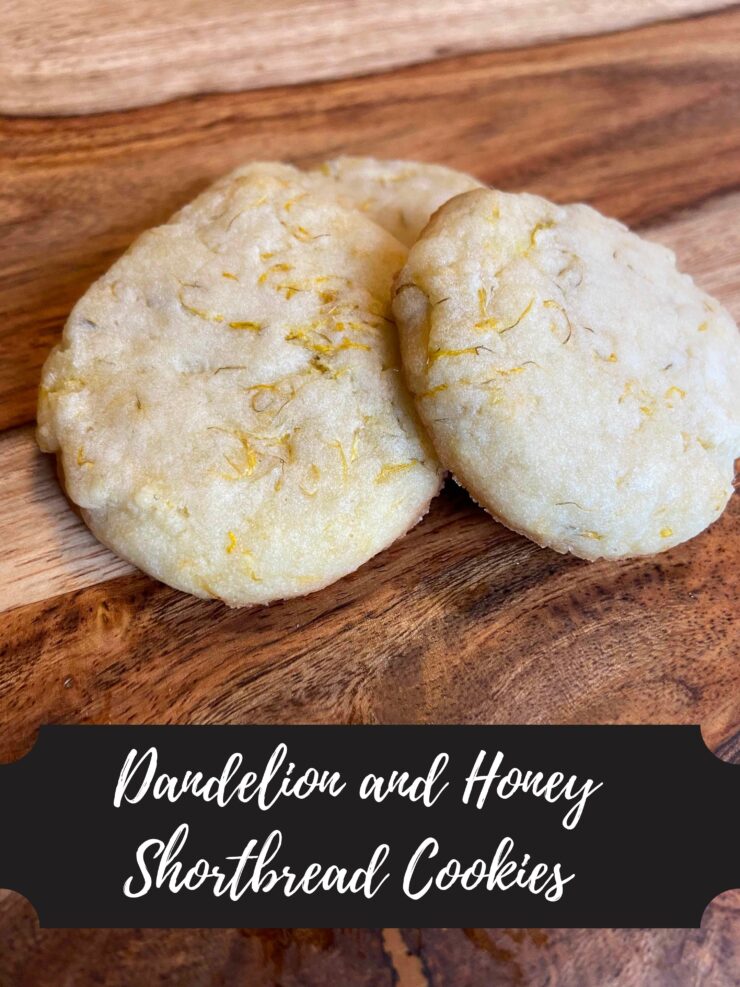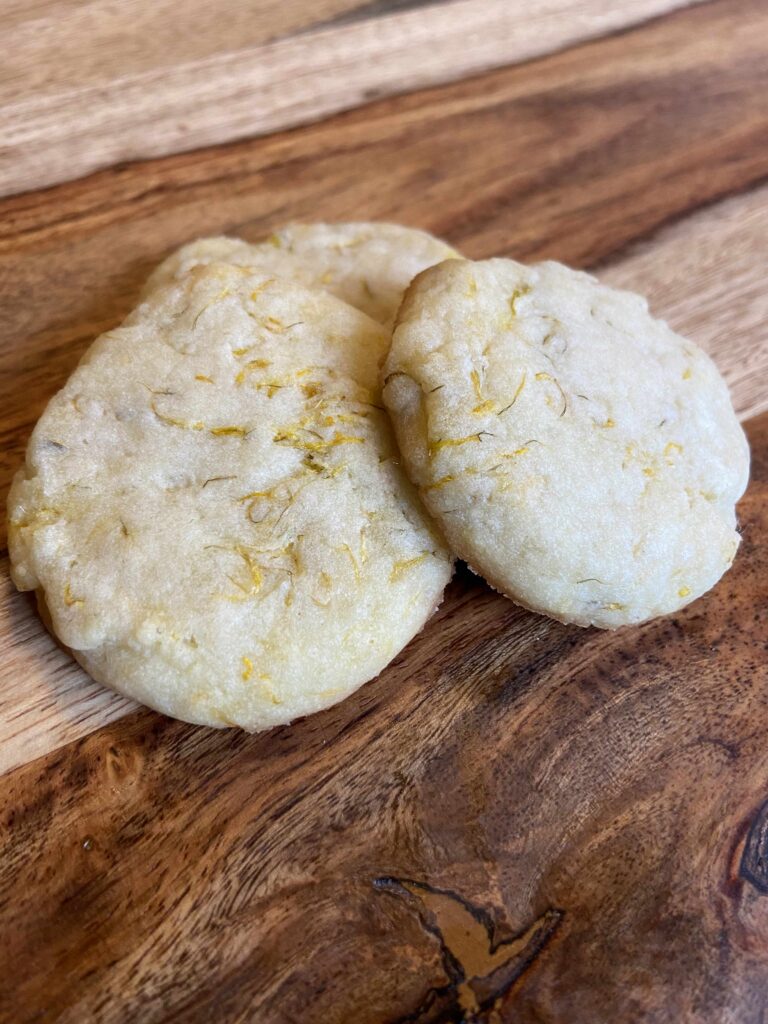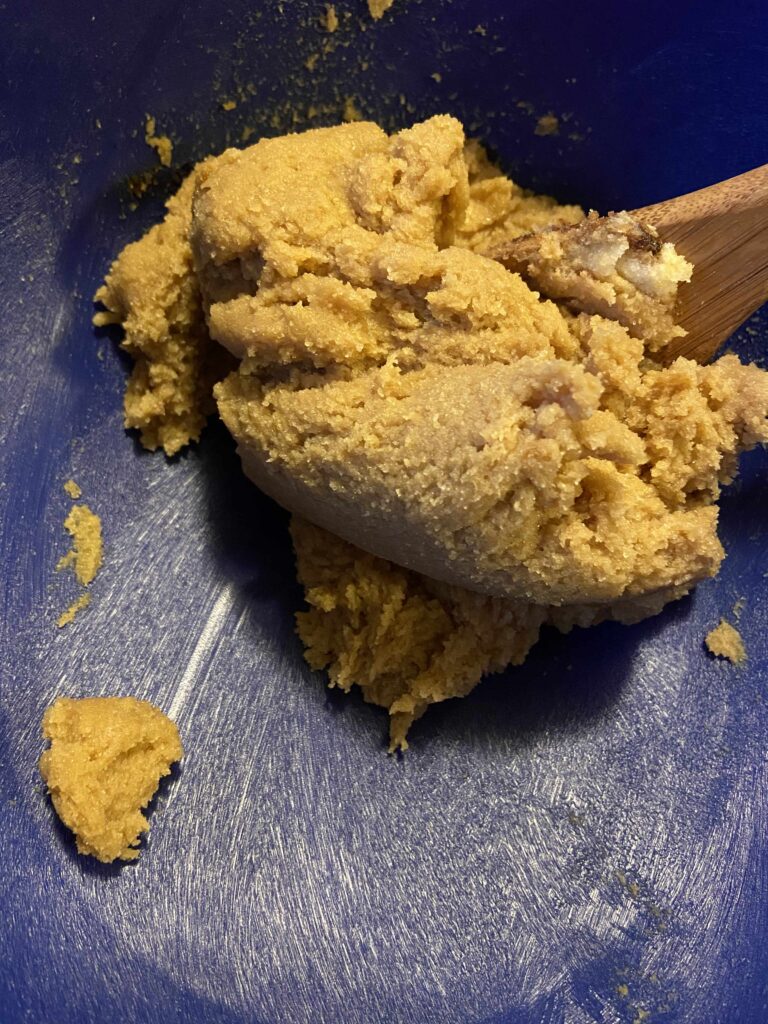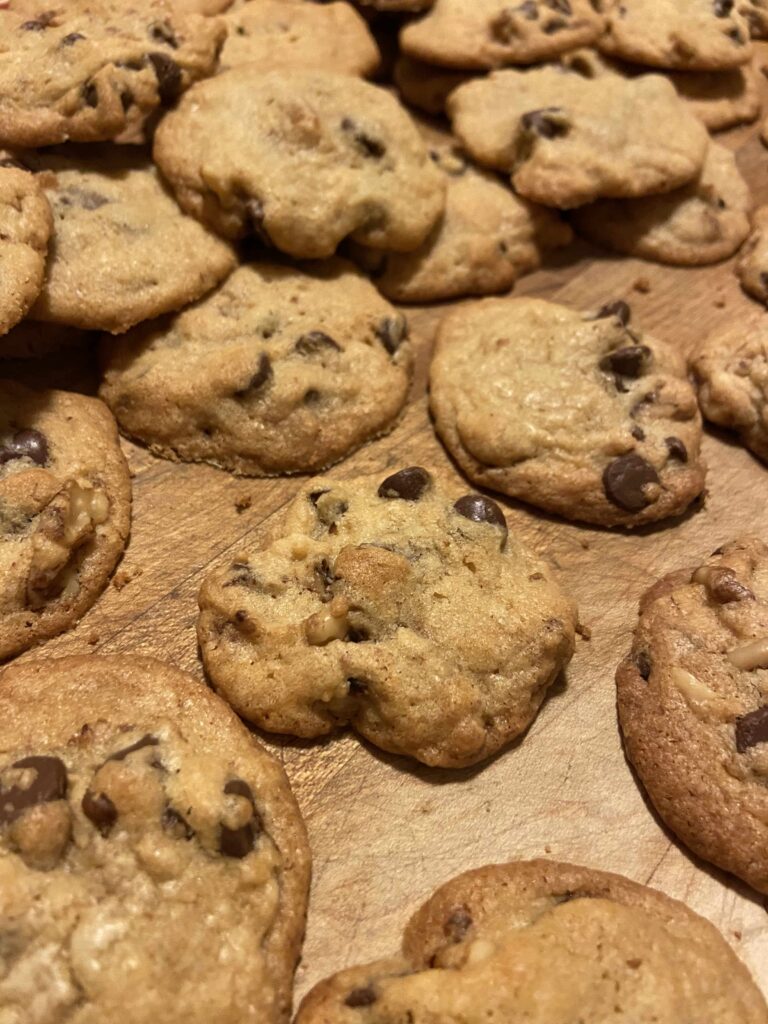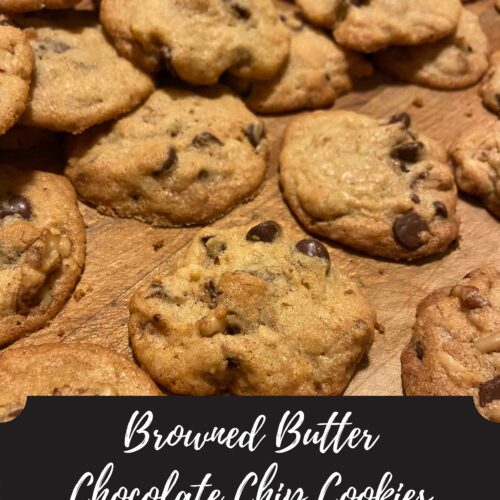
Most of my foraging adventures begin with me learning of a recipe and saying, “You can do that?!” after reading online, and immediately heading out to forage for whatever it is that you need. Wild Violet Jelly is one of those adventures. I had just finished baking up dandelion cookies and had more dandelions in the fridge ready to be cleaned when a friend sent me a wild violet recipe.
Oh my goodness! I have those ALL OVER my yard and along the edge of our woods. Time to switch gears and try something different before they disappear. Also, if you don’t know me personally, you may not know that I have a 5 year old spitfire of a daughter who’s name is, you guessed it, Violet. Imagine the joy on her face when I shared the idea for Violet to harvest violets to make Violet Jelly. So fun!
Of course, we needed to use mason jars to do our harvesting. I grabbed a quart jar and gave her a pint jar without lids. We set out on a walkabout around our yard and within an hour or so, we had found a pint jar’s worth of violets. As with anyexperience with a 5 year old, it wasn’t without tears. The silly girl got so excited she started skipping, tripped over a root, and immediately lost all her violets. I share as a lesson for all you. I know you’ll be excited, but please refrain from getting so excited you skip and lose your jar!
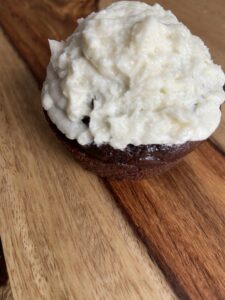
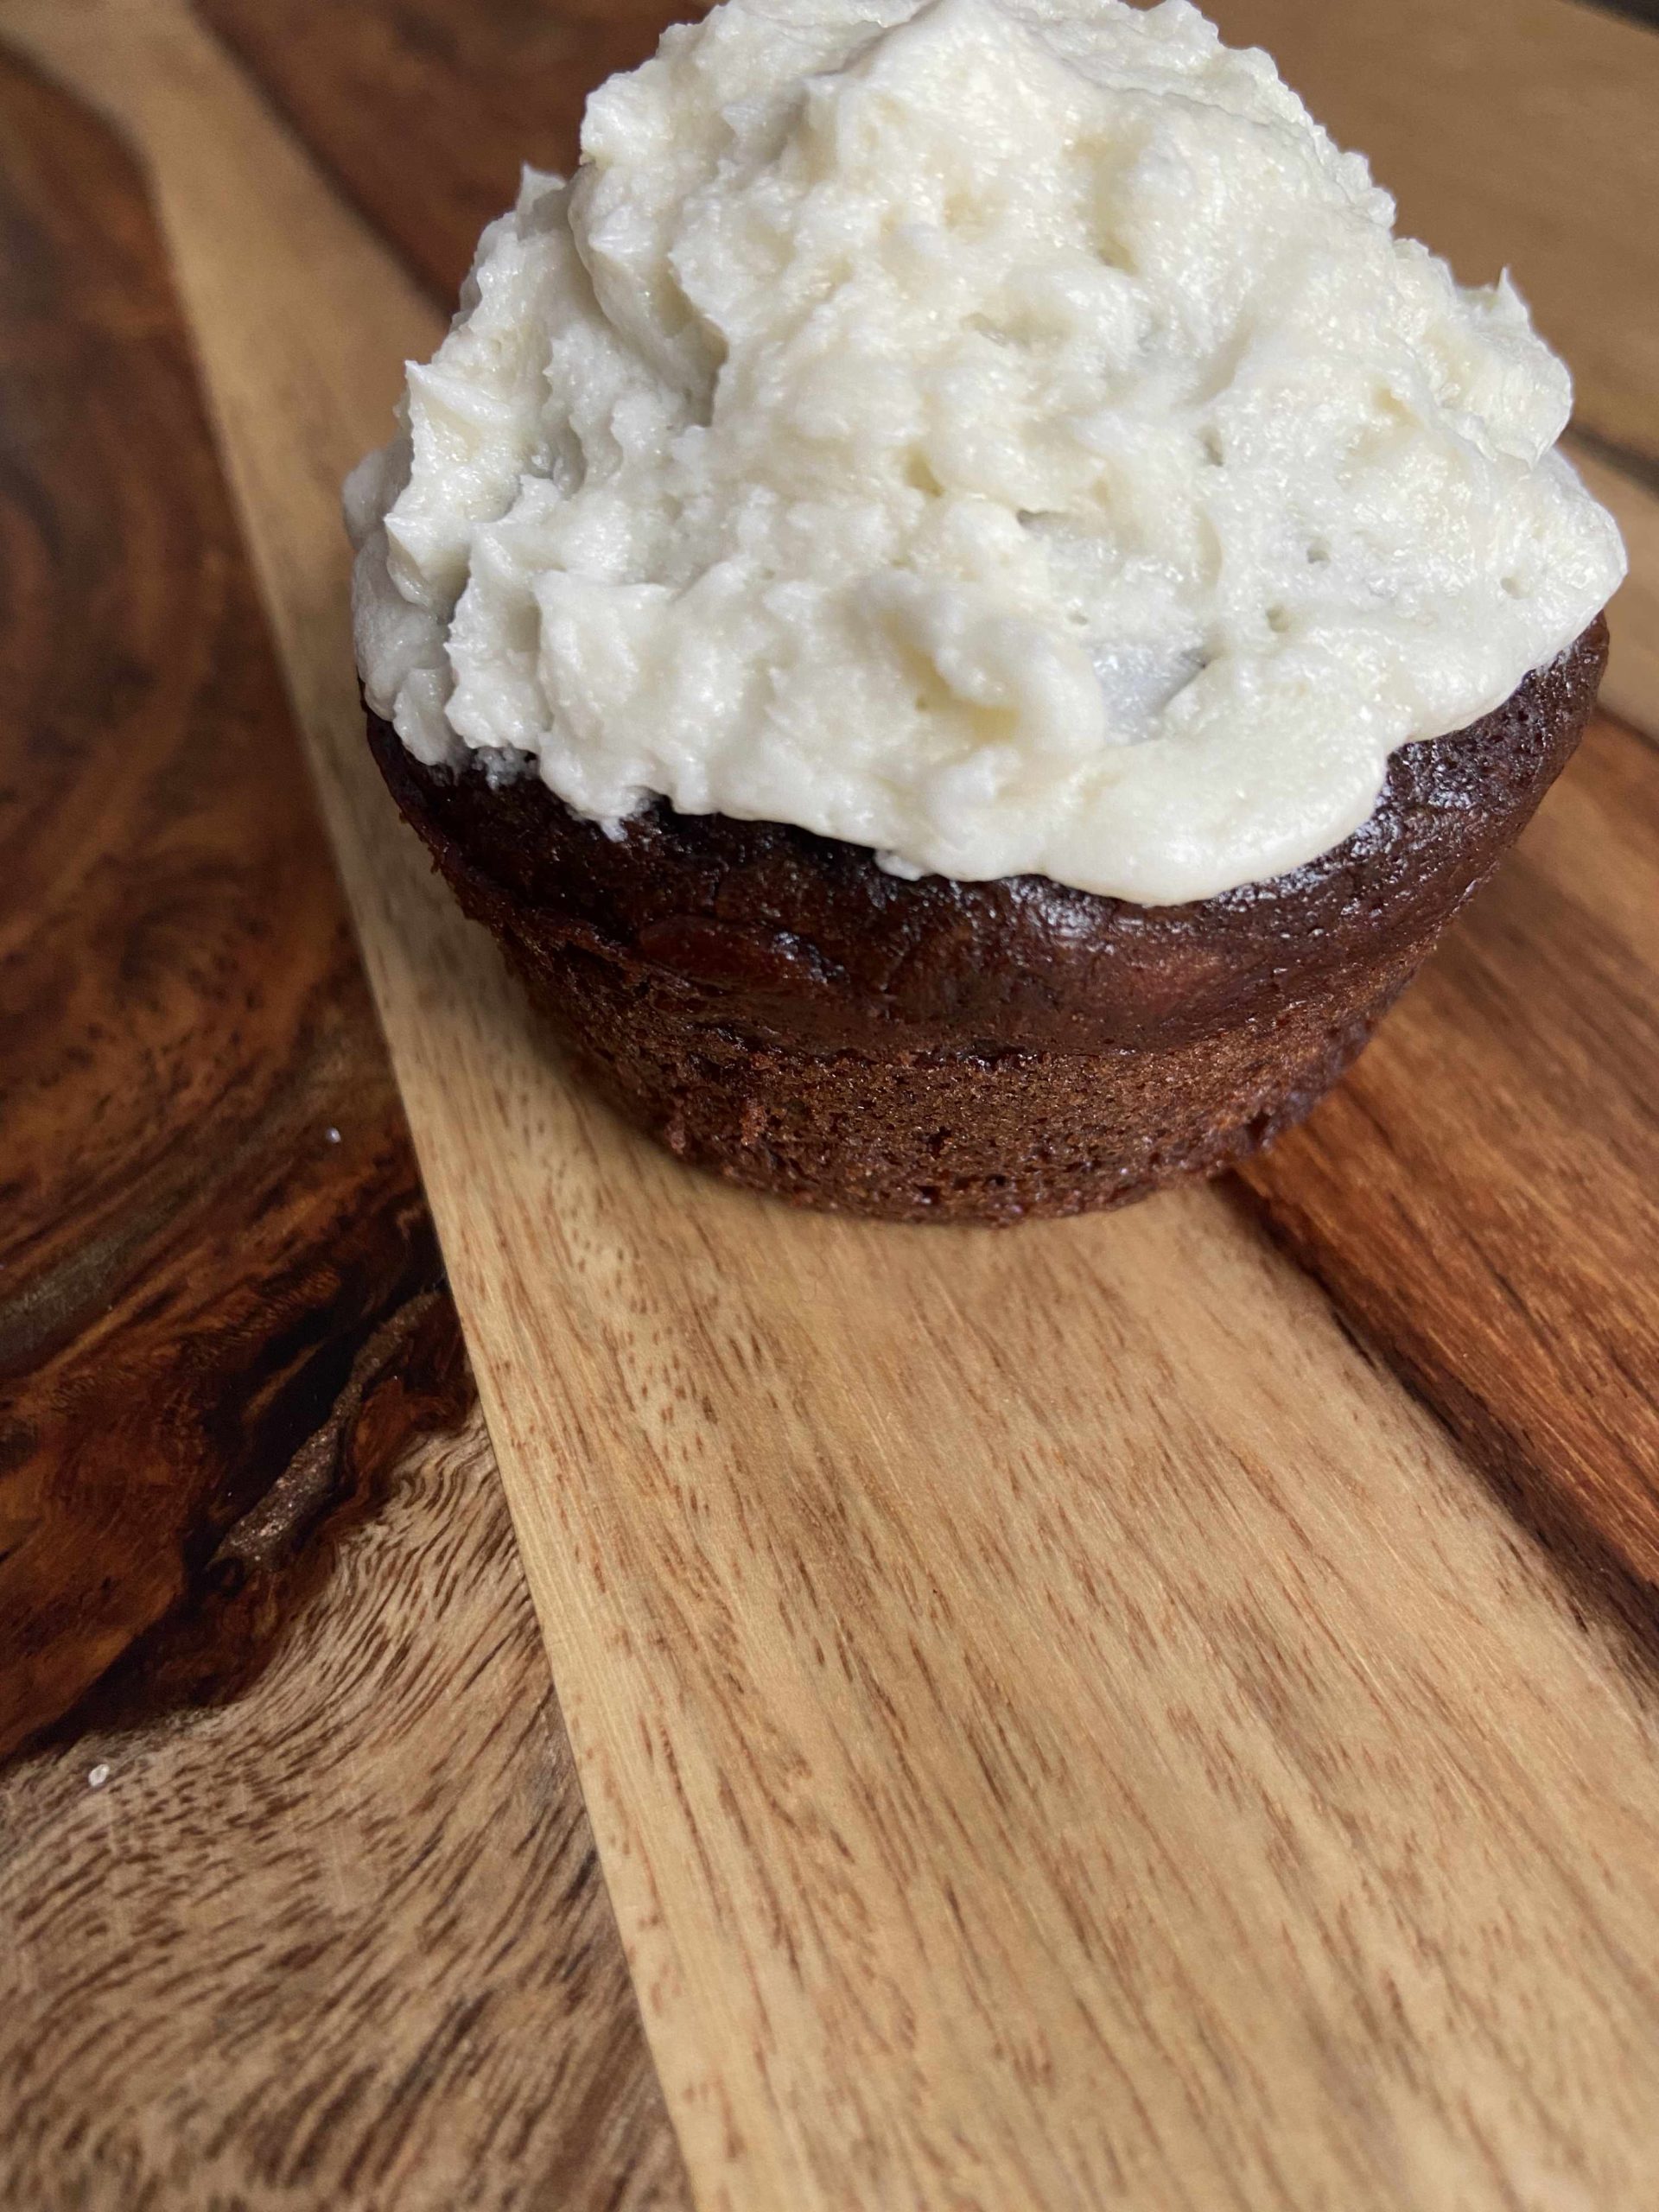
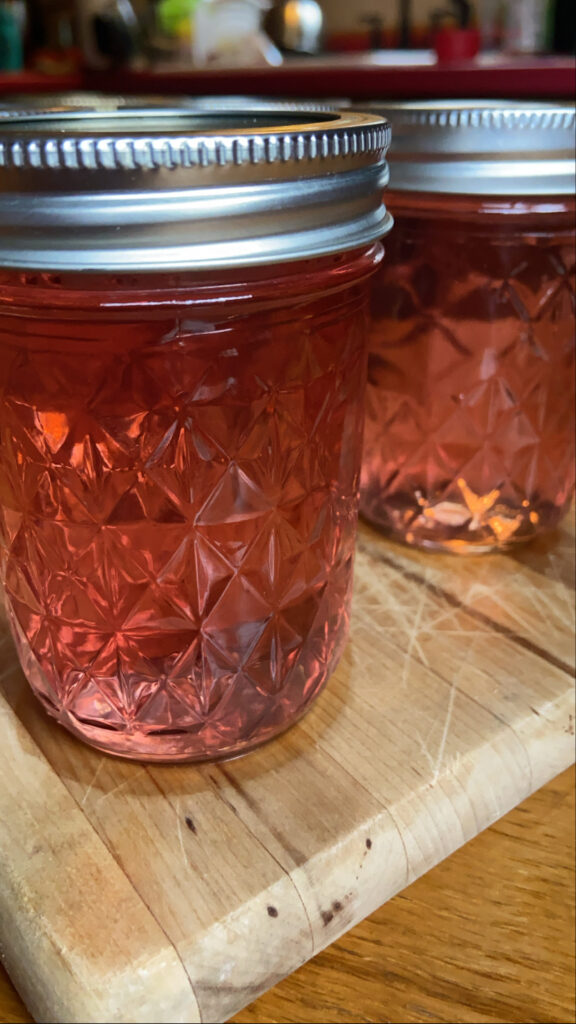
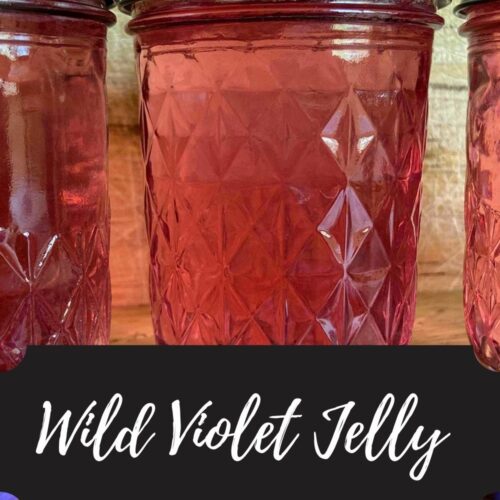
Although the harvesting took about an hour, this was the most labor intensive part of the recipe. In all the foraging and cooking I’ve done so far, I would say this is a great toe dipper. It didn’t require too much work and you’ll end up with about six beautiful jars of lavender colored jam.
Get ready so if you’re ready, grab your jars and start foraging!
Your Ingredients:
- 1 pint (2 cups) wild violet flowers
- 4 cups boiling water
- 3 tablespoons bottled lemon juice
- 4 ½ cups sugar
- 1 package powdered pectin
Your equipment:
- 1 pint jar and 1 quart jar
- Cheese cloth or mesh strainer
- 6 half pint jelly jars with rings and lids
- Water bath canner with lid
If this is your first go at canning, you can totally use a deep kettle with a dish towel rather than purchasing a water bath canner. The dish towel on the bottom is to keep the jars off the bottom of the kettle. This will be a little messier with the water, but it works. When I first started canning, I did my first four batches of pickles and jellies this way. I wasn’t sure I was going to love it and didn’t want to invest. Silly me 🙂
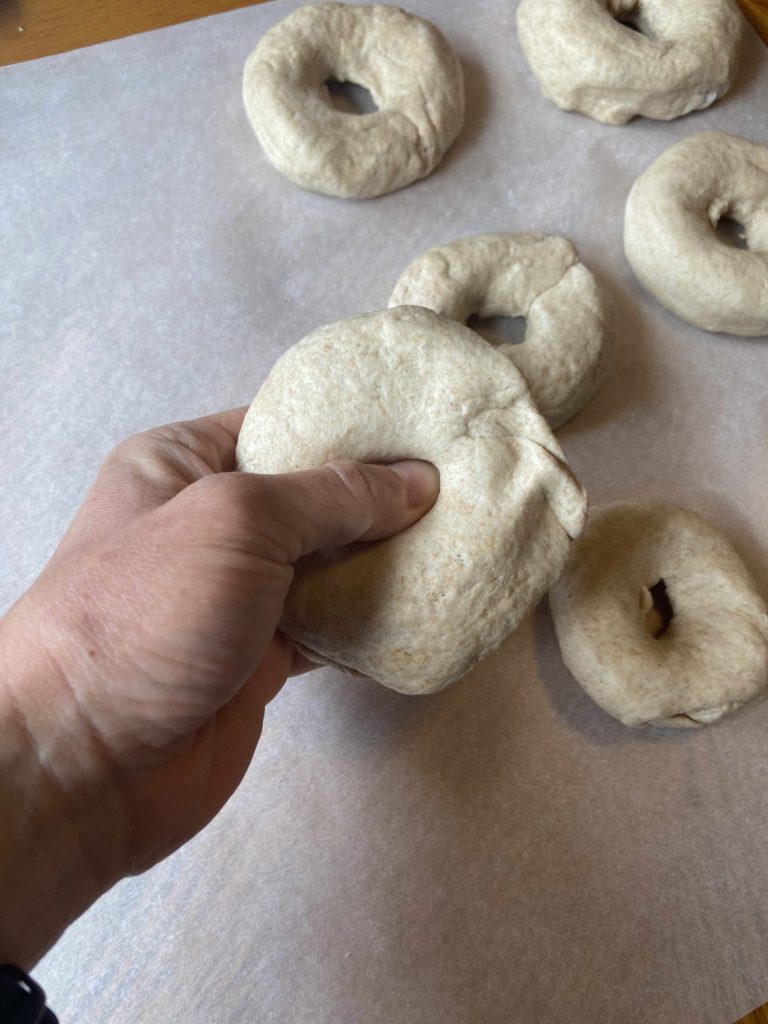
Harvest the Flowers
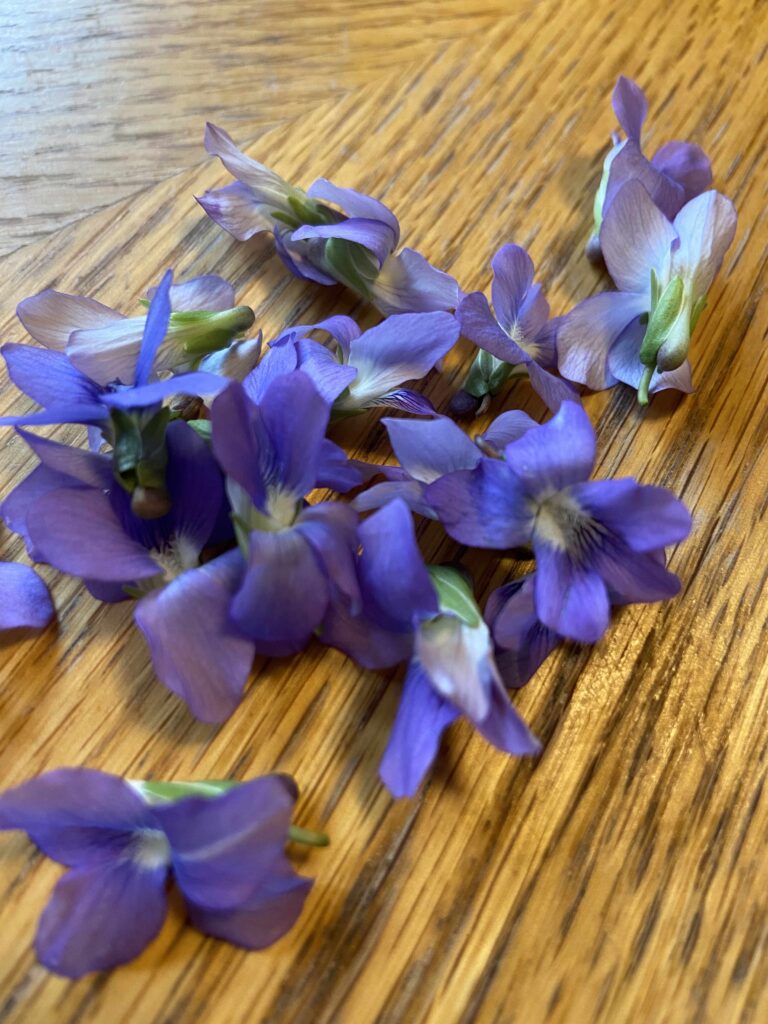
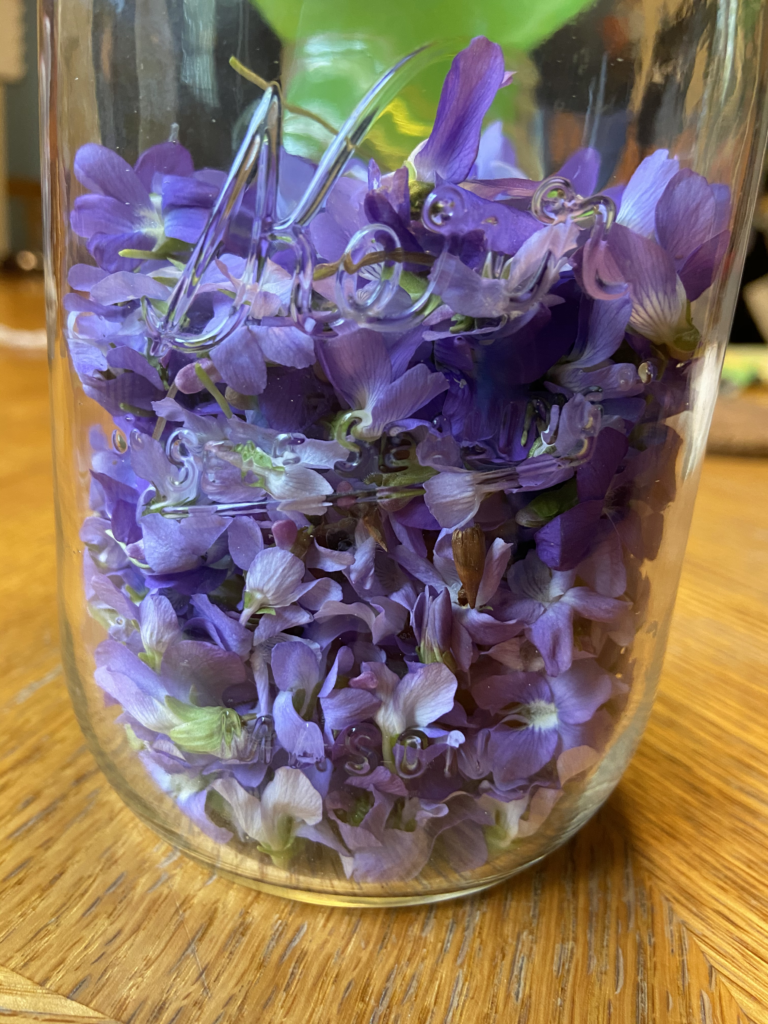
After spending days harvesting dandelions, this was surprisingly easy. Be sure that you’ve identified the right flower, and pick away. It’s best to look at the leaves to make sure you are picking the right one. Once you start, be sure to be a responsible forager, leaving some flowers in each bunch. Try to be mindful that you just get the flower. This was easy for me, but I had to pull stems from my daughter’s harvest since she’s five. Pick enough flowers to fill a pint jar, or just over two cups.
Create a Violet Tea
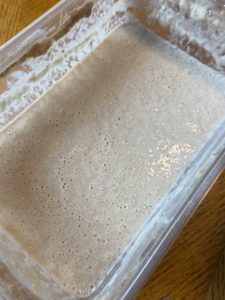
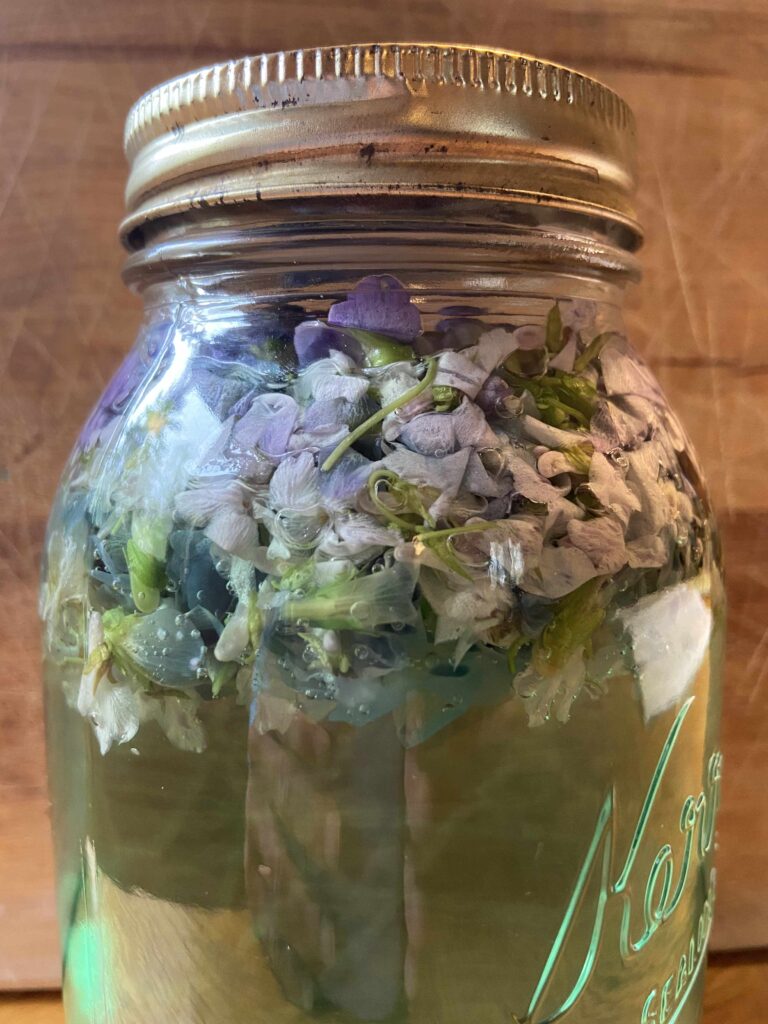
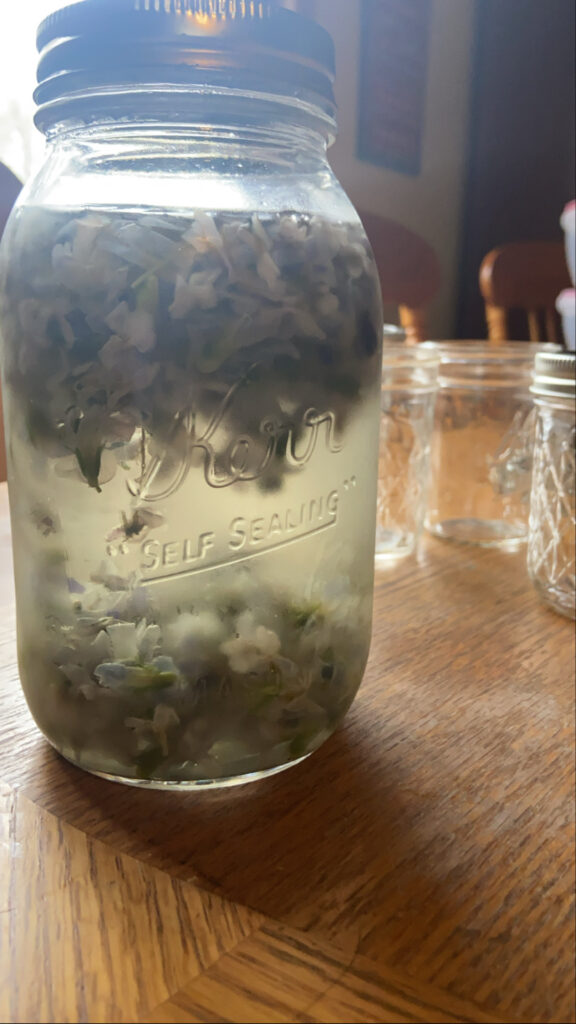
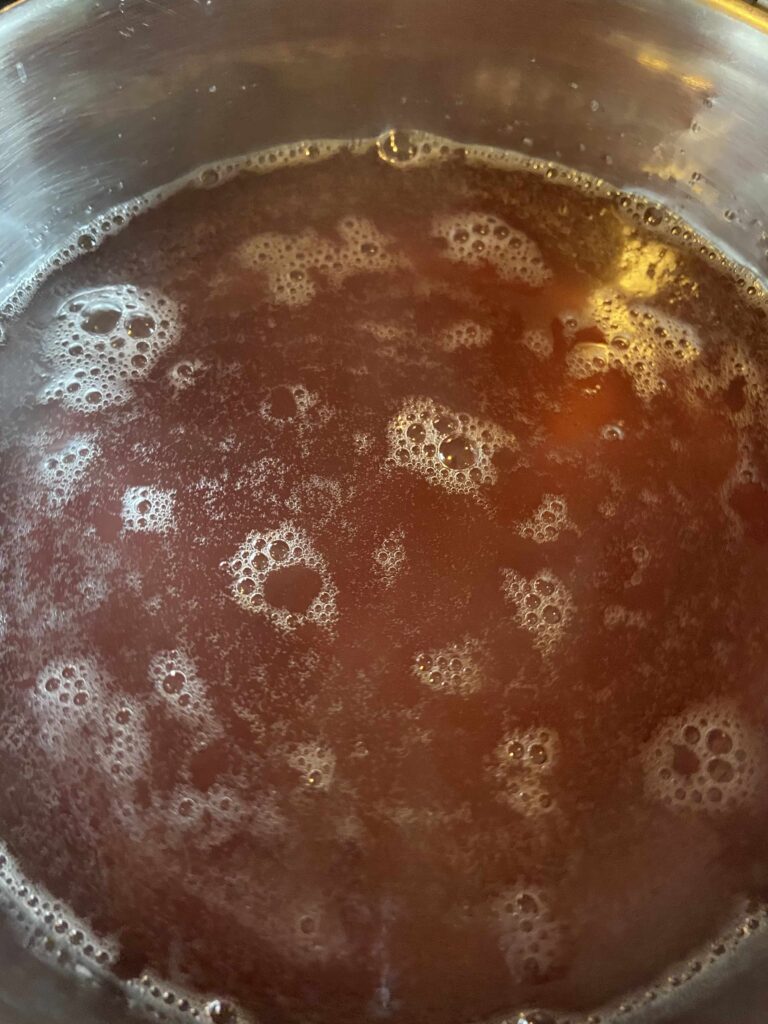
Once you have harvested the violets, transfer them into a quart jar. Pour boiling water over the flowers and cover. If you don’t have a quart jar, any container that you can cover and refrigerate will be fine. After the jar has come to room temperature, place in the refrigerator for at least 4 hours but up to 24 hours. I was amazed at the color that came from the flowers. It went from purple flowers to teal water to a much more muted green as the time pasted in the refrigerator. I let it sit overnight.
Time for Jelly
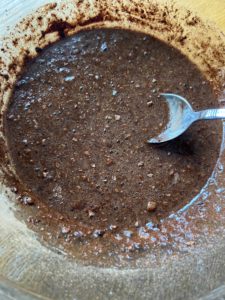
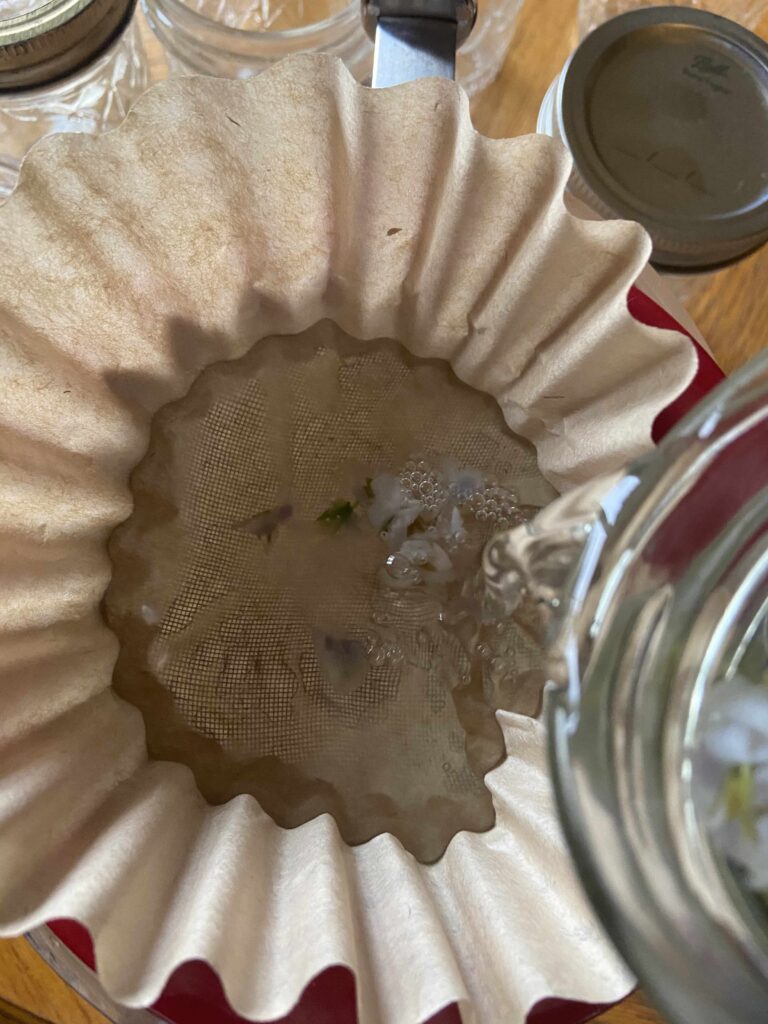
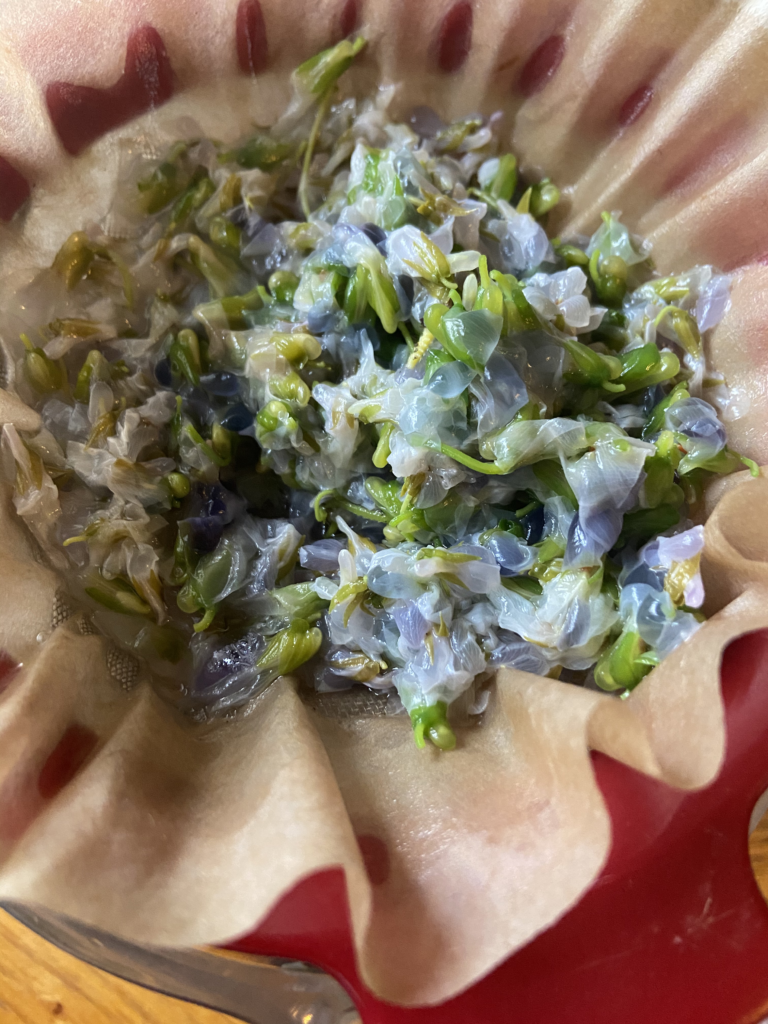
The following day, start heating your water bath canner with enough water to cover your jelly jars with at least 2 inches of water. Strain the flowers from the tea. To do this, I used a fine mesh strainer with a natural coffee filter in it. I poured from the quart jar into a measuring cup (see picture). Straining through cheesecloth would also be a great option. End game: You need them separated. You do you 🙂
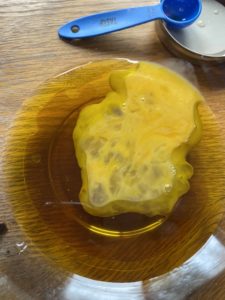
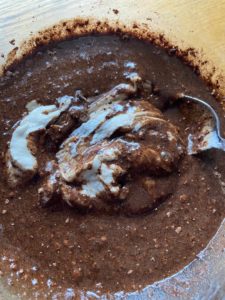
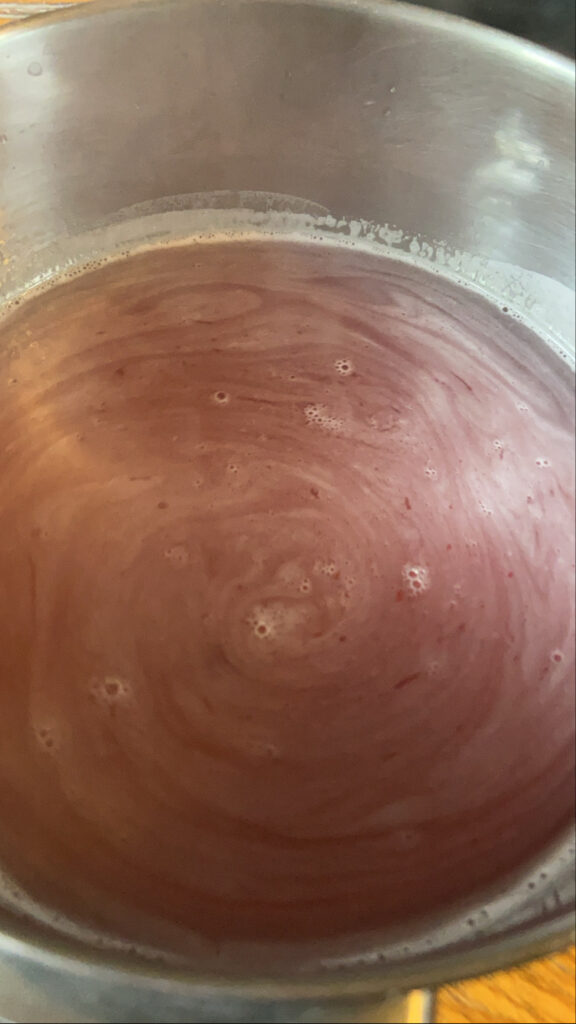
Once separated, measure out 3 cups of violet tea. You may add additional water to reach 3 cups if necessary. Pour this into a larger non-reactive kettle. Add powdered pectin and lemon juice, whisking to incorporate. This will be THE coolest thing you do. The violet tea is a muted green when made, but just be ready when you add the lemon juice. It will instantly go from green to a beautiful lavender color. I knew it was going to happen and I still got so excited I knocked over my bottle of lemon juice, spilling it all over my kitchen floor. Oh well…making memories, right? Back to the recipe…
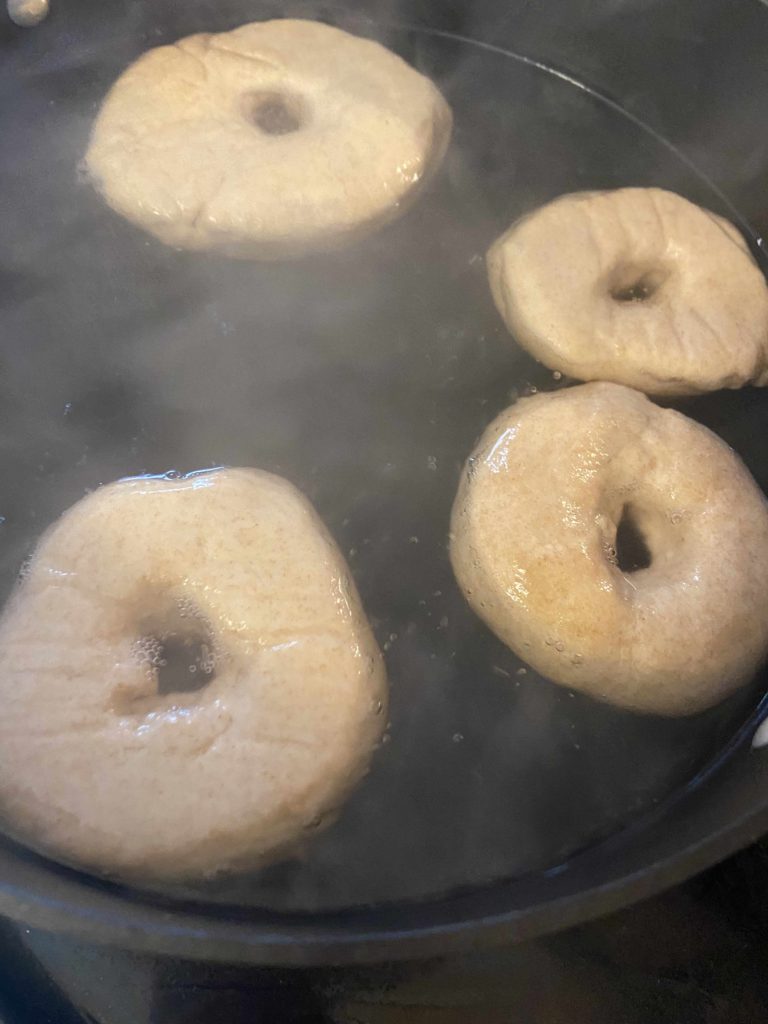
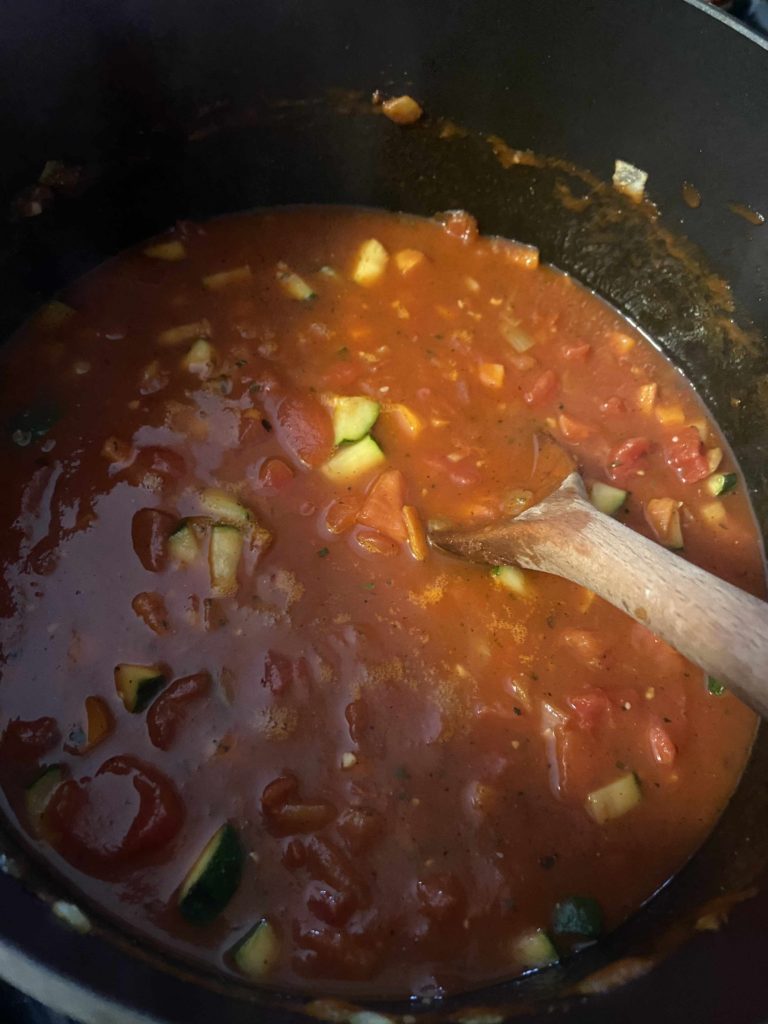
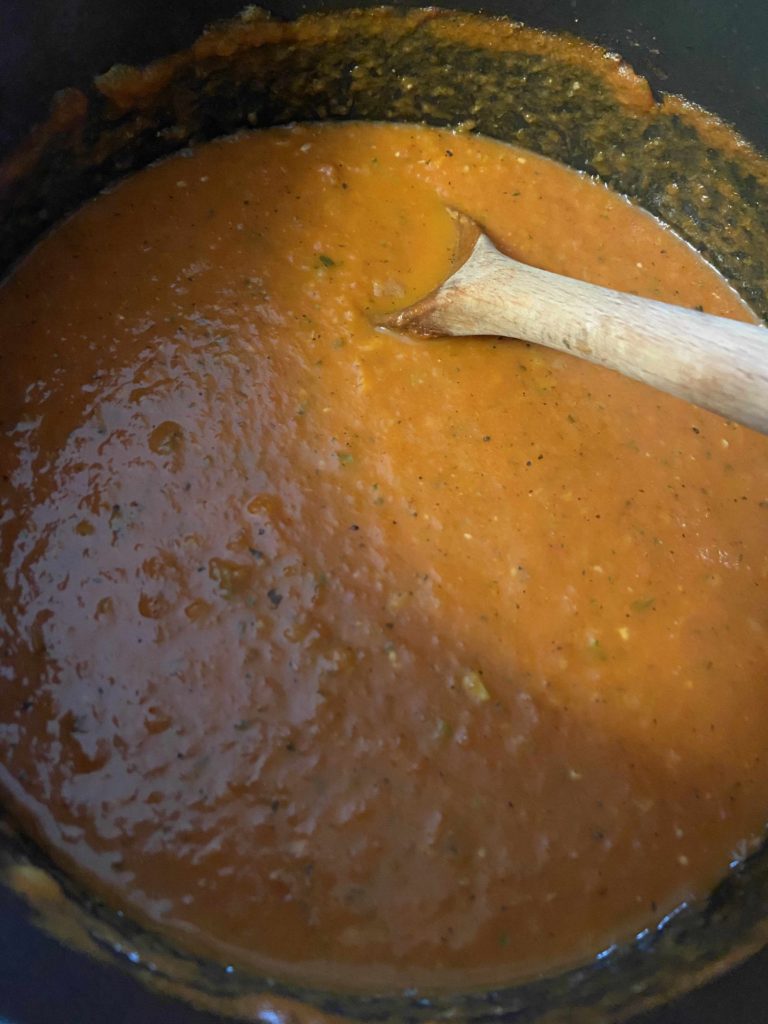
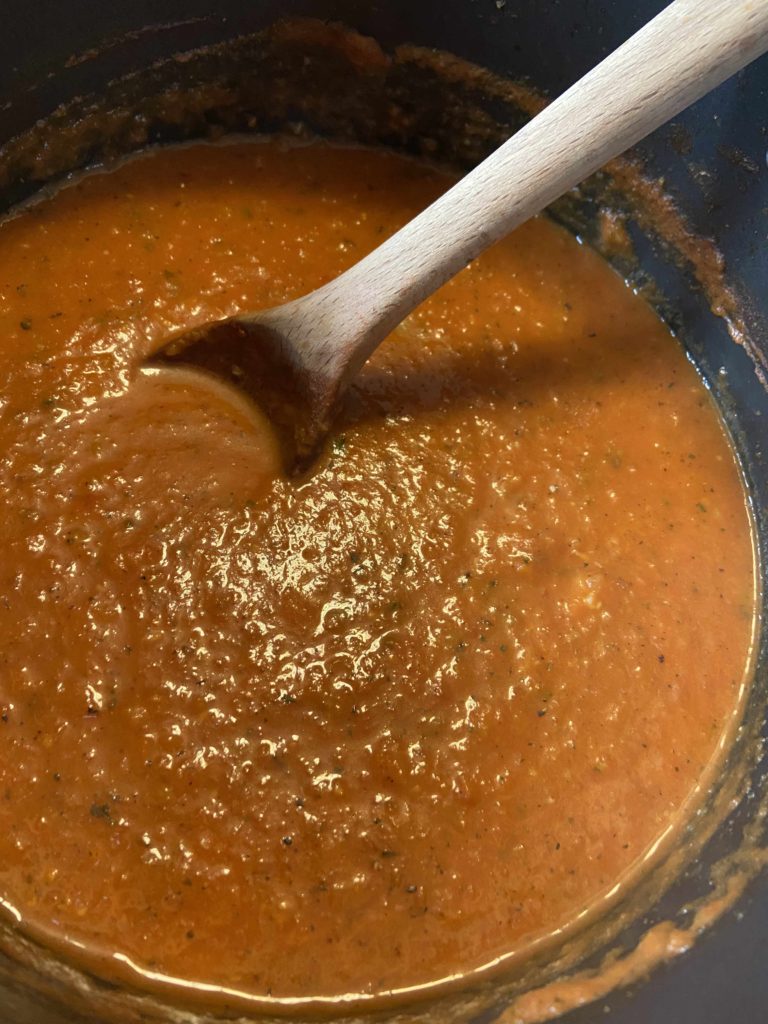
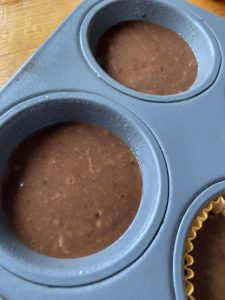
Bring the tea, pectin, and lemon juice mixture to a boil. Once you have achieved a rolling boil, add sugar. Return to a rolling boil, stirring quite often, if not always. Once you have reached a rolling boil, time for 1 minute, stirring the whole time. Ladle jelly into prepared jelly jars, leaving 1/2 inch head space. Wipe the edges with a damp cloth, add lids, and tighten rings to fingertip tight. Put into the water bath canner and process for 5-10 minutes. I did 10 minutes because my altitude is greater than 1000 feet. (Always read the pectin directions and follow those for your altitude).
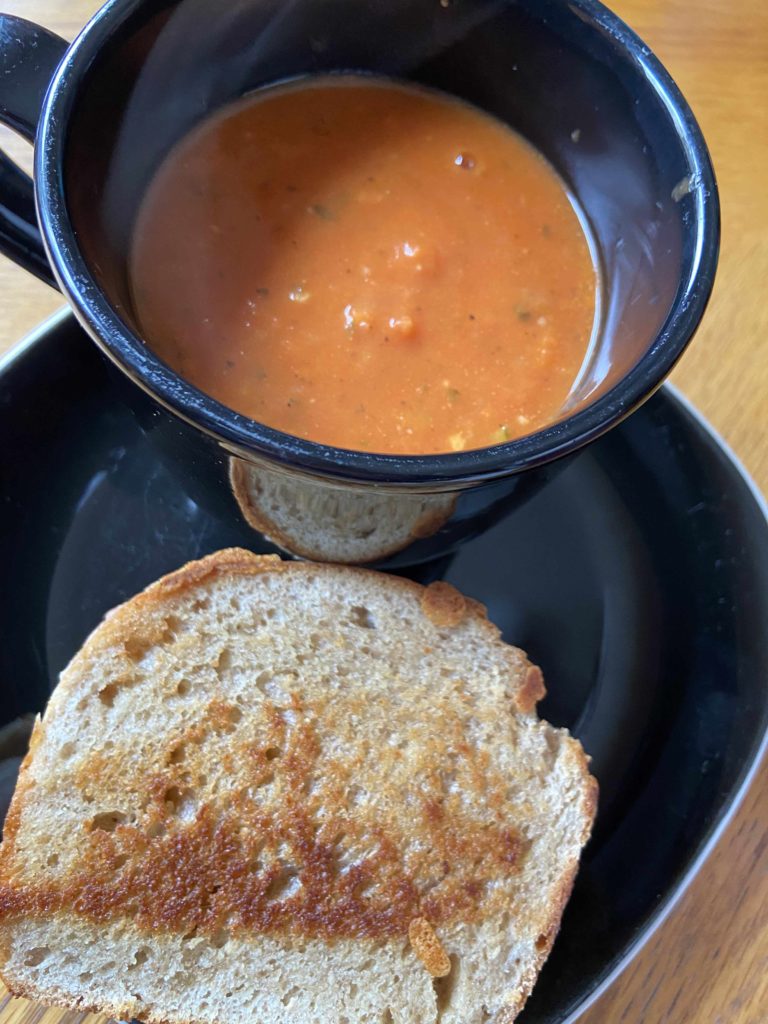
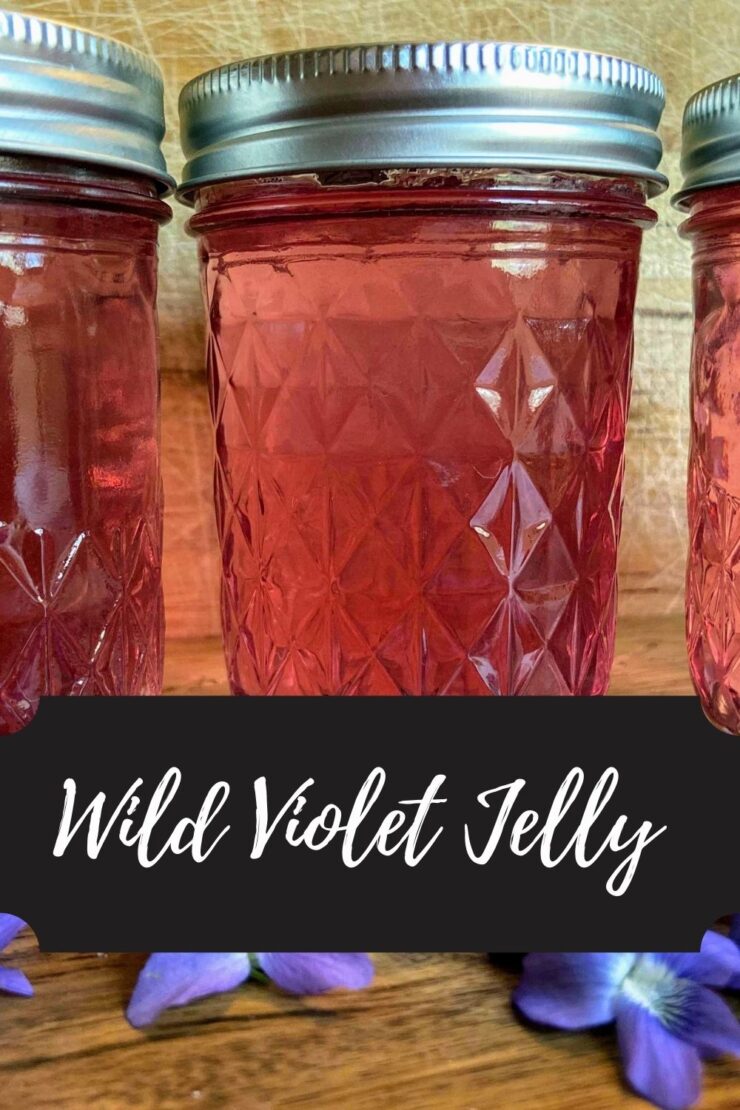
Once the jelly is done processing, remove the canner from heat and let jars rest in the water for an additional 5 minutes. Finally, remove jars from the canner and allow to cool for 12-24 hours before moving. Listen for the ping of the lids (best part of canning…apart from the eating of the beautiful food you create) and marvel at the beautiful spring jelly; the other best part of canning 🙂

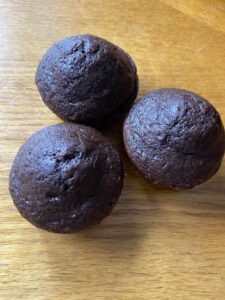
Wild Violets, freshly harvested. One pint’s worth. Just after boiling water has been added. That color! After 24 hours of steeping in the fridge. So smart! Use a brown coffee filter to filter the tea! Strained. Still pretty! Immediately after adding the lemon juice and pectin. Wow! A watch pot never boils. Finished!
A few notes:
- Make sure you are using powdered pectin rather than liquid pectin. They do not set the same. Early in my canning career I didn’t know the difference and had a few batches of jelly never set.
- If you have never canned, you can reference the instructions within the pectin box for additional, more detailed directions. While you aren’t using fruit, the directions will still be very similar.
- I adore this book and using it as my canning bible. If you are at all interested in all you can can, check out Ball’s Blue Book Guide to Preserving.
- If foraging is your jam and you’re in the midwest, Midwest Foraging by Lisa M. Rose is a great resource.
- Sealed jars are shelf-stable, meaning they can be stored on a shelf unrefrigerated. If your jars don’t ping (a sign that they have sealed), they are still good. You will just need to store them in the refrigerator.
- Most sources recommend removing the rings from jars for storage so that you will know if they unseal for any reason. I generally just loosen them as much as I can without removing them.
Looking for more canning recipes? Click here!
Looking to forage and then create? Click here!
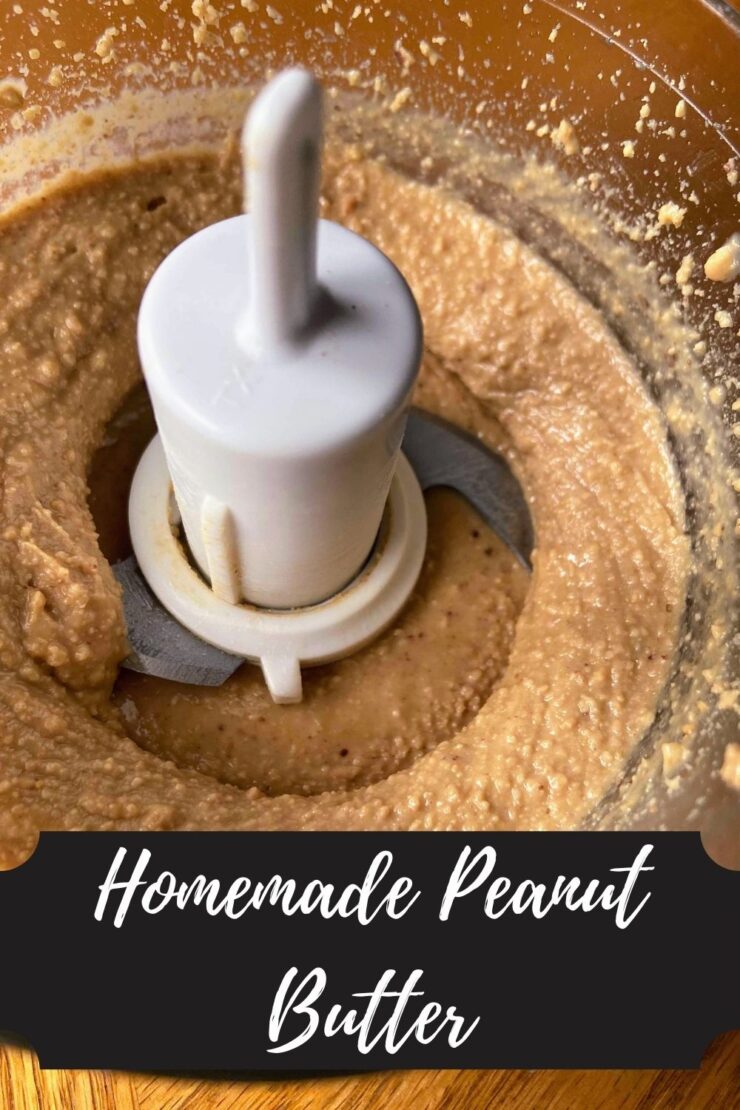
Wild Violet Jelly
Equipment
- Cheese Cloth or Mesh Strainer
- Quart Canning Jar
- 6 Half Pint Jelly Jars with Rings and Lids
- Pint Canning Jar (optional)
Ingredients
- 1 pint (2 cups) wild violet flowers
- 4 cups boiling water
- 3 tbsp bottled lemon juice
- 4 1/2 cups sugar
- 1 package powdered pectin
Instructions
- Harvest 1 pint (2 cups) of wild violet flowers. Be sure they are clean and rid of debris. Place inside a clean quart jar with lid and ring.
- Pour boiling water over violets, filling the jar. Cover. Allow to cool to room temperature. Place in fridge to steep for 4-24 hours.
- Prepare water bath canner by filling with water so that the jars will have at least 2 inches of water over them when placed inside. Begin to heat. Clean and prep canning jars, rings, and lids. Set aside.
- Strain flowers from tea using cheese cloth and mesh strainer. Remove any flower debris and discard. Measure 3 cups of tea, adding water if necessary. Pour into a non-reactive kettle.
- Measure sugar in a separate bowl. Set aside. Add pectin and lemon juice to tea. Heat over medium high heat. Bring to a rolling boil, stirring often.
- Once rolling boil has been reached, stir in sugar. Continue to stir until rolling boil is reached again. Time for exactly one minute, stirring constantly.
- Remove from heat. Pour into prepared jelly jars, leaving 1/2 inch head space. Wipe rims of jars, put on lids and rings, tightening to finger tip tightness.
- Process in water bath canner for 10 minutes. Remove from heat. Allow to sit in canner 5 additional minutes. Remove from canner, place on counter, and let sit for at least 24 hours.