Our family is entering the life of crazy evenings due to kiddo commitments. I am not ready for that season of life, but it’s coming whether I like it or not. Sitting down to a family dinner that is healthy and wholesome is important to my family and me. We plan on holding tight onto those meals around the table as long as we possibly can and is just the reason I put together this Mexican Pork Burrito Bowl.
So enter this week where we have engagement after engagement after school. We have some go to “quick” meals, but I wanted to switch it up. After an early morning wake up, I starting researching pork loin Mexican-inspired recipes, and couldn’t find anything I loved so I developed this little guy that has tons of flexibility! Love a stew? Maybe add a little more broth and top with some fun tortilla chips. Need more substance? Make a few cups of rice or couscous, put a 1/2 cup in a bowl and top with the pork. And what makes it even better? It all goes in a slow cooker so you’ll walk into a house that just smells marvelous and dinner will be totally ready in 10 minutes flat! Doesn’t get much better than that!
Your ingredients
1 pound pork loin
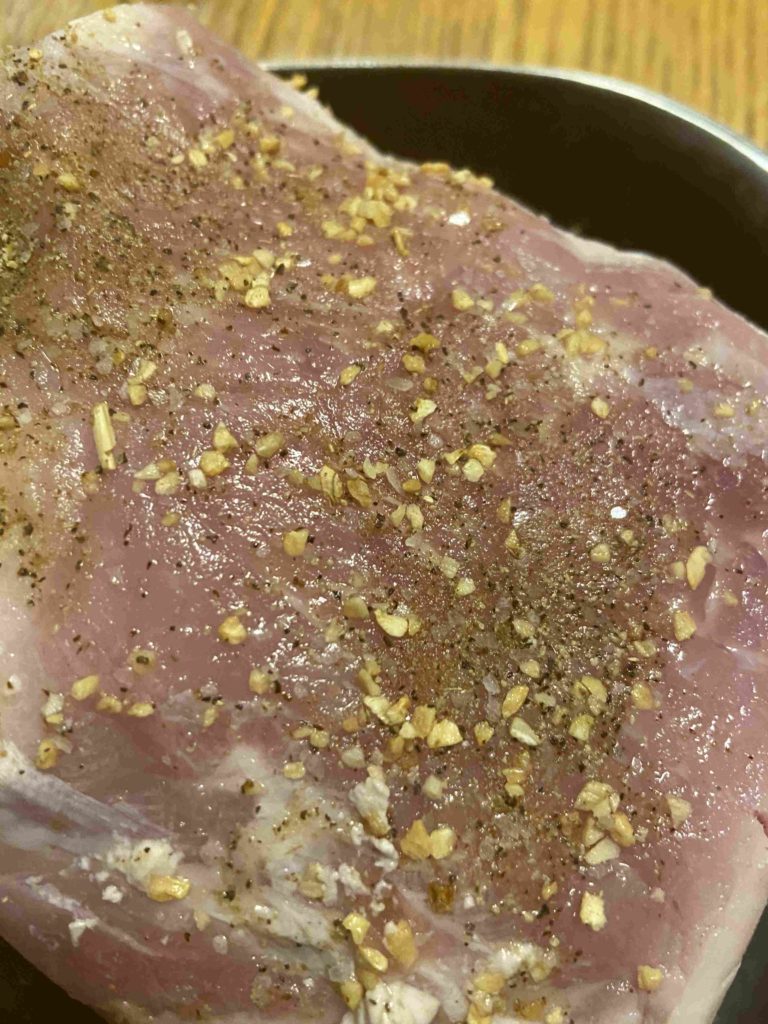
1/2 teaspoon each: salt, pepper, dried minced garlic, and cumin to season pork
1 15 oz can diced tomatoes (I used unsalted)
1 15 oz can tomato sauce (this had added salt)
16 oz (2 cups) chicken stock, low sodium
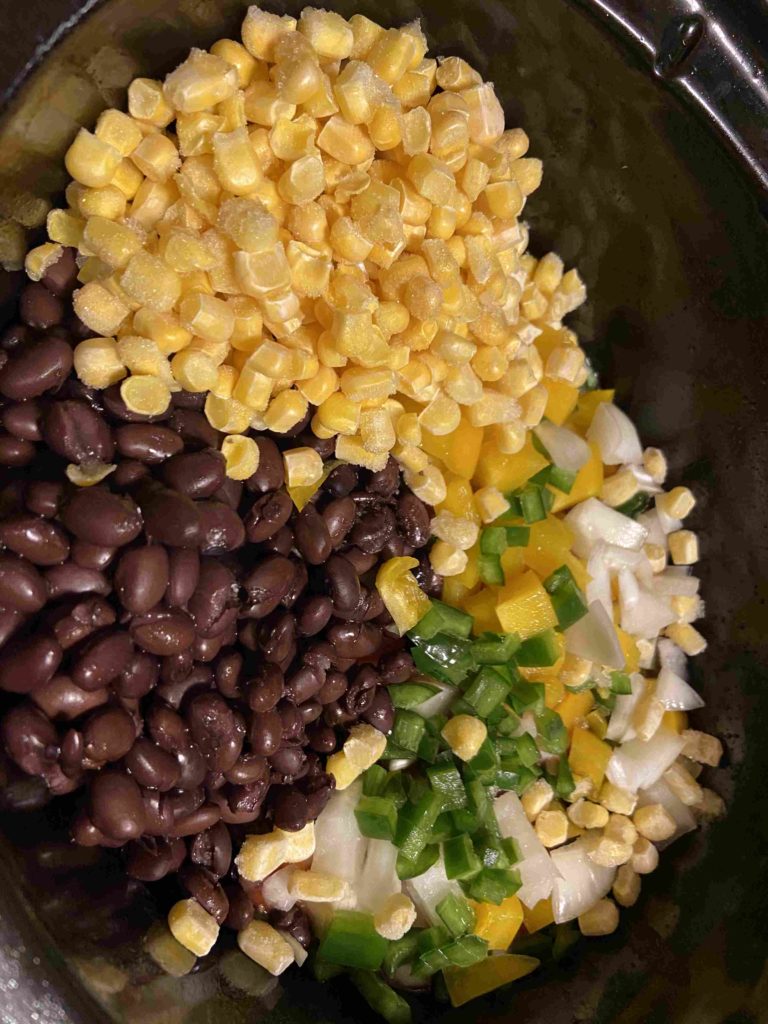
1 15 oz can black beans, drained and rinsed
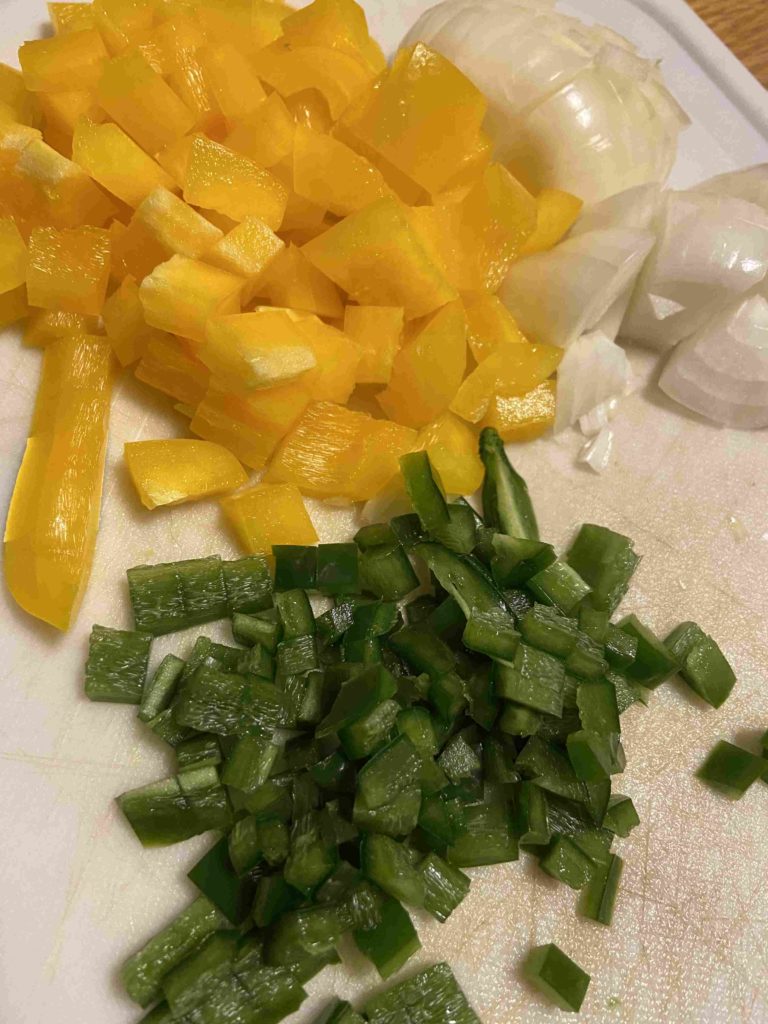
1/2 cup diced onion, diced (about 1 small)
1 jalapeño, diced (I am not a lover of spicy food, and this was perfect. Don’t let the whole jalapeño scare you)
1 cup diced pepper (I used yellow)
1 cup frozen corn
2 1/2 teaspoons cumin
1/2 teaspoon pepper
1 teaspoon chili powder
2 teaspoons dried minced garlic (feel free to do fresh!)
Optional toppings: cheese, sour cream, cilantro, tortilla strips, it’s endless!
Optional sides: brown rice or couscous. Awesome to serve under or mix in as a stew.
Your Steps to Pork Burrito Bowl
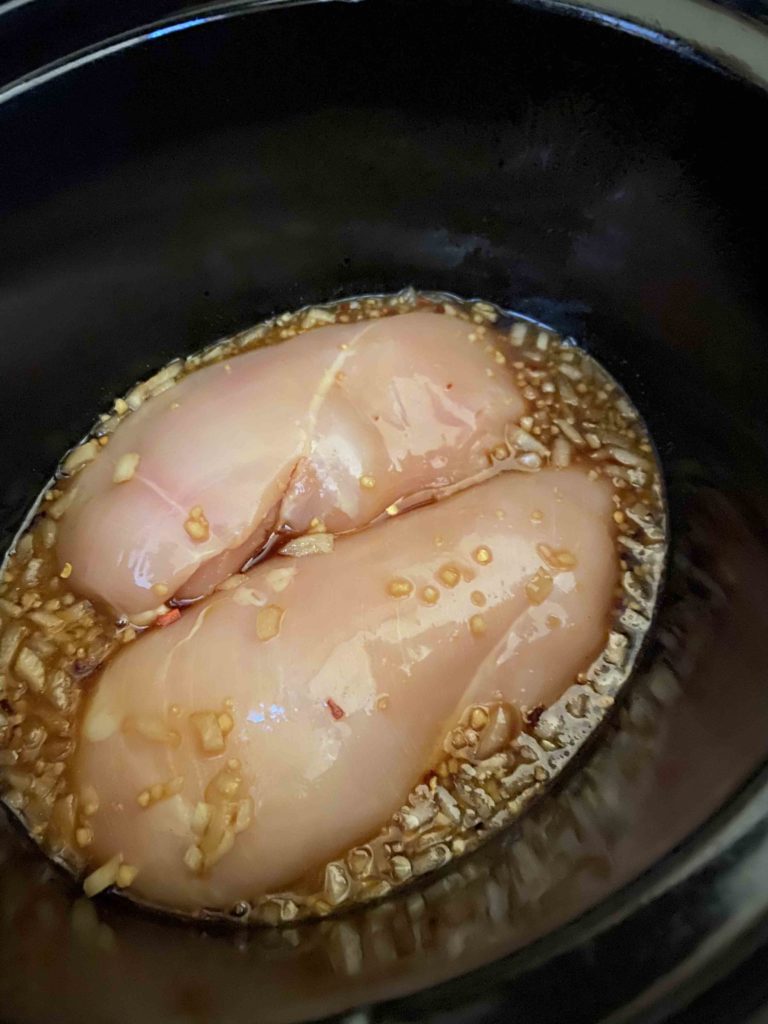
Spray a slow cooker with cooking spray. Then mix the 1/2 teaspoons of salt, pepper, cumin, and dried minced garlic in a small bowl. Massage seasoning into the pork loin and place into the slow cooker.
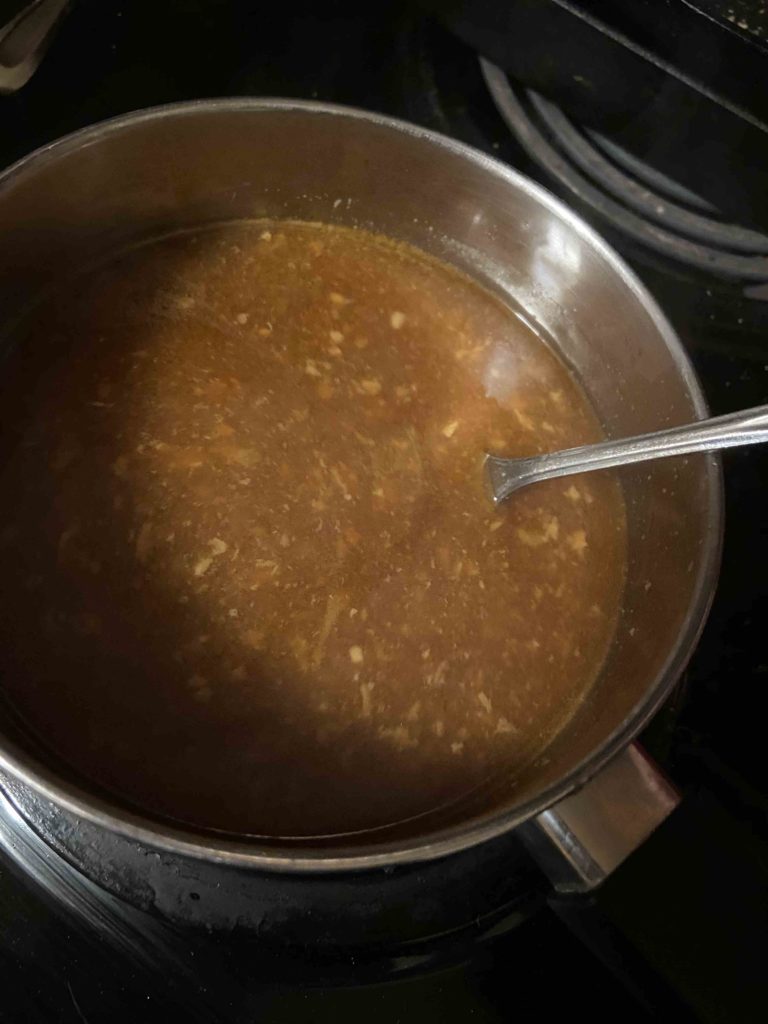
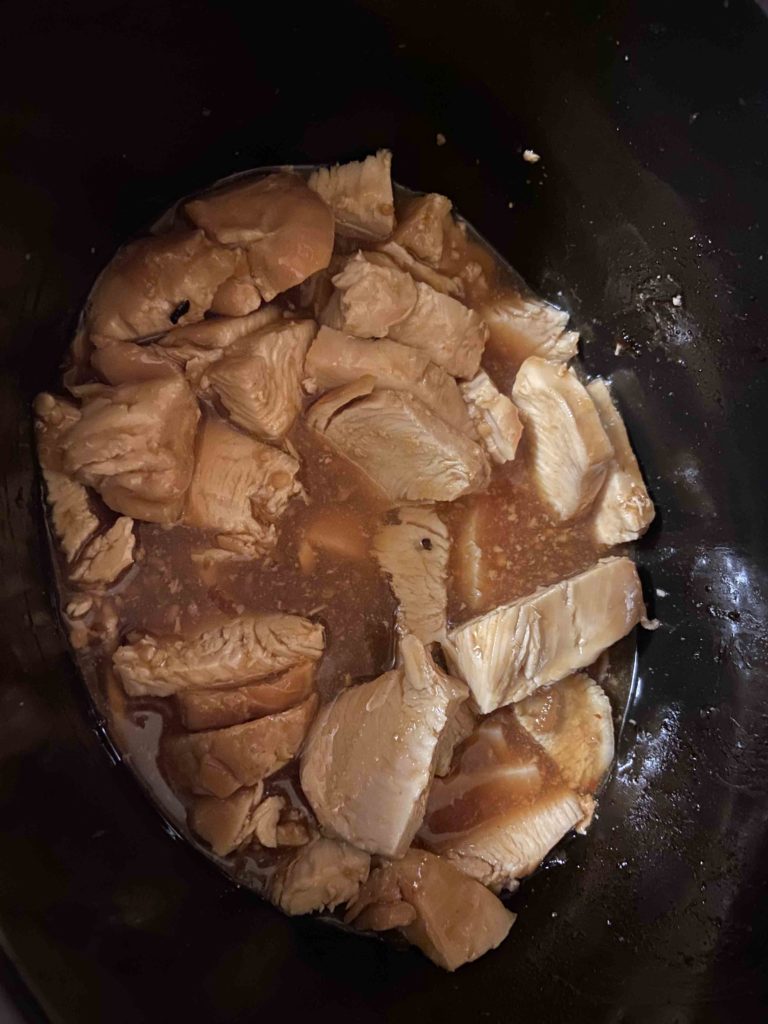
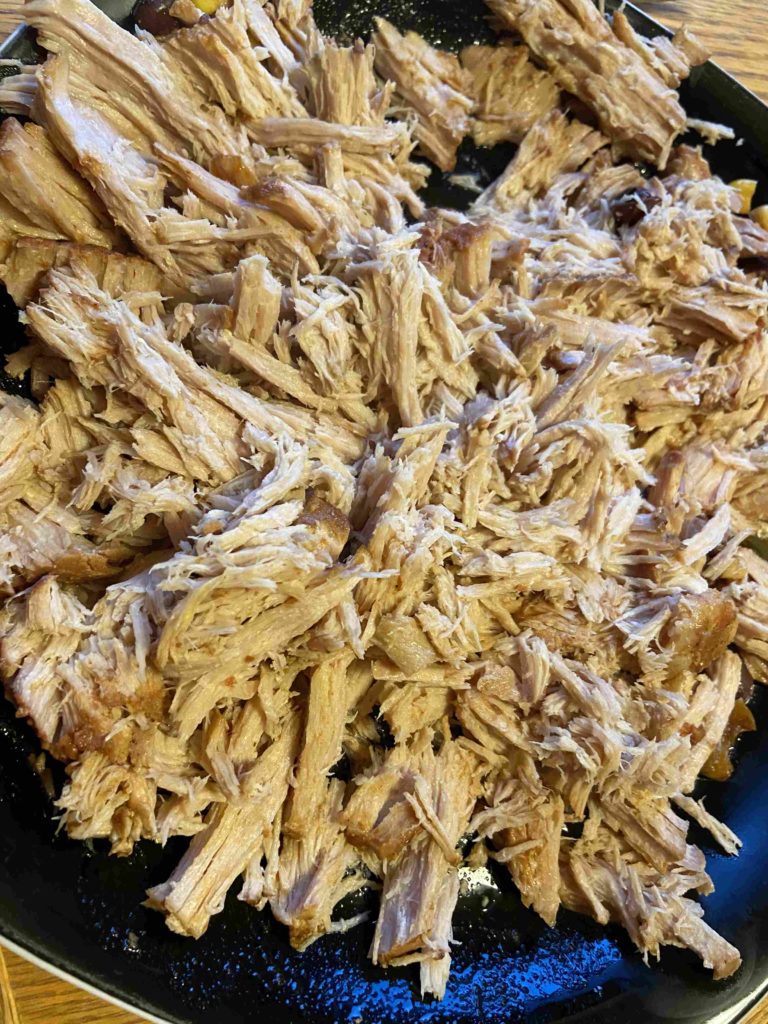
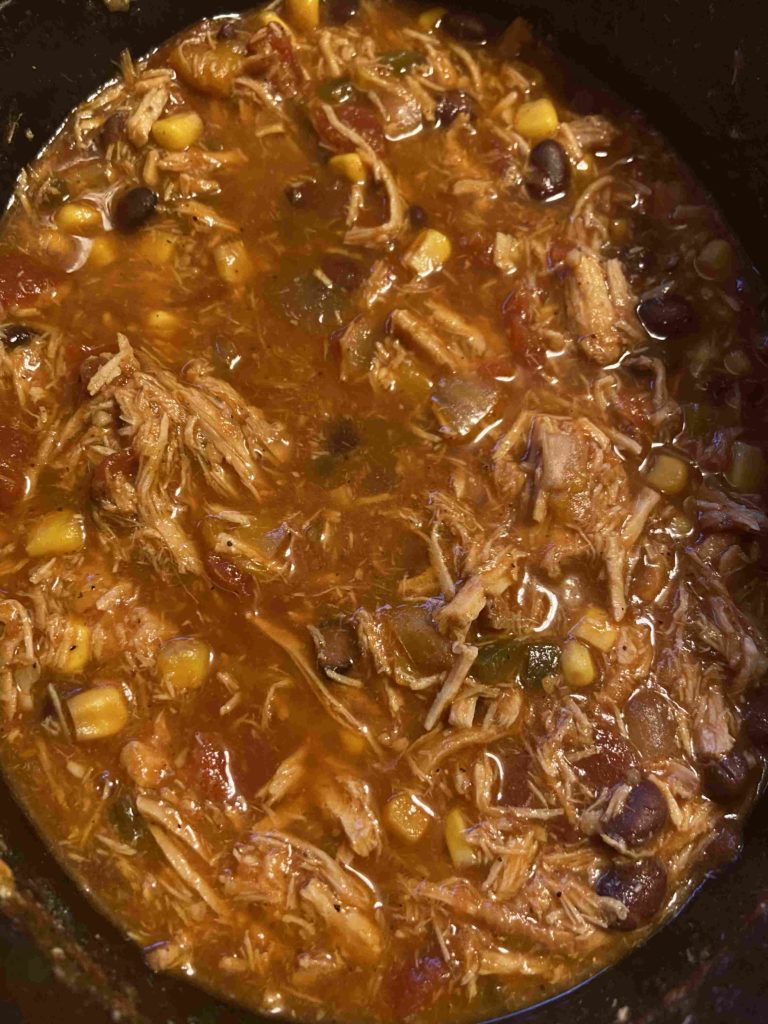
Stir in the remaining ingredients into the crockpot. Set on low and cook for 8-10 hours (I did 10, and the pork just fell apart). Remove the pork loin from the slow cooker and shred. Stir back into crockpot. You’re ready to serve!
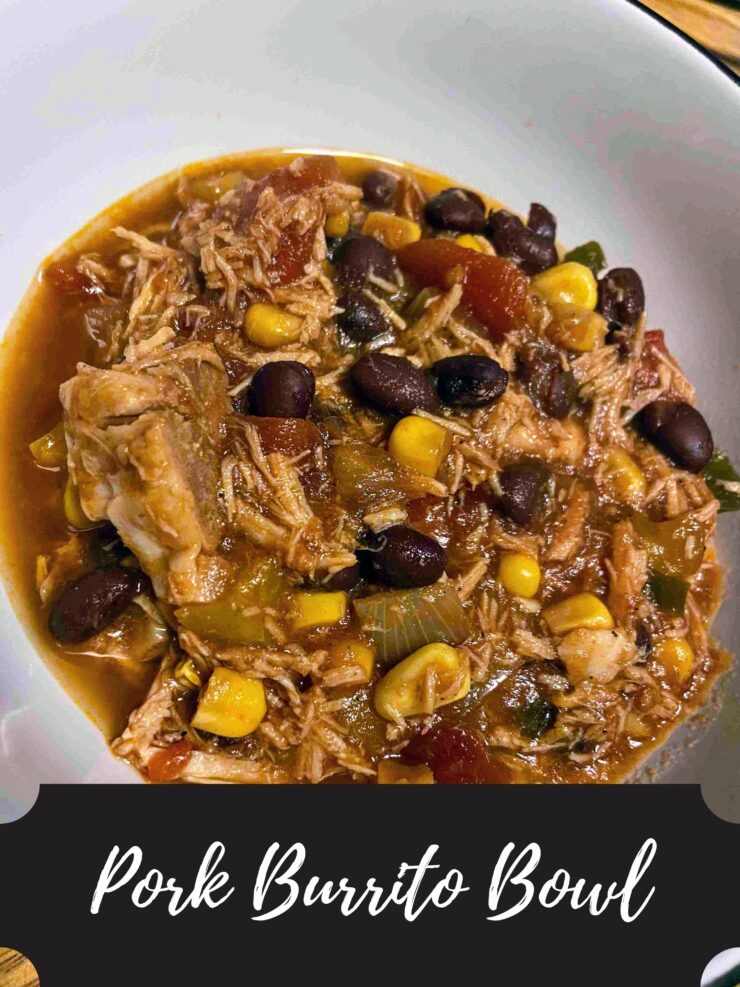
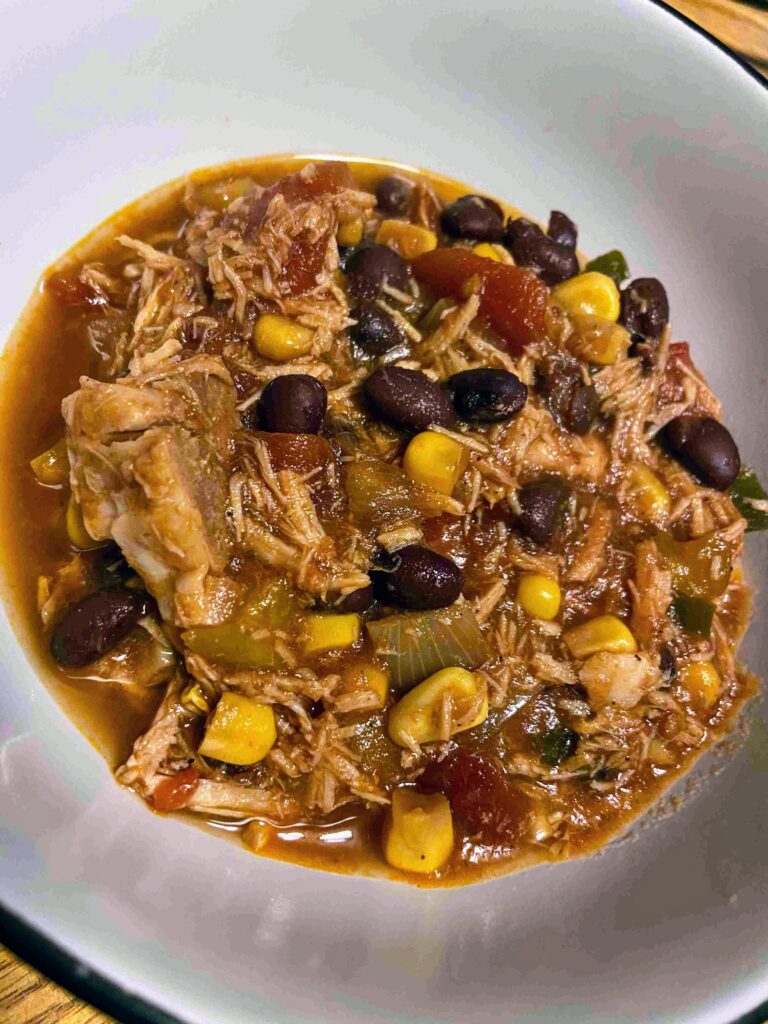
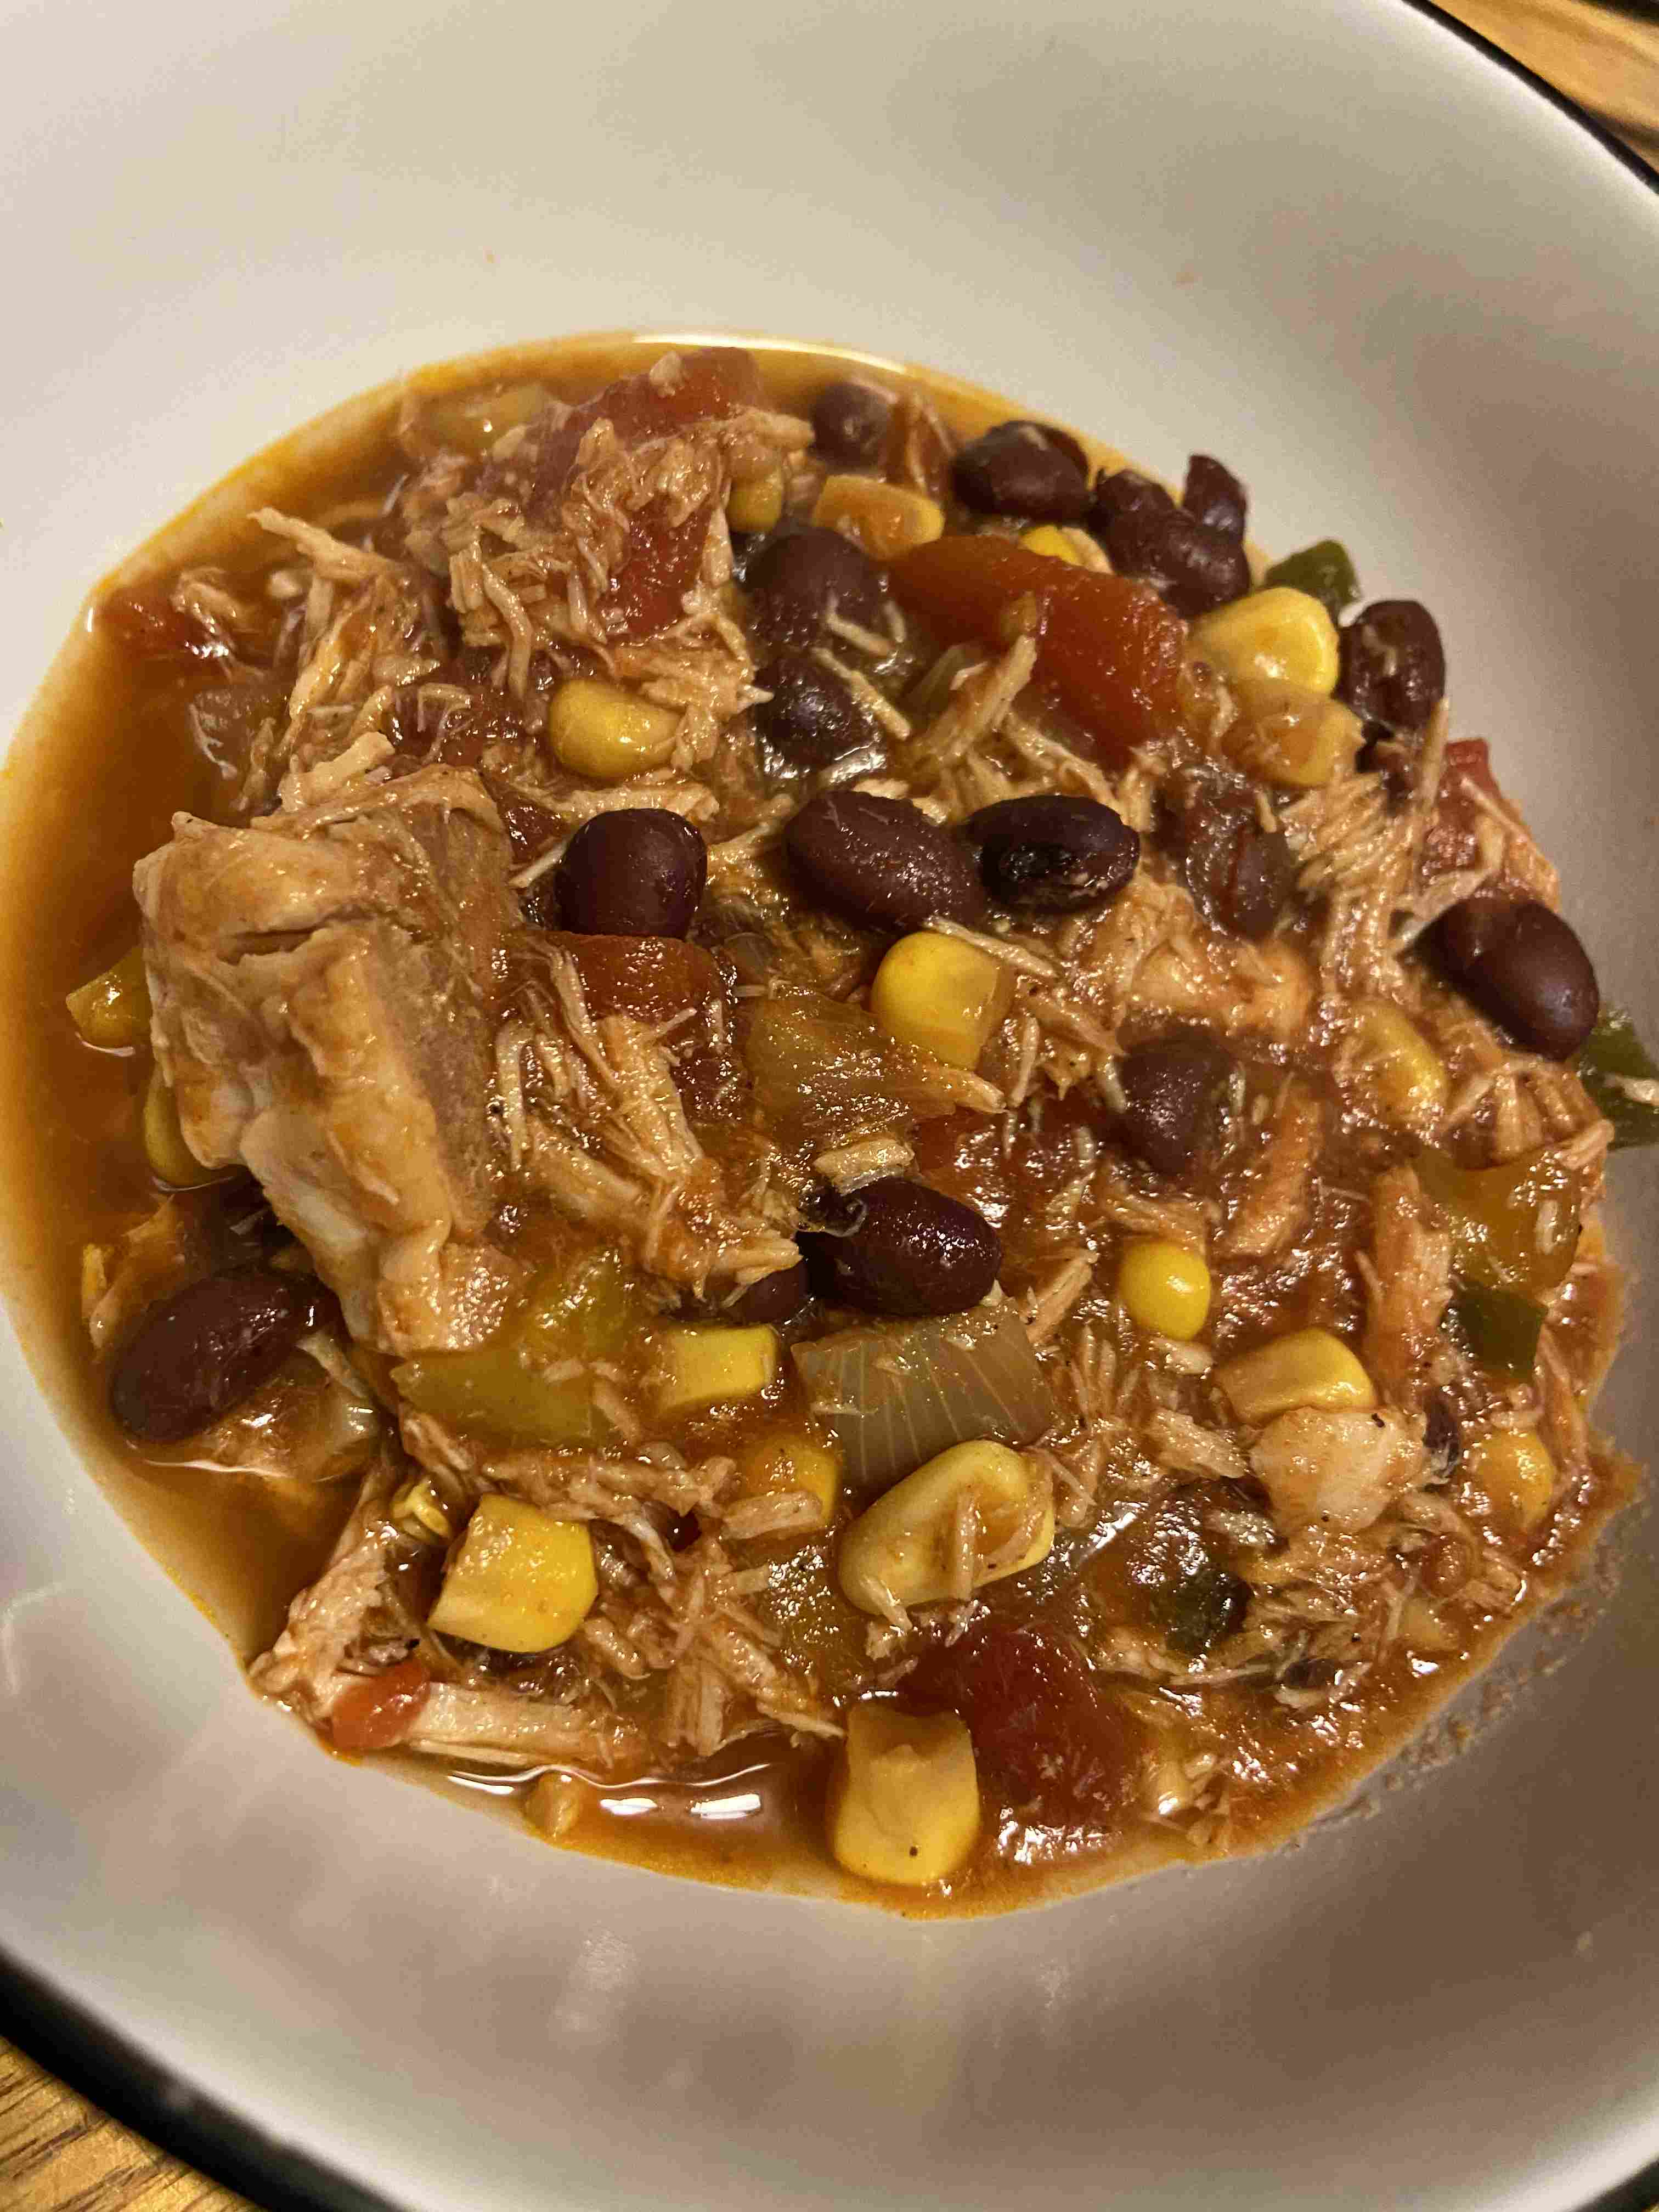
I made some quick brown rice to serve underneath the pork burrito stew and we topped it with cheese, but I wished for some cilantro and tortilla strips. A few days later, I found some left over couscous in the fridge and it needed to get used up. I put some pork burrito stew on top of it and brought it for lunch. I actually think the couscous was better than the rice. Either way, they make it hearty enough to be a solid meal while still being healthy and wholesome.

Pork Burrito Bowl
Equipment
Ingredients
- 1 pound pork loin
- 1/2 teaspoon each: salt pepper, dried minced garlic, and cumin to season pork
- 1 15 oz can diced tomatoes unsalted
- 1 15 oz can tomato sauce
- 16 oz 2 cups chicken stock, low sodium
- 1 15 oz can black beans drained and rinsed
- 1/2 cup diced onion diced (about 1 small)
- 1 jalapeño diced
- 1 cup diced pepper yellow or orange
- 1 cup frozen corn
- 2 1/2 teaspoons cumin
- 1/2 teaspoon pepper
- 1 teaspoon chili powder
- 2 teaspoons dried minced garlic
Instructions
- Spray a slow cooker with cooking spray. Then mix the 1/2 teaspoons of salt, pepper, cumin, and dried minced garlic in a small bowl. Massage seasoning into the pork loin and place into the slow cooker.
- Stir in the remaining ingredients into the crockpot. Set on low and cook for 8-10 hours (I did 10, and the pork just fell apart). Remove the pork loin from the slow cooker and shred. Stir back into crockpot. You’re ready to serve!
Notes
Optional sides: brown rice or couscous. Awesome to serve under or mix in as a stew.