How does one become interested in dandelion season and the foraging that comes with it? Let me share a short story!
A number of years ago, my family and I were doing an “end of summer” camping trip for a couple nights at Lake Wissota State Park in Wisconsin. As we sat in the beach picnic area, we spied hundreds of acorns on the ground. Of course, it led to an acorn fight between the four of us, which resulted in tons of giggles. It also led to me saying to my husband, “There are just so many of them [acorns], you must be able to do something with them.” To which he responded, “of course you can, but they have a lot of tannins so you have to do something to make them edible.” And this simple question led to my fascination with foraging and all that goes along with it.
I immediately started Googling to learn more about acorns and how to cook with them. I also gathered as many as I could and put them in a bag to bring home. You see, we joke that I am a “75 percenter.” I love trying new things and go in with about 75% of the information needed and figure I can learn the rest along the way. Personally, I think it is a great way to live this life. I sure have experienced some cool things this way!
But back to the foraging
Slowly, I began researching other things you can forage. I have learned so much from some of my favorite foragers:
Colleen at Grow Forage Cook Ferment
Ashley from Practical Self Reliance
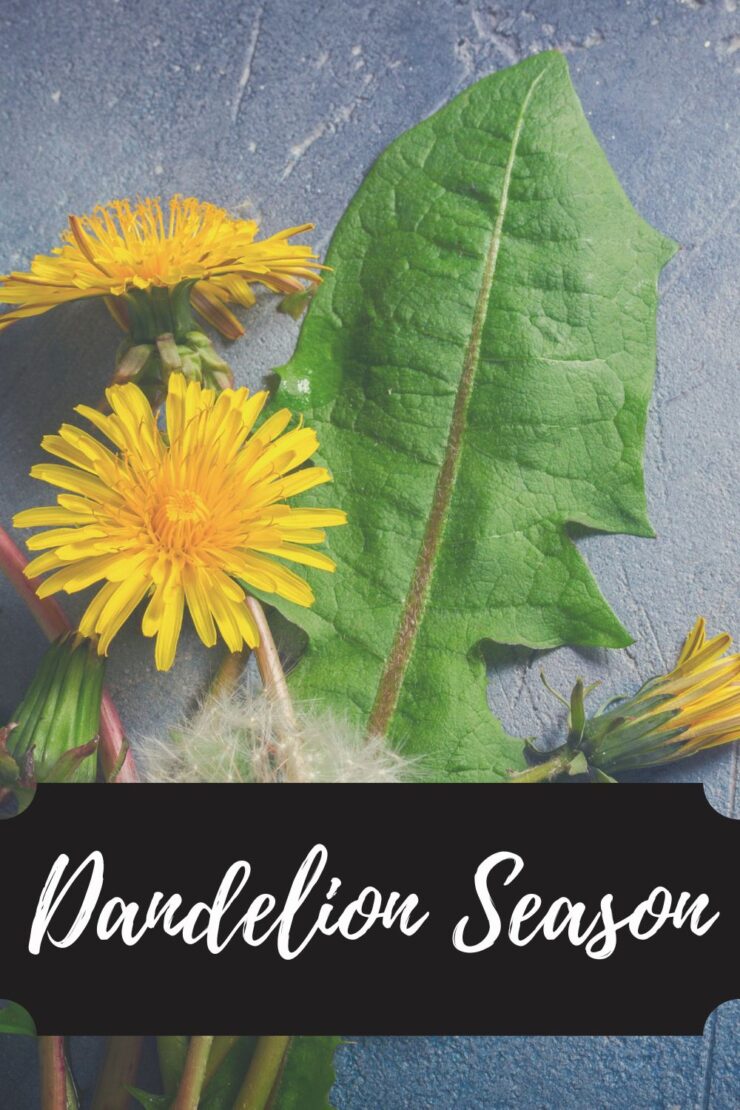
Which led to the statement, “Did you know you can eat that?” to come out of my mouth often when I was with family and friends. One of the foraged items I became especially fascinated with was dandelions.
Yes, the simple dandelion. They are full of nutrients, including A, C, and K. You can use everything from the roots (to make tea) to the leaves (for salads) to the flowers (for jelly and wine). Learn more about their health benefits here!
I have tried a number of dandelion recipes over the years, but time and time again, I go back to two simple ones when it is dandelion season: jelly and shortbread cookies.
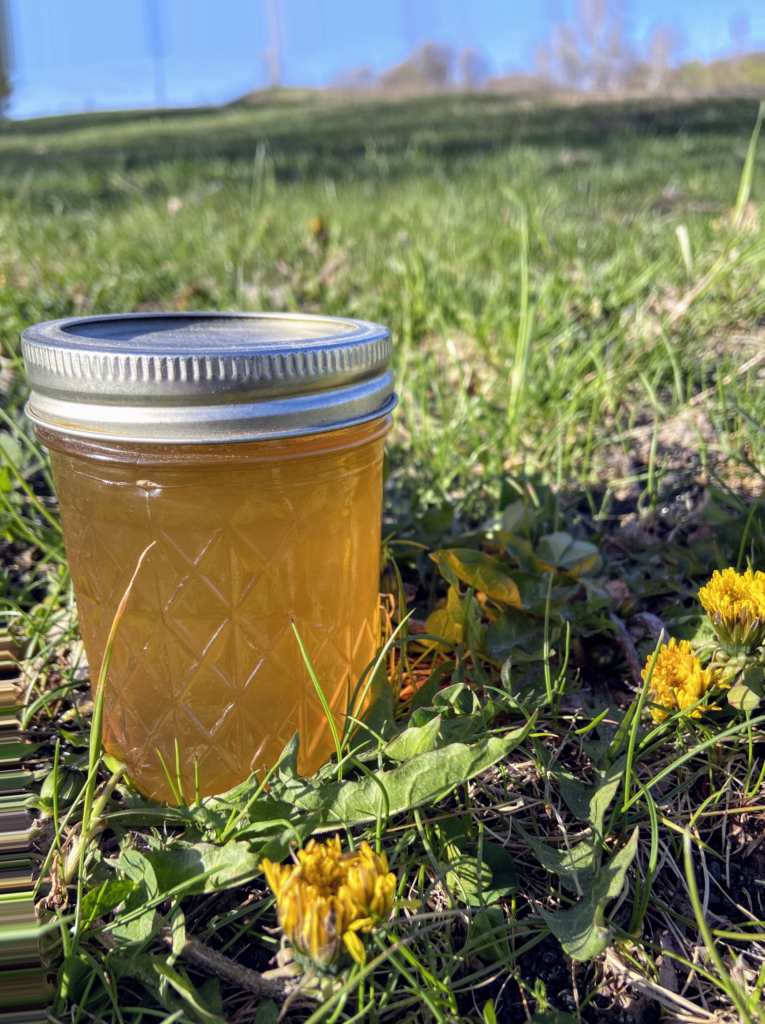
Dandelion Jelly
A few years ago, my Algebra II kids asked if I could bring them fresh bread. Of course, I obliged and brought some jelly to go with it, including dandelion jelly. A few of them fell in love with it and we have been meaning to do a class to teach them how to ever since.
What’s so great about it? First of all, the novelty of it, right? But second, the flavor is this perfect, light honey like taste you’d never anticipate. It is a bit tedious to make as you have to separate the petals from the greens, but there’s something calming about it. I love finding a friend and sitting and chatting.
The ingredients are simple too:
- Dandelion petals (4 cups)
- Boiling water
- Sugar
- Lemon juice
If this sounds like something you want to try, check out my blog post on it!
Jelly not your thing? Enjoy dandelion season by making these lovely dandelion shortbread cookies!
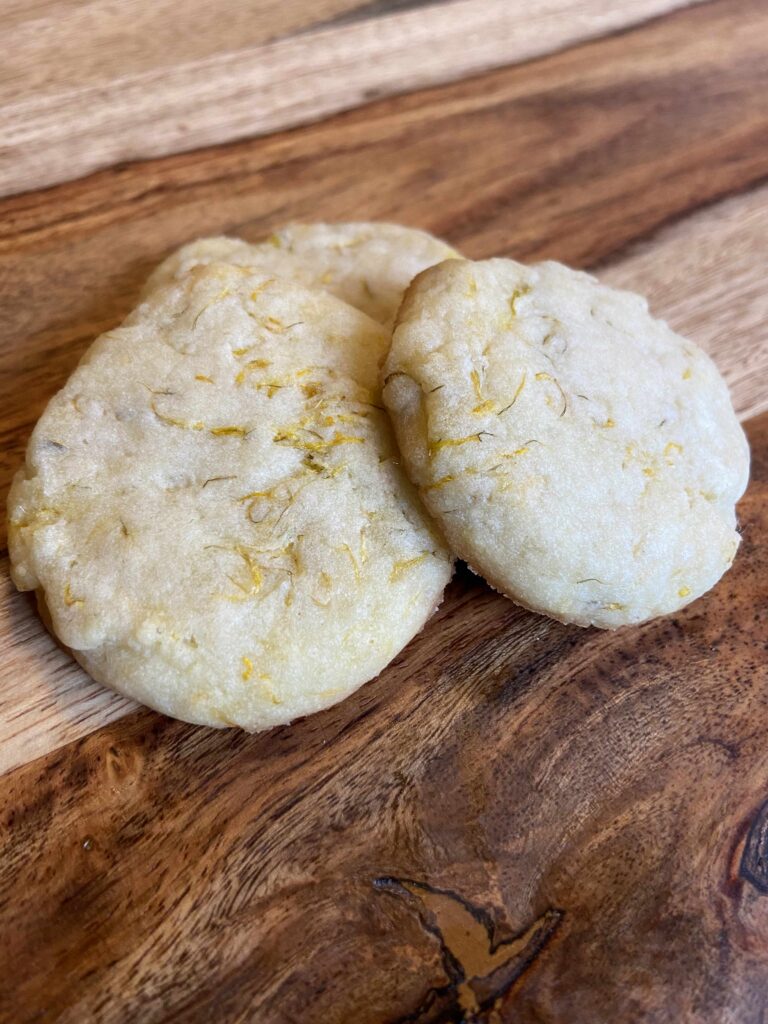
Dandelion Shortbread Cookies
If you want to give foraging a try, but aren’t quite ready to jump in feet first, these cookies are a great way to start. You only need ½ cup of petals and who doesn’t love a cookie? This is another simple recipe with minimal ingredients (dare I say pantry ingredients?) and unlike the jelly, you can have them put together in under 40 minutes, cleaning the flowers and all!
You’ll need:
- Petals
- Softened butter
- Powdered sugar
- Honey
- Flour
- Salt
Then you can grab the recipe and start baking!
But let me tell you, once you dip your toe in the foray of foraging during dandelion season, I don’t know if there is much looking back. You will find yourself constantly looking into the woods and fields, wondering, “How can I cook or bake with that?!”