Many moons ago (Like seriously, SO MANY. Where does the time go?!), I was at a farmer’s market and I tried a berry. I loved it and immediately wanted to grow it. Did I write down what I tried? Absolutely not. So I planted gooseberries. They grew fruit. Nope, that wasn’t it. Then I planted red currants. Nope. Also, not it, but man, they ARE tasty. So I promptly ordered three more plants. This year, I feel confident to say they have finally established themselves in our yard. Lucky for our household because it means I get to create these delicious red currant muffins!
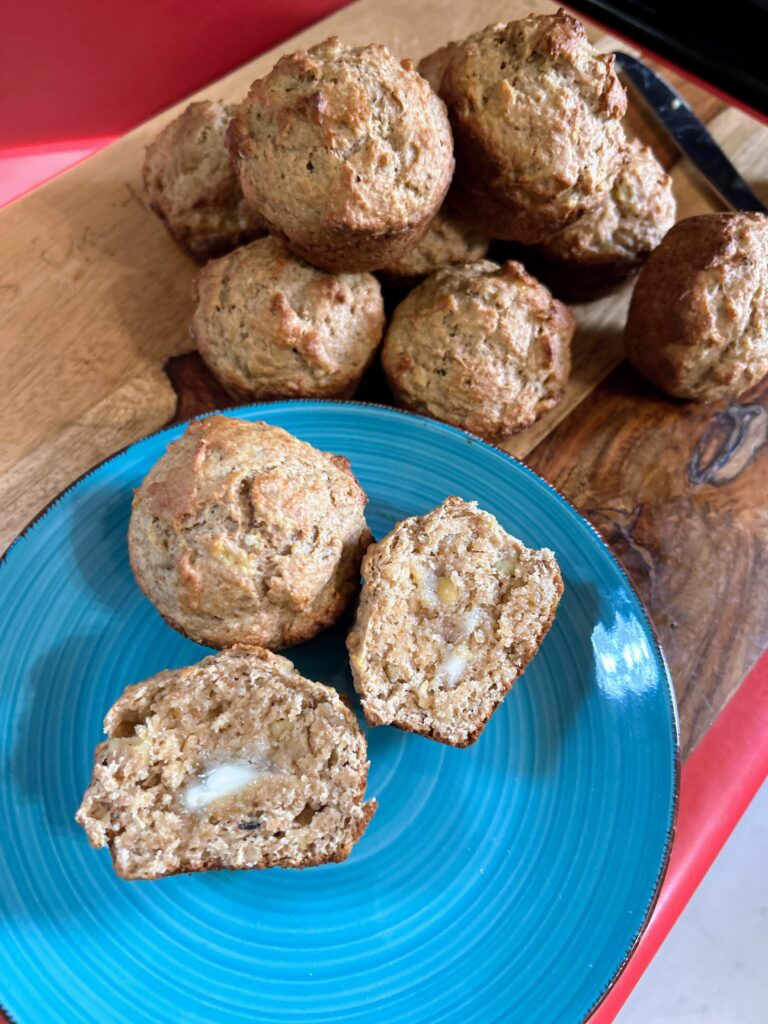
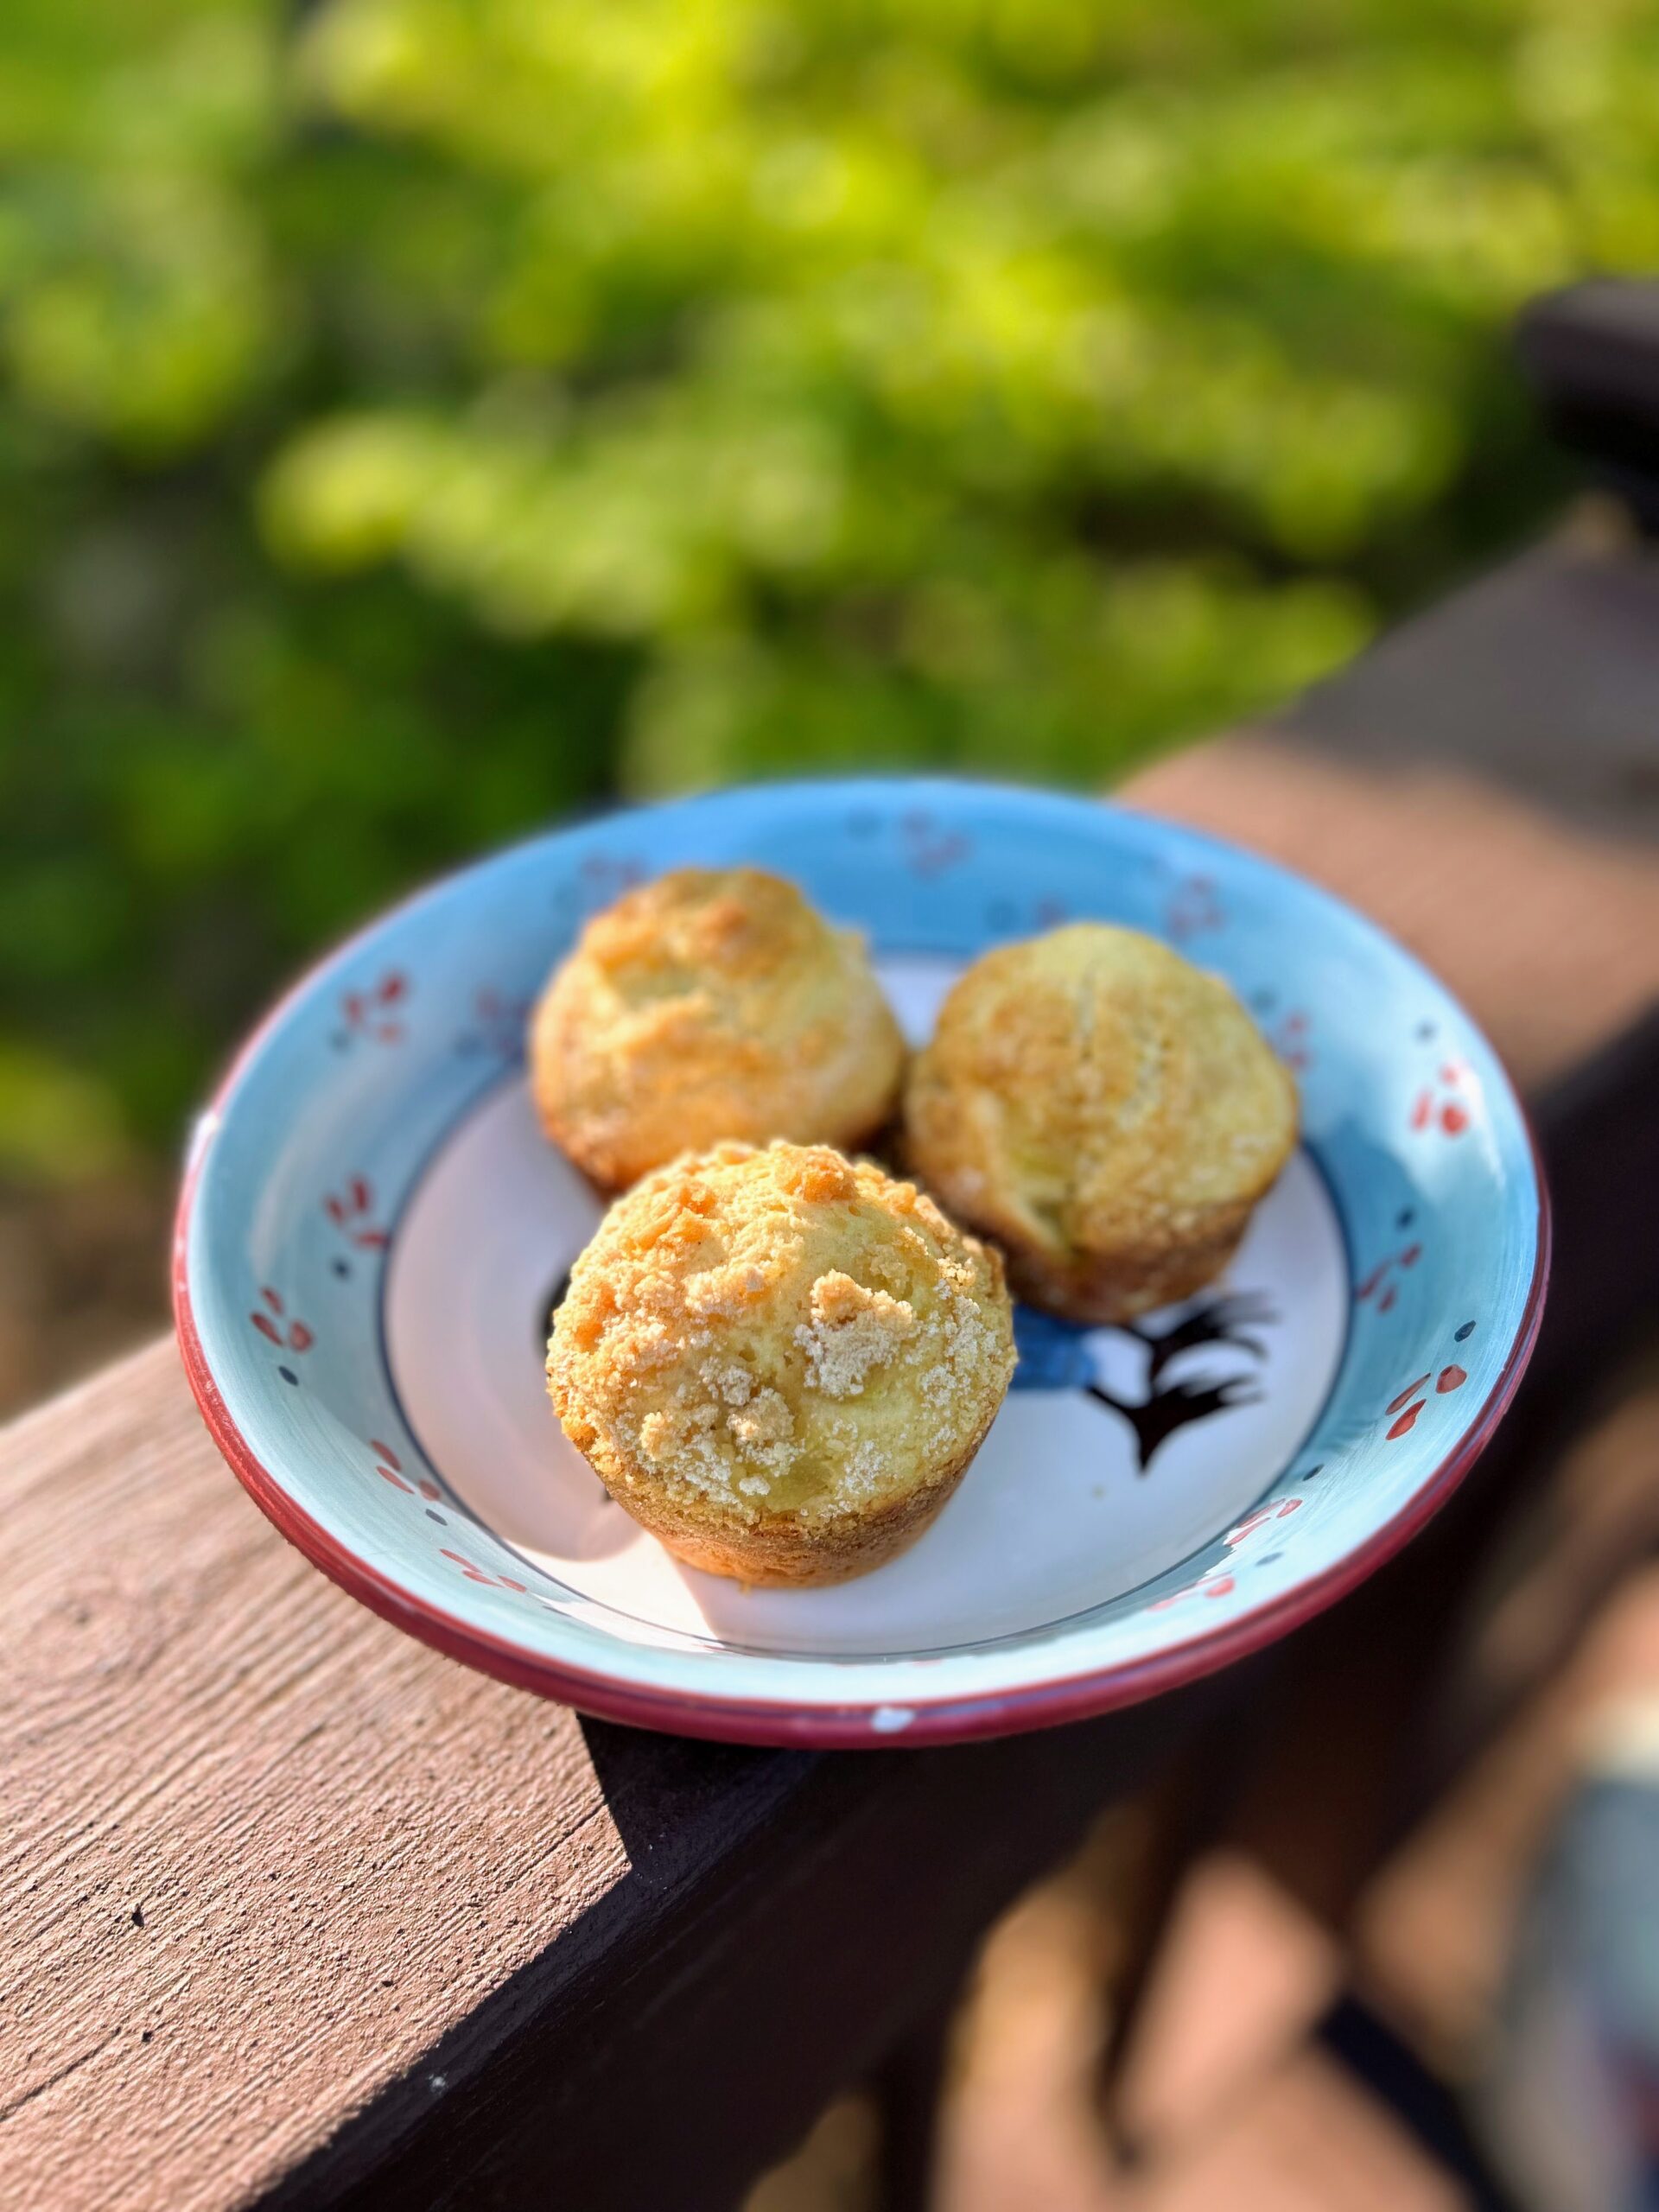
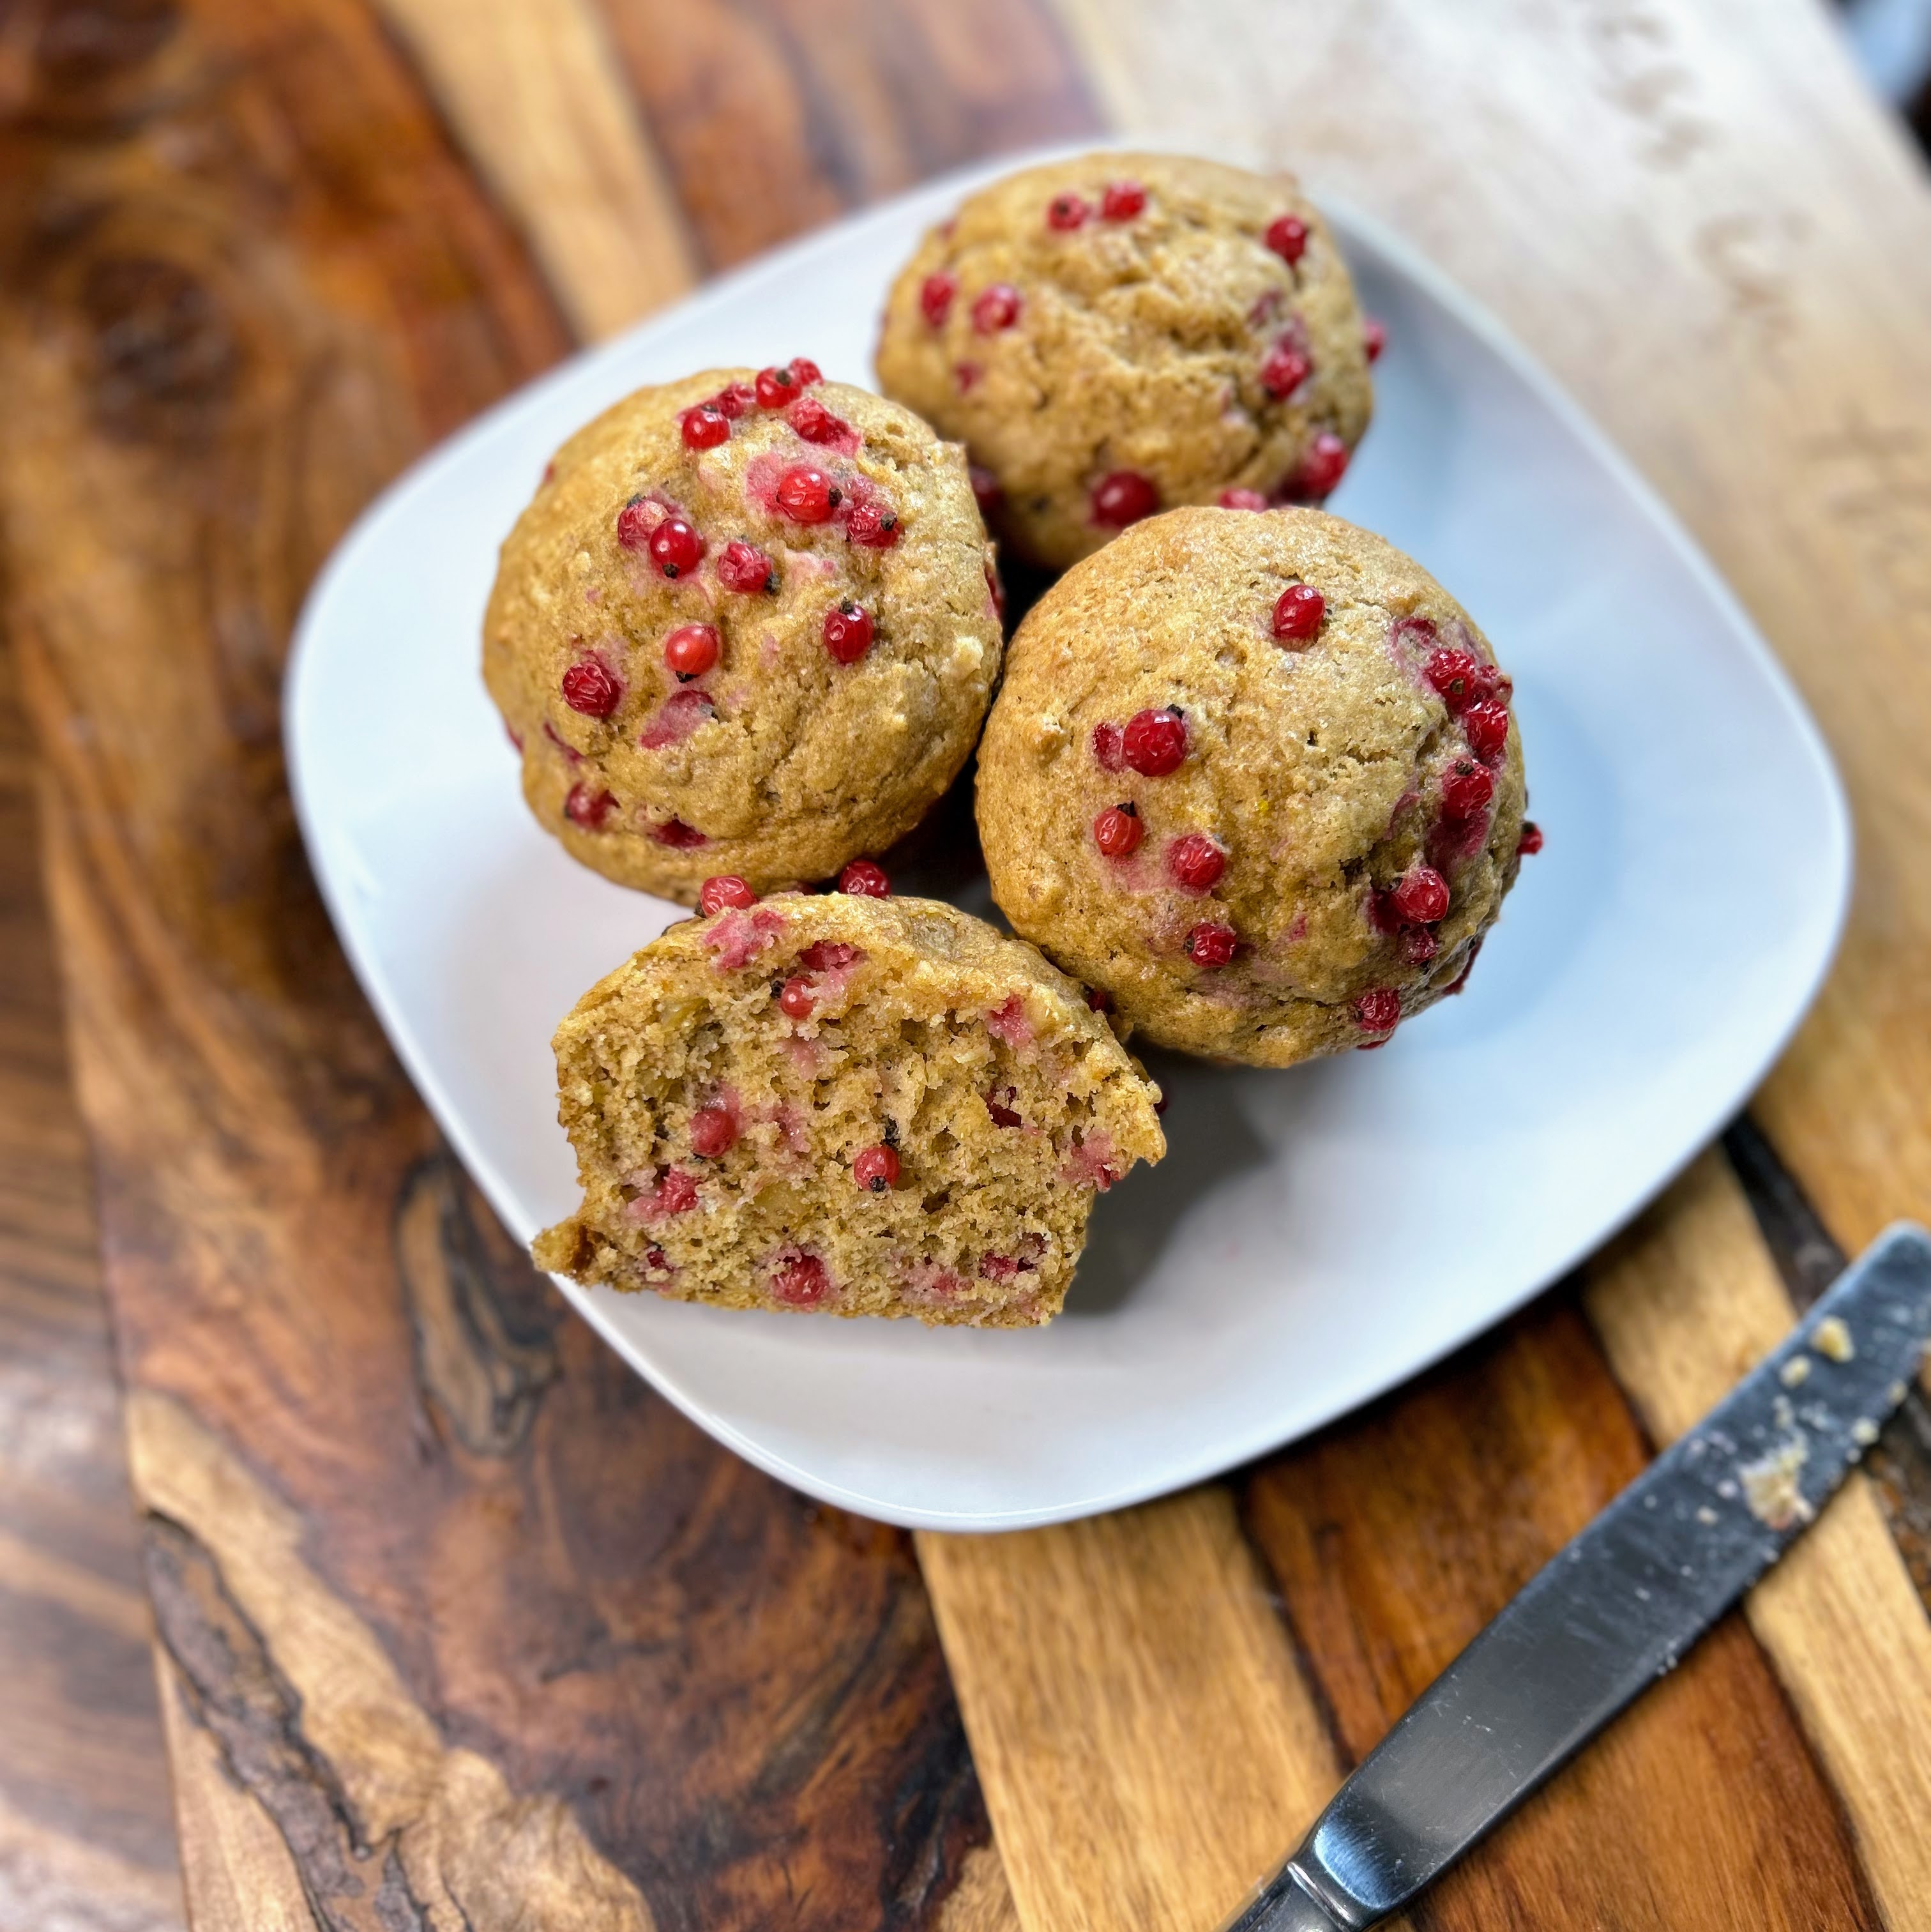
I dig a sweet-tart fruit. Cranberries, gooseberries, blueberries, rhubarb. I always harvest them just before they are ready so I get that tart bite to them. Currants live in that same family. They are delightful and perfect pops of flavor, which is what I think makes them ideal for muffins and breads. As soon as my mini me bit into her first red currant muffin, she asked if I could bake more. If she could perhaps bring a batch to her grandparents for the weekend. So they win, right?
What do we sweeten them with?
If you’ve been baking with me for any amount of time, you know I love to use maple syrup as a sweetener. We live in northern Wisconsin where we are able to easily make our own maple syrup each spring. (Learn about it here!) We have a very small operation and cook over an open fire to finish it on the stove, making about a little over a gallon a year. I use it throughout the year to sweeten all the things and it does a great job! If you’re hesitant, please give it a try! You would never know there is no granulated sugar in these muffins!
But enough talk. Let’s get baking!
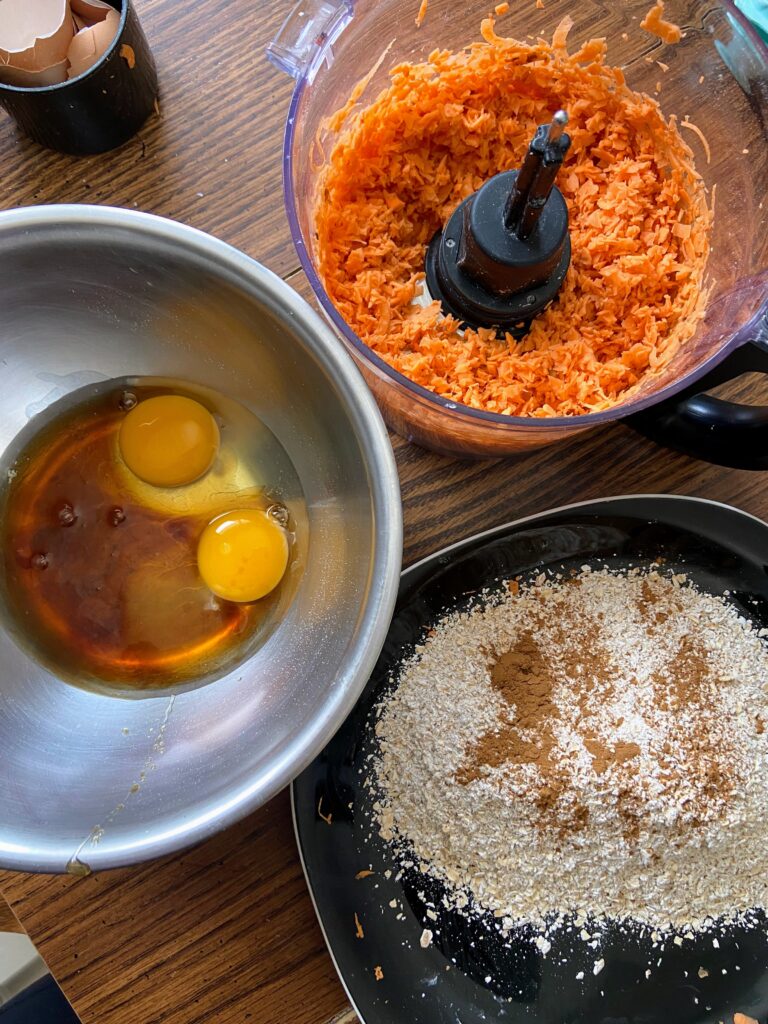
Your Ingredients for red currant muffins
- 1 cup whole wheat flour
- 1 cup all purpose flour
- 2 teaspoons baking powder
- ½ teaspoon salt
- ½ teaspoon baking soda
- ¼ cup butter softened
- ⅔ cup real maple syrup
- 1 teaspoon vanilla
- ¼ cup plain Greek yogurt (vanilla or sour cream will do fine too!)
- 2 eggs
- ½ cup chopped nuts
- 1 cup fresh red currants
Your Steps to Red Currant Muffins
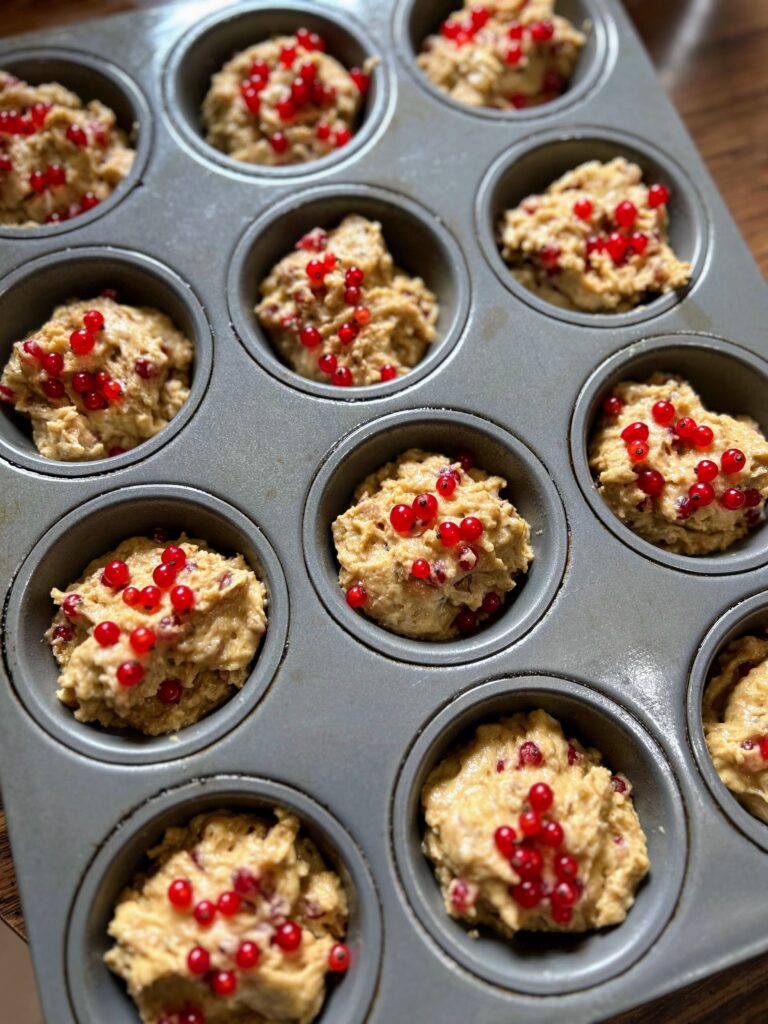
Preheat the oven to 350 degrees. Generously grease 12 regular size muffin vessels.
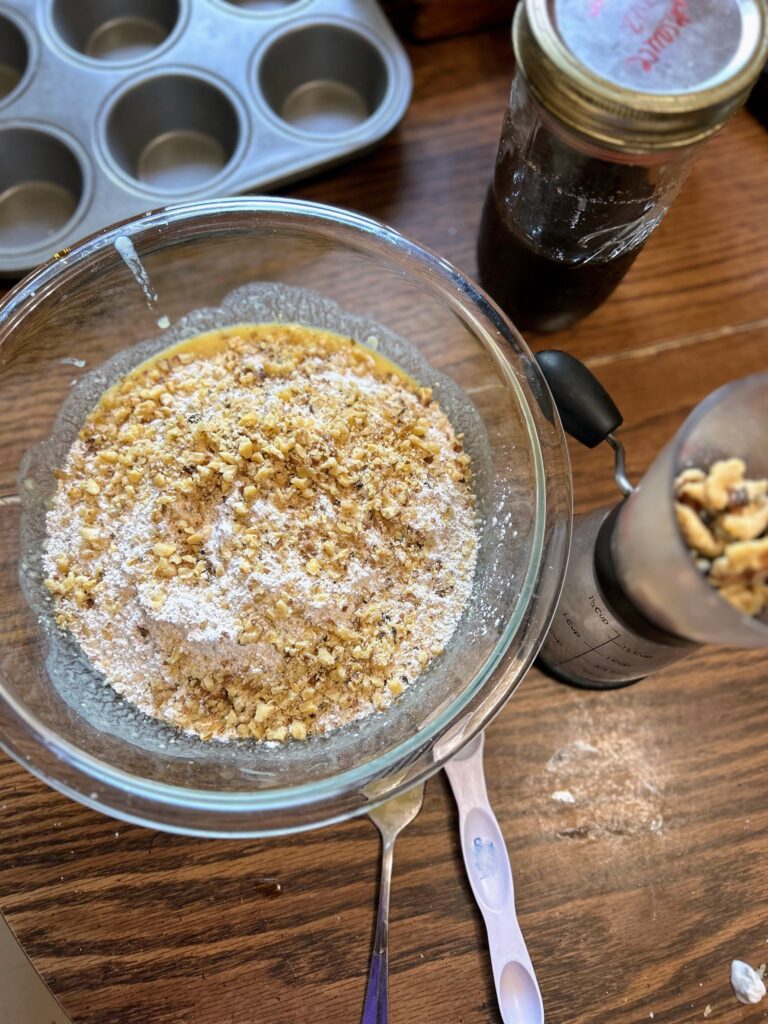
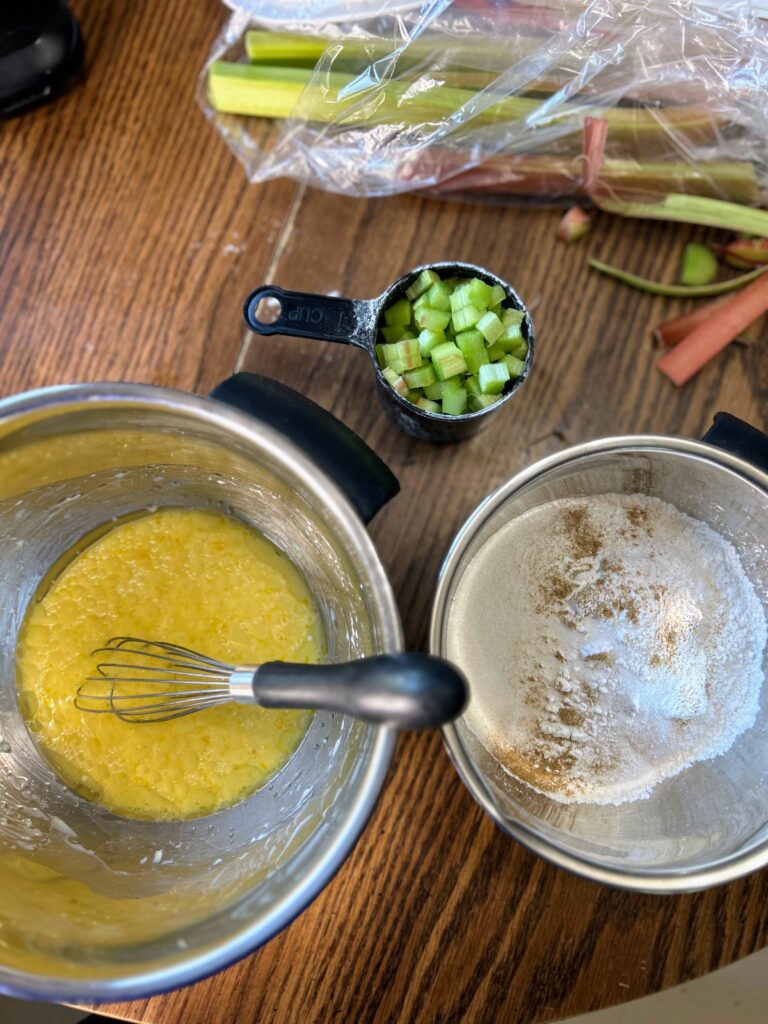
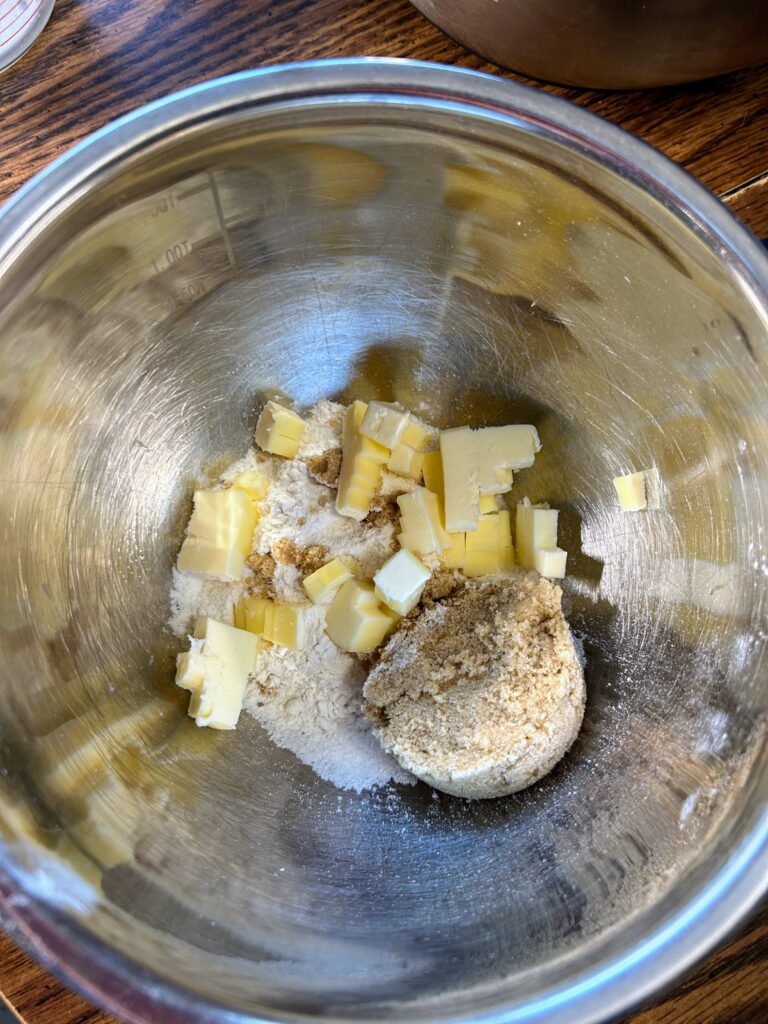
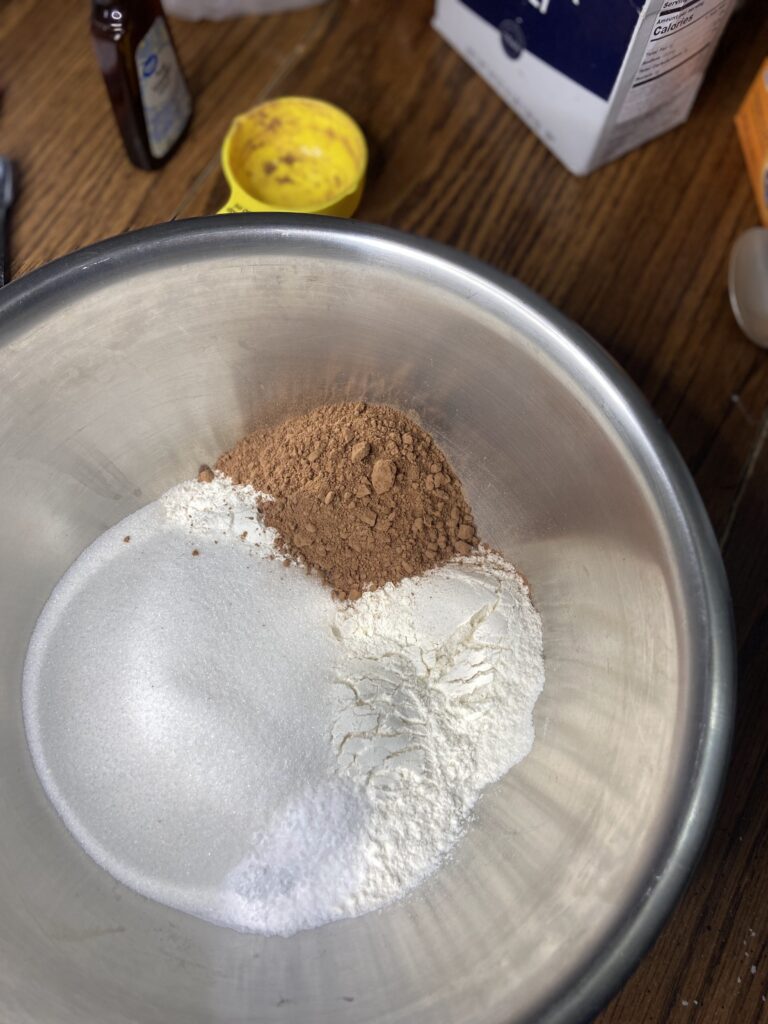
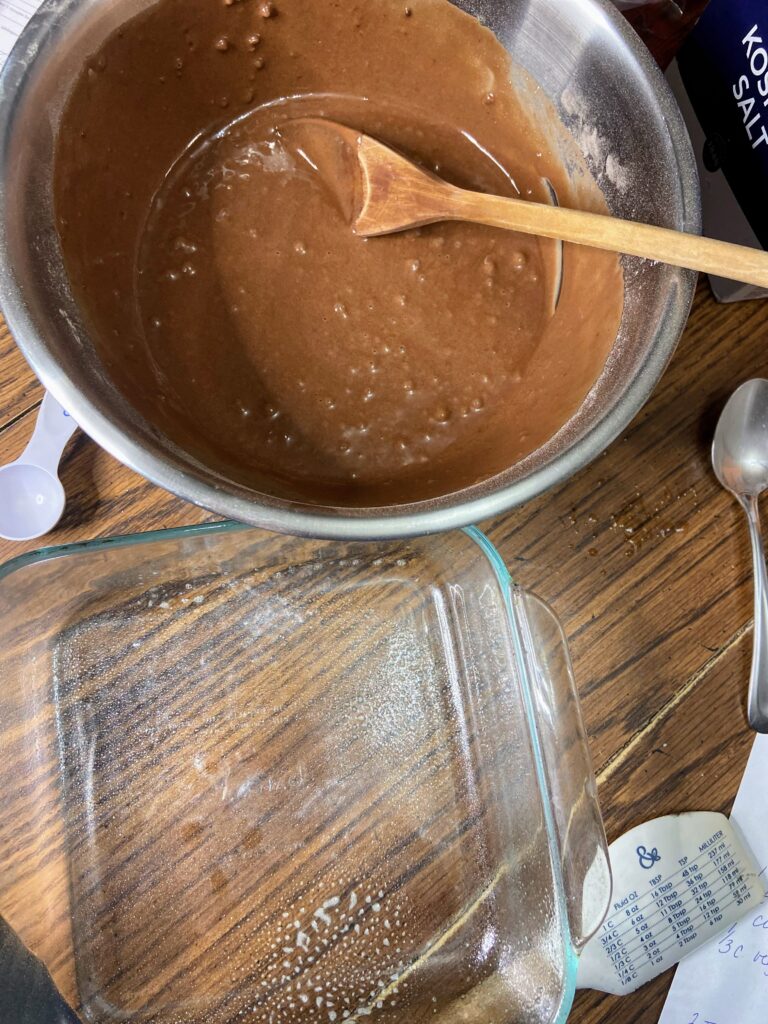
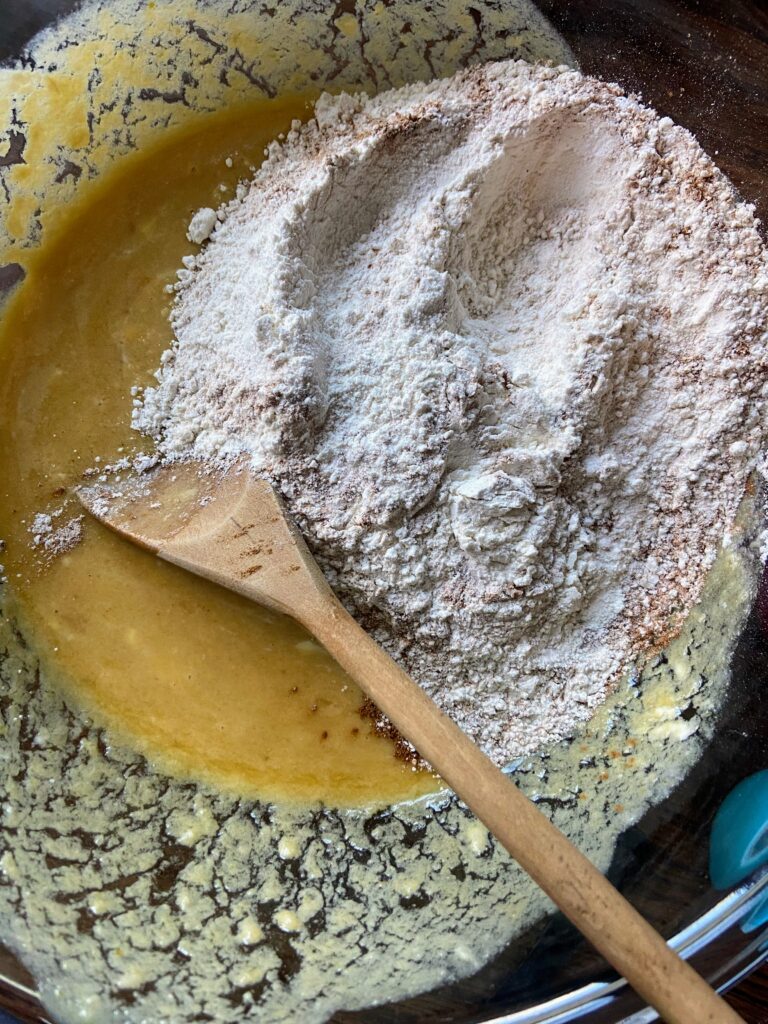
Mix flour, baking powder, baking soda, and salt in a large bowl; set aside.
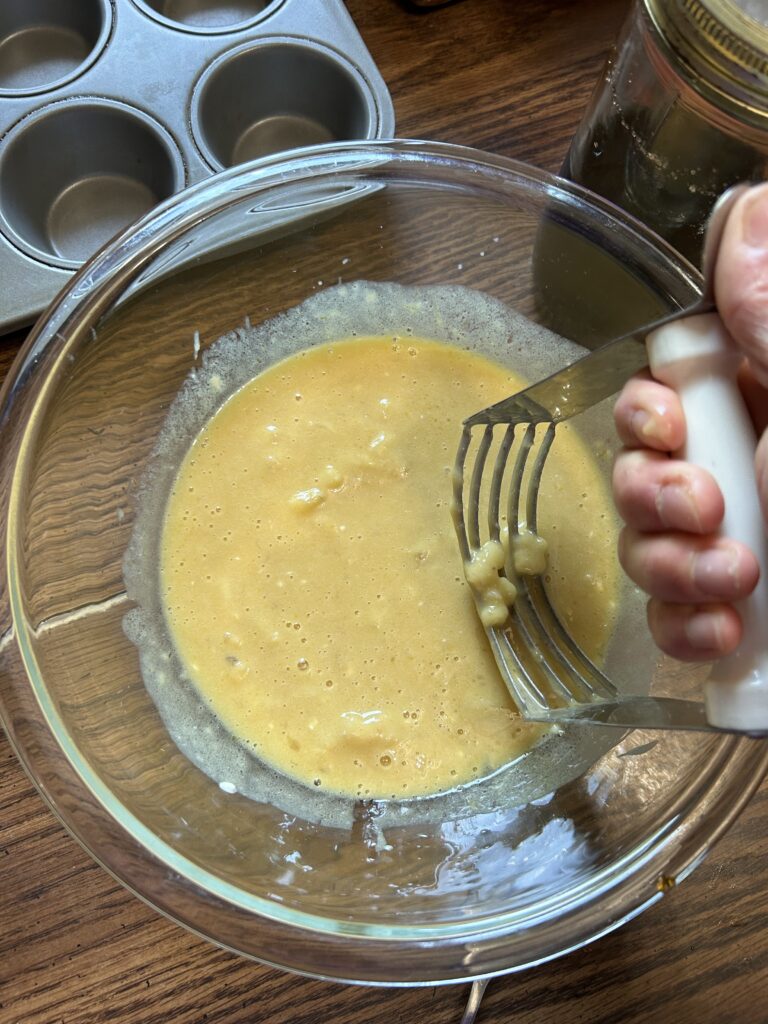
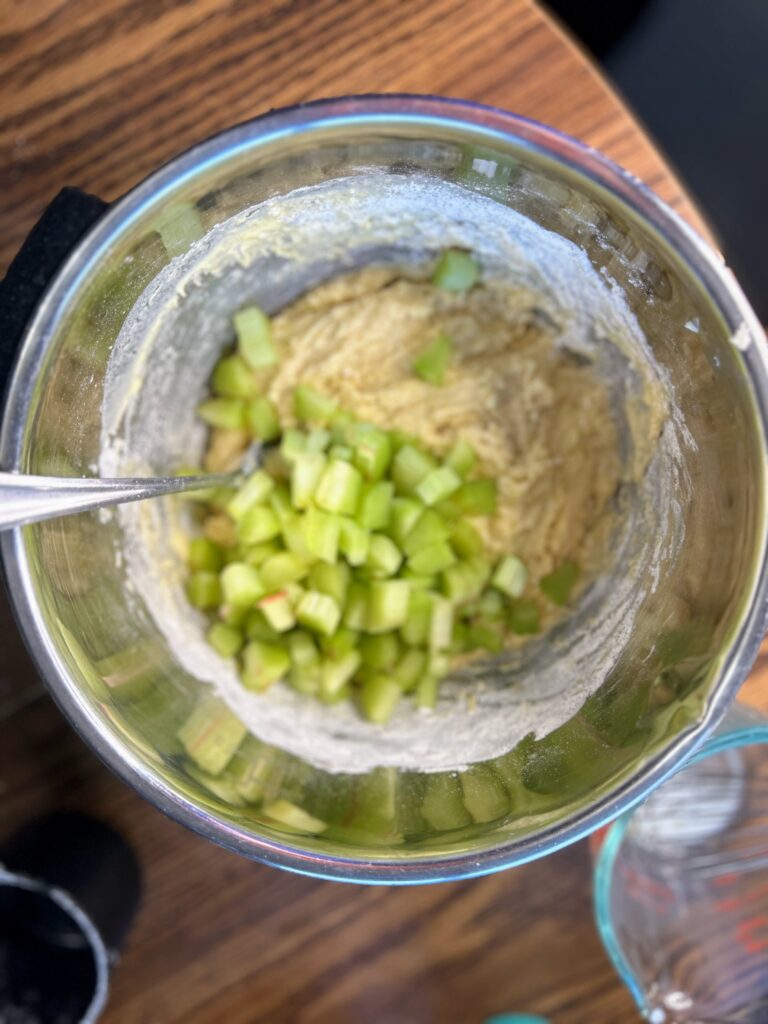
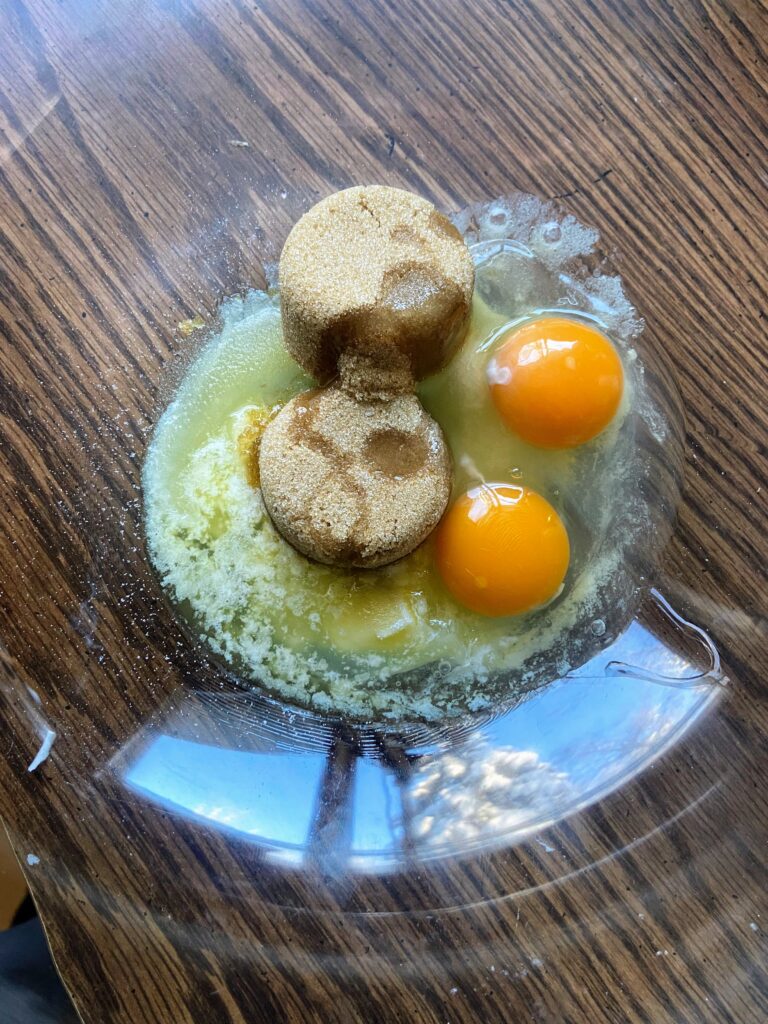
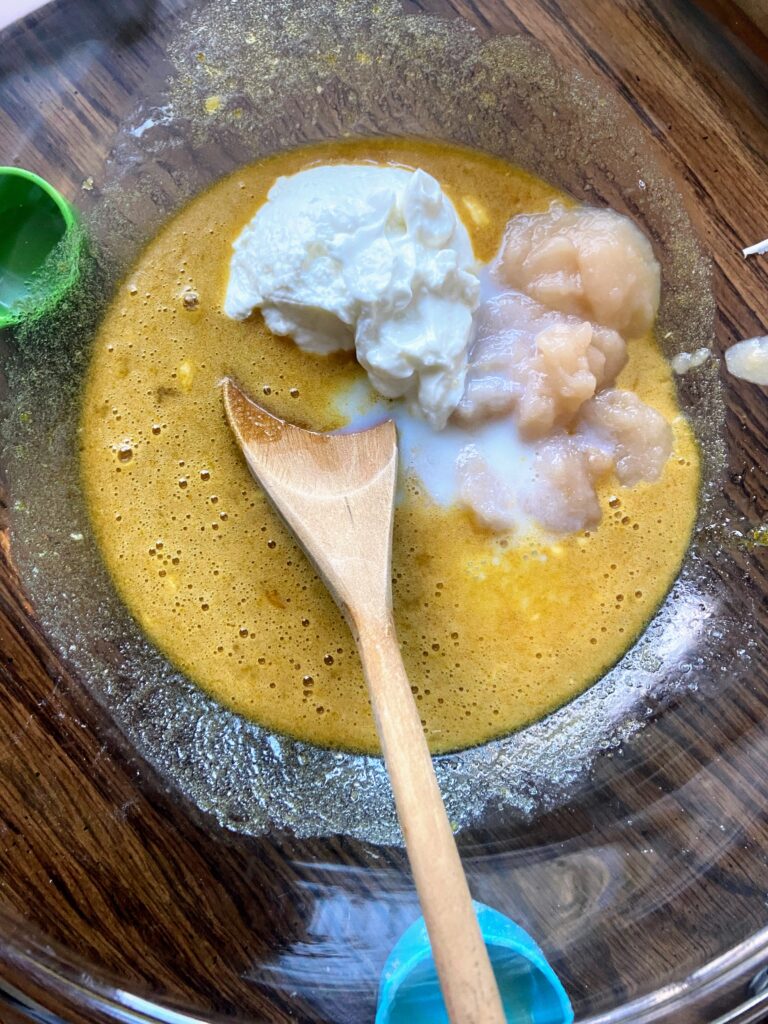
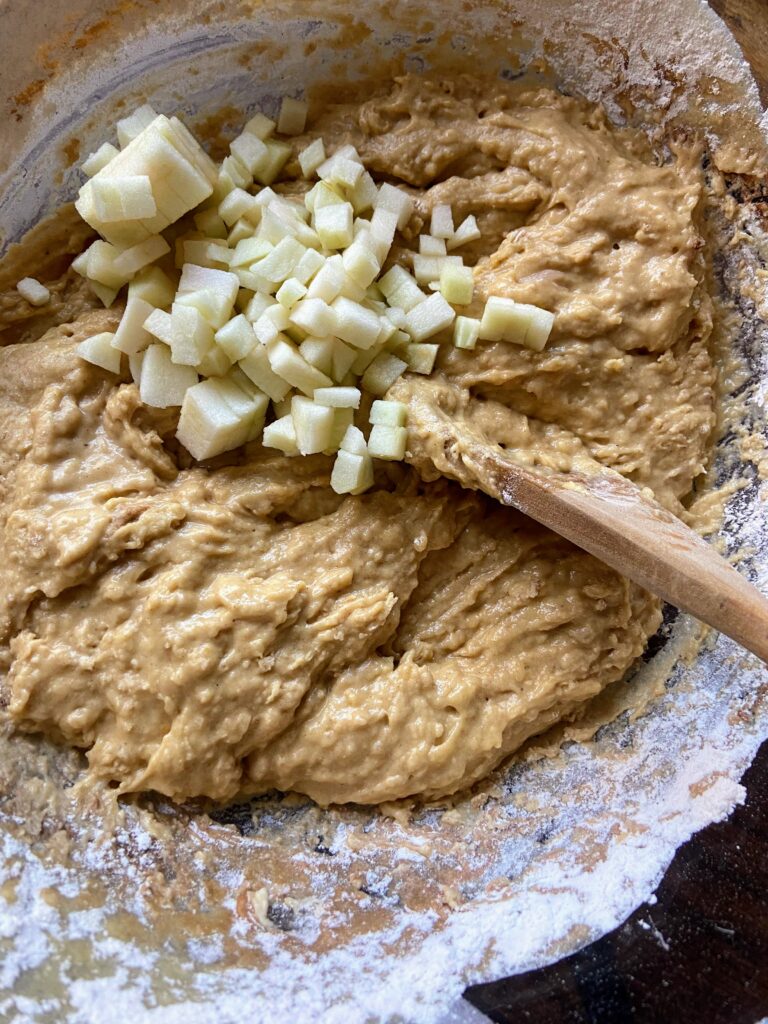
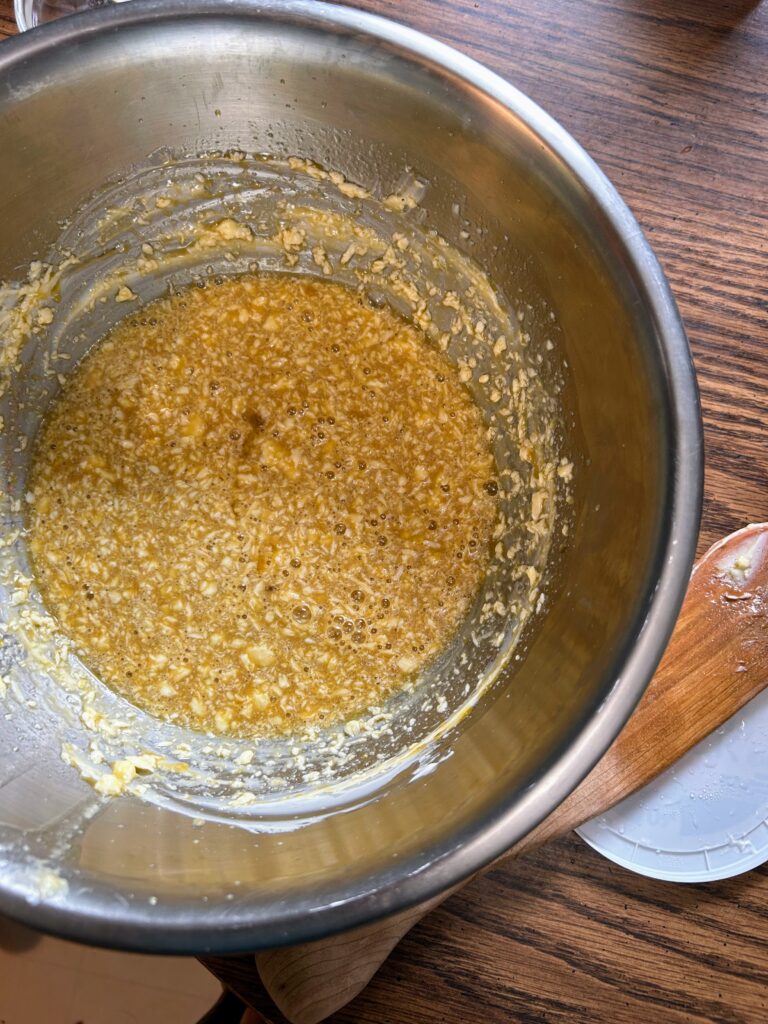
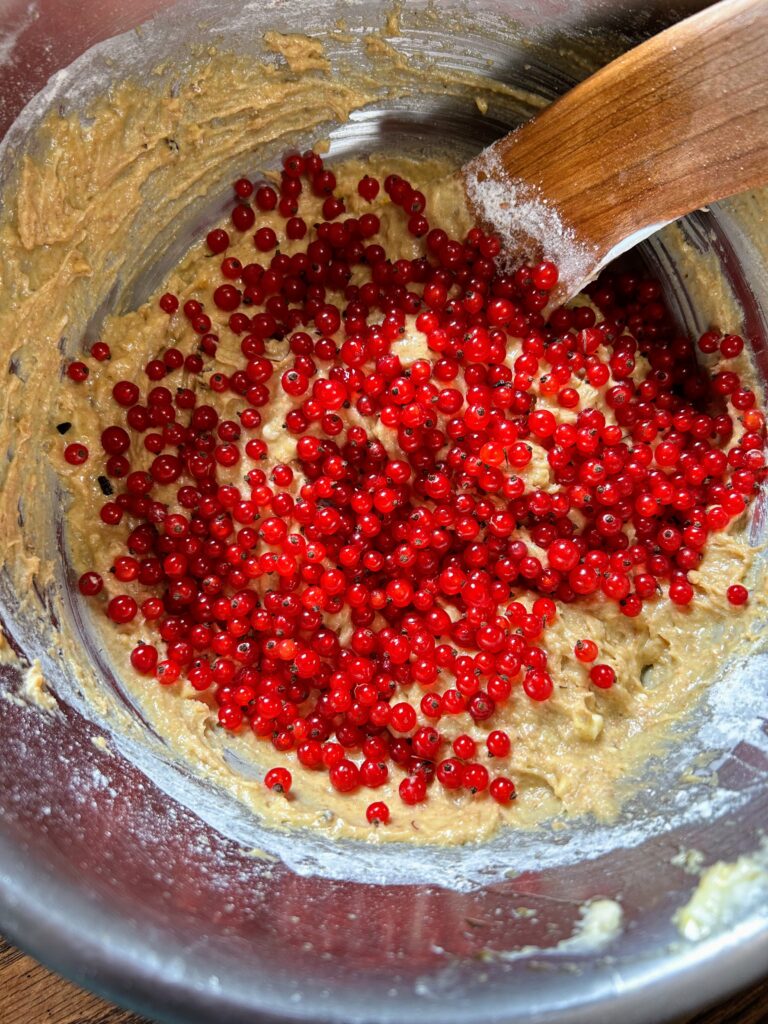
Beat the butter in a mixing bowl until creamy. Add maple syrup. Mix thoroughly. Beat in vanilla, Greek yogurt, and eggs. Stir in the dry ingredients. Fold in the nuts and 3/4 of the currants gently.
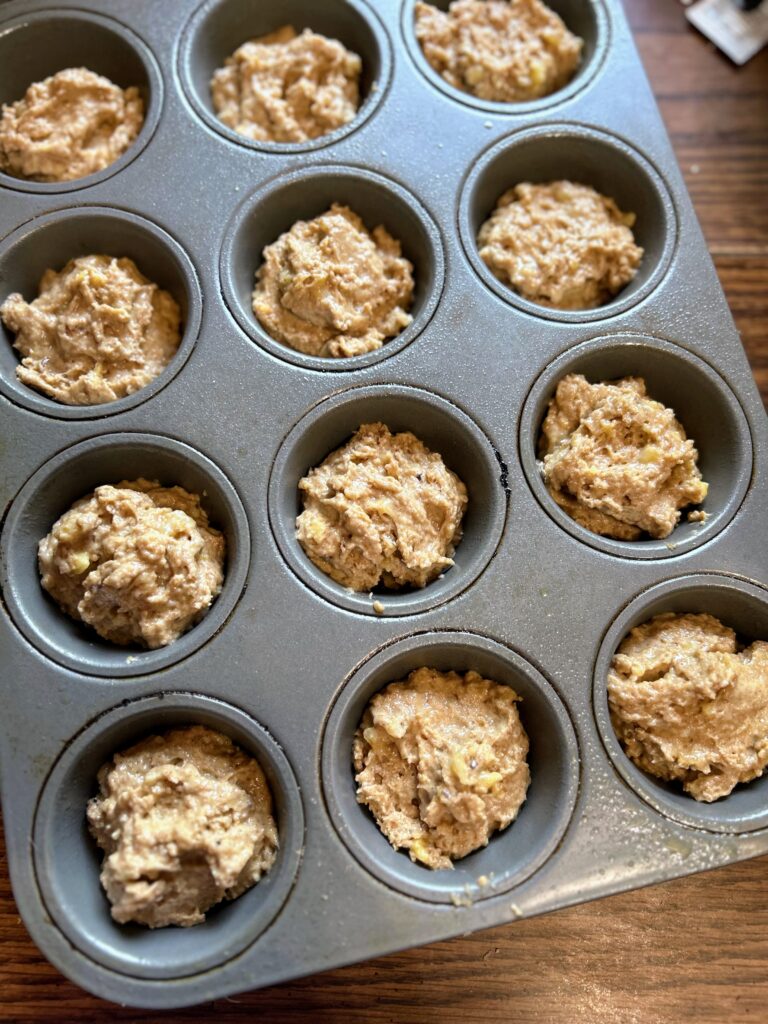
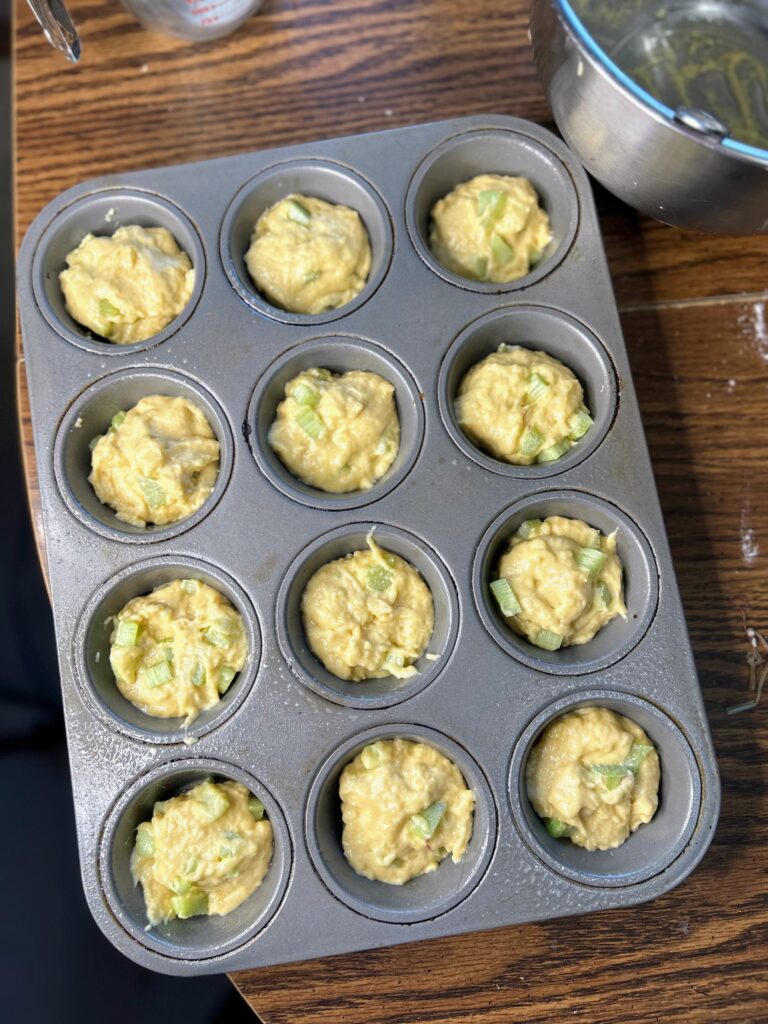
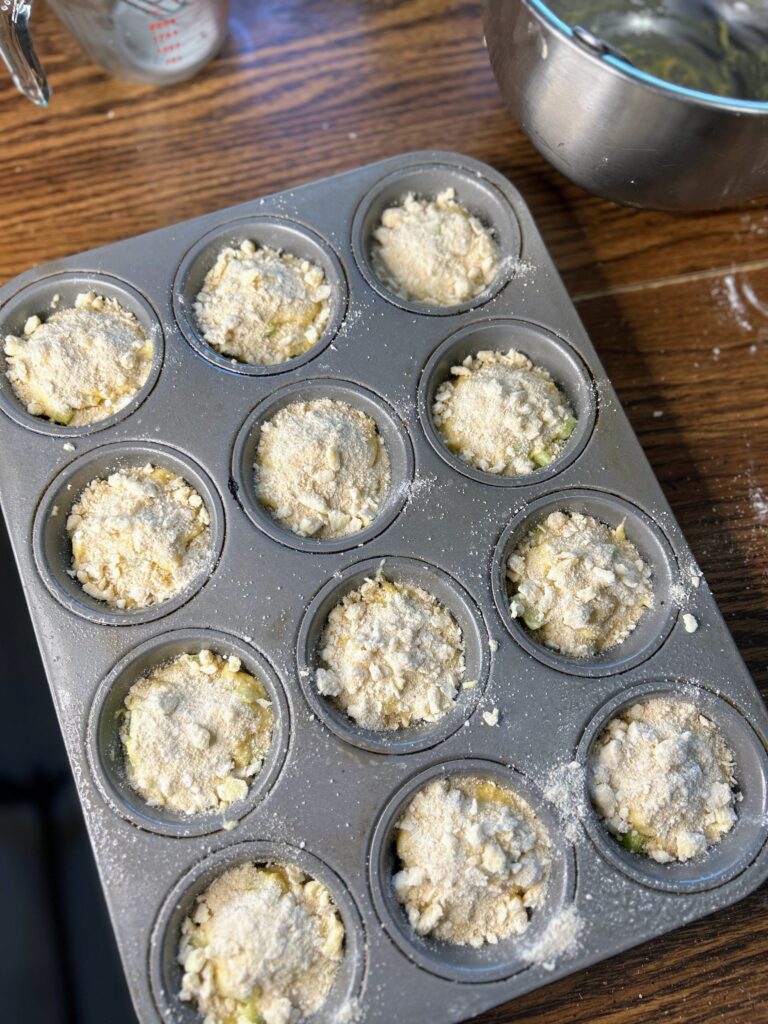
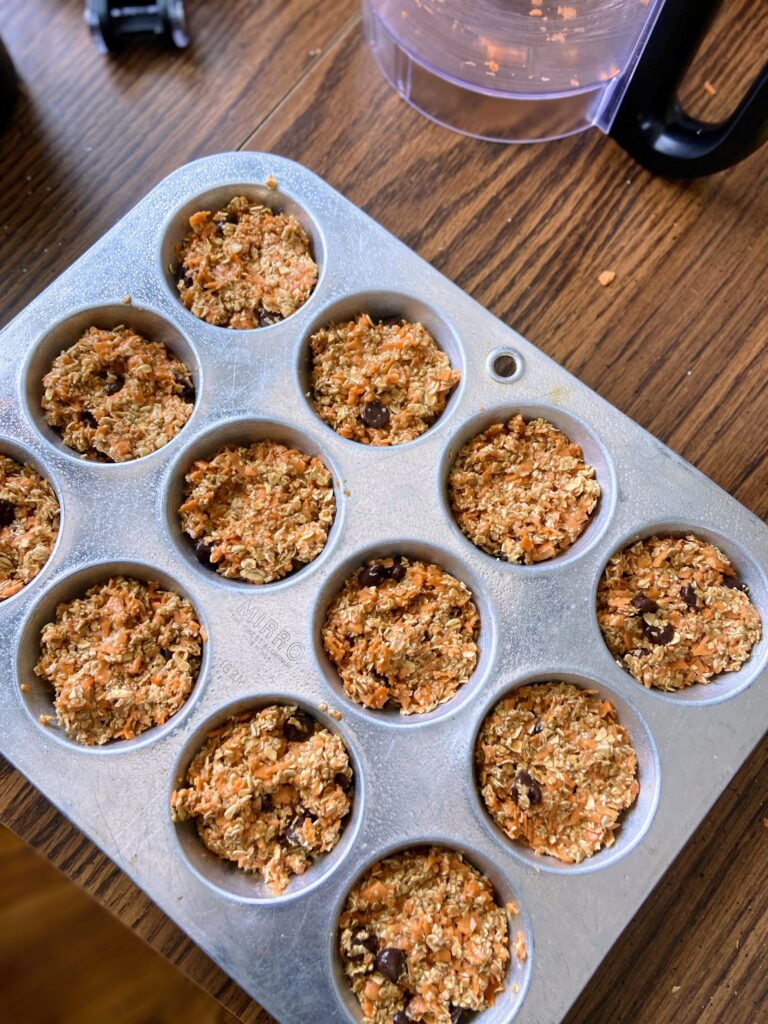
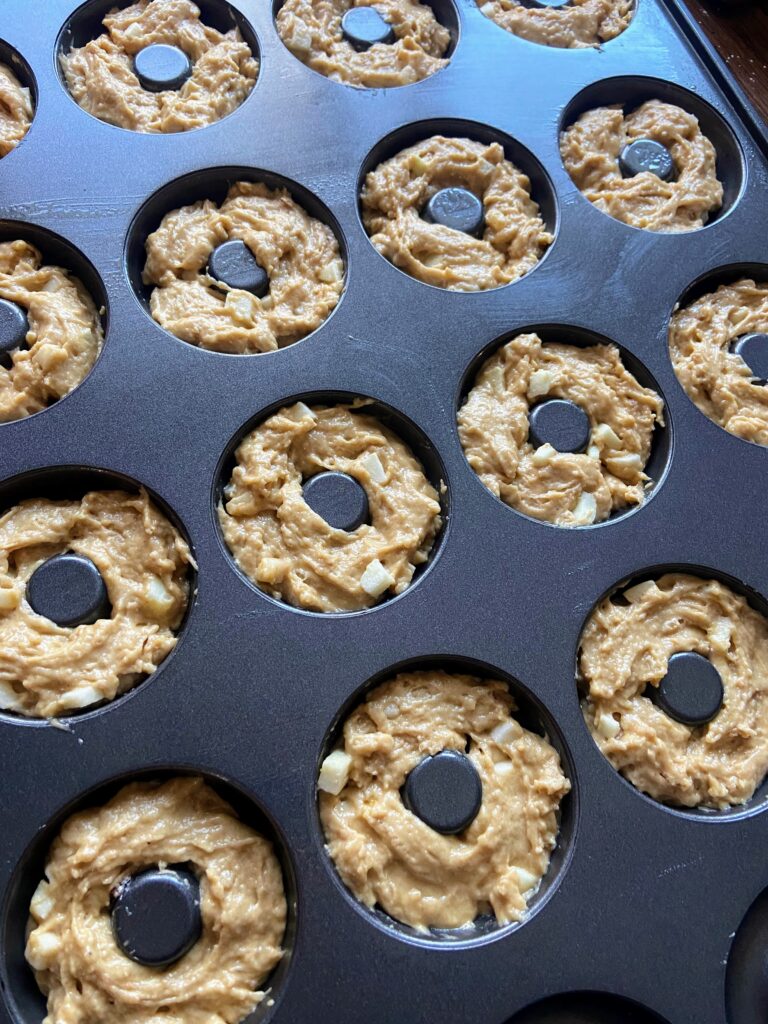
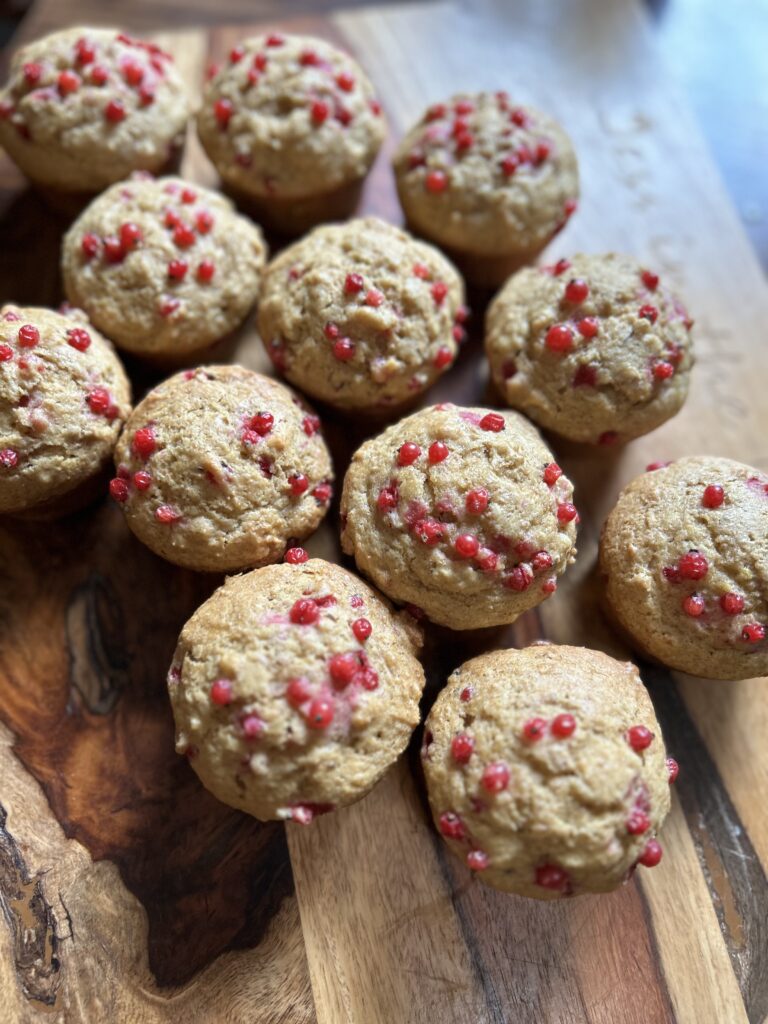
Scoop prepared batter into prepared muffin tin. Sprinkle the tops of each muffin with some of the remaining currants. Bake for 18-22 minutes, until a wood pick inserted in the center comes out clean.


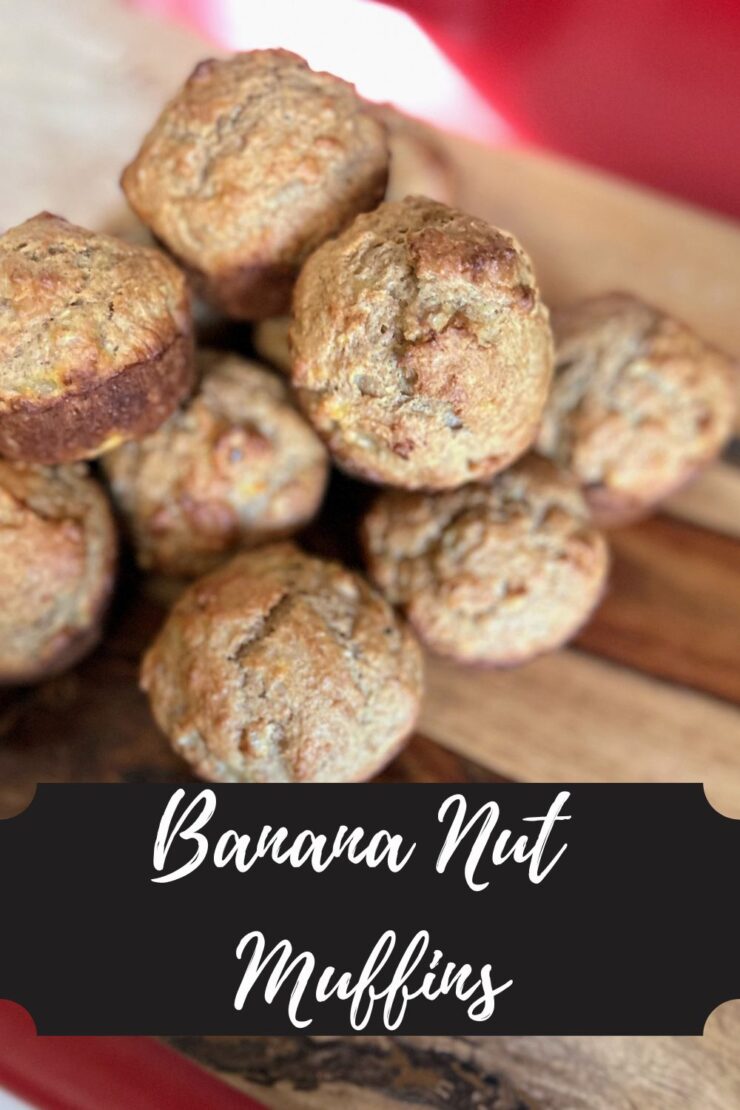
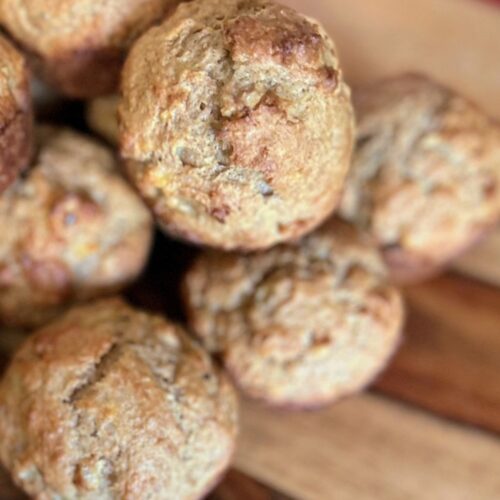
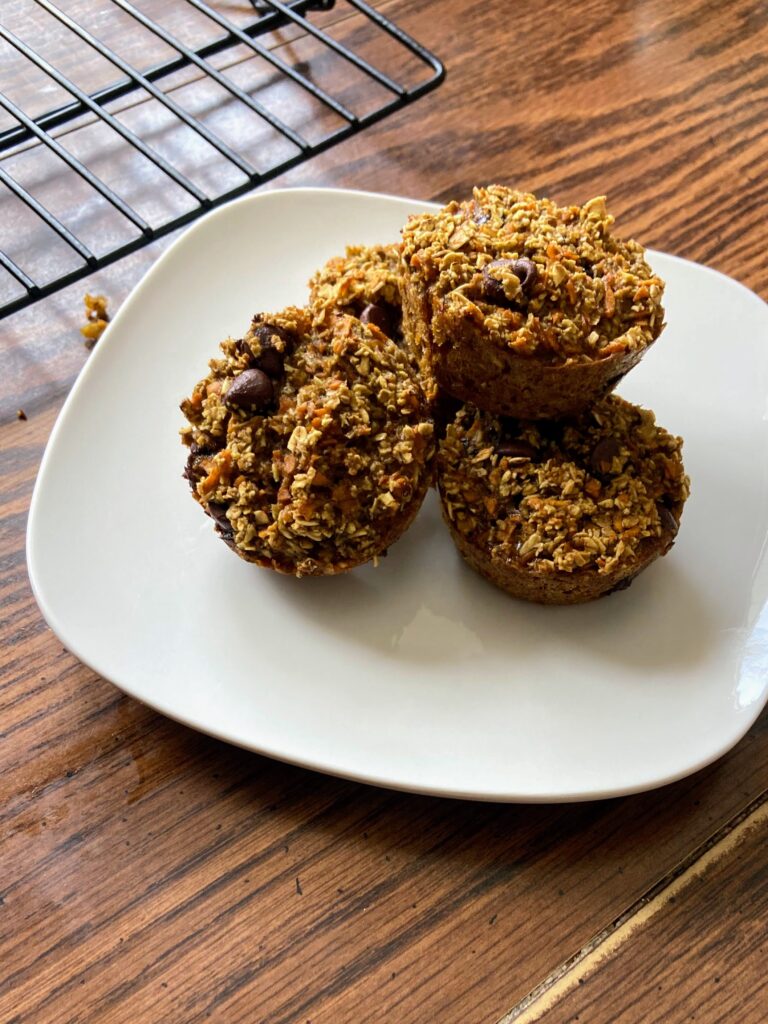
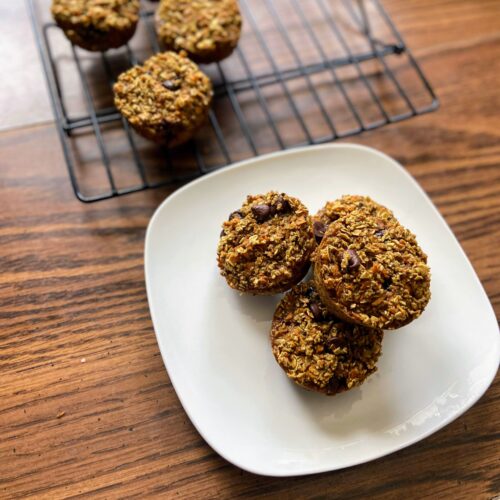
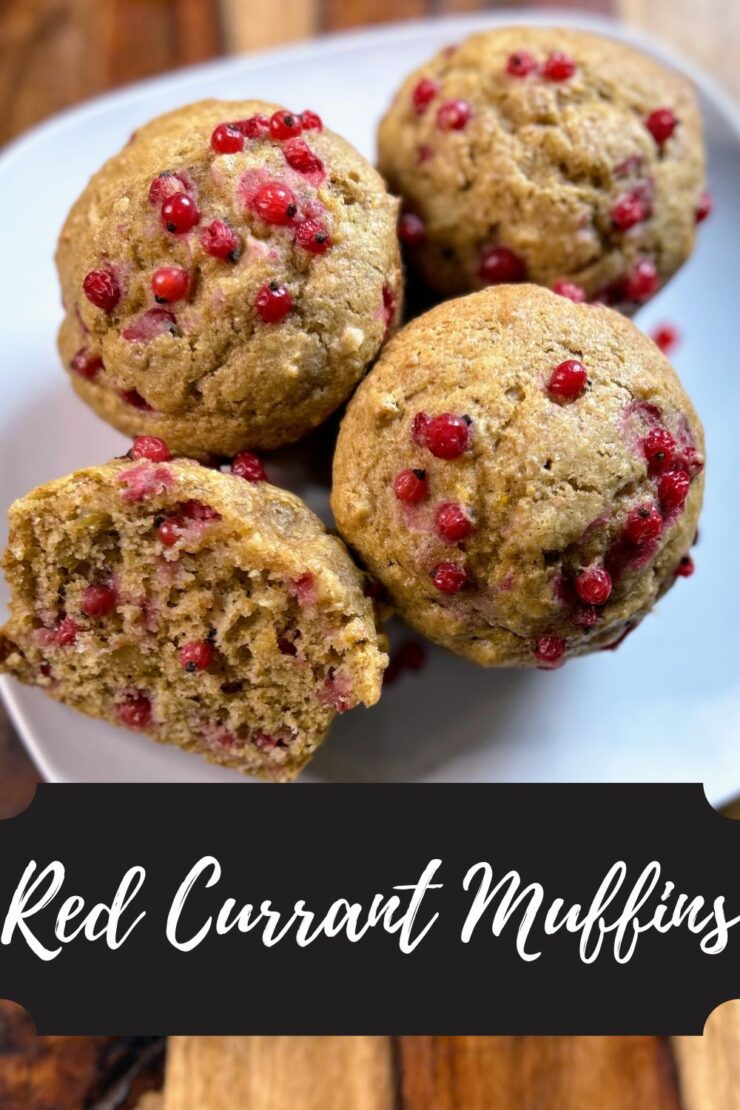
Red Currant Muffins
Ingredients
- 1 cup whole wheat flour
- 1 cup all purpose flour
- 2 teaspoons baking powder
- ½ teaspoon salt
- ½ teaspoon baking soda
- ¼ cup butter softened
- ⅔ cup real maple syrup
- 1 teaspoon vanilla
- ¼ cup plain Greek yogurt vanilla or sour cream will do fine too!
- 2 eggs
- ½ cup chopped nuts
- 1 cup fresh red currants
Instructions
- Preheat the oven to 350 degrees. Generously grease 12 regular size muffin vessels.
- Mix flour, baking powder, baking soda, and slat in a large bowl; set aside.
- Beat the butter in a mixing bowl until creamy. Add maple syrup. Mix thoroughly. Beat in vanilla, Greek yogurt, and eggs. Stir in the dry ingredients. Fold in the nuts and ¾ of the currants gently.
- Scoop prepared batter into prepared muffin tin. Sprinkle the remaining currants on top of each muffin. Bake for 18-22 minutes, until a wood pick inserted in the center comes out clean.
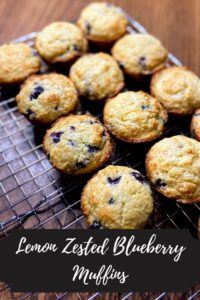
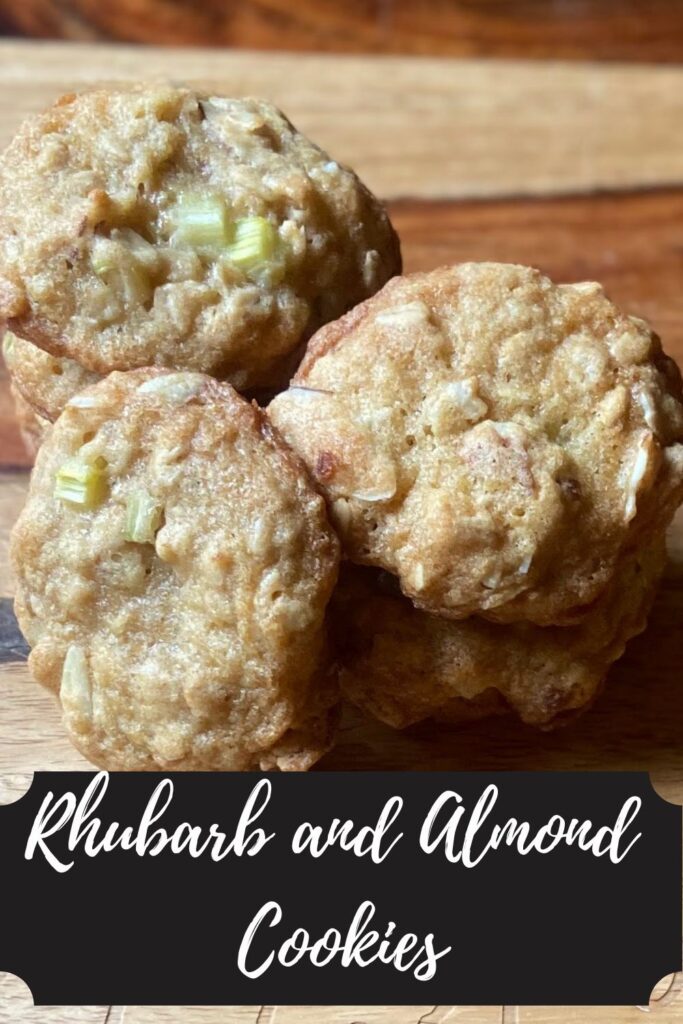
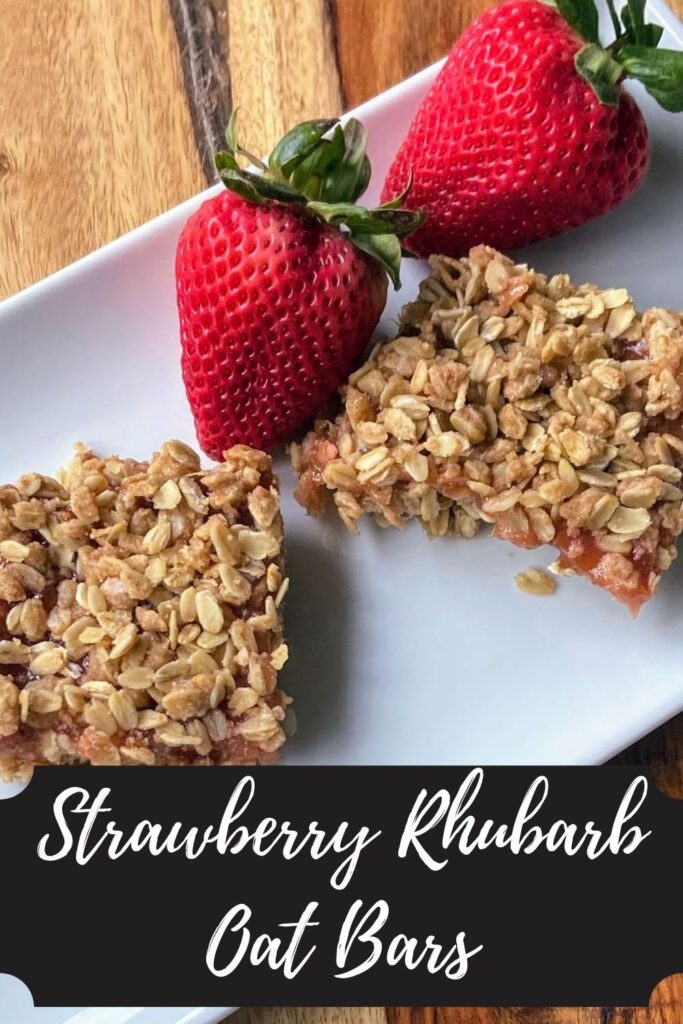
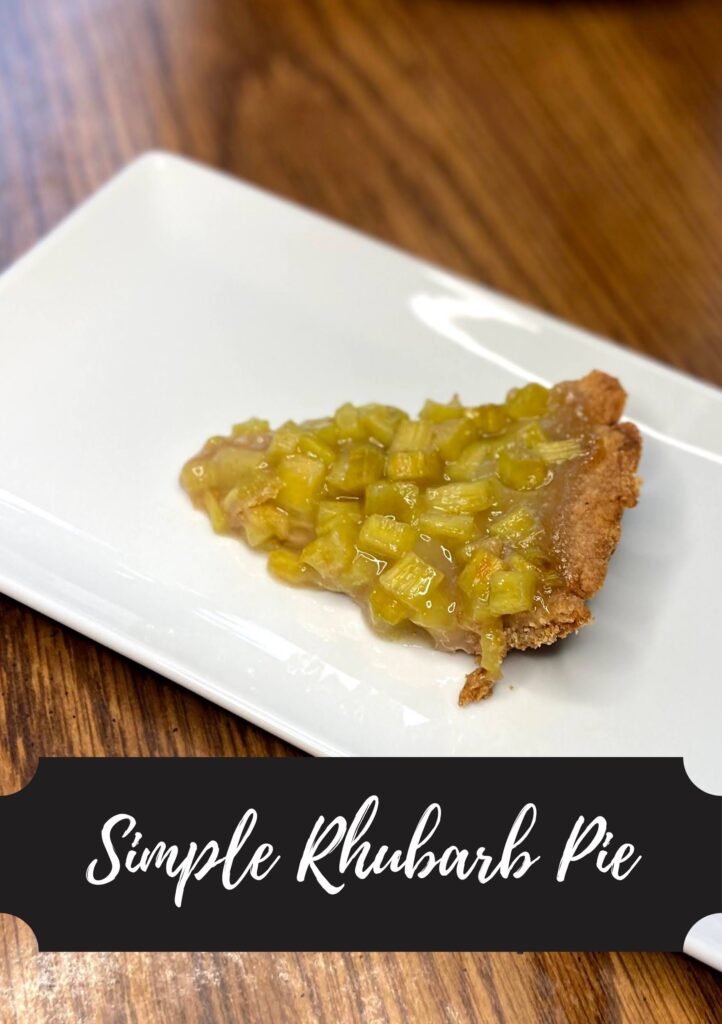
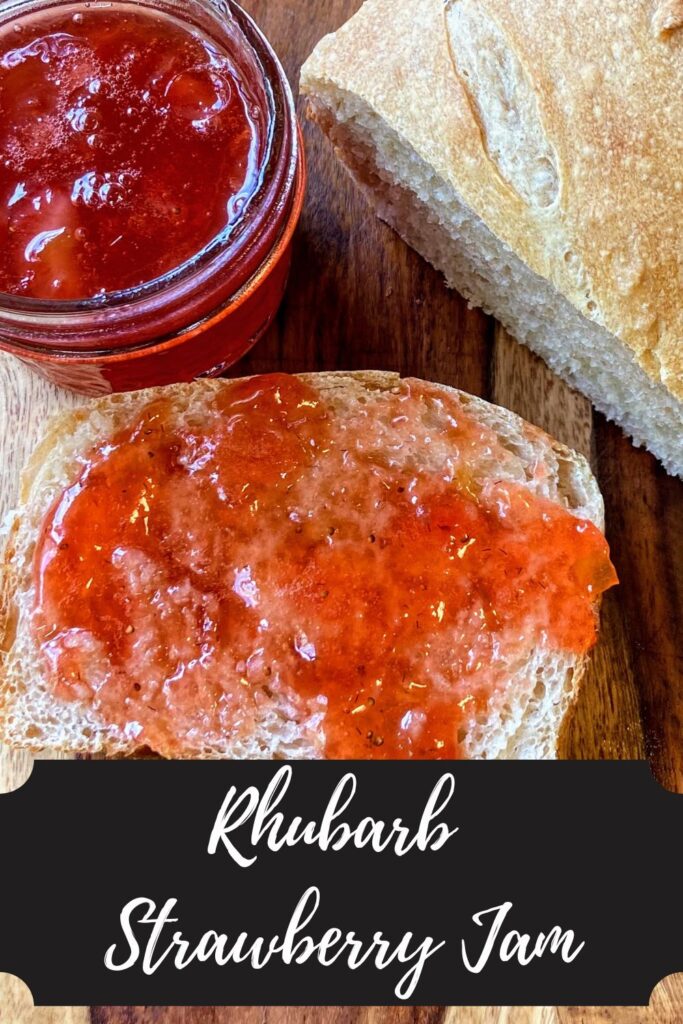
Looking for other tasty treats?
Check out my baking page or my canning page! Or maybe something below will tickle your fancy!