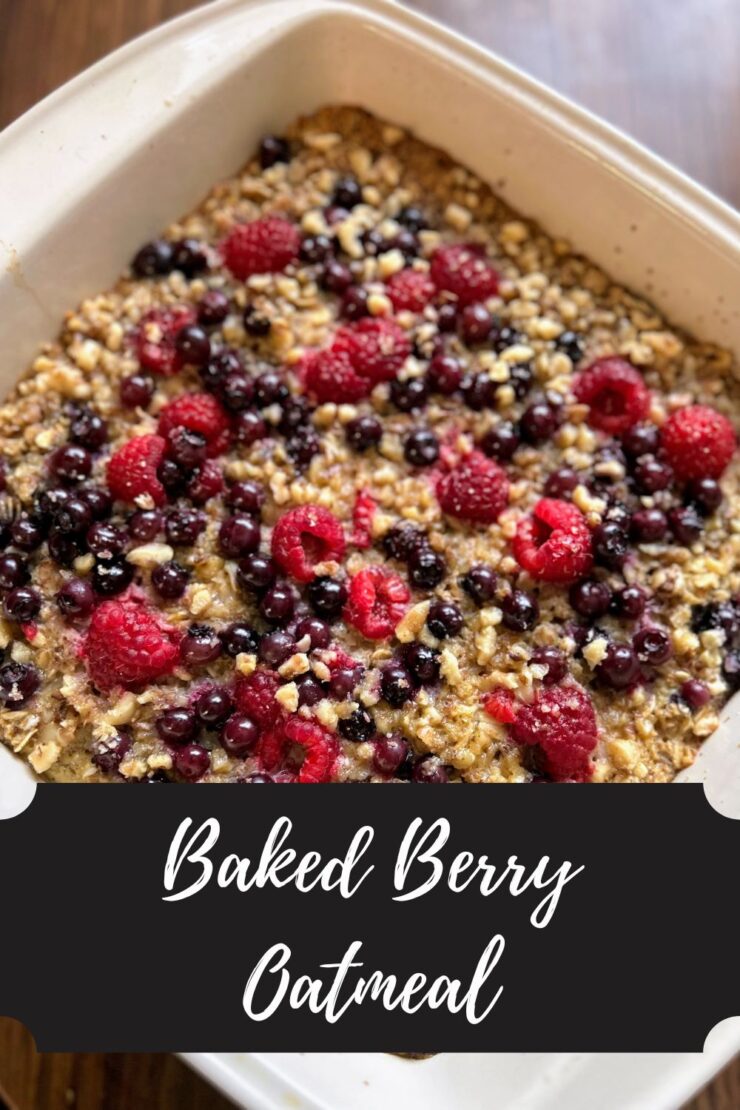
Why am I here sharing a pumpkin baked oatmeal recipe?
I may be in my busiest season of life I have experienced in my forty years thus far.
I am a teacher. A marathoner. A wife and a mother to two very involved athletes who can not drive yet. And that doesn’t even get me started on my hobbies (and ask my husband, I have a lot of them…)
The athlete thing has made life the craziest though. Among other things, mornings are scheduled by the minute because it is easiest in our household if I am the one who gets the big kid to lifting AND shoot around AND jazz band in the morning.
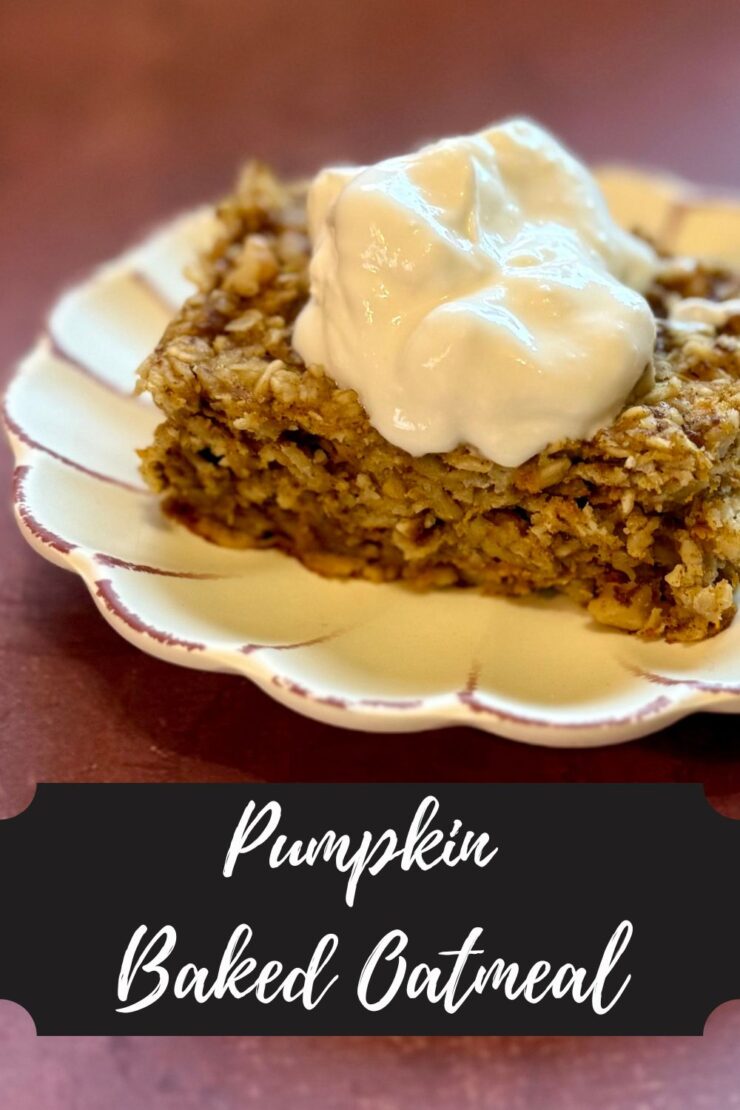
This means I need a breakfast I can depend on to fuel me for the day without taking an excessive amount of time to make. Enter the protein pumpkin baked oatmeal.
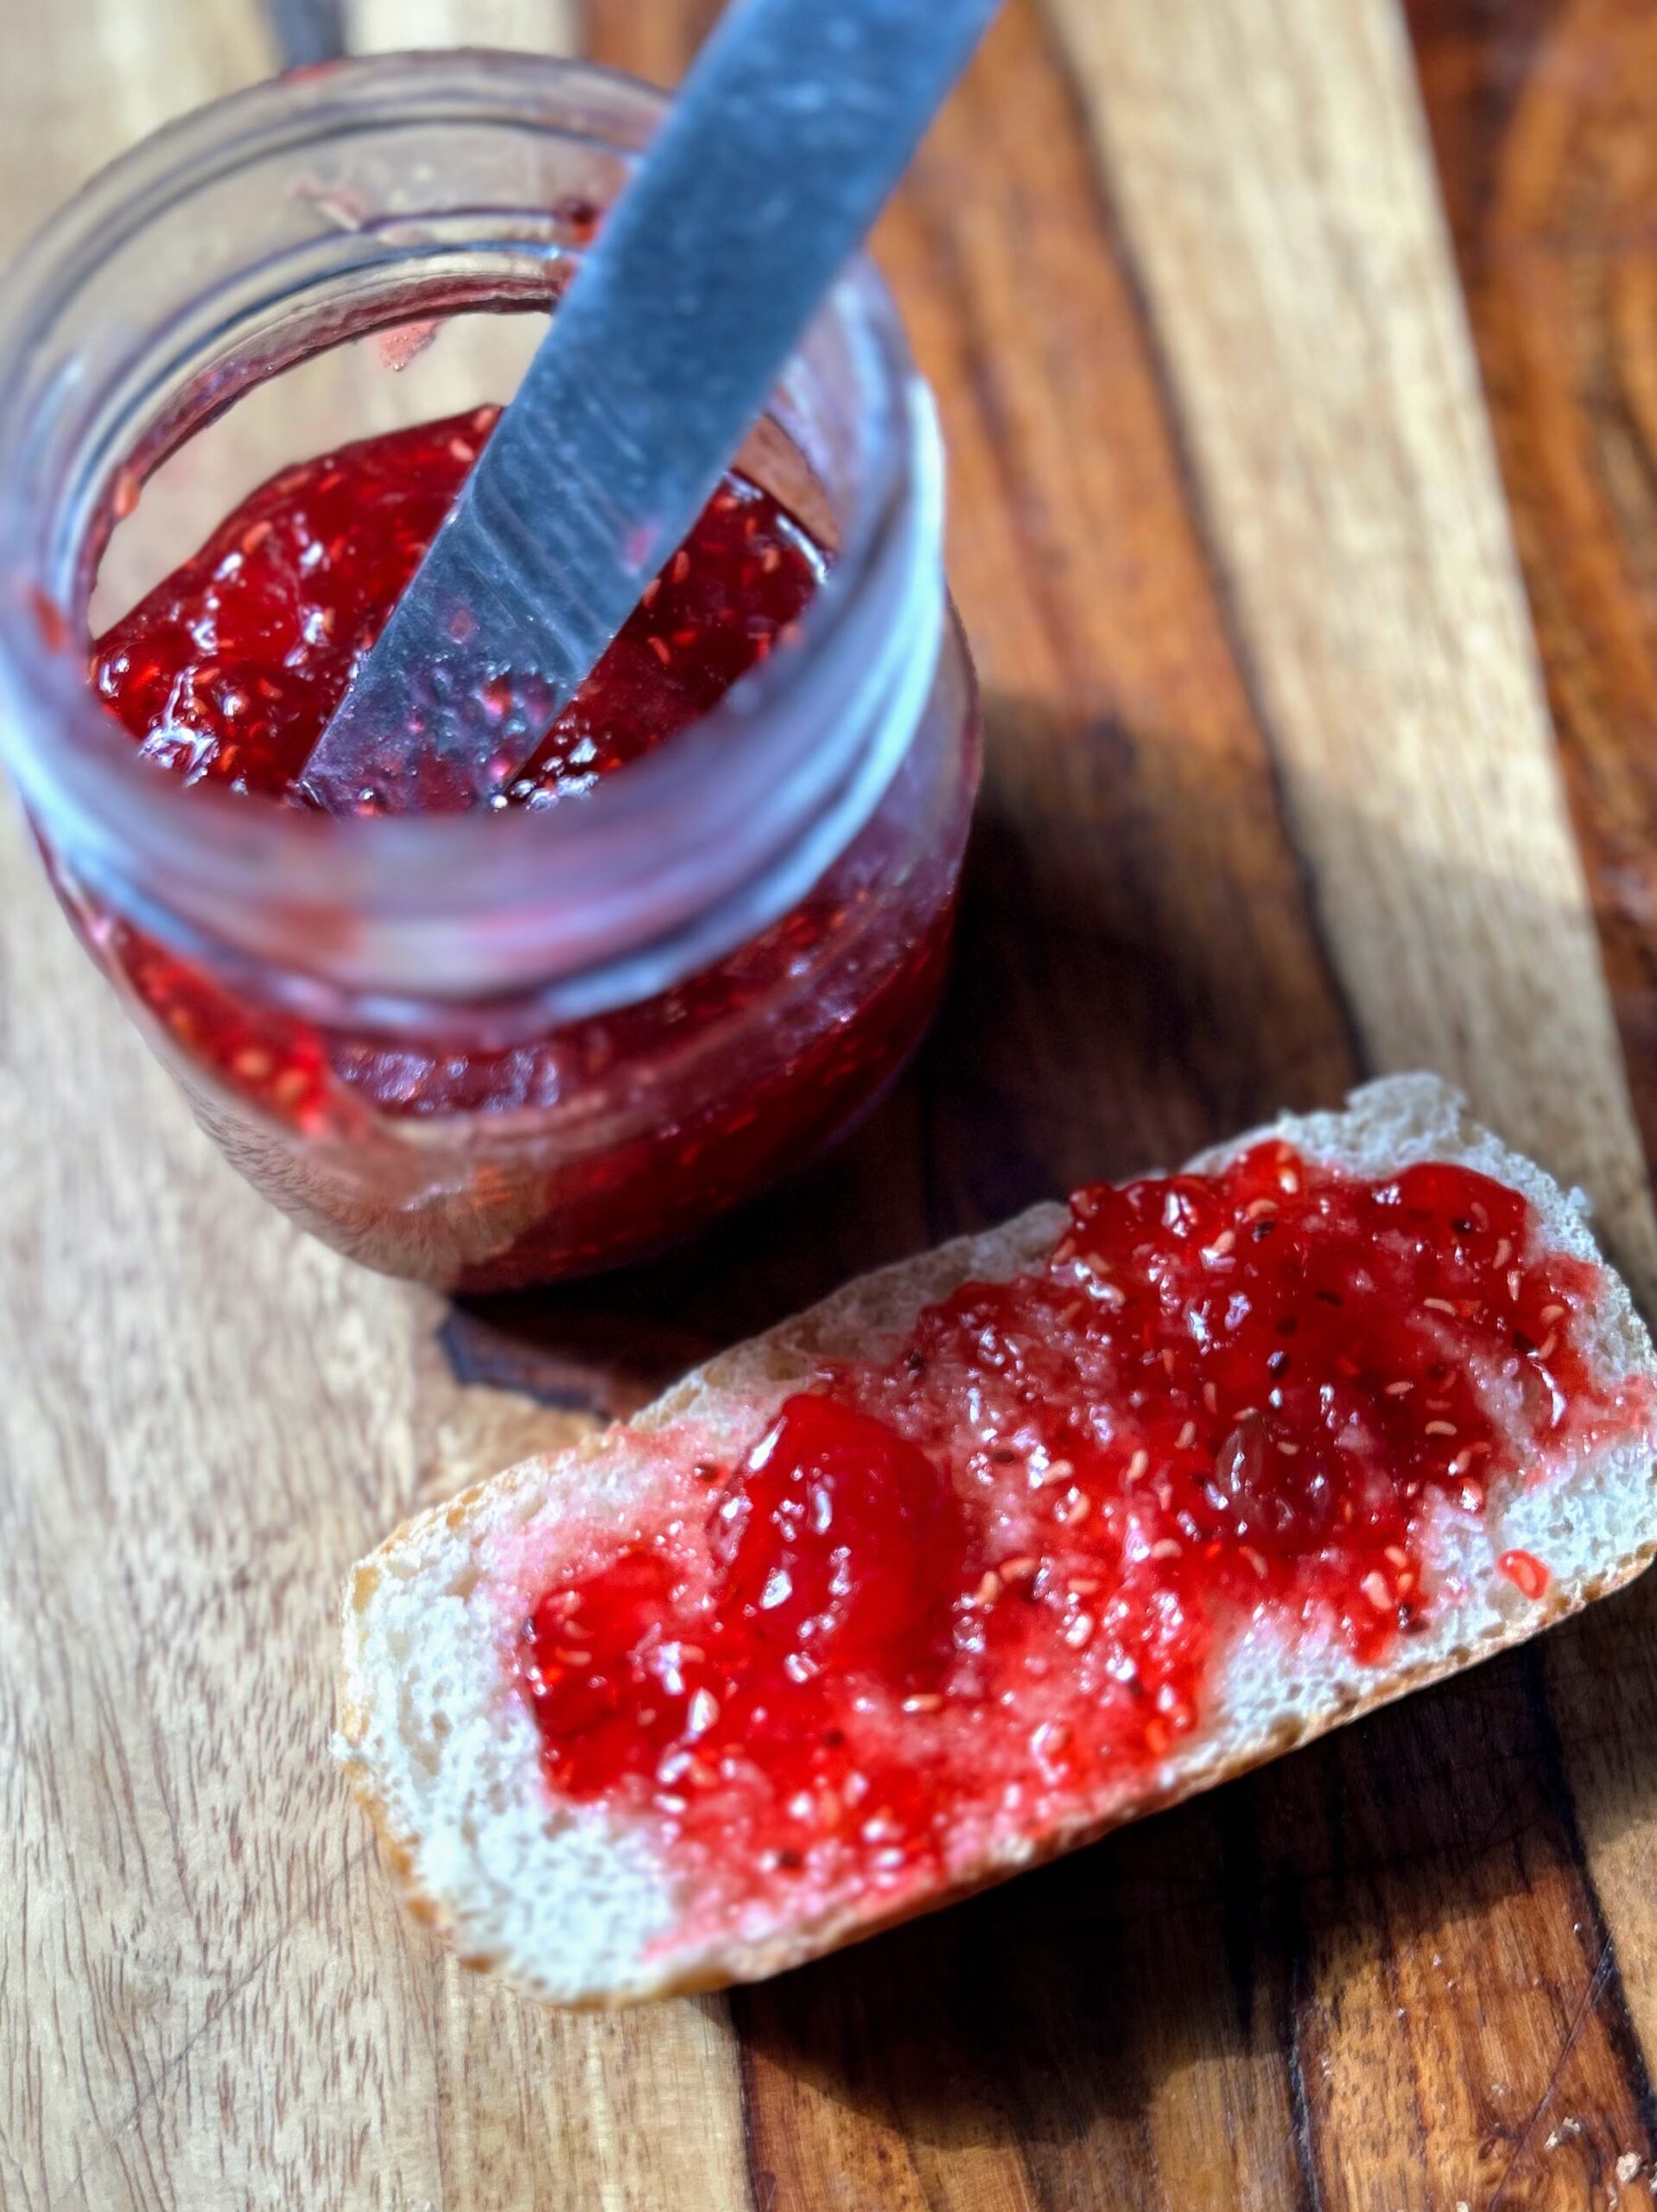
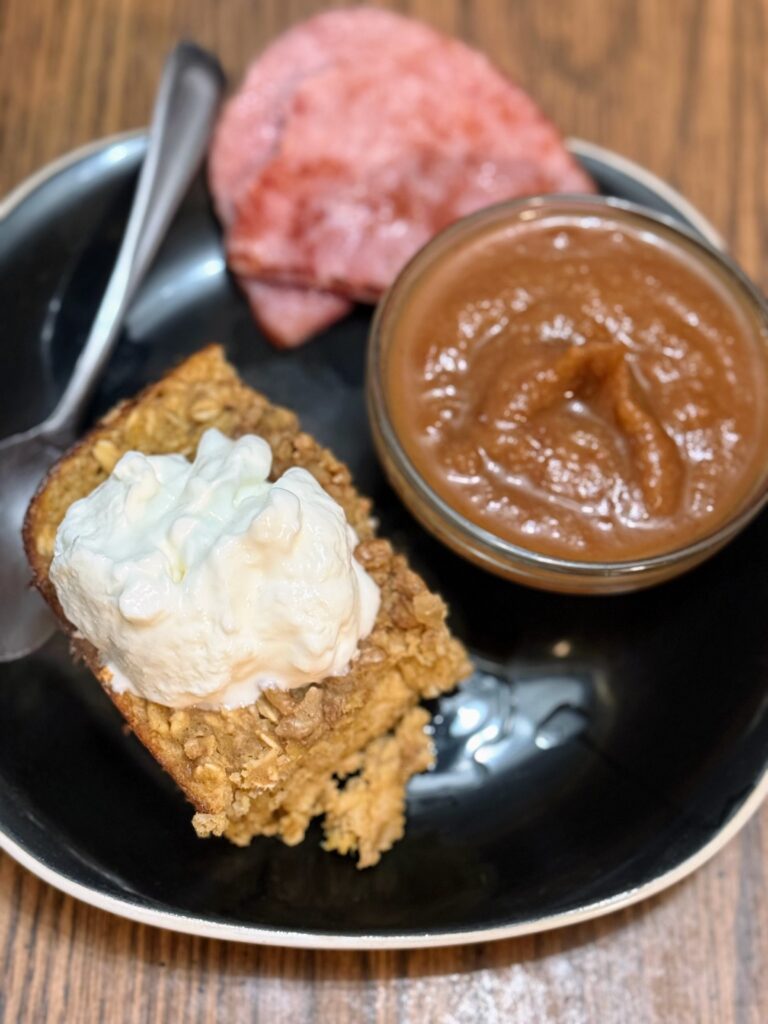
This baked oatmeal has all the warming spices a gal could want on a fall morning, a bit of protein powder (easily skipped though if that isn’t your jam), and goes so dang well with some vanilla Greek yogurt (I dig a low sugar, high protein like Oikos). About 45 minutes on a Sunday leads to a delicious breakfast all week that takes less than 3 minutes to prepare.
This time of year, it is so easy to roast your own pumpkin and if you have the freezer space to save some I recommend it much (Check my recipe here!) but canned puree would work just as well.
Ready to start prepping your breakfast? Let’s go!
Your Ingredients
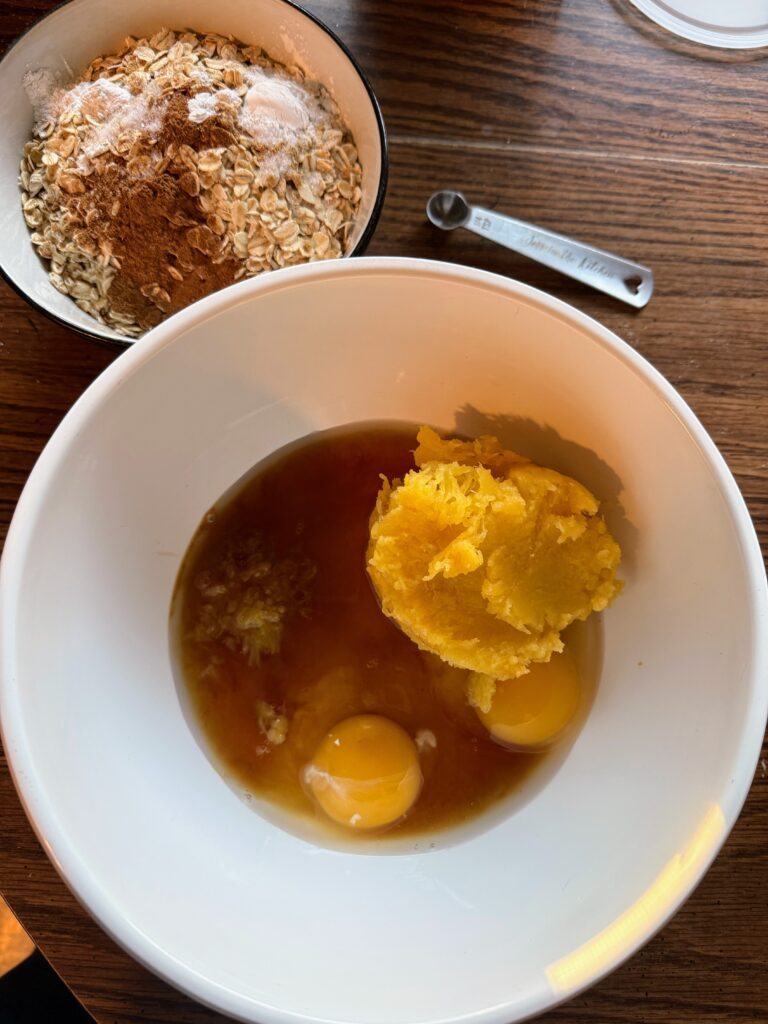
- 1 ¾ cup milk (dairy or non dairy)
- 1 cup roasted pumpkin puree (fresh or canned)
- 2 large eggs
- ½ cup maple syrup or honey
- 1 teaspoon vanilla extract
- 2 teaspoons cinnamon
- ¼ teaspoon nutmeg
- ½ teaspoon salt
- 1 teaspoon baking powder
- 2 cups old fashioned oats
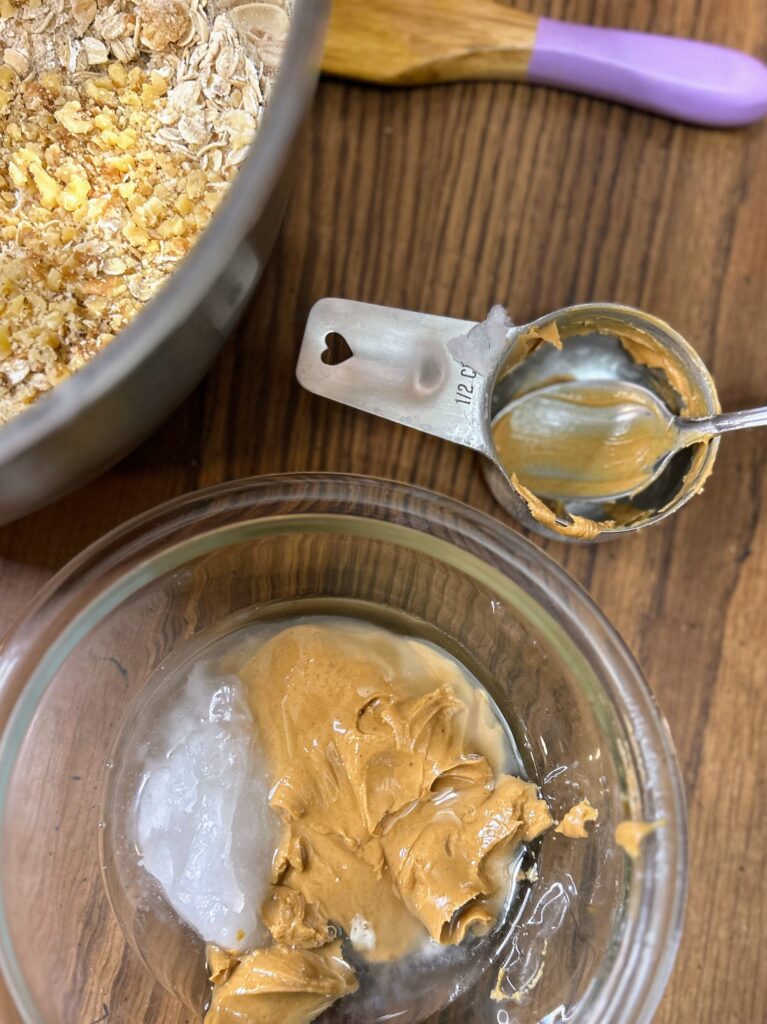
- ½ cup chopped nuts (I use walnuts but pecans would work great too!)
- 1-2 scoops of vanilla or unflavored protein powder (optional)
- ½ cup mini chocolate chips (optional)
- Vanilla Greek yogurt for topping
Your Steps to Pumpkin Baked Oatmeal
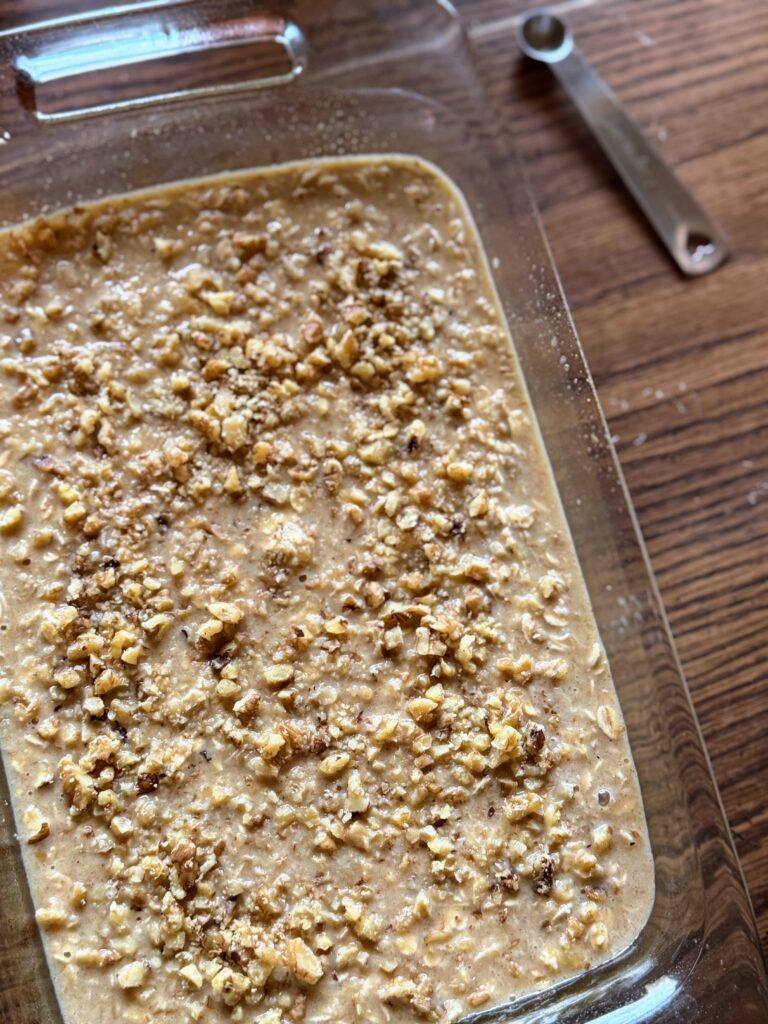
Preheat the oven to 375 ℉ and lightly grease a 9×9 inch baking dish. (I actually really like my 11×7 inch pan, but I don’t know that everyone has one of those!)
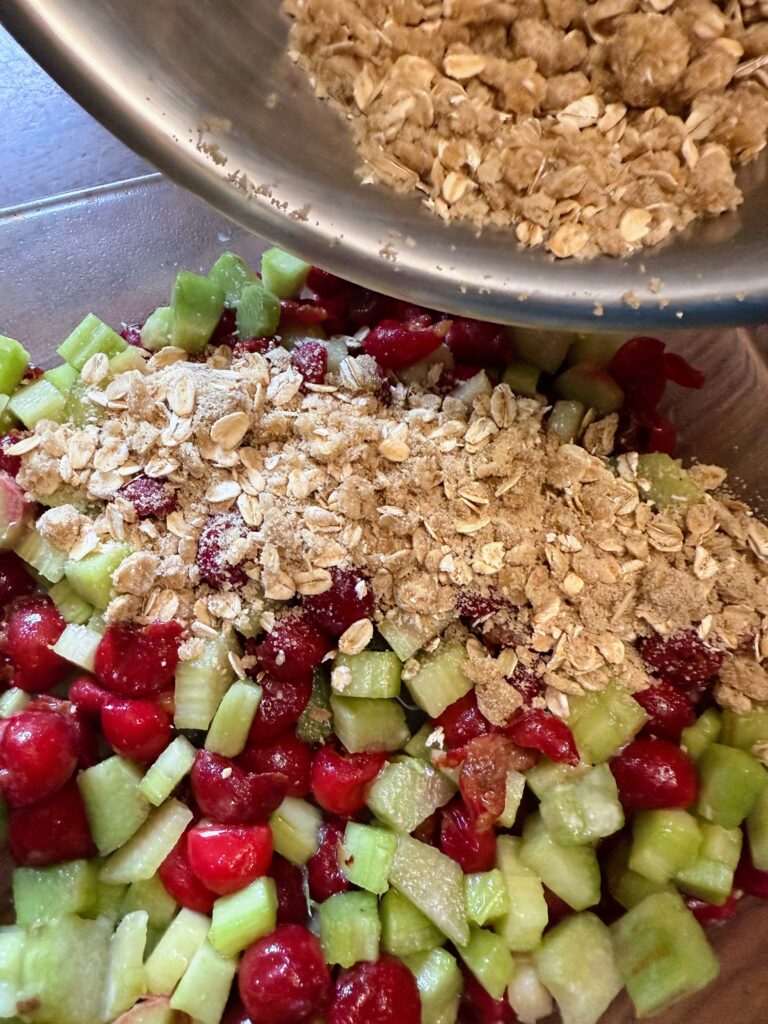
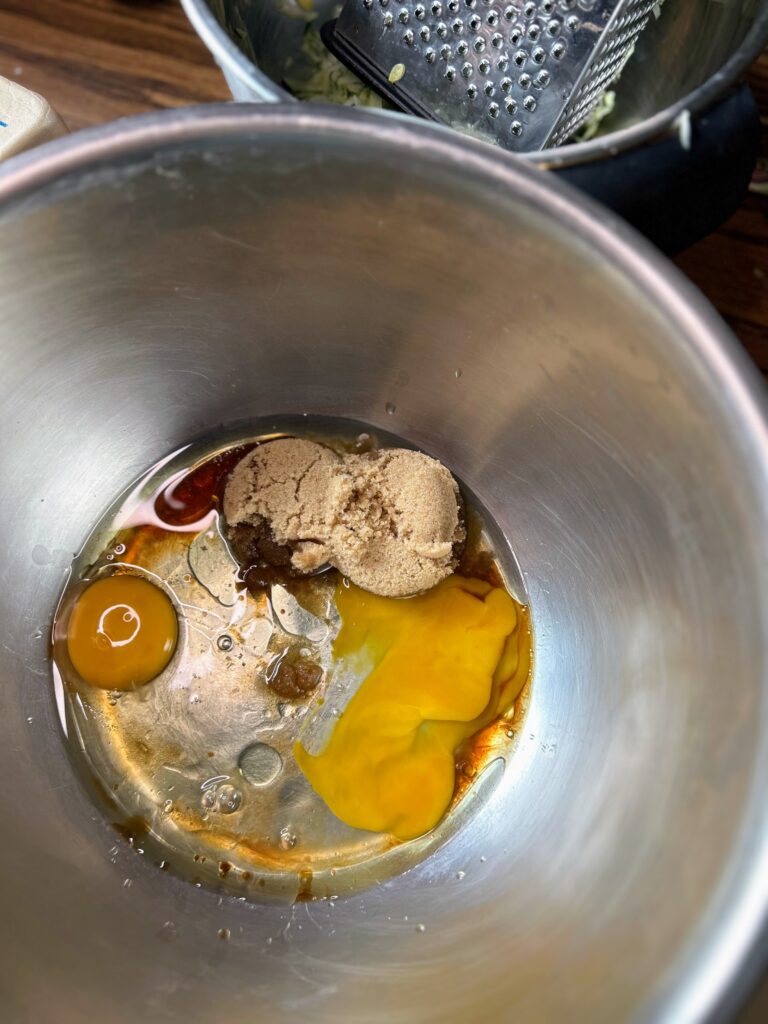
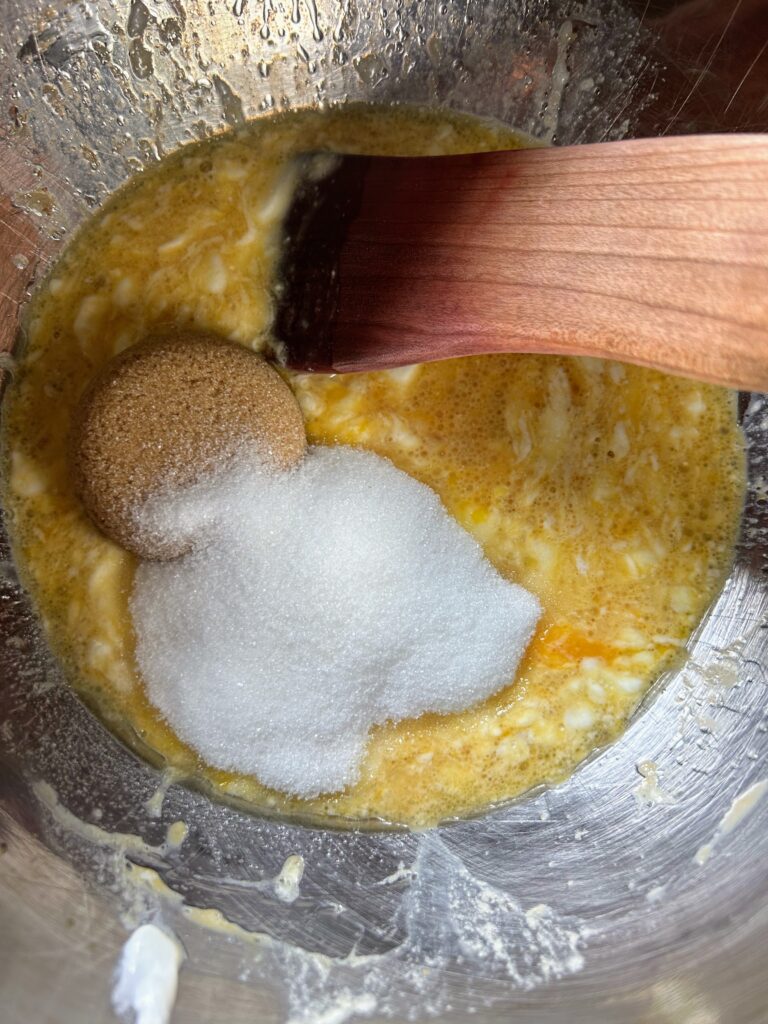
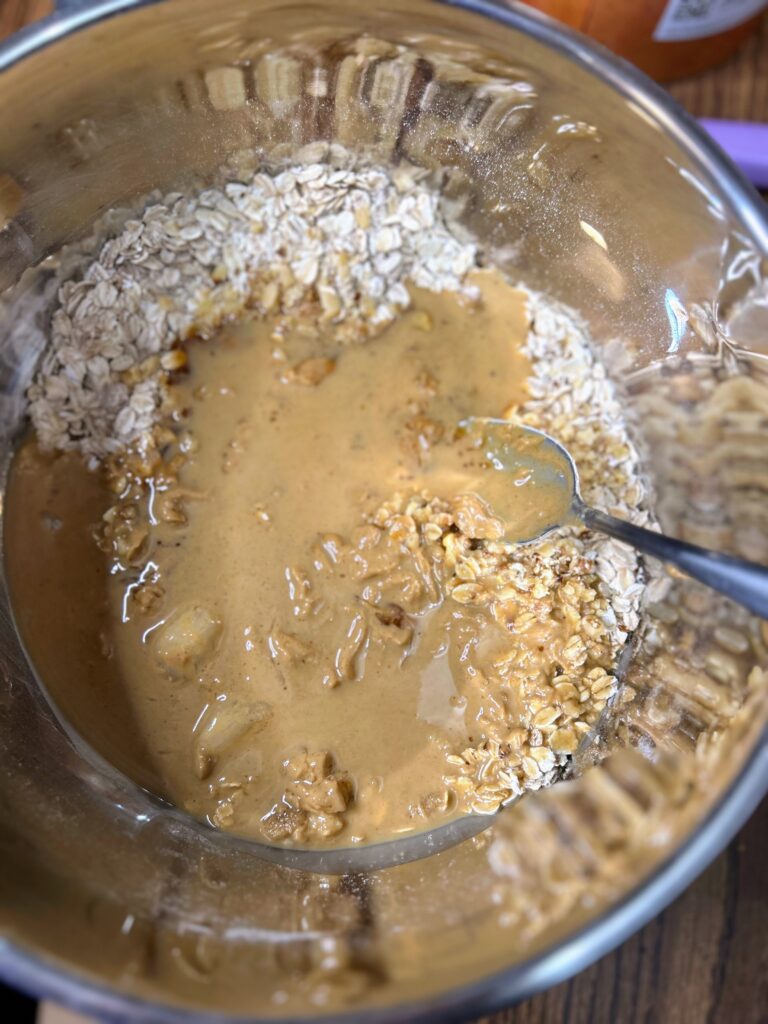
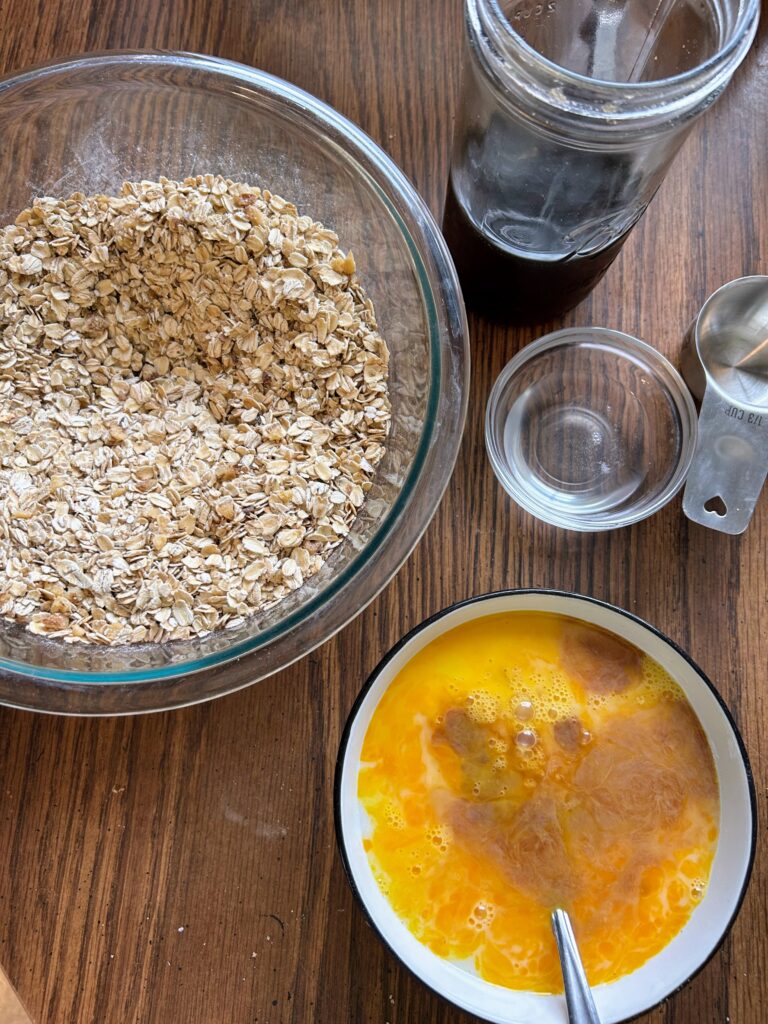
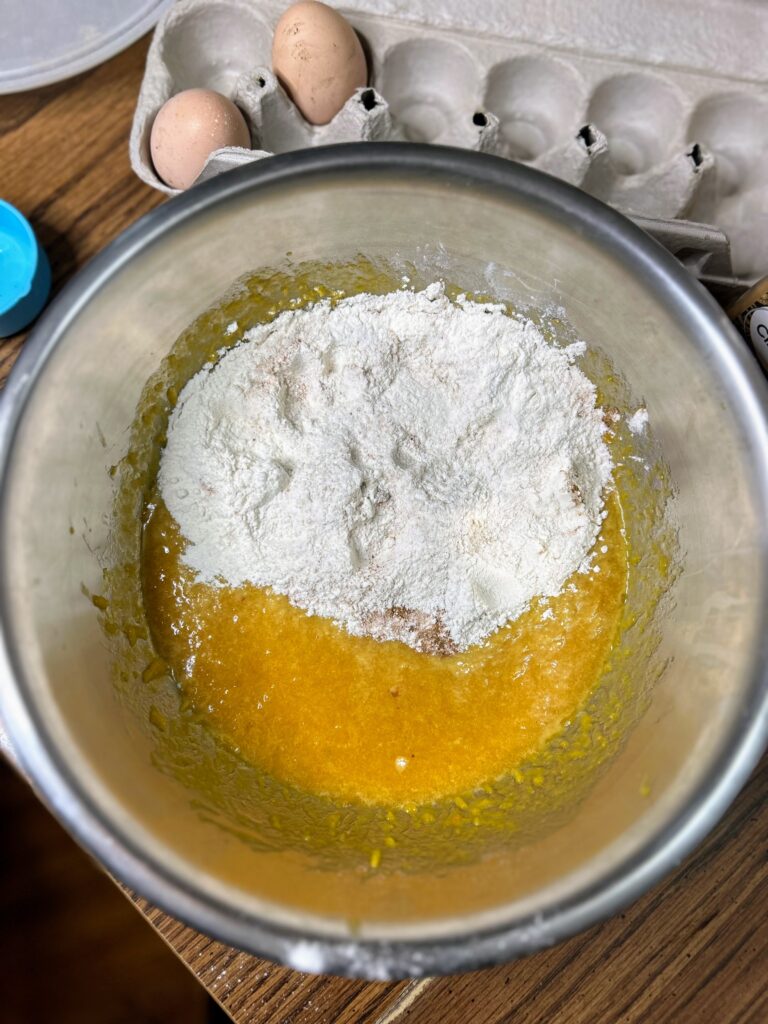
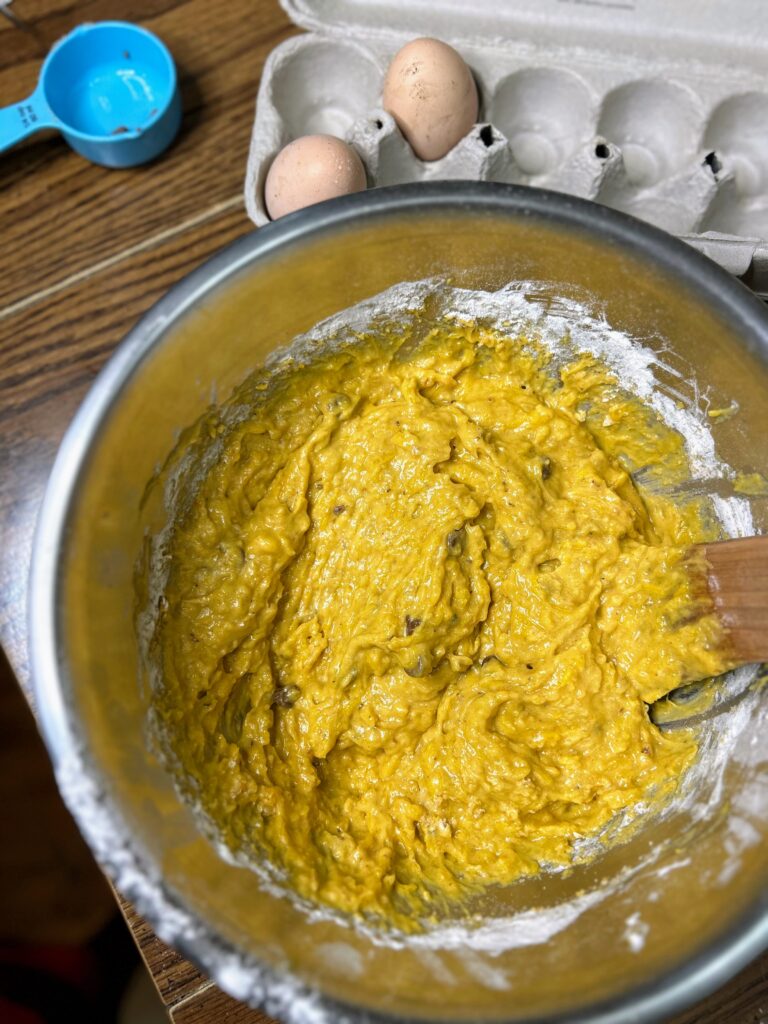
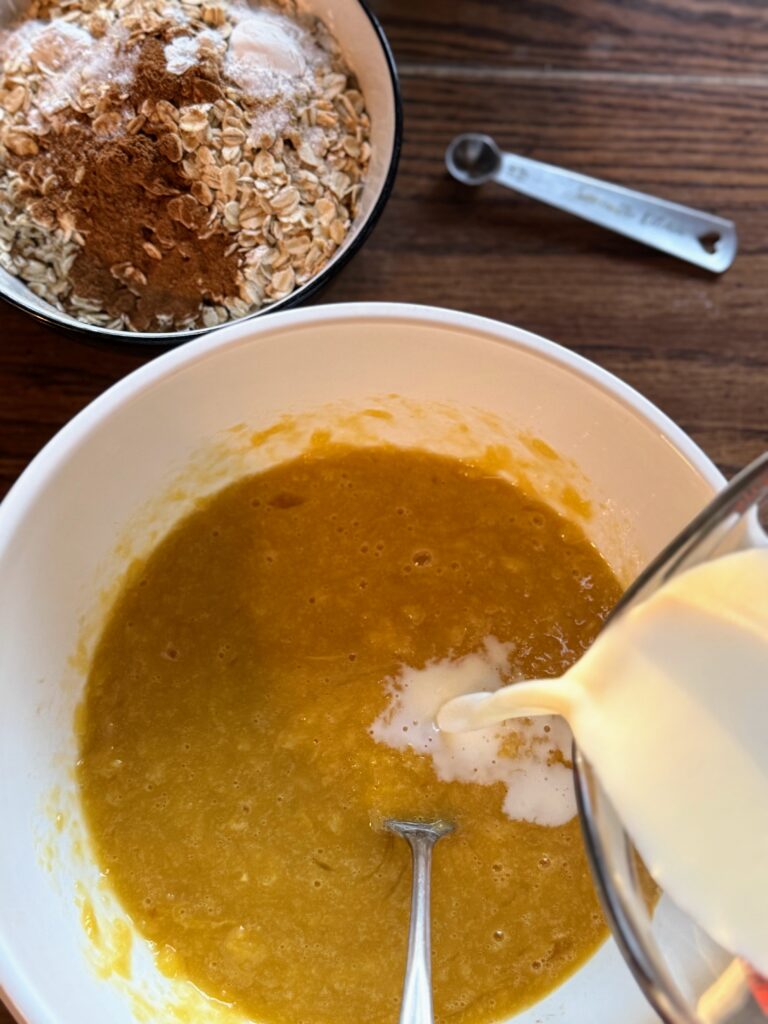
In a large mixing bowl, combine pumpkin, egg, maple syrup, and vanilla. Whisk well, fully incorporating the pumpkin. Stir in the milk.
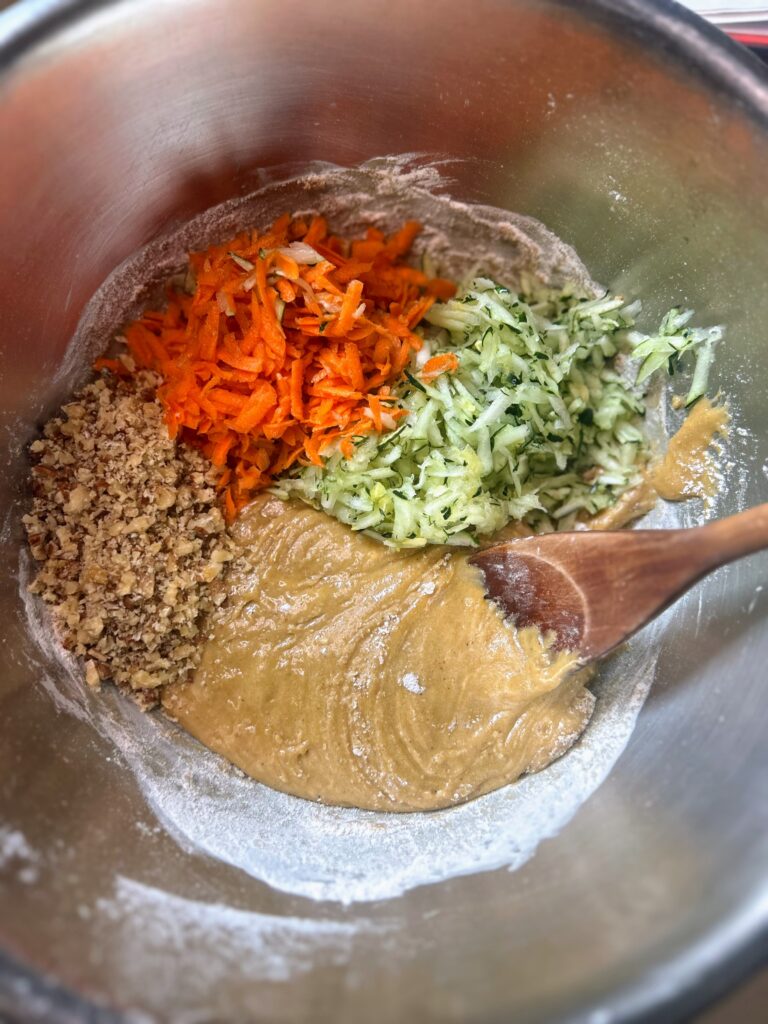
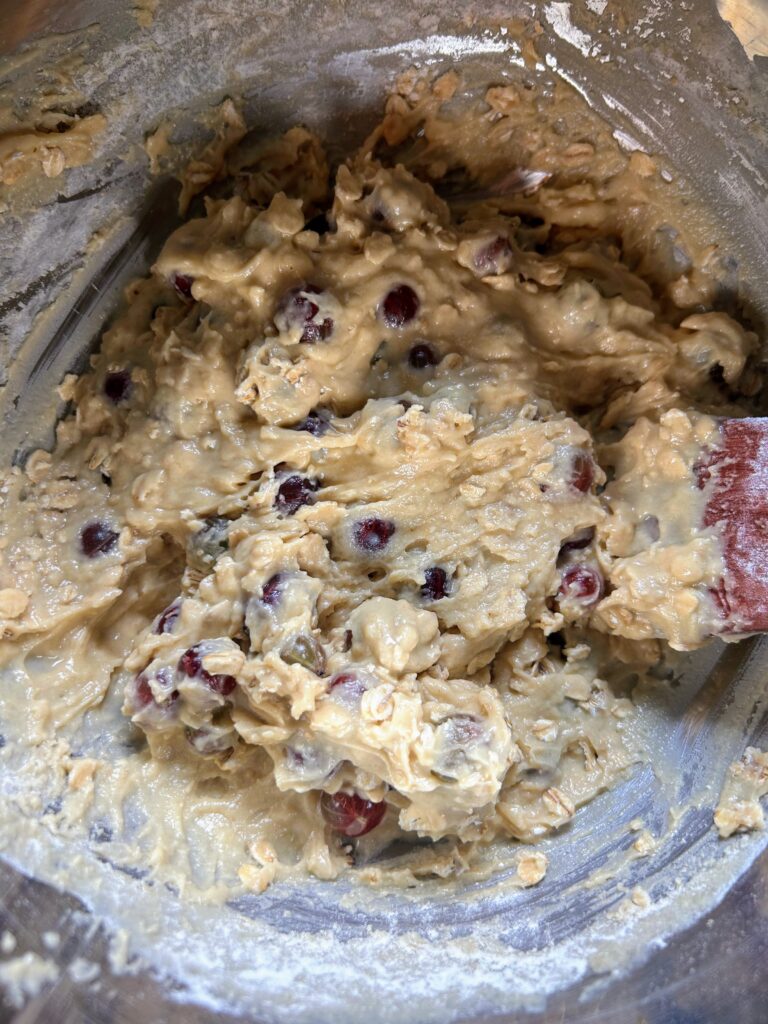
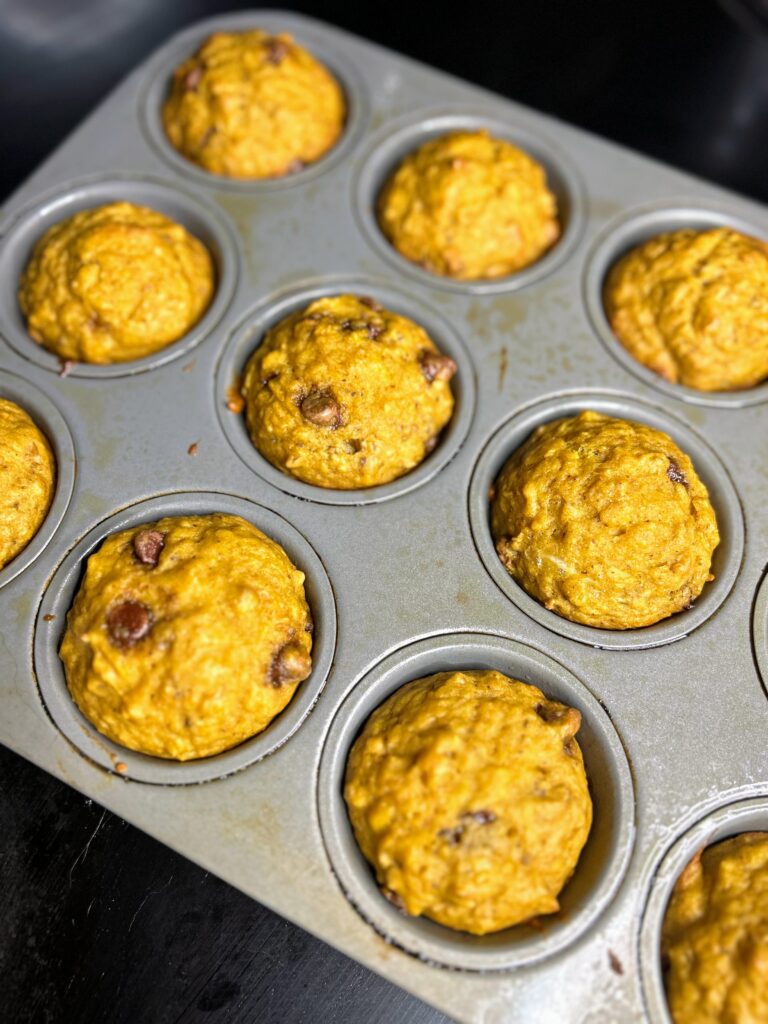
In another bowl, mix oats, protein powder, baking powder, salt, cinnamon, and nutmeg. Incorporate into the wet ingredients. Fold in about half of the nuts and the chocolate chips, if using.
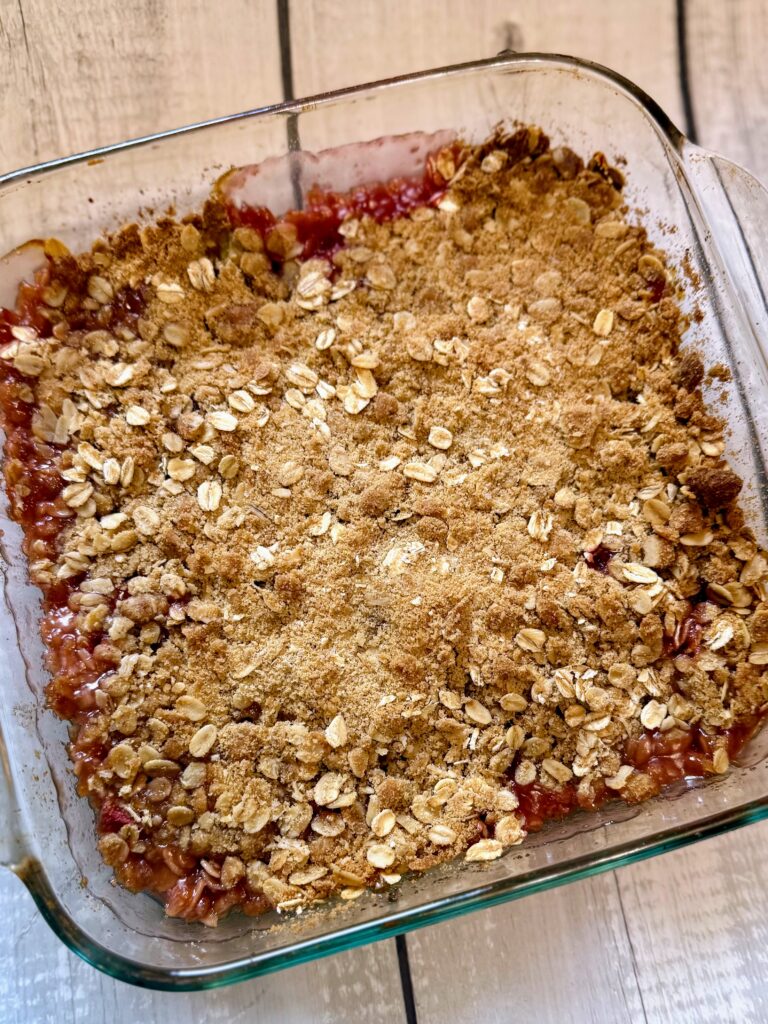
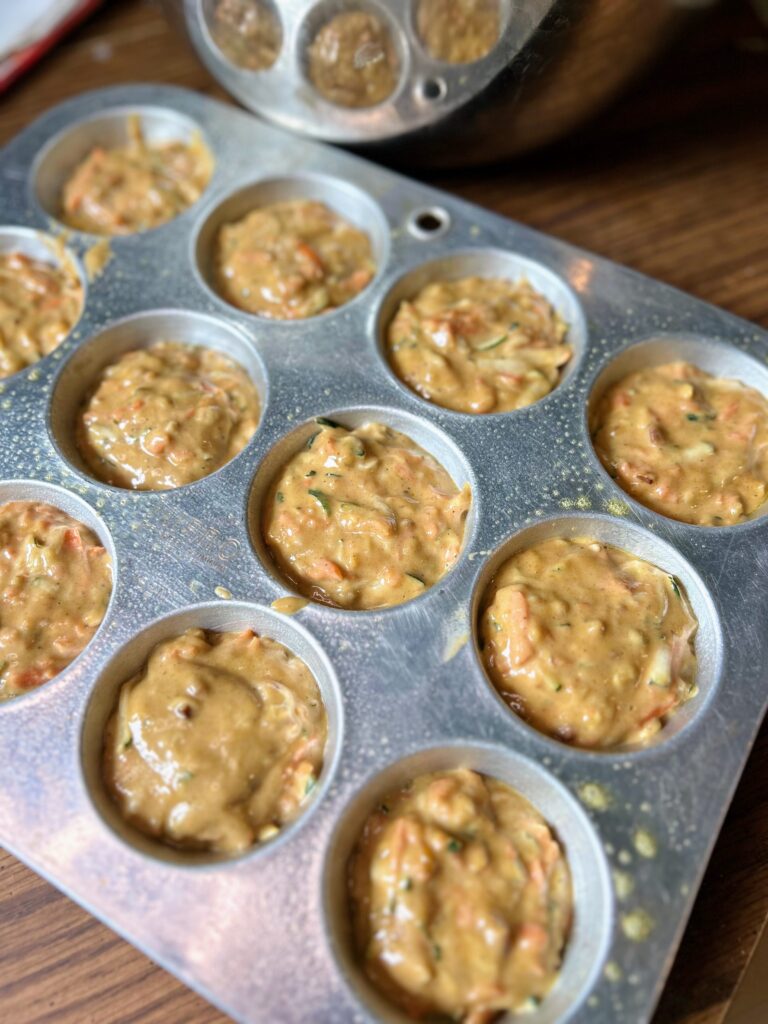
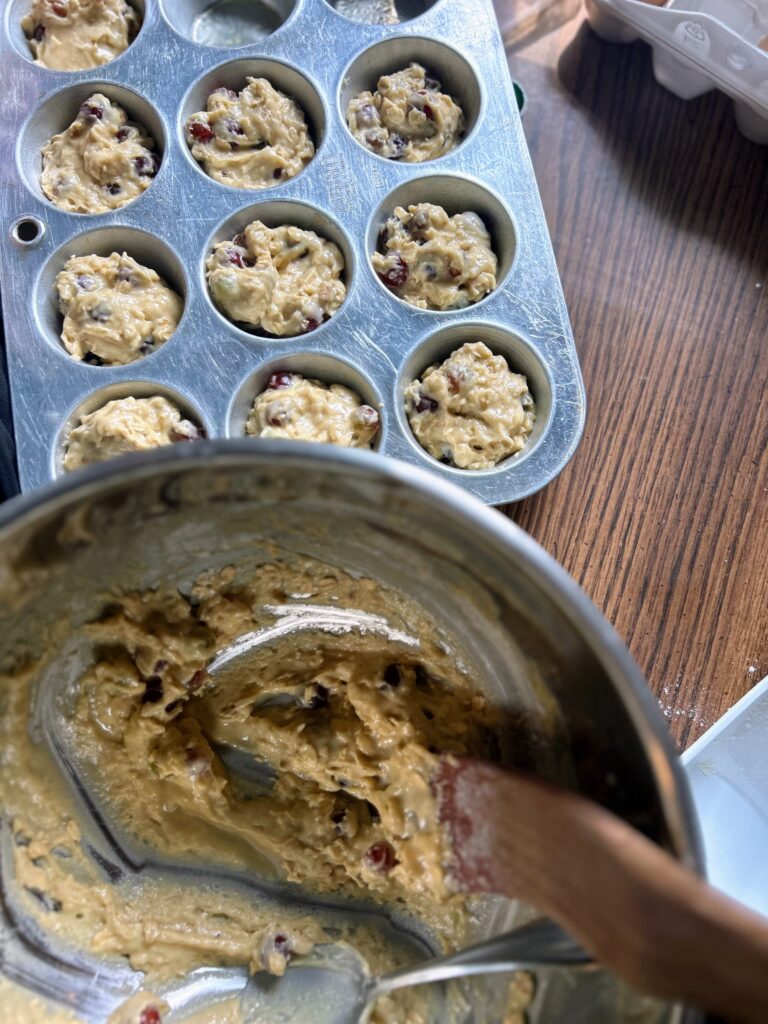
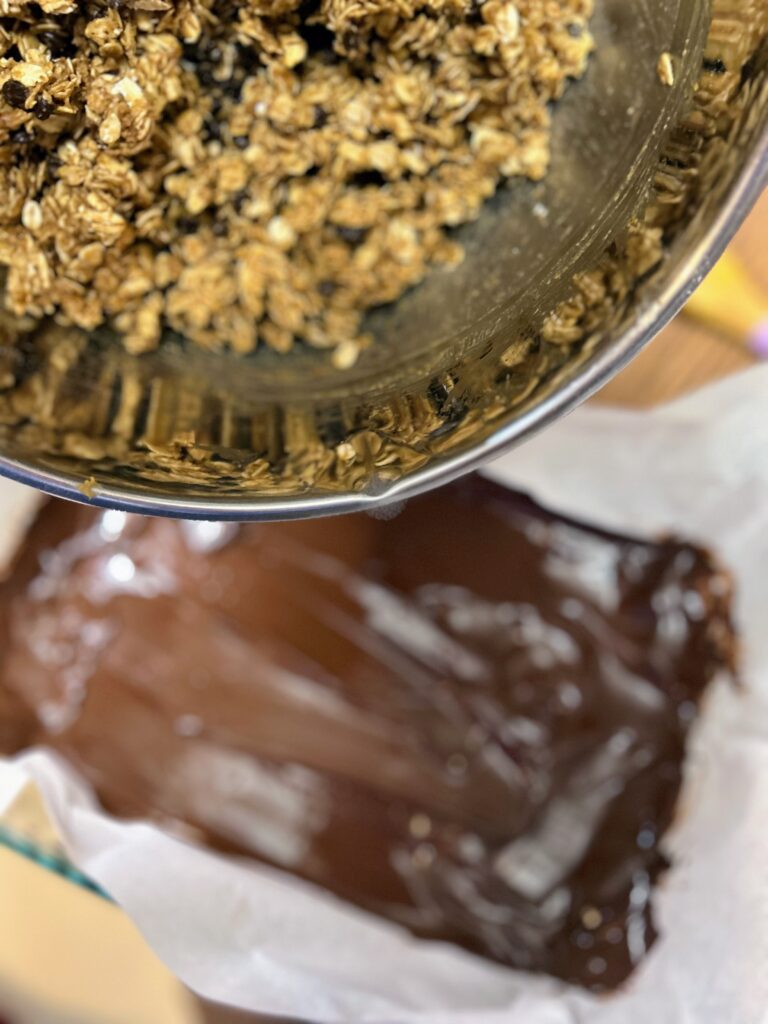
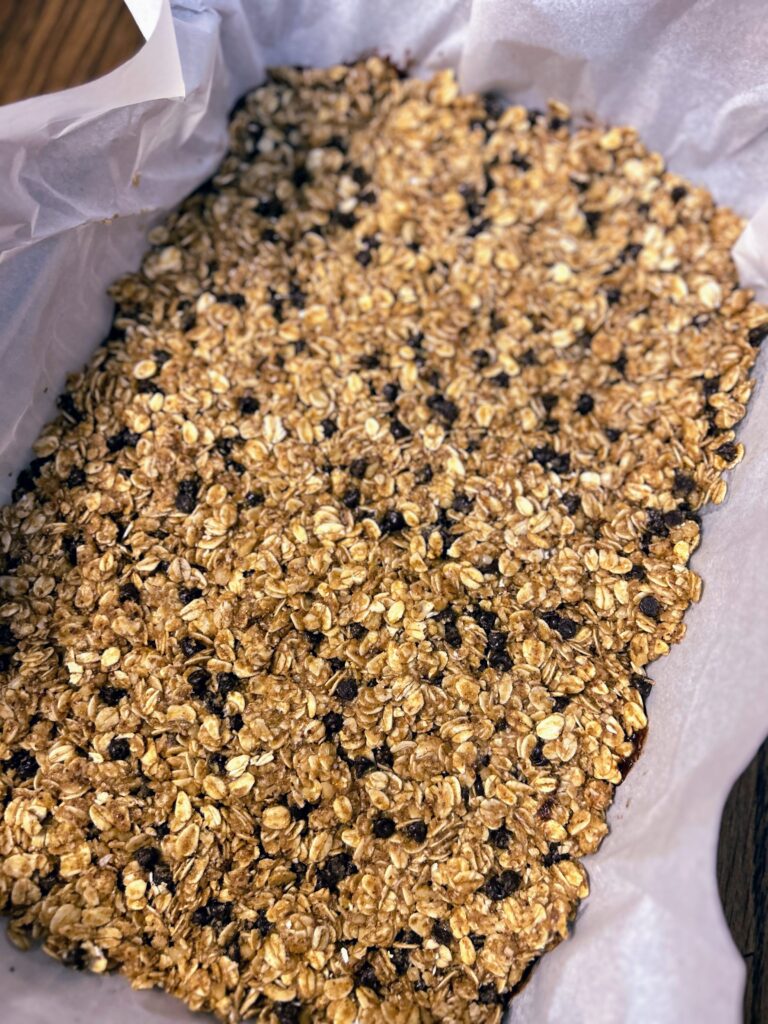
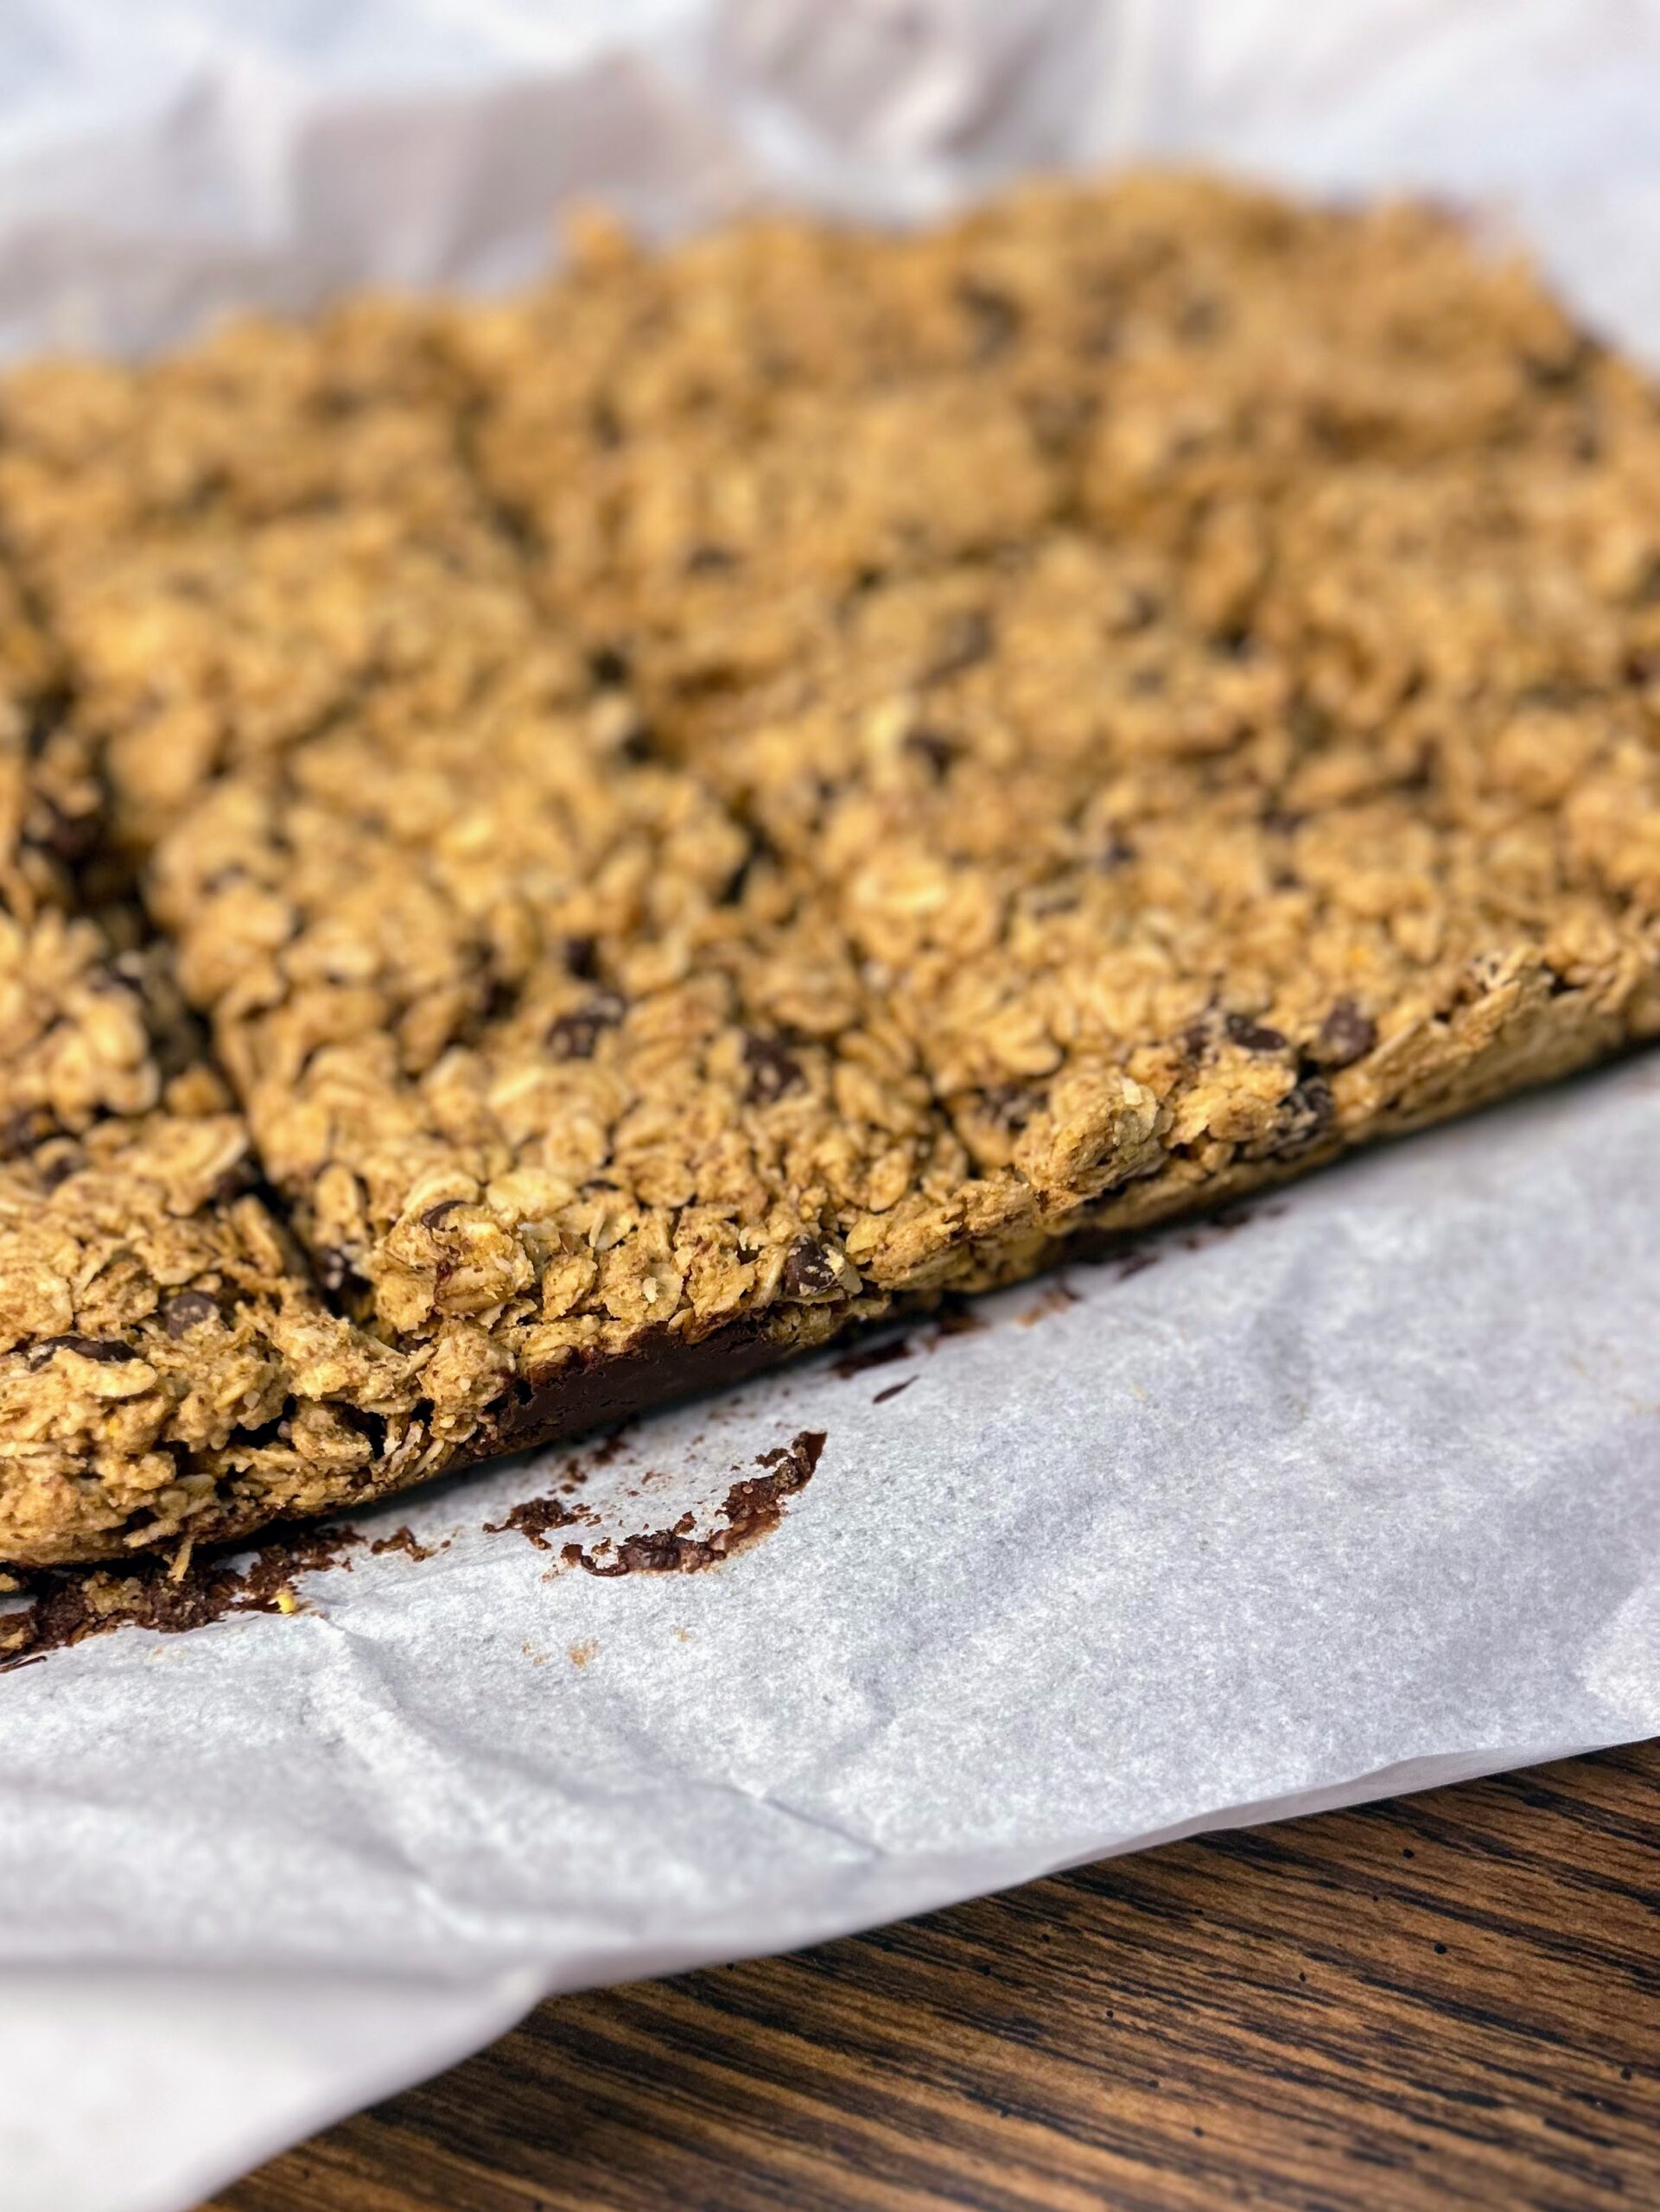
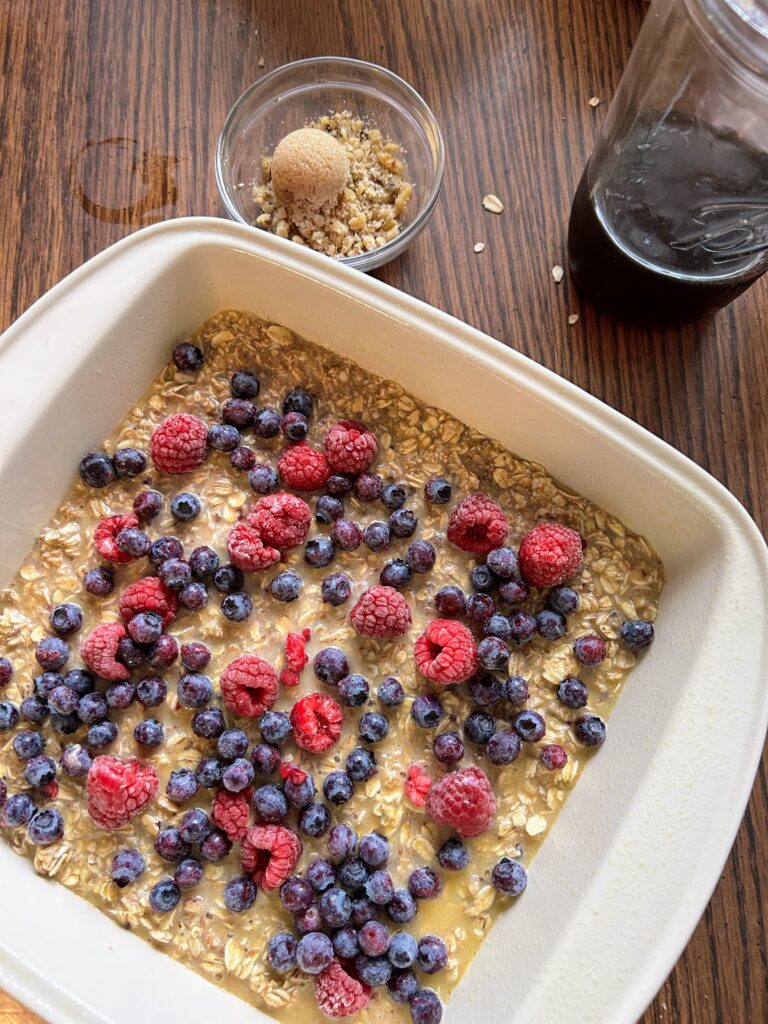
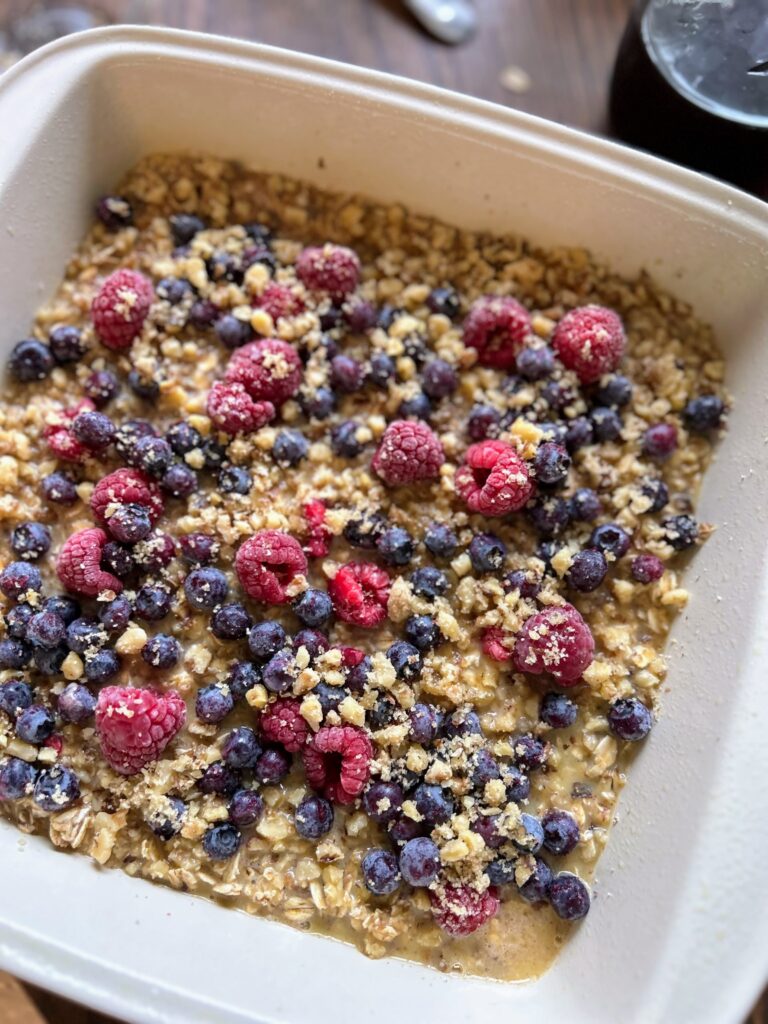
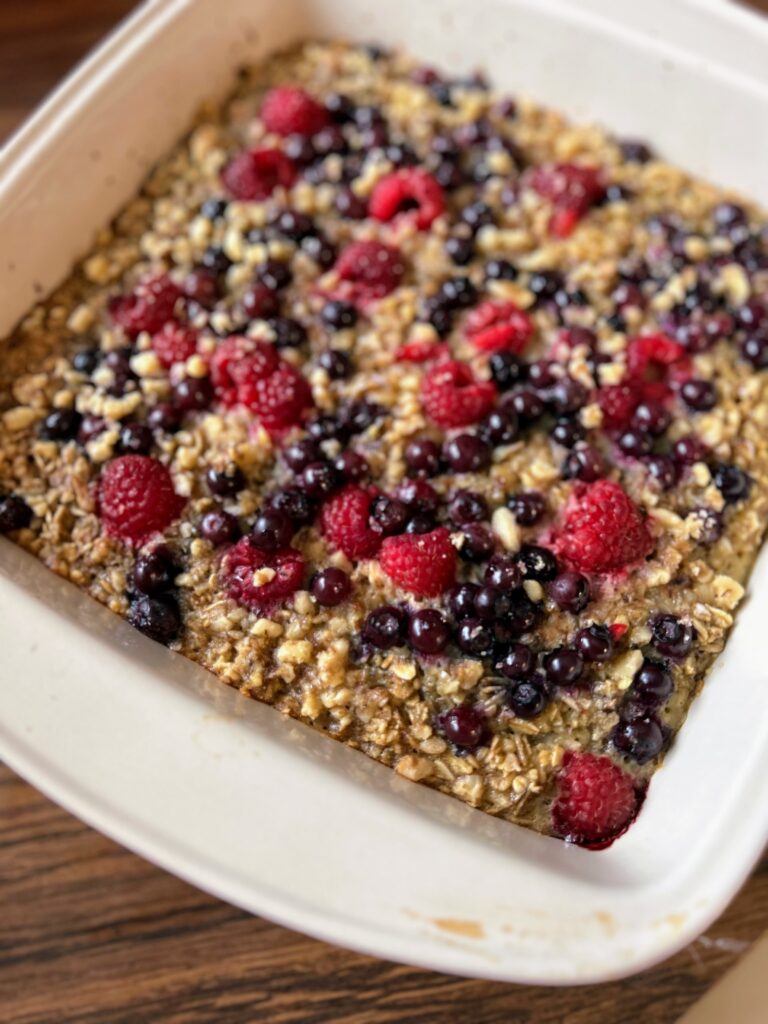
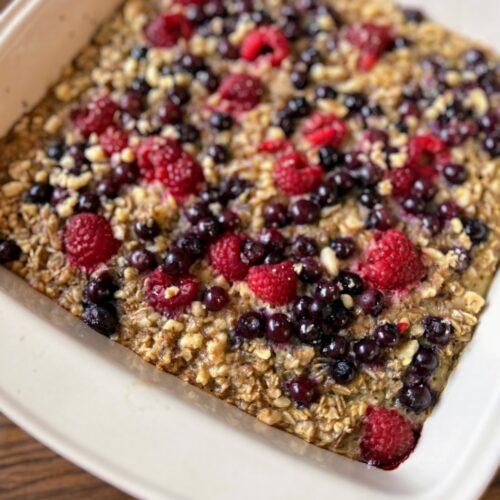
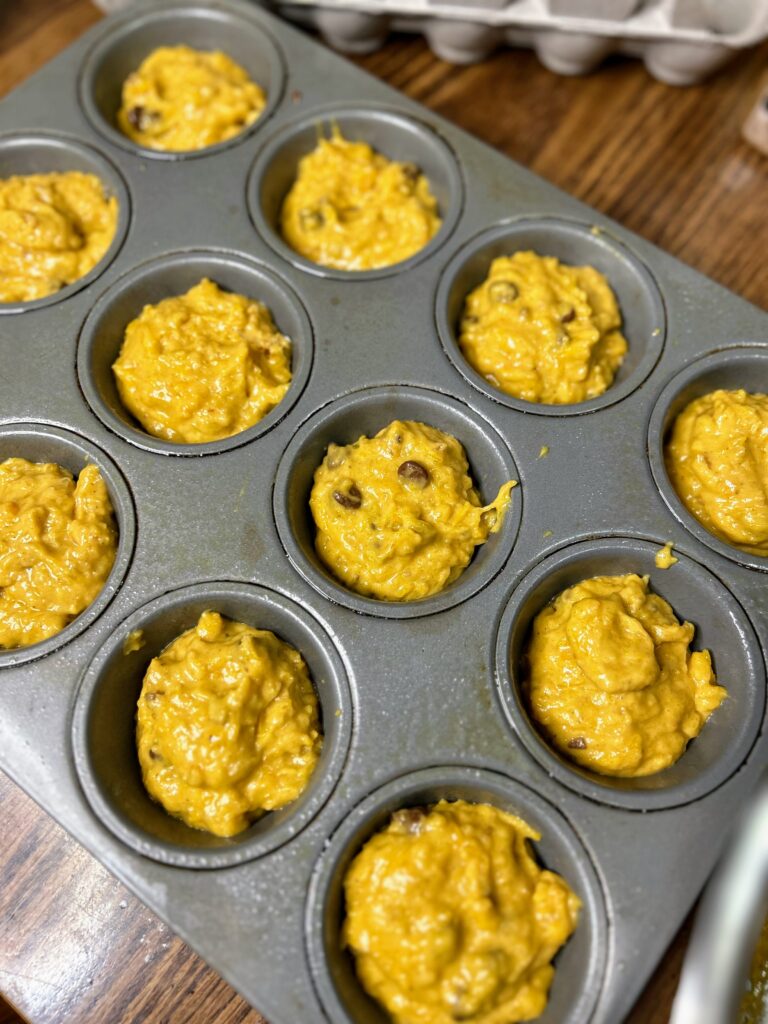
Pour the mixture into the prepared dish, spreading evenly. Sprinkle the remaining nuts on top and additional chocolate chips.
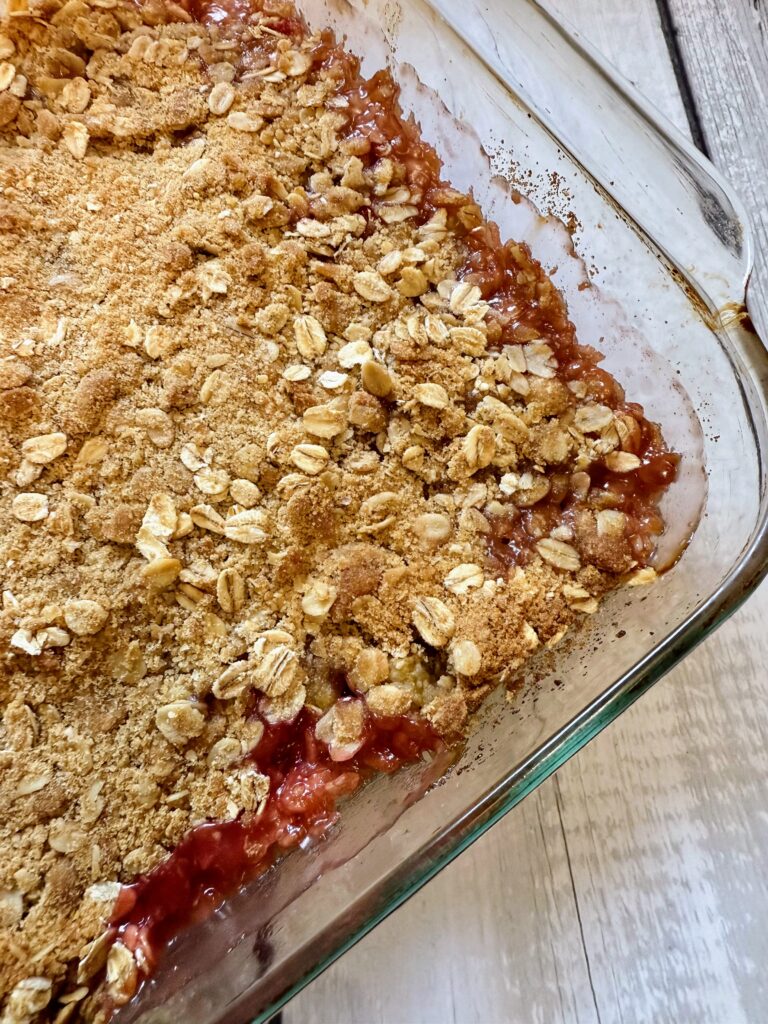
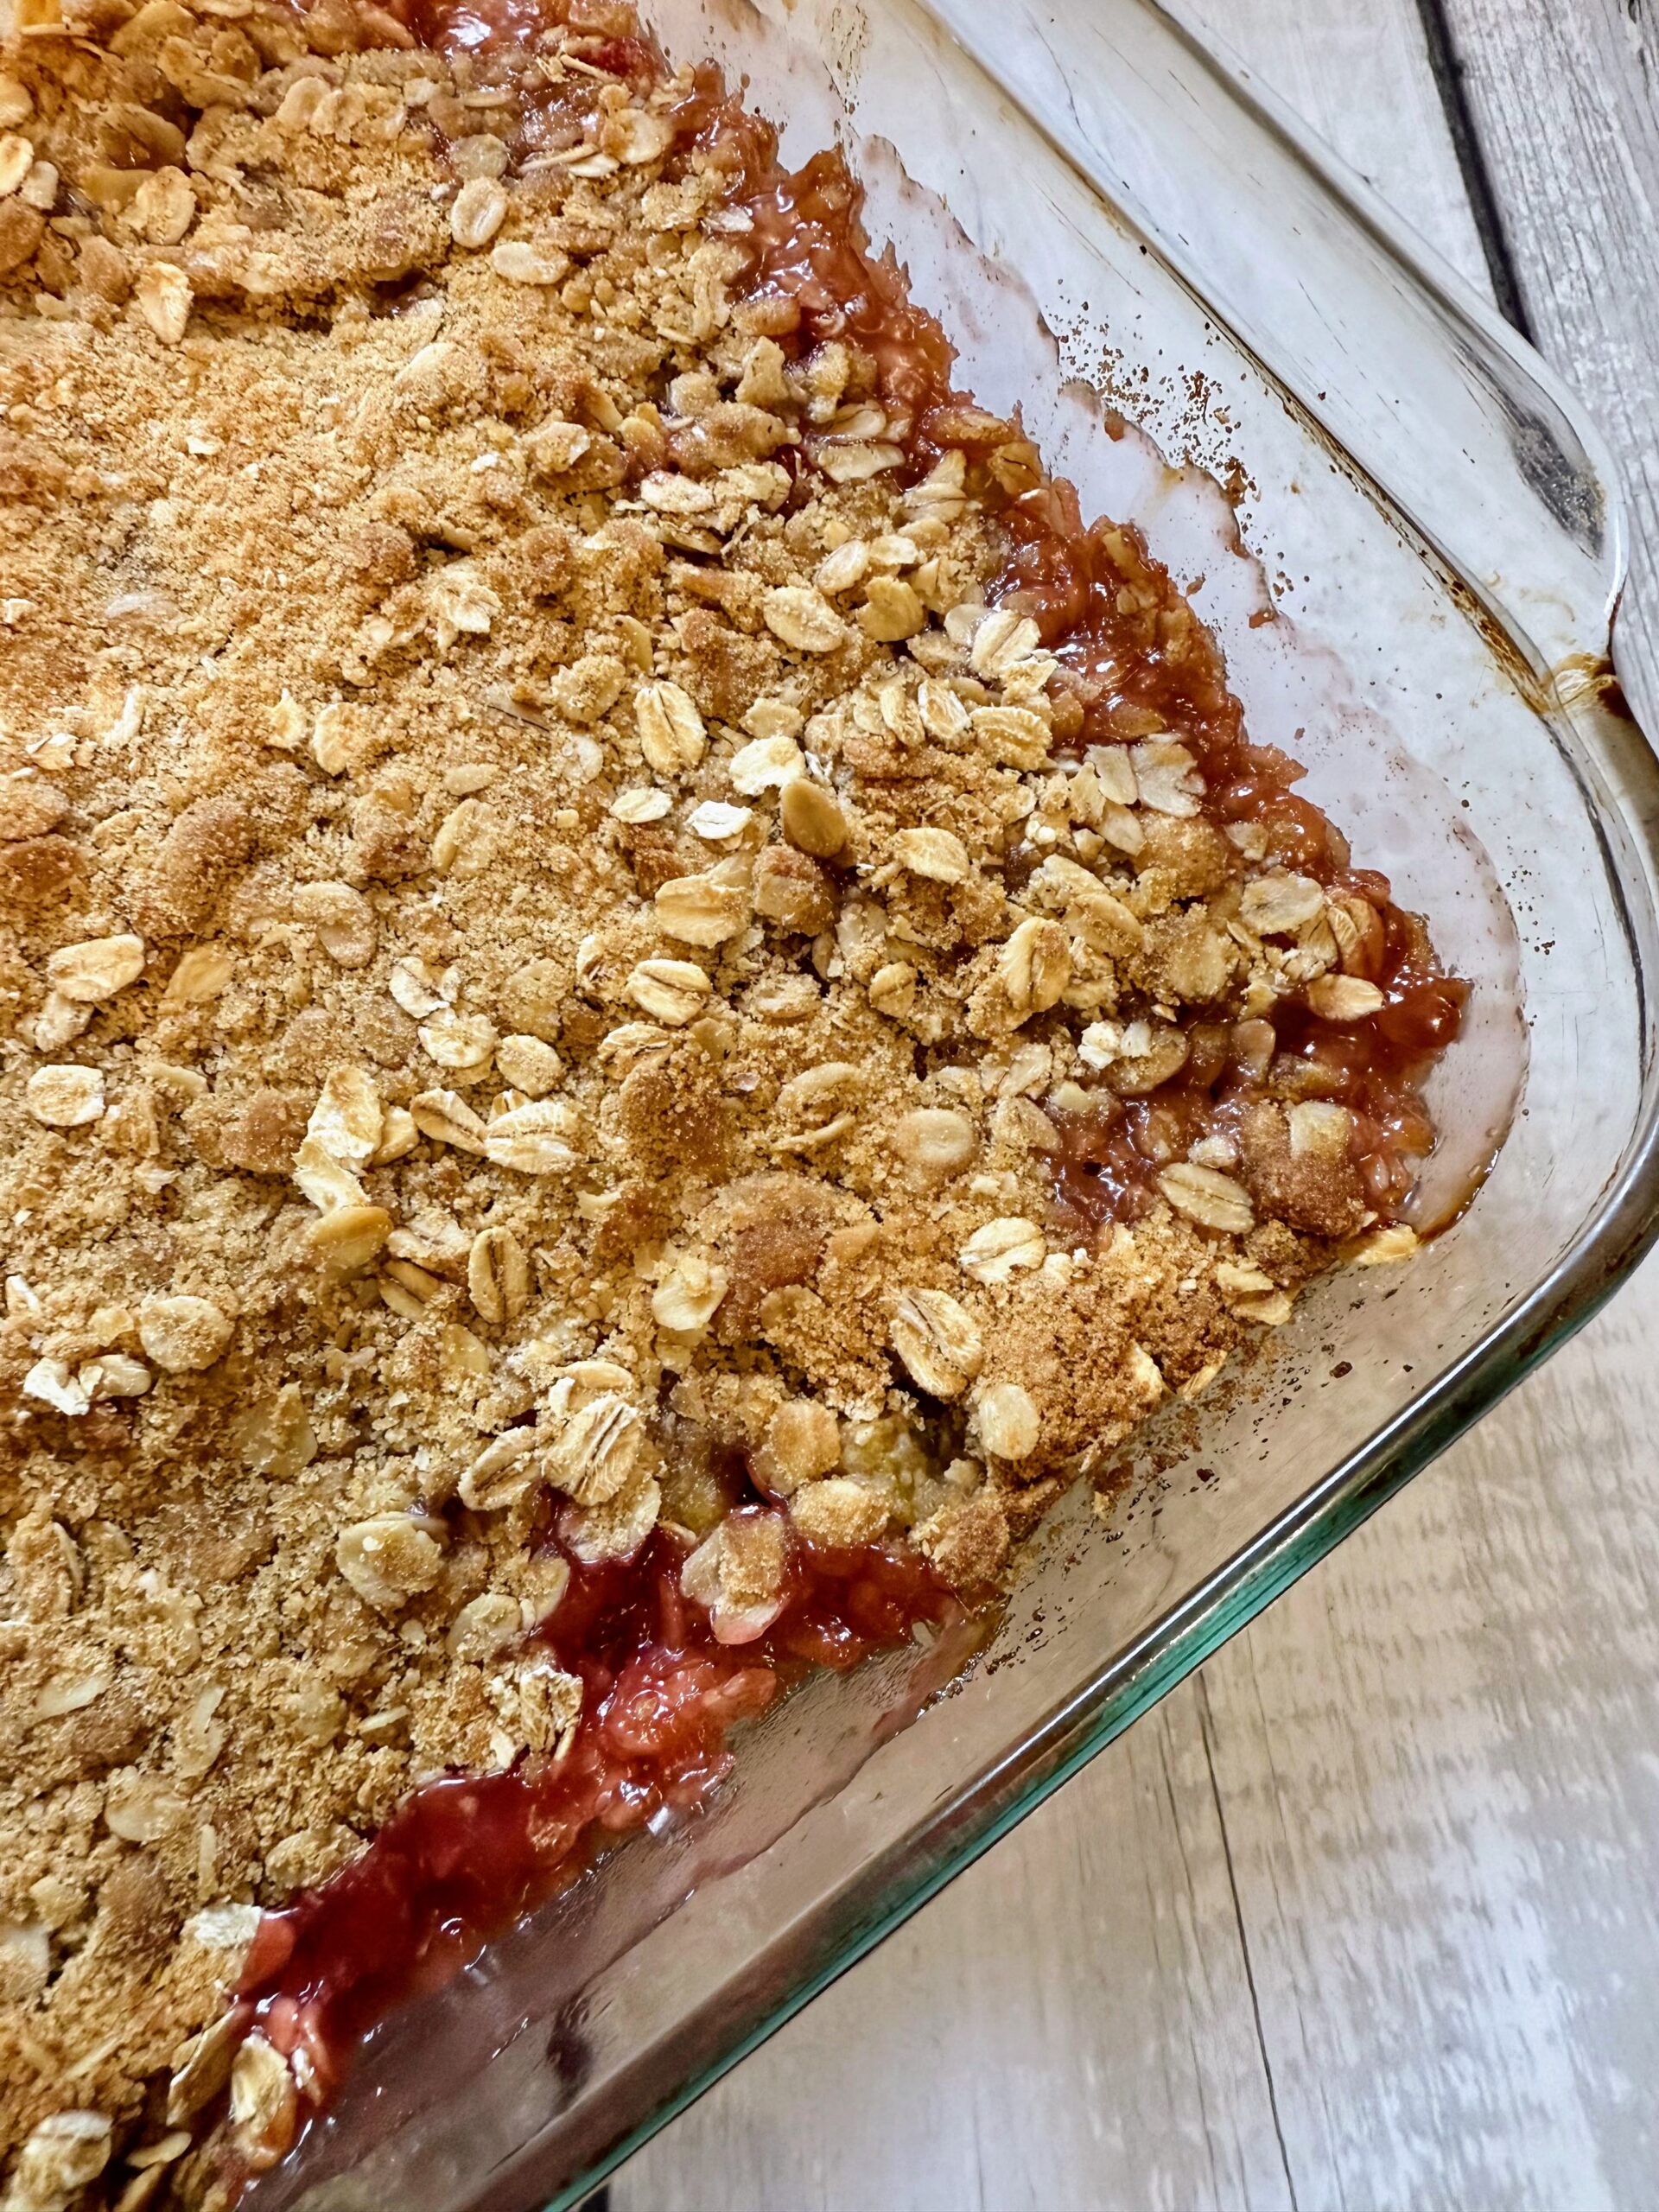
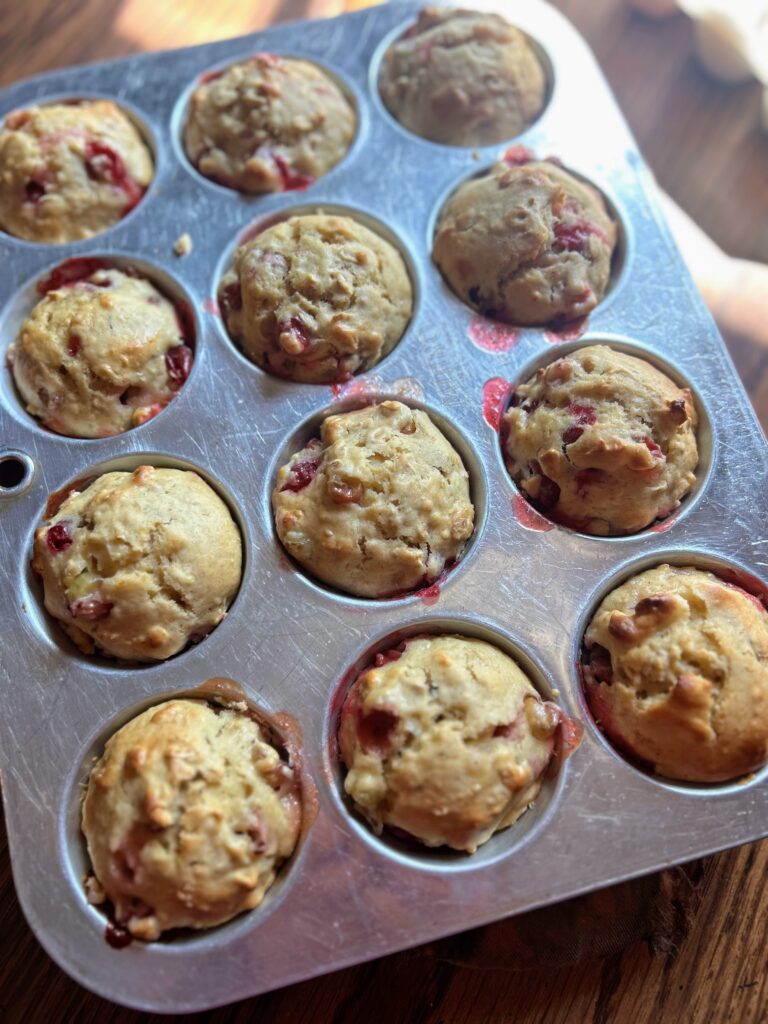
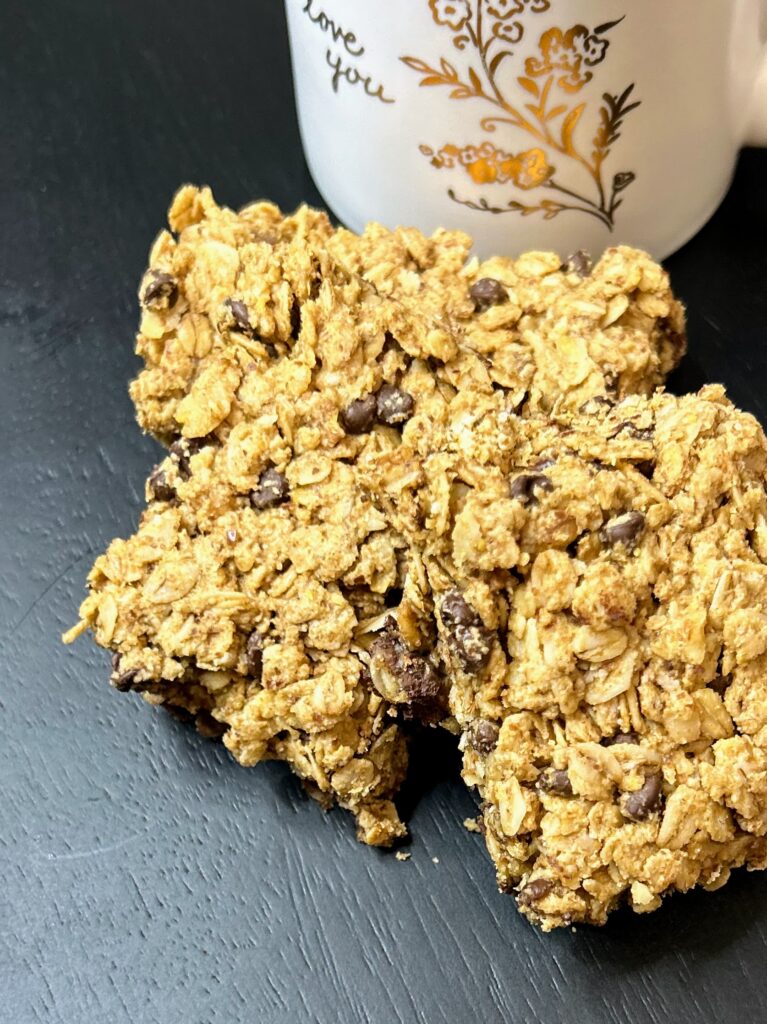
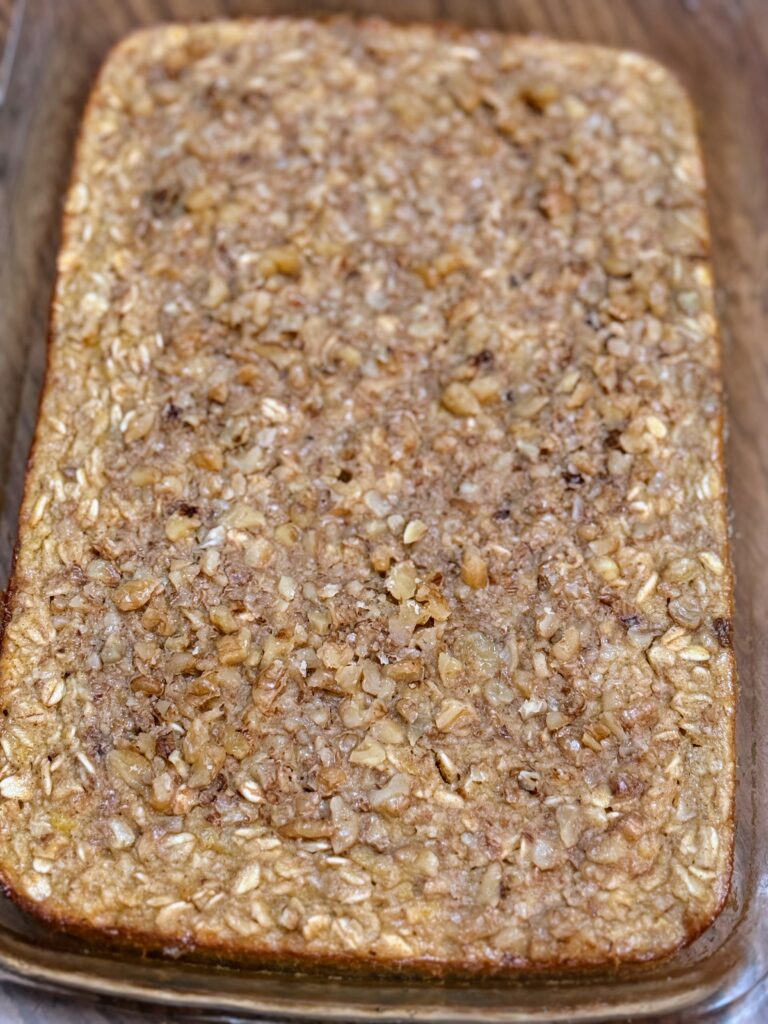
Bake for 35-45 minutes, or until the center is set and the edges are lightly golden brown.
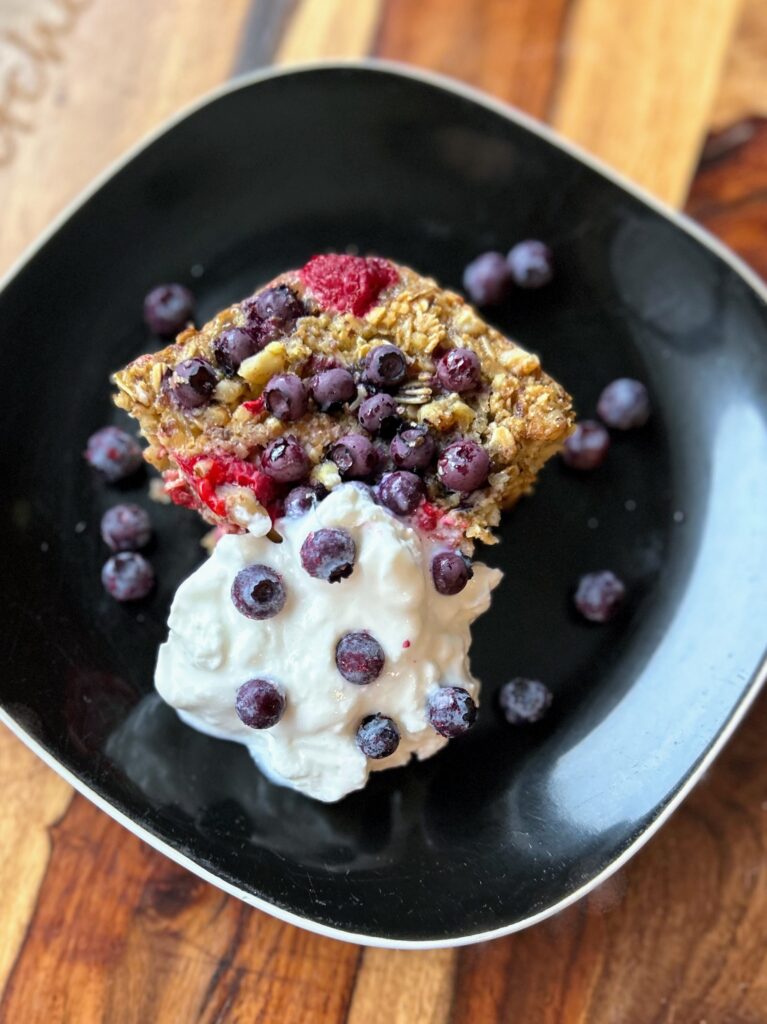
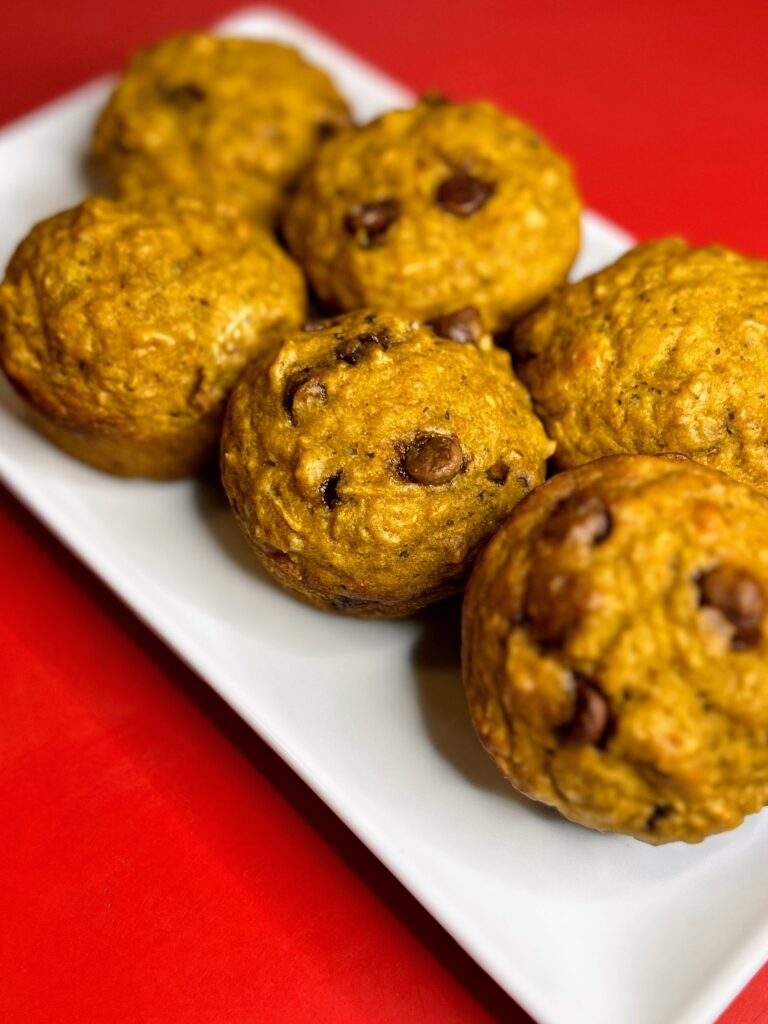
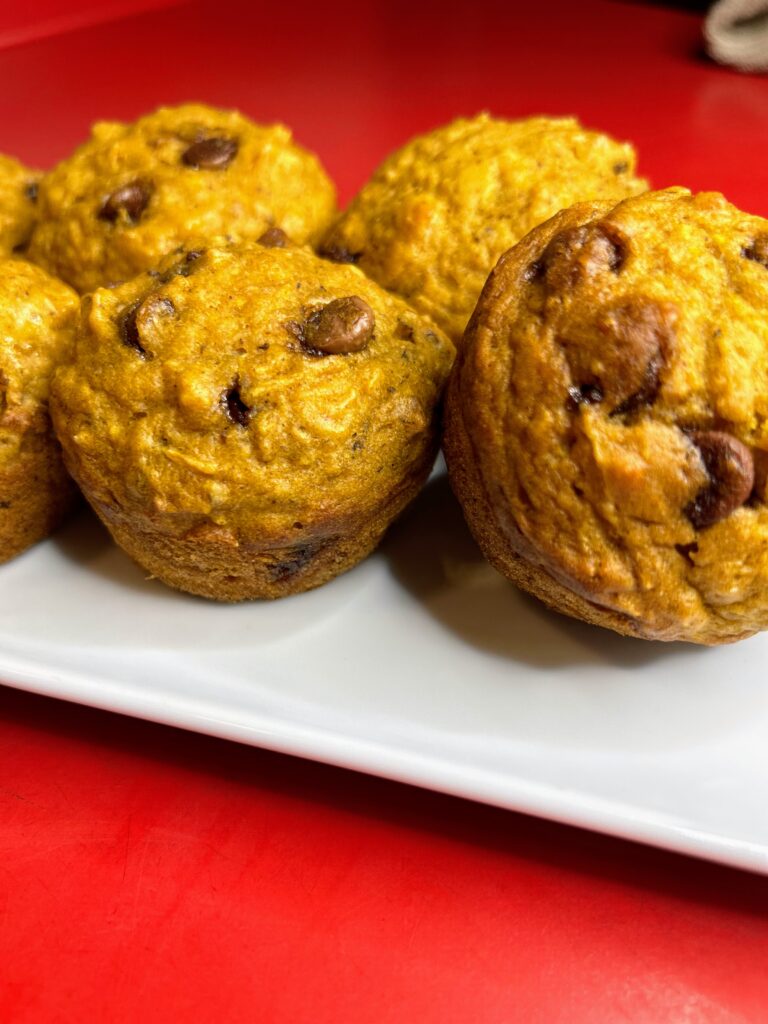
Serve it up!
This reheats so well and is the reason I love it. It gets popped it in the microwave for 40 seconds (we have pretty heavy duty plates though) and then put a scoop of vanilla Greek yogurt on top. I love that I have breakfast ready in a flash!
I hope that it makes your way onto your table, whether you’re a busy parent feeding yourself or feeding a crew of children. It makes for a great breakfast all week long!

Pumpkin Baked Oatmeal
Equipment
Ingredients
- 1 ¾ cup milk dairy or non dairy
- 1 cup roasted pumpkin puree fresh or canned
- 2 large eggs
- ½ cup maple syrup or honey
- 1 teaspoon vanilla extract
- 2 teaspoons cinnamon
- ¼ teaspoon nutmeg
- ½ teaspoon salt
- 1 teaspoon baking powder
- 2 cups old fashioned oats
- ½ cup chopped nuts I use walnuts but pecans would work great too!
- 1-2 scoops of vanilla or unflavored protein powder optional
- ½ cup mini chocolate chips optional
- Vanilla Greek yogurt for topping
Instructions
- Preheat the oven to 375 ℉ and lightly grease a 9×9 inch baking dish.
- In a large mixing bowl, combine pumpkin, egg, maple syrup, and vanilla. Whisk well, fully incorporating the pumpkin. Stir in the milk.
- In another bowl, mix oats, protein powder, baking powder, salt, cinnamon, and nutmeg. Incorporate into the wet ingredients. Fold in about half of the nuts and the chocolate chips, if using.
- Pour the mixture into the prepared dish, spreading evenly. Sprinkle the remaining nuts on top and additional chocolate chips.
- Bake for 35-45 minutes, or until the center is set and the edges are lightly golden brown.
Notes
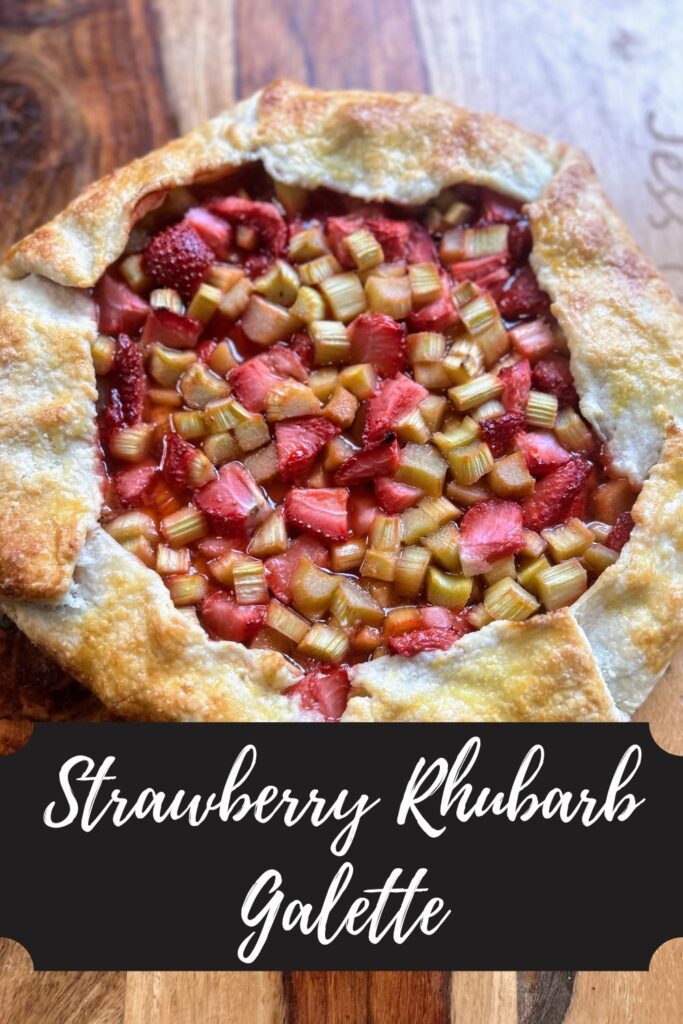
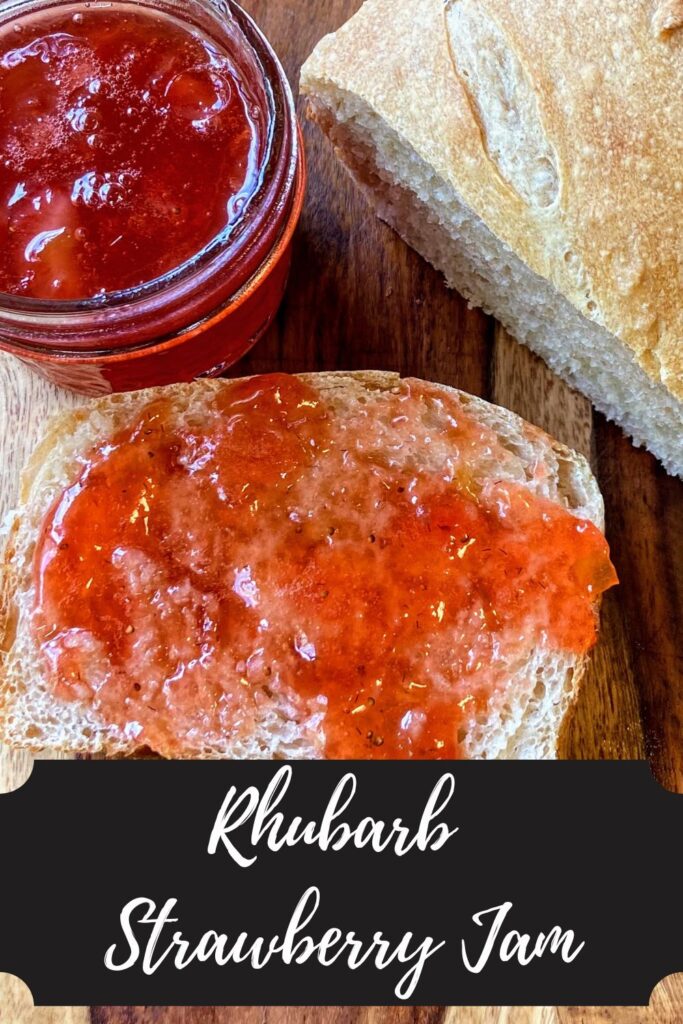
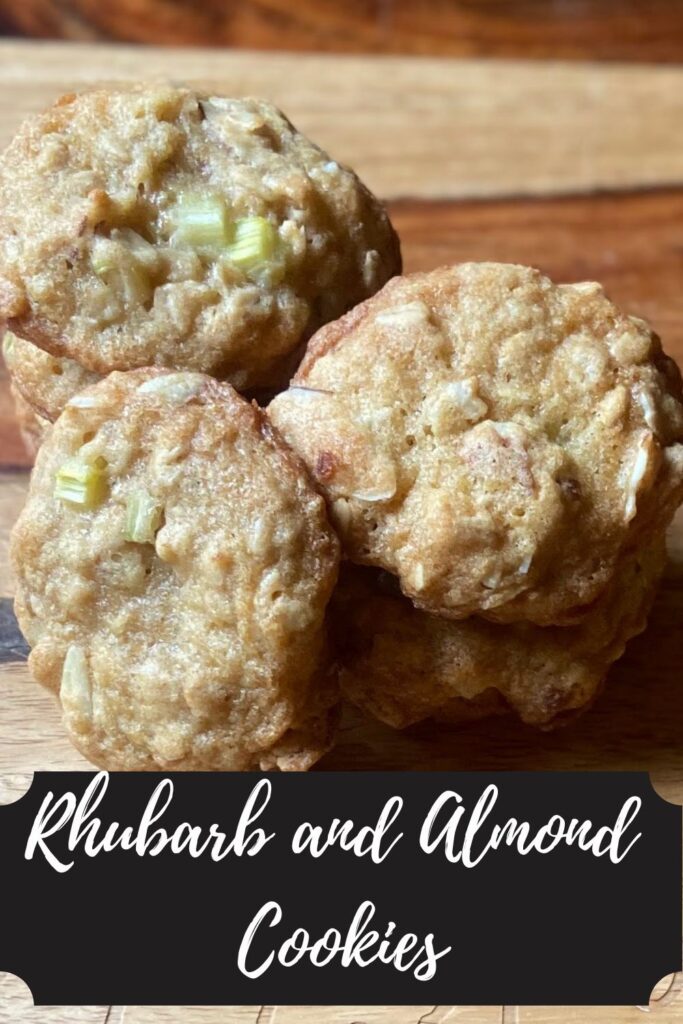
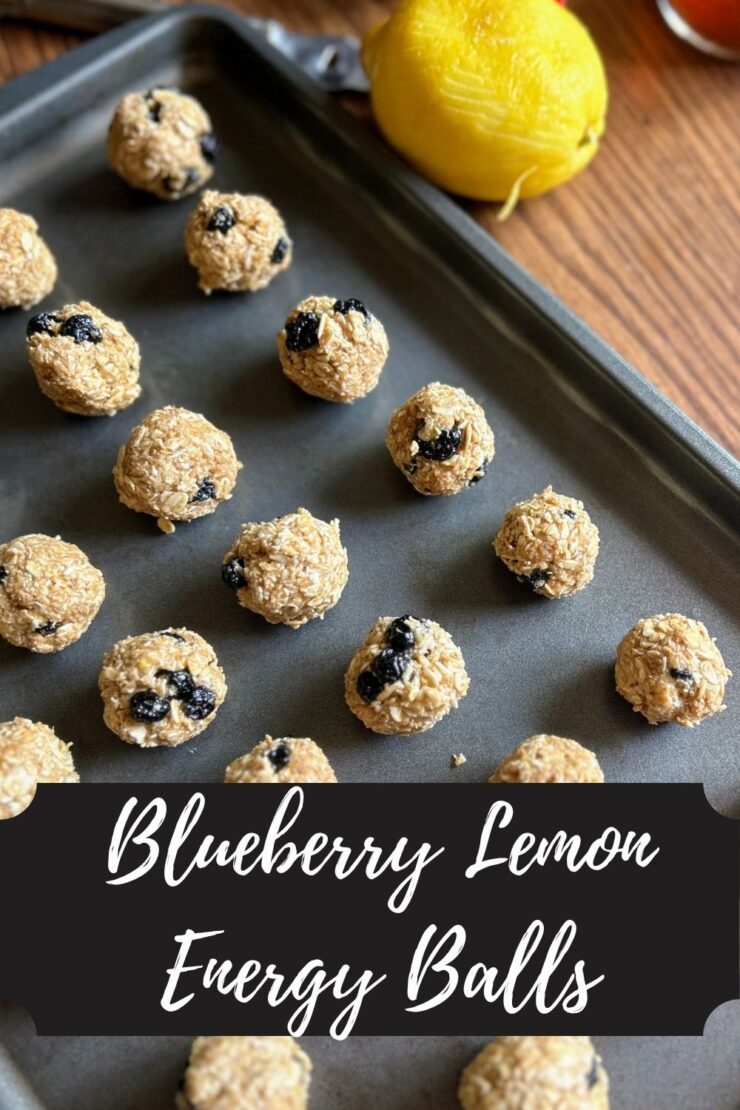
Looking for other breakfast ideas?
Here are a few of my favorites!