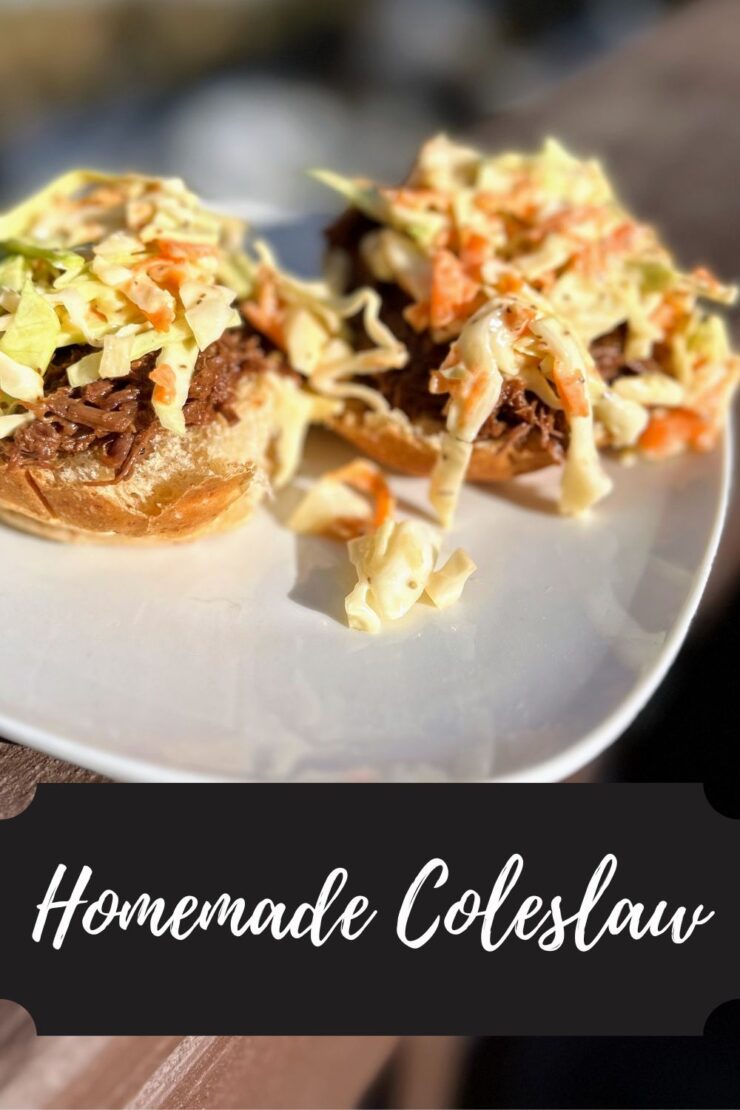
I don’t know when I changed my mind, but it sure happened. Changed my mind about what, you ask? Homemade coleslaw on pulled pork! I have always enjoyed both pulled pork and coleslaw separately. I have fond memories of working at a drive in and snacking on the coleslaw we served with our dinner boxes. As for the pulled pork, I mean, who doesn’t like pulled pork?
But eating the two together? No way. It just seemed odd for this midwest gal who never let her food mix or touch. I wouldn’t want the slaw liquid to touch my bun, let alone be on it. Then I became an adult and started eating out a little more than when I was a kid. Of course, pulled pork with coleslaw is a classic sandwich. At one point I thought, “I mean, it can’t be that bad, can it?” I gave it a try.
And are you kidding me?!
I was missing out on this my whole dang life and I didn’t know how good it was?! Now, I can hardly eat pulled pork without that delicious tangy salad on top. It simply doesn’t seem complete.
Although I have to be honest, 99% of the time, I am not eating true pulled pork. In our house, we do pulled venison. You can check that out here: pressure canned seasoned venison. What I love about this stuff is that it is already cooked and so dang tender. If you have busy after work nights like we do, it”s best with a little BBQ sauce, rolls, and you guessed it, this coleslaw.
First, let me say that I think the key to a good coleslaw is the celery seed. I never knew this. It adds just the right amount of kick and spice you need. Also, you’ll need the cabbage and carrots. I am about to give you two options: the quick way and the cheaper way. You do you friends and there will be no judgment.
Option, the first: Buy one to two of the bags of pre shredded cabbage and carrots. This is the easy route, but can be a little more spendy.
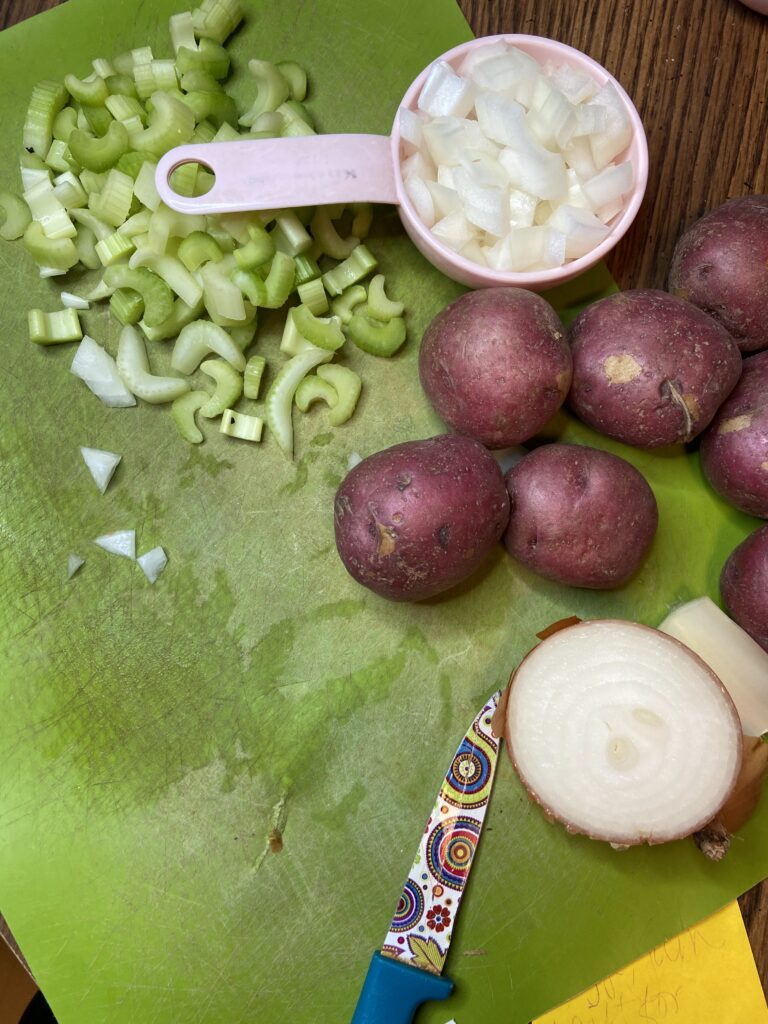
Option, the second: Buy a small to medium head of cabbage. If you’re like my house, you always have big carrots on hand. Maybe not though. If you don’t, pick a few of those up too! I finely chop the cabbage with a sharp knife and shred the carrots with a box grater. Cheaper, to be sure, but also a little more time consuming.
Regardless of the veg you choose, let’s start making your homemade coleslaw!
Your Ingredients
- 1 small to medium head of cabbage
- 3 large carrots
- ¾ cup mayonnaise
- 2 tablespoons Greek yogurt
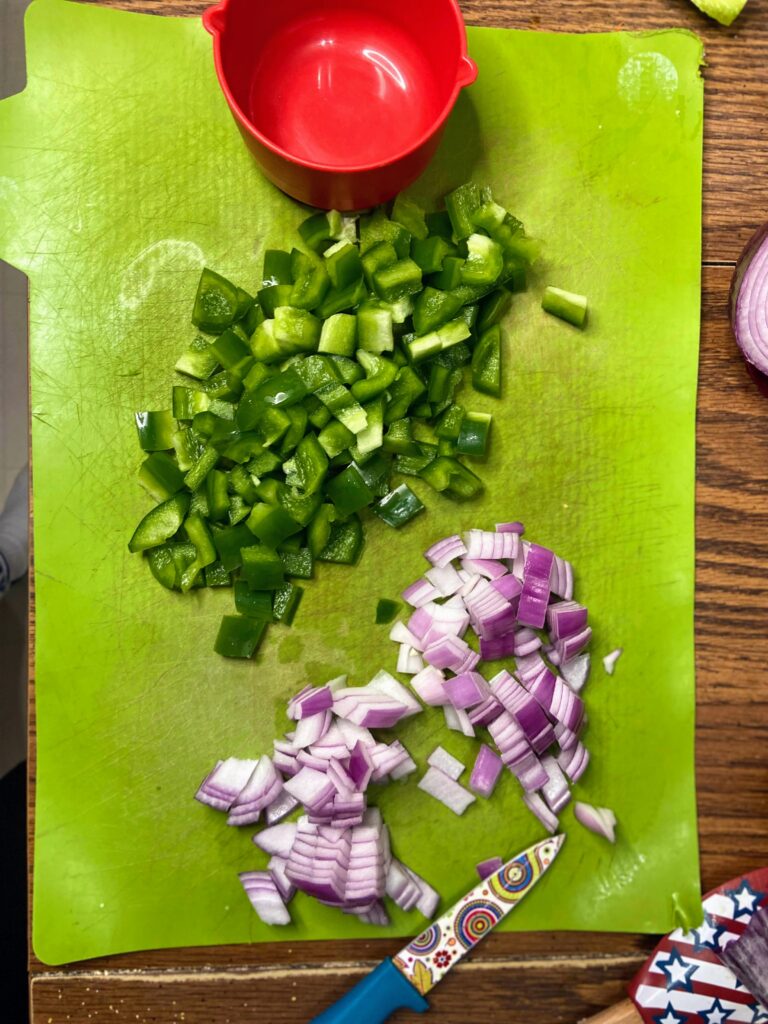
- ¼ cup finely diced onion
- 2 tablespoons sugar
- 2 tablespoons white vinegar
- 2 teaspoons celery seed
- Dash of dry mustard
- Salt and pepper
Your Steps to Homemade Coleslaw
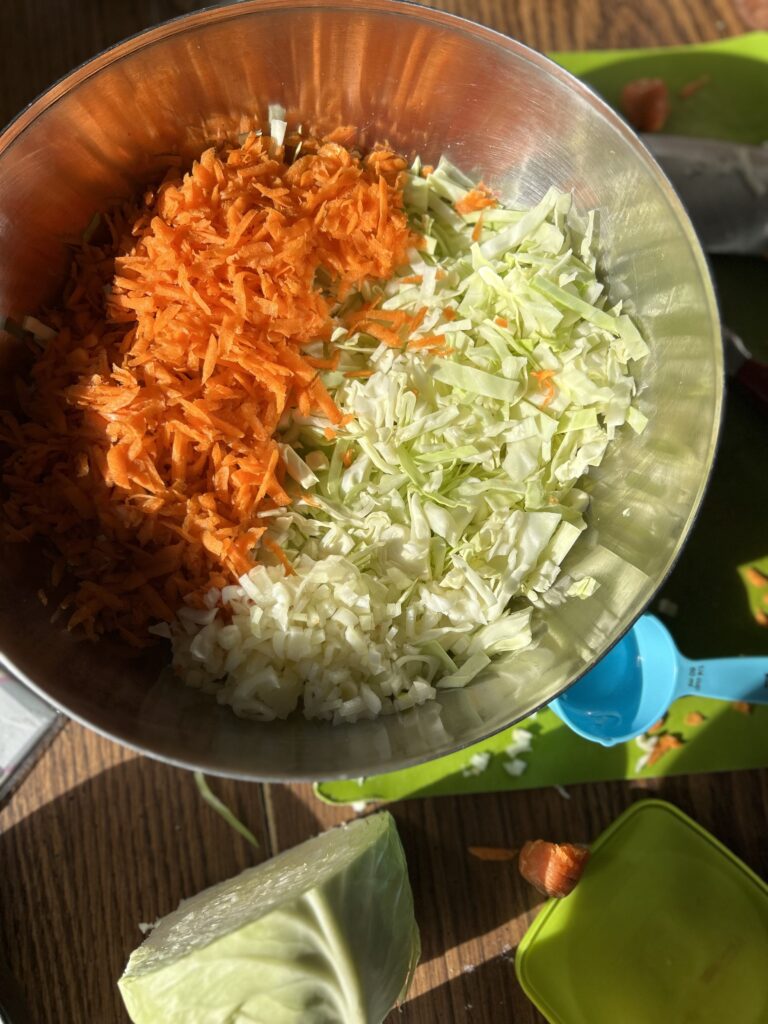
Using a very sharp knife, finely chop the cabbage. Shred the carrots with a large grater. Combine in a large bowl and set aside.
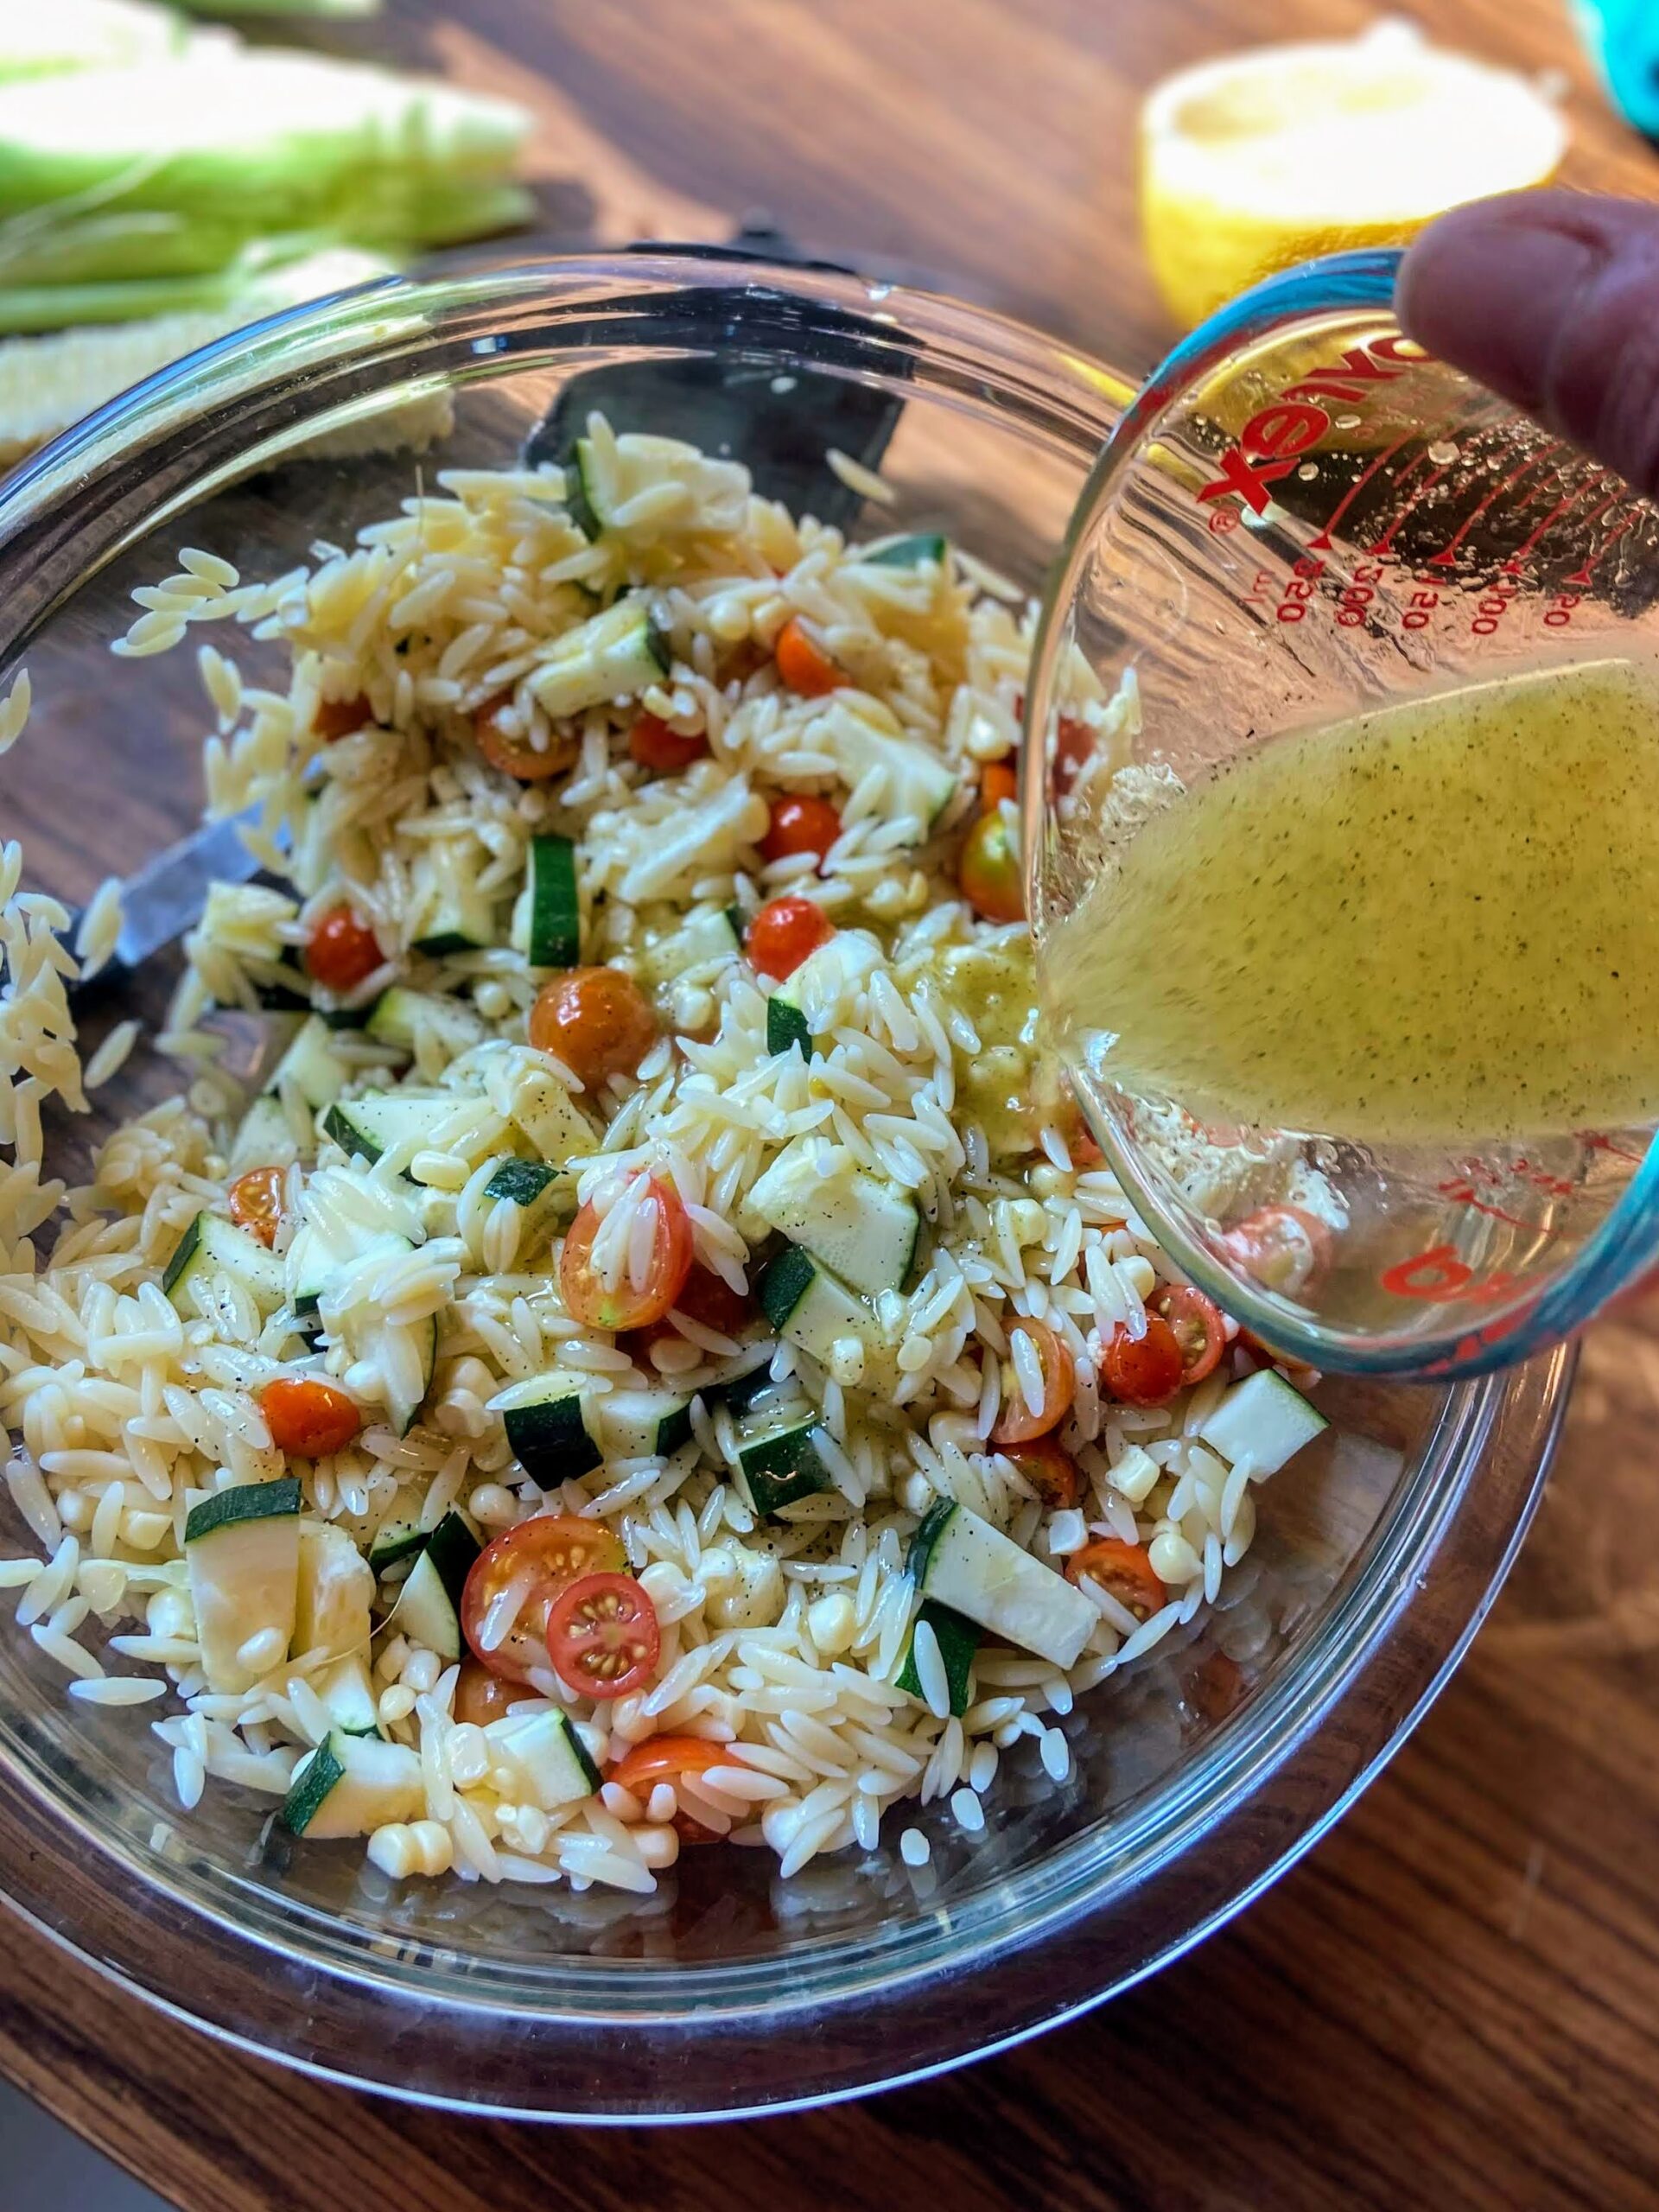
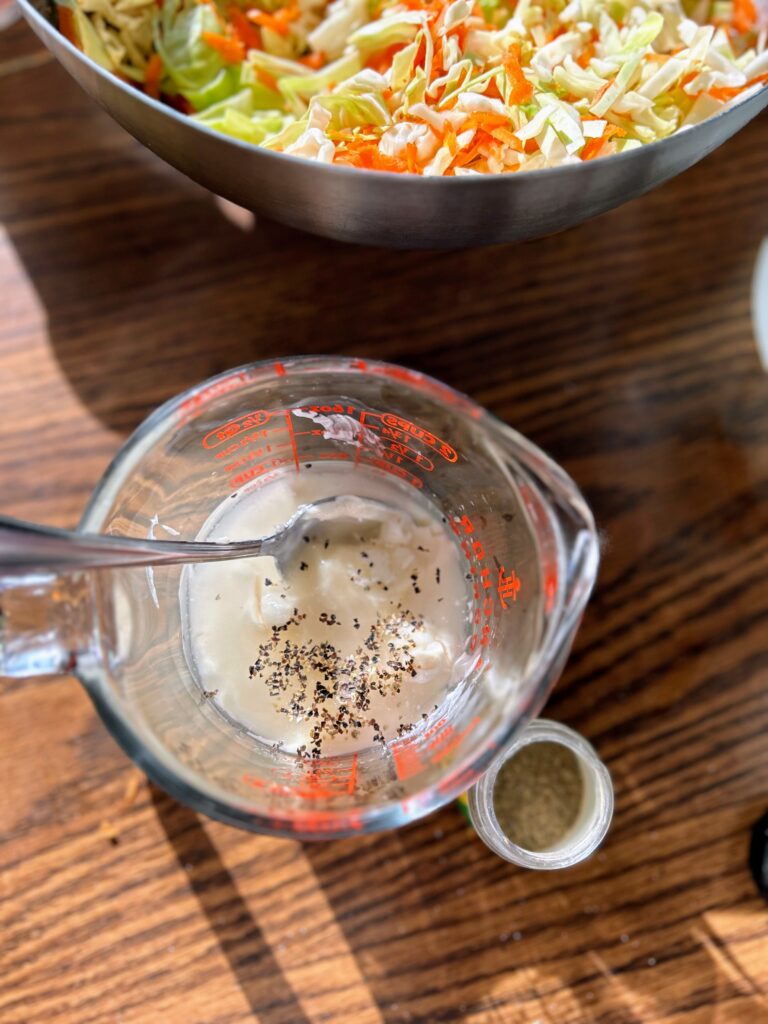
In a 2 cup liquid measuring cup, combine mayonnaise, yogurt, onion, sugar, vinegar, celery seed, dry mustard, salt and papper. Whisk well to combine thoroughly. Taste, adding salt, pepper, mustard, and perhaps vinegar to taste.
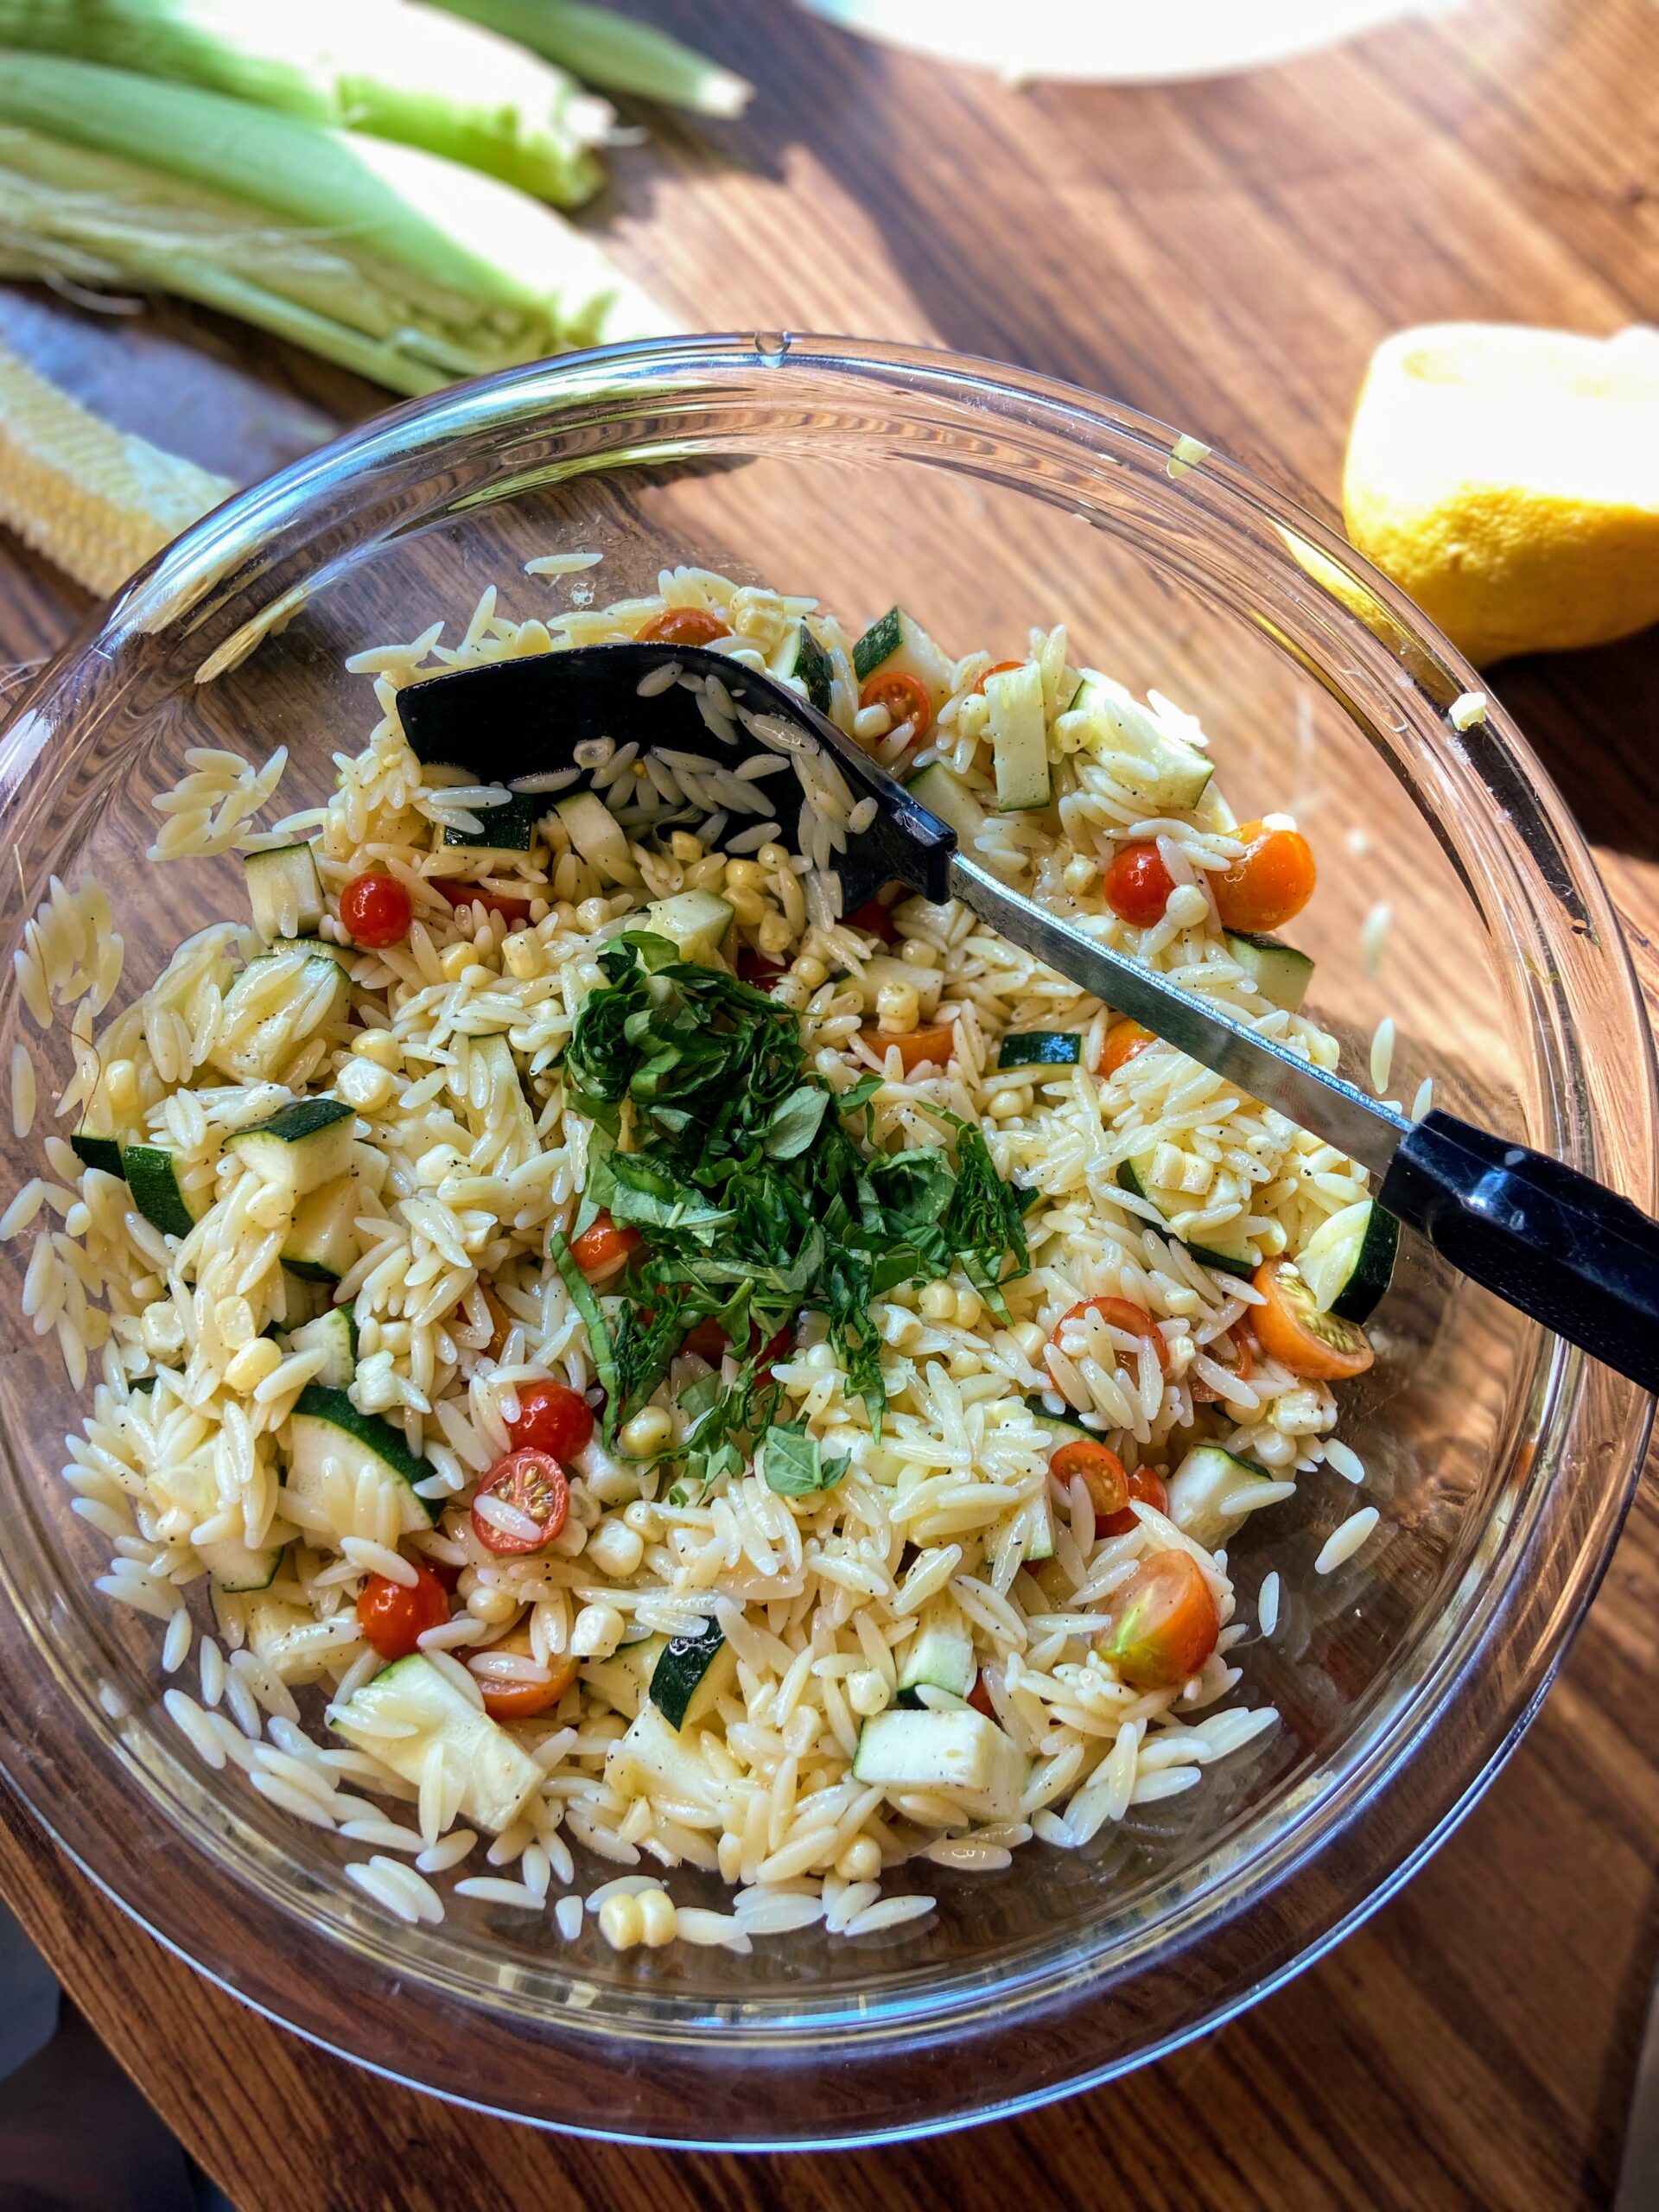
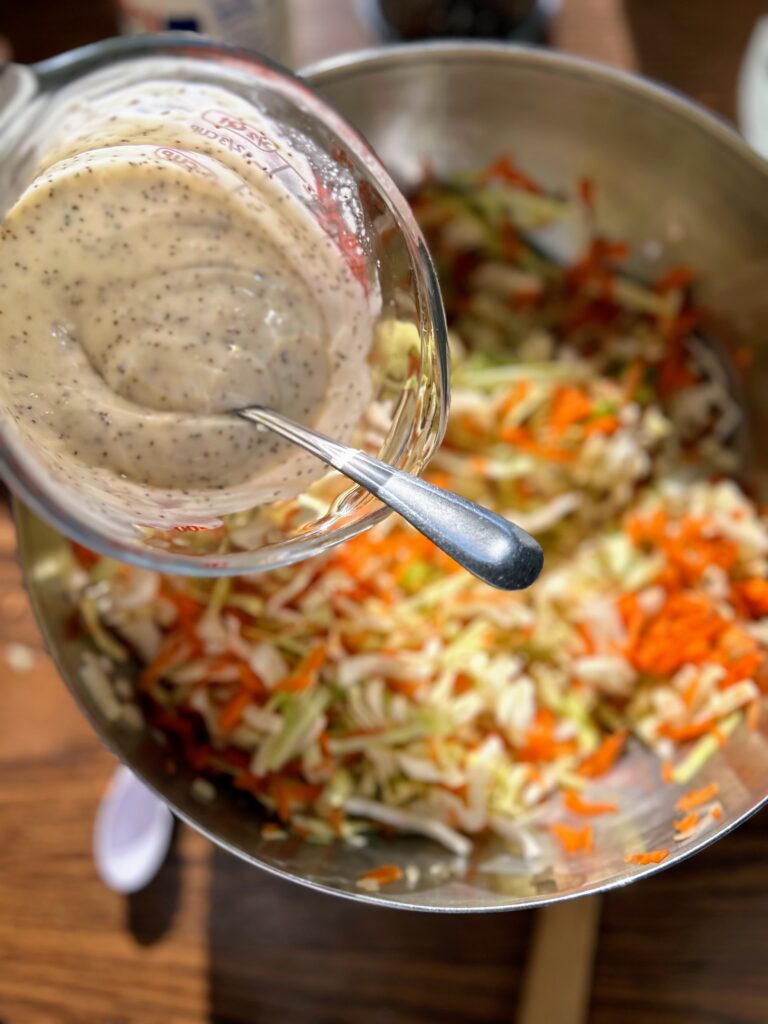
Pour the dressing over the carrots and cabbage and mix. Flavors will develop more if you allow it to rest overnight, but that requires planning ahead, which I almost never do 🙂 Kudos to you if you’ve got it in you!


Homemade Coleslaw
Equipment
Instructions
- Using a very sharp knife, finely chop the cabbage. Shred the carrots with a large grater. Combine in a large bowl and set aside. Alternatively, pour 2 bags of pre shredded cabbage and carrots in a large bowl. Set aside.
- In a 2 cup liquid measuring cup, combine mayonnaise, yogurt, onion, sugar, vinegar, celery seed, dry mustard, salt and pepper. Whisk well to combine thoroughly. Taste, adding salt, pepper, mustard, and perhaps vinegar to taste.
- Pour the dressing over the carrots and cabbage and mix. Flavors will develop more if you allow it to rest overnight
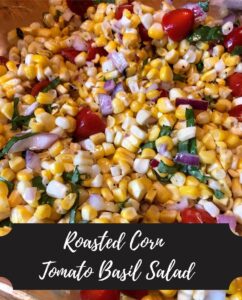
Looking for other great sides?
Check out my cooking page for some inspiration! Or maybe one of the recipes below may tickle your fancy?!