Savory Venison and Wild Rice Bake

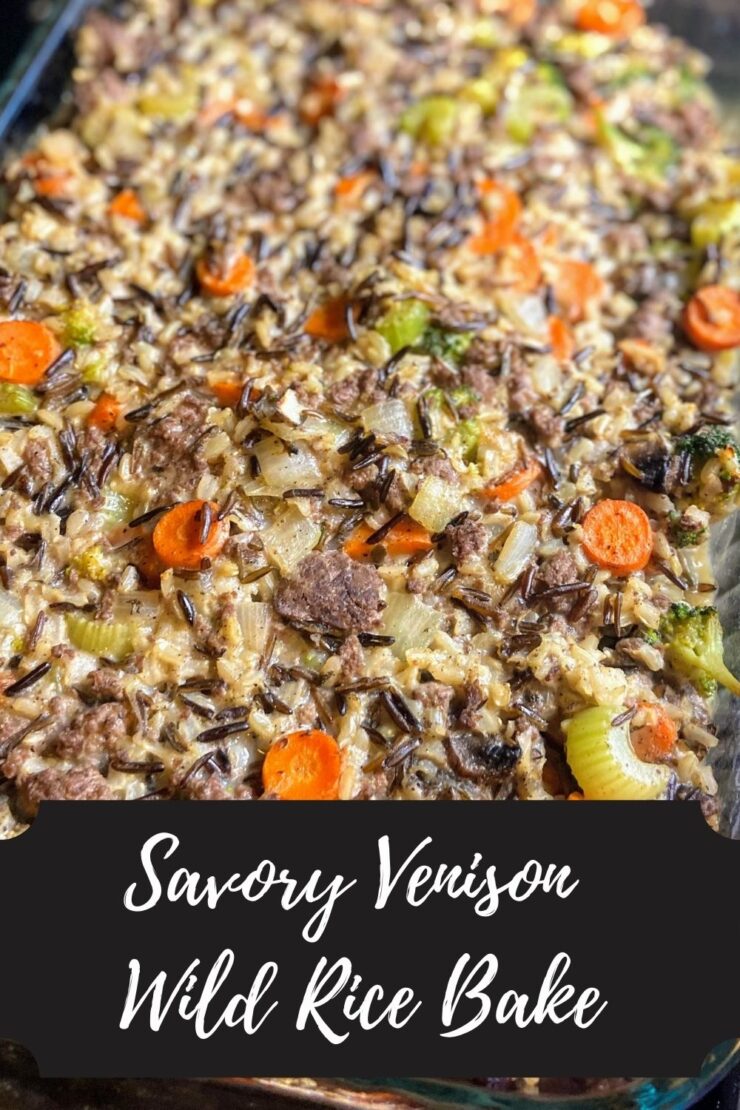
Ready for some savory venison and wild rice bake? I am so excited to share! Being a northern Wisconsin family, it may come as no surprise that a primary protein source at our house is venison. We harvest 2-4 deer a year between the gun and bow season and butcher them ourselves. Using our Kitchen Aid mixer, we grind upwards of 60 pounds of venison a year, which we use instead of ground beef or turkey 90% of the time. 

I’m always looking for new ways to use it, and this was a fun recipe to develop from scratch a few years ago. This venison and wild rice bake has a feel of tater tot hotdish (I’m close to the Minnesota border, don’t ya know?) with a true from scratch taste. You won’t find any “cream of whatever” soups in the ingredients; only true delicious wholesome foods here. I hope it becomes a go to comfort food for you like it has for us. 

Oh! And no ground venison? No problem! Substitute your favorite ground protein: beef, turkey, you name it. 

The ingredients For Venison and Wild Rice bake

  • 1 pound ground venison, seasoned with salt and pepper 
  • 6 cups low sodium chicken stock, divided
  • 1 cup long grain rice
  • 1 cup wild rice
  • 2 cups carrots, diced
  • 1 ¼ cup onion (1 large), diced
  • 1 ¼ cup celery (6 stalks), diced
  • 2 cups broccoli, diced
  • 1 cup mushrooms, sliced
  • Olive oil
  • 4 cloves garlic, minced
  • 1 teaspoon pepper
  • 1 teaspoon salt
  • 2 teaspoons sage
  • 2 teaspoons thyme
  • 1 cup milk
  • 3 tablespoons butter
  • 3 tablespoons flour

Your Steps

In a medium saucepan, bring 5 cups chicken stock to a boil. Add sage, 1/2 teaspoon pepper, 1/2 teaspoon garlic and wild rice. Cover, lower to a simmer, and cook for 10 minutes. Add long grain rice and cook for an additional 25-30 minutes, stirring periodically to check that you still have water. You want your rice to just be tender. Test it at 40 minutes. If it gets over cooked, it will be mush once you bake it.

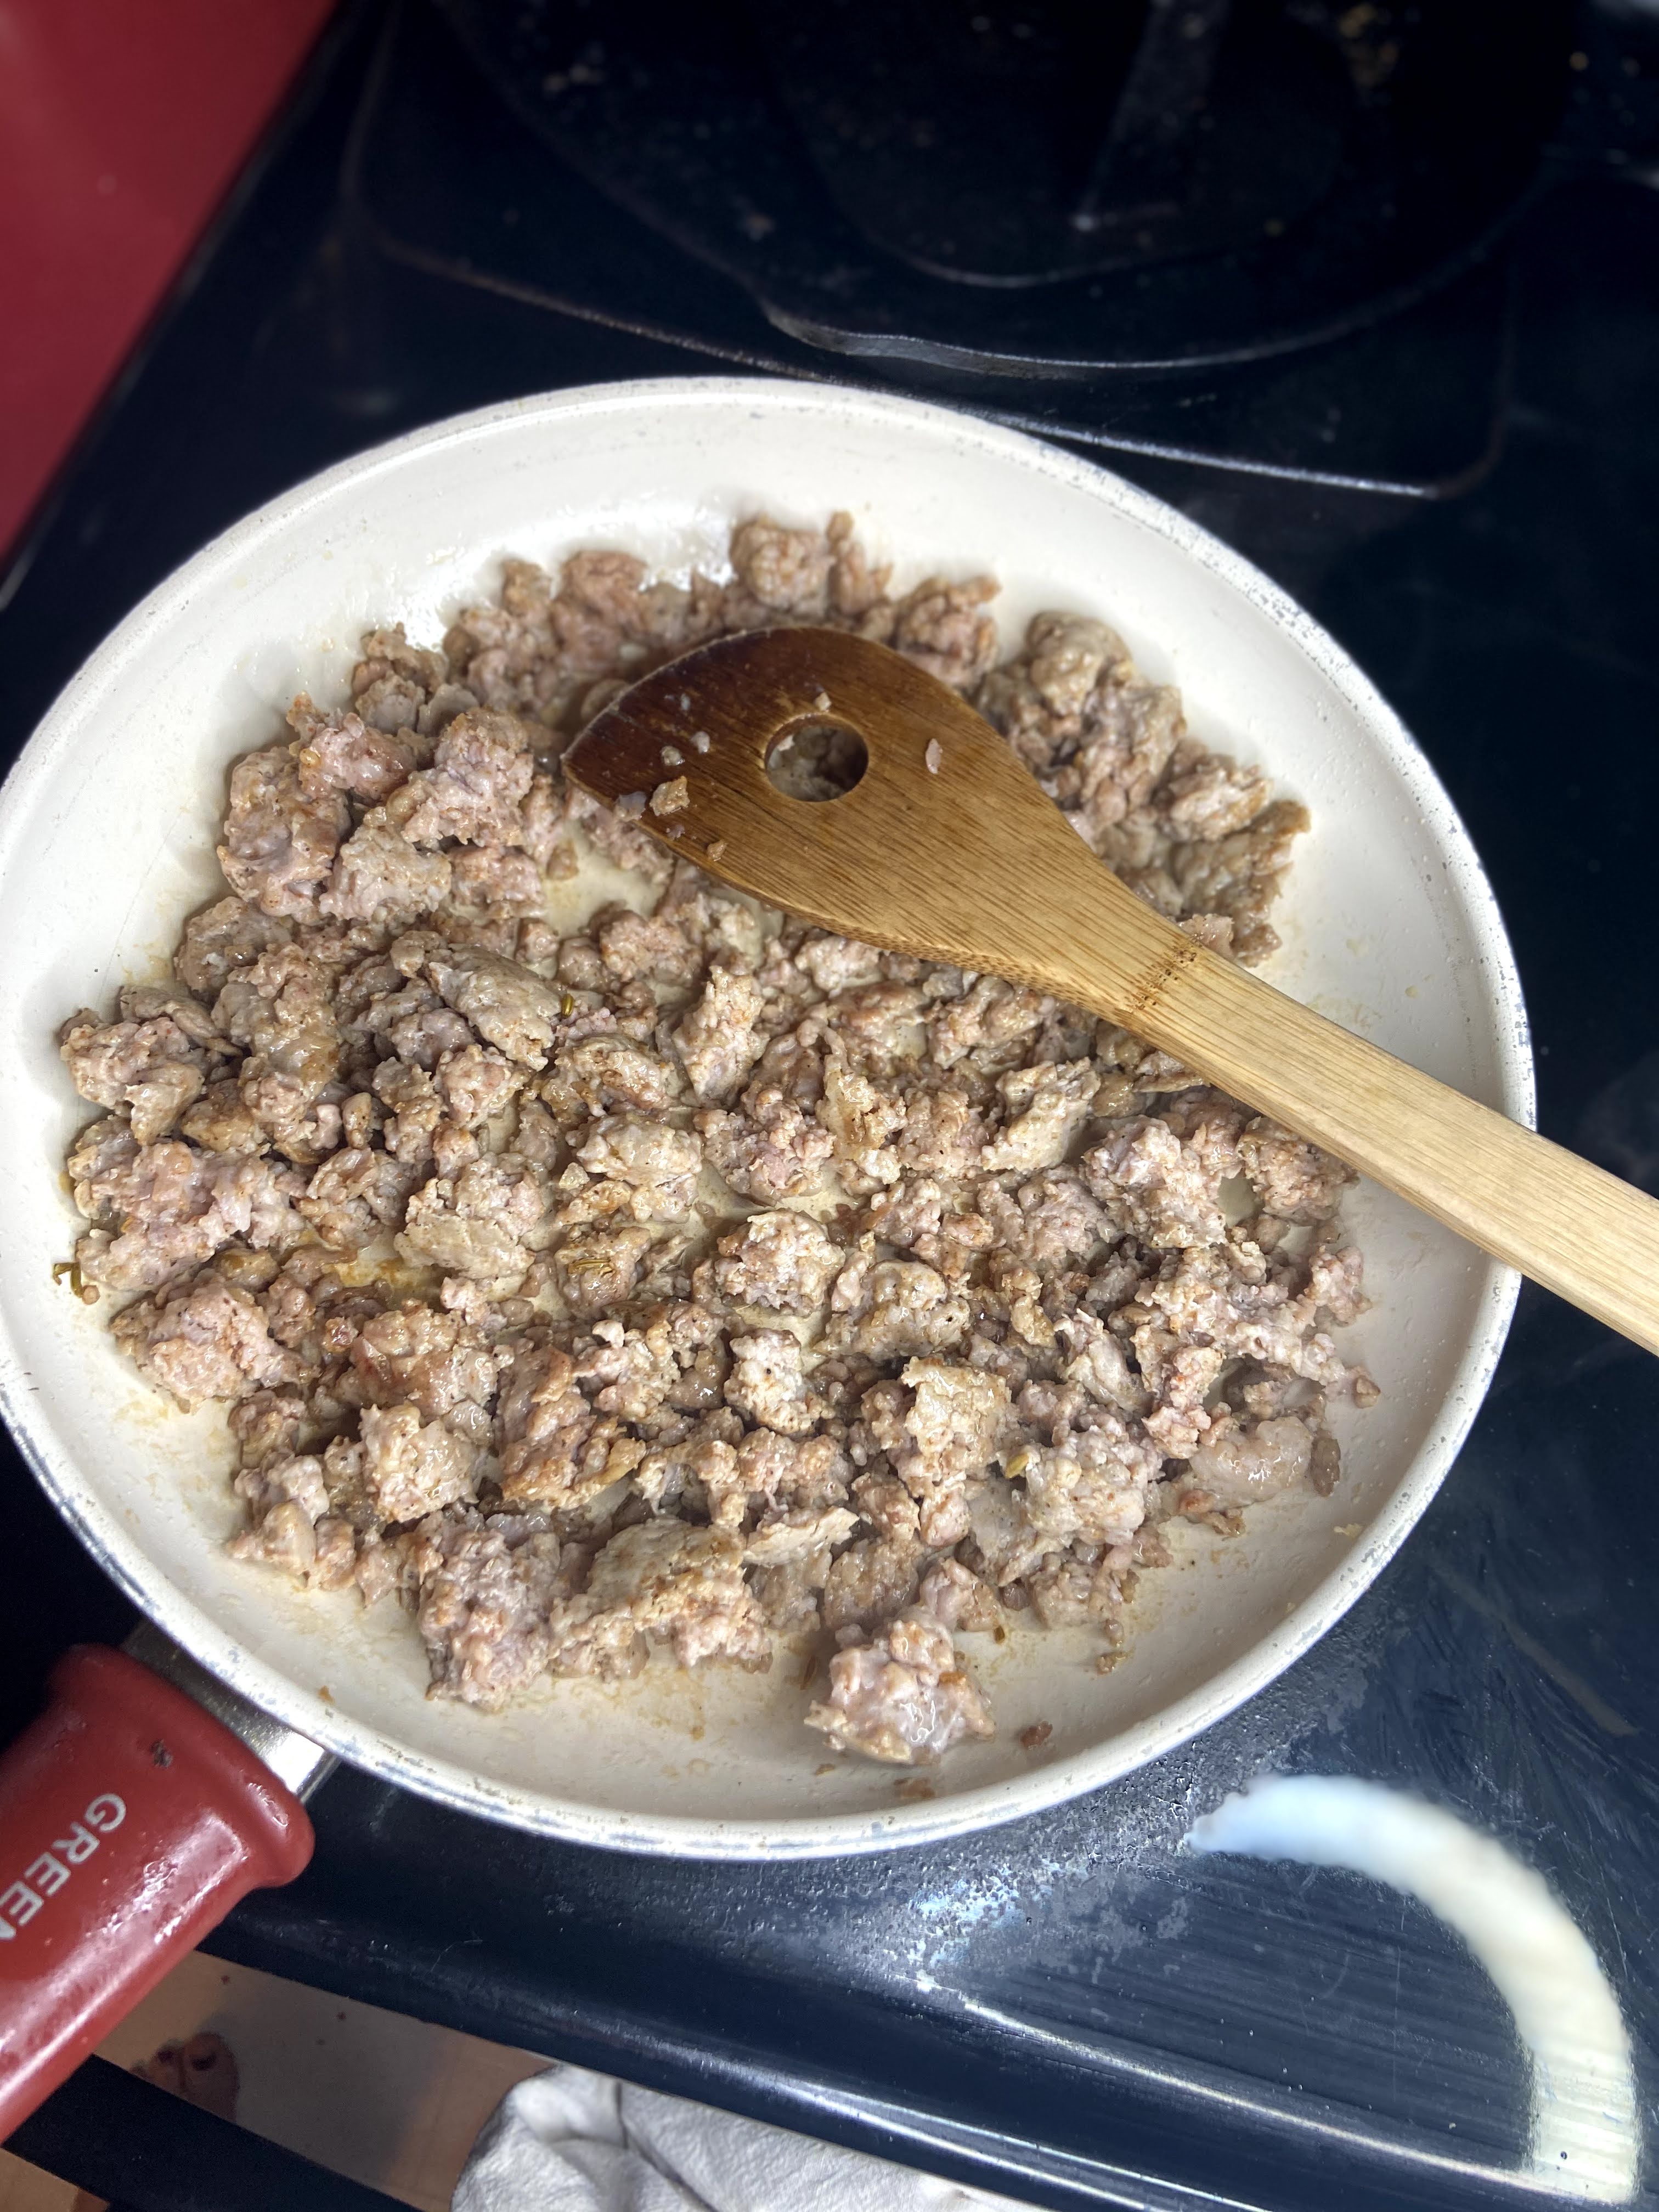
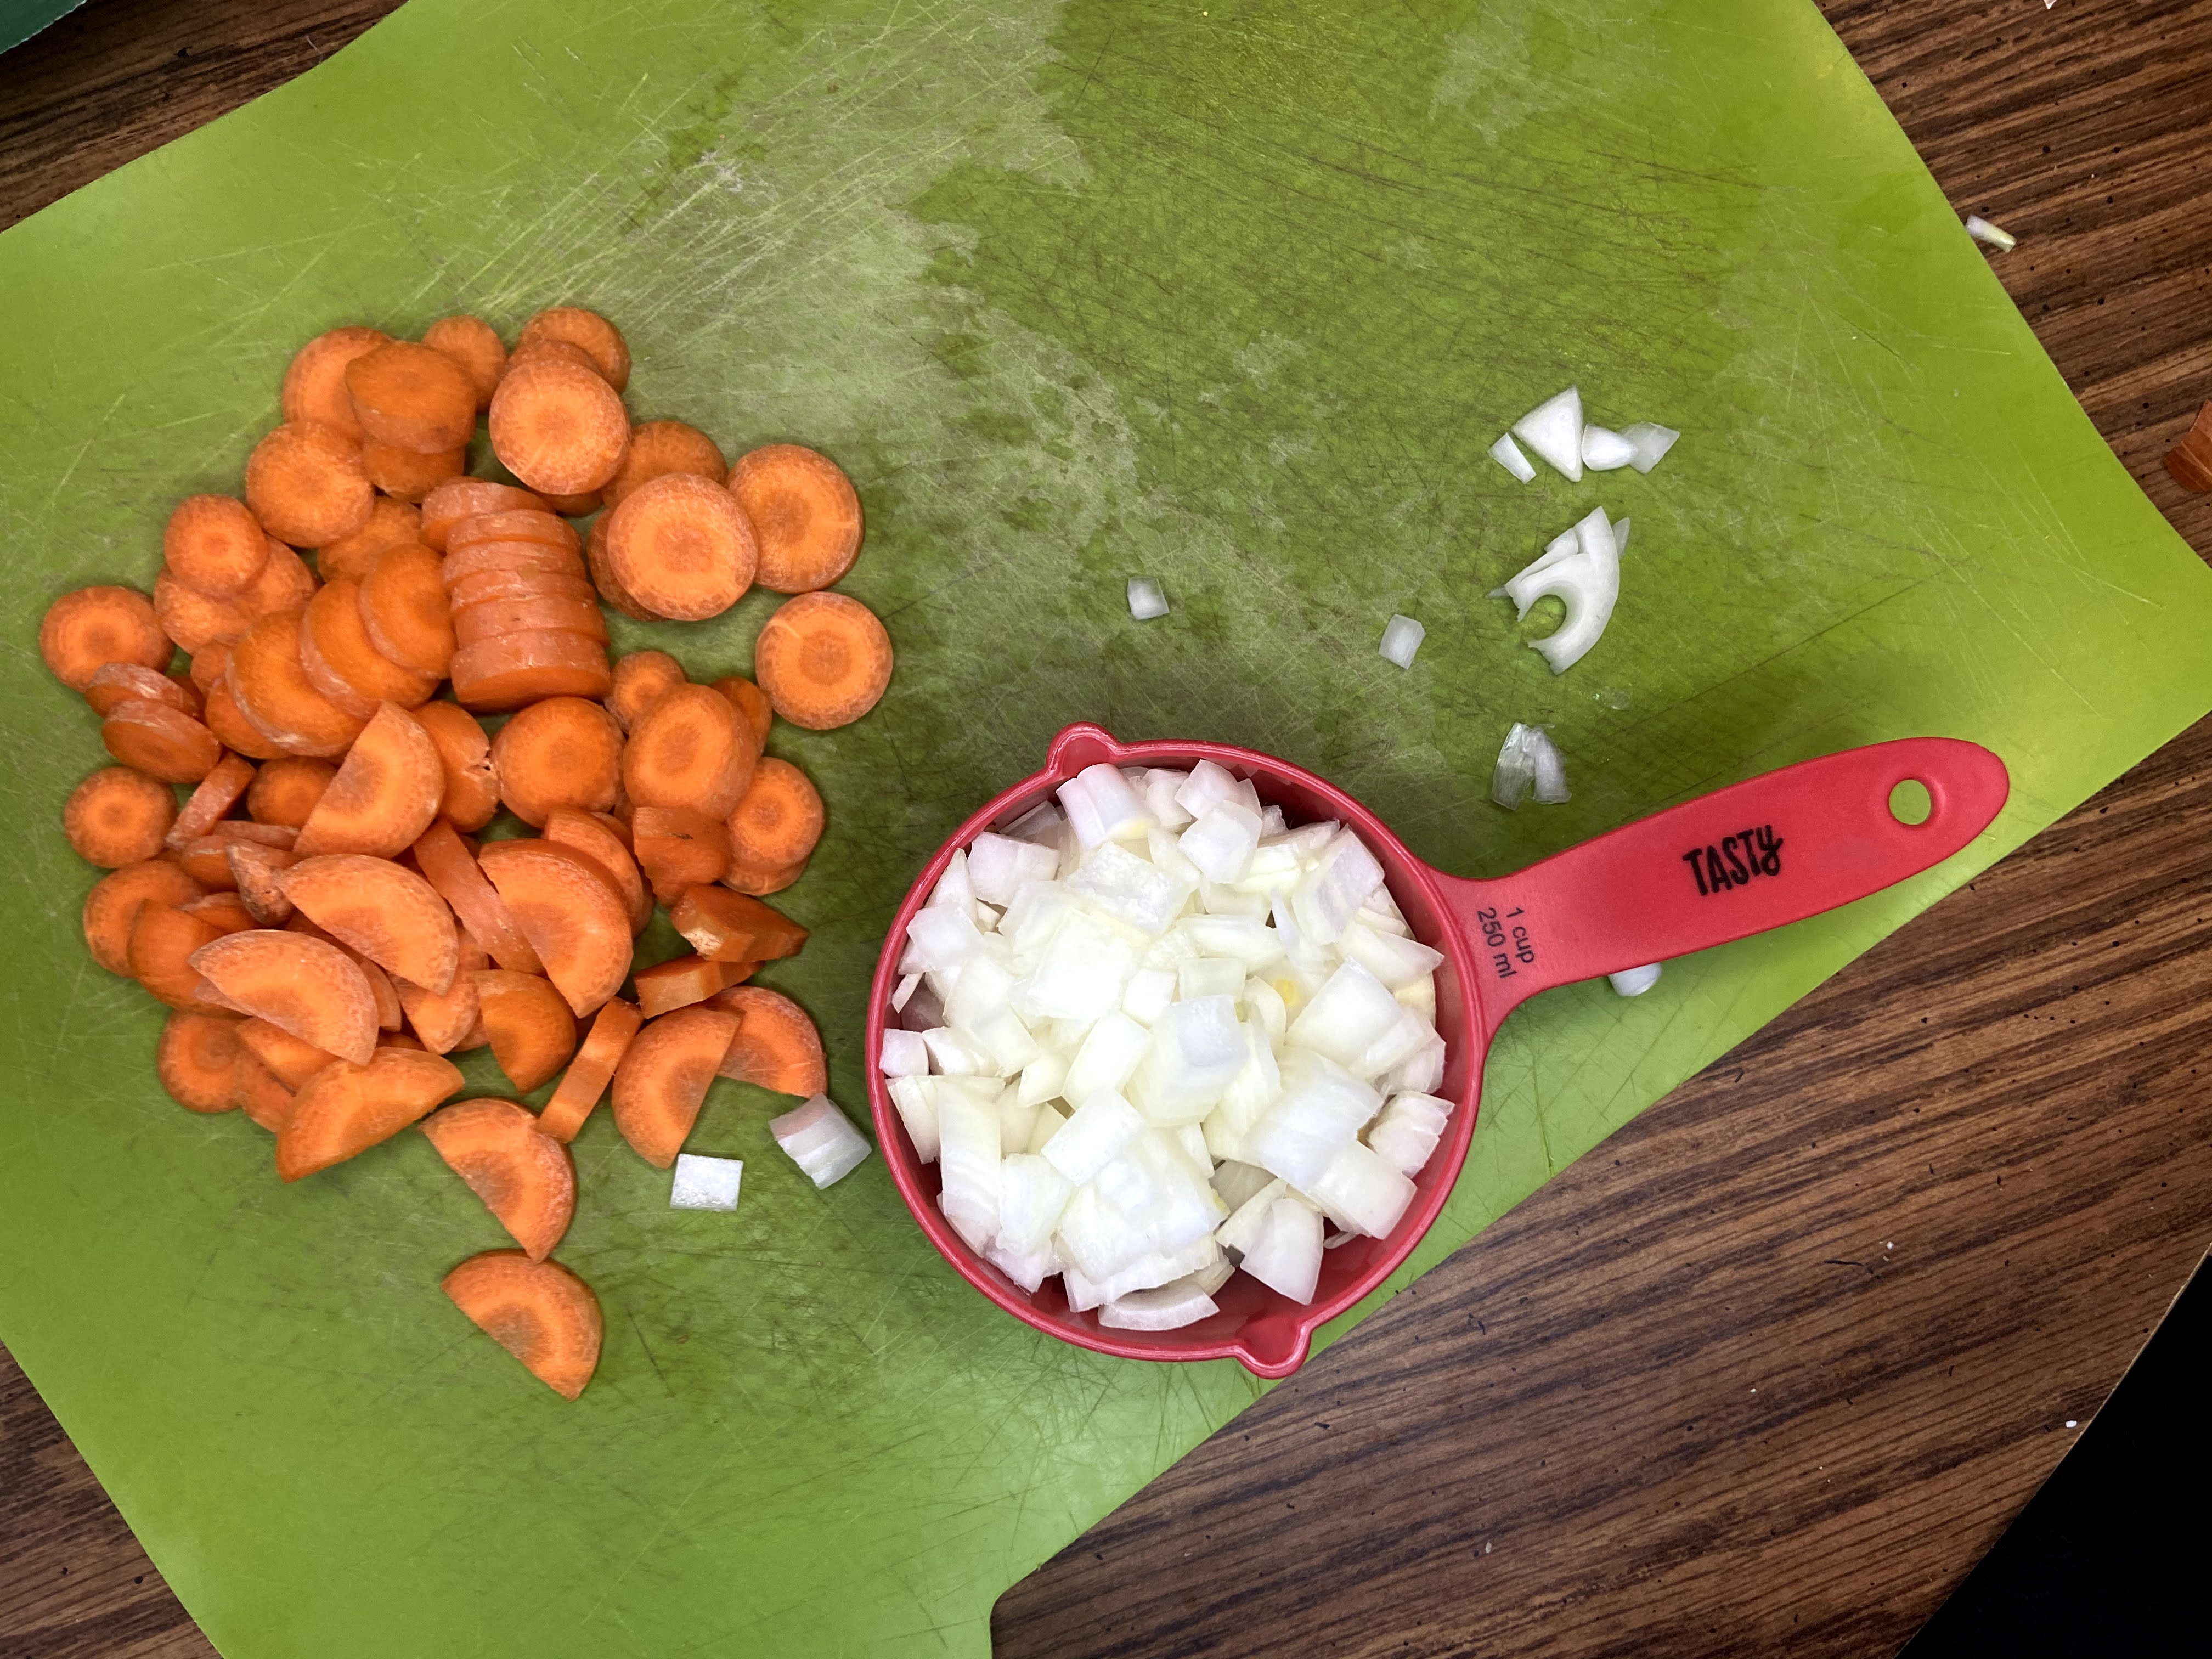
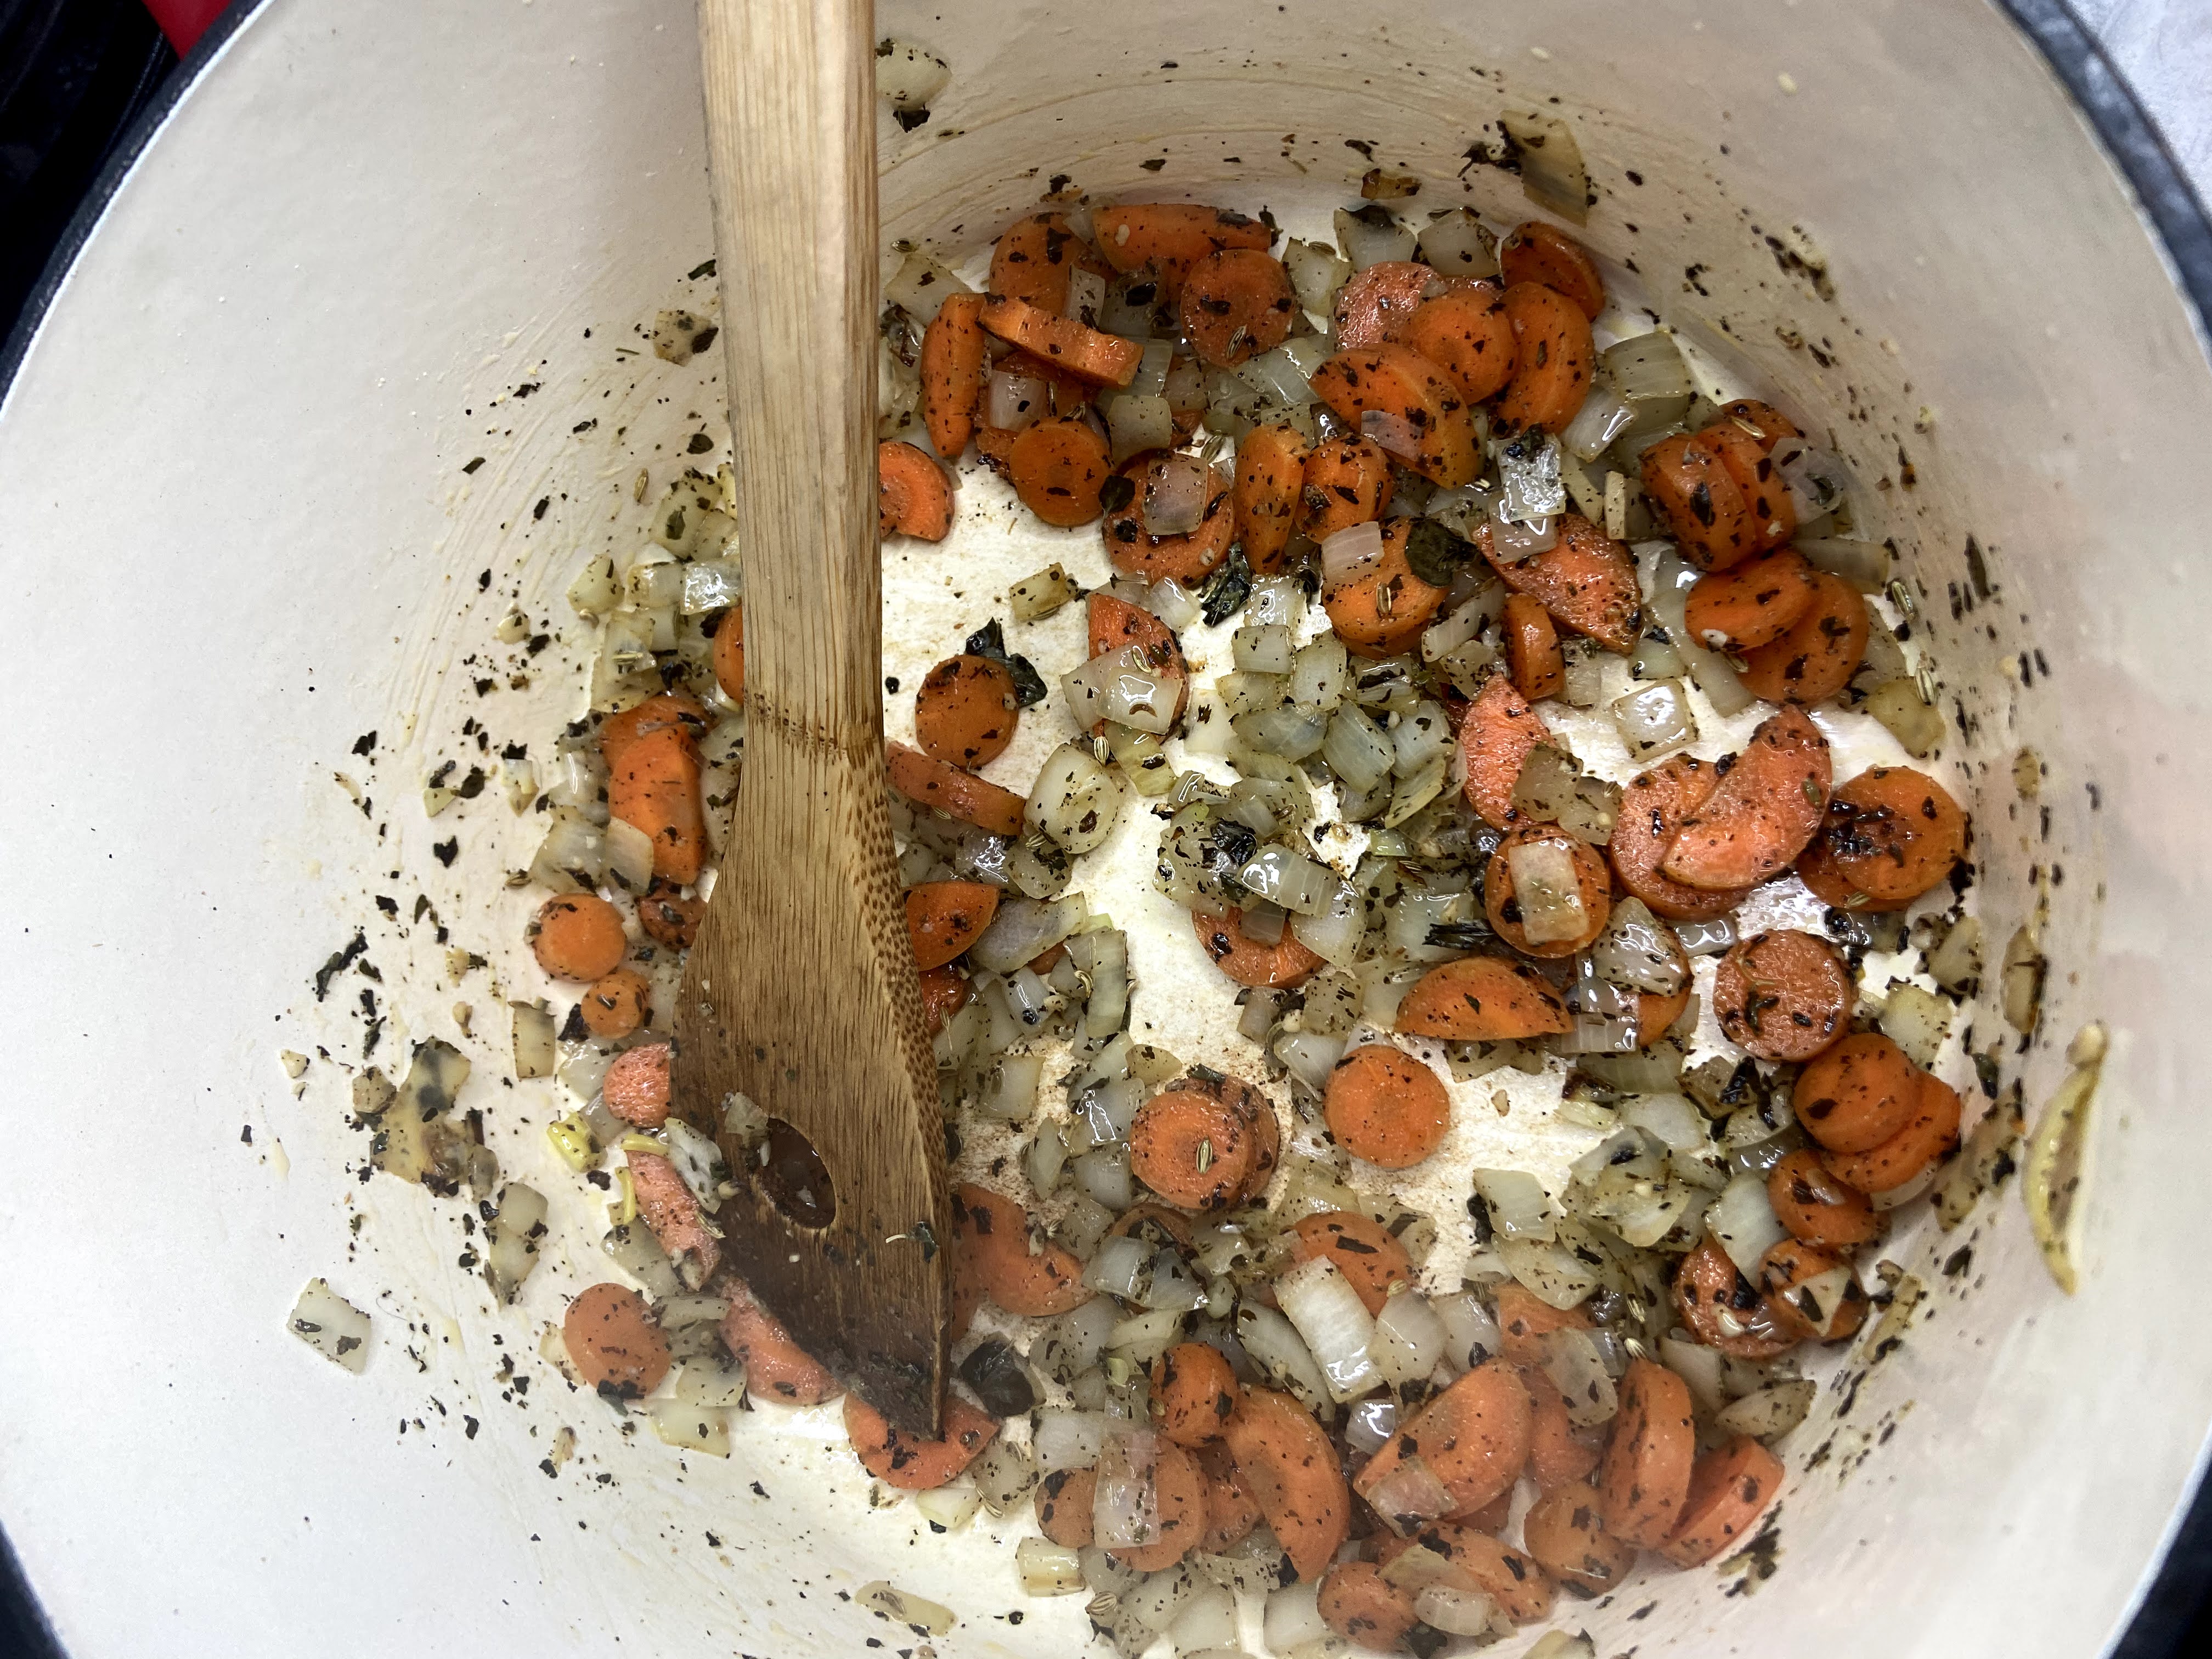
Meanwhile, dice and chop the onion, celery, carrots, broccoli, and mushrooms. Heat a large kettle (I love my cast iron Dutch oven) with ½ to 1 tablespoon of olive oil. Add the vegetables (except the mushrooms) remaining garlic, salt, pepper, sage, and thyme, cooking on a medium heat for ten minutes. Add mushrooms and cook for an additional five minutes. Remove the vegetables from the kettle and place them in a large bowl. In the same pan (The less dishes, the better, right?), cook the ground venison (or hamburger or turkey) until no longer pink. Stir into the bowl of vegetables along with cooked rice. 

Now for the Creamy part

In the same kettle, melt the butter under medium heat. Stir in flour and continue to stir until you have a beautiful golden brown color. To this, add milk, 1/4 of a cup at a time, whisking until well combined and thickened. Repeat with the remaining chicken stock. Pepper to taste. Stir in to the vegetables, rice, and browned venison. Taste once more, adding salt and pepper as needed.

Spread the mixture into a greased casserole dish and bake uncovered for 20 minutes at 425 degrees, until just crispy on the top and hot all the way through. Often, I will prep mine in the morning or the day before and refrigerate until we are ready to eat. If baked after being refrigerated, bake covered for 15 minutes and then gave it an additional 15-20 minutes without a cover. It will be perfectly crispy on the top and creamy in the middle. A wonderful comfort food. 

Tools of the Trade

What are some tools I can’t live without? First, my Pyrex baking dishes are a go to for all things baked. And I love a lot of baked dishes. I also really dig my flexible cutting boards and my goodness, as silly as this sounds, this is my favorite whisk. I have had it for years and it’s truly the only one I use.

Savory Venison Wild Rice Bake

Savory herbs, two types of rice, and ground venison come together for a delicious venison and wild rice bake.
5 from 14 votes
Prep Time 45 minutes
Cook Time 20 minutes
Course dinner
Cuisine American
Servings 8 people

Ingredients
  

  • 1 pound ground venison seasoned with salt and pepper
  • 6 cups low sodium chicken stock divided
  • 1 cup long grain rice
  • 1 cup wild rice
  • 2 cups carrots diced
  • 1 ¼ cup onion 1 large, diced
  • 1 ¼ cup celery 6 stalks, diced
  • 2 cups broccoli diced
  • 1 cup mushrooms sliced
  • Olive oil
  • 4 cloves garlic minced
  • 1 teaspoon pepper
  • 1 teaspoon salt
  • 2 teaspoons sage
  • 2 teaspoons thyme
  • 1 cup milk
  • 3 tablespoons butter
  • 3 tablespoons flour

Instructions
 

  • In a medium saucepan, bring 5 cups chicken stock to a boil. Add sage, 1/2 teaspoon pepper, 1/2 teaspoon garlic and wild rice. Cover, lower to a simmer, and cook for 10 minutes.
  • Add long grain rice and cook for an additional 30-35 minutes, stirring periodically to check that you still have water. You want your rice to just be tender. Test it at 40 minutes.
  • Meanwhile, dice and chop the onion, celery, carrots, broccoli, and mushrooms. Heat a large kettle with ½ to 1 tablespoon of olive oil. Add the vegetables (except the mushrooms) remaining garlic, salt, pepper, sage, and thyme, cooking on a medium heat for ten minutes.
  • Add mushrooms and cook for an additional five minutes. Remove the vegetables from the kettle and place them in a large bowl.
  • In the same pan, add an additional 1/2 tablespoon olive oil and cook the ground venison (or hamburger or turkey) until no longer pink. Stir into the bowl of vegetables along with cooked rice.
  • In the same kettle, melt the butter under medium-low heat. Stir in flour and continue to stir until you have a beautiful golden brown color. To this, add milk, 1/4 of a cup at a time, whisking until well combined and thickened. Repeat with the remaining chicken stock. Pepper to taste.
  • Stir in to the vegetables, rice, and browned venison. Taste once more, adding salt and pepper as needed.
  • Spread the mixture into a greased casserole dish and bake uncovered for 20 minutes at 425 degrees, until just crispy on the top and hot all the way through.

Notes

This can be prepped early, say the night before or in the morning. If baked after being refrigerated, bake covered for 15 minutes and then gave it an additional 15-20 minutes without a cover. It will be perfectly crispy on the top and creamy in the middle.
Keyword from scratch, rice pilaf, vegetables, venison, venison recipe, whole foods, wild rice
Tried this recipe?Let us know how it was!

Can I share some other favorites of mine?

Check out the recipes below for other meal inspiration!

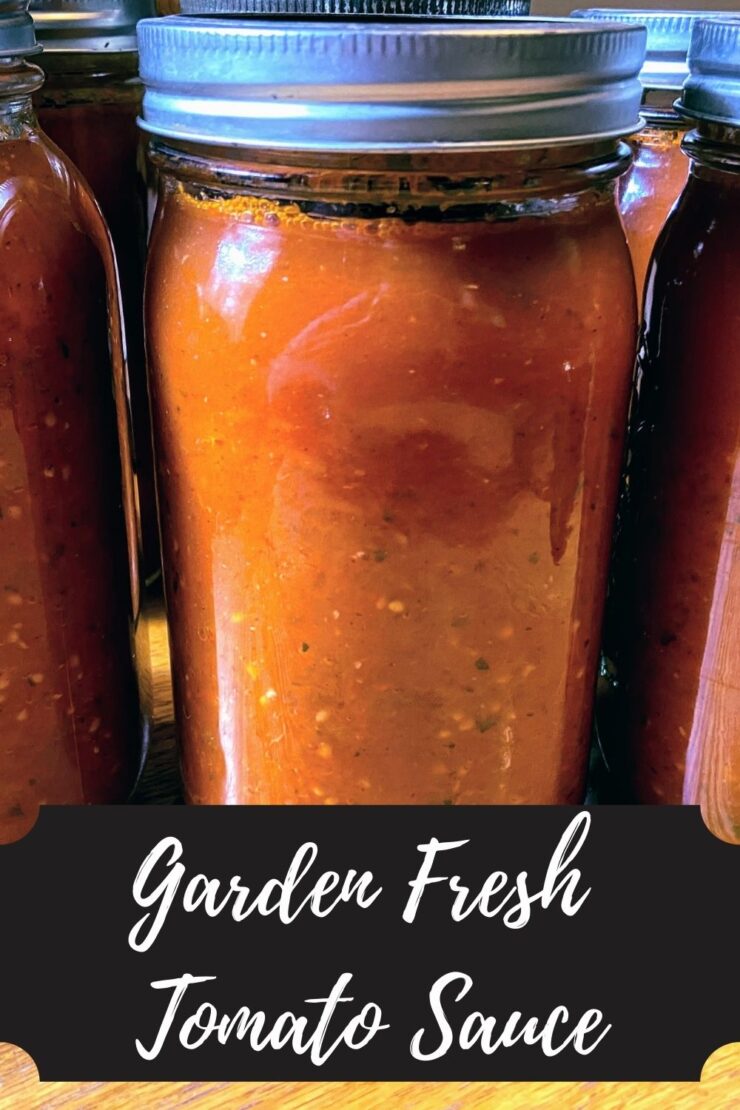
Garden Fresh Tomato Sauce

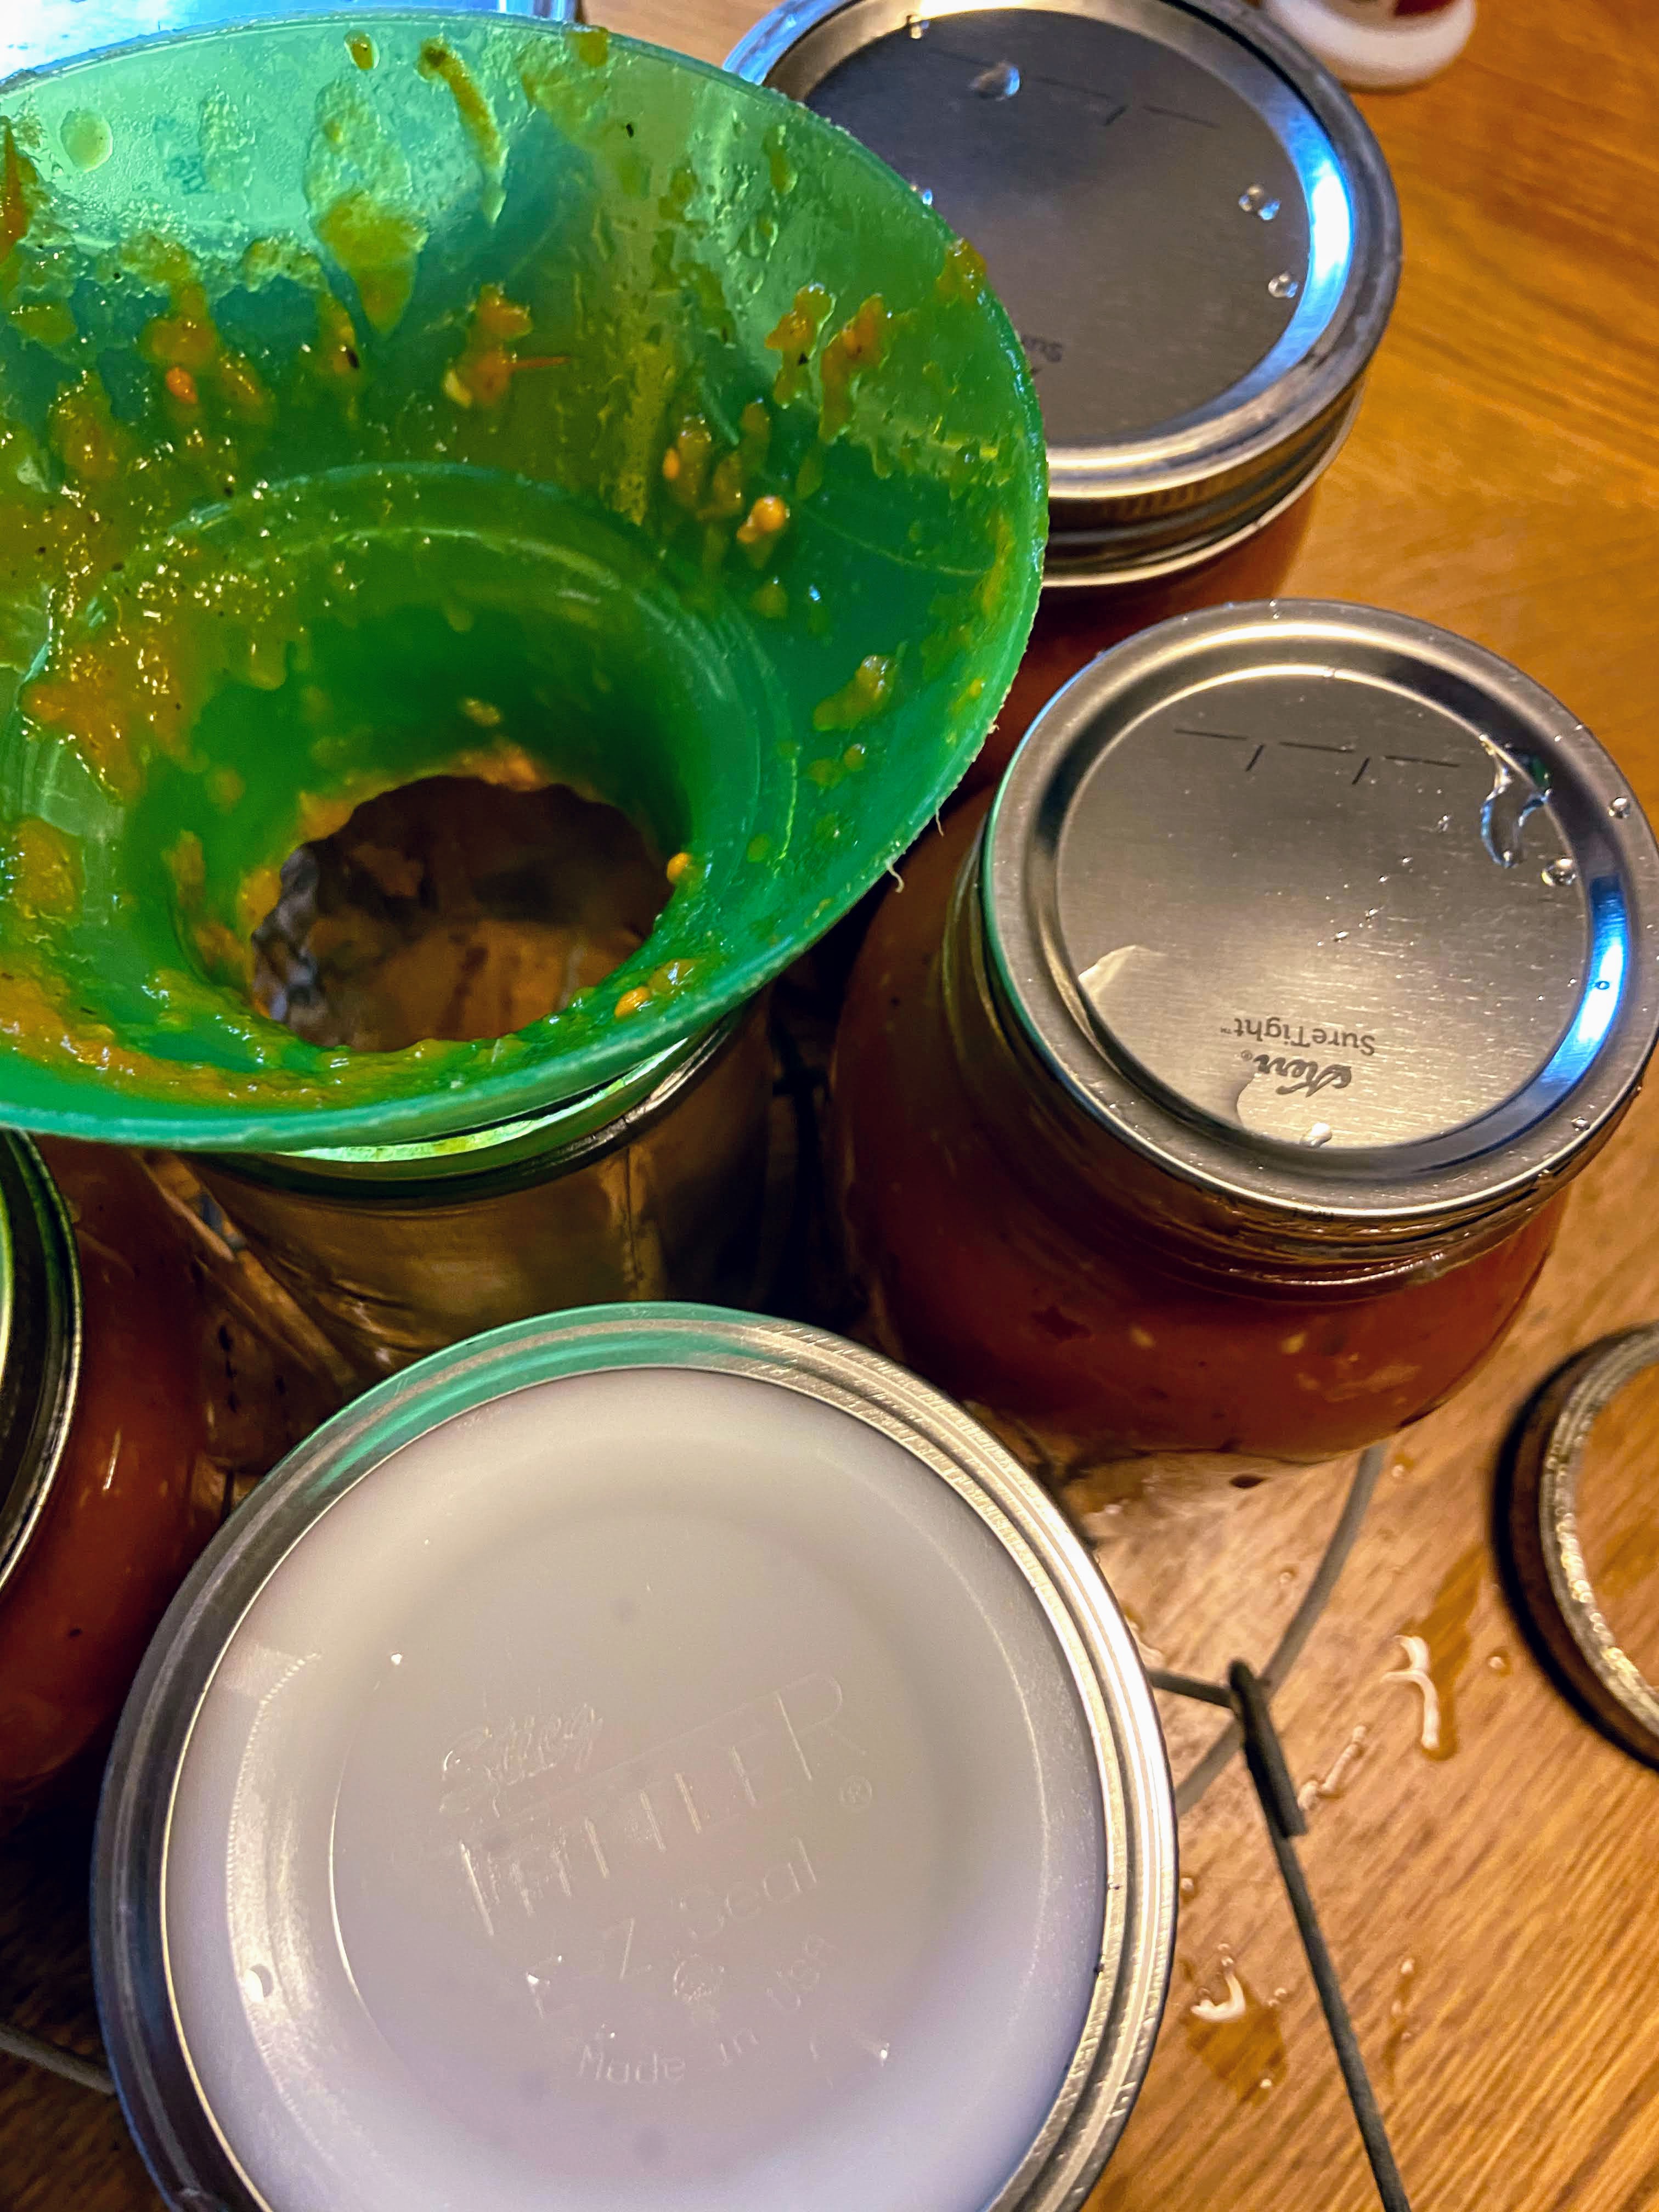
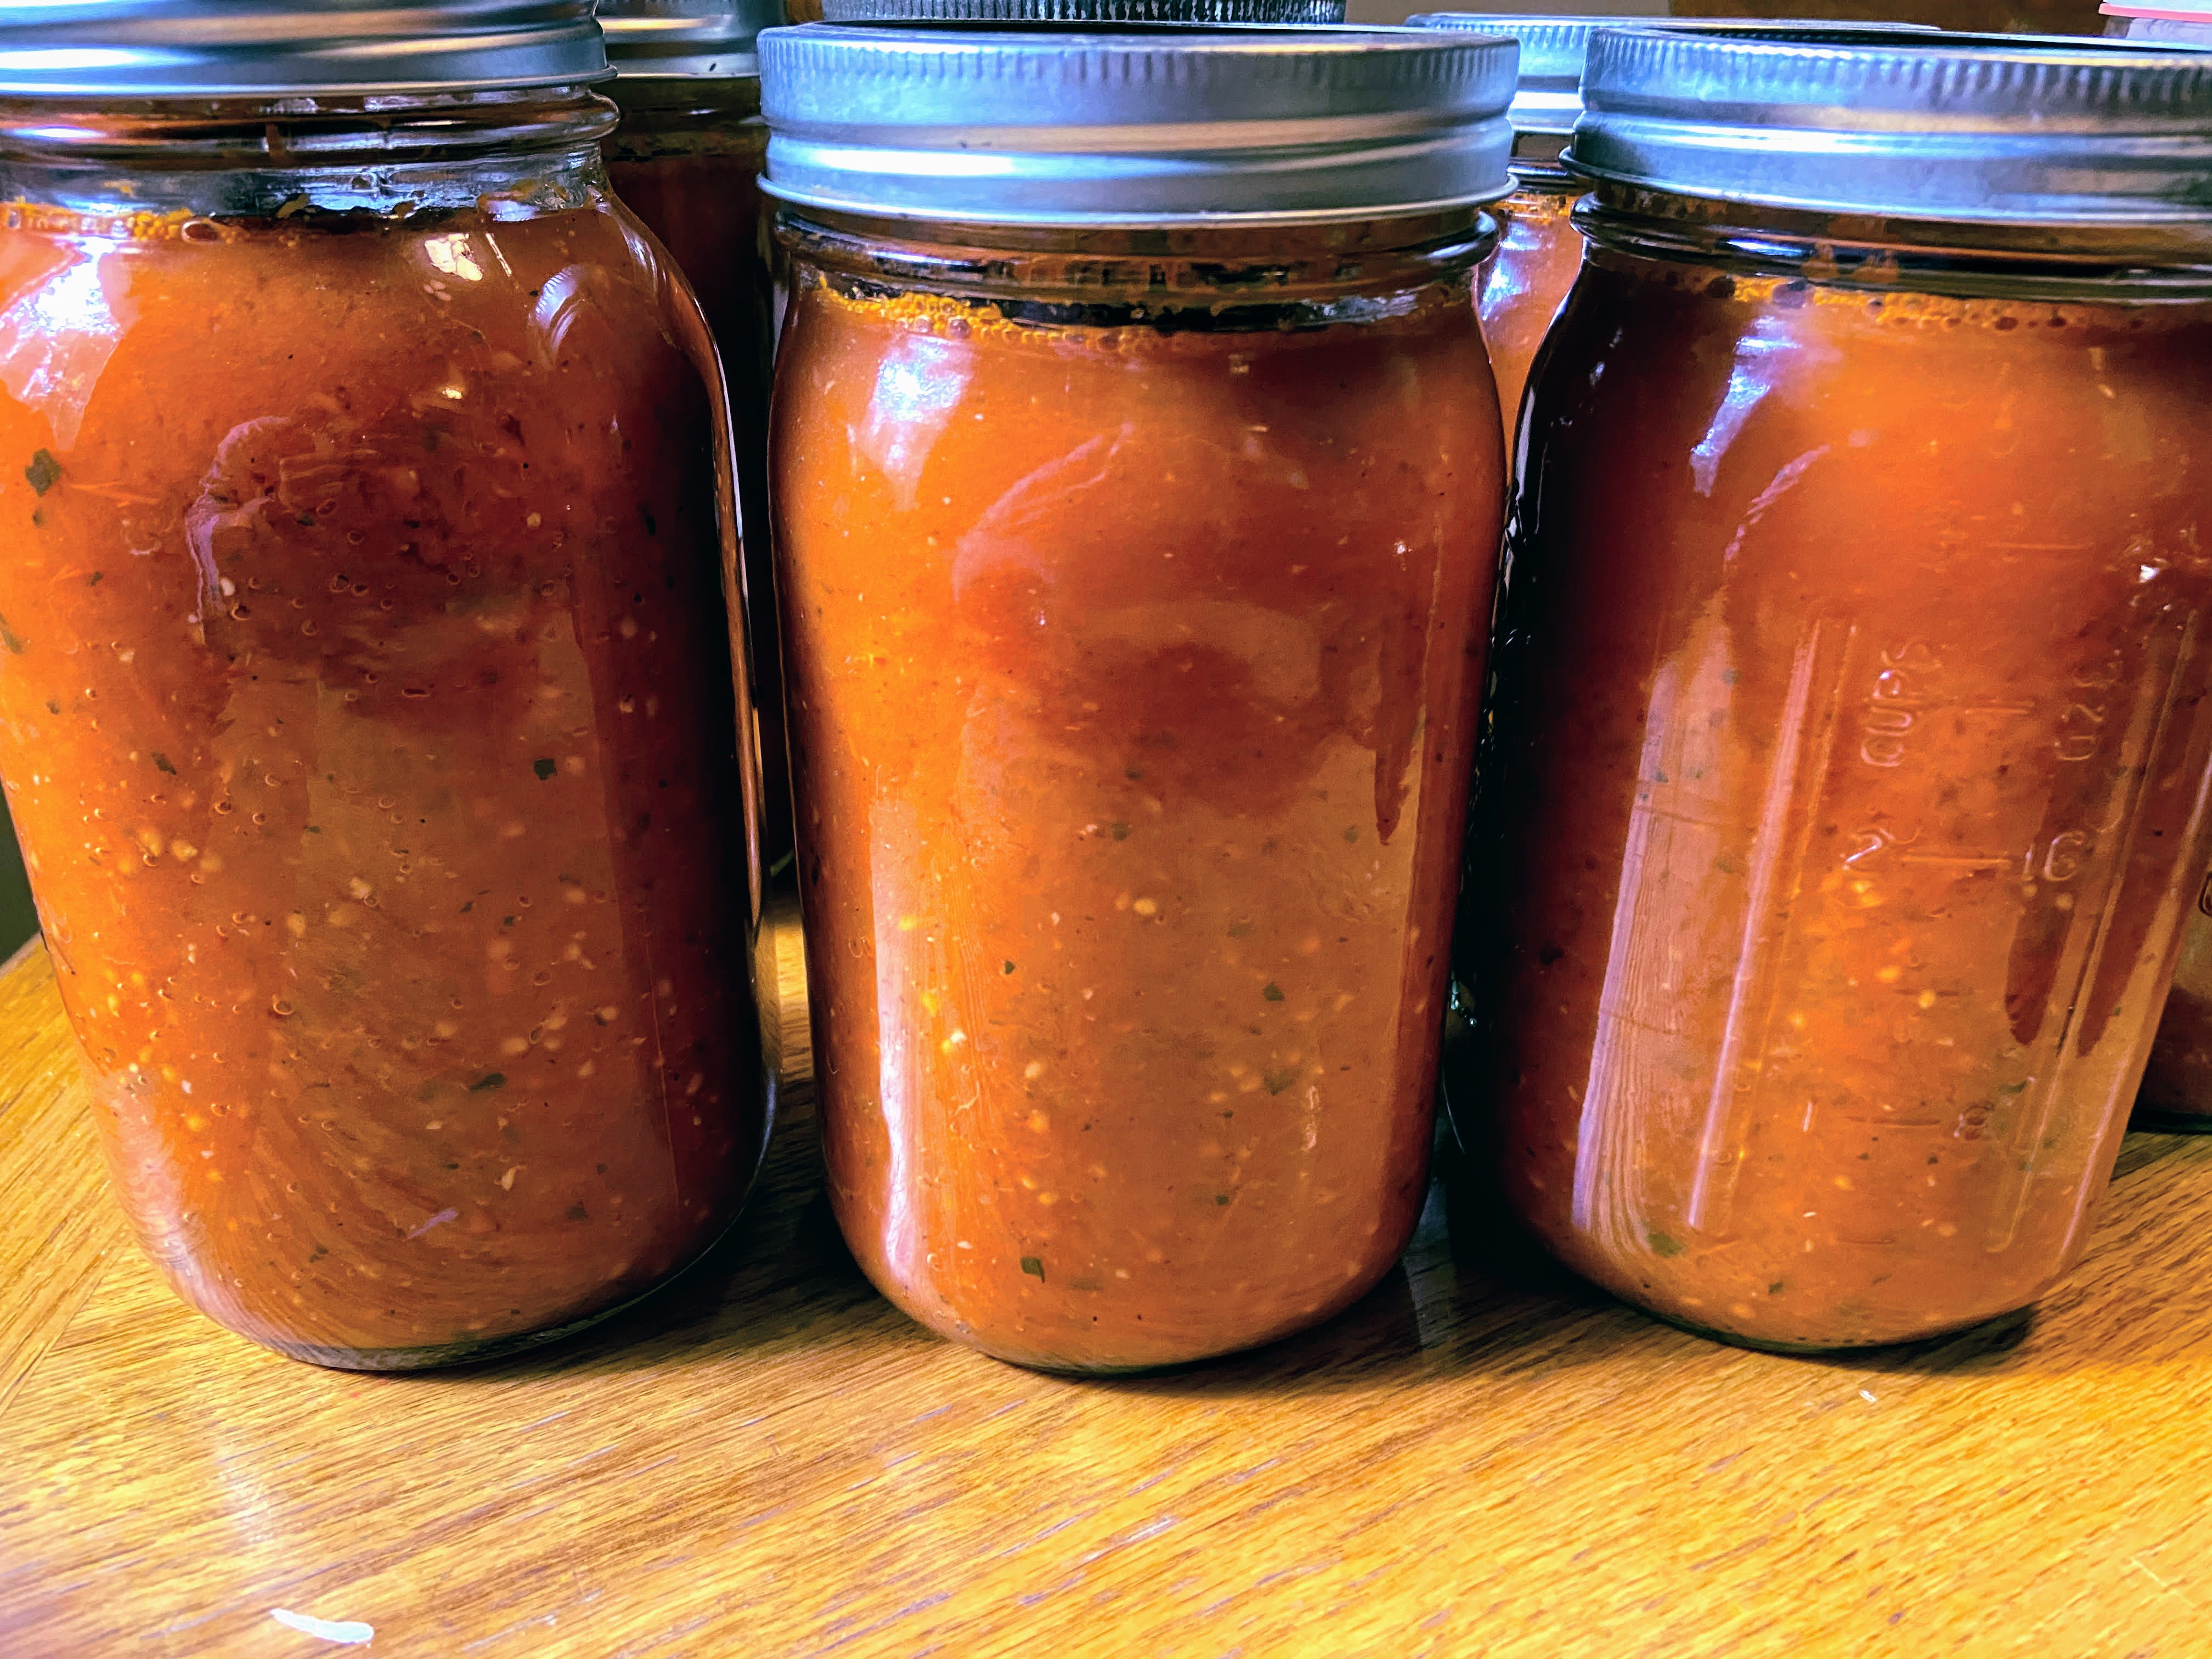
Canning and preserving from my garden is my jam all summer long. I love the color, the flavor, the dirt under my nails and ALLL the mason jars. Seriously, there isn’t much better than a line of mason jars that are full of the garden’s bounty. I remember when I first started planting our garden, my theory was, “Plant all the plants. The worst thing that happens is that some of the food goes to the chickens, our friends, or the compost pile.” But I love to fill our shelves and freezer with food we grew, so it rarely goes to waste. One of my favorite things to preserve is garden fresh tomato sauce. 

After trying a few different recipes, I developed this lower yield recipe (15 pounds really is a lower yield! Check out any Ball Canning Book to see!). I hear you saying, “But Jess! I don’t have 15 pounds of tomatoes ready at any time and I don’t go to the farmer’s market!”. I’ve got your back with a great solution: The freezer.

The Hack

I rarely have enough tomatoes ripe at one time for 15 pounds. If you are like me, let me share the trick that was an immediate love for me: When you have a large amount of ripe tomatoes on the counter, stem, wash, and dry them. From here, place the tomatoes in a freezer safe container or bag. I like to label them with their weight ahead of time. When you are ready for canning, simply take the bags out a day or two ahead of time to thaw (or you can place them in the sink with warm water to speed up the process). 

This method is awesome for two reasons: 

  1. You can use your own tomatoes, even if you don’t have a ton of plants. They won’t rot on your counter waiting. 
  2. When the tomatoes thaw, the skins come right off. I like to can my sauce with the skin (so many of the nutrients are there!), but it is nice to get rid of a few of them. 

Regardless of how you come by your tomatoes (friends, farmer’s market, your own dirt), let’s get going with some great garden fresh tomato sauce! Oh, and if you plan on canning it and are new to it, check out the National Center for Home Preservation Site for more information! 

Your Ingredients For Garden Fresh Tomato Sauce

  • 15 pounds of tomatoes, cleaned and roughly chopped
  • 2 tablespoons olive oil 
  • 2 cups onions
  • 3 tablespoons minced garlic
  • 1 cup fresh basil, chopped
  • ½ cup fresh oregano
  • 1 ½ teaspoons pepper 
  • 1 tablespoon canning salt 

Your Steps to Garden Fresh Tomato Sauce

Cooking

Begin by heating olive oil over medium heat in a sauté pan. Add onions and garlic. Cook until translucent and soft, about ten minutes, stirring often. 

In a large kettle, combine onion mixture, chopped tomatoes, basil, oregano, salt, and pepper. Continue to simmer over medium heat, stirring often. 

Pro tip

As the sauce is cooking down, you will have a lot of liquid that you are simmering off. You can cut your cook time significantly by bailing out this liquid using a colander and measuring cup. Push the colander down onto the tomatoes, forcing the liquid up. Then use the measuring cup to ladle it out. You can simply dump it or save it as a light tomato juice. I ladle it into mason jars and save it in the fridge for my husband. 

After the tomatoes have begun to break down (about 30-60 minutes later), puree them. I like to use my stick blender to do this. It means less dishes to clean! Alternatively, you can transfer it to a food mill to puree. Once totally in sauce form, continue to cook down until the volume of the sauce has reduced to about one-half the original amount. 

Canning

While the tomatoes are cooking down, you can begin to prepare your canner and jars if you plan on processing them. (If you want to simply place the sauce in the freezer, that’s totally okay. You can transfer it to freezer safe containers or bags and freeze once cool.)

Wash and sanitize pint or quart jars, rings, and lids. Keep warm. Fill the canner with enough water to cover the jars by at least 2 inches of water. Cover and heat on high. Watch the temperature, you want a simmer but not a boil when you place the jars in the water. 

Once the sauce and canner are ready, you can begin to fill the jars. To be sure there is enough acid to have self stable jars, you must add citric acid or bottled lemon juice. 

  • Add ¼ teaspoon citric acid or 1 tablespoon lemon juice to pint jars. 
  • Add ½ teaspoon citric acid or 2 tablespoons lemon juice to quart jars. 

Finish it up!

Ladle the hot tomato sauce into jars, leaving ½ inch headspace. Wipe rims of the jars with a damp cloth, add lids and rings, tightening to fingertip tight. Place in the canner, increasing the heat to high. Once the canner reaches a boil, process pint jars 35 minutes or quart jars 40 minutes. Remove from heat and allow jars to cool in the canner over 5 minutes. Then remove jars from the canner, placing them on the counter. Listen for the ping of the lids over the next 12 hours. Sealed jars are self-stable. If any jar doesn’t seal, simply place it right in the refrigerator and enjoy over the next week or so. 

Looking to preserve more of your garden? Check out my canning and preserving page by clicking the button!

Tools of the Trade

I adore my immersion blender for all things canning when I need to blend. Canning tools are a must and what is canning if you don’t have a waterbath canner?

Garden Fresh Tomato Sauce

Basil, oregano, and garlic flavor this great tomato sauce
Prep Time 30 minutes
Cook Time 2 hours
Processing Time 40 minutes
Course dinner
Cuisine Canning
Servings 3 quarts

Equipment

Ingredients
  

  • 15 pounds of tomatoes cleaned and roughly chopped
  • 2 tablespoons olive oil
  • 2 cups onions
  • 3 tablespoons minced garlic
  • 1 cup fresh basil chopped
  • ½ cup fresh oregano
  • 1 ½ teaspoons pepper
  • 1 tablespoon canning salt

Instructions
 

  • Begin by heating olive oil over medium heat in a sauté pan. Add onions and garlic. Cook until translucent and soft, about ten minutes, stirring often.
  • In a large kettle, combine onion mixture, chopped tomatoes, basil, oregano, salt, and pepper. Continue to simmer over medium heat, stirring often.
  • After the tomatoes have begun to break down (about 30-60 minutes later), puree them. A stick blender or food mill works well. Once totally in sauce form, continue to cook down until the volume of the sauce has reduced to about one-half the original amount.
  • While the tomatoes are cooking down, you can begin to prepare your canner and jars if you plan on processing them. (If you want to simply place the sauce in the freezer, that’s totally okay. You can transfer it to freezer safe containers or bags and freeze once cool.)
  • Wash and sanitize pint or quart jars, rings, and lids. Keep warm. Fill the canner with enough water to cover the jars by at least 2 inches of water. Cover and heat on high. Watch the temperature, you want a simmer but not a boil when you place the jars in the water.
  • Once the sauce and canner are ready, you can begin to fill the jars. To be sure there is enough acid to have self stable jars, you must add citric acid or bottled lemon juice.
  • Add ¼ teaspoon citric acid or 1 tablespoon lemon juice to pint jars. Add ½ teaspoon citric acid or 2 tablespoons lemon juice to quart jars.
  • Ladle the hot tomato sauce into jars, leaving ½ inch headspace.
  • Wipe rims of the jars with a damp cloth, add lids and rings, tightening to fingertip tight. Place in the canner, increasing the heat to high.
  • Once the canner reaches a boil, process pint jars 35 minutes or quart jars 40 minutes.
  • Remove from heat and allow jars to cool in the canner over 5 minutes. Then remove jars from the canner, placing them on the counter.

Notes

As the sauce is cooking down, you will have a lot of liquid that you are simmering off. You can cut your cook time significantly by bailing out this liquid using a colander and measuring cup. Push the colander down onto the tomatoes, forcing the liquid up. Then use the measuring cup to ladle it out. You can simply dump it or save it as a light tomato juice.
Keyword Canning, from the garden, preserving, tomato sauce, tomatoes
Tried this recipe?Let us know how it was!

Honey and Soy Marinated Chicken Bites

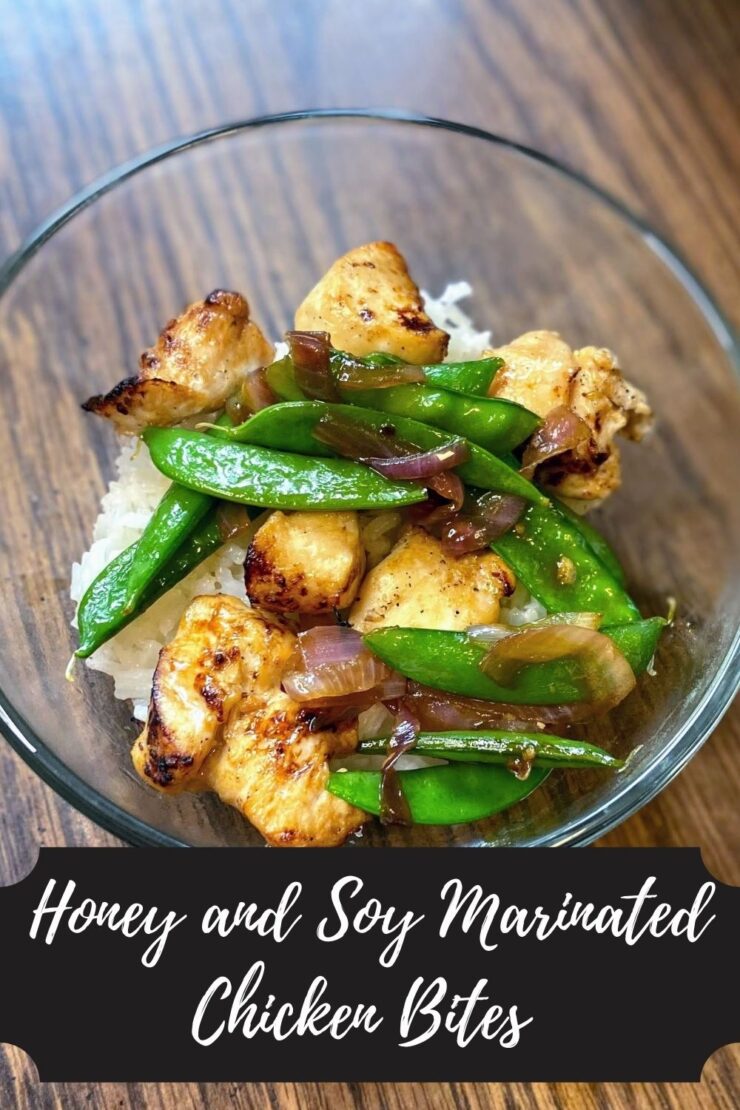
Are you ever the person who feels like they are always late to the party, intentional or not? I certainly am. I’m the girl who decides not to read Harry Potter or buy an Instapot simply because it’s what everyone else is doing and I want to be unique…or something. It doesn’t always work in my favor, but we all have our quirks, right? For me, I was late to the party with the air fryer. But friends, I bought one and now I can’t stop using it. And here, I am so excited to share honey and soy marinated chicken bites. 

Initially, I had boneless, skinless chicken thighs to cook up. I marinated them and cooked them whole. My family RAVED about them. Unfortunately, I don’t generally have thighs on hand; however, I almost always have chicken breasts on hand. My son gets frustrated with chicken because it can be dry, but he was head over heels for these honey and soy marinated chicken bites. He even requested I bring the air fryer on vacation with us so we could share this recipe with our whole extended family. That didn’t happen, but these will be on our “go to meals” list as the school year gets underway! 

YOUR INGREDIENTS⁠

  • 2-3 boneless, skinless chicken breasts, cut into 1 inch chunks⁠
  • 1/4 cup honey ⁠
  • 3 tablespoons soy sauce⁠
  • 1 tablespoon water⁠
  • 1 1/2 tablespoons minced garlic⁠
  • 2 tablespoons vegetable oil ⁠
  • 1 tablespoon vinegar⁠
  • 1 teaspoon sesame oil ⁠
  • 1/2 teaspoon ground ginger⁠
  • 1/2 teaspoon dried minced onion ⁠
  • a shake or two of red pepper flakes⁠

Your Steps to Honey and Soy Marinated Chicken Bites

Combine all marinade ingredients in a liquid measuring cup. Whisk together until well blended. Place cubed chicken in a 1 gallon plastic bag. Massage the chicken slightly and allow to marinate in the refrigerator for at least 3 hours. ⁠

When you are ready to cook chicken, preheat the air fryer to 380 degrees. Cook for 10-15 minutes, flipping halfway through. ⁠

I served this chicken with jasmine rice (so good!) that was seasoned with some salt and pepper. I also did a quick stir fry in sesame oil of some red onions and snap peas from the garden. Those got a small shake of soy sauce with a little cornstarch to thicken it mixed with minced garlic and ground ginger and red pepper flakes. So good! ⁠

Tools of the Trade

I am telling you, I was slow the the air fryer game, but I absolutely adore mine. I also love a good filet knife for ease in cutting up anything from fish to chicken. These are my favorites!

Looking for other dinner inspiration? Check out my cooking page here!

Finished dinner

Honey and Soy Marinated Chicken Bites

A quick eat for weeknight meals: Use your air fryer to cook up some delicious and healthy honey and soy marinated chicken bites!
Prep Time 10 minutes
Cook Time 15 minutes
Rest Time 3 hours
Total Time 3 hours 25 minutes
Course Main Course
Cuisine Chinese
Servings 4 people

Equipment

Ingredients
  

  • 2-3 boneless skinless chicken breasts, cut into 1 inch chunks⁠
  • 1/4 cup honey ⁠
  • 3 tablespoons soy sauce⁠
  • 1 tablespoon water⁠
  • 2 tablespoons vegetable oil ⁠
  • 1 1/2 tablespoons minced garlic⁠
  • 1 tablespoon vinegar⁠
  • 1 teaspoon sesame oil ⁠
  • 1/2 teaspoon ground ginger⁠
  • 1/2 teaspoon dried minced onion ⁠
  • a shake or two of red pepper flakes⁠

Instructions
 

  • Combine all marinade ingredients in a liquid measuring cup. Whisk together until well blended. Place cubed chicken in a 1 gallon plastic bag.
  • Massage the chicken slightly and allow to marinate in the refrigerator for at least 3 hours. ⁠
  • When you are ready to cook chicken, preheat the air fryer to 380 degrees.
  • Cook for 10-15 minutes, flipping halfway through.
  • ⁠Serve with jasmine rice and some quick stir fried vegetables of your choice such as broccoli, red onions, or sugar snap peas.
Keyword air fryer, chicken, chicken breast, marinated chicken
Tried this recipe?Let us know how it was!

Baked Tortilla Egg Muffins

A few months ago, we had guests coming up for the weekend. The week prior had been hectic and crazy and meal prep was not in the cards. Because of this, I didn’t have a whole lot planned besides baking fresh cherry donuts (get the recipe by clicking the link. They are amazing and have been a request for guests around here). However, the guests also raise chickens so we were gifted a few dozen eggs. I developed these baked tortilla egg muffins with various leftovers in the fridge. 

Let me tell you, they were a huge hit. I was able to customize them for different preferences: drop the tortilla for those watching their carbs, skip the spinach for the kids, etc. I couldn’t believe how fast they came together. Beyond the speed, they were beautiful and looked like I had to have worked hard putting them together (Let them believe it, right?). Oh, and the tortilla egg muffins were no fuss with minimal mess. All the winning. 

I tweaked it a little for this recipe, using street taco sized tortillas. If you can’t find them, you can cut regular shells into thick strips and layer them (what I did the first time). I am impressed with the crisp tortilla shells and how the egg bakes up perfectly. Okay, enough talk. I hope you all enjoy baked tortilla egg muffins as much as my family did! 

Your Ingredients for Baked Tortilla Egg Muffins

  • 18 street taco size tortillas
  • 10 eggs
  • ¼ teaspoon each of salt, pepper, garlic powder, onion powder, and paprika 
  • ⅛-¼ cup milk 
  • ½ cup diced ham or browned breakfast sausage
  • ½ cup each spinach, diced peppers, tomatoes
  • Shredded cheese

Your Steps

Begin by preheating the oven to 350 degrees and preparing two muffin baking tins by spraying with non-stick cooking spray. Press tortillas into the muffin tin, folding in get them to form a cup. 

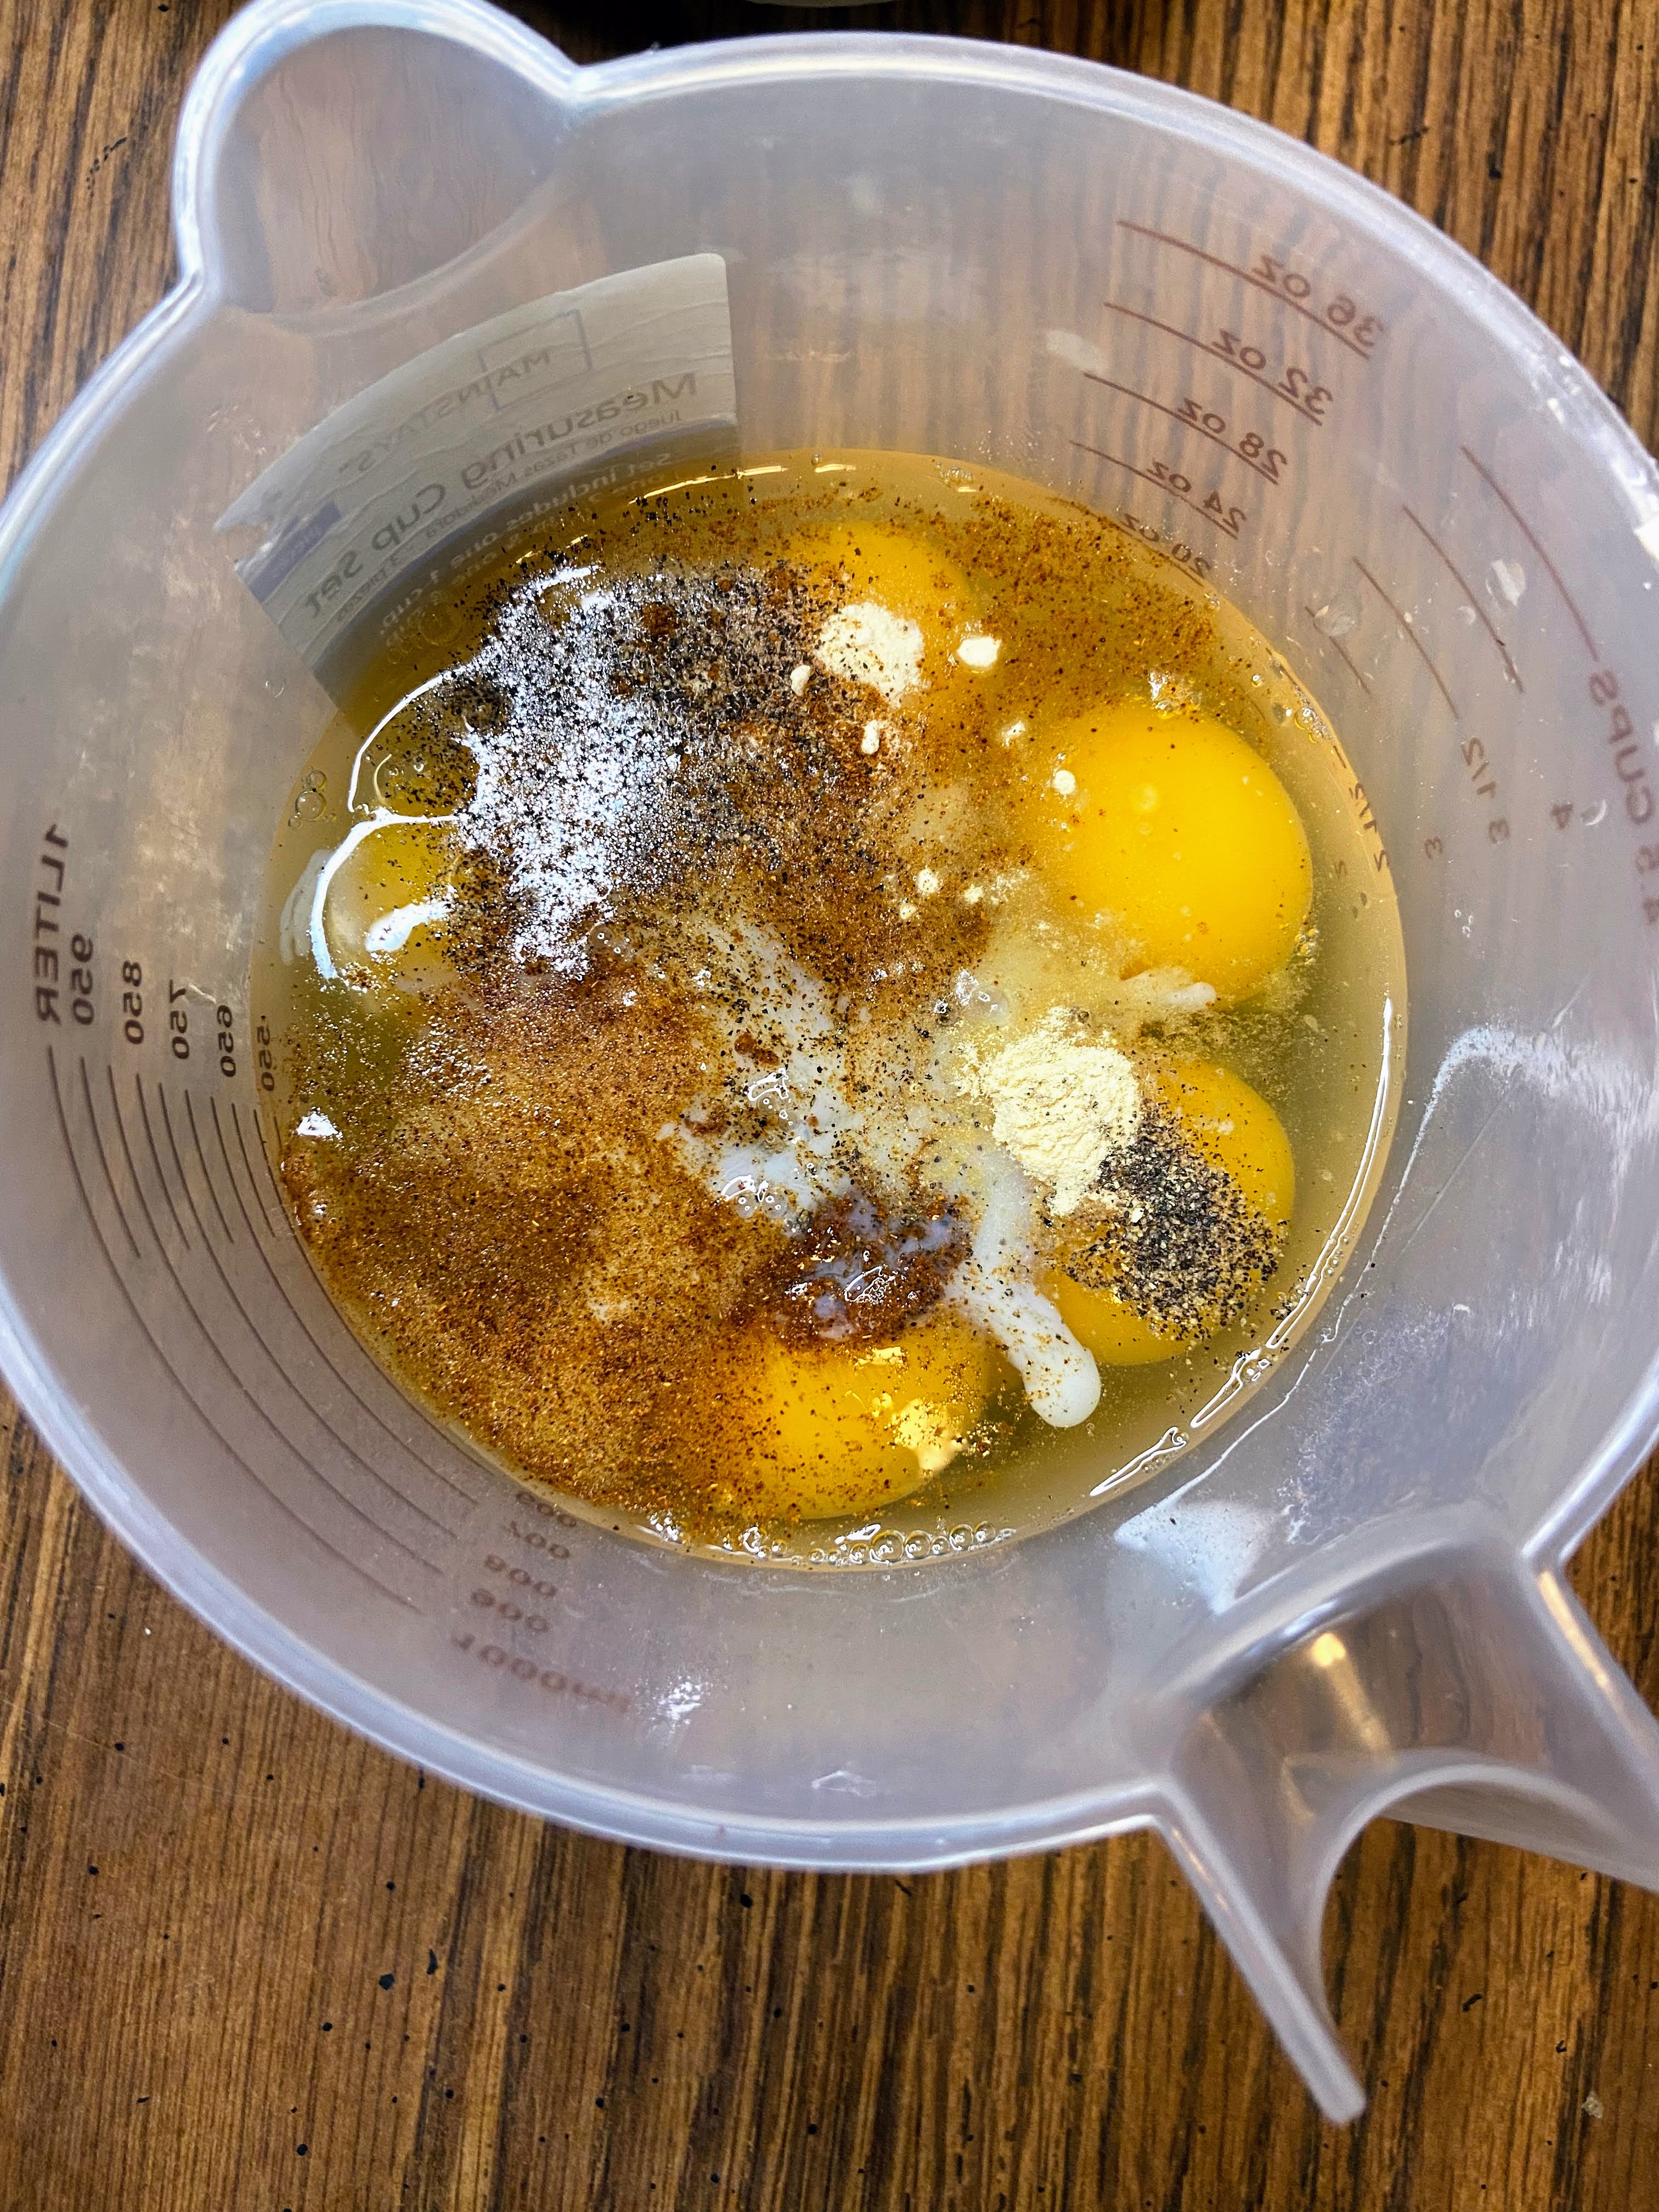
Begin by In a large liquid measuring cup (or bowl with a pour spout), whisk eggs, milk, salt, pepper, garlic powder, onion powder, and paprika until well combined. Pour into tortilla cups, filling approximately ¾ of the way full. 

Here, you can personalize each cup by dropping pieces of ham or sausage, spinach, peppers, and tomatoes. For a final touch, sprinkle them with the shredded cheese of your choice.

Finally, bake at 350 degrees for 20-25 minutes. The shells will become perfectly crispy and delicious. Serve immediately. 

Baked Tortilla Egg Muffins

Tortilla shells, eggs, some basic pantry and refrigerator items come together to make these quick and filling baked tortilla egg muffins.
5 from 1 vote
Prep Time 10 minutes
Cook Time 20 minutes
Course Breakfast
Cuisine American
Servings 18 muffins

Ingredients
  

  • 18 street taco size tortillas
  • 10 eggs
  • ¼ teaspoon each of salt pepper, garlic powder, onion powder, and paprika
  • ⅛-¼ cup milk
  • ½ cup diced ham or browned breakfast sausage
  • ½ cup each spinach diced peppers, tomatoes
  • Shredded cheese

Instructions
 

  • Begin by preheating the oven to 350 degrees and preparing two muffin baking tins by spraying with non-stick cooking spray. Press tortillas into the muffin tin, folding in get them to form a cup.
  • In a large liquid measuring cup (or bowl with a pour spout), whisk eggs, milk, salt, pepper, garlic powder, onion powder, and paprika until well combined. Pour into tortilla cups, filling approximately ¾ of the way full.
  • Personalize each cup by dropping pieces of ham or sausage, spinach, peppers, and tomatoes. For a final touch, sprinkle them with the shredded cheese of your choice.
  • Bake at 350 degrees for 20-25 minutes, until the egg is cooked through. The shells will become perfectly crispy and delicious. Serve immediately.

Notes

Note: Using fresh shells will be ideal as they are more flexible. However, if your shells aren’t fitting into the tins well, you can microwave them for a few seconds to soften them up. Just be sure to use them right away. 
Keyword baked eggs, Breakfast, Eggs
Tried this recipe?Let us know how it was!

Looking for other breakfast dishes?

Check out my breakfast page or maybe one of my favorites below will tickle your fancy!

Easy Breakfast Tortilla Bake

I believe so many great recipes get created out of necessity or the cleaning of the fridge. A cook looks through the pantry, sees the ingredients they have on hand and simply create. Or perhaps they have a recipe in mind, but forgot to pick up an item or two so they create on the fly. This breakfast tortilla bake is a product of both of these. I couldn’t believe just how good it turned out! 

Most breakfast bakes make huge cake pans worth of food. Too much for most  families unless you are cooking for a huge crowd. The recipes I have also often start with crescent rolls. I don’t mind them, but sometimes I struggle with getting it cooked all the way through. The crescent rolls can also make the bake a little heavy. The tortillas in this bake help lighten it up a little. 

We are a family of four and this was perfect for us with guests of another family four. It cooked up quick, had just a few dirty dishes, and everyone cleaned their plates. Hey, and notice that I snuck a few vegetables in too (you wouldn’t expect anything less from me, would you?!). Let’s get cooking! 

Your Ingredients for a Breakfast Tortilla Bake

  • 4 round flour tortillas (10 inches)
  • 1 pound ground breakfast sausage 
  • 1 ½ tablespoon olive oil 
  • ½ cup diced onion 
  • 1 cup diced sweet peppers (any color) 
  • ½ cup diced button mushrooms
  • 1 teaspoon minced garlic
  • ½ teaspoon pepper 
  • 3 cups frozen shredded hash browns
  • 8 eggs
  • ¼ cup milk 
  • ¼ teaspoon each of: pepper, salt, onion powder, paprika 
  • 1 ½ cups shredded cheese
  • 3 green onions, thinly sliced

Your Steps to Breakfast Tortilla Bake 

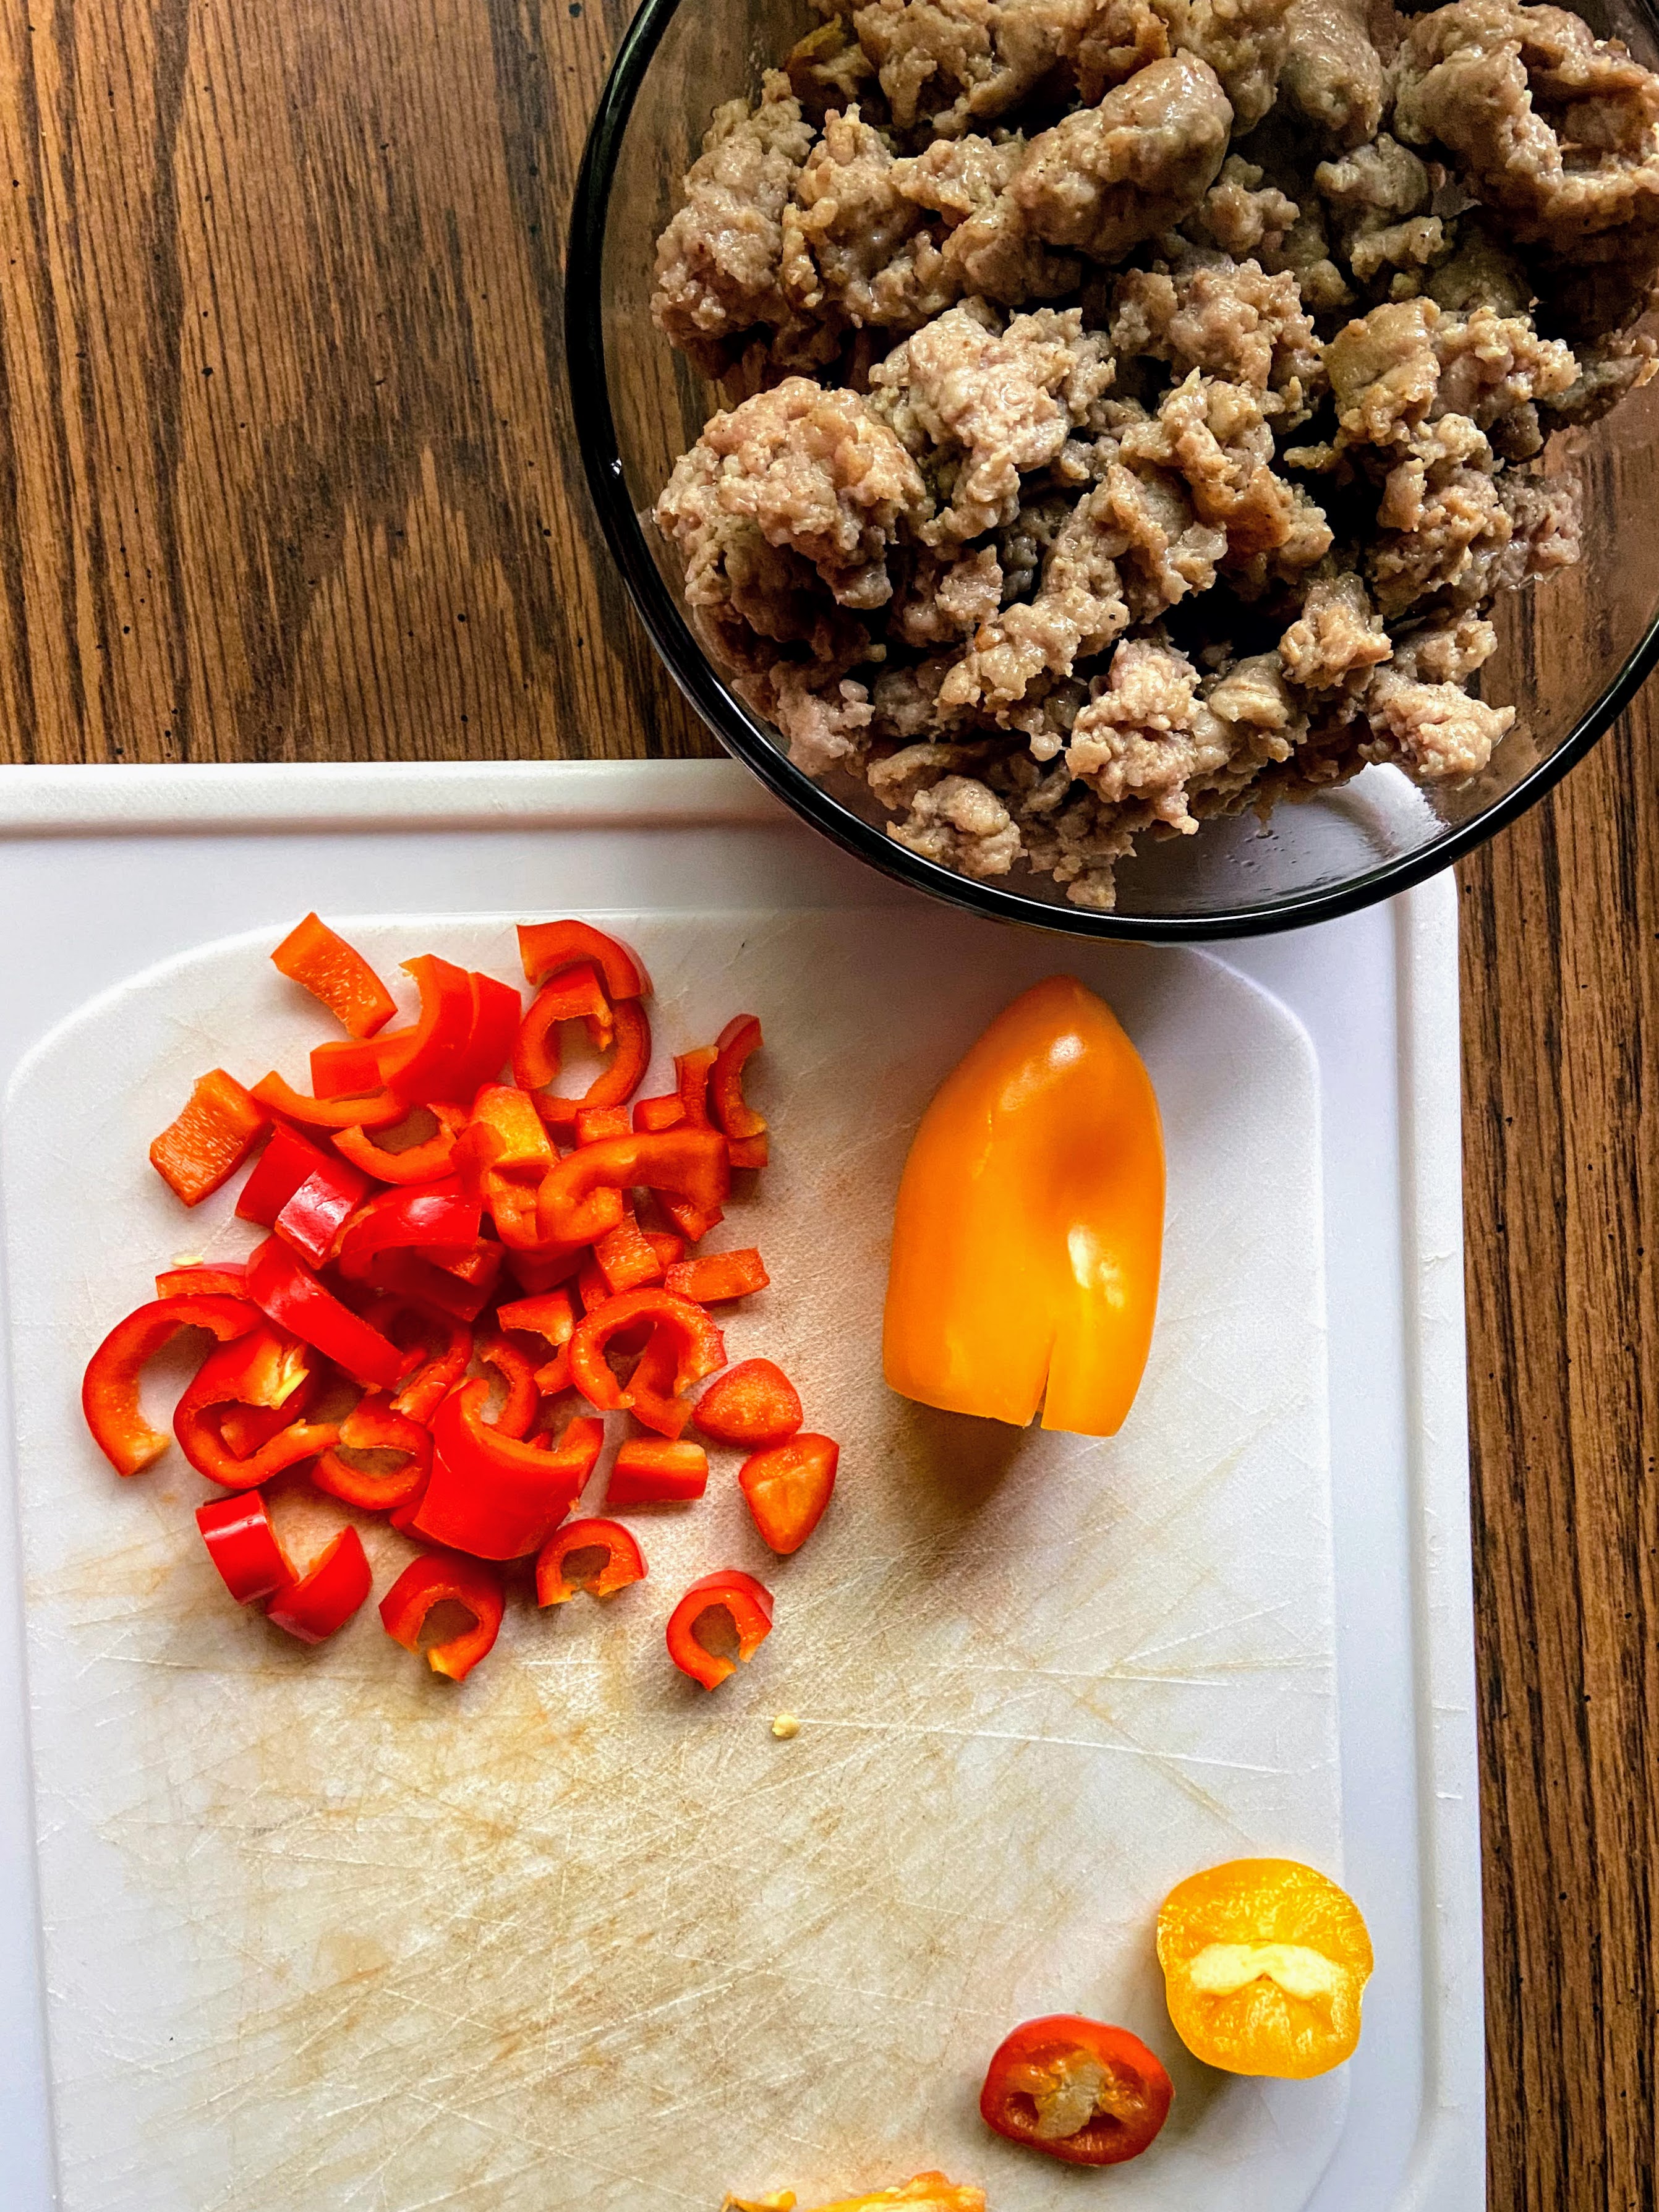
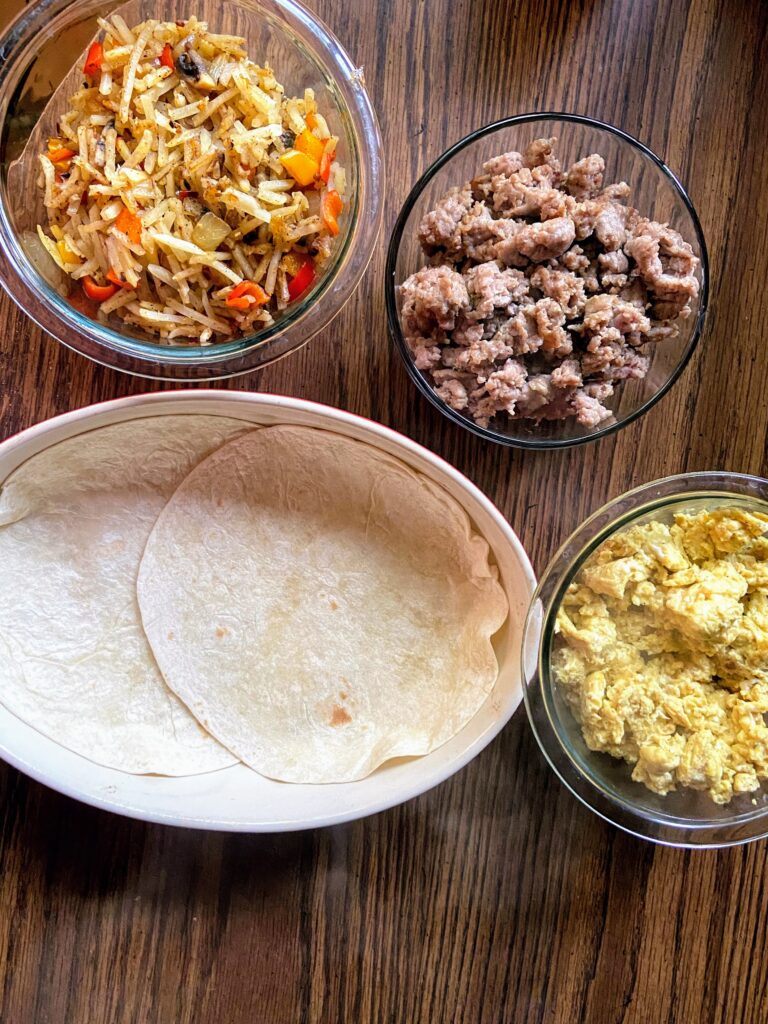
Preheat the oven to 350 degrees. Line a shallow 2 ½ quart casserole dish with 2 of the flour tortillas. Add ½ tablespoon olive oil to a deep saute pan. Heat over medium-high heat. Once hot, add breakfast sausage. Break apart and brown until just cooked. Remove from the pan, but leave the oil. 

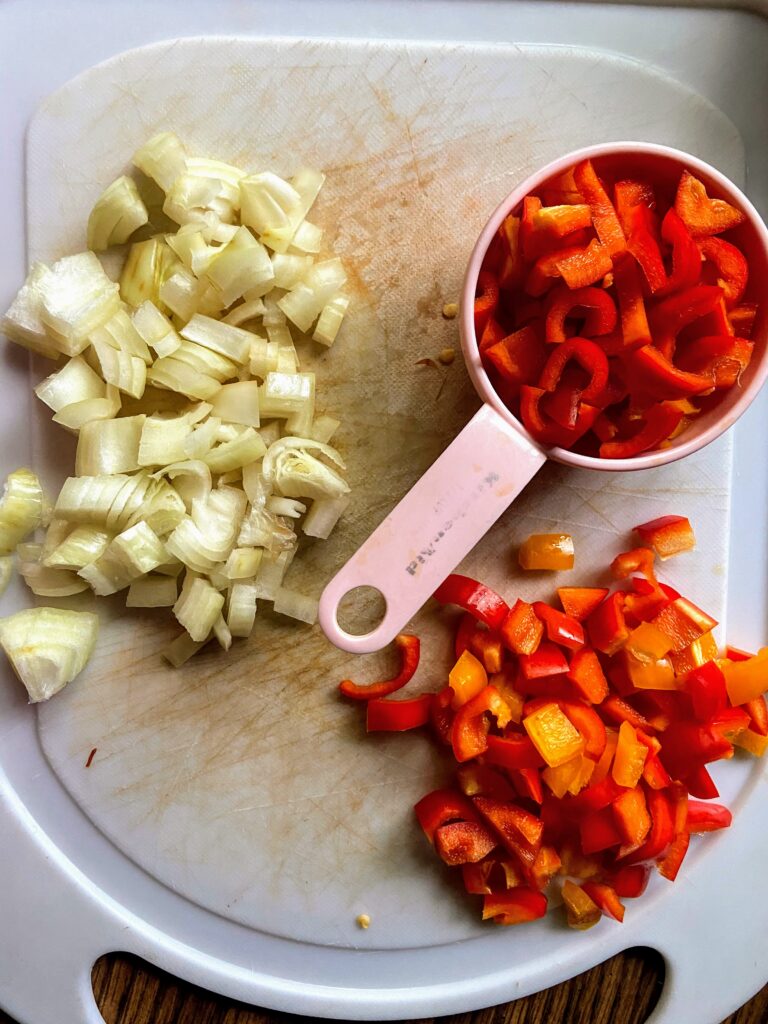
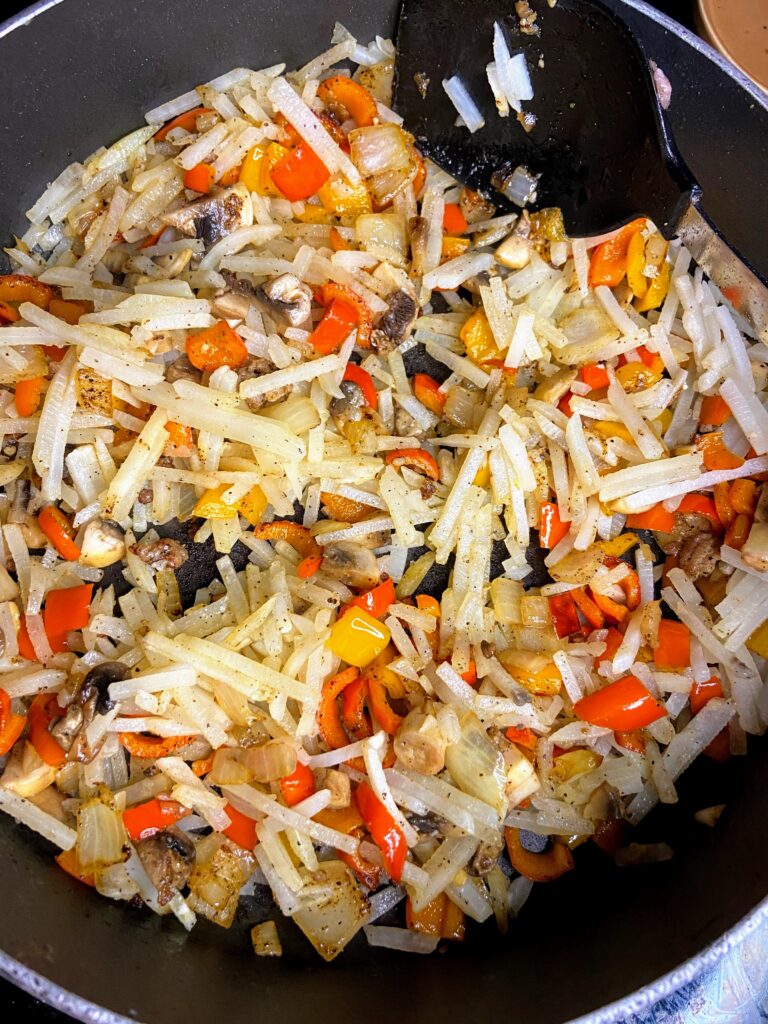
Add diced peppers, onions, and garlic. Cook over medium heat until softened, about 6 minutes. While the peppers are cooking, thaw the hash browns in the microwave on the defrost setting. Add hashbrowns to softened peppers and onions. Cook for 5-10 minutes, until they are cooked through and hot, but not browned. 

Remove peppers and hash browns from the pan. If enough oil remains, great. If not, add ½-1 more tablespoons of oil to grease the pan for the eggs. Whisk eggs, milk and pepper, salt, onion powder, and paprika. Add to a hot pan and scramble the eggs. Cook until JUST cooked through. Leave them with more moisture than not. Remove from the pan. 

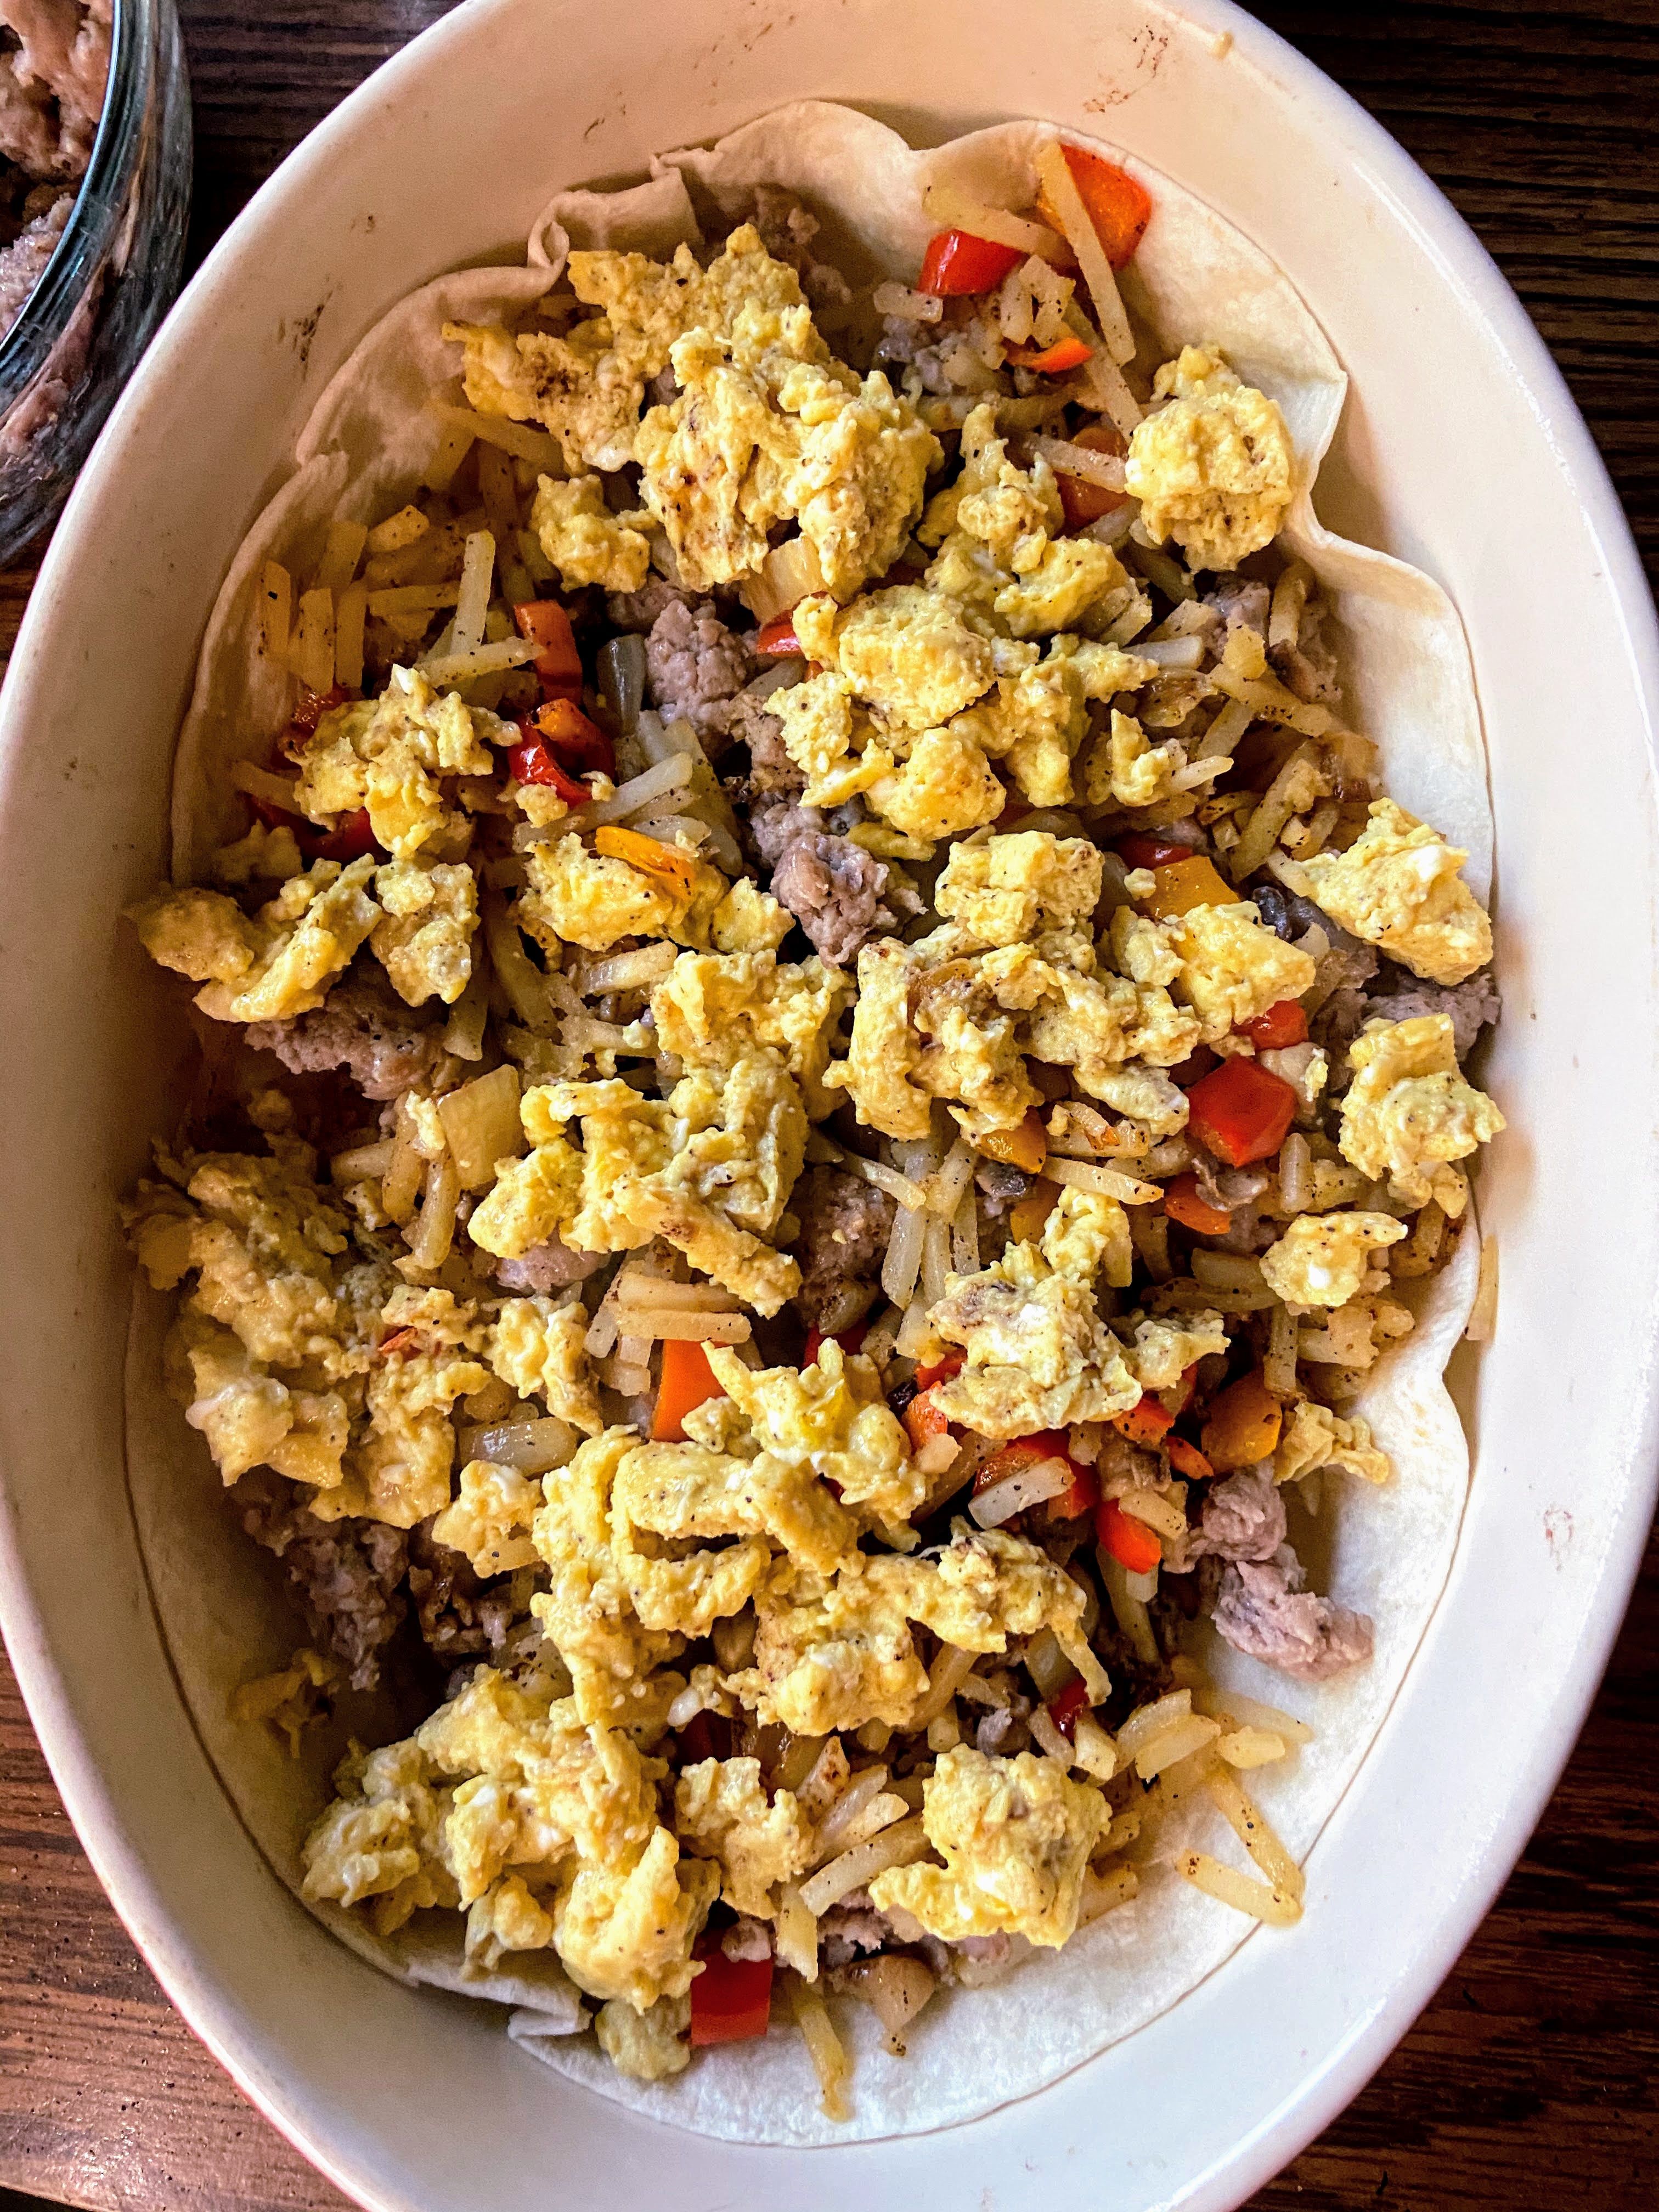
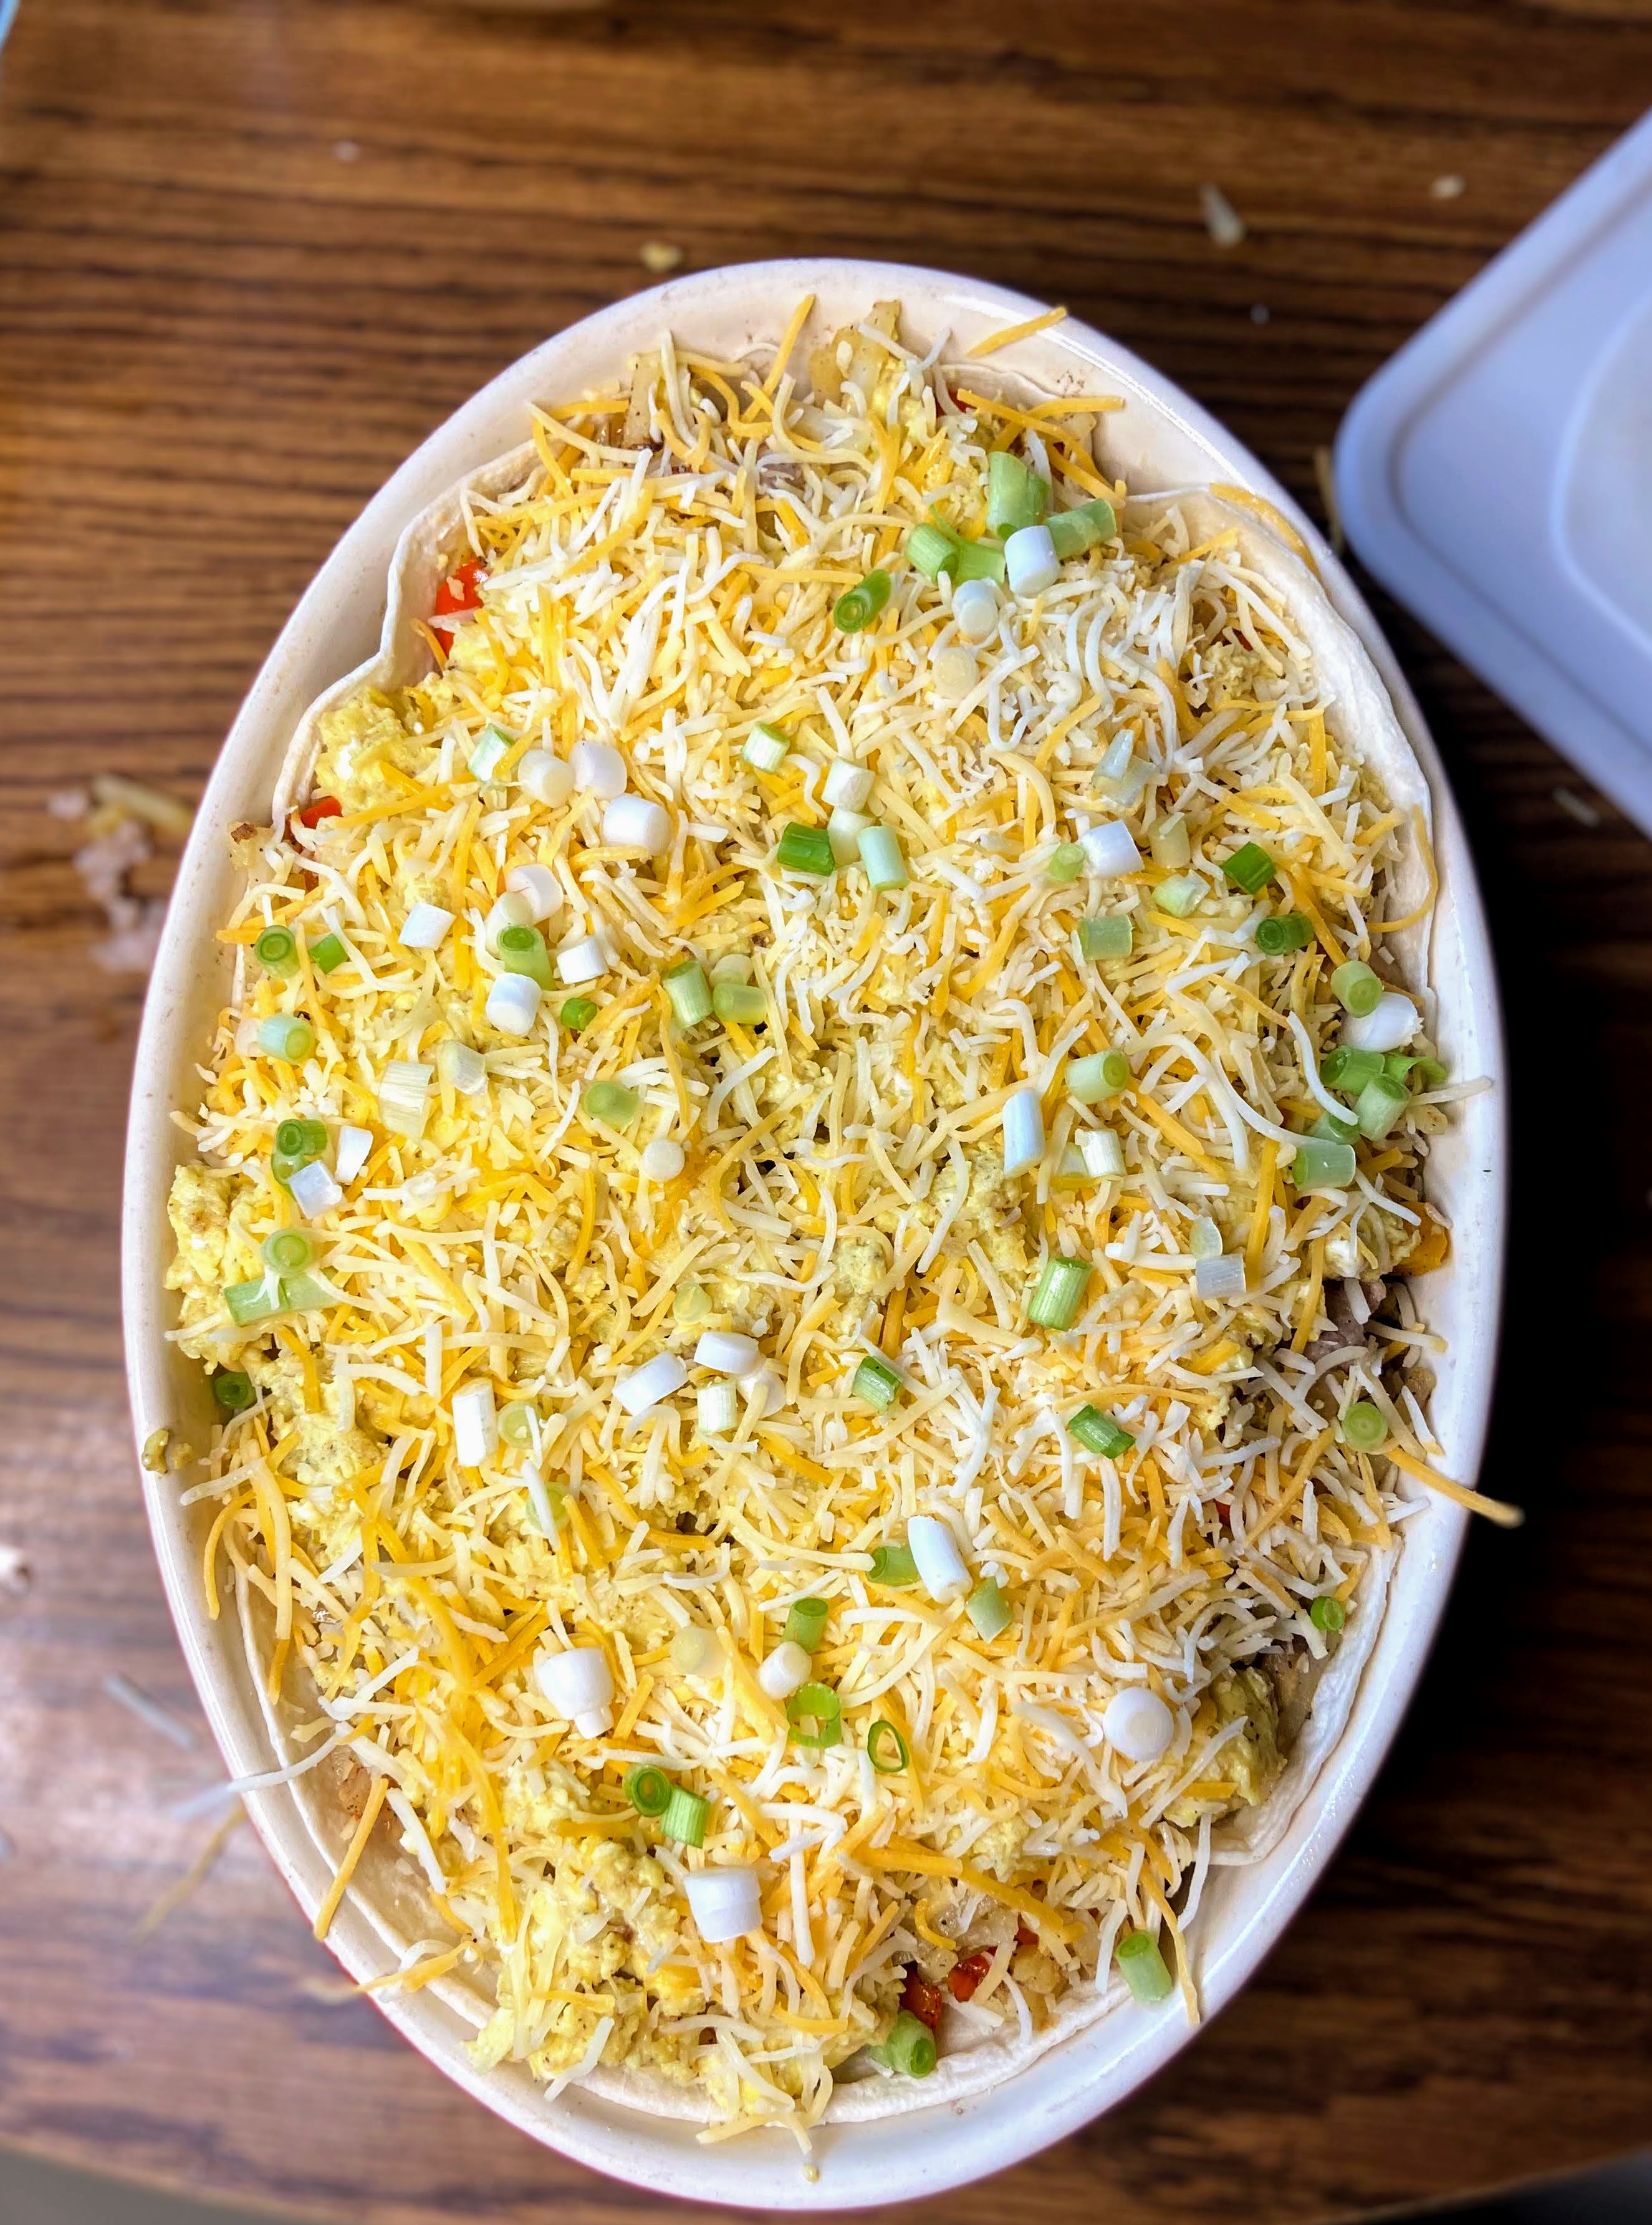
Layer sausage, hash browns and peppers, and eggs in the casserole dish. Add ½-¾ cup cheese. Top with remaining tortillas. Layer sausage, hash browns and peppers, and eggs once more. Top with remaining cheese and sliced green onions. 

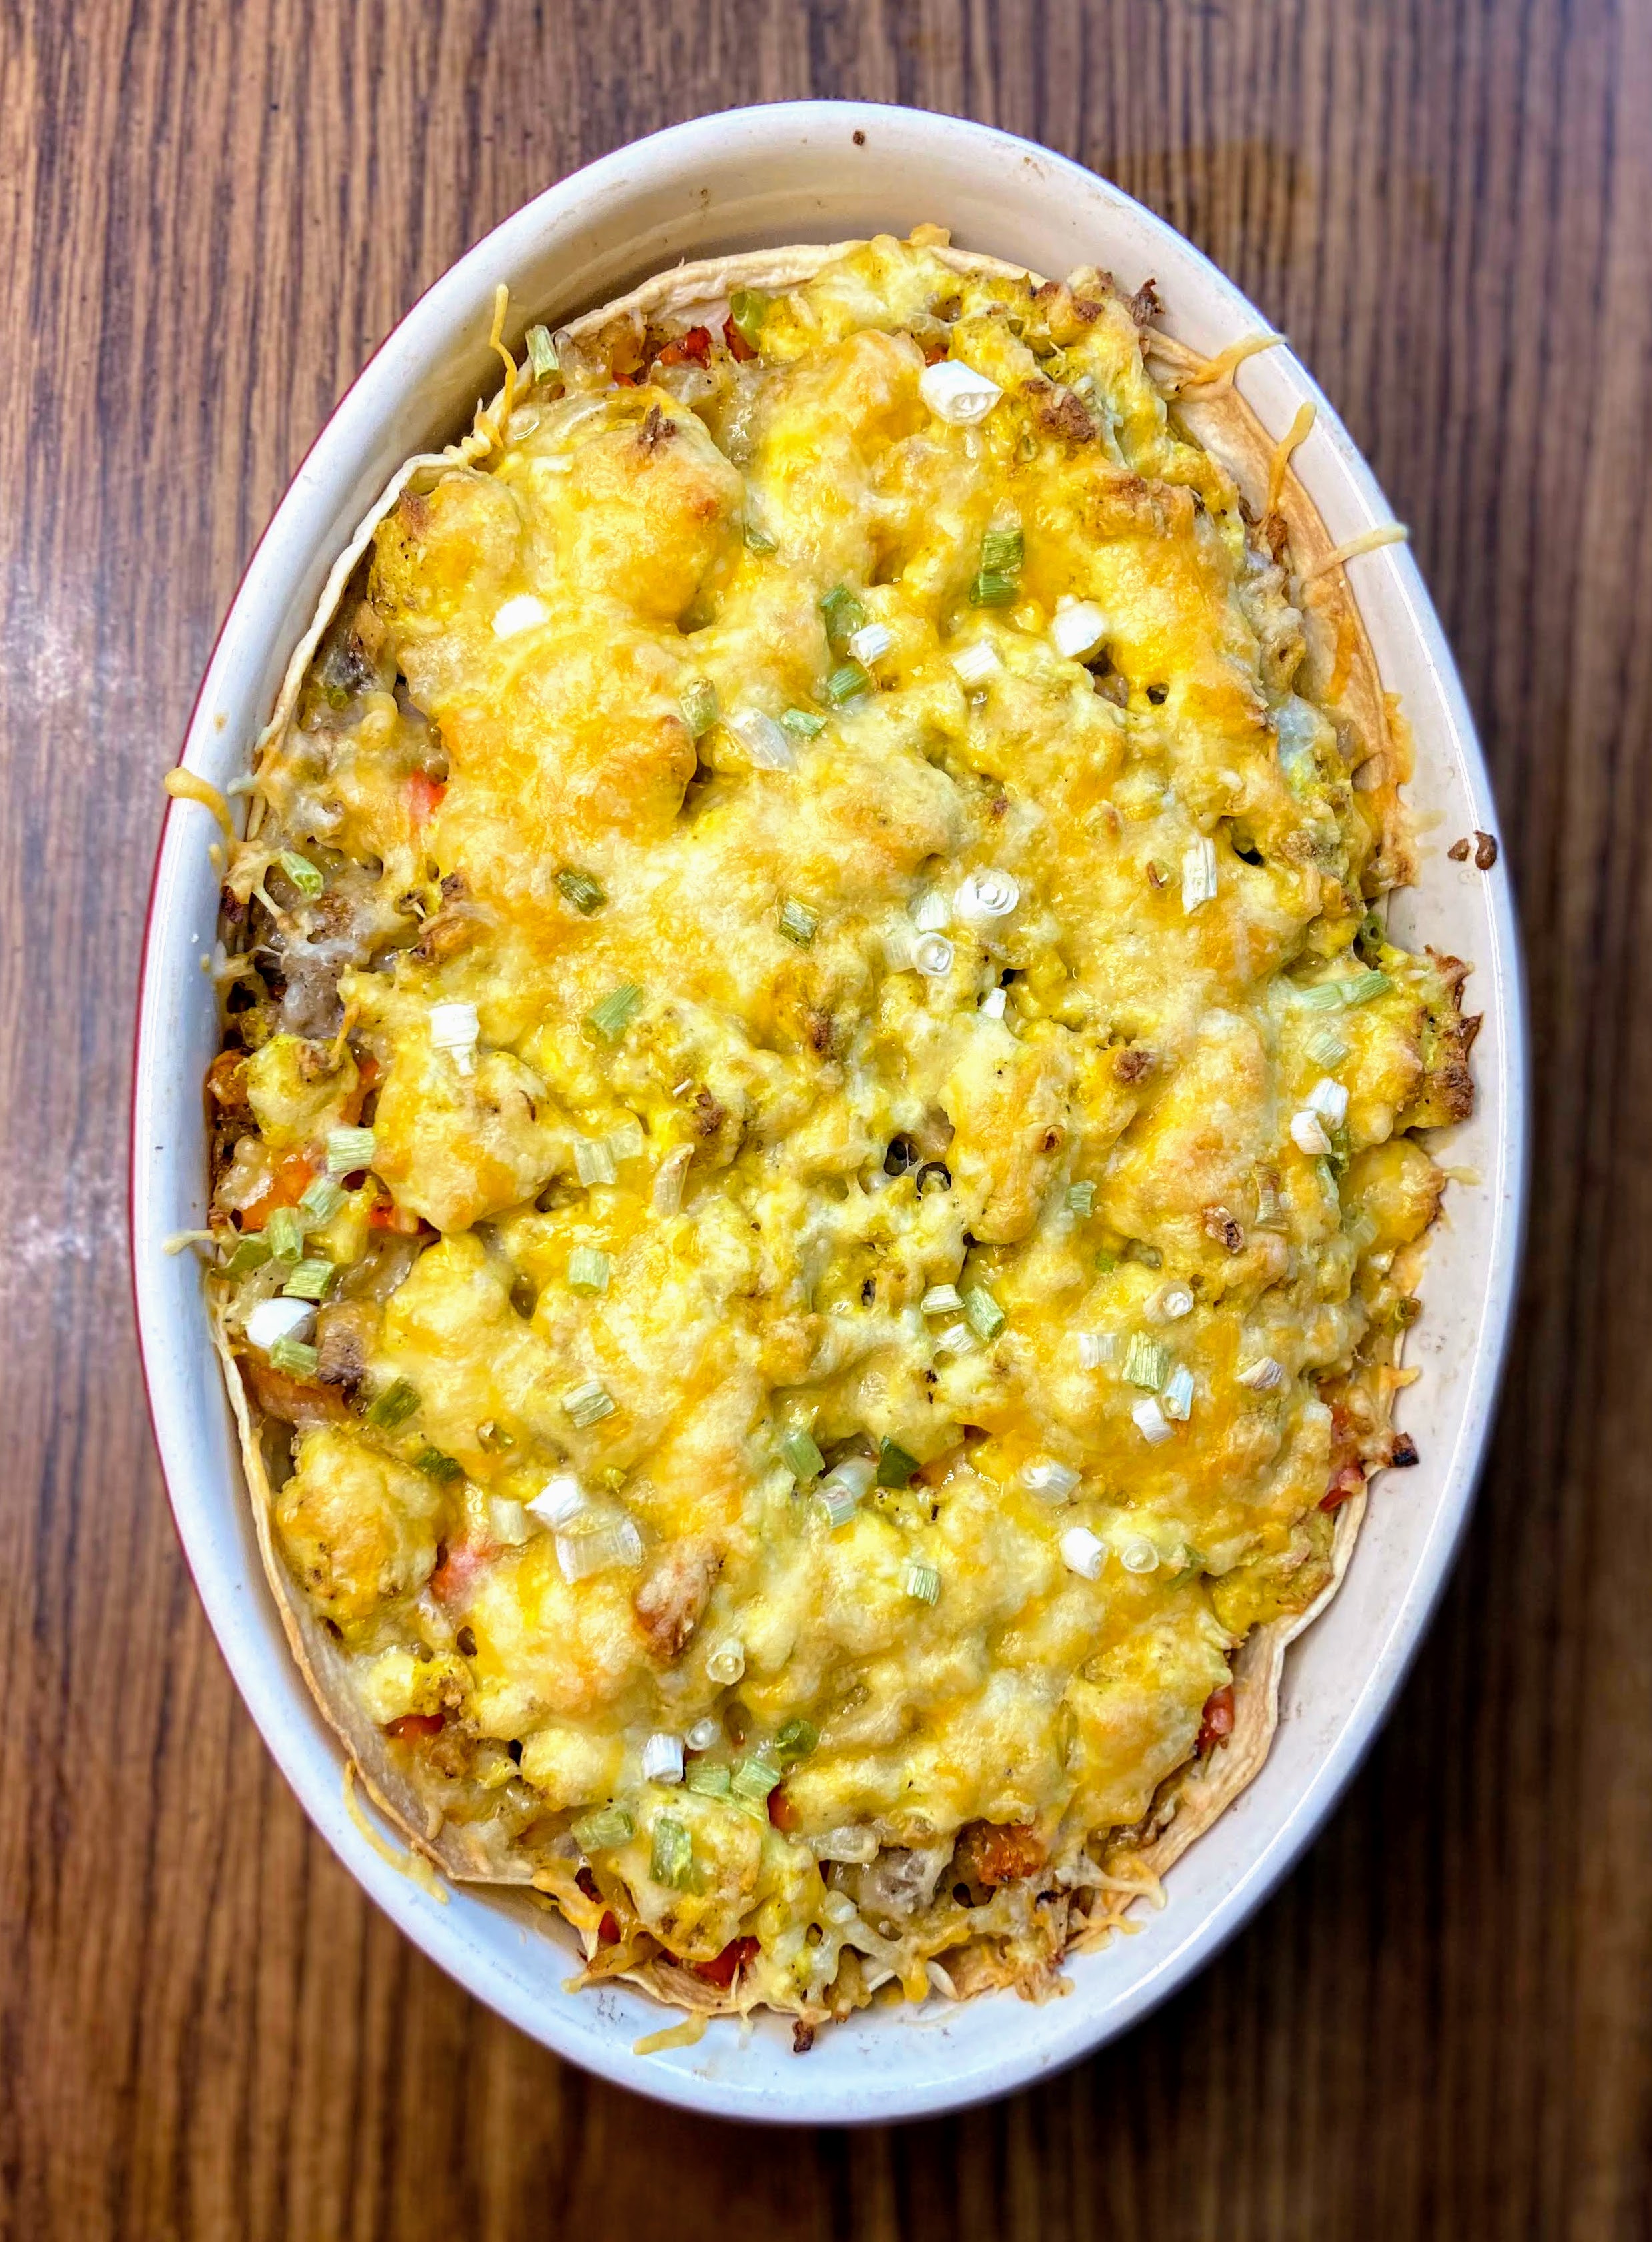
Bake, uncovered, for 35-40 minutes, until cheese is melted. Serve it up!

Looking for some other breakfast inspiration? Check out my cooking or baking page by clicking the buttons below:

Easy Breakfast Tortilla Bake

Breakfast sausage, hash browns, eggs, and tortillas form the base of this simple breakfast bake perfect for a few weekend guests or a large family!
Prep Time 30 minutes
Cook Time 35 minutes
Course Breakfast
Cuisine American
Servings 8 people

Ingredients
  

  • 4 round flour tortillas 10 inches
  • 1 pound ground breakfast sausage
  • 1 ½ tablespoon olive oil
  • 1 cup diced sweet peppers any color
  • ½ cup diced onion
  • ½ cup diced button mushrooms
  • 1 teaspoon minced garlic
  • ½ teaspoon pepper
  • 3 cups frozen shredded hash browns
  • 8 eggs
  • ¼ cup milk
  • ¼ teaspoon each of: pepper salt, onion powder, paprika
  • 1 ½ cups shredded cheese
  • 3 green onions thinly sliced

Instructions
 

  • Preheat the oven to 350 degrees. Line a shallow 2 ½ quart casserole dish with 2 of the flour tortillas.
  • Add ½ tablespoon olive oil to a deep saute pan. Heat over medium-high heat. Once hot, add breakfast sausage. Break apart and brown until just cooked. Remove from the pan, but leave the oil.
  • Add diced peppers, onions, and garlic. Cook over medium heat until softened, about 6 minutes.
  • While the peppers are cooking, thaw the hash browns in the microwave on the defrost setting. Add hash browns to softened peppers and onions. Cook for 5-10 minutes, until they are cooked through and hot, but not browned.
  • Remove peppers and hash browns from the pan. If enough oil remains, great. If not, add ½-1 more tablespoons of oil to grease the pan for the eggs. Whisk eggs, milk and pepper, salt, onion powder, and paprika. Add to the hot pan and scramble the eggs. Cook until JUST cooked through. Leave them with more moisture than not. Remove from the pan.
  • Layer sausage, hash browns and peppers, and eggs in the casserole dish. Add ½-¾ cup cheese. Top with remaining tortillas. Layer sausage, hash browns and peppers, and eggs once more. Top with remaining cheese and sliced green onions.
  • Bake, uncovered, for 35-40 minutes, until cheese is melted.
Keyword bake, breakfast bake, breakfast casserole, casserole
Tried this recipe?Let us know how it was!

Italian Sausage and Orzo Soup

At our home, we try to do only one grocery store trip a week. Yes, we may need more bananas or perhaps some milk, but overall, we can make it on one trip. If we haven’t meal planned for the week, this also means we purchase random proteins and roll with them. A few weeks ago, ground Italian sausage was one of those proteins. It’s what I would call a staple at our house. While we don’t always have a plan for it when we purchase it,  I am always down for embracing my Italian roots. For this go around, I put together an Italian Sausage and Orzo Soup, and it’s a winner! 

Honestly, this soup was born from both “We have to use this protein up before it goes bad” and “What else can I combine with this sausage to make a great soup without going shopping?” If you know me, I am also about sneaking in all the vegetables possible…and then pairing a salad with the meal for good measure. It’s how I roll and a joke around our house: “Look at mom, adding MORE vegetables to the meal.” But I promise, no one will be complaining about the vegetables in this Italian Sausage and Orzo Soup because the flavor is just that good. 

Okay, we’ve talked enough. You want to get cooking right? Let’s go! 

Your Ingredients for Italian Sausage and Orzo Soup

  • 1 pound Italian sausage⁠
  • olive oil , about 1/2 to 1 tablespoon
  • 1 cup diced onion⁠
  • 1 cup diced carrot⁠
  • 1/2 teaspoon fennel seed⁠
  • 2 cloves minced garlic
  • t teaspoon dried basil
  • 1 teaspoon dried oregano
  • 1/2 teaspoon pepper⁠
  • 1 cup chopped frozen spinach⁠
  • 1 can chick peas, rinsed (half of the can pureed)⁠
  • 4 cups chicken or vegetable stock⁠ (I love Orrington Farm’s Chicken Stock. They also make a Vegan option! How cool!)

  • 28 ounces diced tomatoes⁠
  • 1/2 cup dried orzo⁠
  • salt, to taste⁠

Your steps to Great Soup!
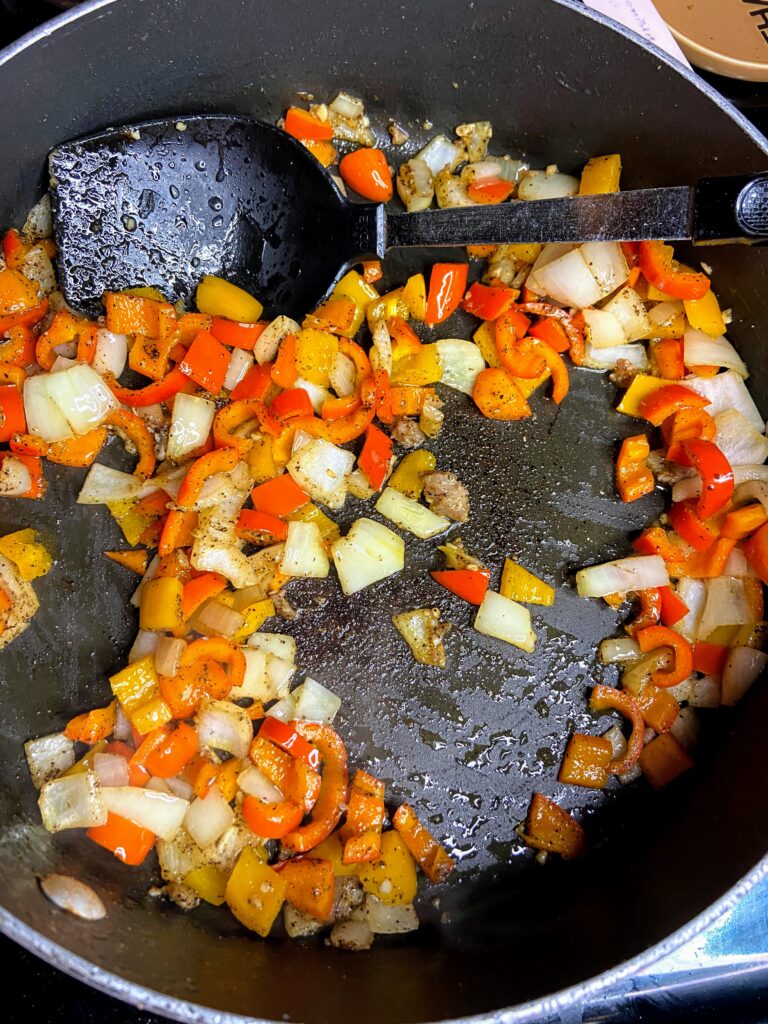
In a large dutch oven, heat olive oil. Add Italian sausage and cook until browned. Remove from the pan and set aside. 

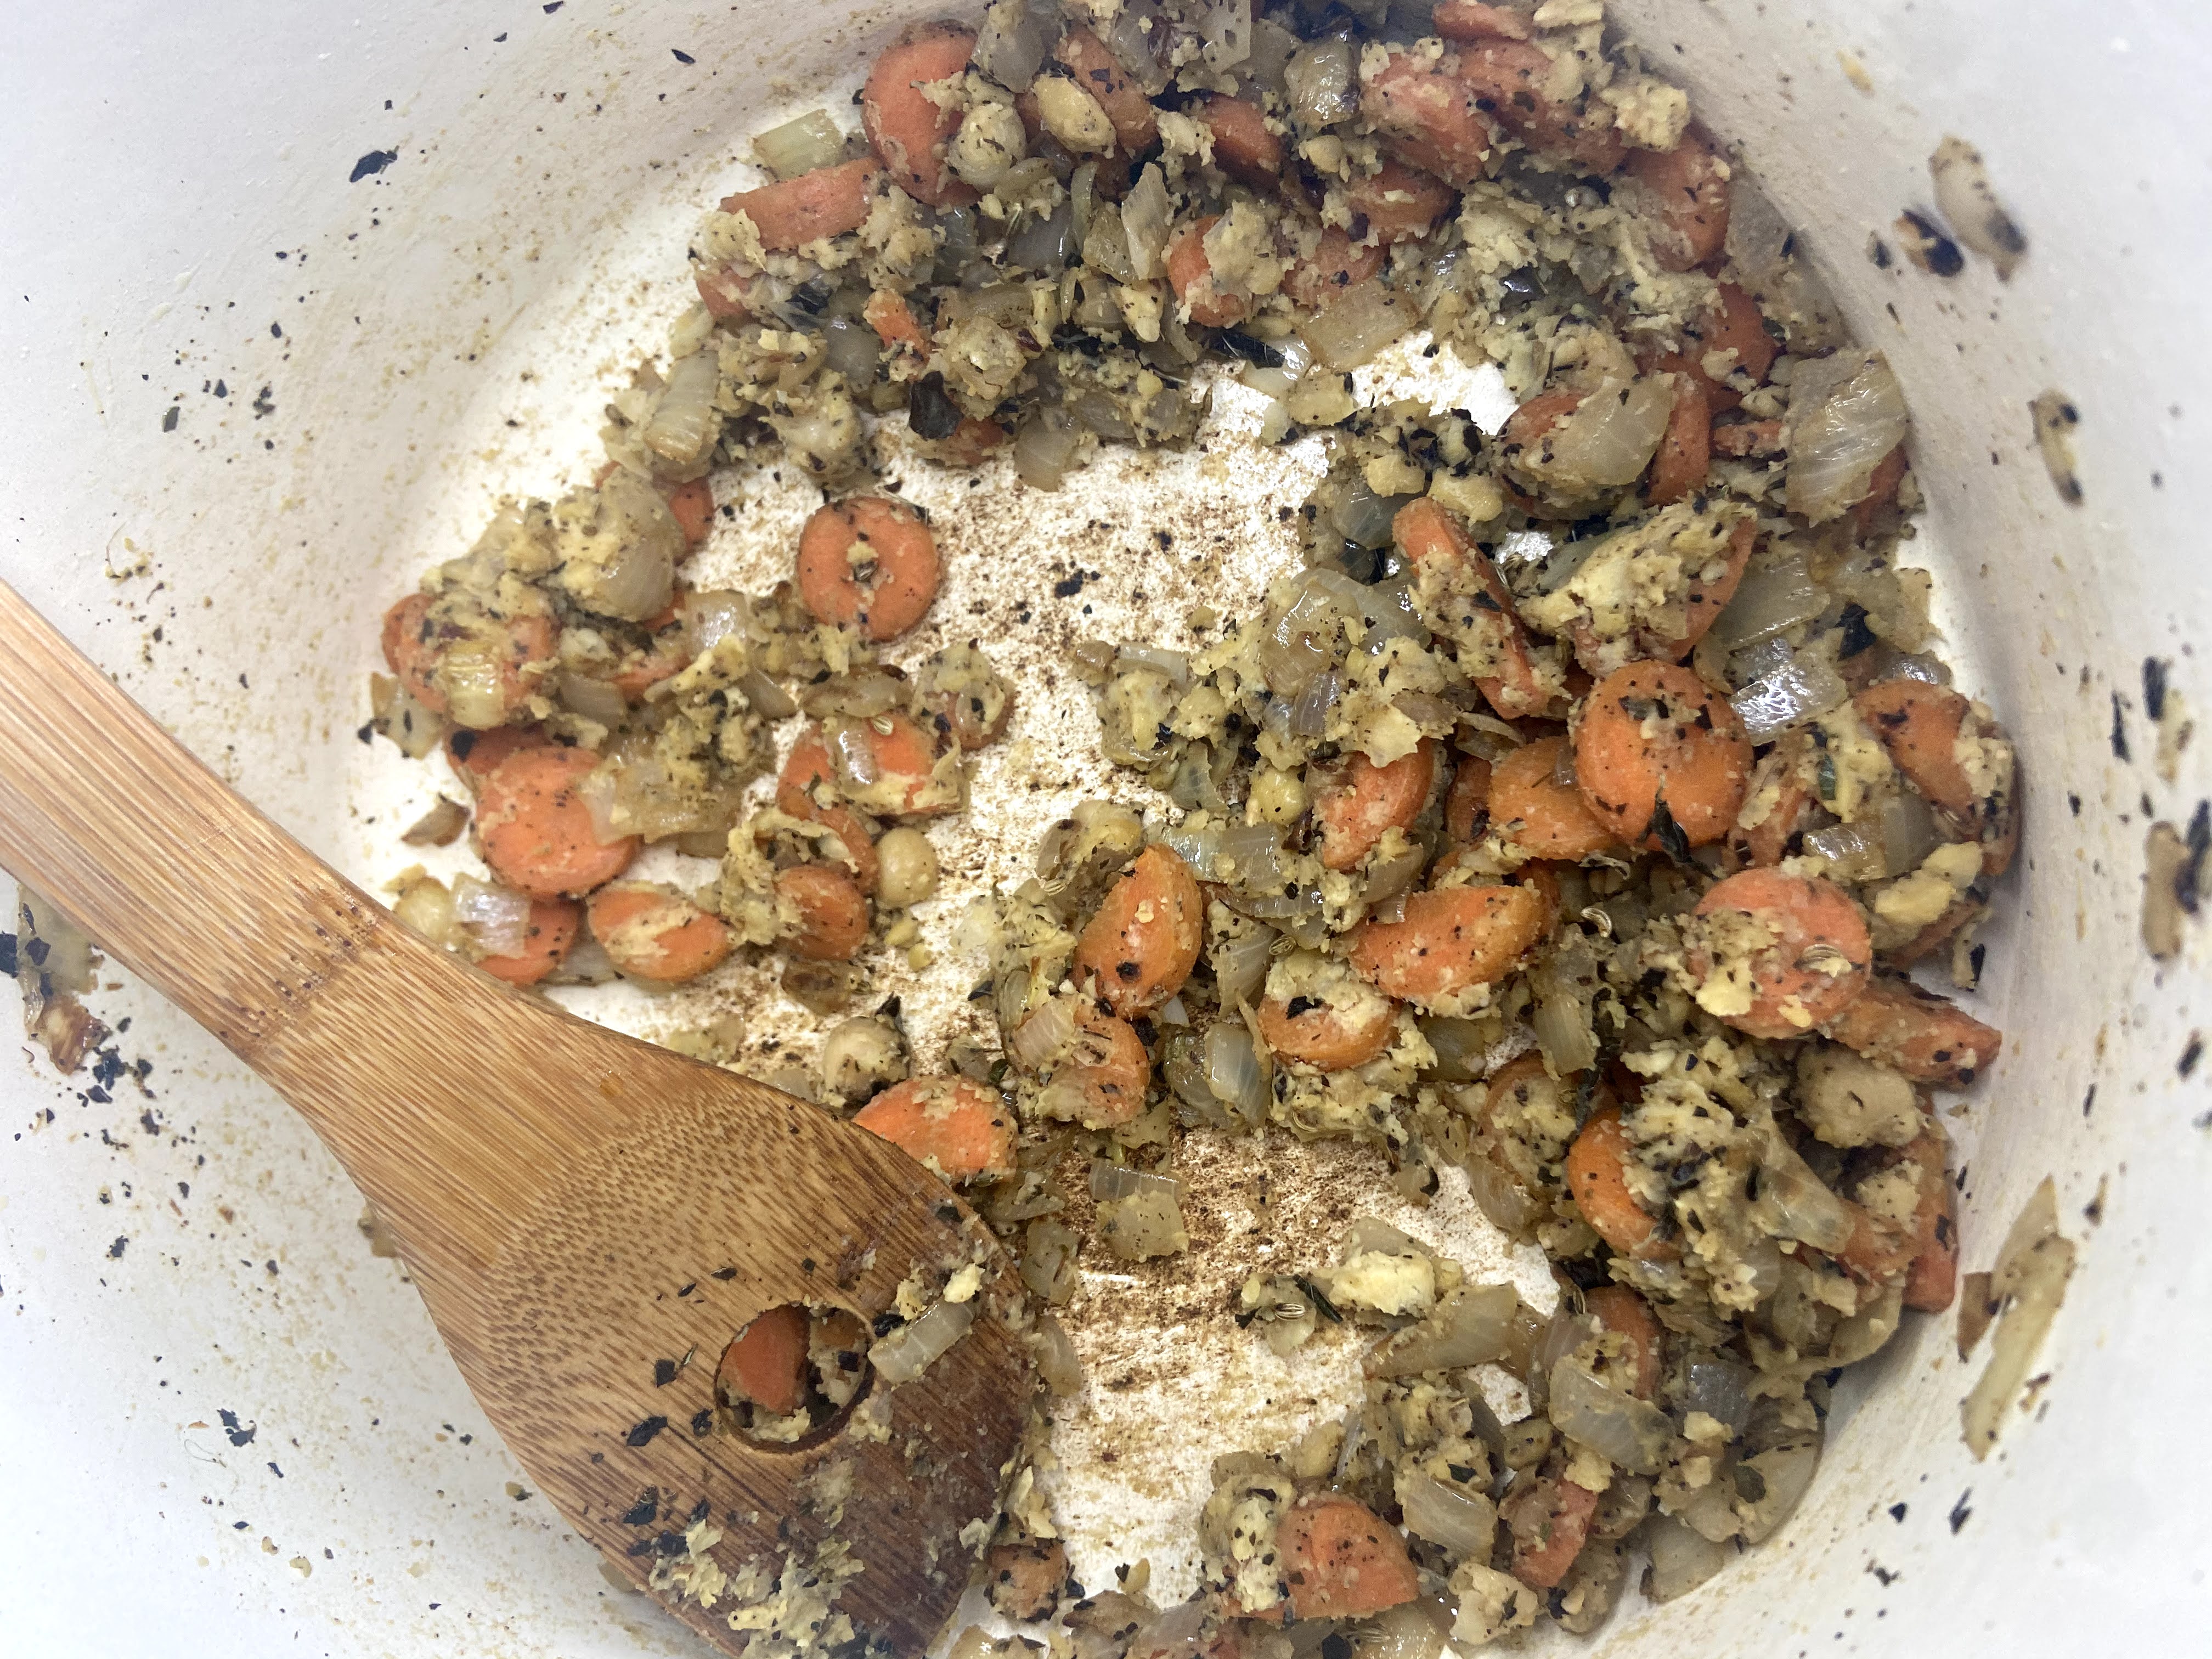
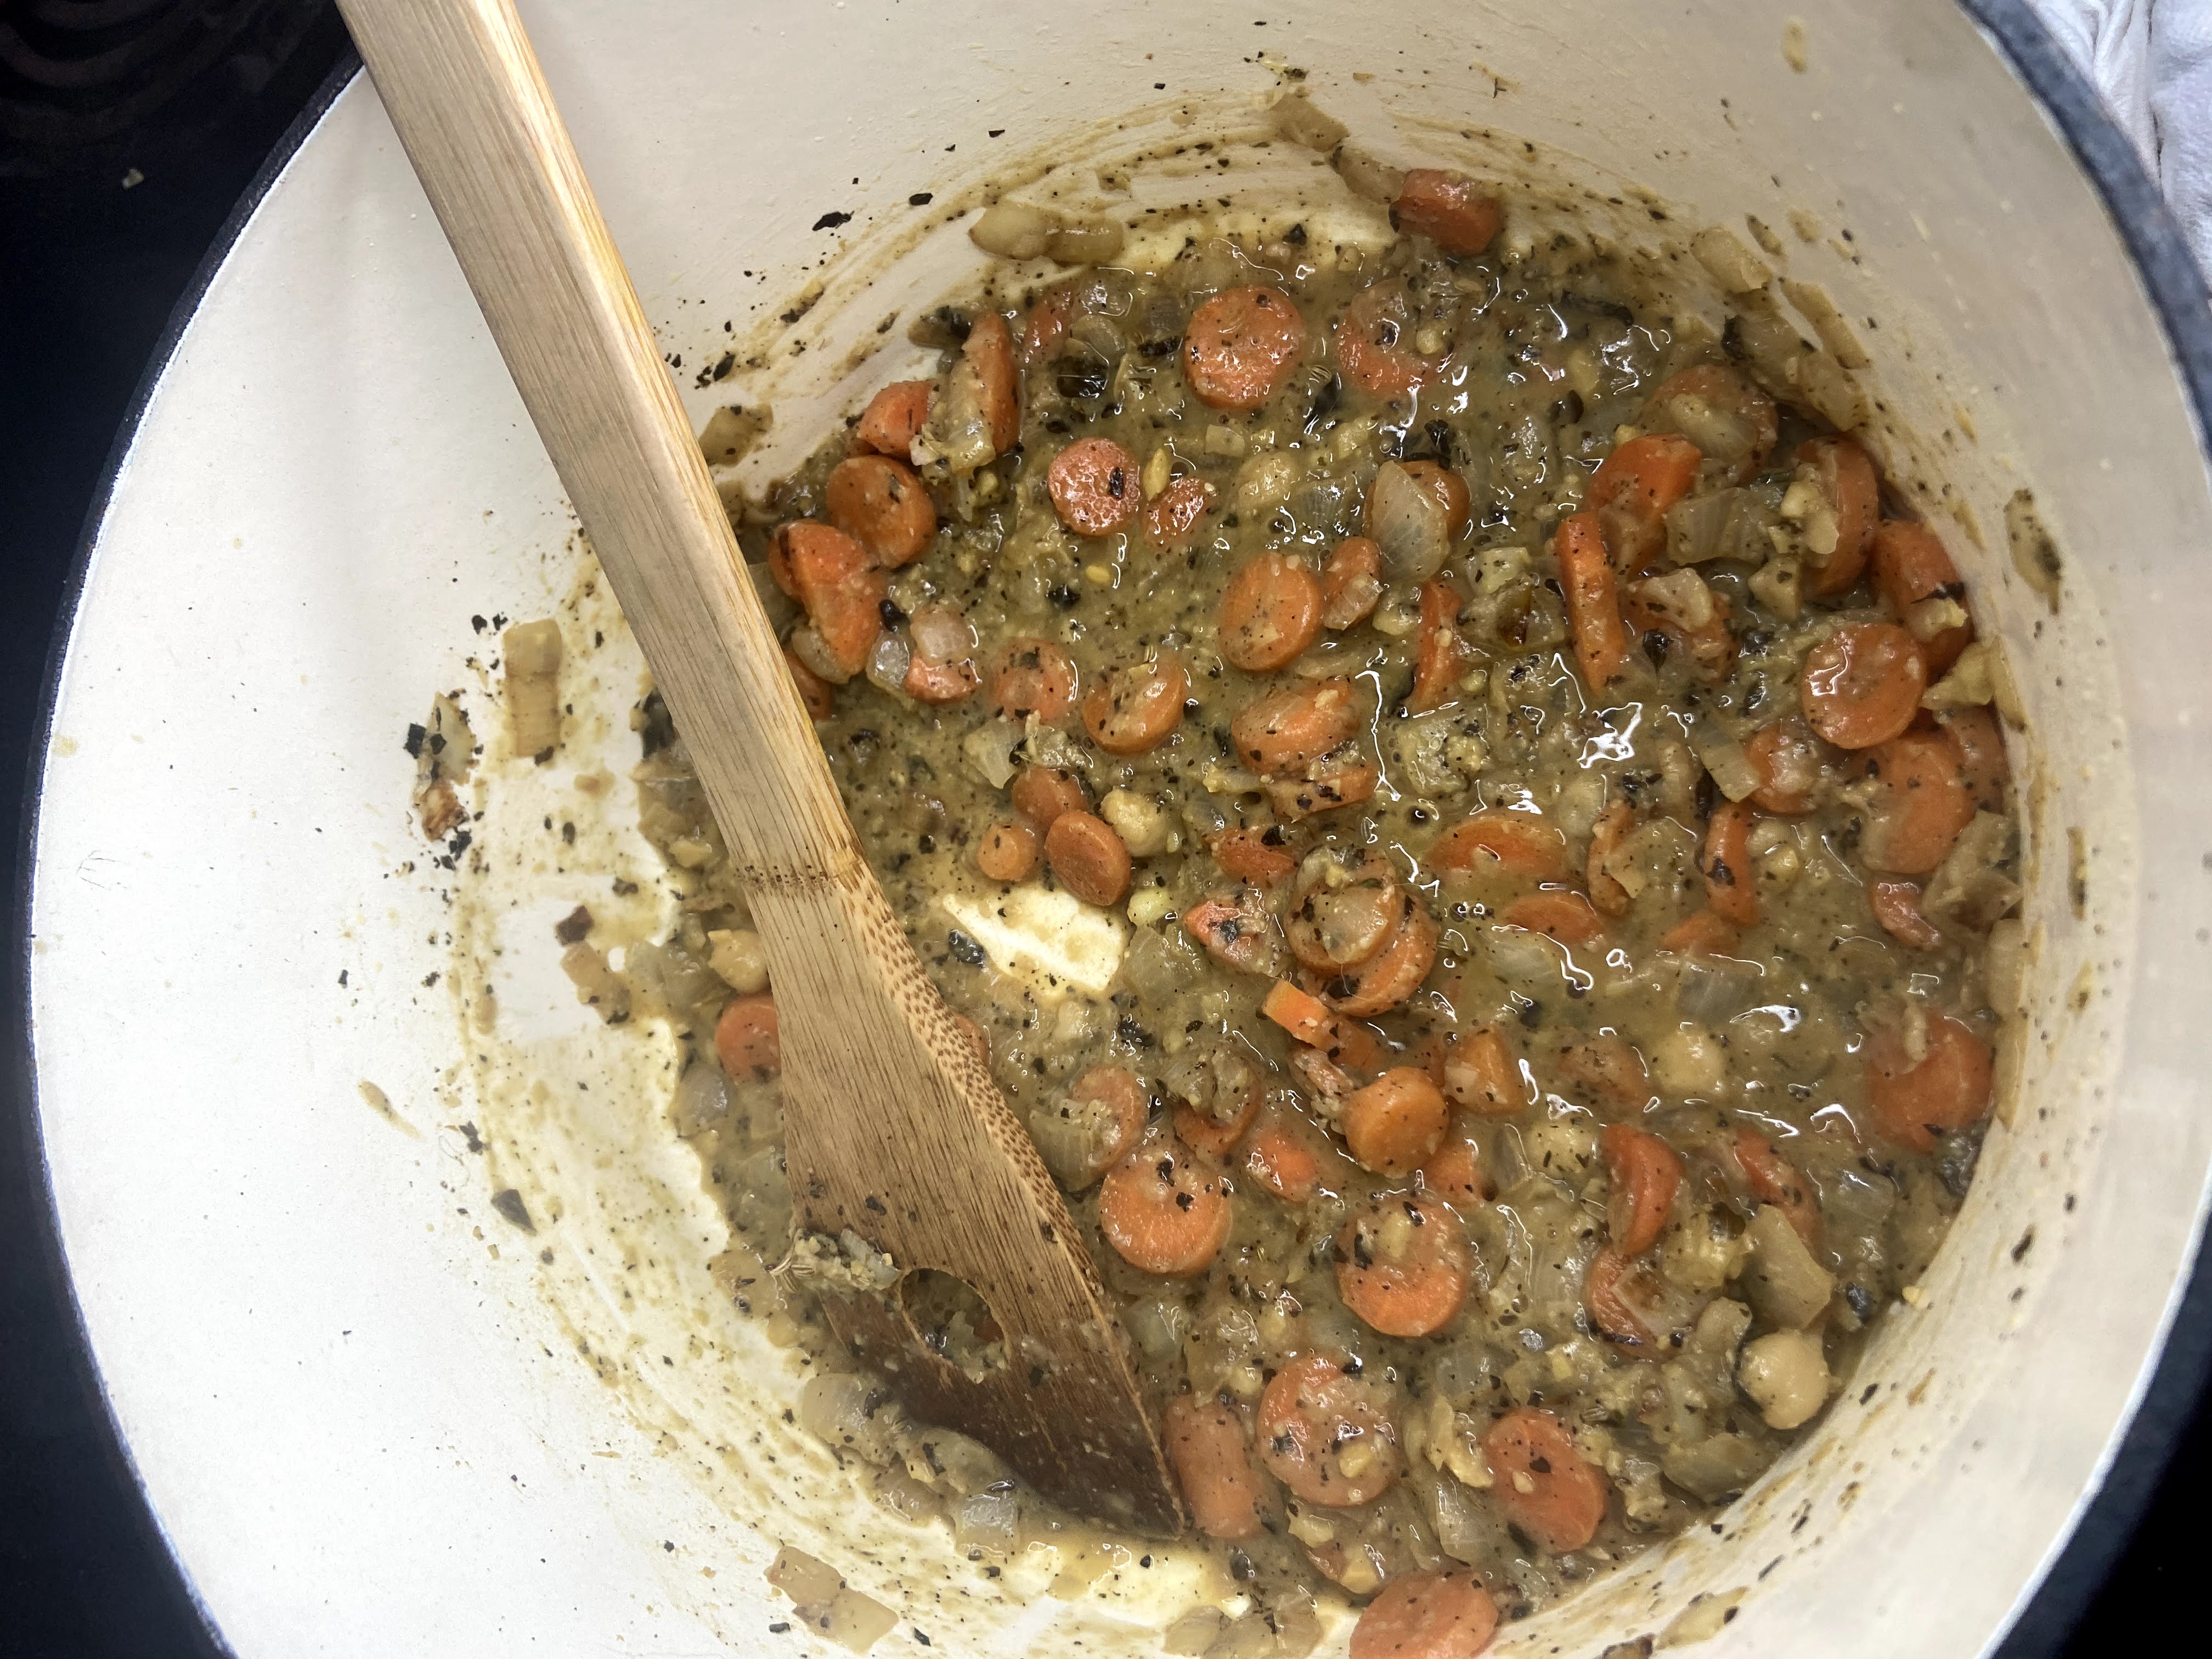
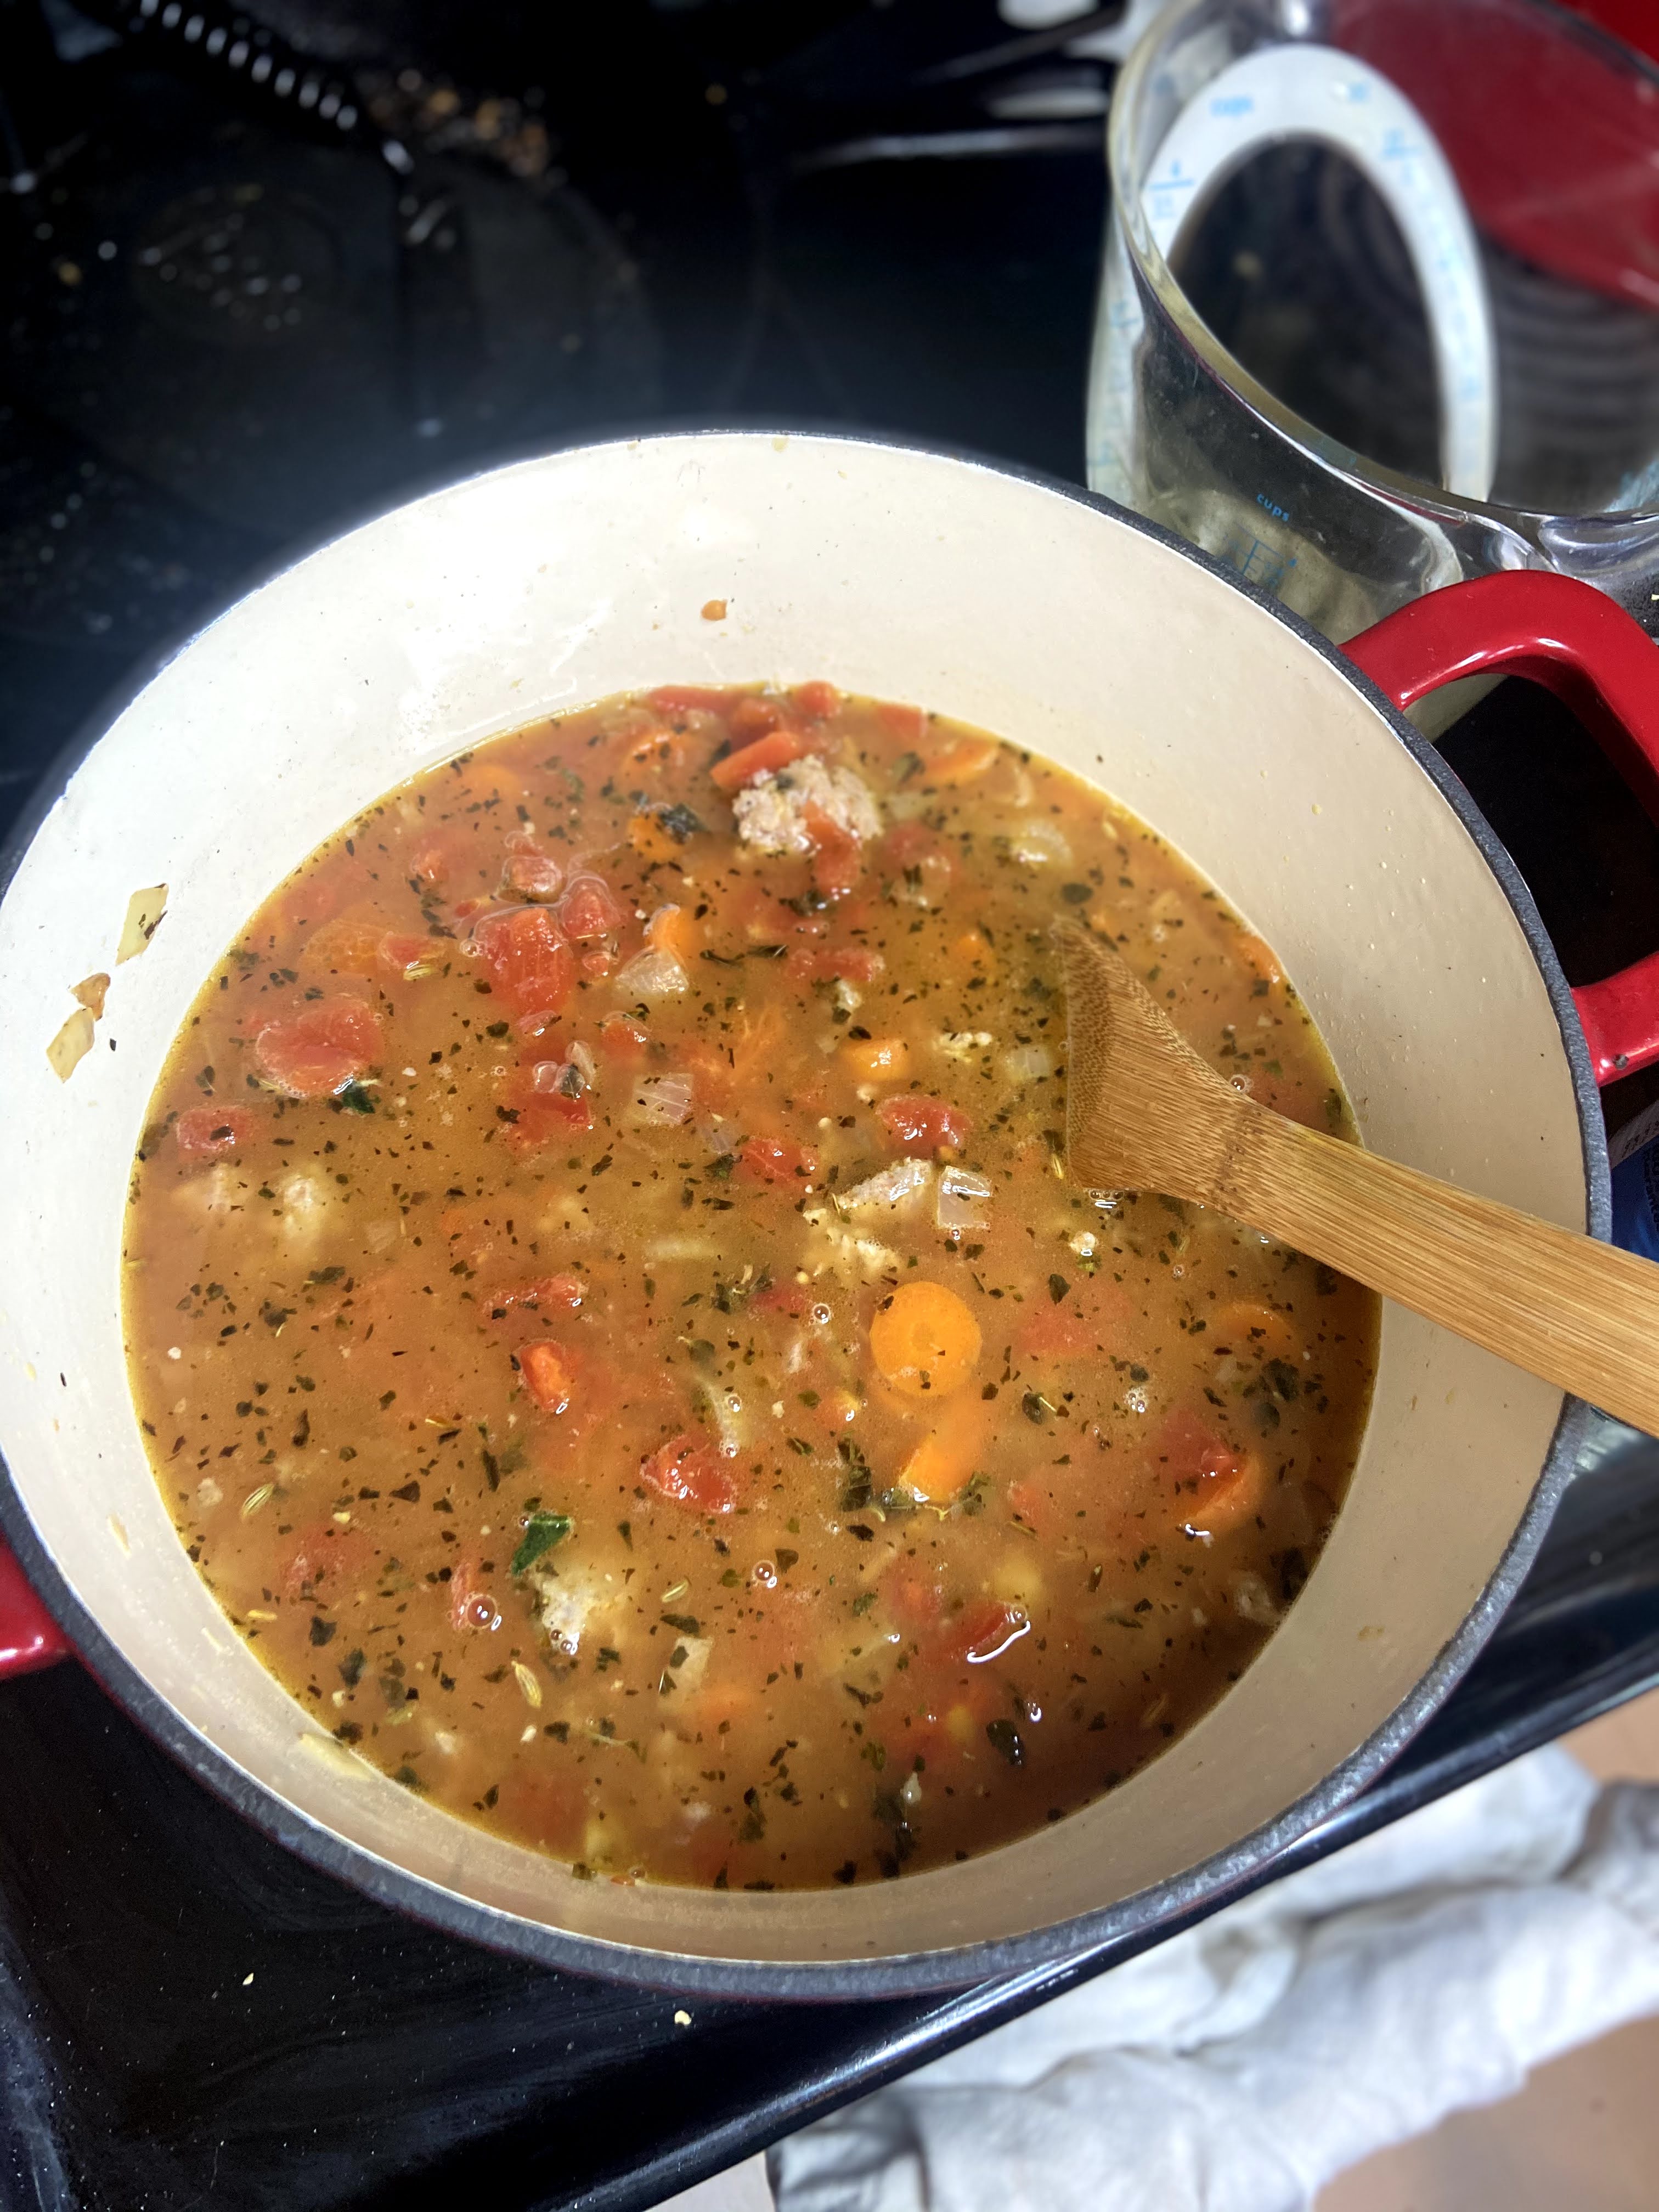
Add onion, carrot, garlic, fennel, basil, and oregano. Cook on medium heat until softened, about 8 minutes. Add pureed chick peas, stirring often. Slowly add chicken stock, stirring after each addition. 

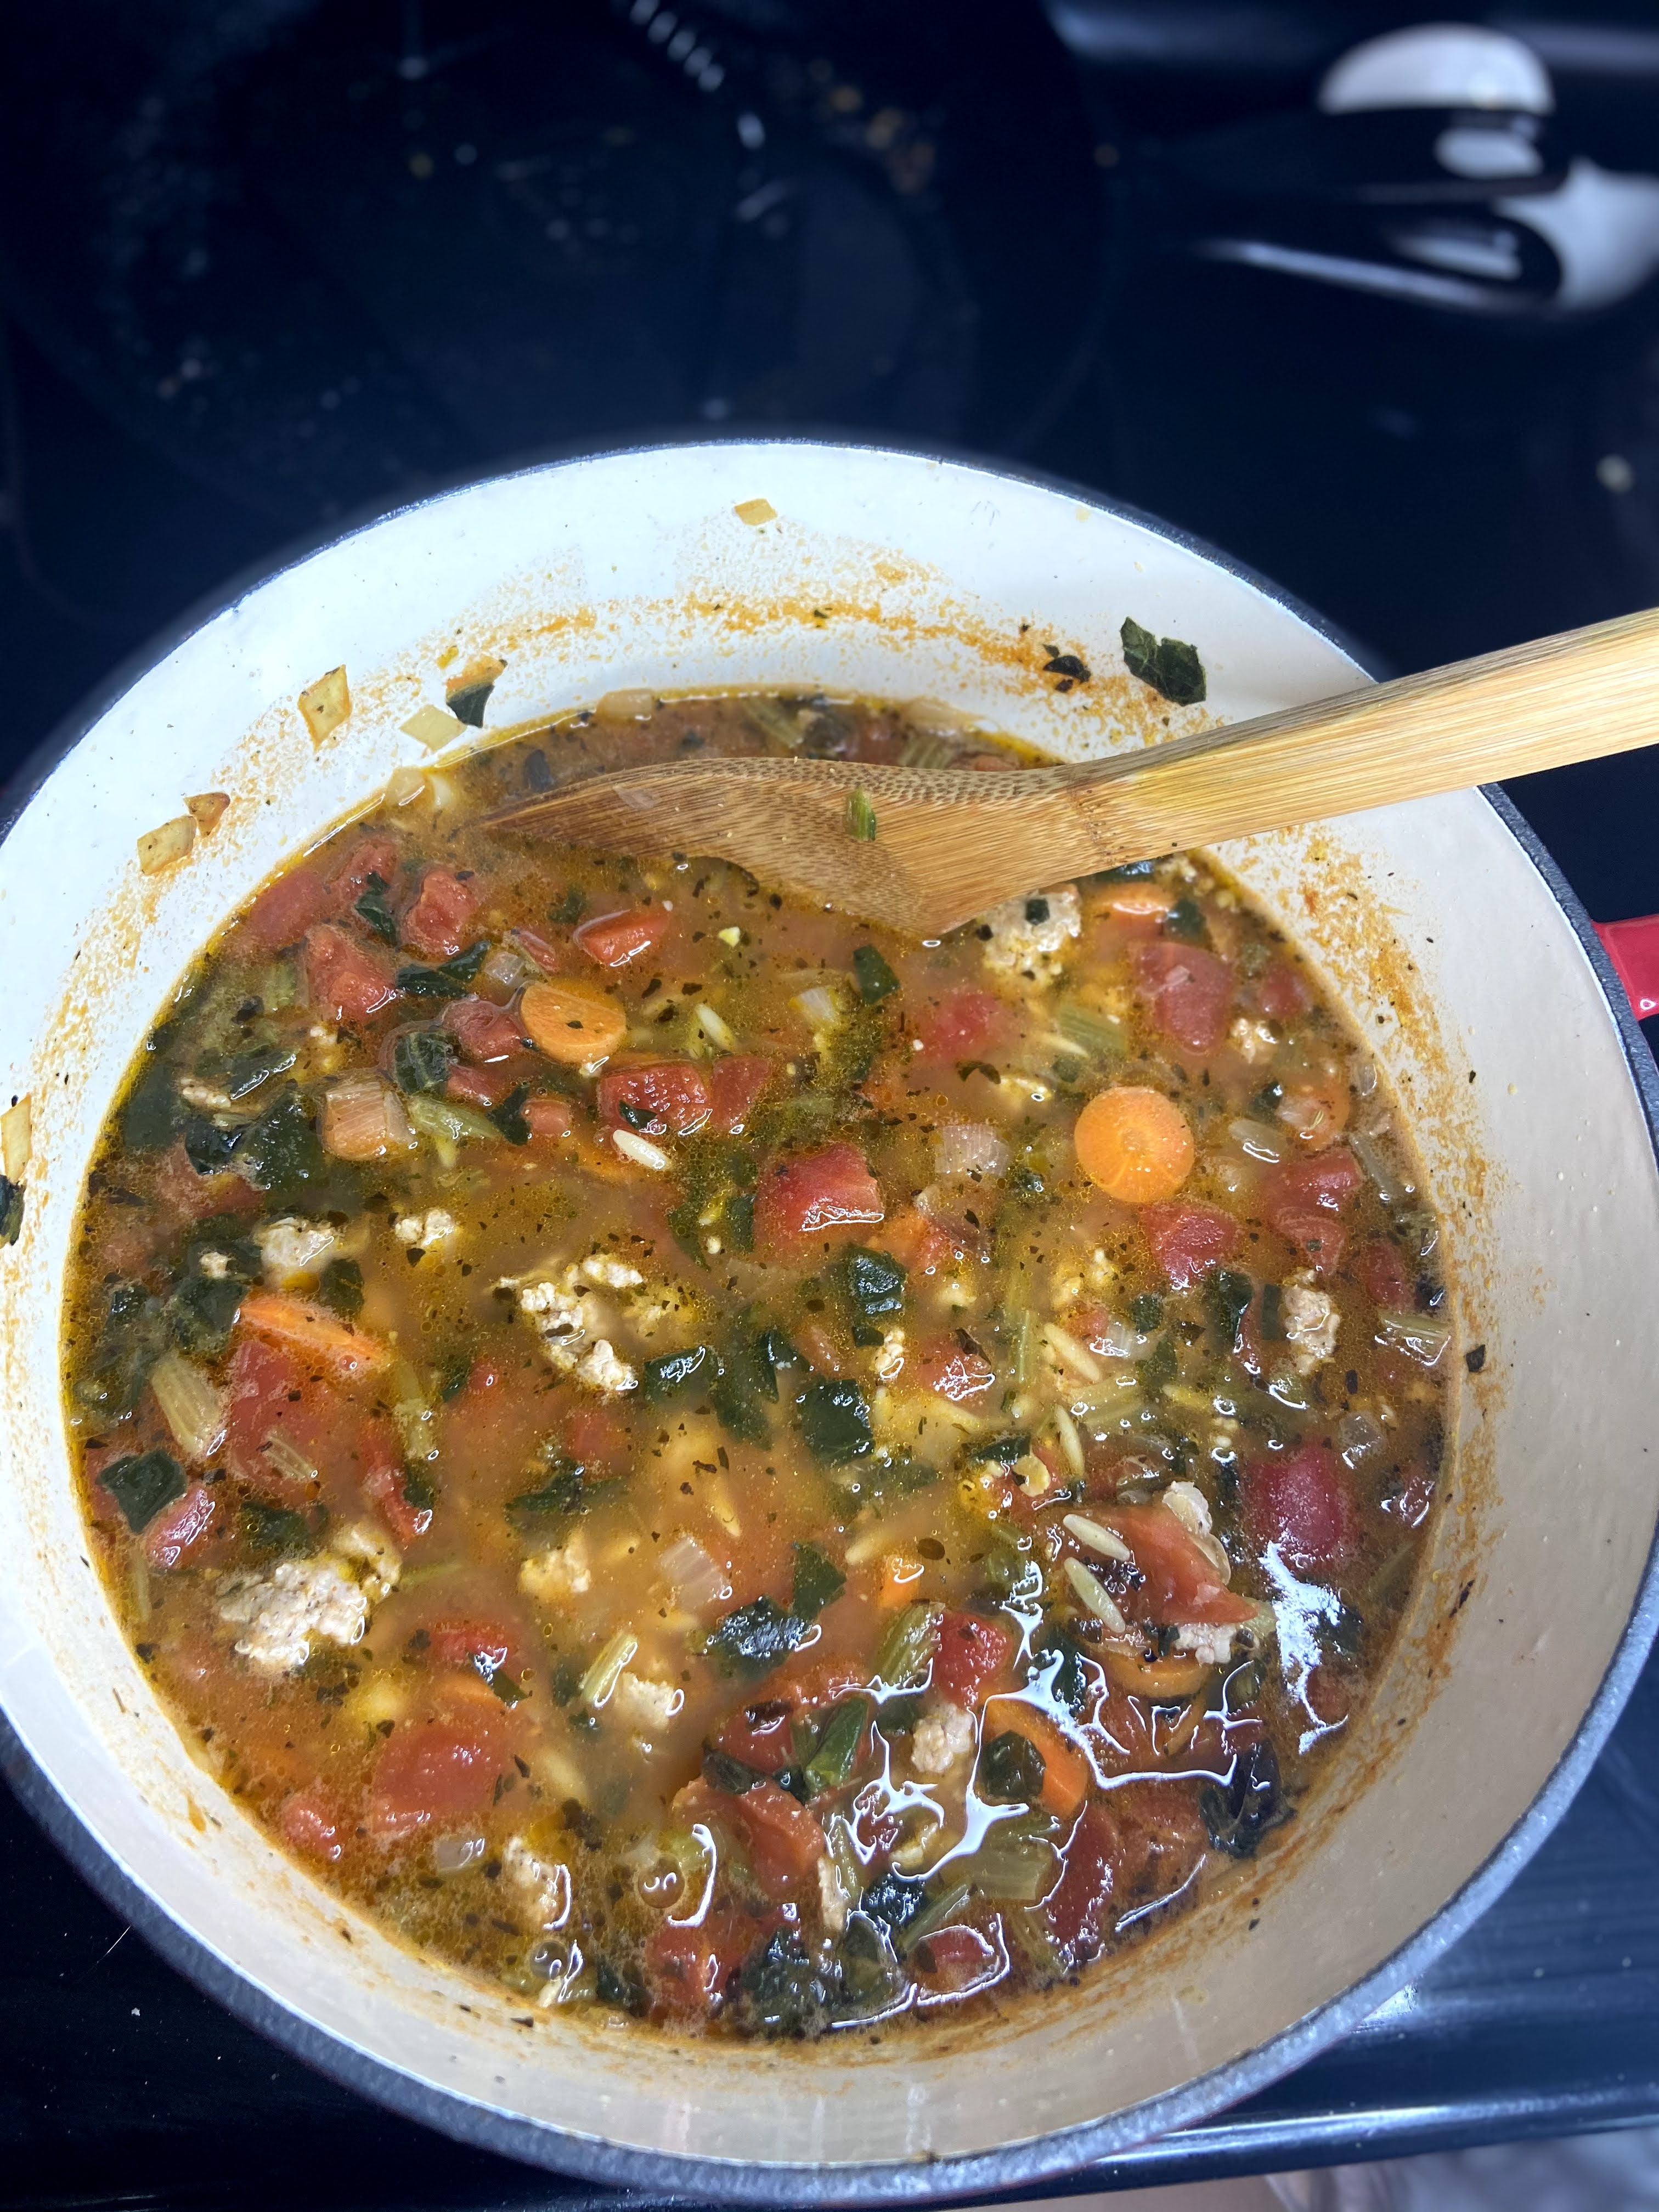
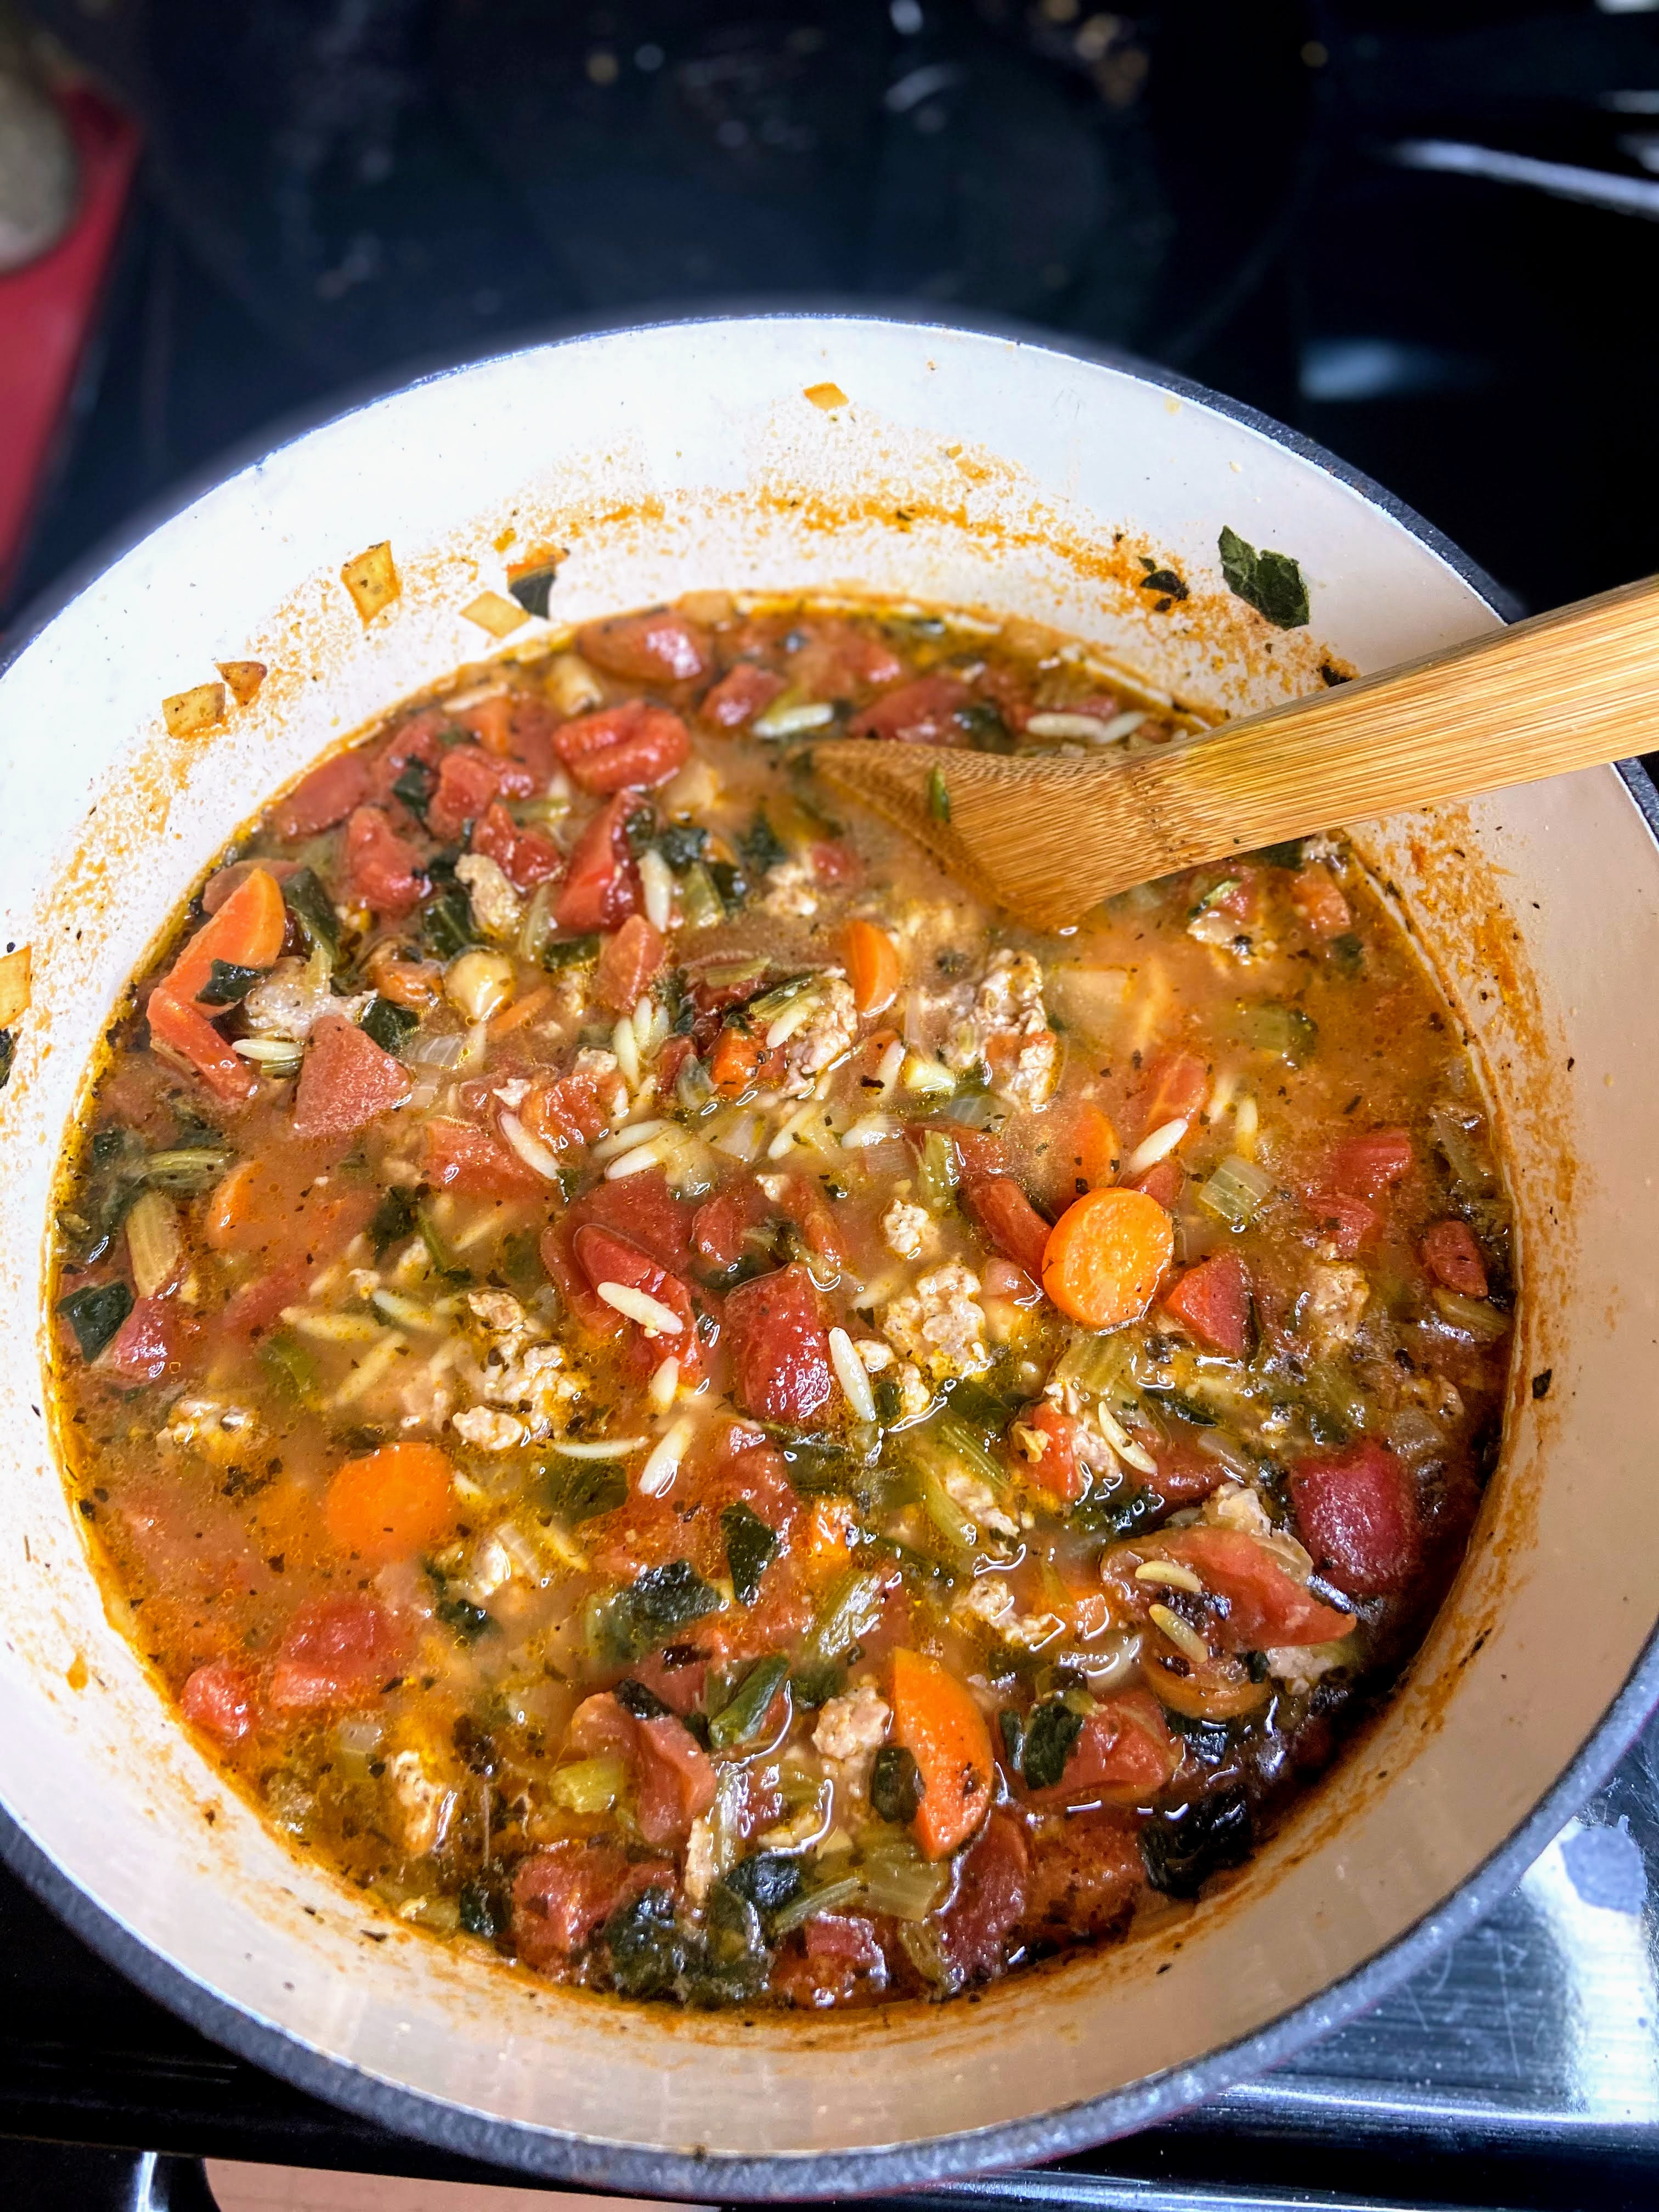
Stir in the tomatoes, spinach, and browned sausage. Bring the soup to a boil and add orzo. Cook according to package directions. Allow to cool slightly and serve!⁠

Tools of the Trade

I talk about using a cast iron Dutch oven all the time. I can’t help it, it truly is something I could not live without in my kitchen. Besides a Dutch oven, also talk about the Orrington Farm stock often enough. I always have at least two flavors at home. And now I see they have a vegan option. How cool is that? Finally, I just really dig a flexible cutting board. Those are my favorites, friends! Happy cooking!

Perfection

Italian Sausage and Orzo Soup

Pantry items abound in this veggie-ful soup that is sure to please all the eaters at your house
Prep Time 20 minutes
Cook Time 20 minutes
Course Main Course
Cuisine American
Servings 6 people

Equipment

Ingredients
  

  • 1 tablespoon olive oil ⁠
  • 1 pound Italian sausage⁠
  • 1 cup diced onion⁠
  • 1 cup diced carrot⁠
  • 1 teaspoon minced garlic⁠
  • 1/2 teaspoon fennel seed⁠
  • 1/2 teaspoon pepper⁠
  • 1 teaspoon dried basil⁠
  • 1 teaspoon dried oregano⁠
  • 1 cup chopped frozen spinach⁠
  • 1 can chick peas rinsed (half of the can pureed)⁠
  • 4 cups chicken or vegetable stock⁠
  • 28 ounces diced tomatoes⁠
  • 1/2 cup dried orzo⁠
  • salt to taste⁠

Instructions
 

  • In a large dutch oven, heat olive oil. Add Italian sausage and cook until browned. Remove from the pan and set aside.
  • Add onion, carrot, garlic, fennel, basil, and oregano.
  • Cook on medium heat until softened, abut 8 minutes. Add pureed chick peas, stirring often.
  • Slowly add chicken stock, stirring after each add.
  • Stir in the tomatoes, spinach, and browned sausage.
  • Bring the soup to a boil and add orzo. Cook according to package directions.
  • Allow to cool slightly and serve!⁠
Keyword Italian sausage, orzo, soup
Tried this recipe?Let us know how it was!

Looking for other great recipes?

Check out my cooking page for savory inspiration or click below to add a dessert or two!

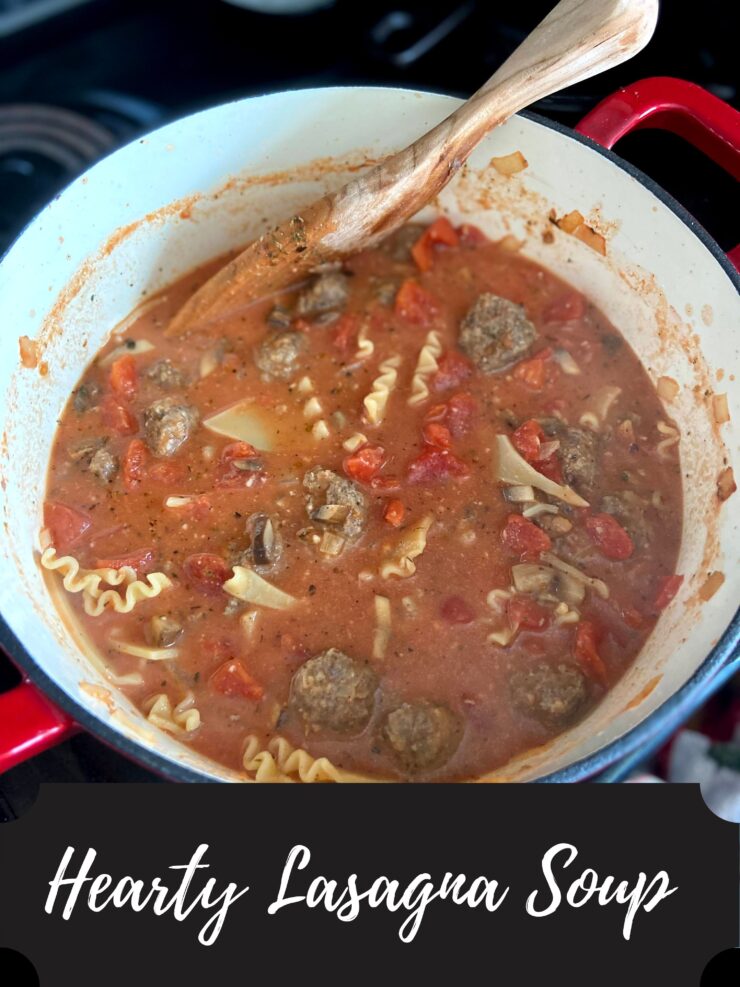
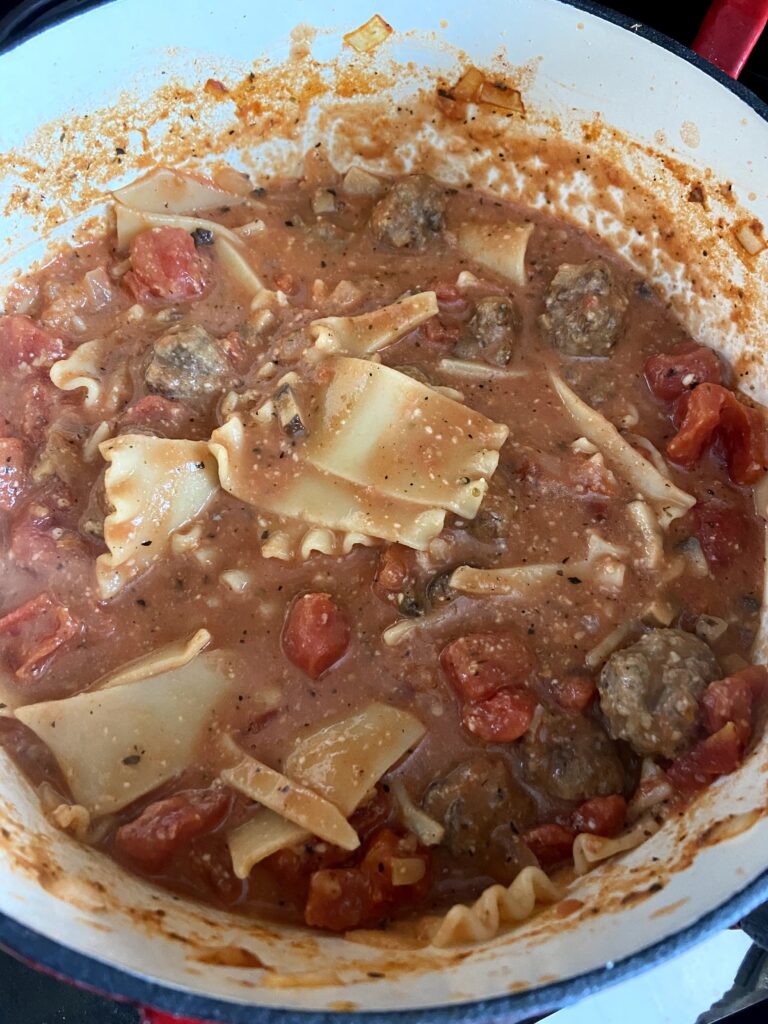
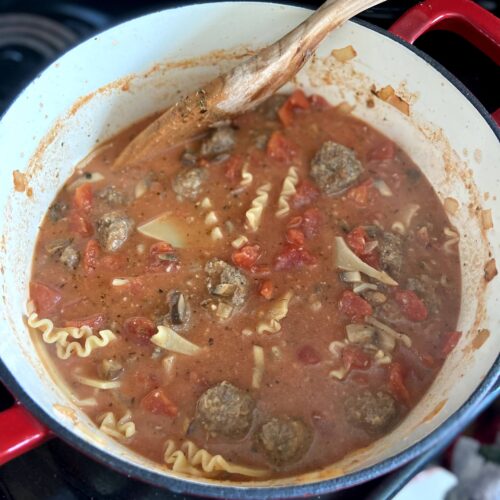
Hearty Lasagna Soup

It’s Sunday morning and I don’t have a plan for dinner yet. See, Sunday’s are generally a low key day for me. I might have a long run to do if I didn’t get it done on Saturday, but more often than not, my workouts are more minimal and I often spend the day creating in the kitchen. But sometimes I am not feeling overly experimental. When those weekends happen, I find myself falling on my two go tos: soups and stews or Italian. Recently, I merged the two together in a hearty lasagna soup. 

I adore all things Italian. First of all, pasta. Am I right or am I right? I know it’s a thing to cut all the carbs and gluten from your diet, but I am here to say I embrace them, but simply go in moderation. Second of all, Italian food is quite possibly the biggest comfort food for me. And finally, it ALWAYS pairs well with a salad and I am all about the salad life. 

So when I had some ground beef and ricotta in my fridge, but wasn’t in the mood to actually put together a true lasagna, I tried my hand at this soup. It was easier to make than I suspected it would be and honestly, I loved eating it over a few days as the noodles absorbed some of the liquid. It became more of a casserole over time, and I wasn’t complaining. It’s like two different meals in one! 

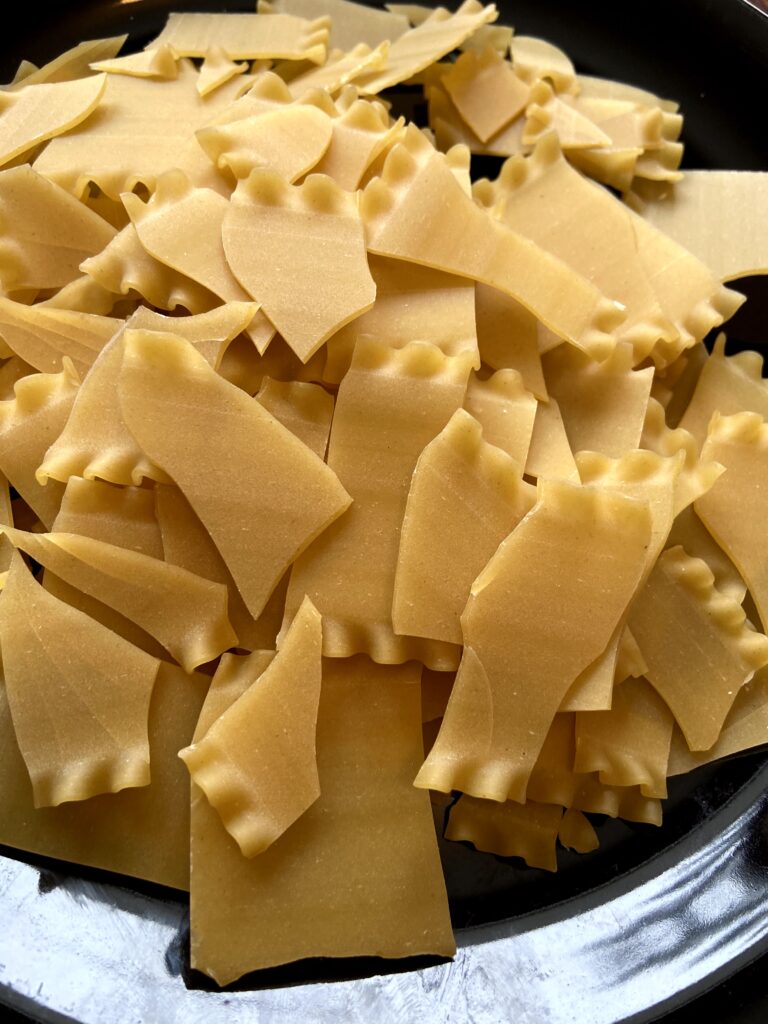
Now, I used ground beef in the initial recipe, but I definitely think I will use ground Italian sausage from here on out, and that’s the route I am going to go in this recipe. Also, if you don’t have ground Italian sausage on hand, you could totally use actual Italian sausage sliced up or with the skins removed. Also, my family said they would have liked the noodles a little smaller; I liked them the way they were, but you can find your own jam. 

Ready to get cooking?! Let’s put together some Hearty Lasagna Soup!

Your Ingredients

  • 1 pound ground Italian sausage
  • 1 egg, beaten
  • 4 Tablespoons bread crumbs
  • 2 Tablespoons grated Parmesan

Or skip these ingredients and substitute premade meatballs, but you know I’m all about made from scratch

  • 8 lasagna noodles, broken apart and then cooked according to package directions
  • 28 ounces diced tomatoes, undrained
  • 2 cups beef stock (My go to is this Orrington Farms Broth Base and Seasoning)
  • 15 ounces tomato sauce
  • 1 tablespoon olive oil 
  • ½ cup diced onion 
  • 1 teaspoon minced garlic
  • ¾ cup sliced mushrooms
  • 2 teaspoons dried oregano
  • 1 teaspoon basil 
  • ½  teaspoon black pepper (or red pepper flakes if that’s your jam!)
  • ¼-½ cup grated parmesan 
  • ¼ cup heavy cream 
  • Salt, to taste
  • Ricotta, for topping 

Your Steps to Hearty Lasagna Soup

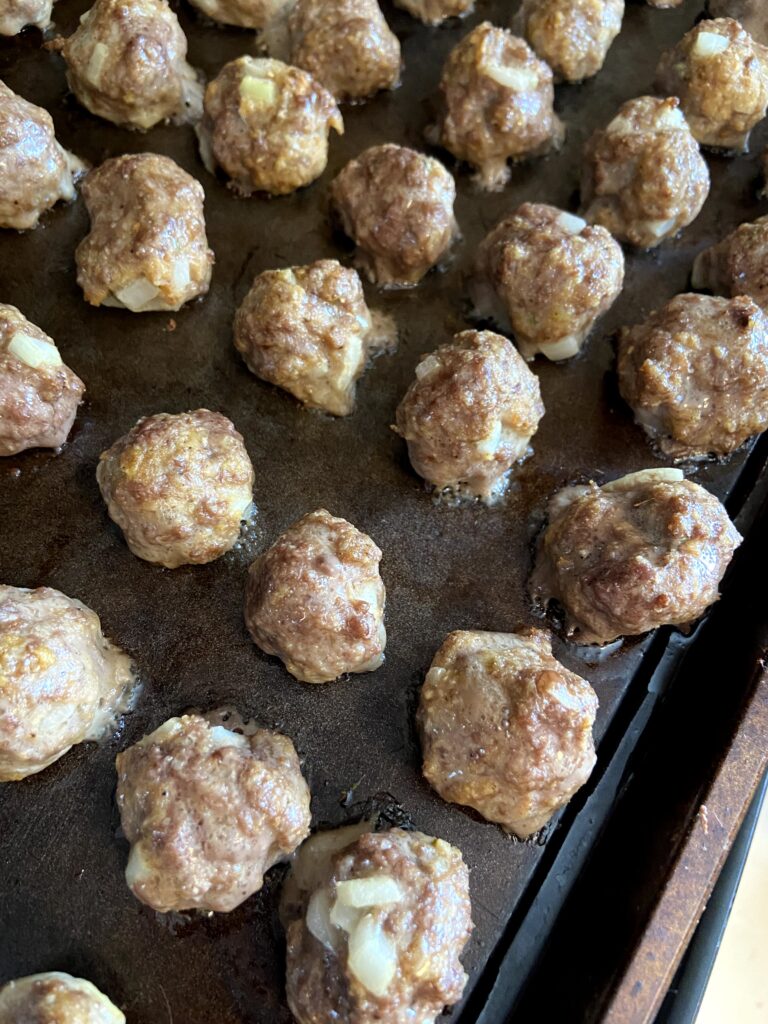
Preheat the oven to 350 degrees and line a baking sheet with foil for less clean up. In a medium bowl, combine the egg, bread crumbs, Italian sausage, and Parmesan cheese. Shape into one inch meatballs and place on the jelly roll pan. Bake for 10-15 minutes, until cooked through. 

While the meatballs are baking, you have a few tasks. First, cook the noodles to al dente if you have not already. Drain and set aside. 

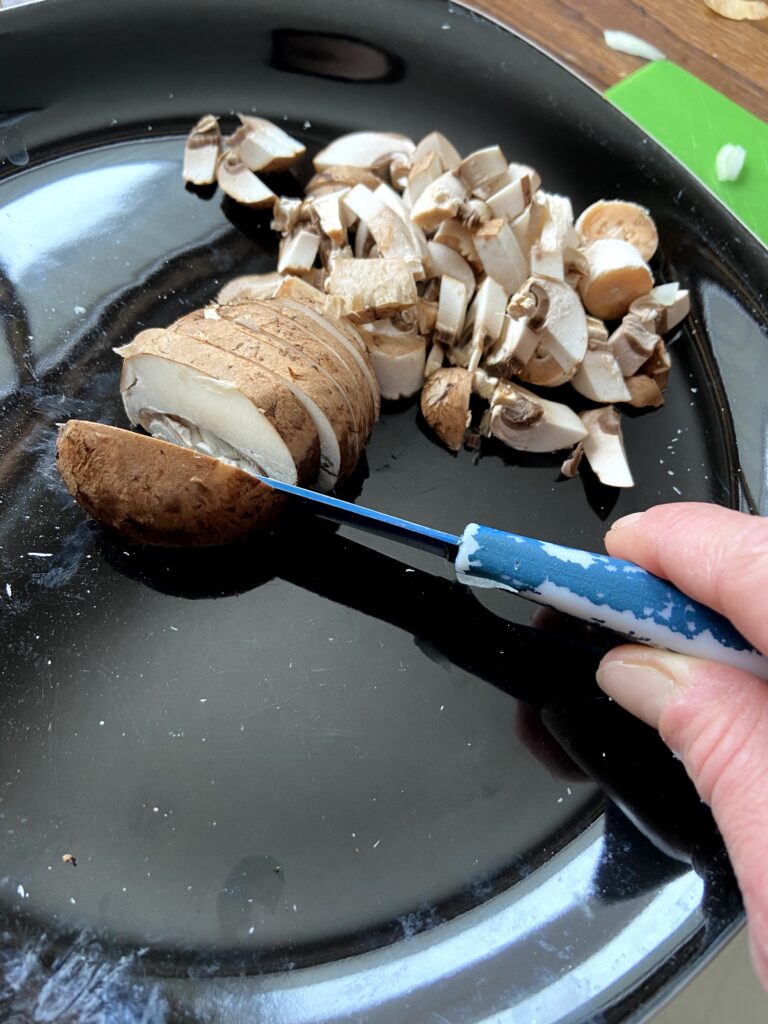
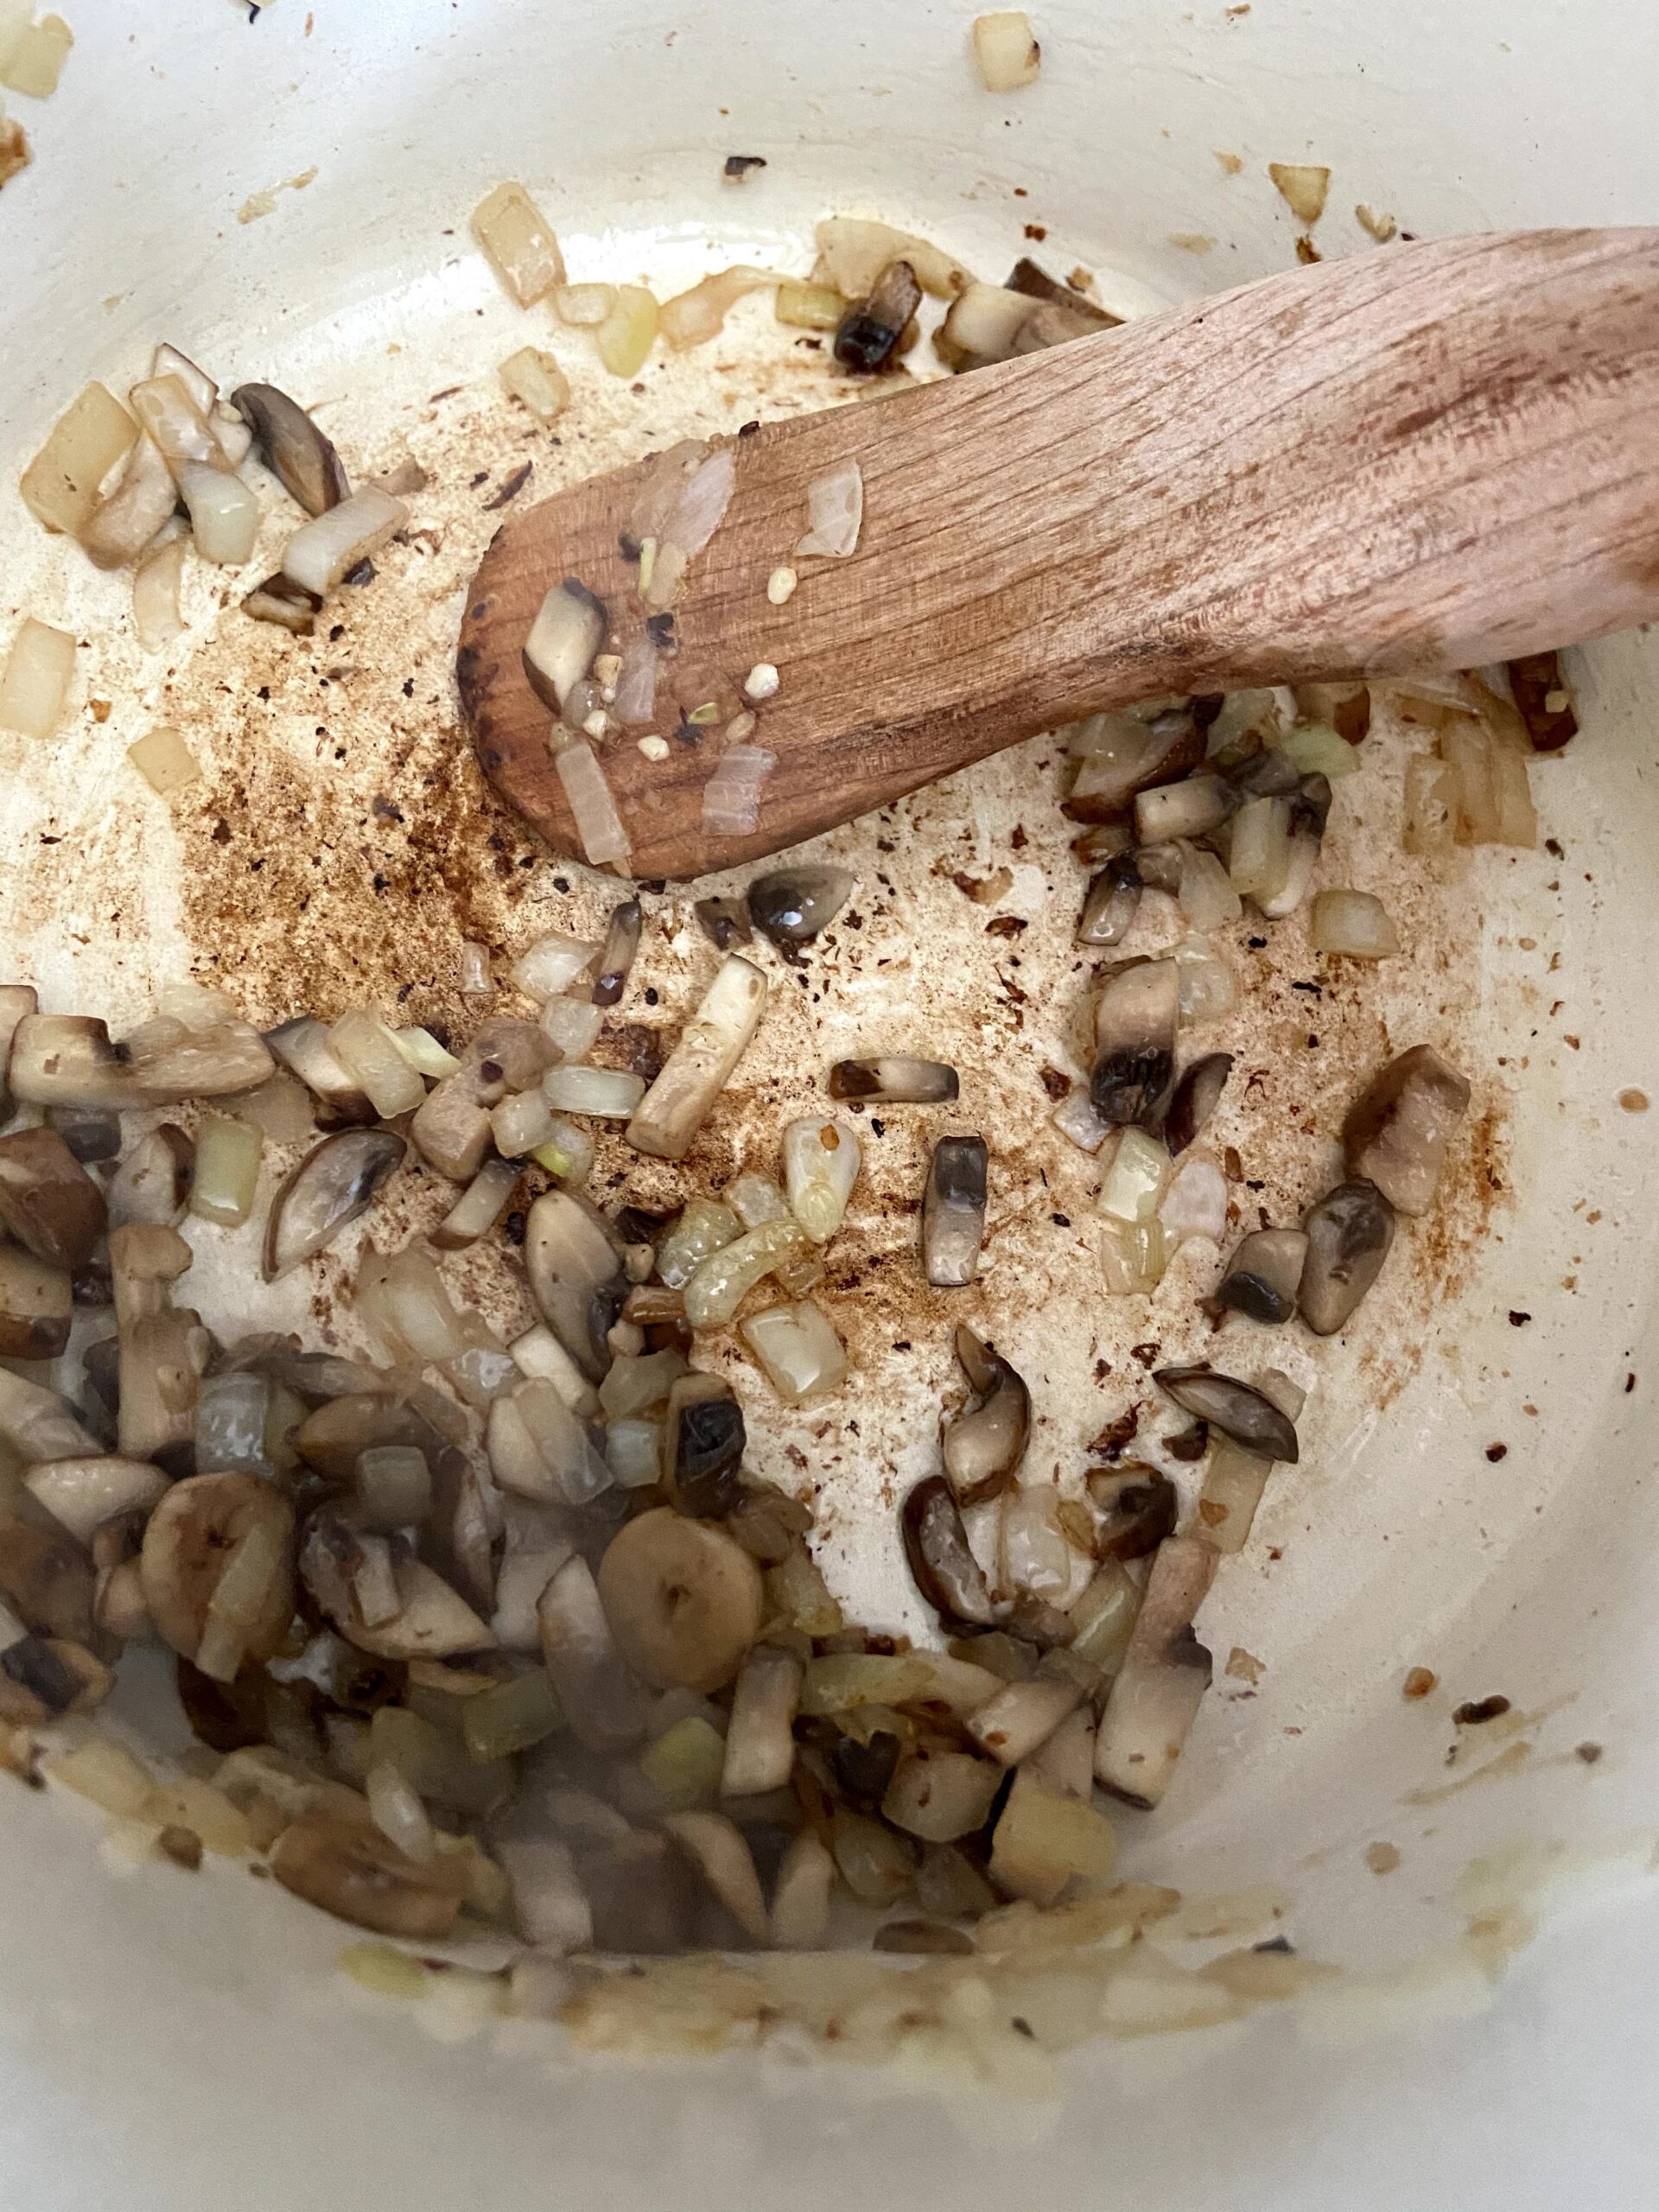
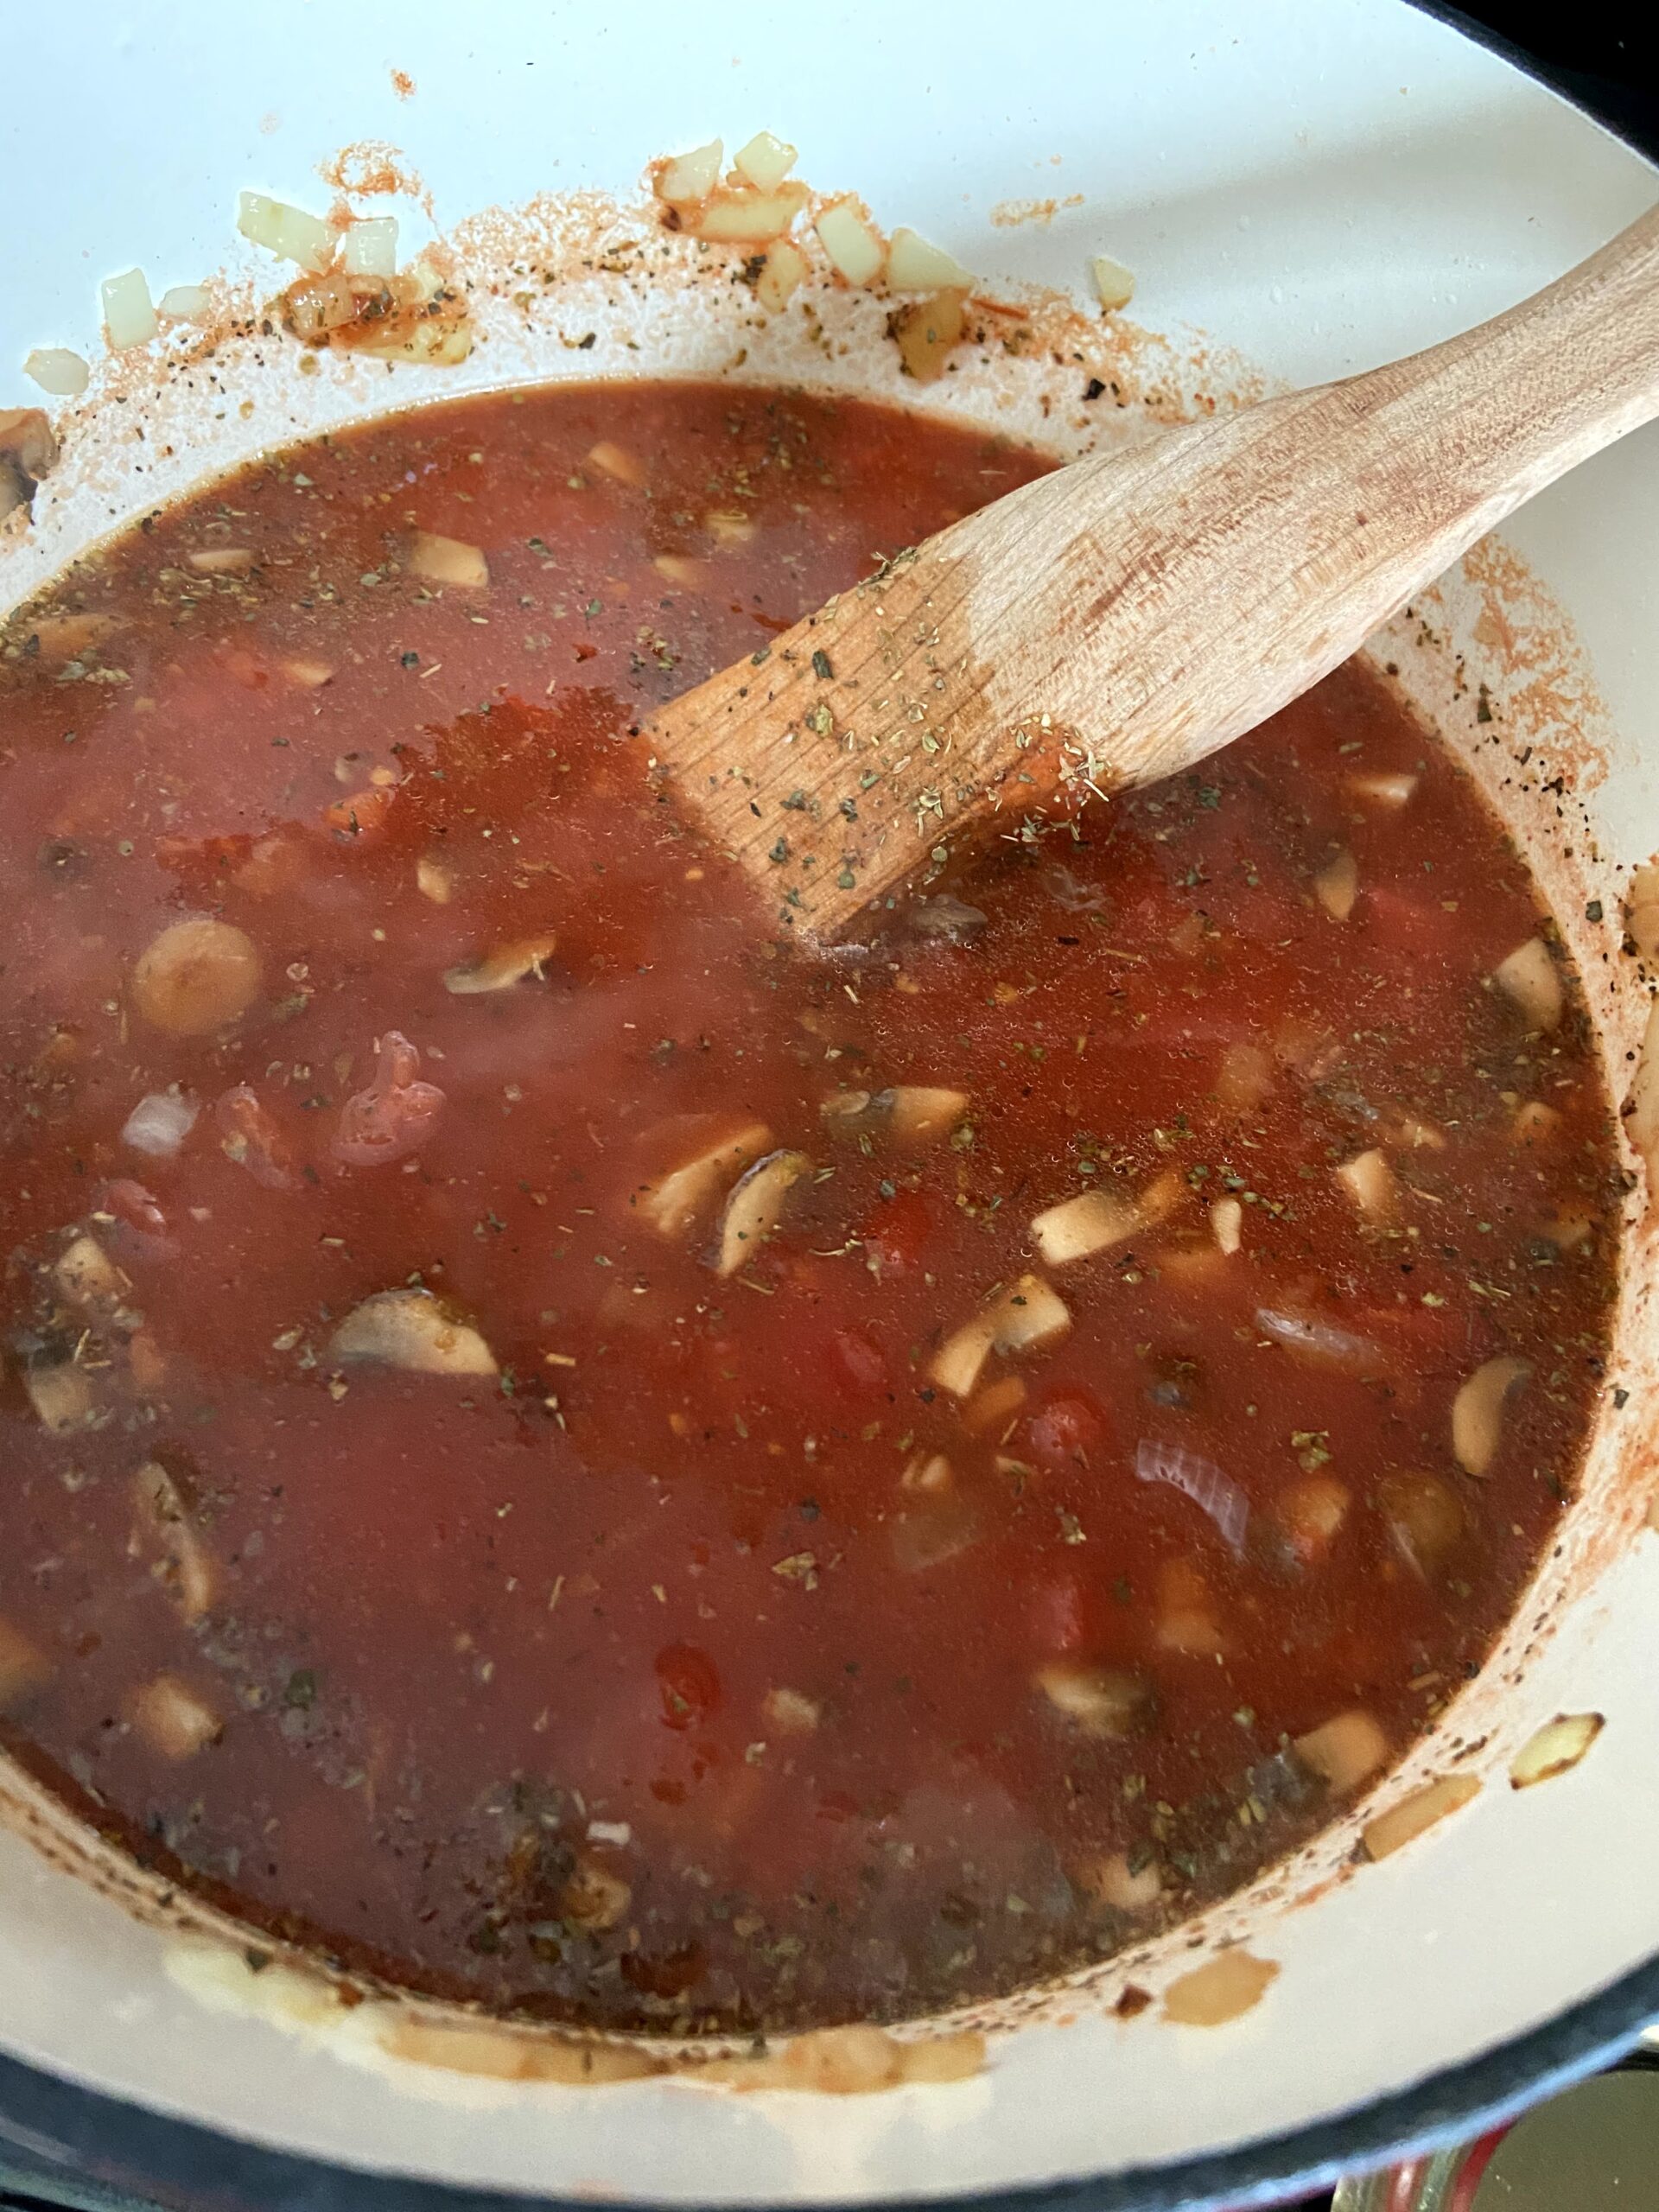
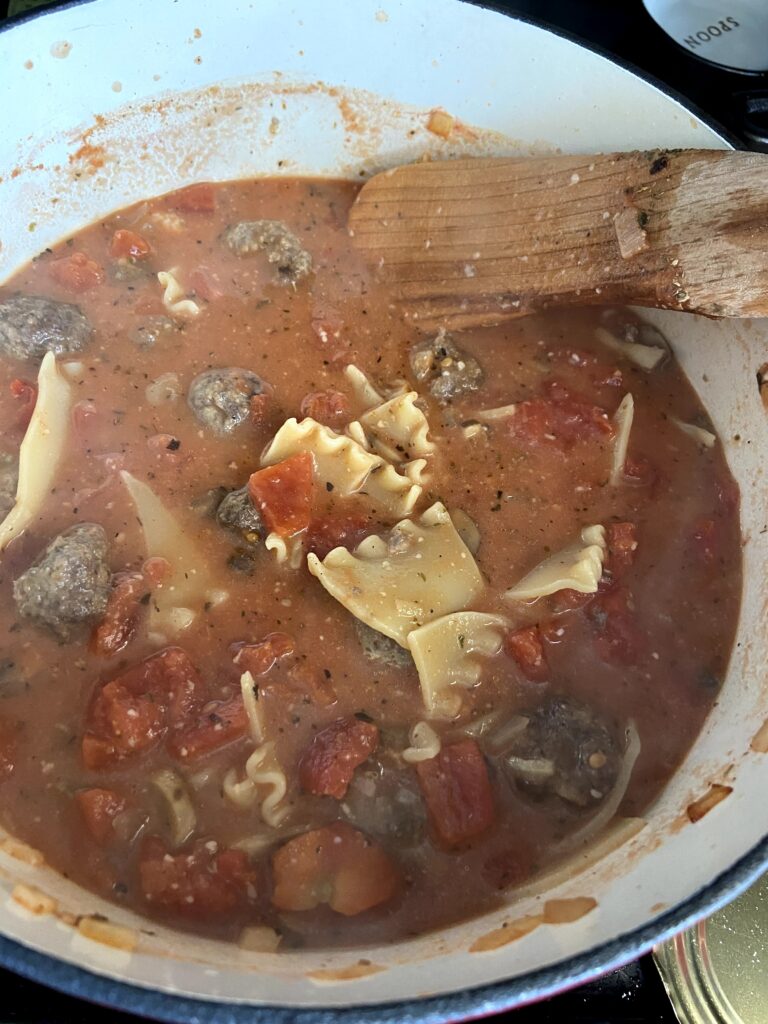
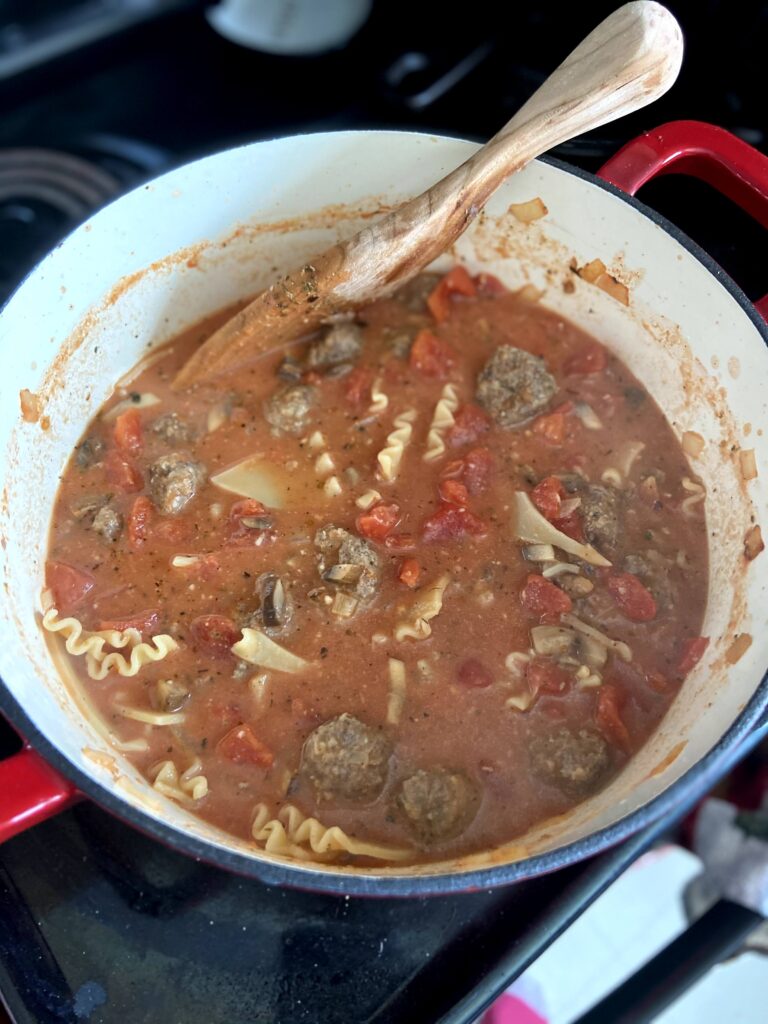
Then begin to heat olive oil in a large dutch oven (I love my Lodge Enameled Dutch Oven so much!) over medium-high heat. Add onions and garlic. Saute six minutes, until just translucent. Add mushrooms and cook an additional two minutes, until softened. Stir in tomato sauce, oregano, and pepper. Allow to simmer for 5 minutes. Add diced tomatoes, beef stock, parmesan cheese, meatballs, and salt, if necessary. Simmer an additional 15 minutes. Finally, stir in cooked noodles and heavy cream. Cook until heated through. Serve with a dollop of ricotta on top, a side salad (of course!), and perhaps some garlic bread for good measure. 

I don’t know about you, but that sure sounds like comfort food at its finest. And it’s so much easier than prepping a lasagna! 

Looking for other dinner inspiration? Check out my cooking page by clicking the button below!

Hearty Italian Soup

Any season is soup season and this hearty lasagna soup combines two of the best comfort foods: soups and stews and Italian. Doesn't get much better!
Prep Time 20 minutes
Cook Time 30 minutes
Course Main Course
Cuisine Italian
Servings 8

Ingredients
  

  • 1 pound ground Italian sausage
  • 1 egg beaten
  • 4 tablespoons bread crumbs
  • 2 tablespoons grated Parmesan
  • 8 lasagna noodles broken apart and then cooked according to package directions
  • 28 ounces diced tomatoes undrained
  • 2 cups beef stock
  • 15 ounces tomato sauce
  • 1 tablespoon olive oil
  • ½ cup diced onion
  • 1 teaspoon minced garlic
  • ¾ cup sliced mushrooms
  • 2 teaspoons dried oregano
  • 1 teaspoon basil
  • ½ teaspoon black pepper or red pepper flakes
  • ¼-½ cup grated parmesan
  • ¼ cup heavy cream
  • Salt to taste
  • Ricotta for topping

Instructions
 

  • Preheat the oven to 350 degrees and line a baking sheet with foil for less clean up. In a medium bowl, combine the egg, bread crumbs, Italian sausage, and Parmesan cheese.
  • Shape into one inch meatballs and place on the jelly roll pan. Bake for 10-15 minutes, until cooked through.
  • While the meatballs are cooking, cook the noodles to al dente if you have not already. Drain and set aside.
  • Begin to heat olive oil in a large dutch oven over medium-high heat.
  • Add onions and garlic. Saute six minutes, until just translucent.
  • Add mushrooms and cook an additional two minutes, until softened.
  • Stir in tomato sauce, oregano, and pepper. Allow to simmer for 5 minutes.
  • Add diced tomatoes, beef stock, parmesan cheese, meatballs, and salt, if necessary.
  • Simmer an additional 15 minutes. Finally, stir in cooked noodles and heavy cream. Cook until heated through. Serve with a dollop of ricotta on top.

Notes

Feel free to skip making your own meatballs and use pre made, frozen meatballs. 
Depending on if your tomato produces are salt free or not, you will need to add additional salt to bring out all the flavors. Be sure to taste test!
Keyword lasagna, lasagna soup, soup, soup and stews
Tried this recipe?Let us know how it was!

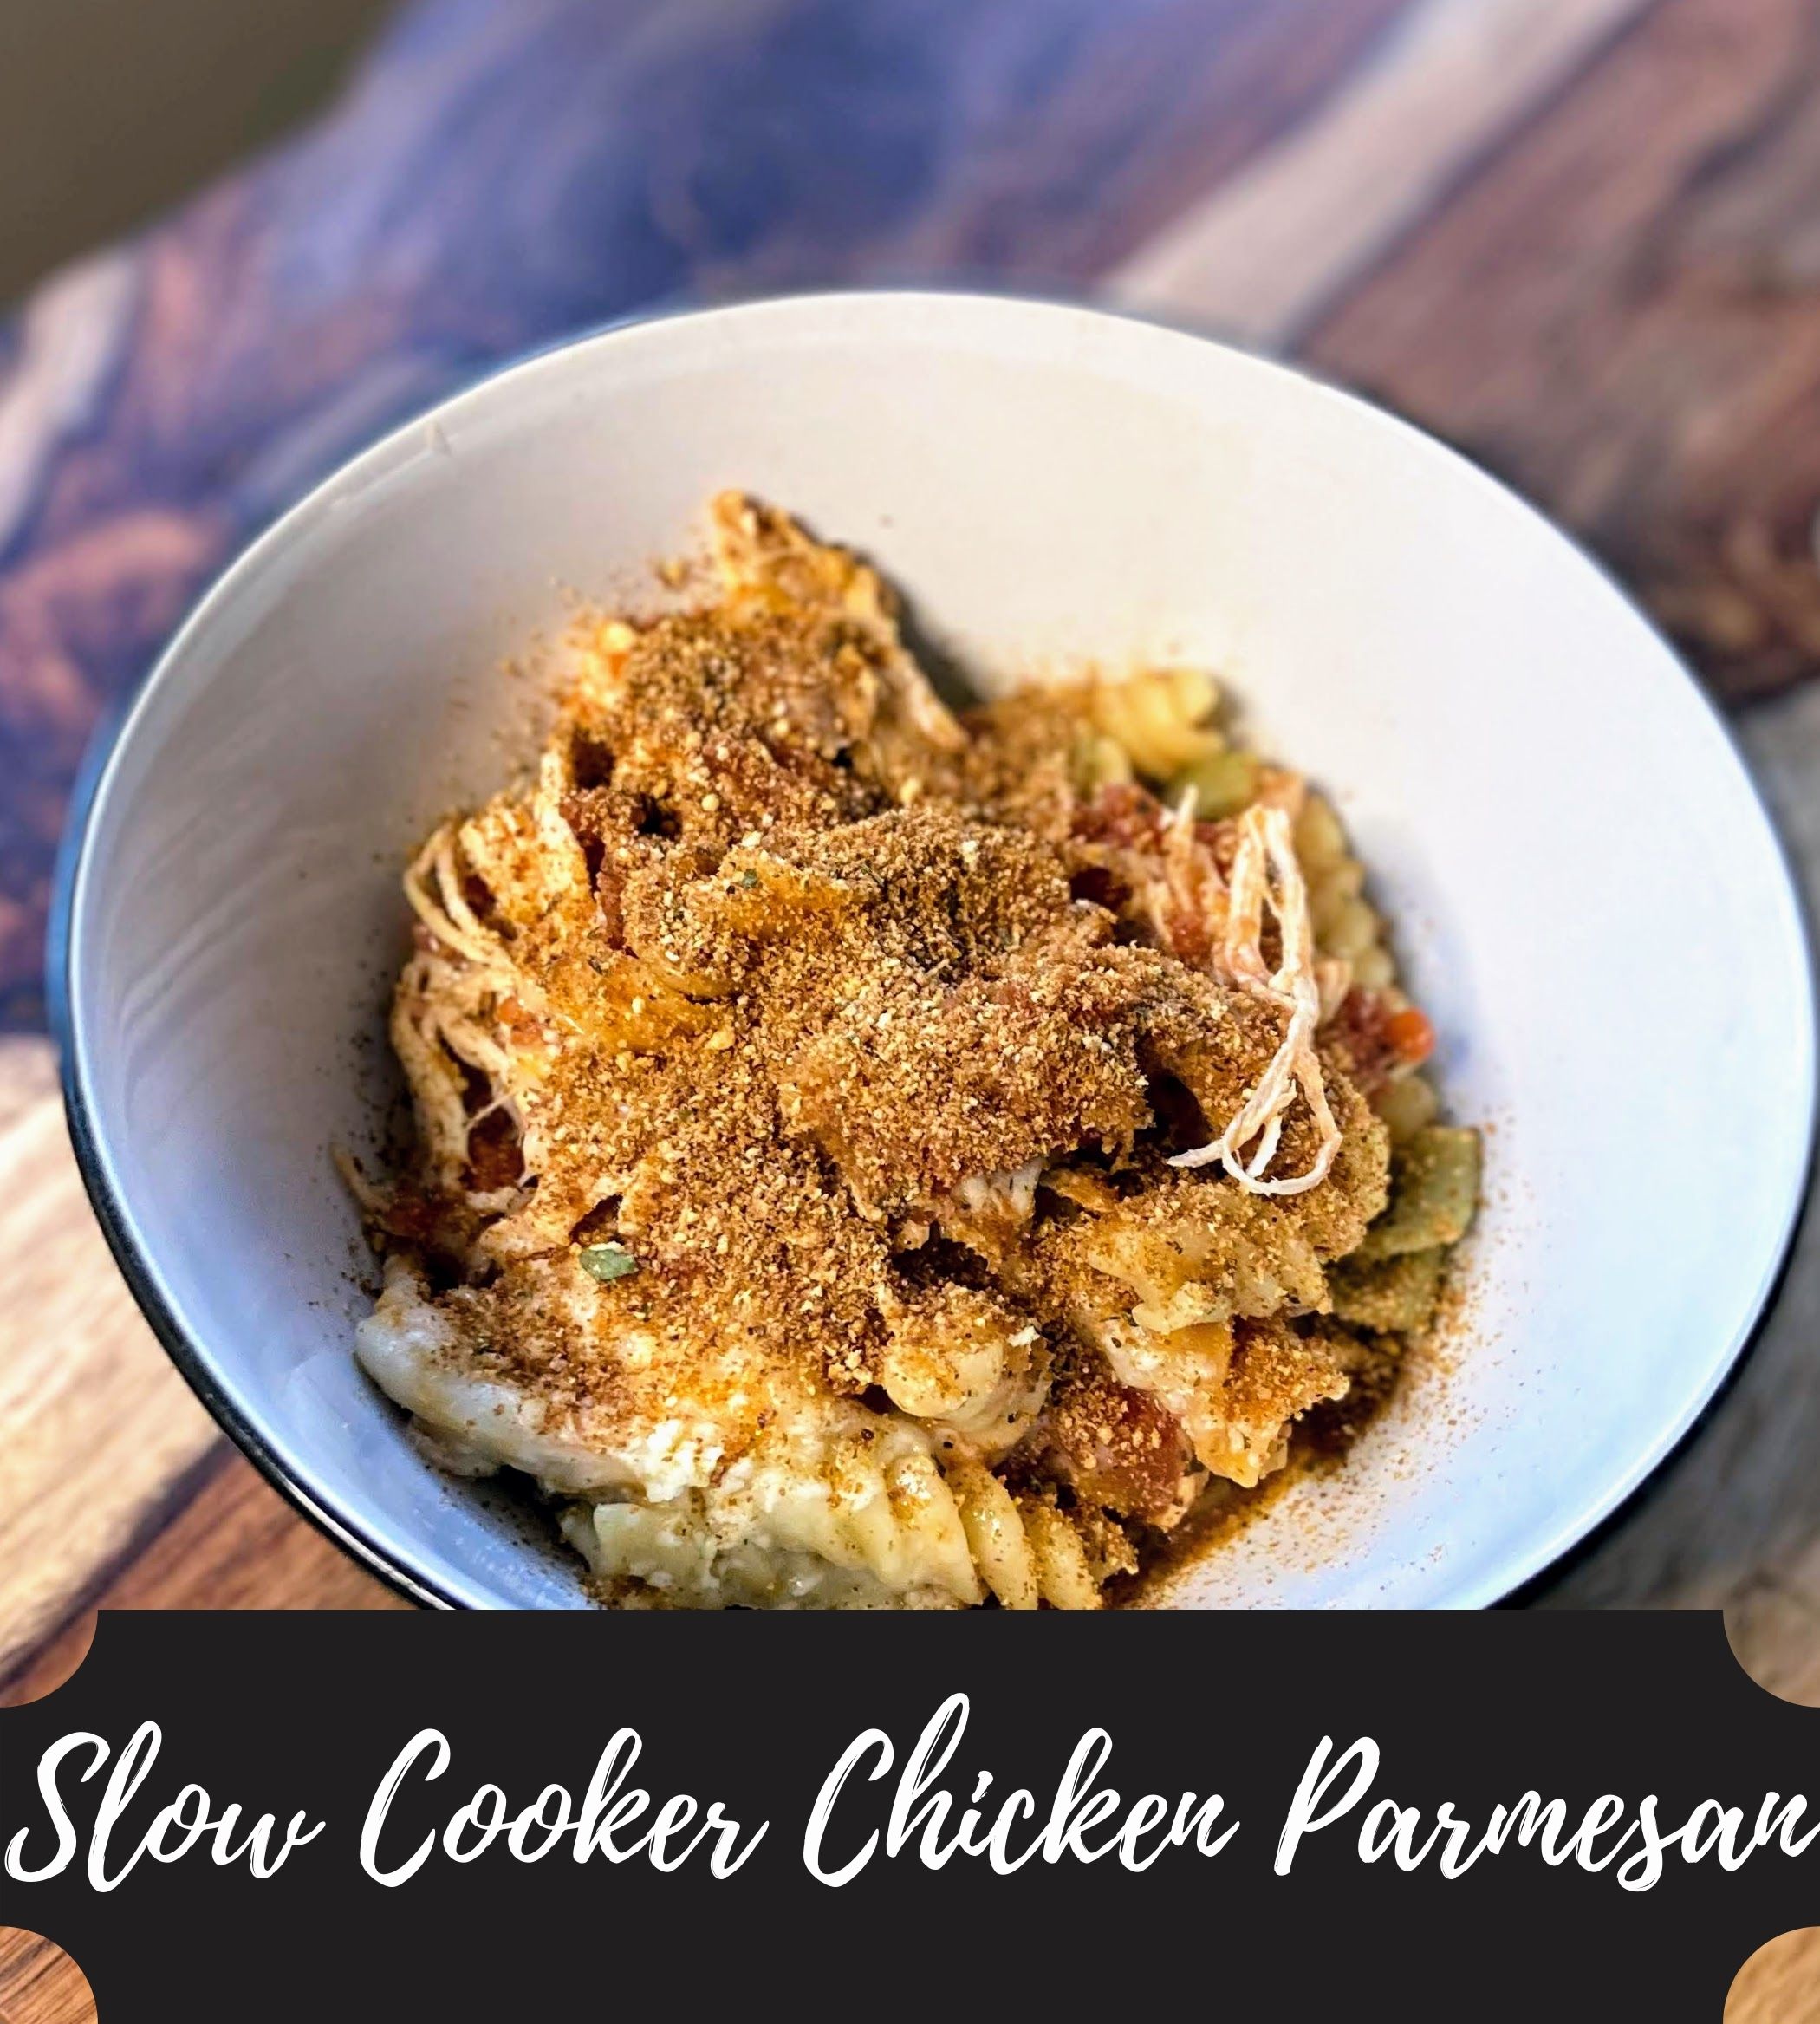
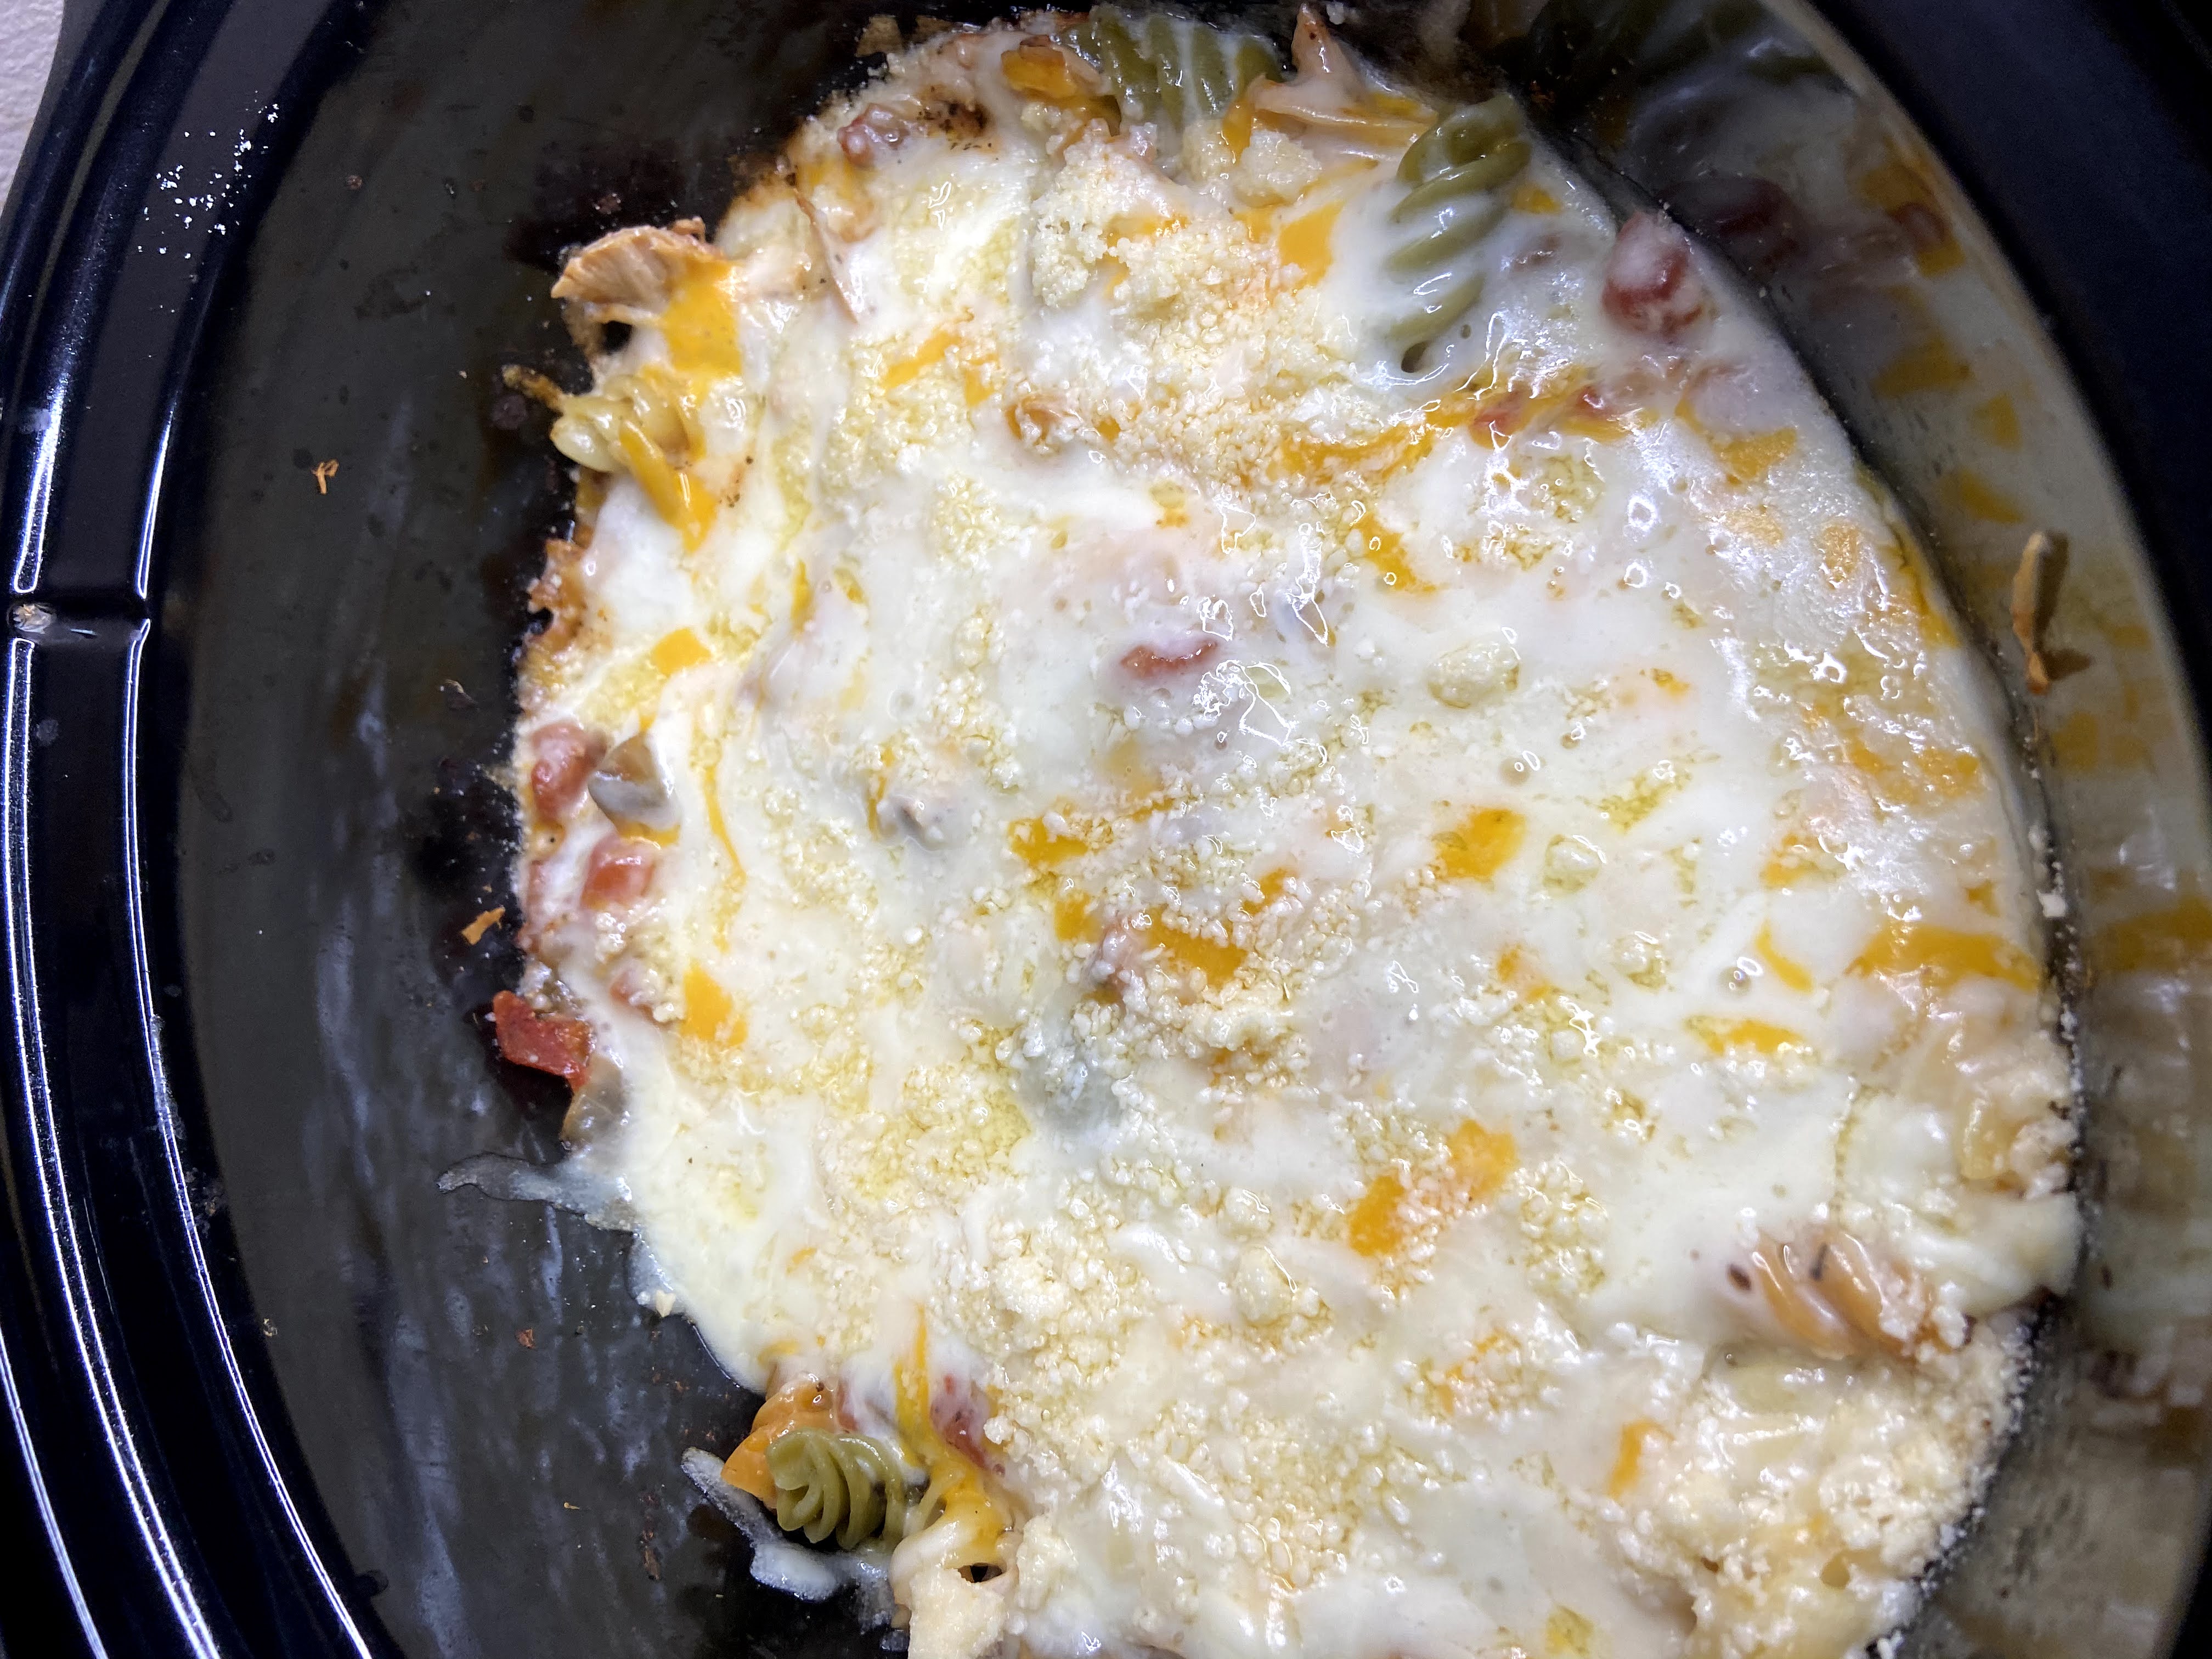
Slow Cooker Chicken Parmesan

Can I start out with being real with you all? I love the slow cooker for simplicity’s sake, but man, I miss the texture that you lose when you cook with it. That, and does a meal ever turn out looking beautiful when it comes out of the slow cooker? I generally think not. HOWEVER…I had been craving a low and slow cooked chicken meal for a while and my take on a slow cooker chicken parmesan came out beautifully! 

Okay, I’ll be honest, it isn’t truly a chicken parmesan. I did add some mushrooms and the chicken isn’t fried. But the flavor, it’s dynamite. My family reached for seconds…and thirds. I had to quickly put together the leftovers so I had lunches before they devoured it all. 

But who wants to hear about how much my family loved it, right? You want to get cooking, don’t you? Let’s do it! 

Your Ingredients

  • 2 boneless, skinless chicken breasts (mine are generally frozen)
  • ½ cup chopped onions
  • 1 cup chopped fresh button mushrooms
  • ½ tablespoon minced garlic
  • 28 ounce can of diced tomatoes (mine had salt added so I didn’t add extra salt)
  • ½ tablespoon dried basil 
  • ½ tablespoon dried oregano
  • ¼ teaspoon pepper 
  • 3 cups cooked pasta, al dente (we generally use tri-colored rotini)
  • 2 cups shredded cheese, I used a great mozzarella, cheddar, and provolone mix from the Burnett Dairy here in Wisconsin. 
  • ¼ cup parmesan cheese
  • ½ cup Italian breadcrumbs, optional 

Your Steps to a Great Slow Cooker Chicken Parmesan 

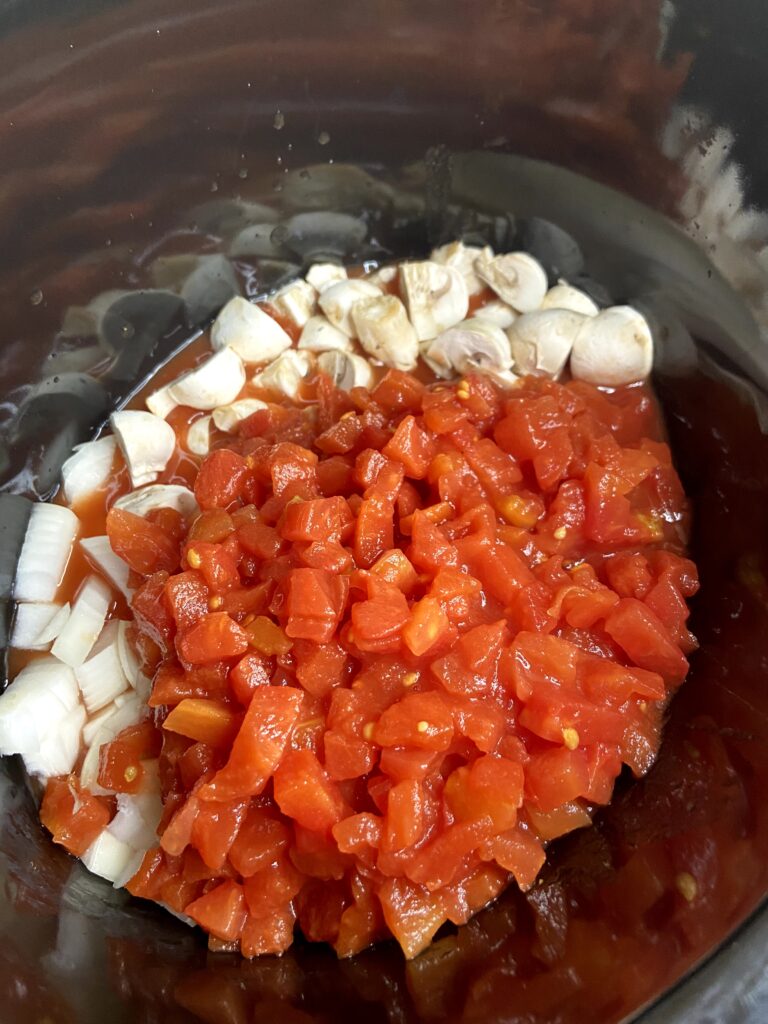
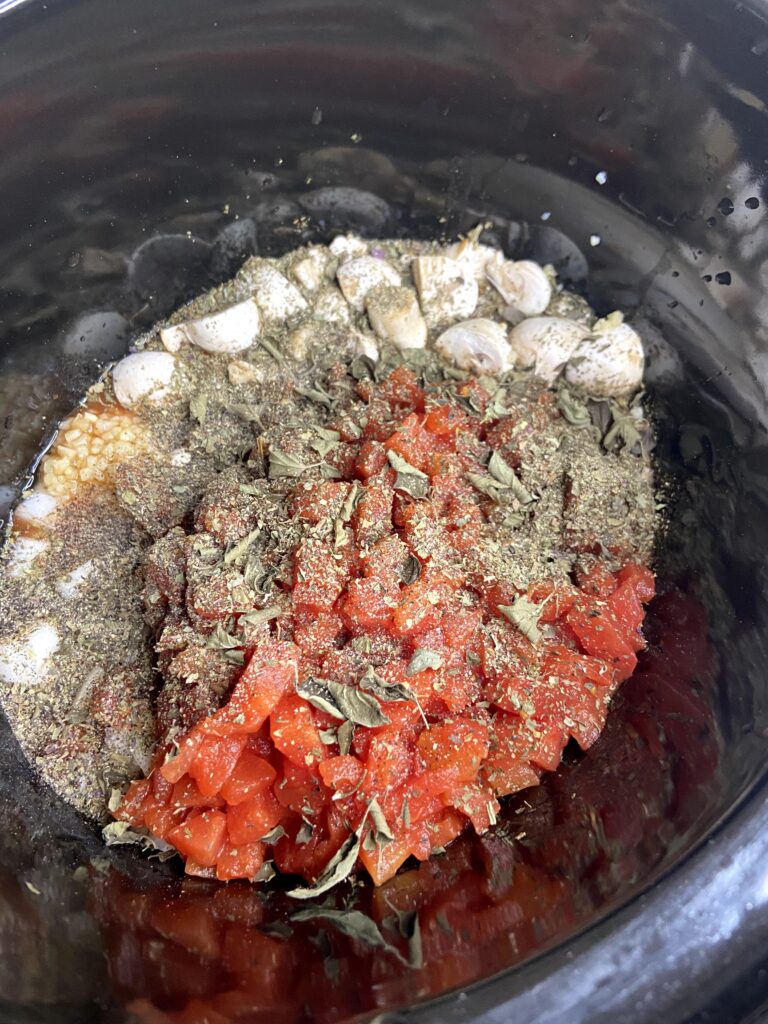
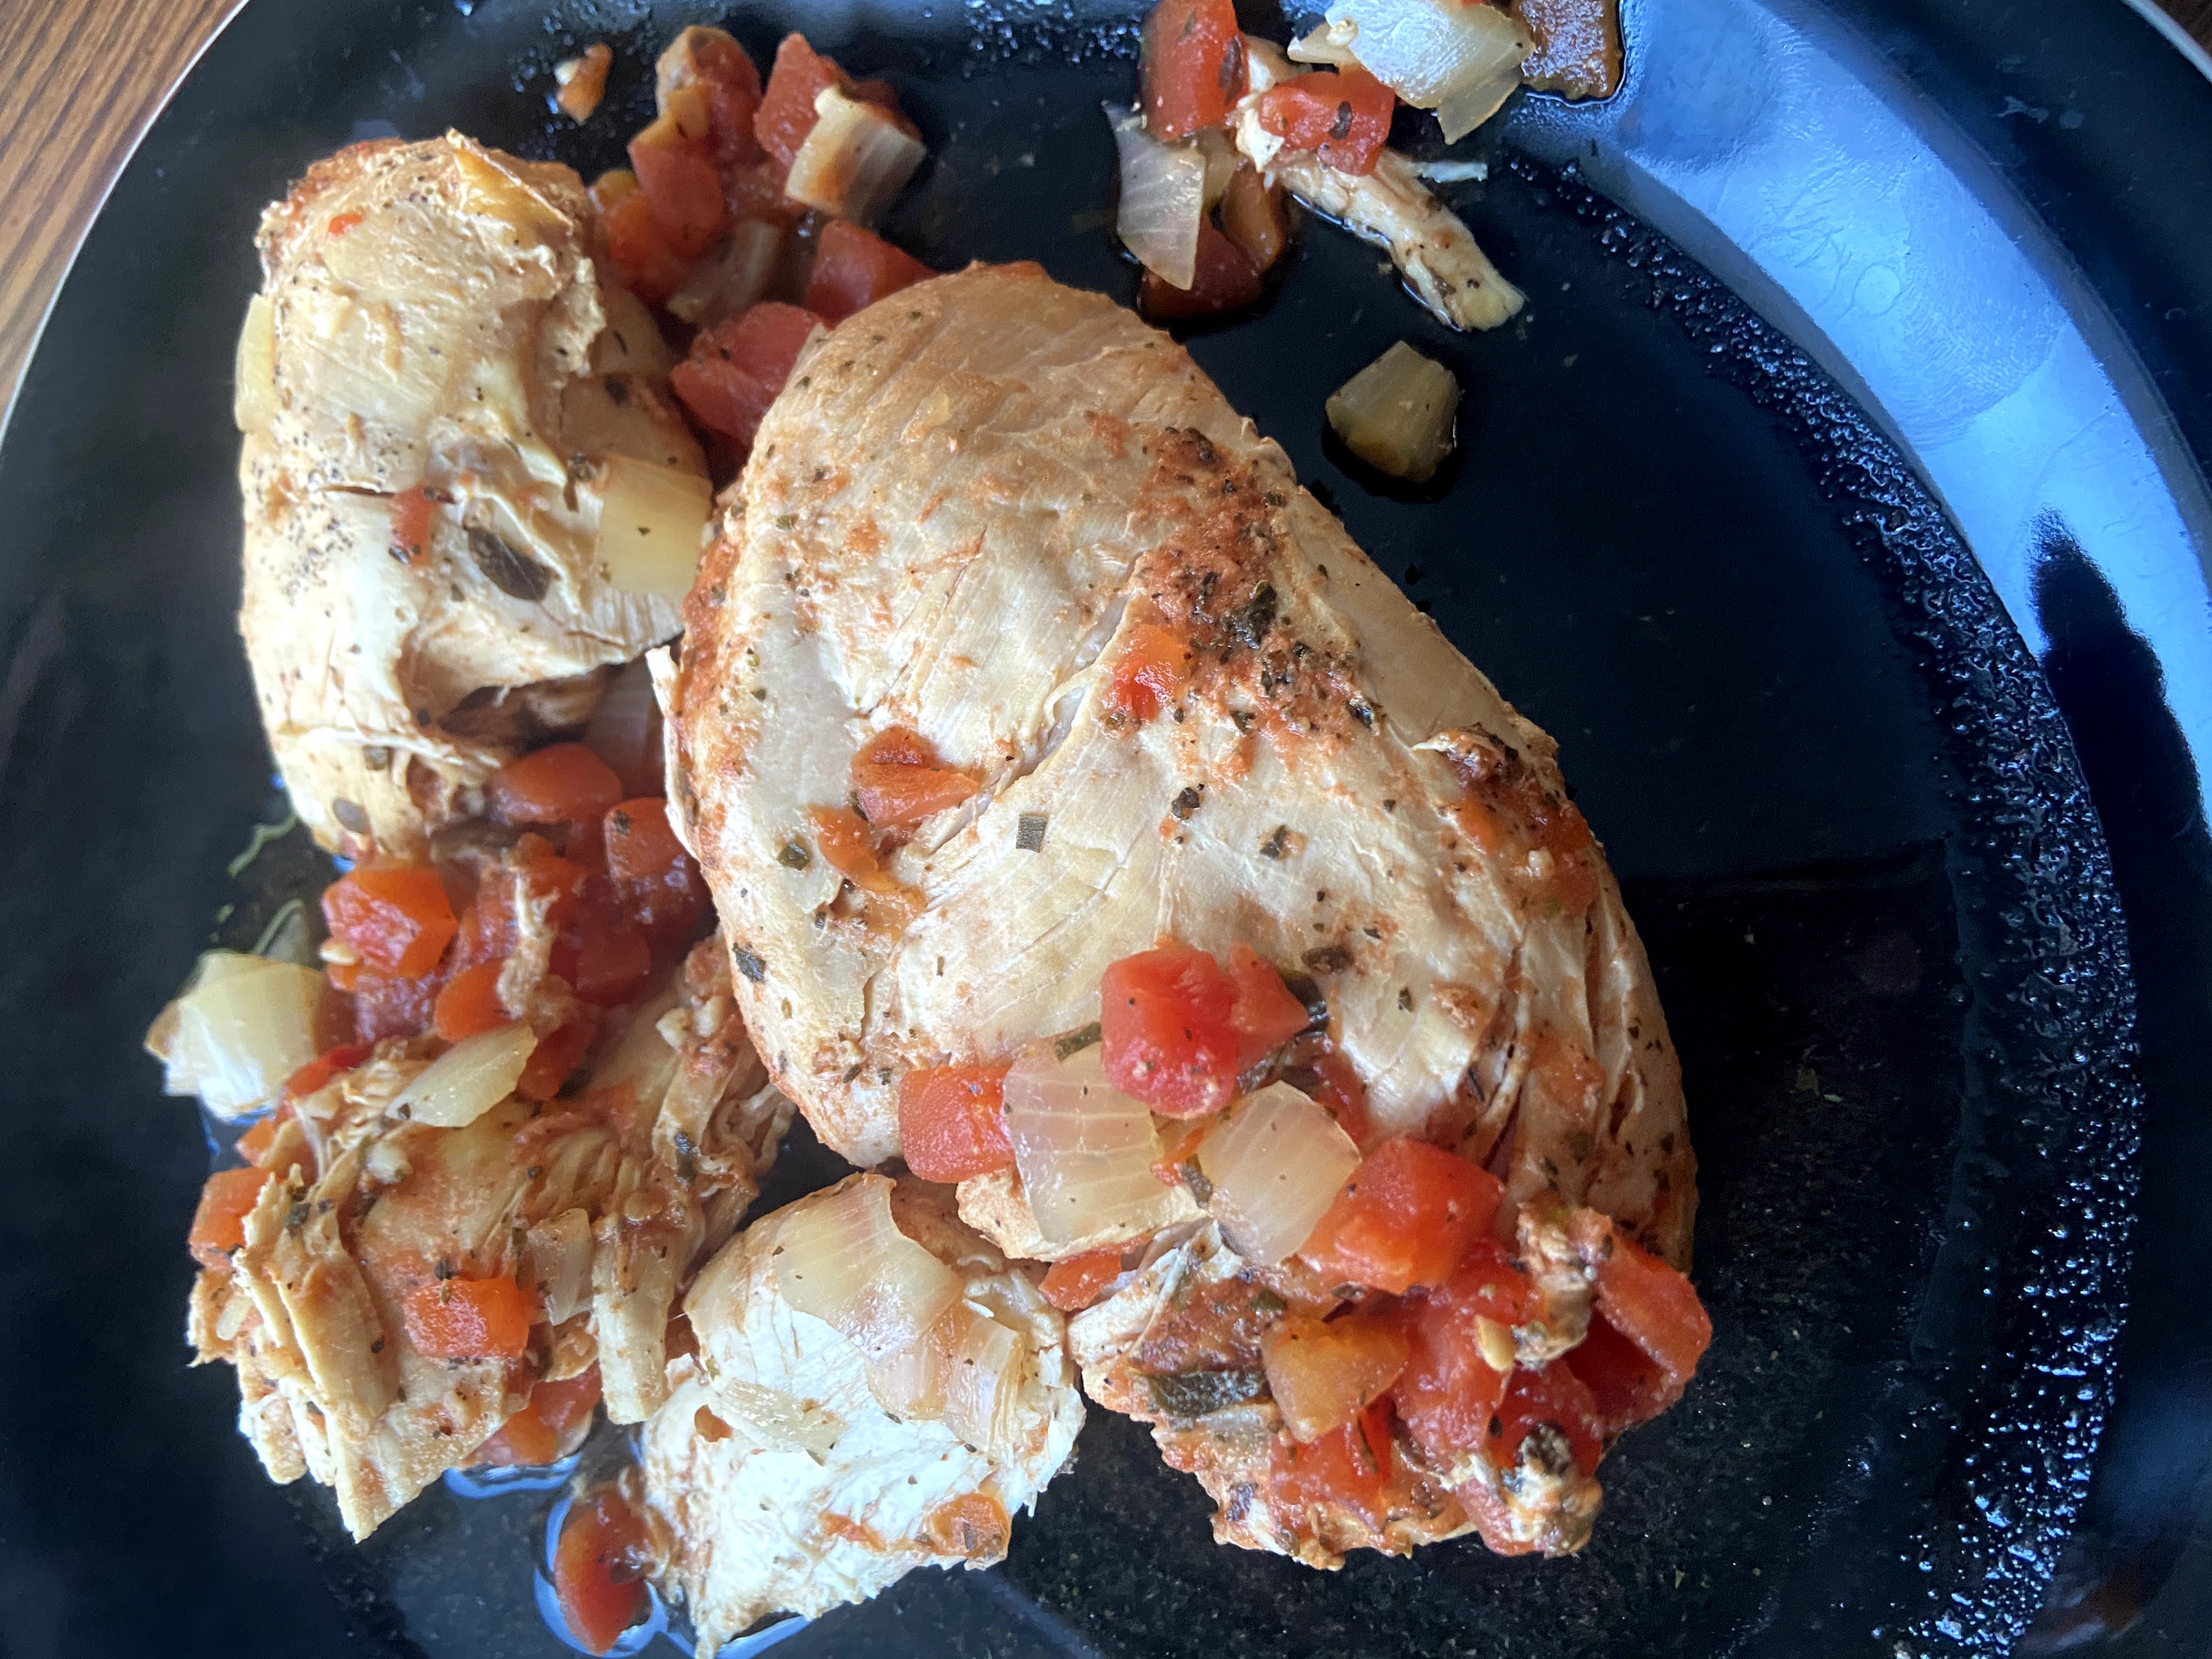
Layer onions, mushrooms, garlic tomatoes, basil, oregano, and pepper in your slow cooker. Top with chicken breasts that have been lightly dusted with salt and pepper. Cook on low for 6 hours. 

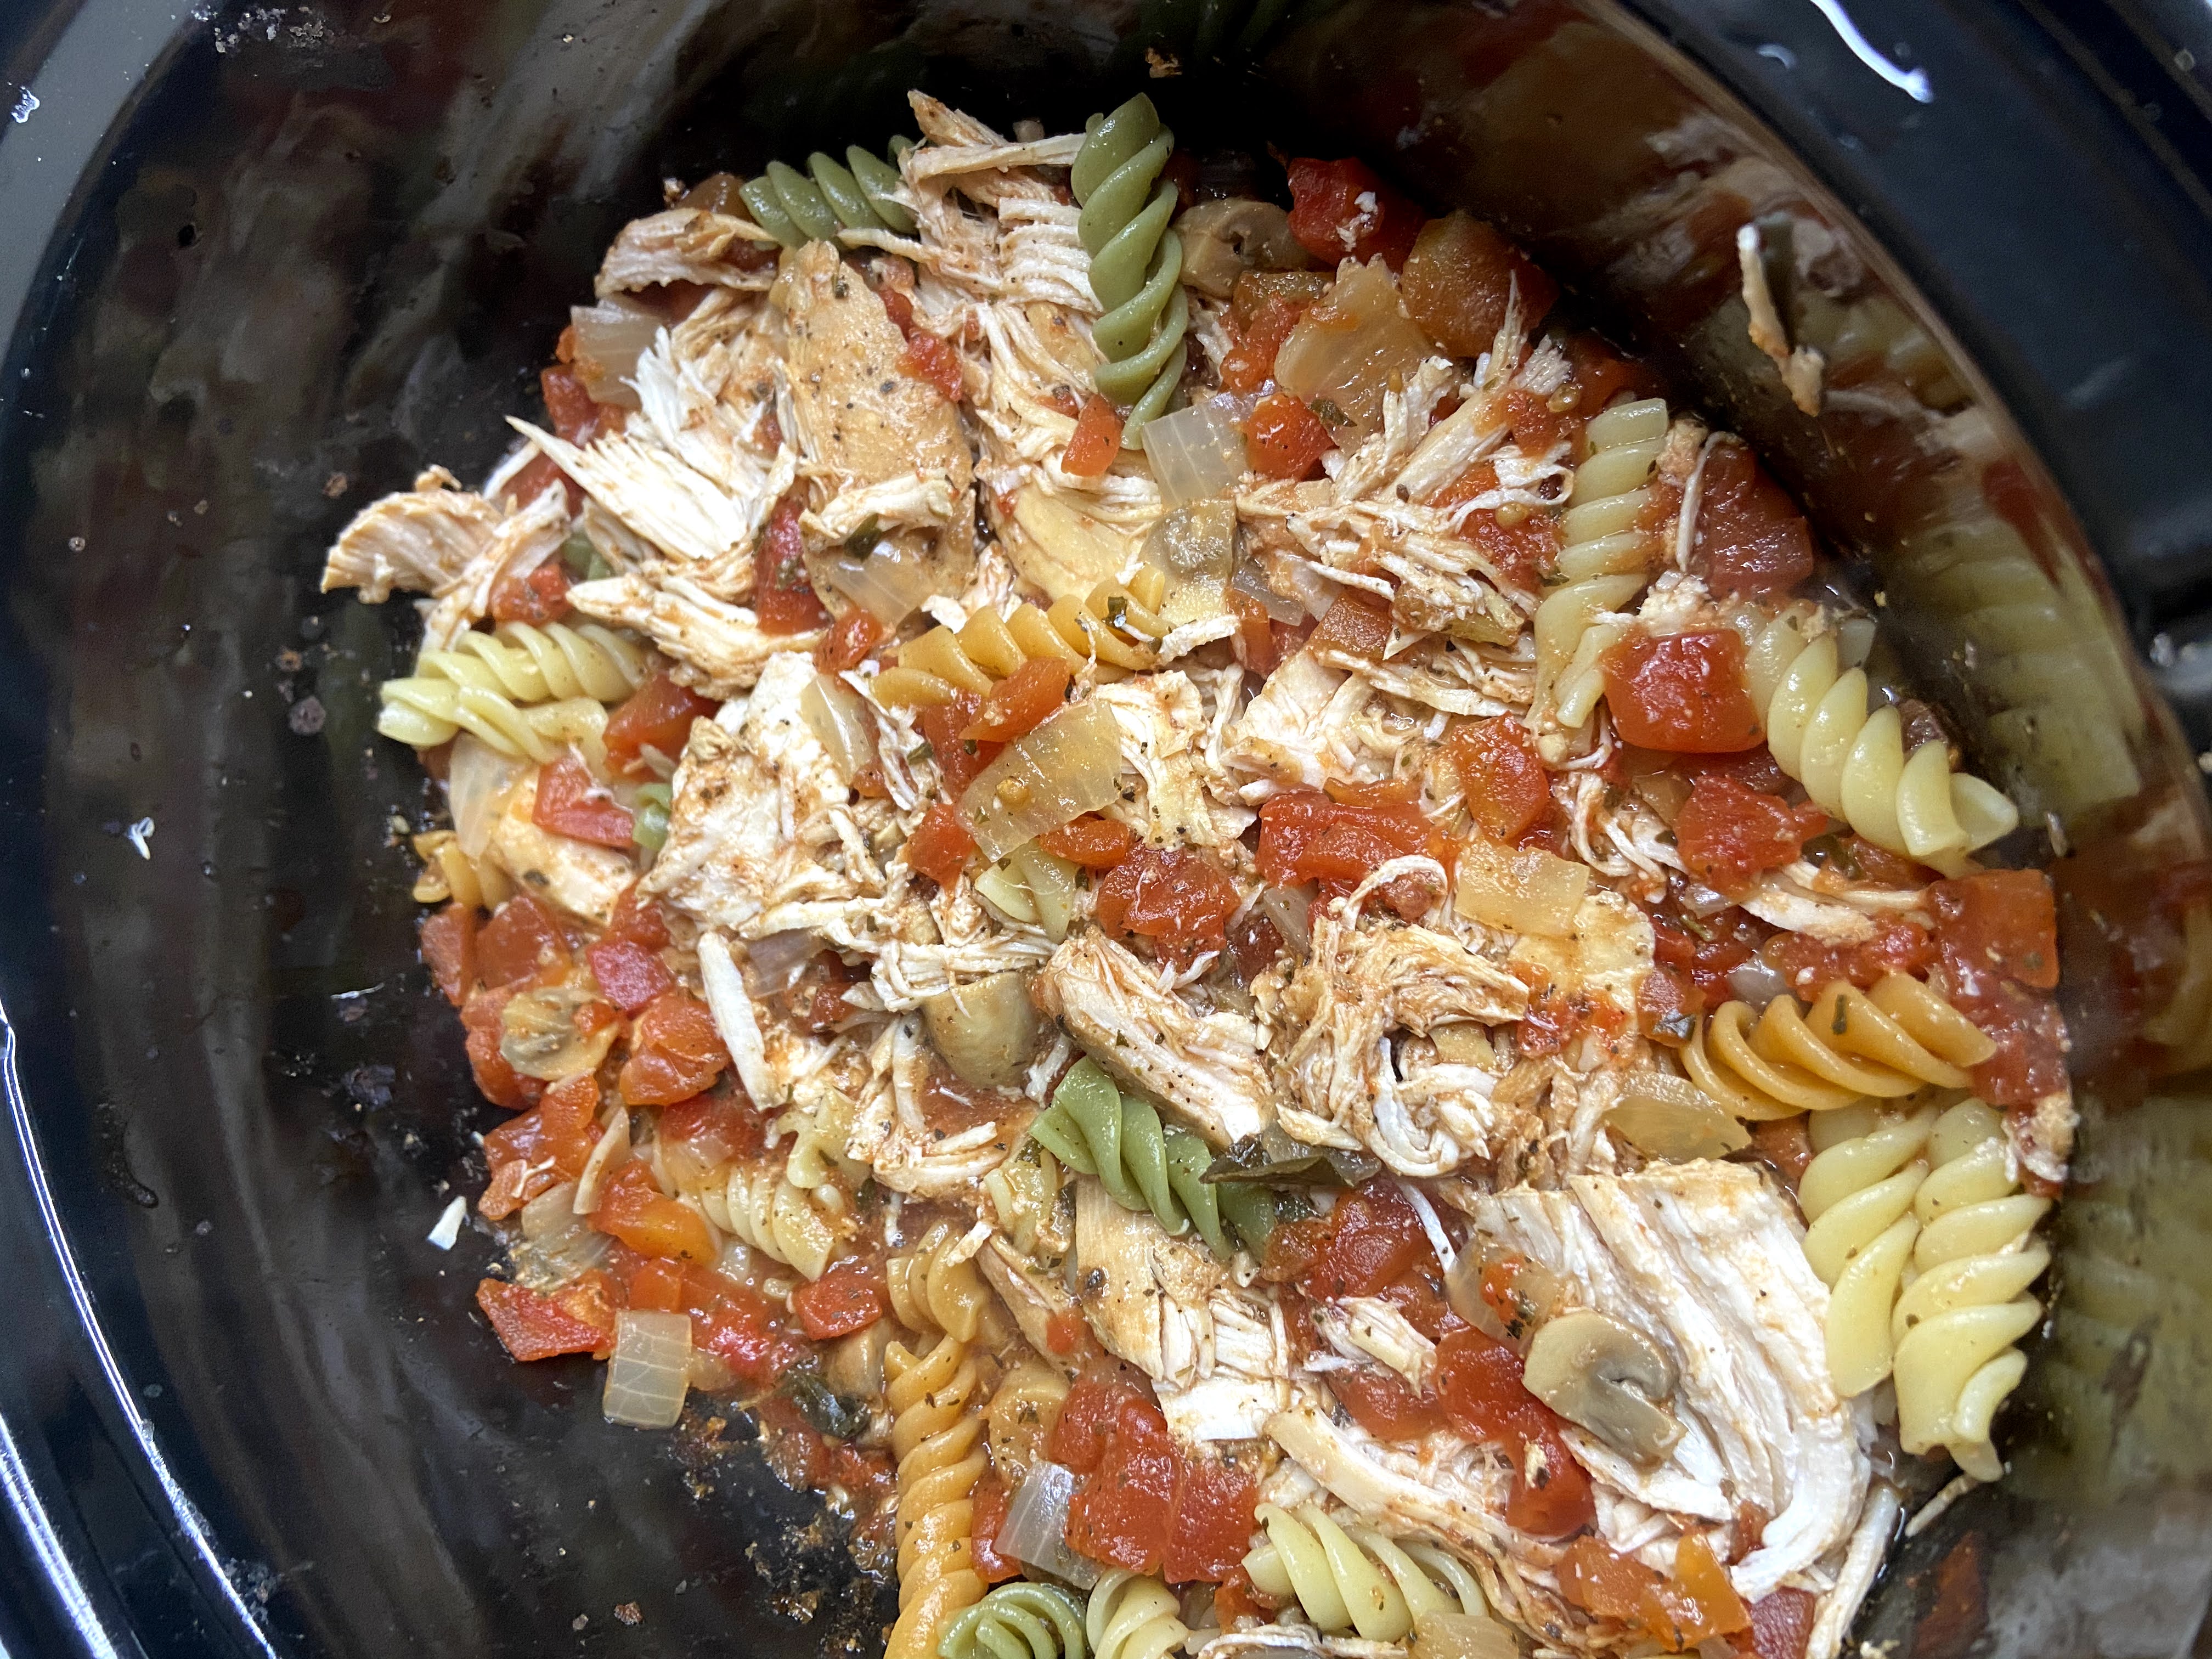
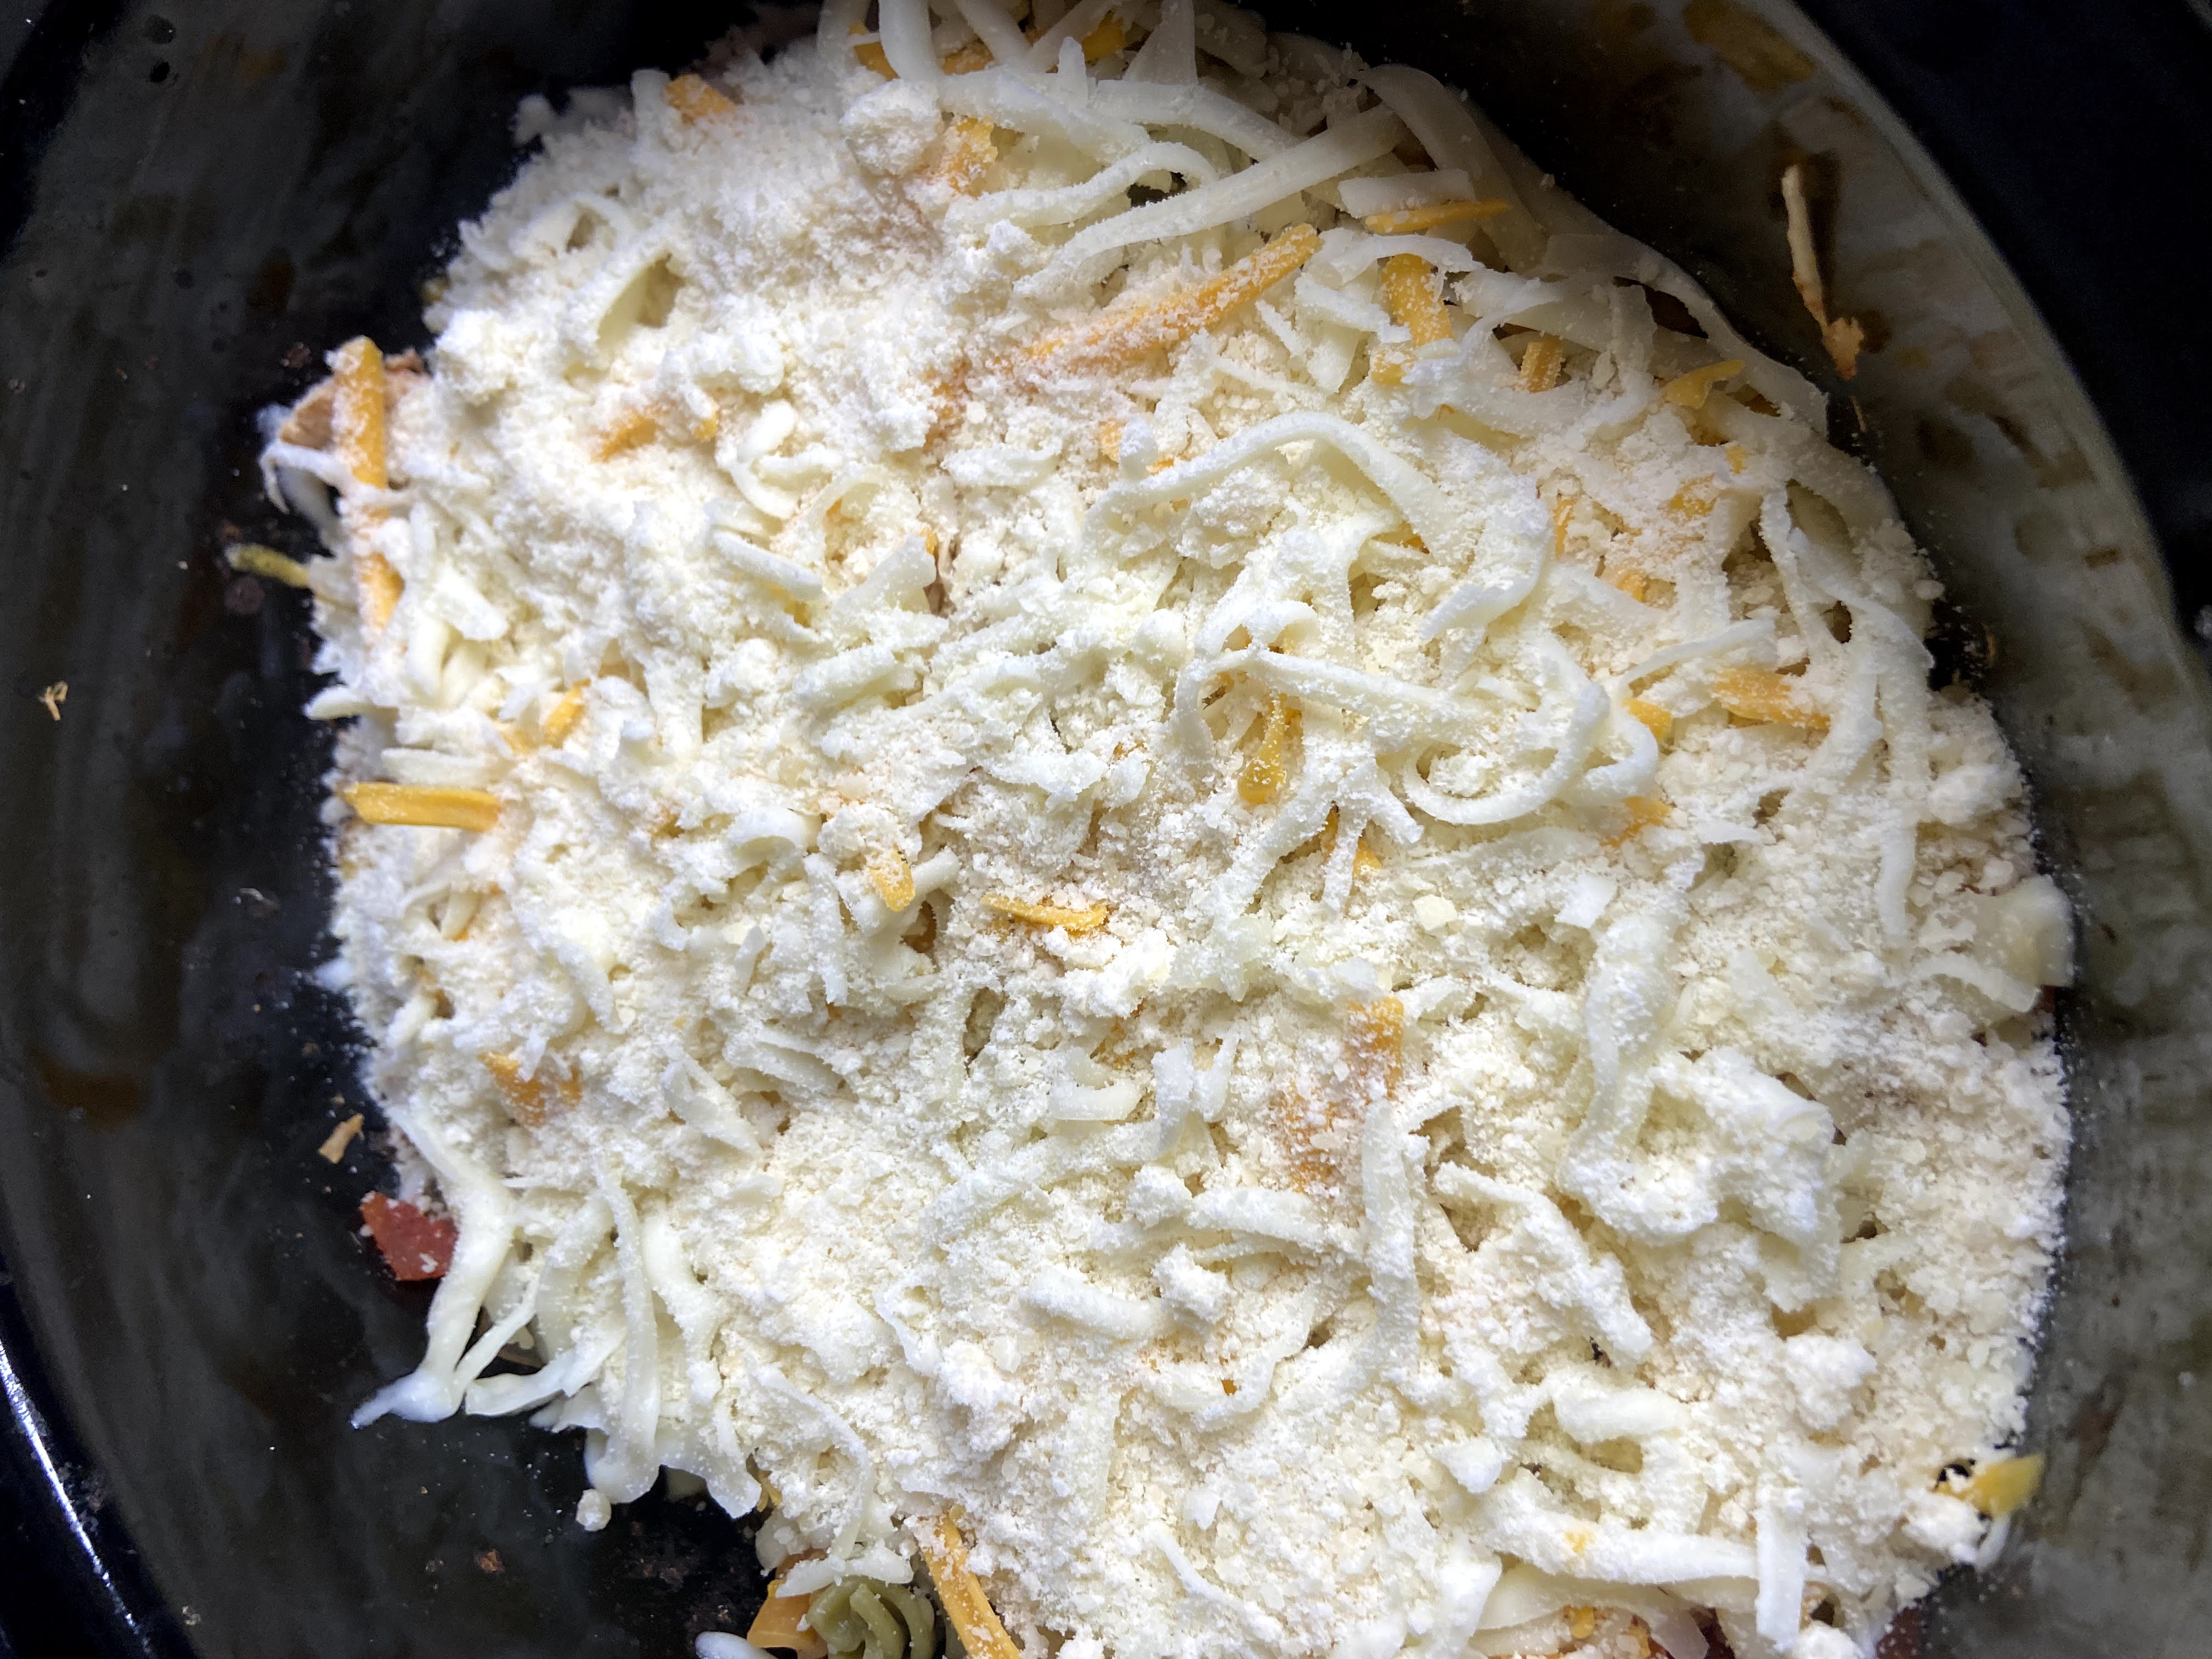
After approximately 5 ½ hours, cook pasta to al dente if you have not done so already. Remove chicken and shred. Stir noodles and shredded chicken into the slow cooker and cover with shredded cheese as well as the parmesan. Return cover and cook until cheese has melted. 

Meanwhile, spray a small sauce pan with cooking spray. Head over medium heat. Once hot, add breadcrumbs and toast them, stirring every minute or so. Watch them carefully as not to burn them. 

Serve up your delightful slow cooker meal, topping with the toasted breadcrumbs for texture. 

Finished meal!

Slow Cooker Chicken Parmesan

What's for dinner tonight? A quick to put together Slow Cooker Chicken Parmesan meal that is full of flavor without the heaviness. Yum!
Prep Time 10 minutes
Cook Time 6 minutes
Course Main Course
Cuisine Italian
Servings 6

Equipment

Ingredients
  

  • 2 boneless skinless chicken breasts (mine are generally frozen)
  • ½ cup chopped onions
  • 1 cup chopped fresh button mushrooms
  • ½ tablespoon minced garlic
  • 28 ounce can of diced tomatoes
  • ½ tablespoon dried basil
  • ½ tablespoon dried oregano
  • ¼ teaspoon pepper
  • 3 cups cooked pasta al dente
  • 2 cups shredded cheese any combination of mozzarella, cheddar, and provolone
  • ¼ cup parmesan cheese
  • ½ cup Italian breadcrumbs optional

Instructions
 

  • Layer onions, mushrooms, garlic tomatoes, basil, oregano, and pepper in your slow cooker.
  • Top with chicken breasts that have been lightly dusted with salt and pepper. Cook on low for 6 hours.
  • After approximately 5 ½ hours, cook pasta to al dente if you have not done so already.
  • Remove chicken and shred.
  • Stir noodles and shredded chicken into the slow cooker and cover with shredded cheese as well as the parmesan. Return cover and cook until cheese has melted.
  • Meanwhile, spray a small sauce pan with cooking spray. Head over medium heat.
  • Once hot, add breadcrumbs and toast them, stirring every minute or so. Watch them carefully as not to burn them.
  • Serve, topping with the toasted breadcrumbs for texture.
Keyword chicken, chicken parmesan, crock pot, pasta, slow cooker
Tried this recipe?Let us know how it was!

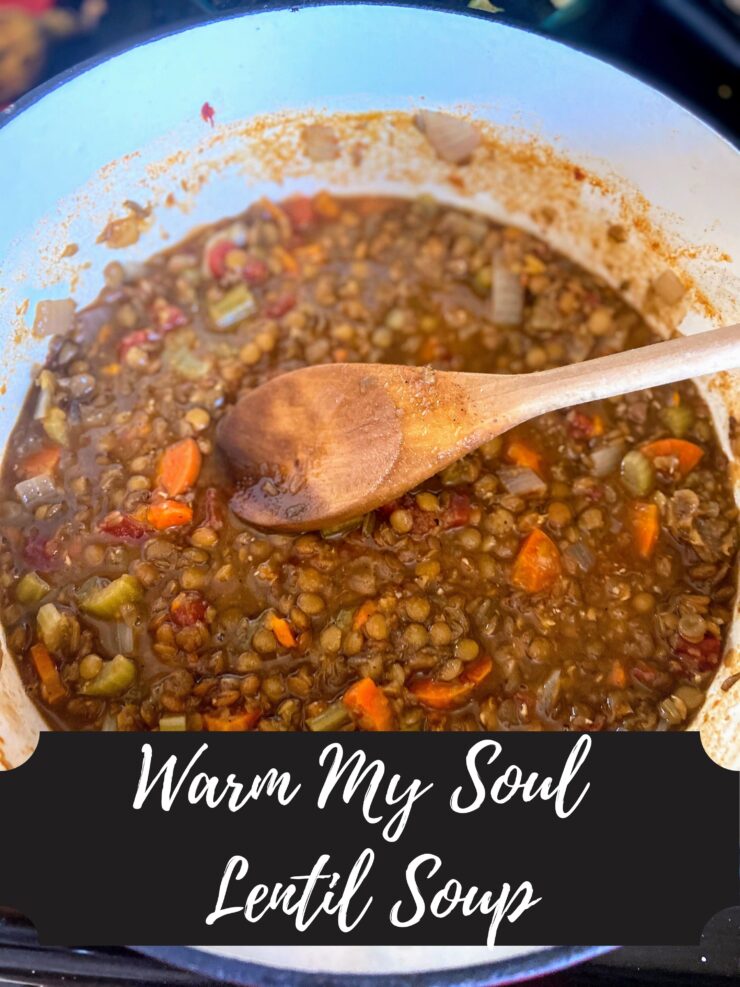
Warm My Soul Lentil Soup

A girl can do a lot with a cast iron Dutch oven (this one is from The Lodge is my favorite) and a wooden spoon. If I had to keep just two kitchen “gadgets,” those would be it. If you take a gander at my cooking page, you’ll see that I simply adore soup of all kinds and a cast iron Dutch oven is a must if you’re a soup lover. Classics like chicken noodle and a kitchen sink vegetable soup (Check out that recipe, it’s a pantry item soup that’s just to die for!) are my go to, but I’ve been trying to branch out as well.

When COVID hit, I found myself cooking more and feeling inspired to try new ingredients. I picked up lentils and gave them a try. First, I made a salad. It was okay. Went to lentil “meatballs” and it got better. Finally, I tried a warm my soul lentil soup, and I was sold. It was so easy to put together, filling, delicious, and easy on the pocketbook. What’s not to like, right?

Your Ingredients

  • 2-3 tablespoons olive oil ⁠
  • 1 onion, chopped⁠
  • 3 carrots, diced⁠
  • 3 celery stalks, diced⁠
  • 1 1/2 teaspoons minced garlic ⁠
  • 2 cups dried green lentils ⁠
  • 1 15.5 ounce can diced tomatoes with salt, undrained⁠
  • 5-6 cups chicken stock⁠
  • 1/2 teaspoon cumin powder⁠
  • 1/2 teaspoon coriander⁠
  • 1 1/2 tablespoon paprika ⁠
  • pepper, to taste⁠

Your Steps to Warm Your Soul Lentil Soup 

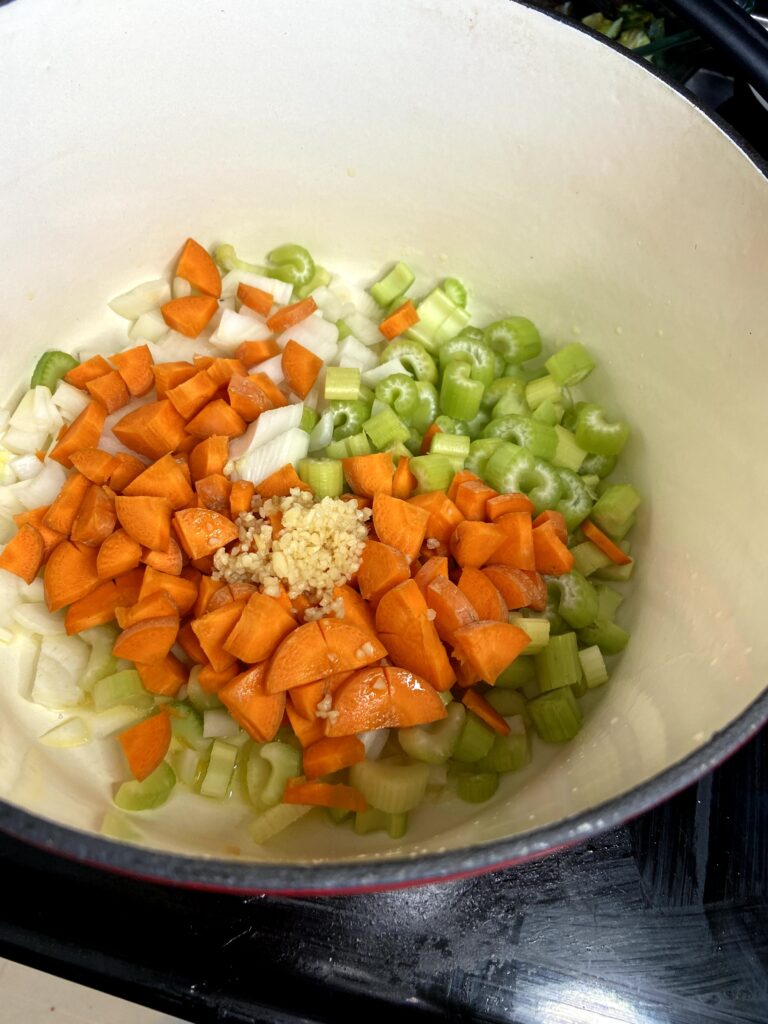
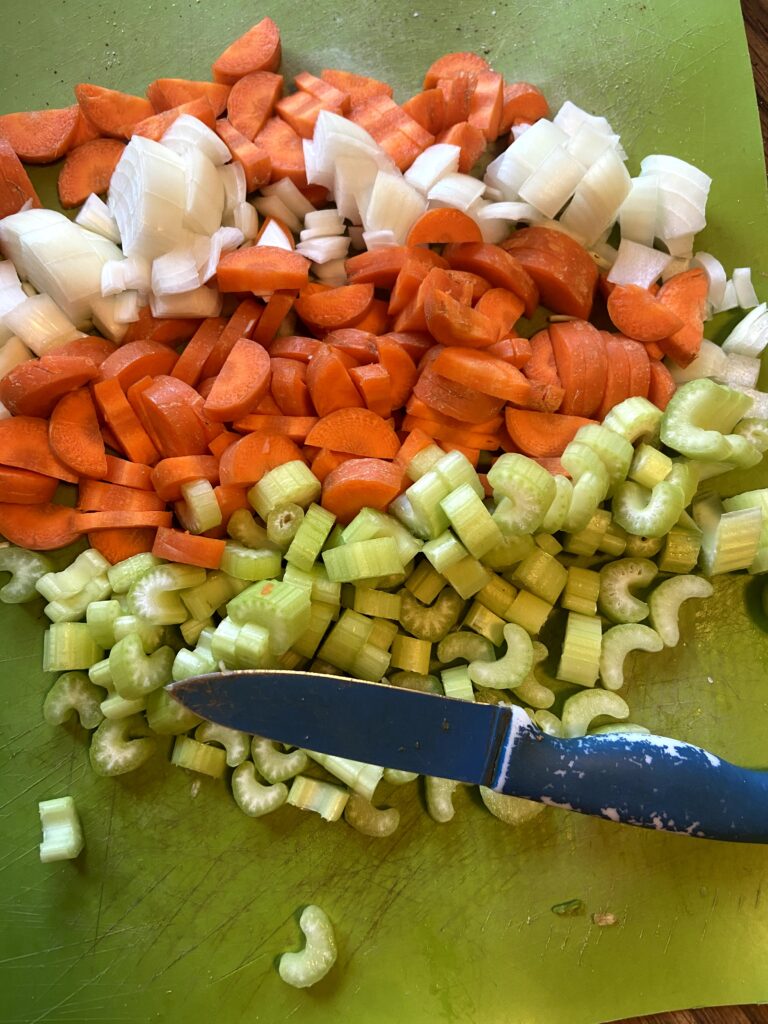
In a dutch oven, heat olive oil over medium heat. Once hot, add onion, celery, carrots, and minced garlic. Saute until soft, about 8 minutes. Stir in remaining ingredients. 

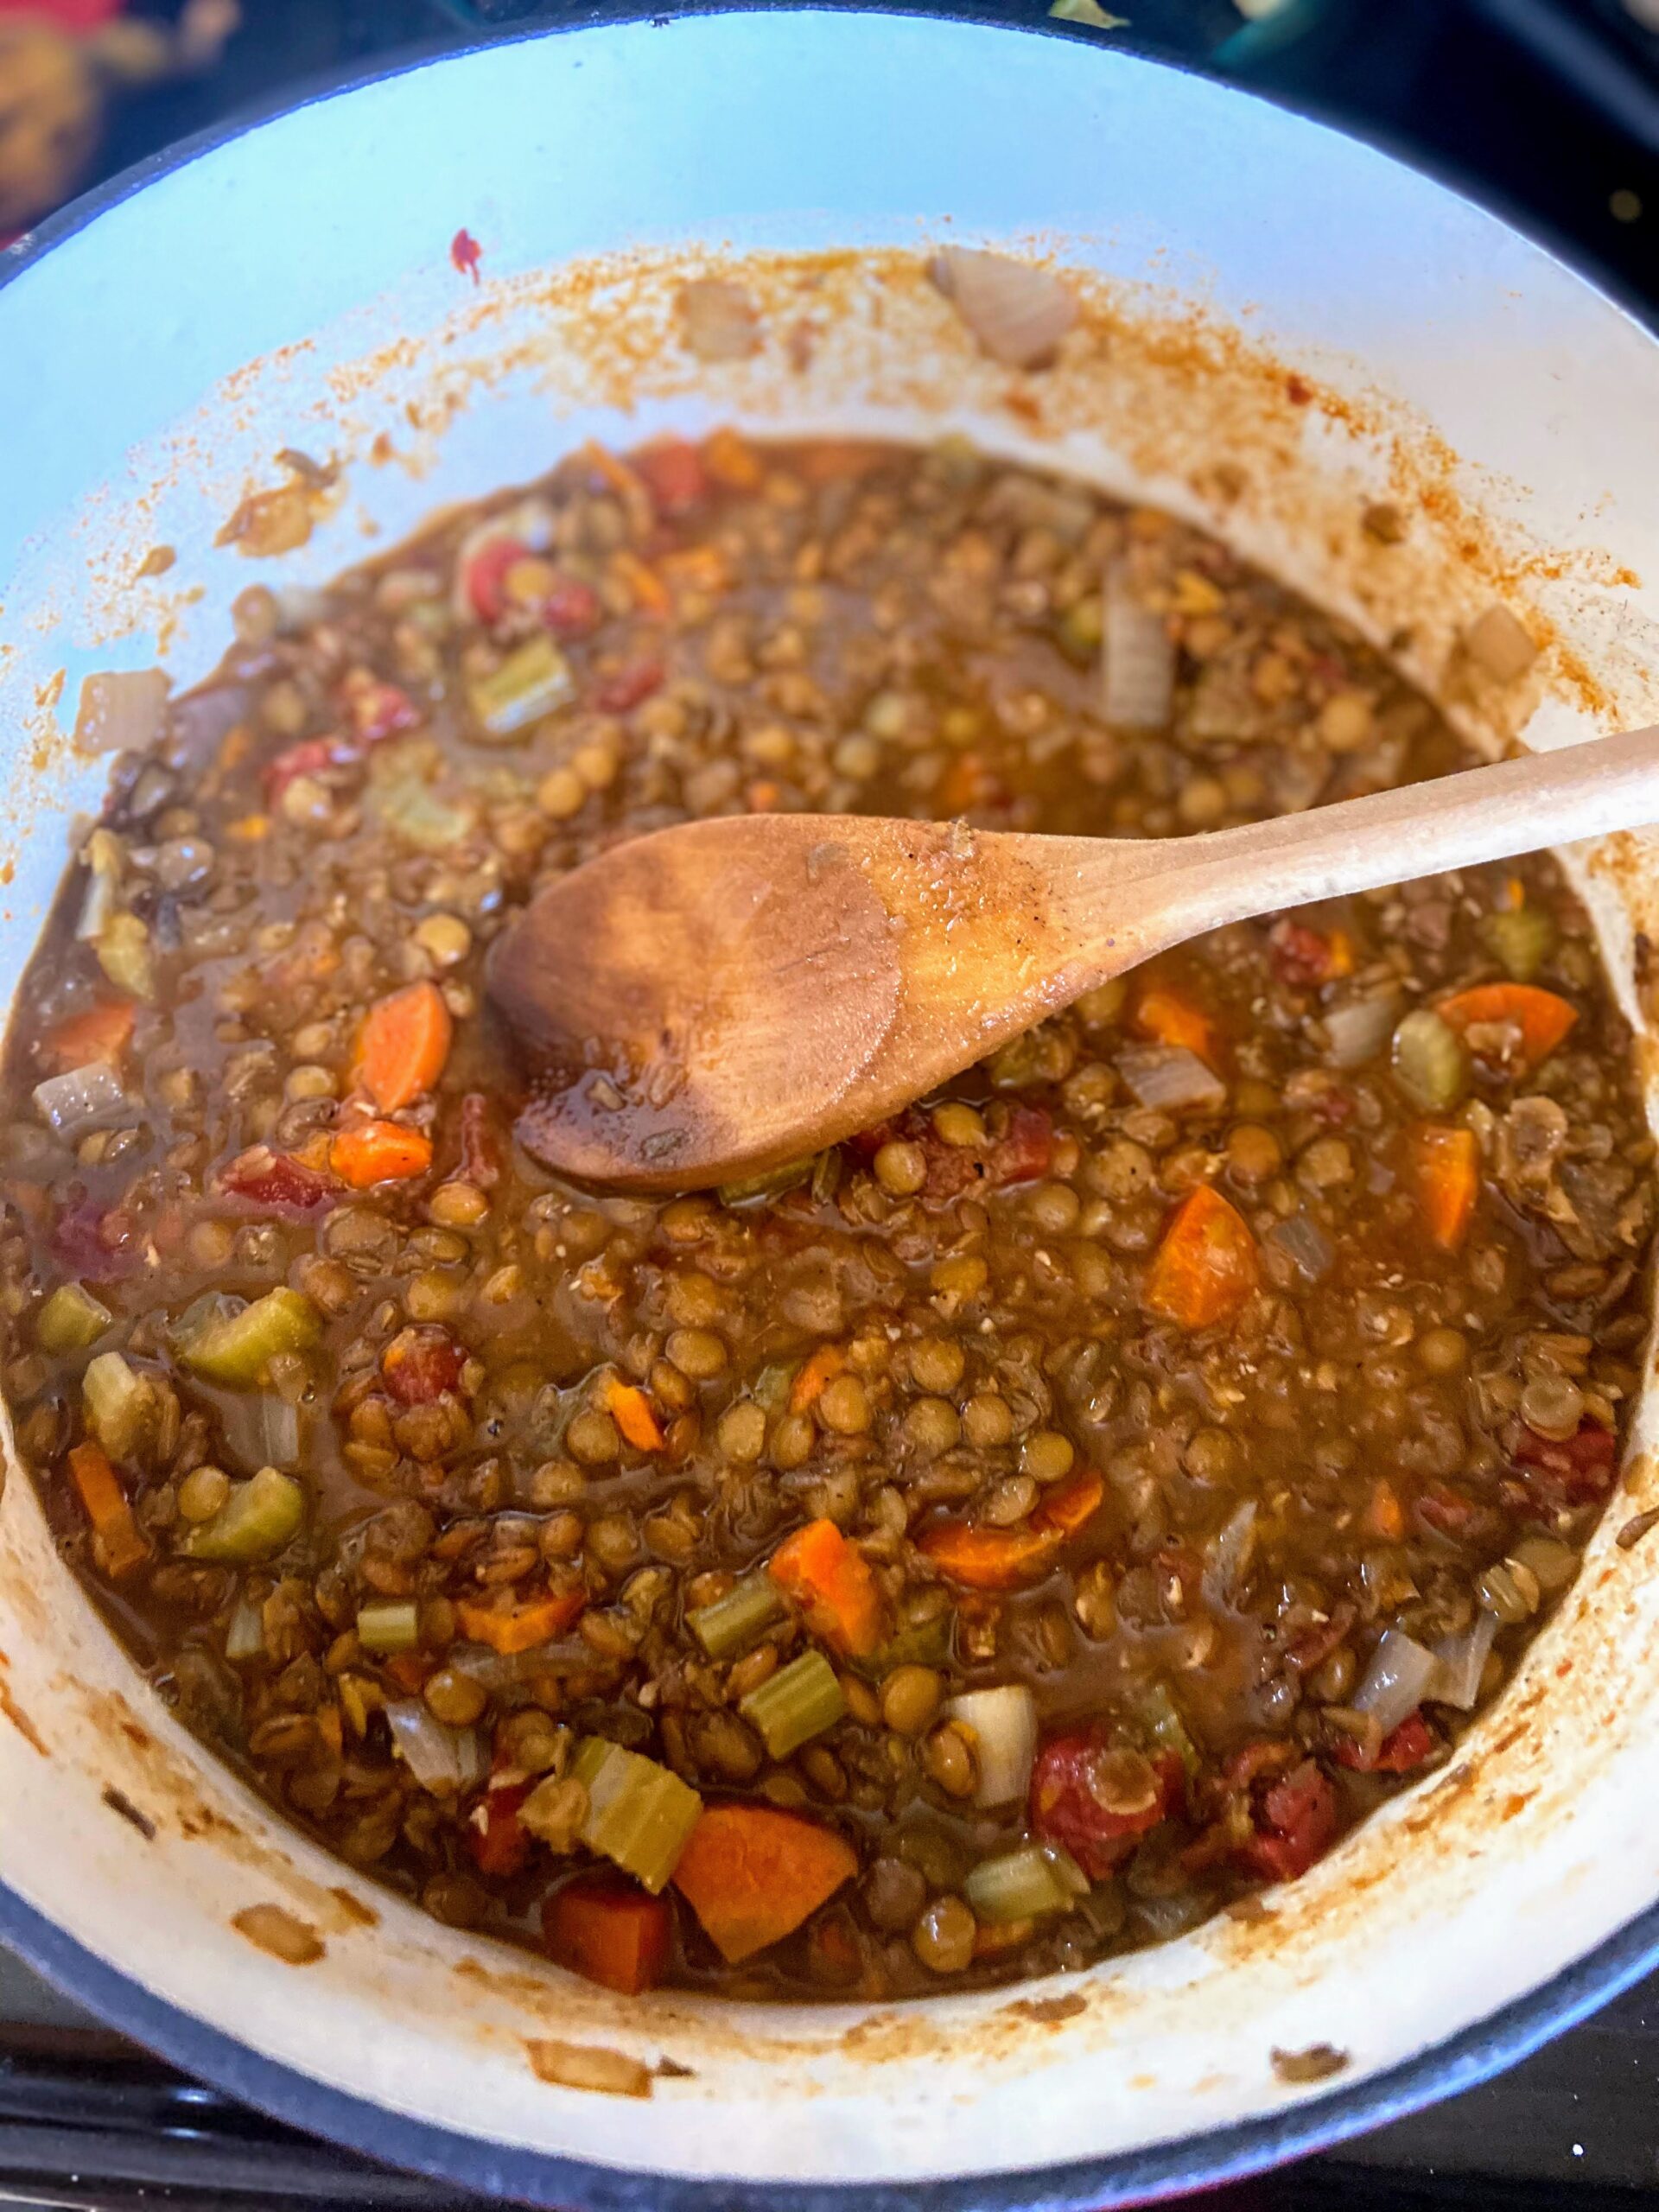
Raise the temperature to medium-high and heat the mixture to a boil. Lower the temperature to a simmer. Cook for 35-40 minutes, until the lentils are cooked through. 

Use an immersion blender to blend on high about 6-10 pulses. Alternatively, you can remove a few cups of the soup and blend it in a regular blender. If you do this, mix back in. This will thicken the soup and add a richness to it. 

Check the salt and pepper, adding more to taste. Ultimately, you can serve it immediately or allow to cool and eat later in the week (yay for meal prep!)

Warm My Belly Lentil Soup

Filling and full of flavor, this warm my soul lentil soup is perfect for those nights you want to go meat free but want to have a full tummy!
Servings 6 people

Ingredients
  

  • 2-3 tablespoons olive oil ⁠
  • 1 onion chopped⁠
  • 3 carrots diced⁠
  • 3 celery stalks diced⁠
  • 1 1/2 teaspoons minced garlic ⁠
  • 2 cups dried green lentils ⁠
  • 1 15.5 ounce can diced tomatoes with salt undrained⁠
  • 5-6 cups chicken stock⁠
  • 1/2 teaspoon cumin powder⁠
  • 1/2 teaspoon coriander⁠
  • 1/2 tablespoon paprika ⁠
  • pepper to taste⁠

Instructions
 

  • In a dutch oven, heat olive oil over medium heat. Once hot, add onion, celery, carrots, and minced garlic.
  • Saute until soft, about 8 minutes.
  • Stir in remaining ingredients.
  • Raise the temperature to medium-high and heat the mixture to a boil.
  • Lower the temperature to a simmer and cover. Cook for 35-40 minutes, until the lentils are cooked through.
  • Use an immersion blender to blend on high about 6-10 pulses. Alternatively, you can remove a few cups of the soup and blend it in a regular blender. If you do this, mix back in. This will thicken the soup and add a richness to it.
Tried this recipe?Let us know how it was!

Kielbasa and Quinoa Vegetable Skillet

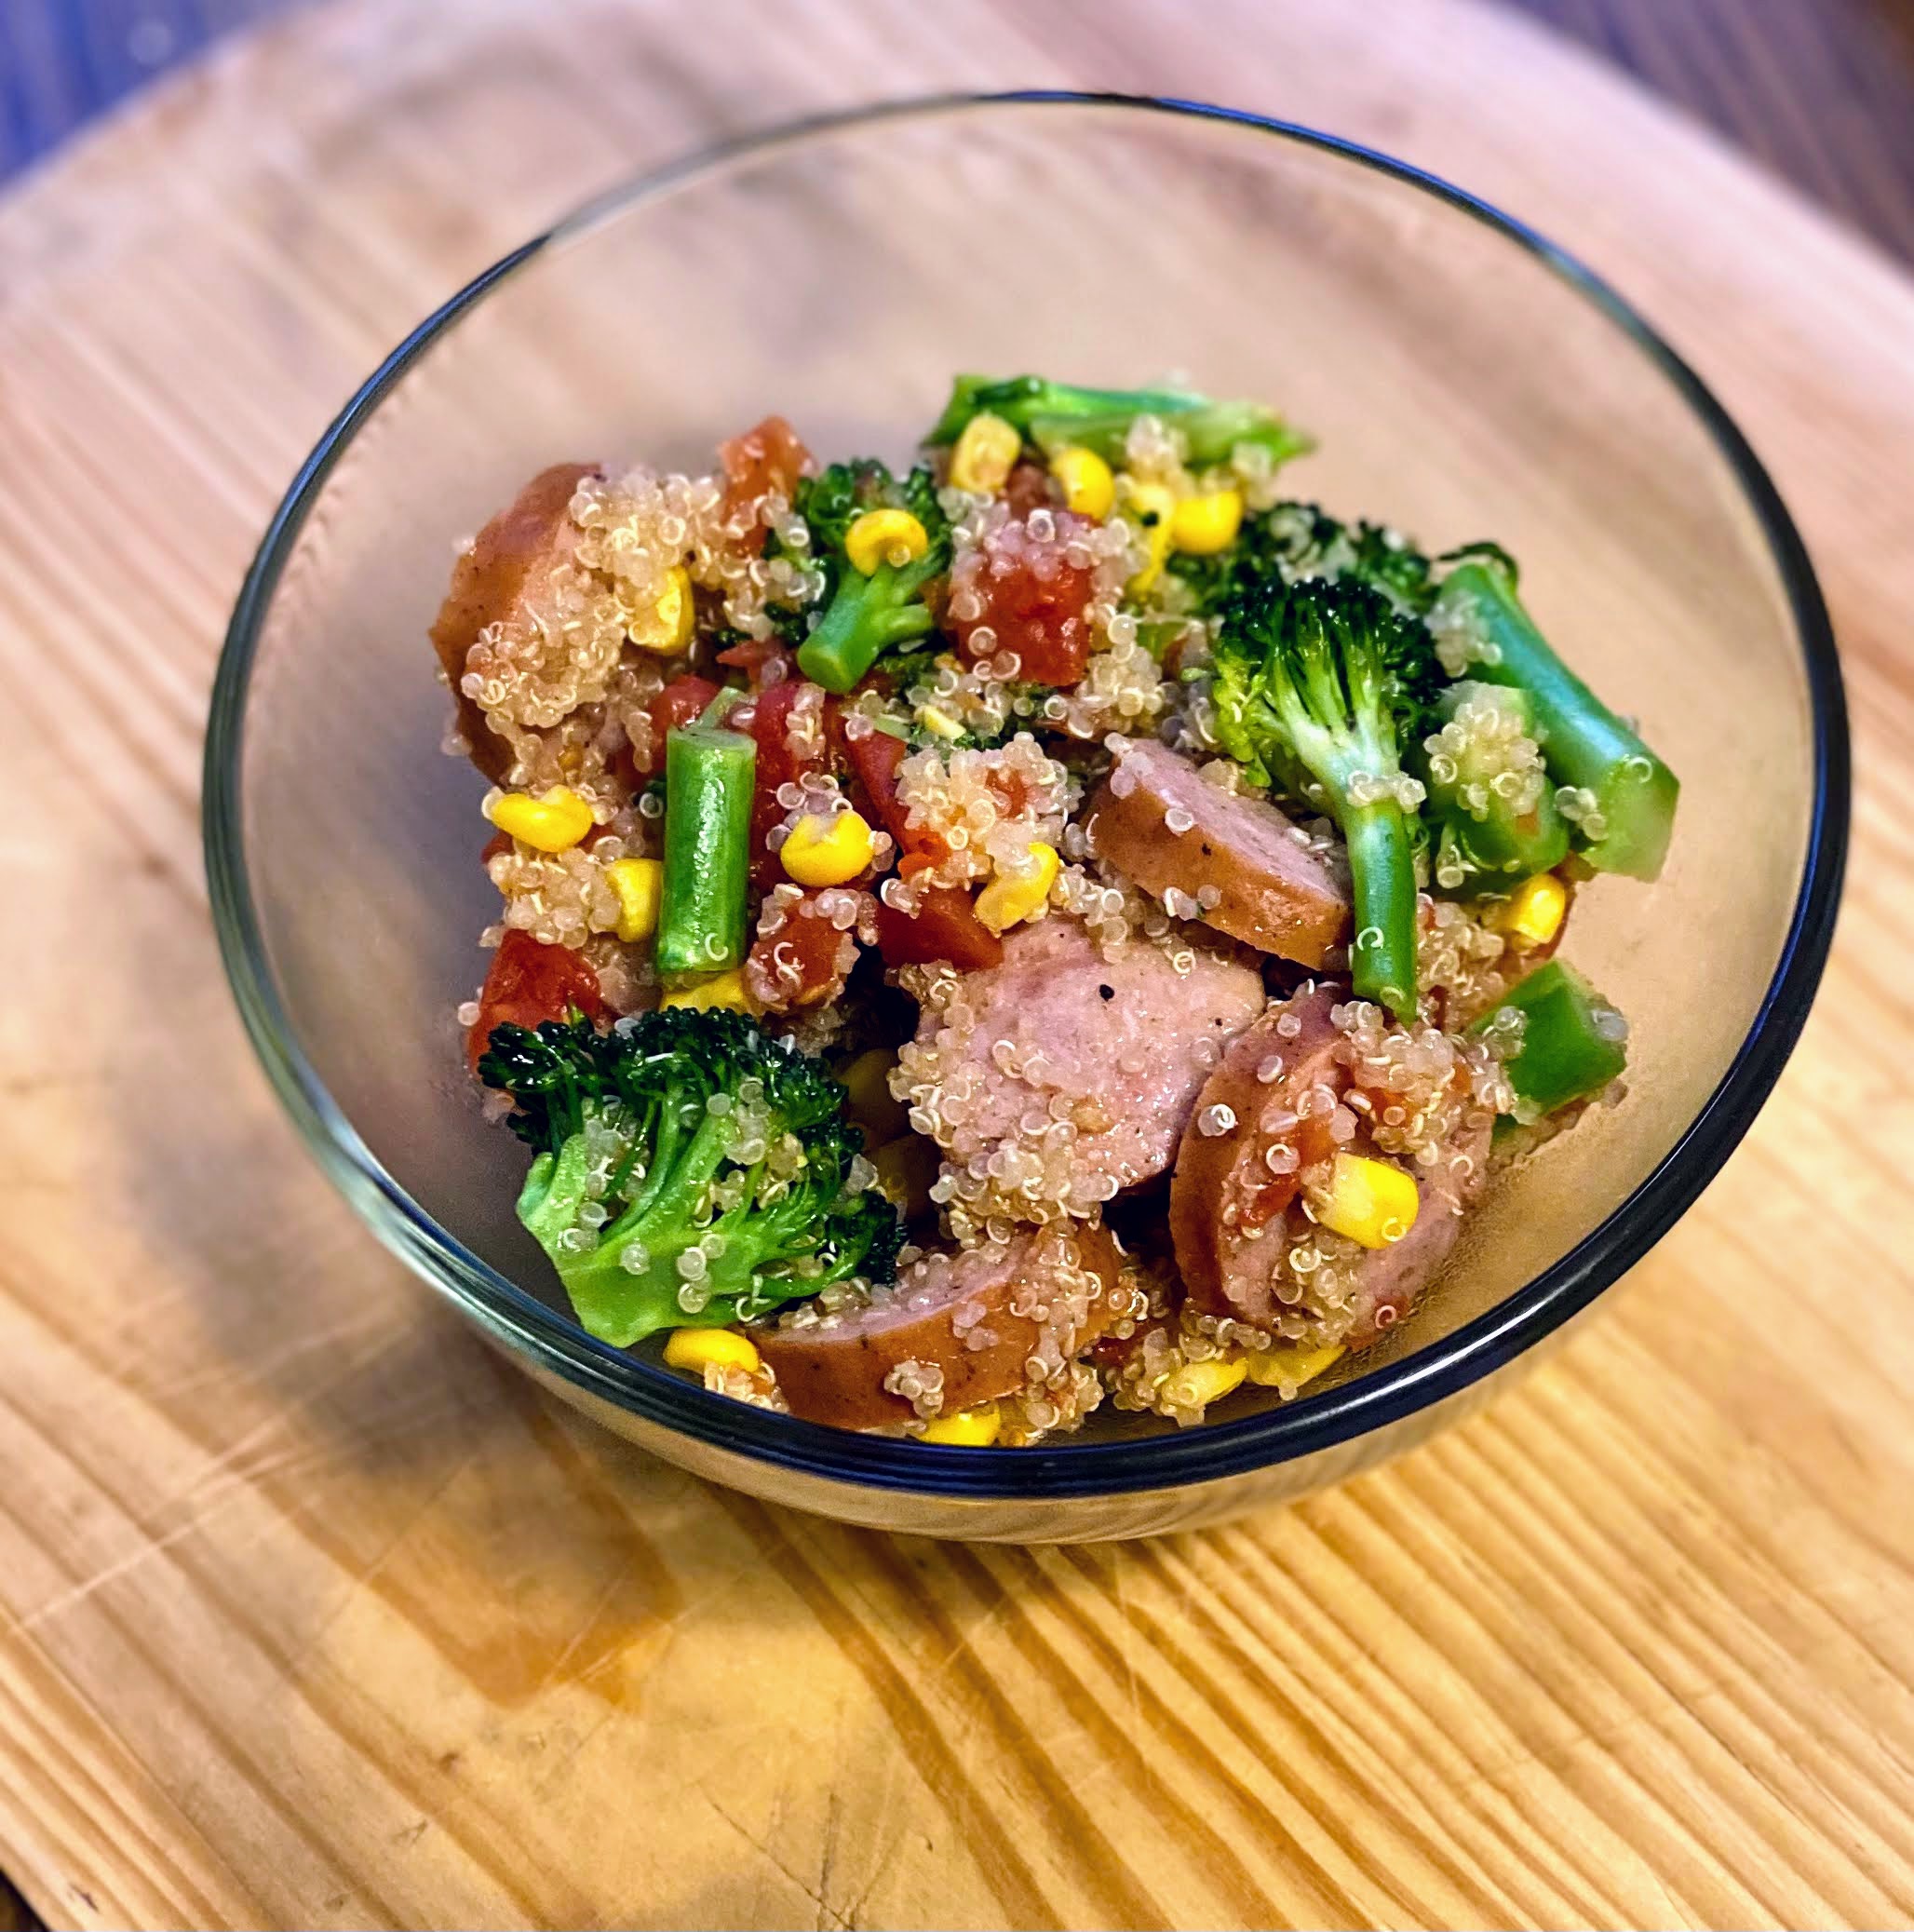
The scene: It’s 5 o’clock and you still have no idea what’s for dinner, but you know you don’t want to cave to the temptation of take out or the quick rotisserie chicken from the local grocery store. You know that life? It was mine just recently. I was coming home from a training to teach cycling (Eeee!) and hadn’t a clue what was for dinner. Enter this delightful little diddy: Kielbasa and Quinoa Skillet. 

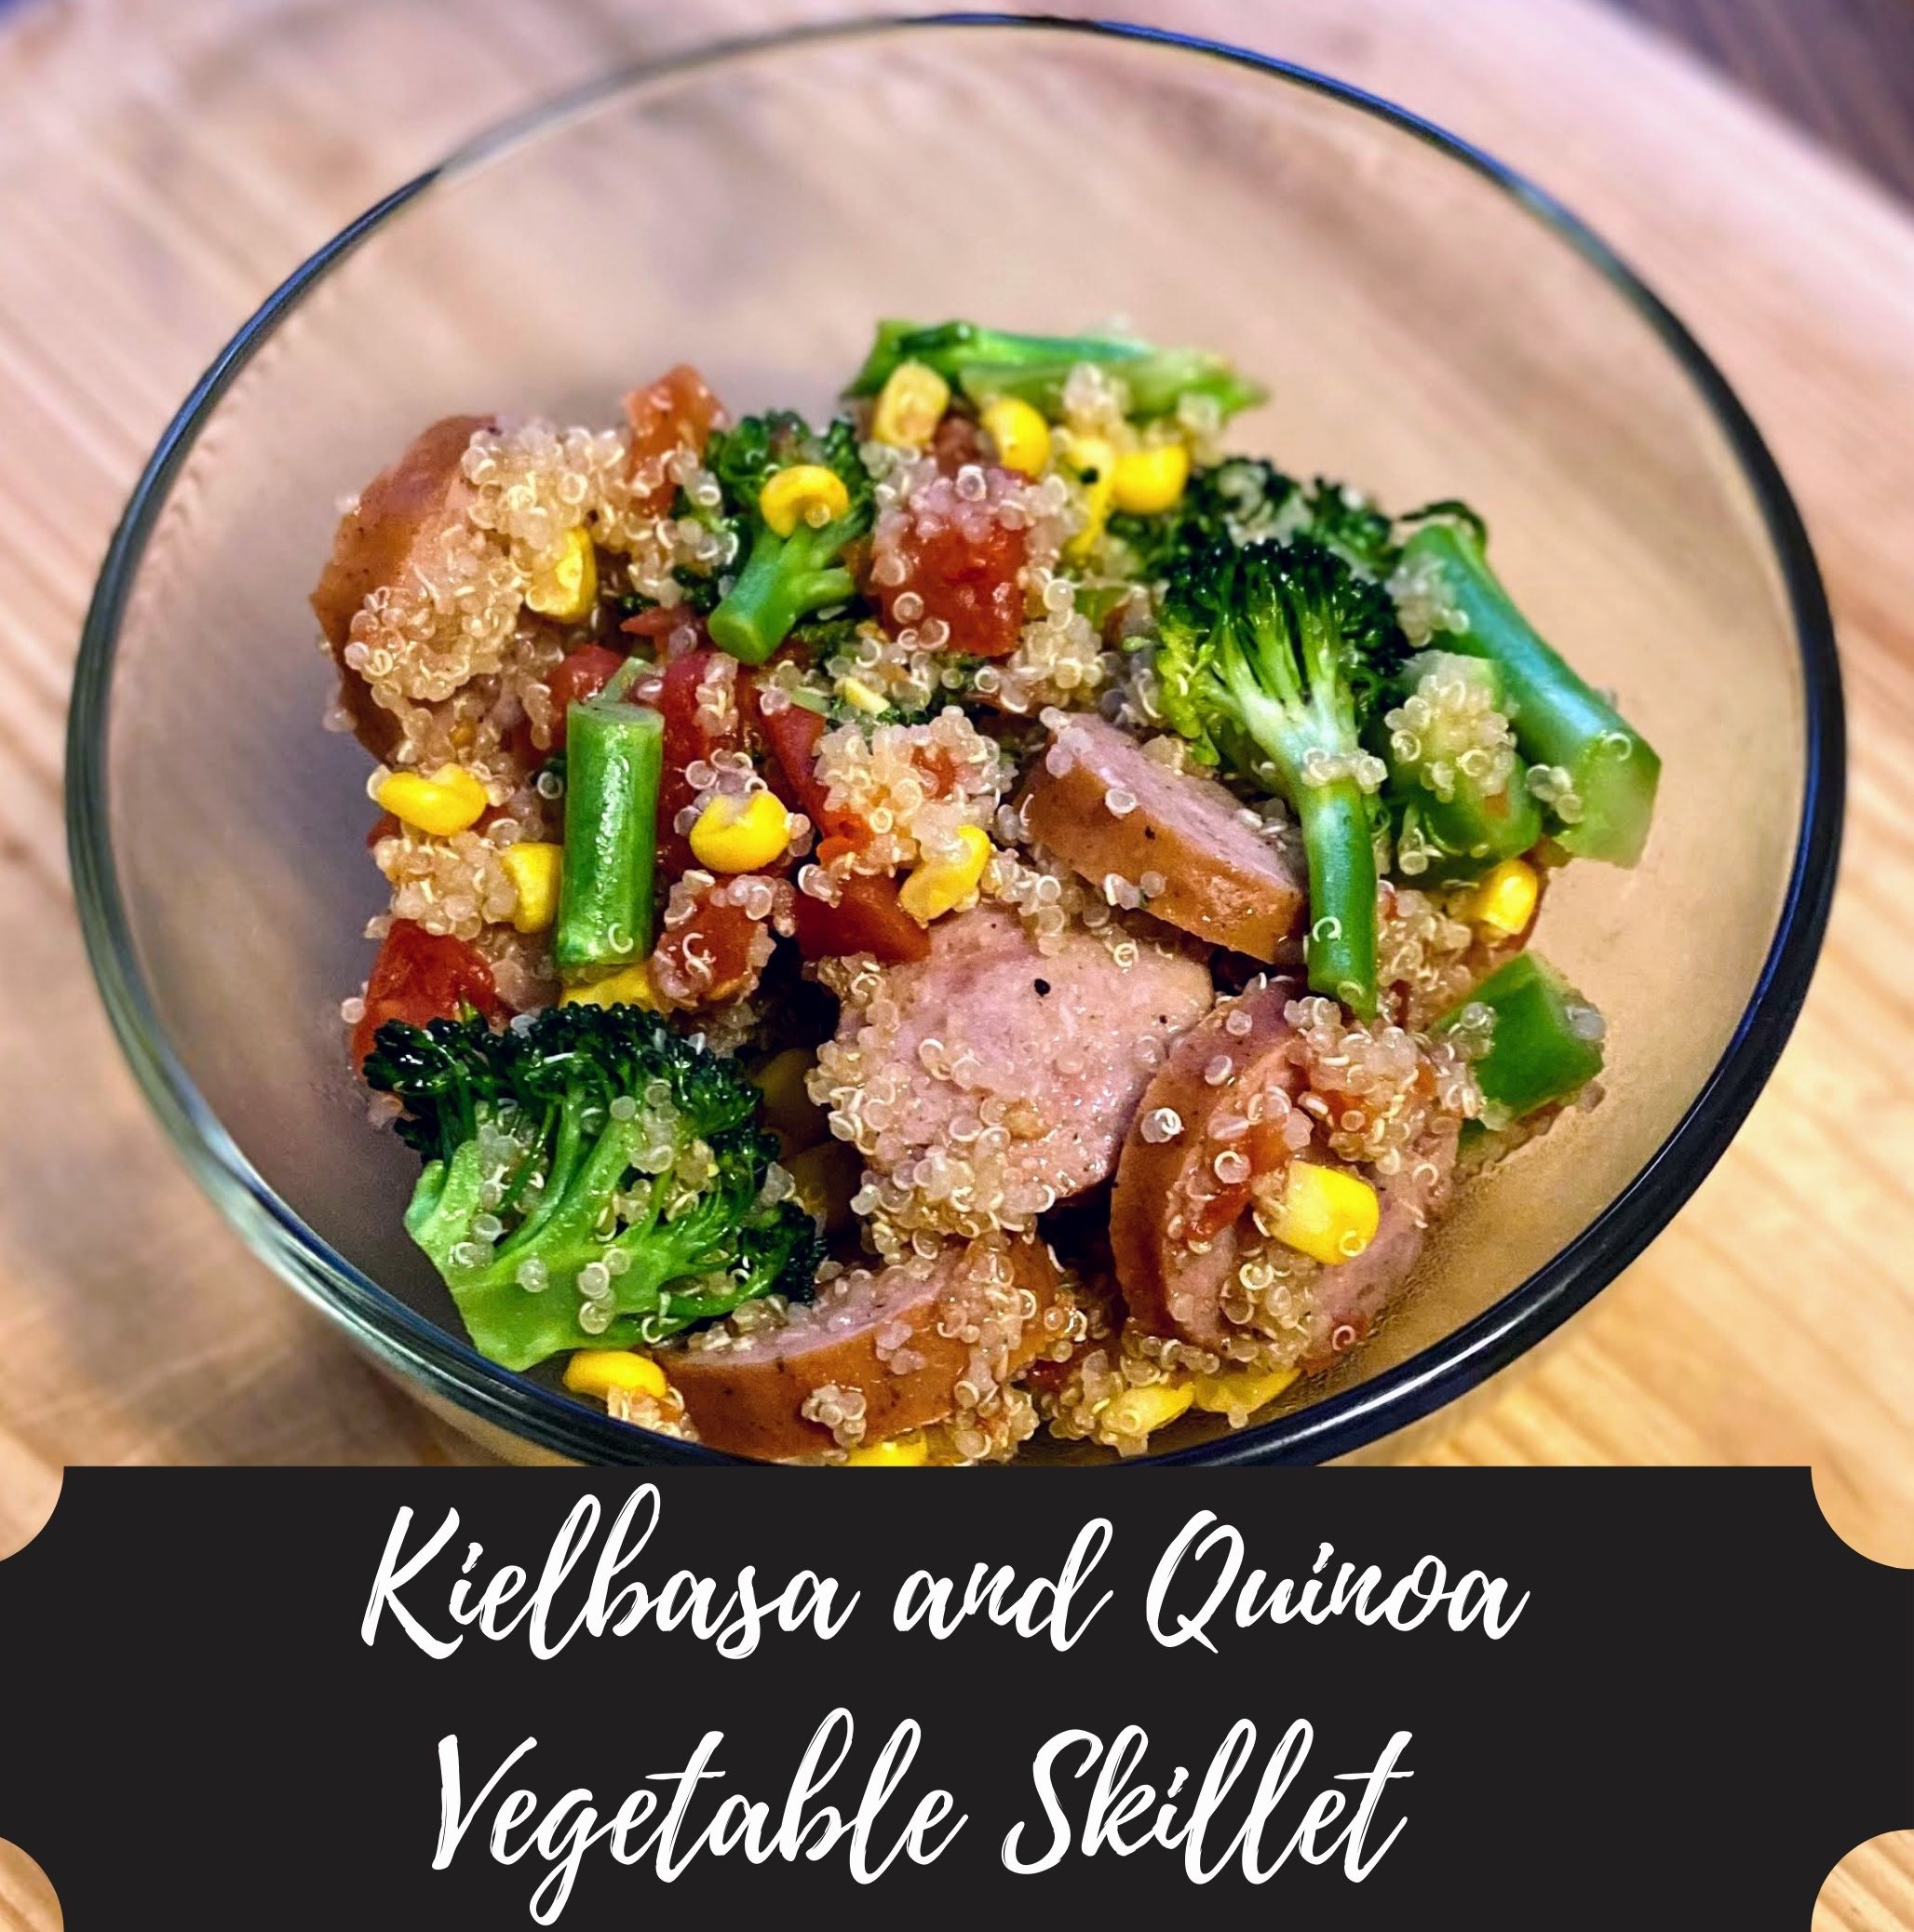
You guys know me…I sneak all the extra vegetables into a meal. And this one is full of about 5 cups of them. You get all the color with broccoli, tomatoes, and corn. Quinoa provides a nice little base, and the kielbasa has the spices mixed in already so you only need a little garlic, some salt, and some pepper. Best yet? It comes together in under 30 minutes! Winning on all the fronts. 

Ready to get cooking? I sure am! 

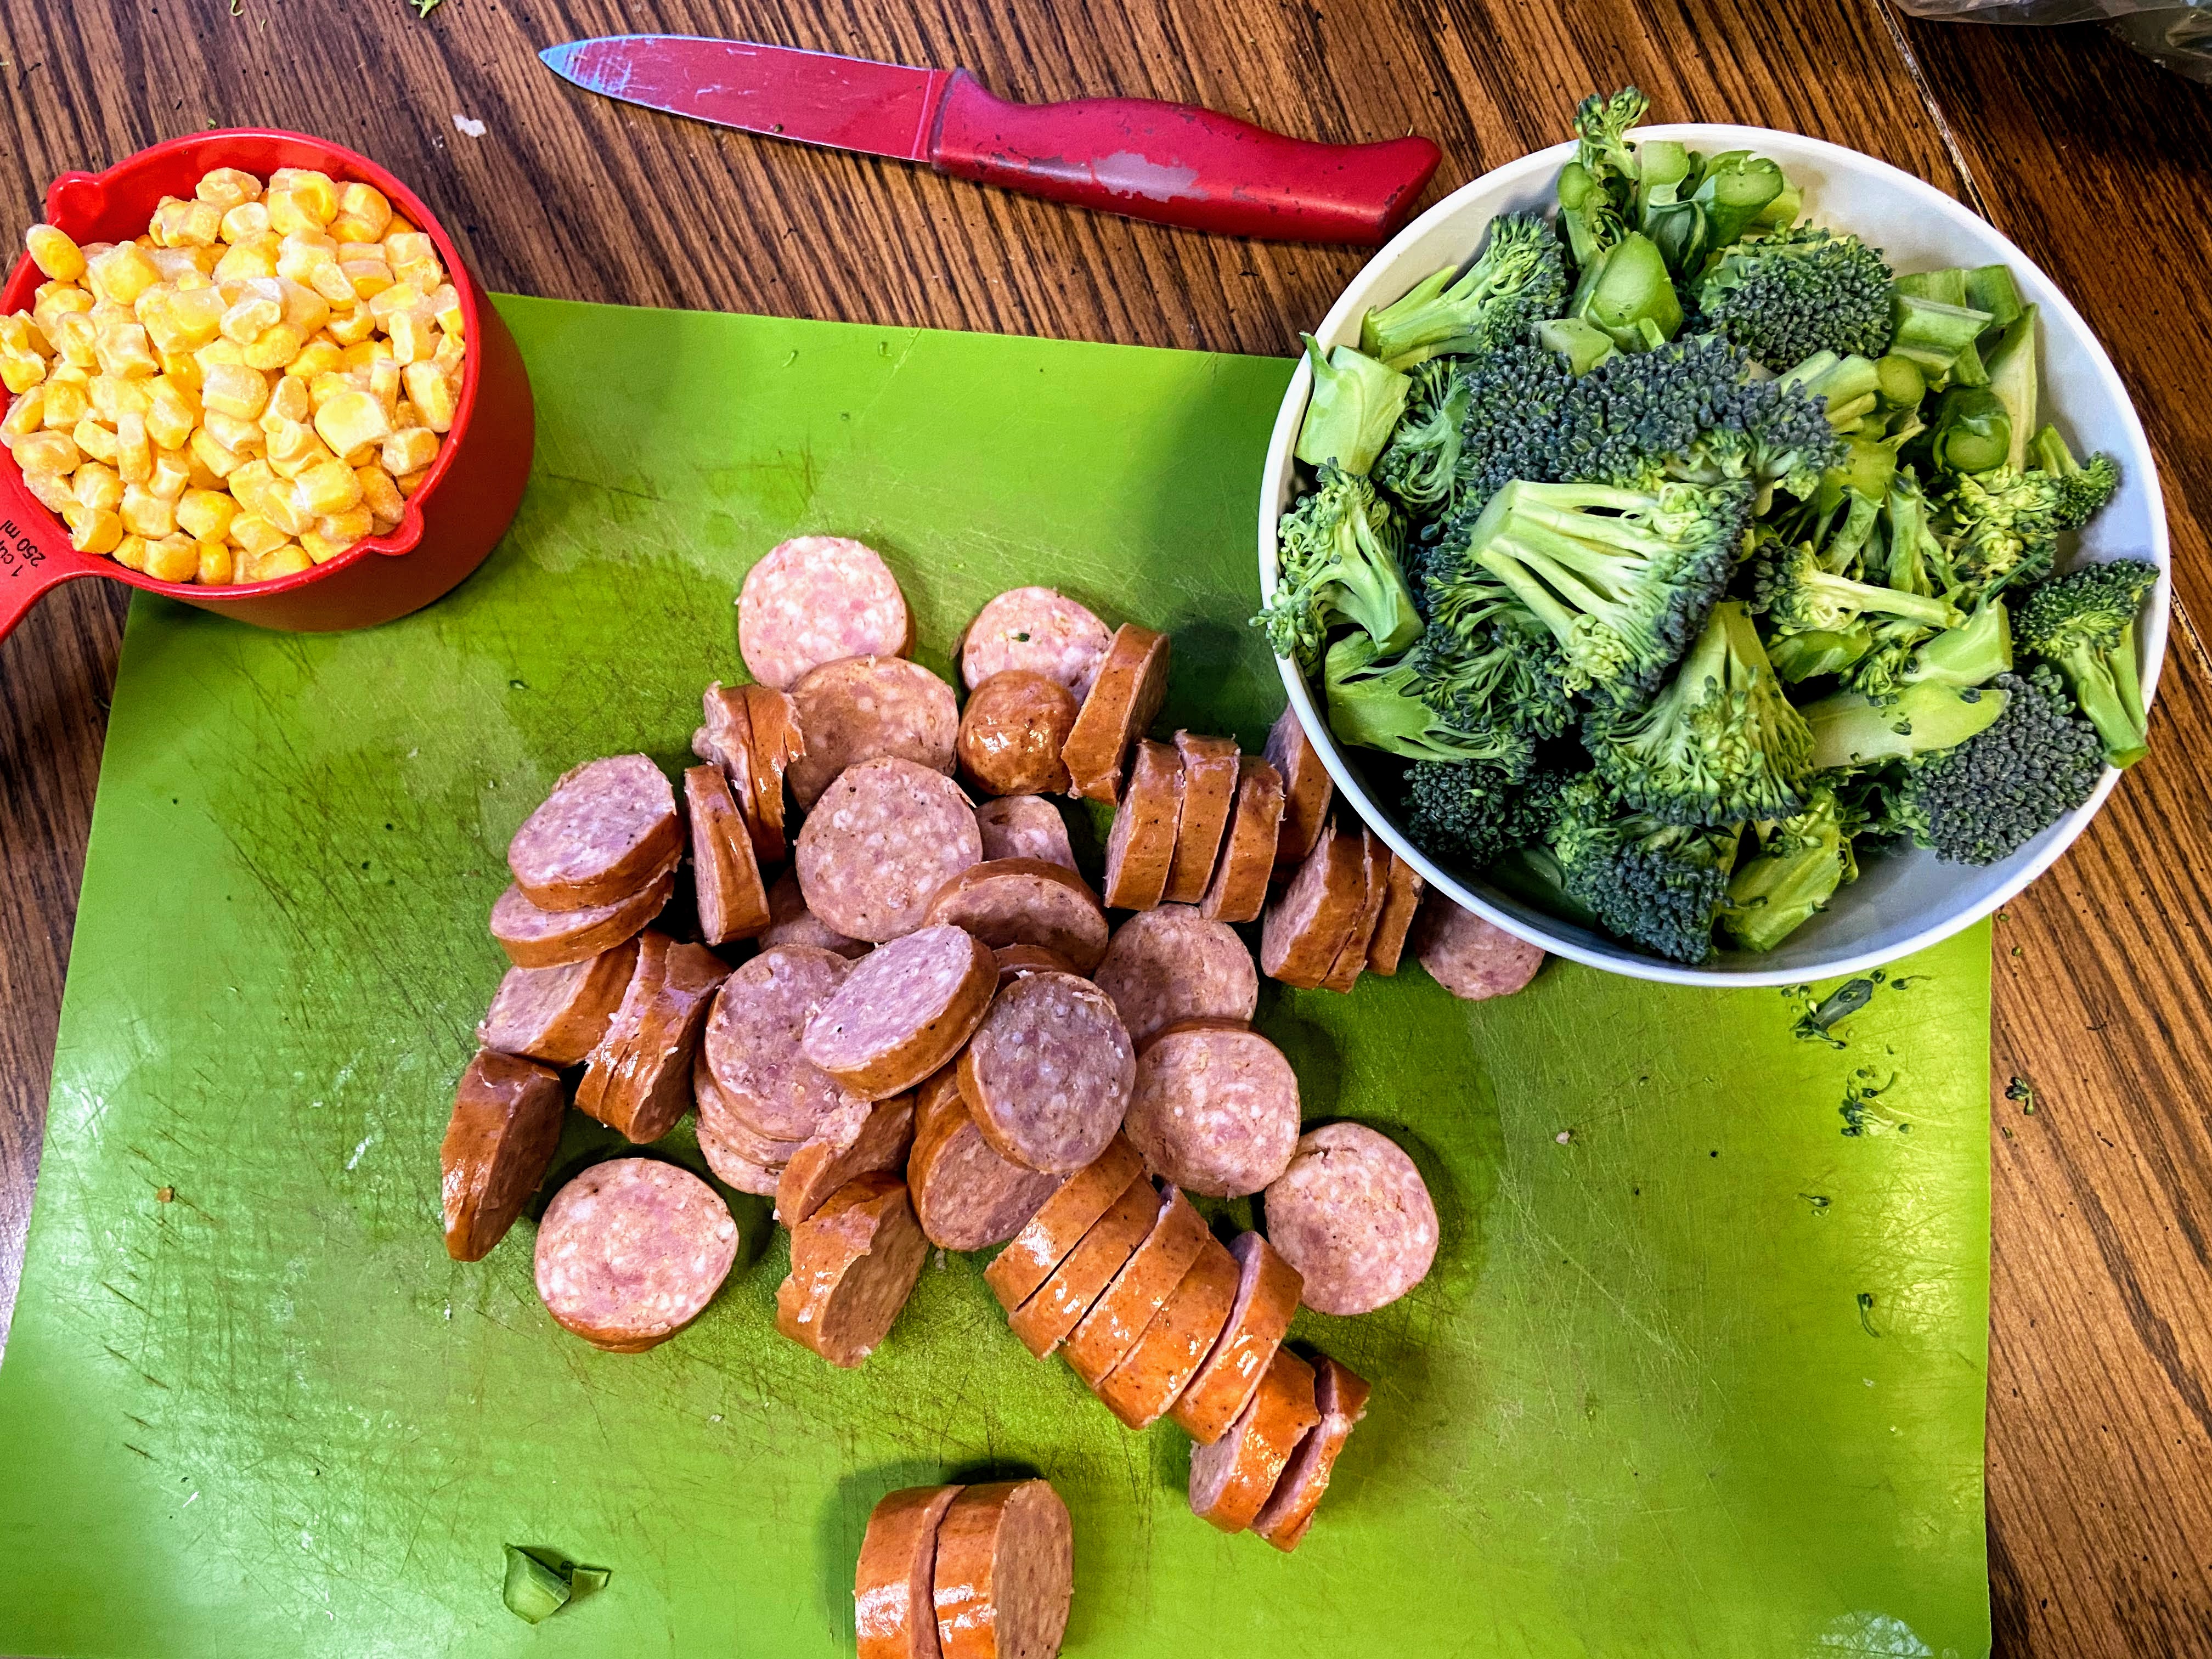
Your Ingredients 

  • ¾ cup dry quinoa 
  • 1 ½ cups chicken stock (or water will do!)
  • 2 teaspoons minced garlic 
  • 1 tablespoon olive oil 
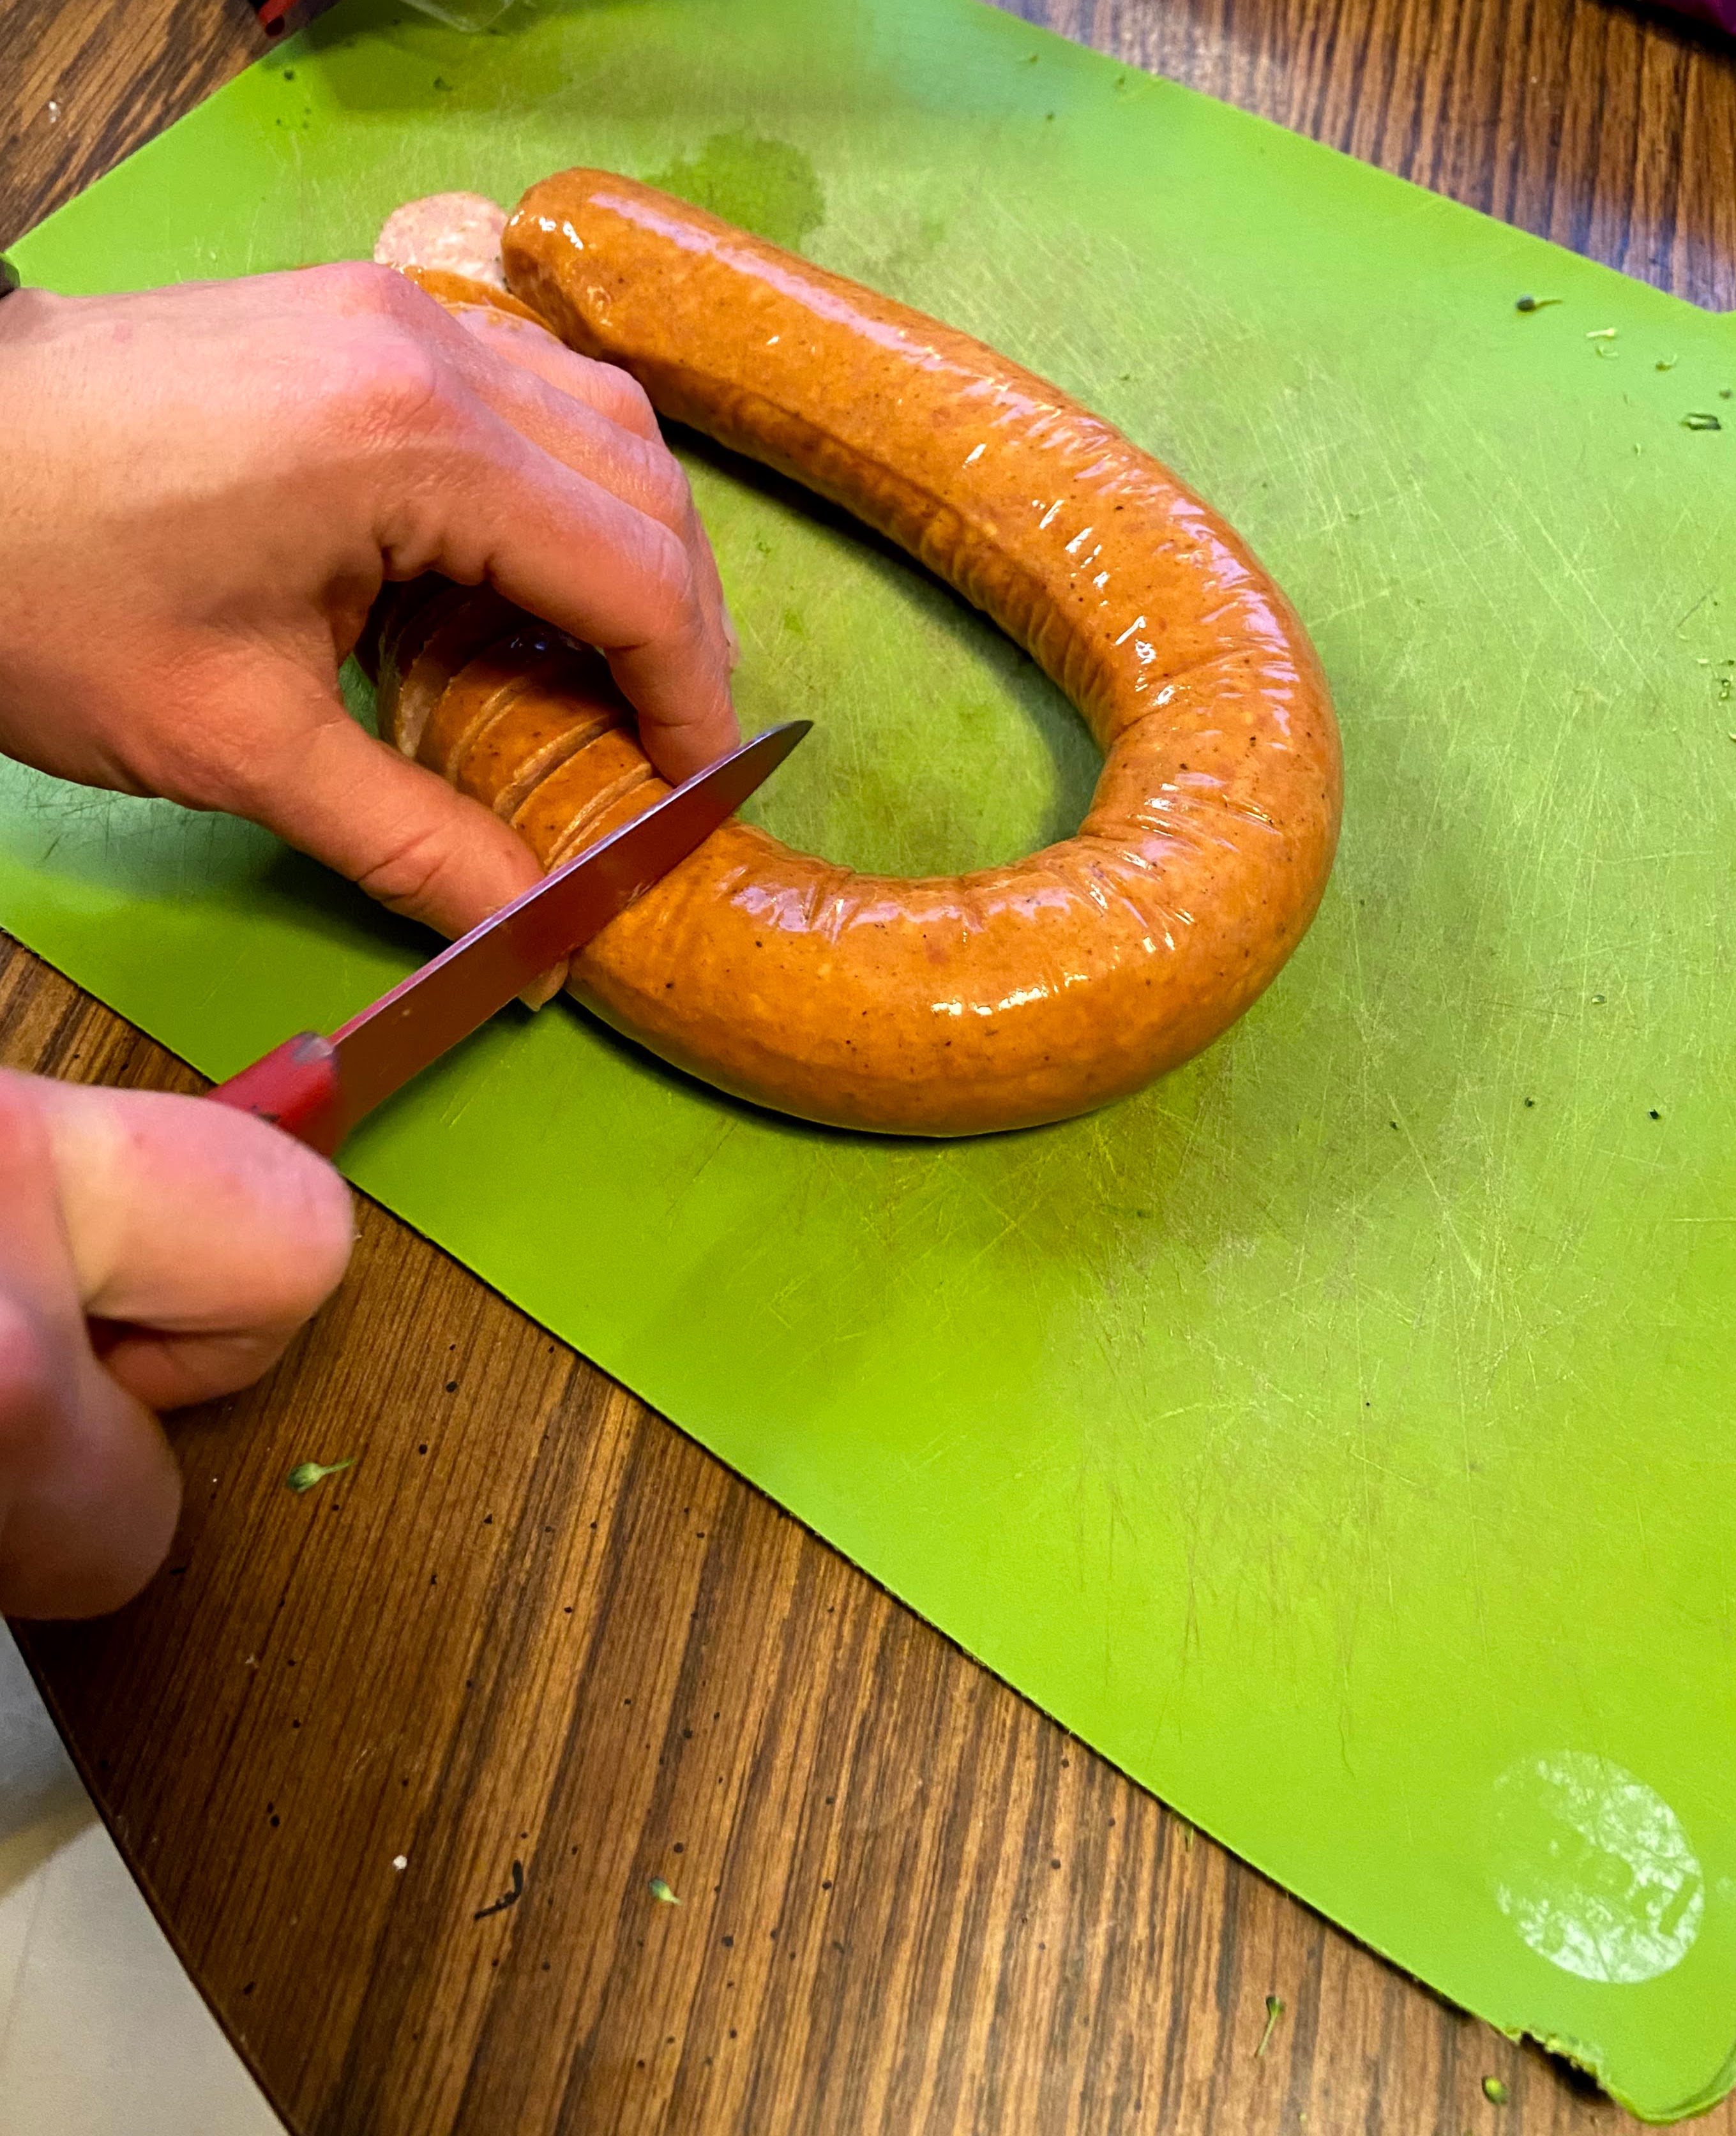
  • 1 kielbasa, sliced
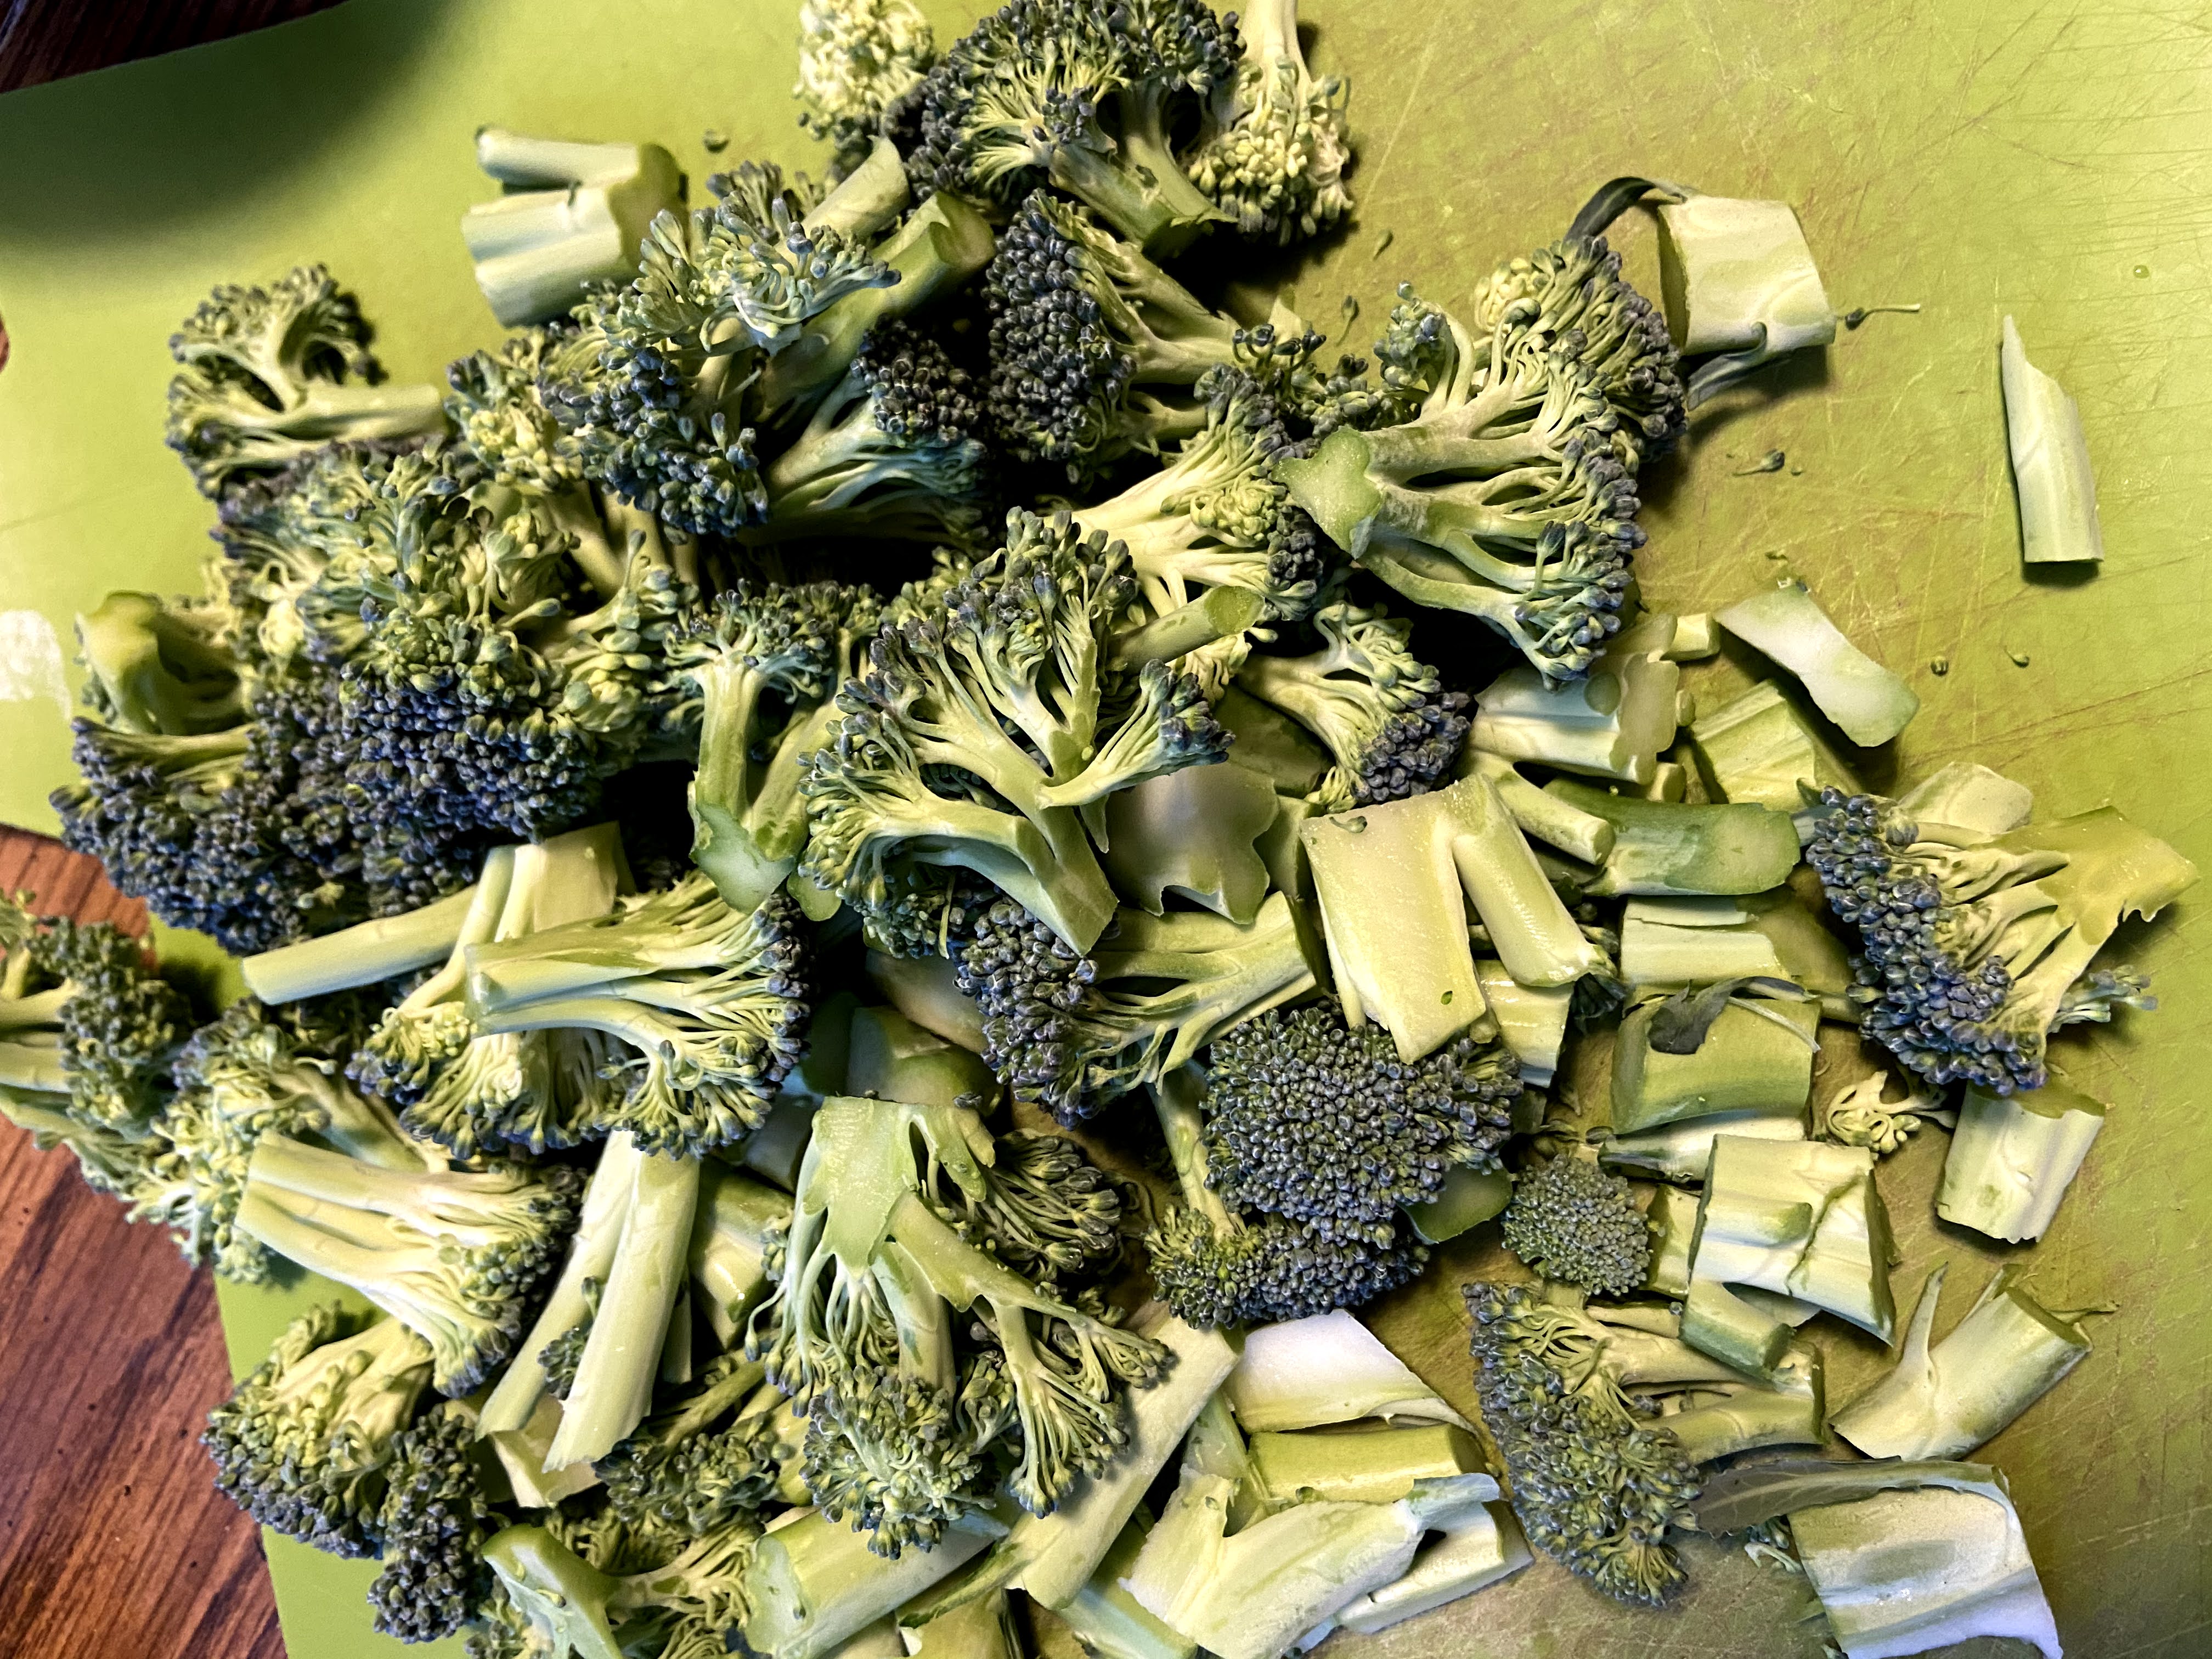
  • 3 ½ cups broccoli, chopped (include the stems!)
  • 1 15 ounce canned diced tomatoes, drained and salt free
  • 1 cup frozen corn
  • Salt, pepper, and red pepper flakes, to taste

Your Steps to Kielbasa and Quinoa Skillet

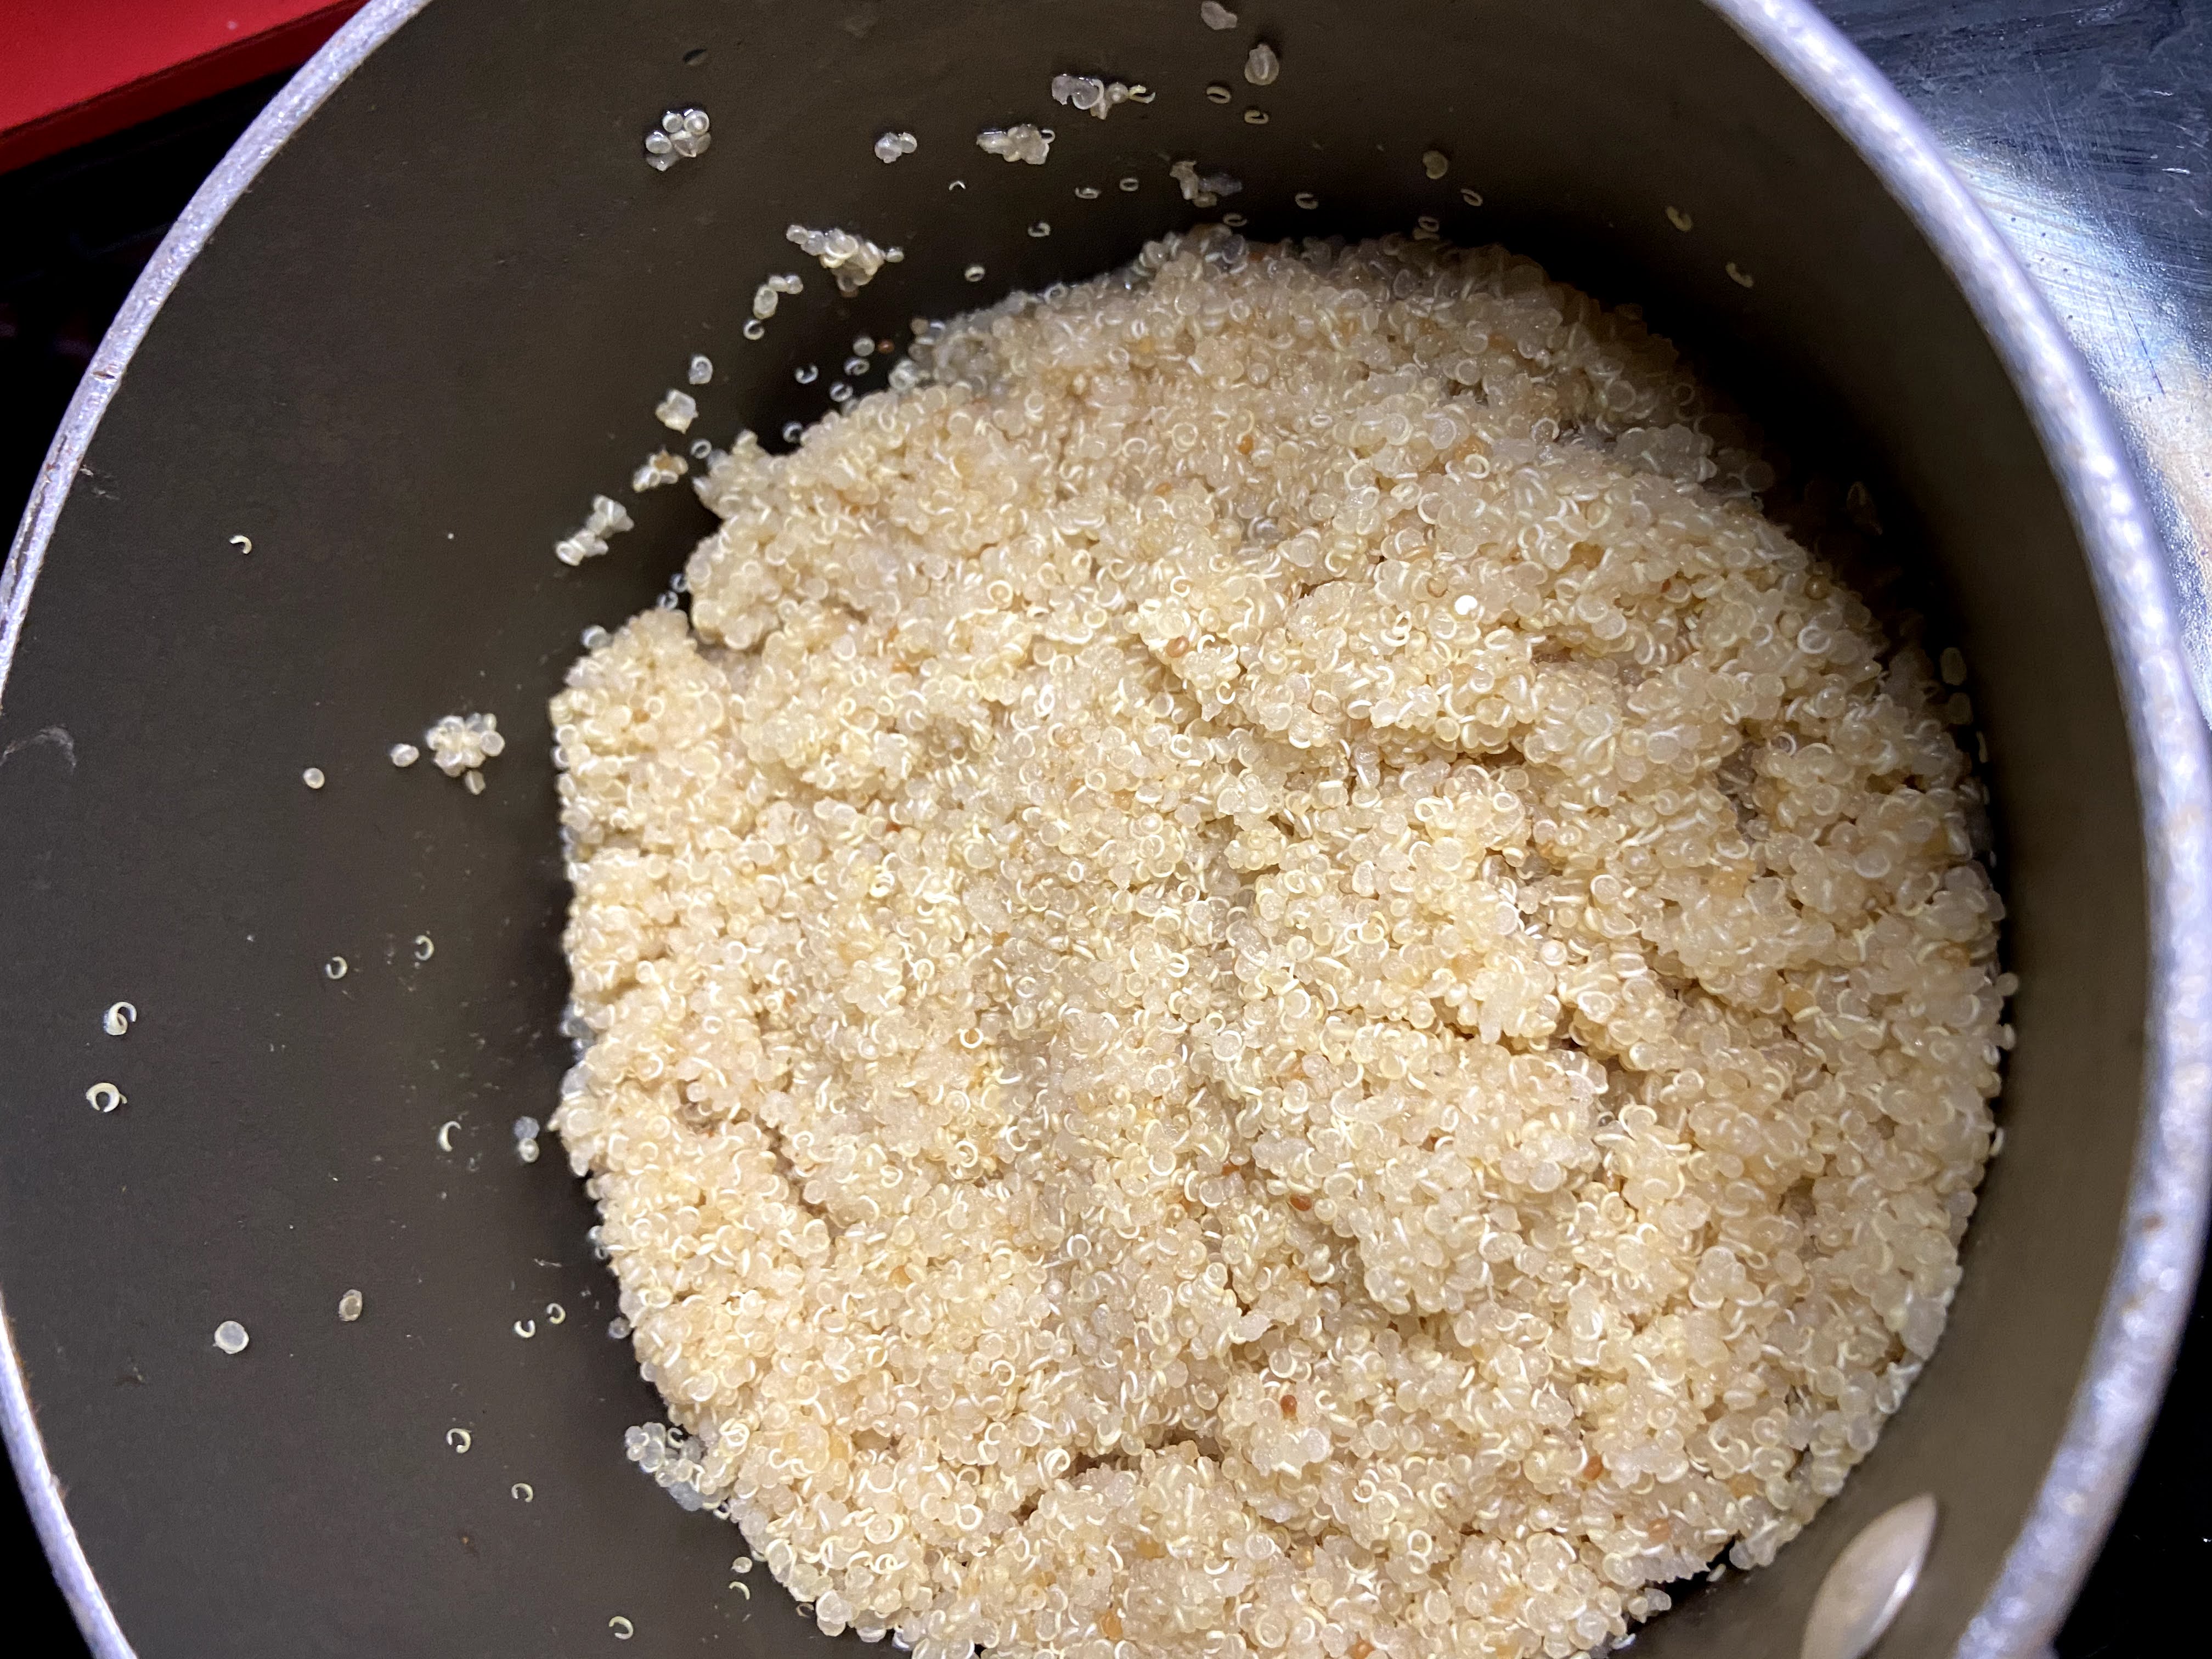
In a saucepan, bring chicken stock to a boil. Add quinoa and lower the temperature to a simmer. Cover and simmer for 15 minutes. 

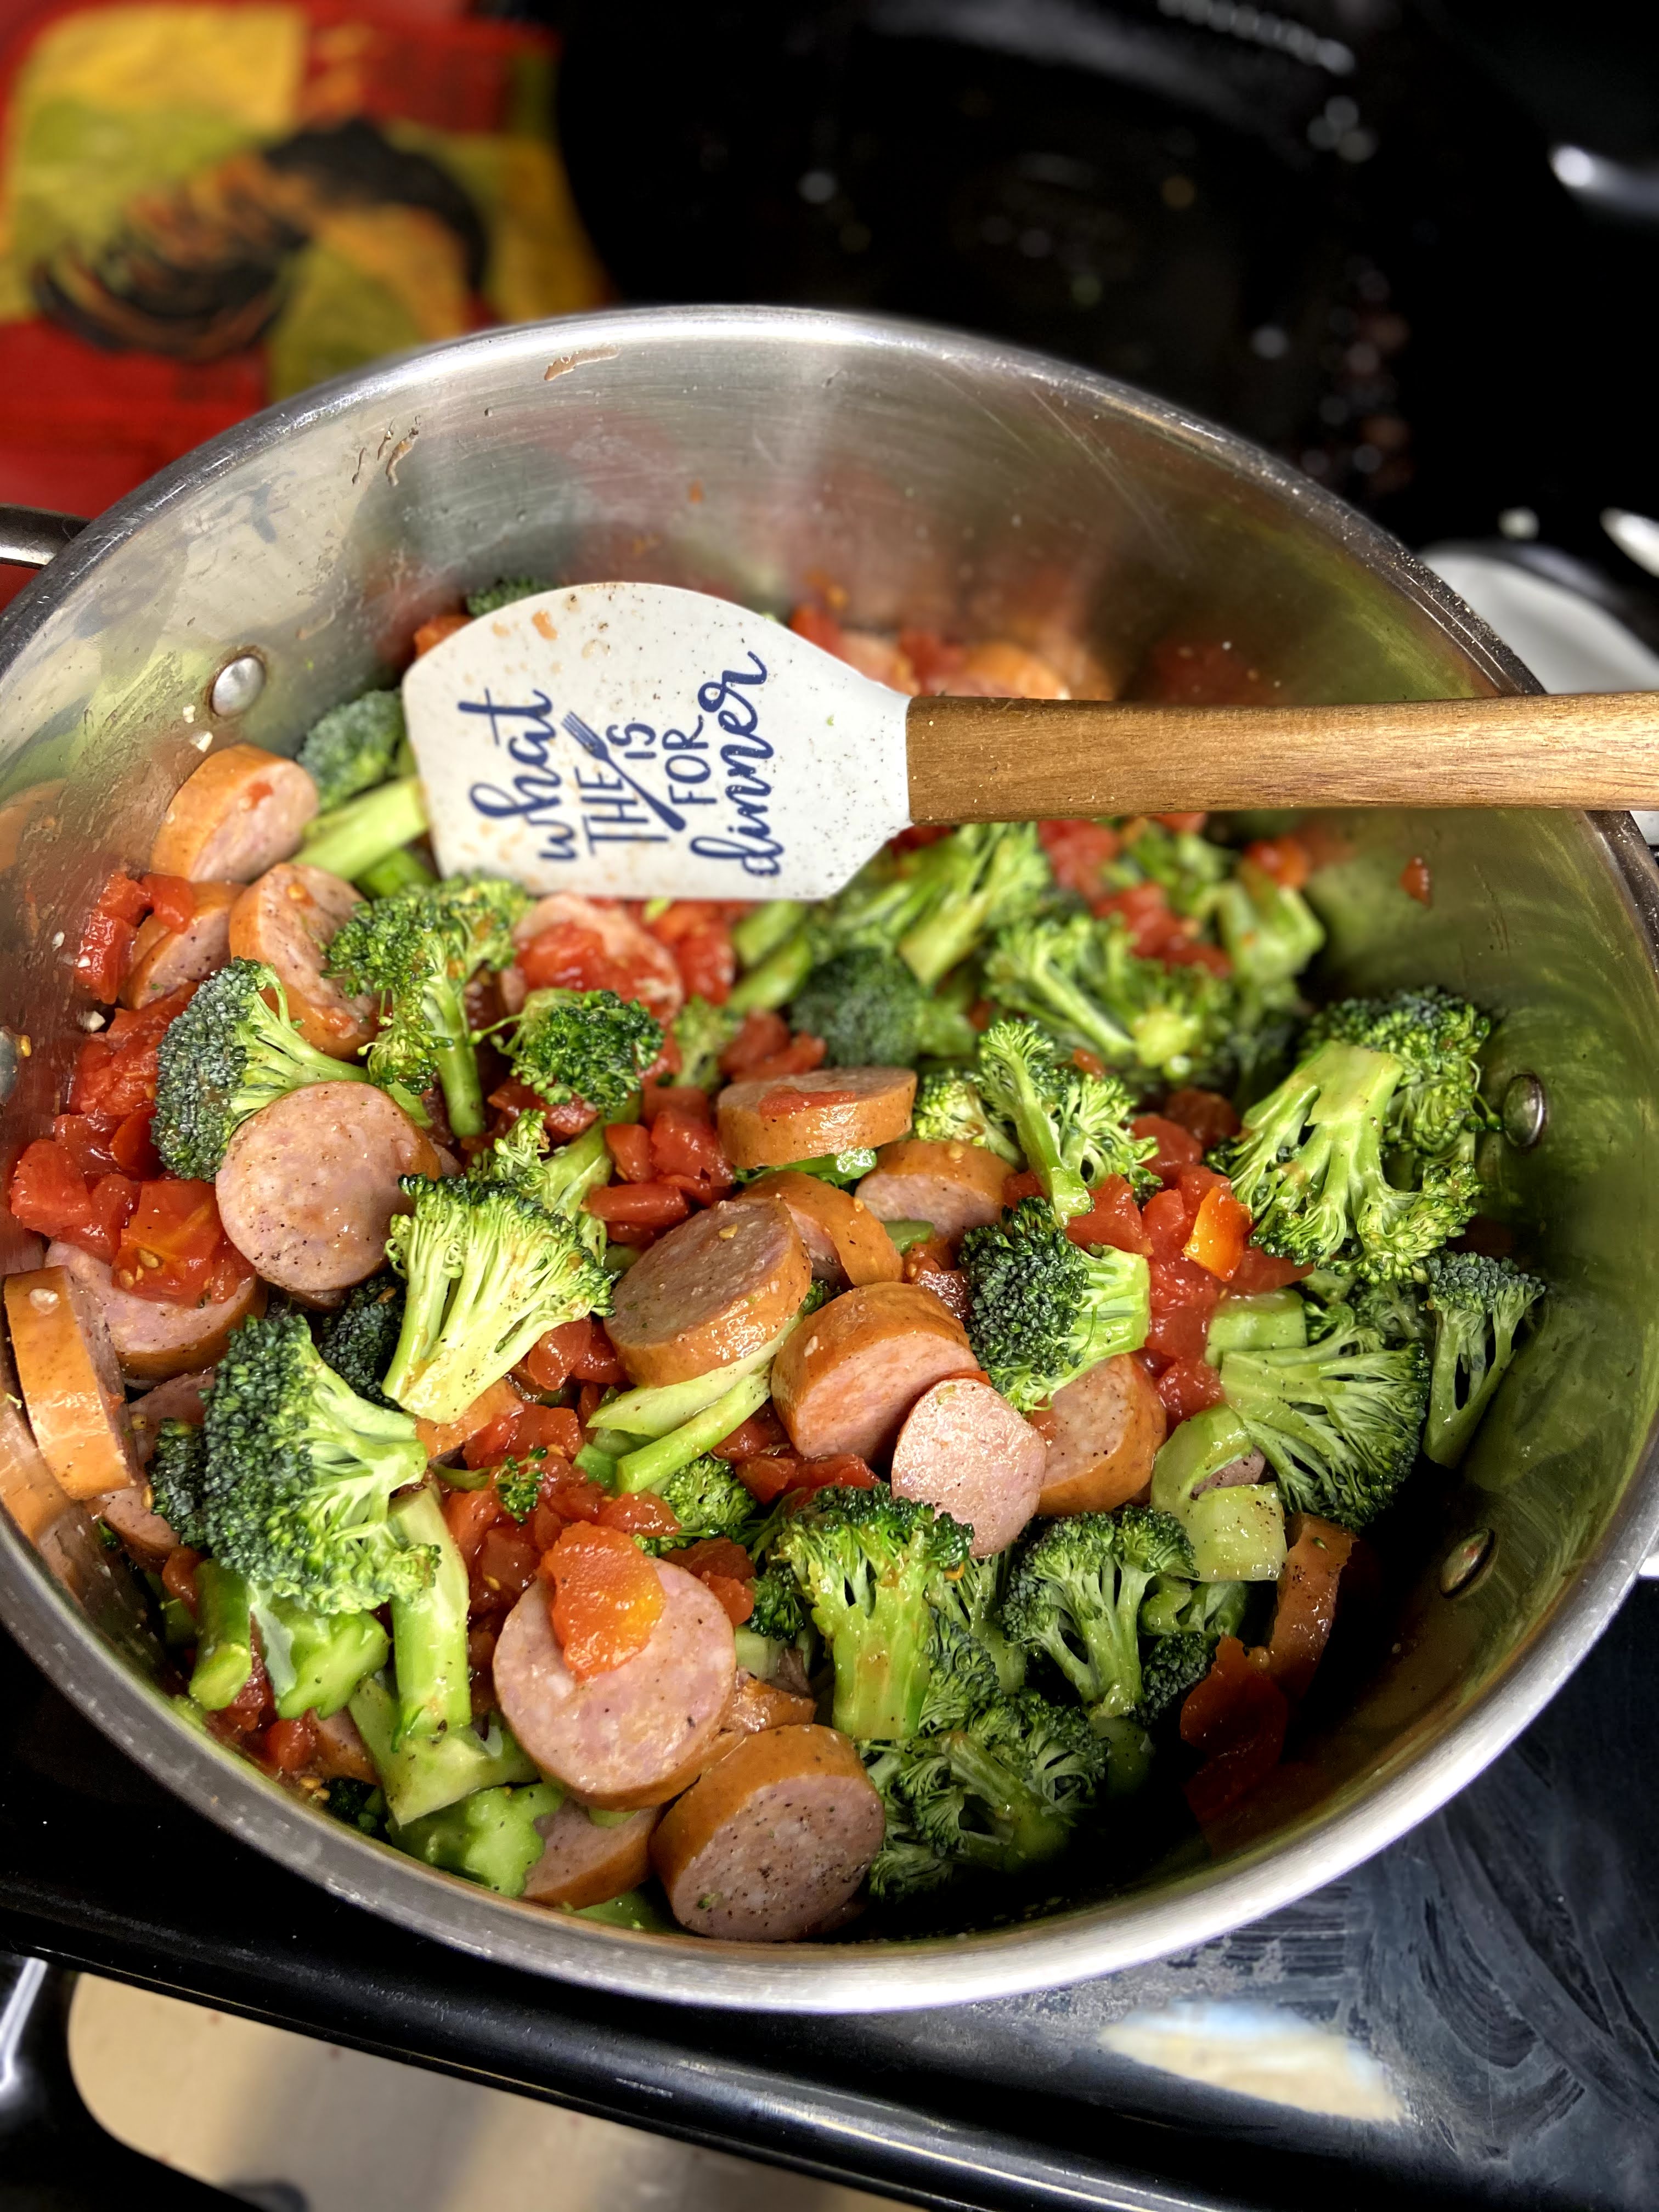
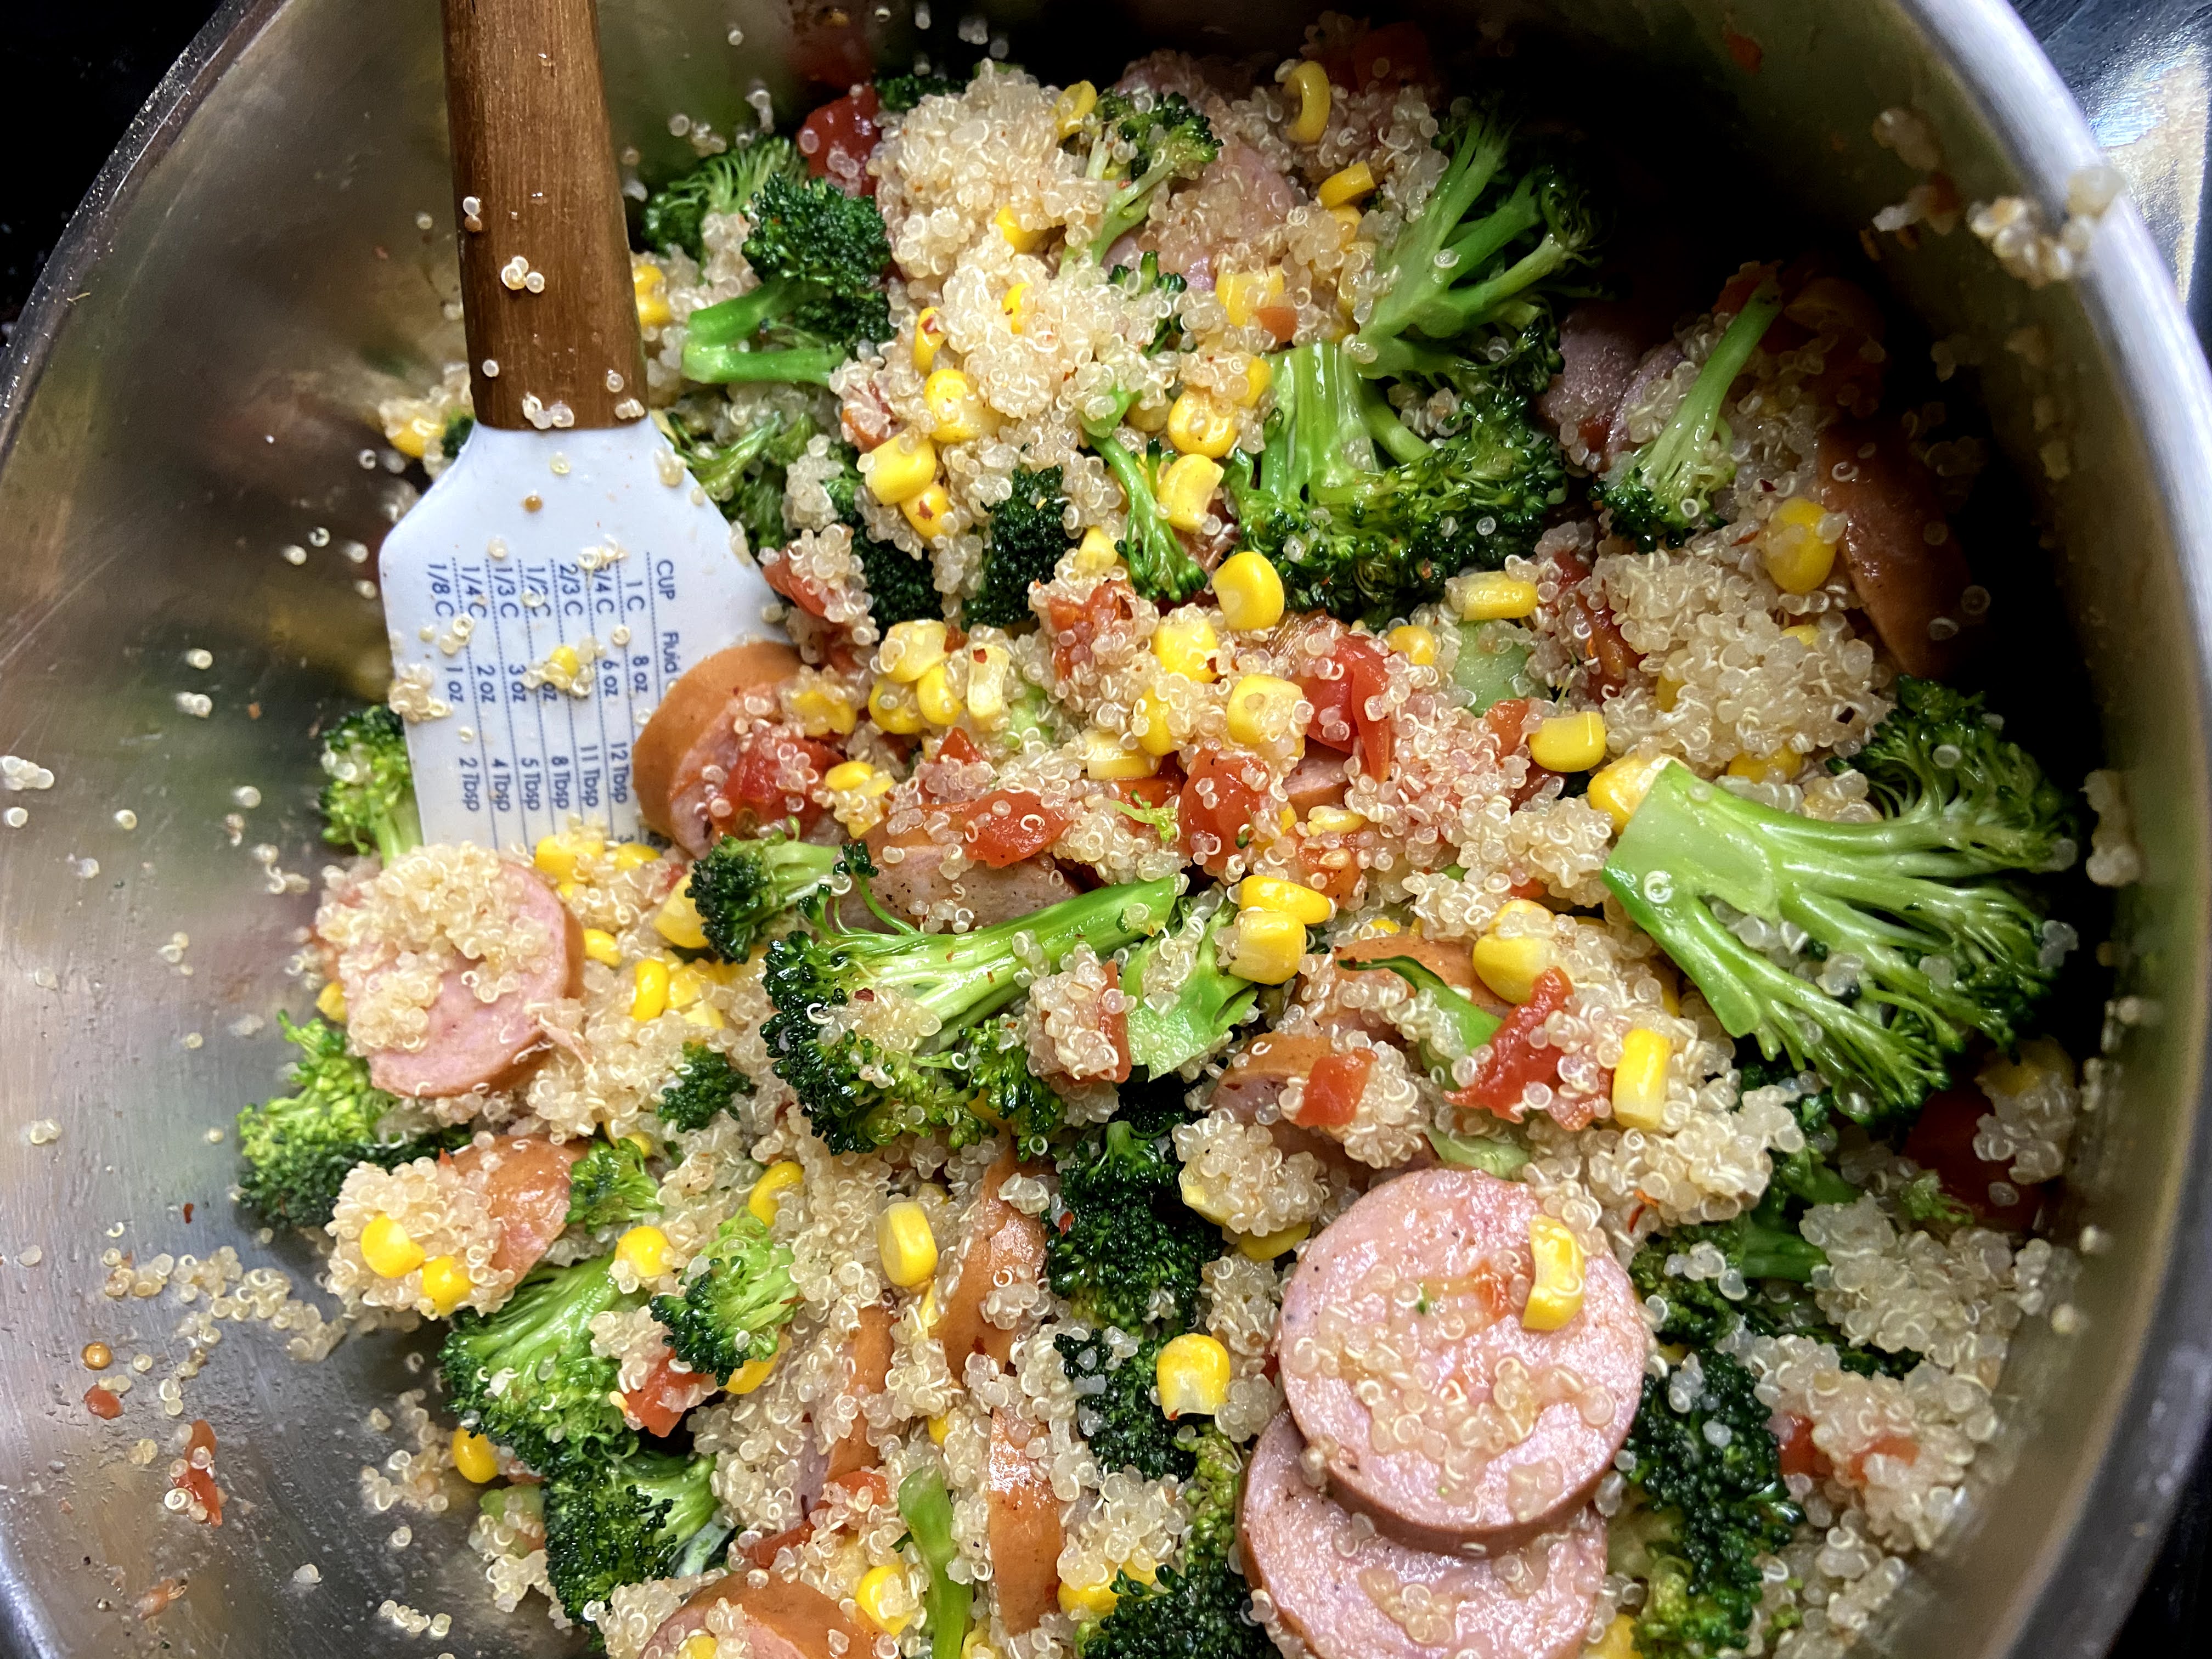
Meanwhile, heat olive oil in a large pan over medium heat. Once the oil is hot, add garlic and saute for 30 seconds. Add broccoli and kielbasa. Cook for 5 minutes over medium heat. Stir in the tomatoes and cook an additional 4 minutes. Finally, add corn, quinoa, salt, pepper, and red pepper flakes. Cook over medium-high heat until the corn is heated all the way through. 

Yup. That’s it. A complete dinner in truly 20 minutes. Does it get any better than that? And yes, it seems short on spices, but the kielbasa will give it all it needs. And the color? It’s dreamy. A definite recipe to add to your rotation. 

Interested in planning out some other meals? Check out my cooking page for all sorts of soups, bakes, and more! Click here!

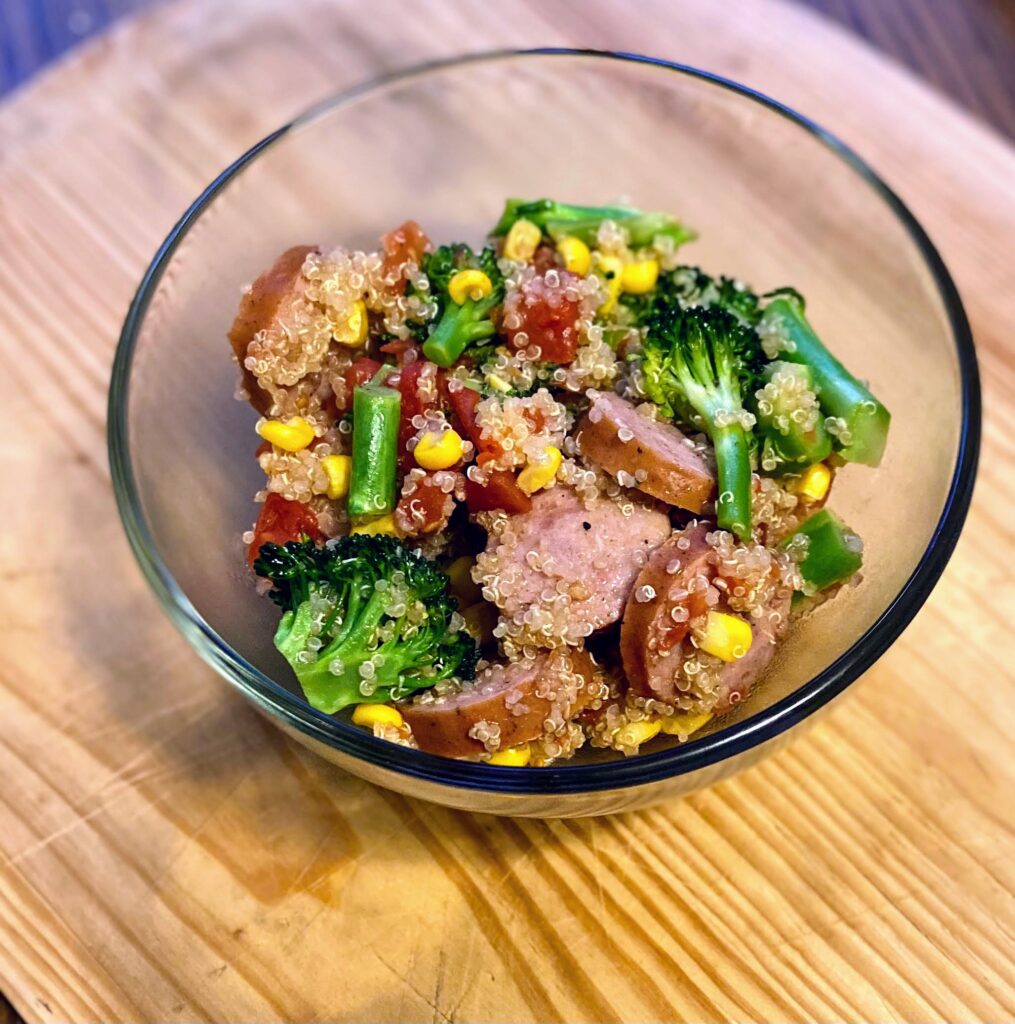
Finished bowl

Kielbasa and Quinoa Vegetable Skillet

Kielbasa and Quinoa Skillet: Eight ingredients, full of color, and comes together in under 30 minutes. This complete dinner is perfect for any weeknight!
5 from 3 votes
Prep Time 5 minutes
Cook Time 15 minutes
Total Time 20 minutes
Course Main Course
Cuisine American
Servings 4

Ingredients
  

  • ¾ cup dry quinoa
  • 1 ½ cups chicken stock or water will do!
  • 2 teaspoons minced garlic
  • 1 tablespoon olive oil
  • 1 kielbasa sliced
  • 3 ½ cups broccoli chopped (include the stems!)
  • 1 15 ounce canned diced tomatoes drained and salt free
  • 1 cup frozen corn
  • Salt pepper, and red pepper flakes, to taste

Instructions
 

  • In a saucepan, bring chicken stock to a boil. Add quinoa and lower the temperature to a simmer. Cover and simmer for 15 minutes.
  • Meanwhile, heat olive oil in a large pan over medium heat.
  • Once the oil is hot, add garlic and saute for 30 seconds. Add broccoli and kielbasa.
  • Cook for 5 minutes over medium heat.
  • Stir in the tomatoes and cook an additional 4 minutes.
  • Finally, add corn, quinoa, salt, pepper, and red pepper flakes. Cook over medium-high heat until the corn is heated all the way through. Serve.
Keyword kielbasa, quinoa, skillet, vegetables
Tried this recipe?Let us know how it was!