I’ll be honest, I don’t love green peppers. I think I can count on one hand how many vegetables I don’t like, but green peppers would be on that list. However, I keep trying them and cooking with them because I am certain that with enough tries, I will grow to love them. (As an aside, my sister feels the same way about tomatoes. But she would say, “You’re a grown adult. It’s okay. You don’t HAVE to like them.”)
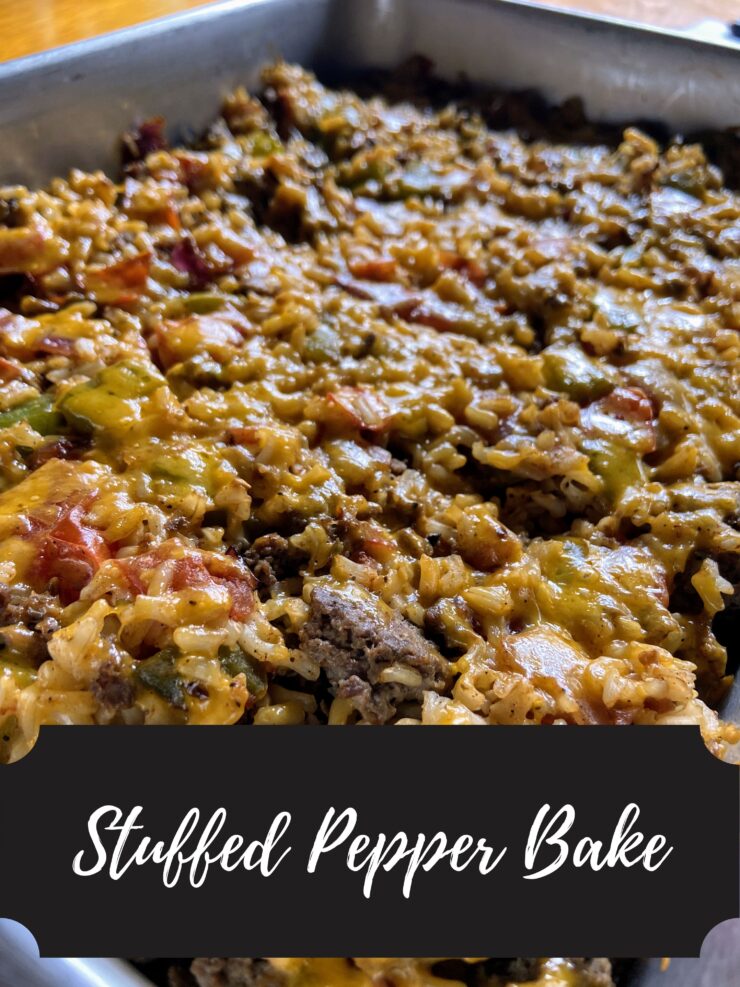
That being said, one recipe I do enjoy them in is stuffed peppers. I know, it doesn’t make a whole lot of sense, I just don’t ask questions. Let’s be honest, stuffed peppers seem like a lot of work and you have these predetermined servings, which isn’t awesome for the kiddos I am trying to feed at my home as well. This “I want to like green peppers” and “I need to feed my children” line of thought inspired this recipe: Stuffed Pepper Bake.
Reasons I love It
It’s a 30-40 minute prep kind of recipe! Clearly, I love cooking and providing homemade meals for my family. But head cooks in the households will agree, it’s getting a little old during our “safer at home order.” We have our staple recipes that are seeing a lot of use. Yes, I want to try new things, but we only shop once a week. I decided to through this recipe together for dinner around 1 pm on a weeknight; there was no “pre-prep.” Heck, the meat wasn’t even thawed yet! So it came together quick, I had everything on hand, and my family loved it.
It’s got intense, wonderful flavor! If you follow me, you know I am all about some standard spices: salt, pepper, oregano, rosemary and ALL the garlic. This stuffed pepper bake takes it up a notch. Our families’ tastebuds danced for joy as we ate it for the first time.
Finally, I just love a good dish baked in a casserole pan. Maybe it’s the midwestern in me, but a casserole (let’s be real, I fancy it up with the word bake) has comfort written all over it. Not to mention, casseroles are classic “prep on Sunday, eat on a weeknight.” Gotta love that life!
Okay, enough talk, let’s get to cooking that Stuffed Pepper Bake!
Your Ingredients
- 1 cup brown rice
- 2 cups water
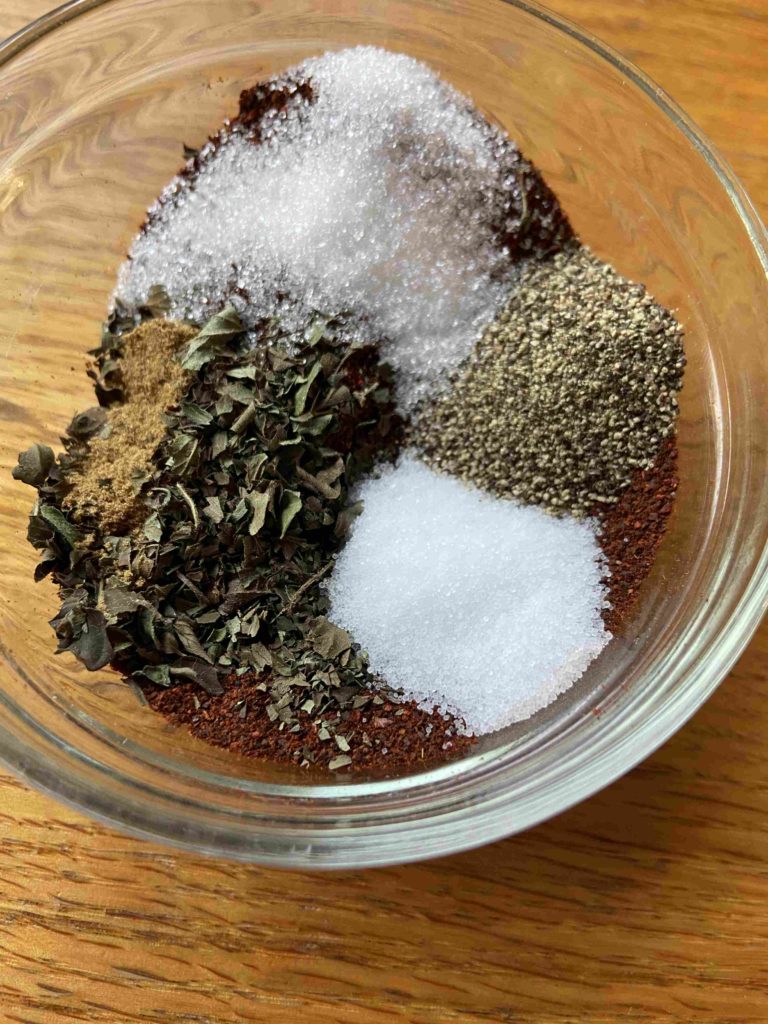
- ¼ teaspoon of the following: salt, pepper, garlic powder
- 1 pound ground Italian sausage (if you know me, I’ll be using ground Italian seasoned venison)
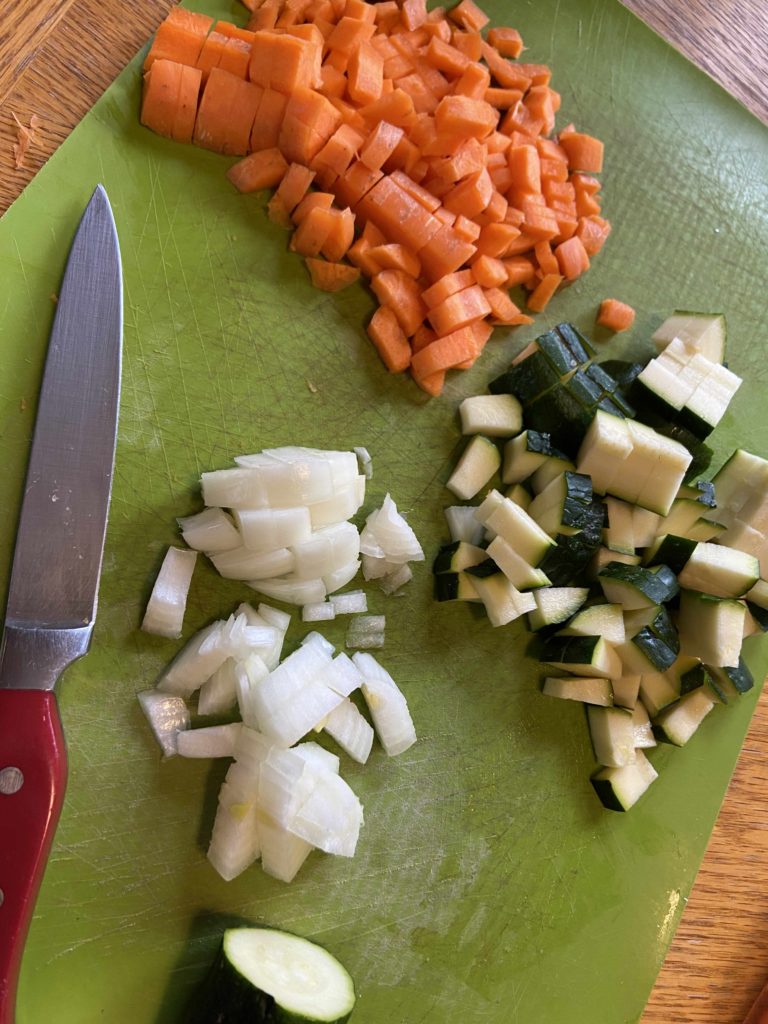
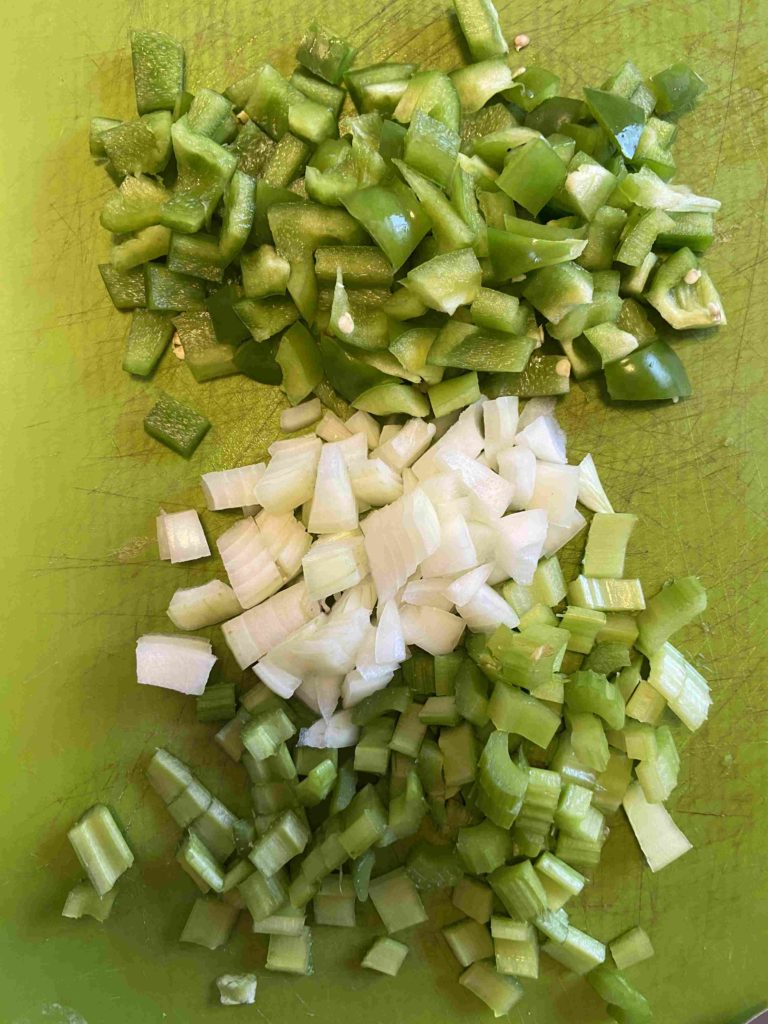
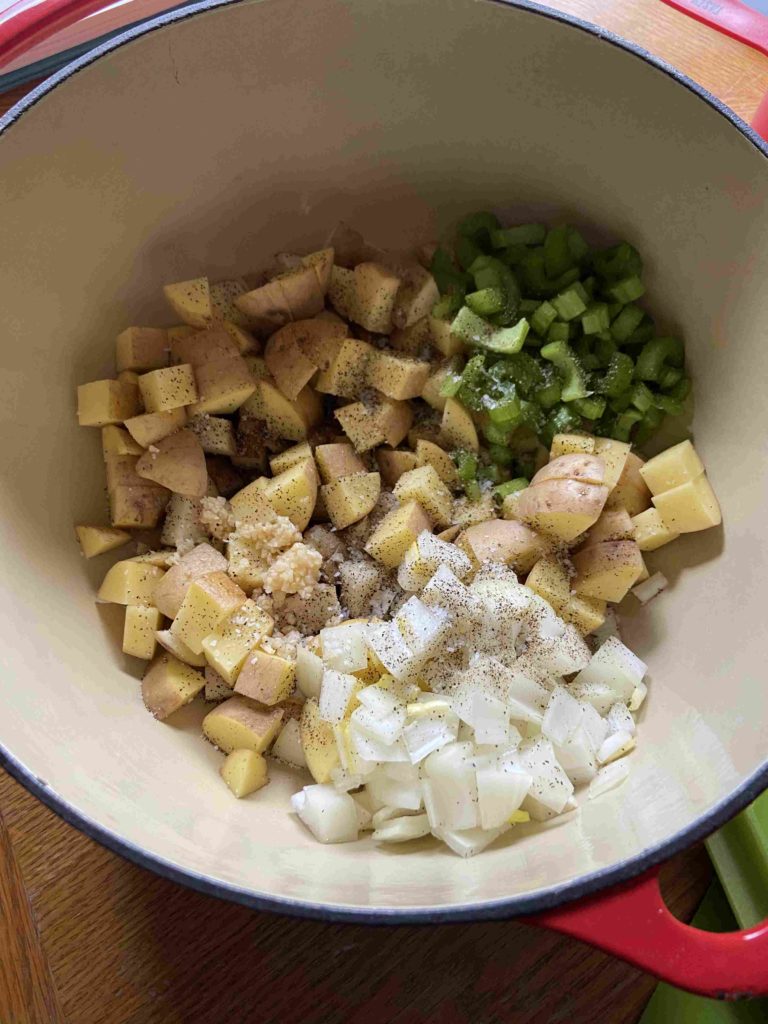
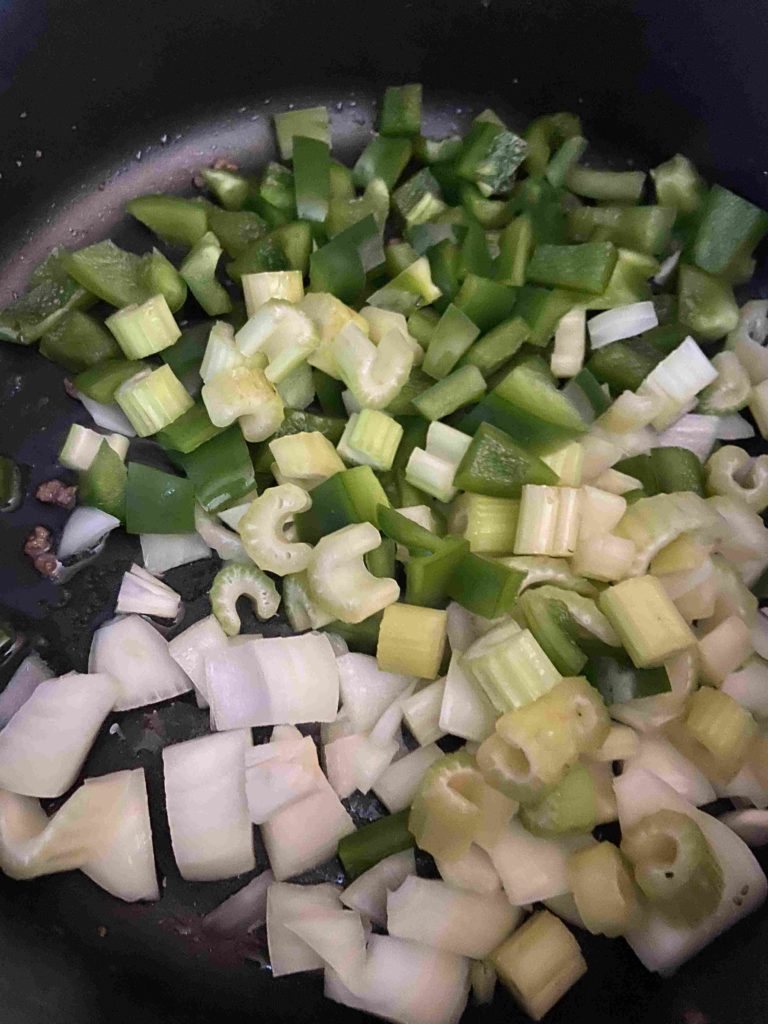
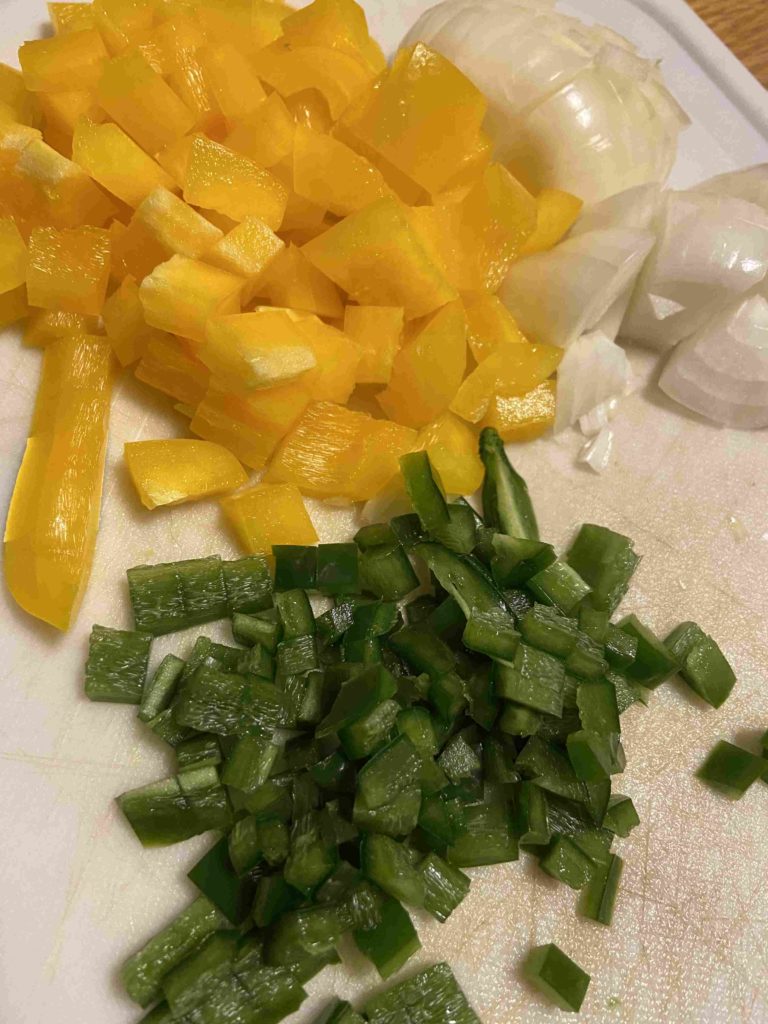
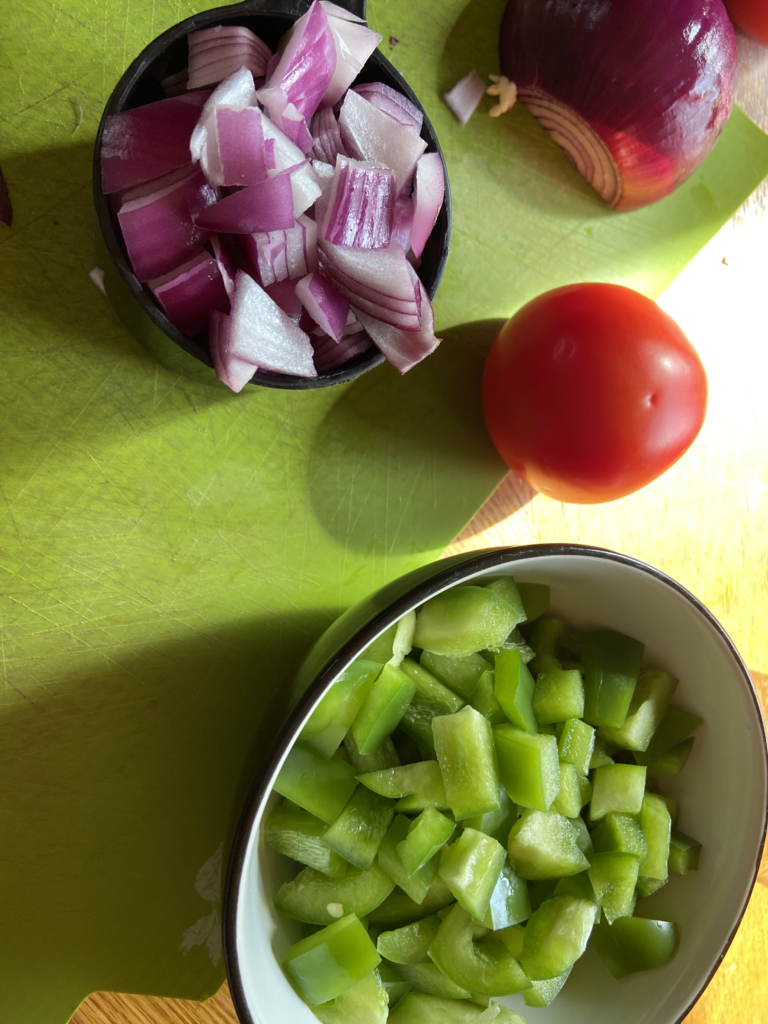
- 2 cups diced green pepper (about 1 large)
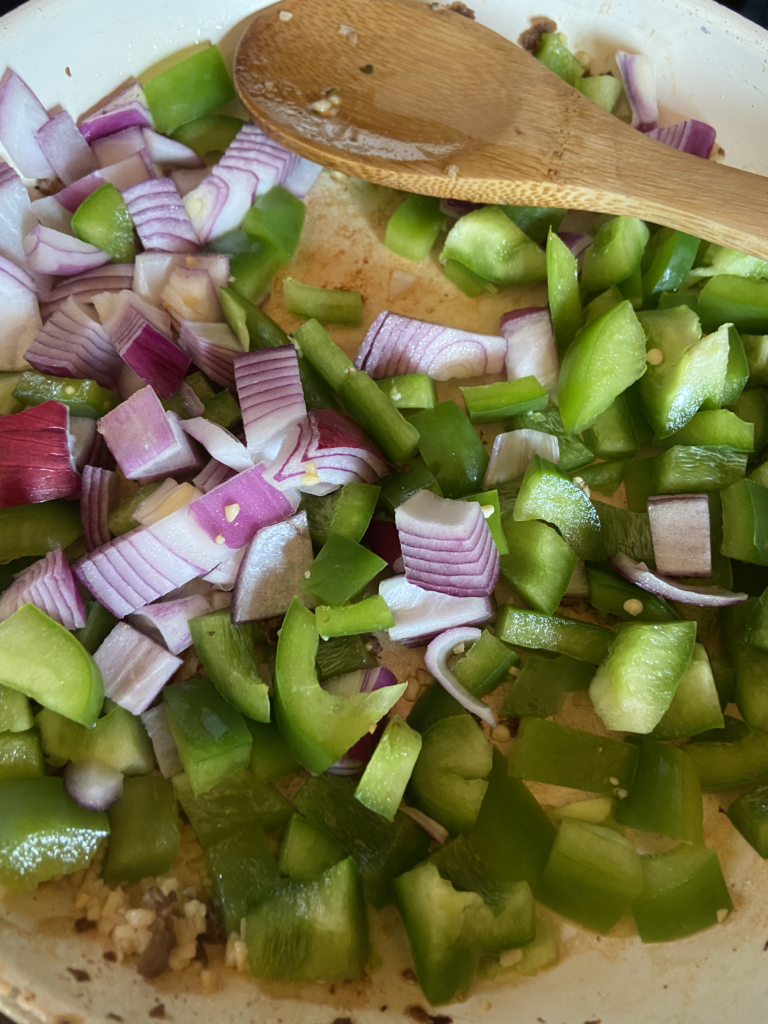
- 1 cup diced onion (I used red)
- ½ tablespoon minced garlic
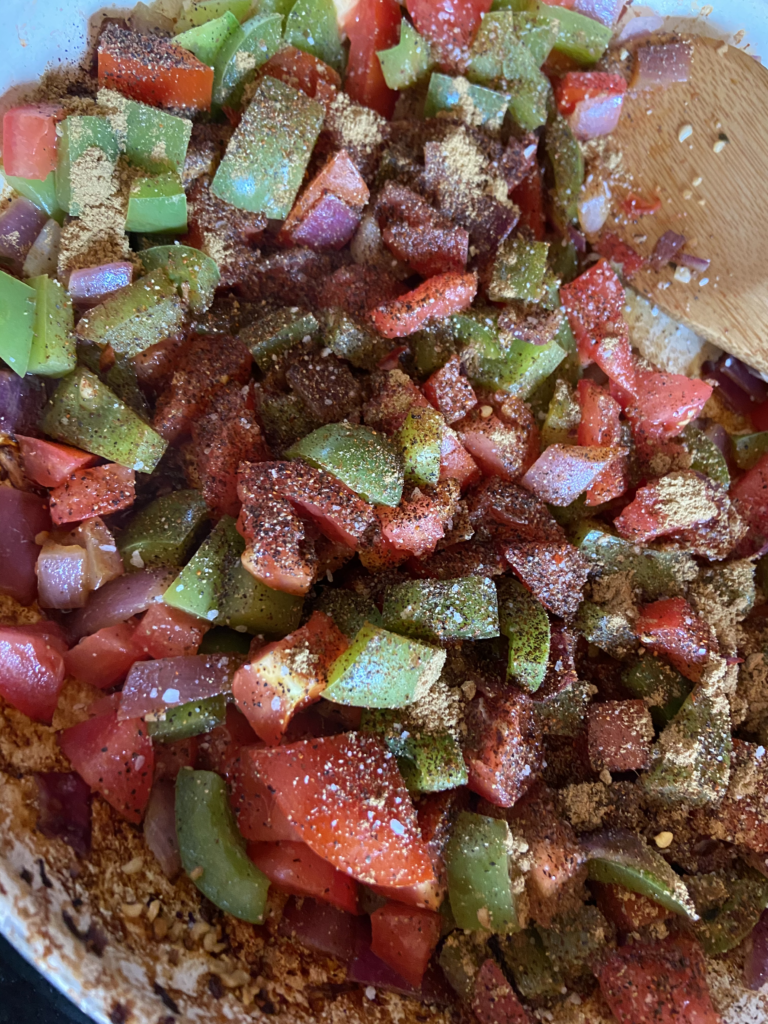
- 1 ½ cup diced tomatoes
- ½ teaspoon of the following: pepper, salt, cumin chili powder
- Pinch of red pepper flakes
- 1 cup shredded cheddar cheese
Your Steps
Begin by cooking the brown rice according to the directions on the package. For me, that looked like combining the water, brown rice, and salt, pepper, and garlic powder. Bring the mixture to a boil, lower to a simmer, and cook for 30-40 minutes, until al dente.
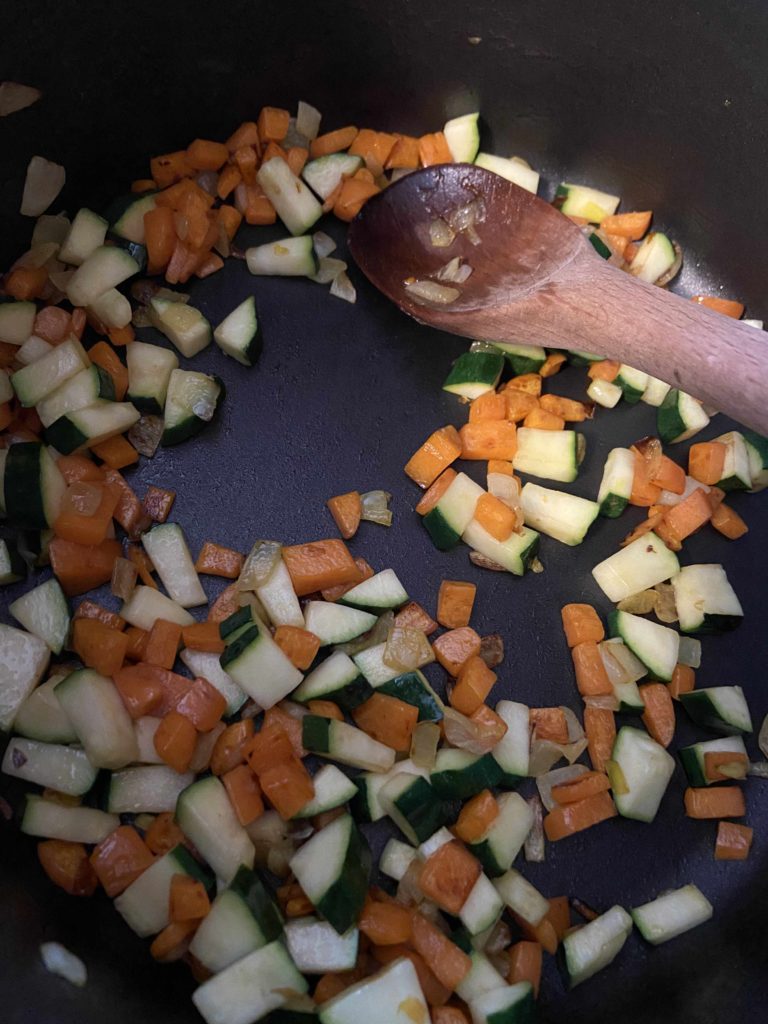
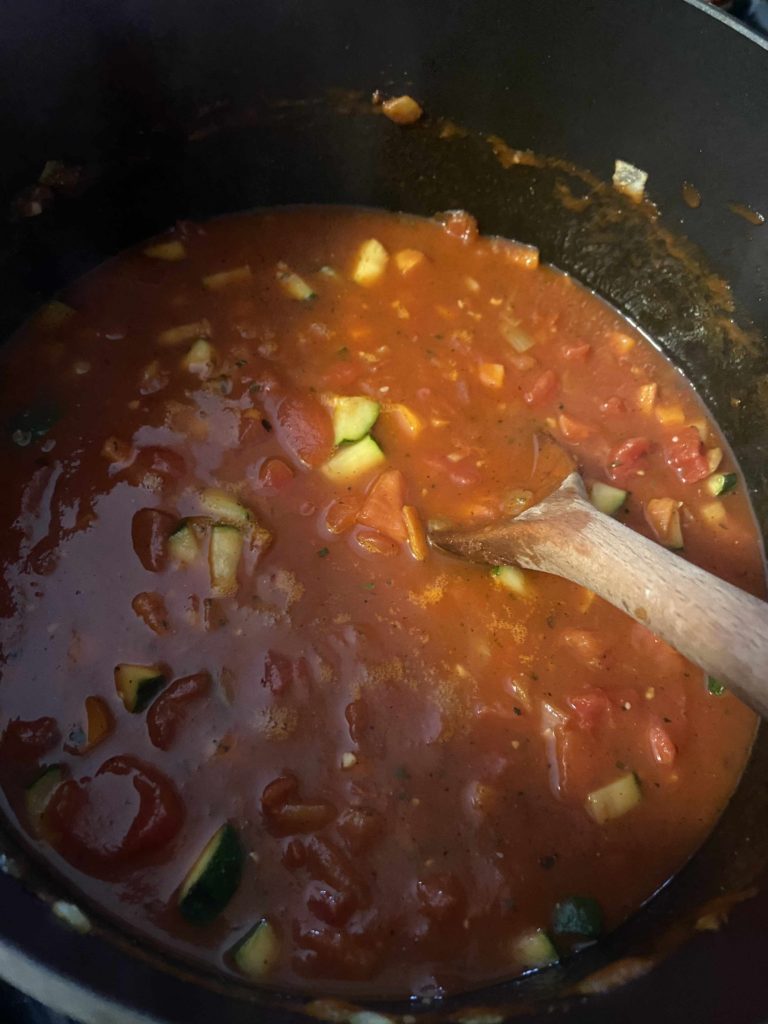
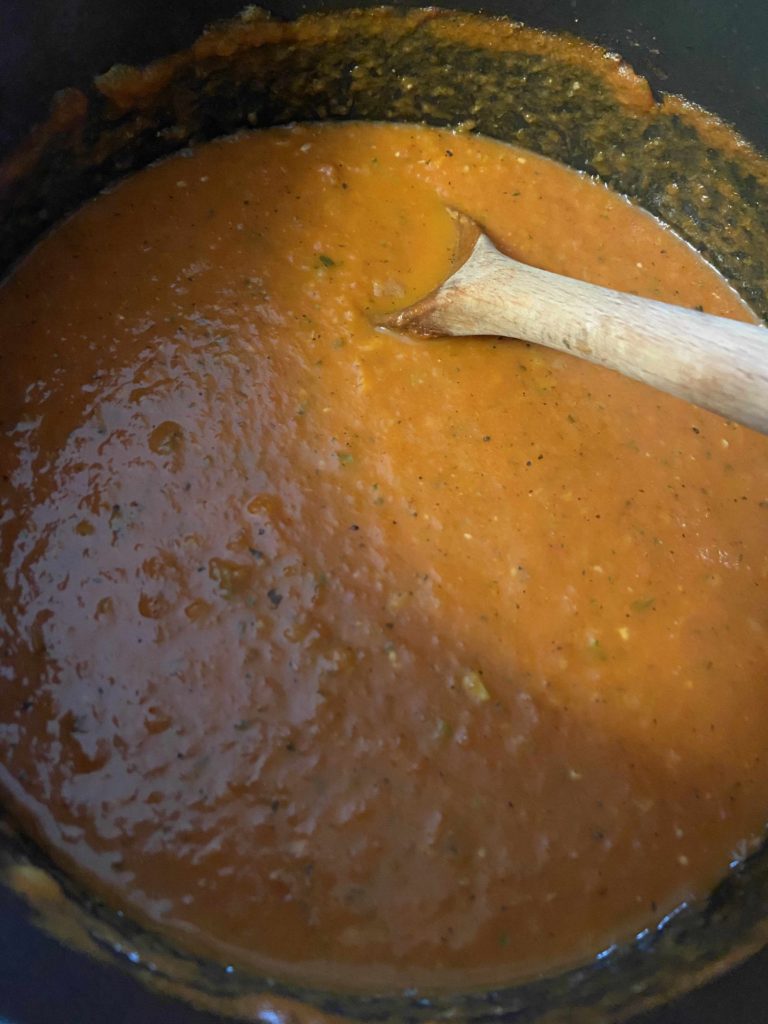
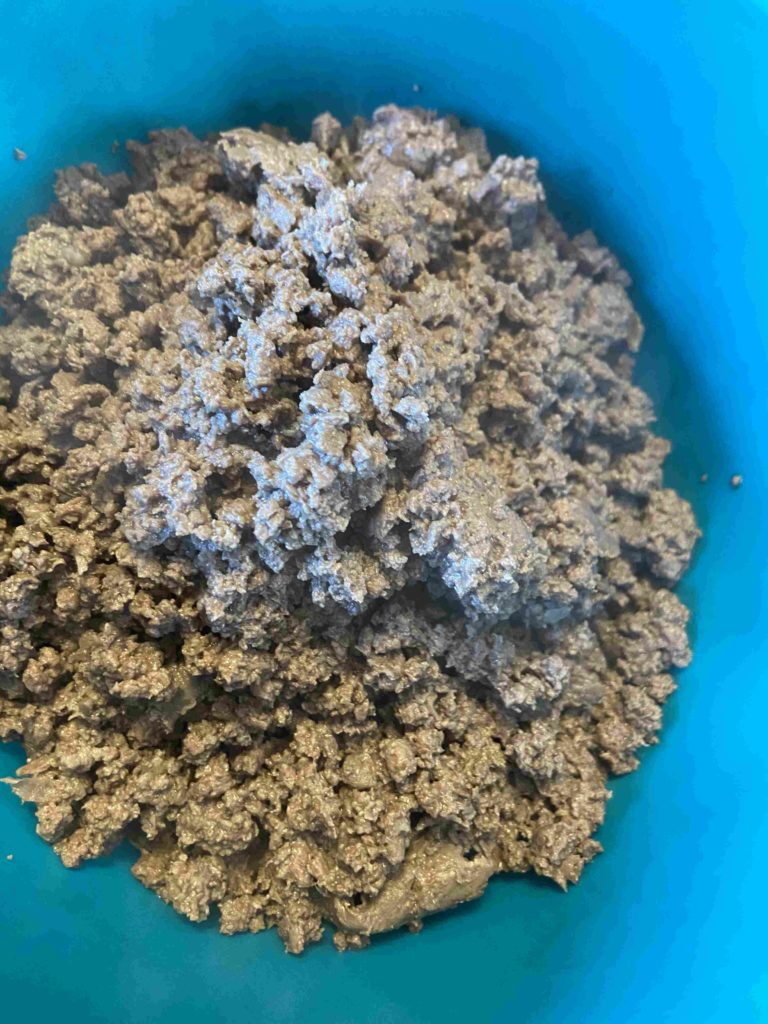
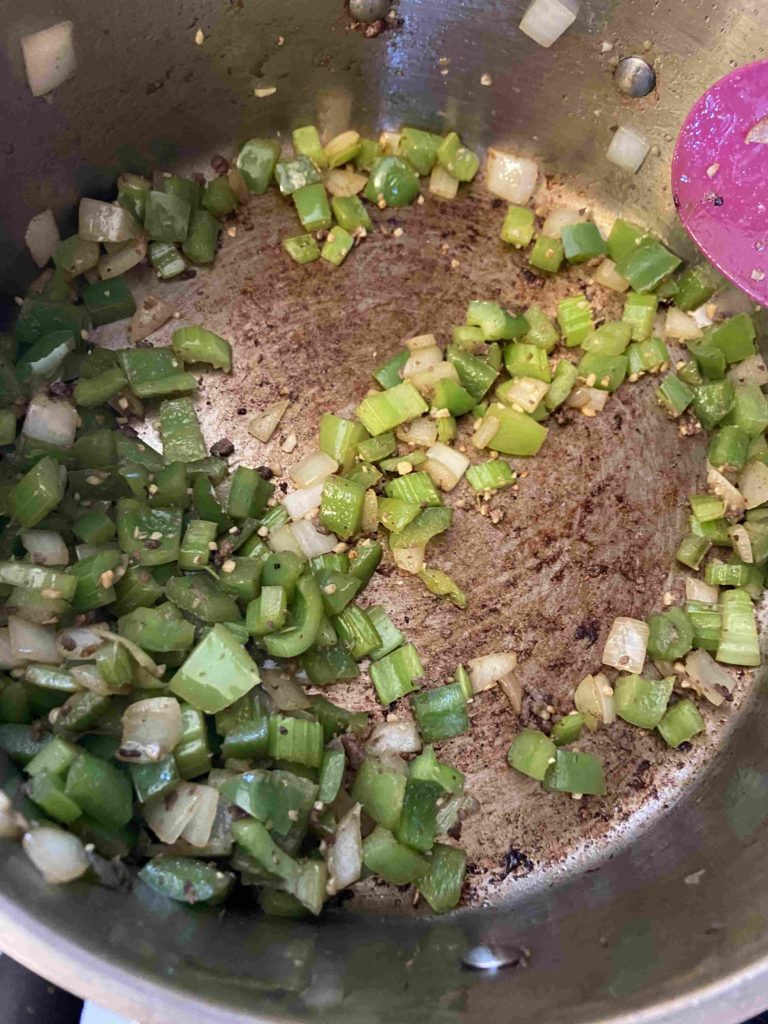
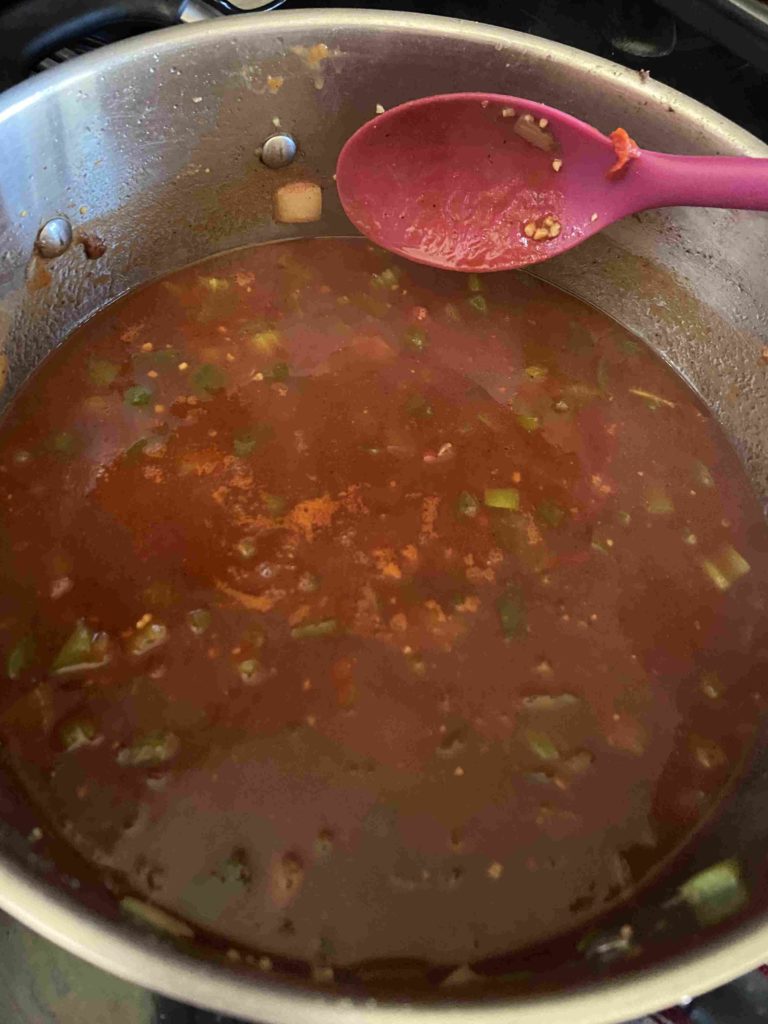
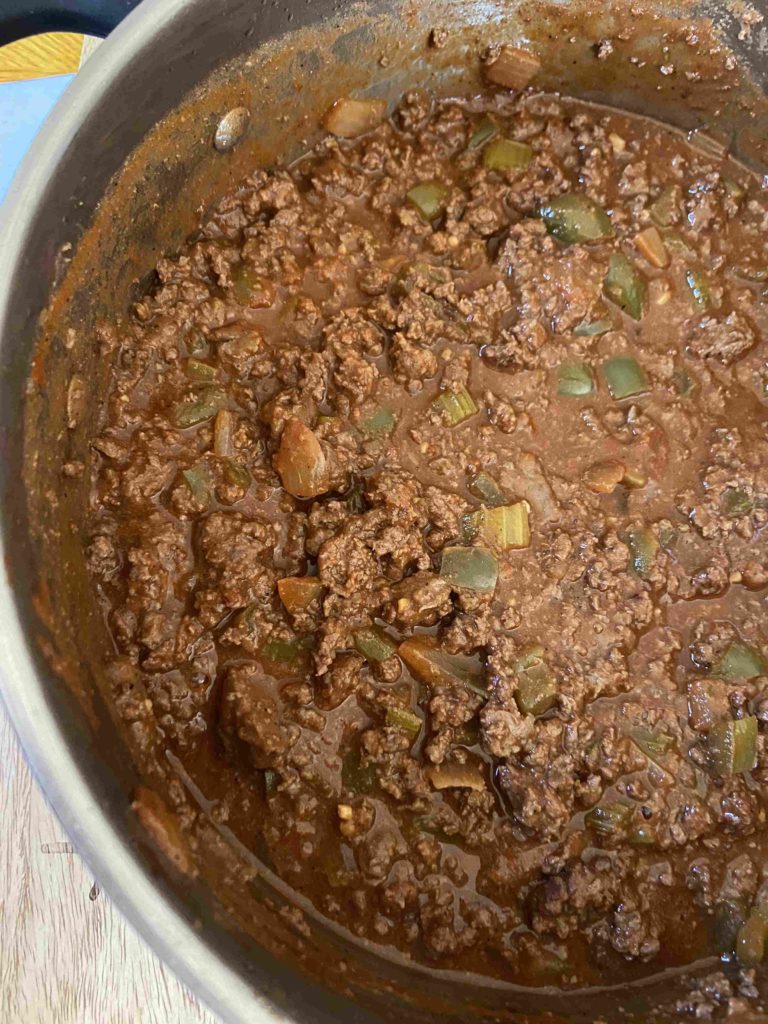
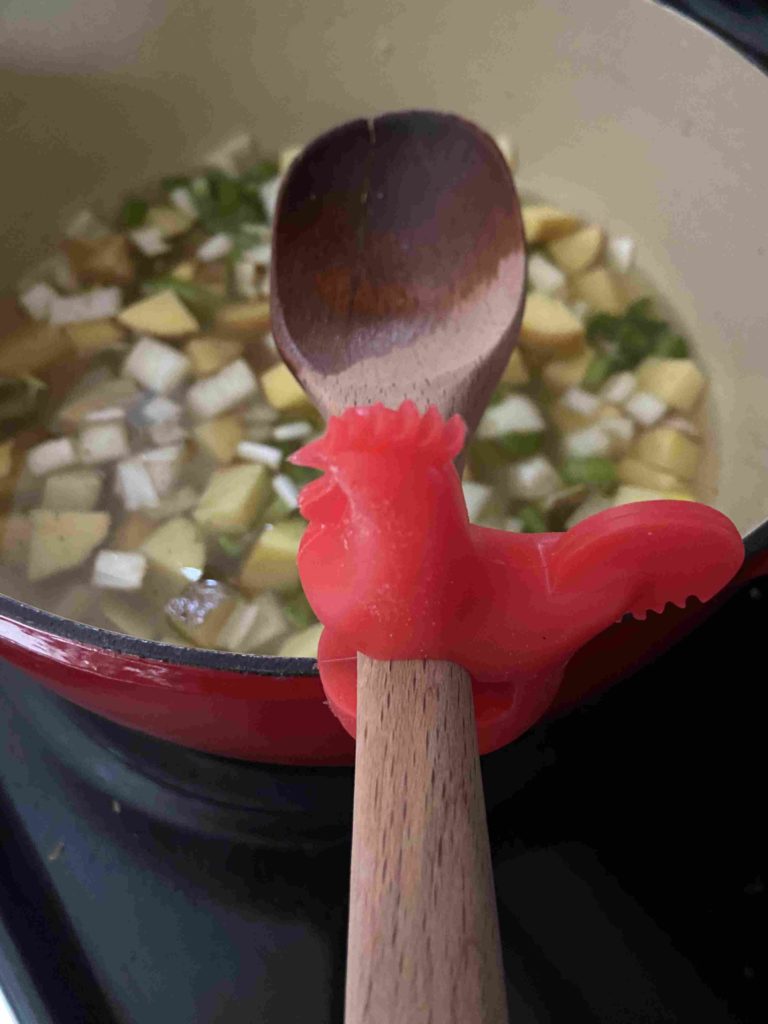
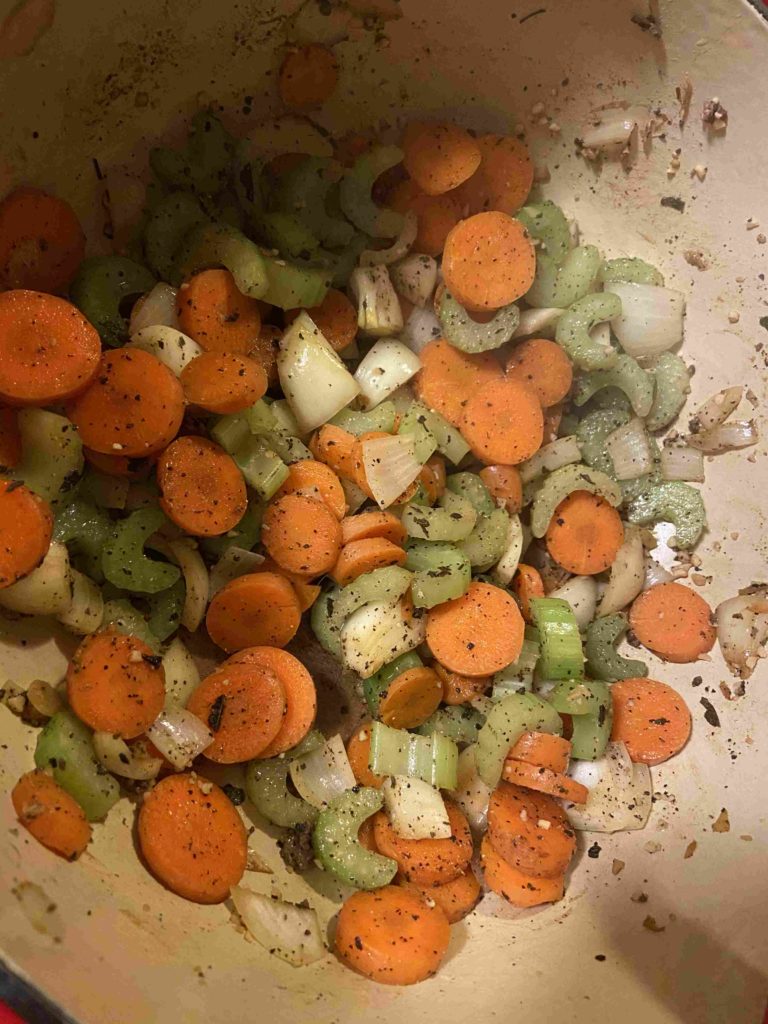
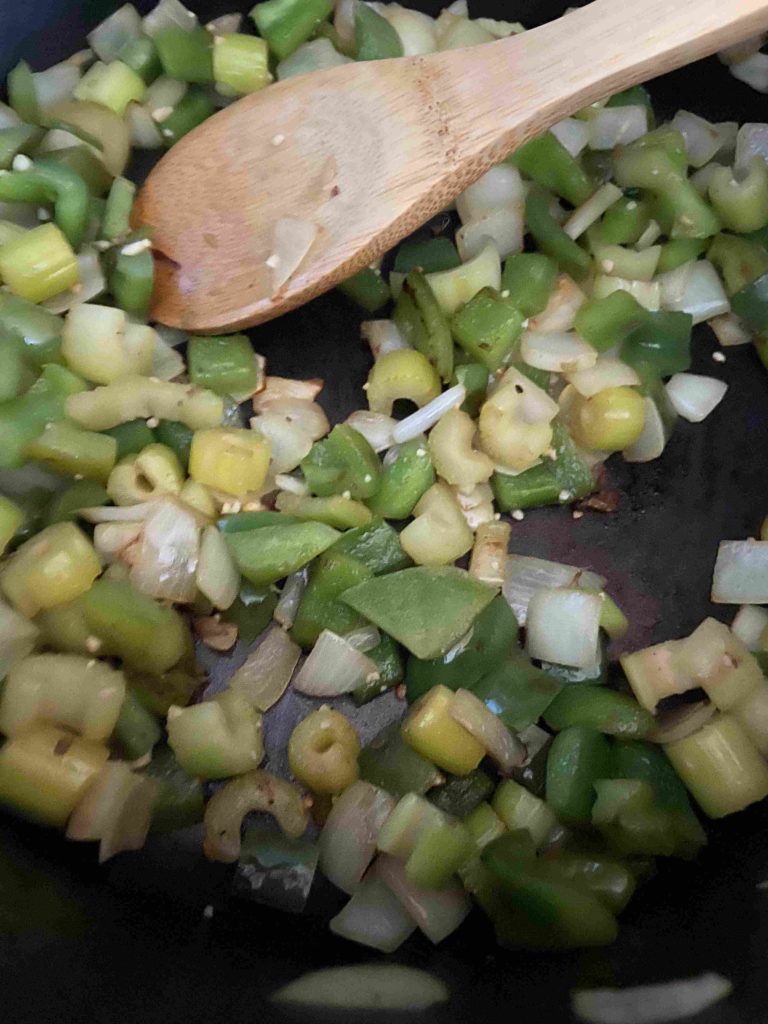
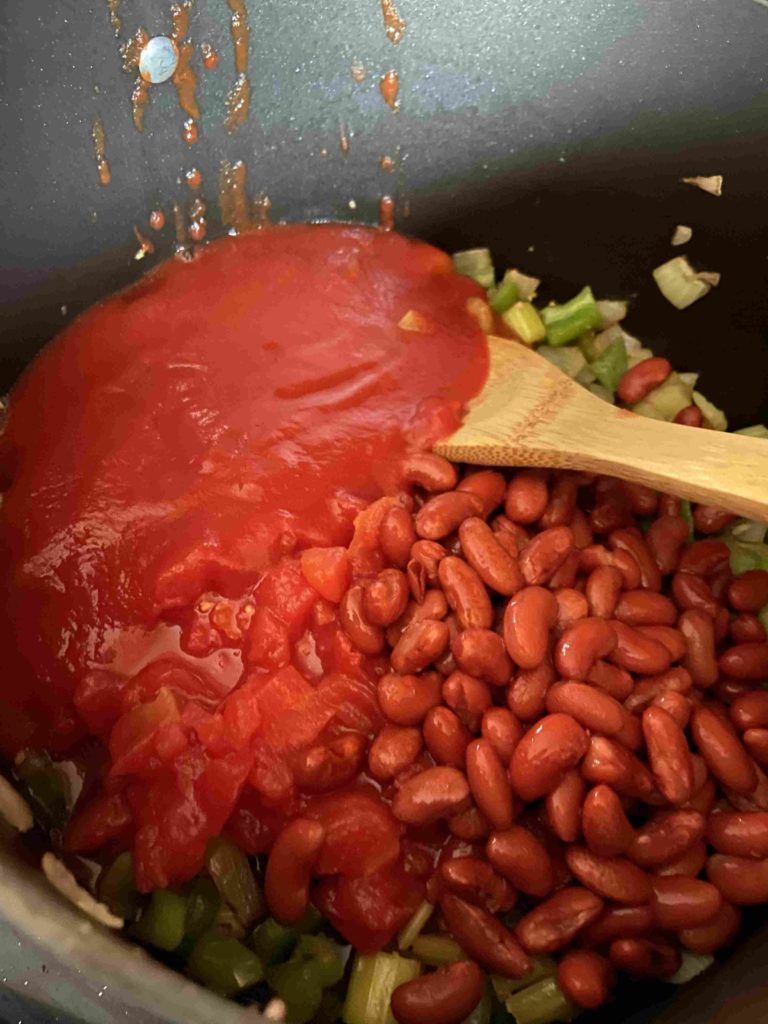
Meanwhile, heat a large frying pan to medium high heat and brown sausage (If you are using a lean protein, feel free to add a little oil before heating up the pan. Cook until just browned. Remove from pan and set aside for the time being. Keeping the pan on the medium-high heat, add green pepper, onions, and minced garlic. Cook for 5-8 minutes, until just softened. Stir in remaining spices and diced tomatoes. Keeping at medium high heat, cook for an additional 3-5 minutes.
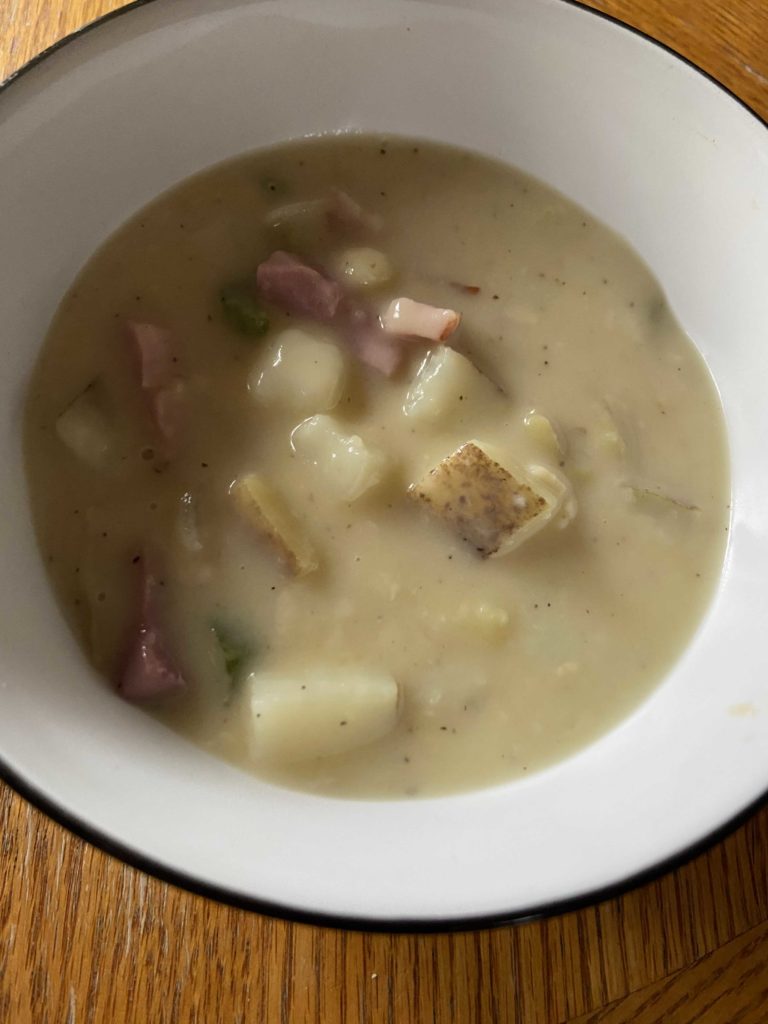
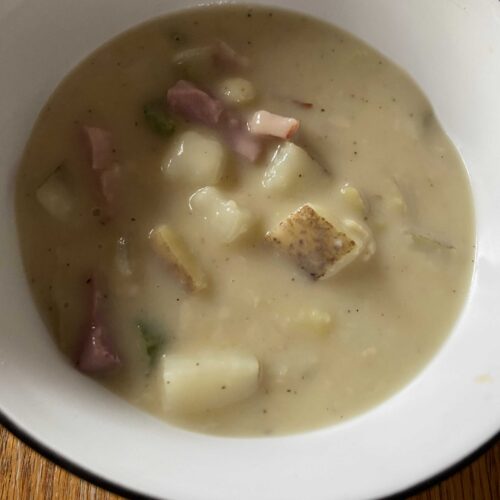
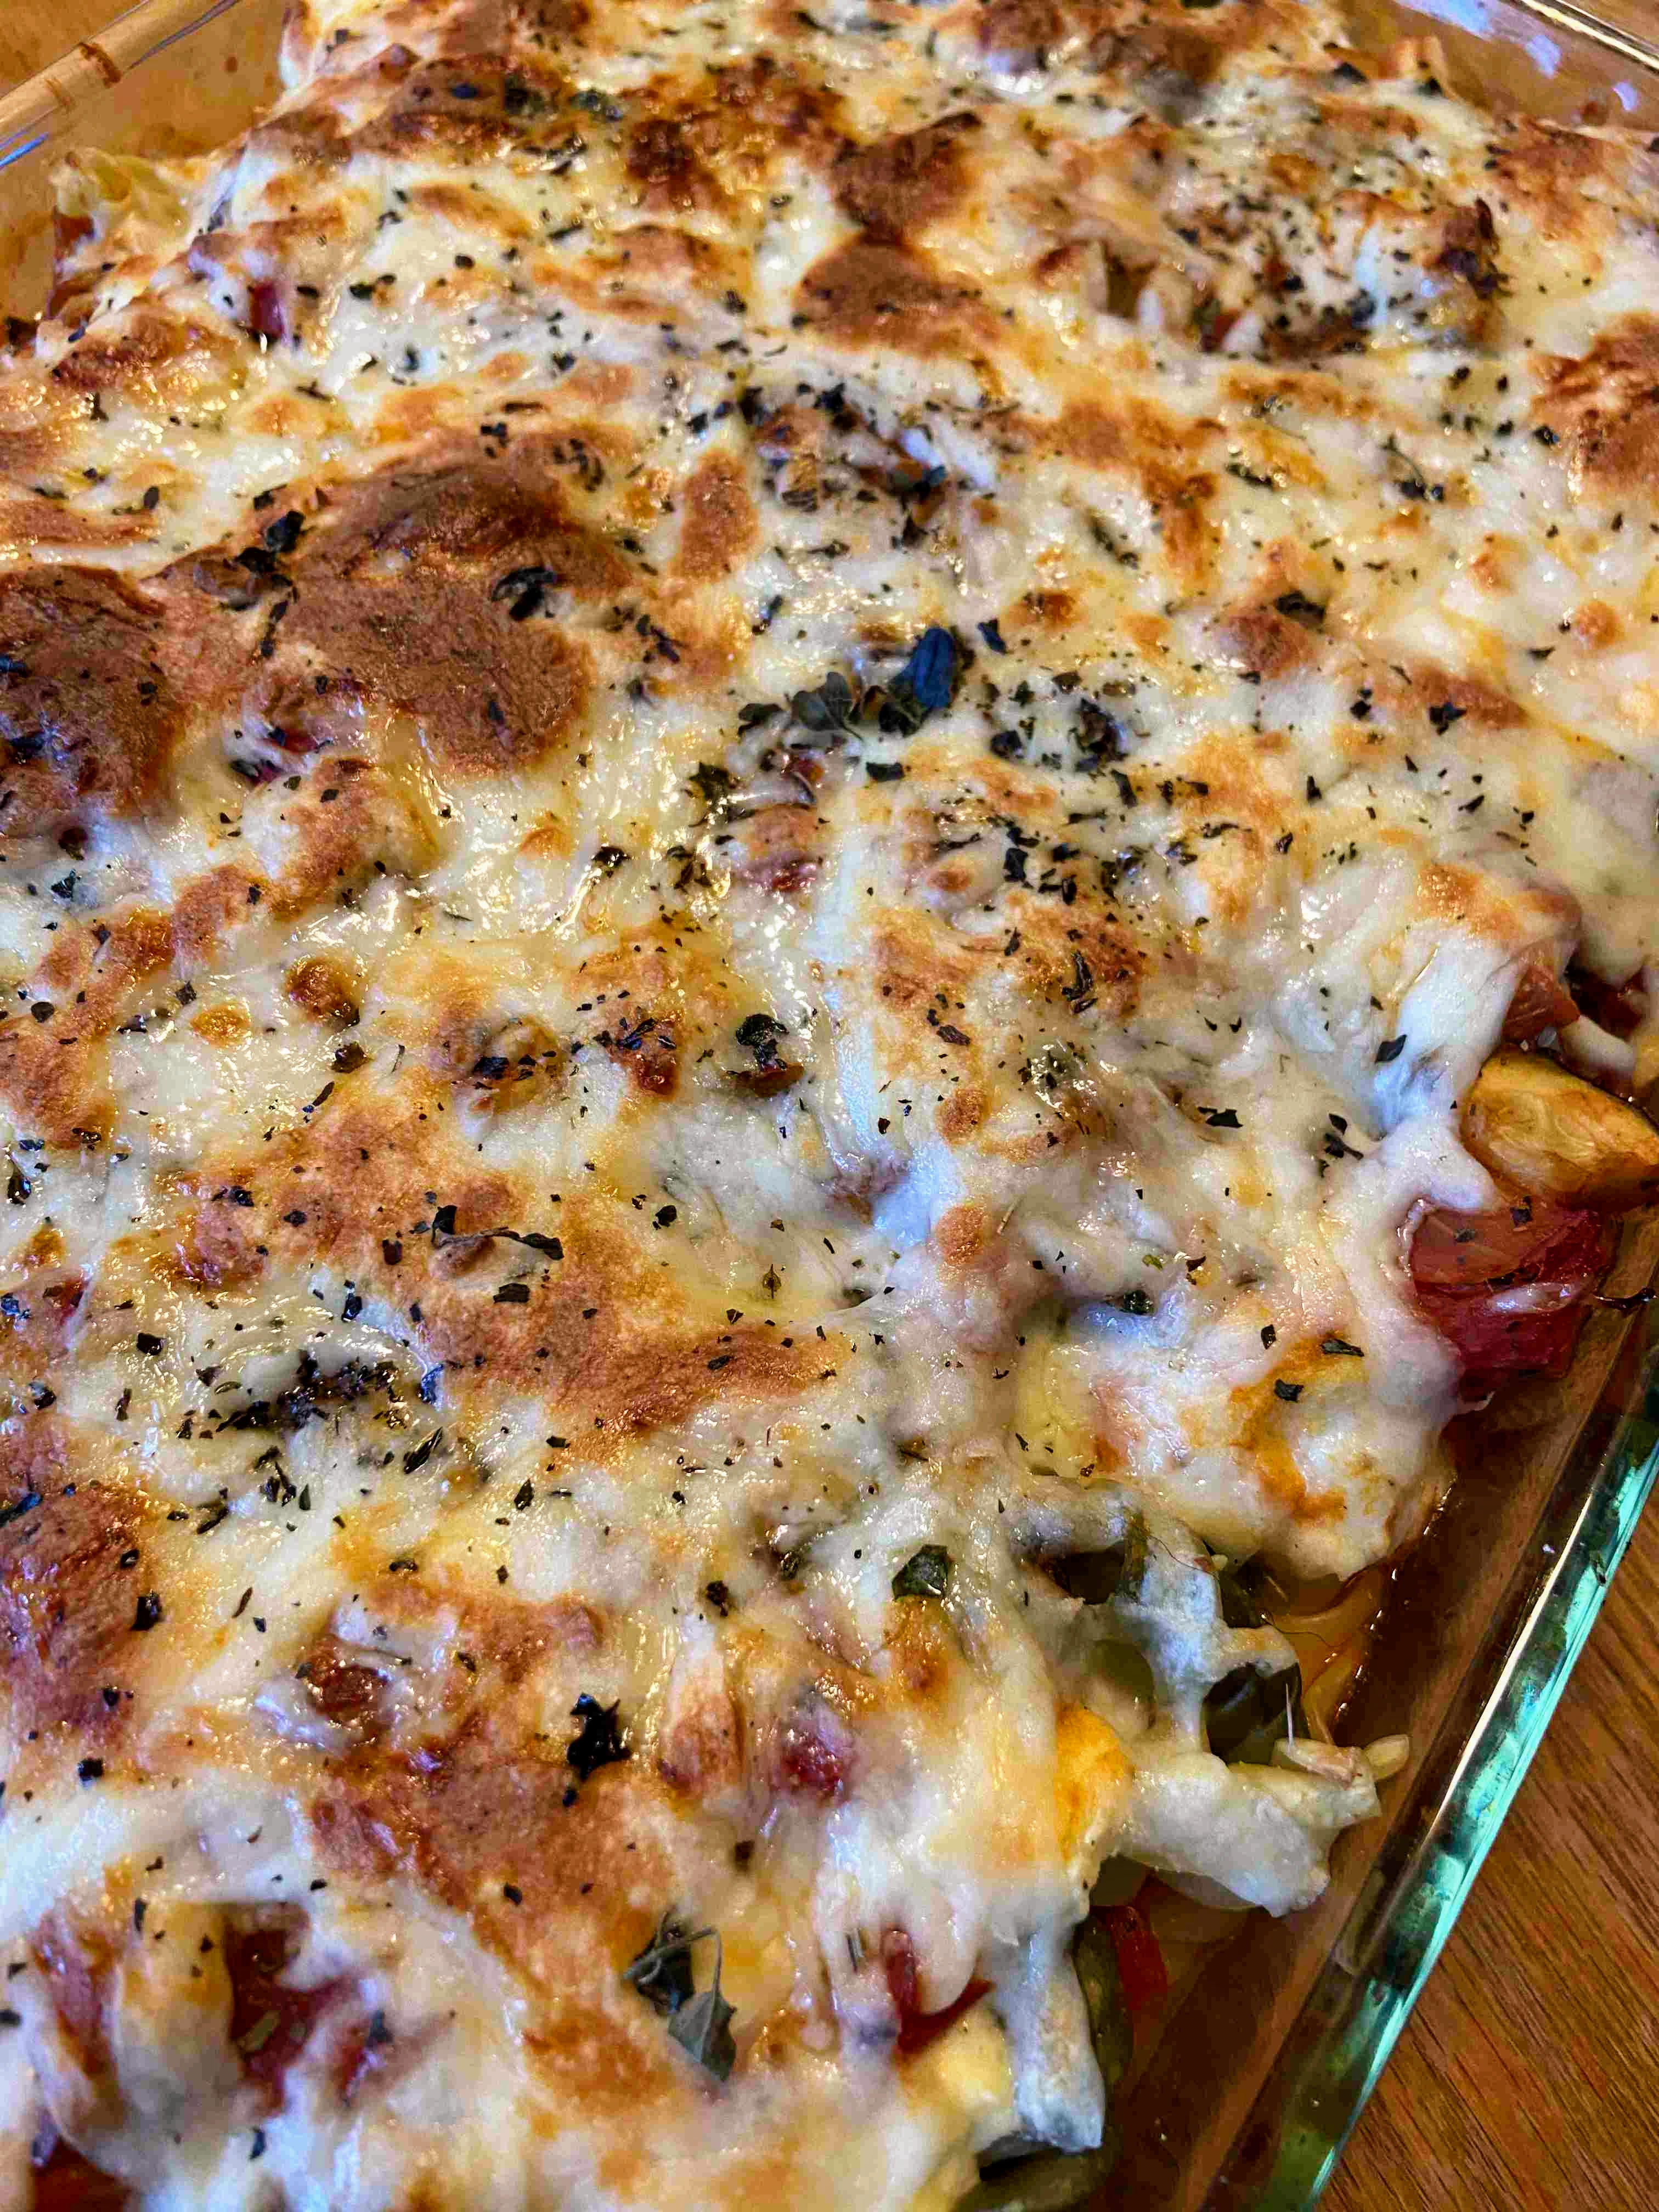
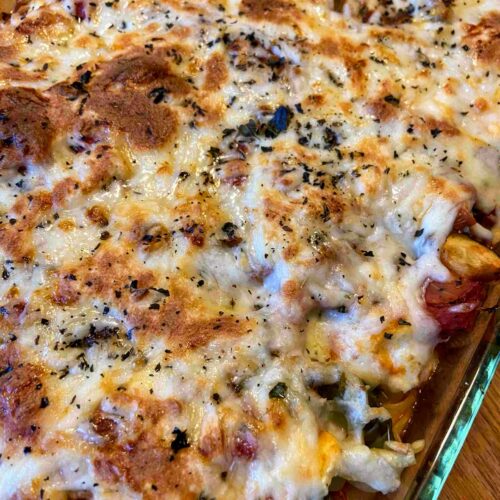
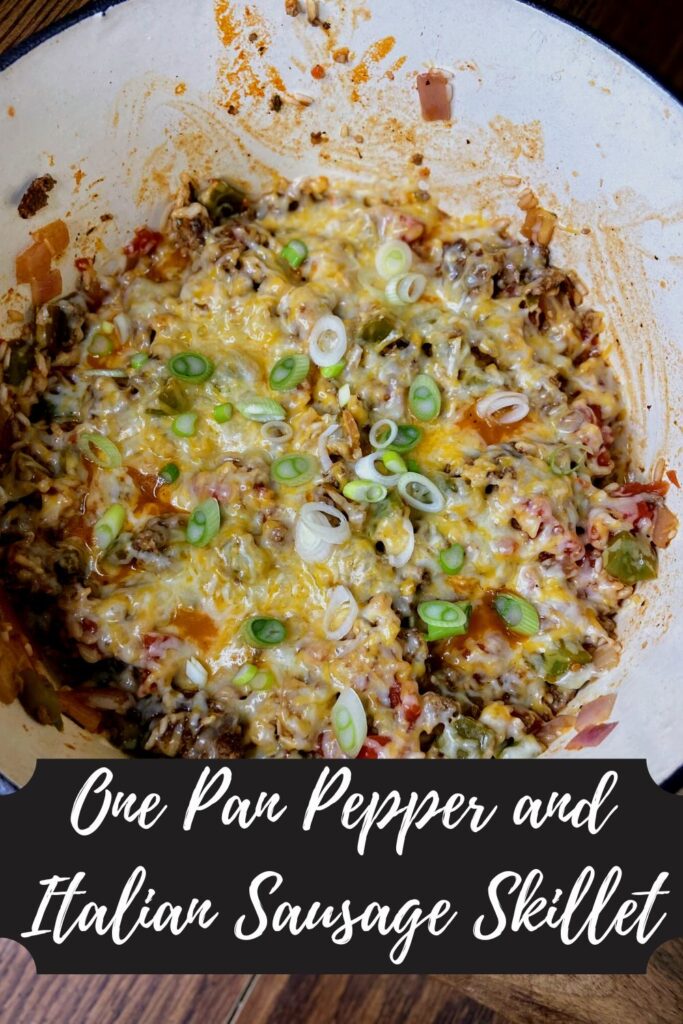
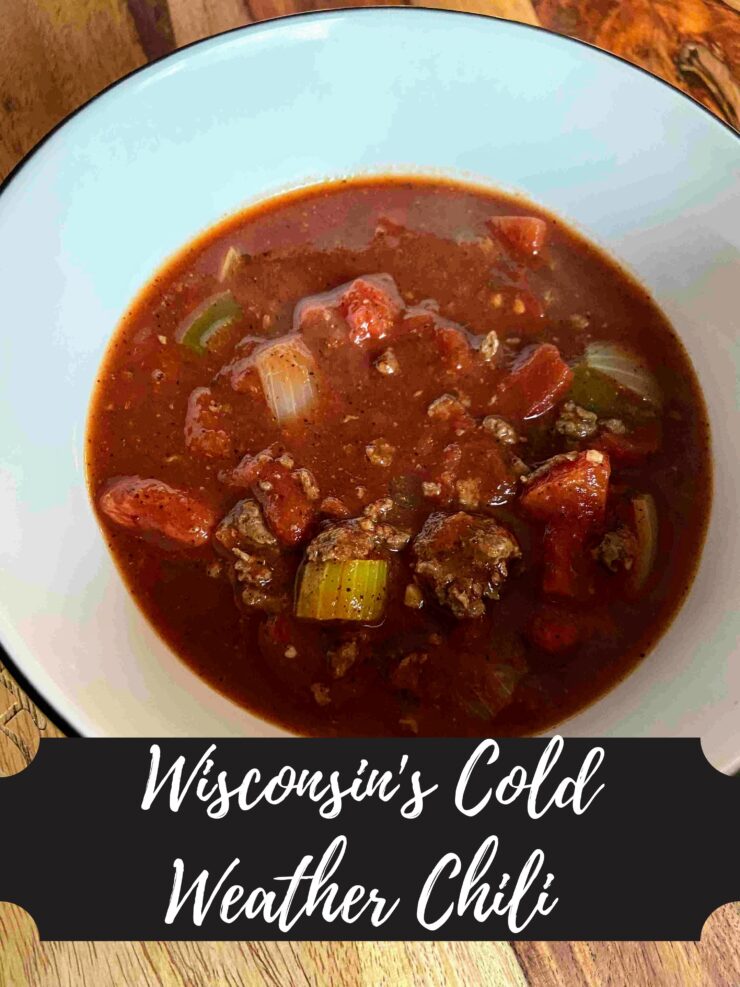
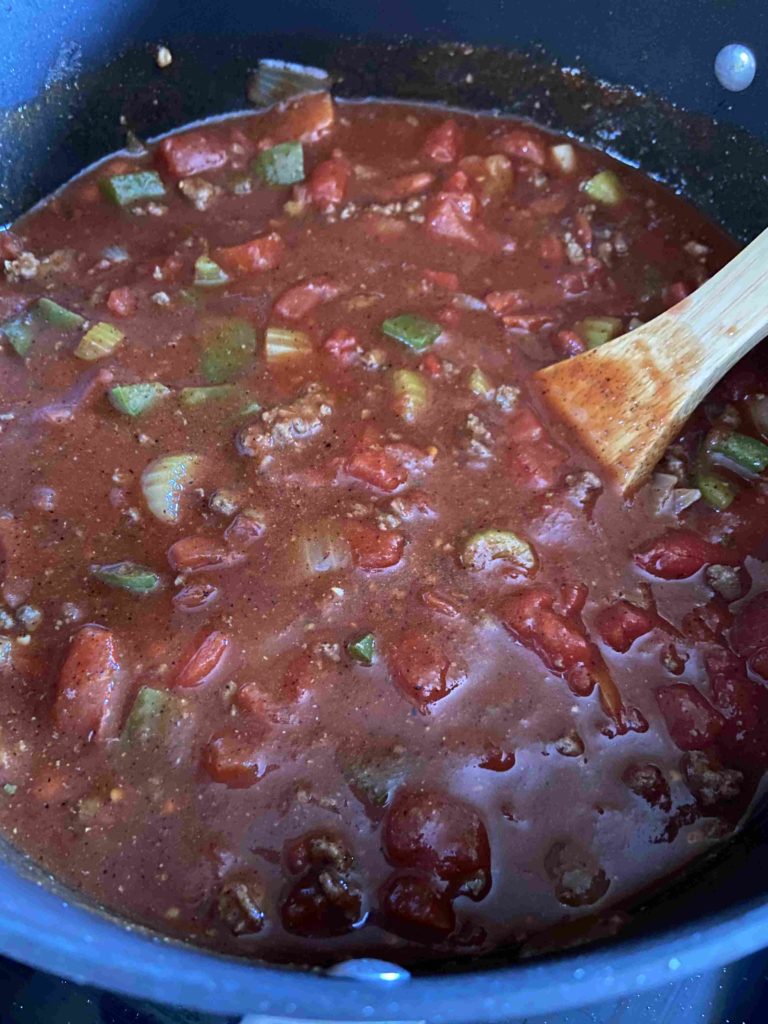
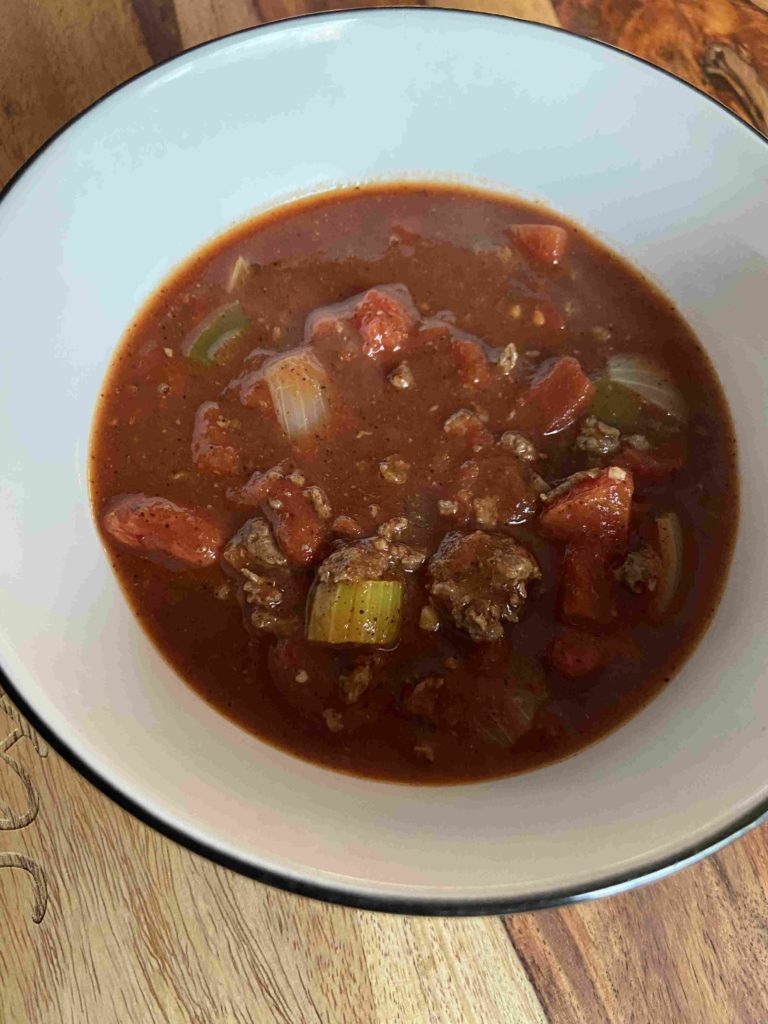
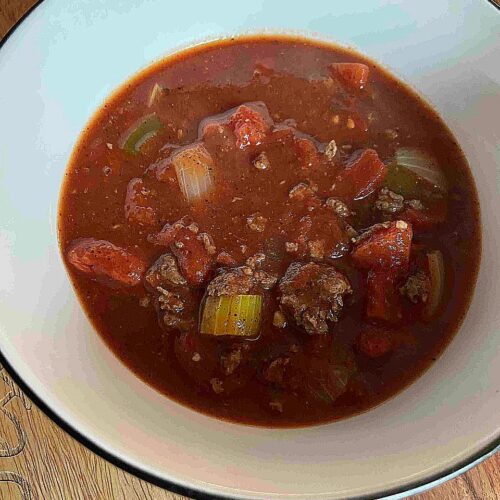
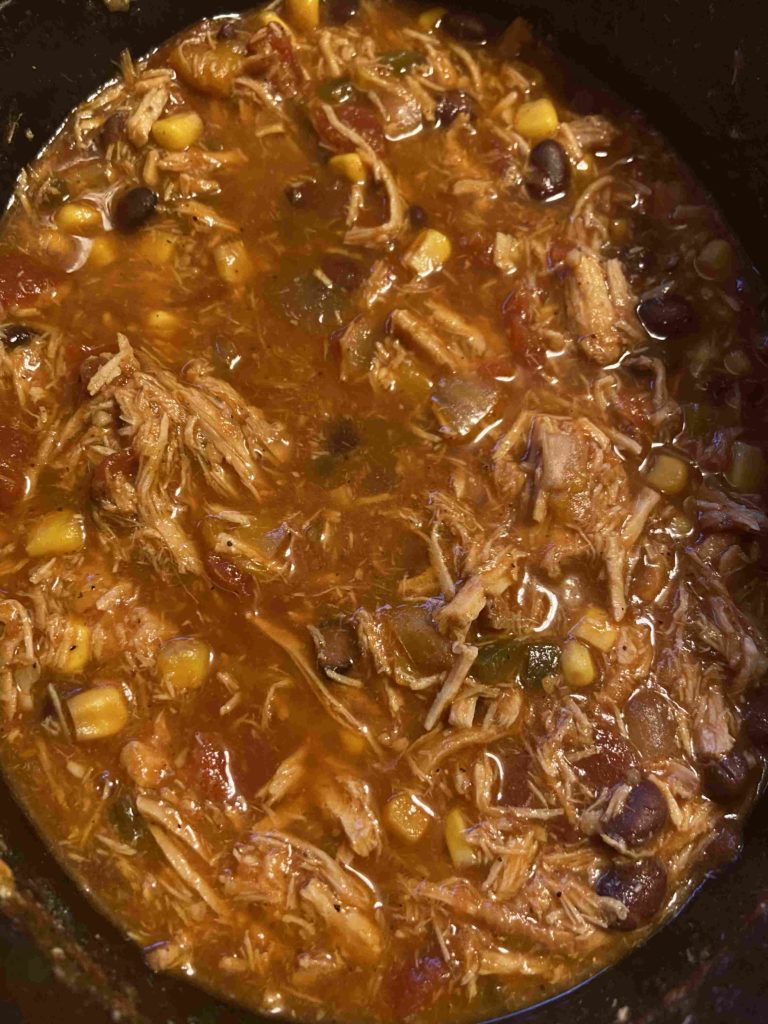
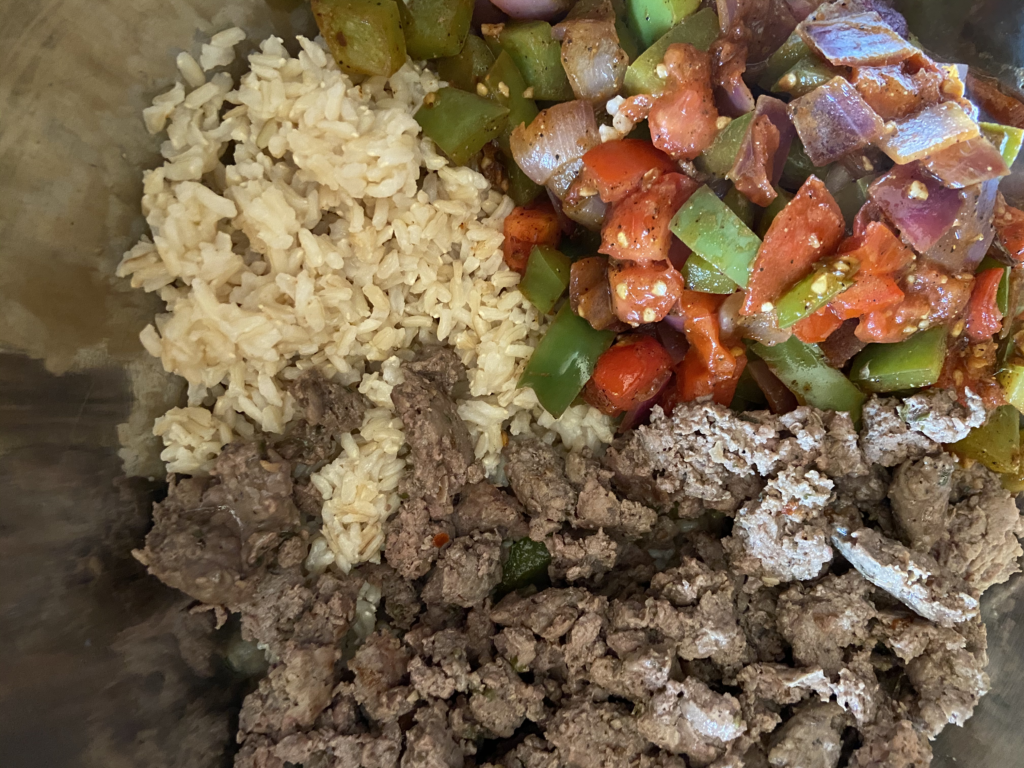
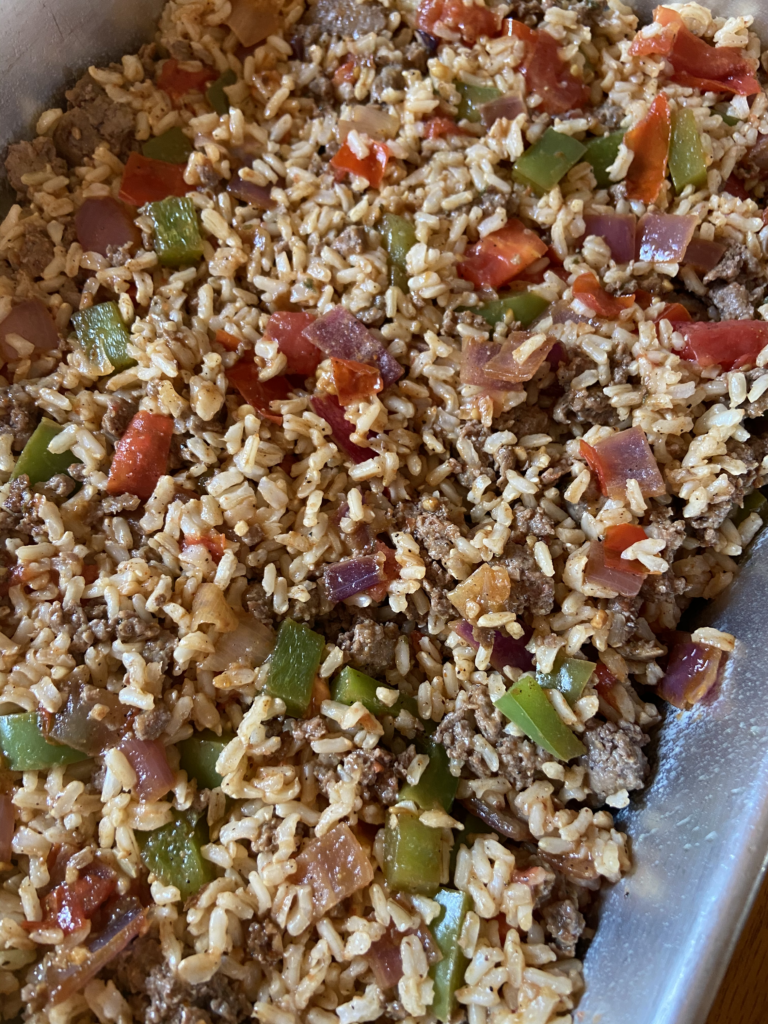
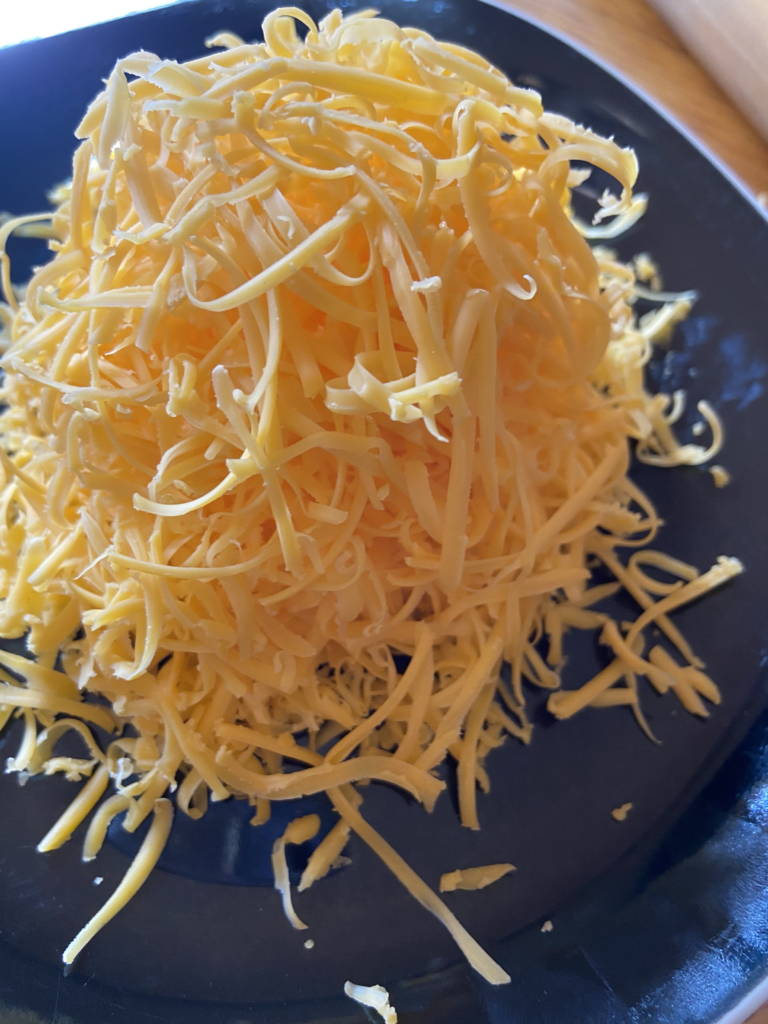
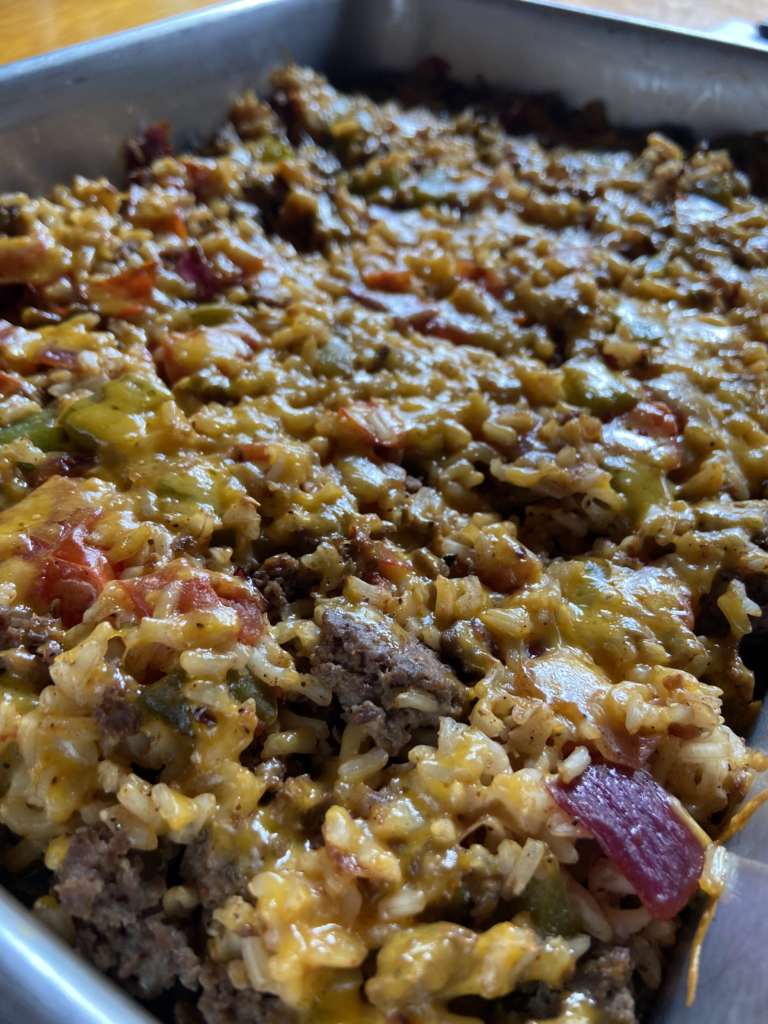
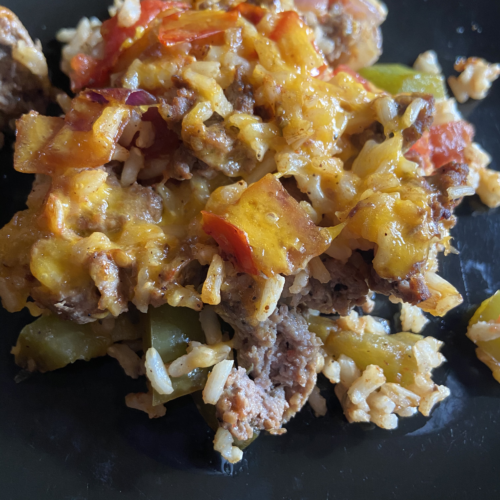
After the vegetables are done cooking, stir in cooked rice and browned sausage until well mixed. If your pan is big enough, do it there. If not, grab yourself a bowl and get mixing. Spread the rice, sausage, and vegetable mixture into a greased 9×13 casserole dish. Finally, top with shredded cheese. Bake for 15-20 minutes at 400 degrees. You may want to allow it to cool 5 minutes before serving, and here’s to hoping you get leftovers. My husband went back for seconds; and then thirds! Stuffed Pepper Bake: A quick, flavorful, good for you meal made from scratch. My kind of cooking!

Chopping: My favorite cooking chore Sauté until softened. Bring on the seasoning! Bring it together… …and mix! Freshly shredded cheese, so much better than store bought. Baked and perfect. Is this my first serving? Or third? Yum!

Other hints and tips
- I used fresh tomatoes that I diced because I had them on hand. Make this even easier by using canned diced tomatoes. If possible, I would use salt free, but everyone has their own tastes. Also, I would drain them about half way prior to adding them.
- I am 100% guilty of using pre shredded cheese often. Let me tell you as a True Wisconsin girl, block cheese that is shredded right before cooking is SO MUCH BETTER. If you have it on hand, I would go that route for sure.
- I love my Italian venison sausage. I don’t have it on Jess in the Kitchen here yet, but I can give you some info about how we do it: We grind our own venison. Additionally, we purchase a fattier cut of pork, which we hand grind as well. Those two get mixed 50/50 with an Italian Sausage seasoning mix that I mix up. I have used this recipe for a guide. Then we freeze it in 1 pound packages. Perfect for pasta and all our favorite Italian dishes!
Looking to find some other dishes for dinner? Click here!
Stuffed Pepper Bake
Ingredients
- 1 cup brown rice
- 2 cups water
- ¼ teaspoon salt
- ¼ teaspoon pepper
- ¼ teaspoon garlic powder
- 1 pound ground Italian sausage
- 2 cups diced green pepper about 1 large
- 1 cup diced onion I used red
- ½ tablespoon minced garlic
- 1 ½ cup diced tomatoes
- ½ teaspoon pepper
- ½ teaspoon cumin
- ½ teaspoon chili powder
- Pinch of red pepper flakes
- 1 cup shredded cheddar cheese
Instructions
- Combine rice, water, and salt, pepper, and garlic powder. Bring to boil and then lower to a simmer. Simmer for 35-45 minutes, until al dente. Set aside.
- Heat large frying pan over medium-high heat. Brown sausage (using some olive oil if using a lean protein). Cook until just browned. Remove from pan.
- Keeping the pan on medium-high heat, heat olive oil. Add green pepper, onions, and minced garlic. Cook 5-8 minutes.
- Stir in remaining spices and diced tomatoes. Cook an additional 3-5 minutes, until all vegetables are soft.
- Combine rice, browned meat and vegetables. Spread into a greased 9×13 casserole dish. Top with shredded cheese.
- Bake for 15-20 minutes at 400° F, until cheese is melted.