For as long as I can remember, my birthday meal has been Salisbury Steak. I can still see the recipe in my mom’s Betty Crocker Big Red Cookbook. She made it for me every year without fail. It was the only time each year that we ate it, even though I know that we all loved the classic comfort food circa 1980.
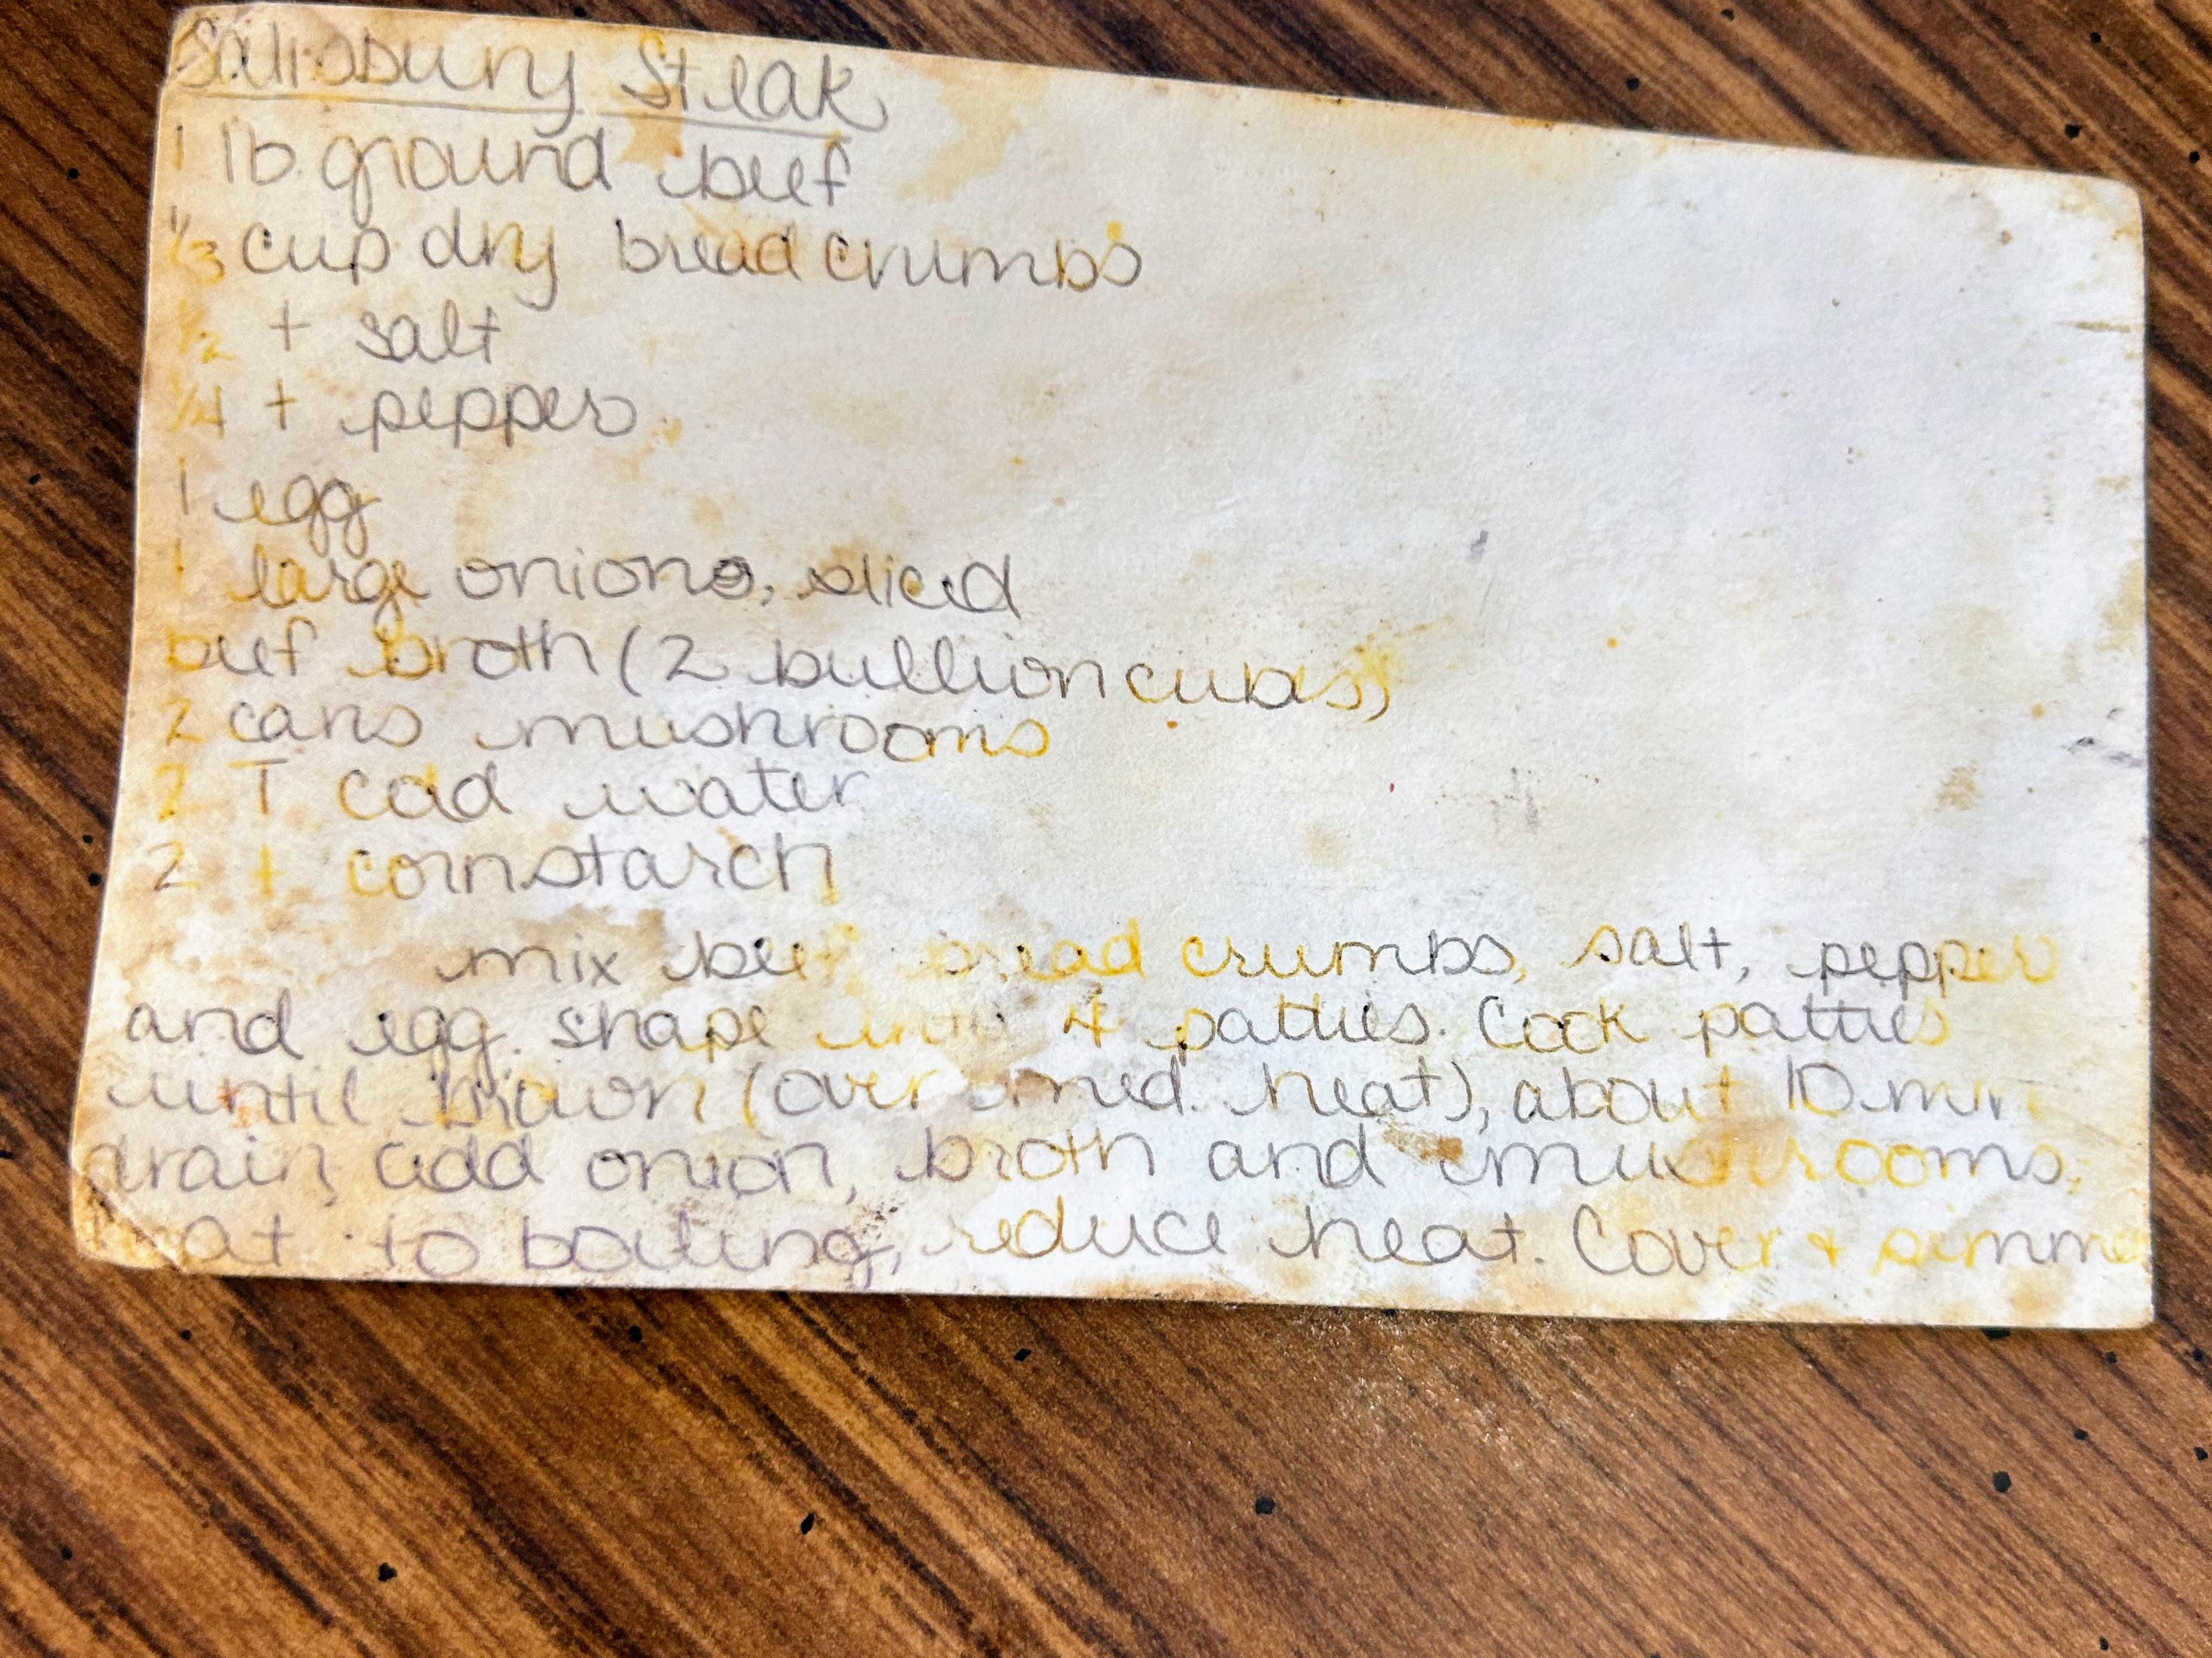
When I went away to college, it was one of the first recipes I wrote down on a notecard to have handy in our first apartment. It has definitely seen it’s better days, but I still love it!
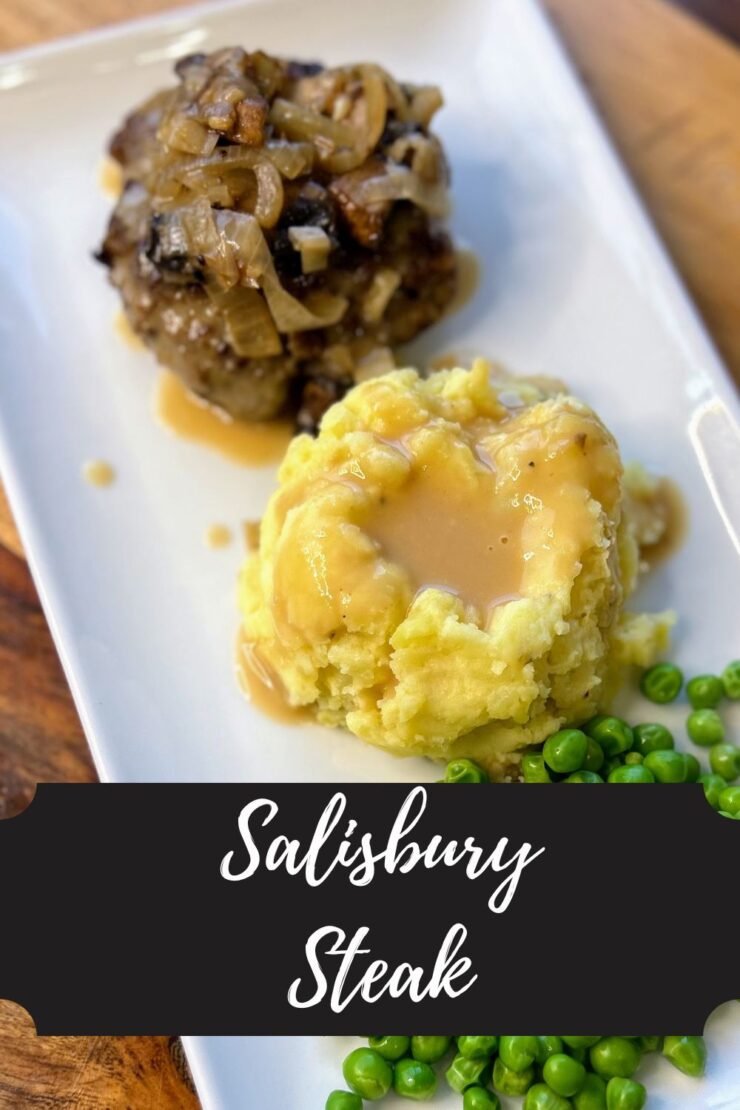
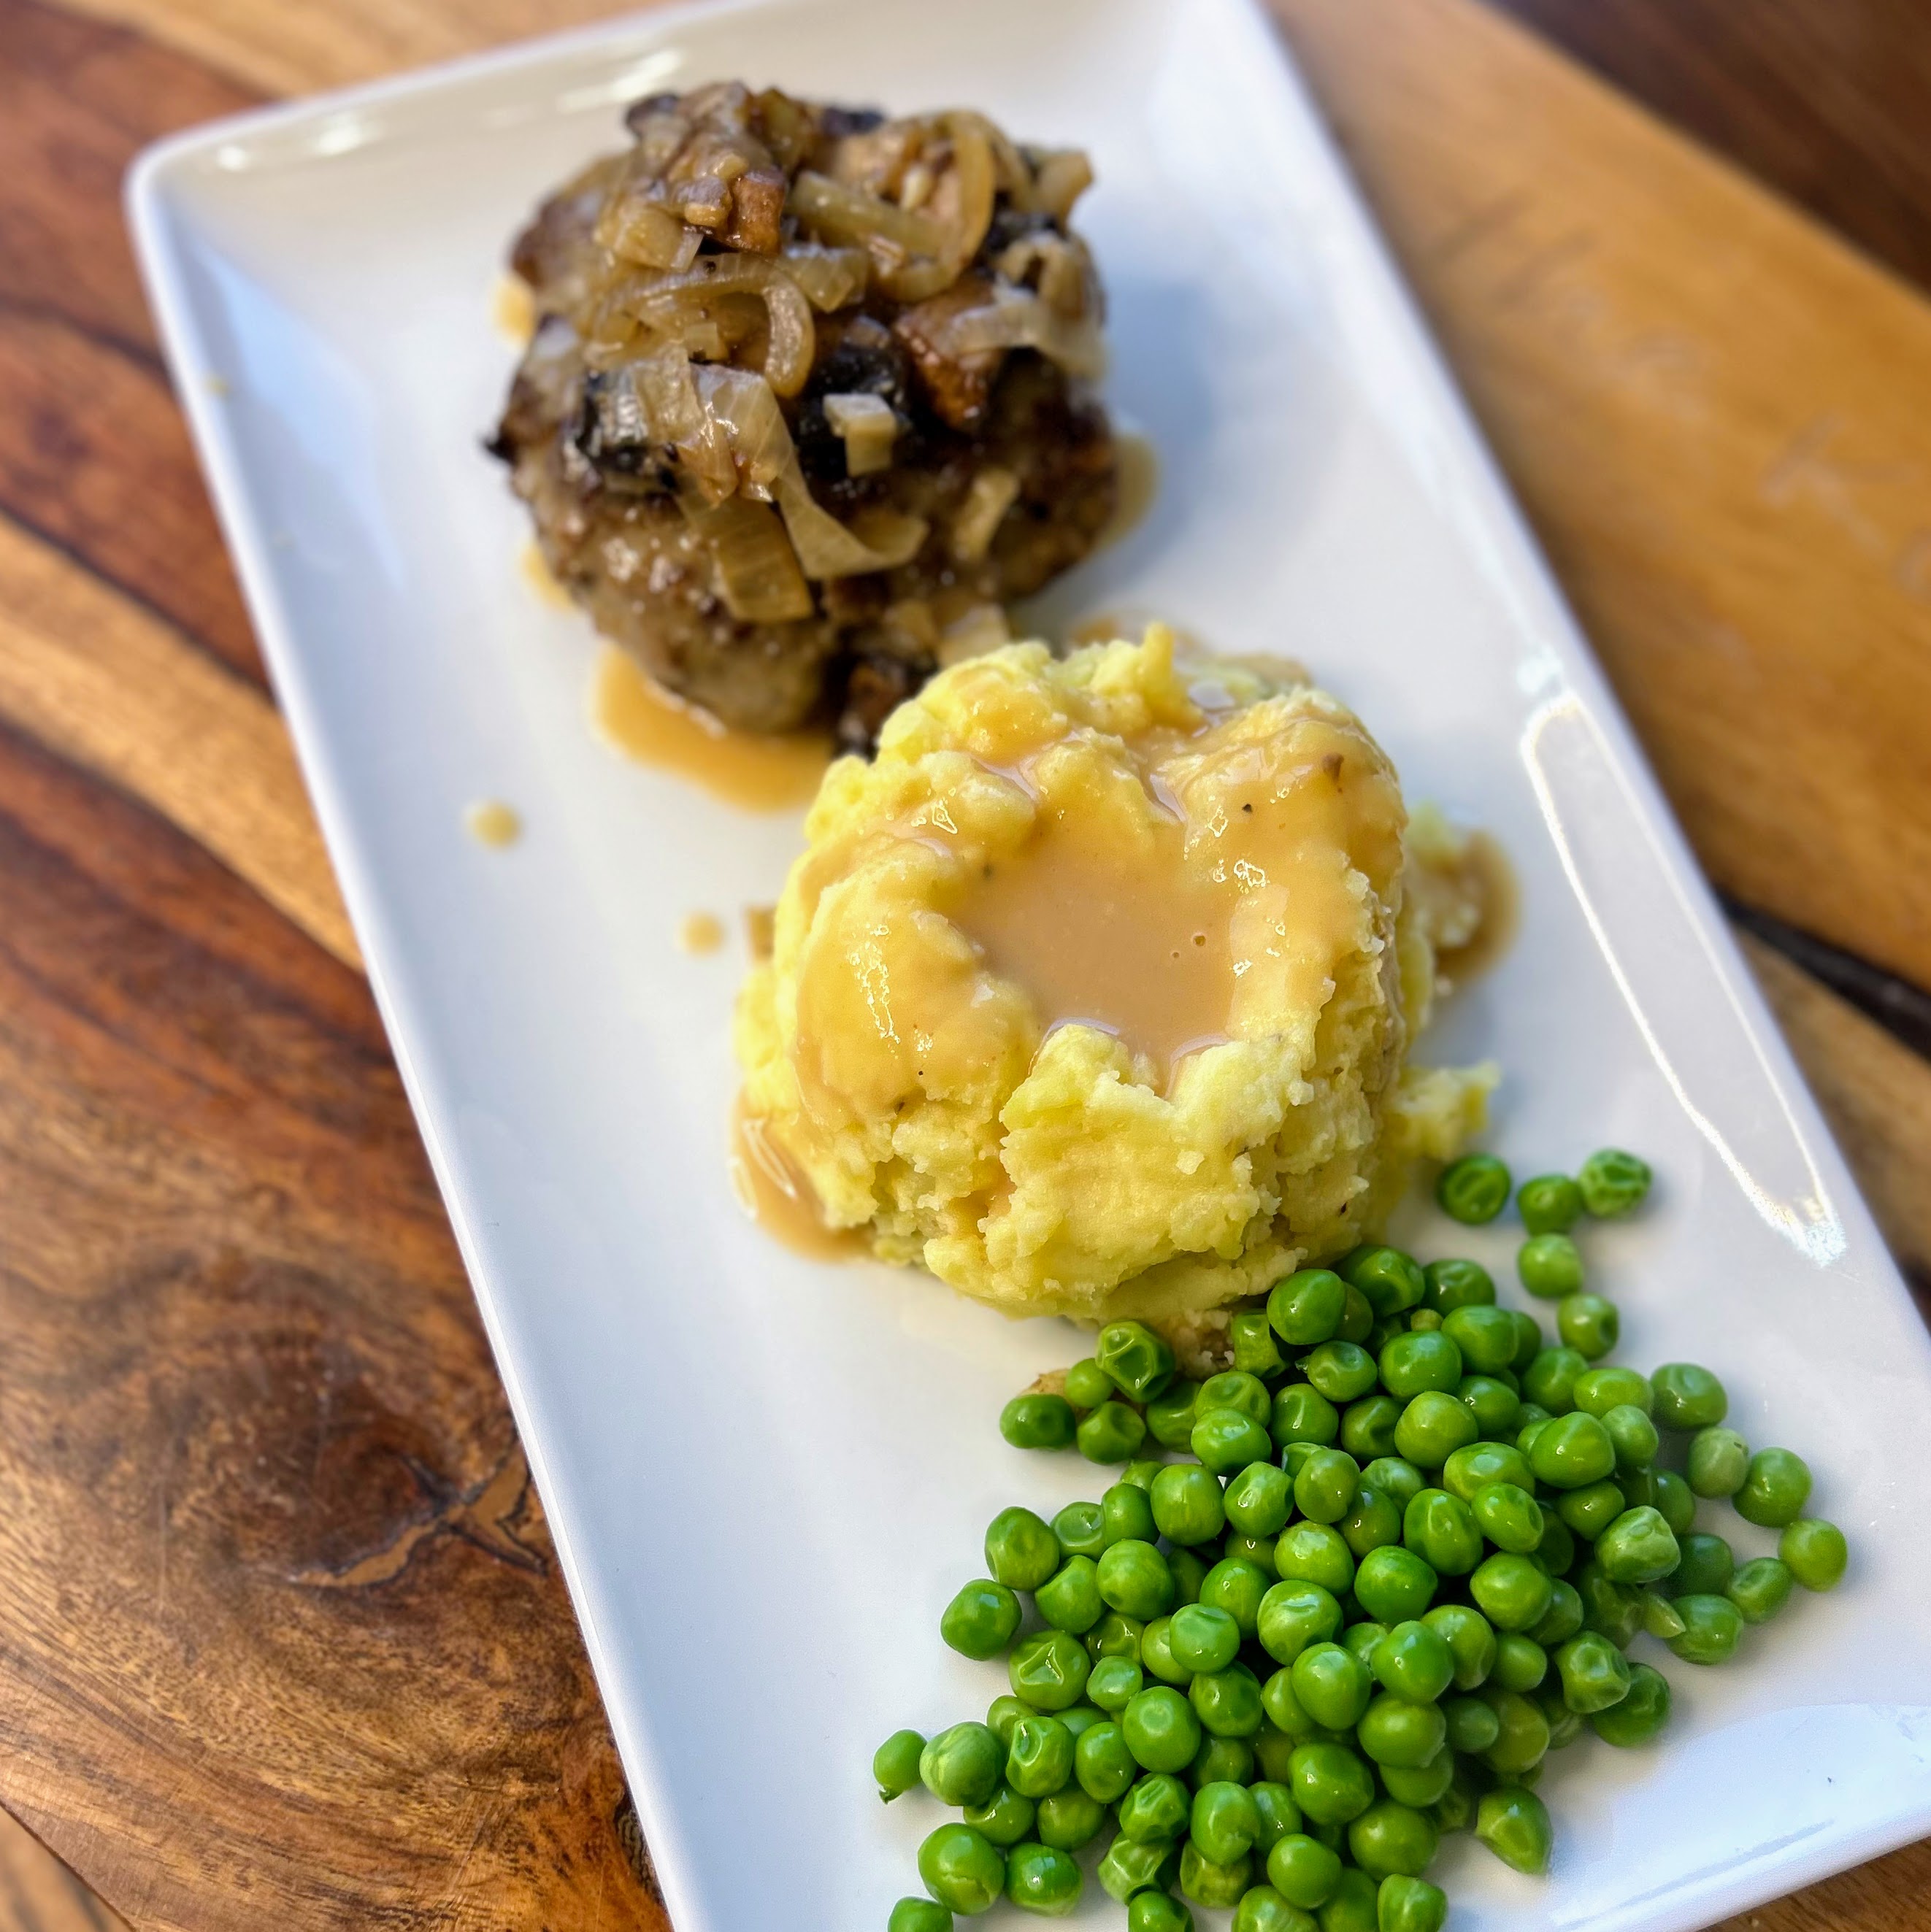
Now, the Mr and I keep up with the tradition, although we have modified the original recipe just a bit. Again and again, I eat that first bite with my eyes closed and a huge, satisfied grin on my face, wondering why we only make it once a year. I made the promise last week that we will be making Salisbury Steak more often. It’s such a comfort and brings the whole family such joy. I love to serve them with mashed potatoes (the only time I really crave mashed potatoes) and peas, but you do you!
Want to share a piece of my birthday joy with me? Let’s get cooking!
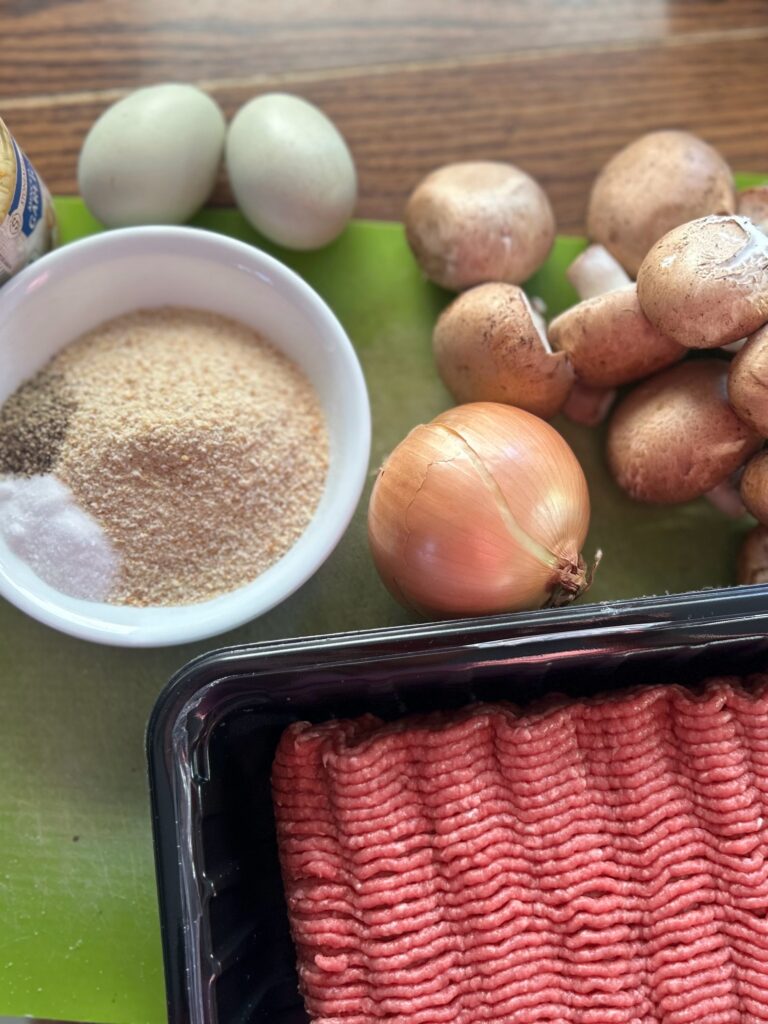
Your Ingredients for Salisbury Steak
- 2 pounds of ground beef
- ⅔ cup dry bread crumbs
- 1 teaspoon salt
- ½ teaspoon pepper
- 1 teaspoon minced garlic
- ½ teaspoon onion powder
- 2 eggs
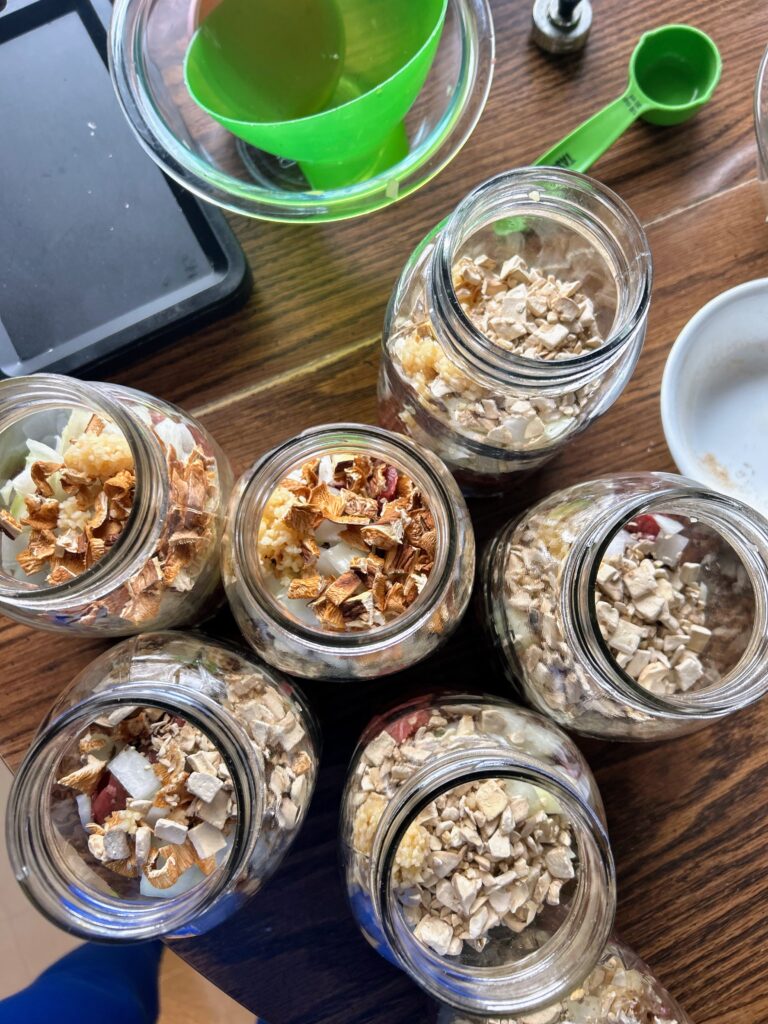
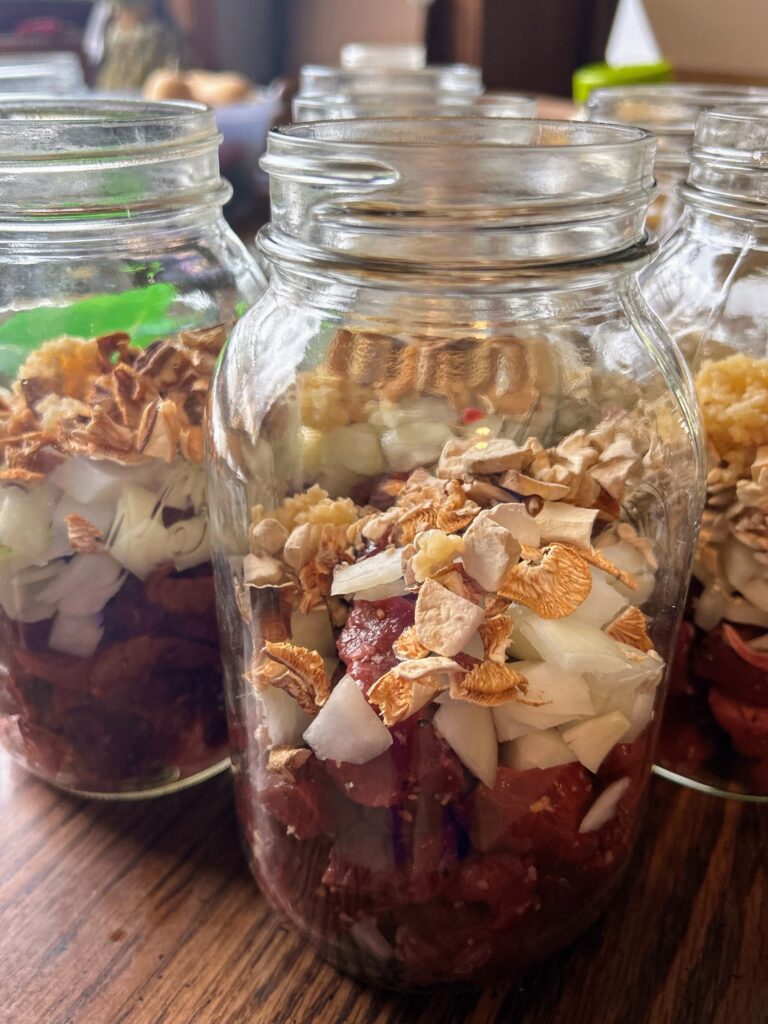
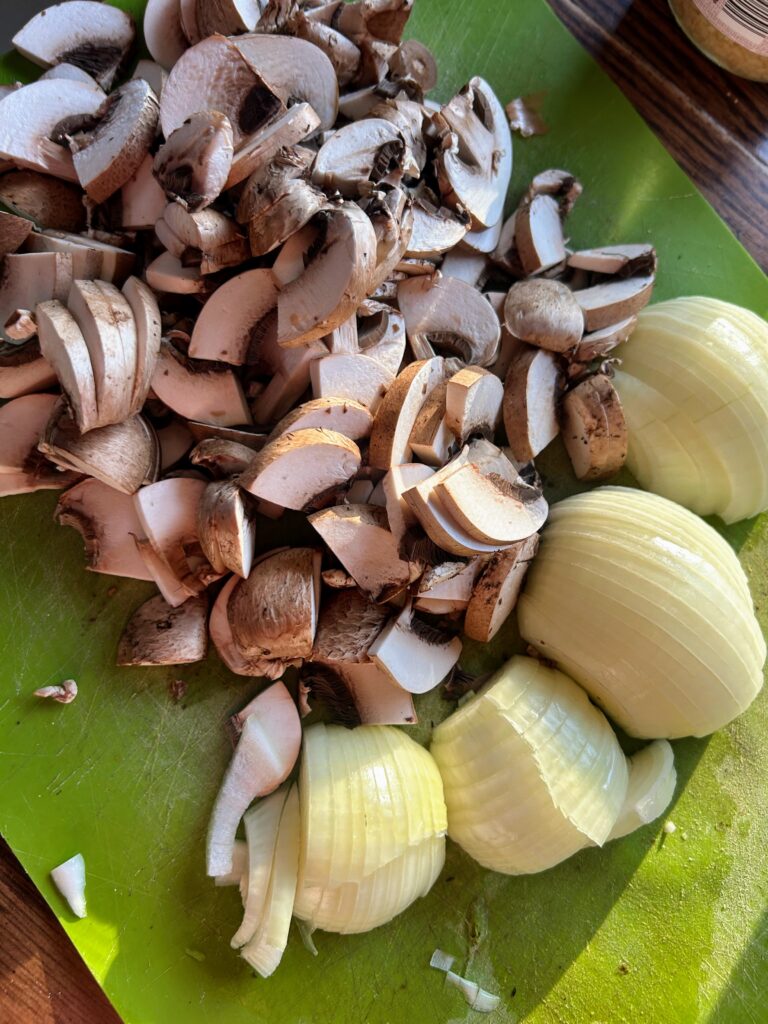
- 4 small onions (2 large), sliced
- 1 package baby bella mushrooms
- Olive oil
- 2 tablespoons butter
- 2 tablespoons flour
- ¾ cup of milk
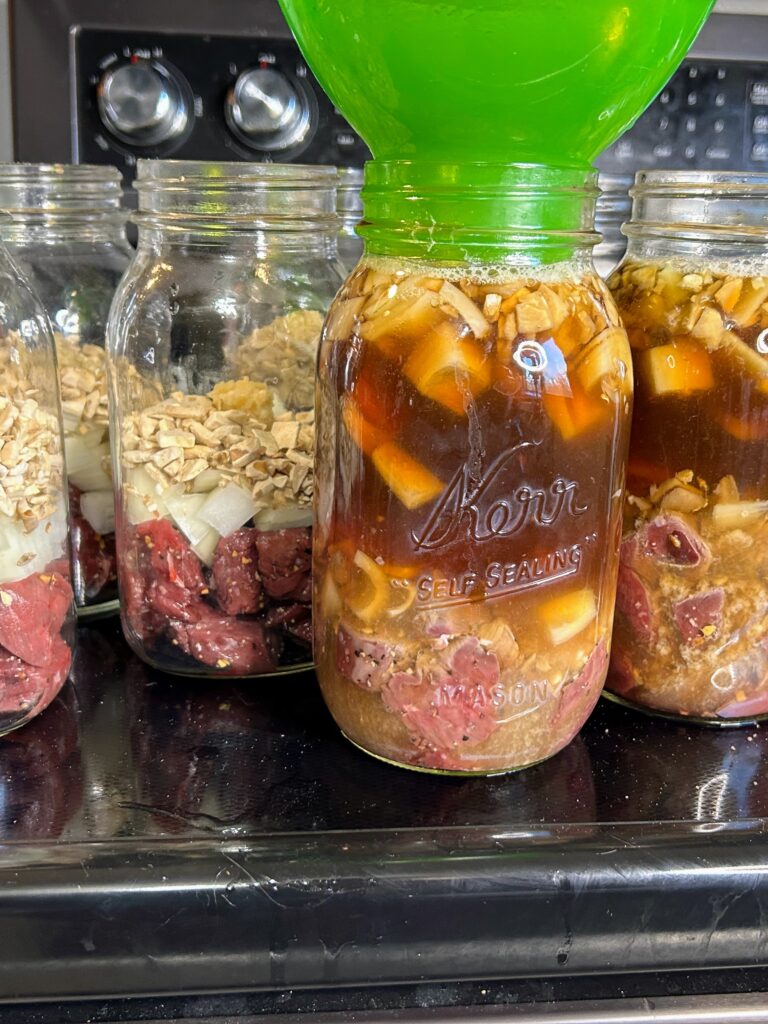
- 1 ¼ cup water
- 3-4 teaspoons beef broth base (I love love love Orrington Farms)
Your Steps to Salisbury Steak
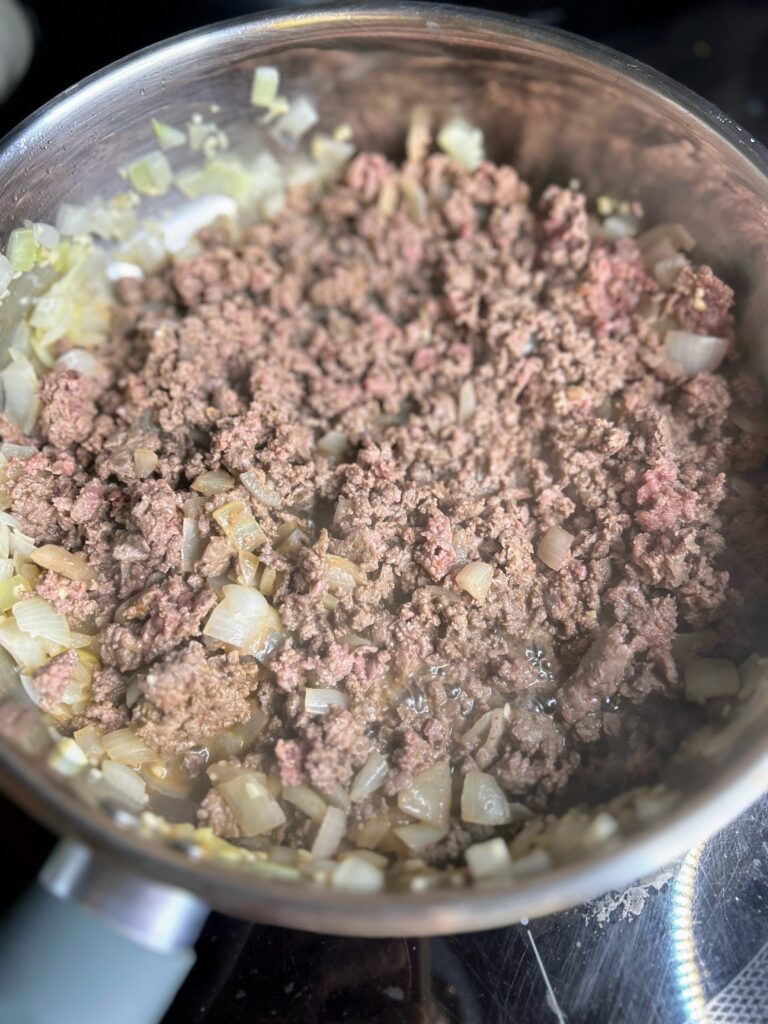
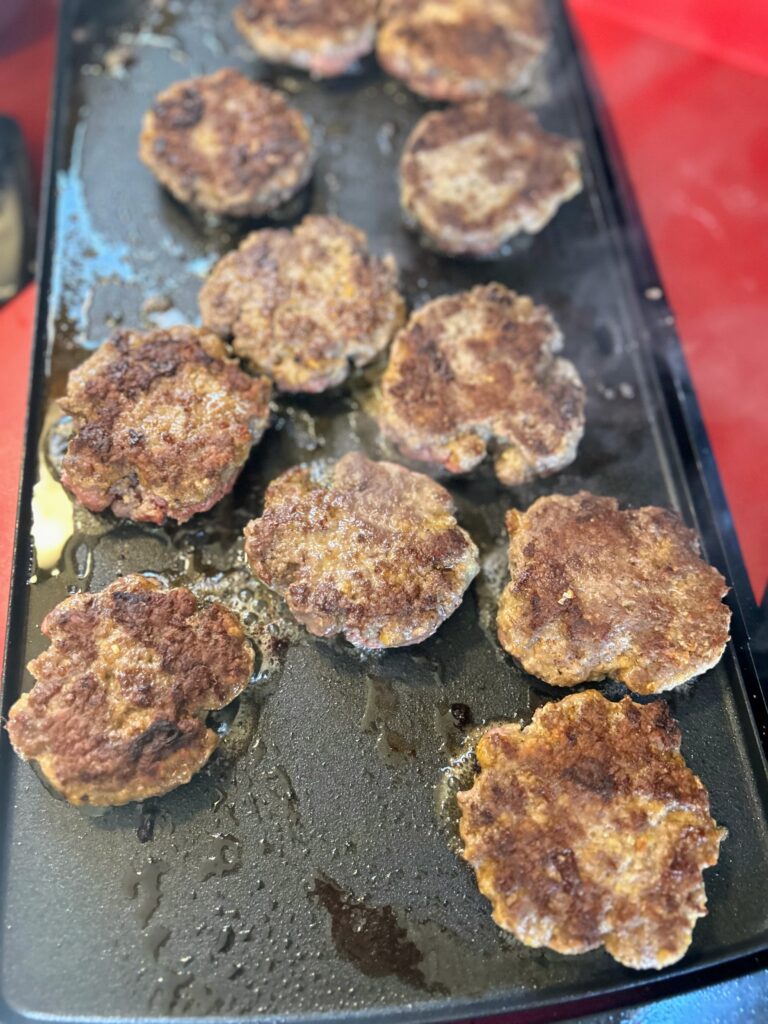
In a large bowl, combine beef, bread crumbs, salt, pepper, minced garlic, onion powder, and eggs. Form into 8-10 equal relatively flat patties. Heat a griddle to medium heat and cook patties until just cooked through, approximately seven minutes per side. Remove from the griddle and keep warm (I stick them on a plate and then in the microwave. Covering them with foil and placing in the oven is a great idea too!)
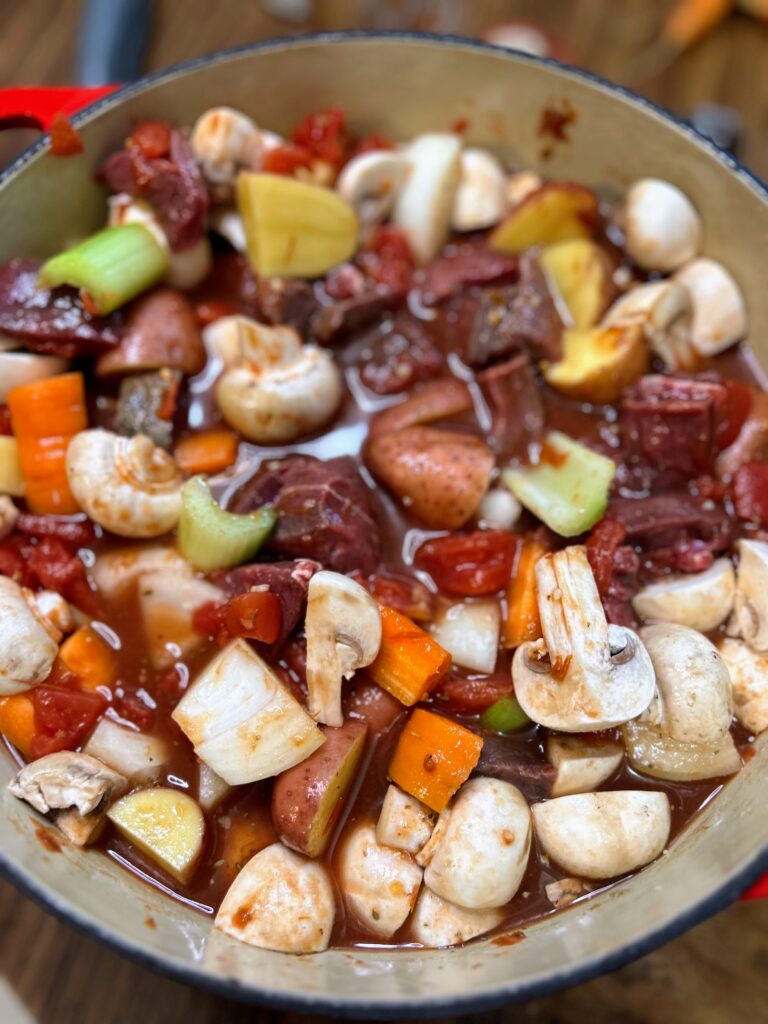
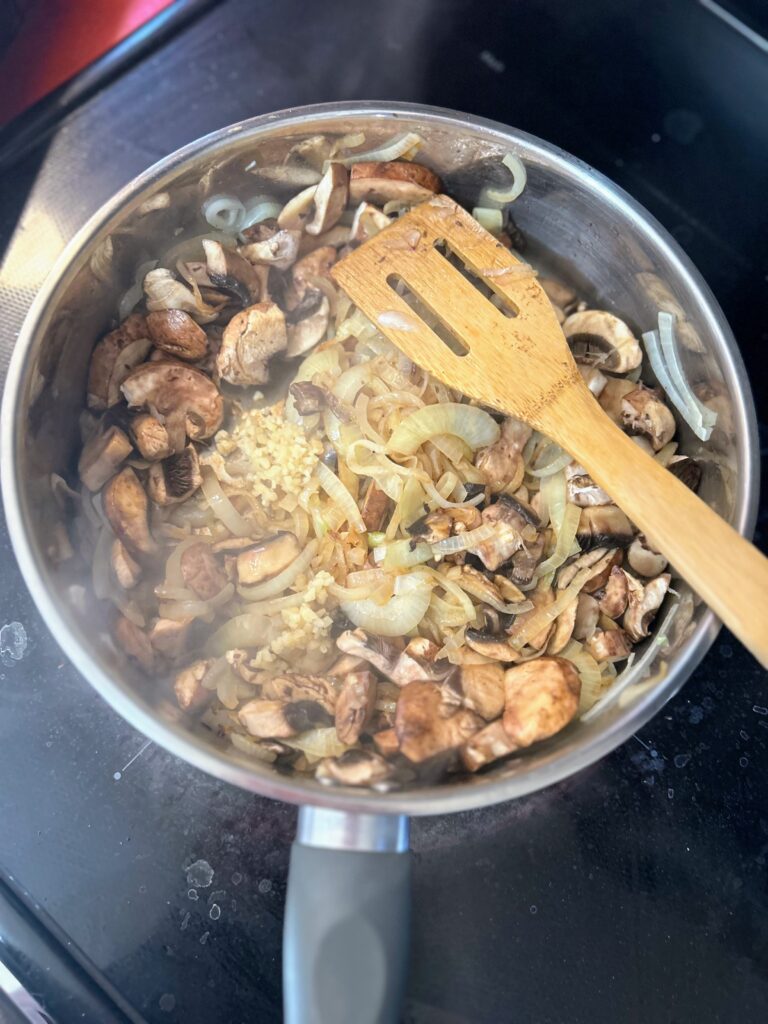
Meanwhile, finely slice the mushrooms and onions. Heat a bit of olive oil over medium heat and add the onions. Cook for 4-5 minutes, until they start to soften. Then add the mushrooms. Feel free to season with a bit of salt and pepper and cook down until completely soft, about another 7 minutes. Remove from the pan.
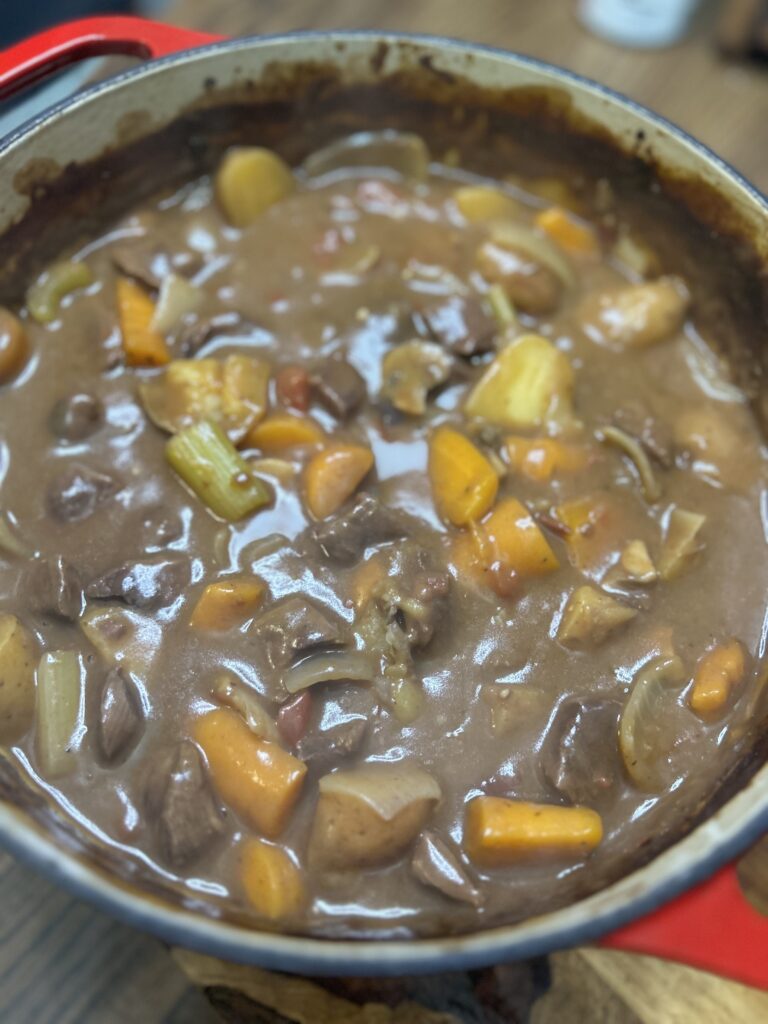
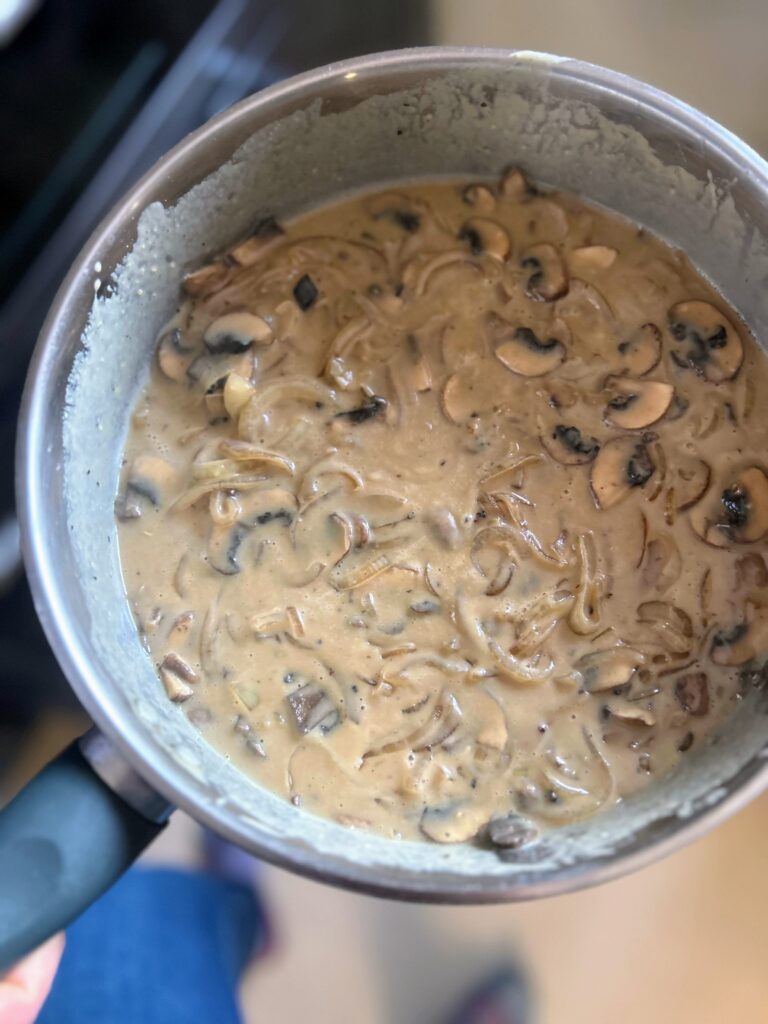
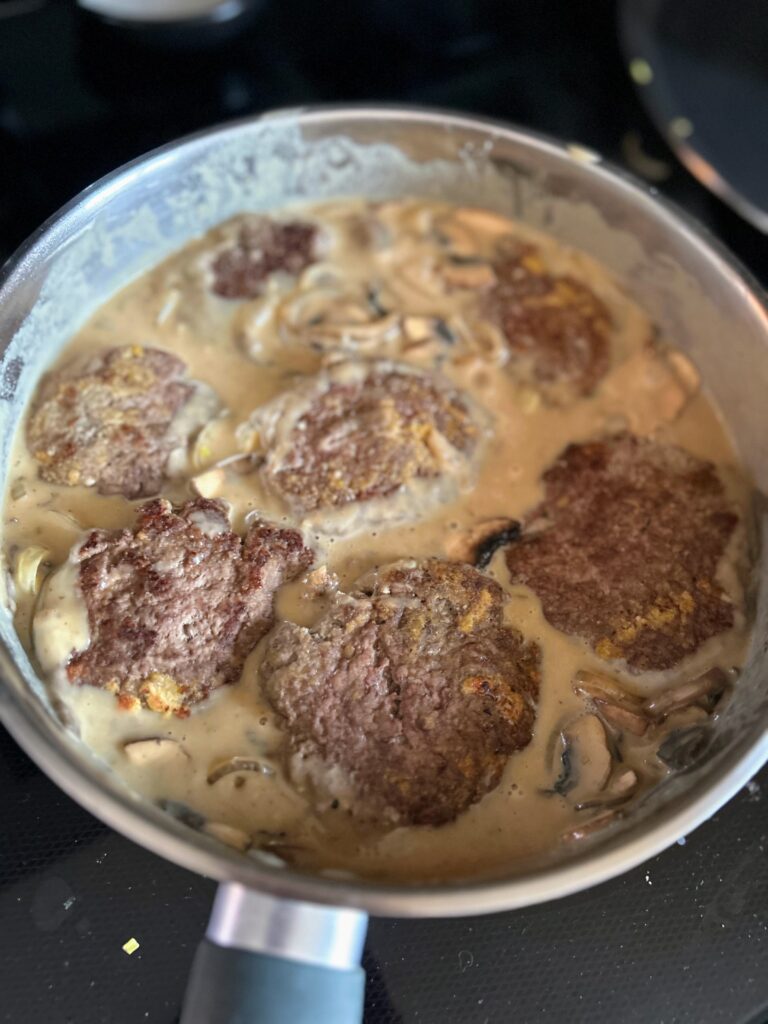
In the same pan, melt butter. Stir in the flour and whisk until a light brown roux is formed. Gradually add the milk, whisking the entire time. Sprinkle in 1-2 teaspoons of beef broth base as you add the milk. Once the milk is incorporated, begin to stir in water, sprinkling in the remaining broth base to taste. Add pepper to taste. Whisk until a desired consistency is reached. Stir in cooked onions and mushrooms.
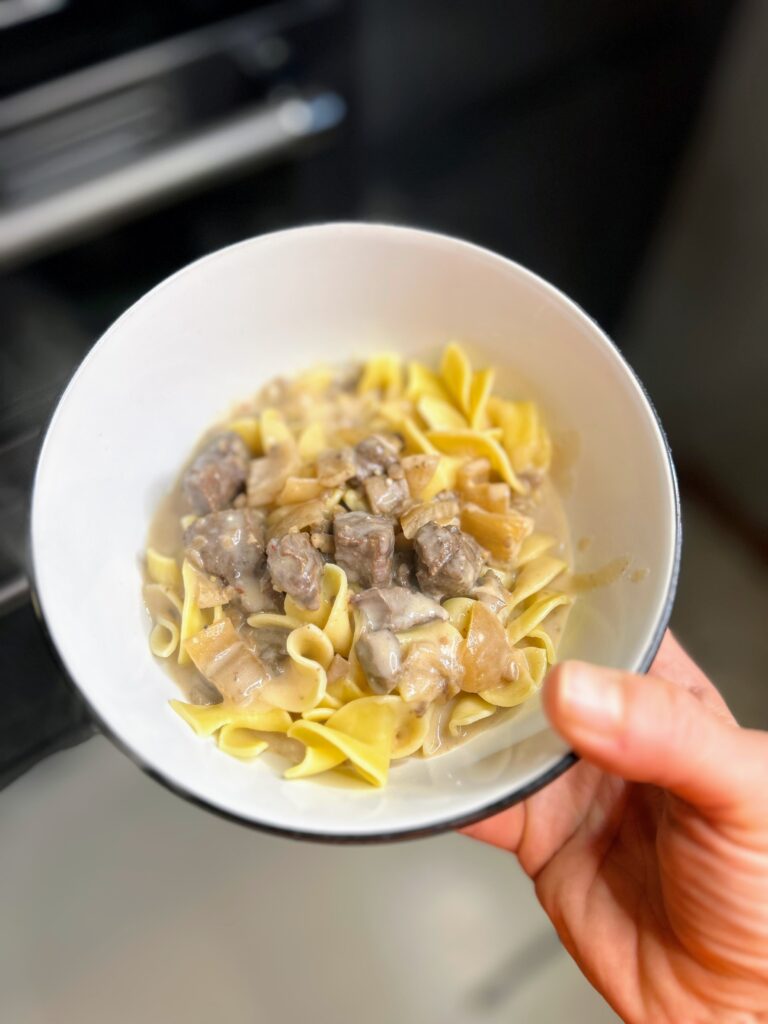
Finally, add the patties into the gravy to reheat just a bit. Serve, spooning additional gravy, mushrooms, and onions over the patties.
I love to serve my Salisbury Steak with some mashed potatoes (that’s the Mr’s expertise) and peas, but anyway you have them, they are delish!
Salisbury Steak
Ingredients
- 2 pounds of ground beef
- ⅔ cup dry bread crumbs
- 1 teaspoon salt
- ½ teaspoon pepper
- 1 teaspoon minced garlic
- ½ teaspoon onion powder
- 2 eggs
- 4 small onions 2 large, sliced
- 1 package baby bella mushrooms
- Olive oil
- 2 tablespoons butter
- 2 tablespoons flour
- ¾ cup of milk
- 1 ¼ cup water
- 3-4 teaspoons beef broth base
Instructions
- In a large bowl, combine beef, bread crumbs, salt, pepper, minced garlic, onion powder, and eggs. Form into 8-10 equal relatively flat patties. Heat a griddle to medium heat and cook patties until just cooked through, approximately seven minutes per side. Remove from the griddle and keep warm (I stick them on a plate and then in the microwave. Covering them with foil and placing them in the oven is a great idea too!)
- Meanwhile, finely slice the mushrooms and onions. Heat a bit of olive oil over medium heat and add the onions. Cook for 4-5 minutes, until they start to soften. Then add the mushrooms. Feel free to season with a bit of salt and pepper and cook down until completely soft, about another 7 minutes. Remove from the pan.
- In the same pan, melt butter. Stir in the flour and whisk until a light brown roux is formed. Gradually add the milk, whisking the entire time. Sprinkle in 1-2 teaspoons of beef broth base as you add the milk. Once the milk is incorporated, begin to stir in water, sprinkling in the remaining broth base to taste. Add pepper to taste. Whisk until a desired consistency is reached. Stir in cooked onions and mushrooms.
- Finally, add the patties into the gravy to reheat just a bit. Serve, spooning additional gravy, mushrooms, and onions over the patties.
Notes
Looking for other great dinners?
Here are a few of my favorites! If these don’t tickle your fancy, give my cooking page a look see!