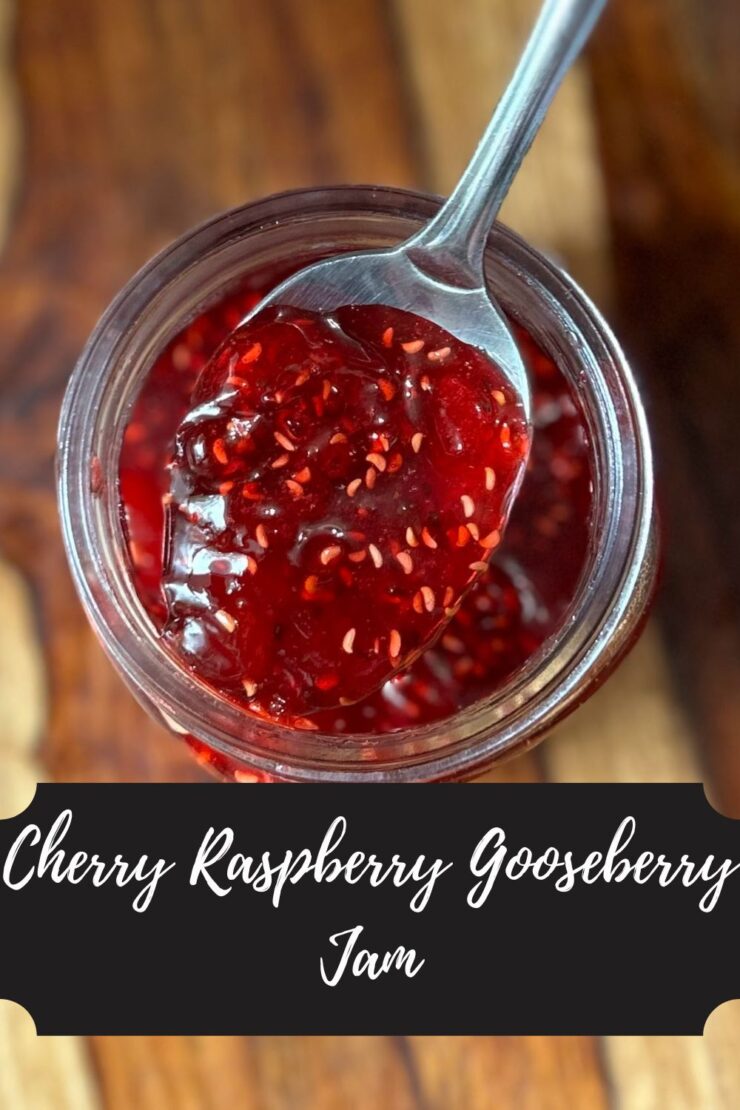
Cherry Raspberry Gooseberry Jam

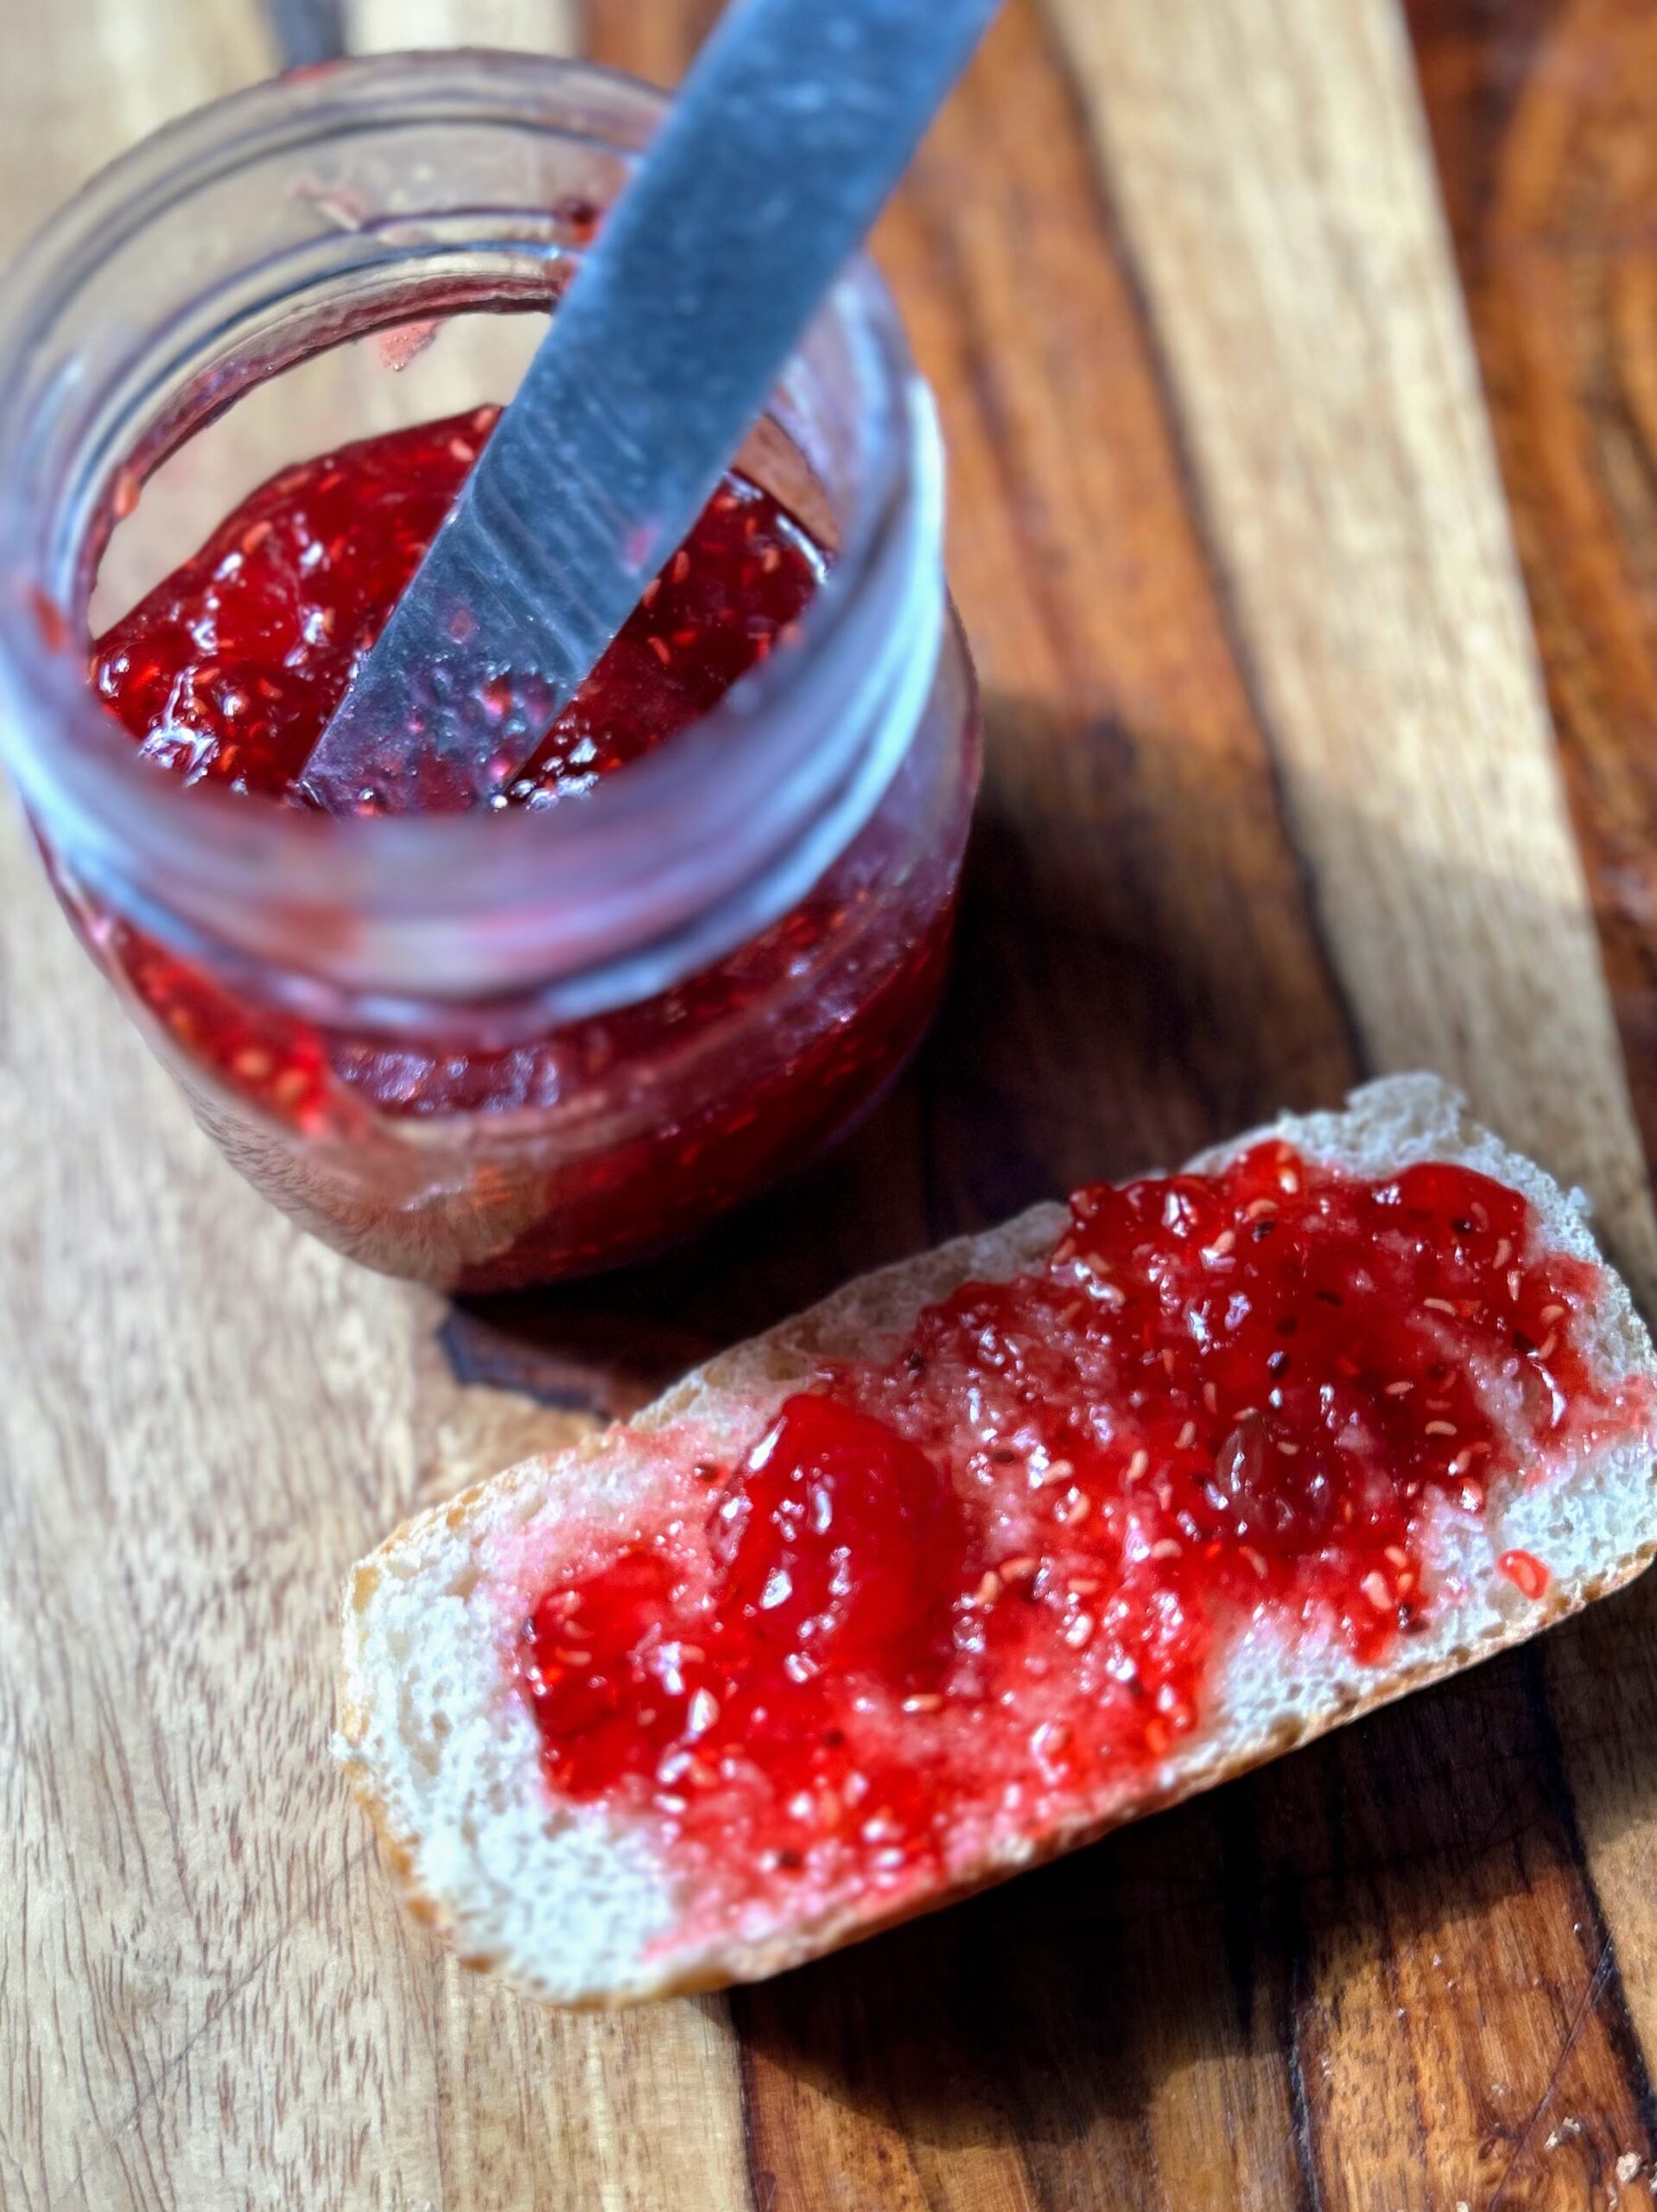
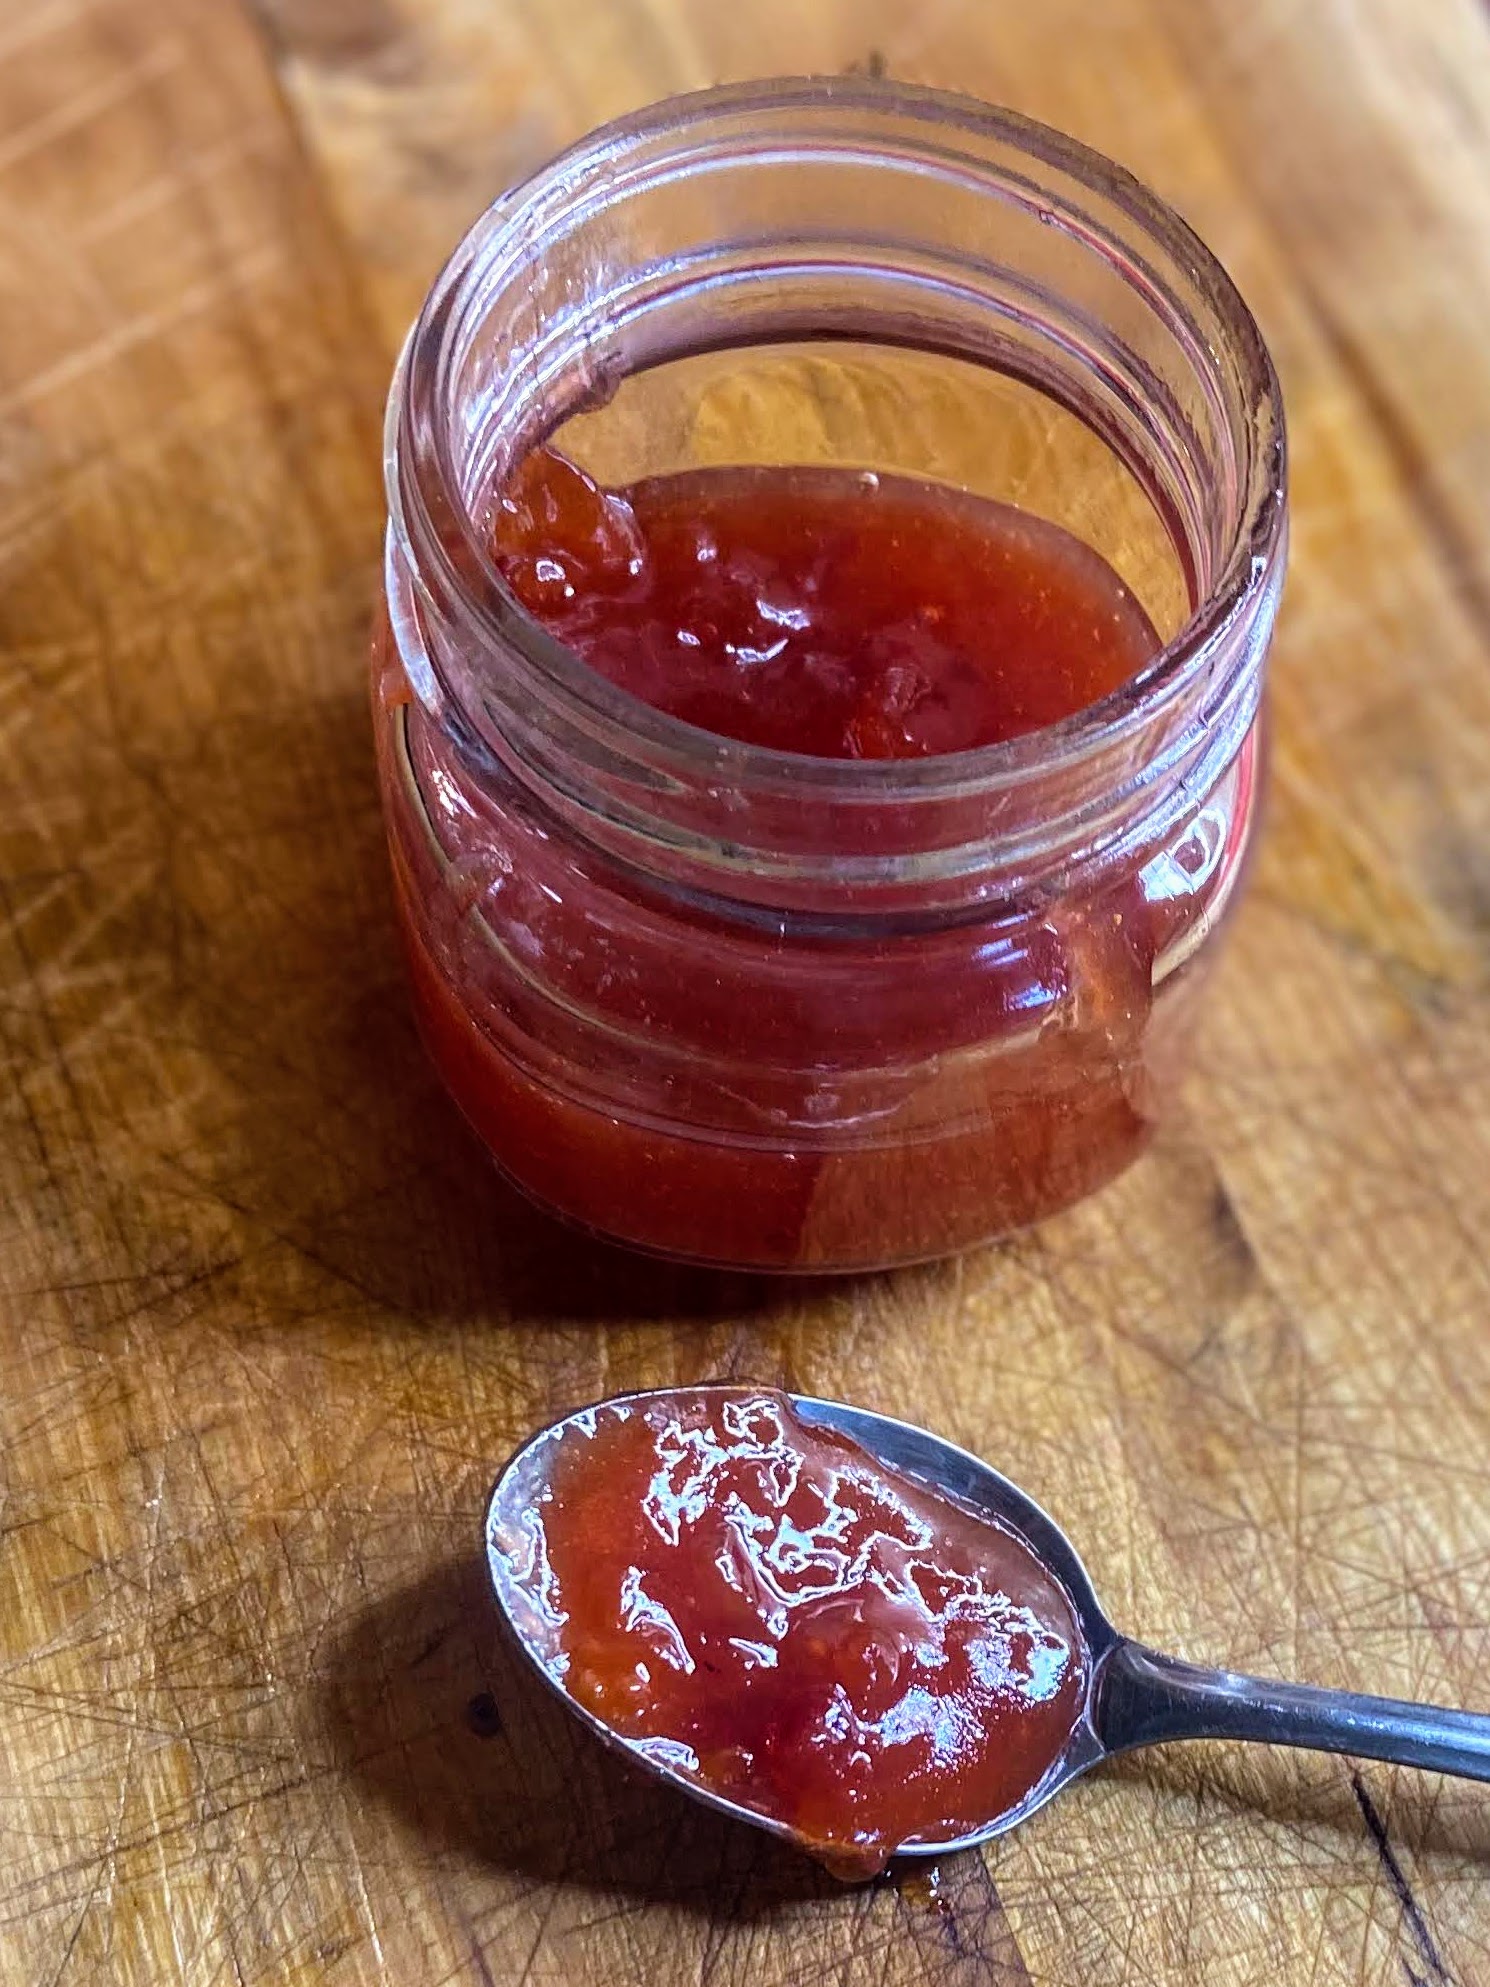
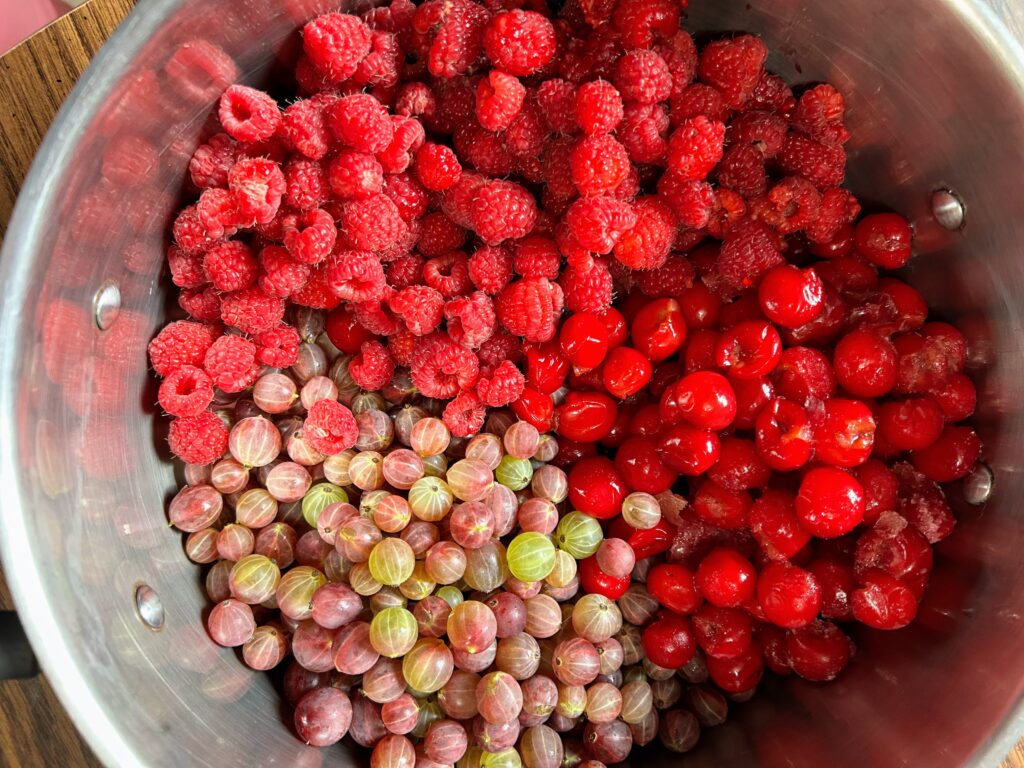
Last year, I had a hodgepodge of berries left after making jams, sorbets, and the like. Specifically, I had some sour cherries, red raspberries, and gooseberries. Of course, there wasn’t enough of any of them to make a full batch of jam, but together, I did! I didn’t take any pictures and hardly wrote anything down because it was really an experiment of sorts. But then, I gave one lick of the kettle when I was finished and wow! That Cherry Raspberry Gooseberry Jam was out of this world! I declared it the best I had ever made. Of course, it was just a couple jars, but that’s okay!

Then, earlier this year, I asked the Mr to make me a peanut butter and jelly sandwich for lunch. He had to open a new jar of jam, but I never saw what he picked. I took one bite of the sandwich and immediately thought, “Whatever jam this is, it’s the best stuff I have ever made!” 

Once I got home and looked in the fridge and saw it was cherry raspberry gooseberry jam. I knew I HAD to redo that recipe and share it with you all because, dang it, it’s awesome. The flavor is top notch (The Mr says, “There’s a lot going on in that jam…”) and you just need a few simple ingredients: the fruit, sugar, and lemon juice. You see, gooseberries have natural pectin so you don’t need to add any commercial pectin, which I always love. 

My Canning Story 

I do want to share that I did not grow up in a canning household. I learned about ten years ago, as soon as we bought our home and started our first garden. And while I had some support from my mother in law (thank you so much!), I learned SO MUCH from reading. If you are a first generation canner like I was, let me share some of my favorite resources: 

Ball Complete Book of Home Canning: This book gives you a good idea of all the basics from the people who know canning forwards and backwards. I love that I can dig in and get just what I need. 

Not Your Mama’s Canning Book: Modern Canned Goods and What to Make with Them: This book is SO FUN. It has some out of the ordinary recipes. We especially love the tomato soup and seasoned black bean recipes. 

And finally, the National Center for Home Food Preservation has all the information you need for all sorts of food preservation, not just canning. I reference it often! 

But enough about resources, you want to can right? (But seriously, I am going to give you the basics. If you are a newbie (Yay!), head to any of those resources for more detailed information)

Your Ingredients

For approximately 6 half-pints, gather: 

  • 3 cups red raspberries
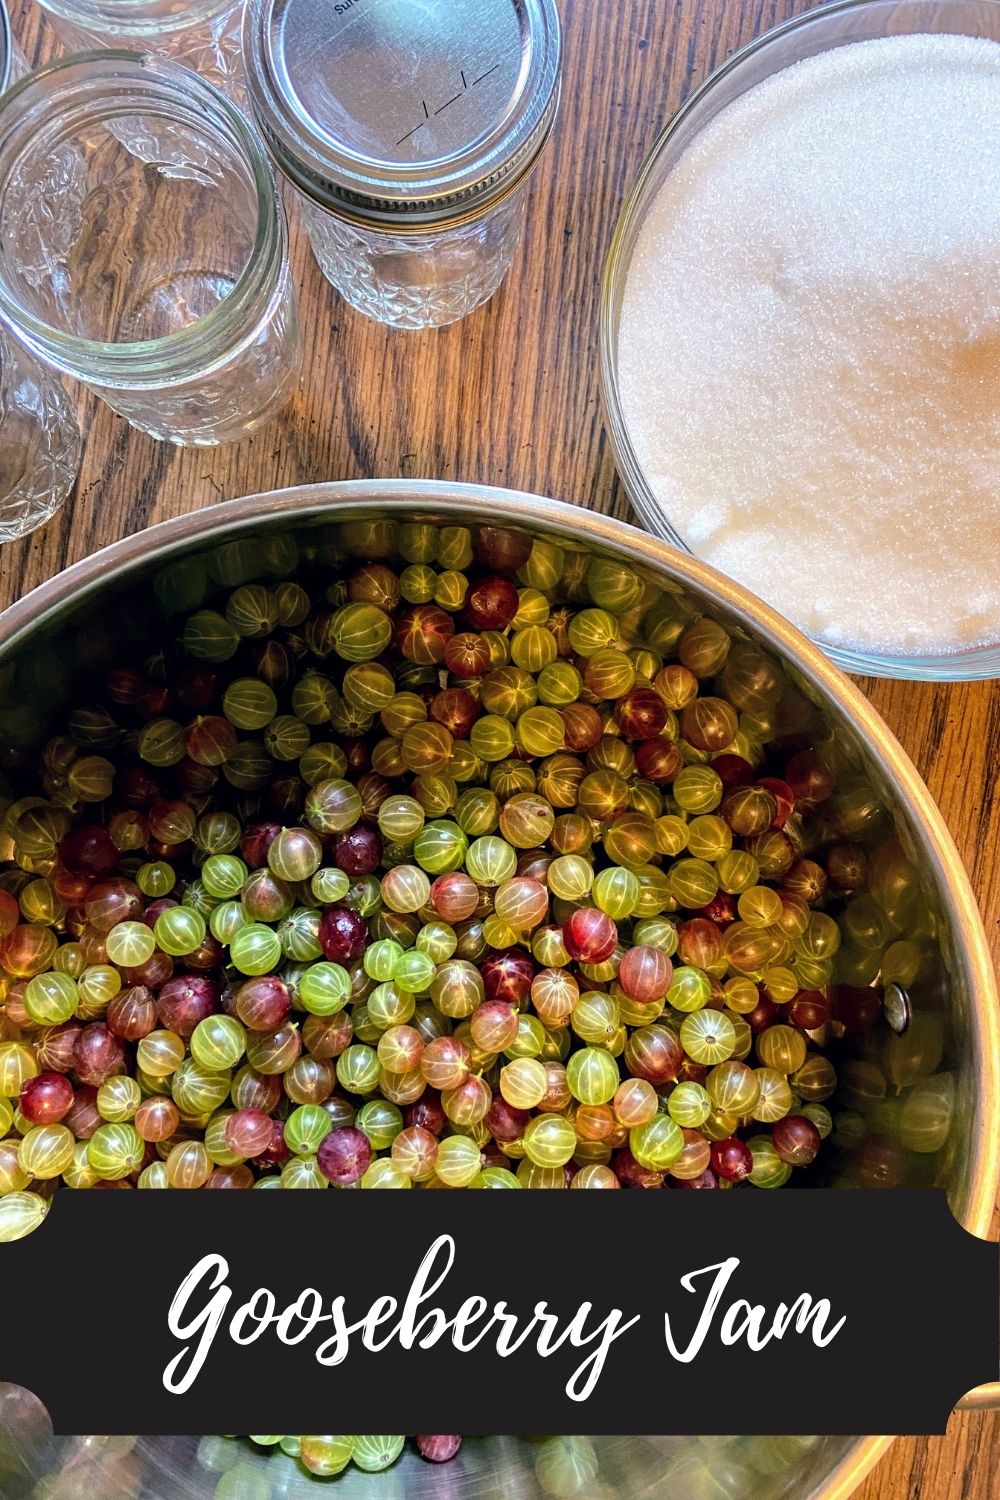
  • 3 cups gooseberries, cleaned
  • 3 cups sour cherries, pitted
  • 4 ½  cups sugar 
  • ¼ cup lemon juice 

(Yes, that’s it! No, you can’t change out the sugar for a different sweetener. Canning is finicky like that)

The Prep Work

Fill the canning kettle with enough water that the jars will be covered by at least 2 inches of water. More is better in this case so over estimate. Begin to heat over high heat. Place the canning rack so that it is hooked over the side of the canner and put clean jars on it to keep them warm. Note: You don’t have to keep the jars in the rack, although it is helpful to keep them warm. You want the jars warm to prevent breaking when they are being filled. 

Set the clean rings aside. I like to simmer my lids on low low heat in a small saucepan. Not necessary, but I like to think it helps them seal better. 

If you have not already done so, measure out the sugar and the berries. 

The Cherry Raspberry Gooseberry Jam Making

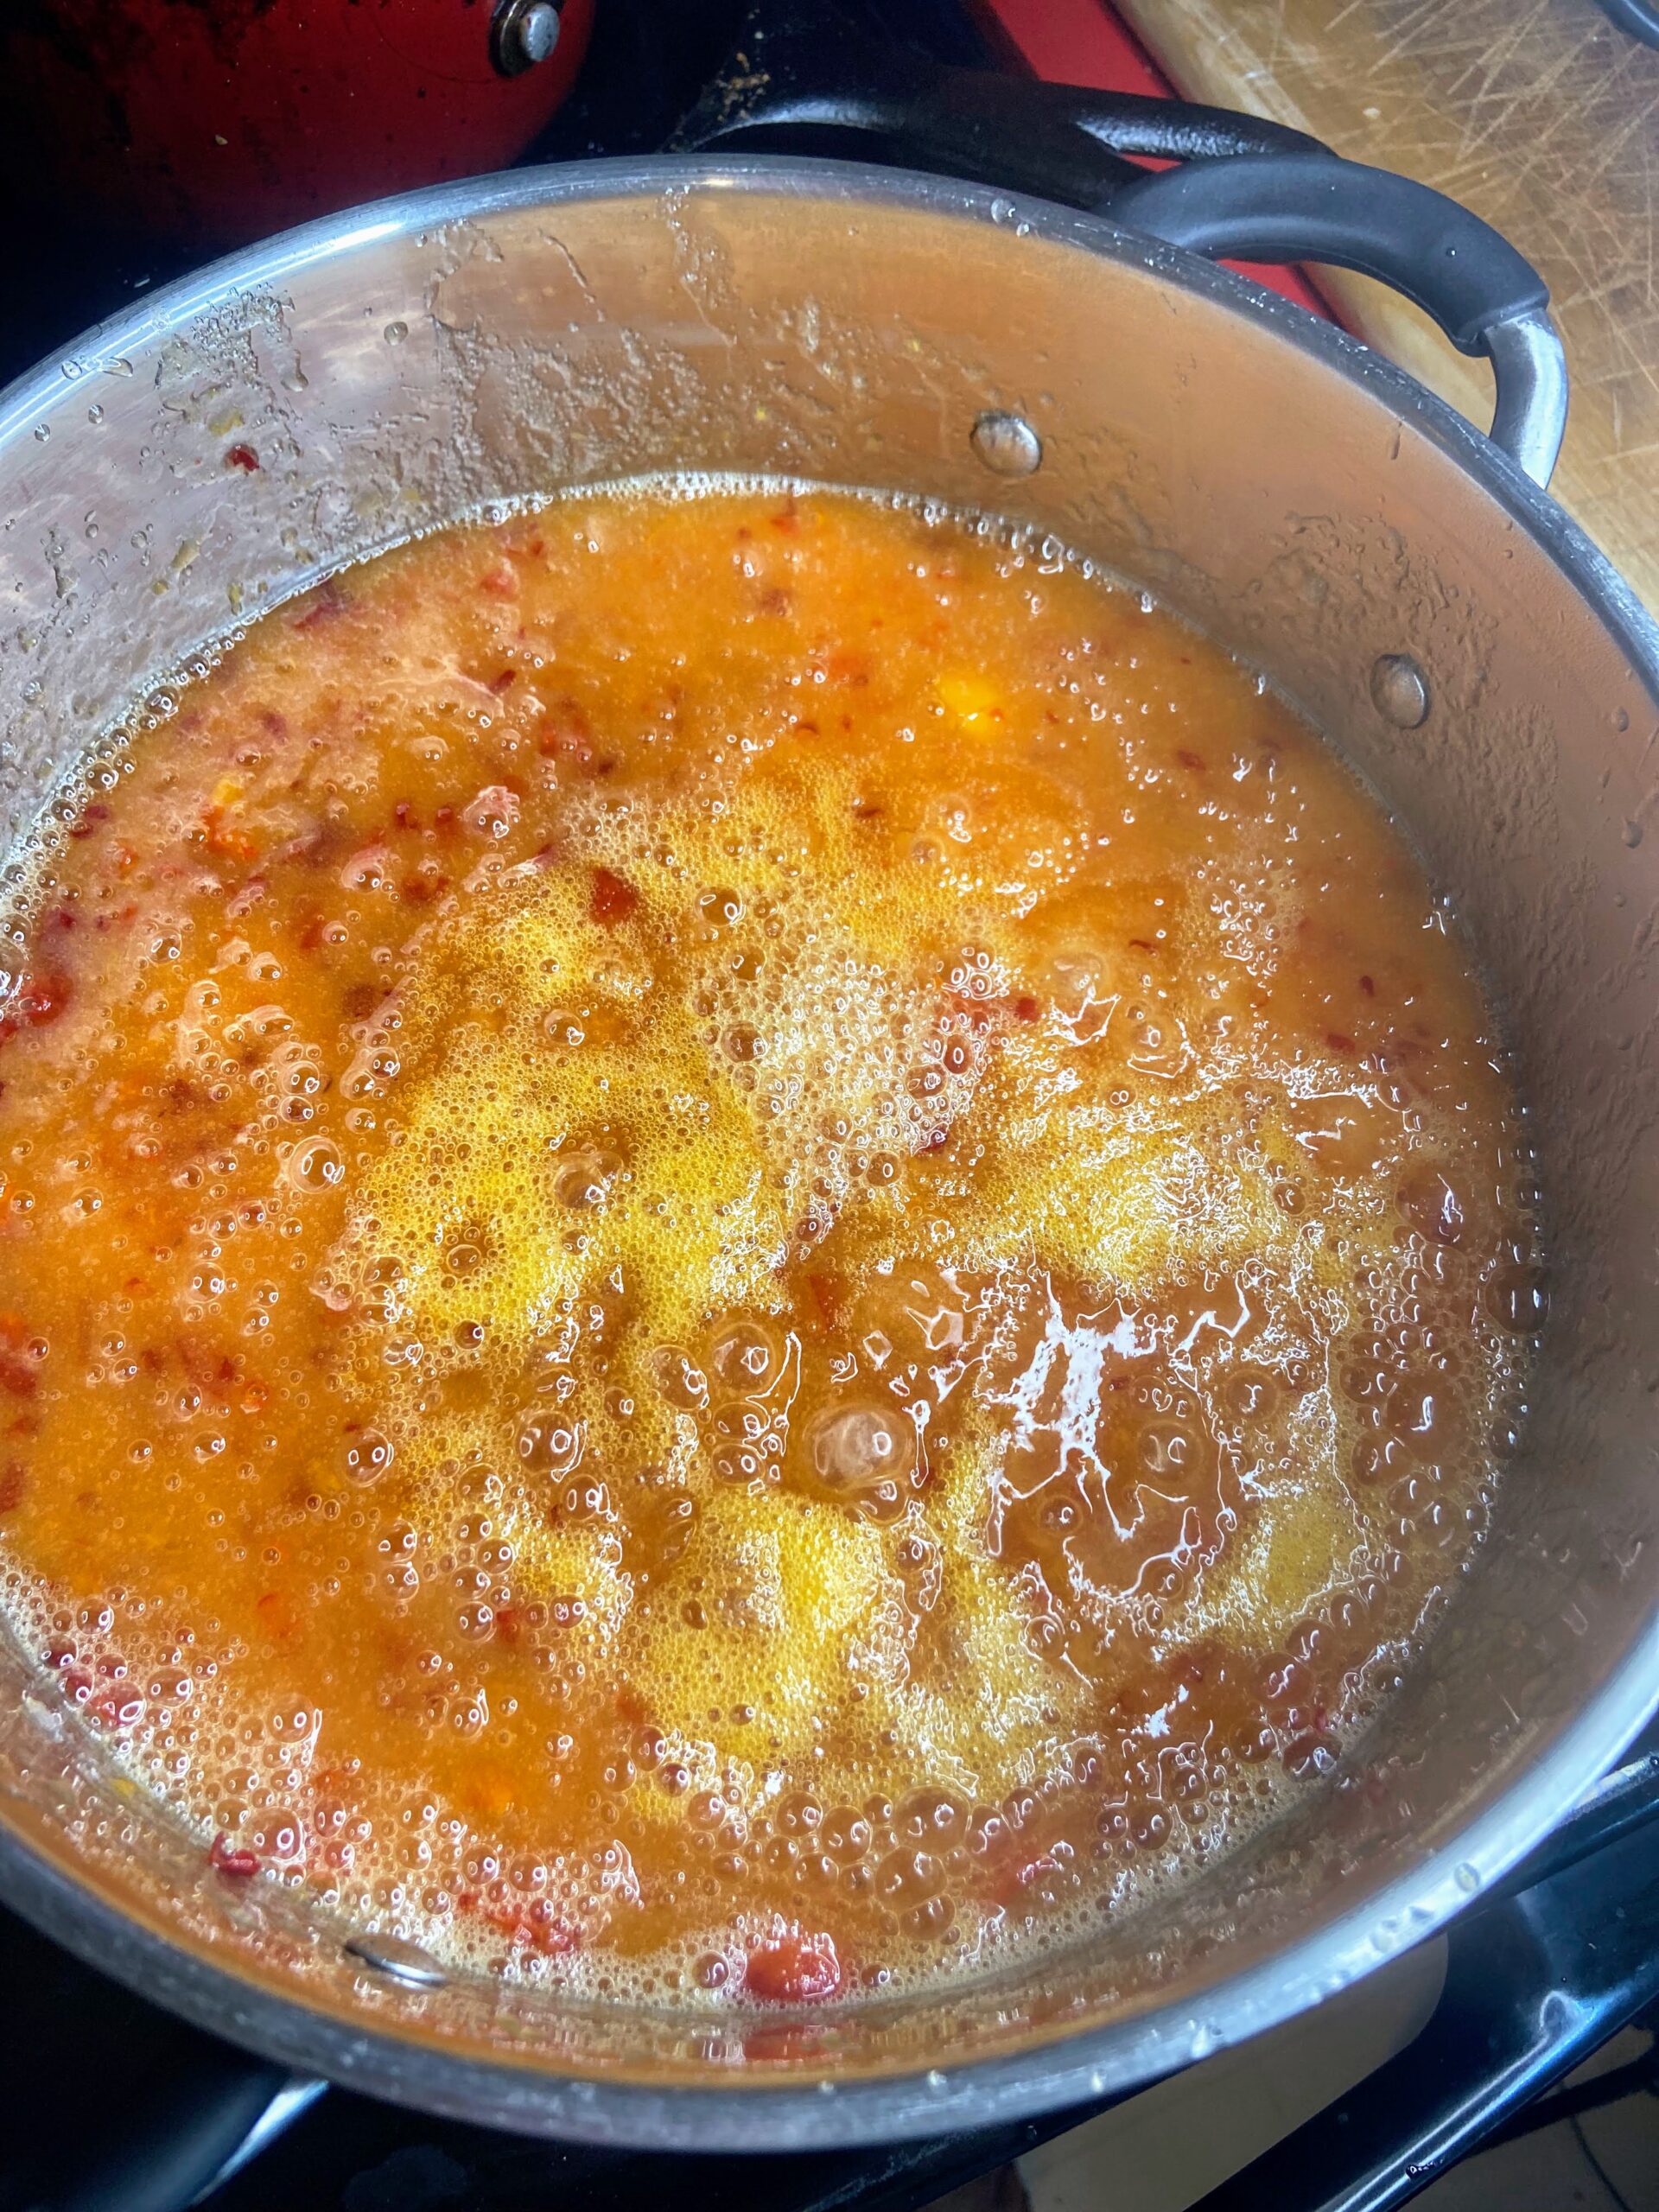
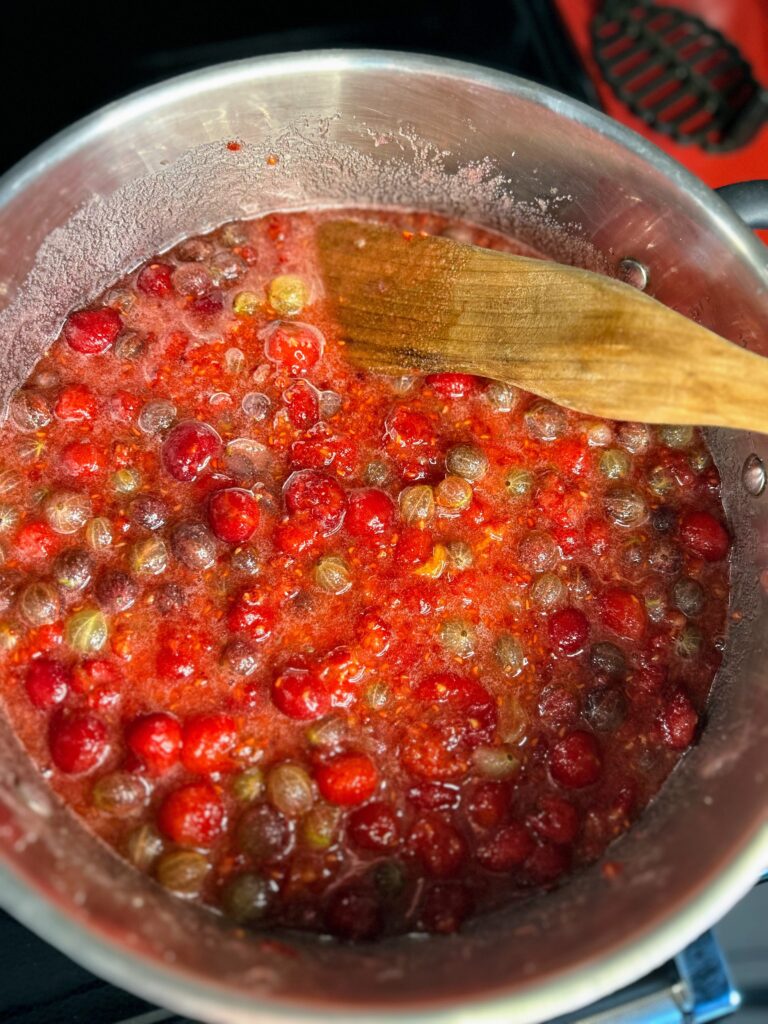
In a large, preferably shallow kettle, smash the fruit with a potato masher. Stir in the sugar and lemon juice. Begin to heat over medium-high heat, stirring often. I like to smash the berries more as they are cooking down. 

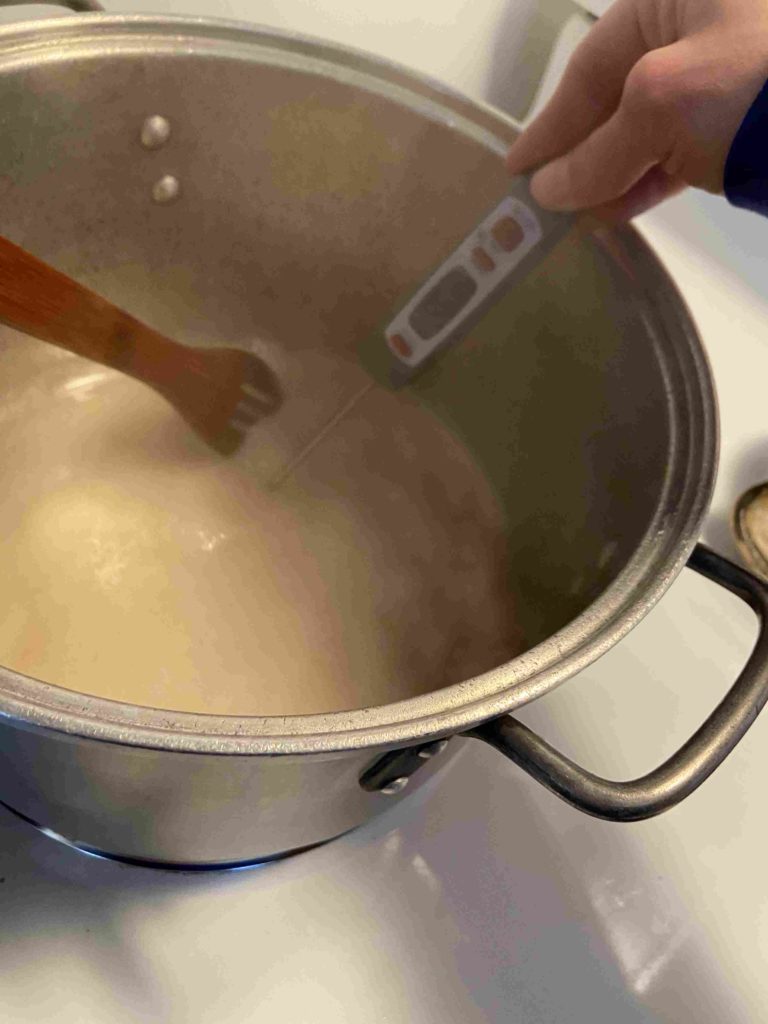
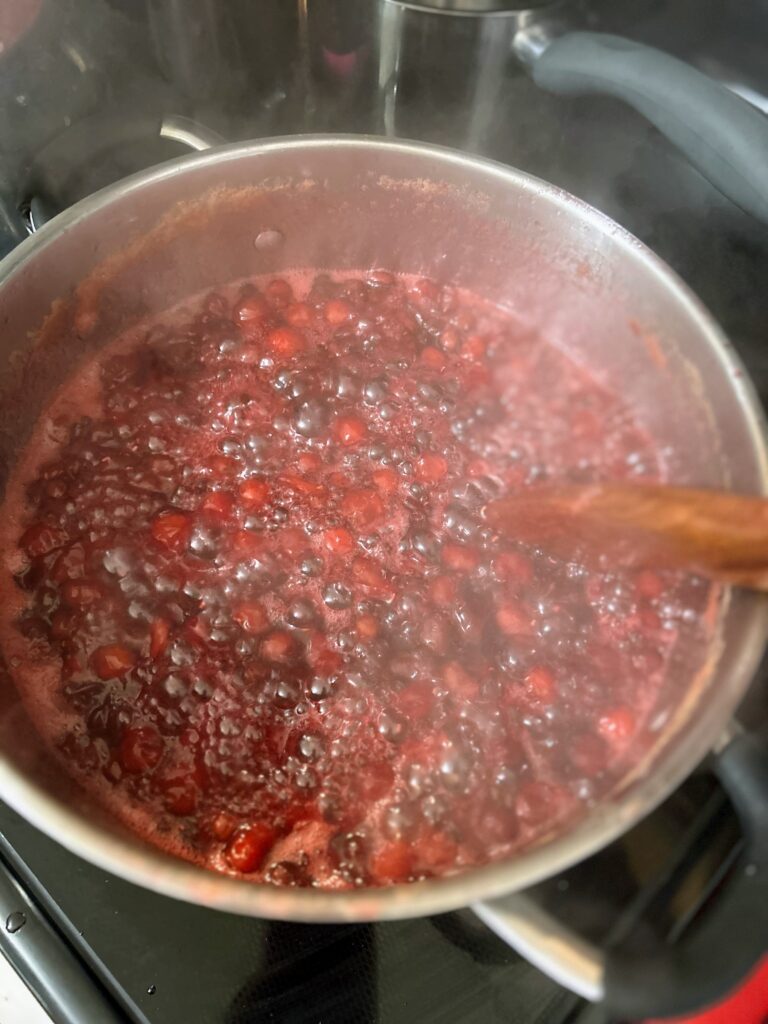
Your end goal is to reach the gelling point. There are lots of tests for this, but I prefer the temperature test. If you are at sea level, the gelling point is at 220 degrees. For every 1000 feet of elevation, you subtract 2 degrees. For me, the gelling point is 218 degrees. Don’t have a decent food thermometer? Check out the National Center for Home Preservation website for other ways of testing for the gelling point. 

It takes longer to reach the gelling point than I think it should. It also goes from needing 3 degrees to reaching the gelling point fast. You can get complacent while you are waiting and suddenly hit the temperature, so I am trying to warn you 🙂 

You’ve hit the Gelling POint

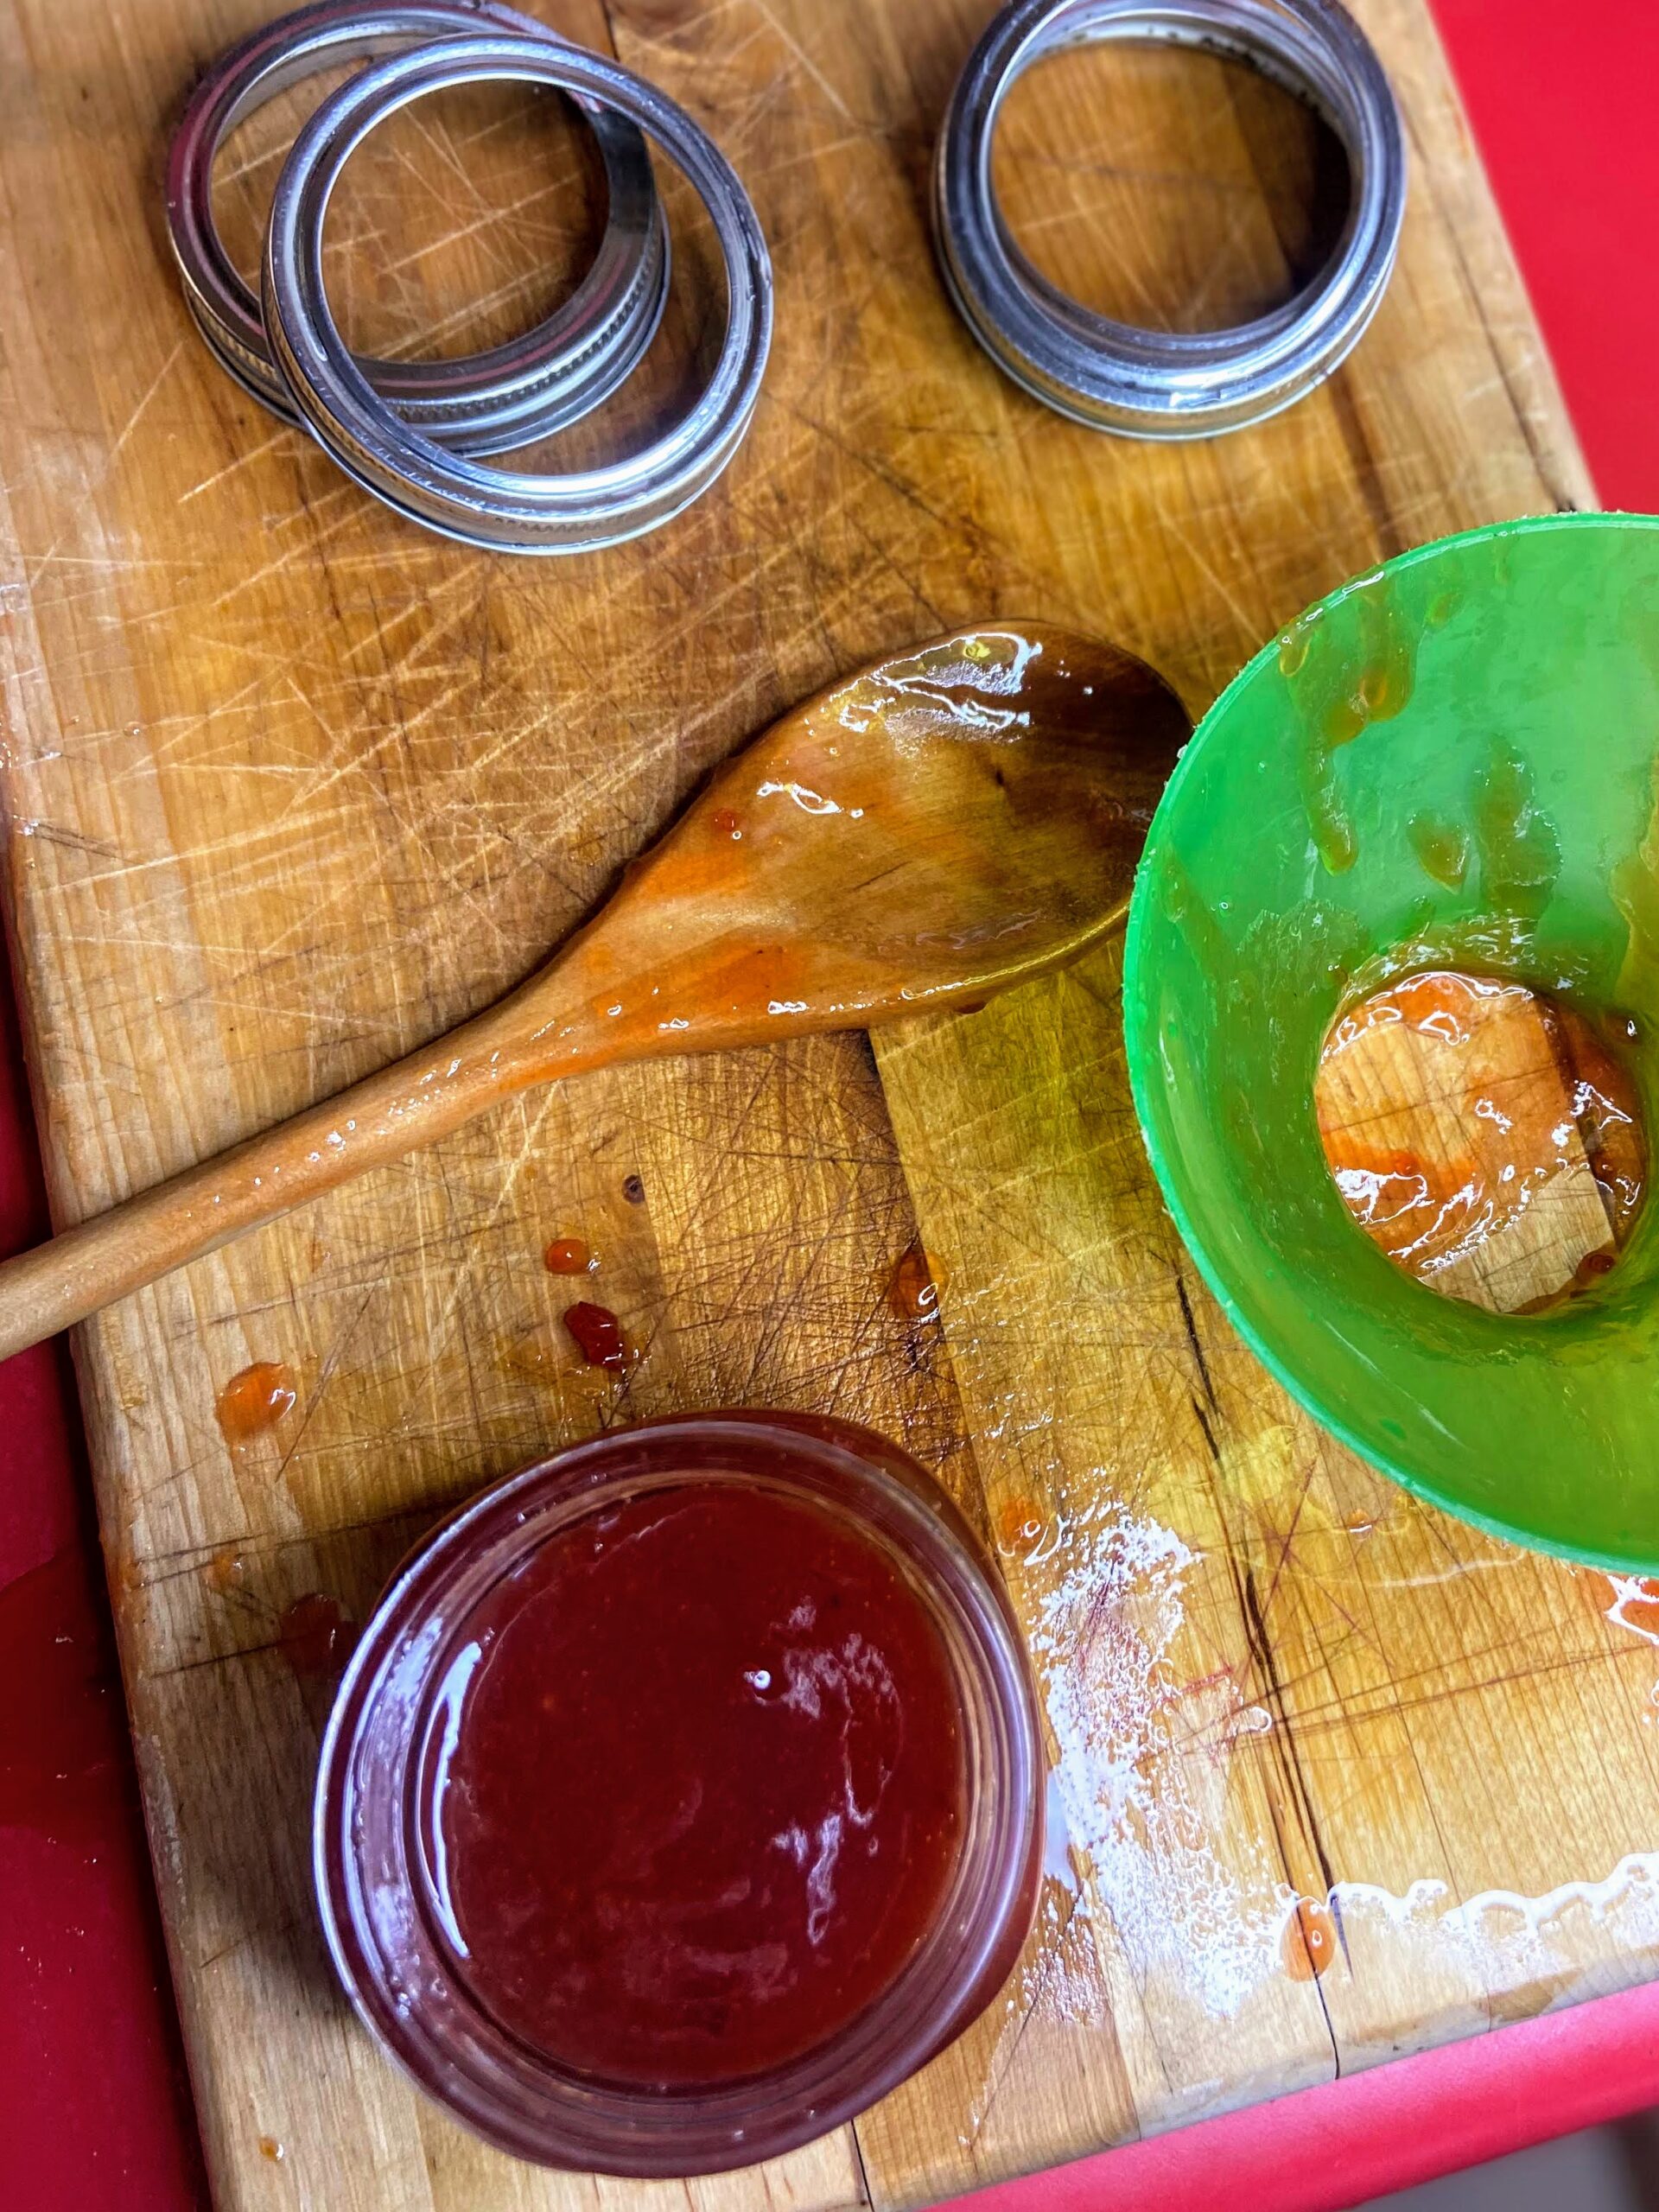
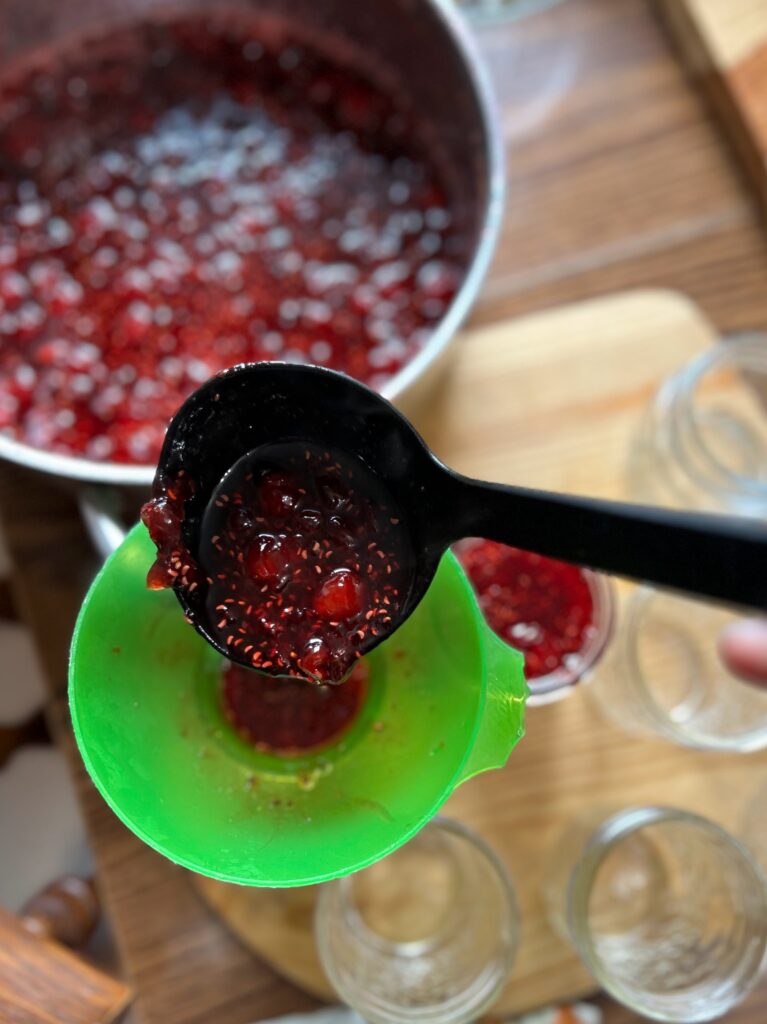
Once the jam has reached the gelling point, remove from heat. Ladle into prepared jars, leaving ½ inch head space. Wipe rims of the jars with a damp, clean cloth, add lids and rings, tightening to fingertip tight. Place in the canner, increasing the heat to high. Once the canner reaches a boil, process for 15 minutes. Remove from heat and allow jars to cool in the canner over 5 minutes. Remove from canner, placing on the counter. Listen for the ping of the lids over the next 12 hours. Sealed jars are self stable. If any jar doesn’t seal, simply place it right in the refrigerator. You’ve got yourself delicious Cherry Raspberry Gooseberry Jam.

Note: You can skip the processing step all together if you feel more comfortable. If you do so, the jam will need to be stored in the refrigerator. The process of water bath canning creates a self-stable jam. That is, a jam that can be stored on the shelf.
Tools of the Trade

There are some tools I love for canning! Of course, you need a canner. And the tools, while not necessary, are SUPER helpful as you prepare the jam. Finally, I always work on wooden cutting boards. The board I put the jars while I ladle it in becomes the resting spot for my jam after I have pulled it from the canner.

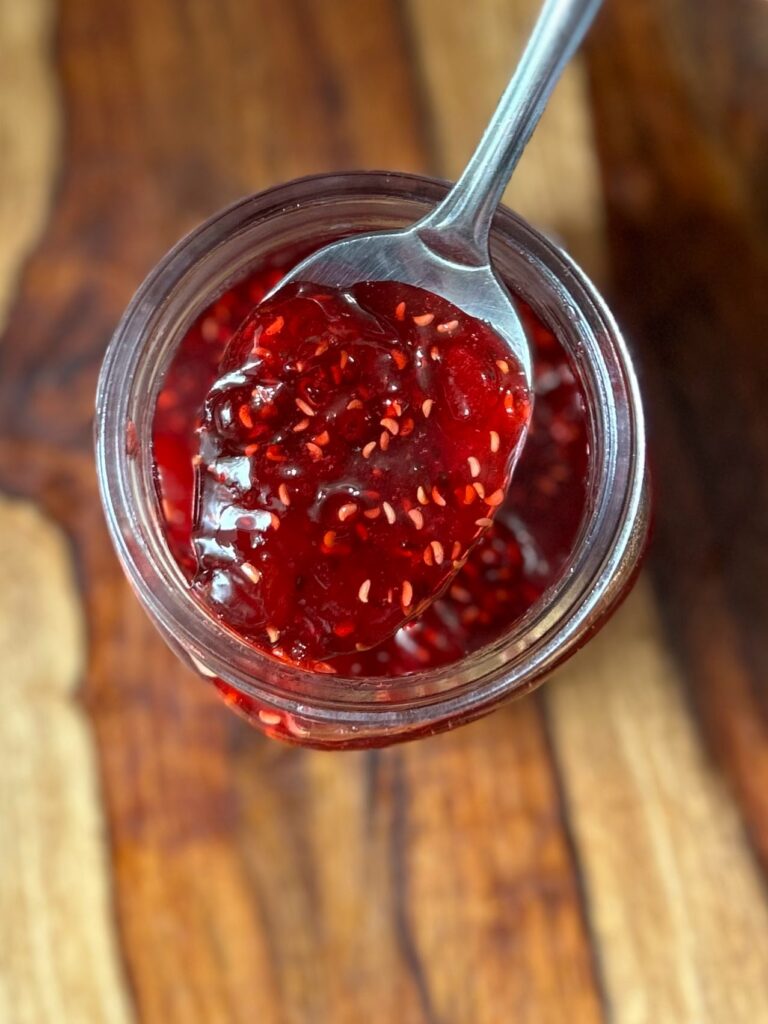
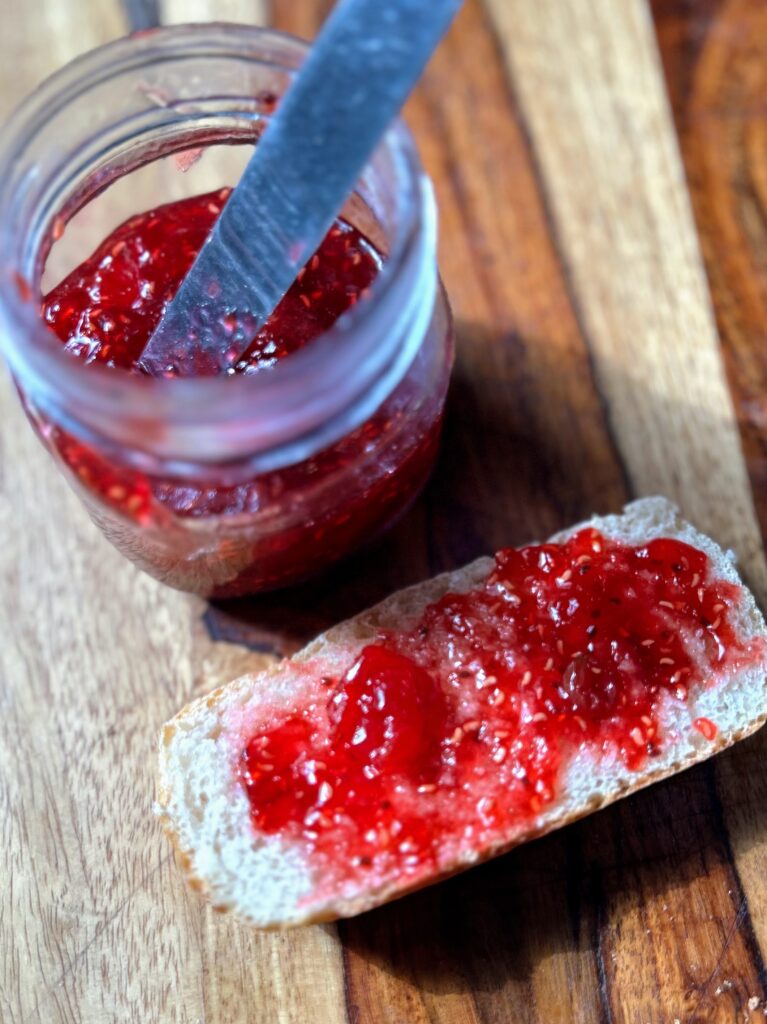
Cherry Raspberry Gooseberry Jam on Toast

Cherry Raspberry Gooseberry Jam

Summer in a jar! This cherry raspberry gooseberry jam pops with color and flavor that is sure to become a favorite!
Prep Time 10 minutes
Cook Time 1 hour
Course Breakfast
Cuisine Canning
Servings 6 1/2 pint jars

Ingredients
  

  • 3 cups red raspberries
  • 3 cups sour cherries, pitted
  • 3 cups gooseberries, cleaned
  • 4 ½ cups sugar
  • ¼ cup lemon juice

Instructions
 

  • If you have not done so, measure out berries and sugar.
  • Wash and sanitize 6 ½ pint jars, rings, and lids. Keep warm. Fill the canner with enough water to cover the jars by at least 2 inches of water. Cover and heat on high. Watch the temperature, you want a simmer but not a boil when you place the jars in the water.
  • In a large, shallow kettle, smash berries with a potato masher. Stir in sugar and lemon juice. Begin to heat over medium-high heat, stirring often. Smash more as they are cooking down.
  • Heat to 8 degrees above the boiling point of water. If you are at sea level, the gelling point is at 220 degrees. For every 1000 feet of elevation, you subtract 2 degrees.
  • Once the jam has reached the gelling point, remove from heat. Ladle into prepared jars, leaving ½ inch head space. Wipe rims of the jars with a damp cloth, add lids and rings, tightening to fingertip tight. Place in the canner, increasing the heat to high. Once the canner reaches a boil, process for 10 minutes. Remove from heat and allow jars to cool in the canner over 5 minutes. Remove from canner and allow to rest for 12 hours before storing.

Notes

You can skip the processing step all together if you feel more comfortable. If you do so, the jam will need to be stored in the refrigerator. The process of water bath canning creates a self-stable jam. That is, a jam that can be stored on the shelf.
Keyword cherries, cherry jam, gooseberries, gooseberry jam, Jam, Jam Recipes, Jellies and Jams, raspberries, raspberry jam
Tried this recipe?Let us know how it was!

Cherry Raspberry Gooseberry jam not enough?

Check out some of the recipes below!

Dandelion Season

How does one become interested in dandelion season and the foraging that comes with it? Let me share a short story!

A number of years ago, my family and I were doing an “end of summer” camping trip for a couple nights at Lake Wissota State Park in Wisconsin. As we sat in the beach picnic area, we spied hundreds of acorns on the ground. Of course, it led to an acorn fight between the four of us, which resulted in tons of giggles. It also led to me saying to my husband, “There are just so many of them [acorns], you must be able to do something with them.” To which he responded, “of course you can, but they have a lot of tannins so you have to do something to make them edible.” And this simple question led to my fascination with foraging and all that goes along with it. 

I immediately started Googling to learn more about acorns and how to cook with them. I also gathered as many as I could and put them in a bag to bring home. You see, we joke that I am a “75 percenter.” I love trying new things and go in with about 75% of the information needed and figure I can learn the rest along the way. Personally, I think it is a great way to live this life. I sure have experienced some cool things this way!

But back to the foraging

Slowly, I began researching other things you can forage. I have learned so much from some of my favorite foragers: 

Colleen at Grow Forage Cook Ferment 

Ashley from Practical Self Reliance

Alexis AKA Black Forager 

Which led to the statement, “Did you know you can eat that?” to come out of my mouth often when I was with family and friends. One of the foraged items I became especially fascinated with was dandelions. 

Yes, the simple dandelion. They are full of nutrients, including A, C, and K. You can use everything from the roots (to make tea) to the leaves (for salads) to the flowers (for jelly and wine). Learn more about their health benefits here

I have tried a number of dandelion recipes over the years, but time and time again, I go back to two simple ones when it is dandelion season: jelly and shortbread cookies. 

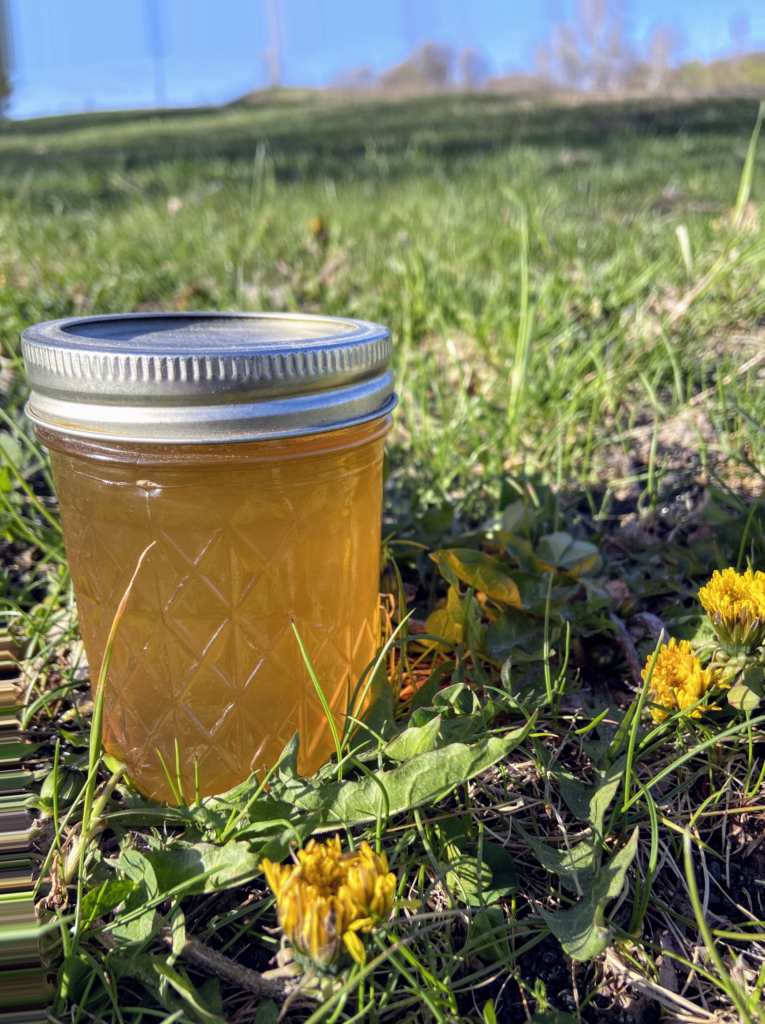
Dandelion Jelly 

A few years ago, my Algebra II kids asked if I could bring them fresh bread. Of course, I obliged and brought some jelly to go with it, including dandelion jelly. A few of them fell in love with it and we have been meaning to do a class to teach them how to ever since. 

What’s so great about it? First of all, the novelty of it, right? But second, the flavor is this perfect, light honey like taste you’d never anticipate. It is a bit tedious to make as you have to separate the petals from the greens, but there’s something calming about it. I love finding a friend and sitting and chatting. 

The ingredients are simple too: 

  • Dandelion petals (4 cups) 
  • Boiling water
  • Sugar
  • Lemon juice

If this sounds like something you want to try, check out my blog post on it

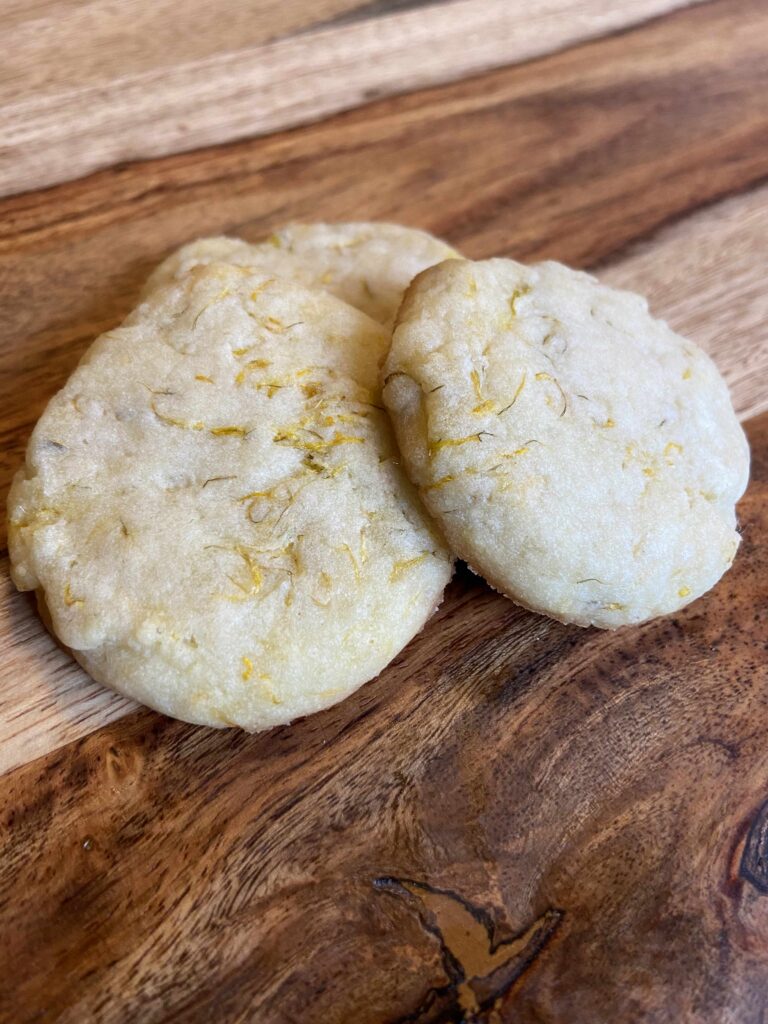
Jelly not your thing? Enjoy dandelion season by making these lovely dandelion shortbread cookies! 

Dandelion Shortbread Cookies 

If you want to give foraging a try, but aren’t quite ready to jump in feet first, these cookies are a great way to start. You only need ½ cup of petals and who doesn’t love a cookie? This is another simple recipe with minimal ingredients (dare I say pantry ingredients?) and unlike the jelly, you can have them put together in under 40 minutes, cleaning the flowers and all! 

You’ll need: 

  • Petals
  • Softened butter
  • Powdered sugar 
  • Honey
  • Flour 
  • Salt

Then you can grab the recipe and start baking! 

But let me tell you, once you dip your toe in the foray of foraging during dandelion season, I don’t know if there is much looking back. You will find yourself constantly looking into the woods and fields, wondering, “How can I cook or bake with that?!” 

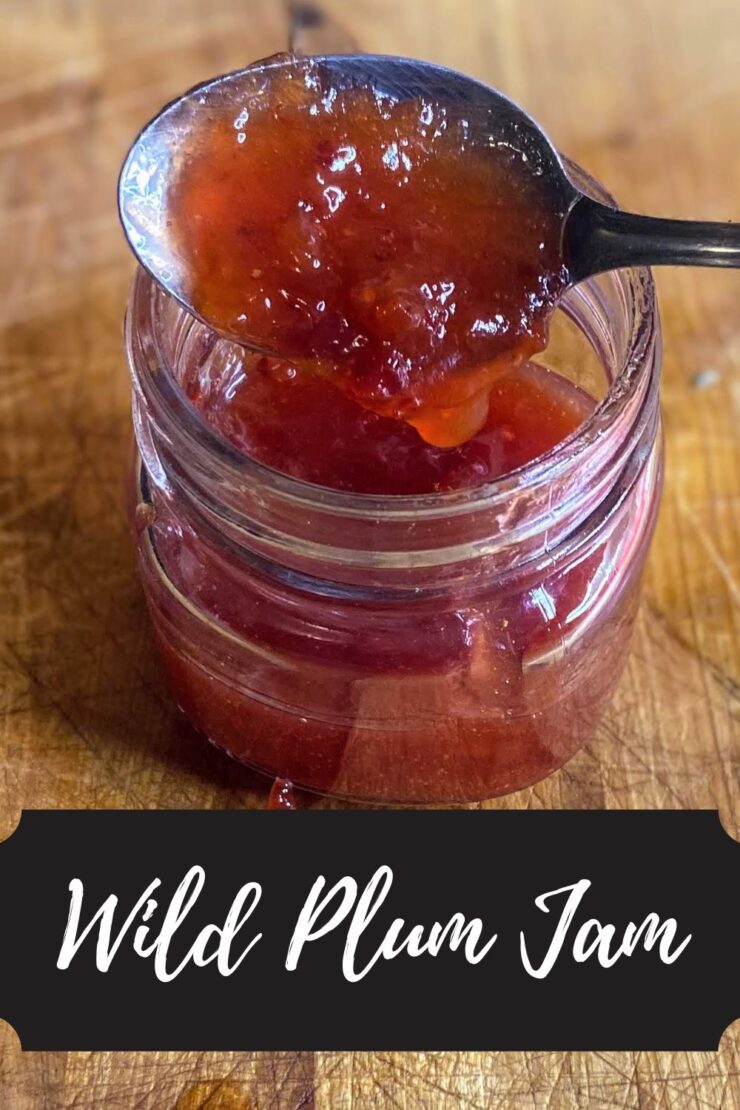
Wild Plum Jam

This season, I have become obsessed with searching for wild plums. I don’t know if it has been a good season for them (Apparently they don’t like rain at all in June and July? Ha!) or if I just hadn’t noticed them before, but I have suddenly become aware of an abundance of wild plum trees throughout the area in Wisconsin. And if you know me, when I see wild edibles, I harvest (free food!) And if it is fruit, I will be making jam out of it. In this case, wild plum jam. 

I keep asking the Mr. why people don’t eat them, and he said that they likely don’t know to identify them. From afar, he thinks that many assume they are crab apples and think crab apples aren’t good (not true, by the way!). Boy, if that’s the case, they sure are wrong. They are sweet and delicious and plentiful! You can learn more about identifying wild plums (American Plums) here.

I had to start making jam quick. And I hope you do too, but I do want to share that I did not grow up in a canning household. I learned about ten years ago, as soon as we bought our home and started our first garden. And while I had some support of my mother in law (thank you so much!), I learned SO MUCH from reading. If you are a first generation canner like I was, let me share some of my favorite resources.

My Favorite Resources

Ball Complete Book of Home Canning: This book gives you a good idea of all the basics from the people who know canning forwards and backwards. I love that I can dig in and get just what I need. 

Not Your Mama’s Canning Book: Modern Canned Goods and What to Make with Them: This book is SO FUN. It has some out of the ordinary recipes. We especially love the tomato soup and seasoned black bean recipes. 

Can It and Ferment It: More Than 75 Small Batch Canning and Fermentation Recipes for the Whole Year: I dig the simplicity of this book. It is also by what I would consider to be a local author, which is doubly cool. Small batch is great for anyone just giving canning a try! 

And finally, the National Center for Home Food Preservation has all the information you need for all sorts of food preservation, not just canning. I reference it often! 

But enough about resources, you want to can right? (But seriously, I am going to give you the basics. If you are a newbie (Yay!), head to any of those resources for more detailed information)

Your Wild Plum Jam Ingredients

For approximately a half pint, you’ll need

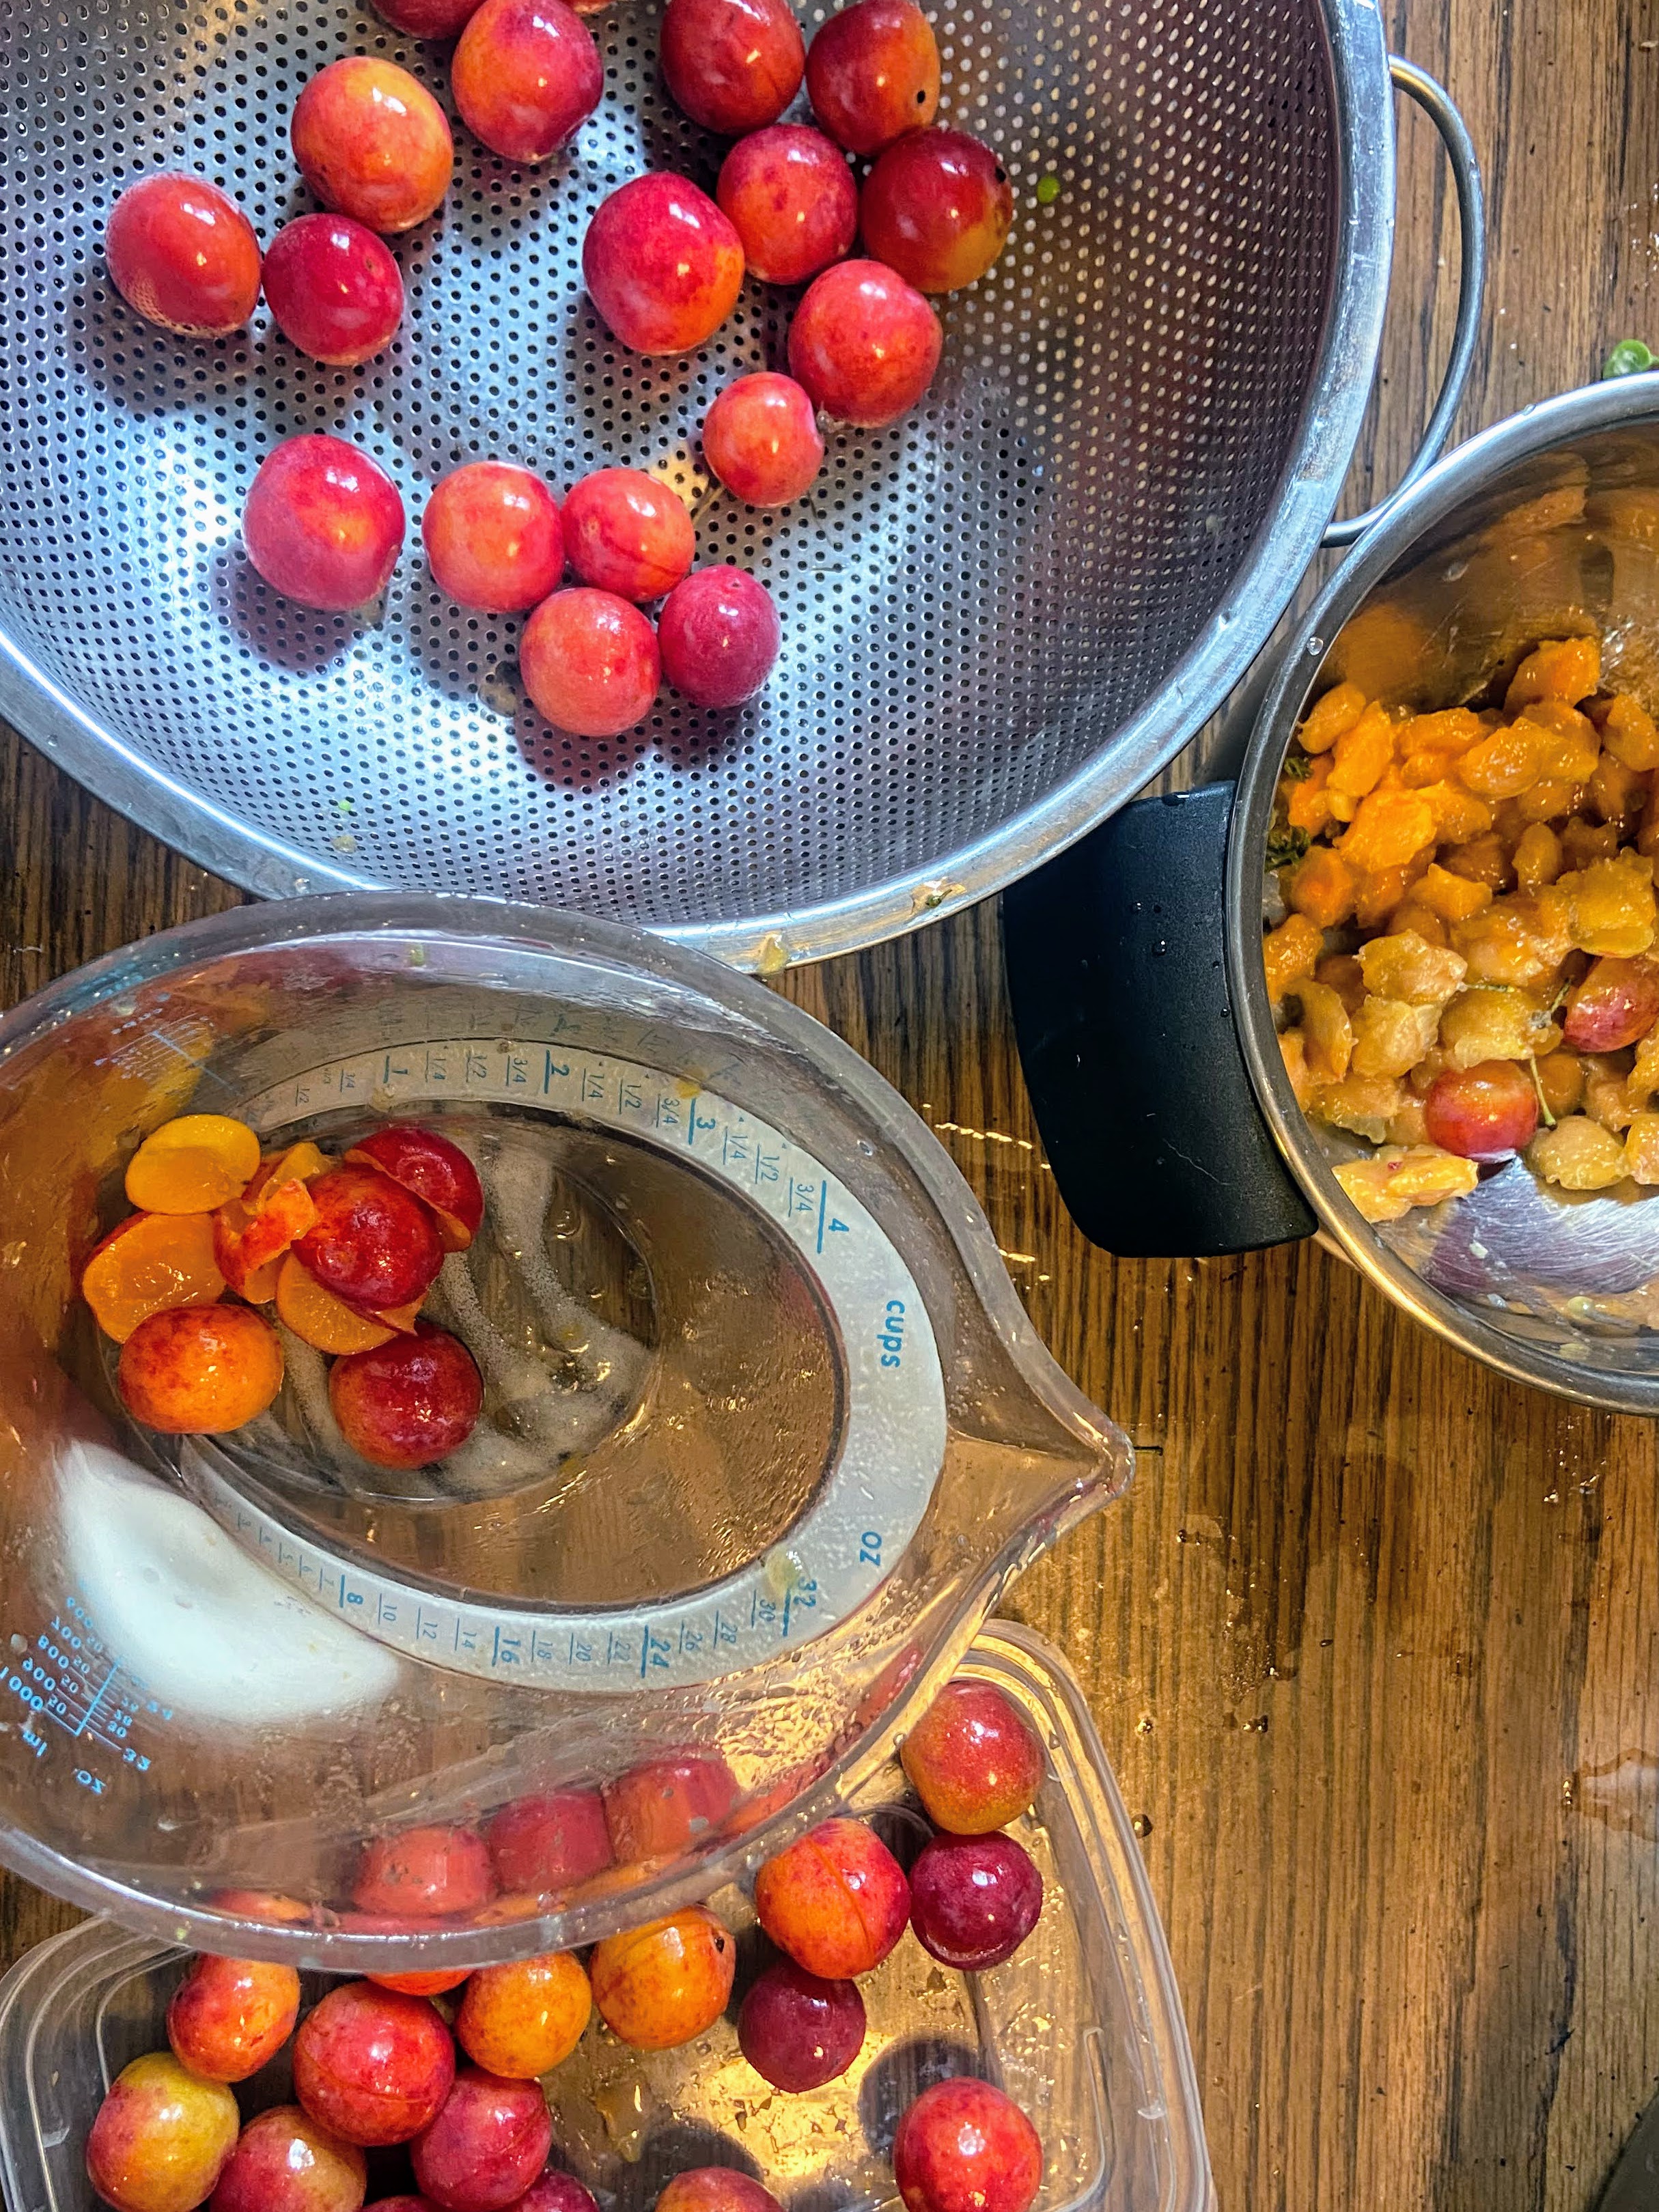
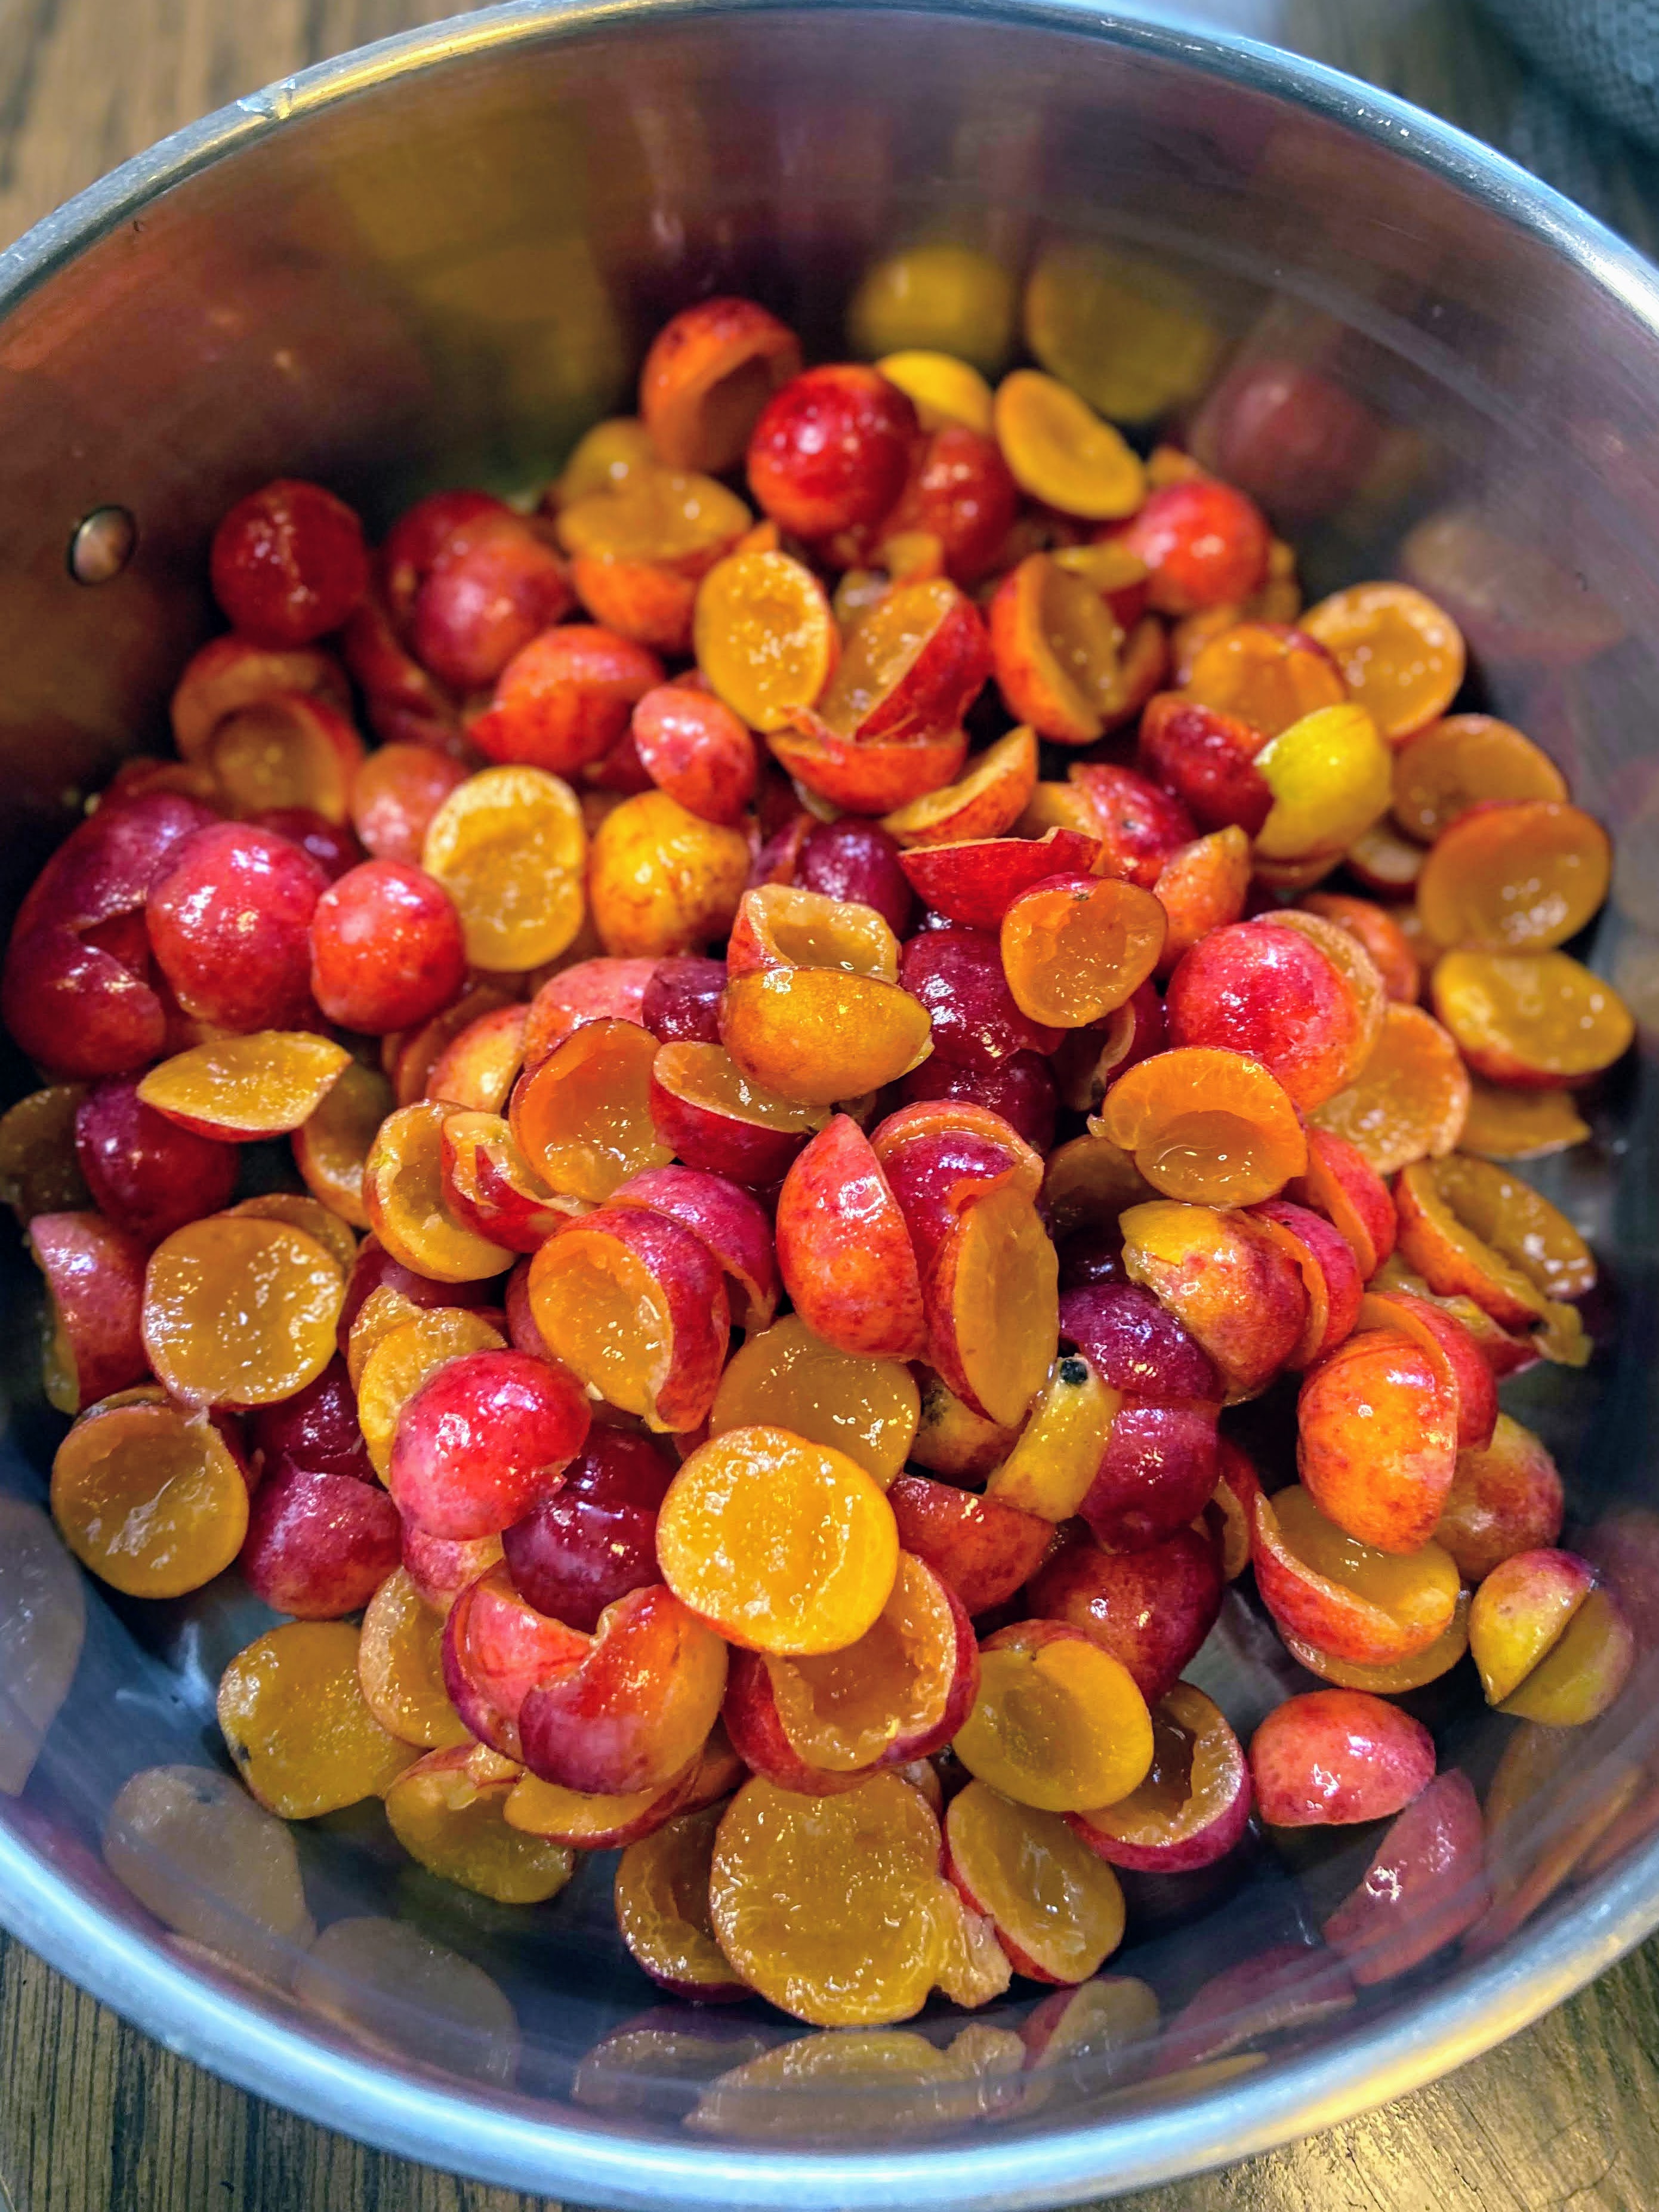
  • 1 cup rinsed and pitted plums, halved or quartered
  • ½ cup sugar 
  • ½ tablespoon lemon juice 

I say approximately because let’s be honest, it isn’t perfect. You might get one 1/2 pint for every cup of fruit, but it might be a little less. I always prepare as many jars as I have cups of fruit and go from there.

Yes, that’s it! No, you can’t change out the sugar for a different sweetener using this recipe. Canning is finicky like that. I like to do at least 5 cups of plums but have done up to 8 cups.

The Prep Work

Fill the canning kettle with enough water that the jars will be covered by at least 2 inches of water. More is better in this case so overestimate. Begin to heat over high heat. Place the canning rack so that it is hooked over the side of the canner and put clean jars on it to keep them warm. 

Set the clean rings aside. I like to simmer my lids on low low heat in a small saucepan. Not necessary, but I like to think it helps them seal better. 

If you have not already done so, measure out the sugar and the plums. 

The Wild Plum Jam Making

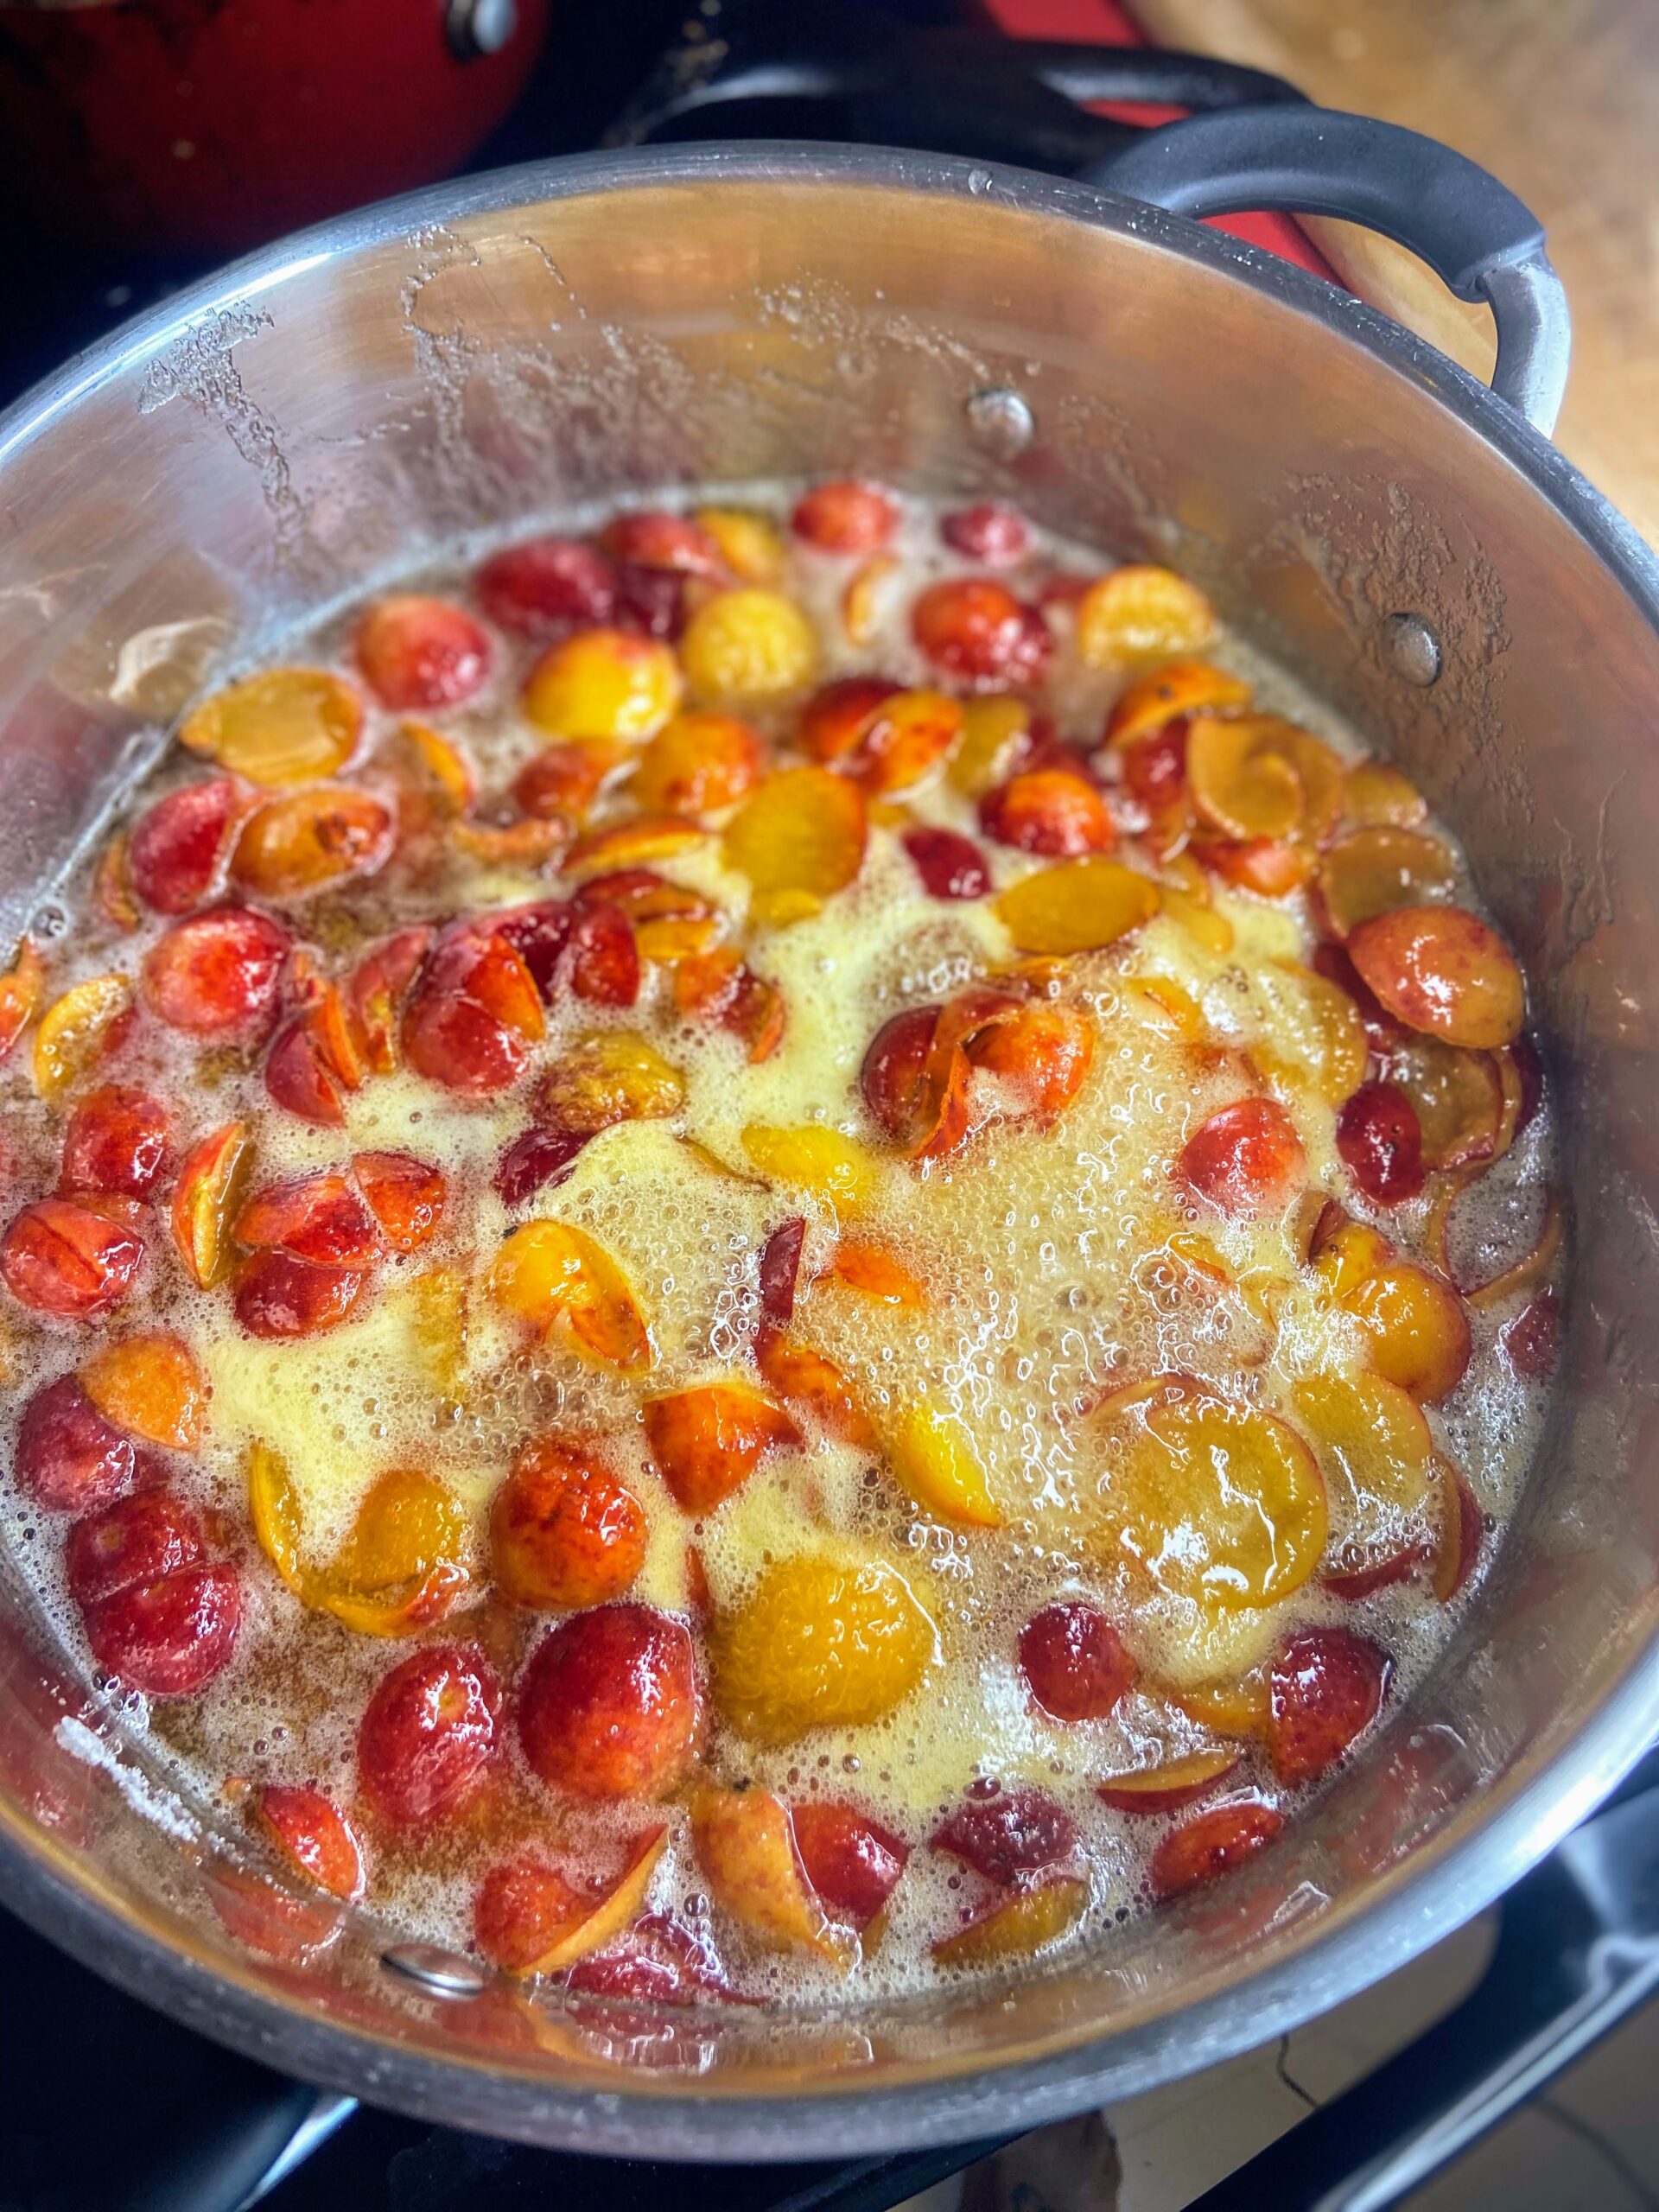
In a large, preferably shallow kettle, smash the plums with a potato masher. I actually love to use my fermentation packer to crush fruit in jams. Stir in the sugar and lemon juice. Begin to heat over medium-high heat, stirring often. I like to smash more as they are cooking down. After they haven’t softened (about 10 minutes), puree the plums using an immersion/stick blender. What’s cool about this step is you can decide how much or how little you want to break down the plums. Then keep cooking and stirring. 

Your end goal is to reach the gelling point. There are lots of tests for this, but I prefer the temperature test. If you are at sea level, the gelling point is 220 degrees. For every 1000 feet of elevation, you subtract 2 degrees. For me, the gelling point is 218 degrees. Don’t have a decent food thermometer? Check out the National Center for Home Preservation website for other ways of testing for the gelling point. 

It takes longer to reach the gelling point than I think it should. It also goes from needing 3 degrees to reaching the gelling point fast. You can get complacent while you are waiting and suddenly hit the temperature, so I am trying to warn you 🙂 

Time to Can it!

Once the wild plum jam has reached the gelling point, remove it from the heat. Ladle into prepared jars, leaving ½ inch head space. Wipe the rims of the jars with a damp, clean cloth, add lids and rings, tightening to fingertip tight. Place in the canner, increasing the heat to high. Once the canner reaches a boil, process for 15 minutes. Remove from heat and allow jars to cool in the canner over 5 minutes. Remove from canner, placing on the counter. Listen for the ping of the lids over the next 12 hours. Sealed jars are self stable. If any jar doesn’t seal, simply place it right in the refrigerator. It is recommended that you store jars with the rings off or very loose. I very between the two.

Note: You can skip the processing step all together if you feel more comfortable. If you do so, the jam will need to be stored in the refrigerator. The process of water bath canning creates a self-stable jam. That is, a jam that can be stored on the shelf. 
finished wild plum jam

Wild Plum Jam

American Plums are abundant and can be foraged to make this beautiful three ingredient plum jam!
Prep Time 10 minutes
Cook Time 1 hour
Course Breakfast
Cuisine Canning
Servings 12 per jar

Ingredients
  

Per 1/2 pint jar (approximately), you will need:

  • 1 cup halved and pitted wild plums
  • ½ cup sugar
  • ½ tablespoon lemon juice

Instructions
 

  • If you have not done so, clean and measure out the wild plums. For each cup of plums, measure out 1/2 cup of sugar and 1/2 tablespoon lemon juice. Set aside.
  • Wash and sanitize the same amount of pint jars as cups of cleaned plums. Wash and clean rings and lids. Keep warm. Fill the canner with enough water to cover the jars by at least 2 inches of water. Cover and heat on high. Watch the temperature, you want a simmer but not a boil when you place the jars in the water.
  • In a large, shallow kettle, smash plums with a potato masher. Stir in sugar. Begin to heat over medium-high heat, stirring often. Smash more as they are cooking down.
  • After approximately 10 minutes, blend jam mixture with an immersion blend to desired texture.
  • Heat to 8 degrees above the boiling point of water. If you are at sea level, the gelling point is at 220 degrees. For every 1000 feet of elevation, you subtract 2 degrees.
  • Once the jam has reached the gelling point, remove from heat. Ladle into prepared jars, leaving ½ inch head space. Wipe rims of the jars with a damp cloth, add lids and rings, tightening to fingertip tight. Place in the canner, increasing the heat to high. Once the canner reaches a boil, process for 10 minutes. Remove from heat and allow jars to cool in the canner over 5 minutes. Remove from canner and allow to rest for 12 hours before storing.

Notes

You can skip the processing step all together if you feel more comfortable. If you do so, the jam will need to be stored in the refrigerator. The process of water bath canning creates a self-stable jam. That is, a jam that can be stored on the shelf.
If you do not have a digital food thermometer, there are other ways to test the gelling point. Check out the National Center for Home Food Preservation for more information! 
Keyword Canning, Foraging, Jam, Jam Recipes, Jellies and Jams, plum jam, preserving, wild plums
Tried this recipe?Let us know how it was!

Looking for other canning recipes?

You can check out my canning and perserving page or see if any of these fun recipes speak to you!

Wild Grape Jelly

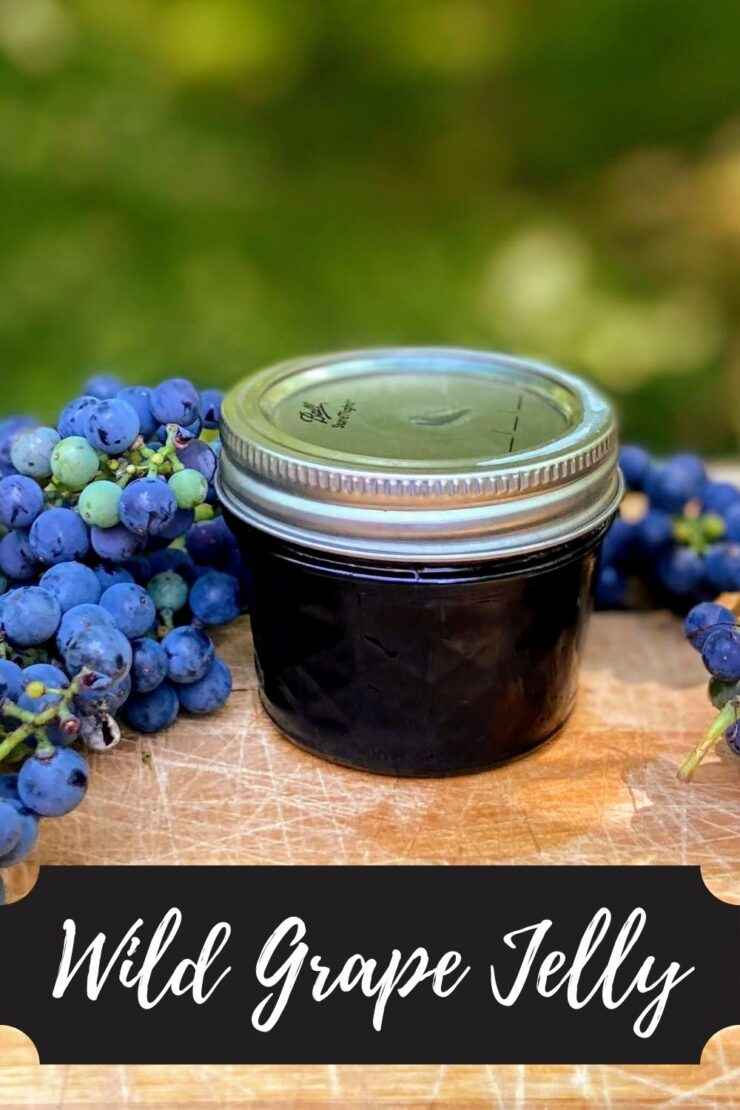
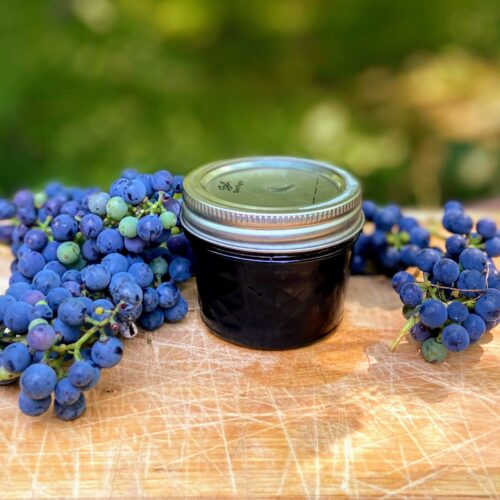
I am so excited to share my wild grape jelly with all of you! It’s just three simple ingredients that you likely have and didn’t even know! But before I get there, I want to share a habit I have that led to this fun recipe! 

About five years ago, the Mr. and I started a routine of grabbing a cup of coffee and walking around our orchard on top of the hill on our land. We did it right before I left for work, saying good morning to our trees and plants. That little walkabout gradually turned into a ½ mile walk, which grew to 2 miles, and is now generally a 2.5-4 mile walk every morning. It’s so special and a pivotal part of our marriage; we make big plans, fight, discuss our children, our dreams, everything. 

Our walks have added a lot of value to our lives beyond helping our marriage be the best it can be. I have learned a crazy amount about the plants and animals we see along the way. I can identify at least ten different plants that can be foraged from the side of the road, including the wild grape. (You should hear our conversations…here’s just a bit of it: 

Me: What’s that plant? 

Mr: It’s ‘fill in the blank.’ 

Me: I think you can eat that! 

Mr: Just because you can eat it doesn’t mean you need to. Or sometimes, “I love you honey.” 

Anywho, the Mr. doesn’t discourage the wild grapes. He just reminds me that if I want to make wild grape jelly, I need to get to them before the birds do. Many of the wild grape vines don’t seem to produce fruit, but you know I am always on the lookout. The moment I find some, I go in for the harvest. The grapes that grow here are perfectly tart; think blueberries that have been harvested just a hair too early. And that makes them delicious and the perfect candidate for wild grape jelly. 

And great news! This recipe is VERY flexible in terms of quantity. Whatever you harvest is what you can work with. (Be sure you are finding wild grapes and not a poisonous look alike. Wild grapes will have heart shaped leaves with serrated edges. While I am not from Missouri, there Department of Conservation has a great website on identifying animals and plants in the field.)

Your Ingredients For Wild Grape Jelly

  • wild grapes, rinsed and removed from the stem 
  • sugar (½ cup for every cup of juice after straining)
  • lemon juice (½ tablespoon for every cup of juice after straining)

Begin Boiling 

Place the rinsed and stemmed grapes in a kettle. You can add a few tablespoons of water here to help prevent sticking. Heat over medium-high heat, using a potato masher or wooden fermentation tapper to break them down. A large spoon would also work, but I love my tapper and I don’t even ferment food yet. 

Once the grapes have come to a boil and sufficiently broken down, remove from heat. From here, you have a few options: 

  • Strain through a few layers of cheese cloth, collecting the liquid in a liquid measuring cup. 
  • Rest a small holed strainer over a bowl and use the tapper once more to force as much liquid and pulp through the strainer, being mindful to have holes smaller than the seeds of the grape. (This is the option I go with)

If you haven’t already, pour the grape juice into a liquid measuring cup to determine the amount of sugar and lemon juice you should add. 

Place the juice in a large kettle. For every cup of liquid, stir in ½ cup sugar and a ½ tablespoon lemon juice. Begin to heat over medium-high heat, stirring often. Your end goal is to reach the gelling point. There are lots of tests for this, but I prefer the temperature test. If you are at sea level, the gelling point is at 220 degrees. For every 1000 feet of elevation, you subtract 2 degrees. For me, the gelling point is 218 degrees. Don’t have a decent food thermometer? Check out the National Center for Home Preservation website for other ways of testing for the gelling point. 

It takes longer to reach the gelling point than I think it should. It also goes from needing 3 degrees to reaching the gelling point fast. You can get complacent while you are waiting and suddenly hit the temperature, so I am trying to warn you 🙂 

While the jelly is boiling, begin to prepare your water bath canner and jars if you plan on processing them. (If you want to simply place the jelly in the fridge after it hits the gelling point, that’s 100% okay. You don’t need to process it. However, if you want it self-stable, you should process in a waterbath canner.)

Canning Time!

Wash and sanitize jars, rings, and lids. Keep warm. Fill the canner with enough water to cover the jars by at least 2 inches of water. Cover and heat on high. Watch the temperature, you want a simmer but not a boil when you place the jars in the water. 

Once the wild grape jelly has reached the gelling point, remove from heat. Ladle into prepared jars, leaving ¼  inch head space. Wipe rims of the jars with a damp cloth, add lids and rings, tightening to fingertip tight. Place in the canner, increasing the heat to high. Once the canner reaches a boil, process for 5 minutes. Remove from heat and allow jars to cool in the canner over 5 minutes. Remove from canner, placing on the counter. Listen for the ping of the lids over the next 12 hours. Sealed jars are self stable. If any jar doesn’t seal, simply place it right in the refrigerator. 

PS…To be especially awesome, have some fresh baked bread on hand to spread the left over wild grape jelly in the kettle on a slice. Enjoy while the rest of the jelly is in the water bath. I promise, you’ll thank me.

Tools of the Trade

If you haven’t gotten one yet, you’ll want a nice kettle for water bath canning! While not necessary, a set of canning tools makes the process so much easier. And finally, a fermentation tamper actually works GREAT for all sorts of canning processes!

Wild Grape Jelly

Foraged wild grapes from the woods come together with some sugar and lemon juice to create a tart and delicious wild grape jelly!
5 from 3 votes
Prep Time 40 minutes
Cook Time 1 hour
Course Breakfast
Cuisine Canning
Servings 12 per jar

Ingredients
  

  • 1 cup grape juice per 1/2 pint jar
  • 1/2 cup sugar per 1/2 pint jar
  • 1/2 tbsp lemon juice per 1/2 pint jar

Instructions
 

  • Place the rinsed and stemmed grapes in a kettle. You can add a few tablespoons of water here to help prevent sticking. Heat over medium-high heat, using a potato masher or wooden fermentation tapper to break them down.
  • Once the grapes have come to a boil and have sufficiently broken down, either strain through a cheese cloth into a liquid measuring cup or run through a mesh strainer using the tapper or a spoon to force as much liquid and pulp through.
  • Pour grape juice into a liquid measuring cup to determine the amount of sugar and lemon juice you should add.
  • Wash and sanitize jars, rings, and lids. Keep warm. Fill the canner with enough water to cover the jars by at least 2 inches of water. Cover and heat on high. Watch the temperature, you want a simmer but not a boil when you place the jars in the water.
  • Place the juice in a large kettle. For every cup of liquid, stir in ½ cup sugar and a ½ tablespoon lemon juice. Begin to heat over medium-high heat, stirring often. Begin to heat over medium-high heat, stirring often.
  • Heat to 8 degrees above the boiling point of water. If you are at sea level, the gelling point is at 220 degrees. For every 1000 feet of elevation, you subtract 2 degrees.
  • Once the jelly has reached the gelling point, remove from heat. Ladle into prepared jars, leaving ¼ inch head space. Wipe rims of the jars with a damp cloth, add lids and rings, tightening to fingertip tight. Place in the canner, increasing the heat to high. Once the canner reaches a boil, process for 10 minutes. Remove from heat and allow jars to cool in the canner over 5 minutes. Remove from canner and allow to rest for 12 hours before storing.

Notes

You can skip the processing step all together if you feel more comfortable. If you do so, the jam will need to be stored in the refrigerator. The process of water bath canning creates a self-stable jam. That is, a jam that can be stored on the shelf.
Keyword Foraging, Grape Jelly, Jellies and Jams, Waterbath Canning, Wild Grapes
Tried this recipe?Let us know how it was!

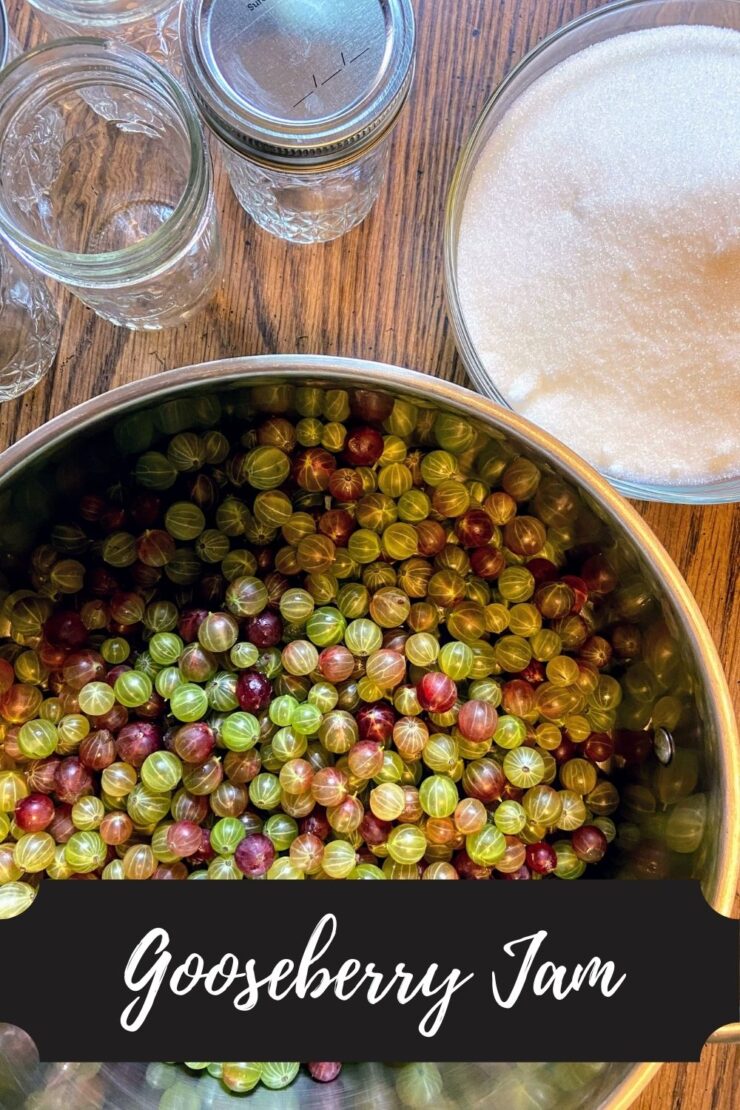
Gooseberry Jam

My journey to gooseberry jam has been an interesting one with more than one road traveled. The beginning of the story starts at the farmer’s market. Initially, I had tried a berry and loved it. I left, forgetting what it was that I had tried, and decided it was gooseberries and had to plant some. 

Well, they grew fruit and they were not the fruit I remembered from the farmer’s market trip. But I still enjoyed them. Around the same time, I became fascinated by foraging and the idea of finding the edibles of the woods. And would you know it, wild gooseberries became on my radar. Friends, they are everywhere! I find them in our woods, on the side of the road, and in so many state parks. If you are a midwesterner like myself, check your woods. I bet you have some too! Here’s a great link to get an idea of what you’re looking for. I became enamored with the berries in my yard and all around me. I wanted to share them with everyone!

Currently, I have four bushes (some red, some green) that I tend to. And boy, do they produce. We snack on them, but I have also taken to canning these sweet-tart berries into three ingredient jam. It can’t get much better than that, can it? (See what I did there? I am punny!) Ready? Let’s get gooseberry jam creating!

Your Ingredients for Gooseberry Jam

Per ½ pint jar (jelly jar), you will need: 

  • 1 cup of gooseberries, cleaned
  • ½ cup sugar
  • ½ tablespoon lemon juice 

The Prep Work

Fill the canning kettle with enough water that the jars will be covered by at least 2 inches of water. More is better in this case so over estimate. Begin to heat over high heat. Place the canning rack so that it is hooked over the side of the canner and put clean jars on it to keep them warm. Note: You don’t have to keep the jars in the rack, although it is helpful to keep them warm. You want the jars warm to prevent breaking when they are being filled. 

Set the clean rings aside. I like to simmer my lids on low low heat in a small saucepan. Not necessary, but I like to think it helps them seal better. 

If you have not already done so, clean 1 cup of gooseberries for every ½ pint jar of jam you intend on canning. To clean, you need to remove both the stem and the flower portion of the berry. See the picture below. 

The Gooseberry Jam Making

In a large, preferably shallow, kettle, smash the gooseberries with a potato masher. Then, for every cup of berries, stir in ½ cup sugar and a ½ tablespoon lemon juice. Begin to heat over medium-high heat, stirring often. I like to smash the berries more as they are cooking down. 

Your end goal is to reach the gelling point. There are lots of tests for this, but I prefer the temperature test. If you are at sea level, the gelling point is at 220 degrees. For every 1000 feet of elevation, you subtract 2 degrees. For me, the gelling point is 218 degrees. Don’t have a decent food thermometer? Check out the National Center for Home Preservation website for other ways of testing for the gelling point. 

It takes longer to reach the gelling point than I think it should. It also goes from needing 3 degrees to reaching the gelling point fast. You can get complacent while you are waiting and suddenly hit the temperature, so I am trying to warn you 🙂 

The Canning

Once the jam has reached the gelling point, remove from heat. Ladle into prepared jars, leaving ½ inch head space. Wipe rims of the jars with a damp cloth, add lids and rings, tightening to fingertip tight. Place in the canner, increasing the heat to high. Once the canner reaches a boil, process for 5 minutes. Remove from heat and allow jars to cool in the canner over 5 minutes. Remove from canner, placing on the counter. Listen for the ping of the lids over the next 12 hours. Sealed jars are self stable. If any jar doesn’t seal, simply place it right in the refrigerator. 

Note: You can skip the processing step all together if you feel more comfortable. If you do so, the jam will need to be stored in the refrigerator. The process of water bath canning creates a self-stable jam. That is, a jam that can be stored on the shelf. 

Gooseberry Jam

Three little ingredients (lemon juice, sugar, and gooseberries) combine to make this wonderful sweet-tart jam.
Prep Time 40 minutes
Cook Time 2 hours
Course Breakfast
Cuisine Canning
Servings 12 per jar

Ingredients
  

  • 1 cup gooseberries cleaned, per 1/2 pint jar
  • 1/2 cup sugar per 1/2 pint jar
  • 1/2 tbsp lemon juice per 1/2 pint jar

Instructions
 

  • If you have not done so, clean and measure gooseberries by cutting off the stem and tail on each berry. You will need 1 cup of berries per 1/2 pint of jam you want to create.
  • Wash and sanitize jars, rings, and lids. Keep warm. Fill the canner with enough water to cover the jars by at least 2 inches of water. Cover and heat on high. Watch the temperature, you want a simmer but not a boil when you place the jars in the water.
  • In a large, shallow kettle, smash gooseberries with a potato masher. For every cup of berries, stir in 1/2 cup sugar and 1/2 tablespoon lemon juice. Begin to heat over medium-high heat, stirring often. Smash more as they are cooking down.
  • Heat to 8 degrees above the boiling point of water. If you are at sea level, the gelling point is at 220 degrees. For every 1000 feet of elevation, you subtract 2 degrees.
  • Once the jam has reached the gelling point, remove from heat. Ladle into prepared jars, leaving ½ inch head space. Wipe rims of the jars with a damp cloth, add lids and rings, tightening to fingertip tight. Place in the canner, increasing the heat to high. Once the canner reaches a boil, process for 10 minutes. Remove from heat and allow jars to cool in the canner over 5 minutes. Remove from canner and allow to rest for 12 hours before storing.

Notes

You can skip the processing step all together if you feel more comfortable. If you do so, the jam will need to be stored in the refrigerator. The process of water bath canning creates a self-stable jam. That is, a jam that can be stored on the shelf.
Keyword gooseberries, gooseberry, gooseberry jam, Jam, Waterbath Canning
Tried this recipe?Let us know how it was!

Looking for other berry inspiration?

Check out any of the recipes below!
Oxeye Daisy Capers

Once I started learning about foraging, wild edibles was all I thought about as I walked around the yard, went for walks on the road, went to state parks…you get the idea. I would look with intent, wondering what was edible. If it was edible, I then would wonder if it tasted any good. As my husband would say, “Just because you CAN eat it, doesn’t mean it isn’t just survival food.” (Case in point: Spruce tree tips. Yes, they just taste like a pine tree. And I like gin. Spruce tips, not so much) However, Ox Eyed Daisy Capers are a great homemade caper if you’re willing to let them rest like you should 🙂 

If you’ve read my foraging page, you know that my gateway to foraging was acorns, not the average starting point. This lead to dandelions, which I still LOVE finding uses for. Once such use is dandelion bud capers (You can find a recipe at the link), but by the time I found out about them, the dandelions had given way to summer. Enter the Ox Eyed Daisy. 

Ox eyed daisies are edible (both leaves and flowers) and are prevalent in our area. While they are native to Wisconsin, my husband (who works in natural resources) shares that they are border line invasive. In my mind, I hear “Honey! You should cook with them!” and so I did. 

The Supplies

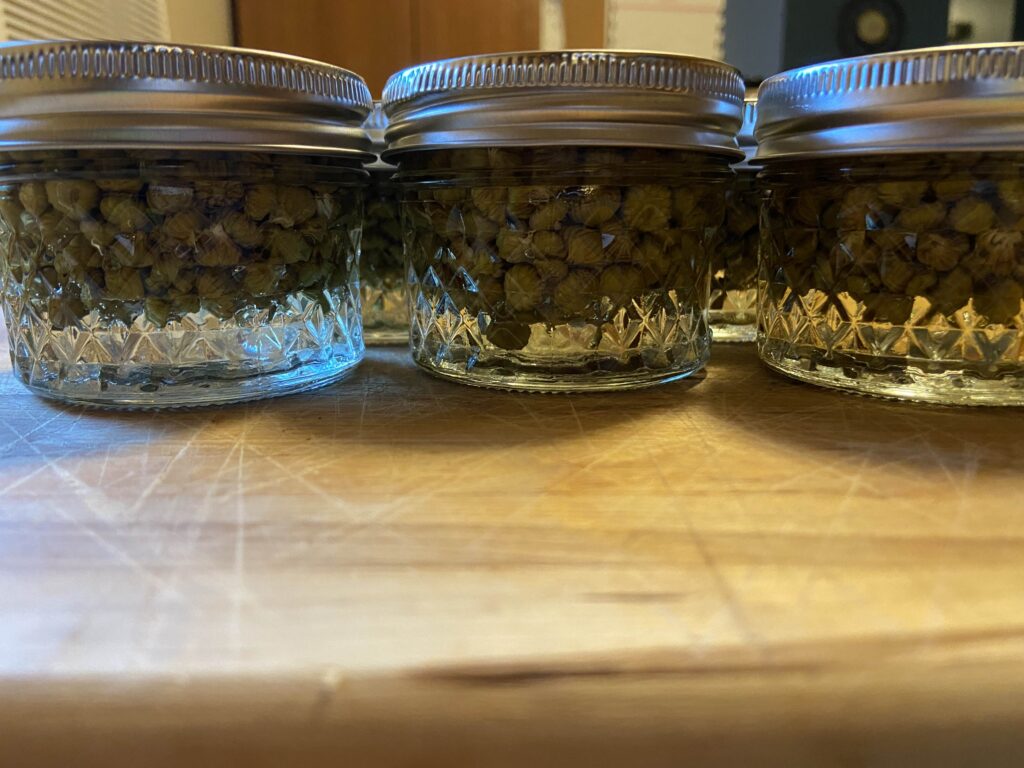
Capers are an item that is generally found in smaller quantities. I canned my oxeye daisy capers in 4 ounce jars, which is a great size. I usually use Ball or Kerr jars, but I was gifted these Verone jars, and I love the versatility that they provide with both two and one part lids. 

You will need a water bath canner or large stock pot with a lid. The jars need to be off the bottom of the pot. A water bath canner will have a rack to use. If you use a stock pot, I would invest in canning racks. You can also put a towel down in a pinch, but it is MESSY in terms of getting water everywhere.  

It is also helpful to have the tools in a canning kit like this, but it isn’t necessary. Canning would be crazy challenging without the jar funnel and jar tongs. The lid lifter is also very handy. 

New to canning? Check out the Ball’s Book of Canning or The National Center for Home Food Preservation for more detailed information. I will give you the low down, but it will be short and sweet. You will want to read up more, I promise 🙂 

The Process 

Harvesting 

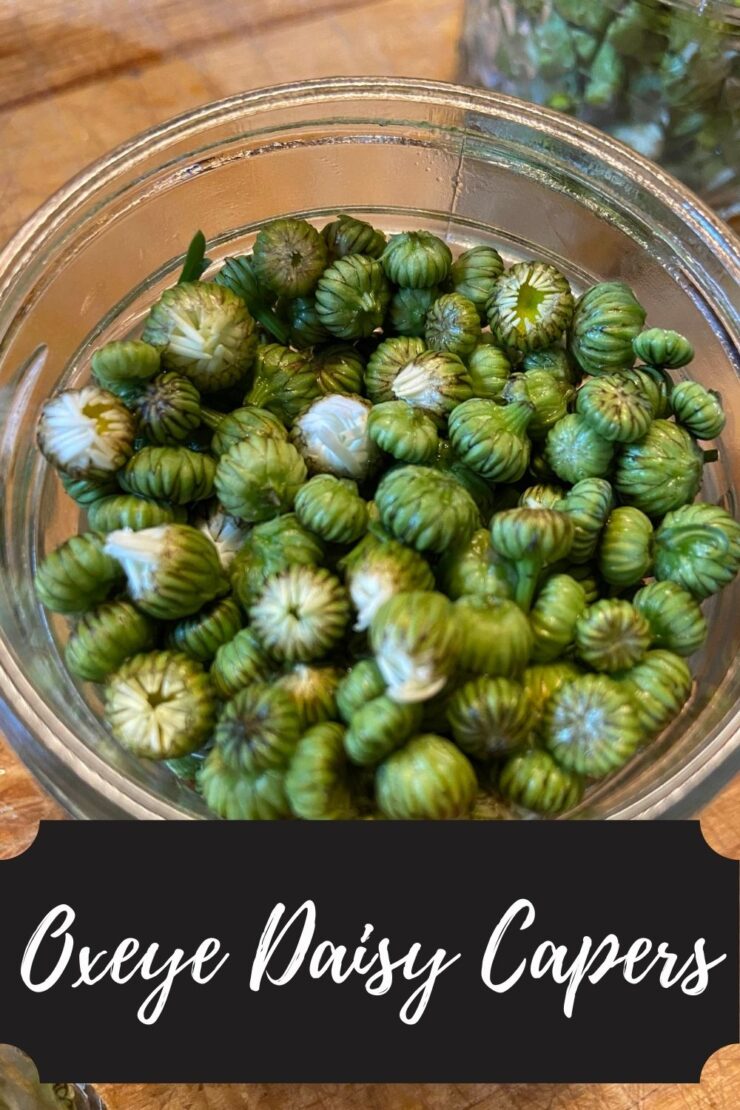
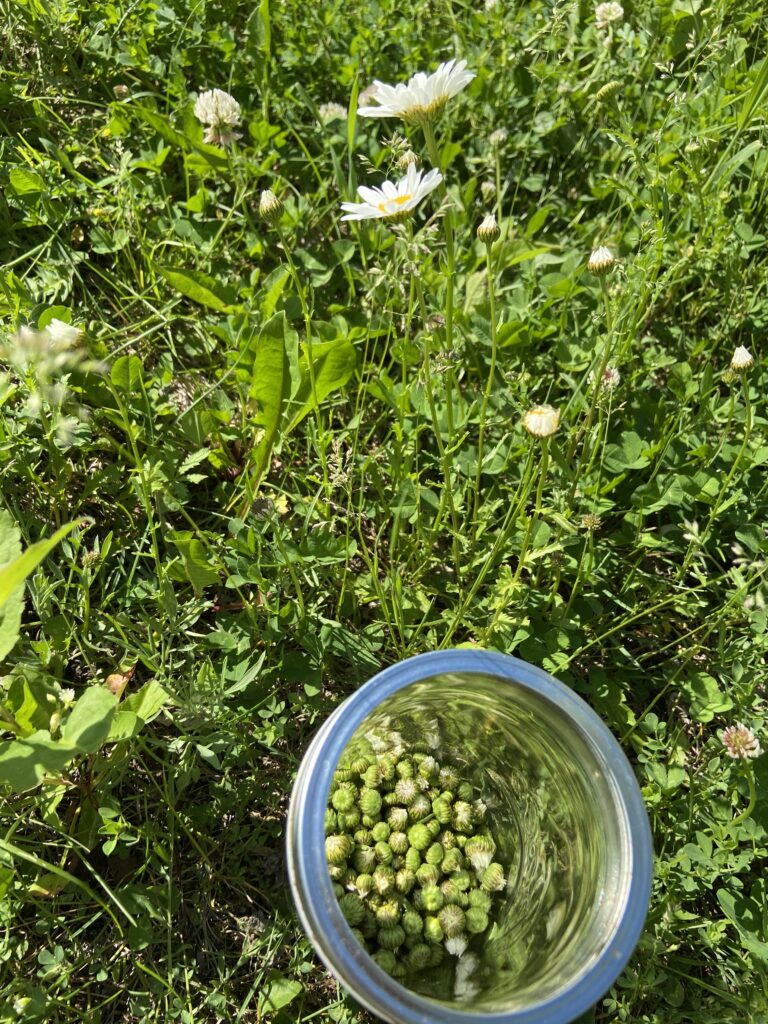
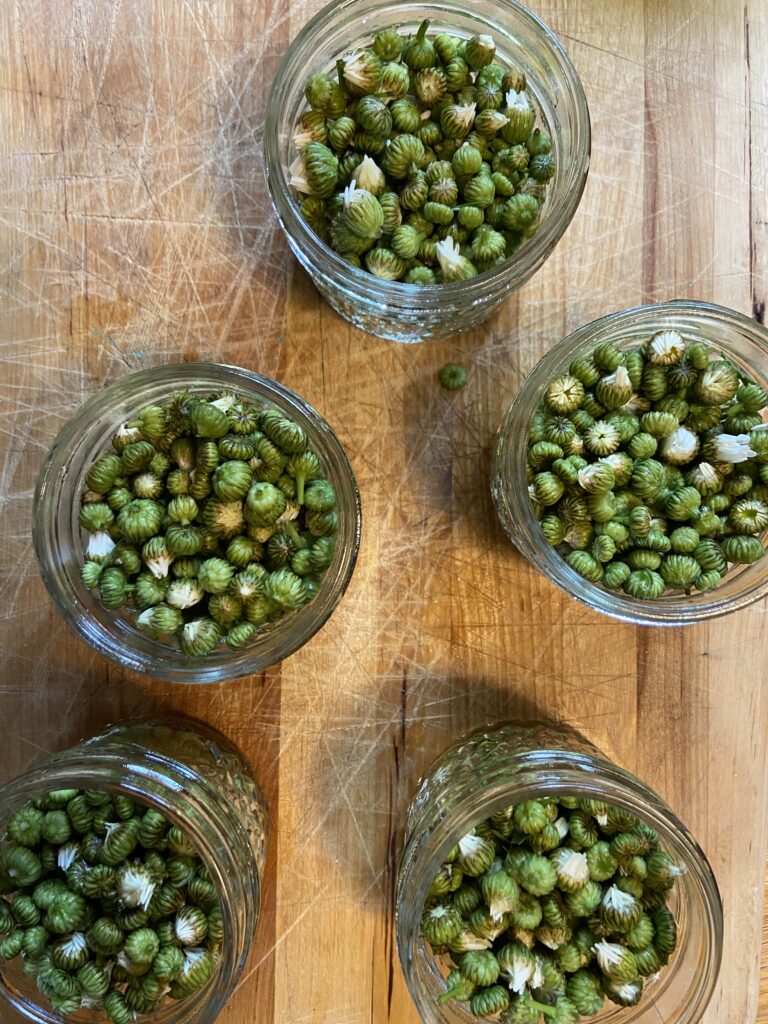
The buds are small and similar in size to dandelion buds. Well, if you can create capers from dandelion buds, you must be able to make daisy capers, right? So I did. I found the harvesting of the capers strangely meditative. It took time; I had to sit on the ground, move around, looking for perfect, unopened buds. I listened to nature. The birds. The wind. It was calming and what my mind needed. For each four ounce jar, you will need approximately a ½ cup of buds. I took a 24 ounce pint and a half jar outside and filled it. This resulted two cups of buds which made five 4 ounce jars of capers when everything was said and done. 

Your Ingredients

  • 2 cups oxeye daisy buds
  • ¾ cup water
  • ¾ cup vinegar (5% acidity)
  • 1 ½ tablespoons salt 

Canning

Once you have finished harvesting, rinse and drain the buds. Meanwhile, prepare your water bath canner. Fill the canner with enough water so that once the jars are in the canner, they will be covered by at least one inch of water. Too much water is better than not enough, but remember that some water will be displaced by the jars. Cover and begin to heat over a medium-high heat. 

Prepare jars, rings, and lids by washing with soapy water and keeping warm. (You should use two part lids) Combine salt, water, and vinegar in a large non-reactive saucepan. Heat to a boil and then reduce to a simmer. As the pickling liquid is heating up, fill each 4 ounce jar with buds, leaving ½ inch head space (Generally speaking, I go to the bottom of the rim). 

Ladle pickling liquid over buds, leaving ½ inch head space. Remove air bubbles. Wipe the jar rim with a damp paper towel. Place lids and rings on jars, tightening to finger-tip tight. 

Place jars on rack in canner, lower into simmering water, cover, and bring to a rolling boil. Process jars for 10 minutes. Remove from heat and allow to cool 5 additional minutes. Remove the jars from the canner and leave to cool completely over 12-24 hours. Do not touch the lids or the rings, but definitely listen for the ping of the jars sealing. It’s the best! 

While you can eat anything pickled immediately, I highly recommend waiting a few weeks before breaking into a jar. The flavor will intensify over time. 

Hints and Tips

  • Be mindful of where you harvest. Make sure you have permission if necessary and that the area you are harvesting from does not have chemicals sprayed on it. 
  • Daisies are plentiful. There shouldn’t be a concern about whether you are harvesting sustainably as there is with edibles such as fiddleheads. 
  • As with most pickled foods, daisy capers get better with age. You may be tempted to open the jar soon after you finish processing them. Give them a few weeks for the flavor to become enhanced. 
  • Interested in learning more about foraging? One book that has been imperative to my learning is Midwest Foraging by Lisa M. Rose. I reference it for everything from identification to various recipes. If you’re a Midwesterner like me, do yourself a favor and order the book. You’ll thank me 🙂

Looking for other recipes? Check out the pages below!
Wild Violet Jelly

Jump to Recipe

Most of my foraging adventures begin with me learning of a recipe and saying, “You can do that?!”  after reading online, and immediately heading out to forage for whatever it is that you need. Wild Violet Jelly is one of those adventures. I had just finished baking up dandelion cookies and had more dandelions in the fridge ready to be cleaned when a friend sent me a wild violet recipe. 

Oh my goodness! I have those ALL OVER my yard and along the edge of our woods. Time to switch gears and try something different before they disappear. Also, if you don’t know me personally, you may not know that I have a 5 year old spitfire of a daughter who’s name is, you guessed it, Violet. Imagine the joy on her face when I shared the idea for Violet to harvest violets to make Violet Jelly. So fun! 
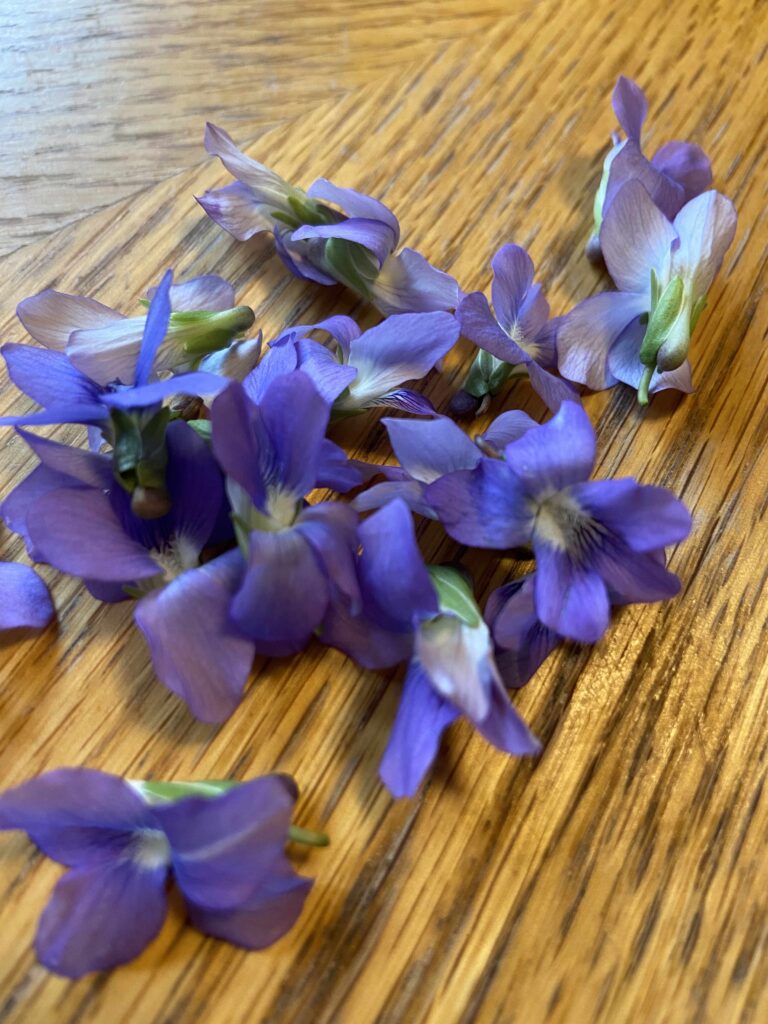
Wild Violets, freshly harvested.

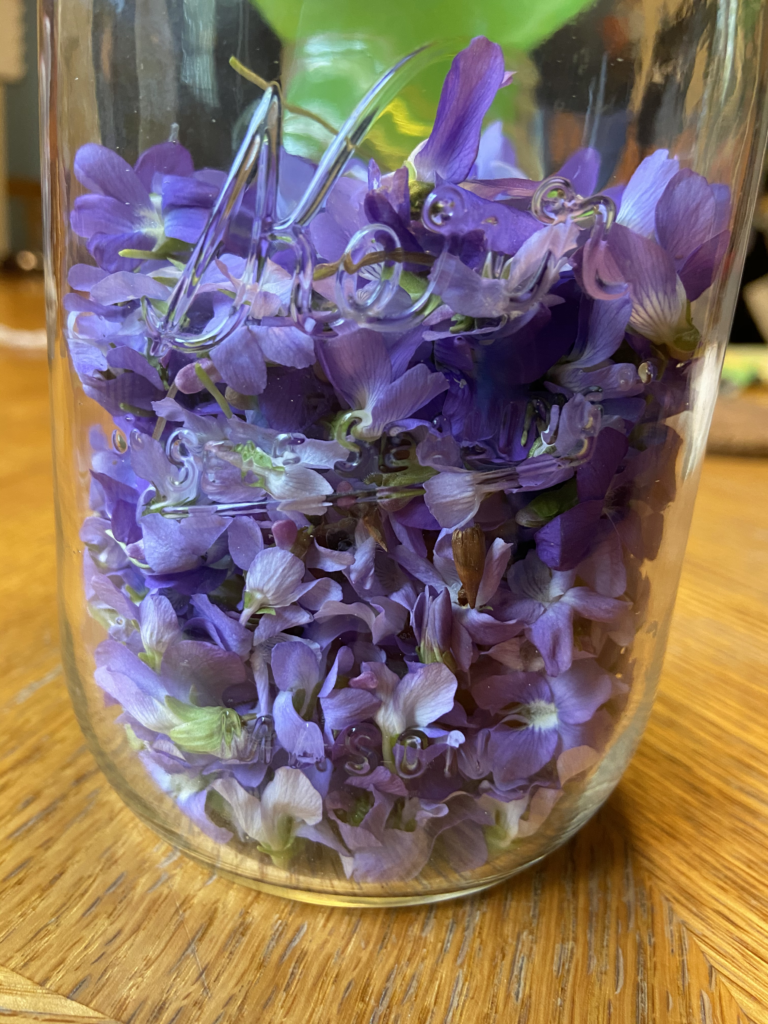
Of course, we needed to use mason jars to do our harvesting. I grabbed a quart jar and gave her a pint jar without lids. We set out on a walkabout around our yard and within an hour or so, we had found a pint jar’s worth of violets. As with anyexperience with a 5 year old, it wasn’t without tears. The silly girl got so excited she started skipping, tripped over a root, and immediately lost all her violets. I share as a lesson for all you. I know you’ll be excited, but please refrain from getting so excited you skip and lose your jar! 

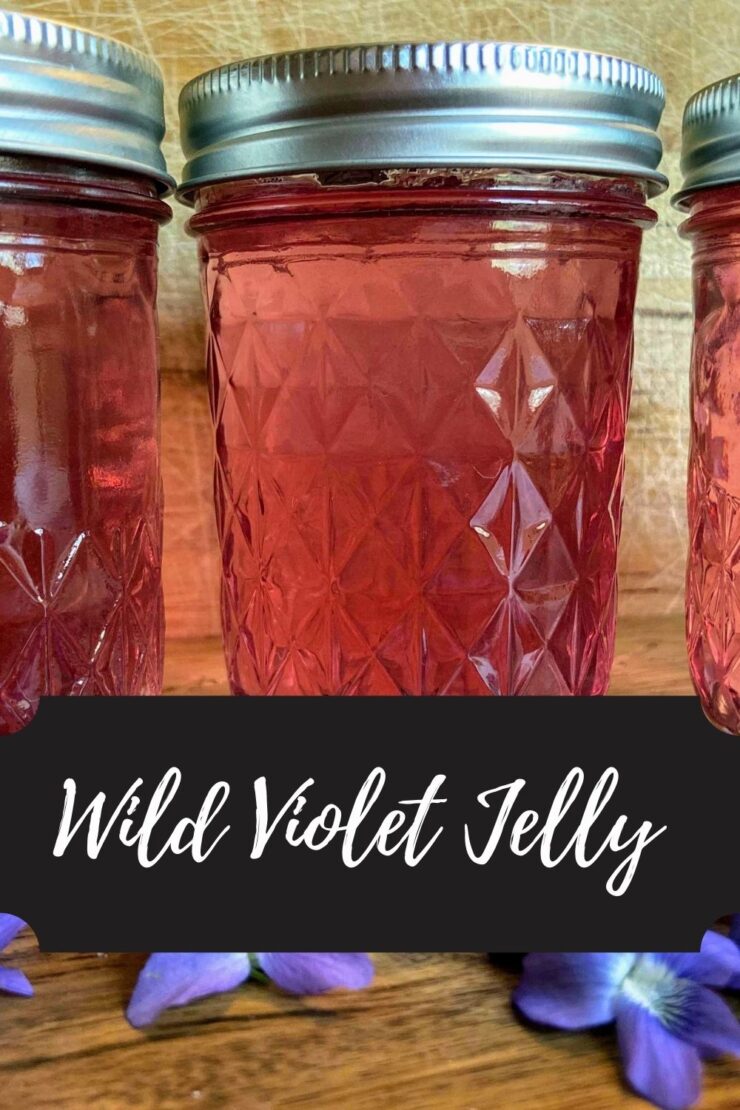
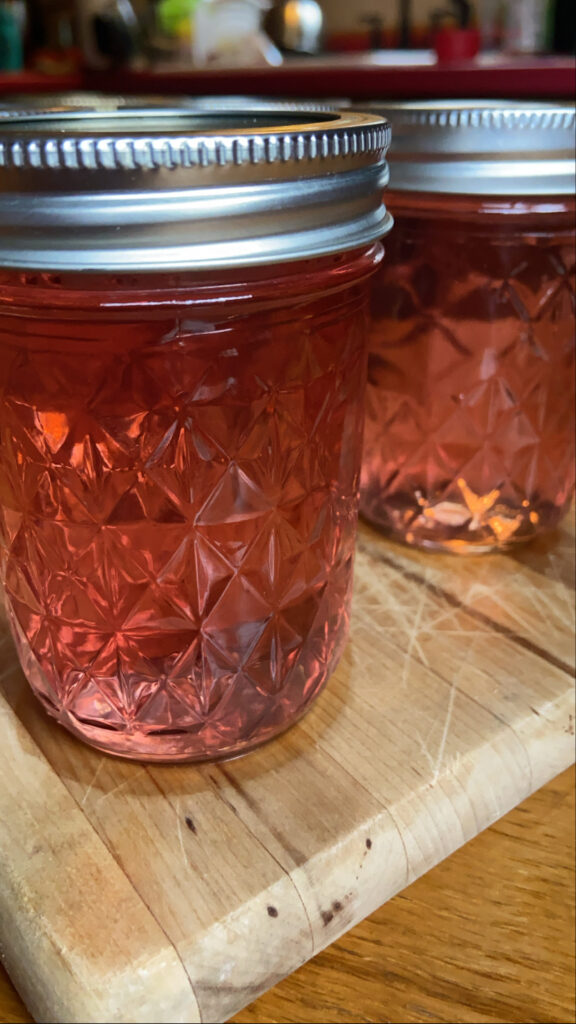
Although the harvesting took about an hour, this was the most labor intensive part of the recipe. In all the foraging and cooking I’ve done so far, I would say this is a great toe dipper. It didn’t require too much work and you’ll end up with about six beautiful jars of lavender colored jam. 

Get ready so if you’re ready, grab your jars and start foraging! 

Your Ingredients: 
  • 1 pint (2 cups) wild violet flowers
  • 4 cups boiling water
  • 3 tablespoons bottled lemon juice
  • 4 ½ cups sugar
  • 1 package powdered pectin 
Your equipment: 
  • 1 pint jar and 1 quart jar 
  • Cheese cloth or mesh strainer 
  • 6 half pint jelly jars with rings and lids
  • Water bath canner with lid 

If this is your first go at canning, you can totally use a deep kettle with a dish towel rather than purchasing a water bath canner.  The dish towel on the bottom is to keep the jars off the bottom of the kettle. This will be a little messier with the water, but it works. When I first started canning, I did my first four batches of pickles and jellies this way. I wasn’t sure I was going to love it and didn’t want to invest. Silly me 🙂 

Harvest the Flowers

After spending days harvesting dandelions, this was surprisingly easy. Be sure that you’ve identified the right flower, and pick away. It’s best to look at the leaves to make sure you are picking the right one. Once you start, be sure to be a responsible forager, leaving some flowers in each bunch. Try to be mindful that you just get the flower. This was easy for me, but I had to pull stems from my daughter’s harvest since she’s five. Pick enough flowers to fill a pint jar, or just over two cups. 

Create a Violet Tea

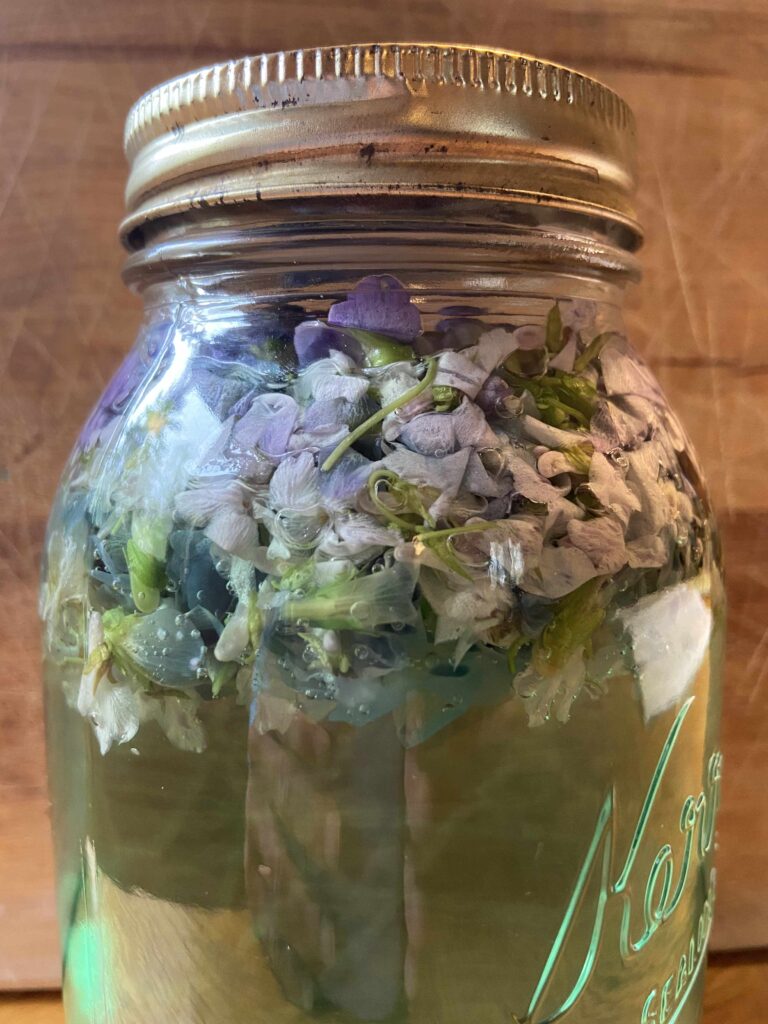
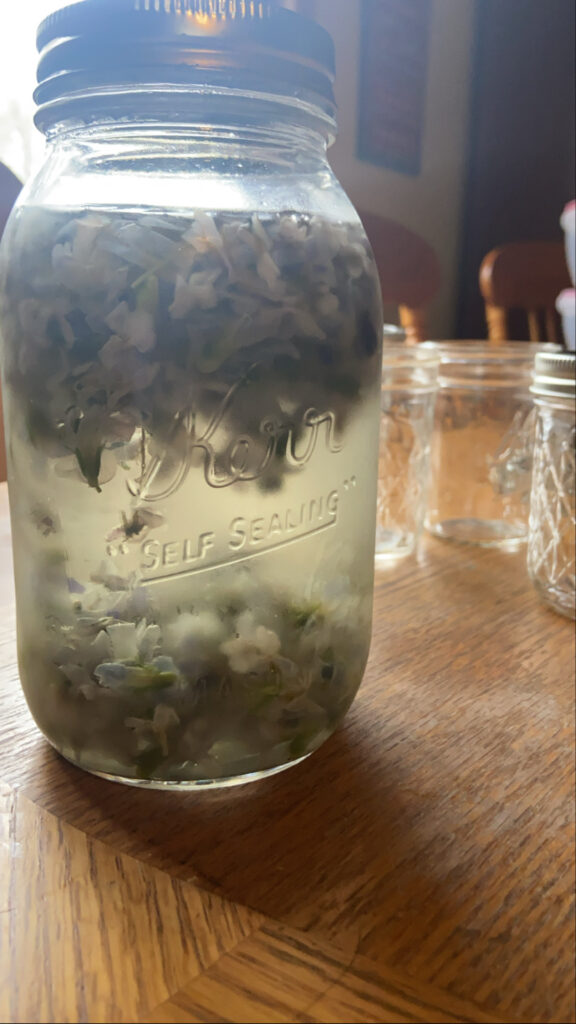
Once you have harvested the violets, transfer them into a quart jar. Pour boiling water over the flowers and cover. If you don’t have a quart jar, any container that you can cover and refrigerate will be fine. After the jar has come to room temperature, place in the refrigerator for at least 4 hours but up to 24 hours. I was amazed at the color that came from the flowers. It went from purple flowers to teal water to a much more muted green as the time pasted in the refrigerator. I let it sit overnight.

Time for Jelly

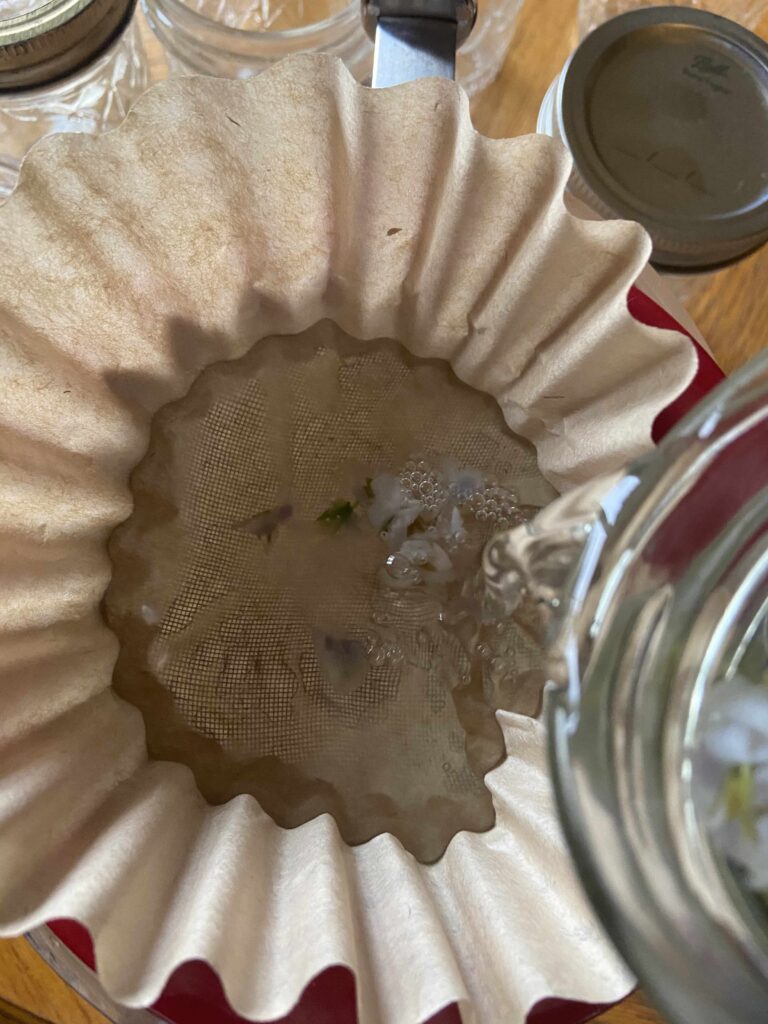
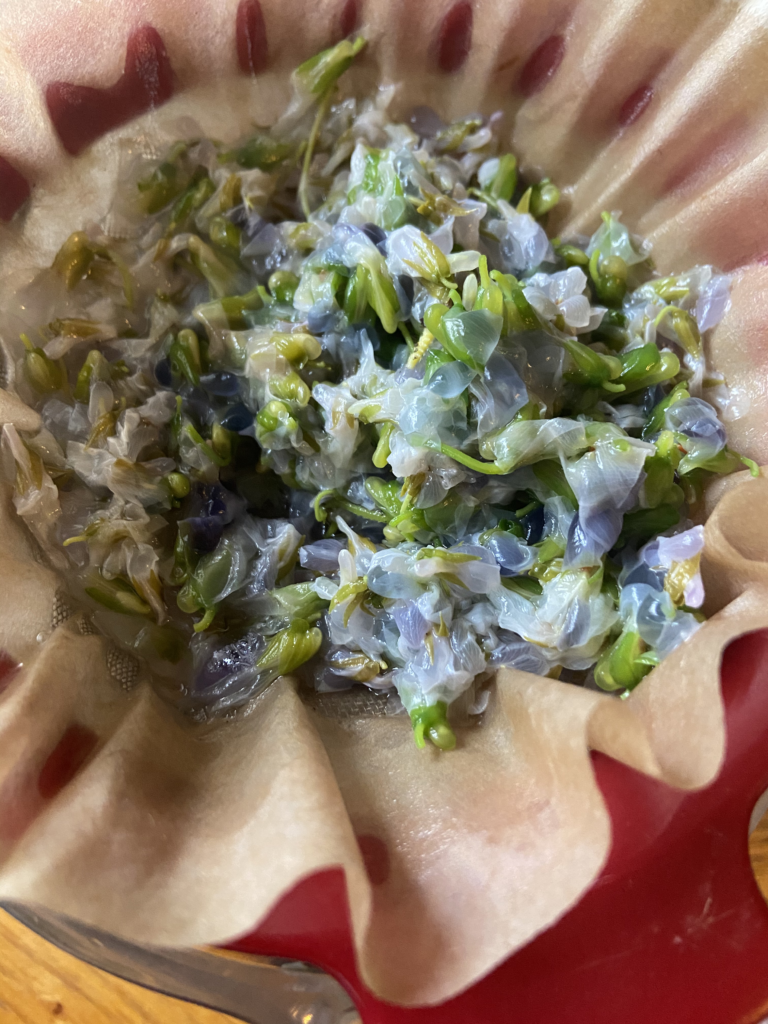
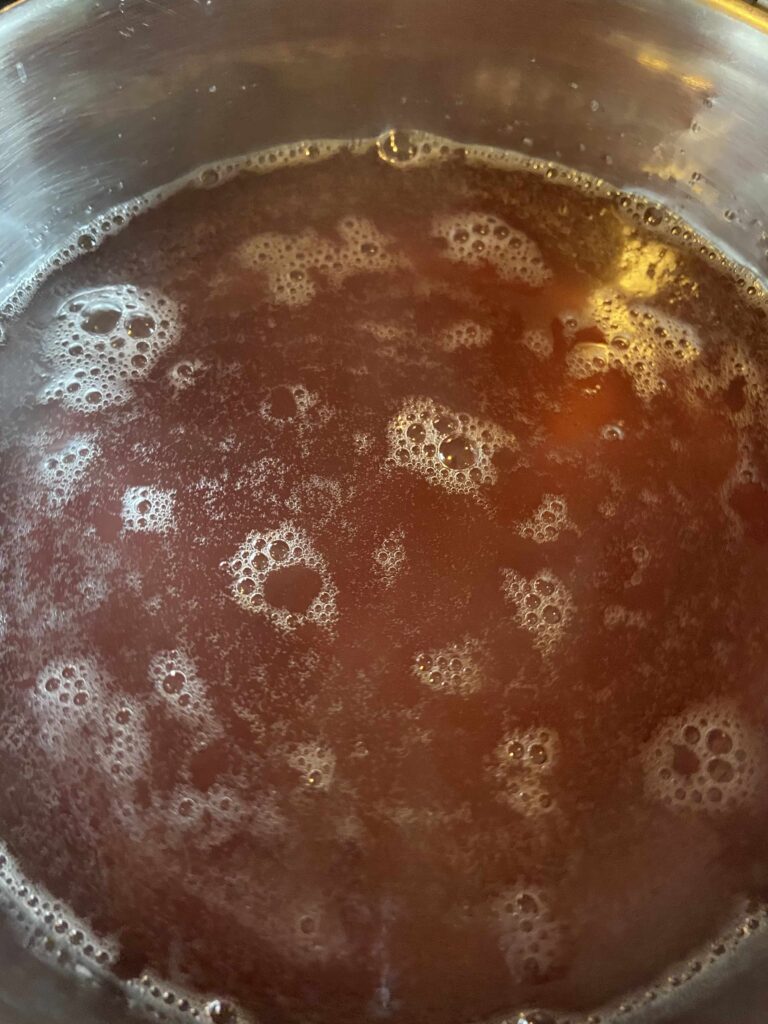
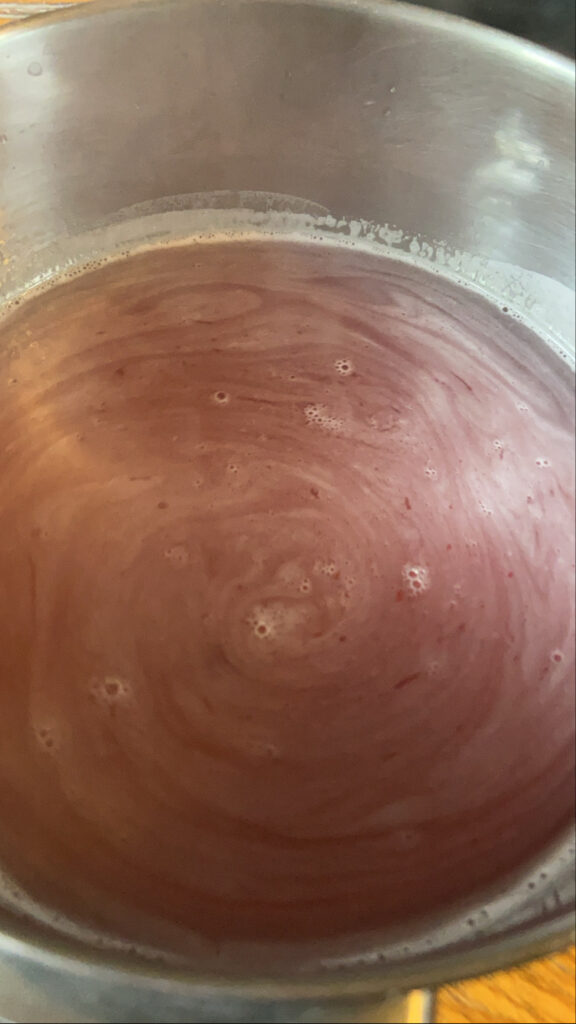
The following day, start heating your water bath canner with enough water to cover your jelly jars with at least 2 inches of water. Strain the flowers from the tea. To do this, I used a fine mesh strainer with a natural coffee filter in it. I poured from the quart jar into a measuring cup (see picture). Straining through cheesecloth would also be a great option. End game: You need them separated. You do you 🙂 

Once separated, measure out 3 cups of violet tea. You may add additional water to reach 3 cups if necessary. Pour this into a larger non-reactive kettle. Add powdered pectin and lemon juice, whisking to incorporate. This will be THE coolest thing you do. The violet tea is a muted green when made, but just be ready when you add the lemon juice. It will instantly go from green to a beautiful lavender color. I knew it was going to happen and I still got so excited I knocked over my bottle of lemon juice, spilling it all over my kitchen floor. Oh well…making memories, right? Back to the recipe…

Bring the tea, pectin, and lemon juice mixture to a boil. Once you have achieved a rolling boil, add sugar. Return to a rolling boil, stirring quite often, if not always. Once you have reached a rolling boil, time for 1 minute, stirring the whole time. Ladle jelly into prepared jelly jars, leaving 1/2 inch head space. Wipe the edges with a damp cloth, add lids, and tighten rings to fingertip tight. Put into the water bath canner and process for 5-10 minutes. I did 10 minutes because my altitude is greater than 1000 feet. (Always read the pectin directions and follow those for your altitude).

Once the jelly is done processing, remove the canner from heat and let jars rest in the water for an additional 5 minutes. Finally, remove jars from the canner and allow to cool for 12-24 hours before moving. Listen for the ping of the lids (best part of canning…apart from the eating of the beautiful food you create) and marvel at the beautiful spring jelly; the other best part of canning 🙂 

A few notes: 

  • Make sure you are using powdered pectin rather than liquid pectin. They do not set the same. Early in my canning career I didn’t know the difference and had a few batches of jelly never set. 
  • If you have never canned, you can reference the instructions within the pectin box for additional, more detailed directions. While you aren’t using fruit, the directions will still be very similar. 
  • I adore this book and using it as my canning bible. If you are at all interested in all you can can, check out Ball’s Blue Book Guide to Preserving. 
  • If foraging is your jam and you’re in the midwest, Midwest Foraging by Lisa M. Rose is a great resource. 
  • Sealed jars are shelf-stable, meaning they can be stored on a shelf unrefrigerated. If your jars don’t ping (a sign that they have sealed), they are still good. You will just need to store them in the refrigerator. 
  • Most sources recommend removing the rings from jars for storage so that you will know if they unseal for any reason. I generally just loosen them as much as I can without removing them. 

Looking for more canning recipes? Click here!

Looking to forage and then create? Click here!

Wild Violet Jelly

A beautiful lavender colored jelly created from wild violet tea
Prep Time 1 hour
Cook Time 30 minutes
Tea Resting Time 1 day
Course Snack
Cuisine Canning
Servings 16

Equipment

  • Cheese Cloth or Mesh Strainer
  • Quart Canning Jar
  • 6 Half Pint Jelly Jars with Rings and Lids
  • Pint Canning Jar (optional)

Ingredients
  

  • 1 pint (2 cups) wild violet flowers
  • 4 cups boiling water
  • 3 tbsp bottled lemon juice
  • 4 1/2 cups sugar
  • 1 package powdered pectin

Instructions
 

  • Harvest 1 pint (2 cups) of wild violet flowers. Be sure they are clean and rid of debris. Place inside a clean quart jar with lid and ring.
  • Pour boiling water over violets, filling the jar. Cover. Allow to cool to room temperature. Place in fridge to steep for 4-24 hours.
  • Prepare water bath canner by filling with water so that the jars will have at least 2 inches of water over them when placed inside. Begin to heat. Clean and prep canning jars, rings, and lids. Set aside.
  • Strain flowers from tea using cheese cloth and mesh strainer. Remove any flower debris and discard. Measure 3 cups of tea, adding water if necessary. Pour into a non-reactive kettle.
  • Measure sugar in a separate bowl. Set aside. Add pectin and lemon juice to tea. Heat over medium high heat. Bring to a rolling boil, stirring often.
  • Once rolling boil has been reached, stir in sugar. Continue to stir until rolling boil is reached again. Time for exactly one minute, stirring constantly.
  • Remove from heat. Pour into prepared jelly jars, leaving 1/2 inch head space. Wipe rims of jars, put on lids and rings, tightening to finger tip tightness.
  • Process in water bath canner for 10 minutes. Remove from heat. Allow to sit in canner 5 additional minutes. Remove from canner, place on counter, and let sit for at least 24 hours.

Notes

More in depth directions regarding canning jelly can be found with the directions with powdered pectin. Be sure to read through those directions as well. 
Keyword Canning, Foraging, Jelly, Violet, Violet Jelly, Waterbath Canning
Tried this recipe?Let us know how it was!

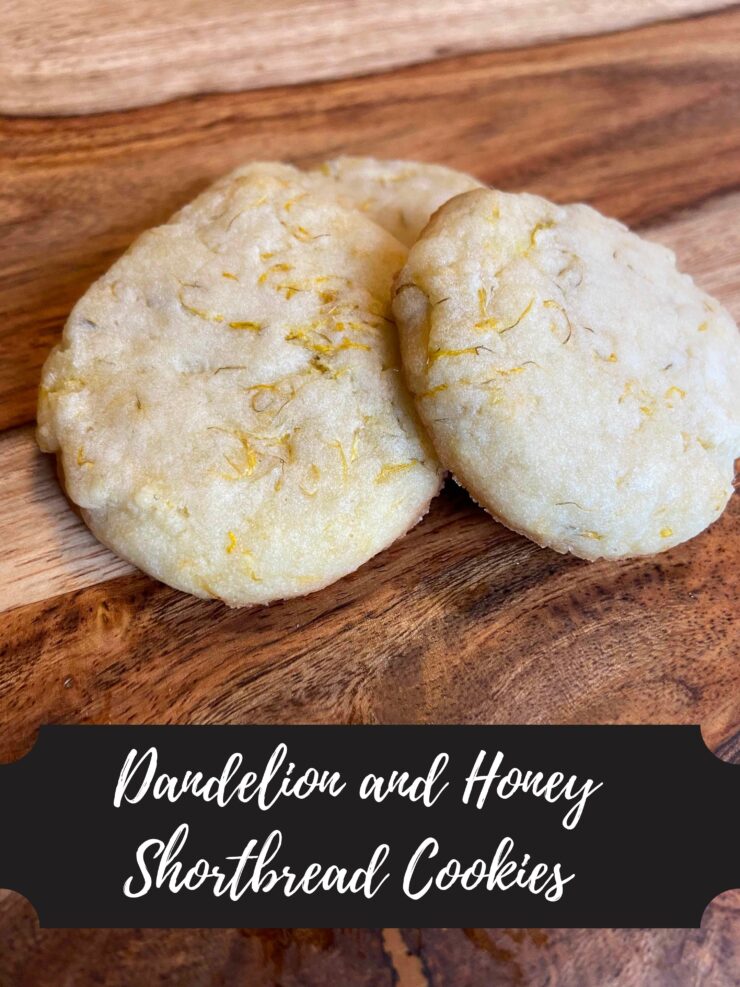
Dandelion and Honey Shortbread Cookies

Jump to Recipe

I recently read that most people begin their descent into the foraging world by harvesting dandelions or mushrooms. For me, it was acorns, but dandelions were a very close second. As soon as I had read the things you could make with them, I was determined to try them all. Pesto. Jelly (I have a great recipe for that here). Wine. And now, these delightful melt in your mouth morsels. You’ve got to try these so easy to put together Dandelion and Honey Shortbread Cookies.

However, I must give ample warning. After you try these, you just might become hooked on the idea of foraging too. You see, a few years ago my classroom looked out over a large field; I am not joking when I tell you I would look longingly at the yellow balls of sunshine that are dandelions. I dreaded that they were going to get mowed over. There was so much potential in those little guys. Just think how many of these dandelion cookies we could get! And the wine. Don’t get me started. I mean, you should definitely get started. You’ll feel a sense of connectedness to the Earth as you create and bake. I promise (Okay, maybe promise is a strong word, but I really bet you will!). Here’s your toe dipping recipe into the world of foraging: Dandelion and Honey Shortbread Cookies.

Your ingredients:

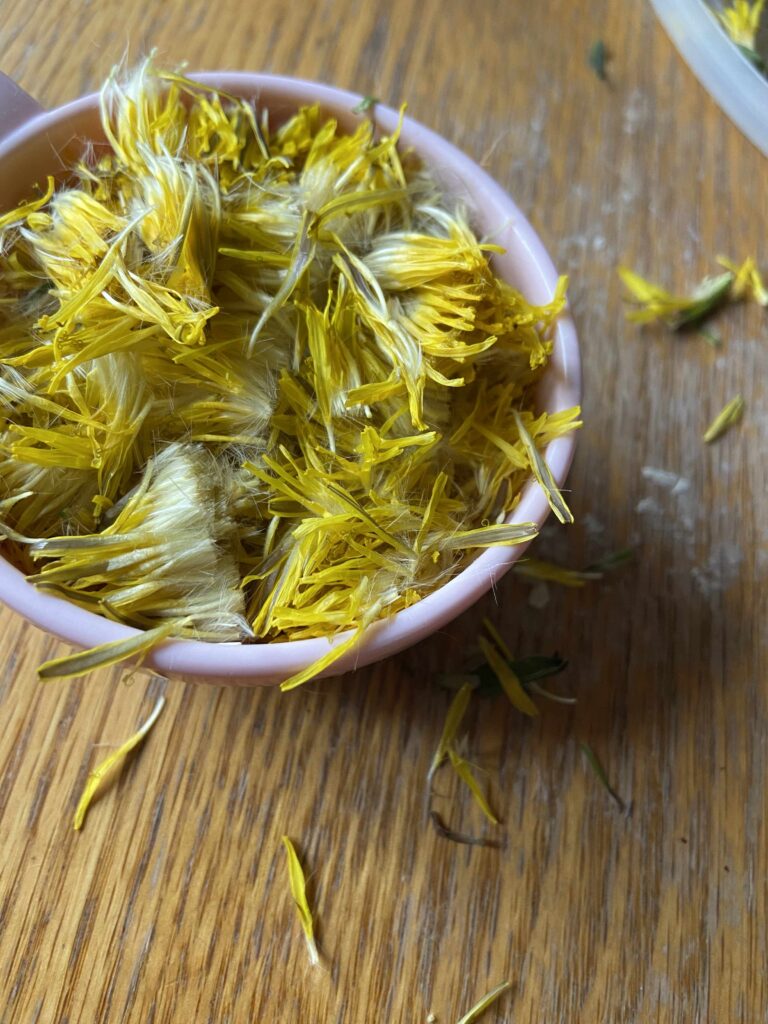
  • 1/2 cup dandelion petals
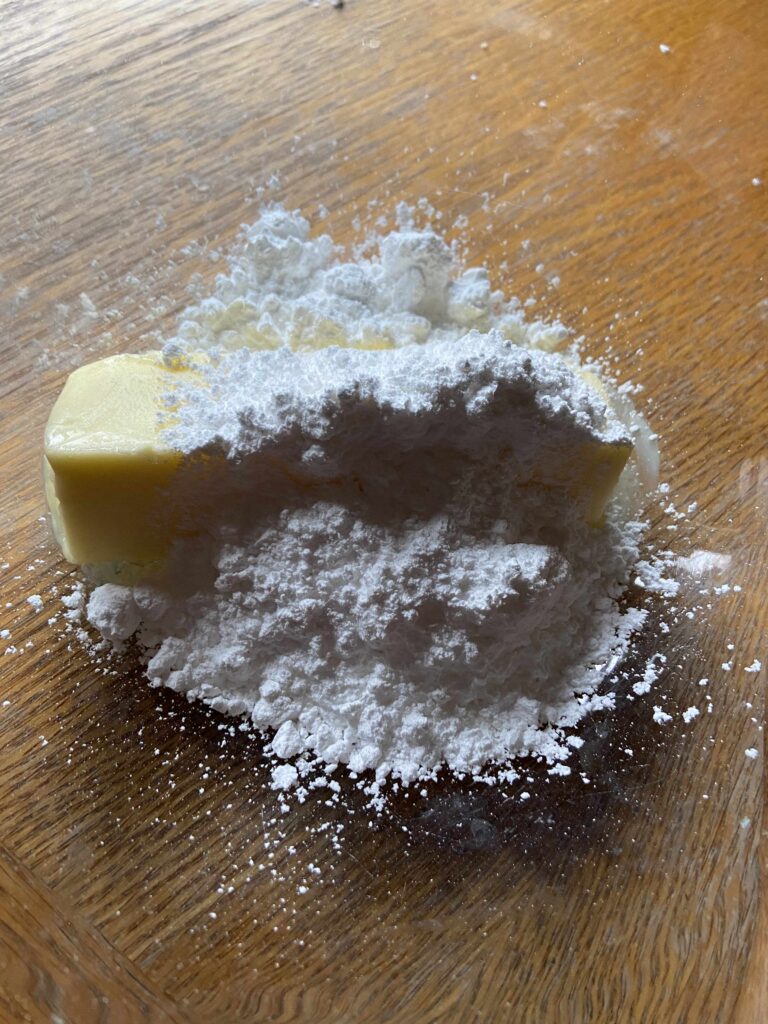
  • 1/2 cup butter, softened
  • 1/2 cup powdered sugar
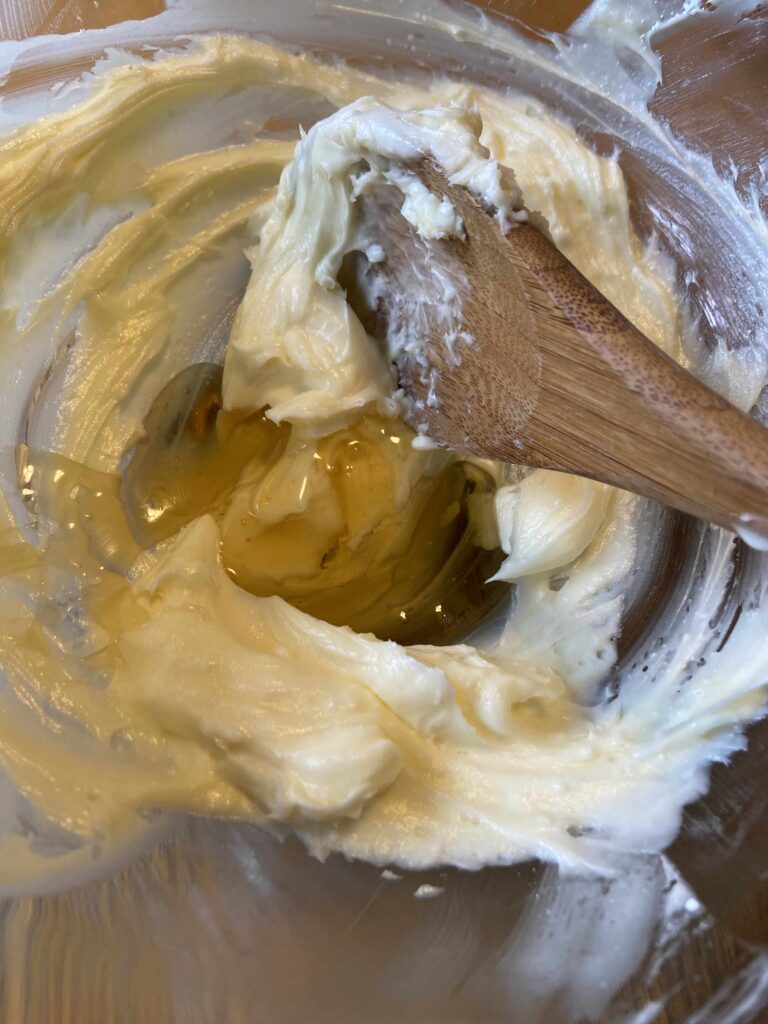
  • 1 tablespoon honey
  • 1 cup all purpose flour
  • 1/4 teaspoon salt

Harvesting the Dandelions:

First, the harvesting of the dandelions. I won’t lie, it’s a bit of a tedious step for most dandelion recipes. However, you don’t need too many for this recipe. I like to harvest earlier in the morning, prior to the flowers opening too much. Pick just the heads. Then I find it easiest if I hold onto the yellow petals and cut the bottom green stem portion with a scissors. Then I pick off the remaining green portions and compost them. Measure the yellow petals to a lightly packed 1/2 cup. Then…

Your Steps:

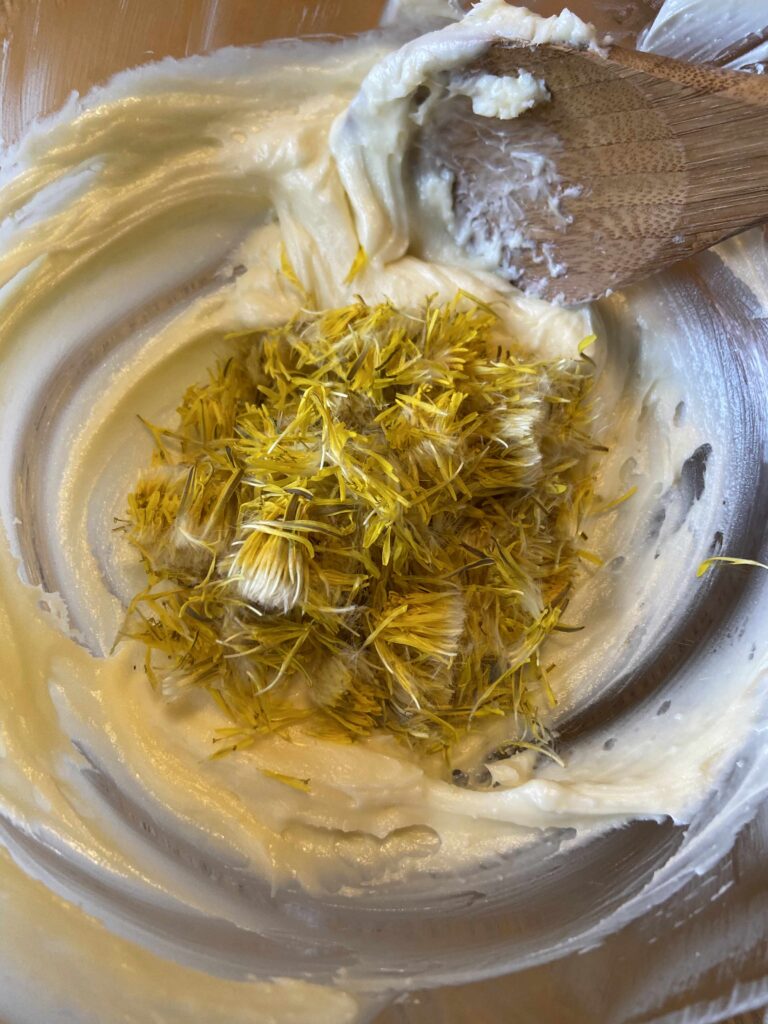
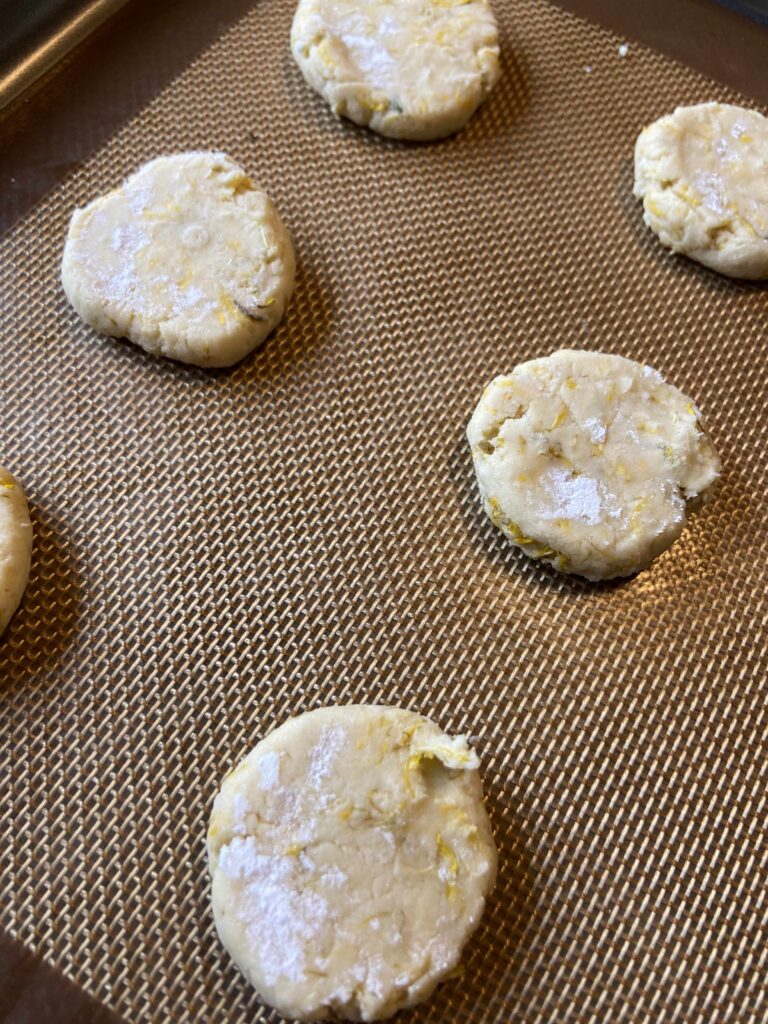
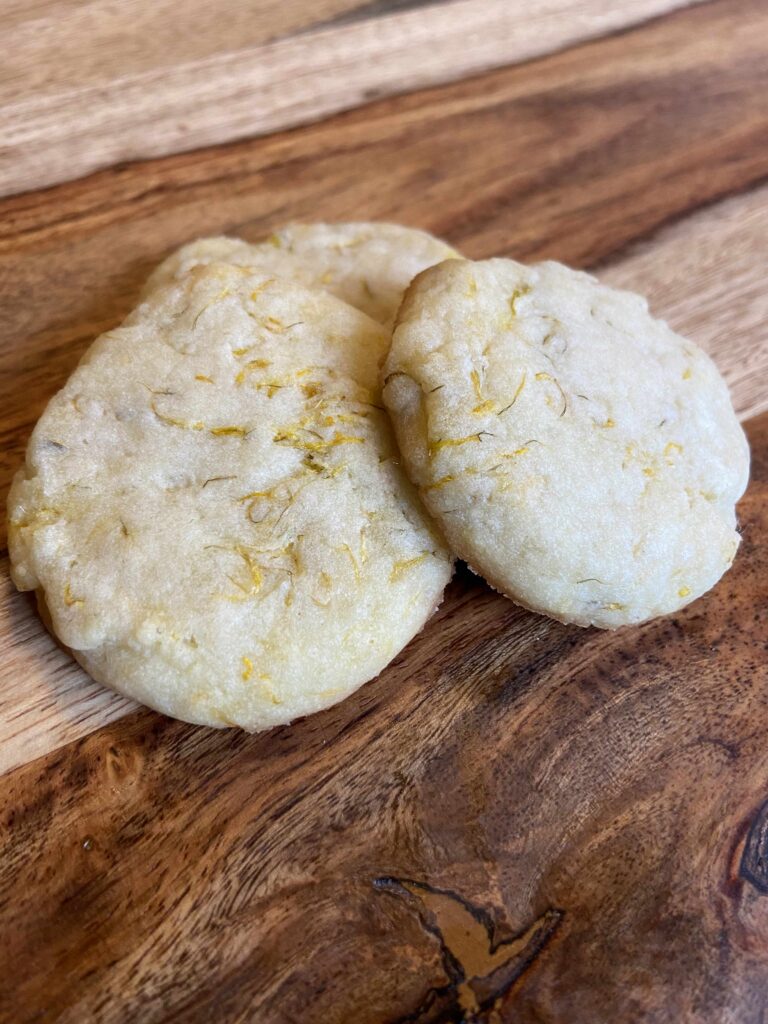
Preheat the oven to 325 degrees. In a medium bowl, cream sugar and softened butter until light and fluffy. Mix in honey. Next, gently fold in dandelion petals. Combine the flour and salt, adding to the sugar and butter mixture. Mix until just combined. For best results, allow the dough to chill for at least a half hour. Scoop dough by tablespoonfuls and roll each into a ball. Place on ungreased cookie sheet. Finally, use a flat bottomed cup dipped in powdered sugar to flatten the cookies slightly. Bake for 9-11 minutes, until slightly browned on the edges. Revel at the fact that you just baked with a “humble weed” and then give them a try. The flavor deepens a few days after they are baked, so try not to enjoy them all at once!

Looking for more foraging recipes? Click here! Or has your sweet tooth been activated? I have lots of sweet treats to choose from on my baking page 🙂

Dandelion and Honey Shortbread Cookies

Buttery and delicate, these unique shortbread cookies melt in your mouth.
Prep Time 20 minutes
Cook Time 10 minutes
Course Dessert
Cuisine Foraging
Servings 16 cookies

Ingredients
  

  • 1/2 cup dandelion petals
  • 1/2 cup butter softened
  • 1/2 cup powdered sugar
  • 1 tablespoon honey
  • 1 cup all purpose flour
  • 1/4 teaspoon salt

Instructions
 

  • To gather the dandelion petals, I find it easiest to get the heads of the flowers when they are closed. I hold onto the yellow portion and cut off the bottom green stem. Try to remove all green portions.
  • Preheat the oven to 325 degrees.
  • In a medium bowl, cream sugar and softens butter until light and fluffy.
  • Mix in honey and then gently fold in dandelion petals.
  • Add flour and sprinkle salt on top. Mix until just combined. For best results, allow the dough to chill at least a half hour.
  • Scoop dough by tablespoonfuls. Roll each tablespoon of dough into a ball and place on an ungreased cookie sheet. Use a flat bottomed cup dipped in powdered sugar to flatten the cookies slightly.
  • Bake for 9-11 minutes, until slightly browned on the edges. Enjoy!
Keyword Cookies, Dandelion Recipe, Dandelions, Foraging, Honey, Shortbread
Tried this recipe?Let us know how it was!

Maple Syrup Season

My Story…An Adventure…

Cooking Sap: A new family tradition

(You can totally skip this part if you aren’t into hearing the back story, but I do have some big hints and tips that I learned in my first adventure into maple syrup 🙂 ) Click here to skip my story!

How I roll

I have to begin this post by saying I’m the type of person who gets approximately 75% of the information needed for a grand plan and then I go all in, and my husband has to strap in for a wild ride. This is true with my food blog, fitness activities, you name it. But our favorite example of me doing this is maple syrup. Being from the Northwoods of Wisconsin, we know a number of people who tap trees every spring and cook down their own maple syrup. My new found obsession with foraging and all things homesteading meant I became interested over the last few years.

Gathering

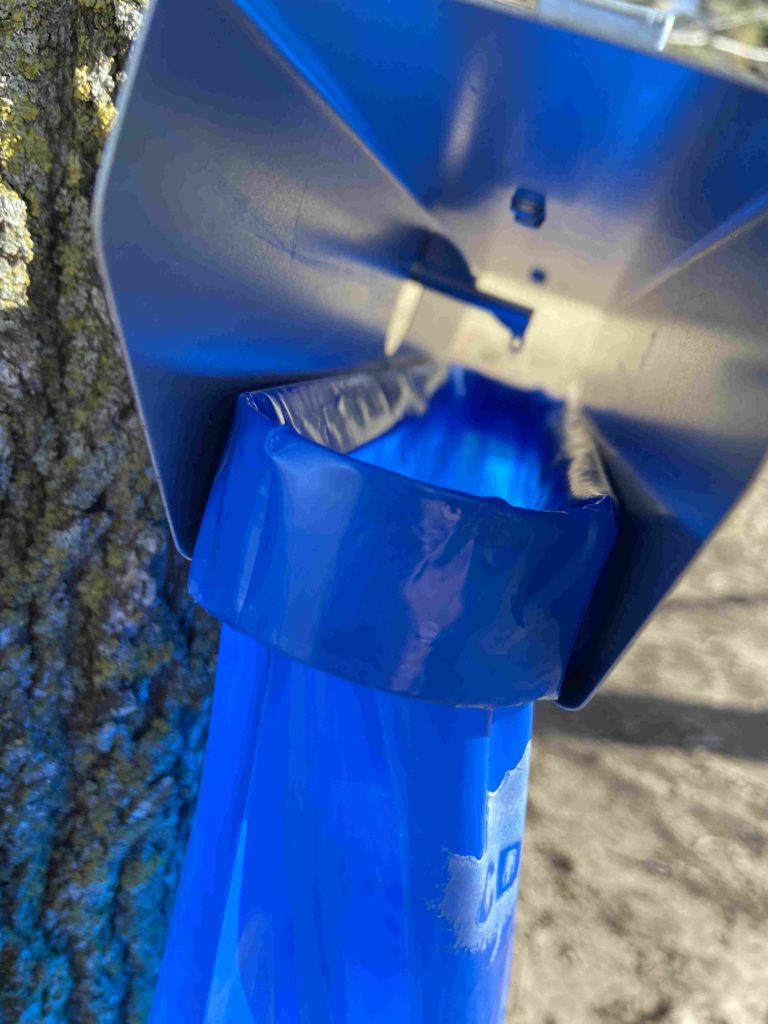
Last March, I was doing some shopping at the local (ish) Fleet Farm and saw the tree tapping supplies. I had done MINIMAL research, but I quickly texted two different friends who tap and got some quick info. Yes, it was late in the season. But I had made my mind up and picked up the materials to tap four (yes, just four) trees. I figured it would be an adventure for my family and worst case scenario, we were out a few hours of work and about $35.

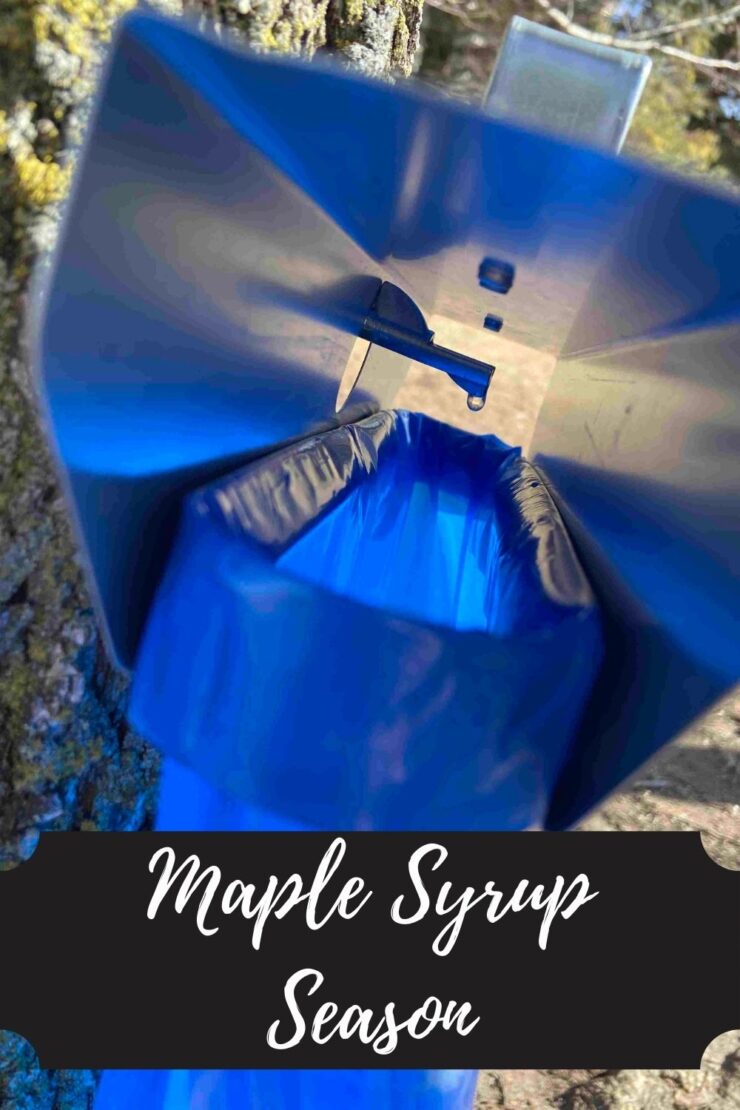
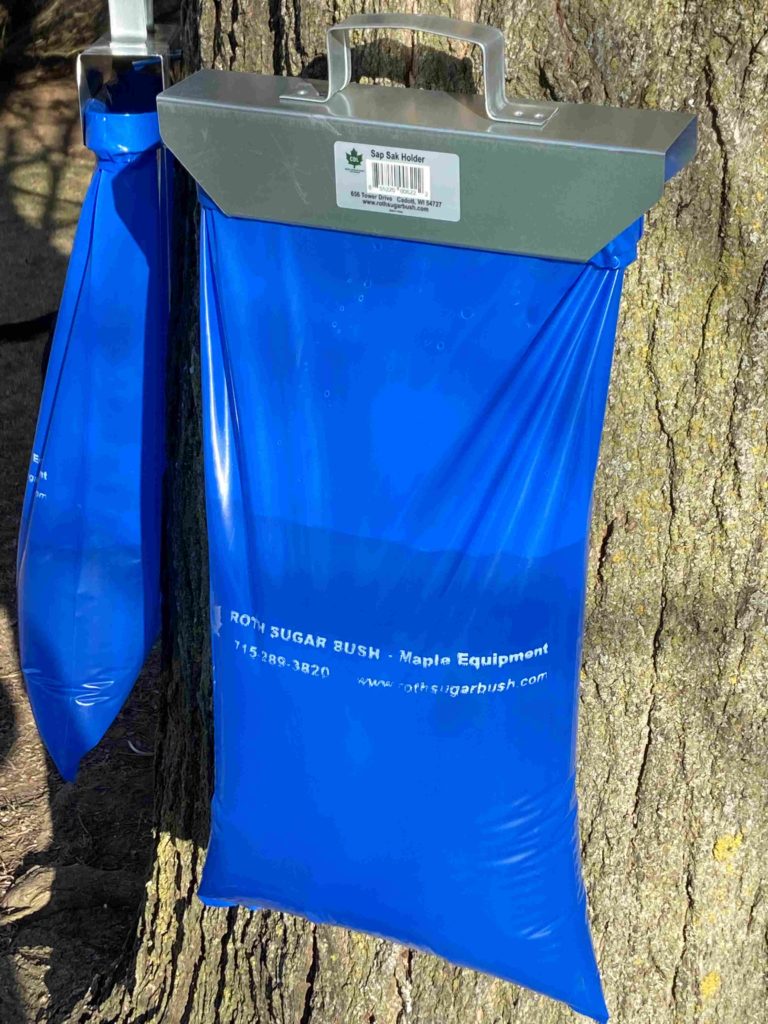
I brought it home, read a little more about gathering maple syrup online, and we began the quick process of hanging the sap bags. Little did I realize just how much sap we would get! After just 48 hours, we had multiple gallons of sap and no real place to store it (again, 75% of the information is all I ever have and then I fake it till I make it).

Cooking

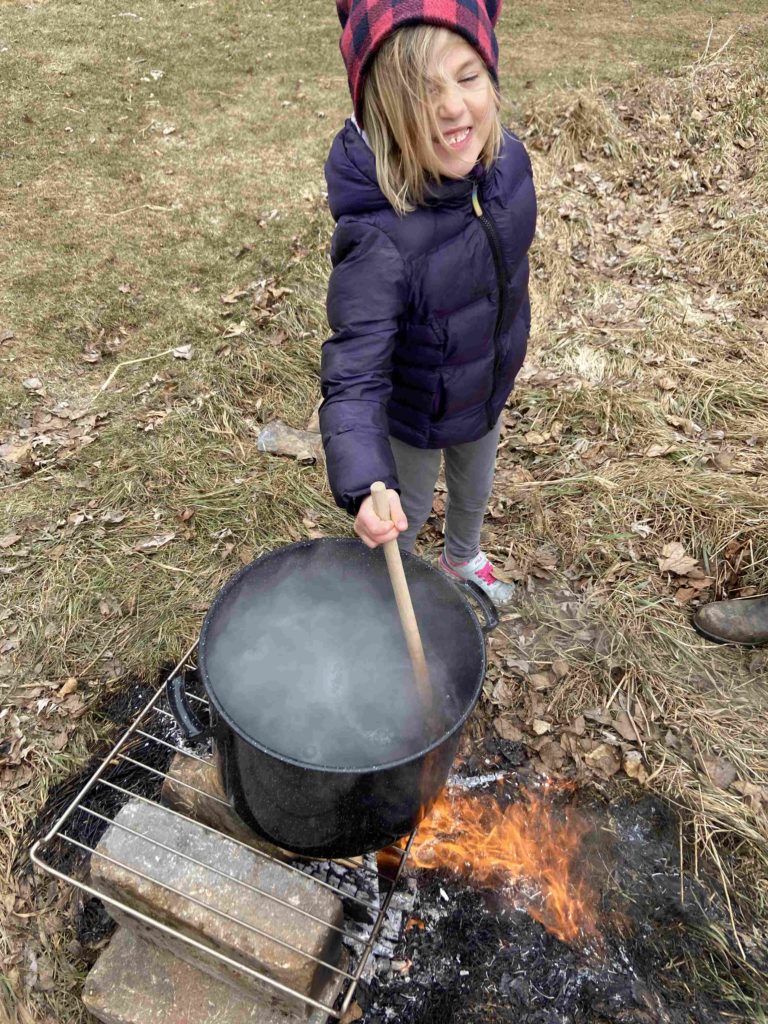
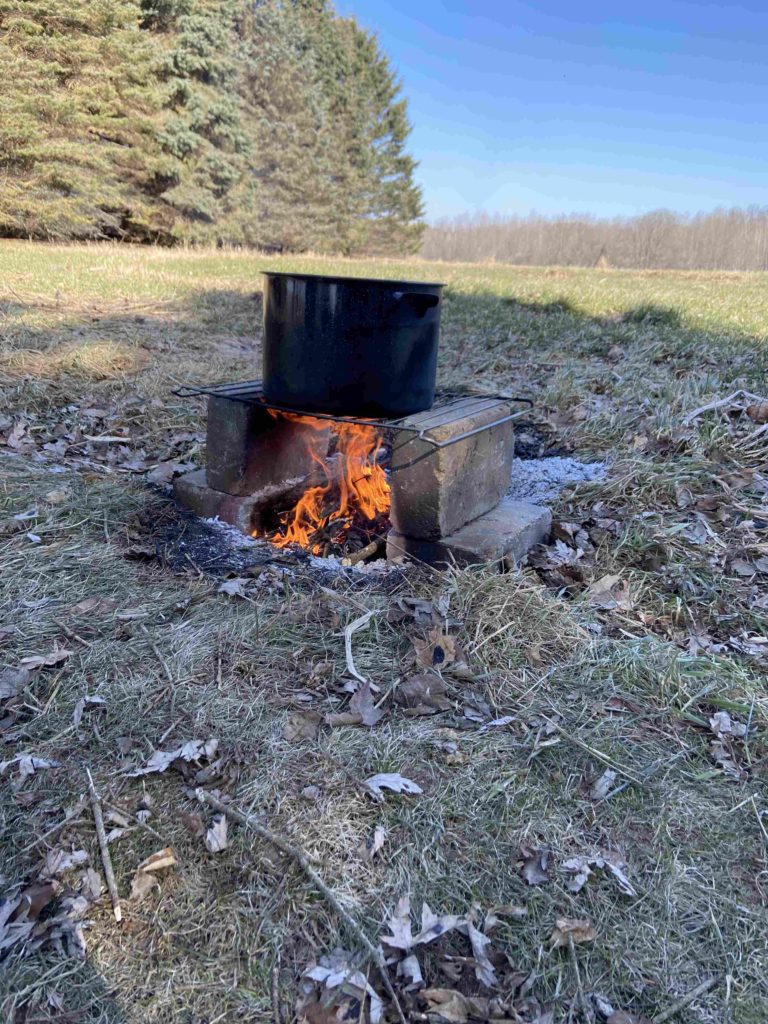
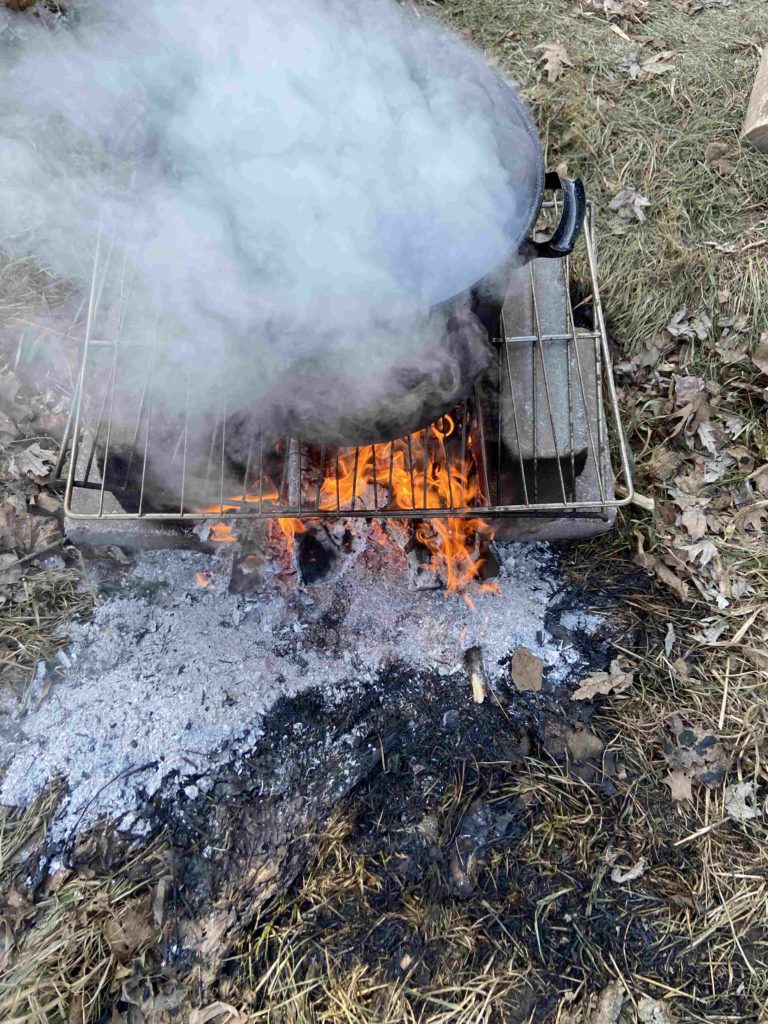
So begins the process of cooking maple sap down, in the middle of the week, after my husband and I had both worked a full day. We got home, ate dinner, and put together a fire outside, setting some 2 inch metal fencing from our garden on top of a few cinder blocks for the old kettles we had to sit on top. The sap got poured into the kettles and we boiled away, keeping the fire stoked.

Because we were using an old canning kettle (something taller than it was wide, so less surface area for the heat to reach), it took longer to boil down than either of us anticipated (75% of the information…maybe more like 50% 🙂 ), and we were so tired. The first time we cooked, we went to bed at 10:30-11 pm, but set an alarm for every 30 minutes so we could stoke the fire. I can’t help but laugh now as I remember that. I think I blocked that from my memory!

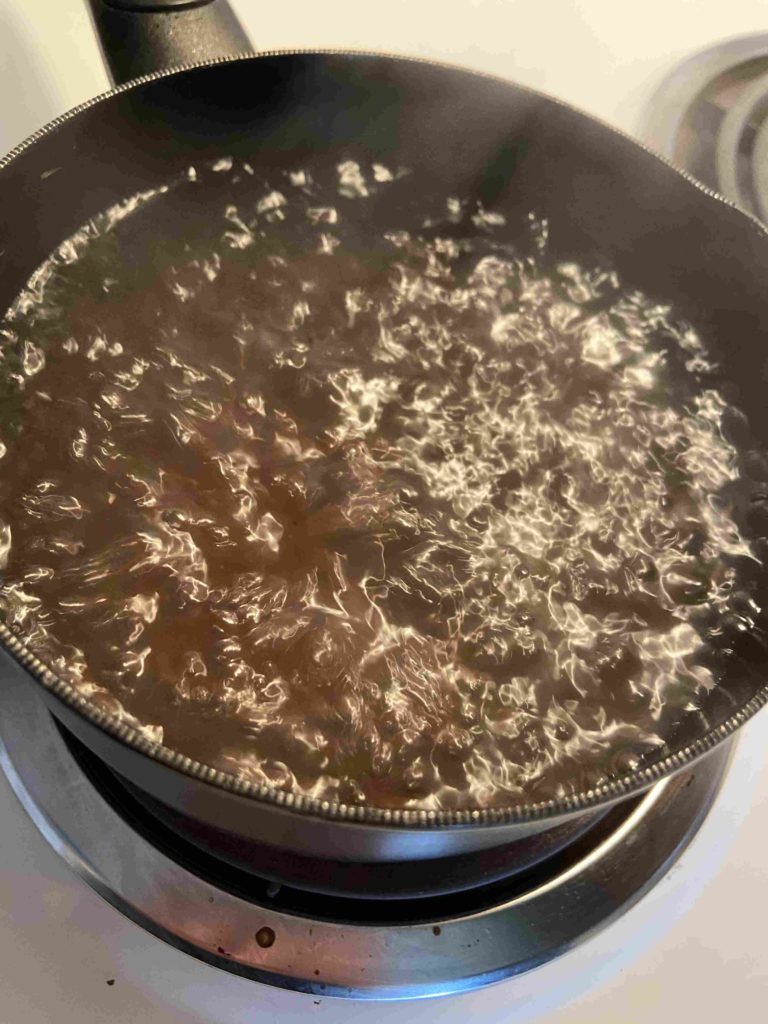
By 1 am, the sap had cooked down to about 1-1 1/2 quarts of maple syrup and we were able to bring it inside to finish it on the stove. From here, we boiled away until we had a hard boil, checking the temperature every few minutes. You have maple syrup once the temperature reaches 7 degrees above the boiling point of water (which varies based on your elevation). We hit that point, filtered it through cheese cloth twice, tasted the delicious syrup we had just made and worked SO hard to finish, and immediately collapsed back in our bed.

A sane person may quit after that experience 🙂 It wasn’t hard by any means, but it sure took a lot out of us. However, I got more excited (so did our kids), and although he would never admit it, my husband loved it. He got to spend hours around a fire with a beverage of his choice, watching the sap boil. It’s calming and healing, believe me. We learned crazy amounts after that first experience.

A few hints Before you start

  • Start the fire AS SOON AS YOU GET HOME.
  • Try to use wider pans to cook in to increase the surface area.
  • It’s best if you cook on the weekends so you can cook in the daylight.
  • Don’t chop your wood too close to the fire or hitting the kettle and losing all your sap may occur. Super sad!
  • You don’t need to fill the kettle to the top with sap to begin. Get a boil going and slowly add the rest of your sap.
  • Anyone can do this! It is rewarding and fun to learn.
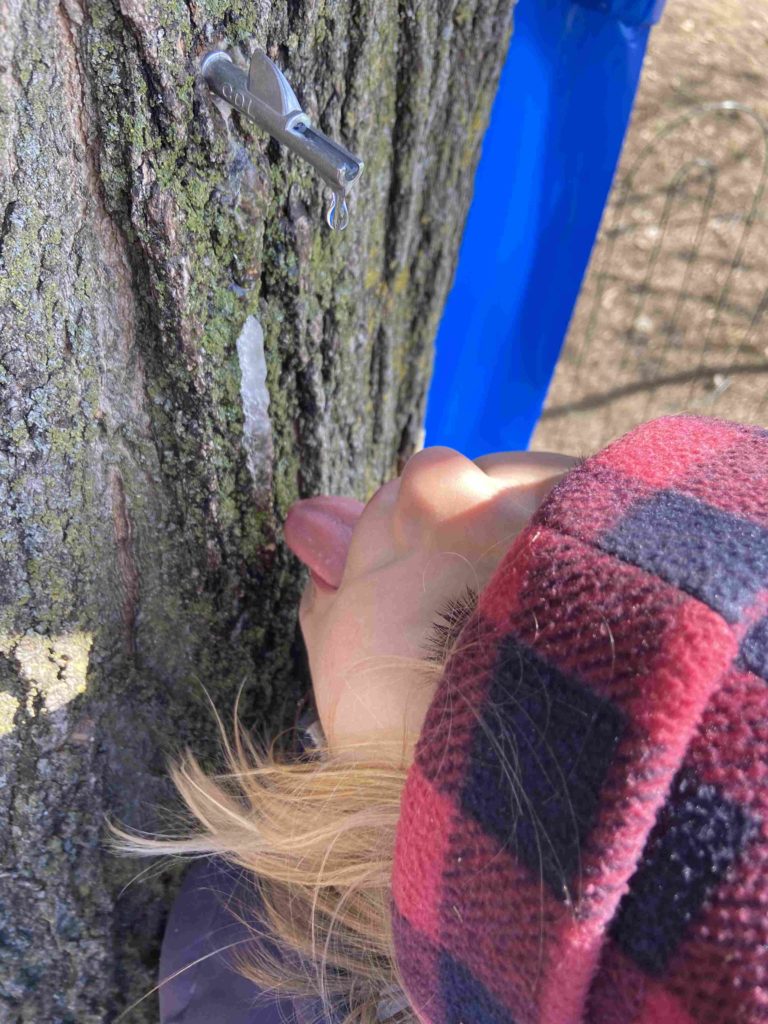
A perk for the littles: tasting the sap right out of the tree!

Now It’s your Turn!

This year, we tapped just two trees with four taps at my in-laws after our spring break trip fell apart. We figured we would be around and my husband’s family had never experienced it before. It wasn’t the plan, so we began by picking up a kit (simply because then we knew we had everything we needed. You will need:

  • Taps (four is plenty for your first go!)
  • Sap collecting bags (one bag per tap)
  • Hangers for the bags
  • A drill and drill bit to match the size of the tap as well as a hammer
  • Large cooking vessels that you are okay getting covered in carbon as they sit over the fire (think, the soup kettle you never liked anyway)
  • Lots of dry wood, cut smaller
  • Cinder blocks and some form of metal to set the cooking vessel on (wire, an old grill grate, metal posts, etc)
  • Cheese cloth to filter syrup when your finished cooking it down
  • Cooking thermometer, preferably digital

Tapping happens in the spring, when the nights are still below freezing but the days are warmer. The sap should run clear out of the tree. If it is cloudy, it is time to be done collecting. One trick sappers use is to watch for the tree leaves to bud out.  Once the leaves bud out you know that sapping season has come to a close. You can tap any maple tree, but sugar maple are going to be the highest sugar content. You will want to have the bags facing the south to keep them warmest during the day. I am going to write these directions assuming you have the same quantity sap we did with about 4 taps. I want the directions short and sweet so feel free to read around the Internet for more information!

1. Drill a hole into the tree at about chest height, initially going straight in but angling up just slightly to encourage sap flow. The depth of your hole should be about 2 – 2 1/2 inches. (How many taps can a tree hold? Check the diameter: 10-20 inches = 1 tap, 20-25 inches = 2 taps, over 25 inches = 3 taps)

2. Insert the tap into the tree and gently use a hammer to get it inserted the rest of the way. Depending on the temperature outside, the tree may begin dripping sap immediately (if it is warmer). It dripped immediately at my in-laws, but took a while to drip at our own home. Don’t fret.

3. Wrap your bags around the metal ring and insert back into the hanger. Hang bags on the tap, making sure that the spout is dripping inside the bag.

4. Walk around and check on them because you’re just so happy you tapped your first trees.

5. As your bags fill, know that you can truly cook at any time, but be mindful of the size of your cooking vessel. The ratio of sap to syrup is approximately 40:1, that is for every 40 gallons (cups, whatever) of sap you collect, you will get 1 gallon (cup, whatever) of syrup. Whenever you are ready, pour the sap into a kettle and place the bags back on the hangers to continue to collect.

6. We like to build a fire, but protect it with cinder blocks on each side. The first year, we use blocks that had holes in them. This year, we bought solid blocks from Fleet Farm, and they held up to the heat much better. Place the metal grate, wire, etc. on top of the blocks and put the kettle on top.

7. Boil. And boil some more. Keep the fire hot. Sit around with a beverage of your choice (coffee til cocktails, anyone?) and reconnect with nature and your friends. Boil until you’ve reached the point that you have approximately 1-2 quarts left of your sap. That is, once it has begun to turn that glorious syrup color and you have a kettle small enough to finish it off on the stove.

8. CAREFULLY pour your “almost syrup” into the smaller kettle, and bring to a boil on your stove. I told my husband the boil changes when it’s getting closer and he agreed, but I don’t quite know how to describe it. You will notice it too though, I am certain. Stir the “almost syrup” often, and check the temperature every few minutes. It will take longer than you think it should.

9. You have syrup once the temperature reaches 7 degrees above the boiling point of water at your elevation. If you are under 1000 ft above sea level, that will be 219 degrees, but you may want to do an Internet search on the boiling point for your own town. (There are other ways to check for syrup beyond temperature…fancy: hydrometer that measures sugar content, not fancy: spoon test and seeing how it falls off a metal spoon. I recommend just using a digital thermometer)

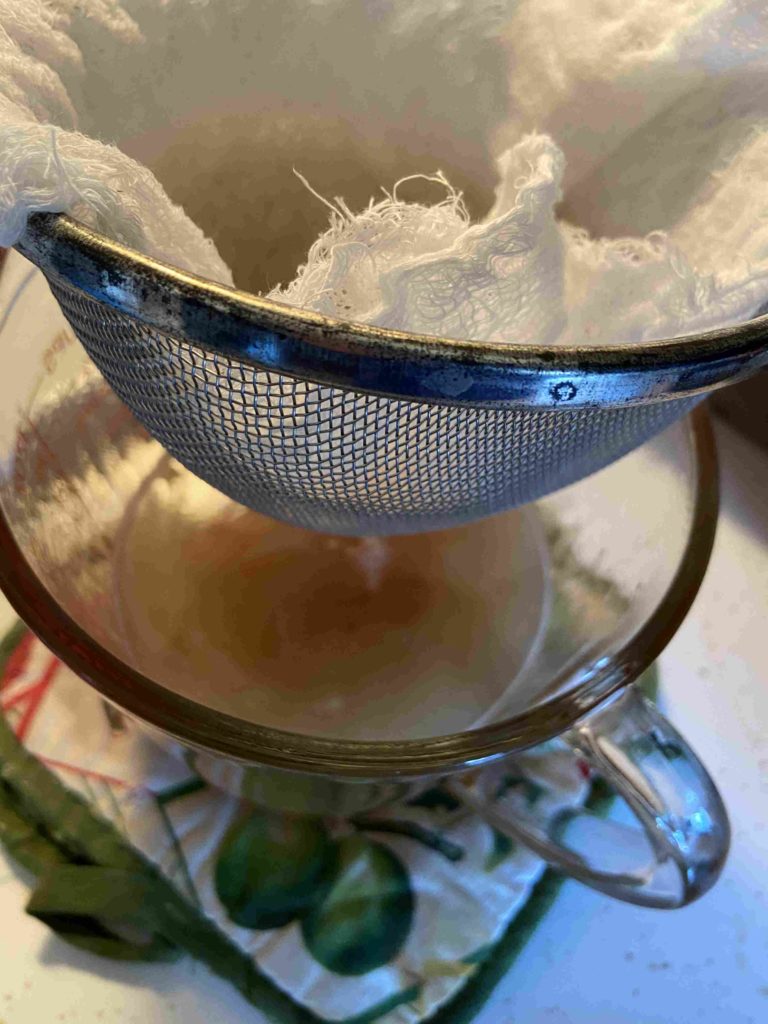
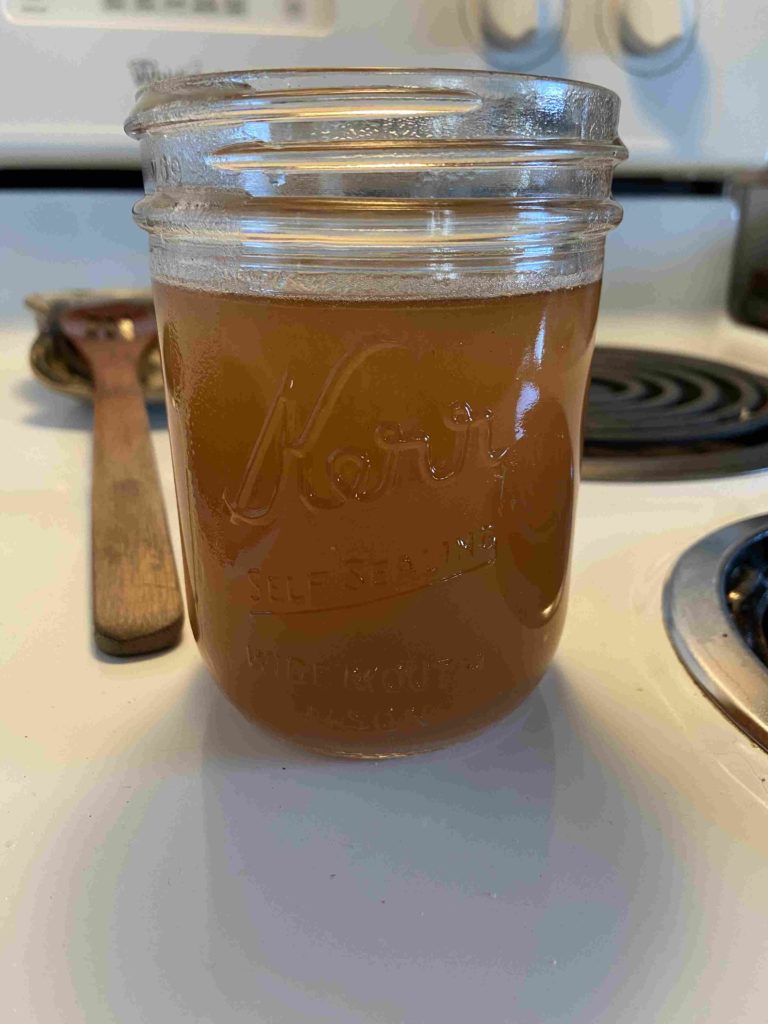
10. Once you reach the right temperature, you will want to filter the syrup through cheese cloth. We like to put the cheese cloth over a small mesh colander and pour it into a larger measuring cup (see picture). Then we filter it once more from the measuring cup into a mason jar (or whatever you want to store your syrup in). Allow to cool, and then store in your refrigerator.

That’s it! In just 10 steps, you have made your very own maple syrup. It’s great with all of your breakfast goodies like waffles (I have a great recipe here!), as a refined sugar replacement (check out the energy balls here!), or even as your sweetener in your coffee. I hope you enjoyed it as much as we do and start a family tradition like we have 💗

Looking to find more treats that the Earth has to offer? Check out some of the links below:

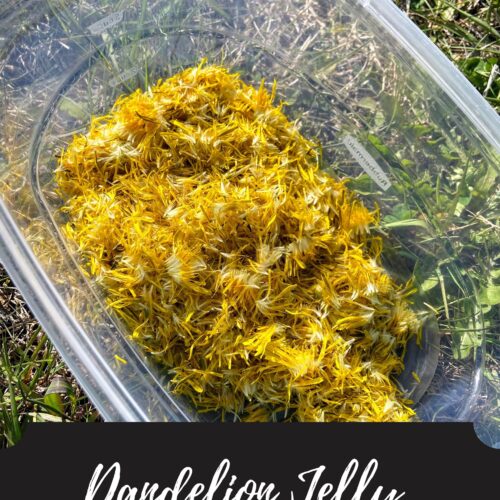
Dandelion Jelly

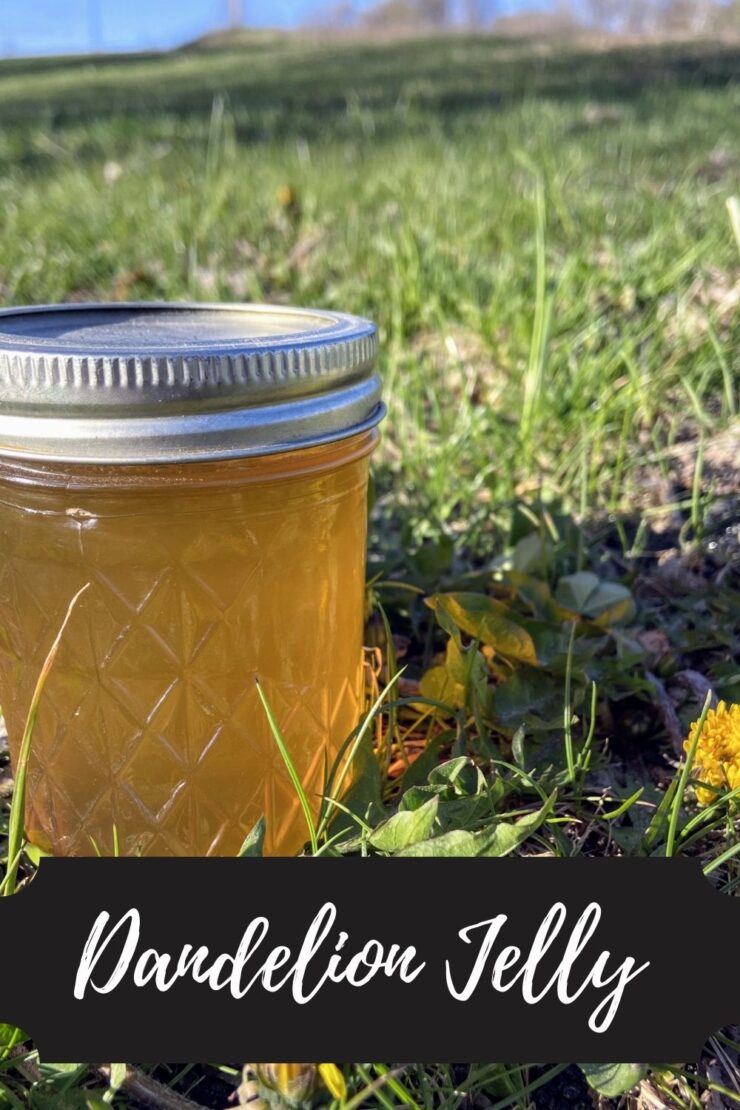
Yup. You read that right. Dandelion jelly. I know it sounds crazy, but it is so tasty! Light and sweet, like honey. And you know what, it’s the time of year where I get the itch to can and work in my garden. Yes, I know there is still loads of winter left, but a girl can start dreaming, right?

I began having a fascination with foraging nature around me to make food in my kitchen about a year ago. Last year, my sister bought me the book Midwest Foraging by Lisa M. Rose, and my interest got stronger. I flipped through that book like a coffee table book and took mental notes on things I would like to try.

Fast forward to May last year. The dandelions were all over my yard, and I decided I had to try it. I mean, what’s the worst that could happen? I would be out a few hours of work, some sugar, and pectin. My daughter, mother in law, and I walked the yard, harvested dandelions, and I set to work. As I was pouring the last of the jelly into jars to go in the water bath canner, I said, “Well, here’s goes nothing…let’s try it,” and we stuck a spoon in the remains on the kettle. My daughter immediately asked for a second try and declared, “I want that on toast in the morning!” So give it a try. You will be pleasantly surprised with how good it actually is. You may even begin to be like me, looking over fields of dandelions, seeing all sorts of potential 🙂

Your ingredients:

  • 4 cups yellow dandelion blossoms (see my notes about harvesting these)
  • 1 box of powder pectin
  • 2 Tablespoons lemon juice
  • 4.5 cups of sugar
  • two quarts of water
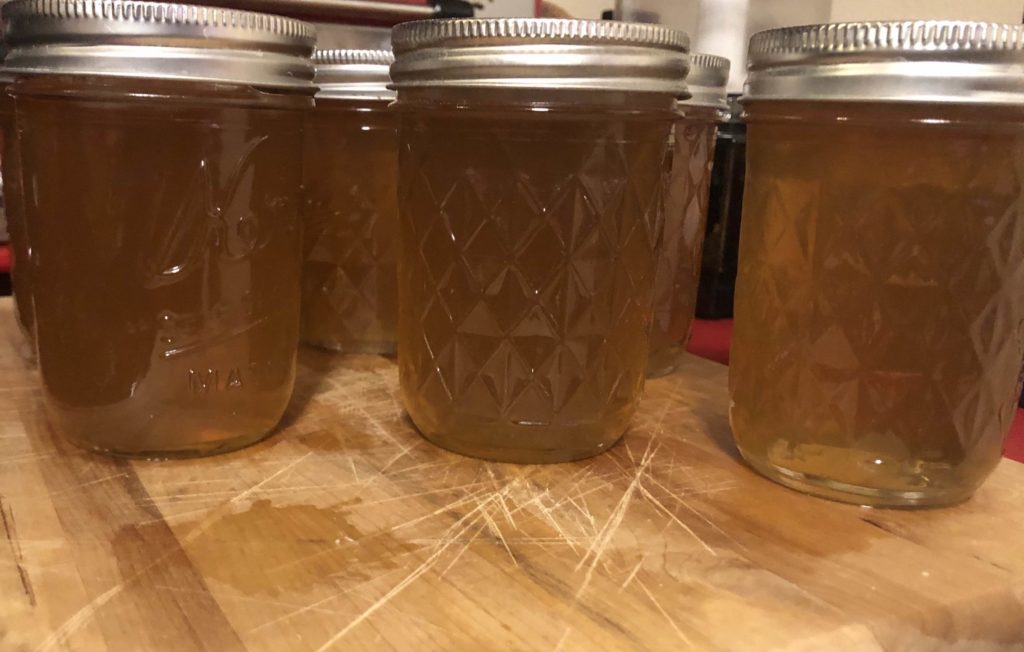
  • jelly canning jars, lids, and rings, prepped for canning. I got 6 jelly (half pint) jars worth of jelly.

Your steps to dANDELION JELLY:

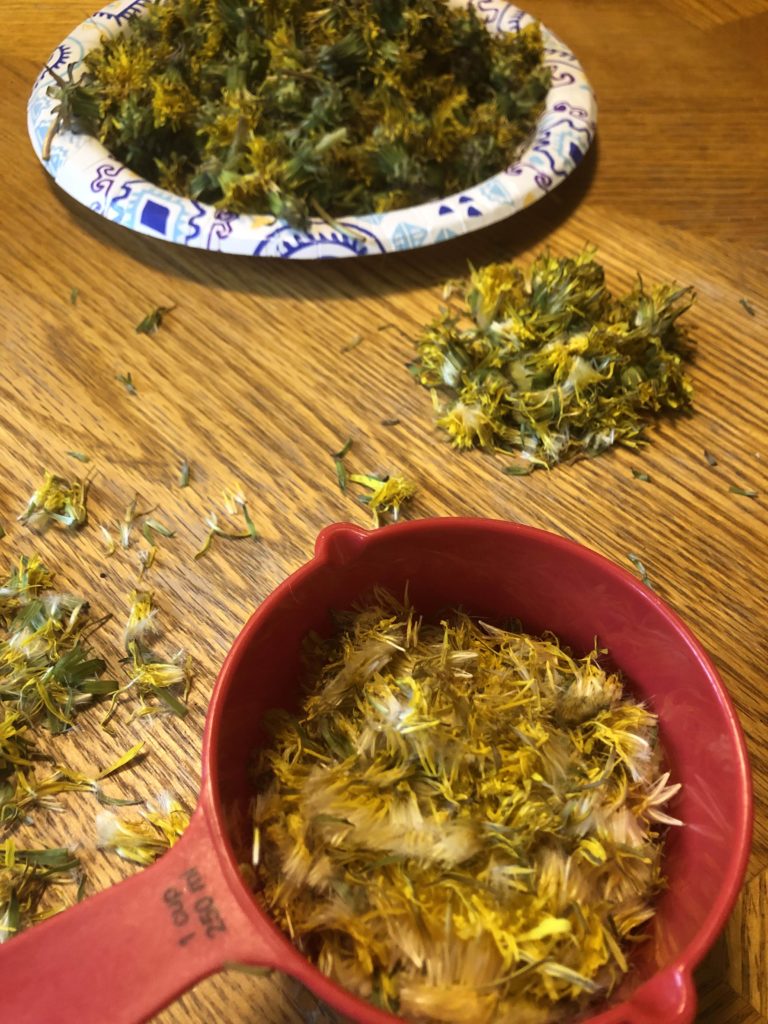
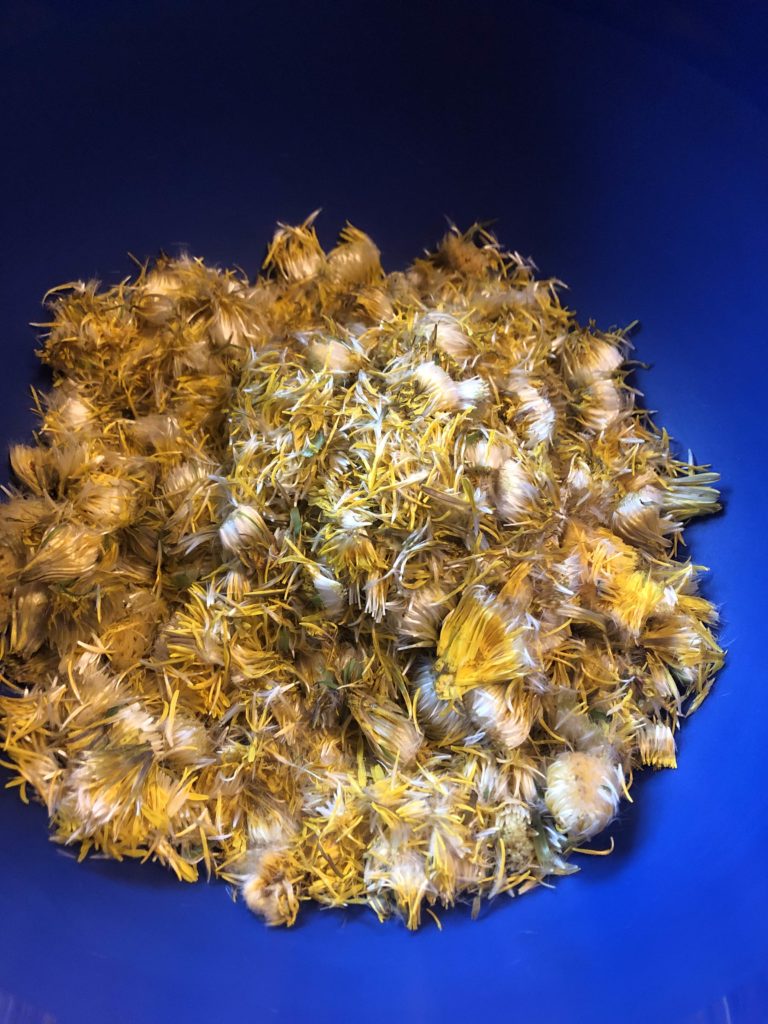
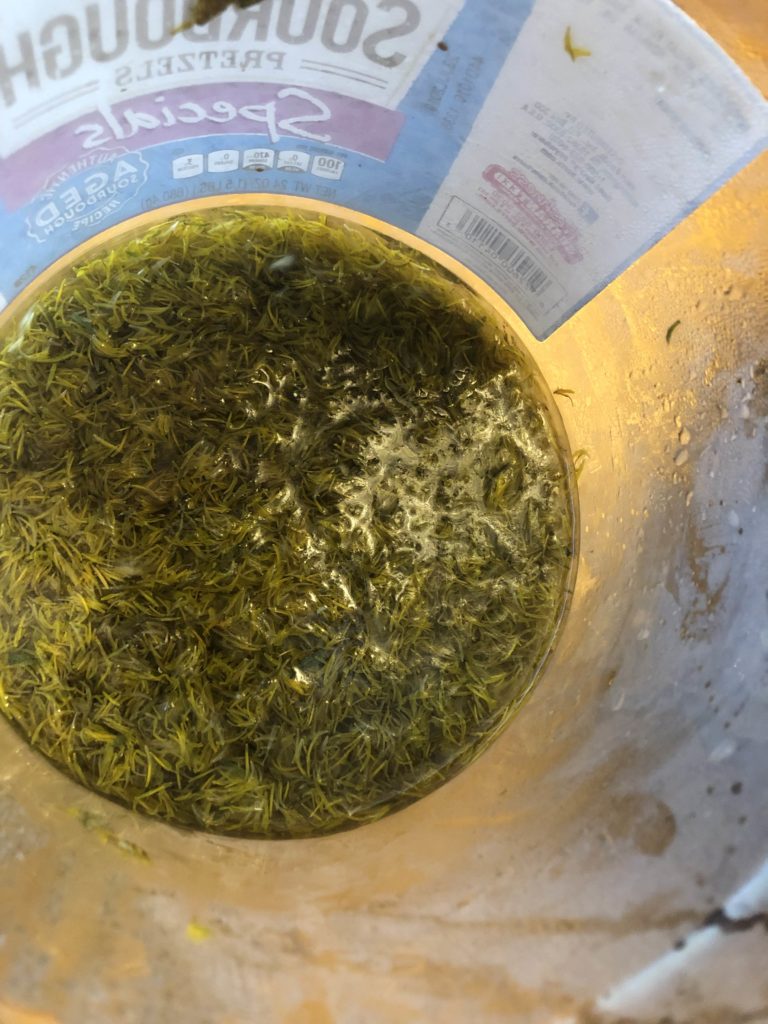
First, harvesting the dandelion greens. I did this over a few days and I learned a lot. Begin by just taking the heads of the dandelions. Plan on trimming them soon after you take the heads from the plant. I found it easiest to hold the flower end in one hand and cut the green end off. Then I would peel the remaining green off. I would put the yellow/white part into my measuring cup and compost the green portion. Find a friend or two, it takes a little time to complete this, but it makes for great time for conversation.

Back to the recipe! Bring a few quarts of water to boil and pour it over the blossoms in a bowl that can be covered. Allow this to come to room temperature and then stick it in the fridge overnight. You are essentially creating a dandelion tea. (Mine is always this weird dingy greenish-yellow when I when I am done. Initially, I was worried about the color the jam would have, but it turned out just perfect!)

Jelly time!

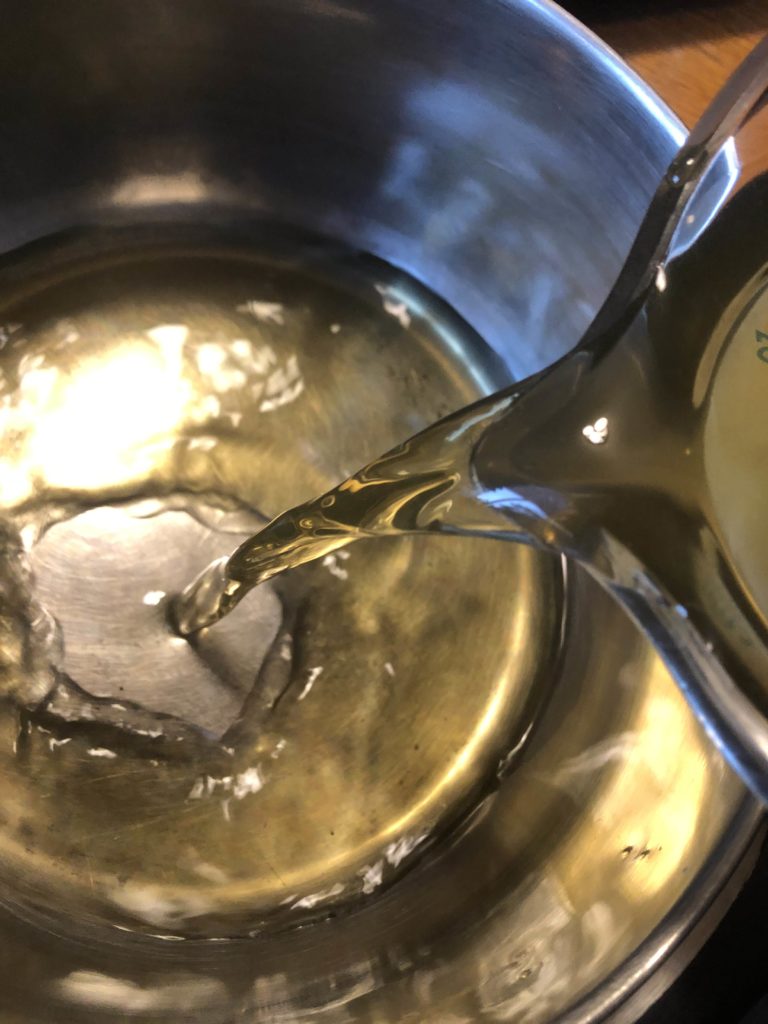
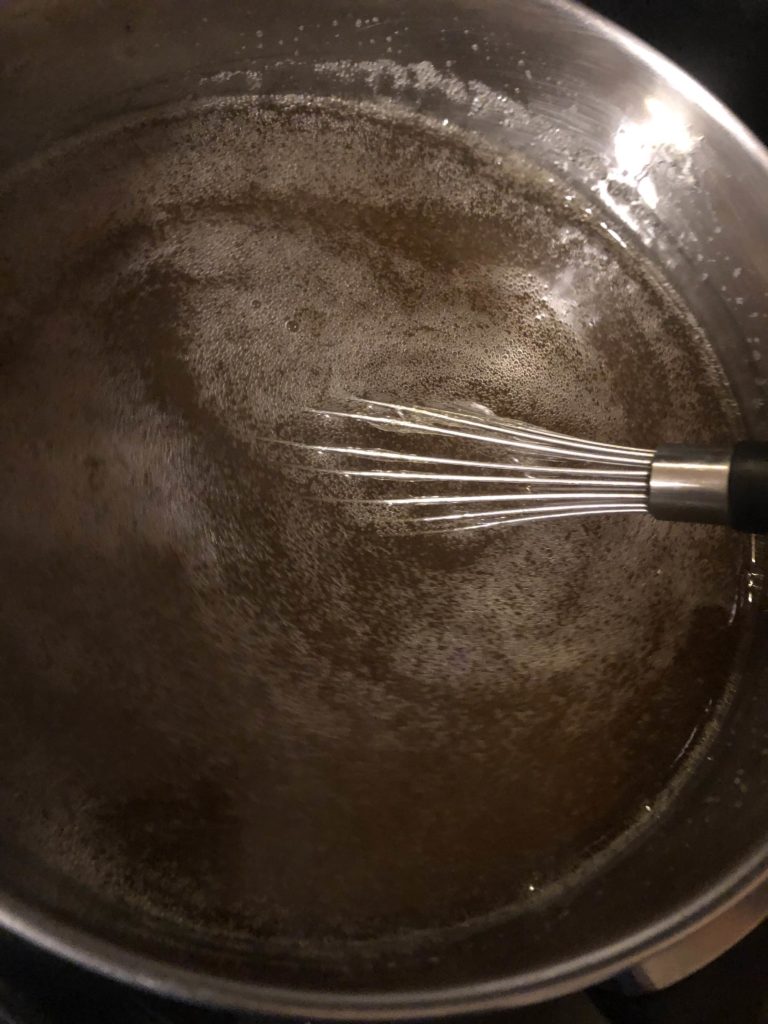
The following day, start heating your water bath canner with enough water to cover your jelly jars with at least 2 inches of water. Measure 3 cups of the dandelion tea, straining out the blossoms and keeping only the liquid. Pour this into a larger kettle. Add powdered pectin and the 2 T of lemon juice. Bring to a boil. Once you have achieved a rolling boil, add sugar. Return to a rolling boil, stirring quite often, if not always. Once you have reached a rolling boil, time for 1 minute, stirring the whole time.

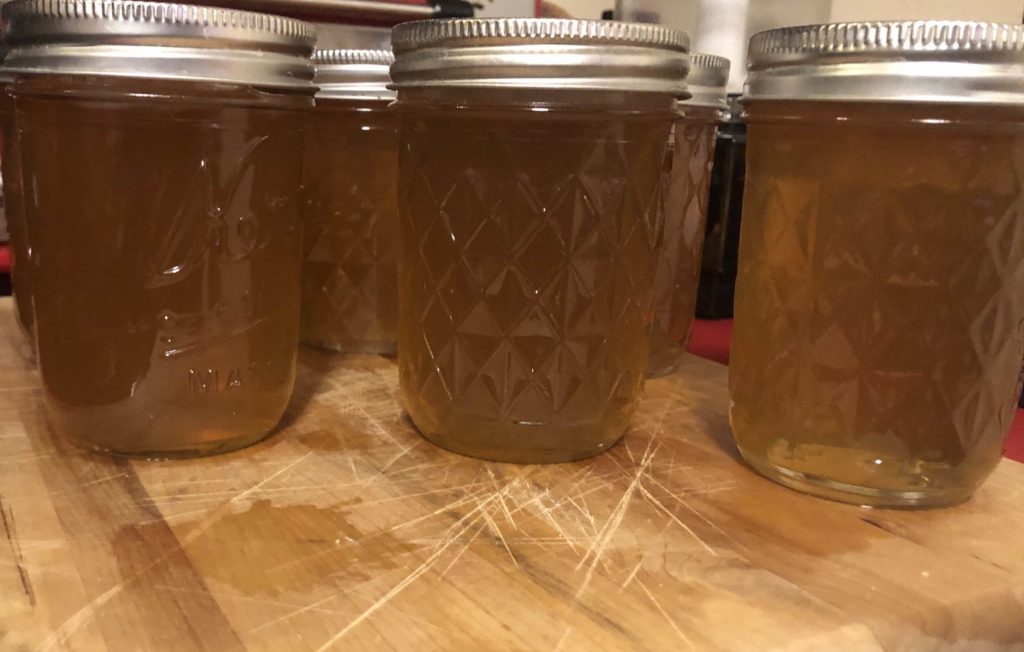
Ladle jelly into prepared jelly jars, wiping the edges, adding lids, and putting rings on to finger tip tight. Put into water bath canner and process for 10-15 minutes. I did 15 minutes because my altitude is greater than 1000 feet. Remove from canner and allow to cool for 12-24 hours before moving. My kids love this dandelion jelly. We eat it on toast, on PBJ, you name it! My daughter even requests it on her waffles from time to time!

Dandelion Jelly

Sweet and simple jelly created from the balls of sunshine found in any yard in the spring!
Prep Time 1 hour
Cook Time 25 minutes
Rest Time 1 day
Course Breakfast
Cuisine Canning
Servings 16

Ingredients
  

  • 4 cups yellow dandelion blossoms see my notes about harvesting these
  • 1 box of powder pectin
  • 2 Tablespoons lemon juice
  • 4.5 cups of sugar
  • two quarts of water
  • jelly canning jars lids, and rings, prepped for canning. I got 6 jelly (half pint) jars worth of jelly.

Instructions
 

  • First, harvesting the dandelion greens. Begin by just taking the heads of the dandelions. Plan on trimming them soon after you take the heads from the plant. I find it easiest to hold the flower end in one hand and cut the green end off. Then peel the remaining green off. Measure 4 cups worth of blossoms.
  • Bring a few quarts of water to boil and pour it over the blossoms in a bowl that can be covered. Allow this to come to room temperature and then stick it in the fridge overnight.
  • The following day, start heating your water bath canner with enough water to cover your jelly jars with at least 2 inches of water.
  • Measure 3 cups of the dandelion tea, straining out the blossoms and keeping only the liquid. Pour this into a larger kettle. Add powdered pectin and the 2 T of lemon juice. Bring to a boil.
  • Once you have achieved a rolling boil, add sugar. Return to a rolling boil, stirring quite often, if not always. Once you have reached a rolling boil, time for 1 minute, stirring the whole time.
  • Ladle jelly into prepared jelly jars, wiping the edges, adding lids, and putting rings on to finger tip tight. Put into water bath canner and process for 10-15 minutes. I did 15 minutes because my altitude is greater than 1000 feet. Remove from canner and allow to cool for 12-24 hours before moving.
Tried this recipe?Let us know how it was!