Pistachio Lime Thumbies

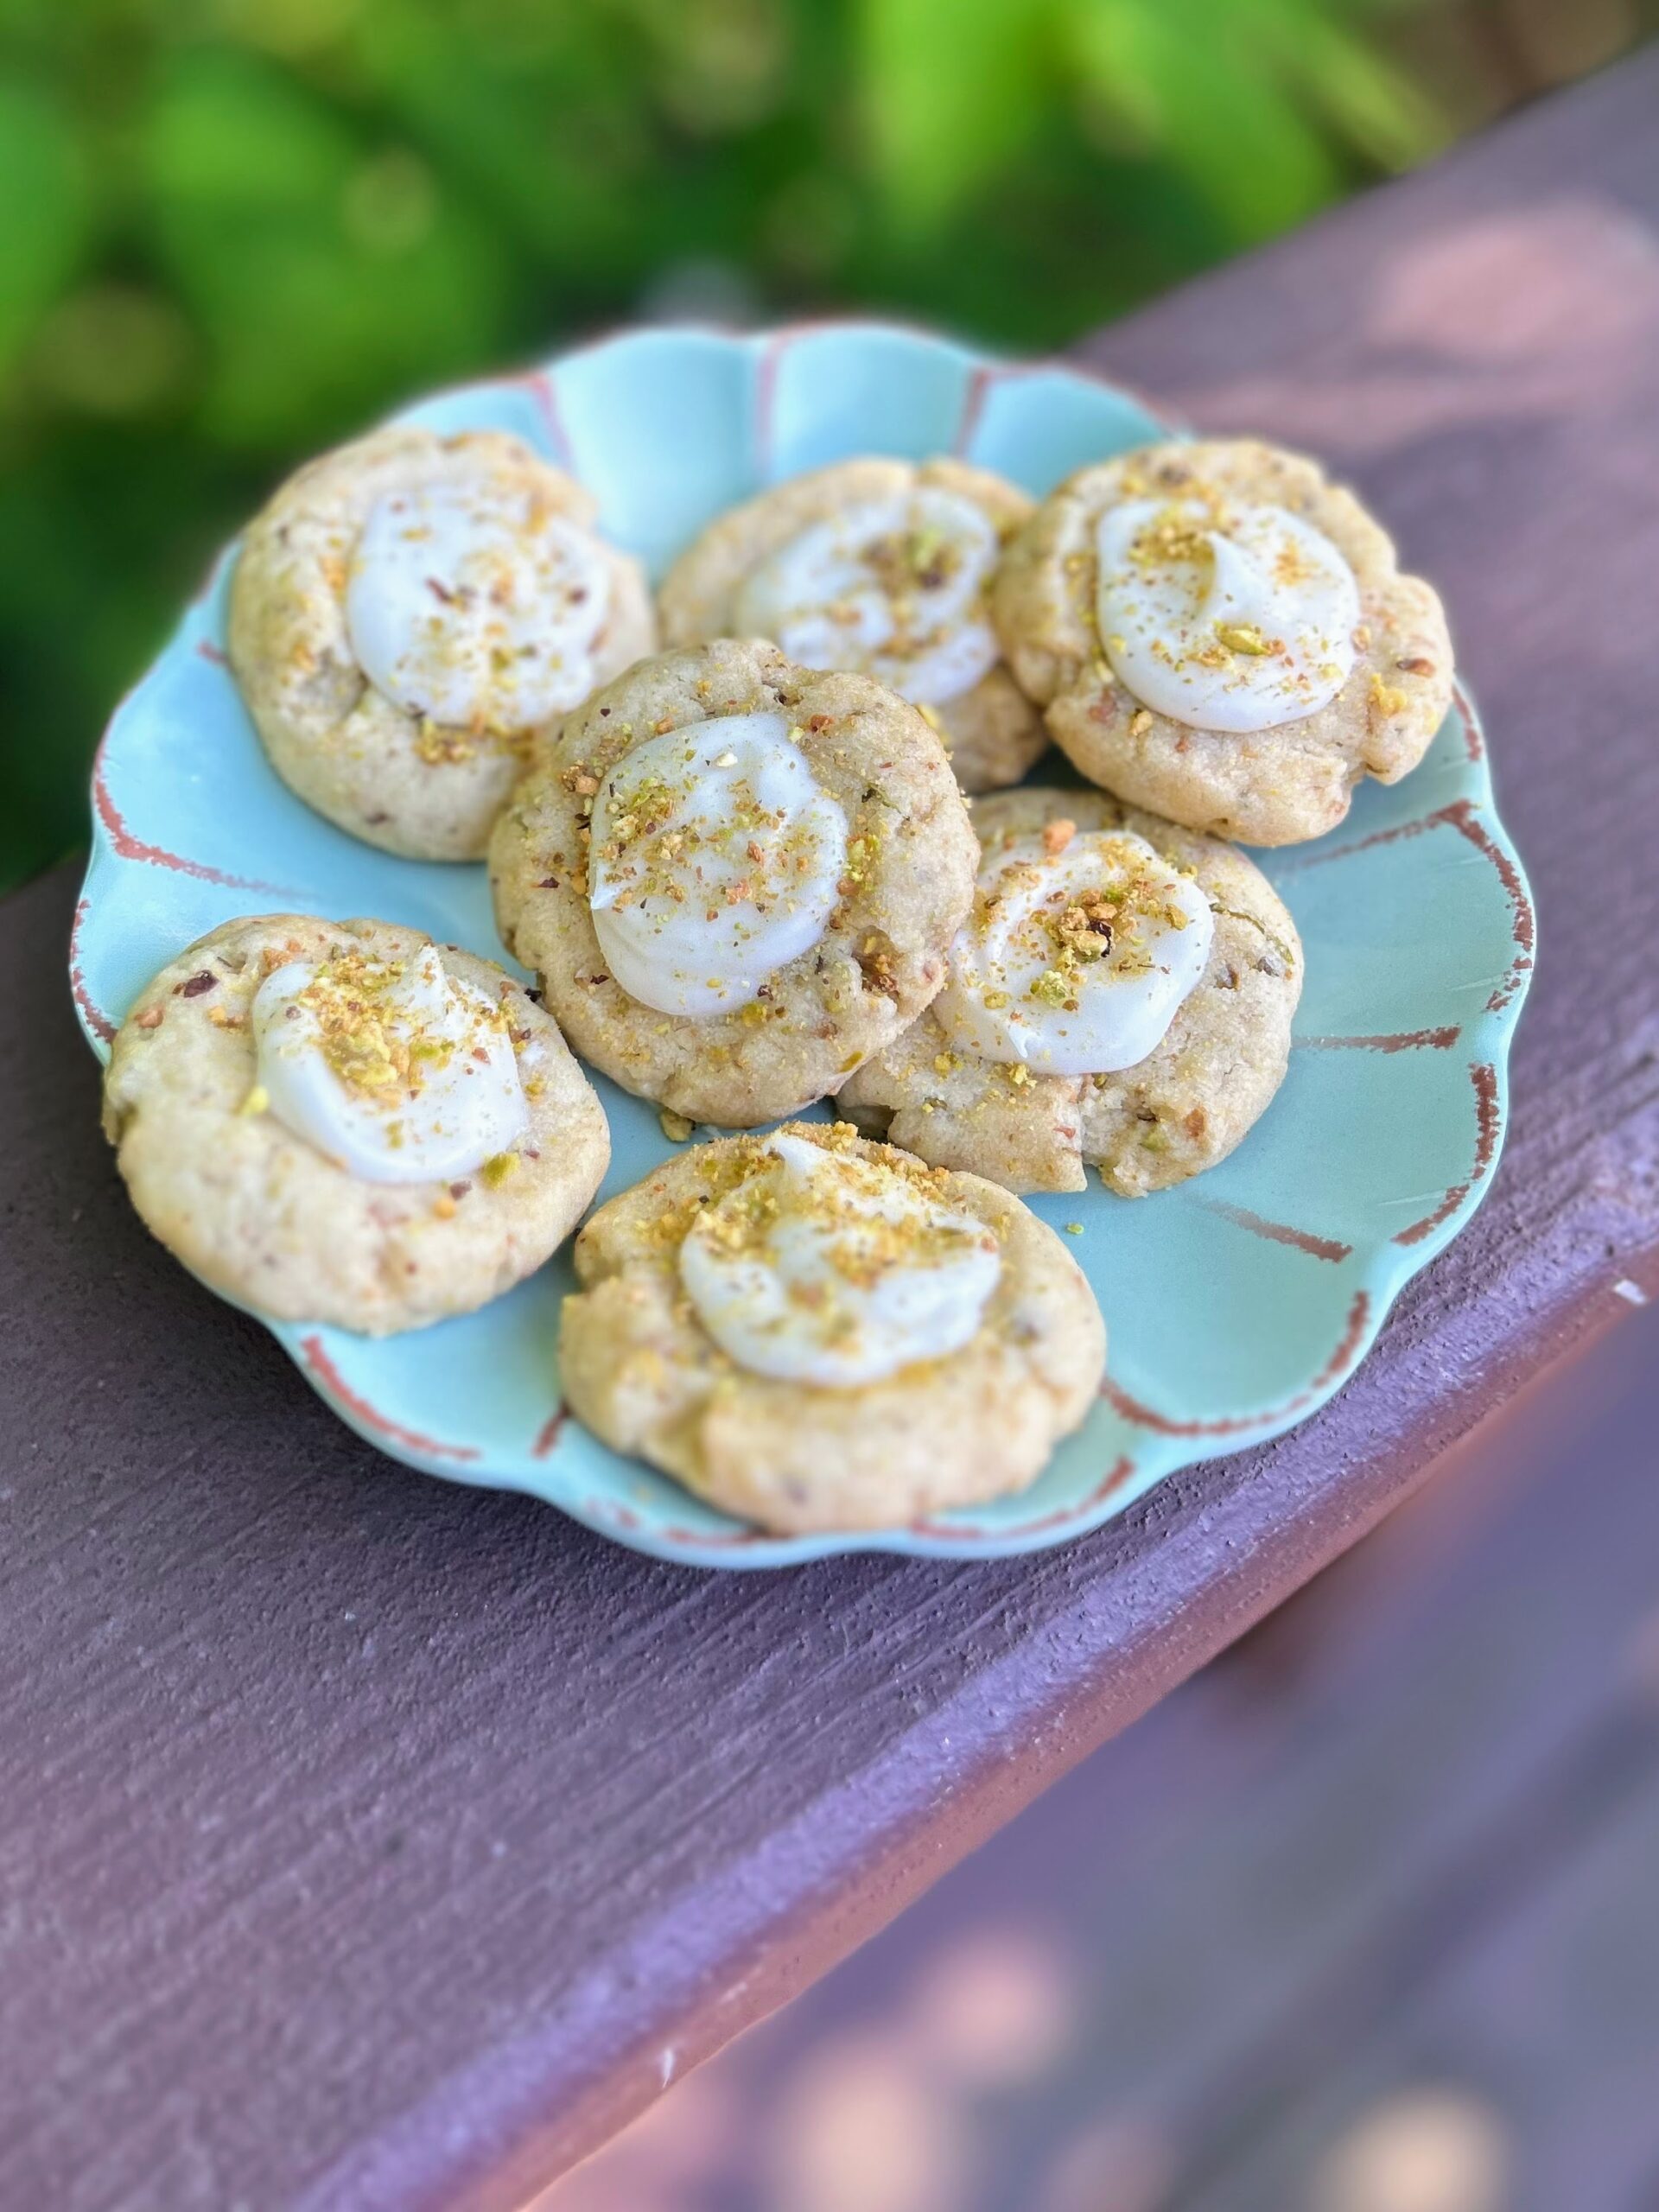
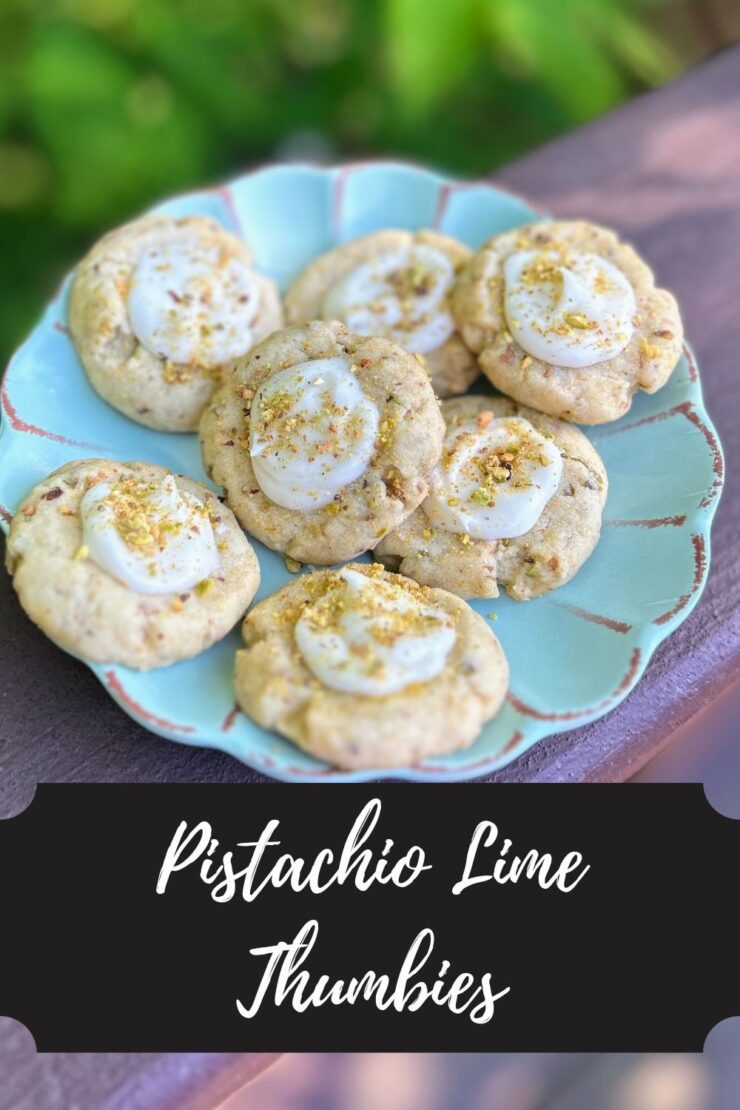
Oh these cookies. I had the hardest time naming them. Pistachios. Lime. Shortbread. A delightful frosting. What name could capture all of that loveliness?! I took to social media and got lots of recommendations and Pistachio Lime Thumbies had to be the winner! 

Earlier this summer, I was baking from the cookbook The Great British Baking Show: Favorite Flavors for a foodie collab I have on Instagram and I was drawn to Pistachio Melting Moments. They were beautiful and so dang good.  However, they were also bit of work, as with most recipes in this cookbook. I think they have proved to be worth it, but not everyone thinks like me. So, I wanted to play with the recipe and create a simplified version. 

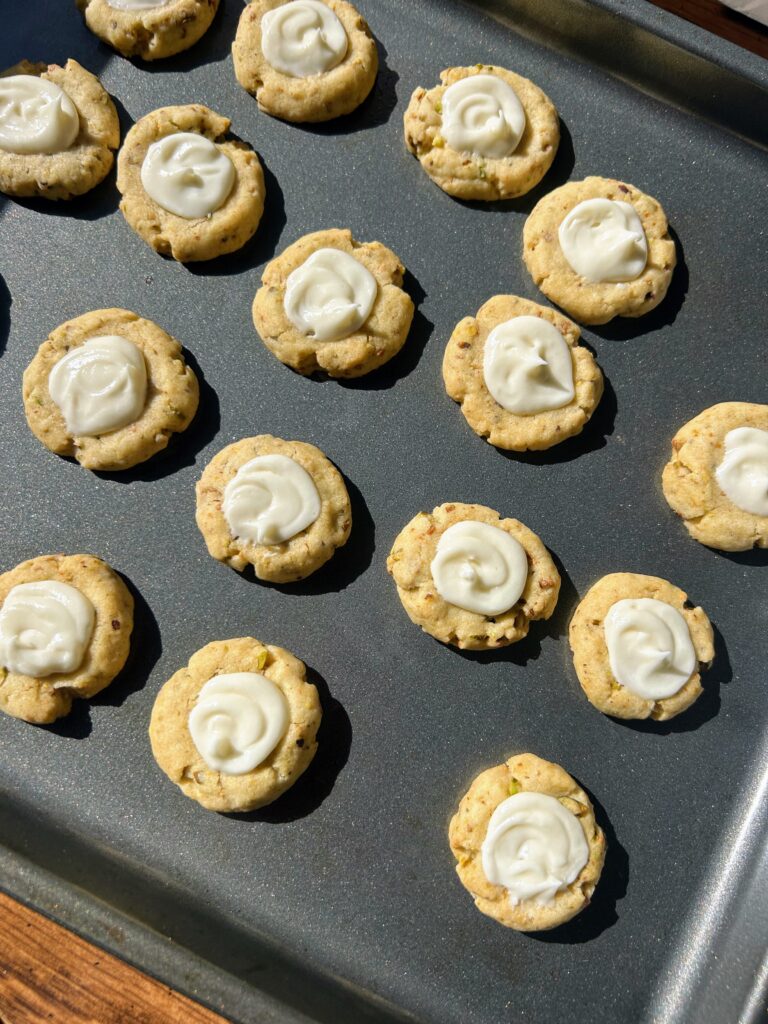
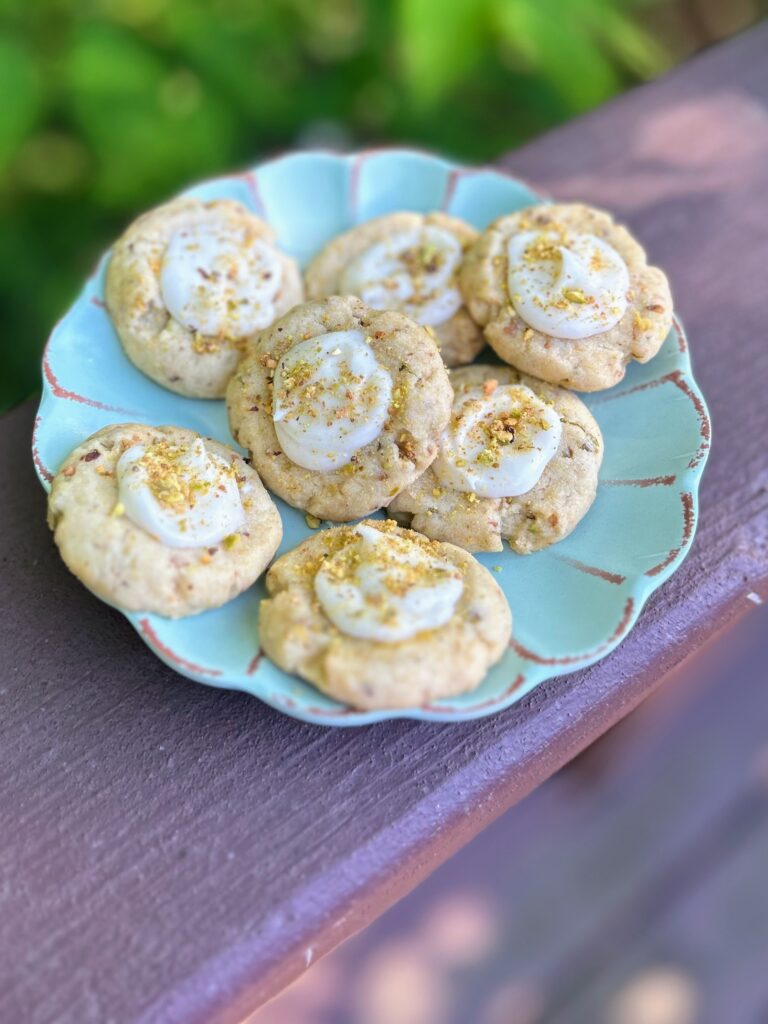
These Pistachio Lime Thumbies start as a simple shortbread with ground pistachios and a bit of lime zest. They get the thumbprint treatment to provide a little well for a lime buttercream frosting and a sprinkle of ground pistachio. Not too challenging and a flavor combination that is divine. But, if you want to skip the frosting, they could totally get the Russian Tea Cake treatment by bypassing the frosting and rolling them in some powdered sugar. Either way, they are TASTY! 

Ready to start baking? Let’s do this thing! 

Your Ingredients

Shortbread

  • ½ cup butter, softened
  • ½ teaspoon vanilla
  • ⅓ cup powdered sugar
  • 1 cup flour 
  • ½ tablespoon cornstarch
  • ½ tablespoon milk 
  • ¼ teaspoon salt 
  • ⅓ cup ground pistachios (I buy the lightly salted shelled pistachios from the snack aisle and grind them in my small food processor) 
  • Zest of one lime

Frosting

  • 2 tablespoons butter, softened
  • 1 teaspoon vanilla 
  • Pinch of salt 
  • 1 cup powdered sugar
  • Juice from one lime (1-2 tablespoons)
  • Splash of milk, as needed
  • Additional ground pistachios 

Your Steps to Pistachio Lime Thumbies

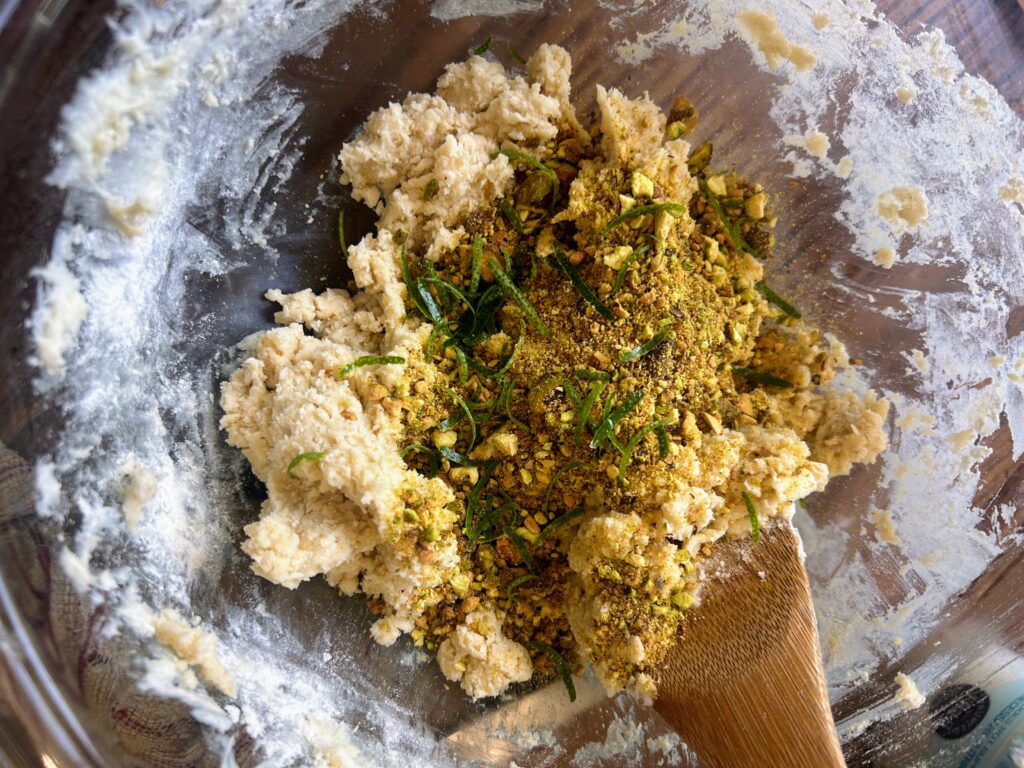
In a medium bowl, cream butter and sugar. Add the vanilla and mix until well combined. Combine the flour, cornstarch, and salt. Cream the flour mixture with the butter and sugar, mixing well. Stir in the milk and the pistachios, mixing until a ball is formed. 

(Note: For the pistachios, I like to purchase the lightly salted shelled pistachios from the snack food aisle at the grocery store. Then I grind them myself in a small food processor. Make sure they are ground well so they get fully incorporated. Also grind a little extra for sprinkling on the frosting) 

Remove the dough from the bowl, wrap in plastic wrap, and chill for an hour. 

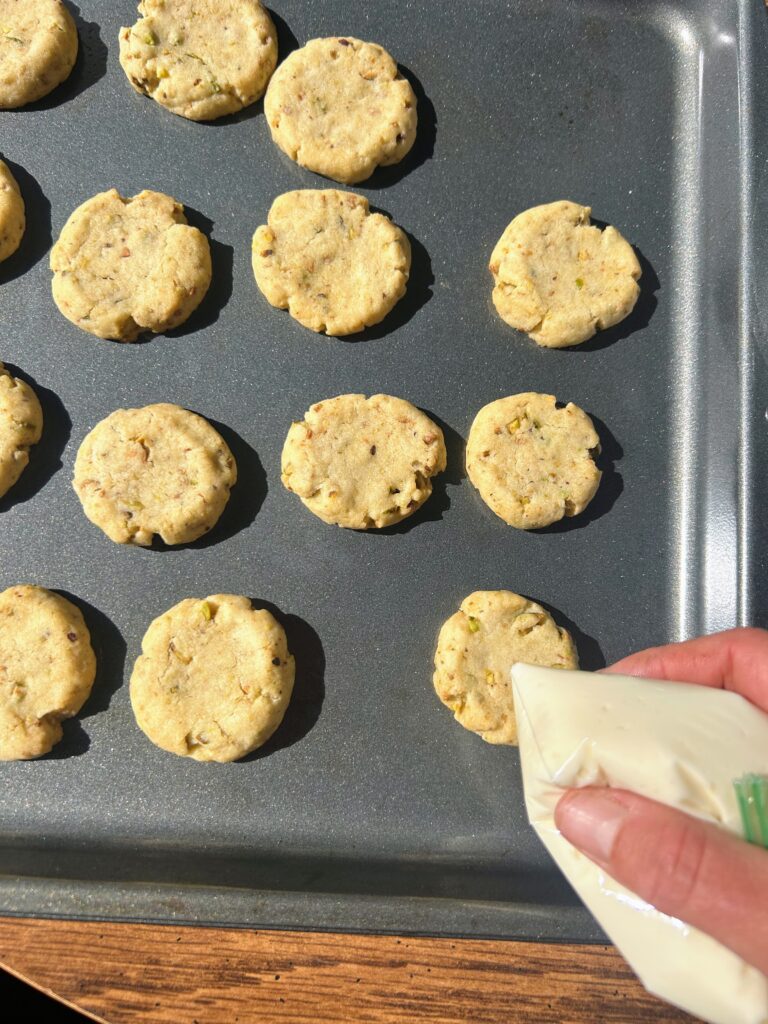
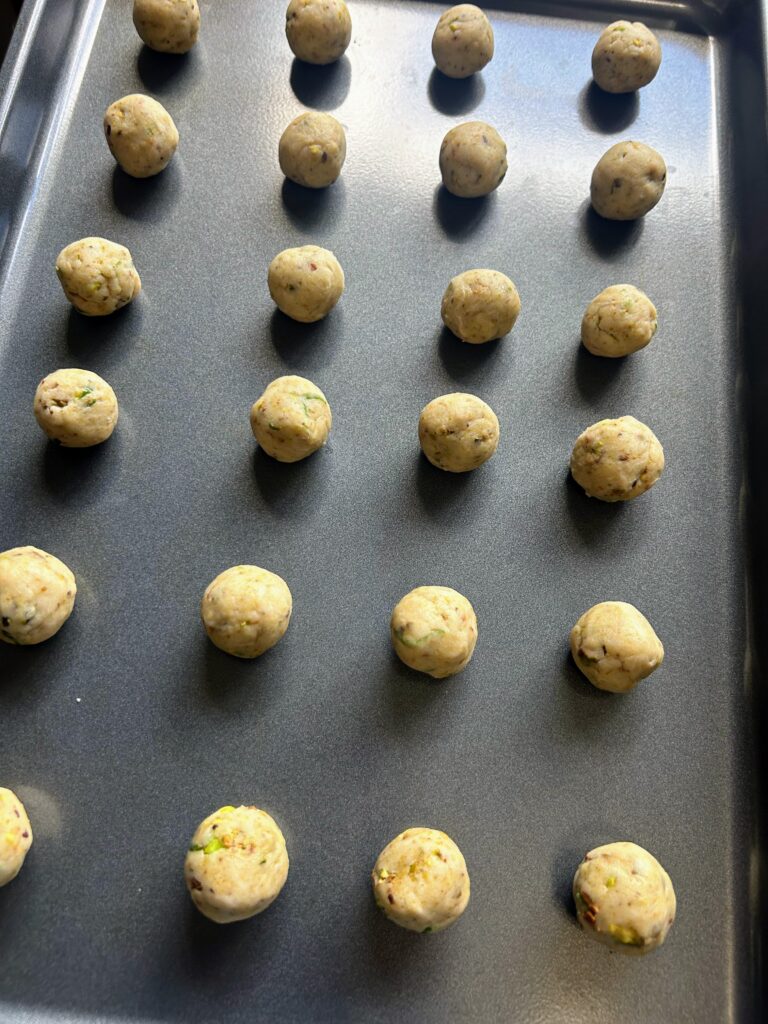
Once chilled, form into 24 balls, approximately a half of a tablespoon of dough. Place on an ungreased baking sheet and press down with your thumb to form an indent for the frosting, flattening a couple times. From here, preheat the oven to 350 degrees (325 on convect) and chill the cookies one more time while the oven preheats. 

Time to Bake!

Bake for 12-15 minutes, until the cookies are just starting to brown. Shortbread is easy to overbake so watch them carefully. Once done, remove and allow to cool. 

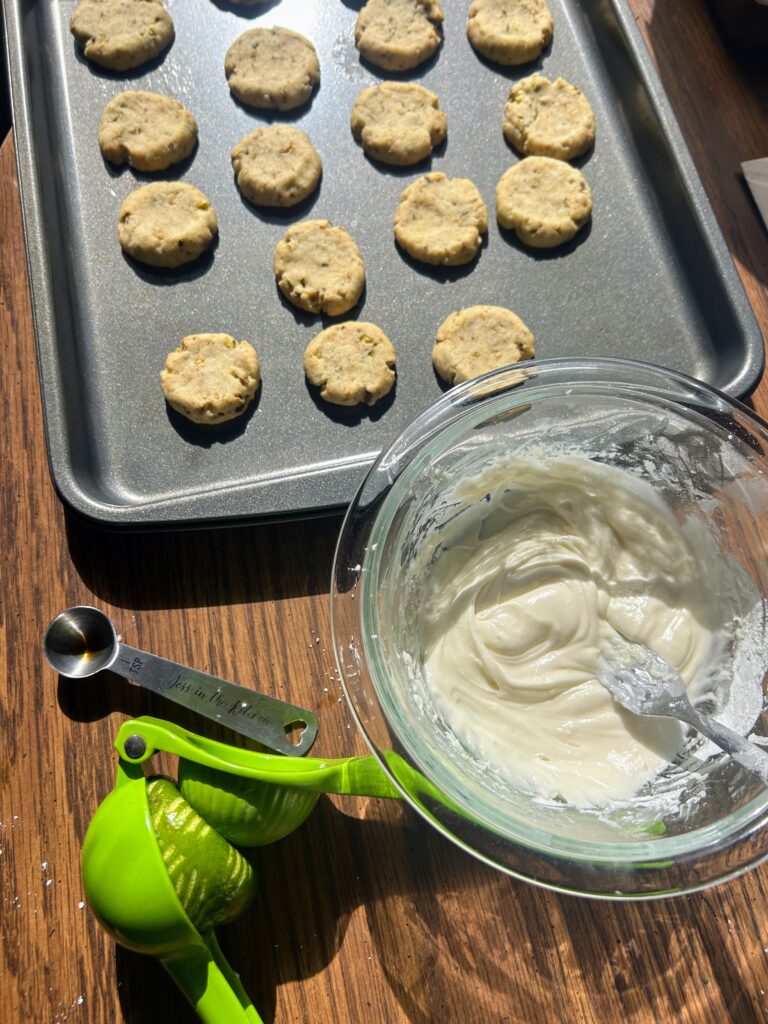
Meanwhile, make the frosting. Cream the butter and vanilla. Stir in the powdered sugar and a pinch of salt. Add the lime juice and cream until a smooth frosting is formed. Give it a taste test. If it is too tart, add a bit more sugar. If it is too thick, add a splash of milk (a tablespoon or so). 

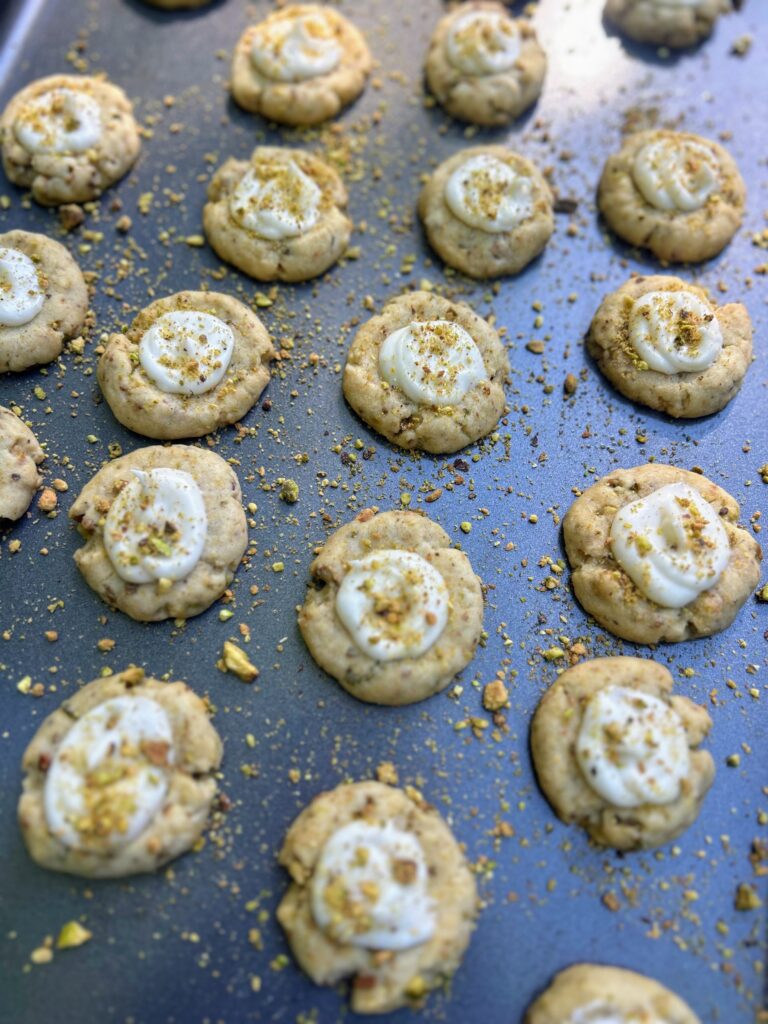
Put into a piping bag (Or if you’re like me, a ziplock bag that I put in a cup to keep me neat. Then I just snip the corner) and pipe the frosting into the center of each cookie. You will likely have extra, but that’s better than not enough, if you ask me! Sprinkle with remaining ground pistachios. Allow the frosting to harden before packaging in an airtight container, assuming you can keep your family and friends from eating them all! 

A quick note

If frosting isn’t your thing, you can totally switch up these cookies. Rather than flattening them with your thumb, leave them as balls. Bake for 15 minutes and then roll the still hot cookies in additional powdered sugar. (Be gentle with the cookies. They break easily. I usually wait just a minute or two before I roll them.)
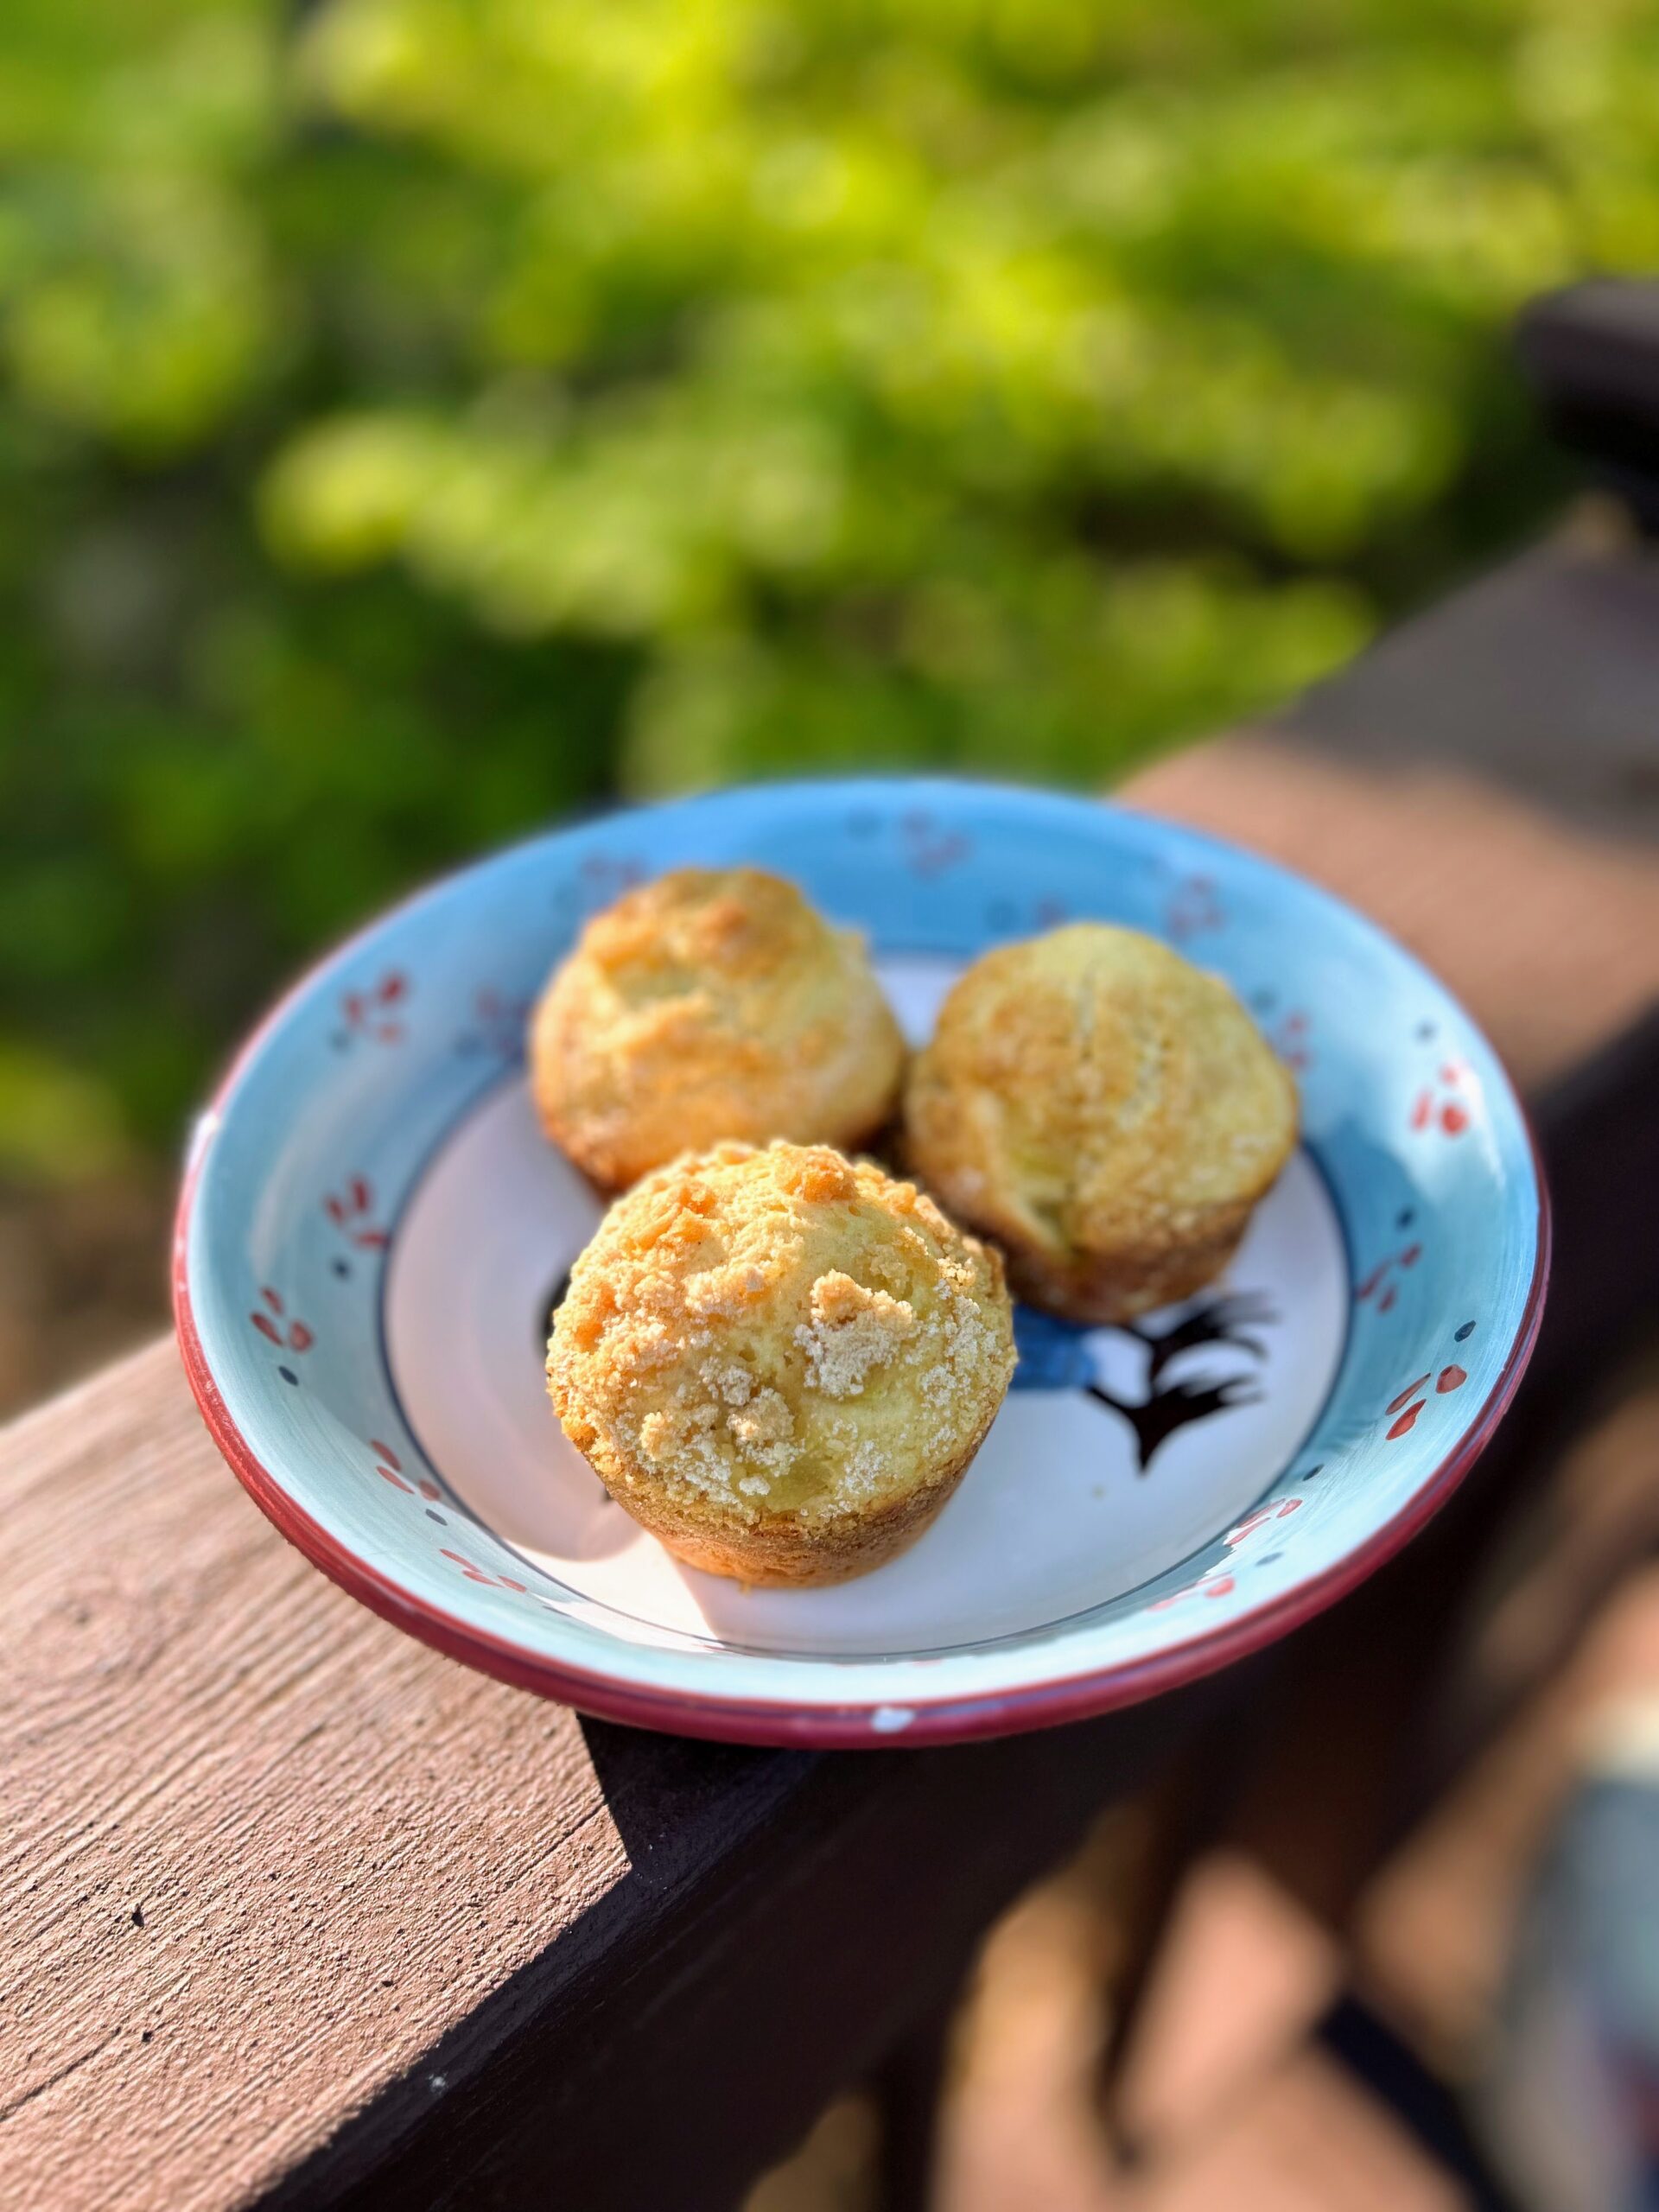
Pistachio Lime Thumbies

These pistachio lime thumbies are a delightful treat featuring shortbread cookies topped with a tangy lime frosting and sprinkled with ground pistachios.
Prep Time 20 minutes
Cook Time 15 minutes
Chill Time 1 hour
Course Dessert
Cuisine American
Servings 2 dozen

Ingredients
  

Shortbread Ingredients

  • ½ cup butter softened
  • ½ teaspoon vanilla
  • cup powdered sugar
  • 1 cup flour
  • ½ tablespoon cornstarch
  • ½ tablespoon milk
  • ¼ teaspoon salt
  • cup ground pistachios see note
  • Zest of one lime

Frosting

  • 2 tablespoons butter softened
  • 1 teaspoon vanilla
  • Pinch of salt
  • 1 cup powdered sugar
  • Juice from one lime 1-2 tablespoons
  • Splash of milk as needed
  • Additional ground pistachios

Instructions
 

  • In a medium bowl, cream butter and sugar. Add the vanilla and mix until well combined. Combine the flour, cornstarch, and salt. Cream the flour mixture with the butter and sugar, mixing well. Stir in the milk and the pistachios, mixing until a ball is formed.
  • Remove the dough from the bowl, wrap in plastic wrap, and chill for an hour.
  • Once chilled, form into 24 balls, approximately a half of a tablespoon of dough. Place on an ungreased baking sheet and press down with your thumb to form an indent for the frosting, flattening a couple times. From here, preheat the oven to 350 degrees (325 on convect) and chill the cookies one more time while the oven preheats.
  • Bake for 12-15 minutes, until the cookies are just starting to brown. Shortbread is easy to over bake so watch them carefully. Once done, remove and allow to cool.
  • Meanwhile, make the frosting. Cream the butter and vanilla. Stir in the powdered sugar and a pinch of salt. Add the lime juice and cream until a smooth frosting is formed. Give it a taste test. If it is too tart, add a bit more sugar. If it is too thick, add a splash of milk (a tablespoon or so).
  • Put into a piping bag and pipe the frosting into the center of each cookie. Sprinkle with remaining ground pistachios. Allow the frosting to harden before packaging in an airtight container.

Notes

For the pistachios, I like to purchase the lightly salted shelled pistachios from the snack food aisle at the grocery store. Then I grind them myself in a small food processor. Make sure they are ground well so they get fully incorporated. Also grind a little extra for sprinkling on the frosting.
I do not do a lot of pipping for frosting so I do not have pipping bags on hand. I simple slip a ziplock bag into a mug, putting the sides over the edge. Then I spoon the frosting into the bag, zip it up, and snip the corner. It does the trick for me!
If frosting isn’t your thing, you can totally switch up these cookies. Rather than flattening them with your thumb, leave them as balls. Bake for 15 minutes and then roll the still hot cookies in additional powdered sugar. (Be gentle with the cookies. They break easily. I usually wait just a minute or two before I roll them.)
Keyword Cookies, lime, lime zest, pistachio, pistachio cookies, pistachio shortbread, pistachios, Shortbread, shortbread cookies
Tried this recipe?Let us know how it was!

Strawberry Rhubarb Galette

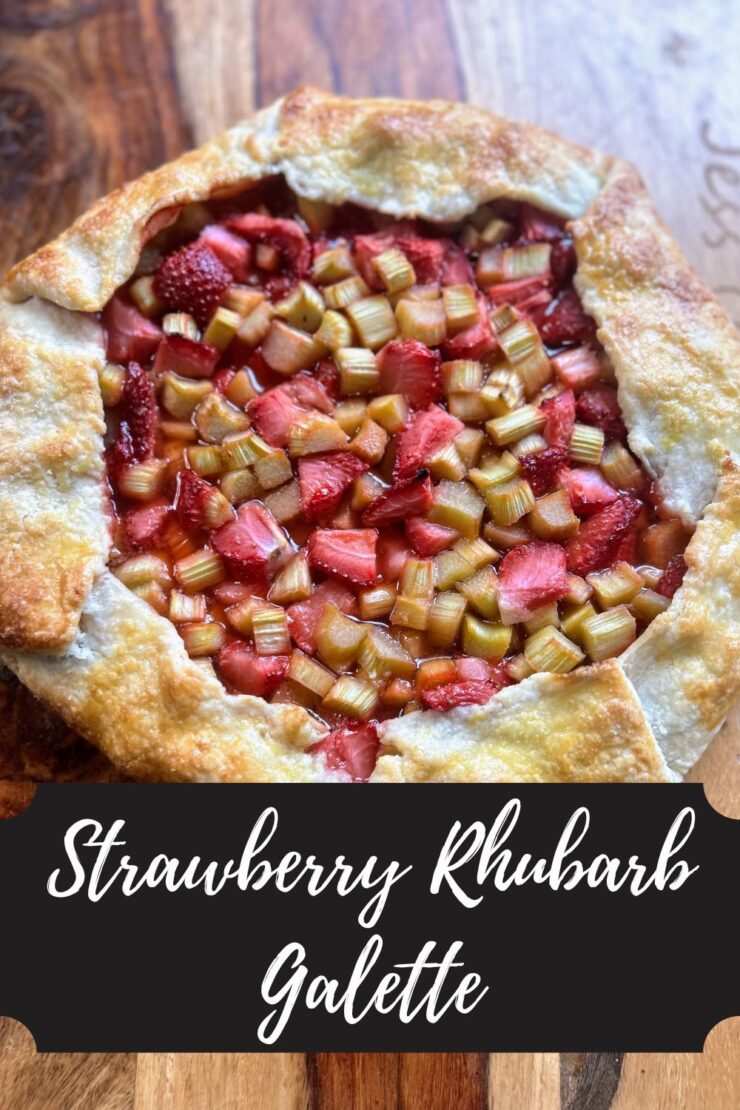
This one has been on my heart for a while and I am dang excited that I finally got to put a delicious strawberry rhubarb galette together for you. Yay for all the spring time harvesting and gardening. School is out and I am here for it!

I have always said, “I don’t do pies.” I am not sure why, but I think part of it has to do with the intimidation factor of the “perfect pie crust.” You can’t fail at it if you don’t make it, right? I also have always thought cakes and brownies were far superior to pie. I like this excuse better because generally I have a growth mindset. But as I have grown as a baker (I LOVE a good homemade laminated dough!), I have also sort of dismissed the “no pies for me” vibe I have been giving out. 

This especially became true when I discovered the galette. A galette is this beautiful French pastry that is a sort of free form pie, free of a specific baking pan. It feels rustic and homey; a homesteader’s paradise. Maybe it will be my gateway to the regular pie, but for now, I can foresee many galettes, sweet and savory, in my future. 

This strawberry rhubarb galette has a lovely, slightly sweet crust that has a perfect flour to butter ratio. The fruit melts together with two different sugars and although it looks exquisite, it truly is a bake that is easier than it looks and requires minimal work. It’s a great one to serve up any time of day (The Mr would say it makes a great “breakfast pie.” Ha!)

Ready to start baking together? Let’s do it! 

Your Ingredients for Strawberry Rhubarb Galette

  • 1 ½ cups all purpose flour 
  • 1 tablespoon sugar
  • ¼ teaspoon salt
  • ½ cup cold butter, cubed
  • ⅓ cup ice cold water 
  • 3 cups rhubarb, peeled and diced 
  • 2 cups strawberries, cored and sliced
  • ⅓ cup brown sugar 
  • ⅓ cup white sugar 
  • 2 tablespoons cornstarch 
  • 3 tablespoons flour 
  • 1 tablespoon lemon juice 
  • 1 egg yolk
  • Additional sugar for sprinkling on the crust

Your Steps to Strawberry Rhubarb Galette 

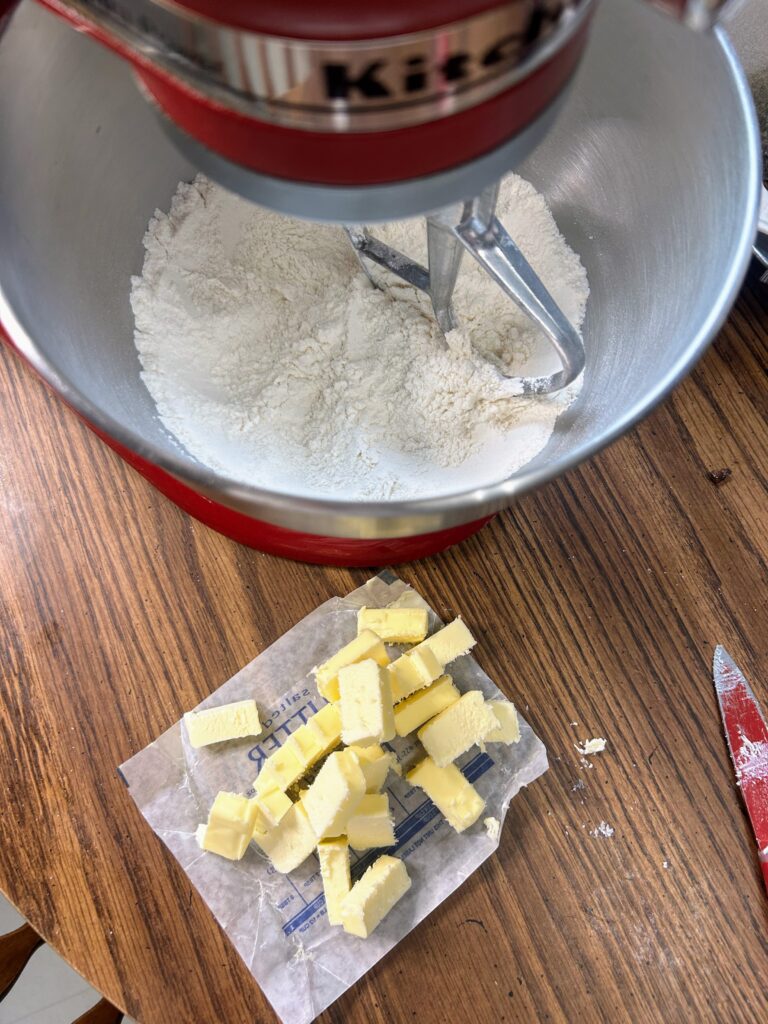
In a stand mixer bowl, combine flour, sugar and salt. Mix with the paddle until well combined. Add cubed, cold butter and mix on medium for about 90 seconds, until the texture resembles sand. 

Remove the bowl from the stand mixture. Add water in increments, stirring with a wooden spoon until a dough just comes together. You do not want to over add the water. 

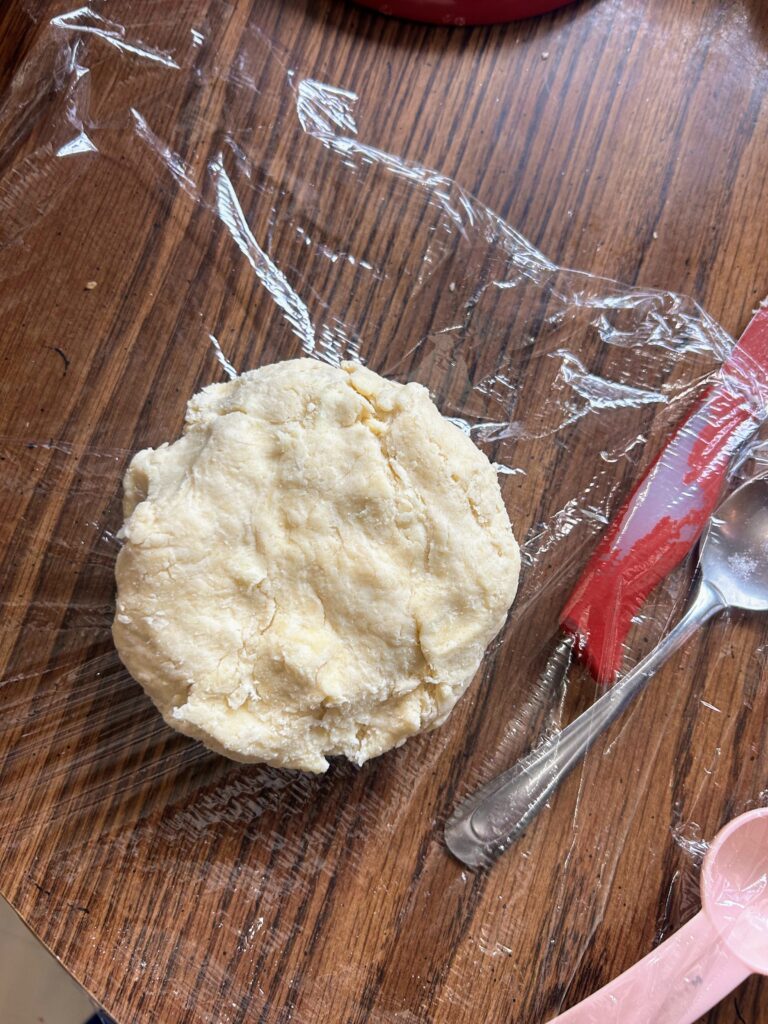
Once a dough has come together, form it into a ball by hand (do this quickly so as not to melt the butter), wrap in plastic wrap, and chill for at least an hour. 

Meanwhile, preheat the oven to 400 degrees (375 if using a convection oven).

Now to prepare the filling

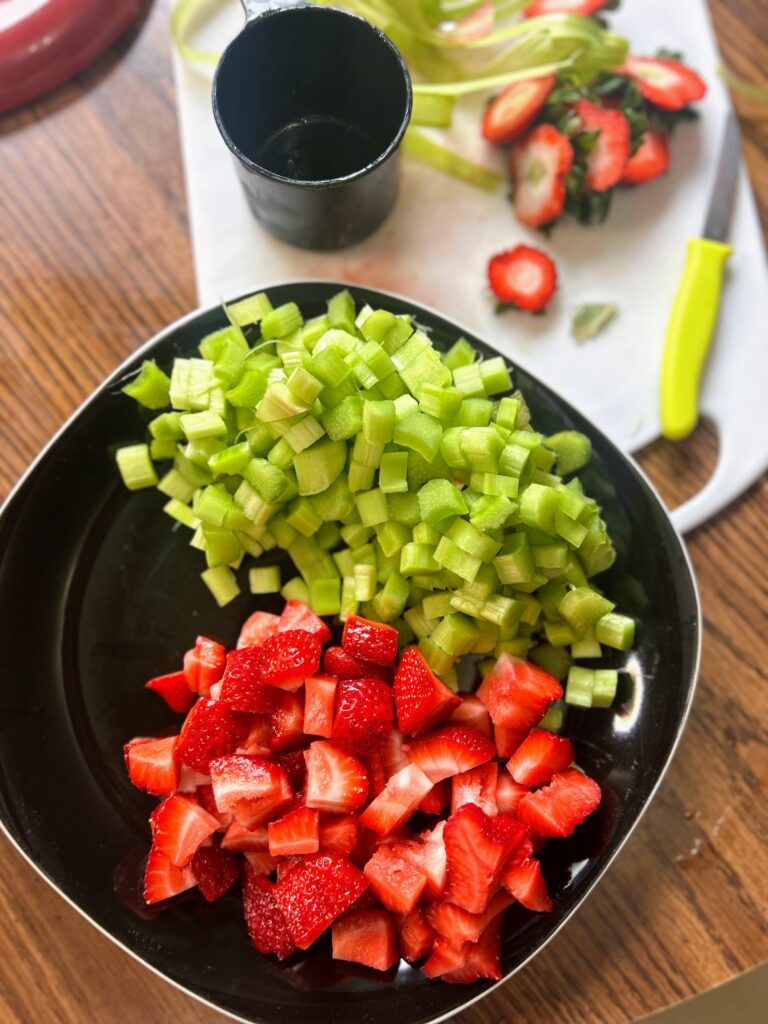
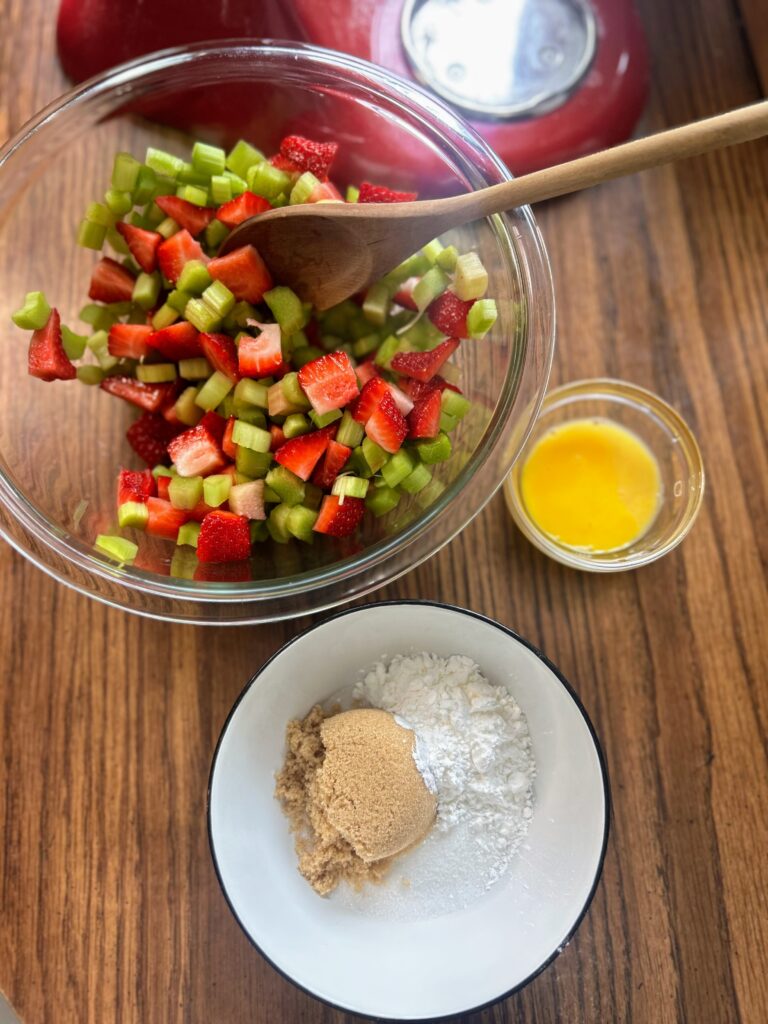
If you have not yet, prepare the strawberries and rhubarb. Place the fruit in a bowl and stir in the lemon juice. In another bowl, combine the white and brown sugars, cornstarch, and flour. In yet another small bowl, whisk the egg yolk with ½ tablespoon water. 

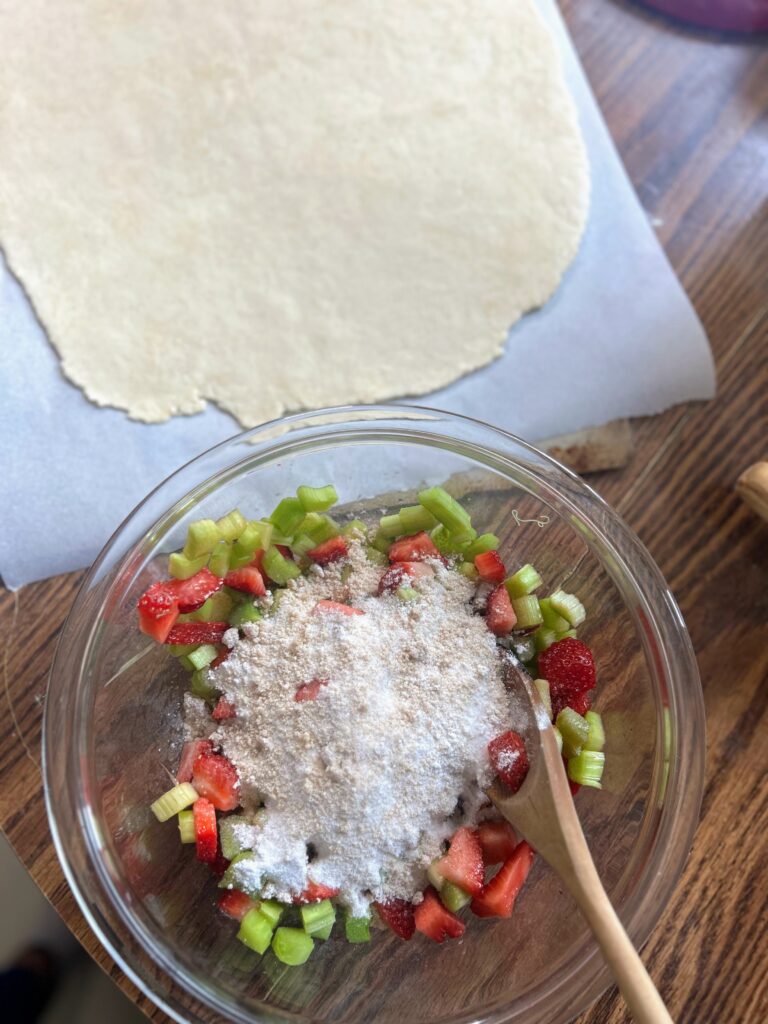
Once the crust has chilled, remove and roll out on a floured surface to a circle, about 14 inches in diameter. Place on a parchment lined baking sheet (I like to fold the dough in half and then in quarters to transfer it from the table to the baking sheet). 

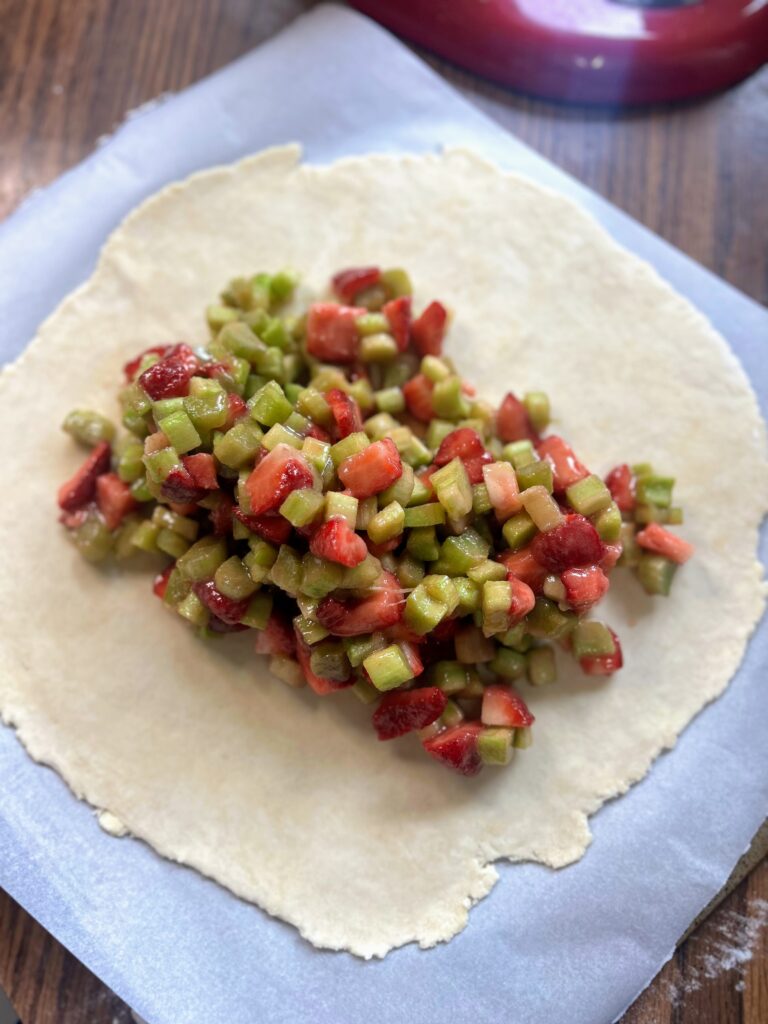
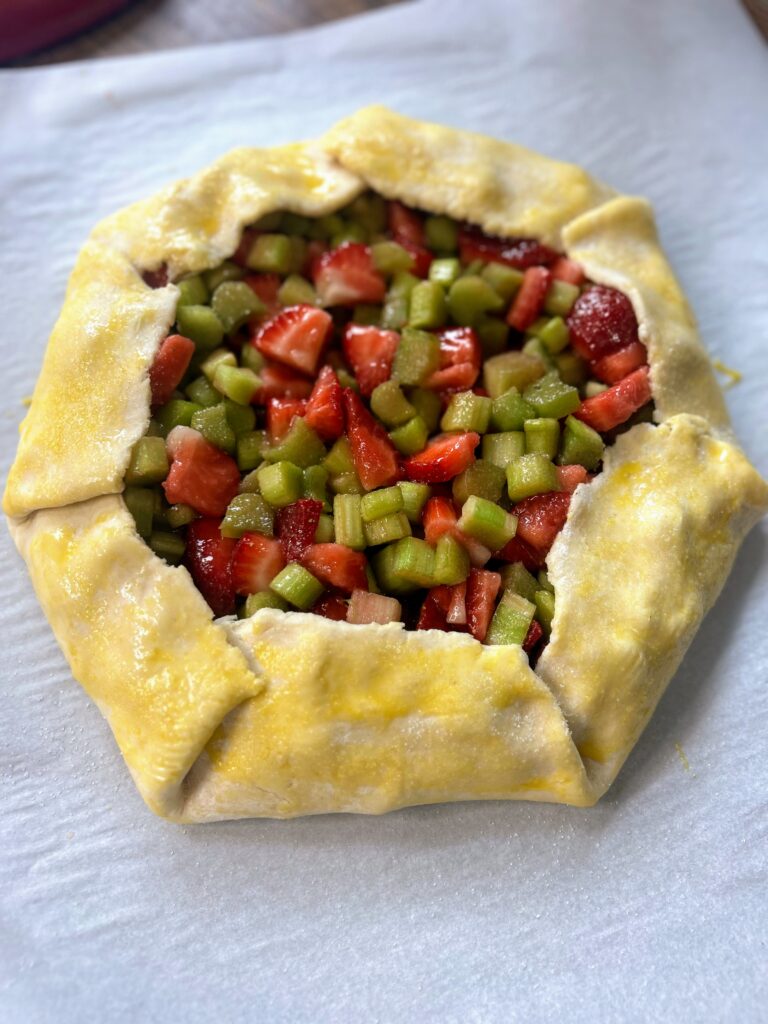
At this point, stir the sugar mixture into the fruit. Pour the fruit onto the center of the crust, leaving about three inches of dough on the edges. Gently fold up each edge, doing approximately 7-8 folds. Brush the edges of pastry with the egg wash and sprinkle a bit of sugar onto the crust by hand. 

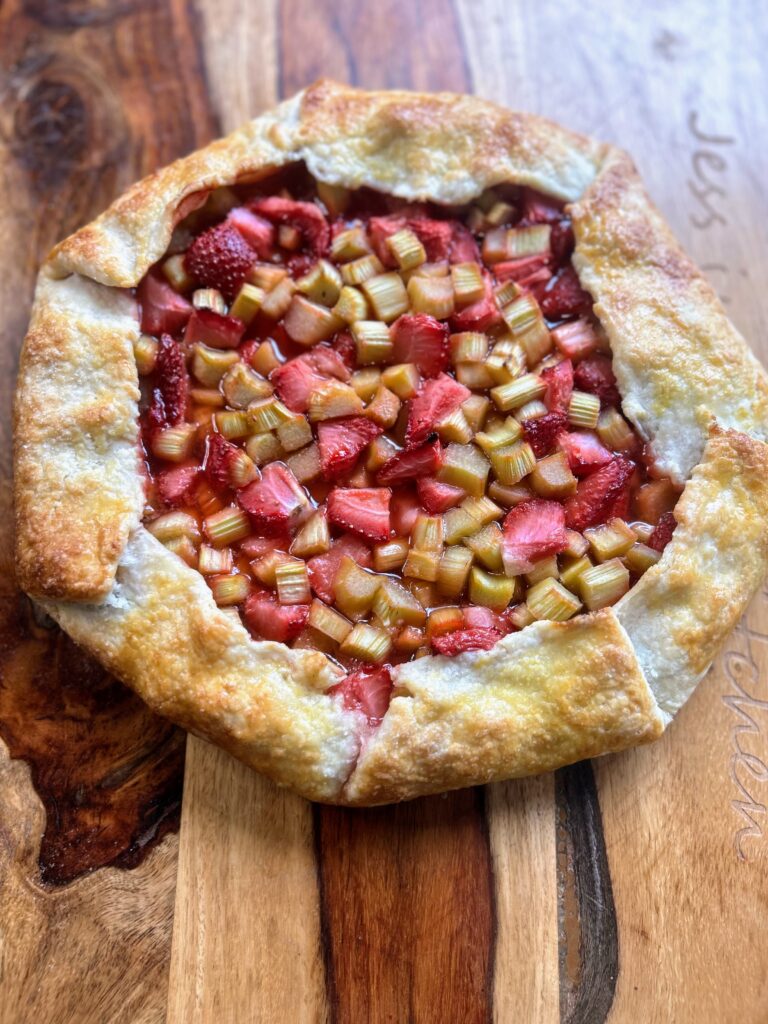
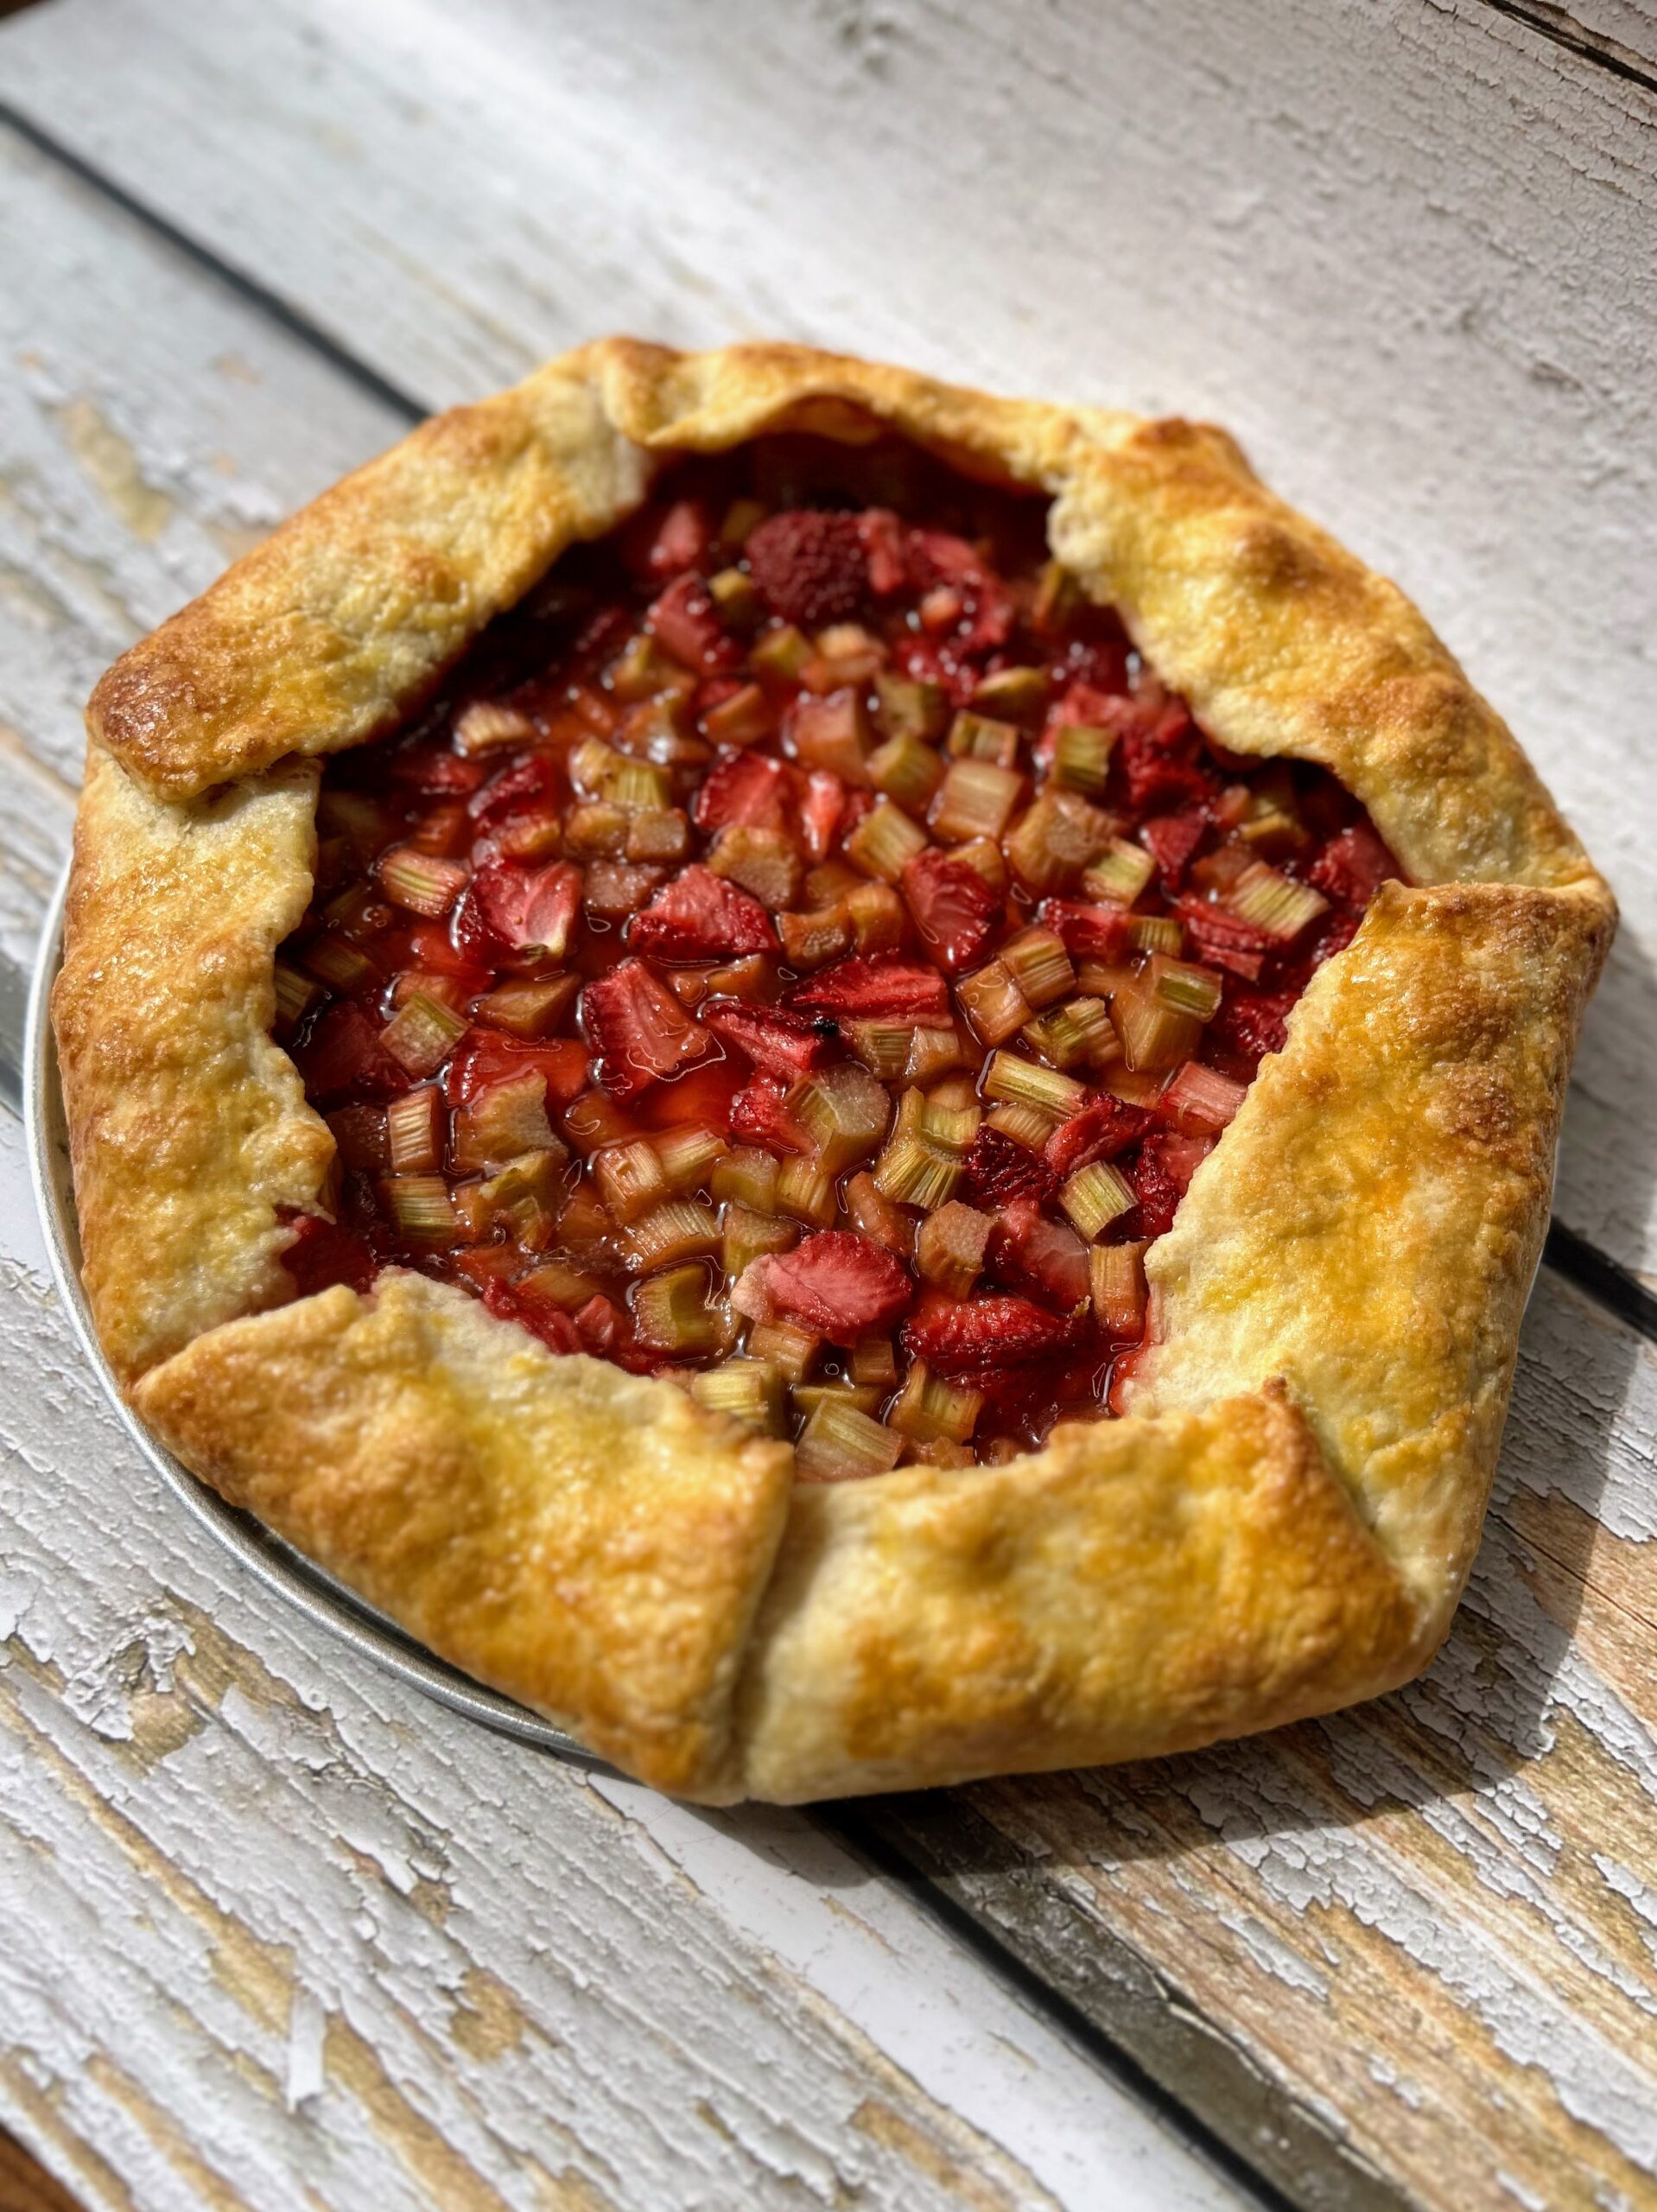
Bake for 35-40 minutes, until the crust is golden brown the bottom is cooked through. Allow to cool and set before serving.

Strawberry Rhubarb Galette

Rustic and simple to put together, this sweet and tart strawberry rhubarb galette is the perfect springtime pastry!
Prep Time 20 minutes
Cook Time 35 minutes
Chill Time 1 hour
Course Dessert
Cuisine American, French
Servings 8 servings

Ingredients
  

  • 1 ½ cups all purpose flour
  • 1 tablespoon sugar
  • ¼ teaspoon salt
  • ½ cup cold butter cubed
  • cup ice cold water
  • 3 cups rhubarb peeled and diced
  • 2 cups strawberries cored and sliced
  • cup brown sugar
  • cup white sugar
  • 2 tablespoons cornstarch
  • 3 tablespoons flour
  • 1 tablespoon lemon juice
  • 1 egg yolk
  • Additional sugar for sprinkling on the crust

Instructions
 

  • In a stand mixer bowl, combine flour, sugar and salt. Mix with the paddle until well combined. Add cubed, cold butter and mix on medium for about 90 seconds, until the texture resembles sand.
  • Remove the bowl from the stand mixture. Add water in increments, stirring with a wooden spoon until a dough just comes together. You do not want to over add the water.
  • Once a dough has come together, form it into a ball by hand (do this quickly so as not to melt the butter), wrap in plastic wrap, and chill for at least an hour.
  • Meanwhile, preheat the oven to 400 degrees (375 if using a convection oven) and prepare the rhubarb and strawberries.
  • Place the fruit in a bowl and stir in the lemon juice. In another bowl, combine the white and brown sugars, cornstarch, and flour. In yet another small bowl, whisk the egg yolk with ½ tablespoon water.
  • Once the crust has chilled, remove and roll out on a floured surface to a circle, about 14 inches in diameter. Place on a parchment lined baking sheet (I like to fold the dough in half and then in quarters to transfer it from the table to the baking sheet).
  • At this point, stir the sugar mixture into the fruit. Pour the fruit onto the center of the crust, leaving about three inches of dough on the edges. Gently fold up each edge, doing approximately 7-8 folds. Brush the edges of pastry with the egg wash and sprinkle a bit of sugar onto the crust by hand.
  • Bake for 35-40 minutes, until the crust is golden brown the bottom is cooked through. Allow to cool and set before serving.
Keyword baking, dessert, galette, pastries, spring baking, Strawberries, strawberry, Strawberry Rhubarb
Tried this recipe?Let us know how it was!

Looking for other rhubarb and strawberry recipes?

Check out my baking page or perhaps one of my favorites below will tickle your fancy!

sourdough discard crackers

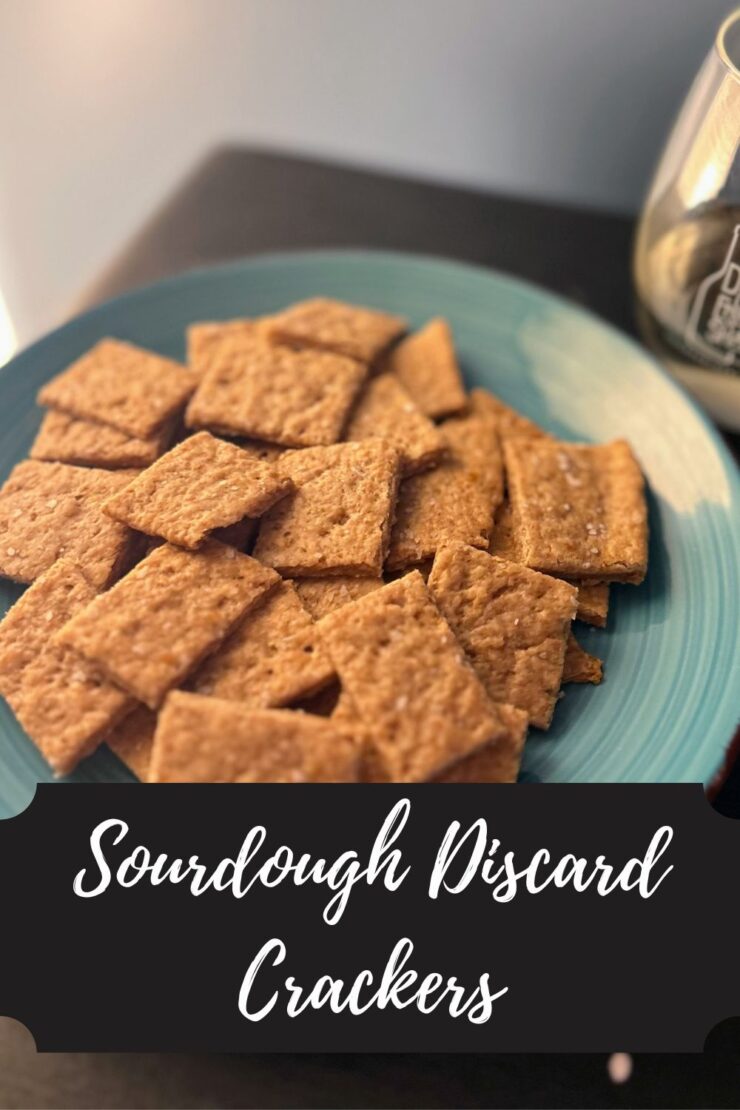
Sourdough Discard Crackers

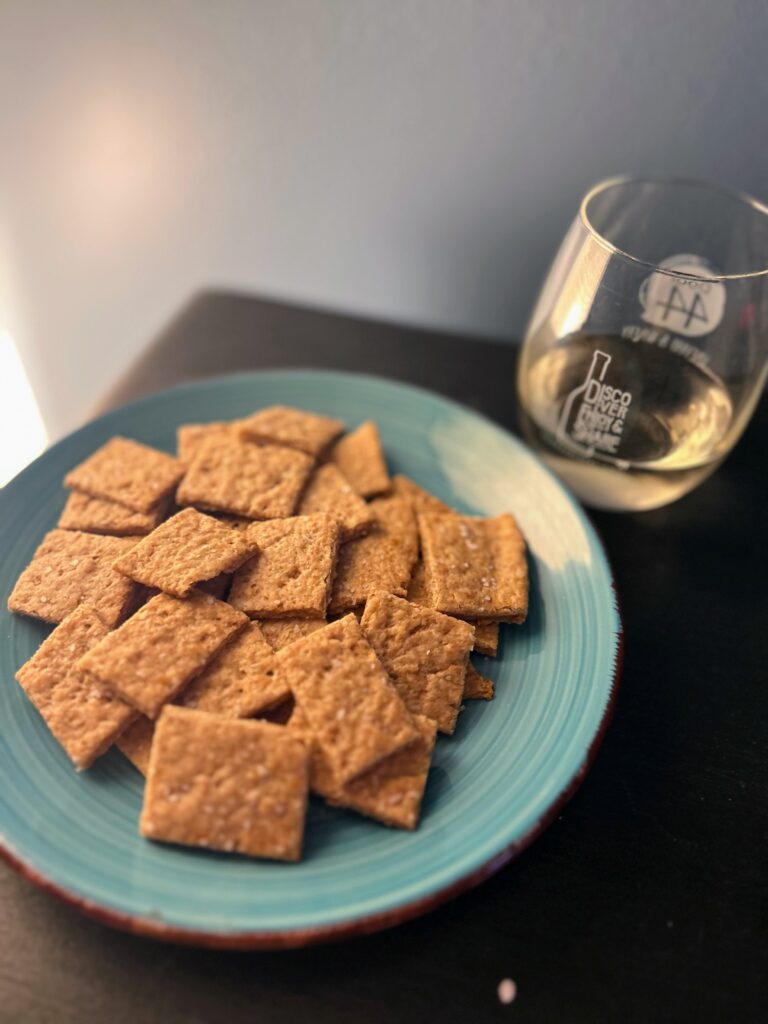
“They are PERFECT”-My big kiddo, after trying these sourdough discard crackers. And let me tell you, he can be hard to please. 

My big kid is a snack cracker, granola bar, banana eating junkie. He’s an athlete and in middle school and I swear he never stops eating. What I am trying to say is he knows his snacks. So when I gave these crackers a go last week and they weren’t perfect, he certainly let me know they were lacking. But I wasn’t about to give up. 

The following weekend, I gave it another go. I changed the salt and the nutritional yeast and let the dough chill for an hour. I baked them at a higher temperature. And when they came out and my family gave them a try, the response was pretty dang positive. 

The Mr: “I’ll take more of those please.” 

My Little One: “He can’t have them all. Can I have a plate?”

My Big Kiddo: “They are PERFECT.”

I hope your family loves them as much as we did! If you have never used nutritional yeast before, it can be found in the baking aisle. It is yellow and flaky and gives a cheese like flavor without the cheese. I like to use Bragg Nutritional Yeast.

These crackers are such a great way to use up that sourdough discard and you can have crackers in under 2 hours. How great is that?!

Ready to start creating? Let’s go! 

Your Ingredients

  • 200 grams sourdough discard, room temp (ish. If you forget to pull it from the fridge, that’s okay too!)
  • 5 tablespoons butter, mostly melted
  • 1 teaspoon of salt, divided
  • 1 ½ – 2 tablespoons nutritional yeast
  • ¾ cup whole wheat flour

Your Steps to Sourdough Discard Crackers 

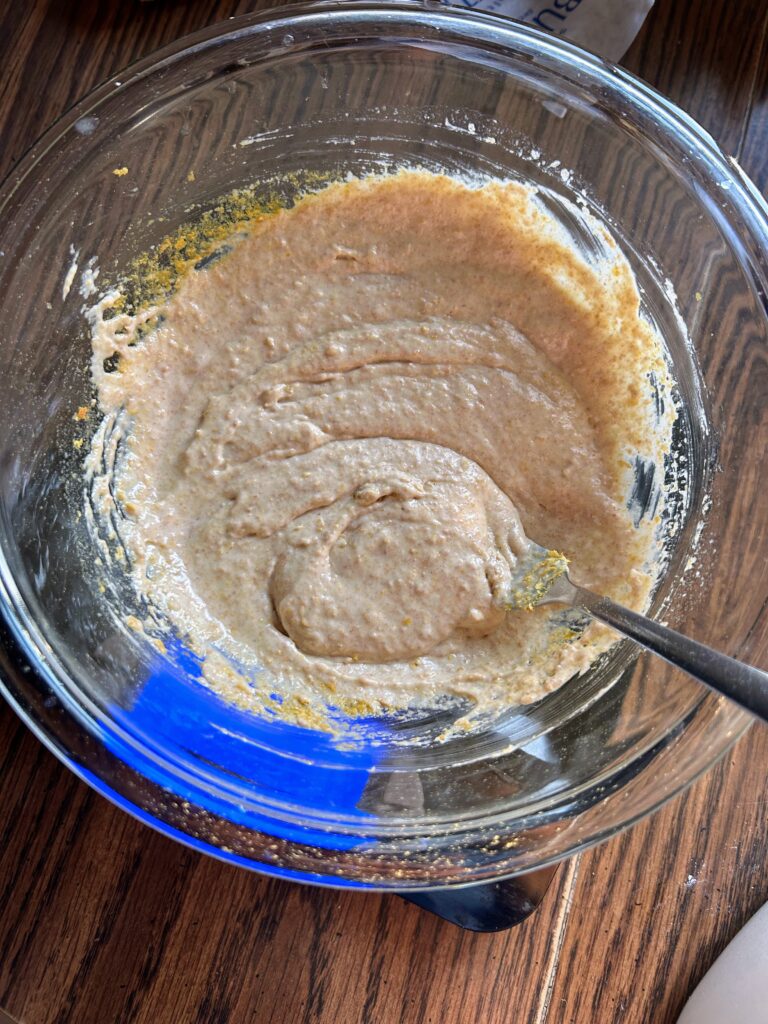
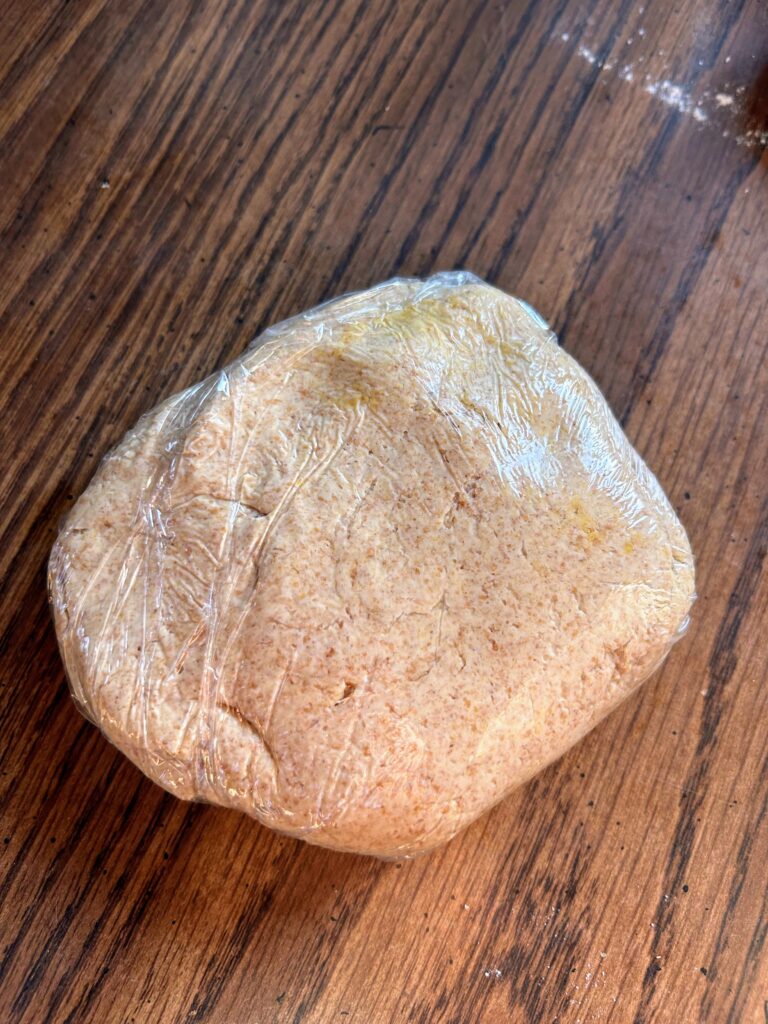
In a medium bowl, melt butter nearly all the way. Allow to cool just a bit before stirring in the sourdough discard. I like to use a fork to incorporate  Sprinkle in ½ teaspoon salt and nutritional yeast. Stir well. Add the flour and stir with the fork until well combined. Knead just a couple turns. Then wrap the dough in plastic wrap and chill for an hour. 

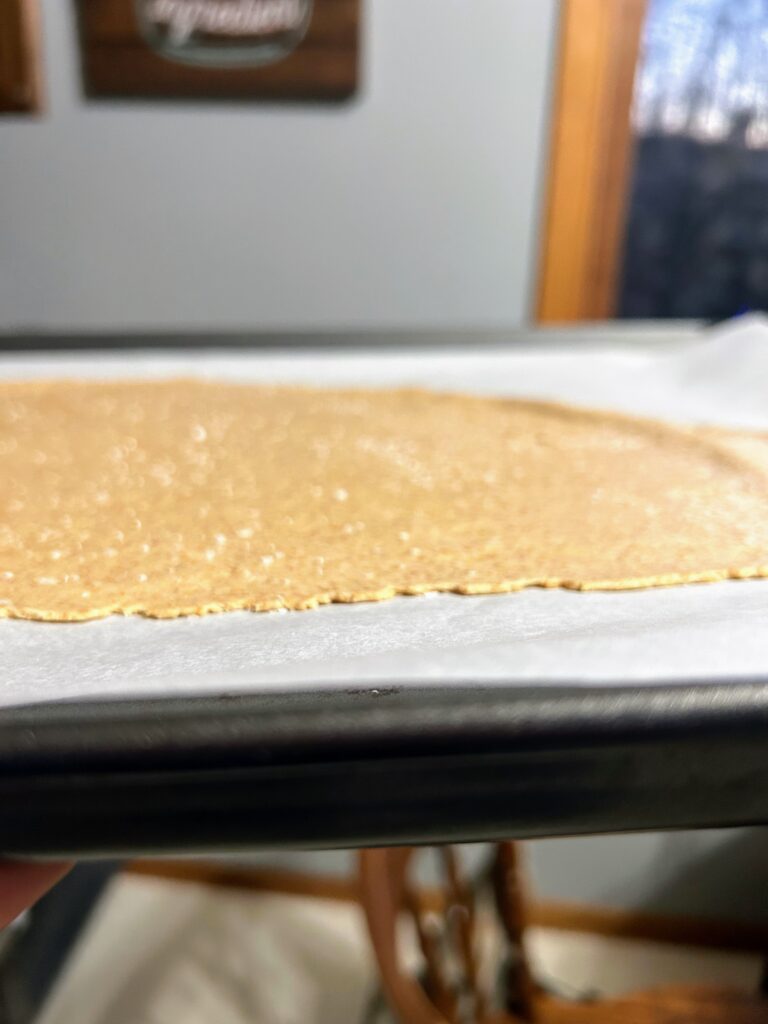
Meanwhile, preheat the oven to 375 F. Once the dough has finished chilling, place on a large piece of parchment paper. Sprinkle with just a bit of flour on the rolling pin and roll as thin as you can (about 1-2 mm). Sprinkle with remaining ½ teaspoon salt. 

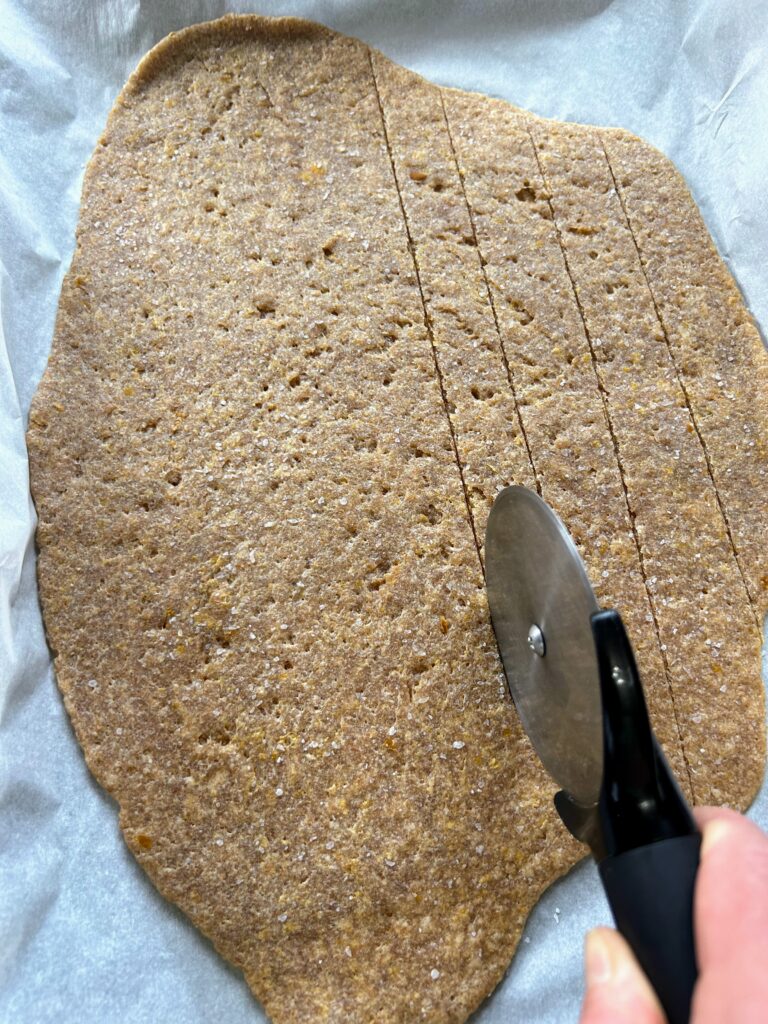
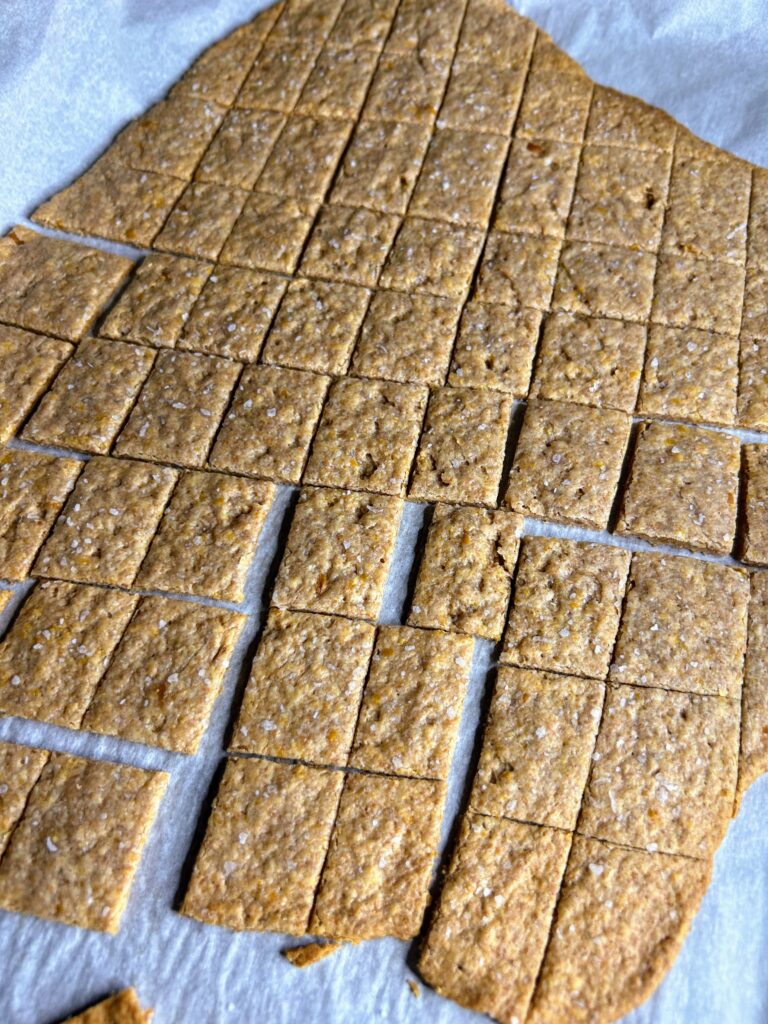
Place on a baking sheet and bake for 5-8 minutes. Remove and score the crackers with a pizza roller. Place back in the oven for an additional 10 minutes. Inevitably, the edges will bake quicker than the inside. I like to pull the crispy outside ones and then back it another 4-8 minutes, checking to pull other crispy ones and returning to bake a bit more.  Allow crackers to cool and then store in an airtight container (If you can keep your hands off of them!)

Sourdough Discard Crackers

Got excess sourdough discard? Don't worry, transform it into sourdough discard crackers! These tasty treats will satisfy your snack cravings!
5 from 1 vote
Prep Time 10 minutes
Cook Time 26 minutes
Chill Time 1 hour
Course Appetizer, Snacks
Cuisine American
Servings 4 servings

Equipment

Ingredients
  

  • 200 grams sourdough discard room temp
  • 5 tablespoons butter mostly melted
  • 1 teaspoon of salt divided
  • 1 ½ – 2 tablespoons nutritional yeast
  • ¾ cup whole wheat flour

Instructions
 

  • In a medium bowl, melt butter nearly all the way. Allow to cool just a bit before stirring in the sourdough discard. I like to use a fork to incorporate. Sprinkle in ½ teaspoon salt and nutritional yeast. Stir well.
  • Add the flour and stir with the fork until well combined. Knead just a couple turns. Then wrap the dough in plastic wrap and chill for an hour.
  • Meanwhile, preheat the oven to 375 F. Once the dough has finished chilling, place on a large piece of parchment paper. Sprinkle with just a bit of flour on the rolling pin and roll as thin as you can (about 1-2 mm). Sprinkle with remaining ½ teaspoon salt.
  • Place on a baking sheet and bake for 5-8 minutes. Remove and score the crackers with a pizza roller. Place back in the oven for an additional 10 minutes. Inevitably, the edges will bake quicker than the inside. I like to pull the crispy outside ones and then back it another 4-8 minutes, checking to pull other crispy ones and returning to bake a bit more. Allow crackers to cool and then store in an airtight container.
Notes

Other herbs and spices can certainly be mixed in as well. Sticking with just the salt and nutritional yeast will give a cracker that tastes very similar to square cheese crackers, but I am certain garlic or rosemary would go well too!
You can skip the nutritional yeast all together and go with an herb cracker! You get to choose!
Keyword crackers, discard recipess, homemade crackers, nutritional yeast, sourdough, sourdough baking, sourdough crackerss, sourdough discard
Tried this recipe?Let us know how it was!

Looking for other snacks or sourdough treats?

Here are some great places to look! Sourdough Adventures and Snacks. Maybe you eat with your eyes. Here are my favorites!

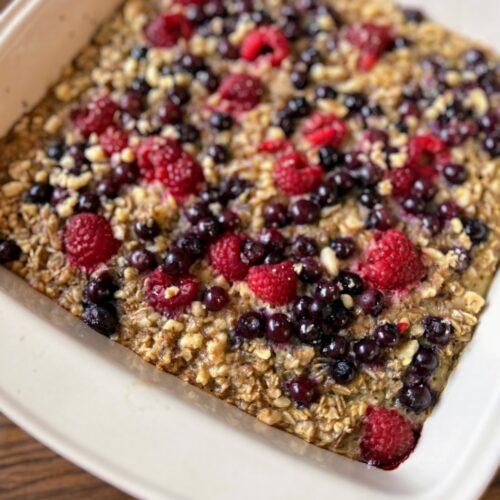
Baked Berry Oatmeal

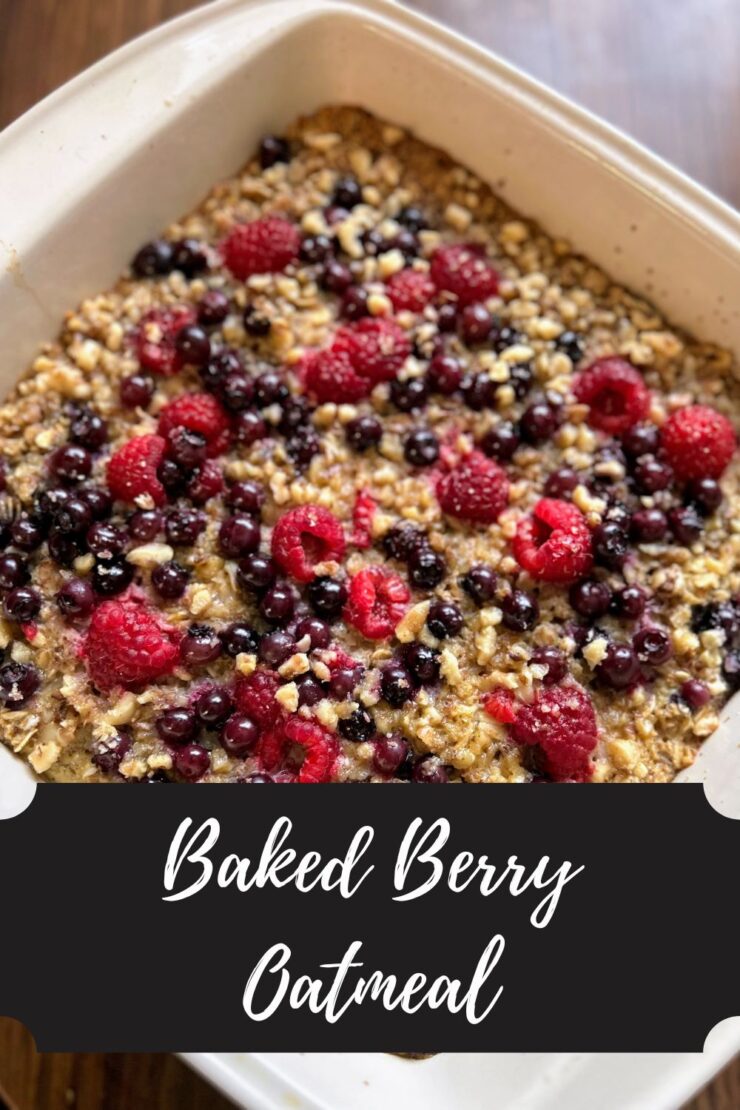
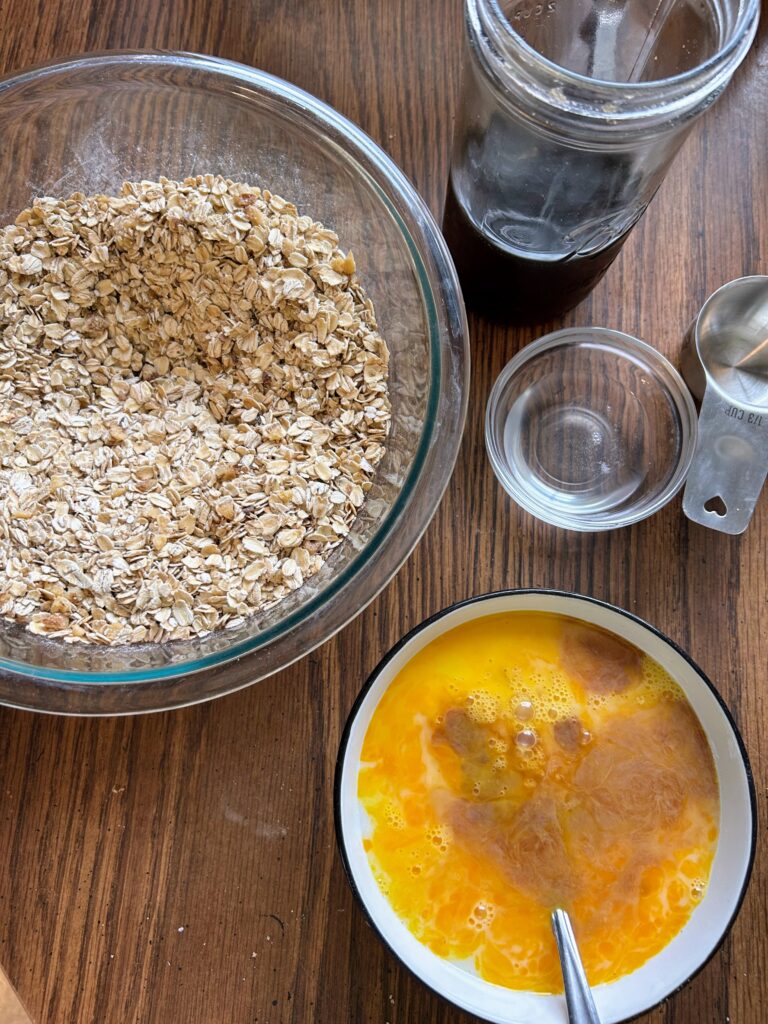
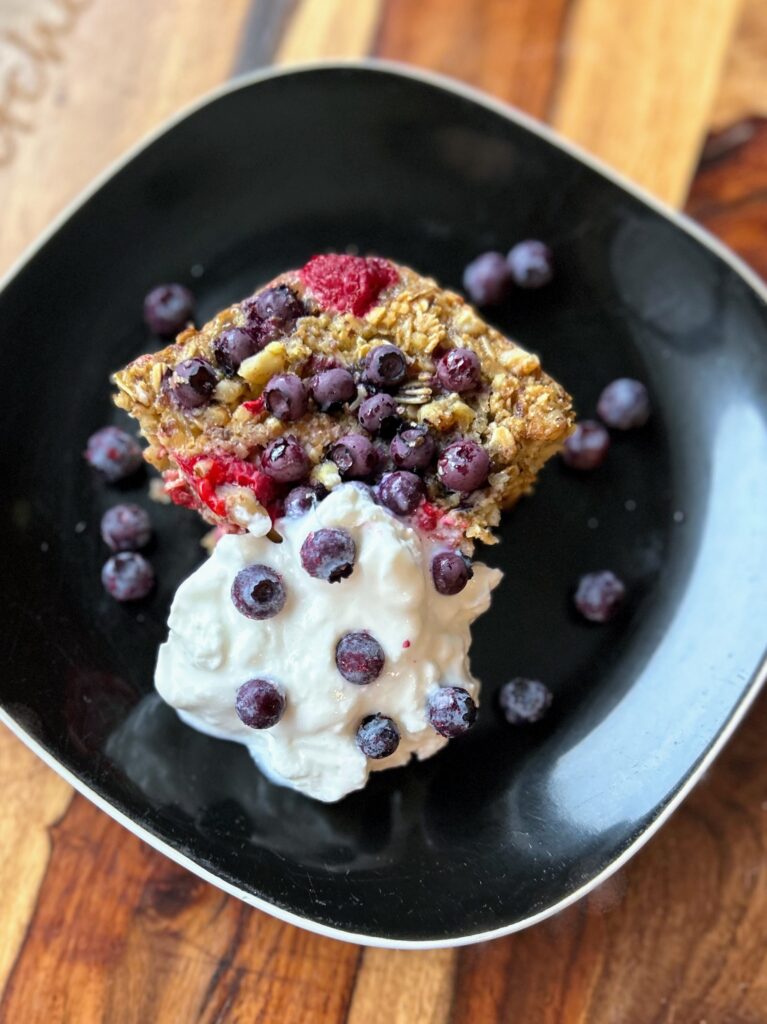
I’ve entered the stage in parenting where I get to get my big kiddo to the weight room by 6:30 am multiple times a week. I am proud of him for working hard to become a stronger athlete, but man, it messes with my morning routine. I need a breakfast with minimal prep, but is still nutrient dense. At first, I was doing protein oatmeal. However, I prefer a breakfast that isn’t pre-packaged. Enter Baked Berry Oatmeal with Greek yogurt. 

Initially, I had been cooking from my collab “one book, three recipes” with my Instagram friends and gave a baked oatmeal a try. Yum! However, I didn’t love the extra refined sugar and thought “I can do better.” This is my own take: a maple syrup sweetened baked oatmeal that can be prepped on a Sunday and you’ll have at least six servings for the rest of the week. 

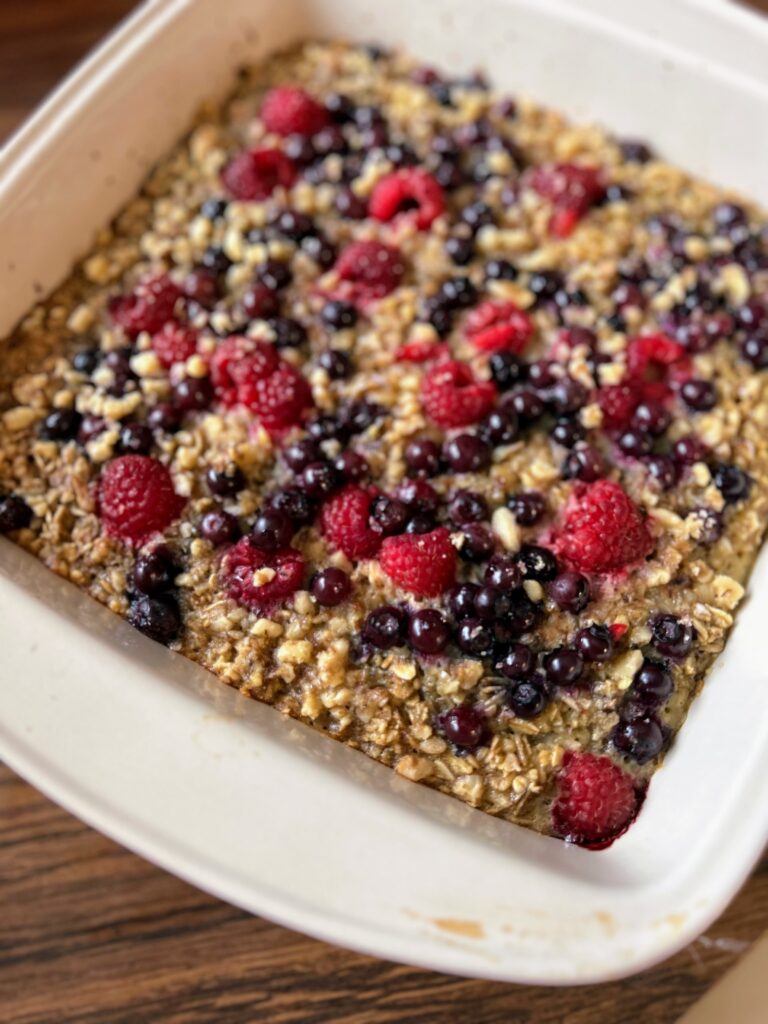
I love how nicely this Baked Berry Oatmeal reheats. I pop my portion into the microwave with a few frozen berries sprinkled on top and let it go for about 40 seconds. Then I’ll top it with some Oikos Triple Zero Vanilla Greek Yogurt and add a side of breakfast sausage or ham with some fruit. It’s a full meal to be sure, but one I can feel really good about eating. 

Not a fan of eating the same thing every day like I am? This makes a great brunch or weekend breakfast. It mixes up quick and can leave you time to enjoy a cup of coffee or tea and chat the morning away. Ready to start creating? Let’s go! 

Your Ingredients

  • 3 cups old fashioned oats
  • ⅓ cup real maple syrup 
  • 2 tablespoons coconut oil, melted
  • ¾ cup ground walnuts, divided 
  • 1 ½ teaspoons baking powder
  • 1 teaspoon cinnamon 
  • ½ teaspoon salt
  • 1 ½ cups + 2 tablespoons milk 
  • 2 large eggs 
  • 1 teaspoon vanilla
  • ½ tablespoon brown sugar
  • ½ cup fresh or frozen raspberries
  • ½ cup fresh or frozen blueberries

Your Steps to Bake Berry Oatmeal 

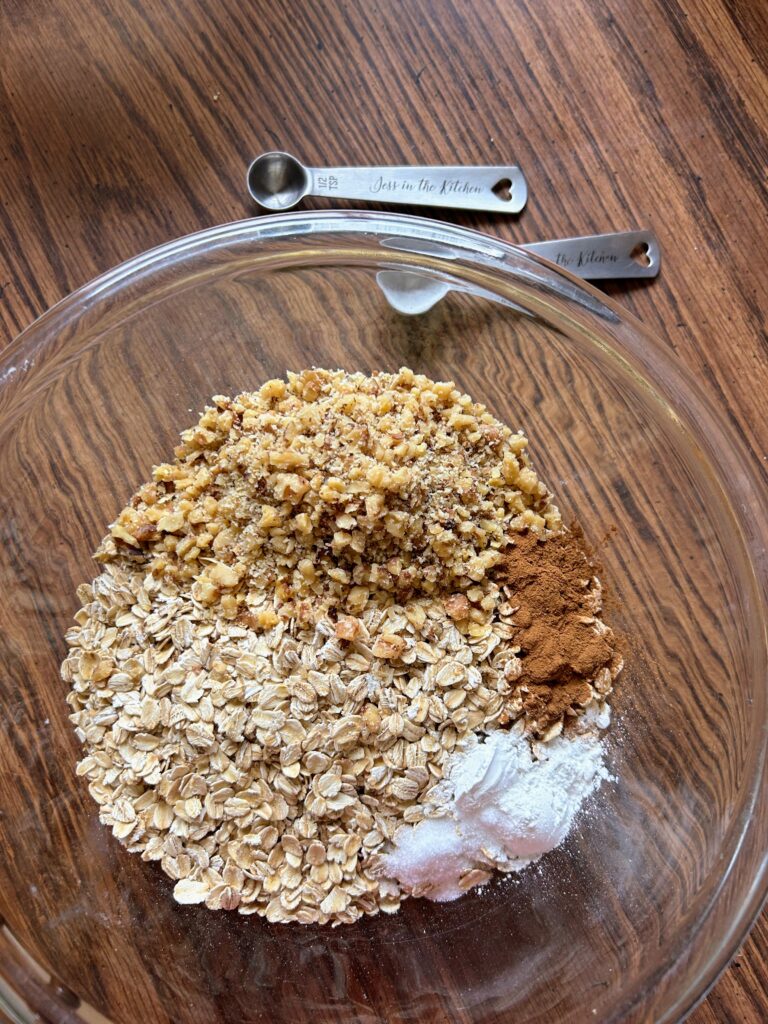
Preheat the oven to 350 degrees F. Grease an 8 by 8 inch baking dish. In a large bowl, combine oats, baking powder, cinnamon, salt, and ½ cup walnuts. 

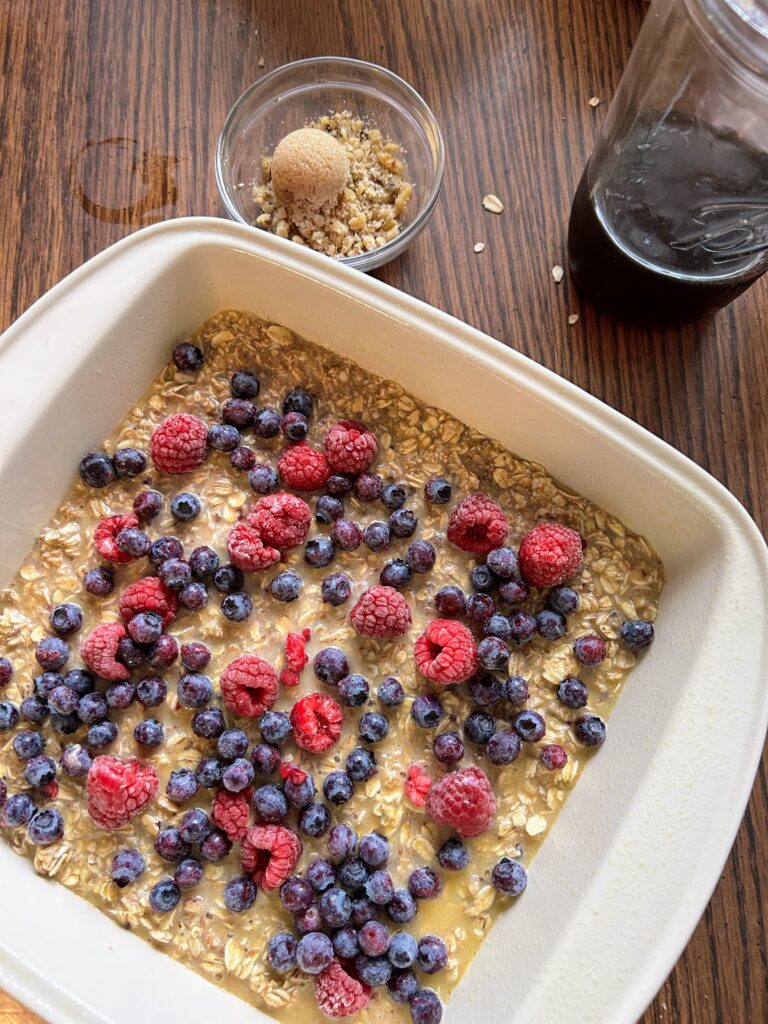
Stir in maple syrup and melted coconut oil. In another bowl, combine milk, eggs, and vanilla. Stir the milk mixture into the oat mixture until well combined. Pour into the prepared pan. 

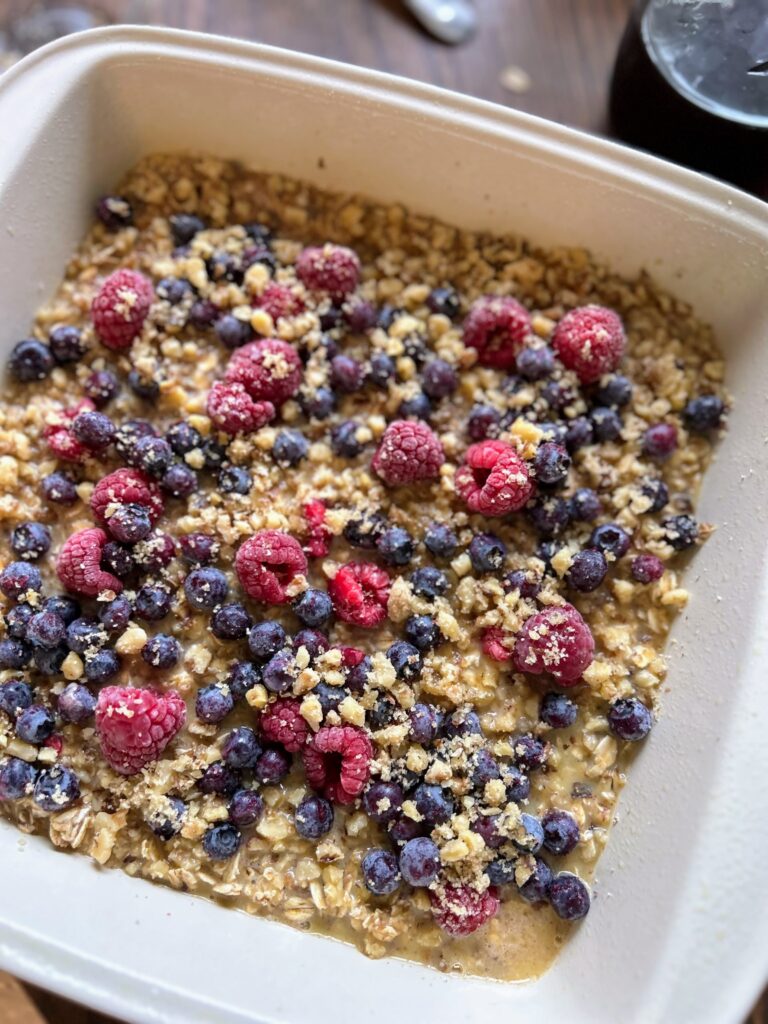
Top with raspberries and blueberries. In a small bowl, combine the remaining ¼ cup of walnuts with the brown sugar and sprinkle on top of the berries. Bake for 40 minutes. Serve with Greek yogurt and additional berries, if desired. 

Baked Berry Oatmeal

This baked berry oatmeal is a delightful and tasty dish, perfect for meal prep or a special weekend breakfast!
Prep Time 10 minutes
Cook Time 40 minutes
Course Breakfast
Cuisine American
Servings 6 servings

Ingredients
  

  • 3 cups old fashioned oats
  • cup real maple syrup
  • 2 tablespoons coconut oil melted
  • ¾ cup ground walnuts divided
  • 1 ½ teaspoons baking powder
  • 1 teaspoon cinnamon
  • ½ teaspoon salt
  • 1 ½ cups + 2 tablespoons milk
  • 2 large eggs
  • 1 teaspoon vanilla
  • ½ tablespoon brown sugar
  • ½ cup fresh or frozen raspberries
  • ½ cup fresh or frozen blueberries

Instructions
 

  • Preheat the oven to 350 degrees F. Grease an 8 by 8 inch baking dish. In a large bowl, combine oats, baking powder, cinnamon, salt, and ½ cup walnuts.
  • Stir in maple syrup and melted coconut oil. In another bowl, combine milk, eggs, and vanilla. Stir the milk mixture into the oat mixture until well combined. Pour into the prepared pan.
  • Top with raspberries and blueberries. In a small bowl, combine the remaining ¼ cup of walnuts with the brown sugar and sprinkle on top of the berries. Bake for 40 minutes. Serve with Greek yogurt and additional berries, if desired.
Keyword baked oatmeal, blueberries, Breakfast, breakfast prep, meal prep, oatmeal, raspberries
Tried this recipe?Let us know how it was!

Looking for other delicious breakfast ideas?

I’d love it if you checked out my breakfast page for more inspiration, but if you want to see some of my favorites, check out the recipes below!

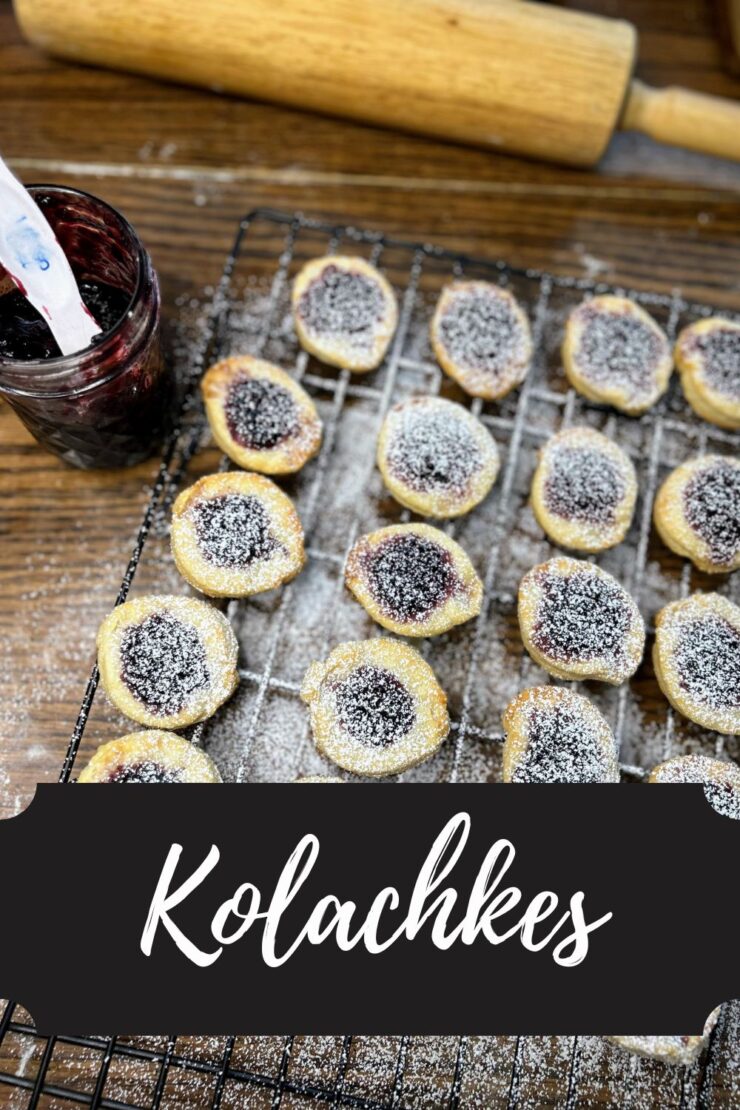
Kolachkes

If you hang around with me on Instagram, you may know that I participate in a collaboration with a number of foodie friends that has us exploring the cookbooks on our shelves each month. There are no rules besides trying three recipes each month that we haven’t made before in the many cookbooks we own. This month, I chose a WE Energies cookbook and gave Kolachkes a try! 

First, the WE energies cookie book. I don’t know about other states, but in Wisconsin, WE Energies has been creating a cookie book every year since 1928. It is distributed primarily in southern Wisconsin but you can also find digital copies (Check out the archives here!). I fondly remember looking through my mom’s editions as a kid and recognized the covers in the archives. 

Now for the Kolachkes. After doing some research, I was able to learn that these cookies are Polish or Czech, and are a traditional Christmas cookie. I was drawn to the cookie as it sounded like a simple shortbread like cookie (with the addition of cream cheese) and had a jam added. Many years ago, I tried a thumbprint cookie recipe and it didn’t go well. I figured this was my chance to redeem myself. 

I did change the recipe just a bit, by sweetening up the dough just a bit before I baked it and I think you will LOVE it. Please give these tasty morsels a try! 

Your Ingredients 

  • 1 cup butter, softened
  • 3 ounces cream cheese, softened
  • 1 teaspoon vanilla extract
  • ½ teaspoon salt
  • 2 ¼ cups flour
  • 1/2 cup preserves, I used black raspberry
  • ⅓  cup powdered sugar
  • Additional powdered sugar

Your Steps to Kolachkes

Preheat the oven to 400 F. Cream butter, cream cheese, vanilla, and ⅓ cup powdered sugar. Blend in 2 cups of flour and salt. Then work in remaining ¼  cup flour to form a smooth dough. 

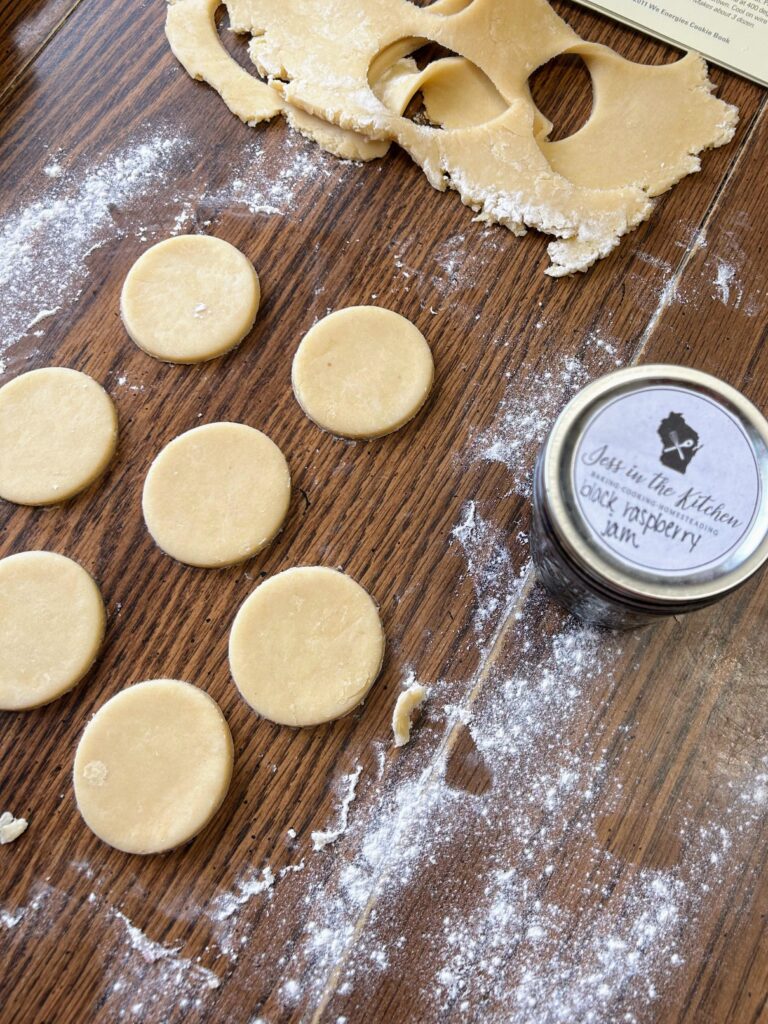
Divide the dough in half and roll half of it 1/4 inch thick. Cut into 2 in squares or circles. Make a slight indent in the center and fill with scant 1/2 teaspoon preserves. 

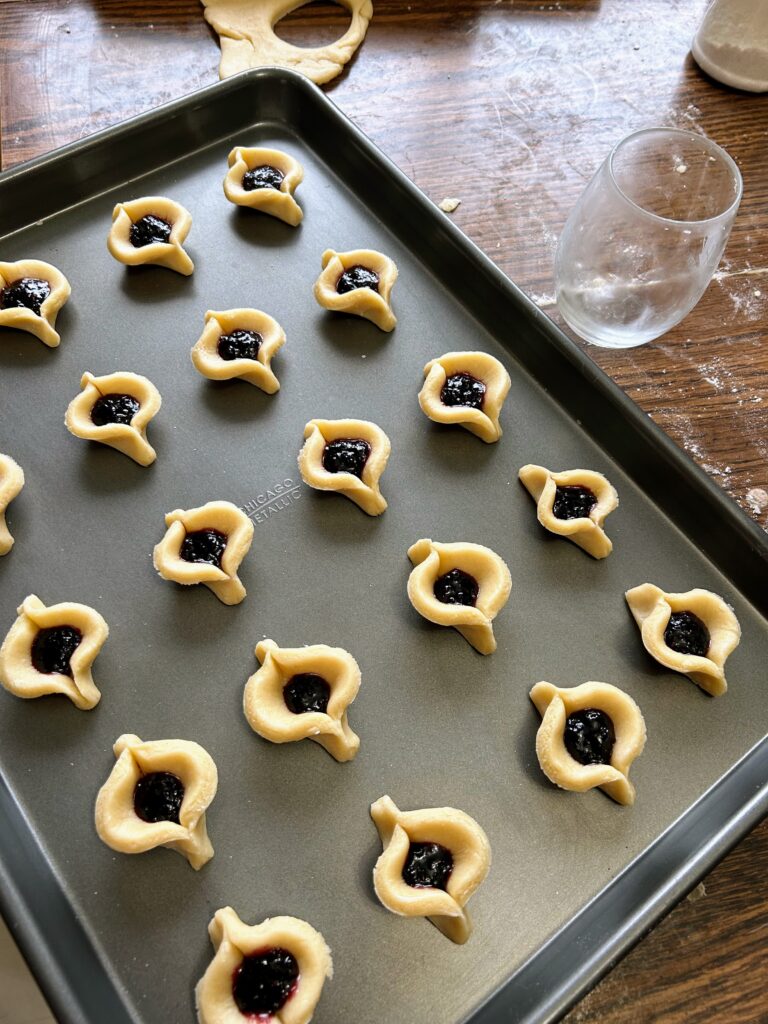
Finish shaping squares or circles by tightly pinching opposite ends together. Place about 2 inches apart on ungreased cookie sheets. Repeat with the second half. 

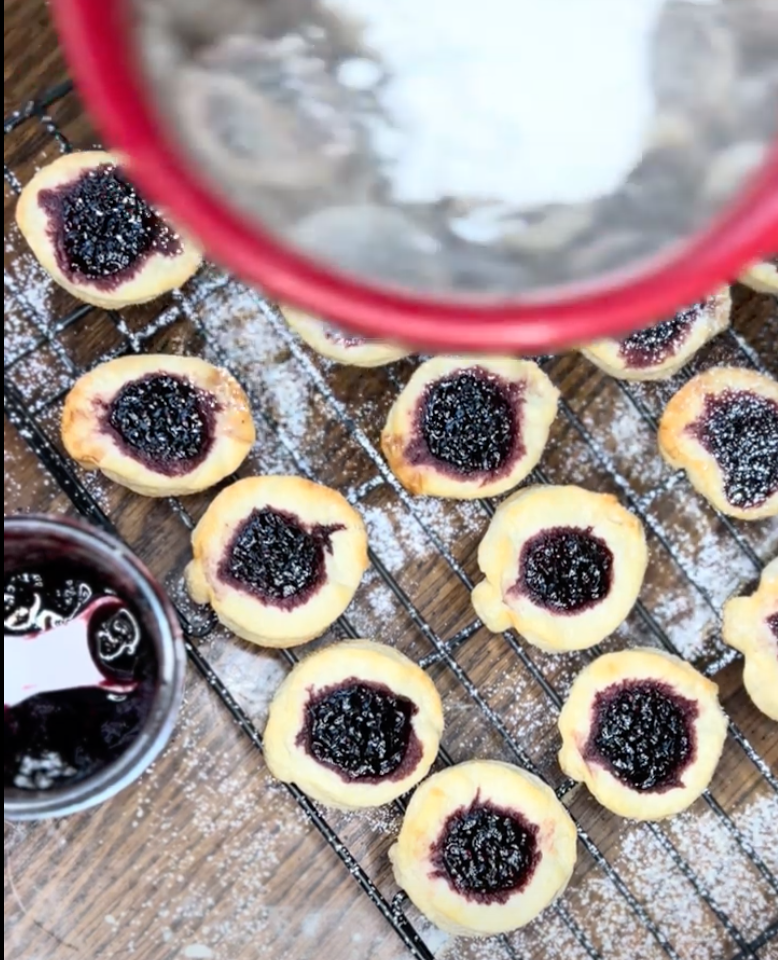
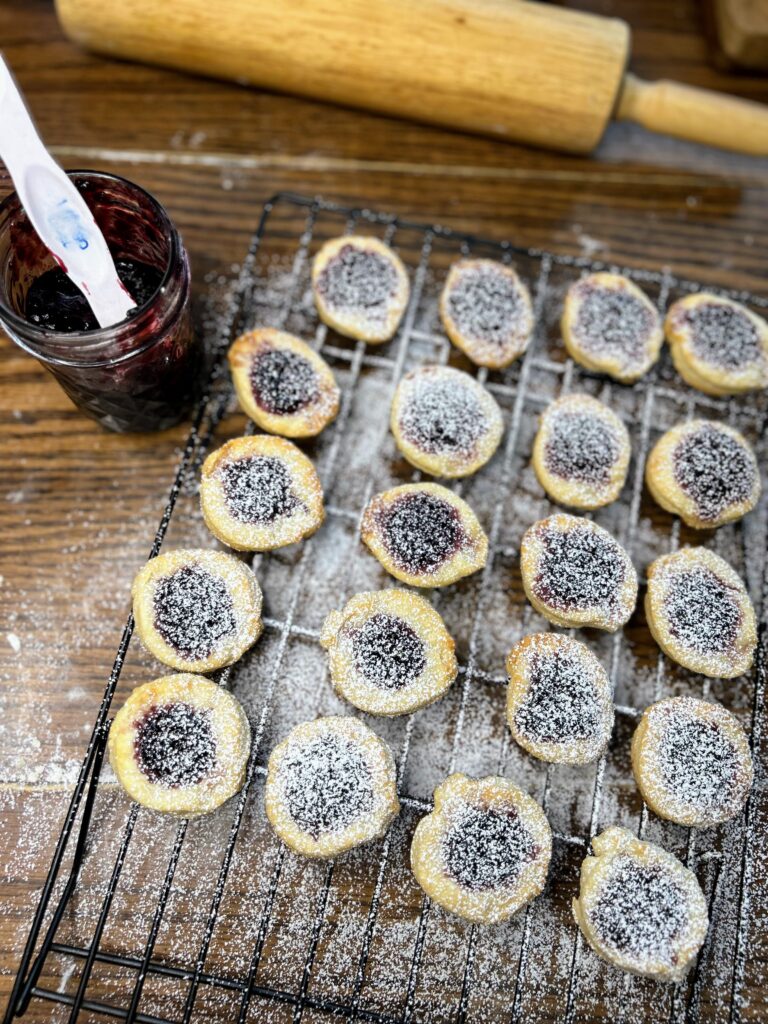
Bake for 12-17 minutes. Cool and dust with powdered sugar. I used a fine mesh strainer for this and it worked great!

These were incredibly simple and so good! I hope you enjoy them as much as my family did! 

Tools of the trade

I haven’t added a “tools of the trade” segment to a blog post for a while, but I have to share my absolute favorite baking sheets. These guys are only used for cookies and other sweet treats and they are a favorite present from years past. Also! Dusting with powdered sugar was exponentially easier using my fine strainer. We use it for so many things: straining our maple syrup, rinsing canned beans, you name it. A tool that makes your life much easier, to be sure.
Finished Kolachkes

Kolachkes

Light, buttery, and sweet with a topping of fruit preserves, these Eastern European kolachkes are a perfect addition to your holiday cookie tray!
Prep Time 15 minutes
Cook Time 15 minutes
Course Cookies, Dessert
Cuisine American, Czech, Polish
Servings 3 dozen

Ingredients
  

  • 1 cup butter softened
  • 3 ounces cream cheese softened
  • 1 teaspoon vanilla extract
  • ½ teaspoon salt
  • 2 ¼ cups flour
  • 1/2 cup preserves I used black raspberry
  • cup powdered sugar
  • Additional powdered sugar

Instructions
 

  • Preheat the oven to 400 F. Cream butter, cream cheese, vanilla, and ⅓ cup powdered sugar. Blend in 2 cups of flour and salt. Then work in remaining ¼ cup flour to form a smooth dough.
  • Divide the dough in half and roll half of it 1/4 inch thick. Cut into 2 in squares or circles. Make a slight indent in the center and fill with scant 1/2 teaspoon preserves.
  • Finish shaping squares or circles by tightly pinching opposite ends together. Place about 2 inches apart on ungreased cookie sheets. Repeat with the second half.
  • Bake for 12-17 minutes. Cool and dust with powdered sugar.
Keyword black raspberry, Cookies, fruit preserves, kolachkes, kolachky, pastries, Polish kolachky, Shortbread
Tried this recipe?Let us know how it was!

Looking for other sweet treats?

Give some of these a try or check out my baking page for more inspiration!

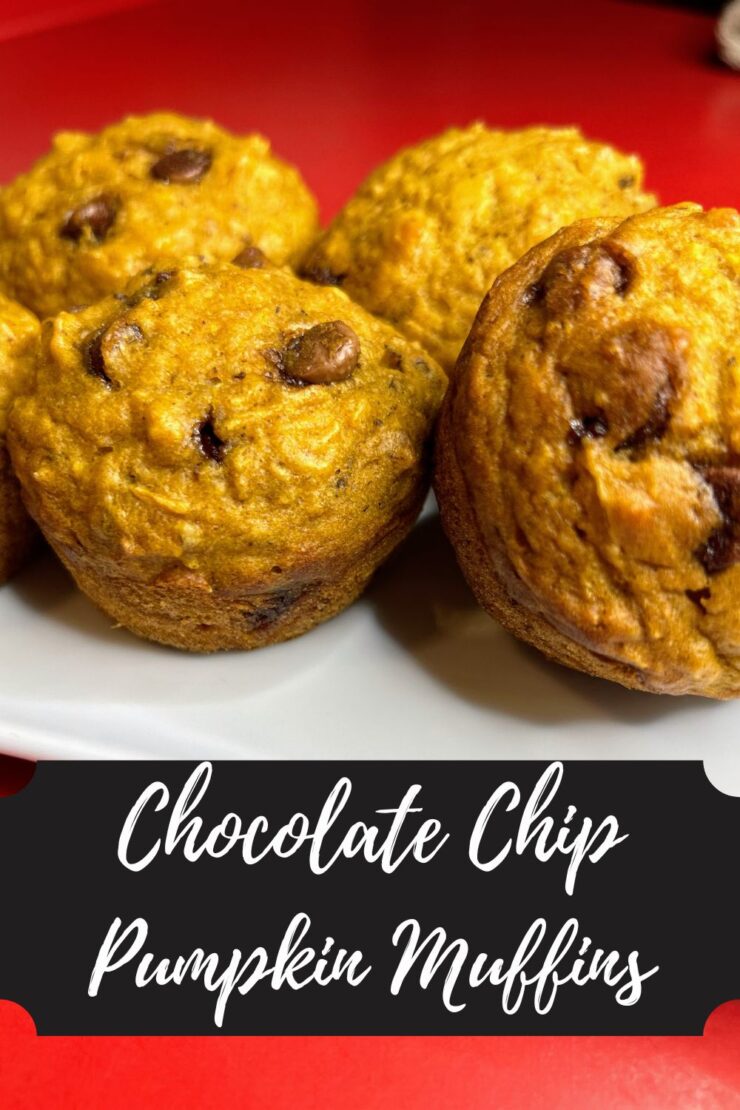
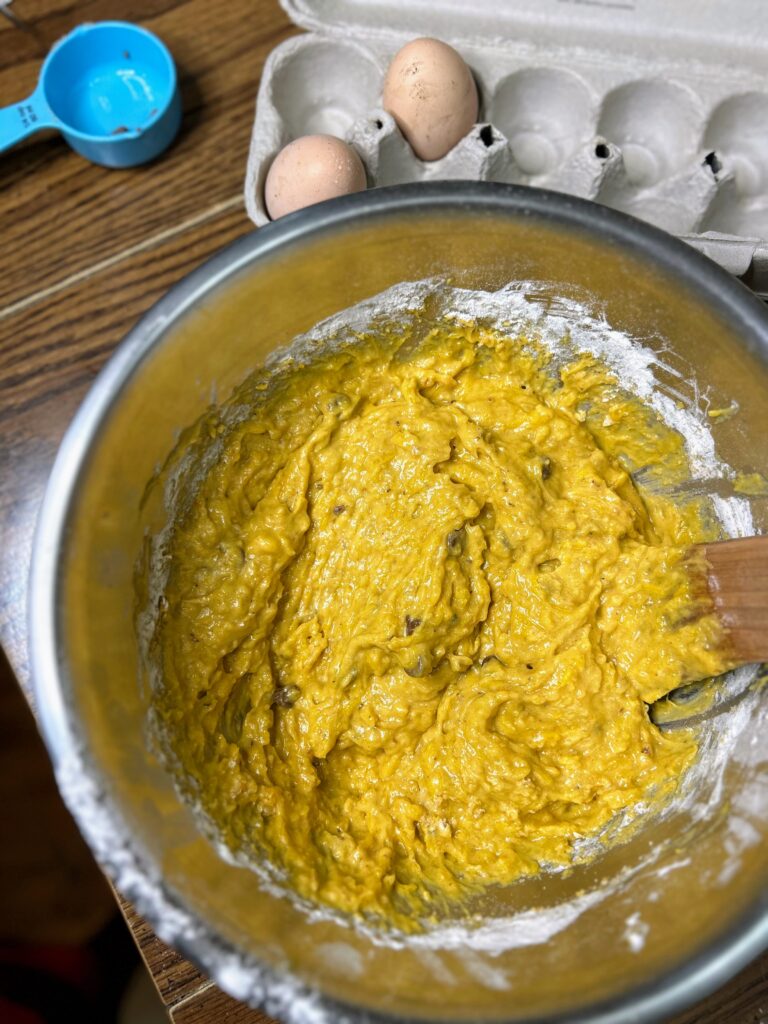
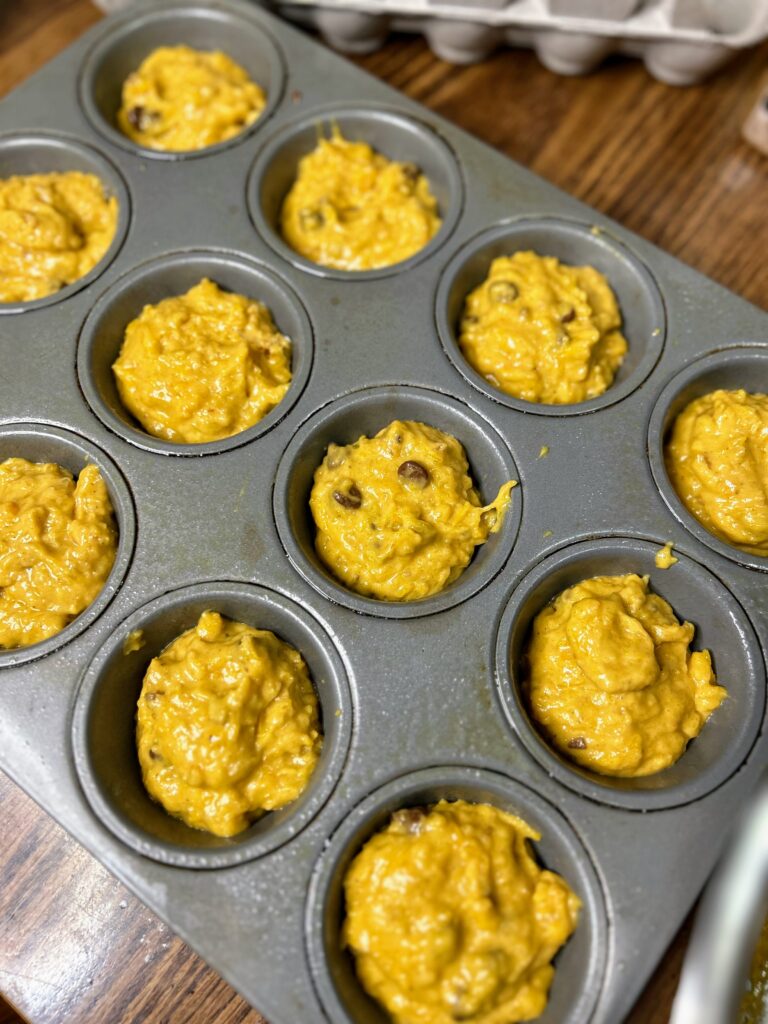
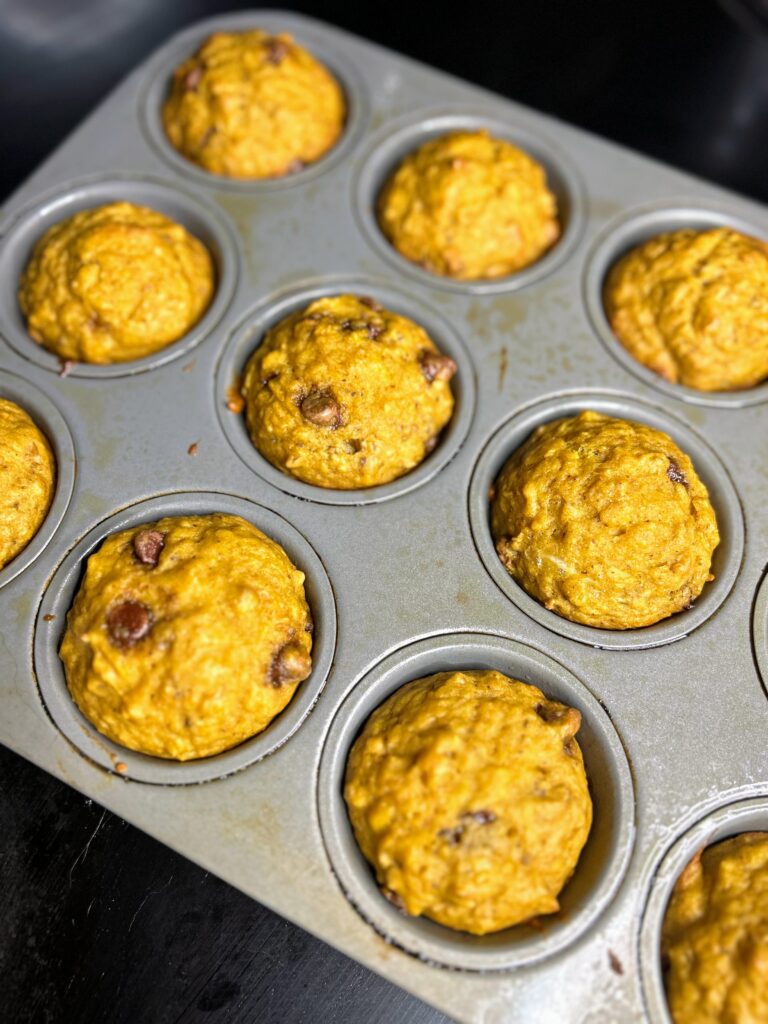
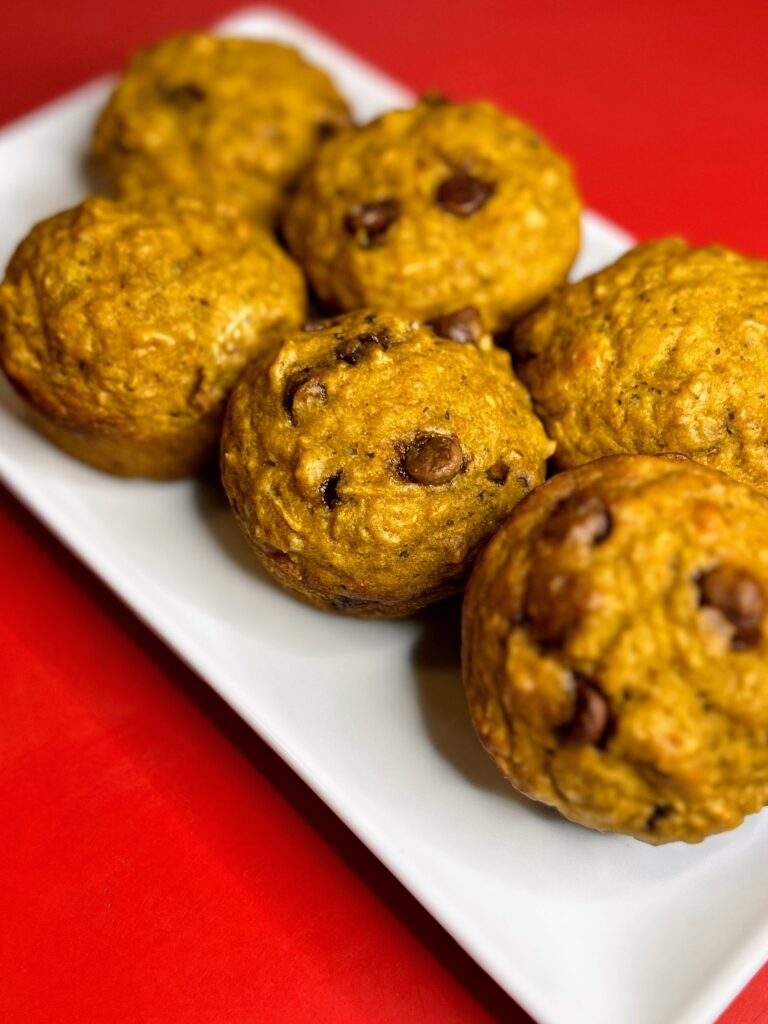
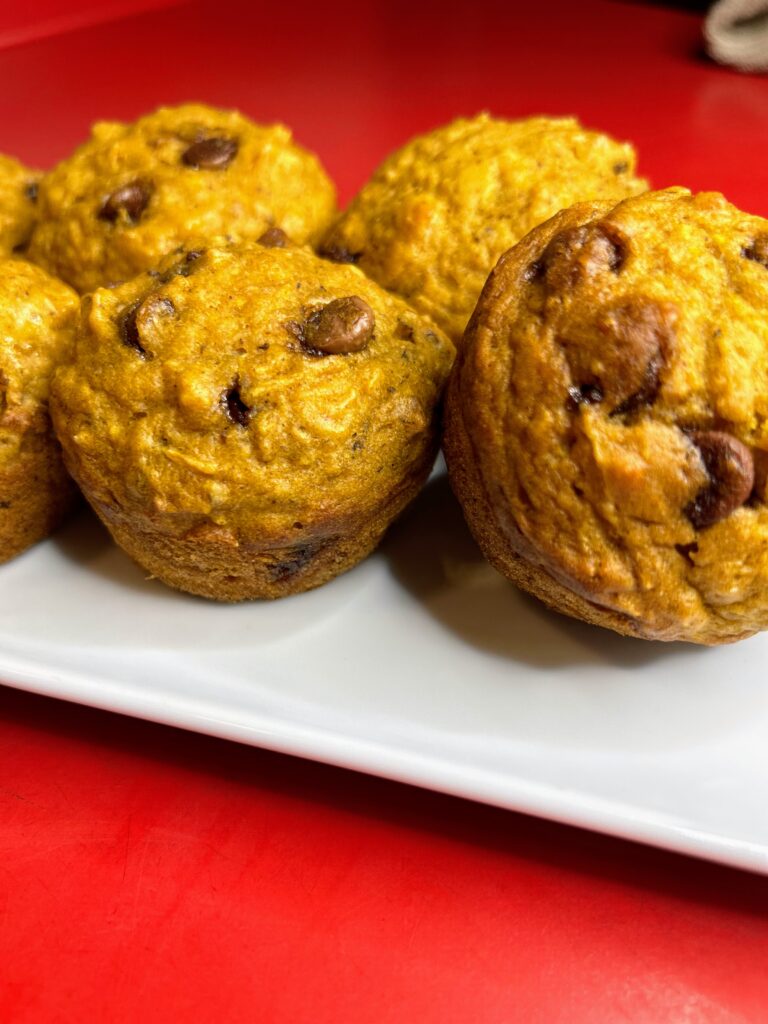
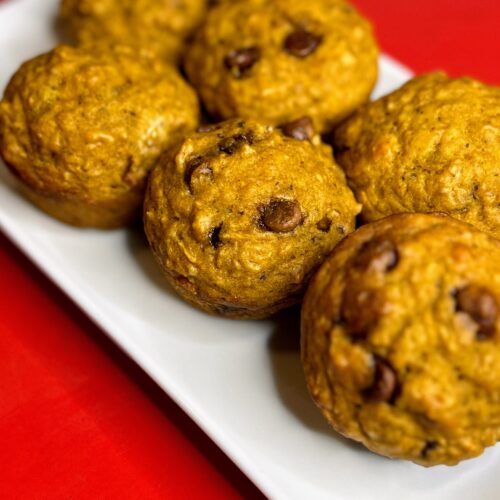
Chocolate Chip Pumpkin Muffins

As fall rolls around, I begin to look forward to all sorts of roasted squash and other delicious fall flavors. In particular, the excitement for roasted pumpkin for breads and muffins is top on the list. Not only do you get baked treats out of the deal, but roasted pumpkin seeds as well. Pumpkin freezes well, and that leaves me ready to bake throughout the year. Haven’t done it before? Check out my directions for roasted pumpkin here. This year, a chocolate chip pumpkin muffin was a new, fun creation!

These great muffins have a twist from my norm, utilizing brown sugar to create some richness and added chocolate for all the kids (and kids at heart!). Normally, I like to substitute maple syrup for the brown sugar, but I recognize that I am lucky in the Midwest, being able to make my own homemade maple syrup each year; it isn’t as accessible for others. 

Needless to say, when I had my sister and nephews over a few weekends ago, these chocolate chip pumpkin muffins didn’t last long. They were gobbled up and the kids were asking for more! If you still have pumpkin on hand from Thanksgiving, this is definitely a recipe you’ll want to try! 

Ready to start baking? Let’s get started! 

Your Ingredients

  • 1 ½ cups roasted and mashed pumpkin 
  • ½ cup brown sugar 
  • ¼ cup oil 
  • 1 teaspoon vanilla
  • 2 eggs 
  • 1 ½ cups flour
  • 1 teaspoon baking soda 
  • ½ teaspoon salt
  • ½ teaspoon ground cinnamon 
  • ⅛ teaspoon nutmeg 
  • ⅛ teaspoon ground cloves
  • ½ teaspoon baking powder 
  • ½ cup coarsely chopped nuts
  • ¼ -⅓ chocolate chips, if desired 

Your Steps to Chocolate Chip Pumpkin Muffins

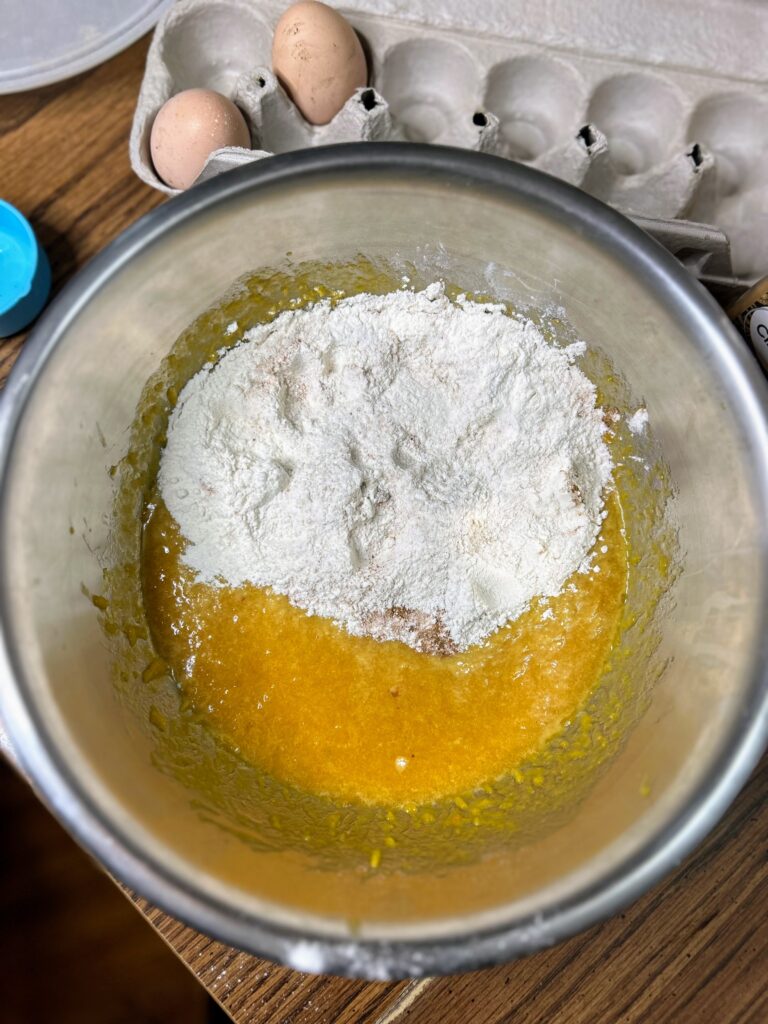
Preheat the oven to 350 degrees. Prepare 18 muffin vessels by spraying with cooking spray or lining with muffin cups. In a large bowl, stir pumpkin, brown sugar, oil, vanilla, and eggs together until well combined. 

Combine flour, salt, cinnamon, nutmeg, cloves, and baking powder in another bowl. Fold into the wet ingredients until just combined. Fold the chopped nuts and chocolate chips in. 

Bake for 20-25 minutes, until a toothpick inserted in the center comes out clean. 

Baked chocolate chip pumpkin muffins

Chocolate Chip Pumpkin Muffins

These chocolate chip pumpkin muffins are sure to make everyone smile, with their combination of brown sugar, warming spices, and chocolate.
Prep Time 10 minutes
Cook Time 20 minutes
Course Breakfast
Cuisine American
Servings 18 muffins

Equipment

Ingredients
  

  • 1 ½ cups roasted and mashed pumpkin
  • ½ cup brown sugar
  • ¼ cup oil
  • 1 teaspoon vanilla
  • 2 eggs
  • 1 ½ cups flour
  • 1 teaspoon baking soda
  • ½ teaspoon salt
  • ½ teaspoon ground cinnamon
  • teaspoon nutmeg
  • teaspoon ground cloves
  • ½ teaspoon baking powder
  • ½ cup coarsely chopped nuts
  • ¼ -⅓ chocolate chips if desired

Instructions
 

  • Preheat the oven to 350 degrees. Prepare 18 muffin vessels by spraying with cooking spray or lining with muffin cups. In a large bowl, stir pumpkin, brown sugar, oil, vanilla, and eggs together until well combined.
  • Combine flour, salt, cinnamon, nutmeg, cloves, and baking powder in another bowl. Fold into the wet ingredients until just combined. Fold the chopped nuts and chocolate chips in.
  • Bake for 20-25 minutes, until a toothpick inserted in the center comes out clean.
Keyword Breakfast, breakfast breads, breakfast muffins, muffins, pumpkin, pumpkin bread, pumpkin recipes
Tried this recipe?Let us know how it was!

Looking for other great breakfast recipes?

You can definitely check out my baking and my breakfast pages. Or maybe one of the recipes below will tickle your fancy!

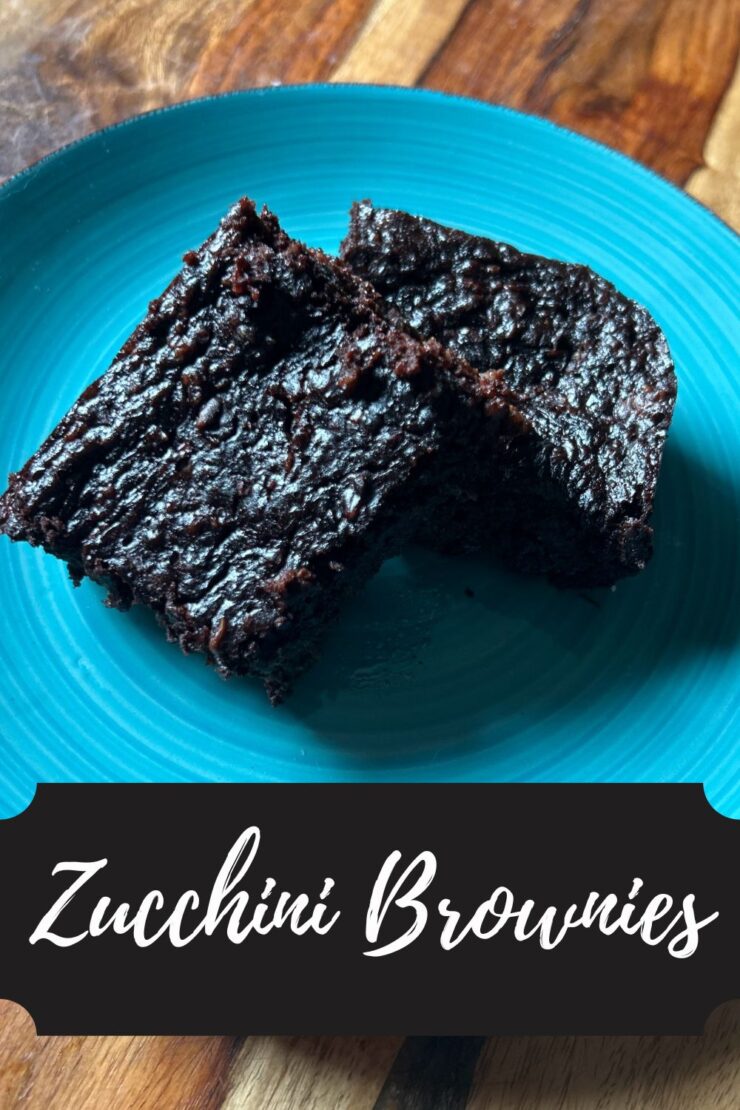
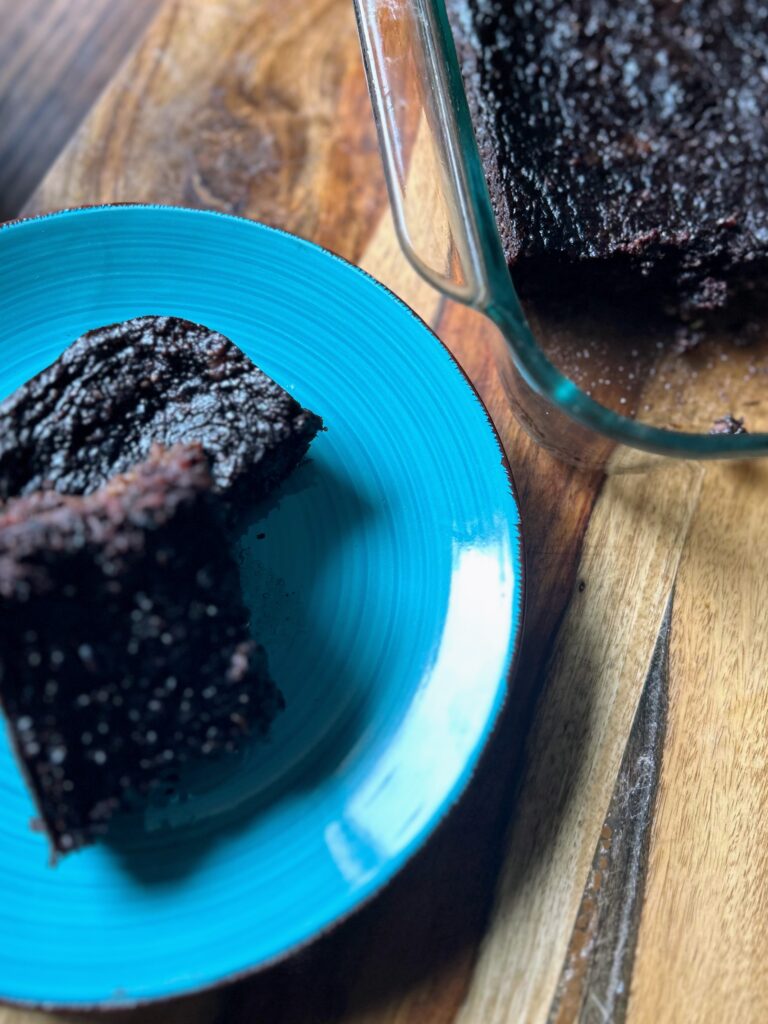
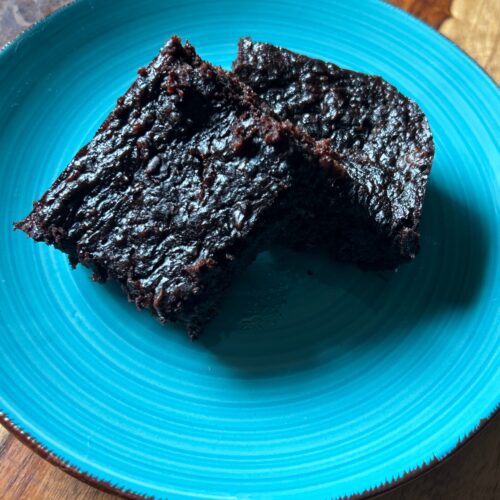
Zucchini Brownies

It’s that time of year where gardens everywhere are producing extra amounts of zucchini. Where people are sneaking them onto their neighbors porches, into their cars, you name it. I was deep into Instagram and a woman commented that she planted 11 plants her first time. I think I guffawed at that! If you can relate and have a stack of zucchinis on your counter, maybe give this recipe a go: Zucchini Brownies. 

Now listen, I know brownies are necessarily synonymous with healthy sweet treats, but these are pretty darn close. I swapped maple syrup for sugar (seriously, it’s so good!), opted for oatmeal flour rather than regular flour, and used olive oil. All great things, right? 

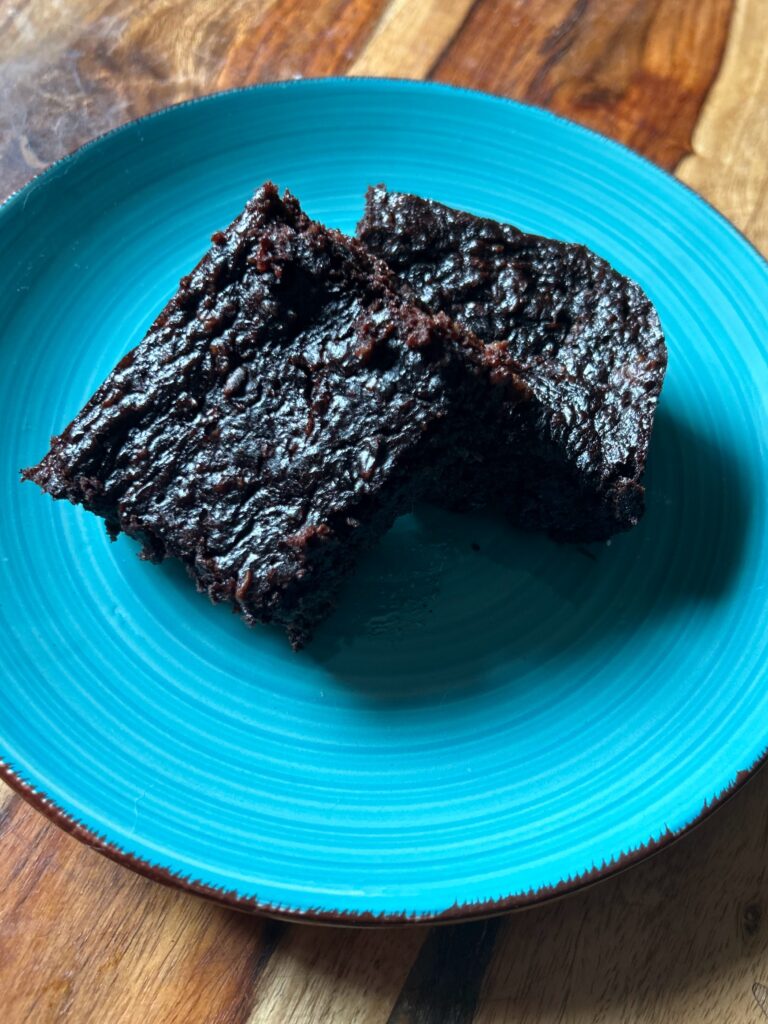
And they are so rich and delicious. The amount of cocoa powder leaves them a dark beautiful brown color and the zucchini adds extra moisture. They get better as the days go by, if you can keep them in your house long enough! 

Ready to start baking? Let’s go! 

Your Ingredients

  • ⅓ cup nut butter (I did peanut butter but have used almond as well) 
  • ⅓ cup maple syrup
  • 1 egg 
  • ⅓ cup olive oil 
  • 2 teaspoon vanilla extract
  • ½ cup cocoa powder
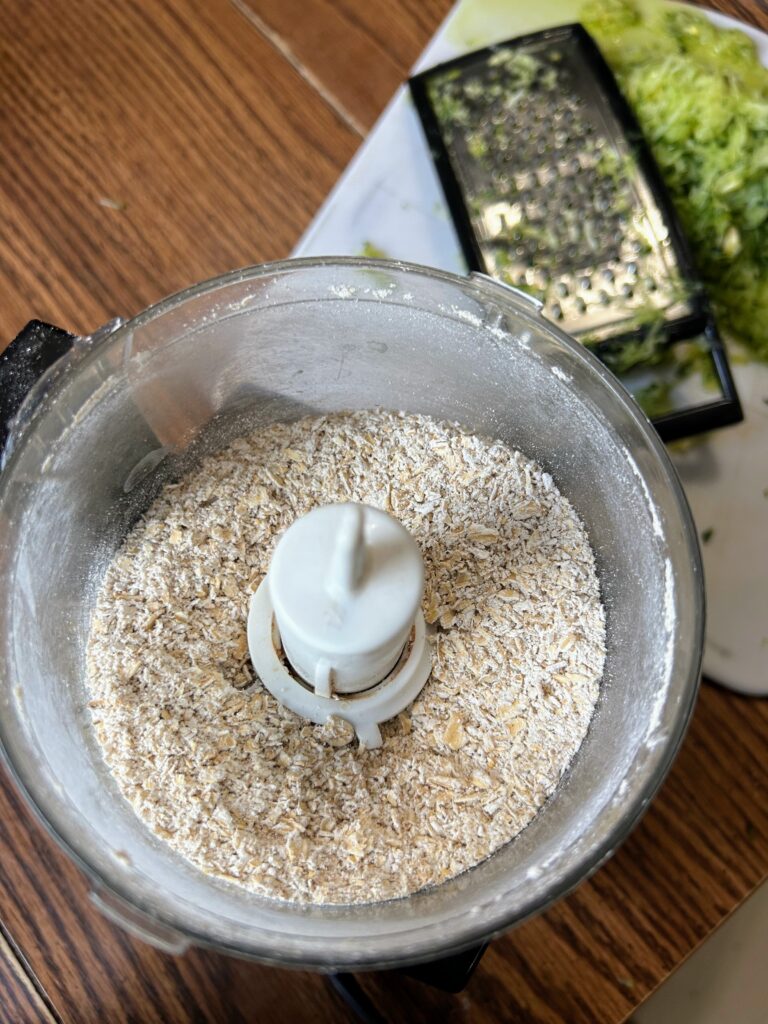
  • ½ cup old fashioned oats, made into flour in a food processor after measuring
  • 1 teaspoon baking soda
  • ¼ teaspoon salt 
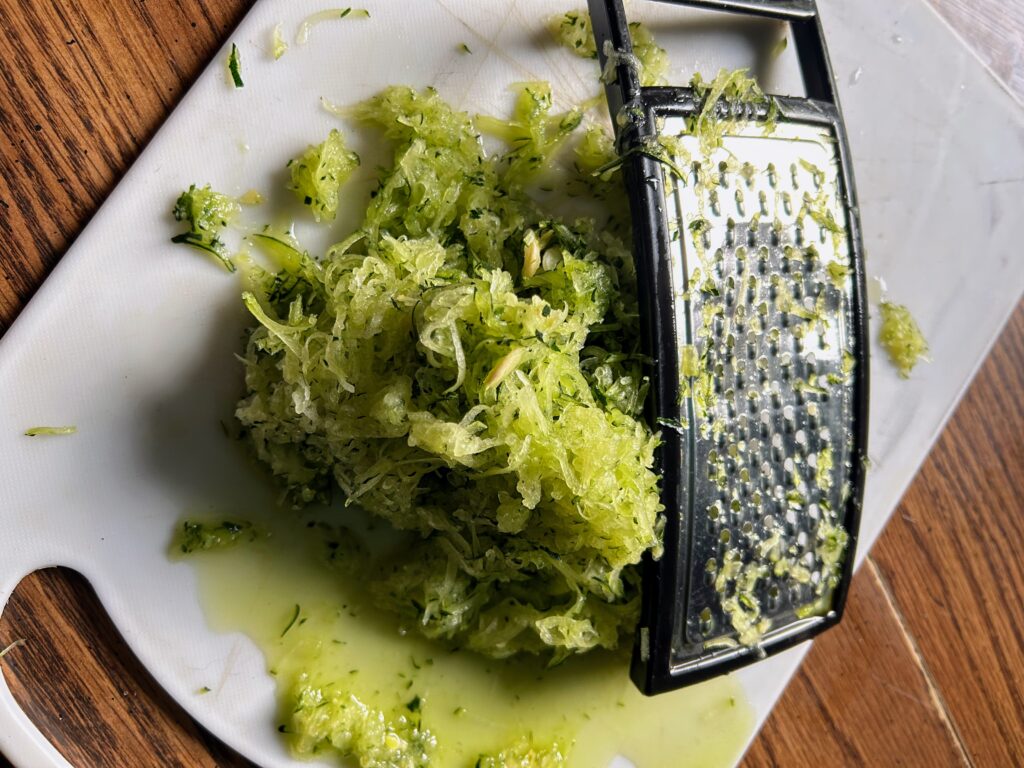
  • 1 ½ cups finely shredded zucchini 
  • ¼-½ cups chocolate chips 

Your Steps to Zucchini Brownies

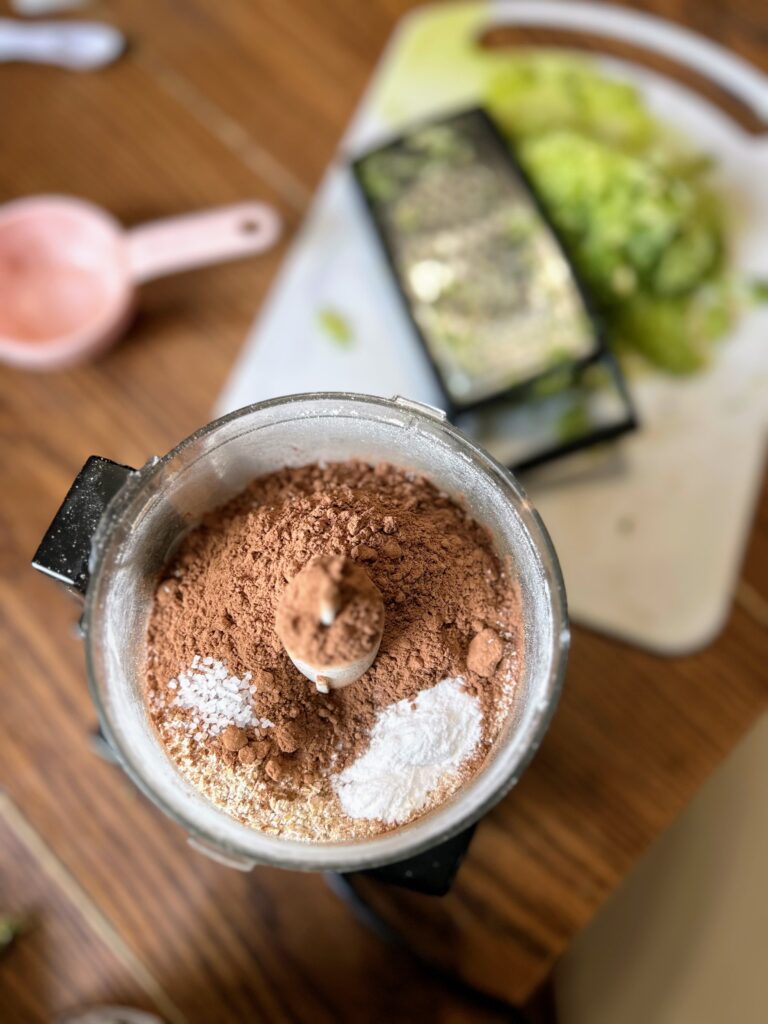
Preheat the oven to 350 degrees. In a food processor, grind oats until a coarse flour is formed. Add cocoa powder, salt, and baking soda. Pulse a few times to mix. 

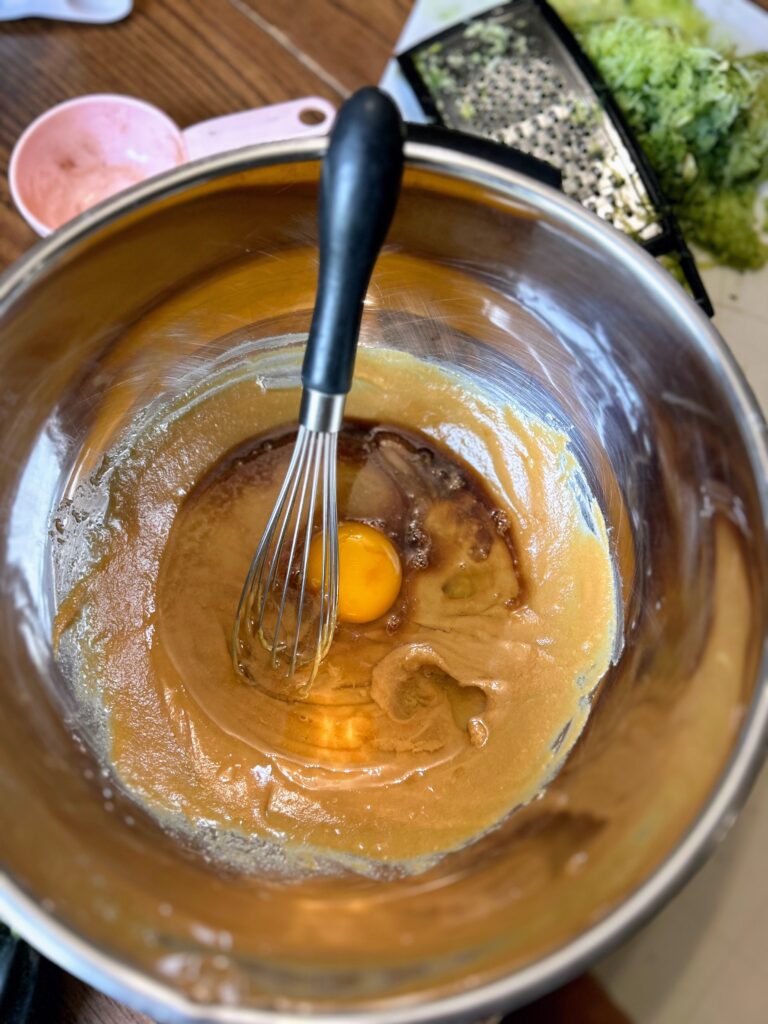
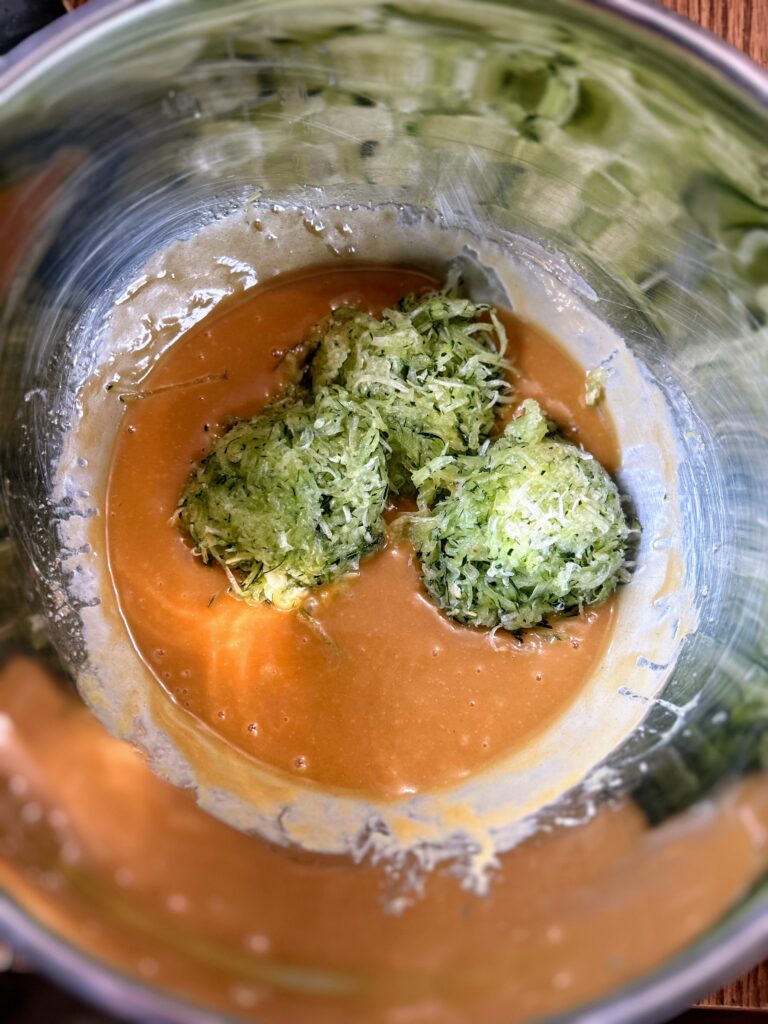
In a large bowl, whisk syrup, nut butter and olive oil together. Add the egg and extract and whisk again. Sir in the zucchini and add the dry ingredients until JUST mixed. 

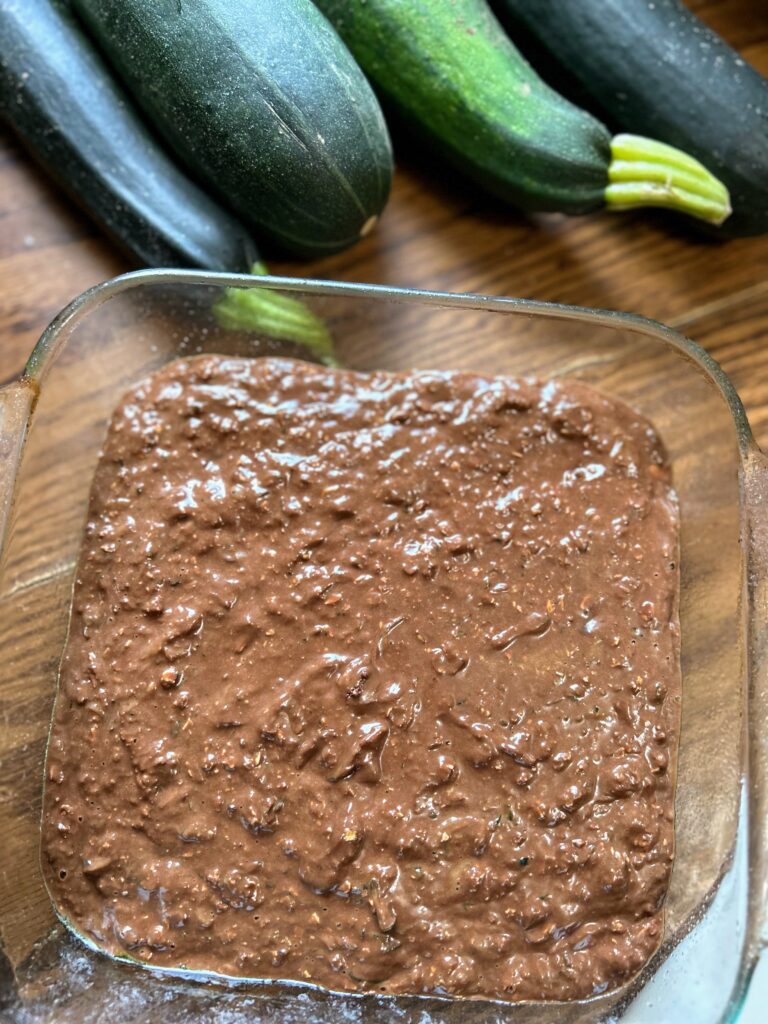
Fold in the chocolate chips (reserving a few to sprinkle on top, if you care to). Pour into a greased 8×8 brownie pan and sprinkle remaining chocolate chips. Bake for 25 minutes, or until set. 

Serve them up with a bit of ice cream or a tall glass of milk and watch the zucchini brownies disappear!

Zucchini Brownies

Veggies and dessert? Serve these delicious zucchini brownies up with a tall glass of milk or ice cream and wait for smiles!
5 from 1 vote
Prep Time 15 minutes
Cook Time 25 minutes
Course Dessert
Cuisine American
Servings 9 brownies

Ingredients
  

  • cup nut butter I did peanut butter but have used almond as well
  • cup maple syrup
  • 1 egg
  • cup olive oil
  • 2 teaspoon vanilla extract
  • ½ cup cocoa powder
  • ½ cup old fashioned oats made into flour in a food processor after measuring
  • 1 teaspoon baking soda
  • ¼ teaspoon salt
  • 1 ½ cups finely shredded zucchini
  • ¼-½ cups chocolate chips

Instructions
 

  • Preheat the oven to 350 degrees. In a food processor, grind oats until a coarse flour is formed. Add cocoa powder, salt, and baking soda. Pulse a few times to mix.
  • In a large bowl, whisk syrup, nut butter and olive oil together. Add the egg and extract and whisk again. Sir in the zucchini and add the dry ingredients until JUST mixed.
  • Fold in the chocolate chips (reserving a few to sprinkle on top, if you care to). Pour into a greased 8×8 brownie pan and sprinkle remaining chocolate chips. Bake for 25 minutes, or until set.
Keyword brownies, chocolate, chocolate zucchini bread, Gluten Free, zucchini, zucchini brownies, zucchini desserts, zucchini treats
Tried this recipe?Let us know how it was!

Looking for other zucchini recipes?

You can check out my baking and canning and preserving pages for more inspiration! Our perhaps pick one of my favorites below!

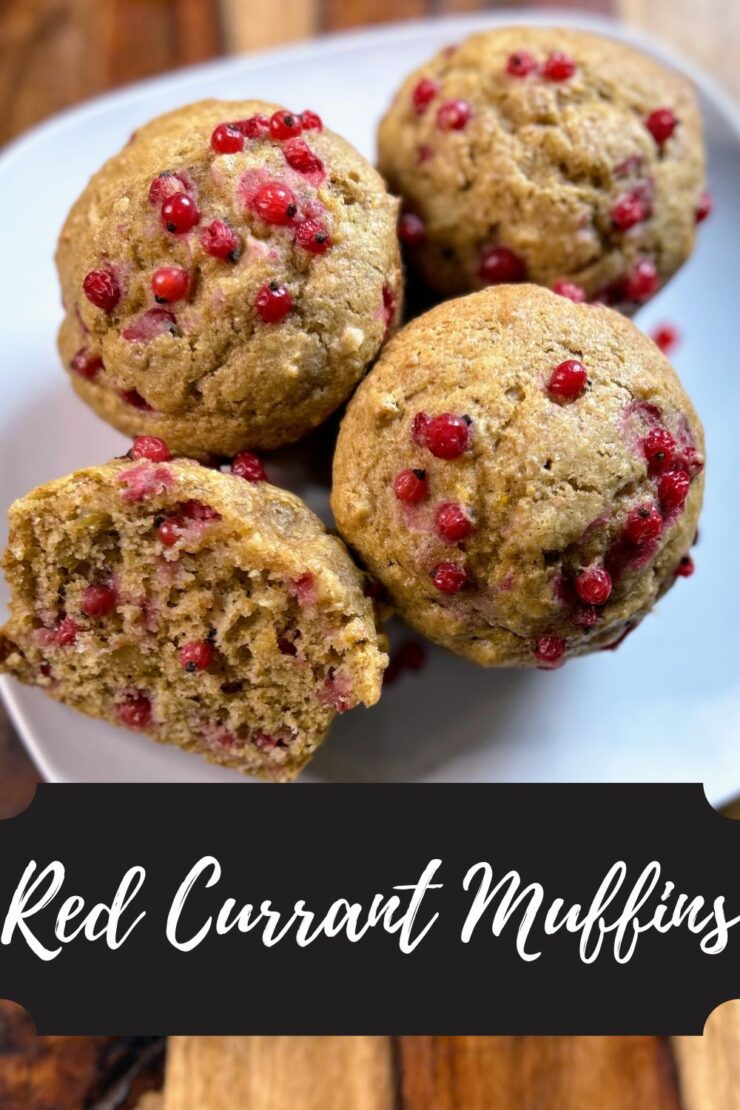
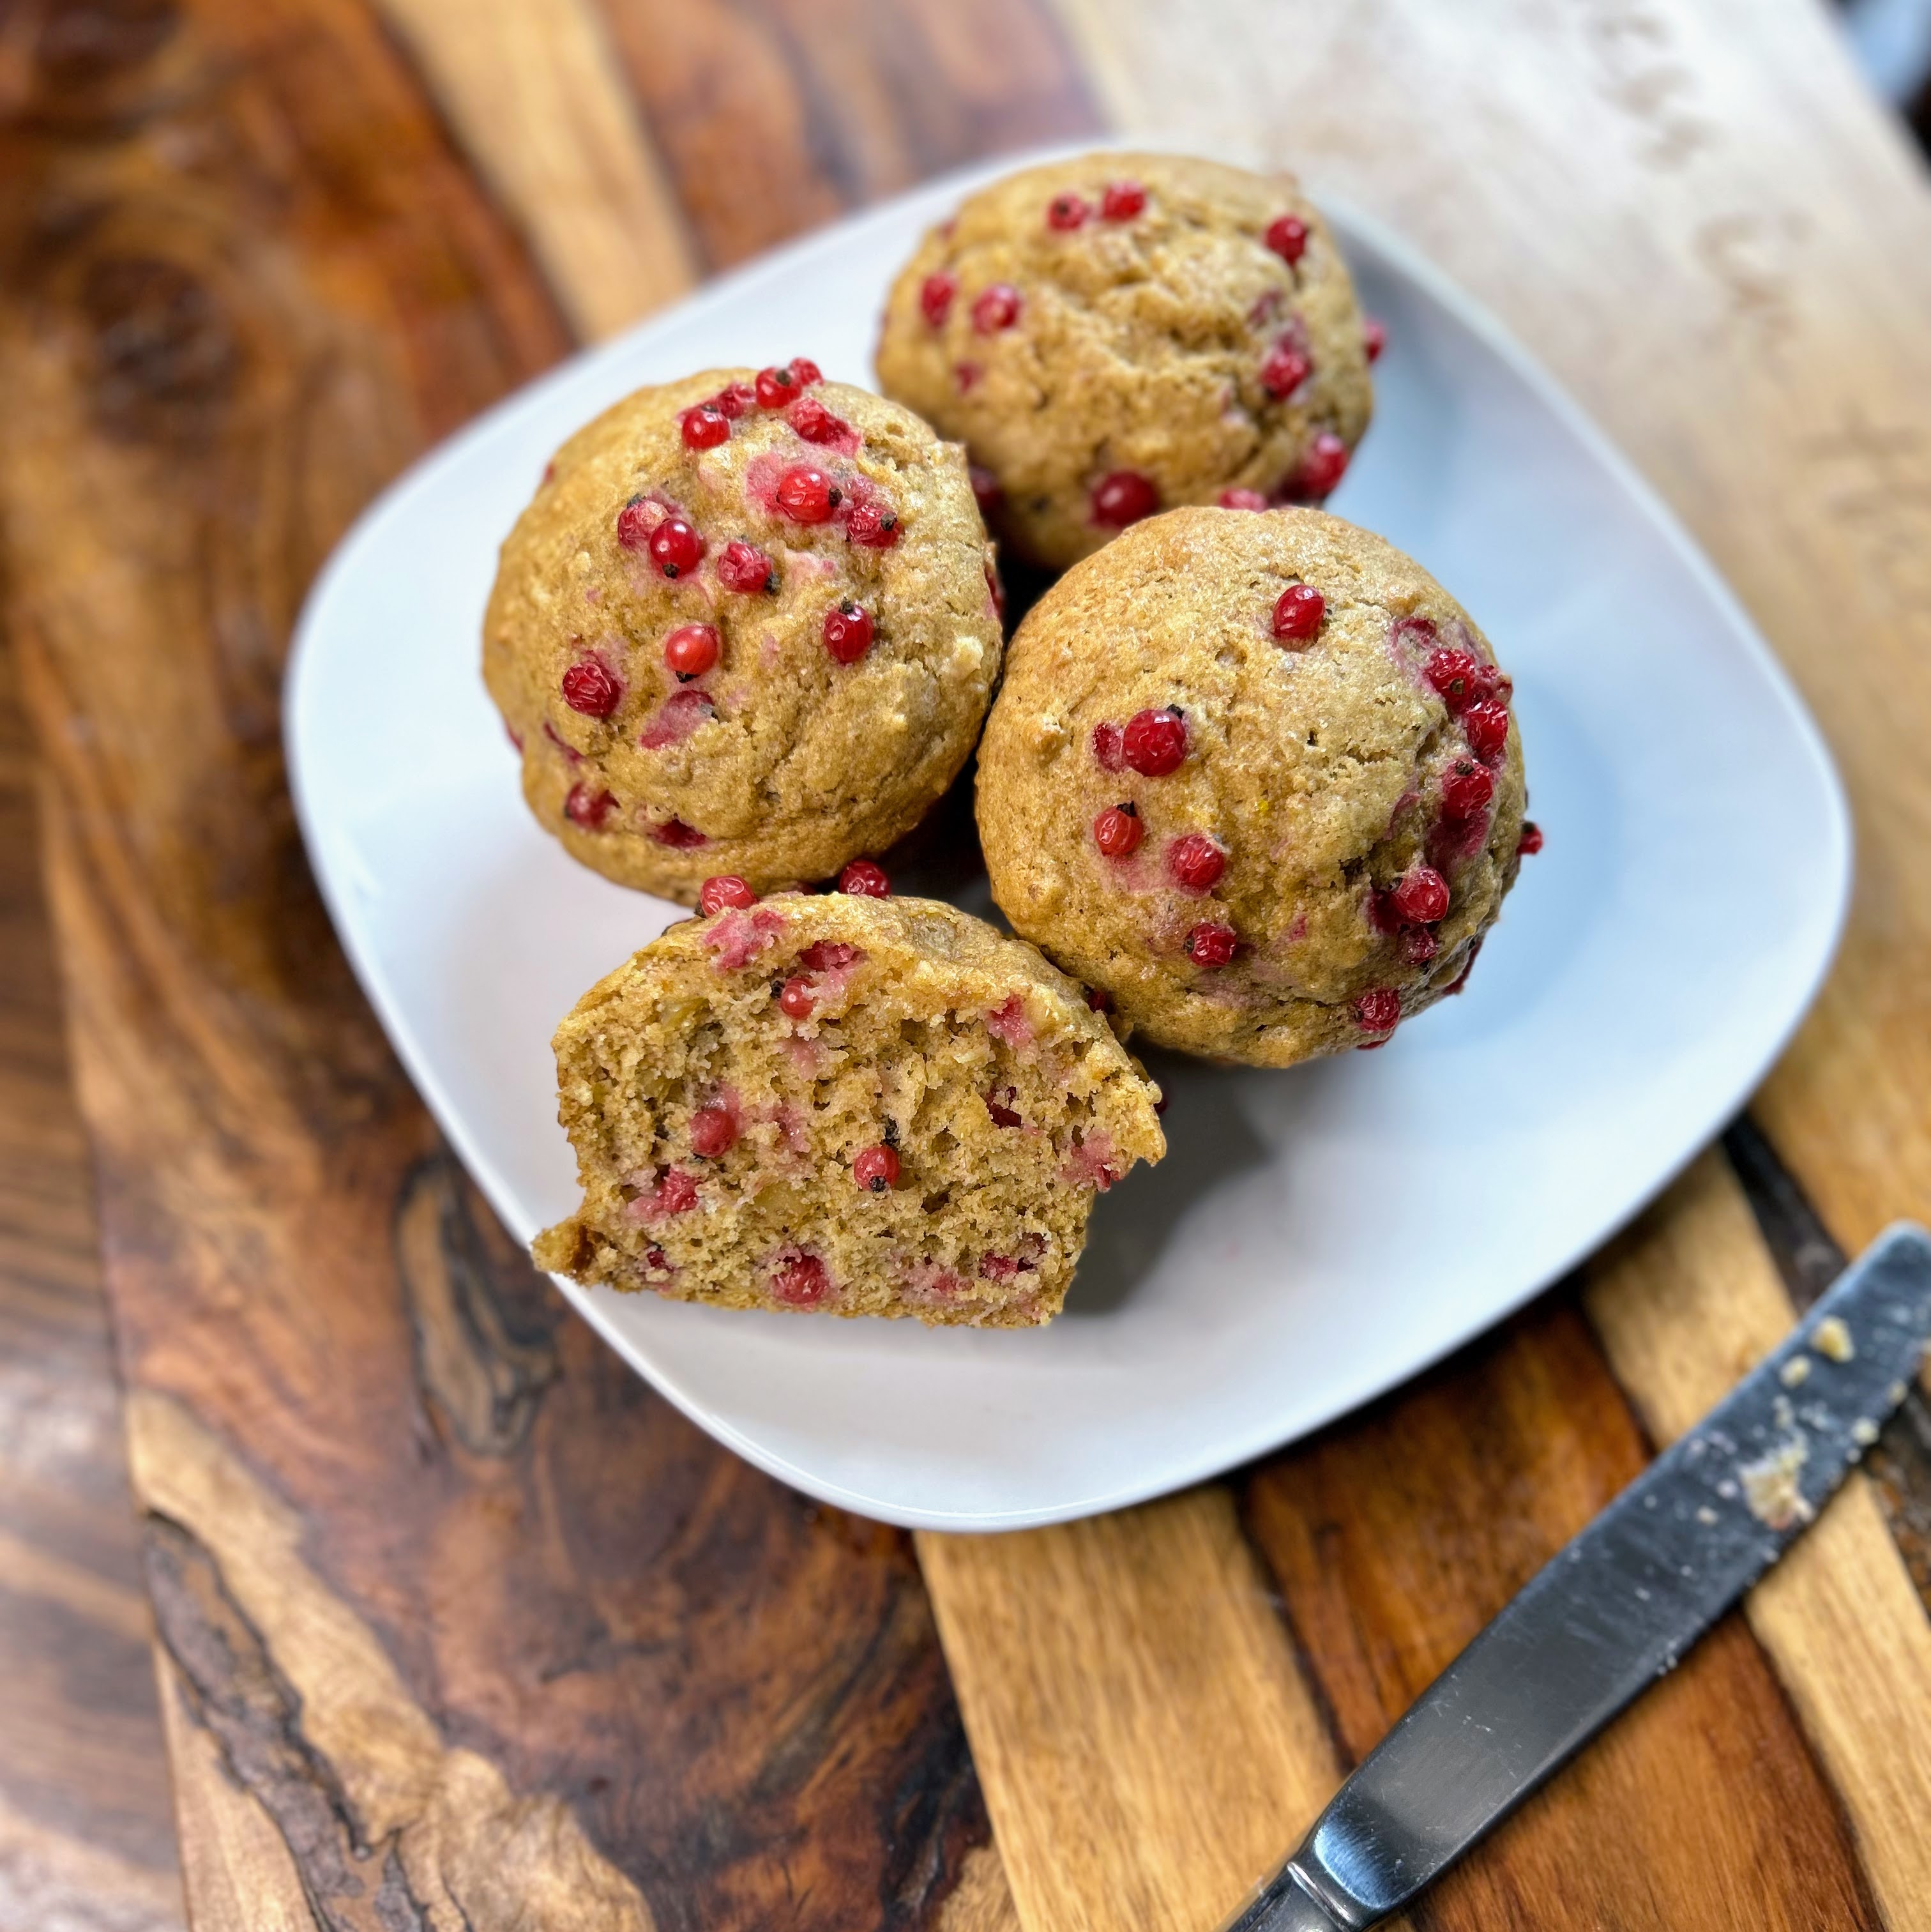
Red Currant Muffins

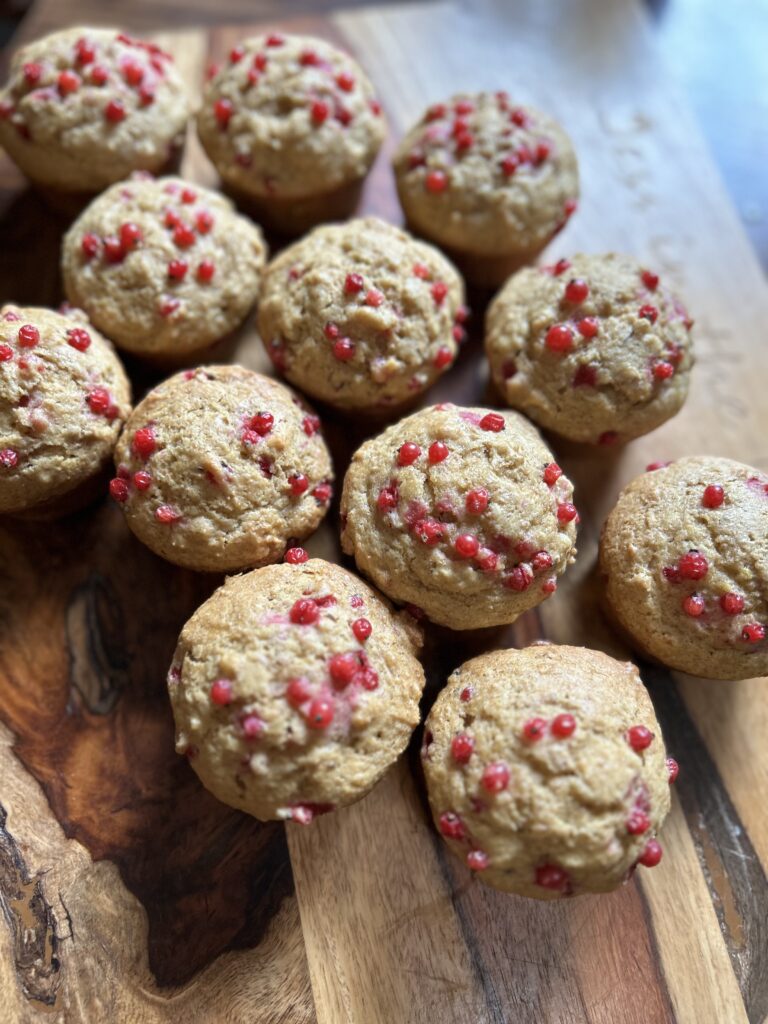
Many moons ago (Like seriously, SO MANY. Where does the time go?!), I was at a farmer’s market and I tried a berry. I loved it and immediately wanted to grow it. Did I write down what I tried? Absolutely not. So I planted gooseberries. They grew fruit. Nope, that wasn’t it. Then I planted red currants. Nope. Also, not it, but man, they ARE tasty. So I promptly ordered three more plants. This year, I feel confident to say they have finally established themselves in our yard. Lucky for our household because it means I get to create these delicious red currant muffins!

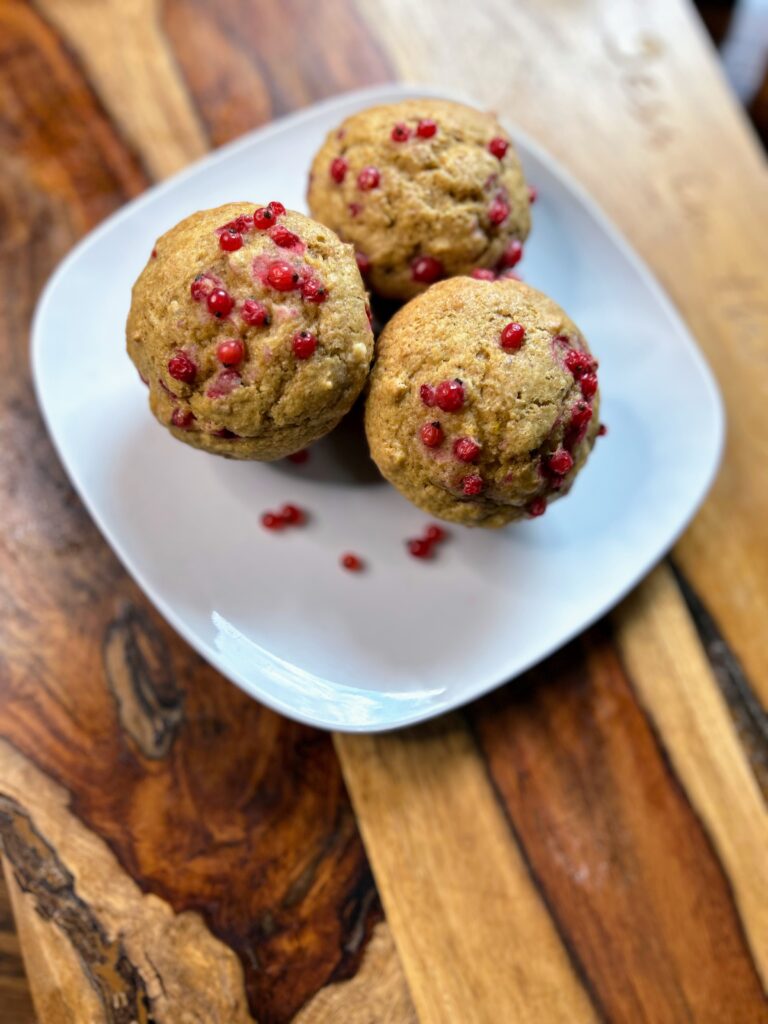
I dig a sweet-tart fruit. Cranberries, gooseberries, blueberries, rhubarb. I always harvest them just before they are ready so I get that tart bite to them. Currants live in that same family. They are delightful and perfect pops of flavor, which is what I think makes them ideal for muffins and breads. As soon as my mini me bit into her first red currant muffin, she asked if I could bake more. If she could perhaps bring a batch to her grandparents for the weekend. So they win, right? 

What do we sweeten them with?

If you’ve been baking with me for any amount of time, you know I love to use maple syrup as a sweetener. We live in northern Wisconsin where we are able to easily make our own maple syrup each spring. (Learn about it here!) We have a very small operation and cook over an open fire to finish it on the stove, making about a little over a gallon a year. I use it throughout the year to sweeten all the things and it does a great job! If you’re hesitant, please give it a try! You would never know there is no granulated sugar in these muffins! 
But enough talk. Let’s get baking! 

Your Ingredients for red currant muffins 

  • 1 cup whole wheat flour 
  • 1 cup all purpose flour 
  • 2 teaspoons baking powder 
  • ½ teaspoon salt
  • ½ teaspoon baking soda
  • ¼ cup butter softened
  • ⅔ cup real maple syrup
  • 1 teaspoon vanilla
  • ¼ cup plain Greek yogurt (vanilla or sour cream will do fine too!)
  • 2 eggs
  • ½ cup chopped nuts
  • 1 cup fresh red currants

Your Steps to Red Currant Muffins

Preheat the oven to 350 degrees. Generously grease 12 regular size muffin vessels. 

Mix flour, baking powder, baking soda, and salt in a large bowl; set aside. 

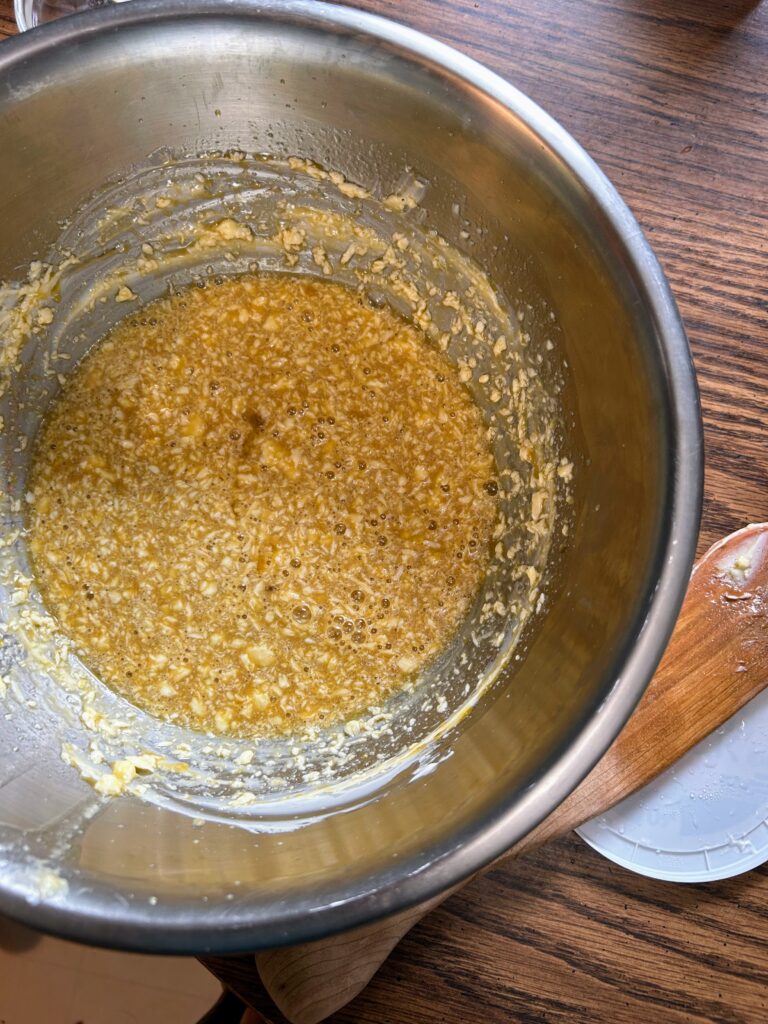
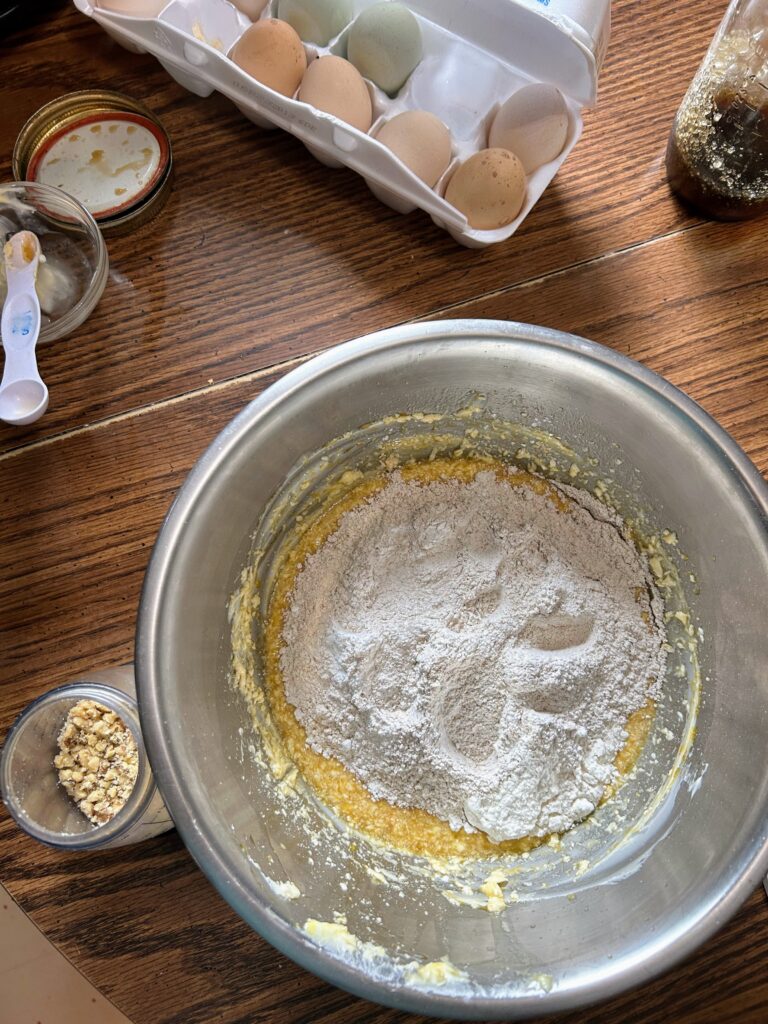
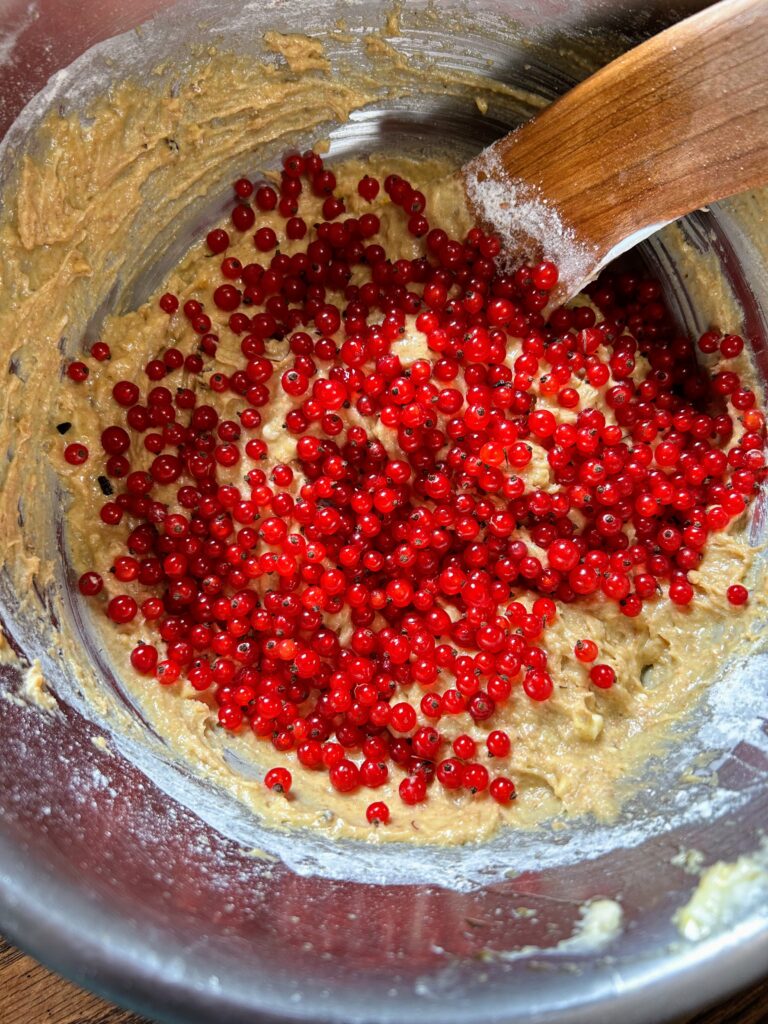
Beat the butter in a mixing bowl until creamy. Add maple syrup. Mix thoroughly. Beat in vanilla, Greek yogurt, and eggs. Stir in the dry ingredients. Fold in the nuts and 3/4 of the currants gently. 

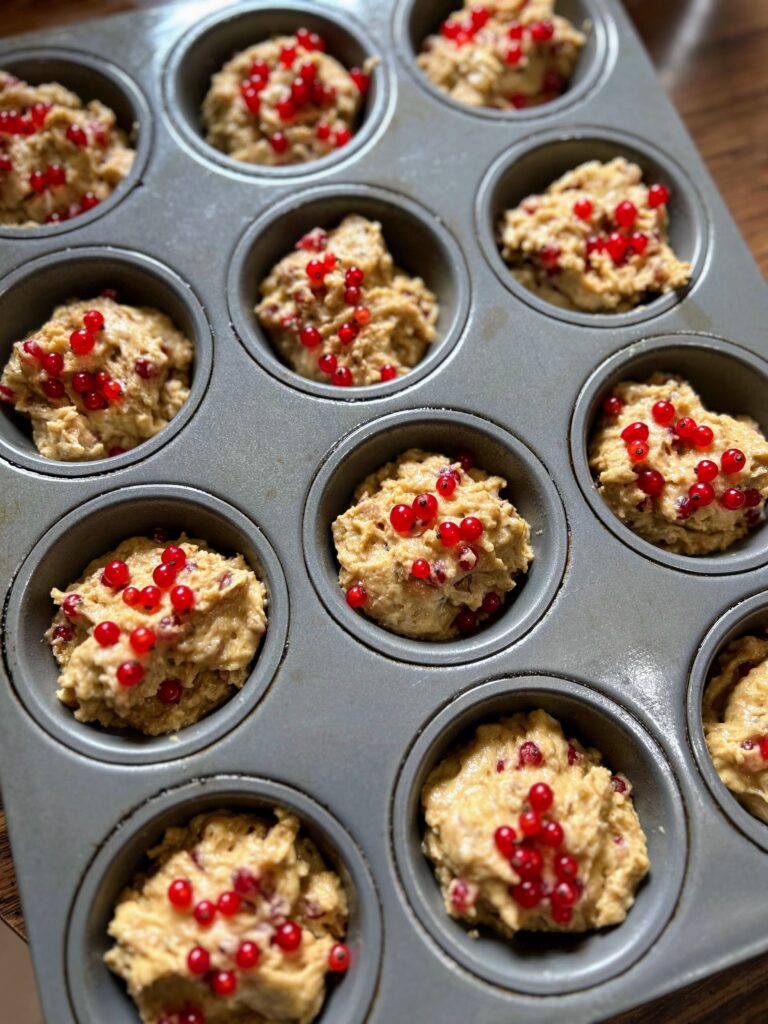
Scoop prepared batter into prepared muffin tin. Sprinkle the tops of each muffin with some of the remaining currants. Bake for 18-22 minutes, until a wood pick inserted in the center comes out clean.

Red Currant Muffins

These red currant muffins are FULL of little red bits of sweet-tart goodness in every bite that will have you coming back for more!
Prep Time 10 minutes
Cook Time 20 minutes
Course Breakfast, Snack
Cuisine American
Servings 12 muffins

Ingredients
  

  • 1 cup whole wheat flour
  • 1 cup all purpose flour
  • 2 teaspoons baking powder
  • ½ teaspoon salt
  • ½ teaspoon baking soda
  • ¼ cup butter softened
  • cup real maple syrup
  • 1 teaspoon vanilla
  • ¼ cup plain Greek yogurt vanilla or sour cream will do fine too!
  • 2 eggs
  • ½ cup chopped nuts
  • 1 cup fresh red currants

Instructions
 

  • Preheat the oven to 350 degrees. Generously grease 12 regular size muffin vessels.
  • Mix flour, baking powder, baking soda, and slat in a large bowl; set aside.
  • Beat the butter in a mixing bowl until creamy. Add maple syrup. Mix thoroughly. Beat in vanilla, Greek yogurt, and eggs. Stir in the dry ingredients. Fold in the nuts and ¾ of the currants gently.
  • Scoop prepared batter into prepared muffin tin. Sprinkle the remaining currants on top of each muffin. Bake for 18-22 minutes, until a wood pick inserted in the center comes out clean.
Keyword Breakfast, breakfast muffins, muffin recipe, muffins, red currant muffins, red currants
Tried this recipe?Let us know how it was!

Looking for other tasty treats?

Check out my baking page or my canning page! Or maybe something below will tickle your fancy!

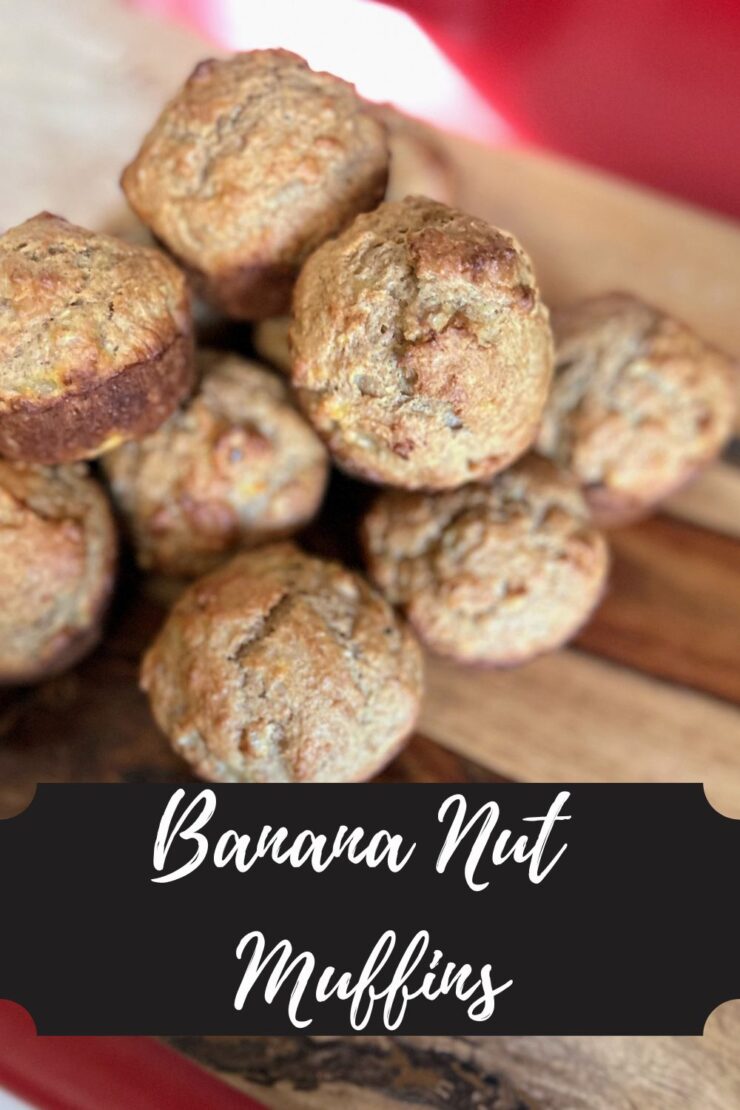
Banana Nut Muffins

I know you are out there. The banana keepers. You know, the ones that buy way too many bananas because some days the people in your house eat them like they are going out of style…until they don’t. And then you have those bananas that are just past their prime. The banana keepers throw them in the freezer with plans of banana bread. I usually just leave them on the counter until the Mr says, “Are you going to bake with these or….” Well, sometimes they make the best gluten free banana bread. But this time, they made some delightful banana nut muffins. 

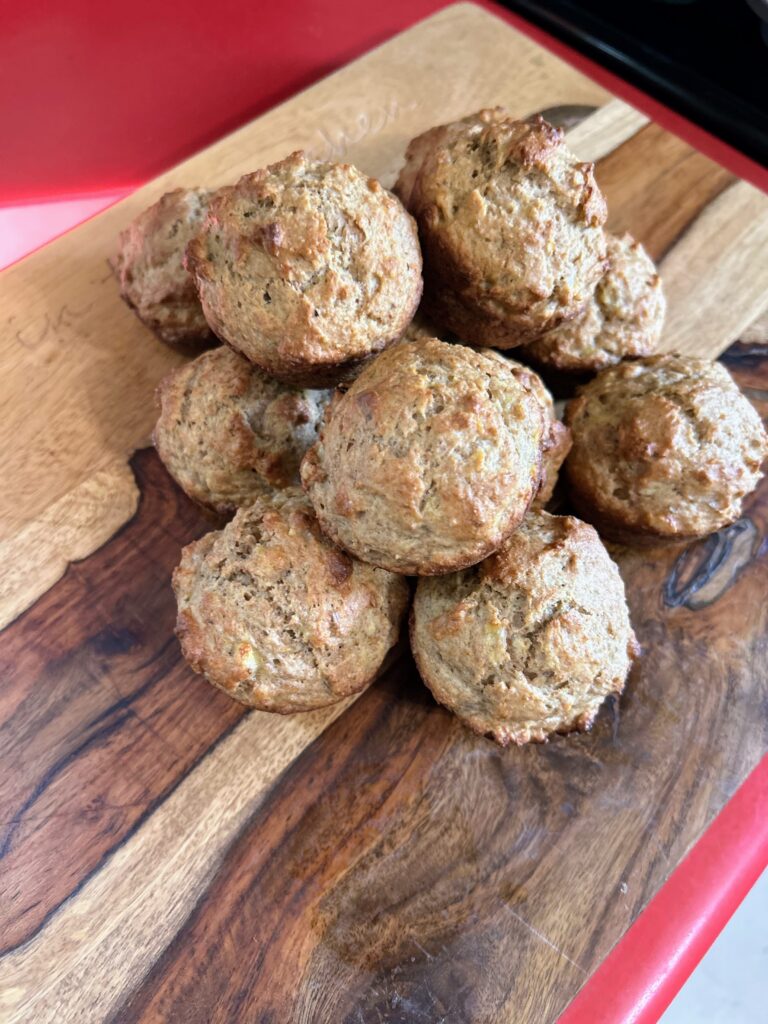
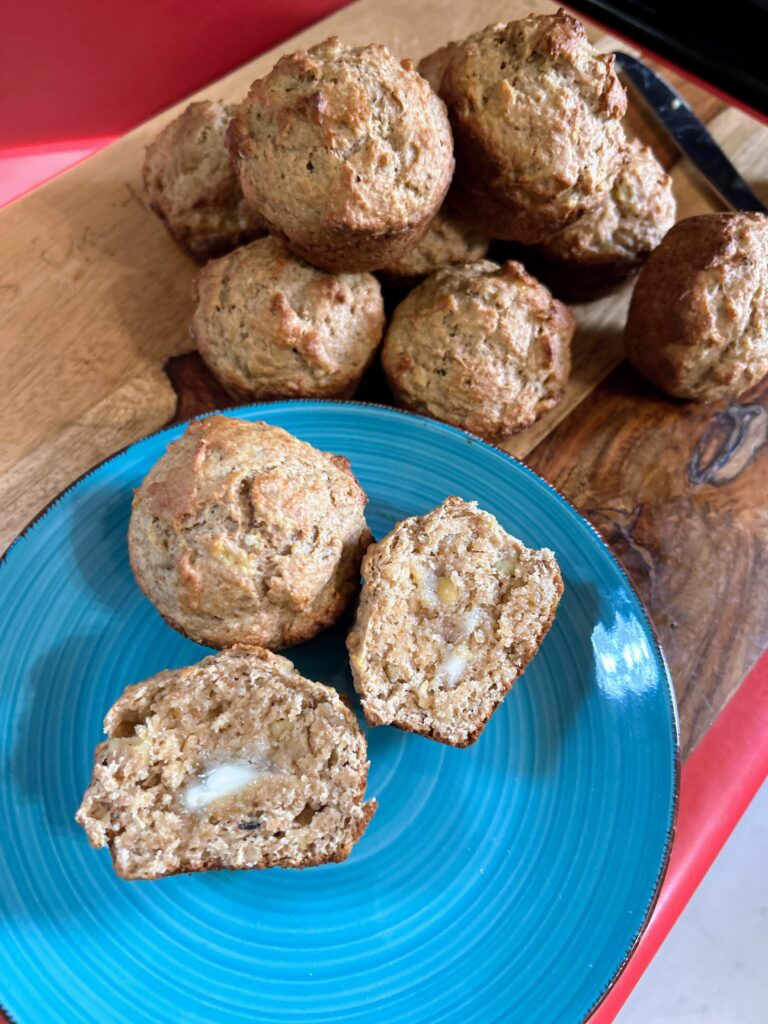
I went the healthier route on these banana nut muffins: maple syrup for the sweetener and whole wheat flour swapped for all purpose. Even with the healthier swaps, I think these are some delicious muffins your family can all enjoy! 

Ready to start baking? Let’s go! 

Your Ingredients 

  • ⅓ cup maple syrup 
  • 1 egg
  • ¼ cup oil 
  • ⅓ cup plain Greek yogurt 
  • ½ teaspoon vanilla 
  • 2 bananas, mashed
  • 2 cups whole wheat flour 
  • ½ teaspoon salt 
  • 2 teaspoons baking powder 
  • ½ cup walnuts 
  • ½ cup chocolate chips (optional)

Your Steps to Banana Nut Muffins

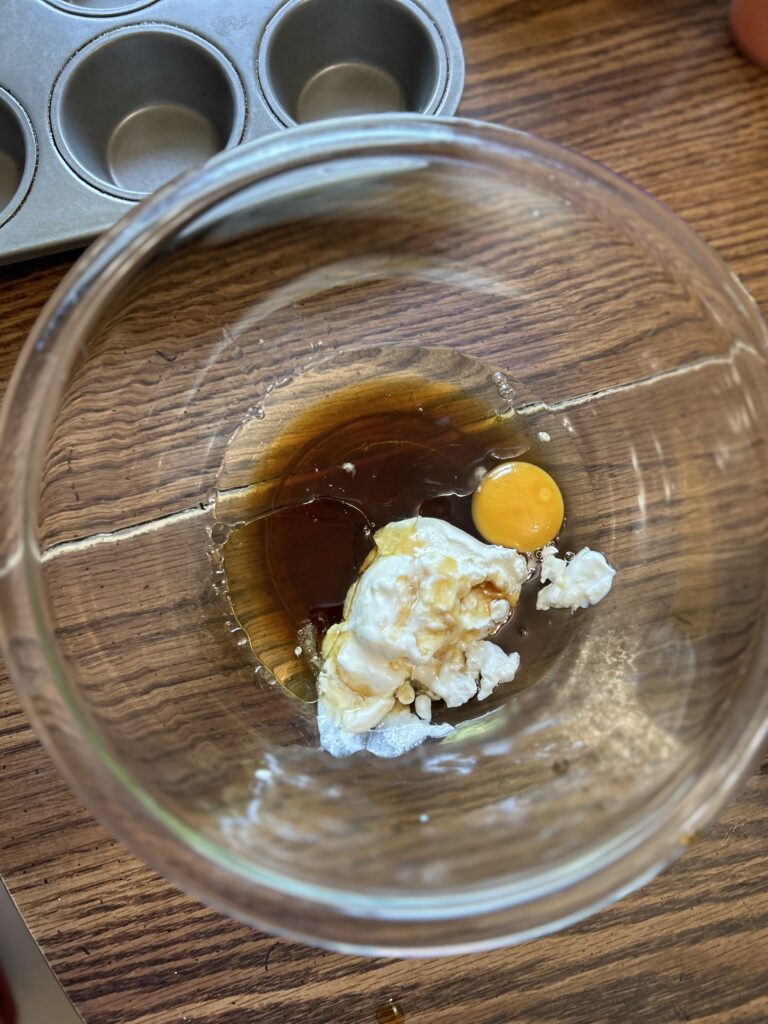
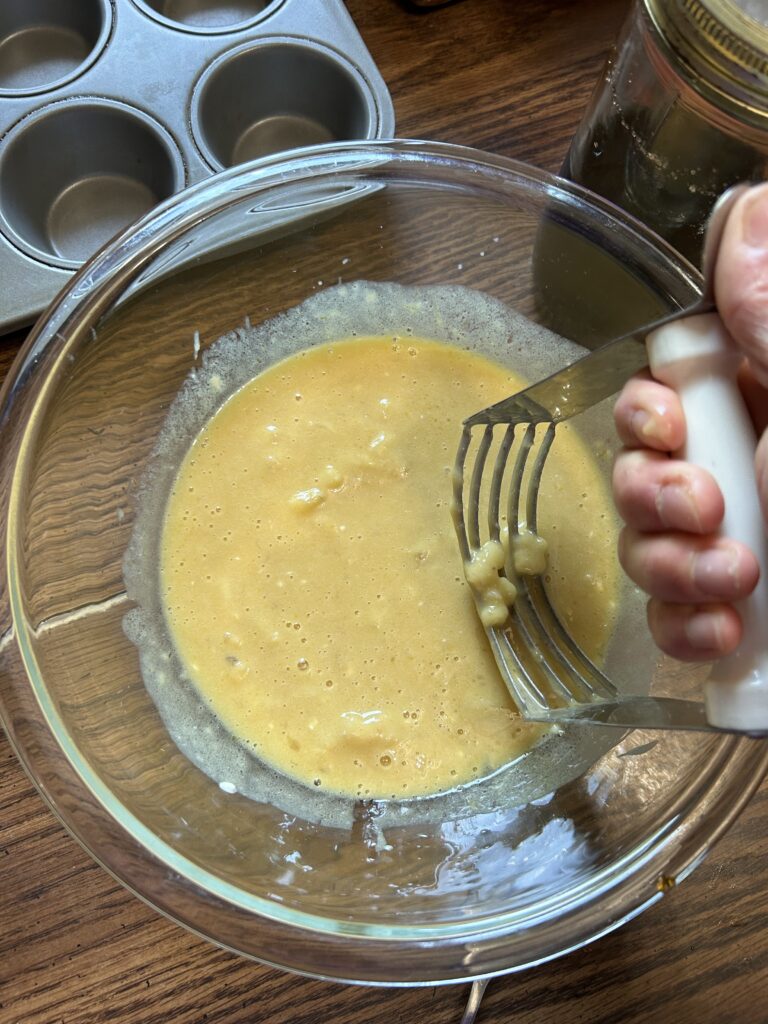
Preheat the oven to 400 degrees. In a large bowl, combine the syrup, egg, oil, yogurt, vanilla, and bananas. Mix well, making sure the bananas are mashed. 

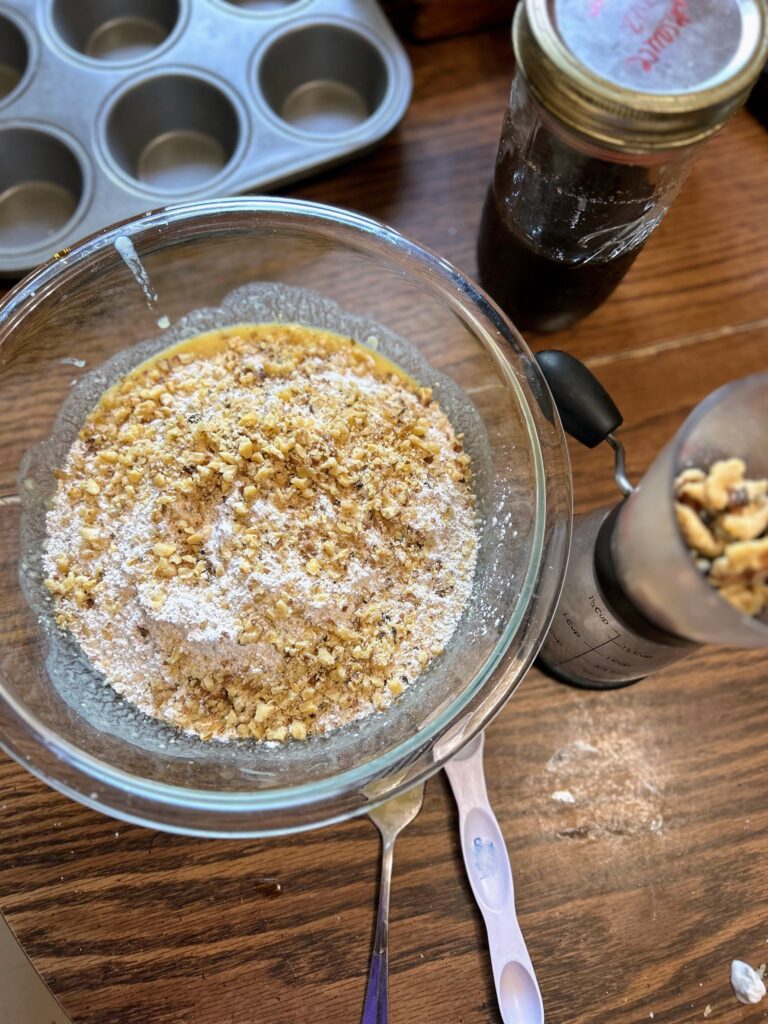
In an additional bowl, combine the flour, baking powder, and salt. Mix into the wet ingredients along with the walnuts and chocolate chips, if adding. 

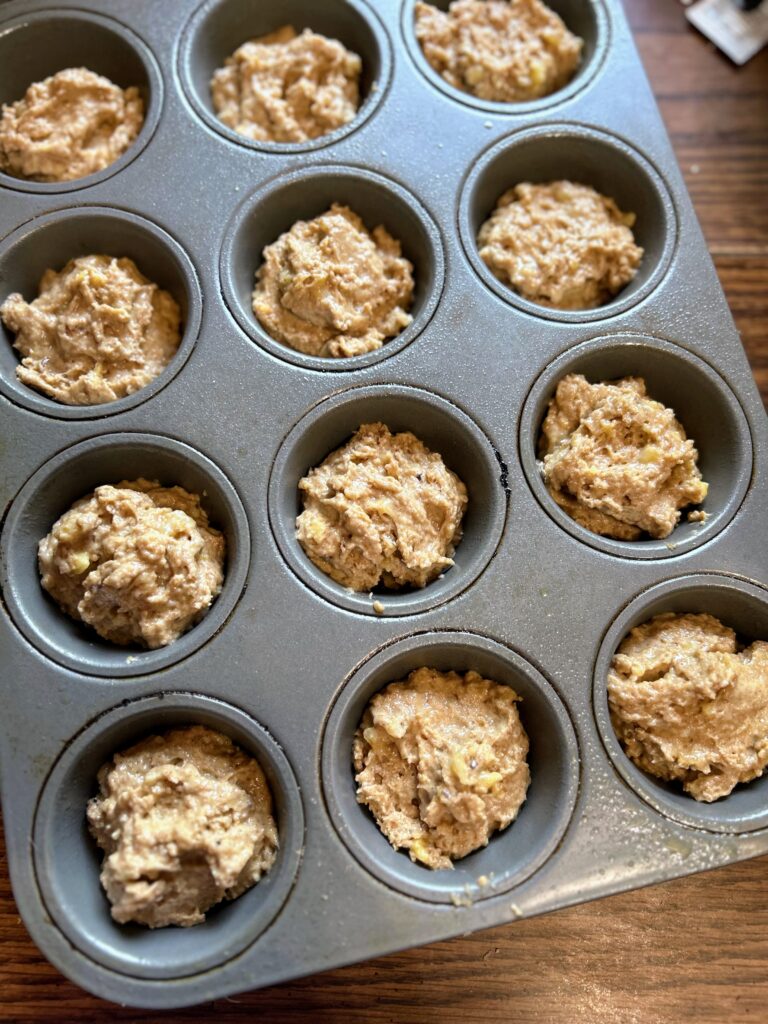
Line 12 vessels in a muffin tin with liners or spray with non-stick cooking spray. Evenly divide the batter among the 12 vessels, filling about ⅔ of the way full. Bake for 20-23 minutes, until a toothpick can be inserted and comes out clean. 

Banana Nut Muffins

Whole wheat flour, maple syrup, and sweet bananas combine to make these delicious and simple banana nut muffins!
Prep Time 10 minutes
Cook Time 20 minutes
Course Breakfast, Snacks
Cuisine American
Servings 12 muffins

Equipment

Ingredients
  

  • cup maple syrup
  • 1 egg
  • ¼ cup oil
  • cup plain Greek yogurt
  • ½ teaspoon vanilla
  • 2 bananas mashed
  • 2 cups whole wheat flour
  • 2 teaspoons baking powder
  • ½ teaspoon salt
  • ½ cup walnuts
  • ½ cup chocolate chips optional

Instructions
 

  • Preheat the oven to 400 degrees.
  • In a large bowl, combine the syrup, egg, oil, yogurt, vanilla, and bananas. Mix well, making sure the bananas are mashed.
  • In an additional bowl, combine the flour, baking powder, and salt.
  • Mix into the wet ingredients along with the walnuts and chocolate chips, if adding.
  • Line 12 vessels in a muffin tin with liners or spray with non-stick cooking spray.
  • Evenly divide the batter among the 12 vessels, filling about ⅔ of the way full.
  • Bake for 20-23 minutes, until a toothpick can be inserted and comes out clean.
Keyword banana nut, banana recipe, bananas, Breakfast, breakfast breads, breakfast muffins, muffins
Tried this recipe?Let us know how it was!

Looking for other tasty breakfast treats?

You can find muffins and more on my baking page and there are other sweet and savory ideas on my breakfast page. Otherwise, perhaps one of these recipes below will intrigue you!

Rhubarb Streusel Muffins

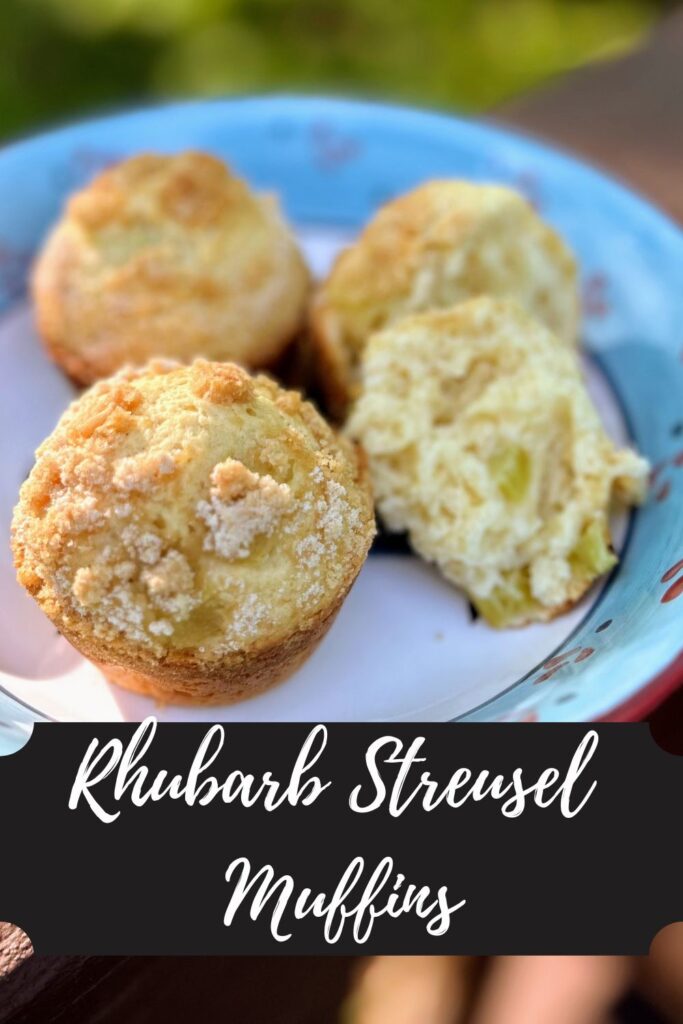
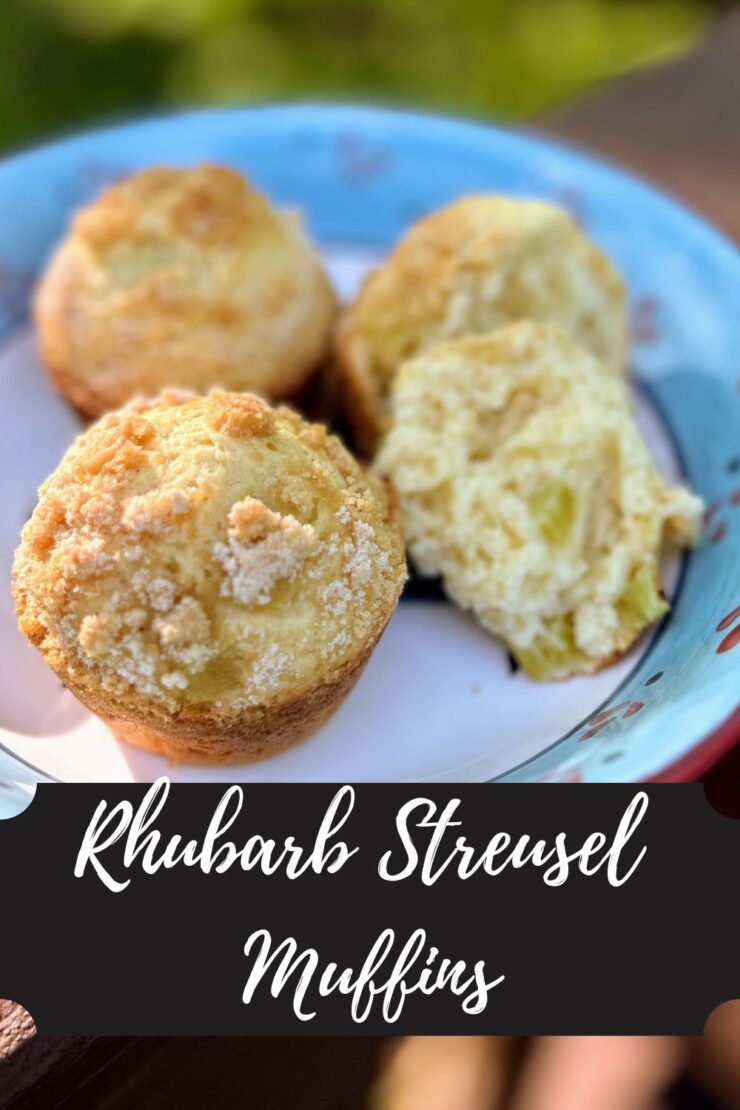
Well, spring has finally arrived in Northern Wisconsin. The trees are blossoming, the bees are buzzing, and the rhubarb and asparagus are pushing up through the ground. I’ll tell you, that makes for one happy food blogger over here. And with the rhubarb coming up, it’s time to bake all the goodies. This year, we started with these delicious and simple Rhubarb Streusel Muffins. 

I know the natural combination is sweet strawberry to counter the tartness of the rhubarb. However, the Mr loves rhubarb in all forms, and particularly likes to keep it without the strawberries. What that means is that I worked hard to counter the tartness with just the right amount of sugar without going too heavy as to cover the tartness all together. 

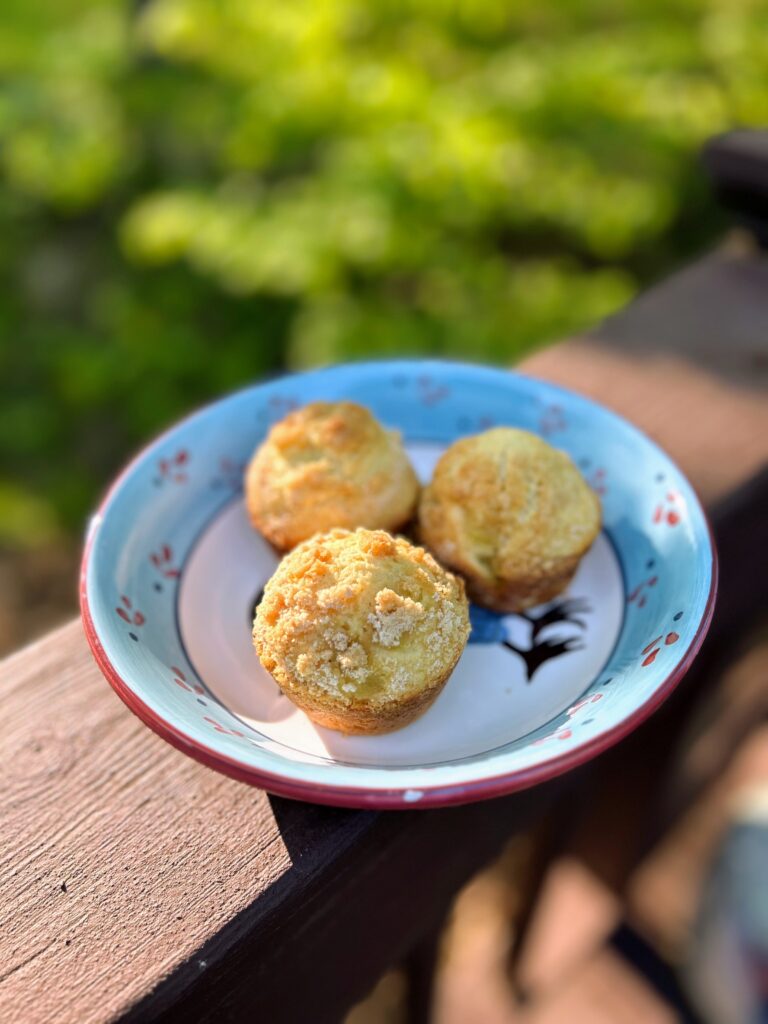
These rhubarb streusel muffins fit the bill. They are light and fluffy and the streusel topping gives you the bit of sweetness on the tongue that is just about perfect. You’ll bake up a dozen breakfast treats in no time and everyone will be asking for more!

Let’s get baking!

Your Ingredients 

  • ¾ cup whole milk 
  • ¼ cup oil 
  • 1 large egg 
  • 1 teaspoon vanilla 
  • 2 cups all purpose flour
  • 6 tablespoons sugar (or ⅜ cup)
  • 2 teaspoons baking powder 
  • ½ teaspoon salt
  • ¼ teaspoon cardamom 
  • 1 cup fresh or frozen rhubarb 

Streusel Topping

  • 3 tablespoons flour
  • 3 tablespoons packed brown sugar
  • 2 tablespoons firm butter

Your Steps to Rhubarb Streusel Muffins

Preheat the oven to 400 degrees. Spray 12 medium muffin cups with cooking spray or line with paper baking cups. 

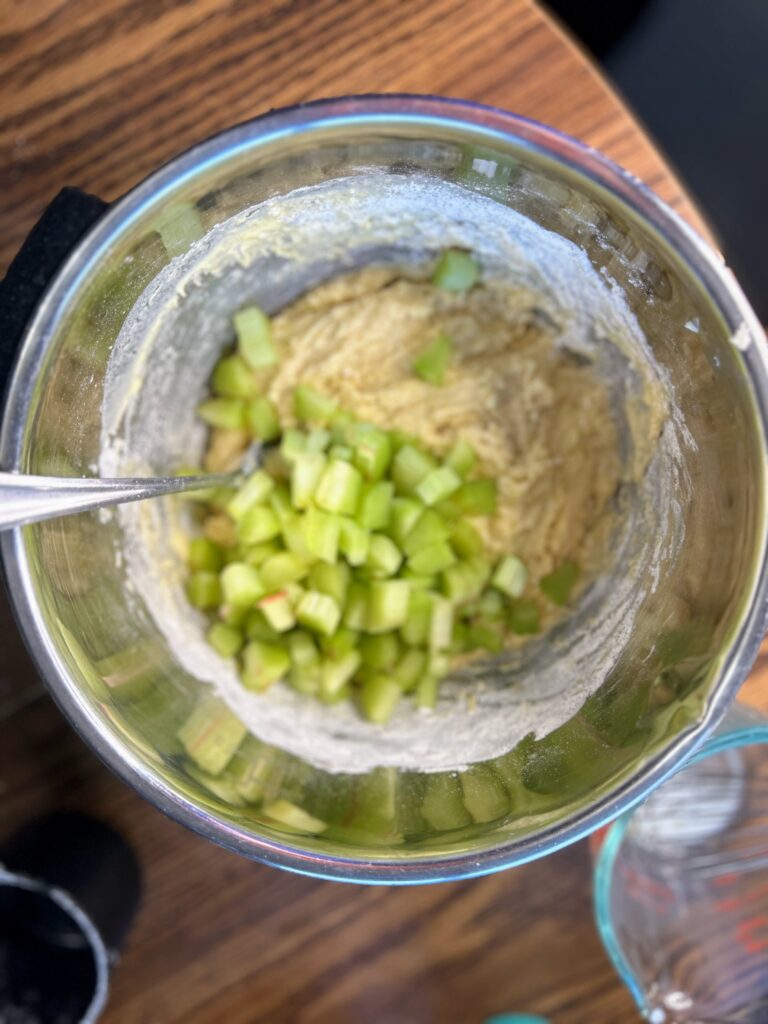
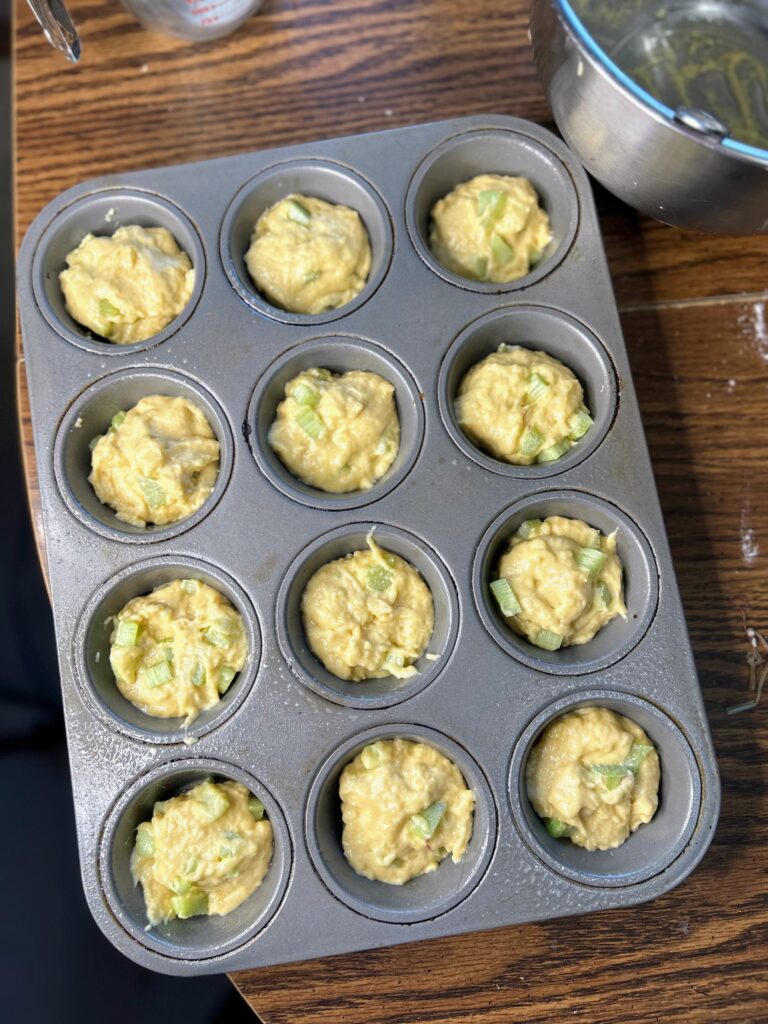
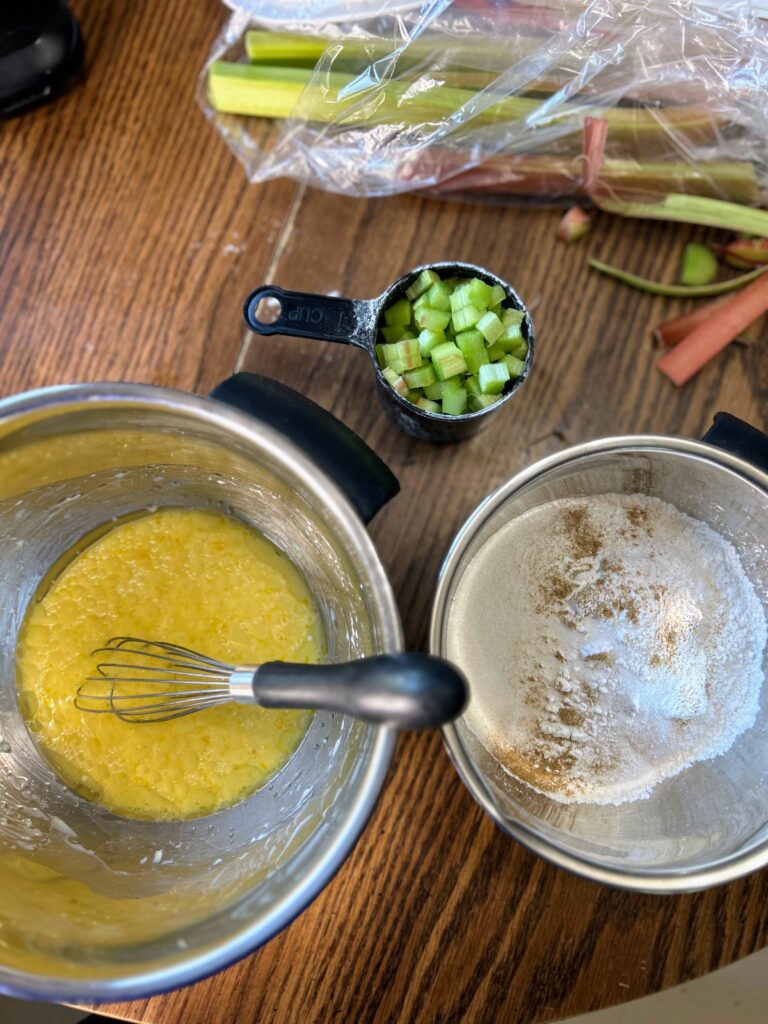
In a large bowl, whisk together milk, oil, egg, and vanilla. In a smaller bowl, combine flour, sugar, baking powder, salt, and cardamom. Stir into the wet ingredients until flour is moistened and just combined. Fold in the rhubarb. Divide the batter evenly among the muffin cups. 

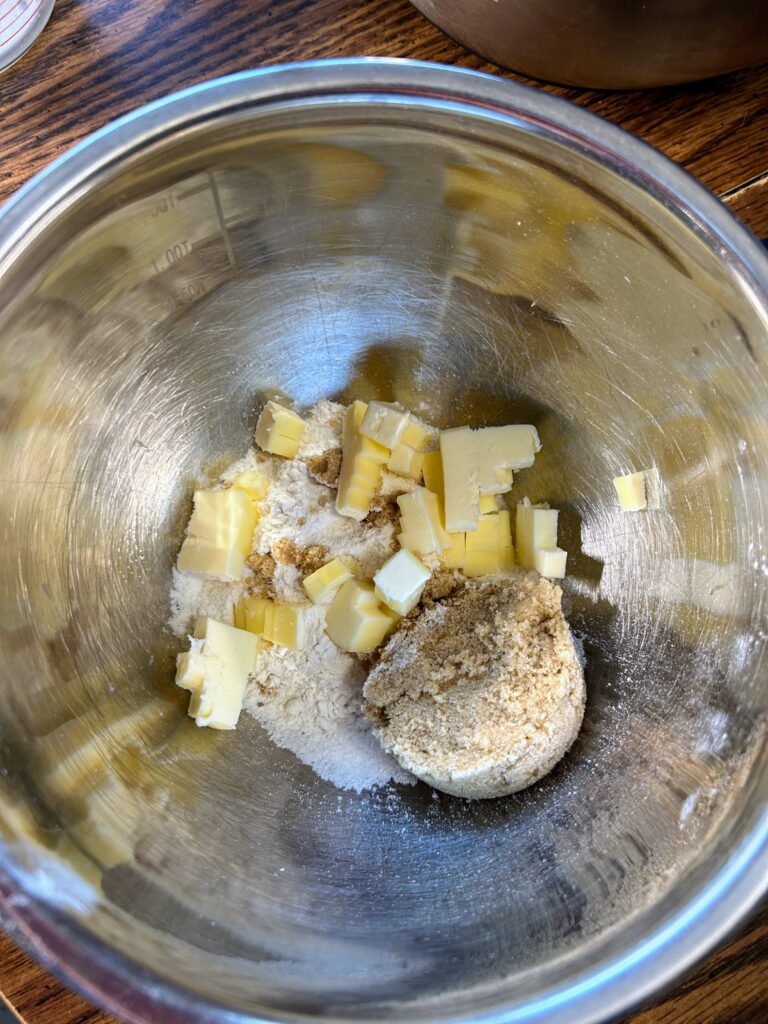
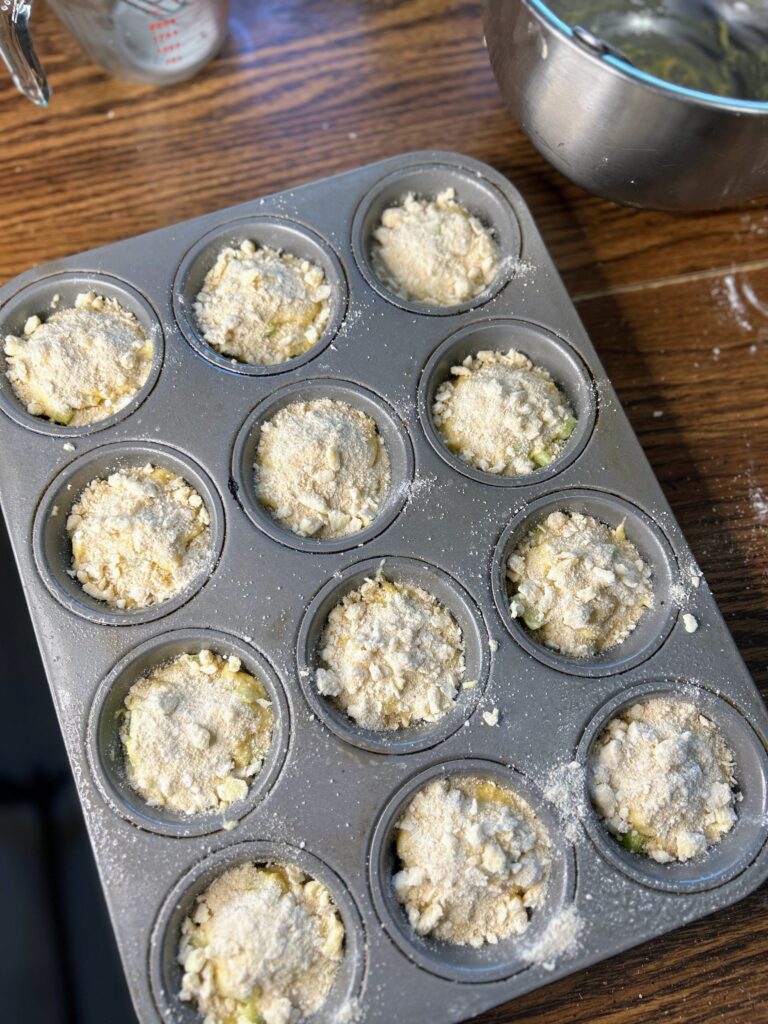
In a small bowl, combine flour and brown sugar for the streusel topping. Cut the butter into small pieces. Use a pastry blender to cut the butter into the flour and sugar until crumbly. In a pinch, forks or knives can be used. Top each muffin with streusel topping. 

Bake for 20-25 minutes or until golden brown. Serve warm with a cup of coffee or tea. 

Rhubarb Streusel Muffins

These rhubarb streusel muffins are delicious baked treat that combine the tartness of rhubarb and the sweetness of that streusel topping! Give them a try!
Prep Time 10 minutes
Cook Time 20 minutes
Course Breakfast
Cuisine American
Servings 12 muffins

Equipment

Ingredients
  

  • ¾ cup whole milk
  • ¼ cup oil
  • 1 large egg
  • 1 teaspoon vanilla
  • 2 cups all purpose flour
  • 6 tablespoons sugar or ⅜ cup
  • 2 teaspoons baking powder
  • ½ teaspoon salt
  • ¼ teaspoon cardamom
  • 1 cup fresh or frozen rhubarb

Streusel Topping

  • 3 tablespoons flour
  • 3 tablespoons packed brown sugar
  • 2 tablespoons firm butter

Instructions
 

  • Preheat the oven to 400 degrees. Spray 12 medium muffin cups with cooking spray or line with paper baking cups.
  • In a large bowl, whisk together milk, oil, egg, and vanilla. In a smaller bowl, combine flour, sugar, baking powder, salt, and cardamom.
  • Stir into the wet ingredients until flour is moistened and just combined. Fold in the rhubarb.
  • Divide the batter evenly among the muffin cups.
  • In a small bowl, combine flour and brown sugar. Cut the butter into small pieces.

  • Use a pastry blender to cut the butter into the flour and sugar until crumbly.
  • In a pinch, forks or knives can be used. Top each muffin with streusel topping.
  • Bake for 20-25 minutes or until golden brown. Serve warm with a cup of coffee or tea.
Keyword Breakfast, breakfast breads, breakfast muffins, Rhubarb, rhubarb muffins, rhubarb recipes
Tried this recipe?Let us know how it was!

Looking for some other sweet treats?

Please check out my Baking page for some delicious treats! Or maybe one of the muffins or breads below will tickle your fancy!