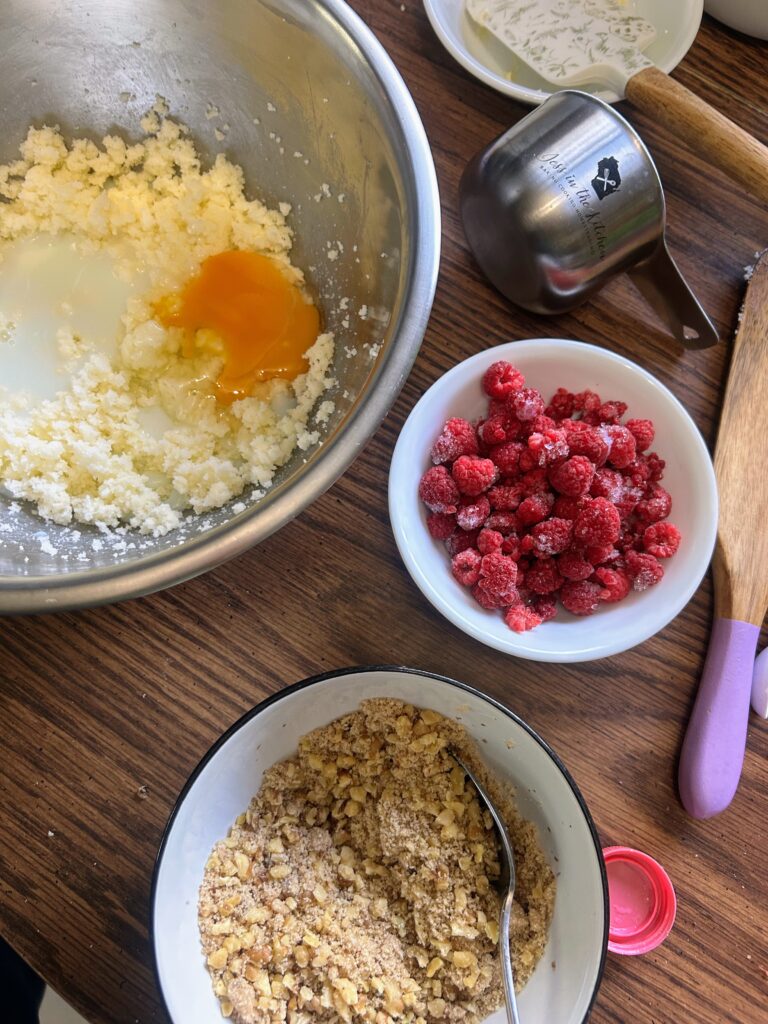
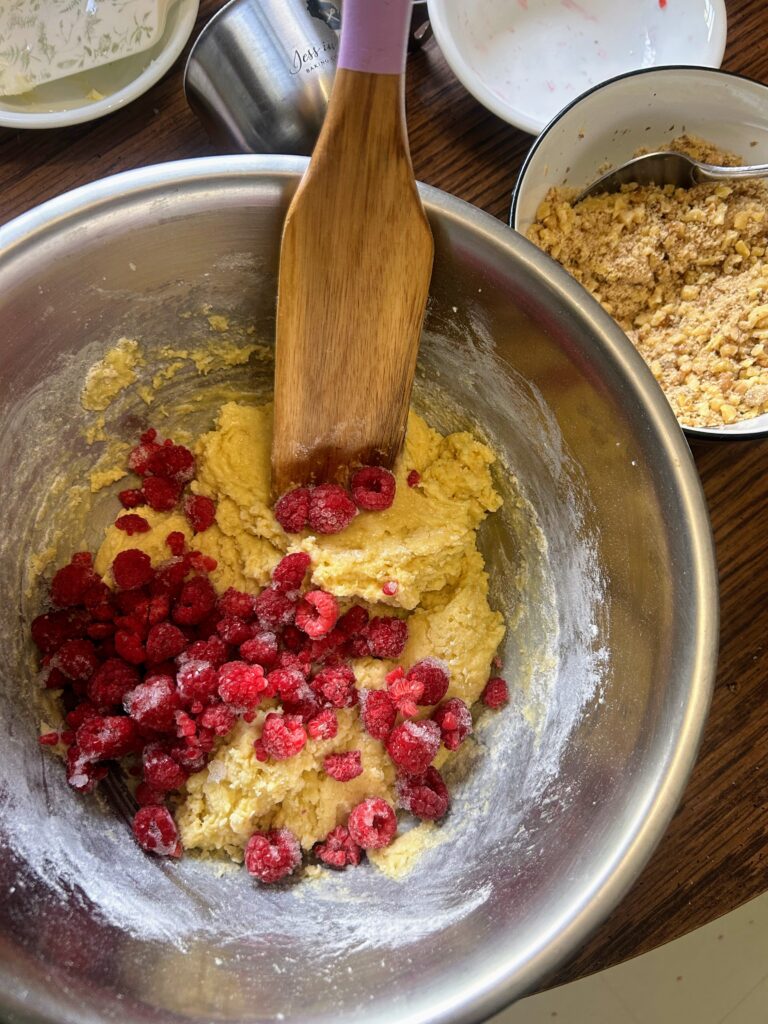
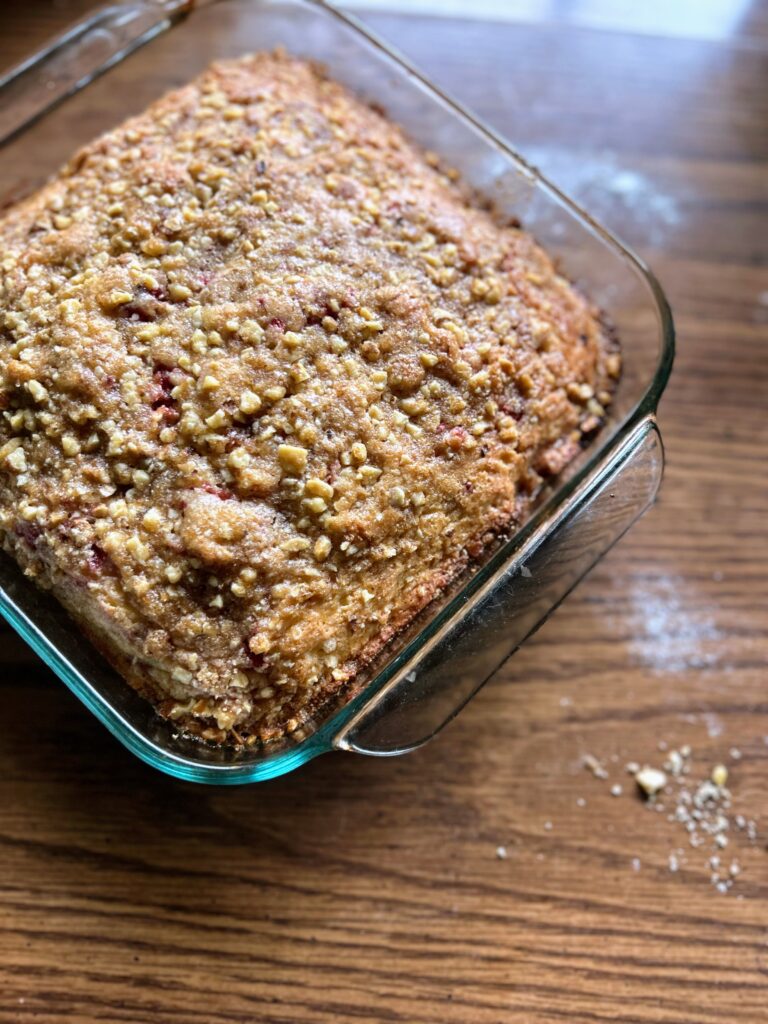
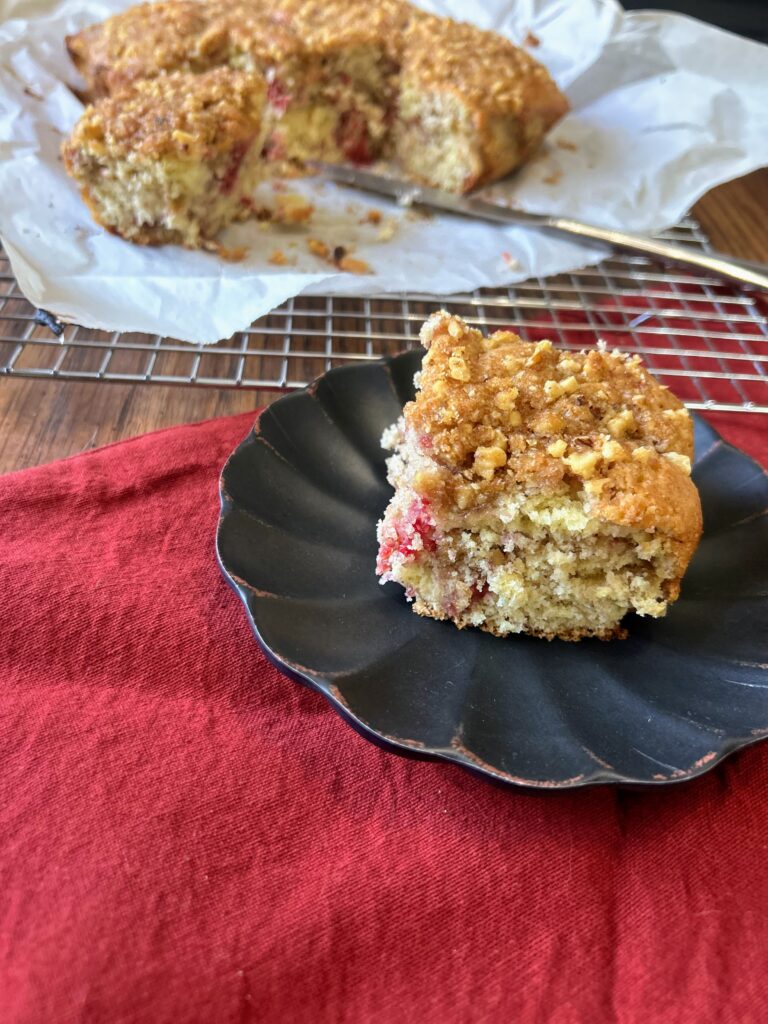
Strawberry Rhubarb Galette

This one has been on my heart for a while and I am dang excited that I finally got to put a delicious strawberry rhubarb galette together for you. Yay for all the spring time harvesting and gardening. School is out and I am here for it!

I have always said, “I don’t do pies.” I am not sure why, but I think part of it has to do with the intimidation factor of the “perfect pie crust.” You can’t fail at it if you don’t make it, right? I also have always thought cakes and brownies were far superior to pie. I like this excuse better because generally I have a growth mindset. But as I have grown as a baker (I LOVE a good homemade laminated dough!), I have also sort of dismissed the “no pies for me” vibe I have been giving out. 

This especially became true when I discovered the galette. A galette is this beautiful French pastry that is a sort of free form pie, free of a specific baking pan. It feels rustic and homey; a homesteader’s paradise. Maybe it will be my gateway to the regular pie, but for now, I can foresee many galettes, sweet and savory, in my future. 

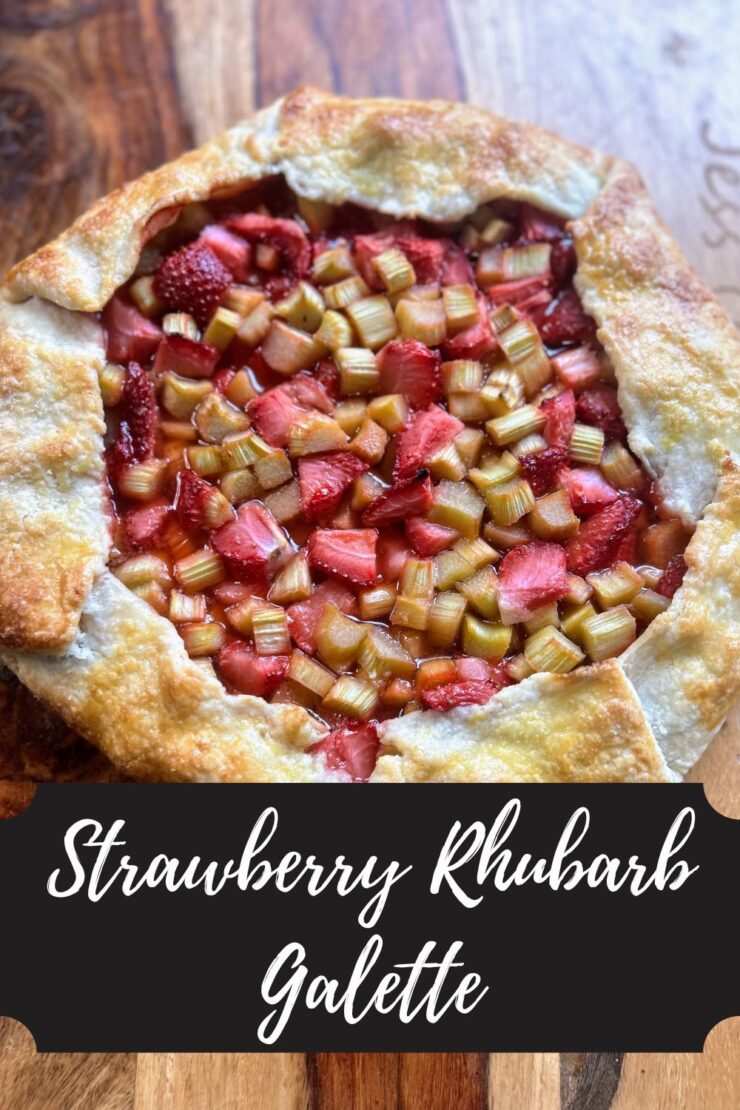
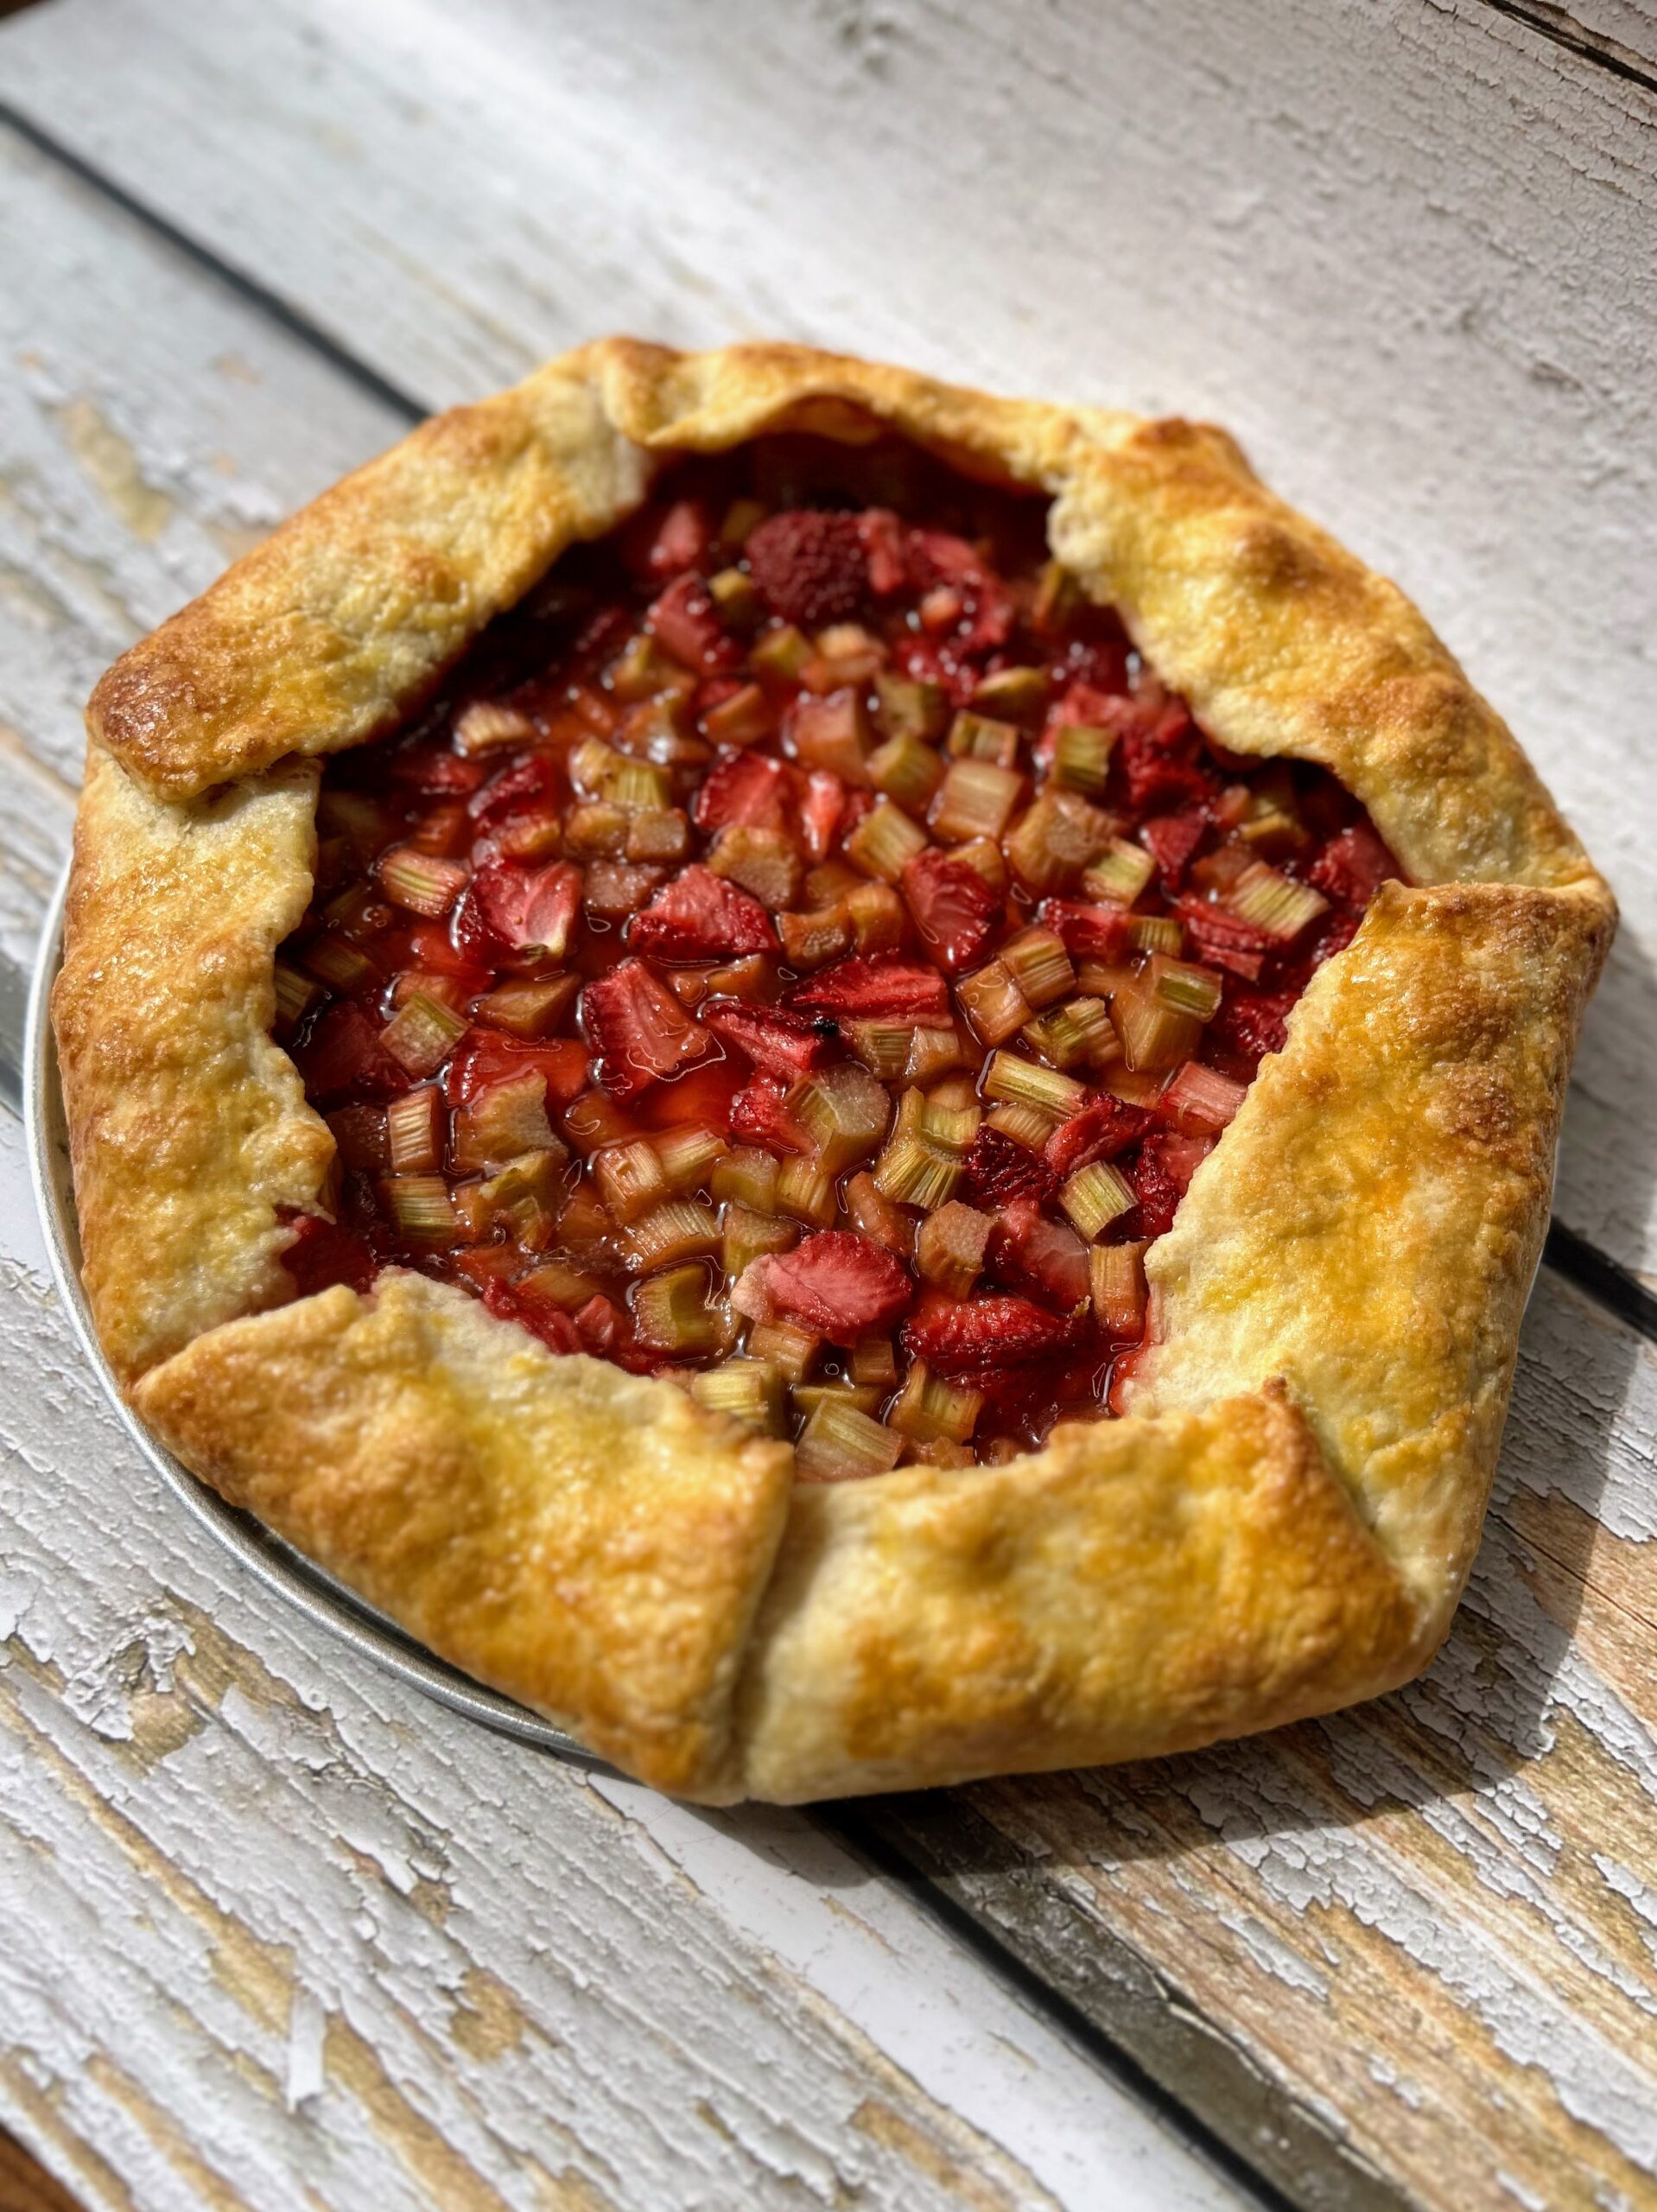
This strawberry rhubarb galette has a lovely, slightly sweet crust that has a perfect flour to butter ratio. The fruit melts together with two different sugars and although it looks exquisite, it truly is a bake that is easier than it looks and requires minimal work. It’s a great one to serve up any time of day (The Mr would say it makes a great “breakfast pie.” Ha!)

Ready to start baking together? Let’s do it! 

Your Ingredients for Strawberry Rhubarb Galette

  • 1 ½ cups all purpose flour 
  • 1 tablespoon sugar
  • ¼ teaspoon salt
  • ½ cup cold butter, cubed
  • ⅓ cup ice cold water 
  • 3 cups rhubarb, peeled and diced 
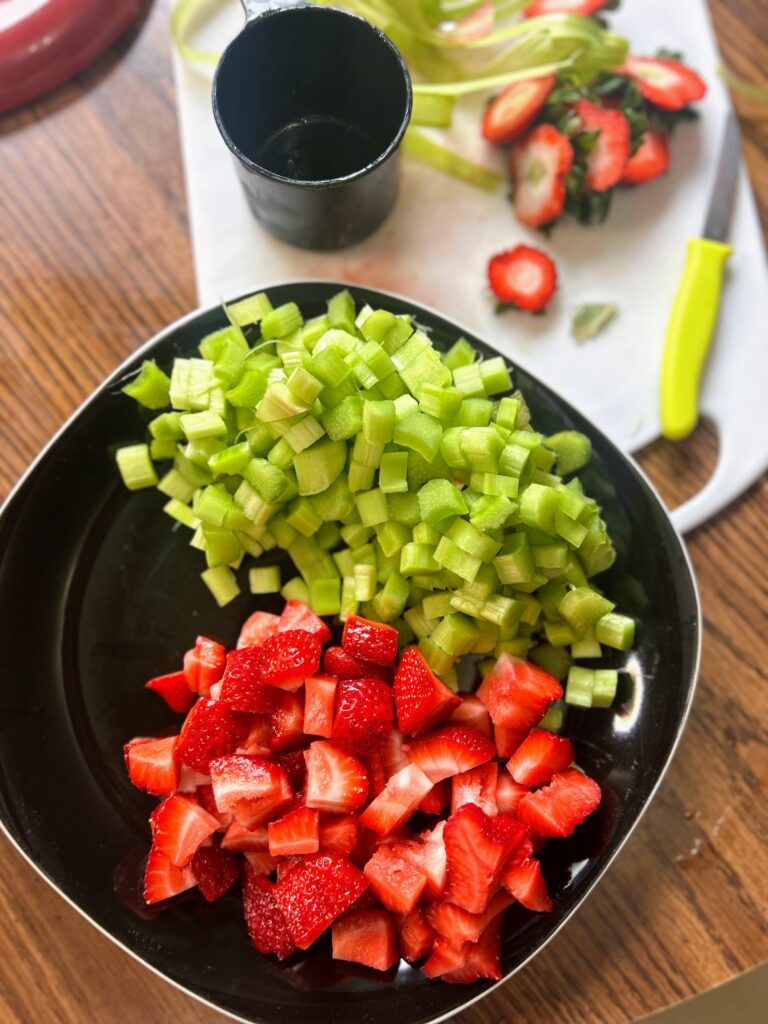
  • 2 cups strawberries, cored and sliced
  • ⅓ cup brown sugar 
  • ⅓ cup white sugar 
  • 2 tablespoons cornstarch 
  • 3 tablespoons flour 
  • 1 tablespoon lemon juice 
  • 1 egg yolk
  • Additional sugar for sprinkling on the crust

Your Steps to Strawberry Rhubarb Galette 

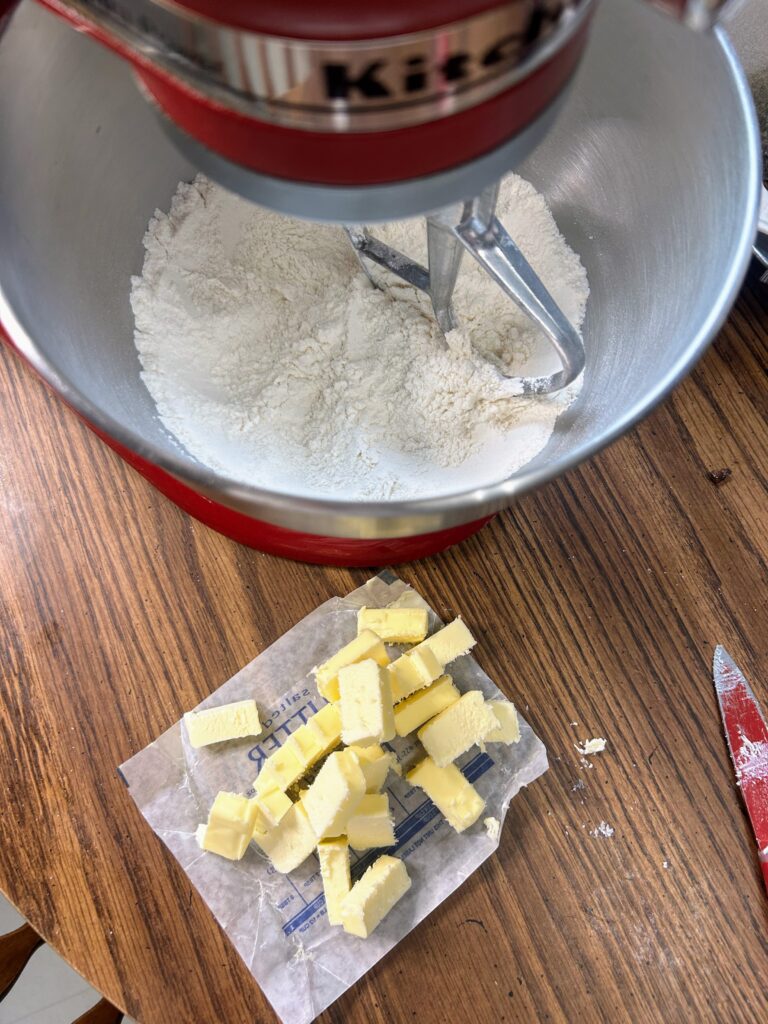
In a stand mixer bowl, combine flour, sugar and salt. Mix with the paddle until well combined. Add cubed, cold butter and mix on medium for about 90 seconds, until the texture resembles sand. 

Remove the bowl from the stand mixture. Add water in increments, stirring with a wooden spoon until a dough just comes together. You do not want to over add the water. 

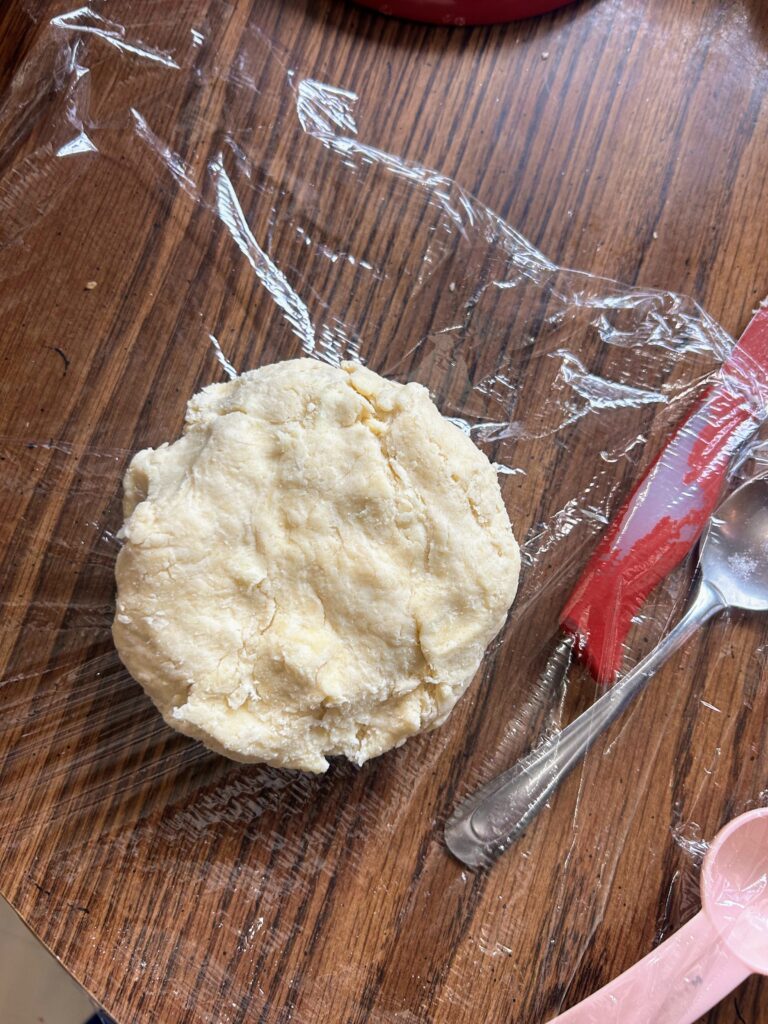
Once a dough has come together, form it into a ball by hand (do this quickly so as not to melt the butter), wrap in plastic wrap, and chill for at least an hour. 

Meanwhile, preheat the oven to 400 degrees (375 if using a convection oven).

Now to prepare the filling

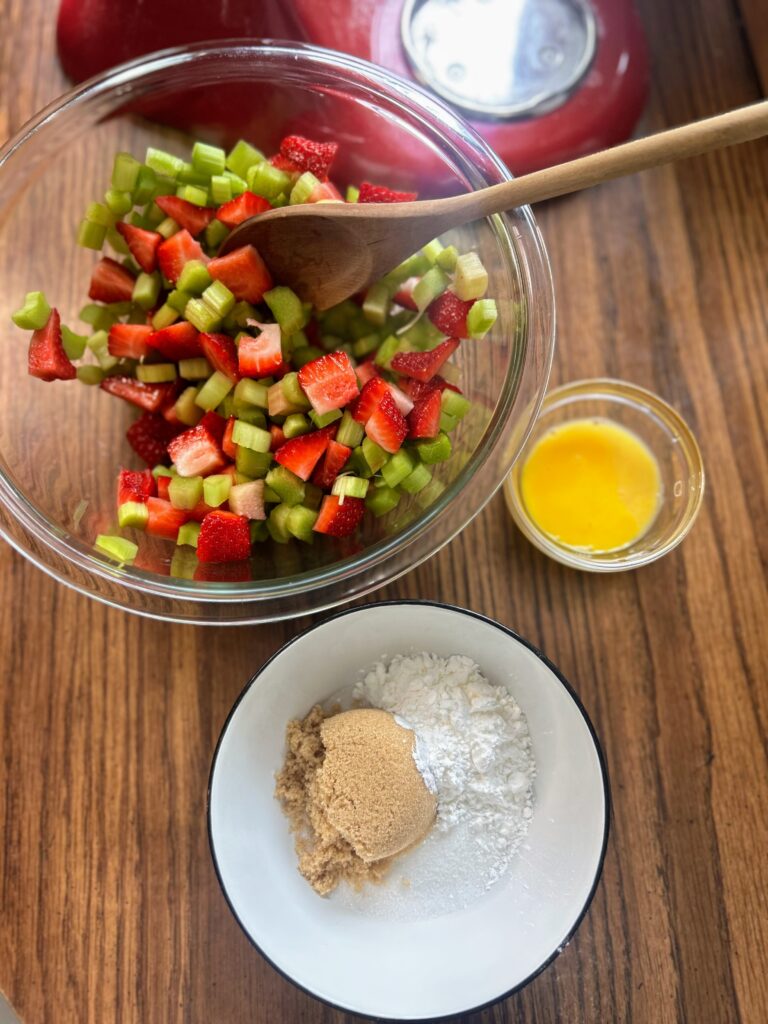
If you have not yet, prepare the strawberries and rhubarb. Place the fruit in a bowl and stir in the lemon juice. In another bowl, combine the white and brown sugars, cornstarch, and flour. In yet another small bowl, whisk the egg yolk with ½ tablespoon water. 

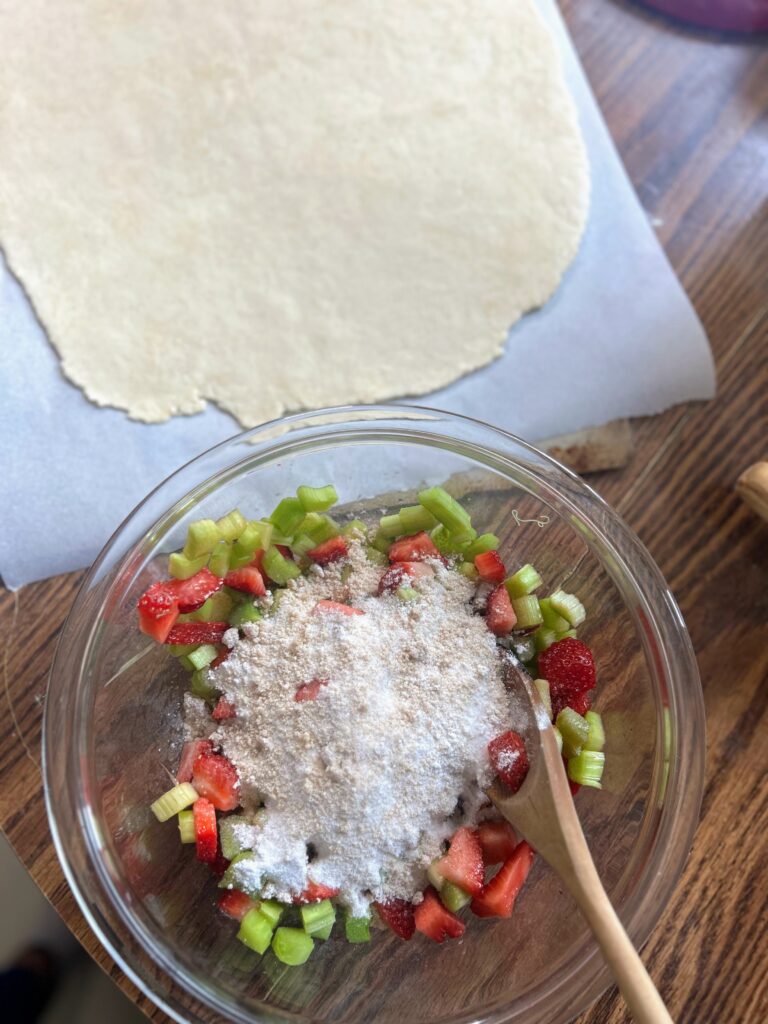
Once the crust has chilled, remove and roll out on a floured surface to a circle, about 14 inches in diameter. Place on a parchment lined baking sheet (I like to fold the dough in half and then in quarters to transfer it from the table to the baking sheet). 

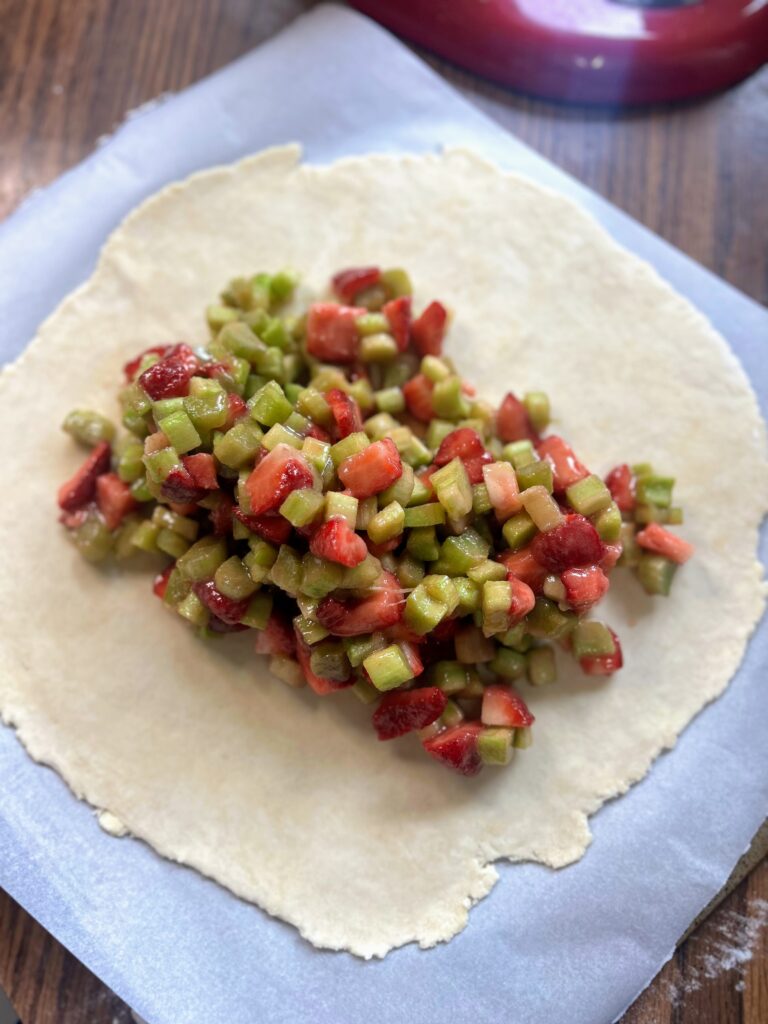
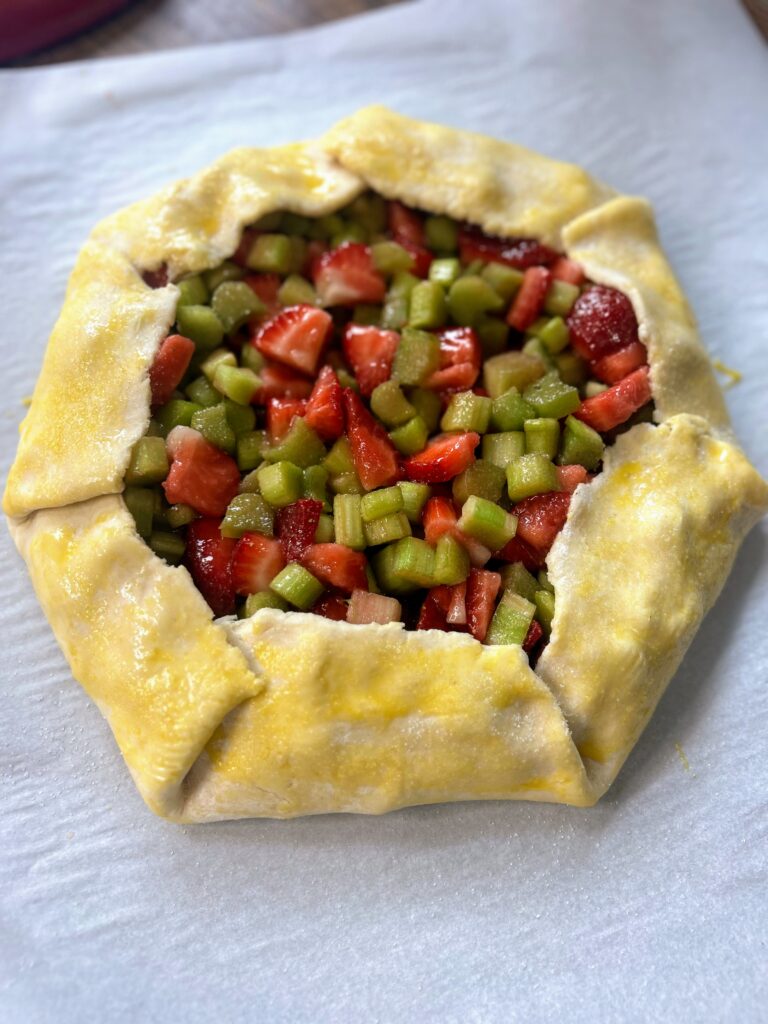
At this point, stir the sugar mixture into the fruit. Pour the fruit onto the center of the crust, leaving about three inches of dough on the edges. Gently fold up each edge, doing approximately 7-8 folds. Brush the edges of pastry with the egg wash and sprinkle a bit of sugar onto the crust by hand. 

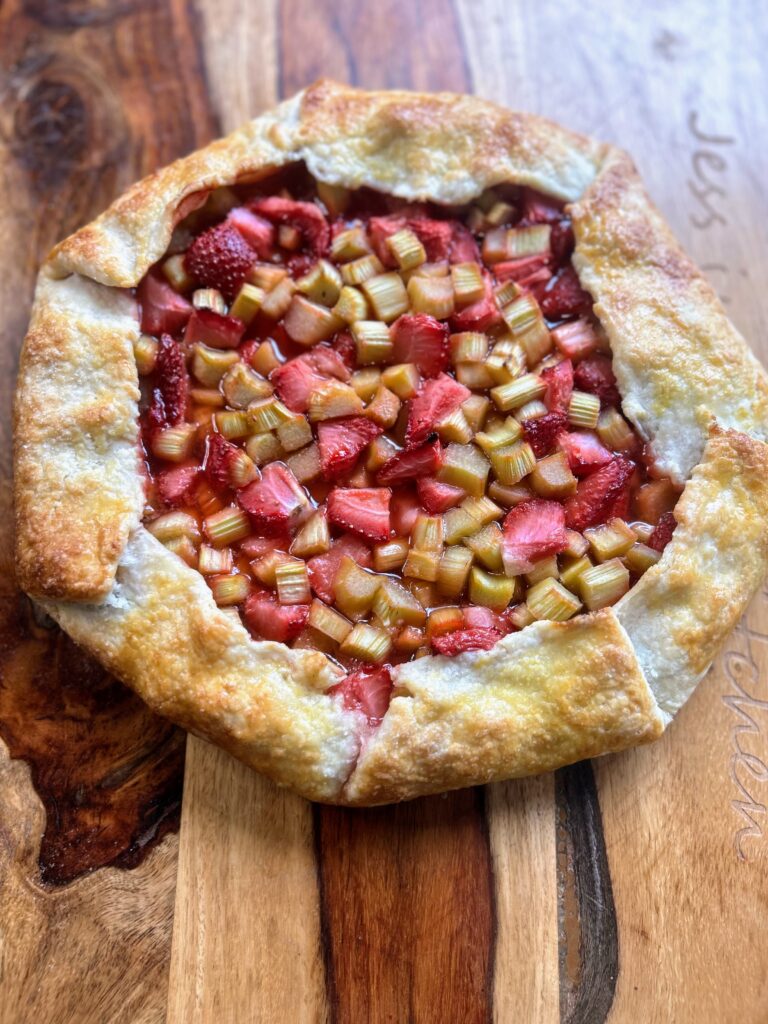
Bake for 35-40 minutes, until the crust is golden brown the bottom is cooked through. Allow to cool and set before serving.

Strawberry Rhubarb Galette

Rustic and simple to put together, this sweet and tart strawberry rhubarb galette is the perfect springtime pastry!
Prep Time 20 minutes
Cook Time 35 minutes
Chill Time 1 hour
Course Dessert
Cuisine American, French
Servings 8 servings

Ingredients
  

  • 1 ½ cups all purpose flour
  • 1 tablespoon sugar
  • ¼ teaspoon salt
  • ½ cup cold butter cubed
  • cup ice cold water
  • 3 cups rhubarb peeled and diced
  • 2 cups strawberries cored and sliced
  • cup brown sugar
  • cup white sugar
  • 2 tablespoons cornstarch
  • 3 tablespoons flour
  • 1 tablespoon lemon juice
  • 1 egg yolk
  • Additional sugar for sprinkling on the crust

Instructions
 

  • In a stand mixer bowl, combine flour, sugar and salt. Mix with the paddle until well combined. Add cubed, cold butter and mix on medium for about 90 seconds, until the texture resembles sand.
  • Remove the bowl from the stand mixture. Add water in increments, stirring with a wooden spoon until a dough just comes together. You do not want to over add the water.
  • Once a dough has come together, form it into a ball by hand (do this quickly so as not to melt the butter), wrap in plastic wrap, and chill for at least an hour.
  • Meanwhile, preheat the oven to 400 degrees (375 if using a convection oven) and prepare the rhubarb and strawberries.
  • Place the fruit in a bowl and stir in the lemon juice. In another bowl, combine the white and brown sugars, cornstarch, and flour. In yet another small bowl, whisk the egg yolk with ½ tablespoon water.
  • Once the crust has chilled, remove and roll out on a floured surface to a circle, about 14 inches in diameter. Place on a parchment lined baking sheet (I like to fold the dough in half and then in quarters to transfer it from the table to the baking sheet).
  • At this point, stir the sugar mixture into the fruit. Pour the fruit onto the center of the crust, leaving about three inches of dough on the edges. Gently fold up each edge, doing approximately 7-8 folds. Brush the edges of pastry with the egg wash and sprinkle a bit of sugar onto the crust by hand.
  • Bake for 35-40 minutes, until the crust is golden brown the bottom is cooked through. Allow to cool and set before serving.
Keyword baking, dessert, galette, pastries, spring baking, Strawberries, strawberry, Strawberry Rhubarb
Tried this recipe?Let us know how it was!

Looking for other rhubarb and strawberry recipes?

Check out my baking page or perhaps one of my favorites below will tickle your fancy!

Pistachio Torte

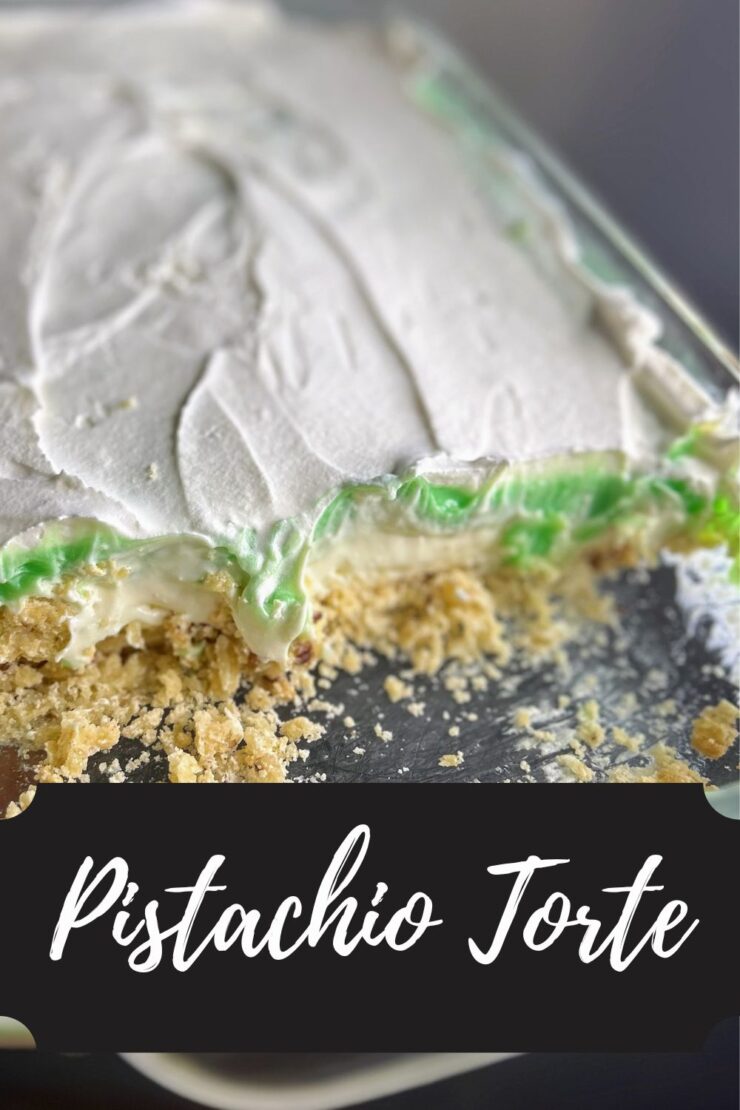
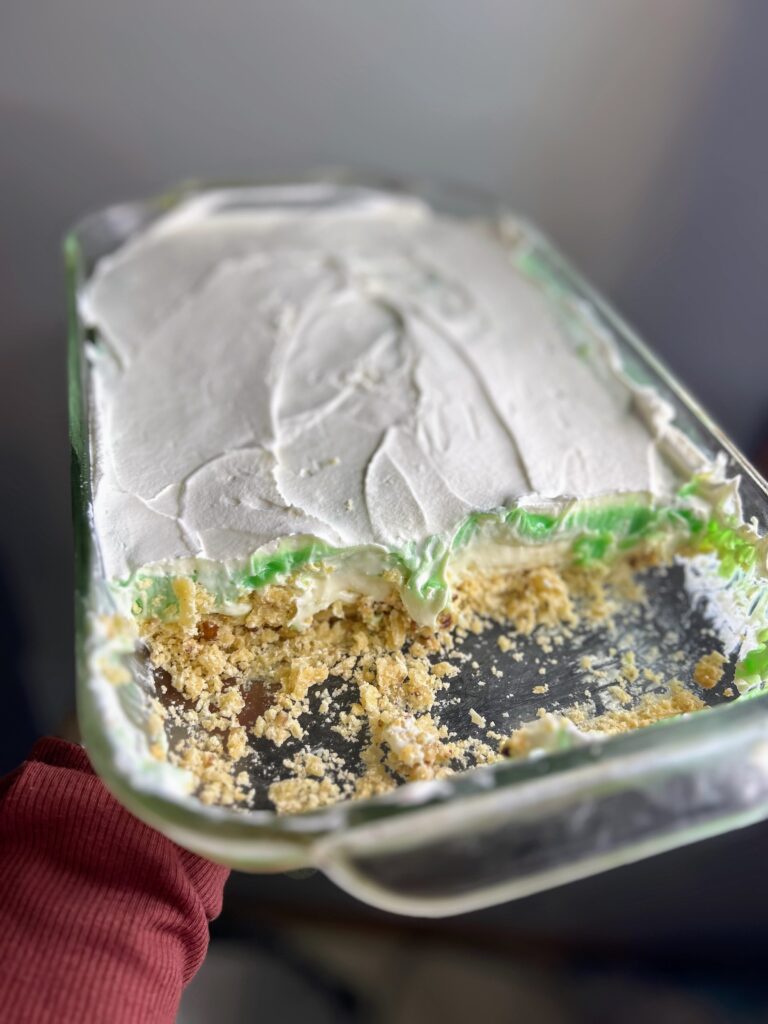
Sometimes you have those recipes that you revisit every few years and think, “Oh my gosh, why don’t I make this more often?! It’s so simple to make and is beyond delicious.” Pistachio Torte is one of those recipes in our household (Well, at least for me. Read on.)

At Thanksgiving, I asked the Mr what dessert he would like and without hesitation, he said, “Pistachio Torte!” He knows how good it is, and I simply forget. 

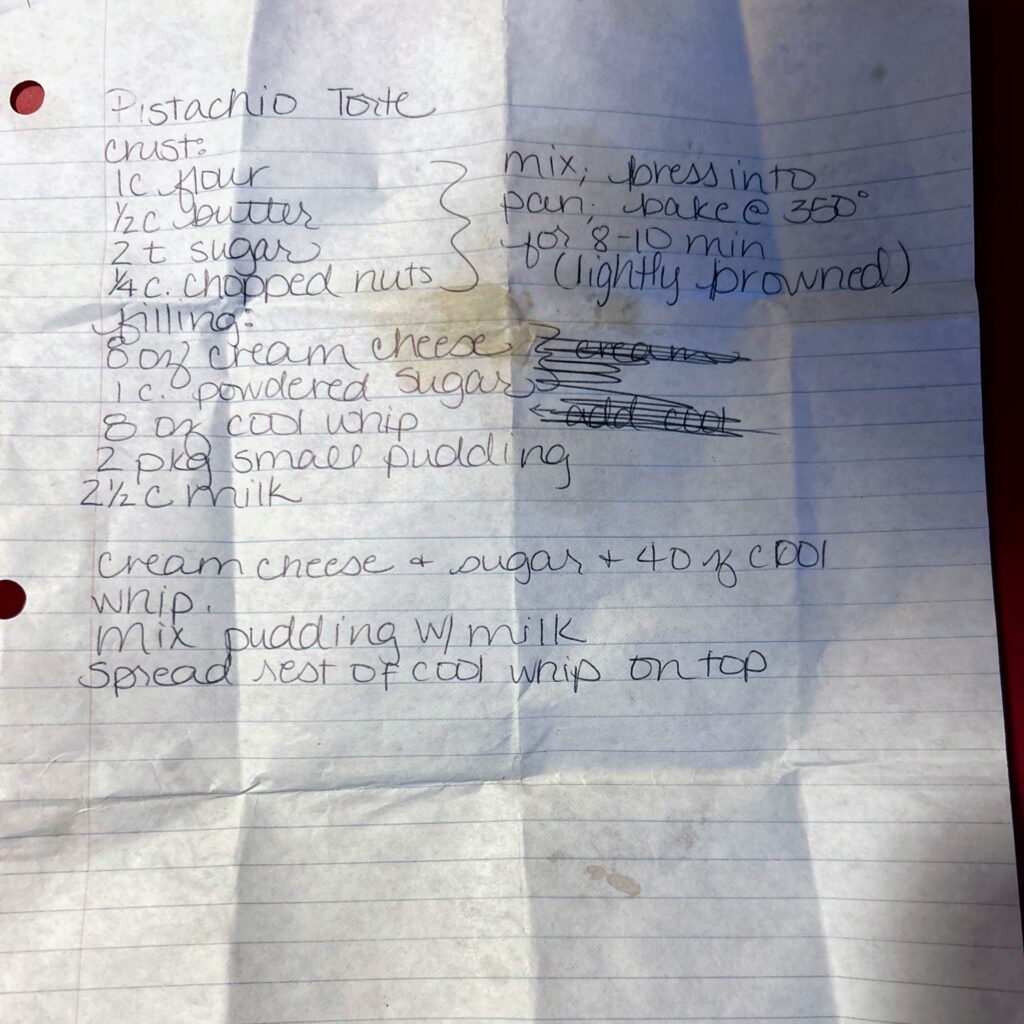
I pulled out the handwritten recipe, and giggled as it had minimal directions with it. (My friend Claire has told me it’s reminiscent of a recipe on The Great British Baking Show.)That’s okay, I have been cooking and baking long enough to know how to roll with the punches. And my goodness, I did forget how good it was and immediately resolved to share it out here so that everyone else can have this treat in their back pocket when they need to bring a dessert. 

A quick story

Before we start creating, I have to share another short funny story to go with this: I know this recipe came from my mother in law. It’s a go to for her (along with black raspberry torte). After we ate it for Thanksgiving, I asked my mom, dad, and sister how they felt about me making it for our Christmas celebration. My sister’s response was, “I am for it,” and my mom asked if I needed a recipe. This the conversation that followed:

Me: “No, I don’t need the recipe. If you have it, I must have given it to you because I got it from Matt’s mom.” 

My Mom: “I have had that recipe well before you were even a twinkle in our eyes.” (Sends the recipe in her handwriting) 

It was IDENTICAL to the recipe I got from my mother in law. There is about 15 years difference in age for our moms, so it seems odd that they would have been reading the same publications;  I can’t help but wonder where the recipe was that they both have it and it’s exactly the same. But that means it must be good, right? 

I’ve talked long enough. We are reading to start baking and creating right? Let’s go! 

Your Ingredients for Pistachio Torte

  • 1 cup flour
  • ¼ teaspoon salt
  • ½ cup butter, soften
  • 2 teaspoons white sugar 
  • ¼ cup finely chopped nuts
  • 8 ounces cream cheese, softened
  • 1 cup powdered sugar
  • 8 ounces cool whip, divided
  • 2 packages pistachio pudding (3.4 ounces)
  • 2 ½ cups milk 

Your Steps to Pistachio Torte

Preheat the oven to 350 degrees. Prepare a 9 by 13 inch baking pan with cooking spray and set aside. 

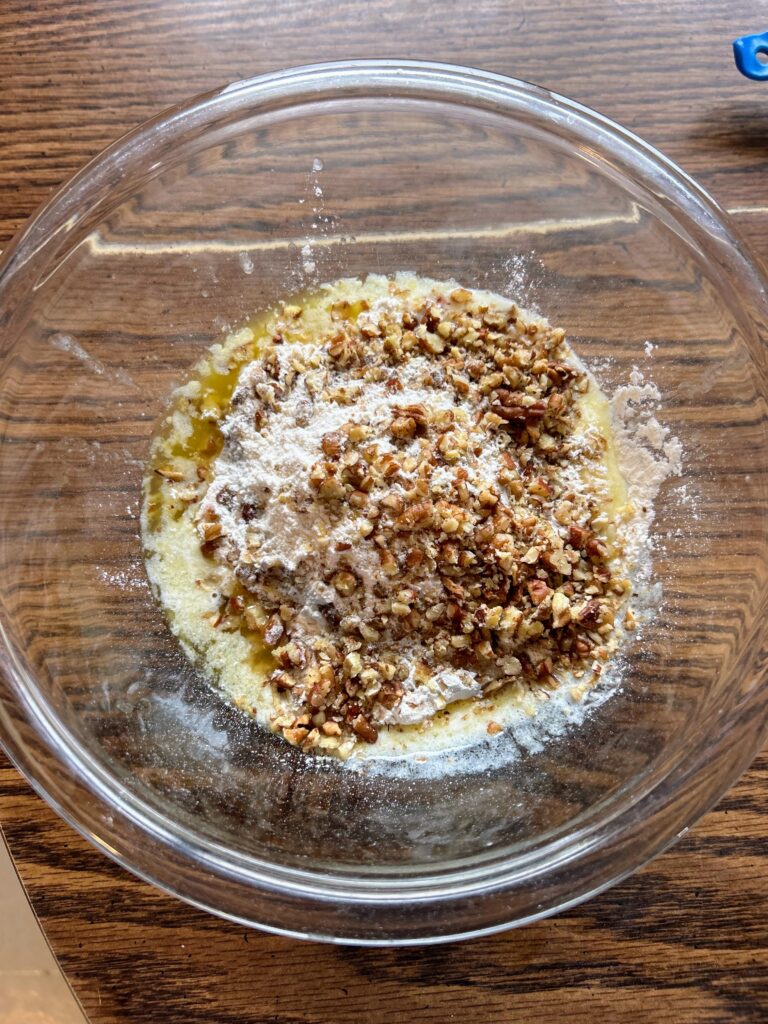
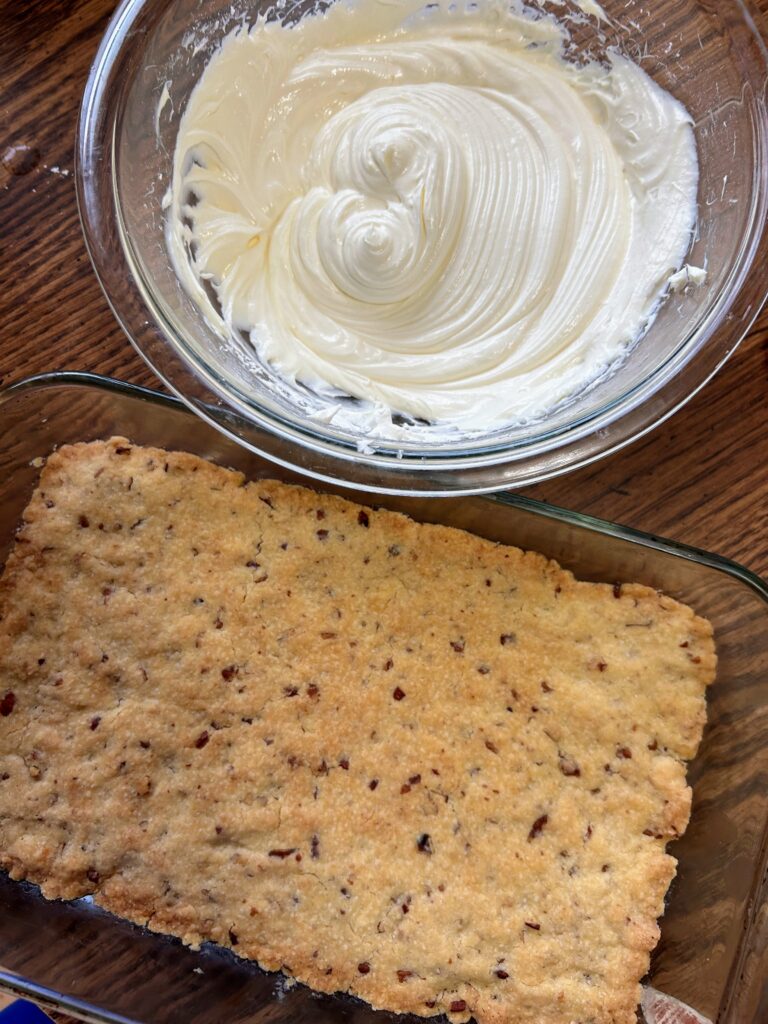
In a medium bowl, cream the butter until smooth. Add flour, white sugar, salt, and chopped nuts. Mix until well combined. Press into the prepared baking pan. It will seem thin and as though you don’t have enough. You do. I promise (But if you want a thicker crust, I have done it in a 7 by 11 inch pan too). Bake for 8-12 minutes, until the crust is lightly browned. Allow to cool. 

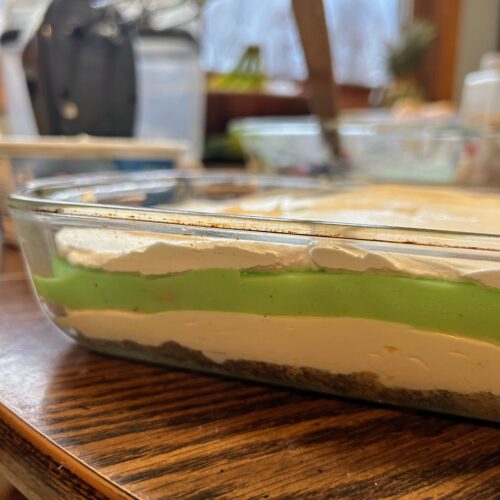
Once the crust has cooled, Add the cream cheese to a large bowl and cream with a hand mixer. Add powdered sugar and 4 ounces of the cool whip. Spread on top of the cooled crust. 

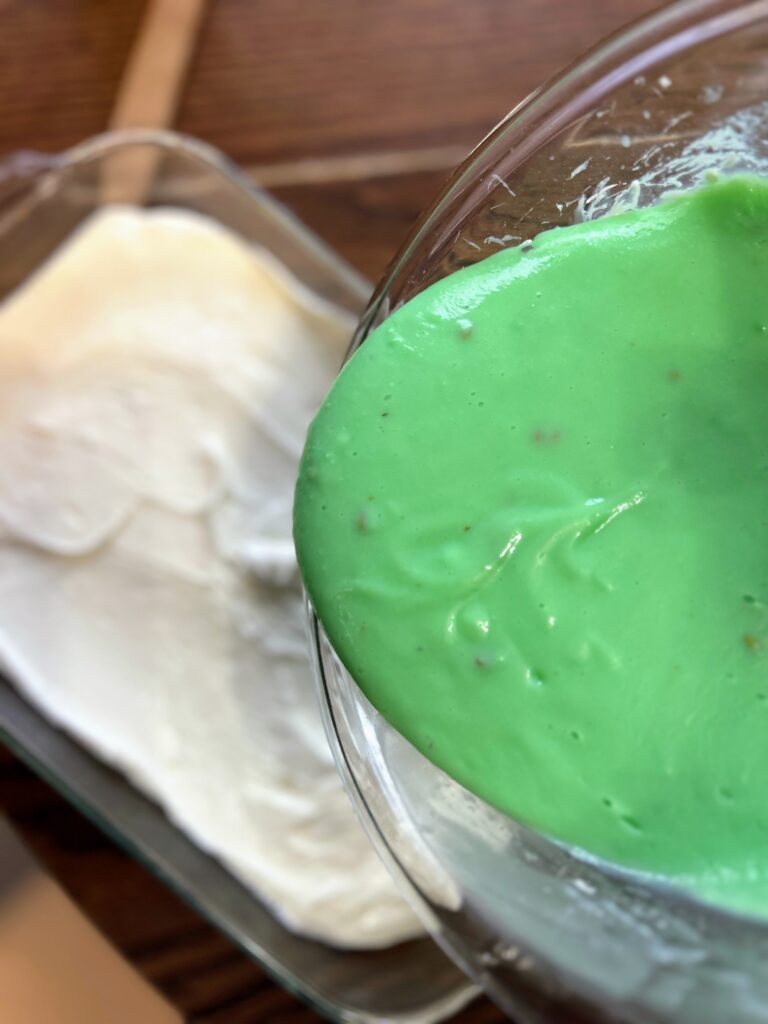
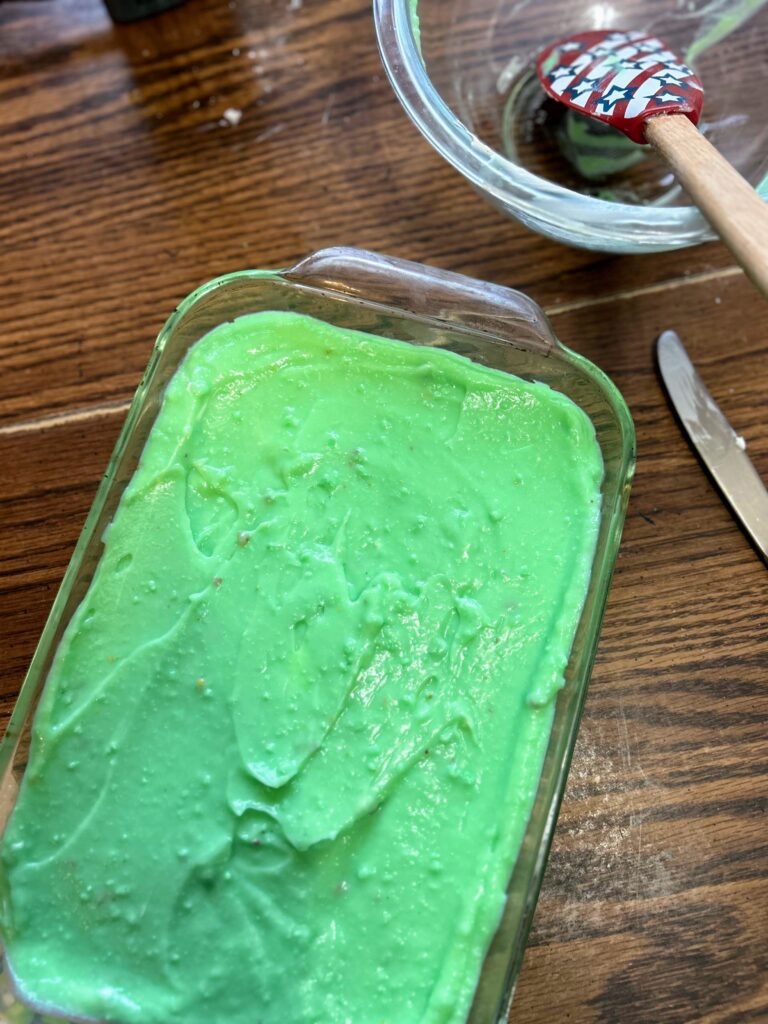
Combine the pudding with the milk and mix according to package directions (I do this right in the same bowl, but you do you). Spread the pudding on top of the cream cheese layer. Allow to set just a few minutes. 

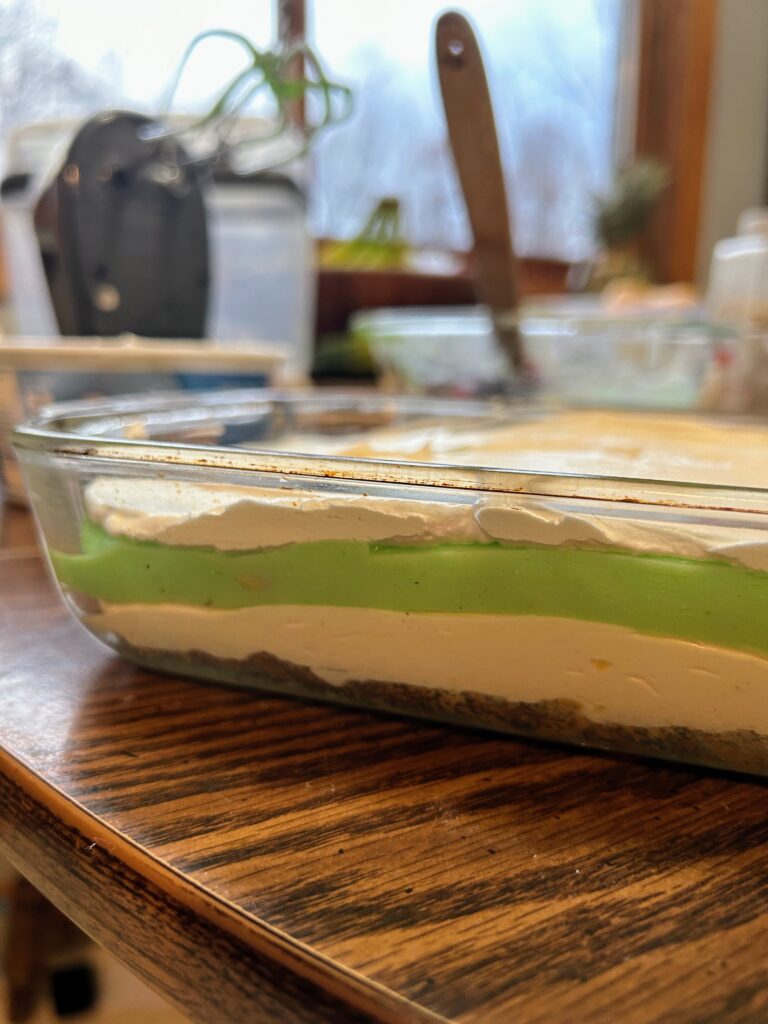
Finally, spread the remaining cool whip on top of the pudding and top with additional nuts if you care to. Serve up immediately or this dessert is a great one that can be prepped a few days ahead. Either way, you are sure to bring smiles to a lot of people’s faces.

Pistachio Torte

This layered pistachio torte is the perfect dessert for your next get-together. A quick crust, cream cheese filling, and pistachio pudding layer make a delicious treat!
Prep Time 20 minutes
Cook Time 10 minutes
Course Dessert
Cuisine American
Servings 12 people

Equipment

Ingredients
  

  • 1 cup flour
  • ¼ teaspoon salt
  • ½ cup butter soften
  • 2 teaspoons white sugar
  • ¼ cup finely chopped nuts
  • 8 ounces cream cheese softened
  • 1 cup powdered sugar
  • 8 ounces cool whip divided
  • 2 packages pistachio pudding 3.4 ounces
  • 2 ½ cups milk

Instructions
 

  • Preheat the oven to 350 degrees. Prepare a 9 by 13 inch baking pan with cooking spray and set aside.
  • In a medium bowl, cream the butter until smooth. Add flour, white sugar, salt, and chopped nuts. Mix until well combined. Press into the prepared baking pan.
  • Bake for 8-12 minutes, until the crust is lightly browned. Allow to cool.
  • Once the crust has cooled, Add the cream cheese to a large bowl and cream with a hand mixer. Add powdered sugar and 4 ounces of the cool whip. Spread on top of the cooled crust.
  • Combine the pudding with the milk and mix according to package directions. Spread the pudding on top of the cream cheese layer. Allow to set just a few minutes.
  • Spread the remaining cool whip on top of the pudding and top with additional nuts if you care to. Serve up immediately or this dessert is a great one that can be prepped a few days ahead.
Keyword cream cheese, dessert, pistachio, pistachio pudding, tortes
Tried this recipe?Let us know how it was!

Other favorite desserts

Check out my baking page for all sorts of treats. But let me share some of my favorites below!

Kolachkes

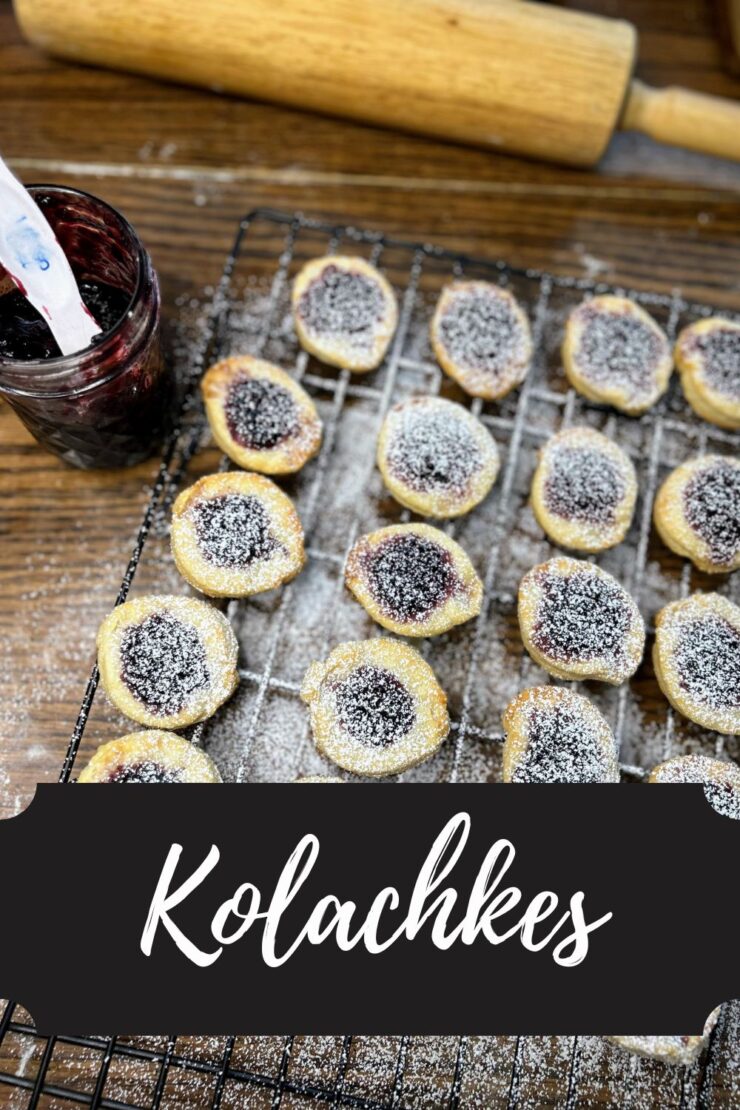
If you hang around with me on Instagram, you may know that I participate in a collaboration with a number of foodie friends that has us exploring the cookbooks on our shelves each month. There are no rules besides trying three recipes each month that we haven’t made before in the many cookbooks we own. This month, I chose a WE Energies cookbook and gave Kolachkes a try! 

First, the WE energies cookie book. I don’t know about other states, but in Wisconsin, WE Energies has been creating a cookie book every year since 1928. It is distributed primarily in southern Wisconsin but you can also find digital copies (Check out the archives here!). I fondly remember looking through my mom’s editions as a kid and recognized the covers in the archives. 

Now for the Kolachkes. After doing some research, I was able to learn that these cookies are Polish or Czech, and are a traditional Christmas cookie. I was drawn to the cookie as it sounded like a simple shortbread like cookie (with the addition of cream cheese) and had a jam added. Many years ago, I tried a thumbprint cookie recipe and it didn’t go well. I figured this was my chance to redeem myself. 

I did change the recipe just a bit, by sweetening up the dough just a bit before I baked it and I think you will LOVE it. Please give these tasty morsels a try! 

Your Ingredients 

  • 1 cup butter, softened
  • 3 ounces cream cheese, softened
  • 1 teaspoon vanilla extract
  • ½ teaspoon salt
  • 2 ¼ cups flour
  • 1/2 cup preserves, I used black raspberry
  • ⅓  cup powdered sugar
  • Additional powdered sugar

Your Steps to Kolachkes

Preheat the oven to 400 F. Cream butter, cream cheese, vanilla, and ⅓ cup powdered sugar. Blend in 2 cups of flour and salt. Then work in remaining ¼  cup flour to form a smooth dough. 

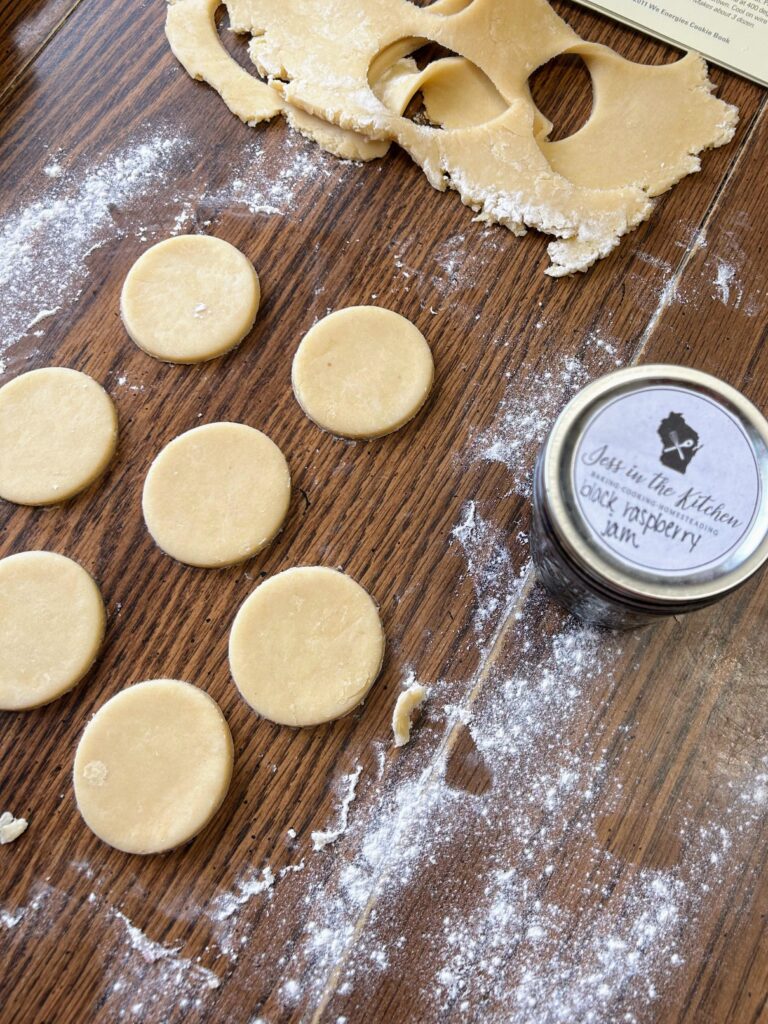
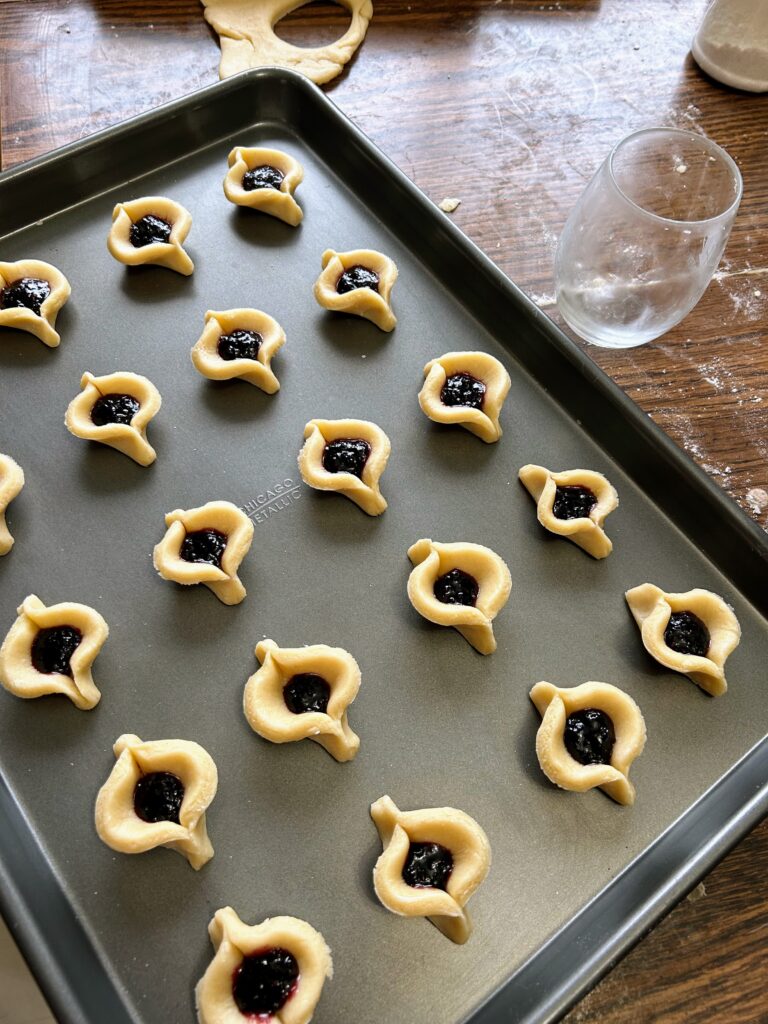
Divide the dough in half and roll half of it 1/4 inch thick. Cut into 2 in squares or circles. Make a slight indent in the center and fill with scant 1/2 teaspoon preserves. 

Finish shaping squares or circles by tightly pinching opposite ends together. Place about 2 inches apart on ungreased cookie sheets. Repeat with the second half. 

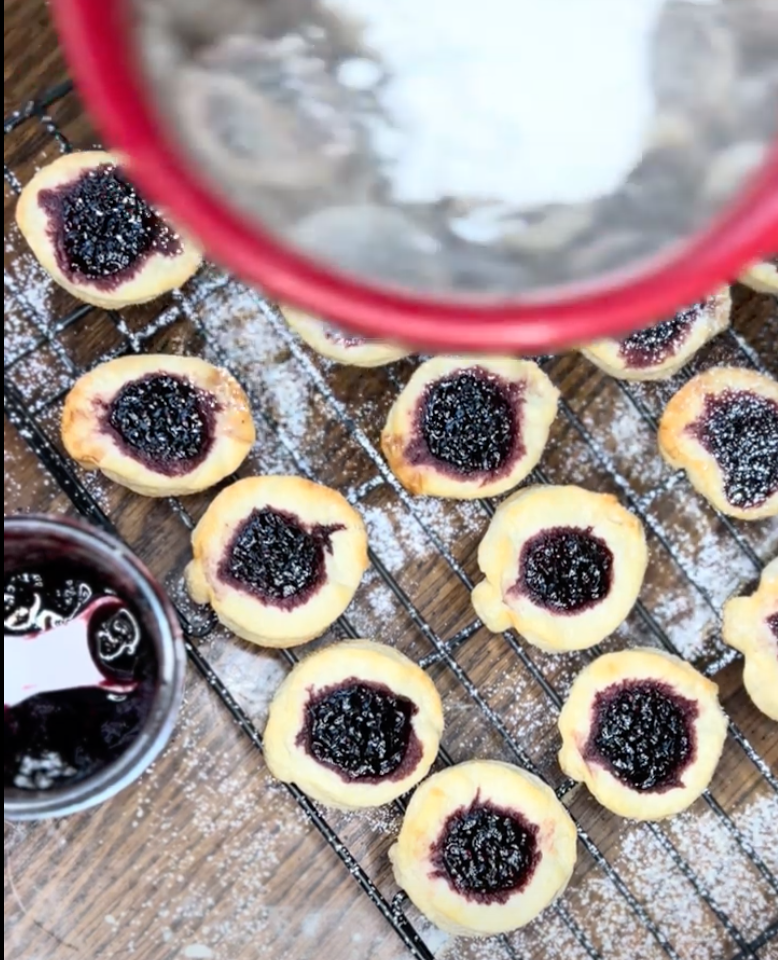
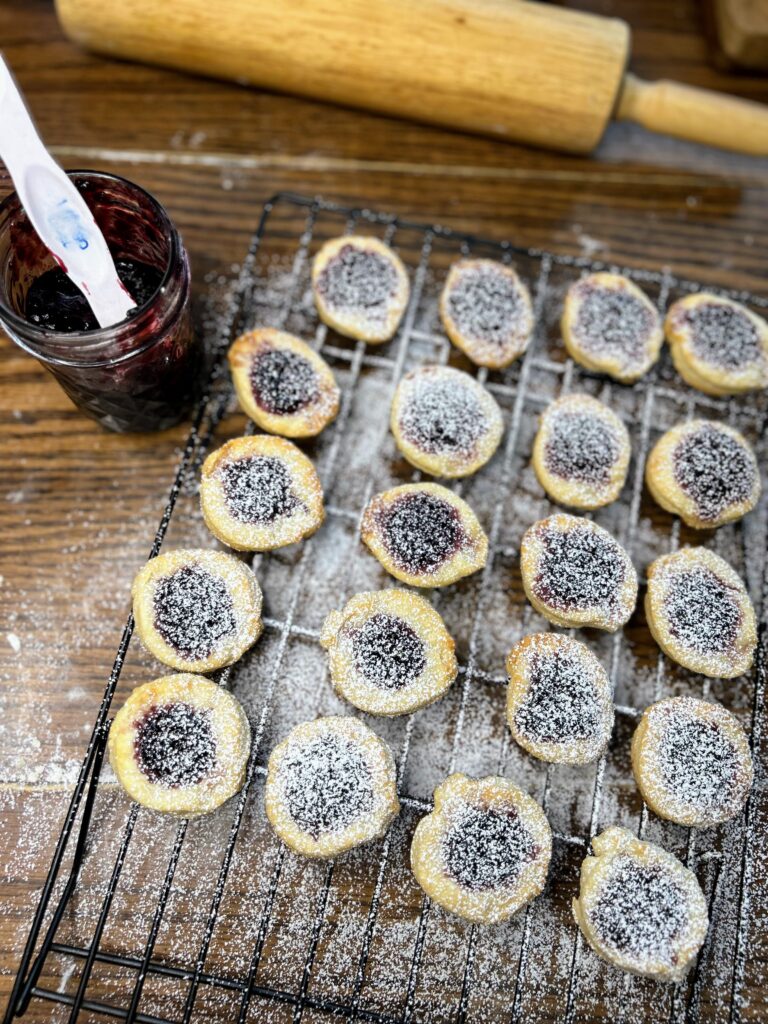
Bake for 12-17 minutes. Cool and dust with powdered sugar. I used a fine mesh strainer for this and it worked great!

These were incredibly simple and so good! I hope you enjoy them as much as my family did! 

Tools of the trade

I haven’t added a “tools of the trade” segment to a blog post for a while, but I have to share my absolute favorite baking sheets. These guys are only used for cookies and other sweet treats and they are a favorite present from years past. Also! Dusting with powdered sugar was exponentially easier using my fine strainer. We use it for so many things: straining our maple syrup, rinsing canned beans, you name it. A tool that makes your life much easier, to be sure.

Finished Kolachkes

Kolachkes

Light, buttery, and sweet with a topping of fruit preserves, these Eastern European kolachkes are a perfect addition to your holiday cookie tray!
Prep Time 15 minutes
Cook Time 15 minutes
Course Cookies, Dessert
Cuisine American, Czech, Polish
Servings 3 dozen

Ingredients
  

  • 1 cup butter softened
  • 3 ounces cream cheese softened
  • 1 teaspoon vanilla extract
  • ½ teaspoon salt
  • 2 ¼ cups flour
  • 1/2 cup preserves I used black raspberry
  • cup powdered sugar
  • Additional powdered sugar

Instructions
 

  • Preheat the oven to 400 F. Cream butter, cream cheese, vanilla, and ⅓ cup powdered sugar. Blend in 2 cups of flour and salt. Then work in remaining ¼ cup flour to form a smooth dough.
  • Divide the dough in half and roll half of it 1/4 inch thick. Cut into 2 in squares or circles. Make a slight indent in the center and fill with scant 1/2 teaspoon preserves.
  • Finish shaping squares or circles by tightly pinching opposite ends together. Place about 2 inches apart on ungreased cookie sheets. Repeat with the second half.
  • Bake for 12-17 minutes. Cool and dust with powdered sugar.
Keyword black raspberry, Cookies, fruit preserves, kolachkes, kolachky, pastries, Polish kolachky, Shortbread
Tried this recipe?Let us know how it was!

Looking for other sweet treats?

Give some of these a try or check out my baking page for more inspiration!
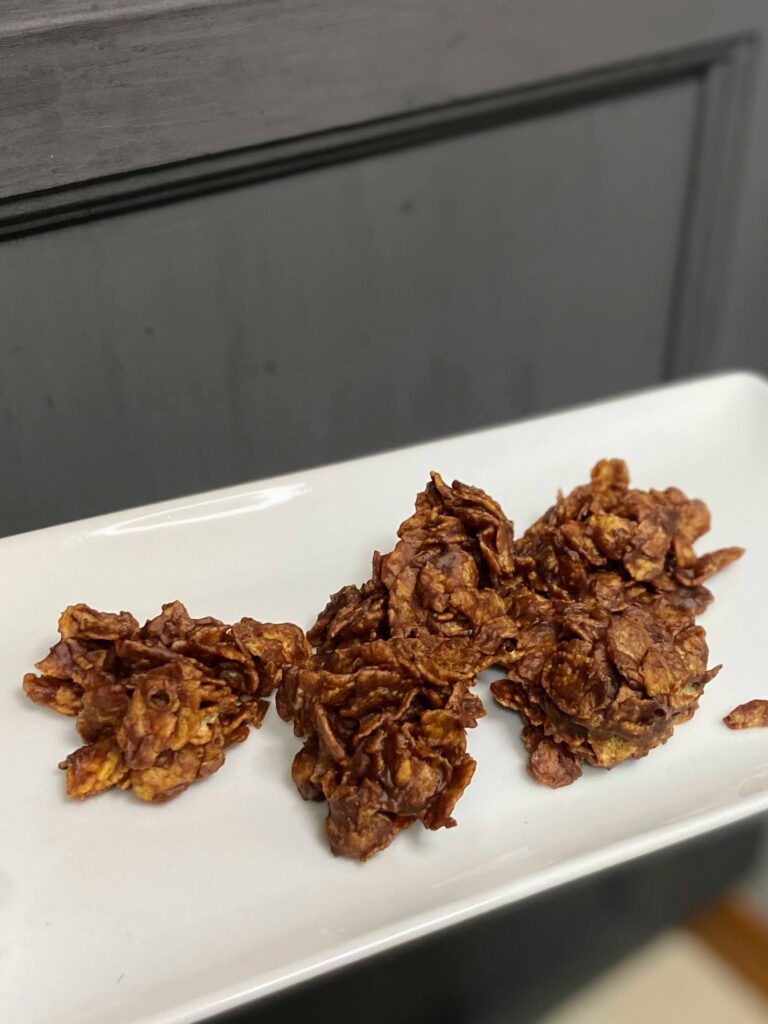
No Bake Cornflake Cookies

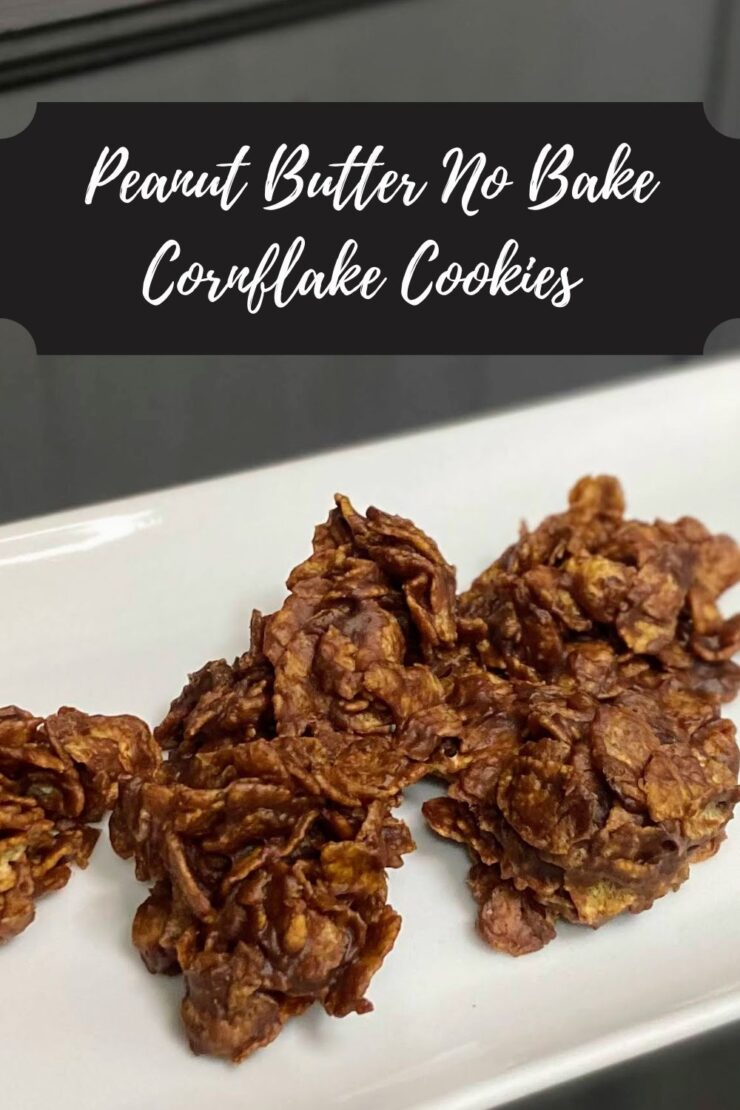
I have had a certain fondness for no bake cookies since I was little. I hadn’t made them often, but if they were an option at a bake sale or dessert bar, I generally would go for them; as long as there wasn’t a brownie or Rice Krispy treat as an option, of course. Then came the time I needed a no bake cookie, and these beautiful no bake cornflake cookies were the result! 
Let me take a step back and explain. But where to start….My big kid has become an avid basketball player, and because of this, he plays 2-3 games most weekends in January and February all around the area. Our town hosts said games soon and the parents of my son’s team were assigned baked goods. 

I LOVE baking and making cookies. But…a few weeks ago, my husband was doing some remodeling in our kitchen (yay!) and when he pulled out our range and then put it back, the oven stopped working correctly (booo!) That means for the last three weeks, I have baked exactly two loaves of bread and broiled one dish. Not great news for the baked goods. 

Well, I guess this is a great opportunity to work on a no bake cookie recipe, right? And just a few weekends ago, I had purchased a GIANT box of corn flakes for cheesy potatoes. The stars had aligned for some delicious no bake cornflake cookies.

My issue?

In looking at all the recipes I could find, no bake cookies are just full of sugar and corn syrup. I love me some sugar and butter, but I also try to find balance and replace when I can.  

My go to replacement for sugar is maple syrup (my family and I started tapping trees a few years ago. Learn about it here!) I was worried it wouldn’t allow the cookies to set, but it worked great! And because the only other real ingredients are corn flakes and peanut butter, I would ALMOST venture to say you could call these breakfast cookies. I mean, I won’t stop you…hehe. 
Now let’s get creating! For this recipe, I’ll leave it in small batch format. You can easily double it to get more delicious no bake cookies, but as it is written, this will give you about 20 cookies. 

Your Ingredients 

  • ½ cup maple syrup 
  • ½ cup peanut butter 
  • ½ teaspoon vanilla
  • Nice pinch of salt 
  • 2 tablespoons cocoa powder
  • 2-2 ½ cups corn flakes
  • ½ cup finely chopped nuts (optional)

Your Steps to No Bake Cornflake Cookies 

Prepare two baking sheets with wax or parchment paper to place the cookies on when they are cooling. 

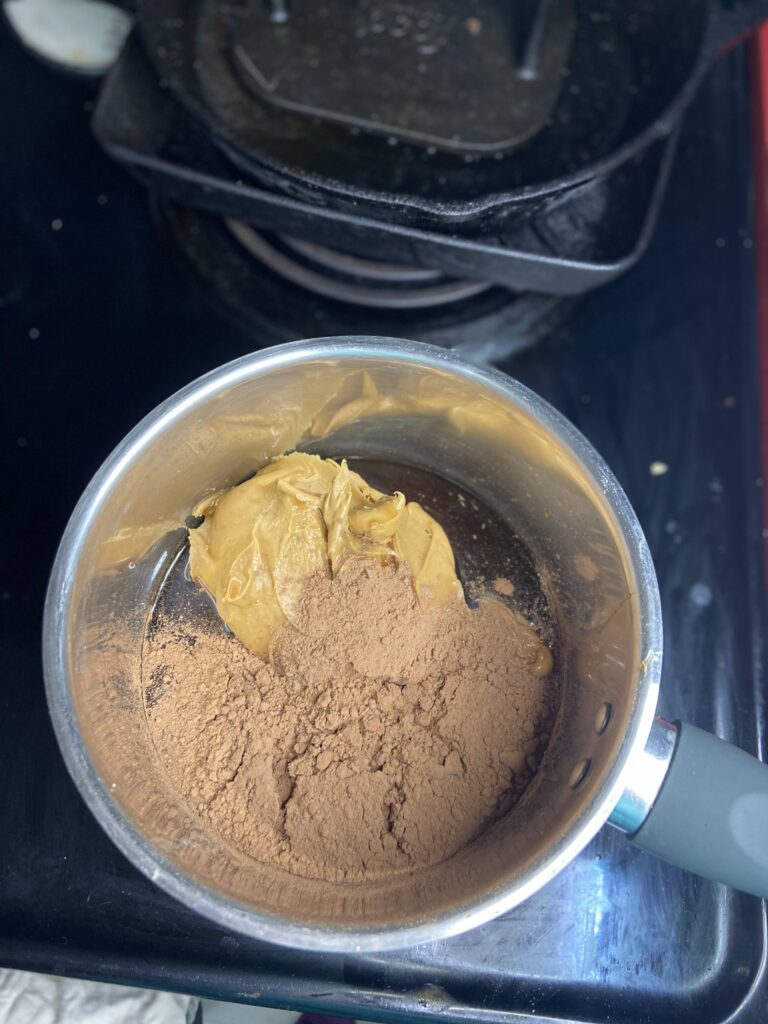
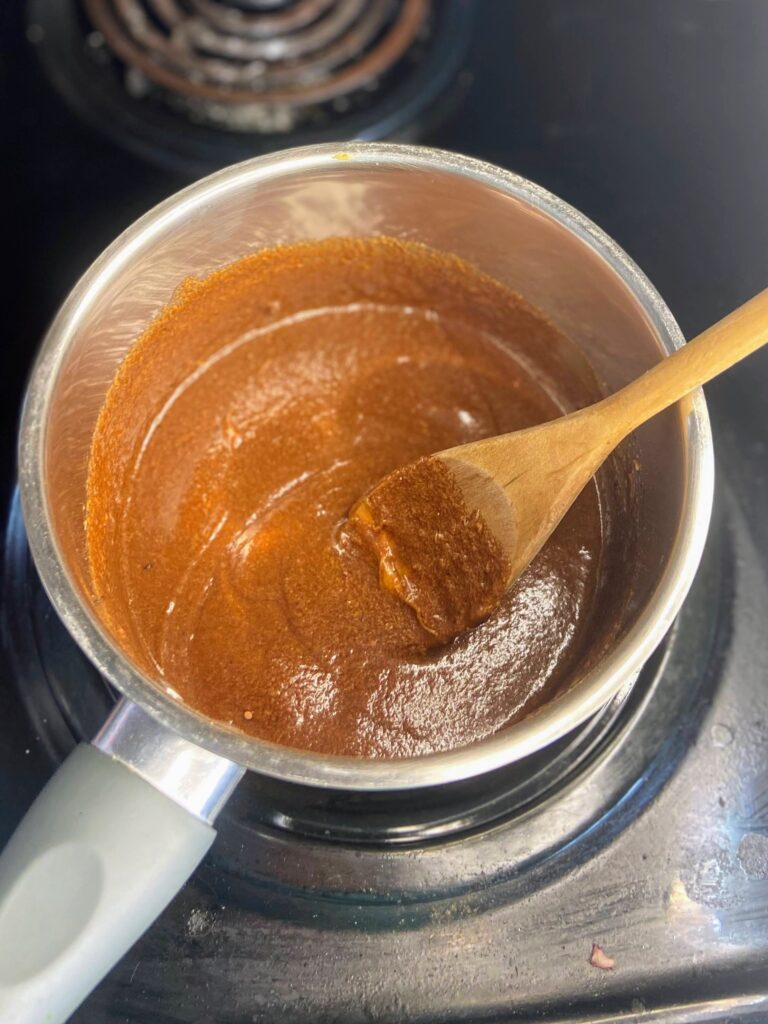
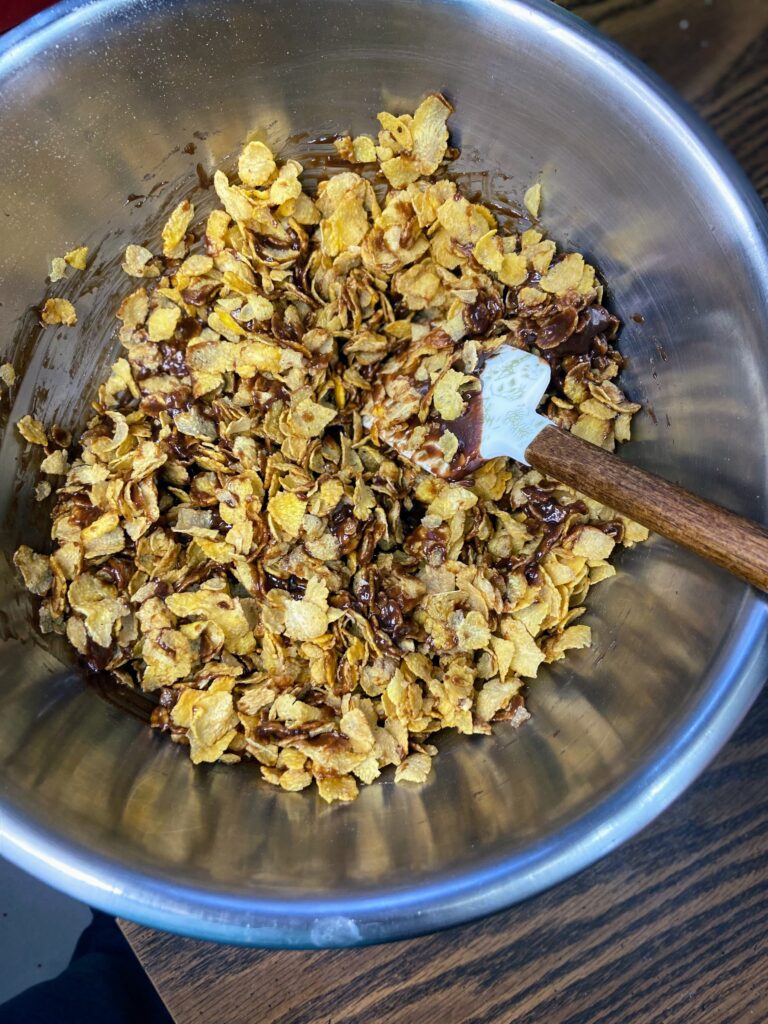
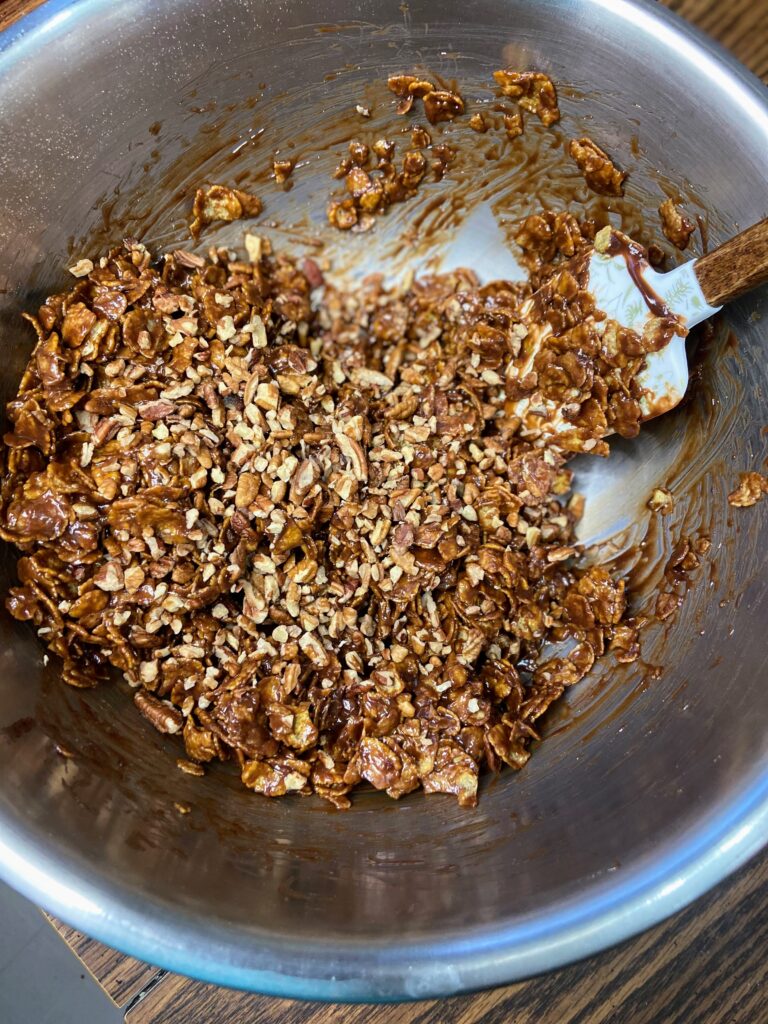
In a medium saucepan, combine syrup, peanut butter, cocoa powder, and the pinch of salt. Heat over a medium heat until the sauce JUST reaches a full boil. Remove the kettle from the heat and stir in the vanilla, corn flakes and nuts (if using) until well coated, adding more flakes if needed. 

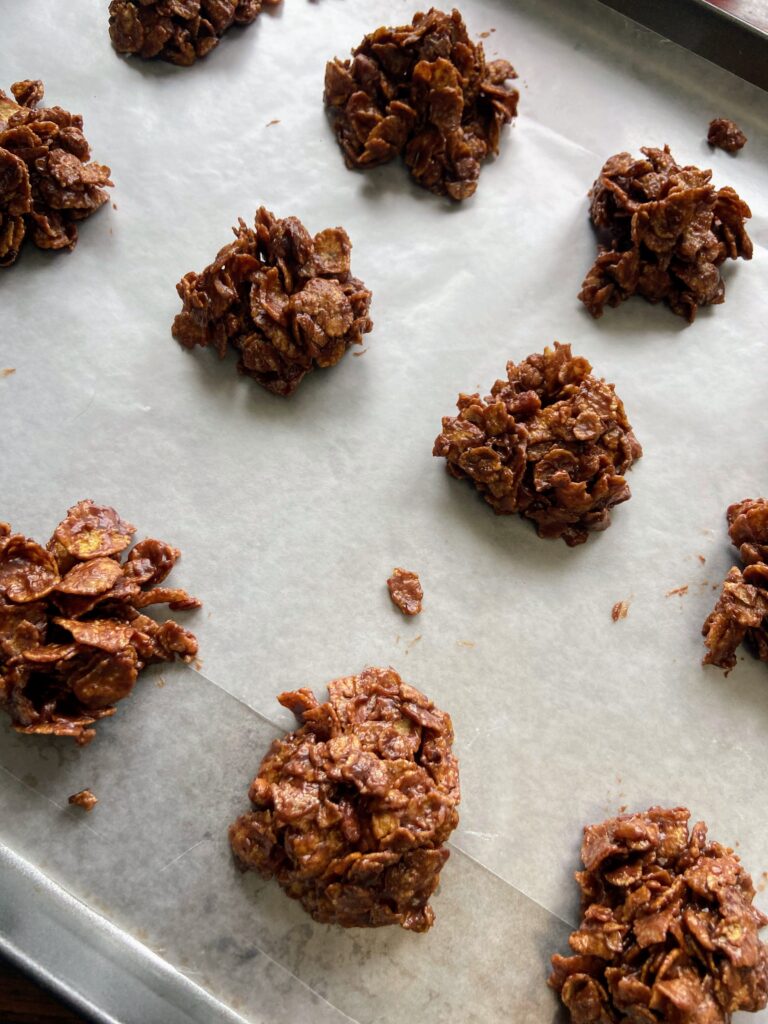
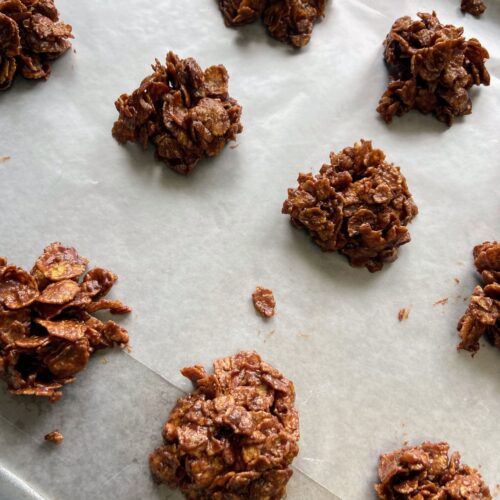
Using a cookie or ice cream scoop, scoop the cookies onto prepared baking sheets. They will stay together better if you give them a little squeeze. Allow to cool until set, about 30-60 minutes. Once set, store in an airtight container. 

No Bake Cornflake Cookies

Looking for a no bake cookie but want to skip on a bit of the refined sugar? Give this great no bake cornflake cookie a try!
3 from 1 vote
Prep Time 5 minutes
Cook Time 5 minutes
Rest Time 1 hour
Course Cookies, Dessert
Cuisine American
Servings 16 cookies

Ingredients
  

  • ½ cup maple syrup
  • ½ cup peanut butter
  • ½ teaspoon vanilla
  • Nice pinch of salt
  • 2 tablespoons cocoa powder
  • 2-2 ½ cups corn flakes
  • ½ cup finely chopped nuts optional

Instructions
 

  • Prepare two baking sheets with wax or parchment paper to place the cookies on when they are cooling.
  • In a medium saucepan, combine syrup, peanut butter, cocoa powder and the pinch of salt. Heat over a medium heat until the sauce JUST reaches a full boil.
  • Remove the kettle from the heat and stir in the vanilla, corn flakes, and nuts (if using) until well coated, adding more flakes if needed.
  • Using a cookie or ice cream scoop, scoop the cookies onto prepared baking sheets.
  • Allow to cool until set, about 30 minutes. Once set, store in an airtight container.
Keyword chocolate and peanut butter, chocolate cookies, corn flake cookies, no bake cookies, no bake desserts, peanut butter, quick cookies, quick treats
Tried this recipe?Let us know how it was!

Looking for other sweet treat inspiration?

Head to one of the recipes below or go right to my Baking page!

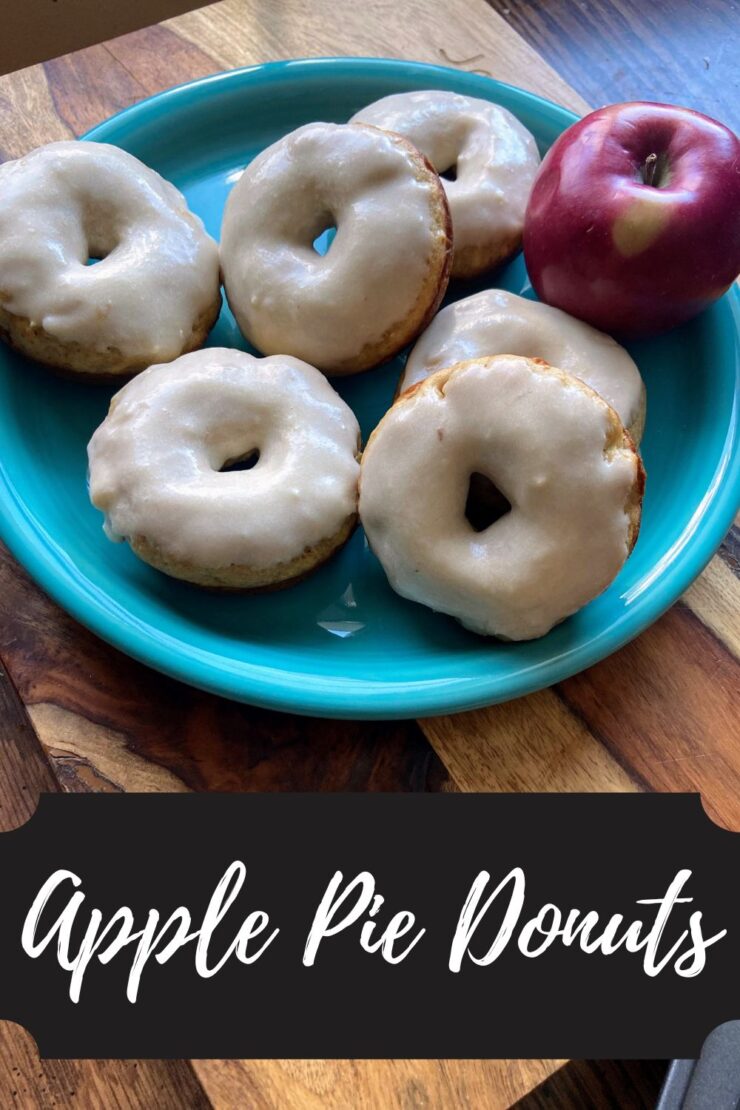
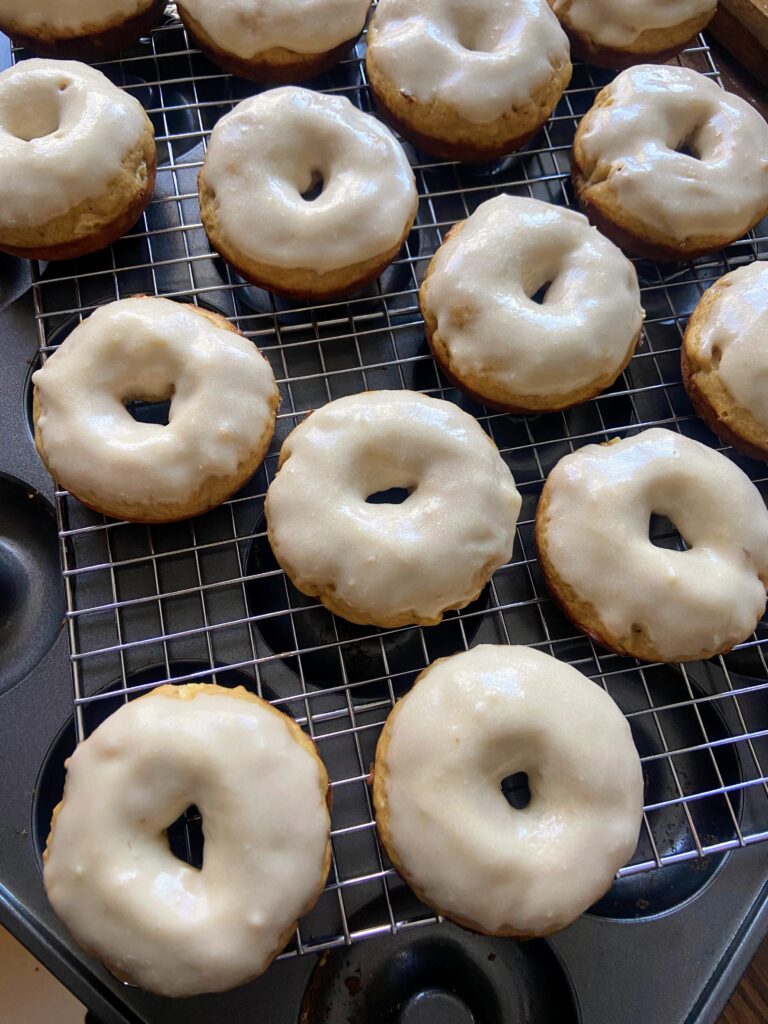
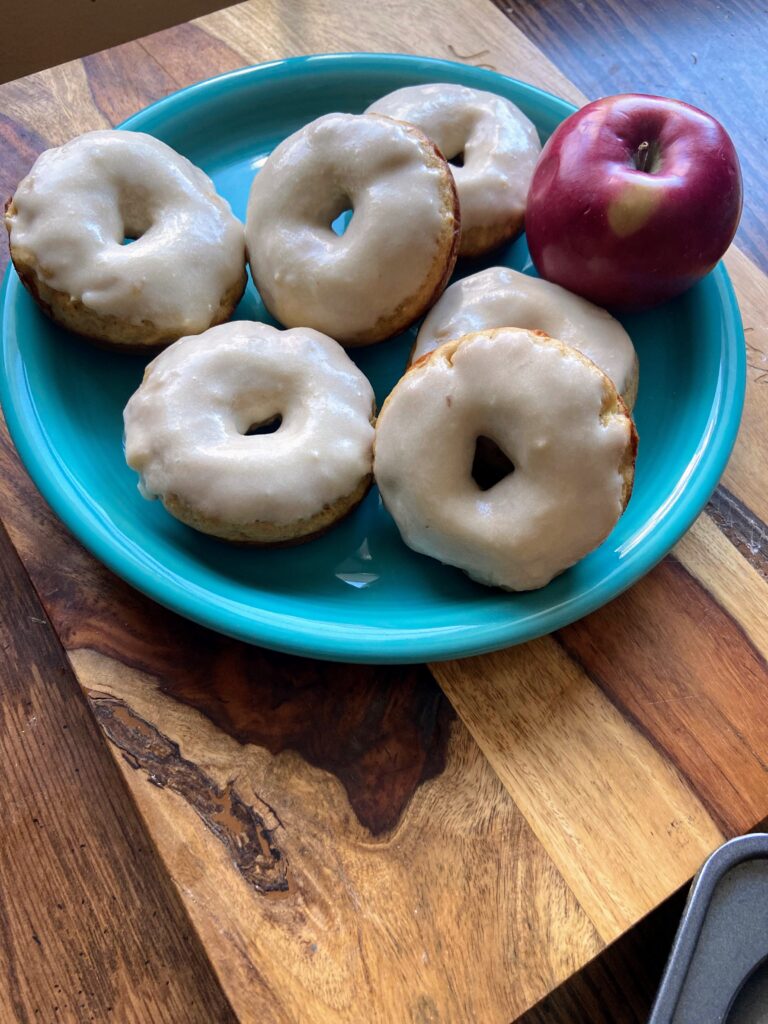
Apple Pie Donuts

How is an apple pie donuts recipe created in the last month of the year in Wisconsin? Picture this: 

It’s December 20th and my mini me gets to bring a treat to school for the holiday party. All year, she has brought apples for a snack for herself, so she naturally chooses apples (and candy canes) as her treat. So off to the store we go to buy bags of apples for her and her classmates. Then a winter storm hits and school is canceled, canceling her party and leaving us with A LOT of apples. 

Don’t get me wrong, my family eats a lot of fruit, but I had JUST finished creating apple sauce with the last of our fall apples and I wasn’t sure what to do with them. Then I spied my donut pan (a gift for the Mr. with a donut cookbook a few Valentine’s Days ago), and got to thinking, “I haven’t played with a donut recipe in a lonnnggg time.” 

And that winter storm? It was still going so I had nothing but time on my hands. I set to work. 

If you know me, you likely know I live for more simple, from scratch recipes with a healthy twist. I wanted these donuts to have the flavor of apple without a whole lot of chunks of apple in them. So out went some of the butter and oil I usually add and in went applesauce (Healthy and flavor! Big win!). To give a greater apple pie flavor, I amped up the cinnamon and nutmeg. And the frosting? Oh my goodness, it’s the best part. To give an apple flavor, I swapped more applesauce for the milk and it worked SO well. I can’t wait for you to give them a try!

Ready to get baking? Let’s go!

Your Ingredients for Apple Pie Donuts

  • 3 tablespoons butter, melted
  • ½ cup unsweetened applesauce
  • ½ cup packed light brown sugar
  • ¼ cup white sugar
  • 2 large eggs
  • 2 teaspoons vanilla 
  • ½ cup plain Greek yogurt (or low sugar vanilla)
  • 2 tablespoons milk 
  • 2 ¼ cup flour
  • 2 teaspoons baking powder
  • ½ teaspoon baking soda
  • 1 teaspoon cinnamon 
  • ¼  teaspoon ground nutmeg
  • ¾ teaspoon salt 
  • ½ cup apples, diced finely

Donut Frosting

  • 2 tablespoons butter, softened
  • 1 teaspoon vanilla
  • 3 tablespoons unsweetened applesauce
  • 2 cups powdered sugar

Your Steps to Apple Pie Donuts

Preheat the oven to 350 degrees. Spray a regular donut pan with non-stick cooking spray. 

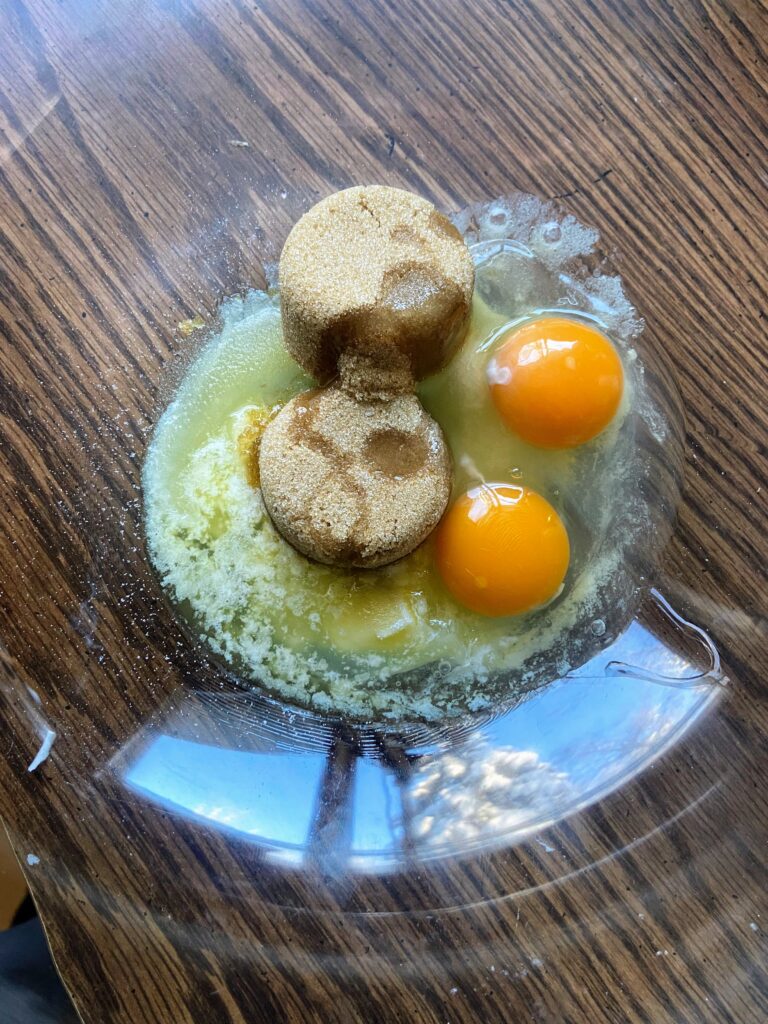
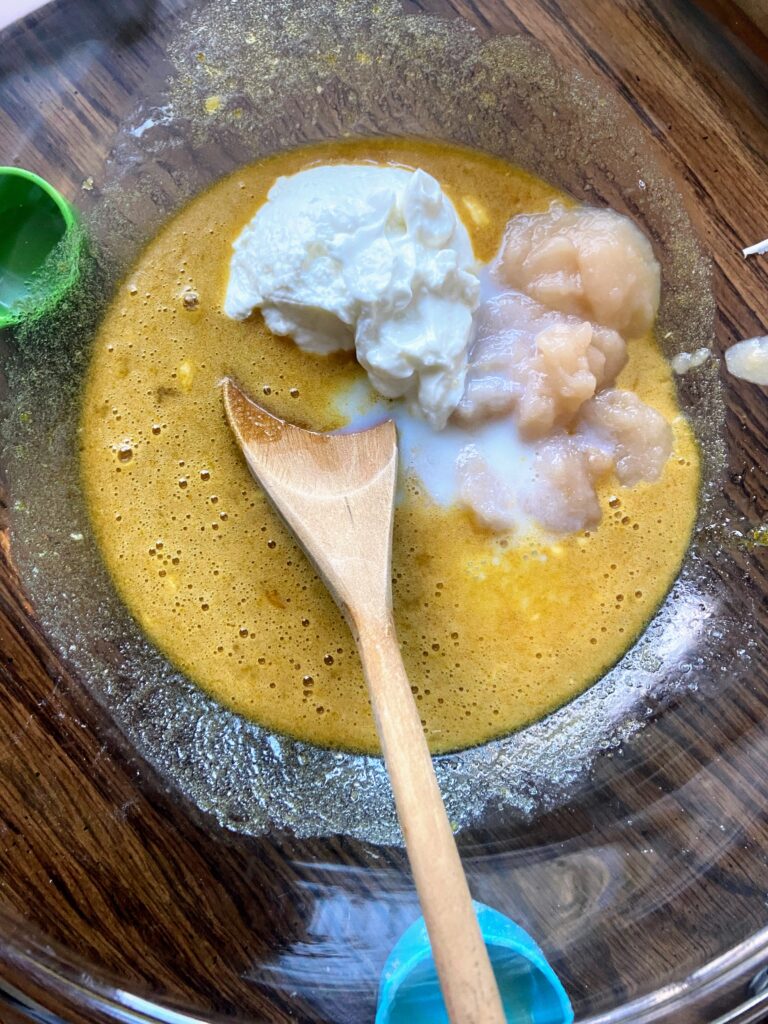
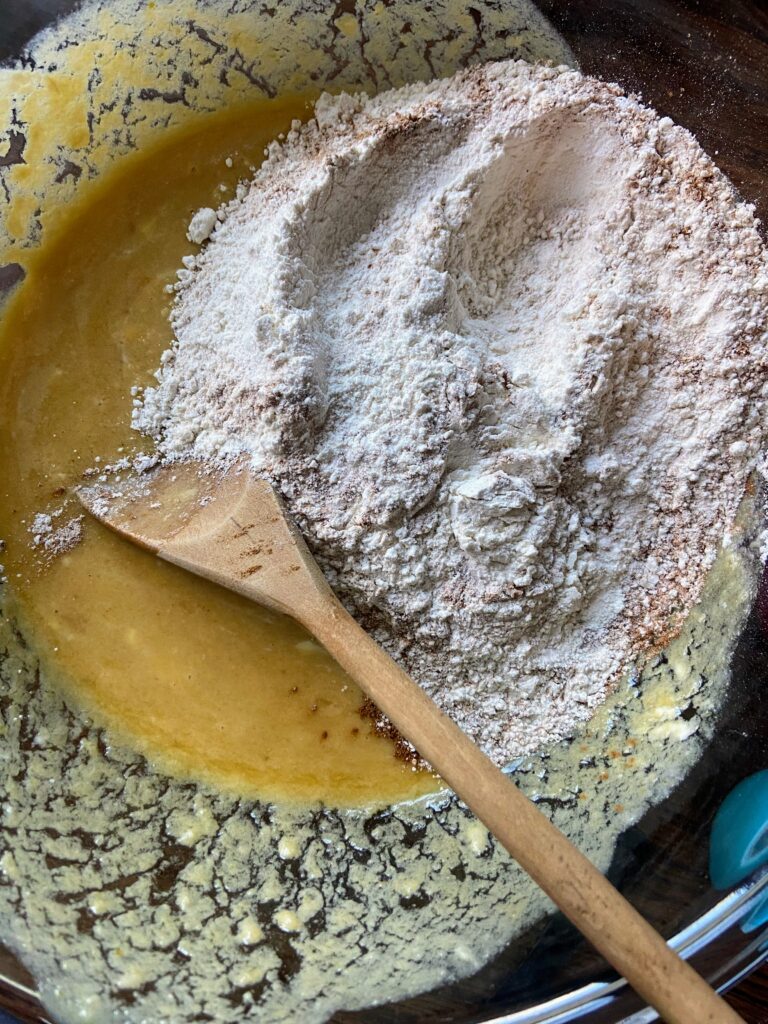
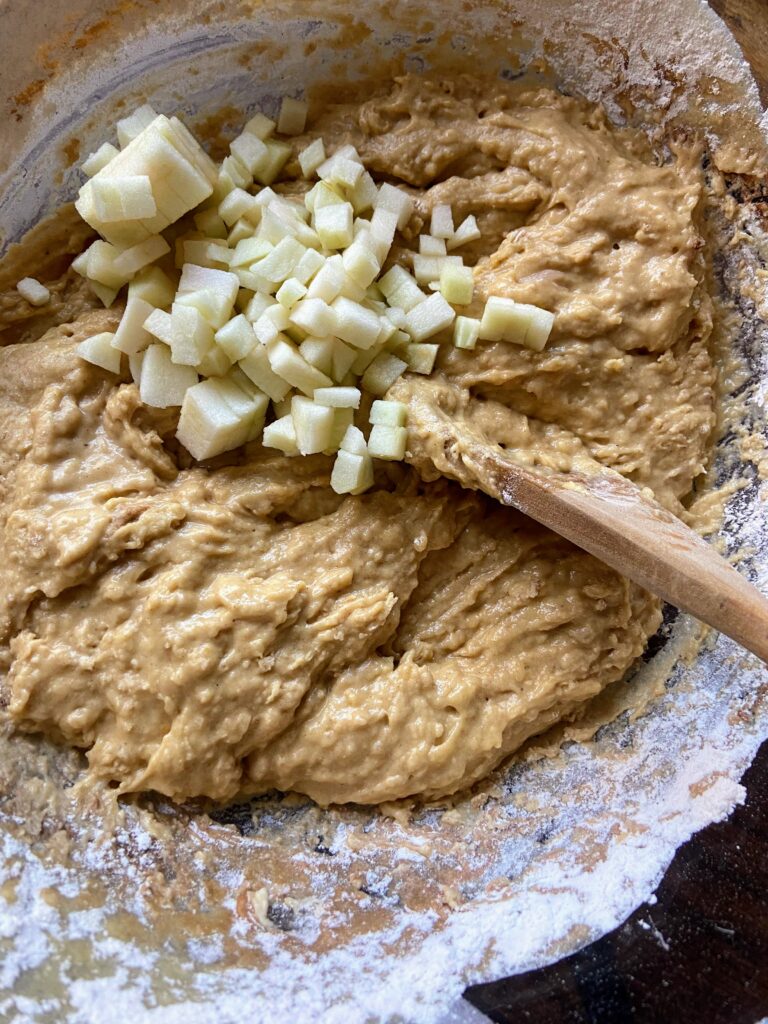
In a large bowl, combine butter, sugar, eggs, and vanilla. Stir in applesauce, milk, and yogurt. Whisk until smooth. In a separate bowl, combine flour, baking powder, baking soda, cinnamon, nutmeg, and salt.  Add to wet ingredients and stir until fully incorporated. Fold in the apples.

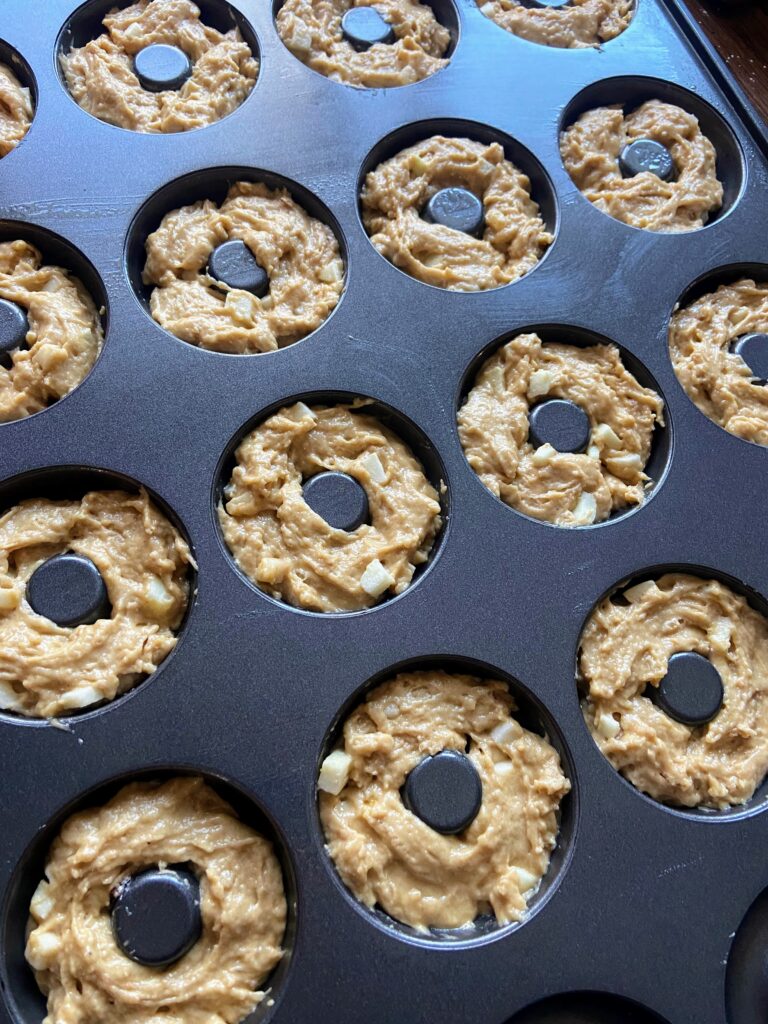
Divide the batter among 16 donut cavities, filling ¾ of the way full. Bake for 12-14 minutes, until firm to the touch or passes the toothpick test (a toothpick inserted comes out clean). Allow to cool in the pan for 10 minutes. Remove the donuts from the pan and place on a cooling rack. 

While the donuts finish cooling, mix donut frosting. Using a fork, cream the butter. Add vanilla and mix until combined. Mix in applesauce, still using the fork. Whisk in the powdered sugar with the fork until smooth. 

When cool, frost or dip each donut in the frosting. It is a great consistency that you can dip it like a glaze but it will hold up like a frosting. Cover them anyway you choose!

Apple Pie Donuts

Love apple pie? These baked apple pie donuts with a great frosting  will give you that warm comforting feeling you get from pie and ice cream!
Prep Time 20 minutes
Cook Time 16 minutes
Course Appetizer, Breakfast, Dessert, Sweets
Cuisine American
Servings 16 donuts

Equipment

Ingredients
  

  • 3 tablespoons butter melted
  • ½ cup unsweetened applesauce
  • ½ cup packed light brown sugar
  • ¼ cup white sugar
  • 2 large eggs
  • 2 teaspoons vanilla
  • ½ cup plain Greek yogurt or low sugar vanilla
  • 2 tablespoons milk
  • 2 ¼ cup flour
  • 2 teaspoons baking powder
  • ½ teaspoon baking soda
  • 1 teaspoon cinnamon
  • ¼ teaspoon ground nutmeg
  • ¾ teaspoon salt
  • ½ cup apples diced finely

Donut Frosting

  • 2 tablespoons butter softened
  • 1 teaspoon vanilla
  • 3 tablespoons unsweetened applesauce
  • 2 cups powdered sugar

Instructions
 

  • Preheat the oven to 350 degrees. Spray a regular donut pan with non-stick cooking spray.
  • In a large bowl, combine butter, sugar, eggs, and vanilla. Stir in applesauce, milk and yogurt. Whisk until smooth.
  • In a separate bowl, combine flour, baking powder, baking soda, cinnamon, nutmeg, and salt.
  • Add to wet ingredients and stir until fully incorporated. Fold in the apples
  • Divide the batter among 16 donut cavities, filling ¾ of the way full.
  • Bake for 12-14 minutes, until firm to the touch or passes the toothpick test (a toothpick inserted comes out clean).
  • Allow to cool in the pan for 10 minutes. Remove the donuts from the pan and place on a cooling rack.
  • While the donuts finish cooling, mix donut frosting. Using a fork, cream the butter. Add vanilla and mix until combined. Mix in applesauce, still using the fork. Whisk in the powdered sugar with the fork until smooth.
  • When cool, frost or dip each donut in the frosting. It is a great consistency that you can dip it like a glaze but it will hold up like a frosting.
Keyword apple and cinnamon, apple pie, apple recipe, apples, baked donuts, Breakfast, donut recipe, donuts
Tried this recipe?Let us know how it was!

LOOKING FOR OTHER GREAT RECIPES?

Check out the delicious breakfast inspiration below or head right to my breakfast page!

Buckeye Balls

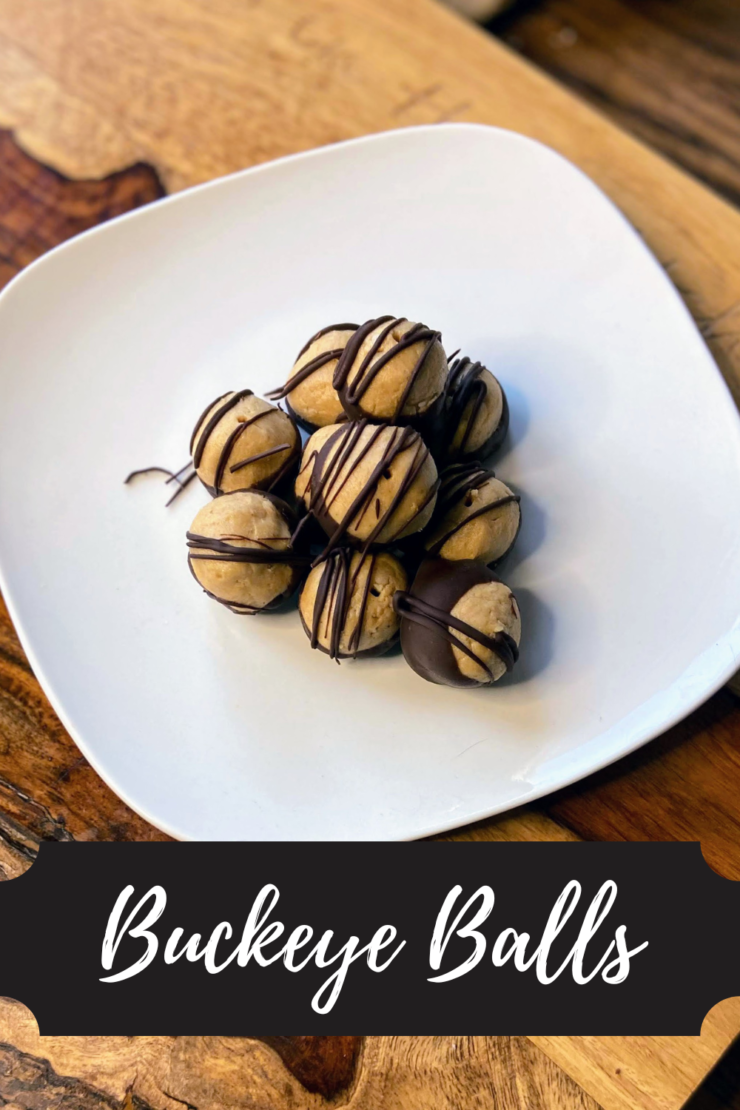
I’ll be honest, I hadn’t heard of Buckeye Balls until about ten years ago. I was pursuing a foodie magazine a number of years ago around the holidays, and they had a section on holiday candy making. And I don’t know about you, but the pairing of chocolate and peanut butter ranks right up there in the top of flavor pairings in my world. So I quickly mixed up a batch, and instantly fell in love. 

Now, they have become a staple in my holiday baking and candy baking. It’s the number one request from my sissy when I am baking for our Winter Solstice celebration (I grew up celebrating the solstice more than Christmas). What I love about Buckeye Balls is that they mix up SUPER quick. They are no bake. And the chill time isn’t even terribly long. Forgot you were supposed to bring a treat for a party in the evening? These are a perfect idea!

This recipe will result in about 50 teaspoon sized treats. (I know many recipes call for larger Buckeye Balls, but I dig bite size treats.) 

Your Ingredients

  • ¾ cup creamy peanut butter
  • ¼ cup butter, softened
  • ½ teaspoon vanilla
  • 2 cups powdered sugar
  • ½ cup semisweet chocolate chips
  • ½ tablespoon coconut oil 

Your Steps to Buckeye Balls

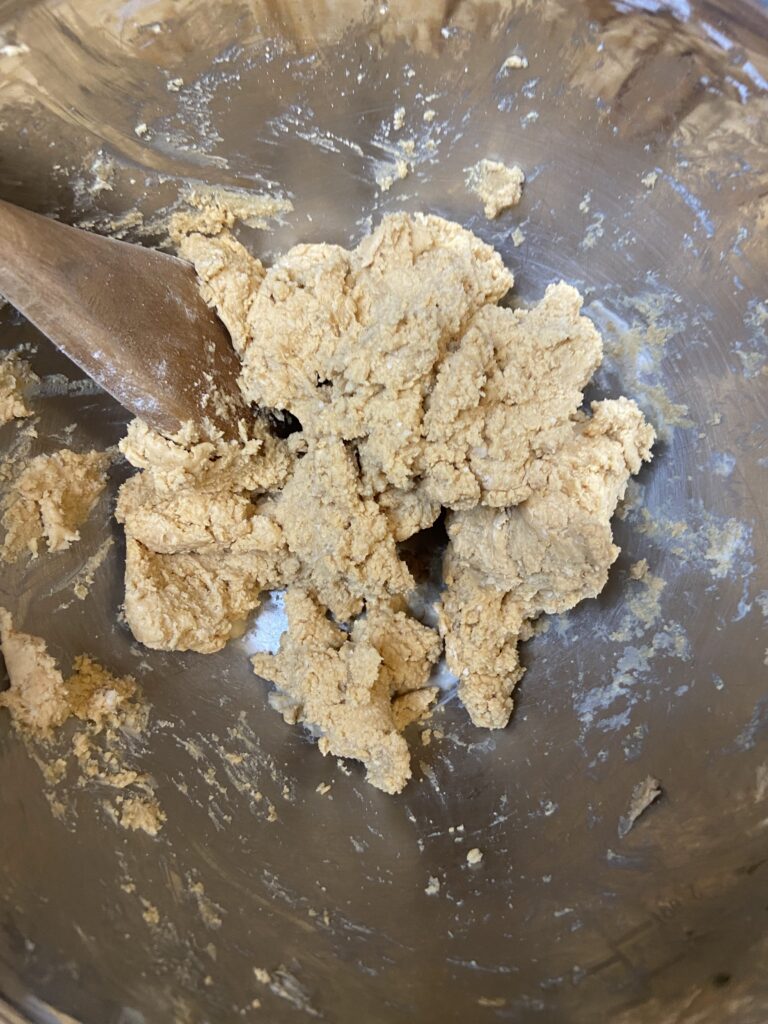
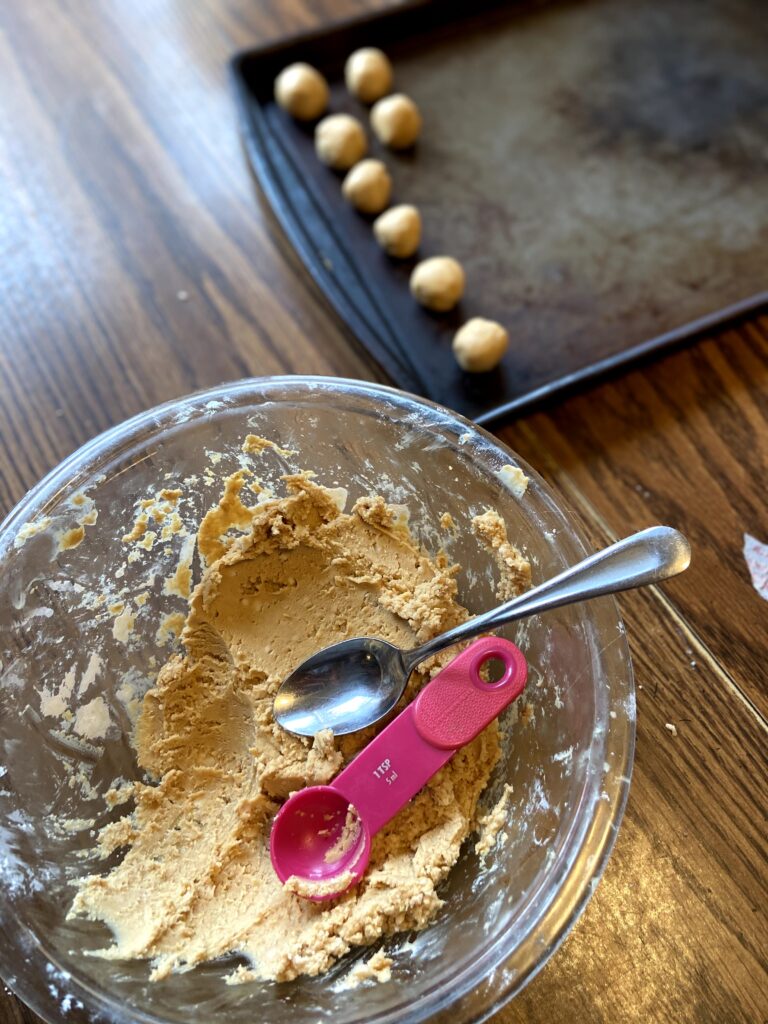
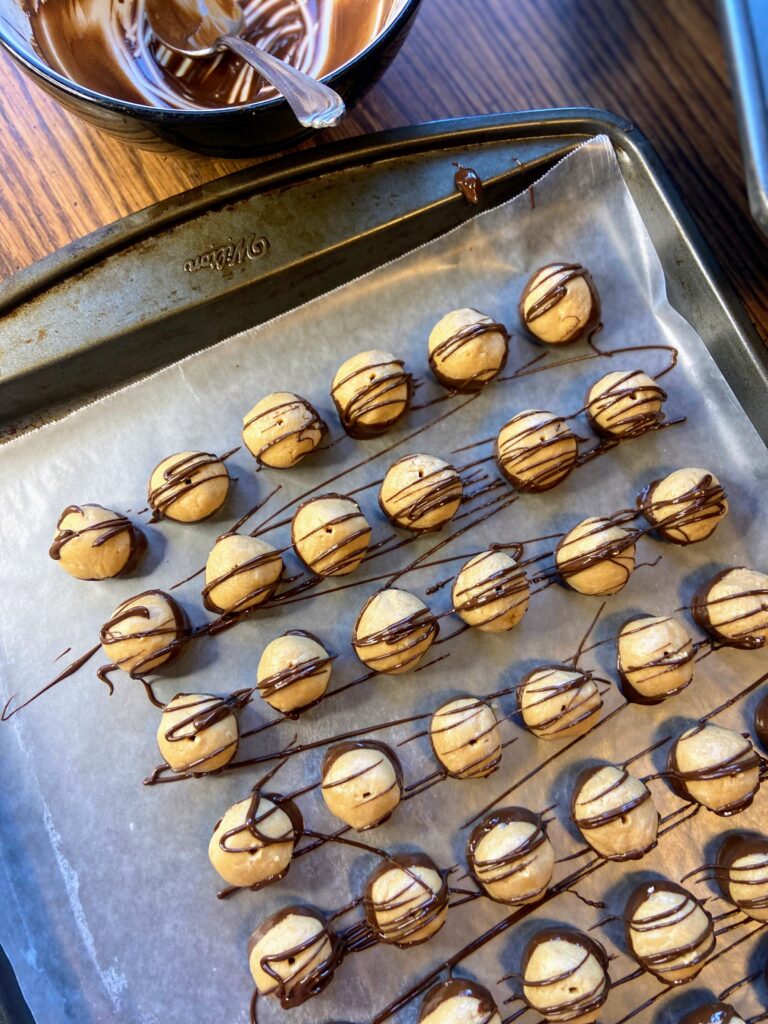
Combine sugar, peanut butter, vanilla and butter. Cream well, being sure to get all “corners” of the bowl. Use a teaspoon to measure and your hands to form balls with the mixture. Place on a lined baking sheet and chill for 1-2 hours. 

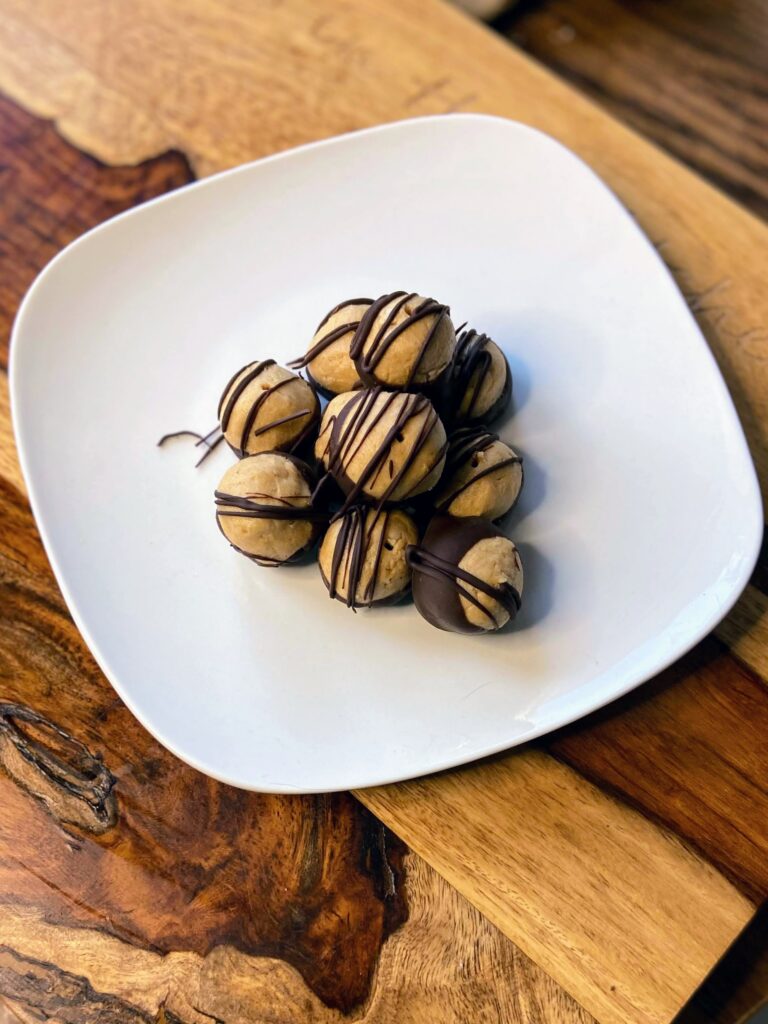
Once chilled, melt coconut oil and chocolate chips in the microwave, 30 seconds at a time, until smooth. Dip balls into chocolate using a toothpick (or fingers, but this is crazy messy). You can cover the hole formed from the toothpick, leave it, or drizzle the leftover chocolate like (this is what I like to do!) If you are going to drizzle, you truly don’t need anything fancy. Simply spoon the leftover chocolate into a small zipper baggy, snip the corner (smaller rather than larger), and squeeze and drizzle!

Buckeye Balls

Peanut butter and chocolate pair so nicely in these quick and delicious Buckeye Balls. Great for any holiday treat tray!
5 from 1 vote
Prep Time 40 minutes
Cook Time 0 minutes
Chill Time 1 hour
Course Dessert
Cuisine American
Servings 50 candies

Ingredients
  

  • ¾ cup creamy peanut butter
  • ¼ cup butter softened
  • ½ teaspoon vanilla
  • 2 cups powdered sugar
  • ½ cup semisweet chocolate chips
  • ½ tablespoon coconut oil

Instructions
 

  • Combine sugar, peanut butter, vanilla and butter. Cream well, being sure to get all “corners” of the bowl.
  • Use a teaspoon to measure and your hands to form balls with the mixture. Place on a lined baking sheet and chill for 1-2 hours.
  • Once chilled, melt coconut oil and chocolate chips in the microwave, 30 seconds at a time, until smooth.
  • Dip balls into chocolate using a toothpick.
  • You can cover the hole formed from the toothpick, leave it, or drizzle with the leftover chocolate.
Keyword buckeye balls, candies, candy making, chocolate, chocolate and peanut butter, peanut butter
Tried this recipe?Let us know how it was!

Looking for other sweets and treats?

Check out a few of the recipes below or head to my baking page!

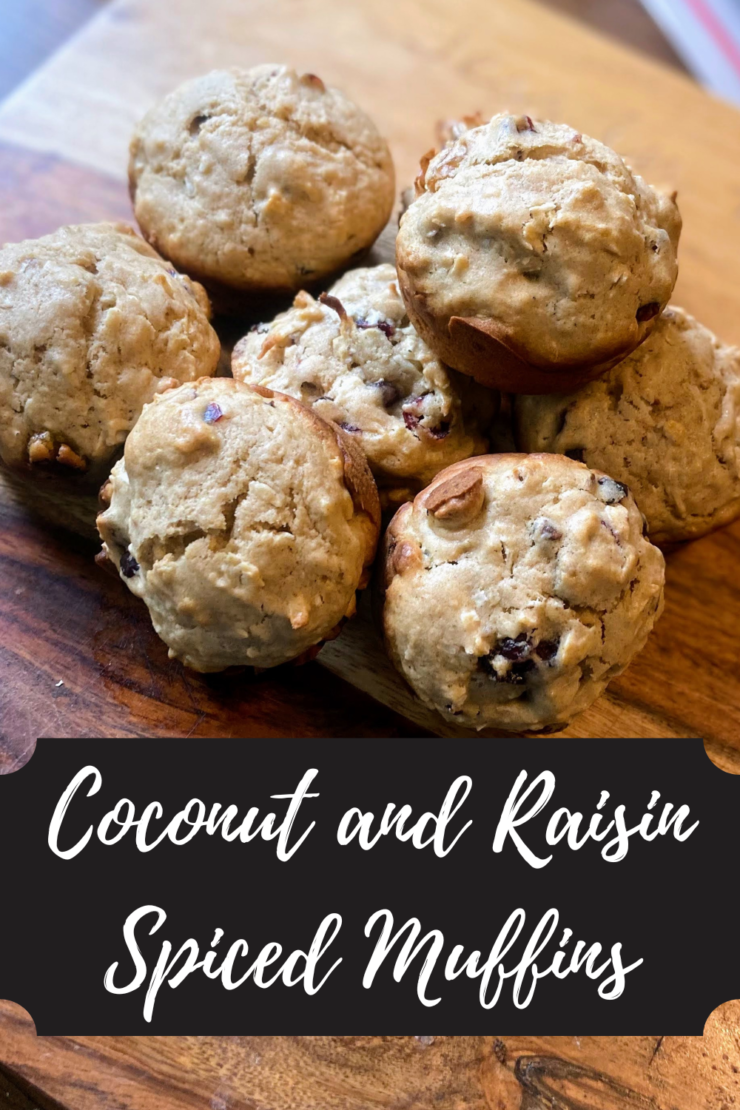
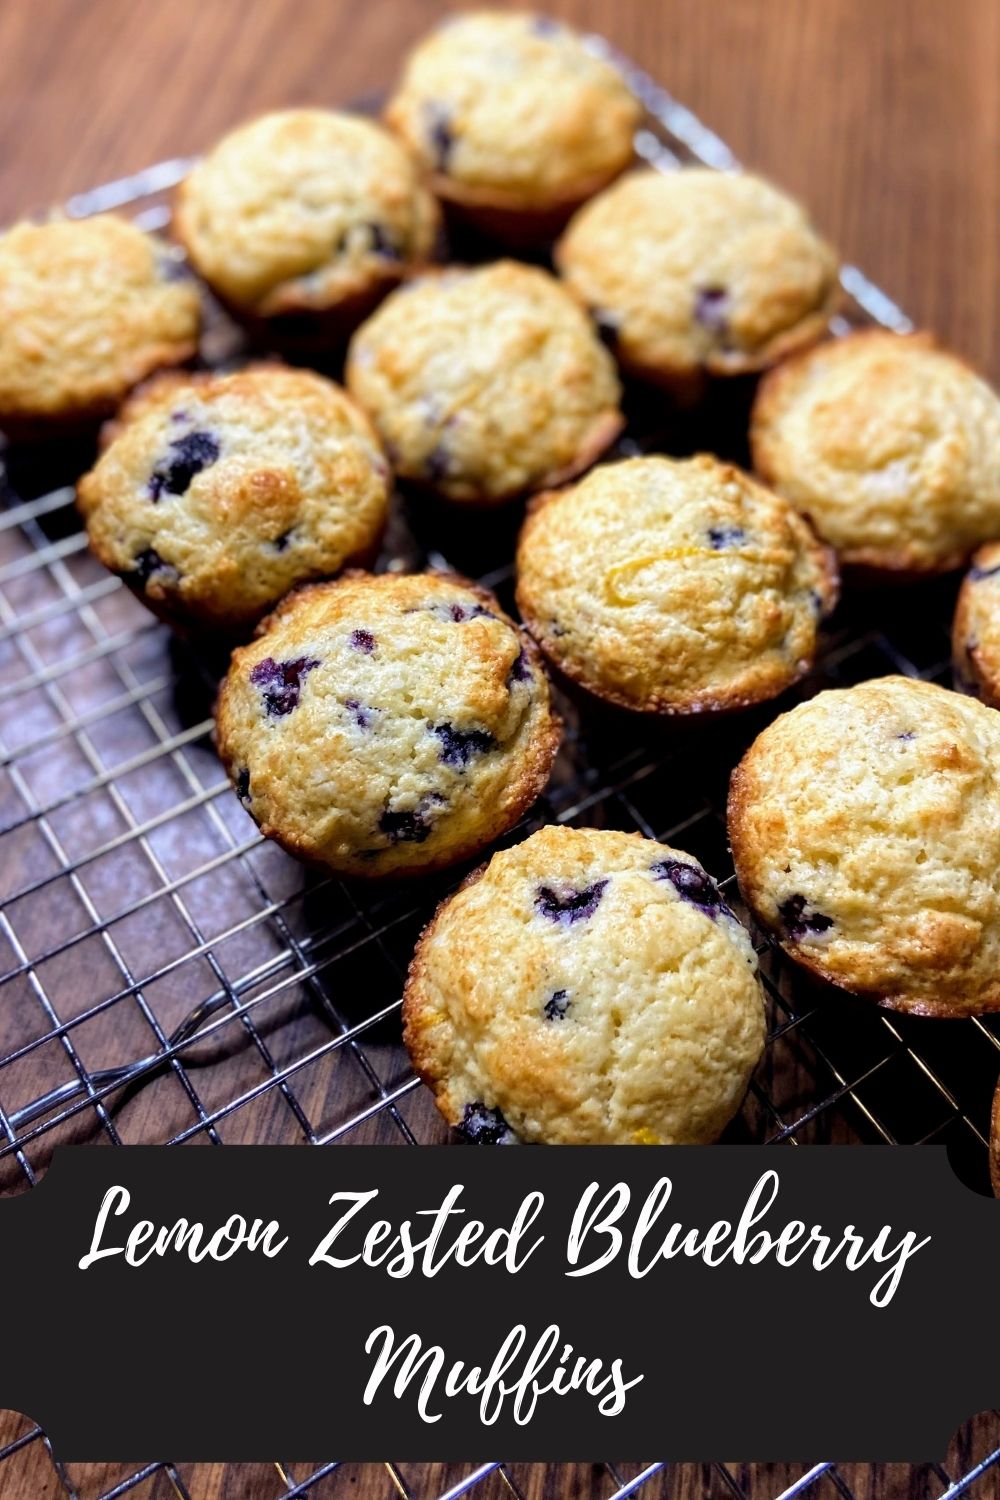
Coconut and Raisin Spiced Muffins

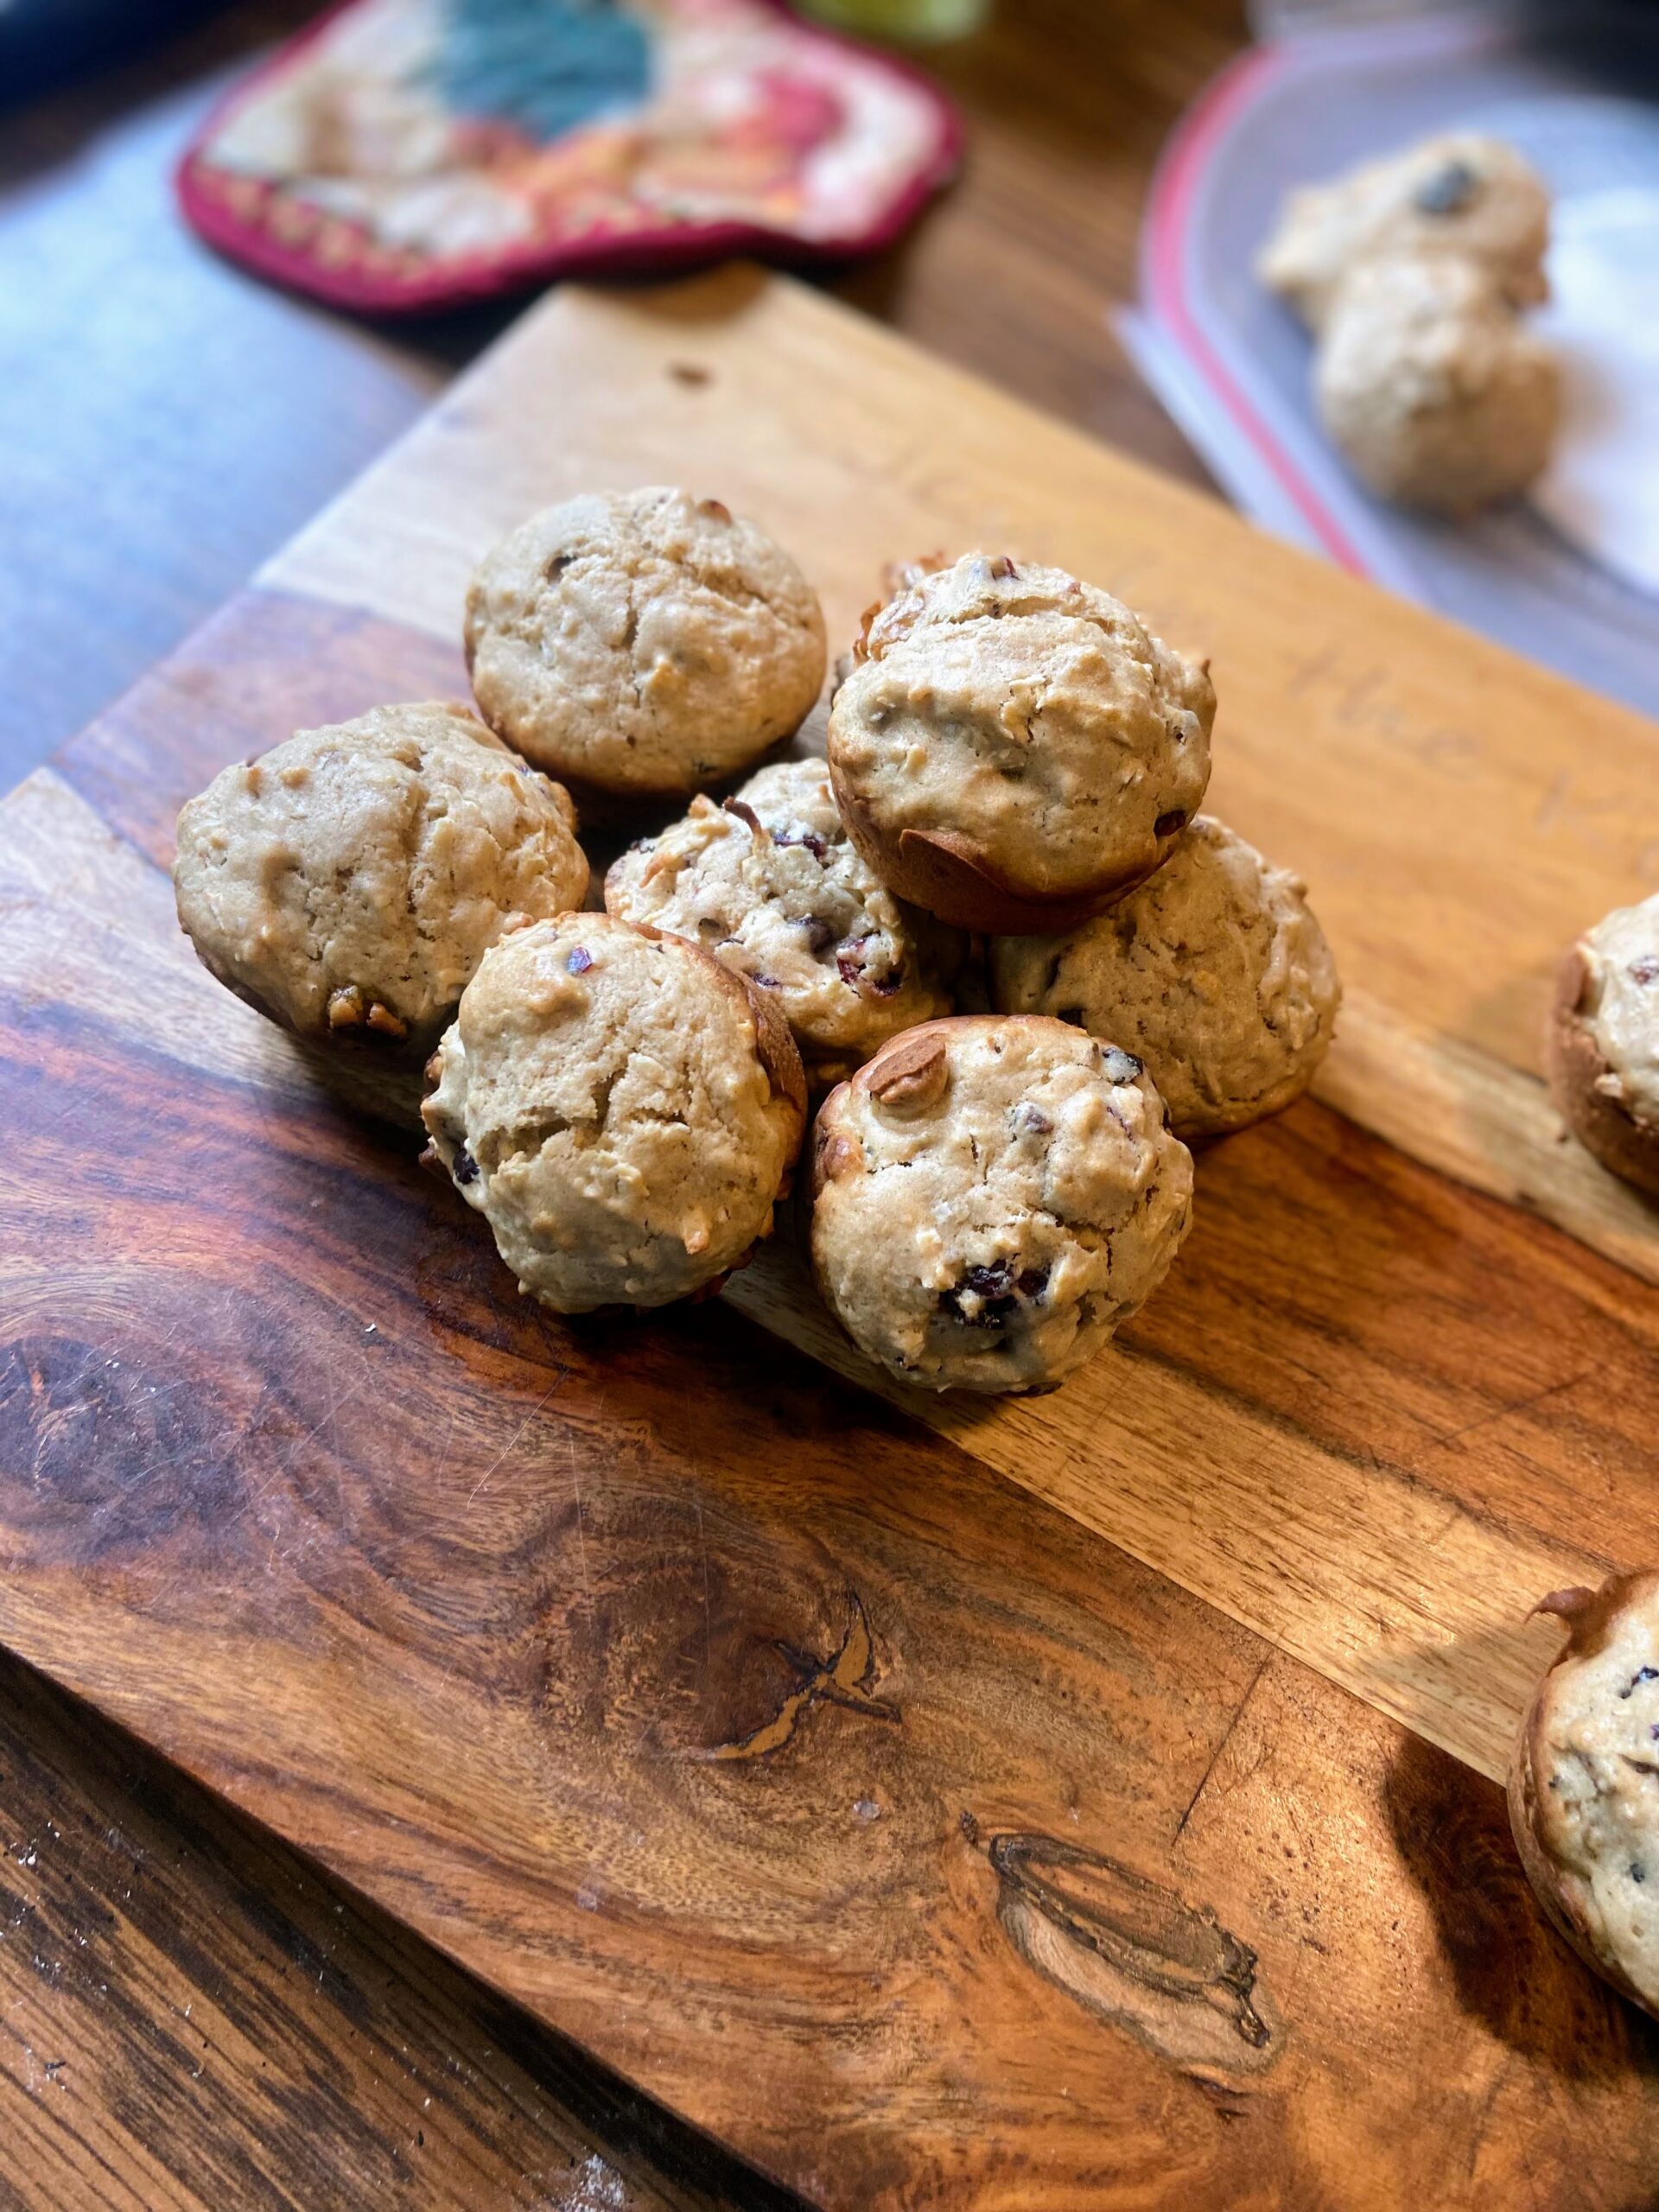
If you follow me on Instagram or Facebook, you may know that I have a couple of fun foodie groups that I get to be a part of: Around the World in 80 Dishes where we pick a different country every month to cook from and One Book, Three Recipes where we pick a different cookbook off our shelves each month and we cook three recipes from it. This fun coconut and raisin spiced muffins recipe was a child that came from the later challenge. 

I had been debating on a few different recipes from one particular book and then turned to a page that had a recipe for coconut bread. I set out to make the recipe, and I found myself saying, “huh…there’s none of this ingredient? Or that one? And yet another? This seems strange.” What I had was some sand-textured ingredients in a bowl. There was no way it was going to create a loaf of bread. A few typos that missed the editor’s desk, I presume.

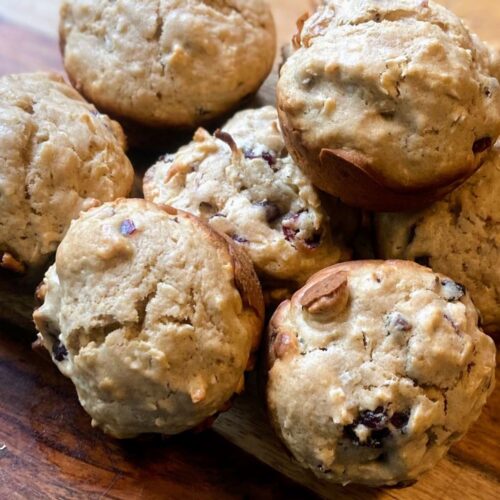
And so I played with it and was instantly in love with the results. Now, if you’ve been with me for a while, you know that I usually sub maple syrup for sugar and try to give a healthy twist. These coconut and raisin spiced muffins are not that. They are dense, warming, and delicious; totally different from my average fruit muffin. Give them a try! 

Your Ingredients

  • ½ cup butter, softened
  • 1 cup packed light brown sugar 
  • 2 eggs
  • 1 teaspoon vanilla
  • ⅔ cup milk 
  • 2 ⅓ cup all purpose flour
  • 1 teaspoon baking powder 
  • ¼ teaspoon nutmeg
  • 1 teaspoon cinnamon 
  • ¾ teaspoon salt 
  • 1 cup dried unsweetened coconut
  • 1 cup raisins or other dried fruit (cranberries, cherries, etc) 
  • ½ cup chopped nuts 

Your Steps to Coconut and Raisin Spiced Cookies

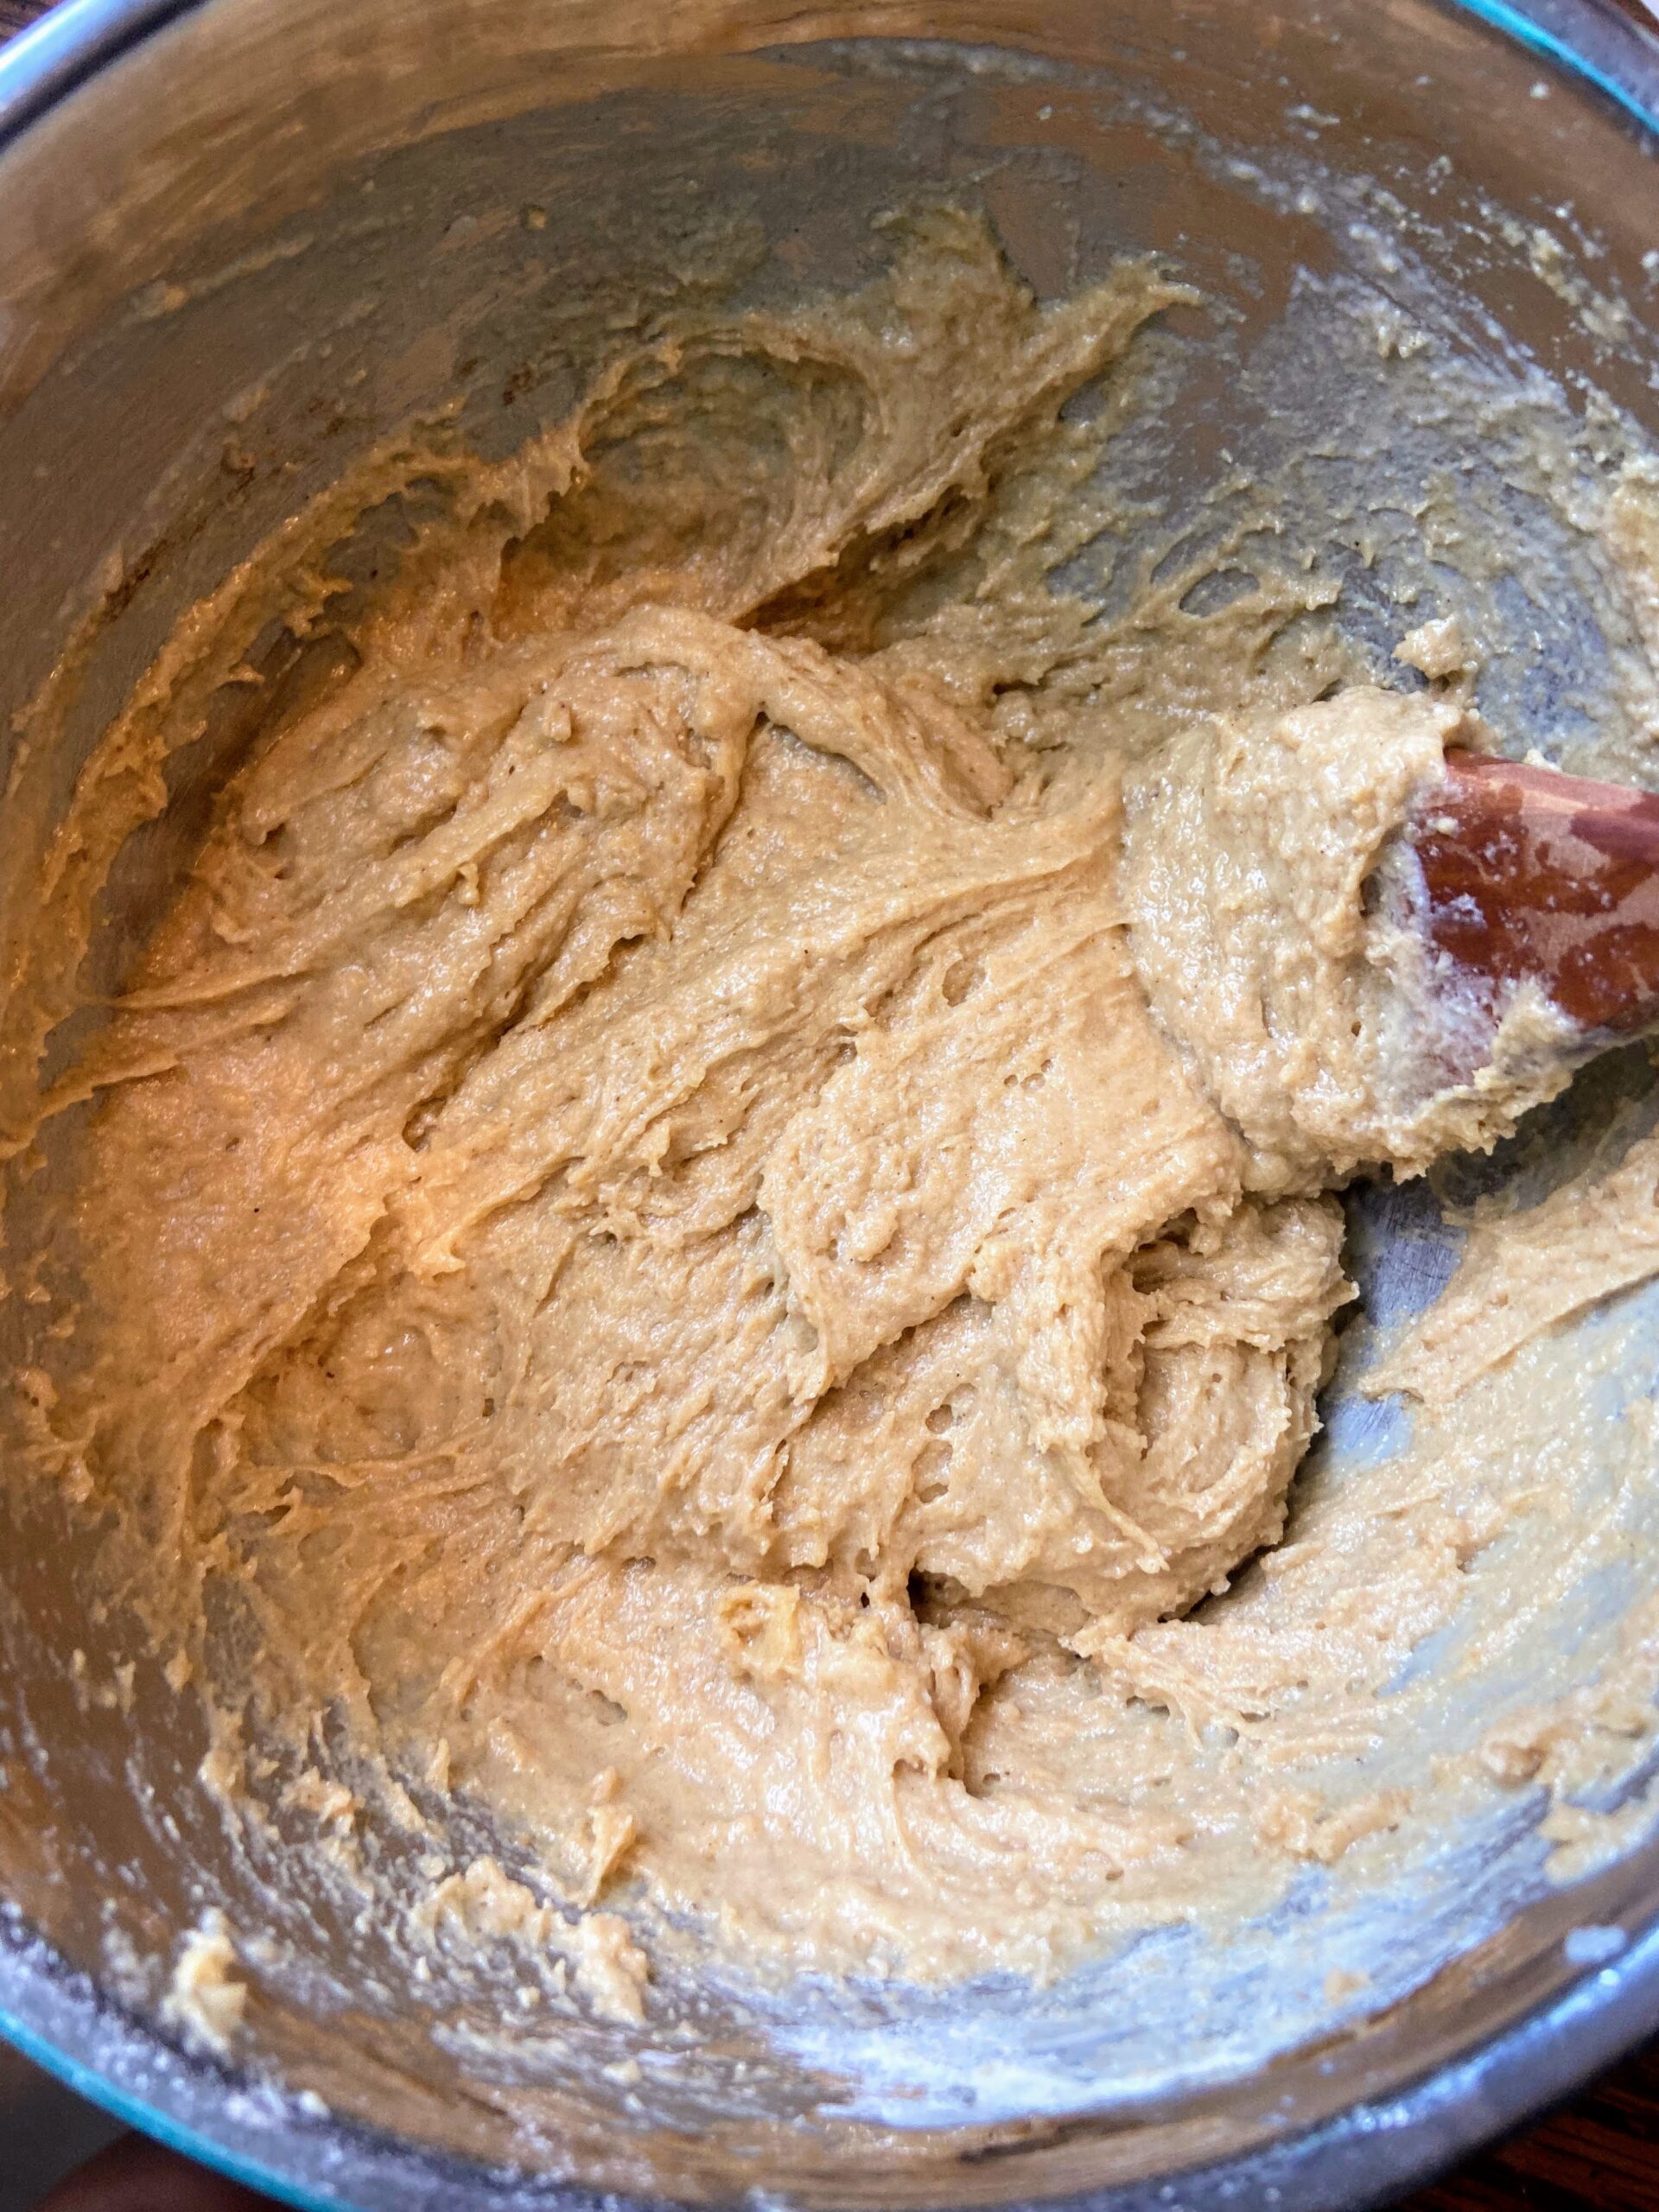
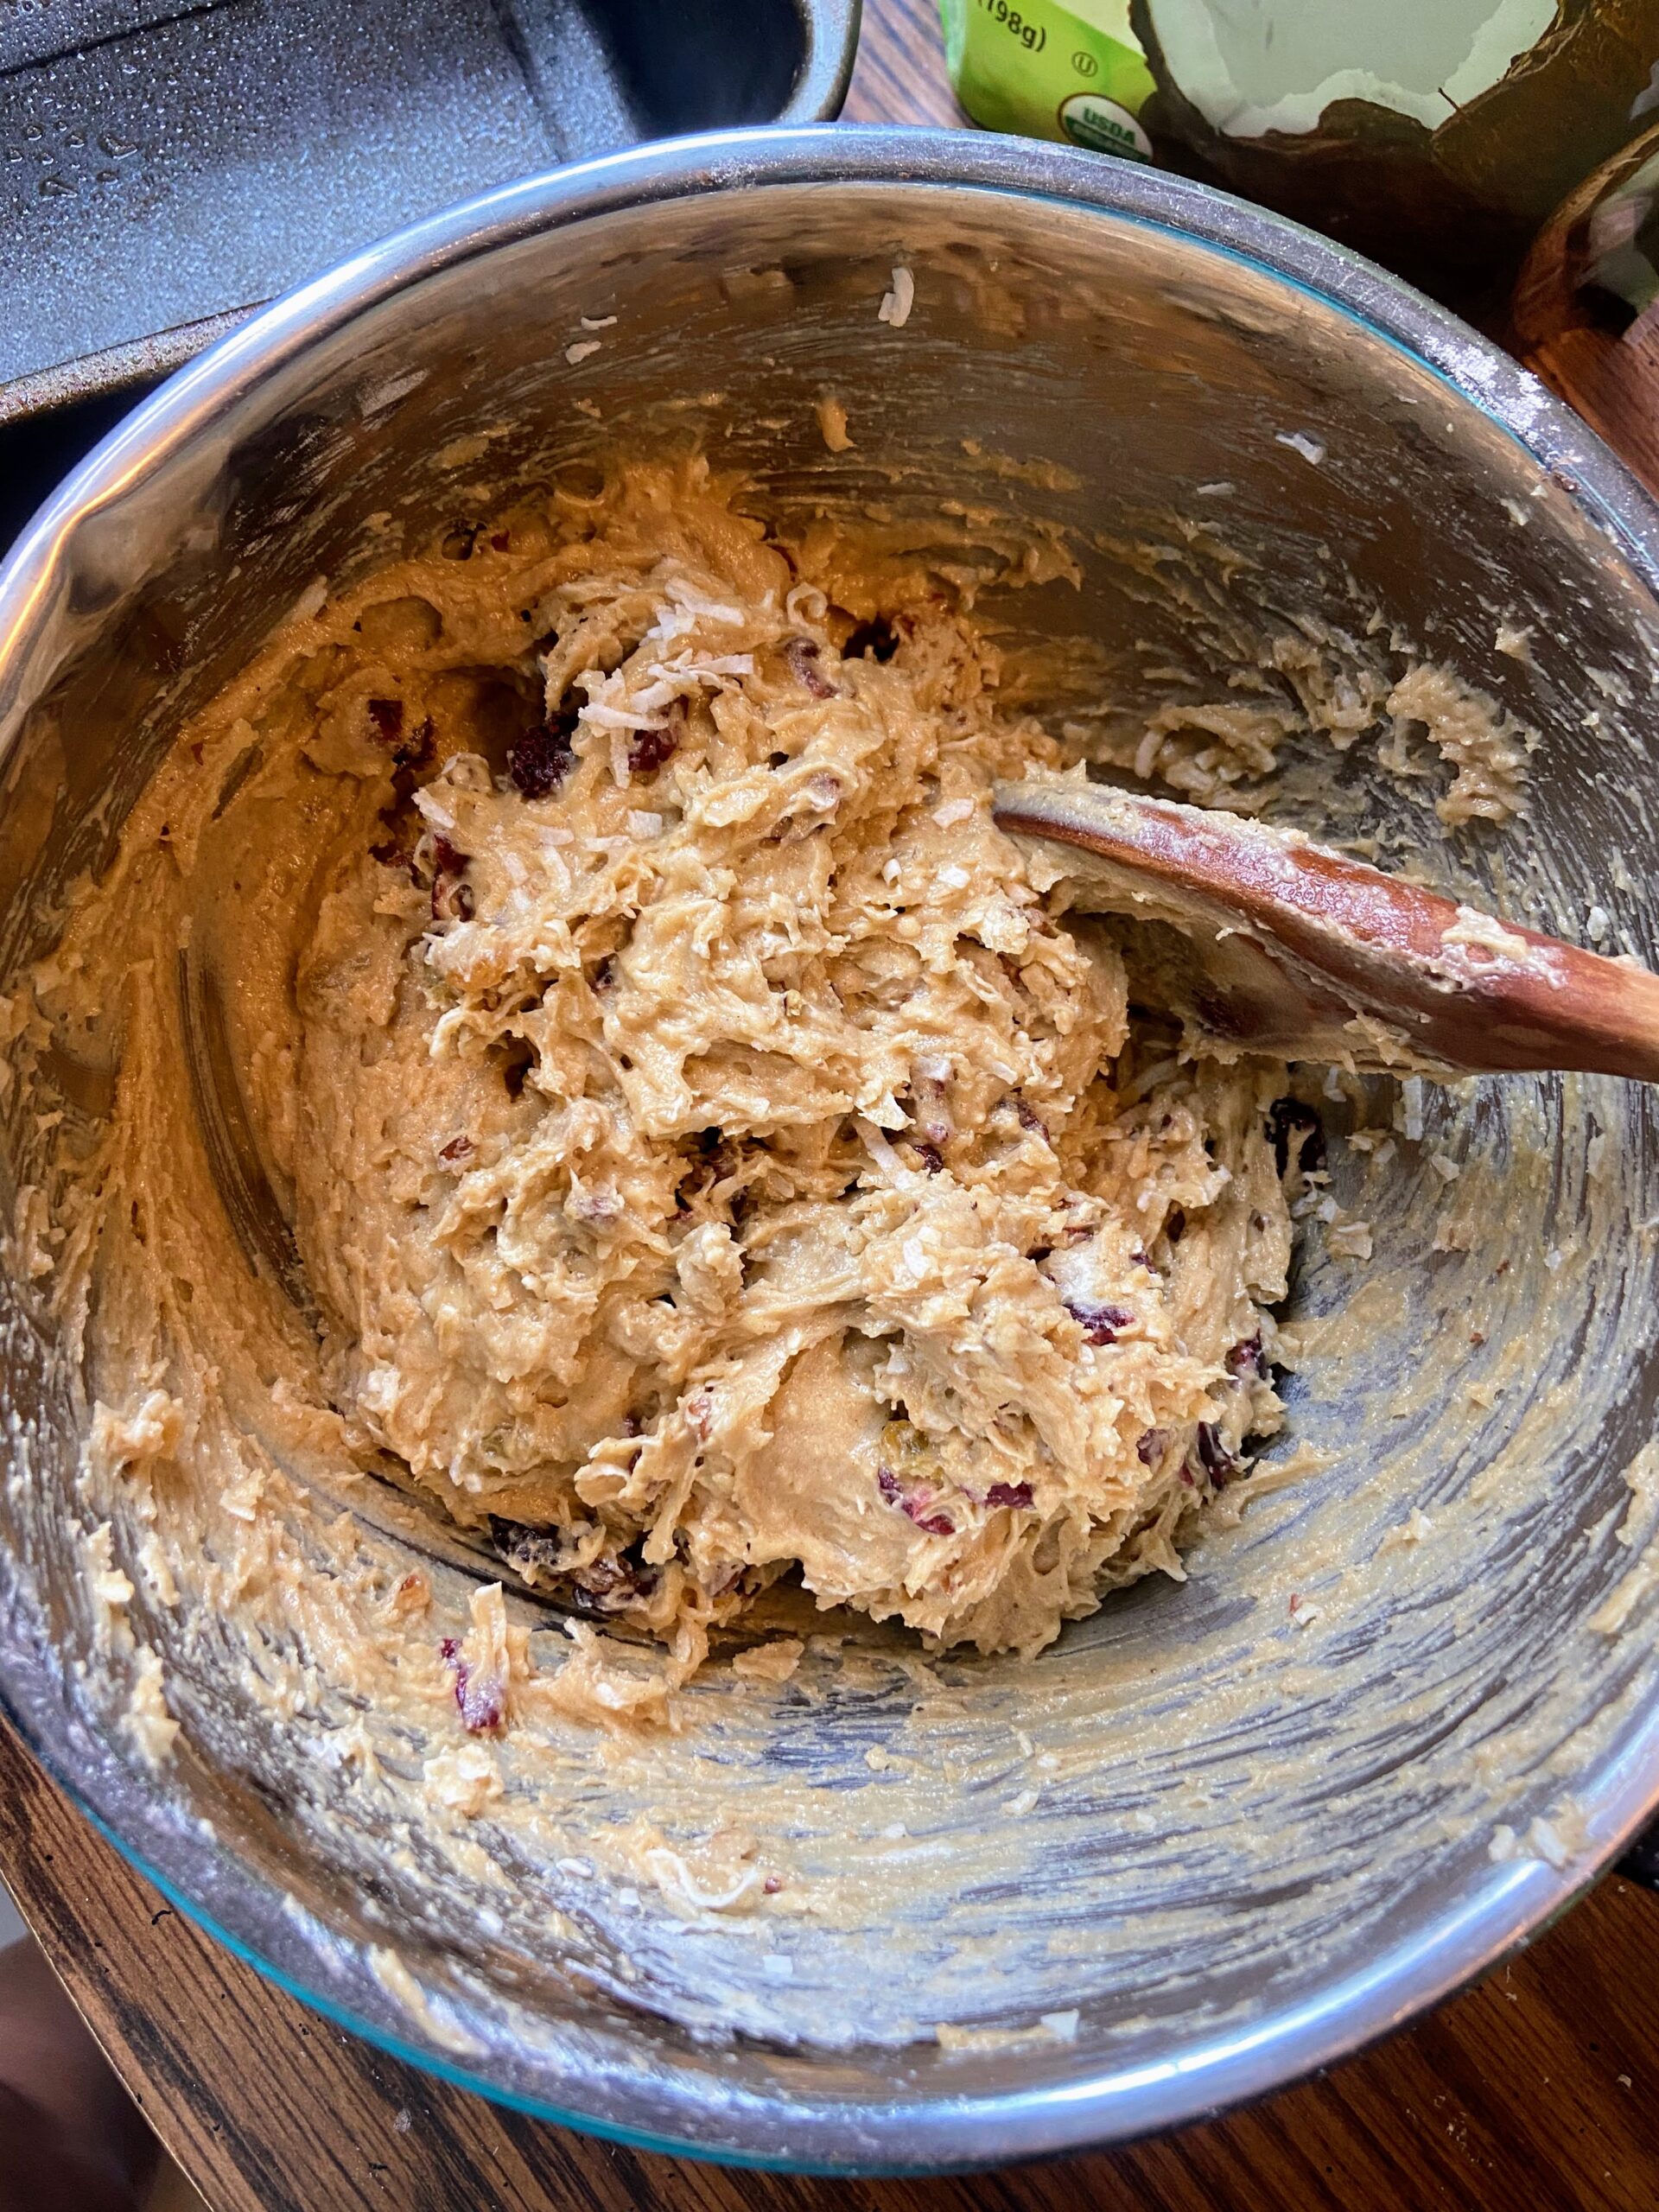
Preheat the oven to 350 degrees. Prepare 18 muffin vessels with liners or by greasing them. Combine the butter and brown sugar in a large mixing bowl until light and fluffy. Add eggs, vanilla, and milk. 

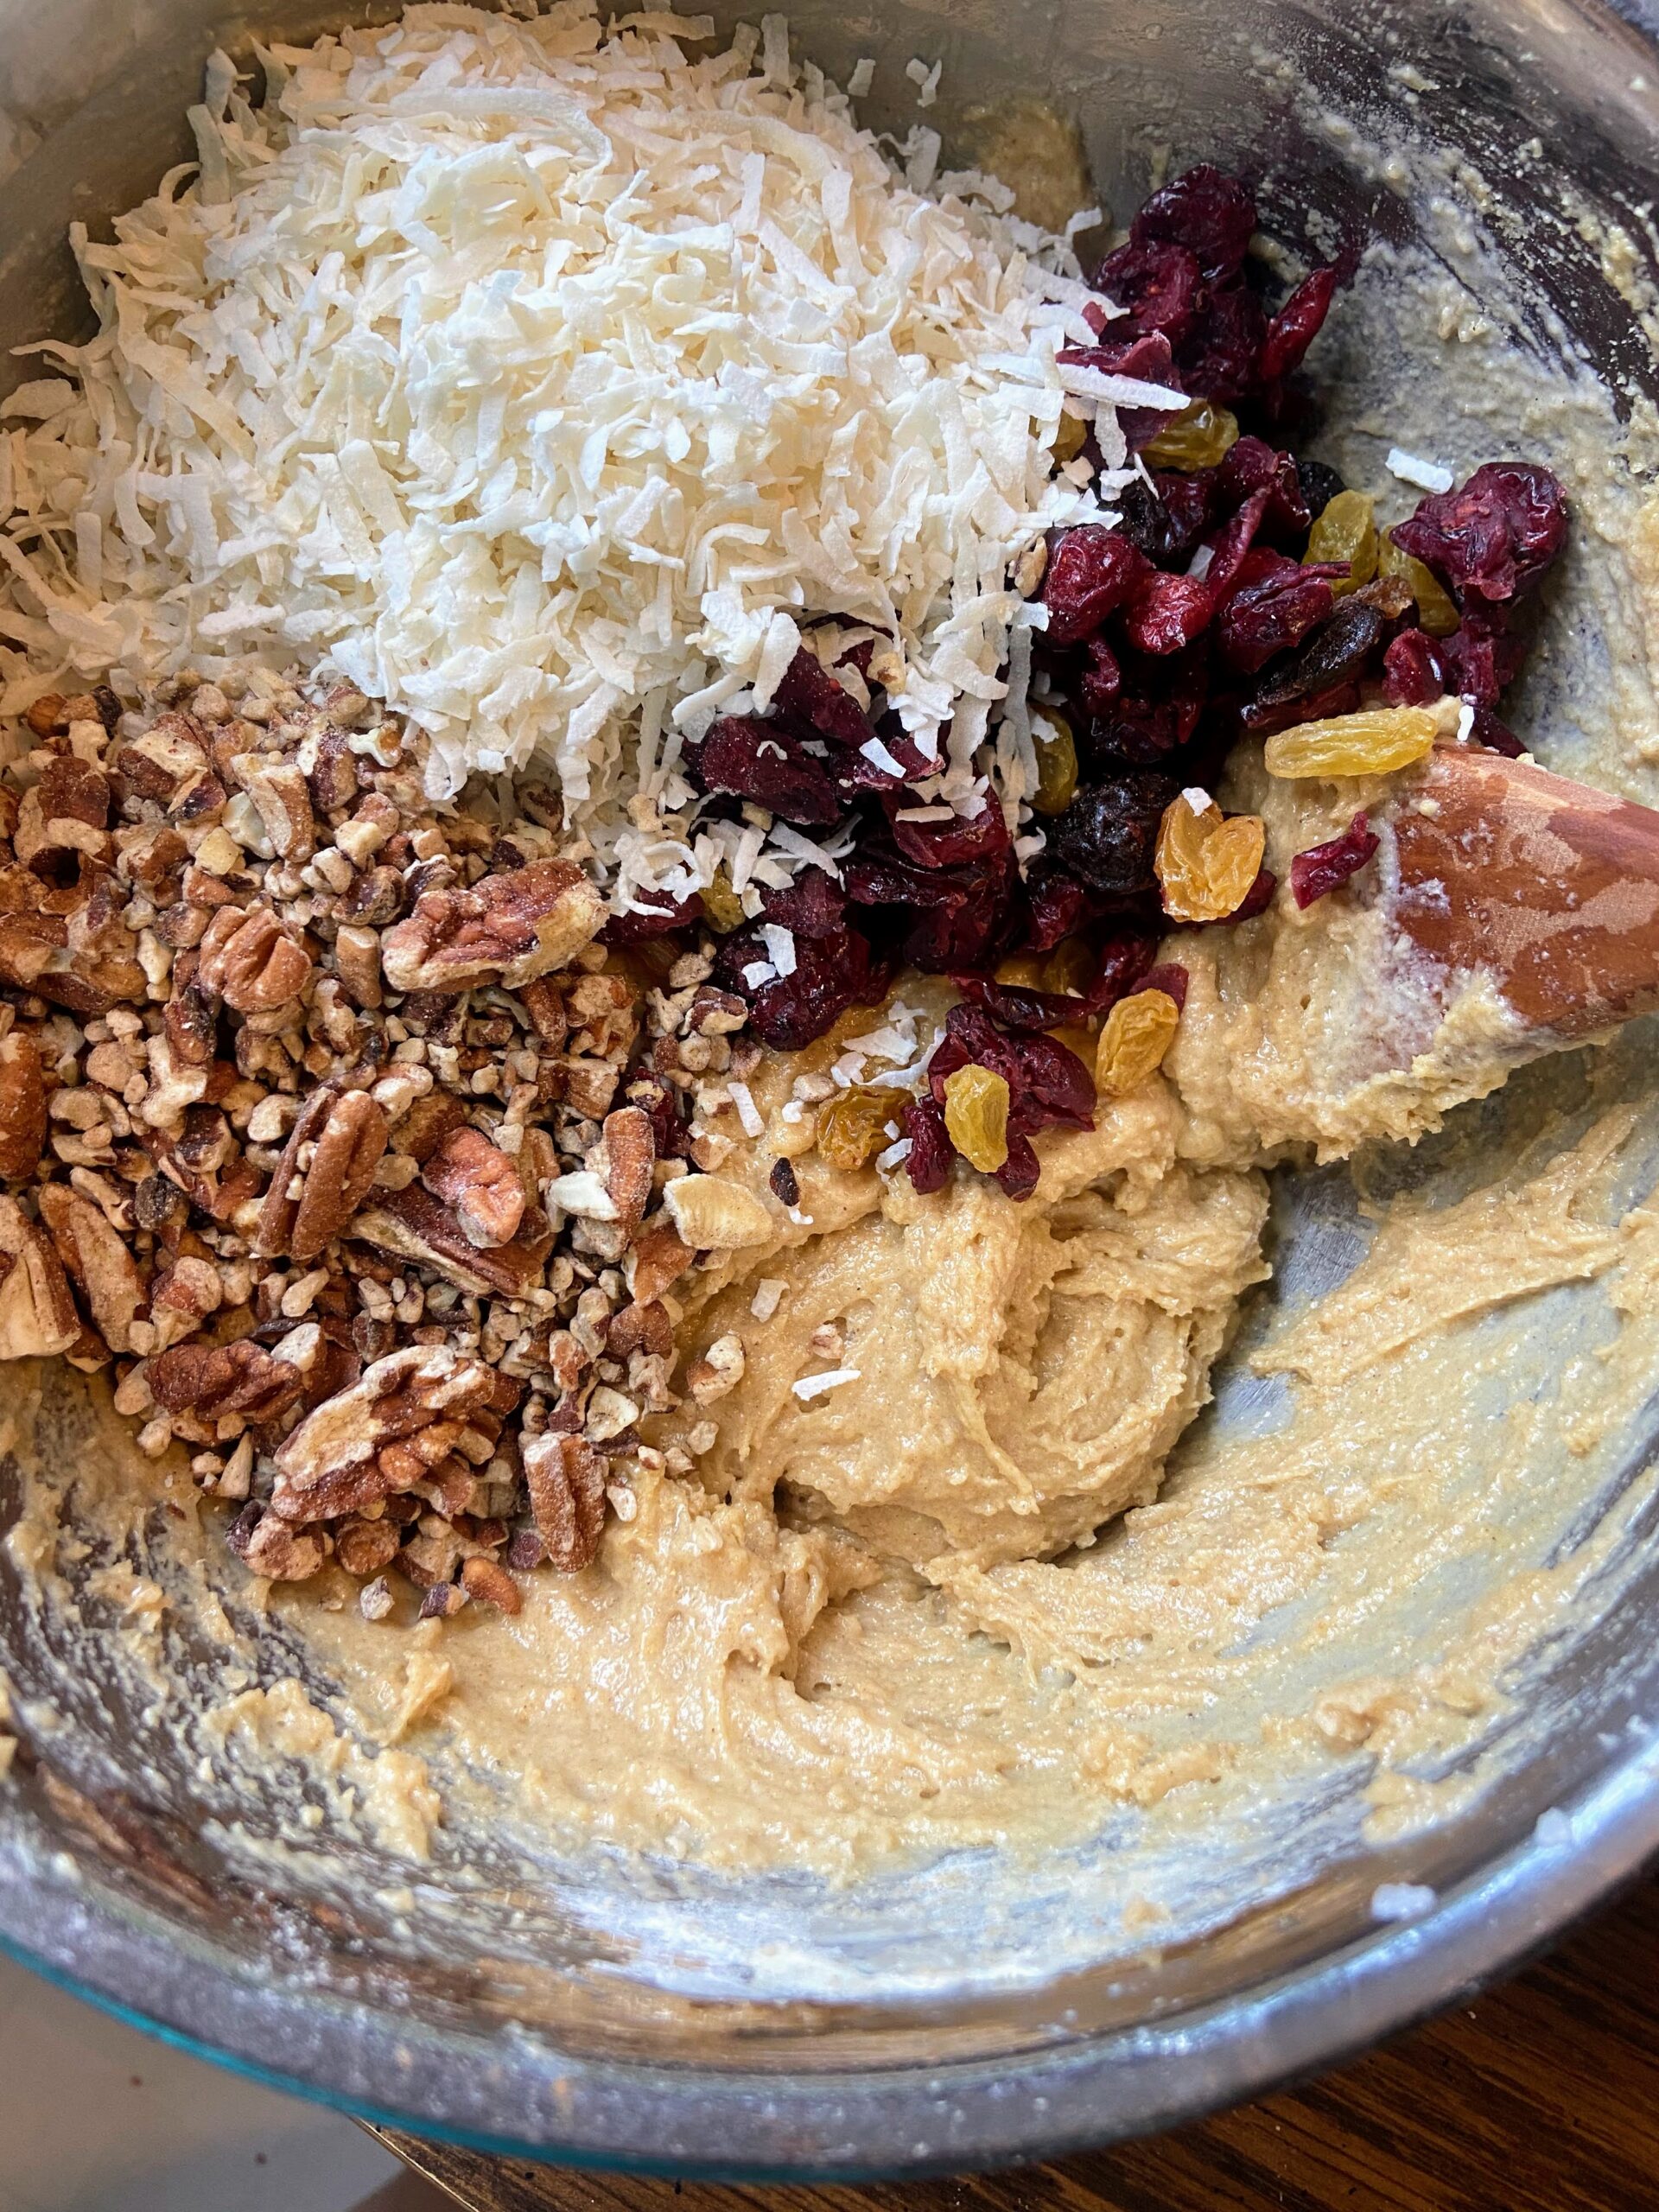
In a separate bowl, combine flour, baking powder, nutmeg, cinnamon, and salt. Add to wet ingredients until just combined. Stir in coconut, dried fruit, and nuts. Place the mixture into the prepared tin, filling ¾ of the full.

Bake for 20-24 minutes, until an inserted toothpick comes out clean. 

Coconut and Raisin Spiced Muffins

Coconut and Raisin Spiced Muffins

These coconut and raisin spiced muffins are full of texture and flavor, creating a delicious and dense muffin full of warming spices.
Prep Time 10 minutes
Cook Time 20 minutes
Course Breakfast
Cuisine American
Servings 18 muffins

Equipment

Ingredients
  

  • ½ cup butter softened
  • 1 cup packed light brown sugar
  • 2 eggs
  • 1 teaspoon vanilla
  • cup milk
  • 2 ⅓ cup all purpose flour
  • 1 teaspoon baking powder
  • ¼ teaspoon nutmeg
  • 1 teaspoon cinnamon
  • ¾ teaspoon salt
  • 1 cup dried unsweetened coconut
  • 1 cup raisins or other dried fruit cranberries, cherries, etc
  • ½ cup chopped nuts

Instructions
 

  • Preheat the oven to 350 degrees. Prepare 18 muffin vessels with liners or by greasing them.
  • Combine the butter and brown sugar in a large mixing bowl until light and fluffy.
  • Add eggs, vanilla, and milk. Stir until well combined.
  • In a separate bowl, combine flour, baking powder, nutmeg, cinnamon, and salt.
  • Add to wet ingredients until just combined. Stir in coconut, dried fruit, and nuts.
  • Place the mixture into the prepared tin, filling ¾ of the full.
  • Bake for 20-24 minutes, until an inserted toothpick comes out clean.
Keyword Breakfast, coconut, coconut muffins, muffins, Quick Bread, raisins, spiced bread
Tried this recipe?Let us know how it was!

Looking for more breakfast Inspiration?

Check out any of the recipes below or just head to my breakfast page for more ideas!

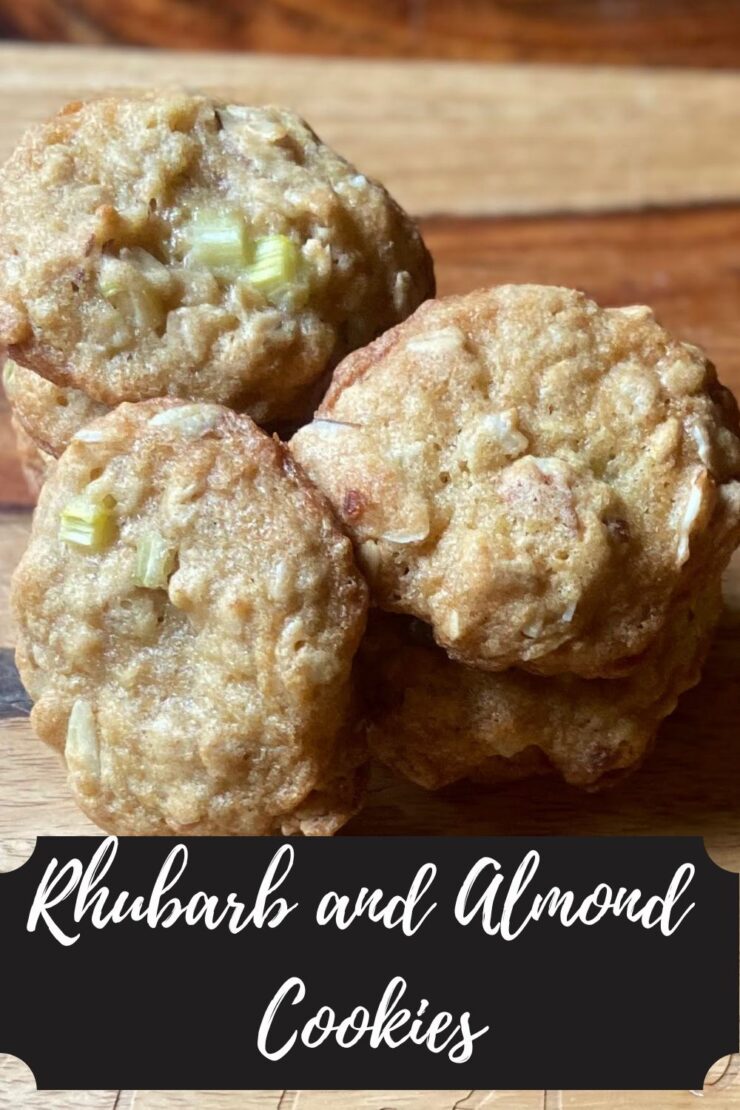
Rhubarb and Almond Cookies

Yes, I know I have shared a lot of rhubarb recipes this spring. That’s good, right? And my goodness, I adore baking cooking so rhubarb and almond cookies seemed the next logical step! 

So often, I miss rhubarb season because I am too busy getting the garden ready and ending the school year, that I can’t even think about using the rhubarb. And perhaps I am alone in this, but I always associated rhubarb with only being harvested in the spring. I am not sure where I learned that information, but it’s been in my head for as long as I can remember. However, I learned this year that rhubarb can be harvested late into the summer, although you want to do it before it seeds out. Good news, right?!

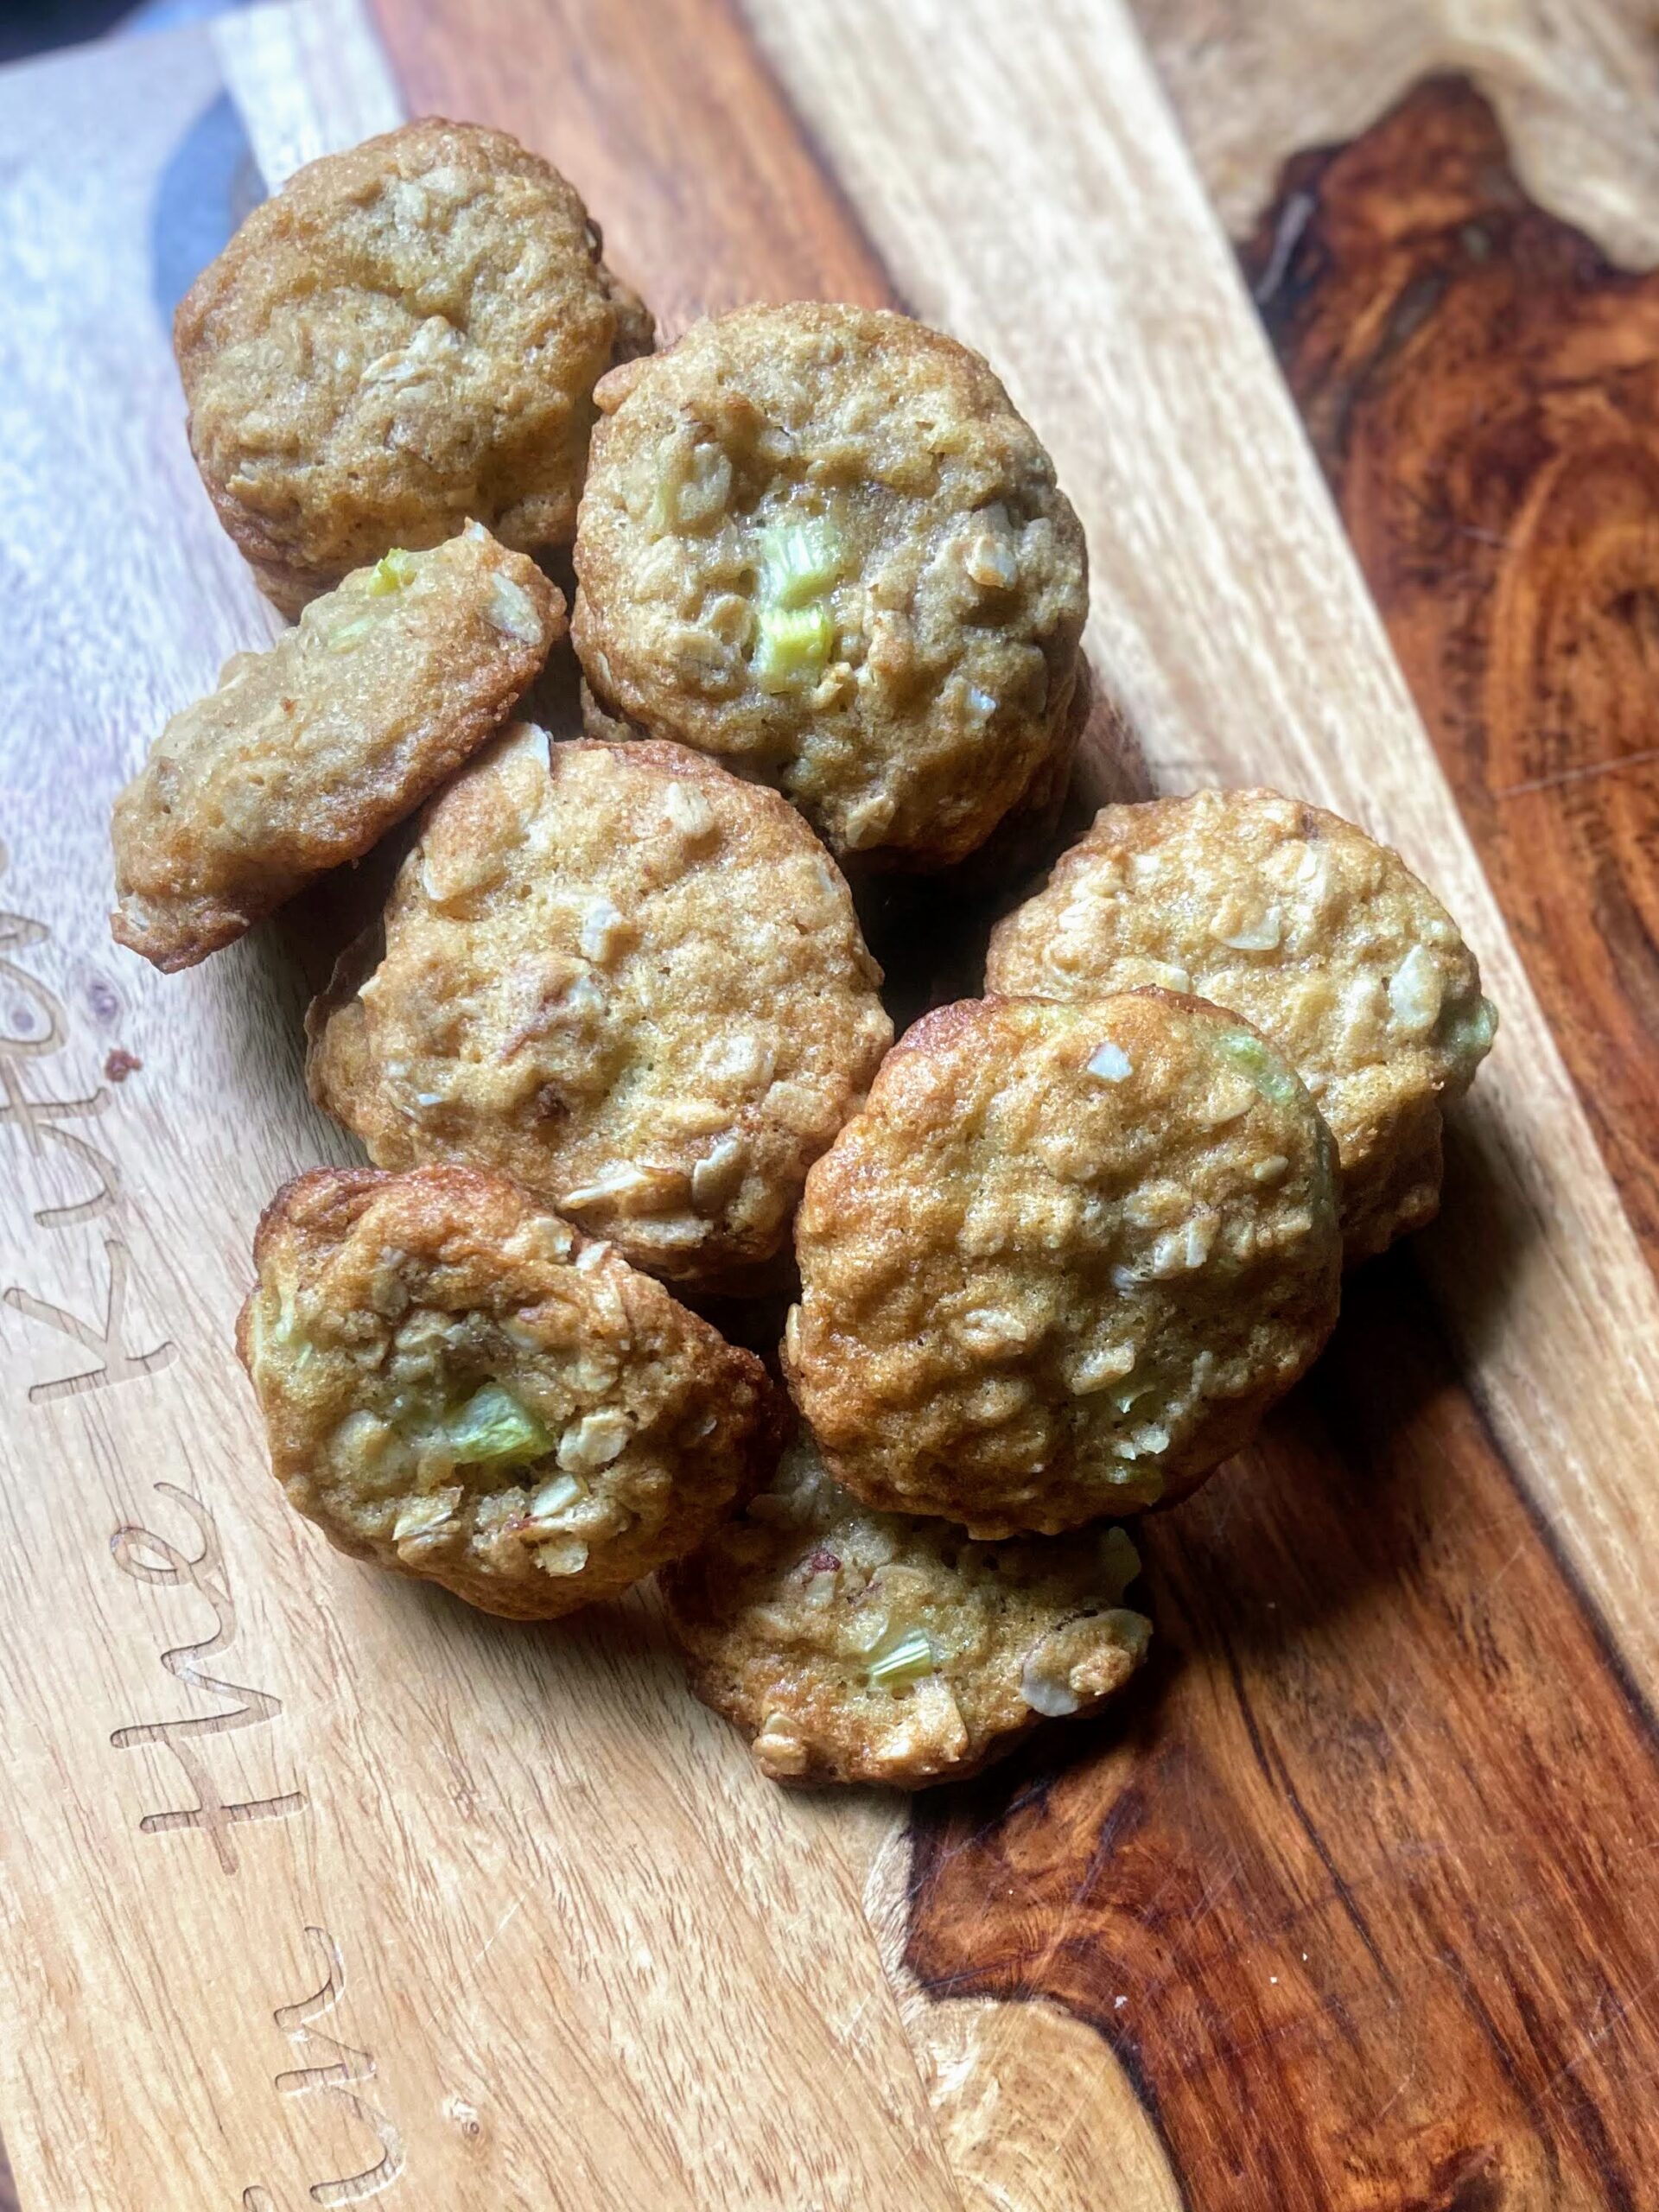
Initially, I tried to skip adding oatmeal in these cookies for those non-loving oatmeal friends. It just didn’t fly. The moisture from the rhubarb was simply too much for flour to handle. This cookie bakes up nicely and will seem like a crisp cookie straight out of the oven. However, it will soften up as they rest on the counter. Be careful to store them in a flat, covered container to prevent them from breaking apart before you can enjoy them! 

I love the tartness that can be found in these rhubarb and almond oat cookies. The oats and sliced almonds at the bit of texture we all know and love and the use of almond extract rather than vanilla makes for a surprise! Ready to bake? Let’s go! 

Your Ingredients

  • ½ cup butter, softened
  • ½ cup brown sugar
  • ¼ cup white sugar 
  • 1 egg
  • ½ teaspoon almond extract
  • 1 cup all-purpose flour 
  • 1 cup old-fashioned oats 
  • ½ teaspoon baking soda
  • ½ teaspoon salt 
  • ¾ cup diced rhubarb, cut small 
  • ½ cup sliced almonds 

Your Steps to Rhubarb and Almond Cookies

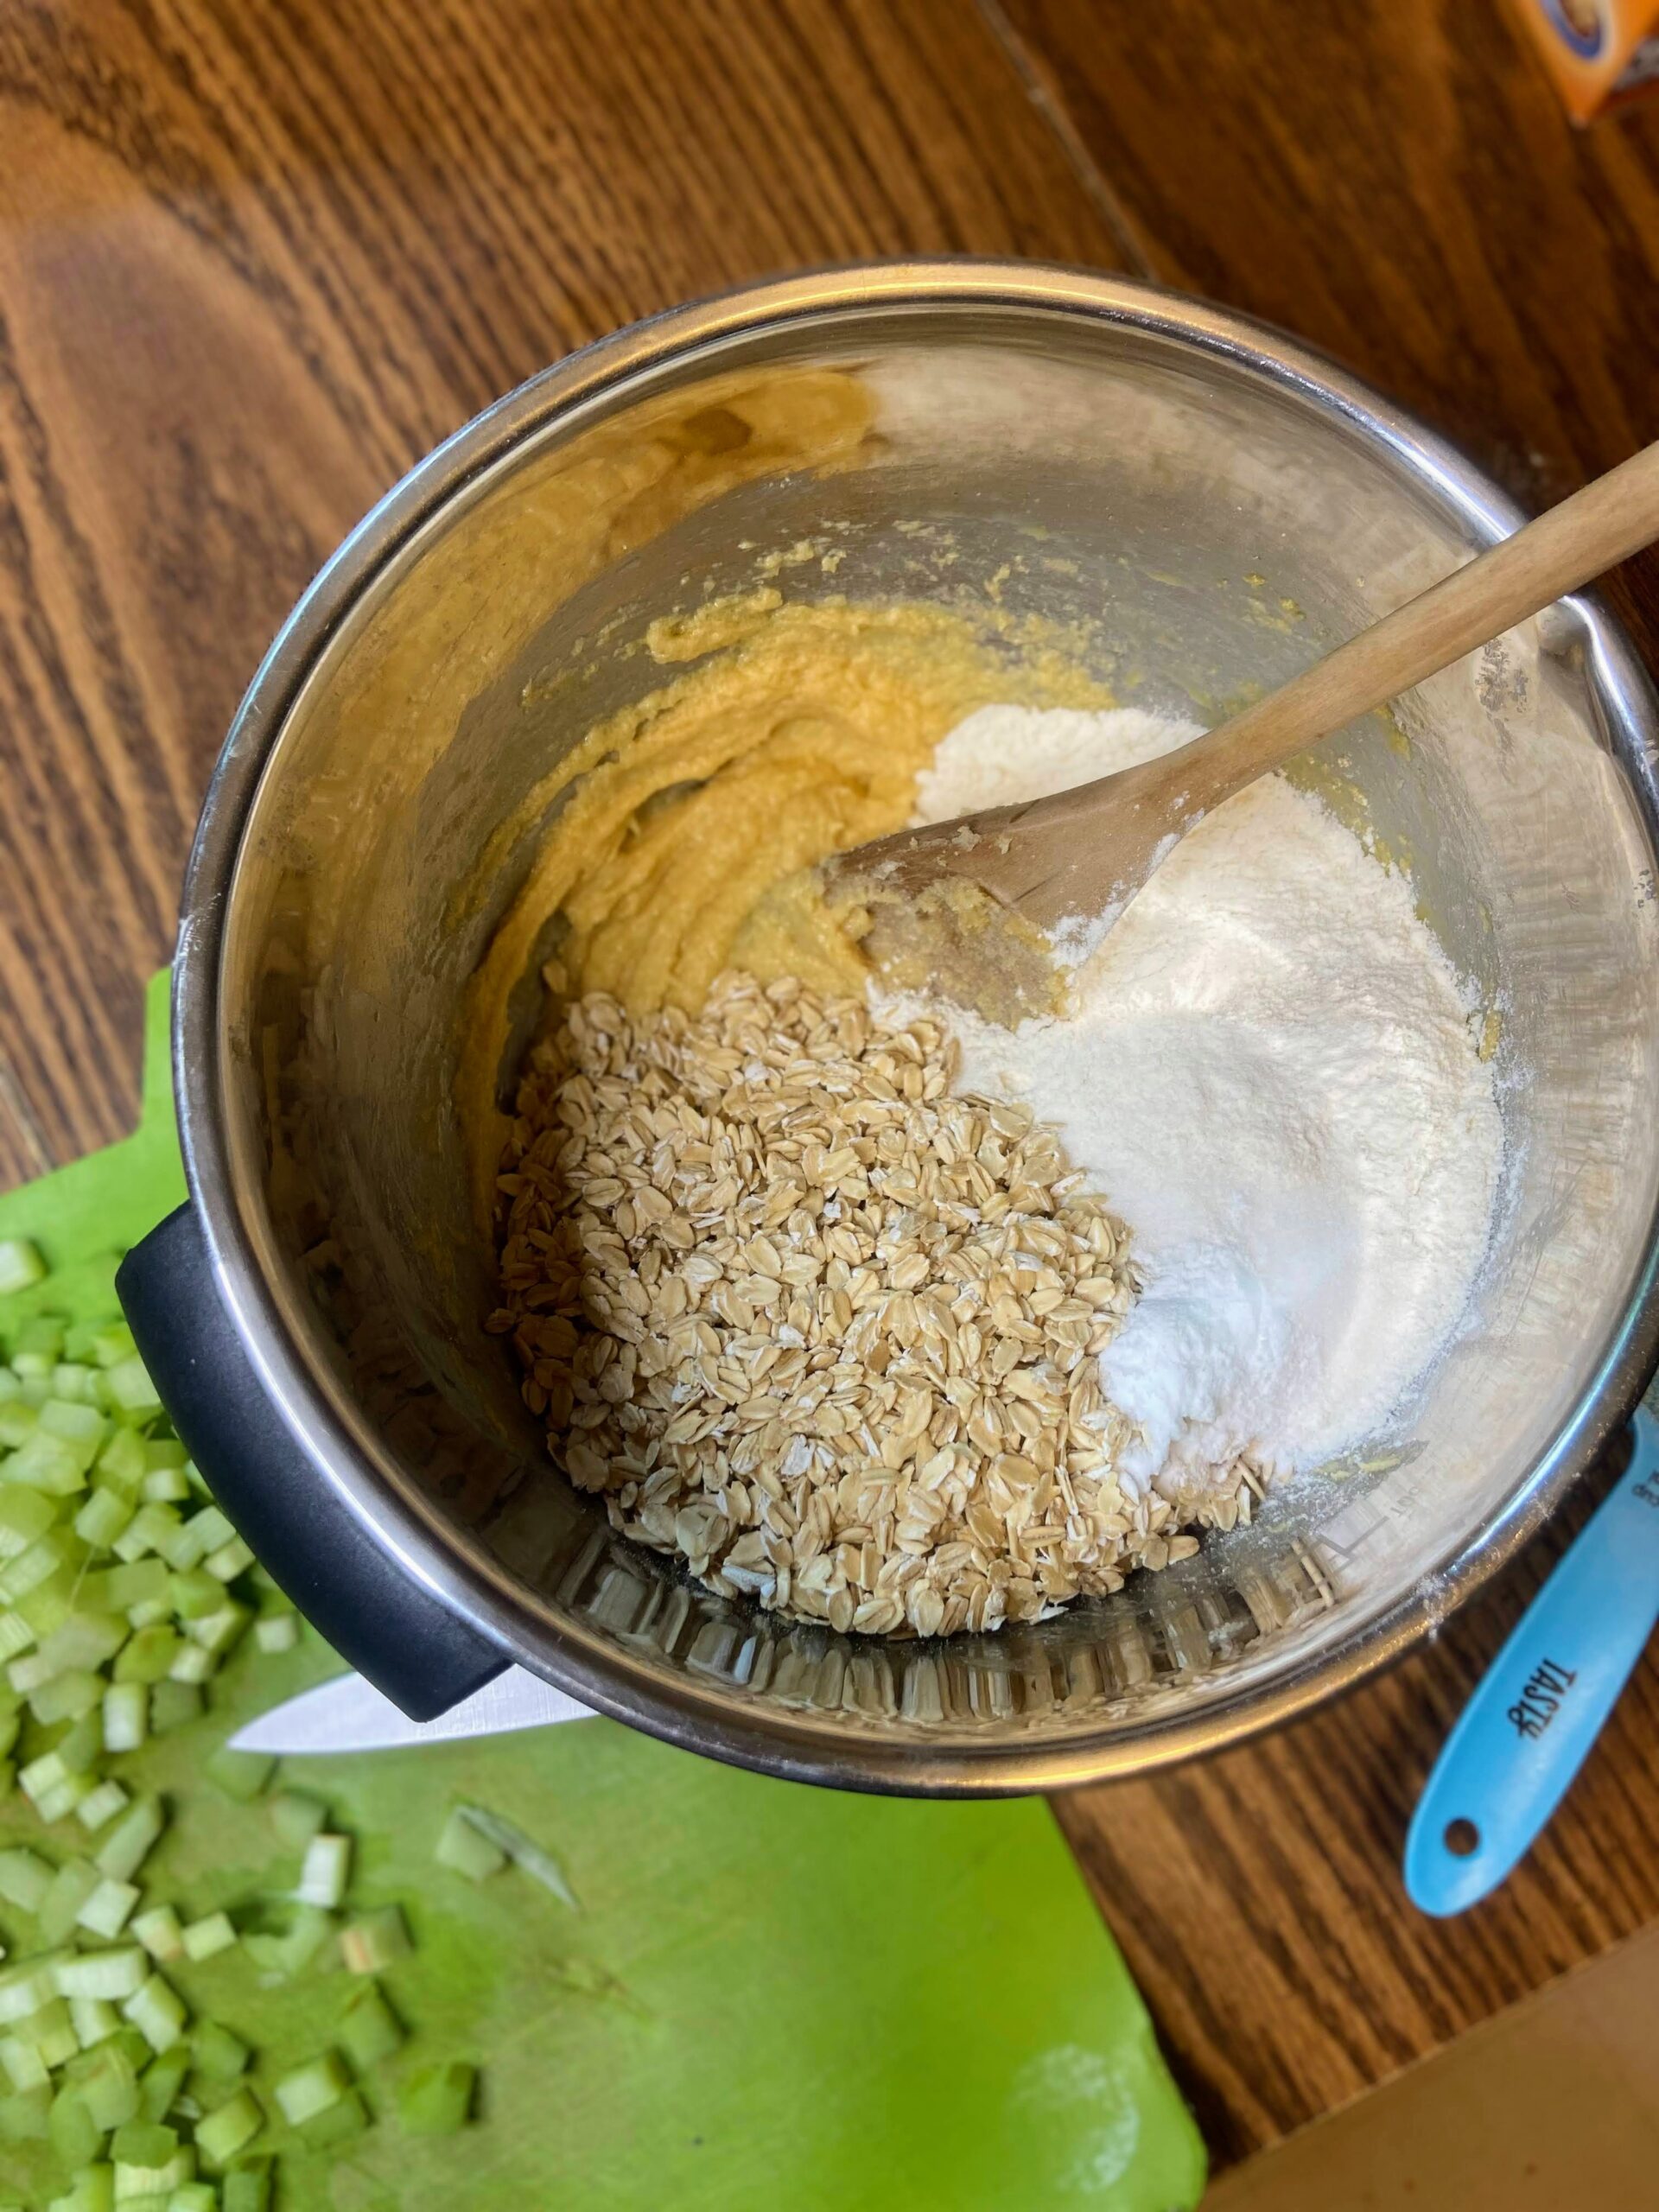
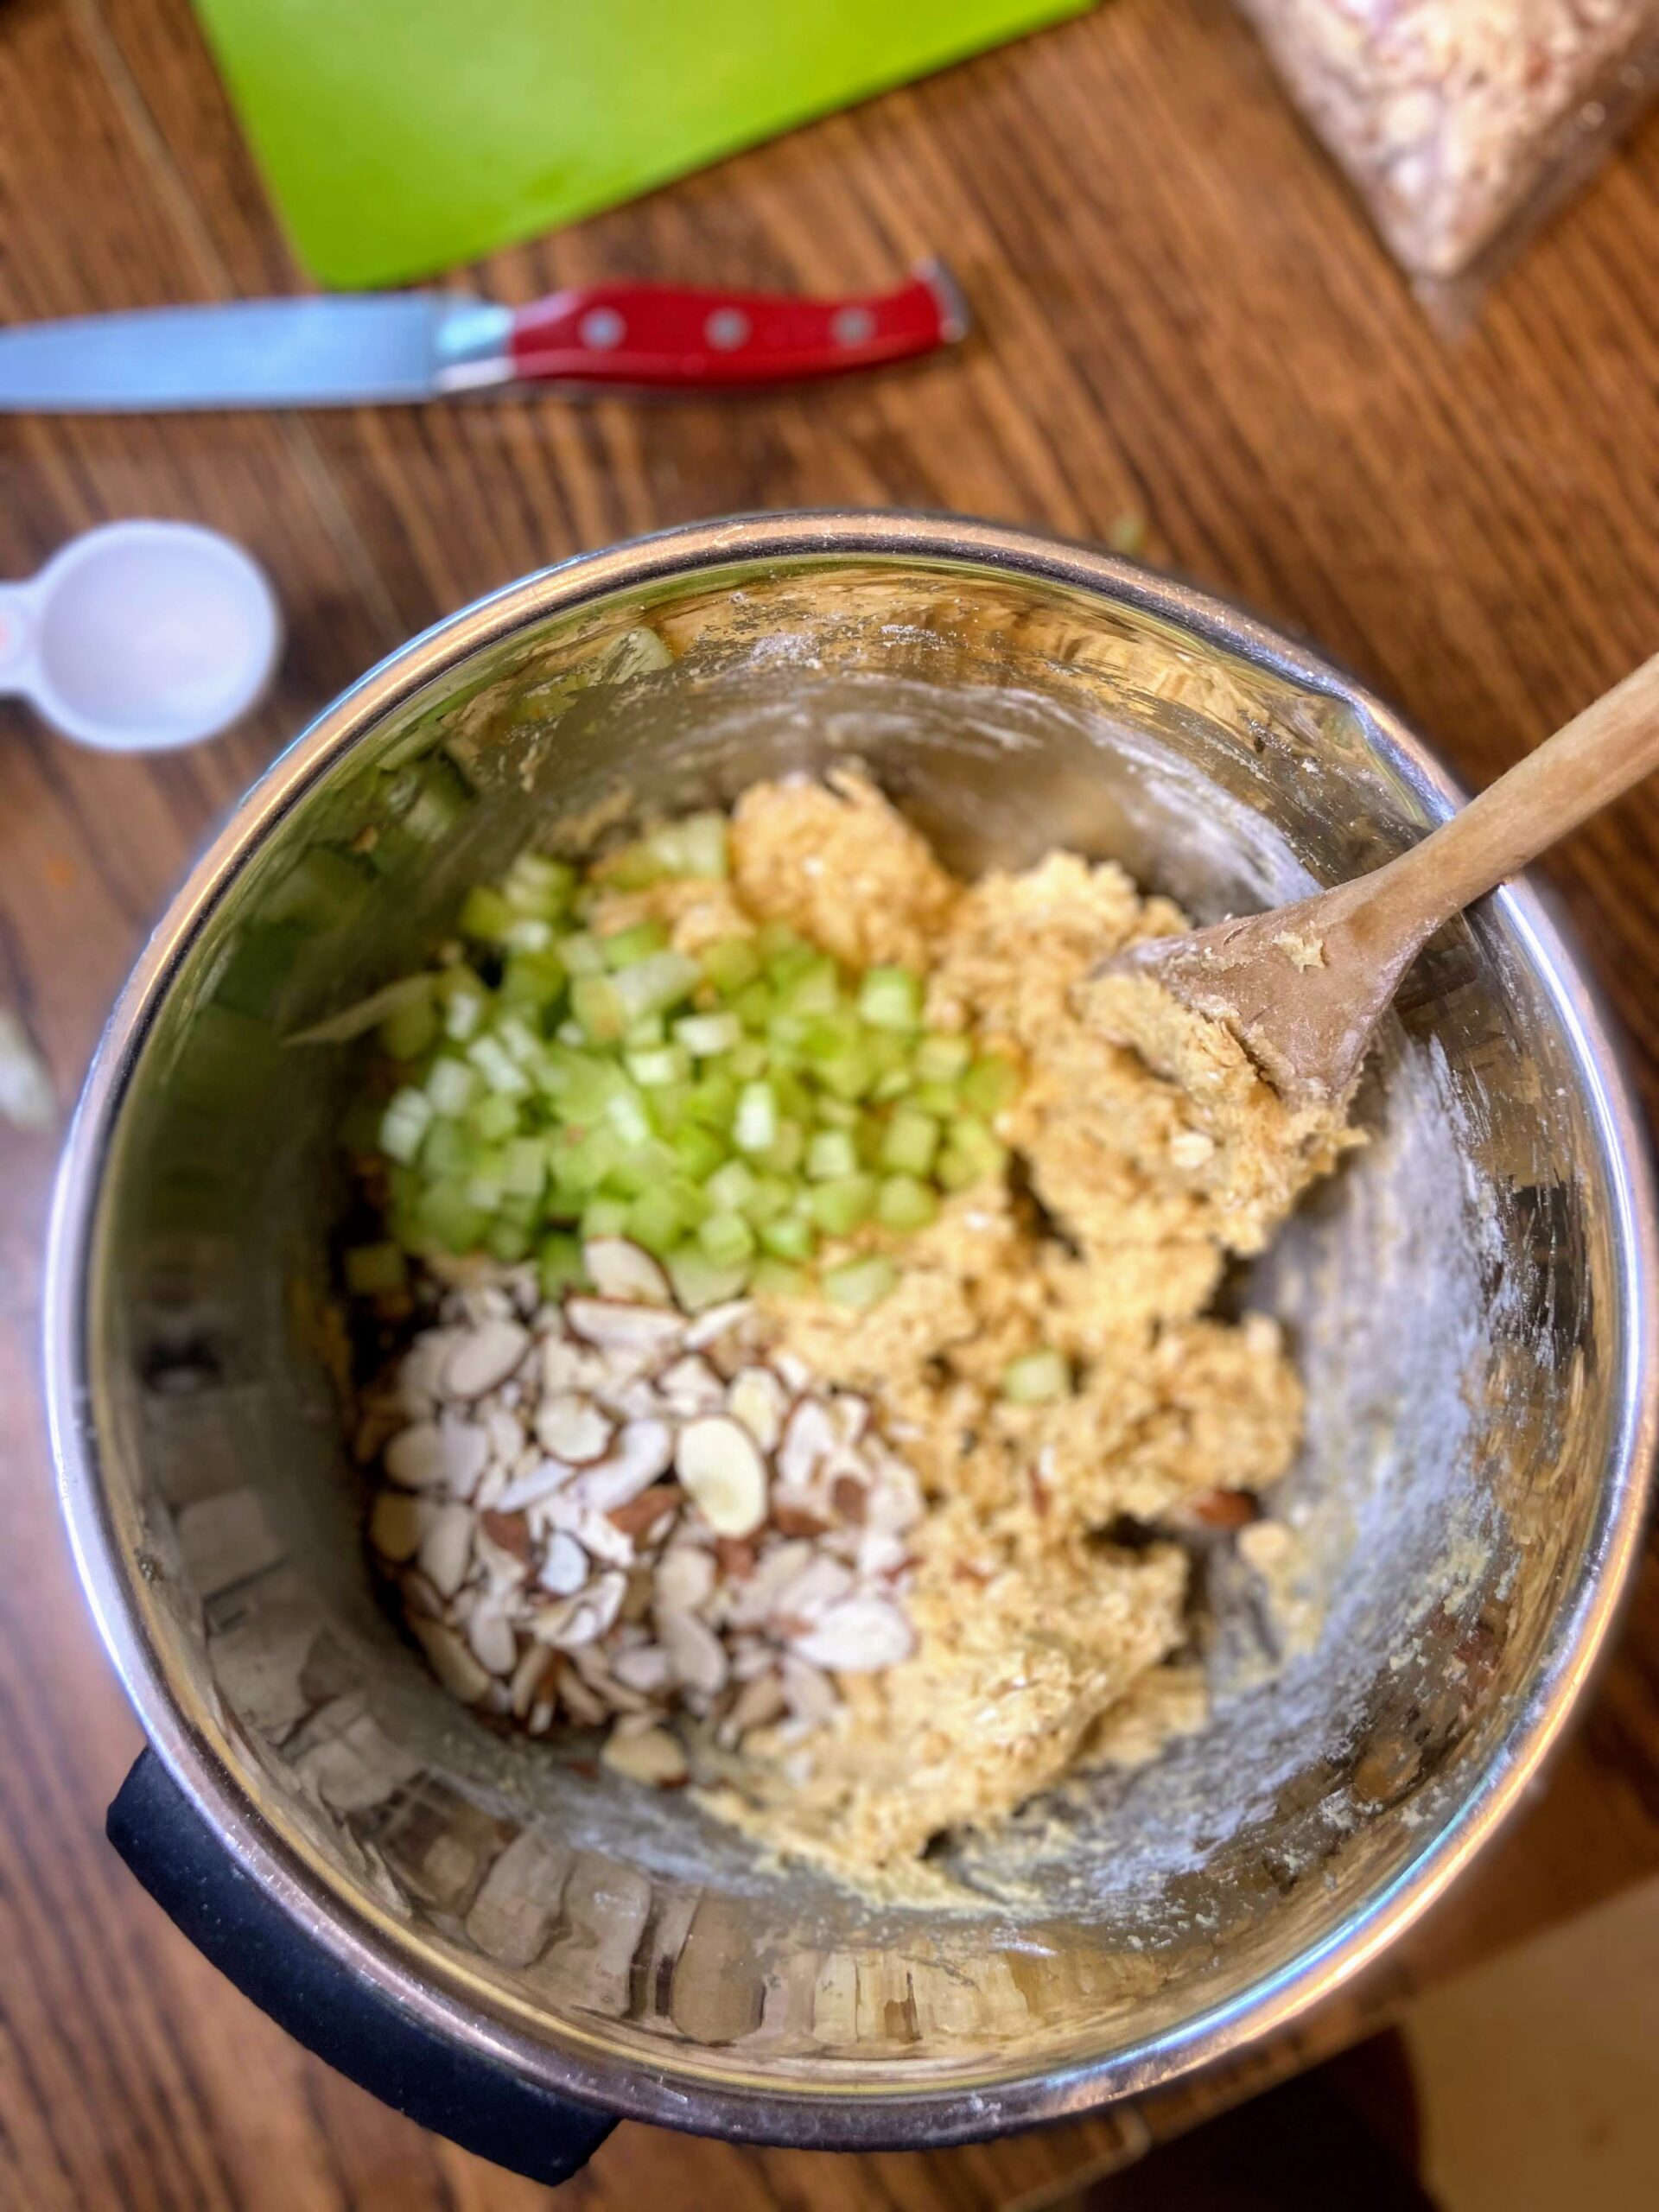
In a large bowl, cream butter and sugars. Add egg and almond extract. Beat until incorporated completely. In an additional bowl, combine flour, baking soda, and salt. Add to the wet ingredients along with the oats. Stir until just combined. Fold in the rhubarb and sliced almonds. 

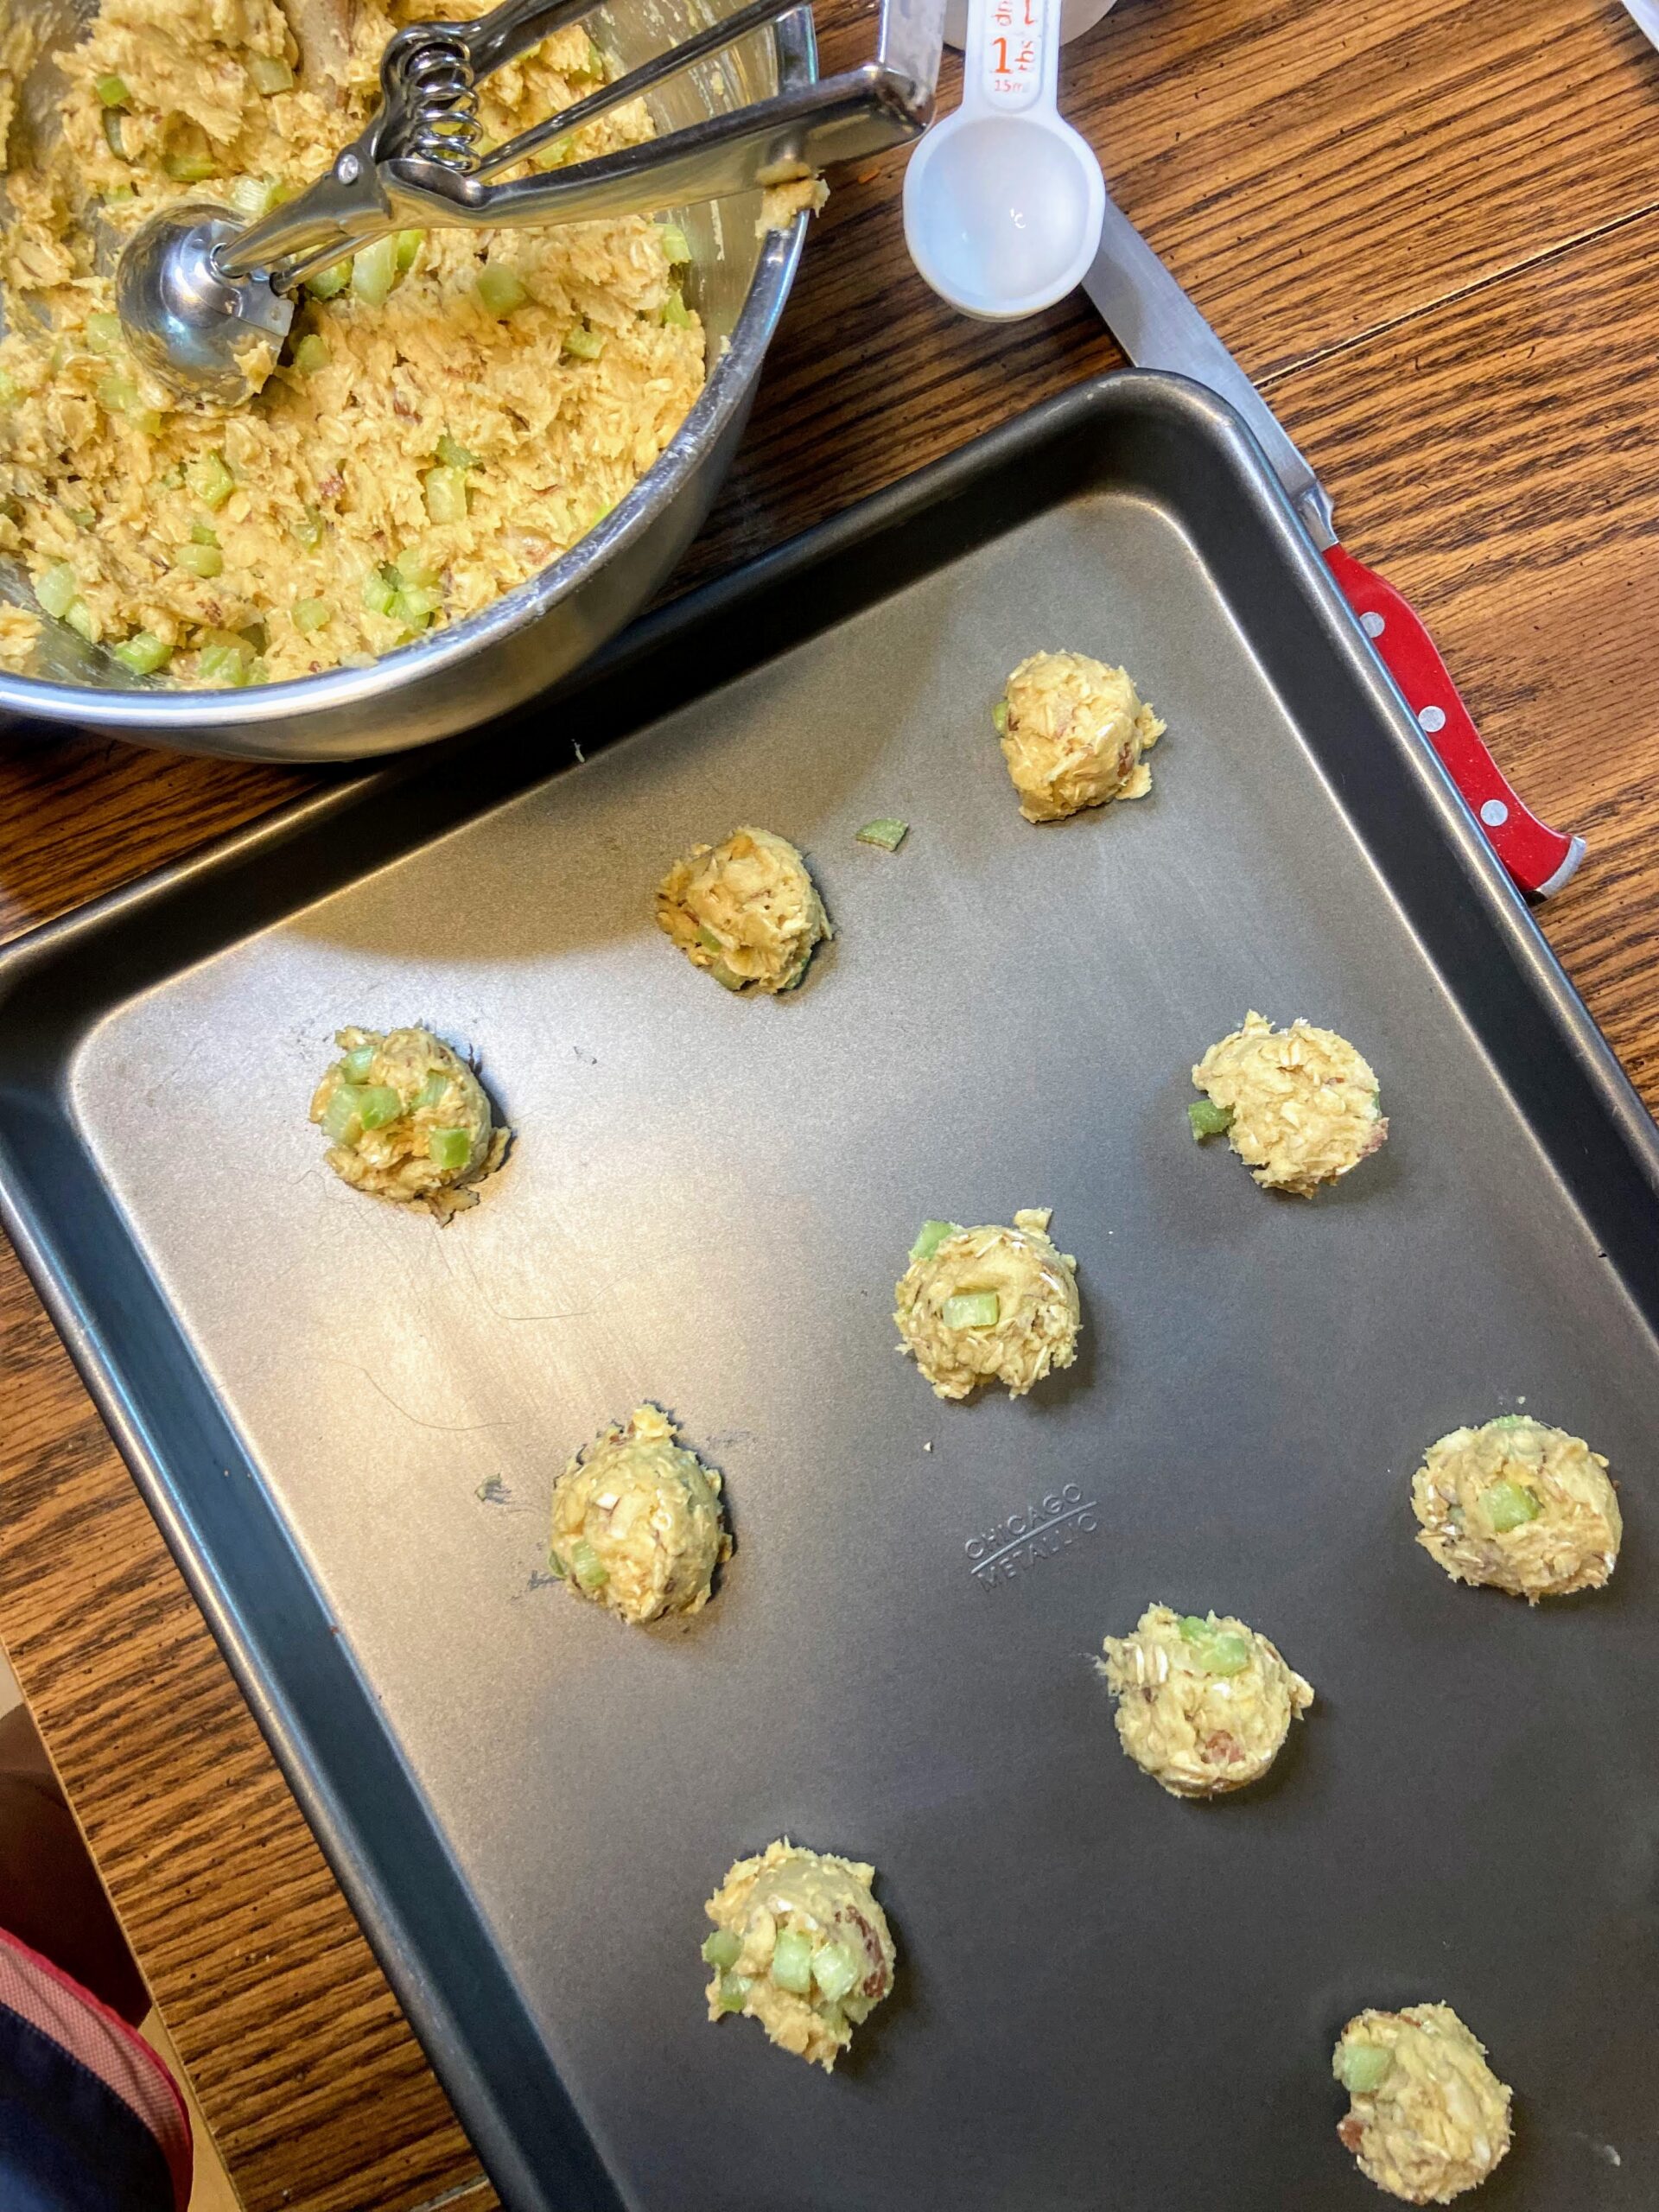
Drop by tablespoonsful 2 inches apart on lined baking sheets. Bake at 350 degrees for 11-12 minutes or until set. Allow to cool a few minutes before removing to wire racks to cool completely. 

Tools of the trade

If I am baking cookies, I am using my Chicago Baking Set. I got it for Christmas from the Mr. a number of years ago and I just love them. The cooling rack is a perfect size and the baking sheets are of great quality! I also recently gifted myself a cookie scoop and holy man, it rocks. If you don’t have one yet and you bake cookies, you probably deserve to gift yourself one too.

Rhubarb and Almond Cookies

These Rhubarb and Almond Cookies are a delight with the tartness of the rhubarb and the texture of the almonds and oats! Give them a try!
Prep Time 10 minutes
Cook Time 12 minutes
Course Cookies
Cuisine American
Servings 32 cookies

Ingredients
  

  • ½ cup butter softened
  • ½ cup brown sugar
  • ¼ cup white sugar
  • 1 egg
  • ½ teaspoon almond extract
  • 1 cup all purpose flour
  • 1 cup old fashioned oats
  • ½ teaspoon baking soda
  • ½ teaspoon salt
  • ¾ cup diced rhubarb small
  • ½ cup sliced almonds

Instructions
 

  • In a large bowl, cream butter and sugars. Add egg and almond extract.
  • Beat until incorporated completely.
  • In an additional bowl, combine flour, baking soda, and salt. Add to the wet ingredients along with the oats.
  • Stir until just combined. Fold in the rhubarb and sliced almonds.
  • Drop by tablespoonsful 2 inches apart on lined baking sheets.
  • Bake at 350 degrees for 11-12 minutes or until set.
  • Allow to cool a few minutes before removing to wire racks to cool completely.

Notes

These will be a soft cookie. Be sure to keep them in a flat container to make sure they don’t fall apart. 
Keyword almonds, chocolate chip cookies, Rhubarb, rhubarb cookies
Tried this recipe?Let us know how it was!

Looking for other sweet treats?

Check out the recipes below or head to my Baking page for all the treats!

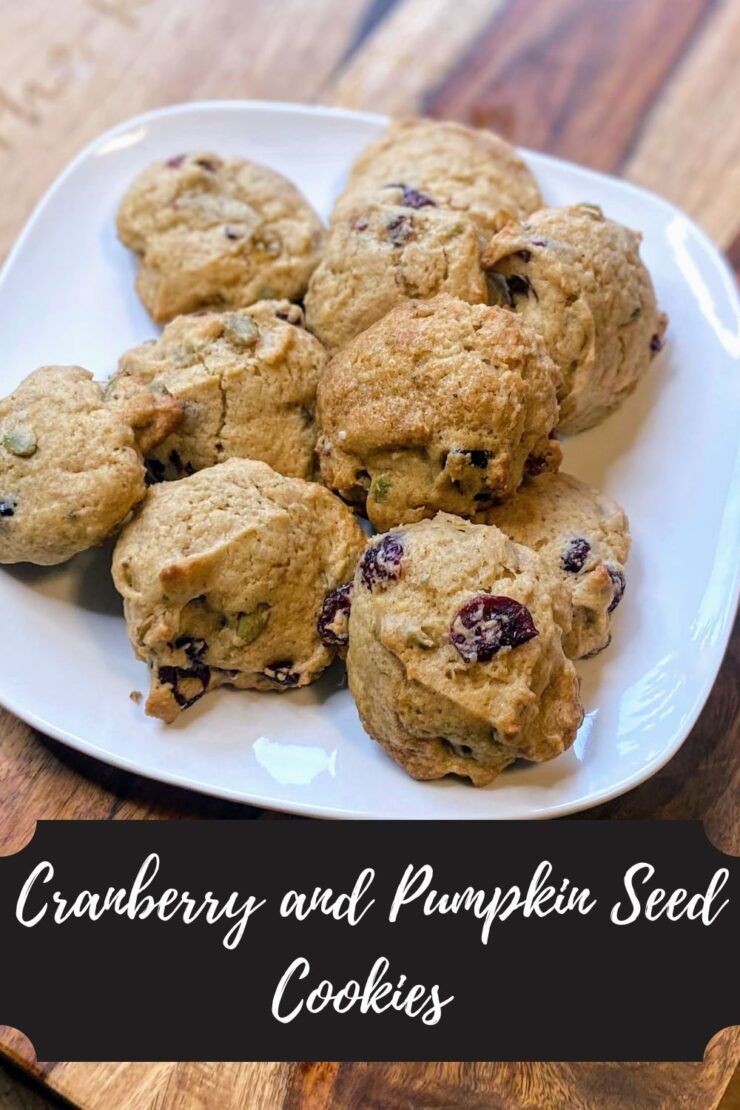
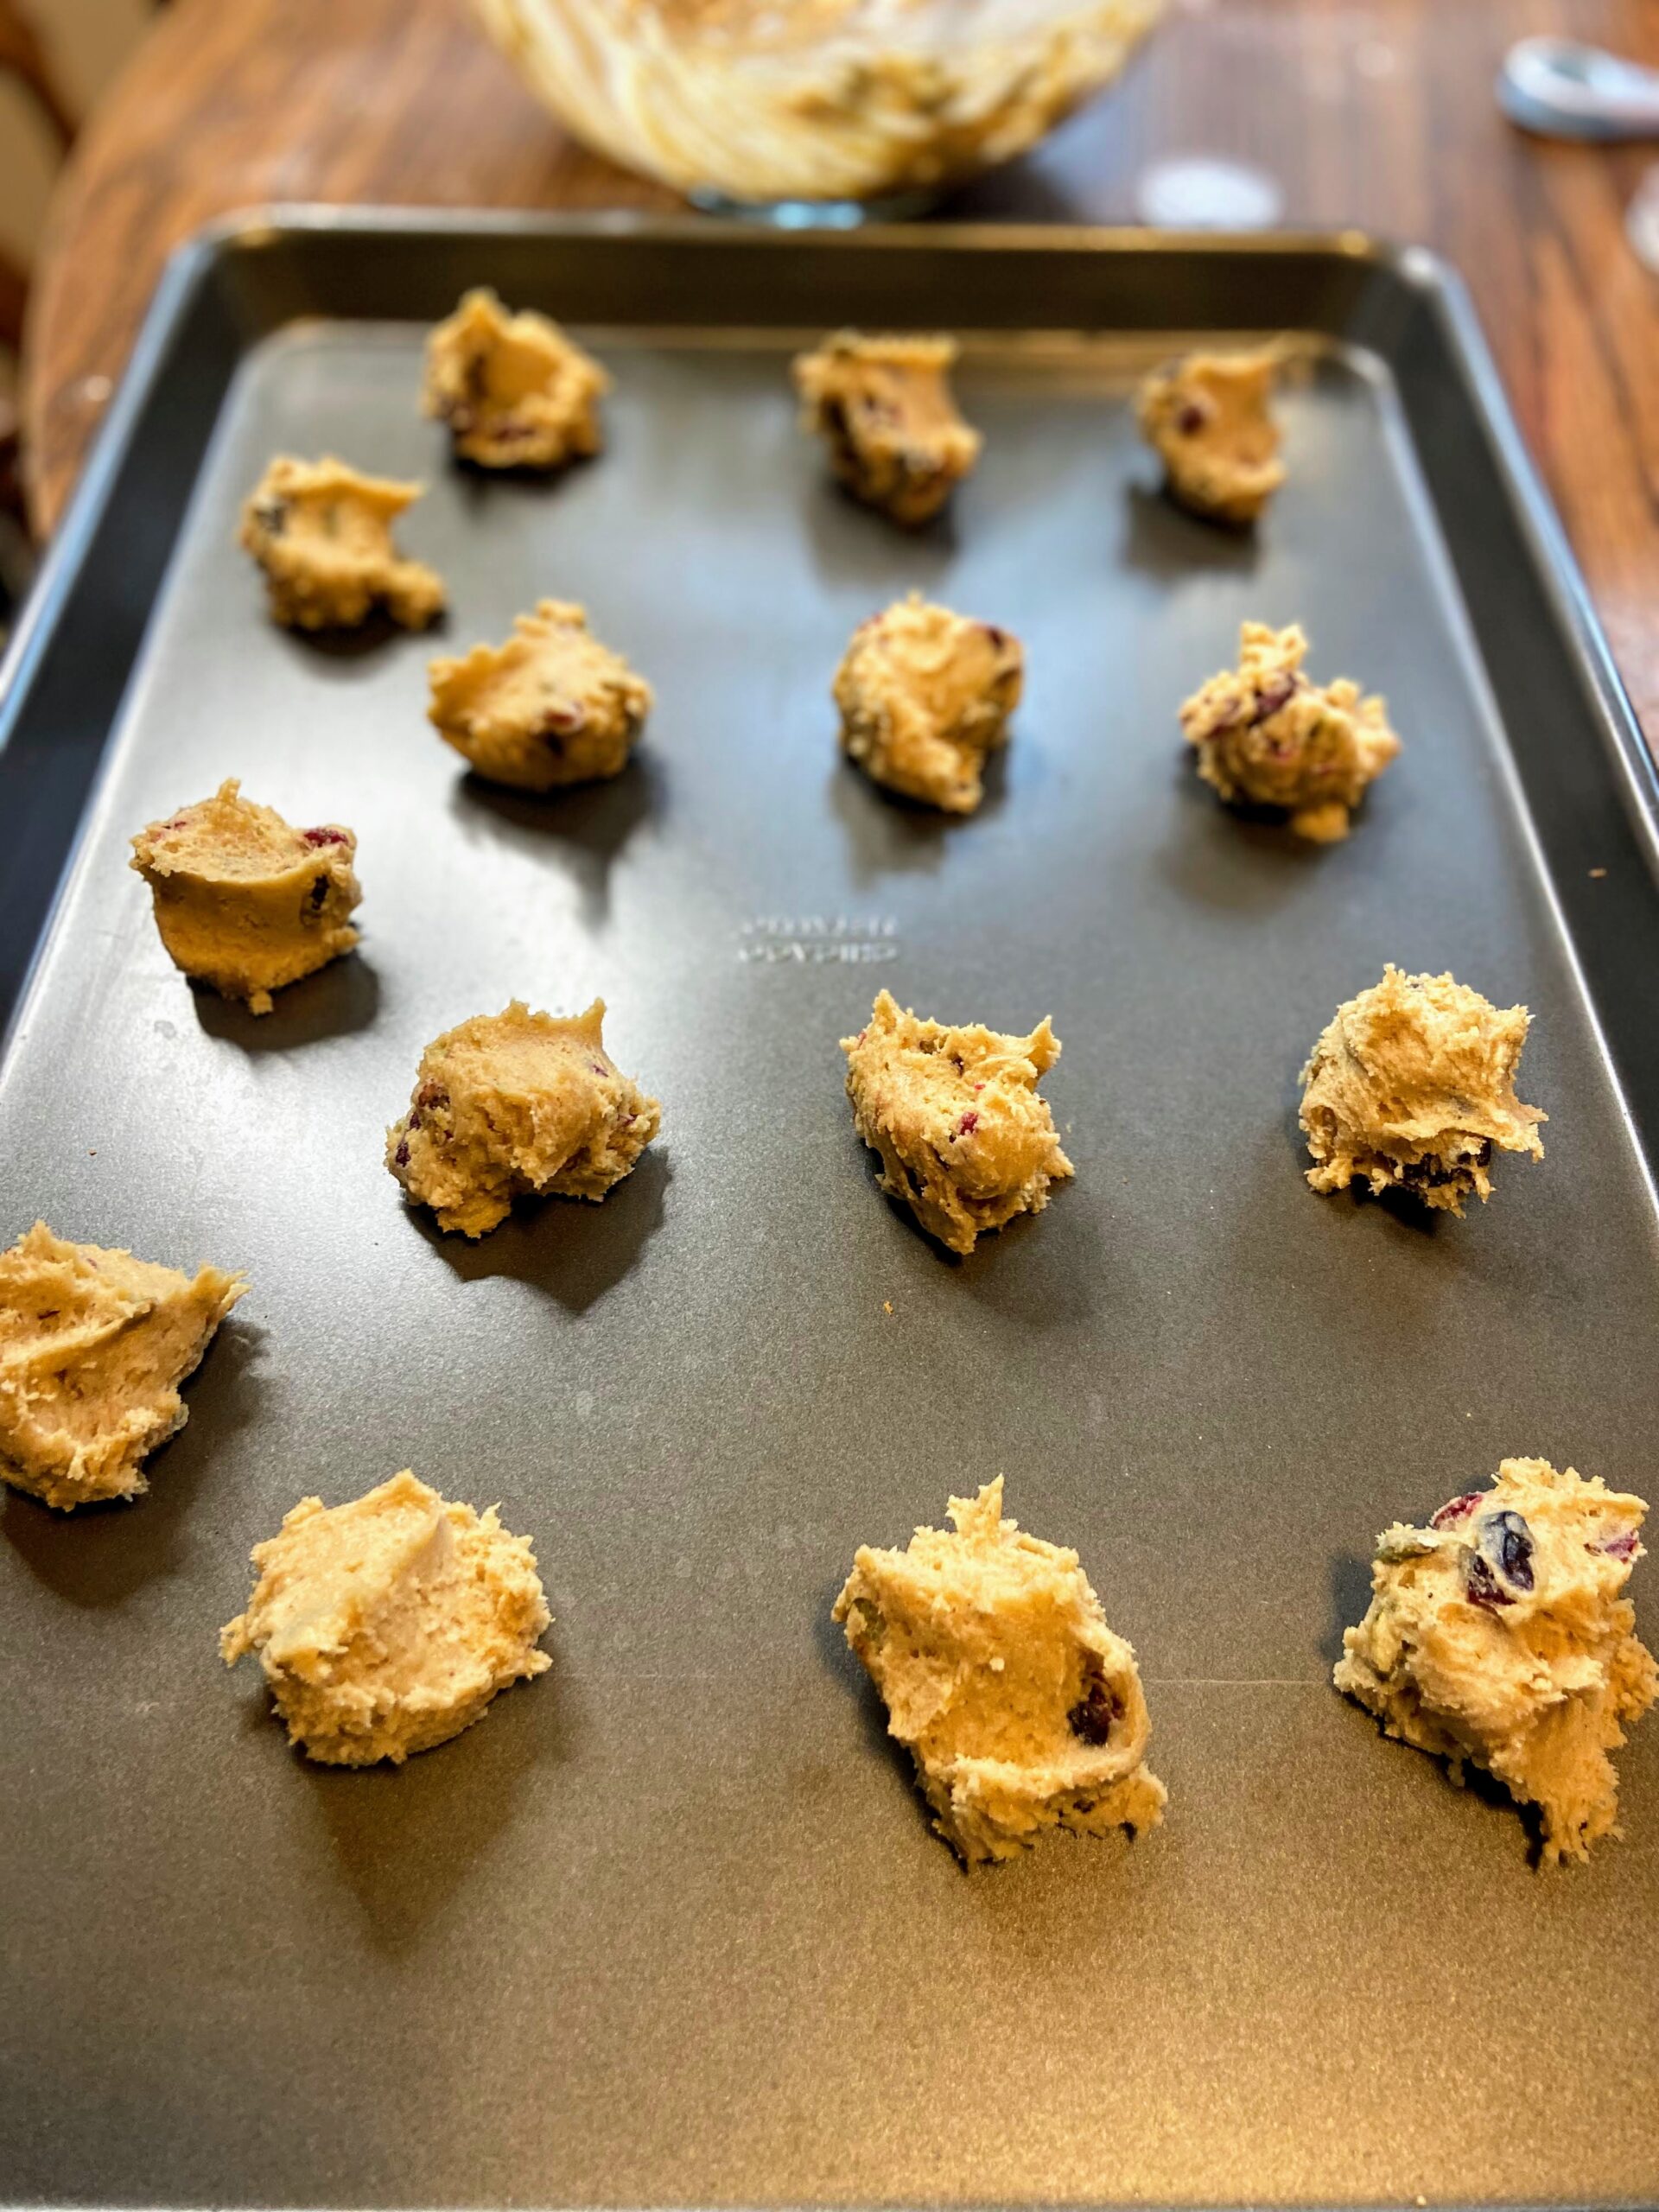
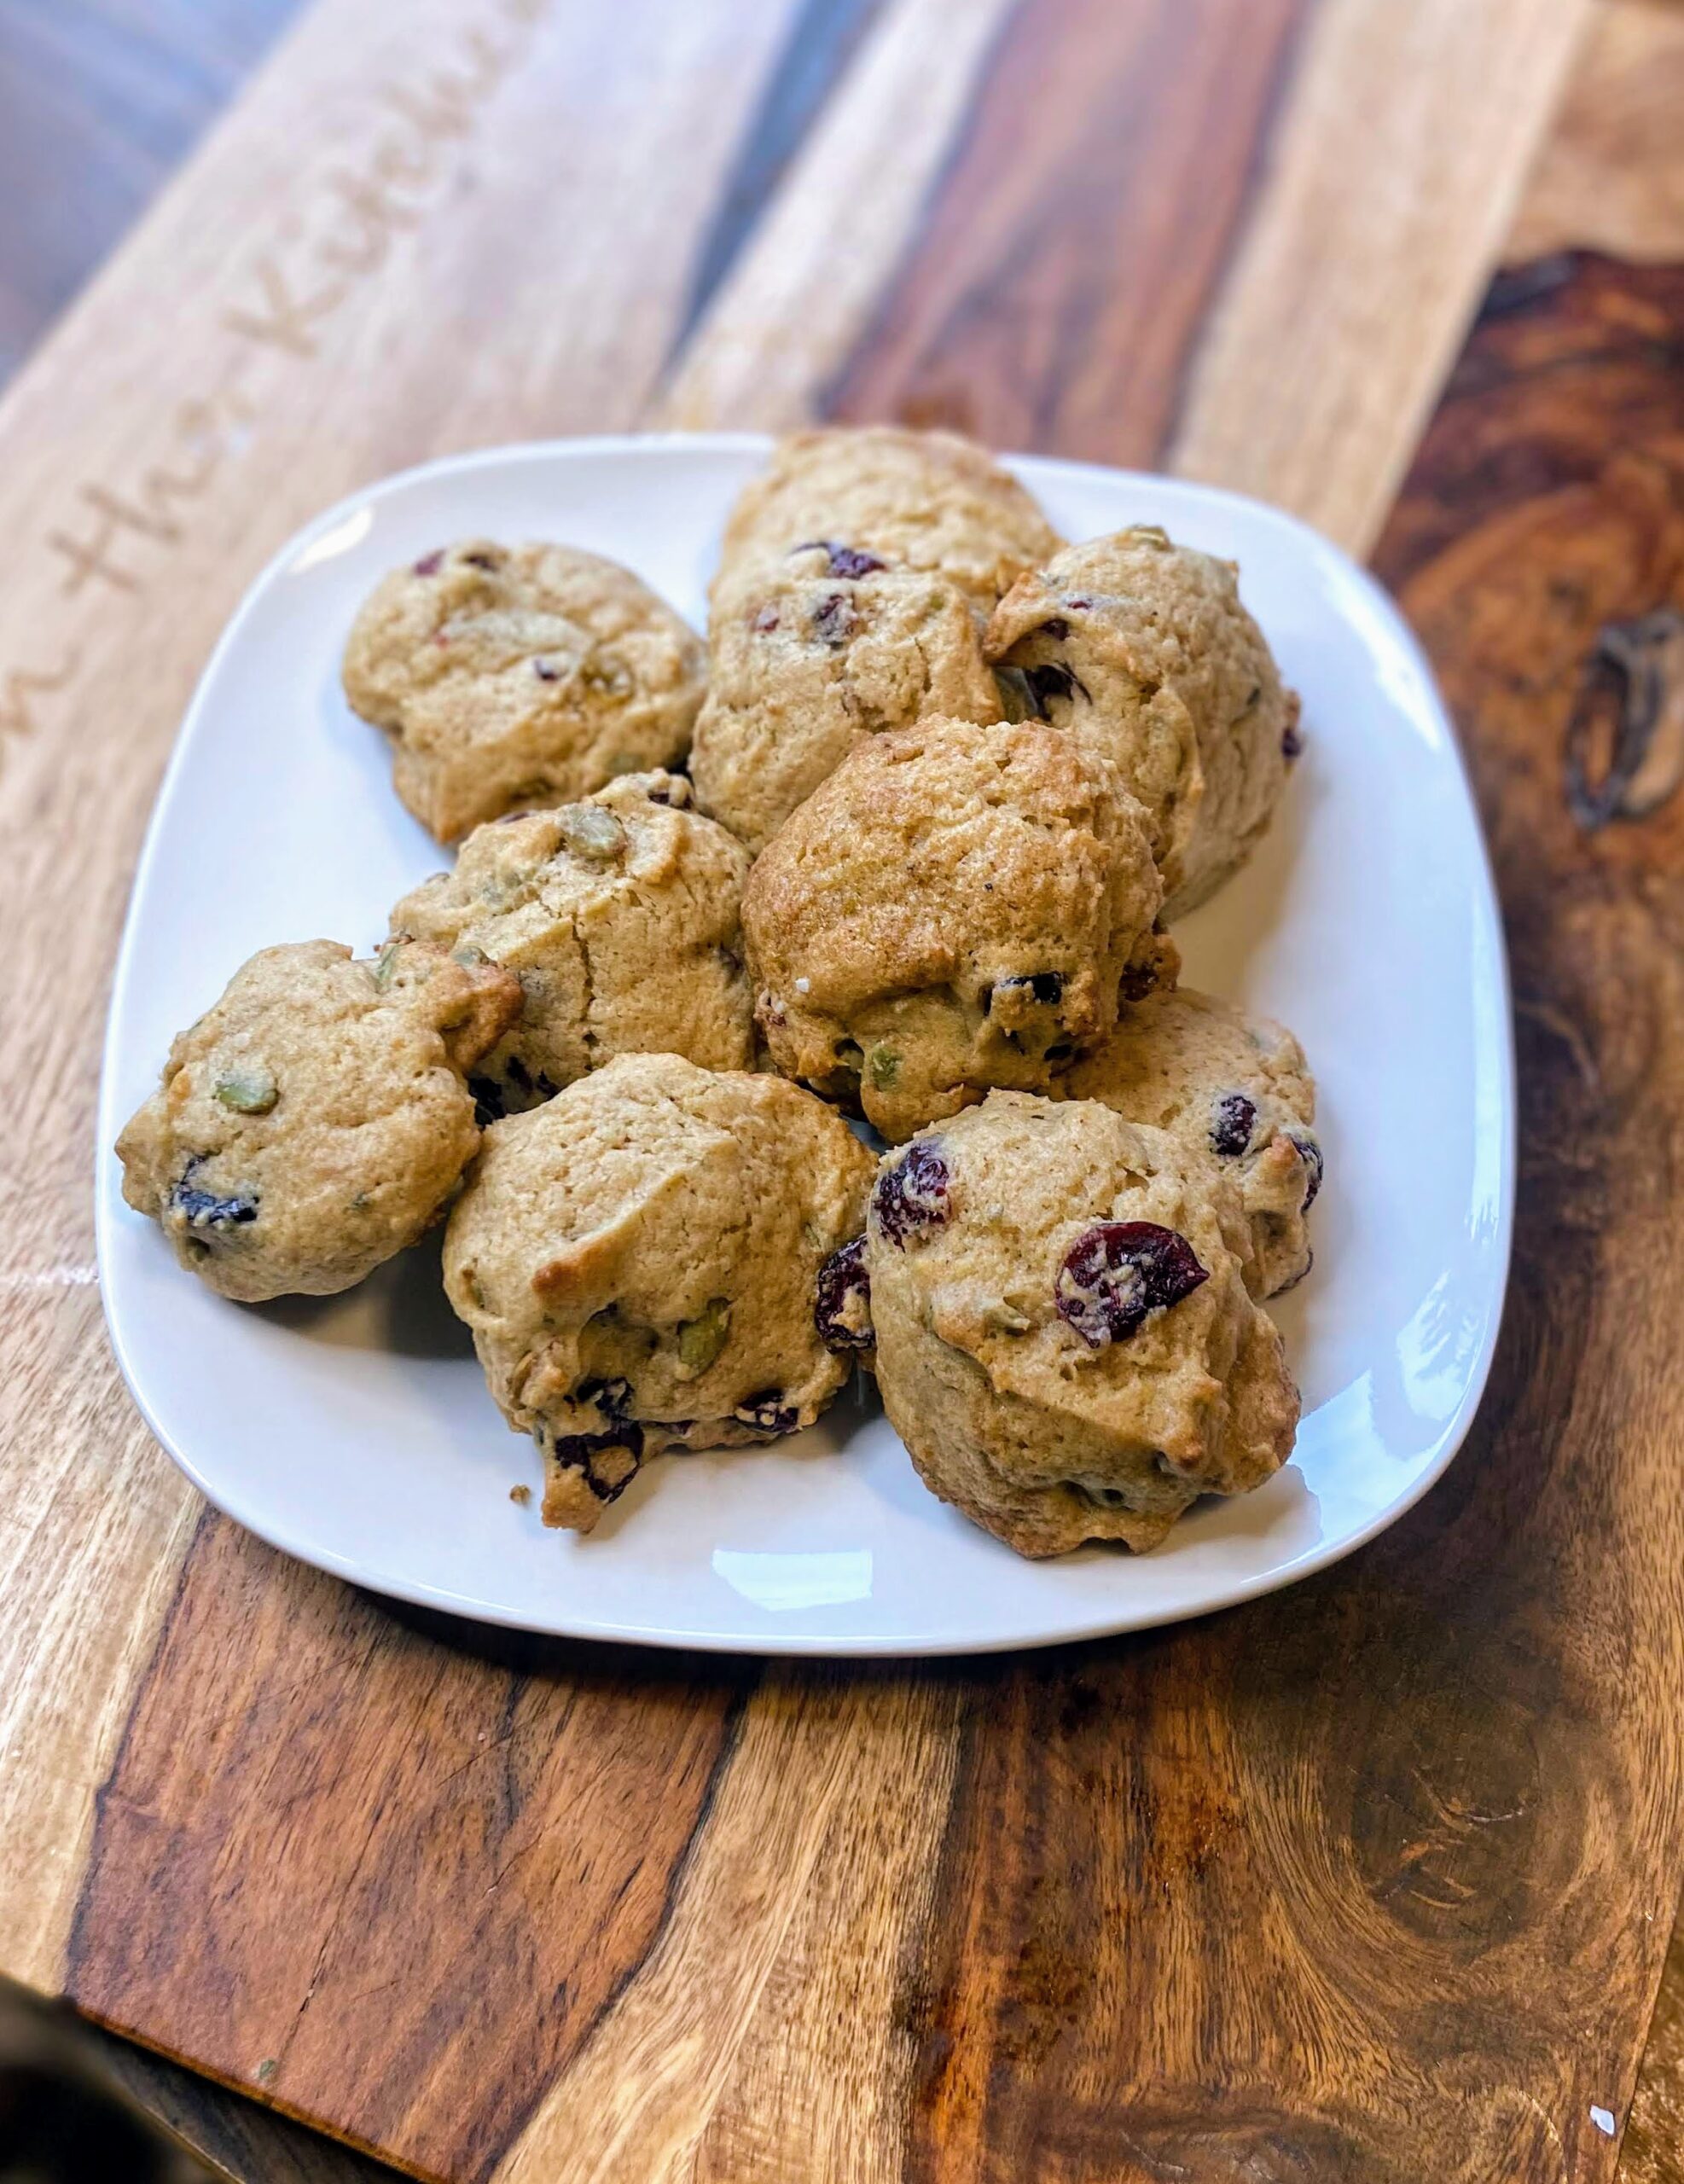
Craisin and Pumpkin Seed Cookies

I am SO excited to share these Craisin and Pumpkin Seed Cookies with you. Why? Well, beyond the fact that it is simply one of the best cookies I have had to date, I am not really sure. 

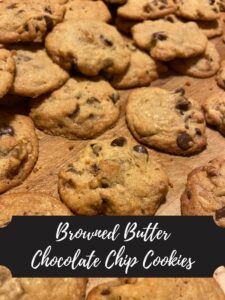
Maybe because it doesn’t have chocolate in it, and normally, I am all about chocolate in my cookies. Maybe because when it comes to cookies, I generally want a crisp cookie. My top favorite is a browned butter chocolate chip. So this is totally outside my “norm.” Either way, it’s a dang good cookie that I am excited to share! 

The inspiration came from the $4.50 Southern *250 Fine Old Recipes* Cookbook I picked up over spring break this year. In it, I found a sour cream raisin cookie. Definitely NOT my type of cookie, but I was drawn to it. From that, I shifted and pivoted using what I had on hand to create a cookie I couldn’t stop eating. 

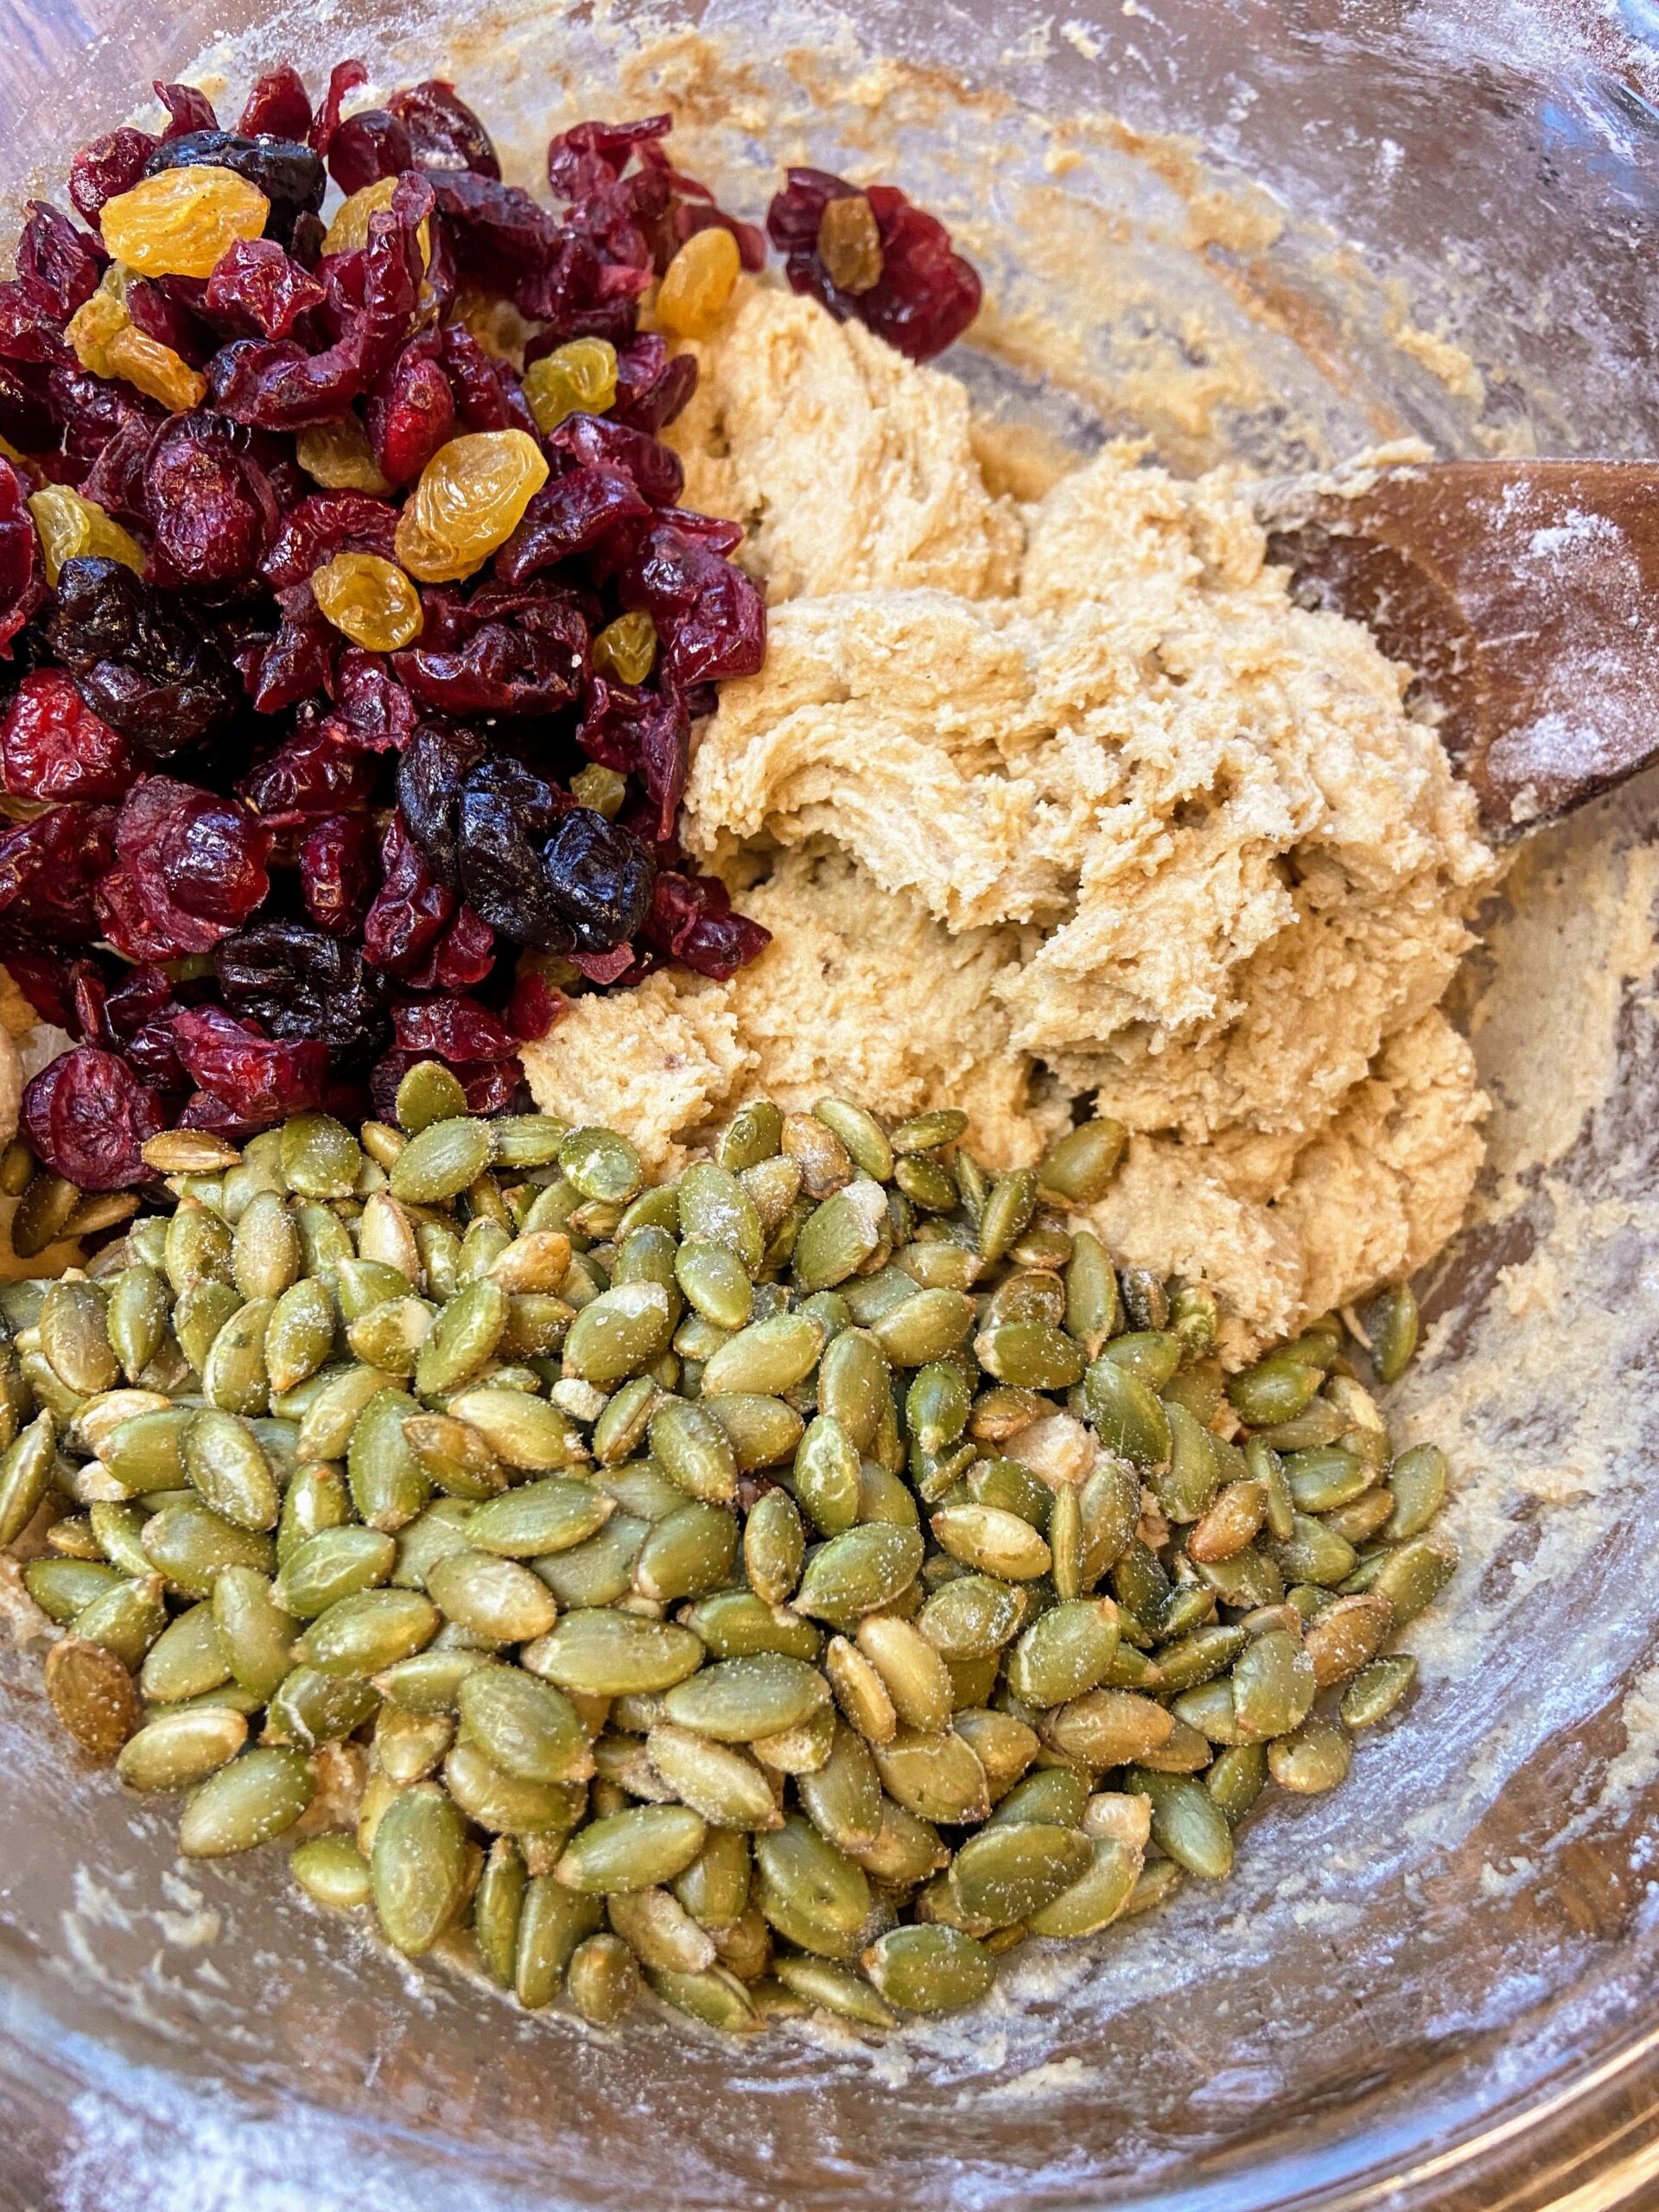
The dried fruit I use was a mixture I found at Walmart and was a store brand (go figure!). It was made up of dried cranberries, cherries, and golden raisins. I am sure any combination would be great, but I love this mixture. As for the pumpkin seeds, I use roasted salted pepitas that I pick up from the local natural food store. I like the zing of a bit of salt when you use salted nuts, but if salty sweet isn’t necessarily your jam, you could totally use unsalted. 

Let’s get baking! 

Your Ingredients  

  • ½ teaspoon baking powder
  • ½ teaspoon baking soda
  • 2 cups flour
  • ½ teaspoon each ground nutmeg and ground cinnamon
  • ½ teaspoon salt
  • 1 cup packed light brown sugar
  • ½ cup butter, softened 
  • 1 teaspoon vanilla
  • 1 egg
  • ½ cup plain Greek yogurt 
  • 1 cup dried fruit of any combination of cranberries, cherries, and golden raisins (I used this mixture from Walmart)
  • ½ cup roasted, salted pepitas (shelled pumpkin seeds)

Your Steps to Craisin and Pumpkin Seed Cookies 

Preheat the oven to 350 degrees F. Blend flour, baking powder, baking soda, nutmeg, cinnamon, and salt in a separate bowl. Set aside. 

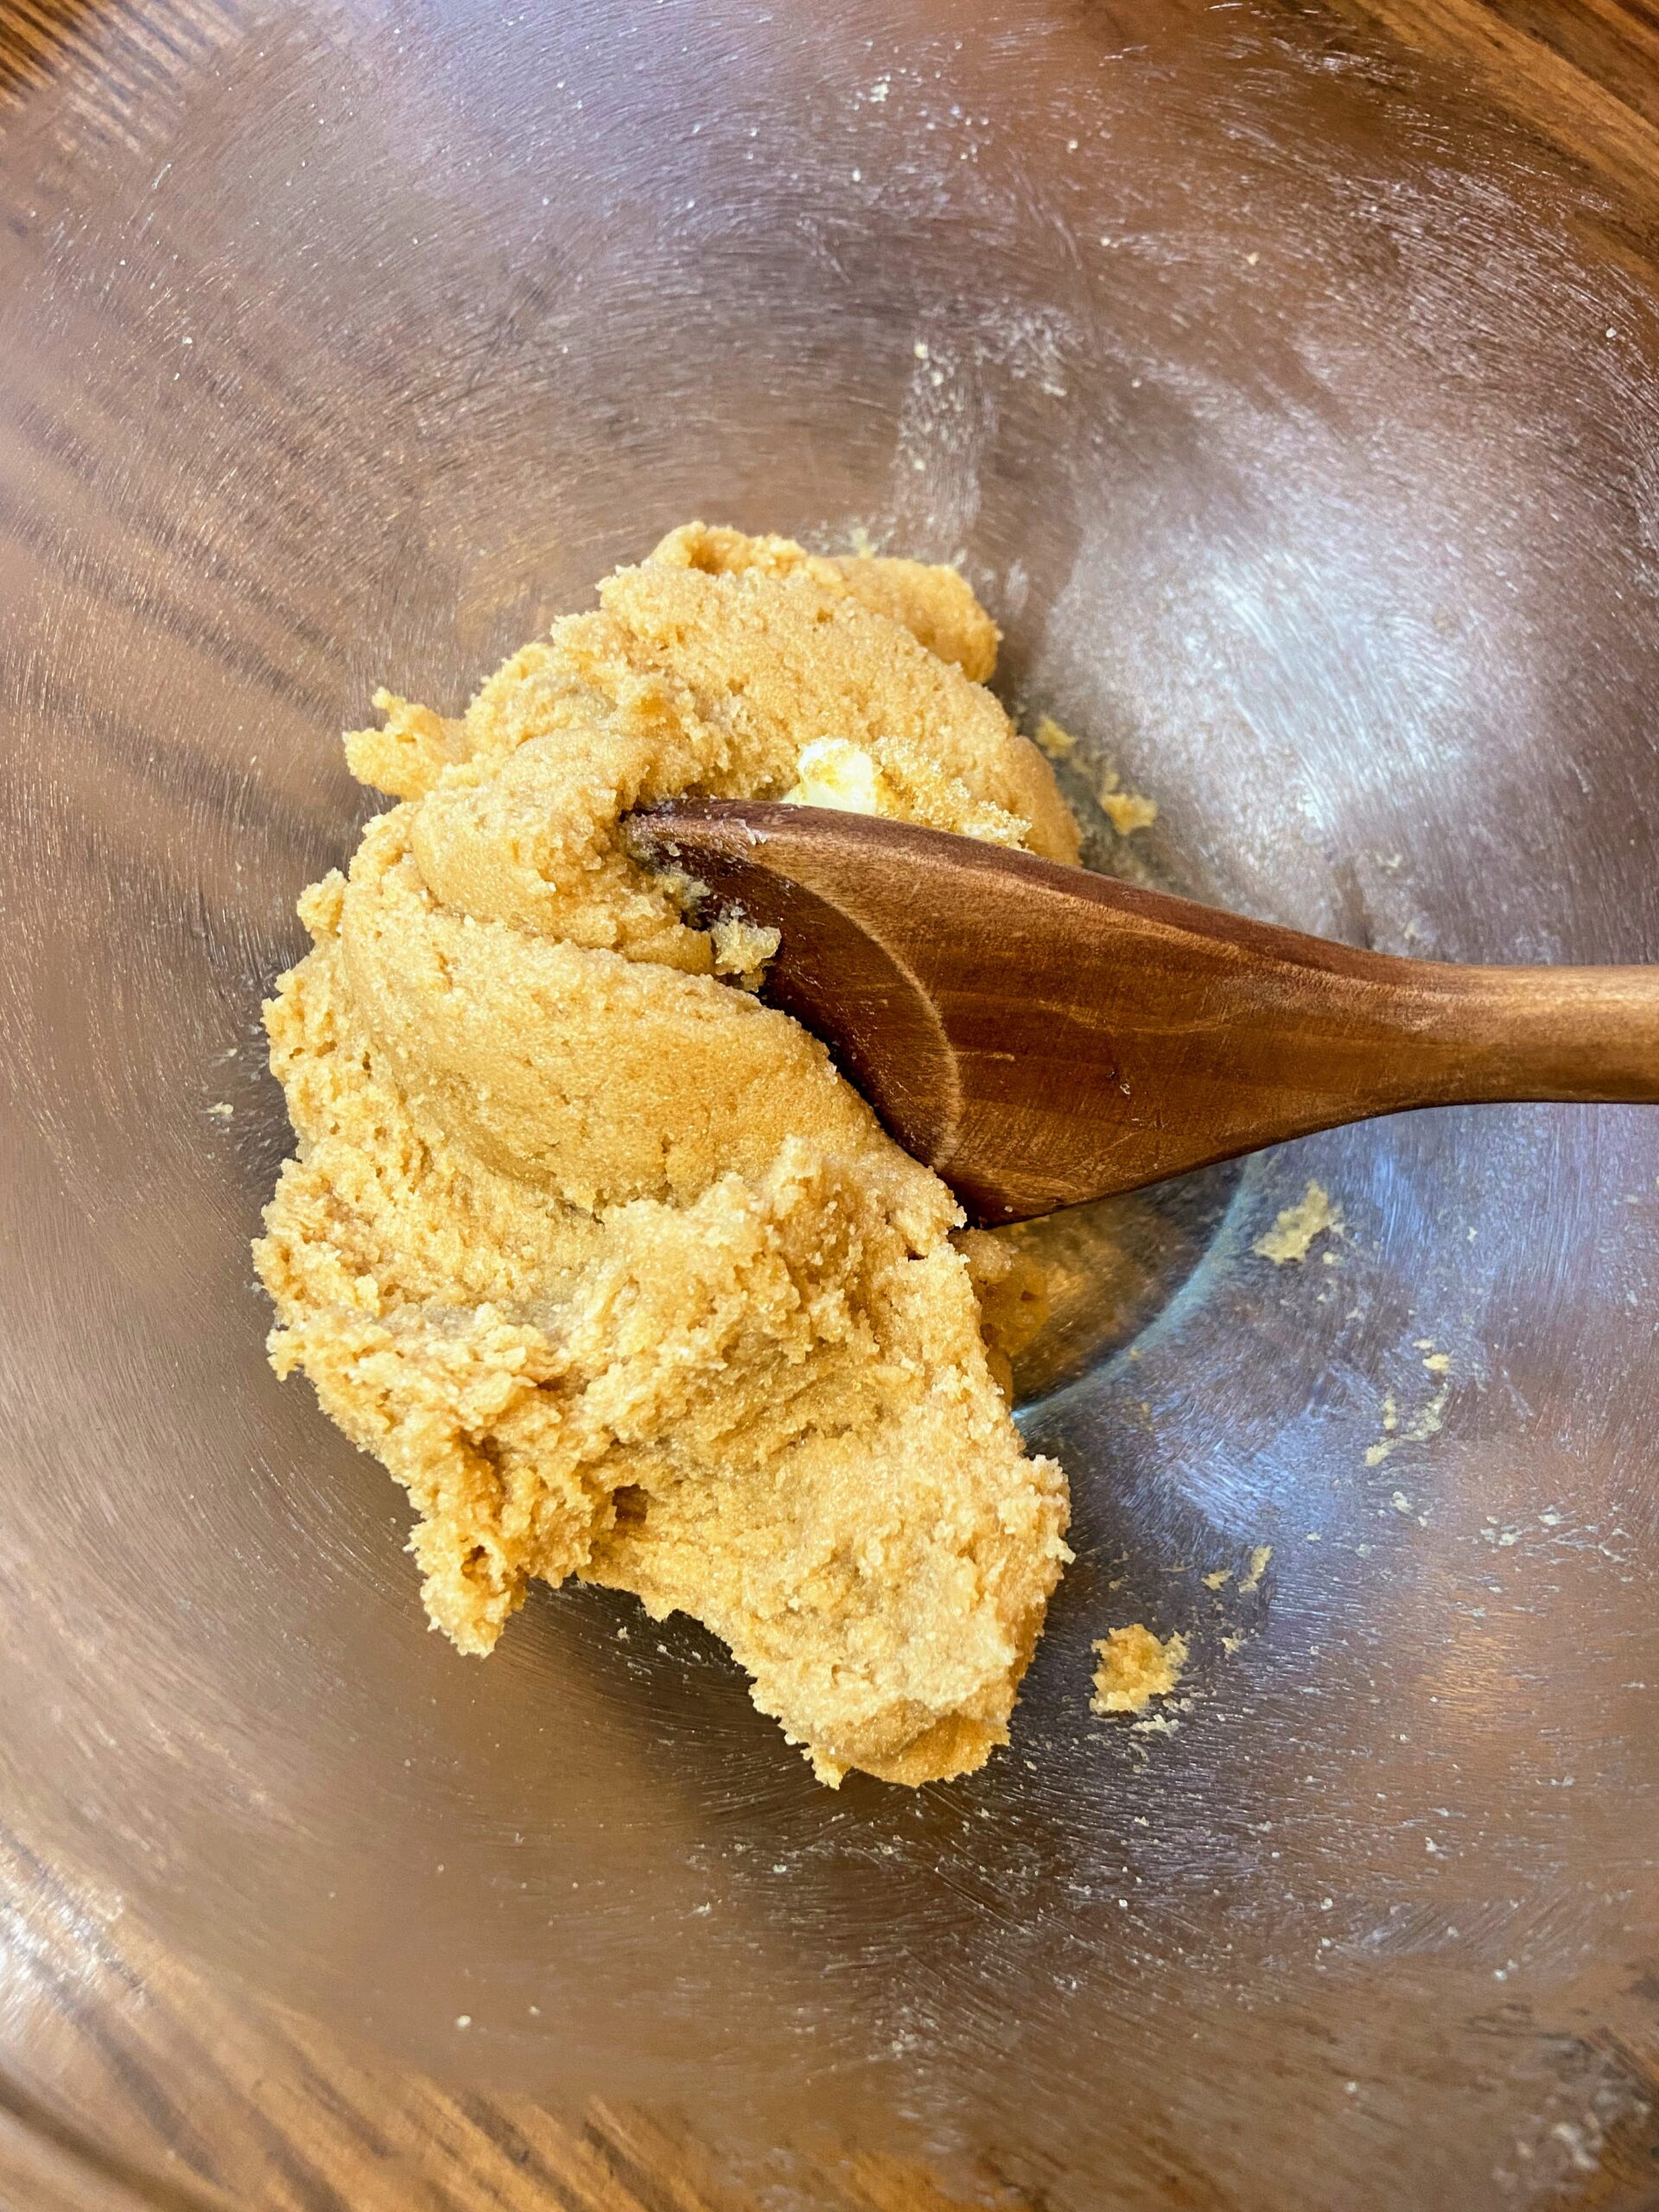
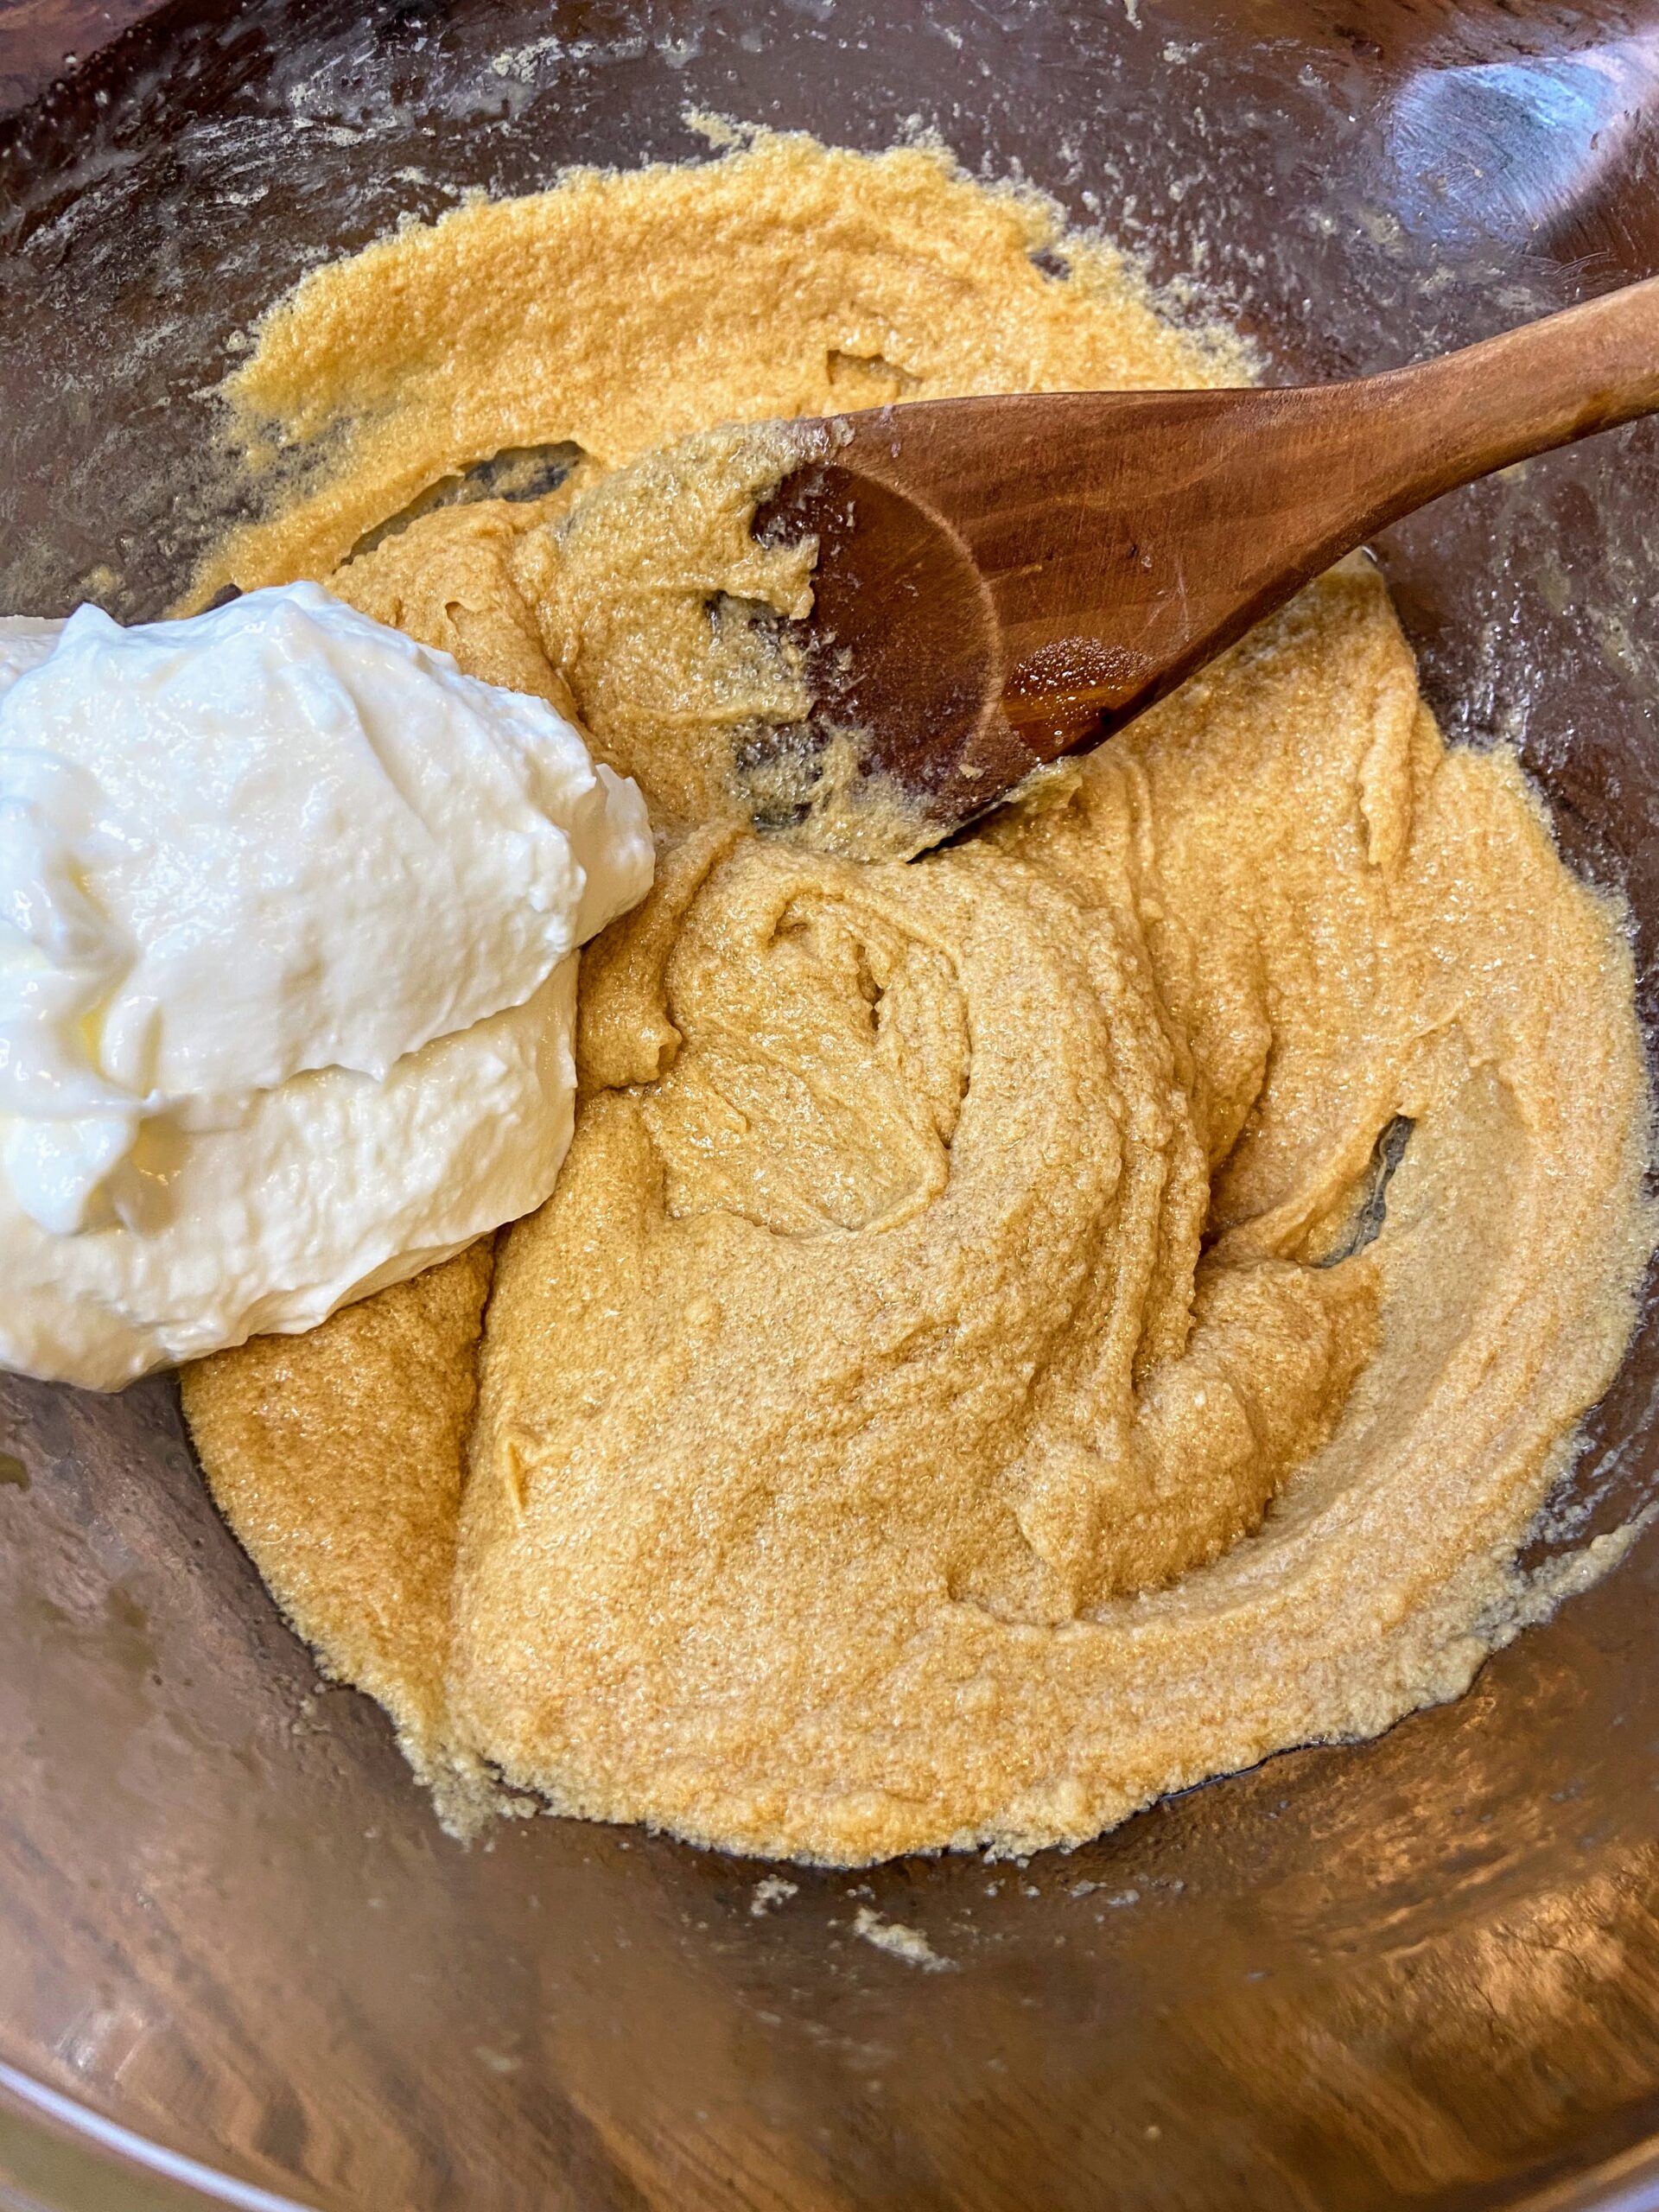
Cream together butter and brown sugar until fluffy. Add vanilla and egg. Mix well. Stir in Greek yogurt until combined. Add dry ingredients in fourths, mixing until just combined. 

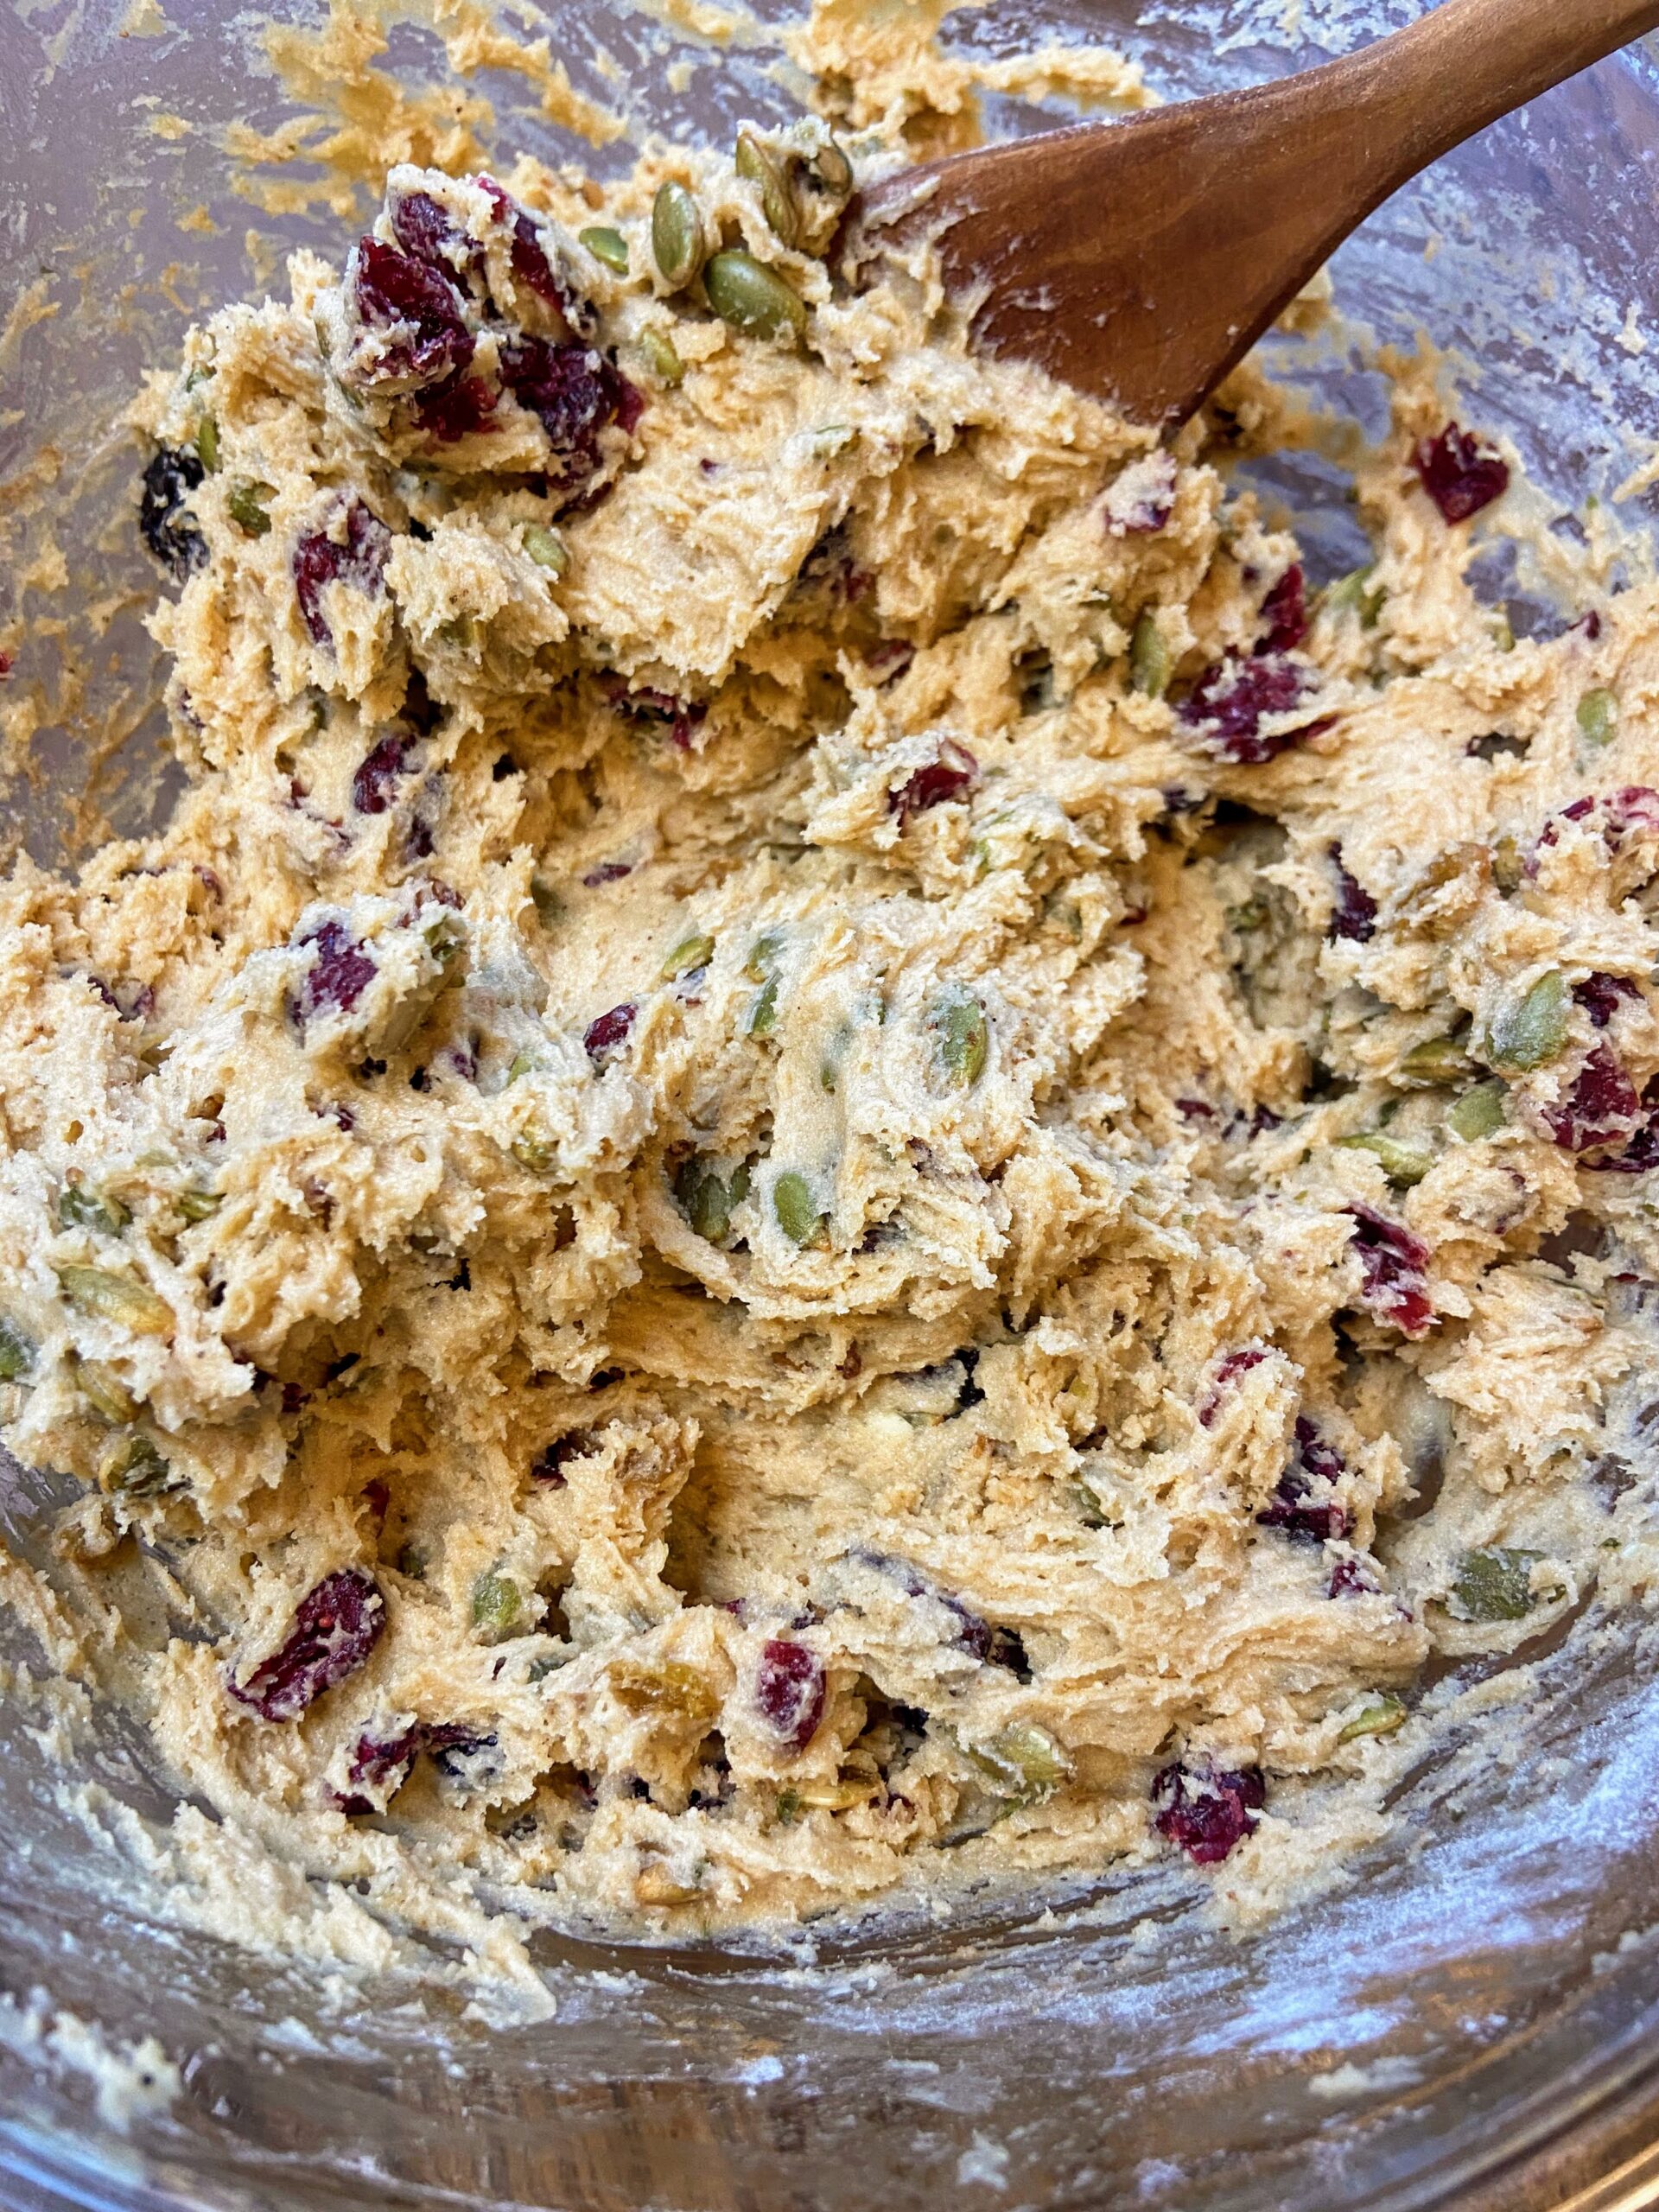
Fold in dried fruit and pepitas. Drop by tablespoonfuls about 2 inches apart onto an ungreased baking sheet. 

Bake for 12 minutes, or until lightly browned. 

Craisin and Pumpkin Seed Cookies

Warming spices and the flavor of cranberry with the crunch of pepitas make these craisin and pumpkin seed cookies a hit!
Prep Time 15 minutes
Cook Time 12 minutes
Course Cookies
Cuisine American
Servings 3 dozen

Equipment

Ingredients
  

  • 2 cups flour
  • ½ teaspoon baking powder
  • ½ teaspoon baking soda
  • ½ teaspoon ground nutmeg
  • ½ teaspoon cinnamon
  • ½ teaspoon salt
  • 1 cup packed light brown sugar
  • ½ cup butter softened
  • 1 teaspoon vanilla
  • 1 egg
  • ½ cup plain Greek yogurt
  • 1 cup dried fruit of any combination of cranberries cherries, and golden raisins
  • ½ cup roasted salted pepitas (shelled pumpkin seeds)

Instructions
 

  • Preheat the oven to 350 degrees F. Blend flour, baking powder, baking soda, nutmeg, cinnamon, and salt in a separate bowl. Set a side.
  • Cream together butter and brown sugar until fluffy. Add vanilla and egg. Mix well. Stir in Greek yogurt until combined. Add dry ingredients in fourths, mixing until just combined.
  • Fold in dried fruit and pepitas. Drop by tablespoonfuls about 2 inches apart onto an ungreased baking sheet.
  • Bake for 12 minutes, or until lightly browned.
Keyword cinnamon, Cookies, craisins, cranberries, drop cookies, pumpkin seeds
Tried this recipe?Let us know how it was!

Looking for other cookie recipes? Check out the links below or head right to my baking page!

Almond Joy Granola Bars

My family is a family that consumes granola bars. (Correction: My mini-me is sitting with me and said I should write, “My family is a family that LOVES granola bars!”) I like them for a quick snack before a run or to hold me over between breakfast and lunch. My kids love them…all the time. But what I don’t love is the added sugar and extra ingredients. This leads to me working to create my own, cleaner version that I can feel good about snacking on. Recently, I looked around my cupboard and found the ingredients for Almond Joy Inspired Granola Bars and was on a mission. These are simple to make, they only dirty up about four dishes, and keep well without needing refrigeration. Yay! 

And the approval rating? Well, my mom came to visit, gave them a try, and said, “I think you need to bake these for our family vacation.” Double yay! I think they make a great snack that is the perfect amount of sweet without overdoing it. AND the crumbles that may form at the end of the batch would be great as a topping on any yogurt. I can’t wait for you to give them a try!

Your Ingredients

  • 1 cup old fashioned oats
  • ¾ cup unsweetened coconut
  • ¾ cup lightly salted almonds
  • ¼ cup almond butter
  • ¼ cup dates
  • ½ cup honey
  • ¼ teaspoon salt
  • 2 tablespoons chia seeds
  • ½-¾ cup mini chocolate chips, divided
  • 1 teaspoon coconut oil

Your Steps to Almond Joy Inspired Granola Bars

Preheat the oven to 350 degrees. Prepare a 9×13 baking dish by lining it first with foil and then spraying it with cooking spray. 

Place the old-fashioned oats in a food processor (I love my Kitchen Aid 7 cup food processor) Grind until a rough flour is formed. Add almonds and unsweetened coconut. Grind for additional 20-30 seconds. Add dates and grind once more, until the dates are broken down. Remove from the food processor and place in a medium-sized bowl.

Combine almond butter and ¼ cup of honey. Microwave for 30 seconds, just to soften it. Mix well and stir into the oats mixture. Add remaining honey, salt, chia seeds, and ¼ cup (or more if you want a little more chocolate) mini chocolate chips. Add additional honey if needed, by the tablespoon. Press the mixture into the prepared pan. Bake for 13-15 minutes, cutting into bars halfway through (A steel scraper/chopper like this guy works great!).

Once cooled, feel free to add a drizzle of chocolate by combining remaining chocolate chips and coconut oil in a microwave-safe container and microwaving for 30-second increments, until smooth. Spoon into a plastic baggie, snip the corner, and drizzle onto the completed bars. Be mindful not to snip the corner too large.        


Looking for some other sweet treats for your family? Check out the recipe inspiration below or head over to my baking page!

Almond Joy Granola Bars

A food processor and some simple, good for you ingredients combine to create these delicious almond joy inspired granola bars!
Prep Time 5 minutes
Cook Time 10 minutes
Course Snack
Cuisine American

Ingredients
  

  • 1 cup old fashioned oats
  • ¾ cup unsweetened coconut
  • ¾ cup lightly salted almonds
  • ¼ cup almond butter
  • ¼ cup dates
  • ½ cup honey
  • ¼ teaspoon salt
  • 2 tablespoons chia seeds
  • ½-¾ cup mini chocolate chips divided
  • 1 teaspoon coconut oil

Instructions
 

  • Preheat the oven to 350 degrees. Prepare a 9×13 baking dish by lining it first with foil and then spraying it with cooking spray.
  • Place the old-fashioned oats in a food processor. Grind until a rough flour is formed. Add almonds and unsweetened coconut. Grind for additional 20-30 seconds.
  • Add dates and grind once more, until the dates are broken down. Remove from the food processor and place in a medium-sized bowl.
  • Combine almond butter and ¼ cup of honey. Microwave for 30 seconds, just to soften it. Mix well and stir into the oats mixture.
  • Add remaining honey, salt, chia seeds, and ¼ cup mini chocolate chips. Add additional honey if needed, by the tablespoon.
  • Press the mixture into the prepared pan. Bake for 13-15 minutes, cutting into bars halfway through (A steel scraper/chopper like this guy works great!).
  • Once cooled, feel free to add a drizzle of chocolate by combining remaining chocolate chips and coconut oil in a microwave-safe container and microwaving for 30-second increments, until smooth.
  • Spoon into a plastic baggie, snip the corner, and drizzle onto the completed bars. Be mindful not to snip the corner too large.
Keyword almonds, chocolate, coconut, Gluten Free, granola bars, snacks
Tried this recipe?Let us know how it was!