Do you ever think to yourself, “I know I could easily buy this for much cheaper, BUT can I make it from scratch? I mean, just because I can?” I function in that world quite often; It has rubbed off on my children. Case in point, last night. I rarely eat the Oreos my husband buys, but last night, I thought, “Oooo…a crumbled Oreo on ice cream sounds so good.”
I went to grab an Oreo, and of course my husband and children had JUST finished them hours ago. When I pointed out to my family that of course I decided I wanted one right after they finished them, my 5-year-old daughter quickly responded, “Maybe you can find a recipe to make them homemade?!” I have apparently created monsters (Or not, because how cool is it that both of my children get excited about making things from scratch?! #momwin)
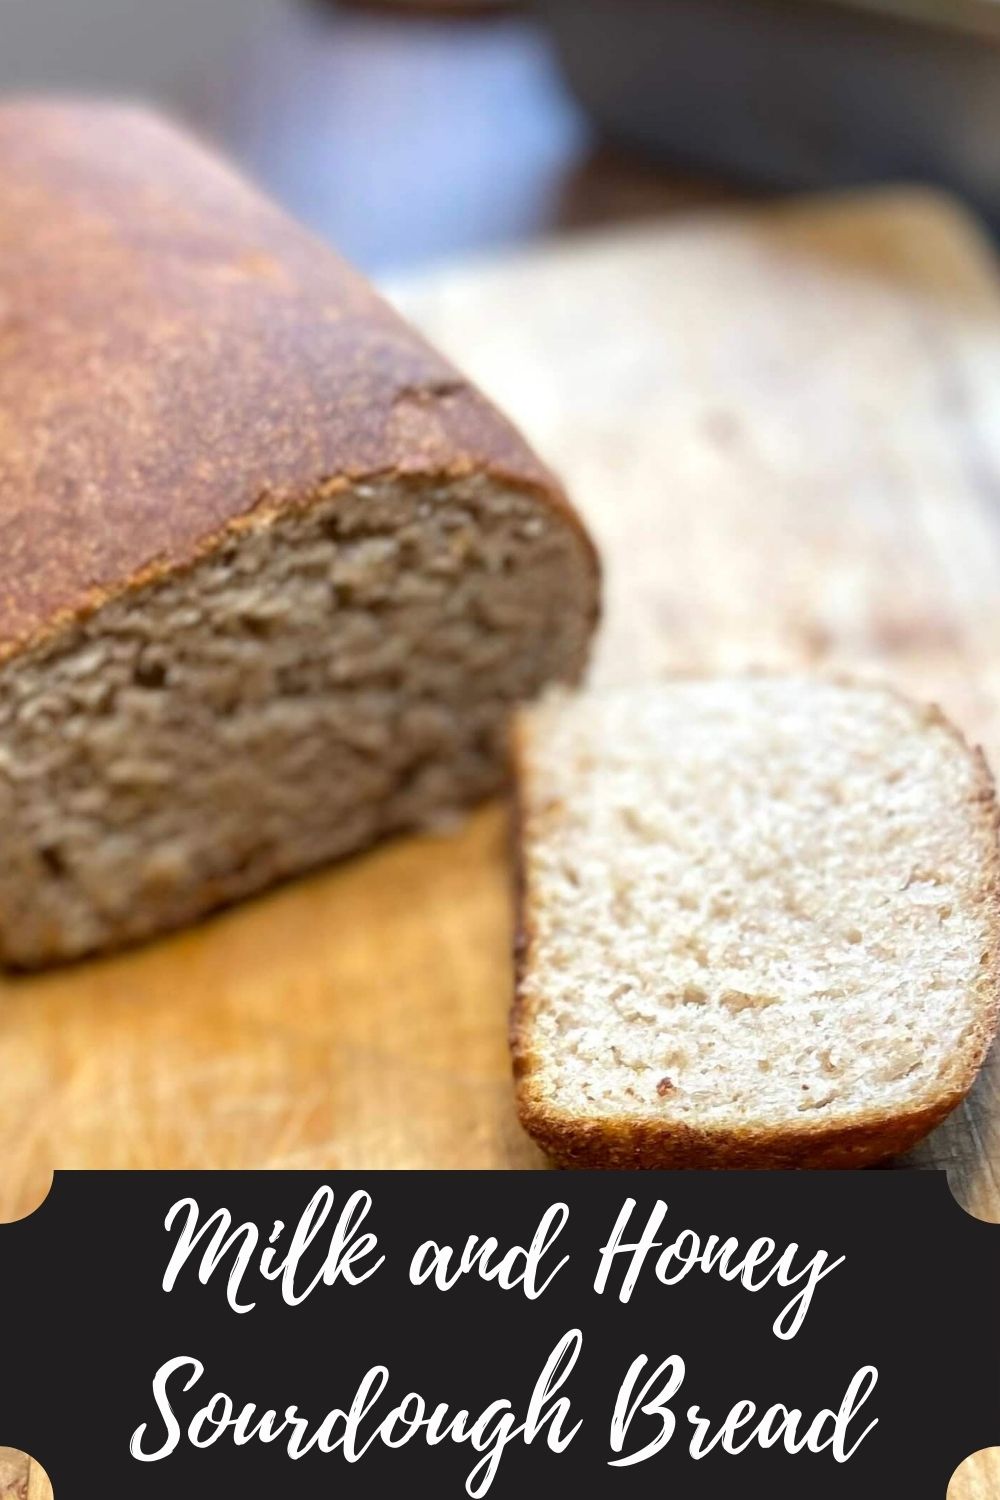
The “what can I make from scratch” itch has been stronger since we started being “safer at home.” My kids’ go to lunch is peanut butter and jelly on a tortilla shell. I like it on sourdough. Because we have a substantial garden and I love canning, we also have enough homemade jelly and jam to feed a small army.
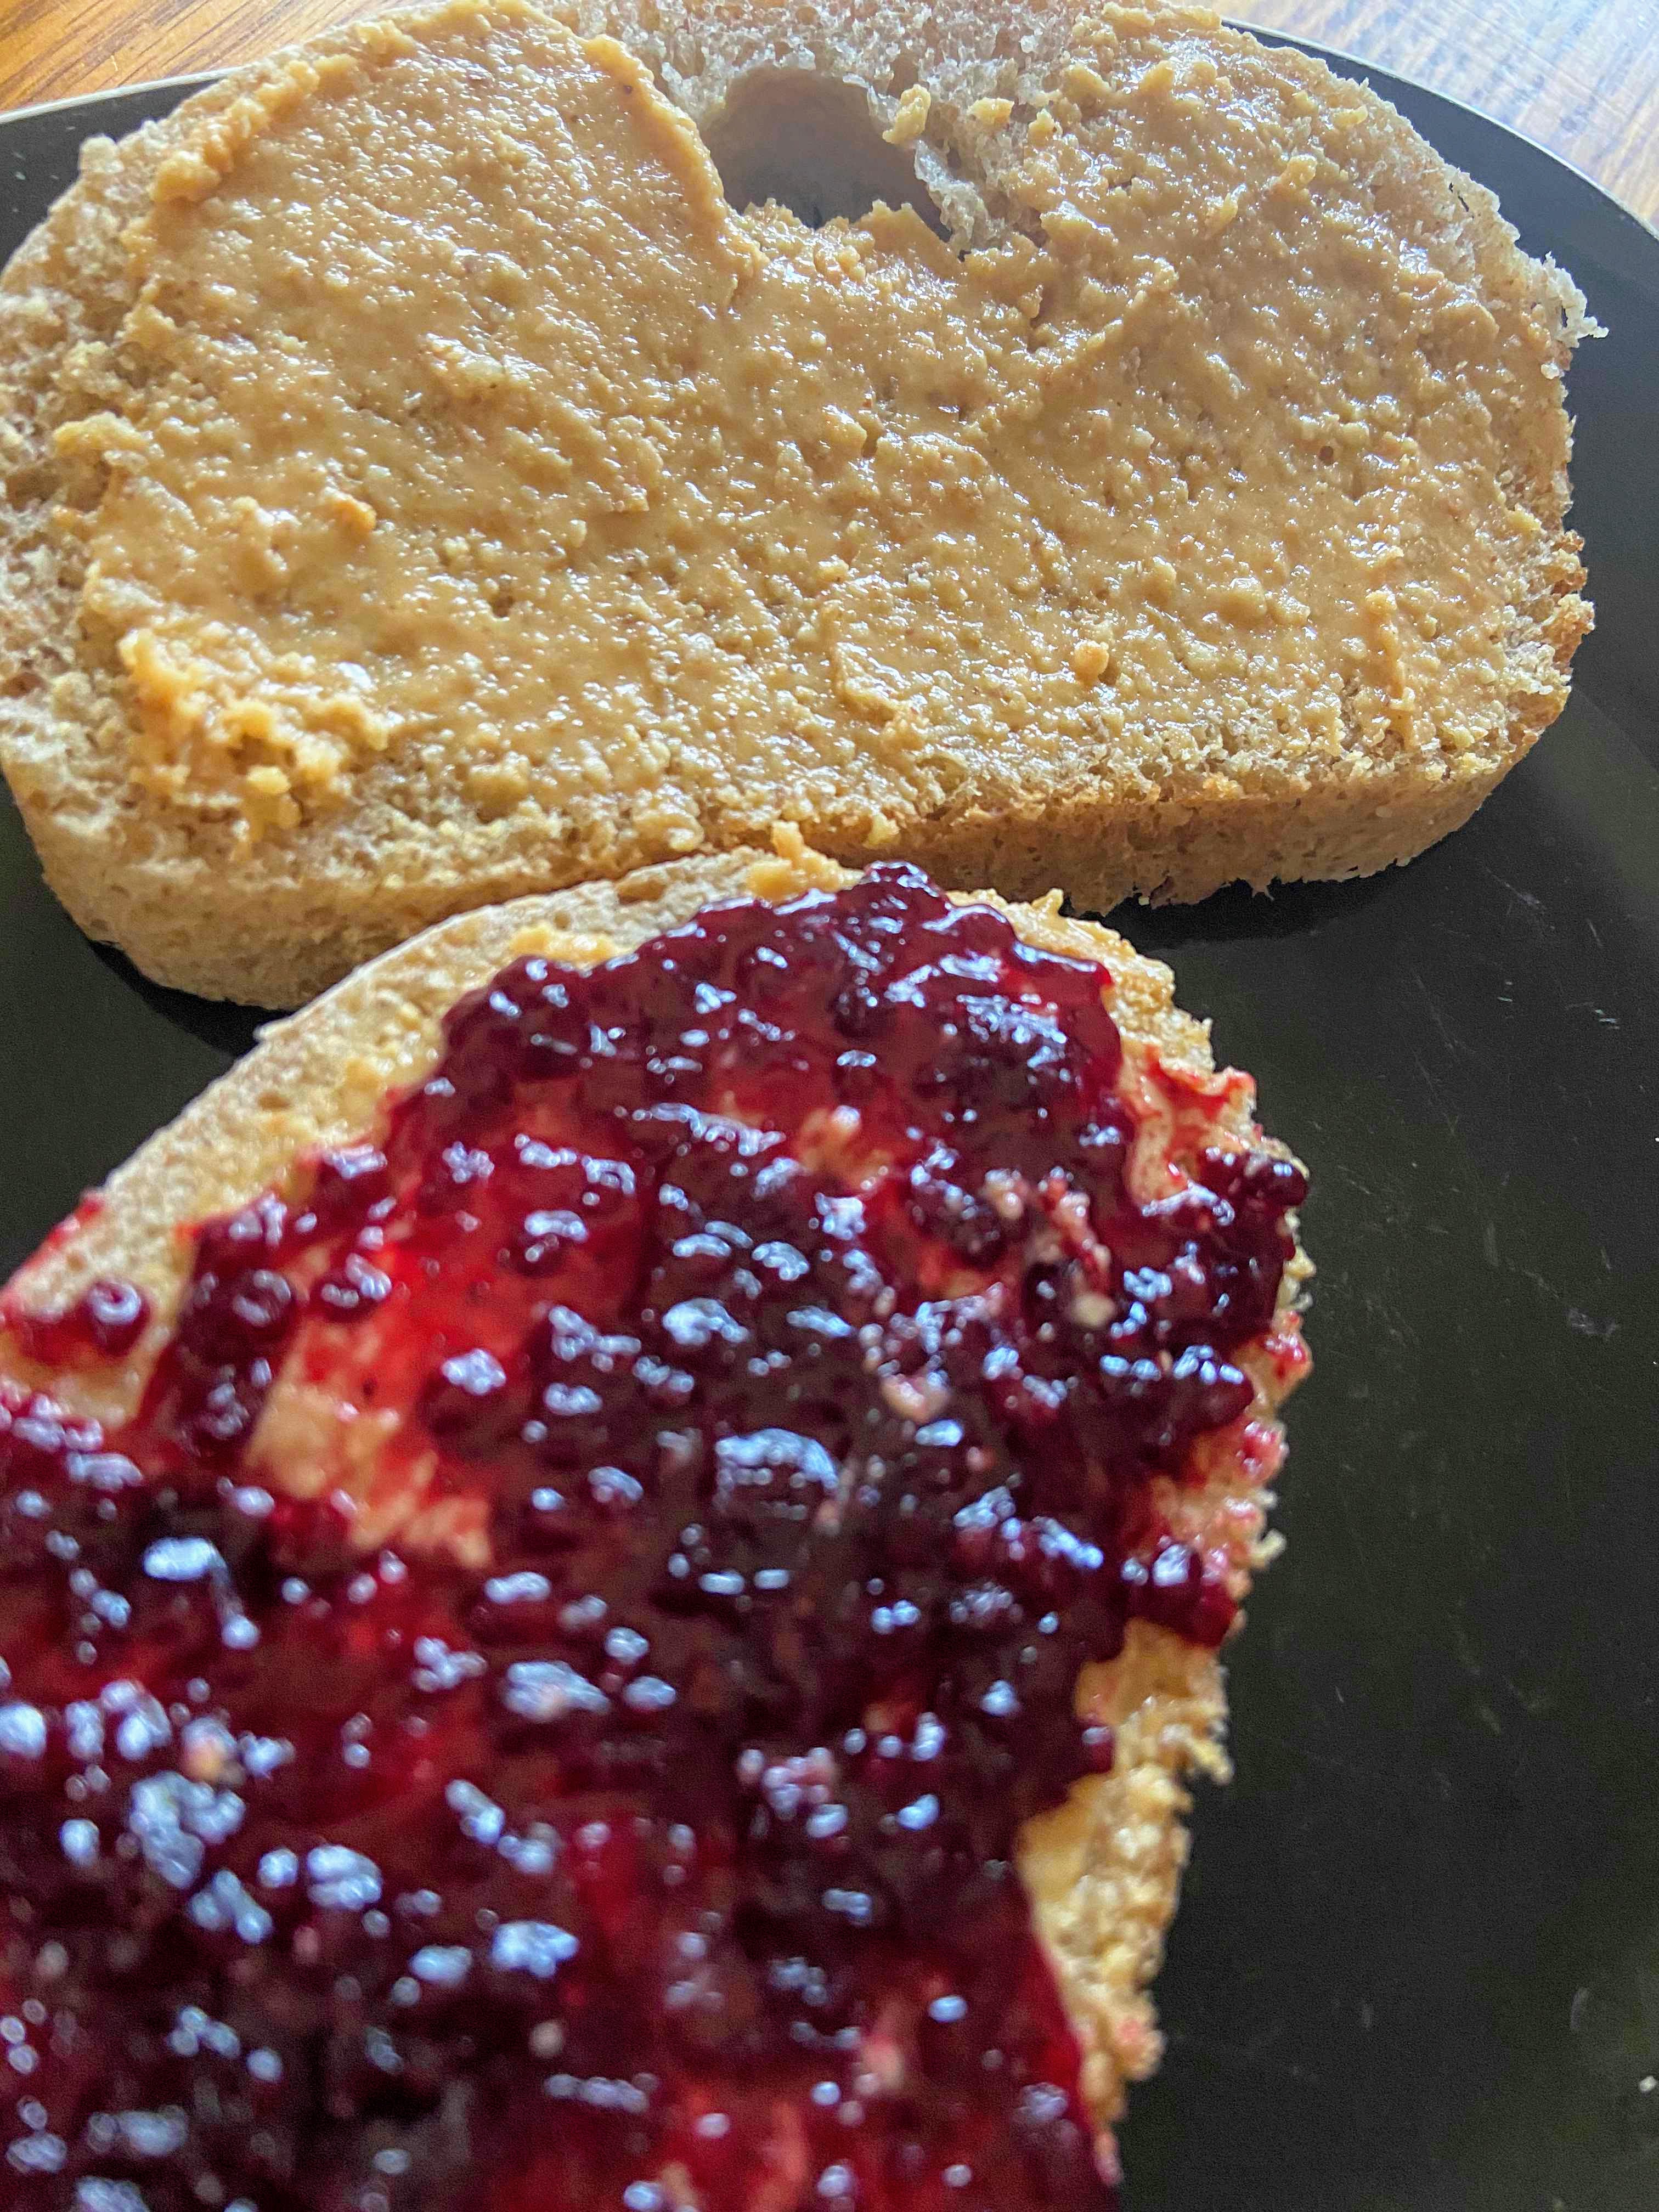
So let’s see, I have a fresh loaf of sourdough bread. I have homegrown and canned black raspberry jam open in the fridge. Wouldn’t it be awesome if I made homemade peanut butter so the whole sandwich was produced by me? (This is another passion of mine…having the whole meal be from scratch and the protein harvested by my husband through hunting. So fun!). I gave it a try and the results were delicious. When my 10-year-old son (the go-to taste tester) gave it a try, he just closed his eyes and smiled. He makes it special.
This process was so much easier than I expected and your kids will be tickled pink to know they took peanuts from the pantry and made peanut butter from them! Give it a try!
Your ingredients
- 1/2 cup dry roasted peanuts
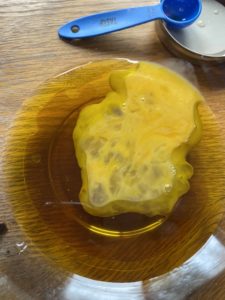
- 1 – 1 1/2 teaspoons olive oil (or other oil, I went olive)
- 1/2 – 1 teaspoon honey (to taste)
(Feel free to double or triple this recipe. I wanted to start small in case we didn’t love it. It was such an easy process that making it in small, fresh batches is a great idea too!)
Your Steps to Homemade Peanut Butter
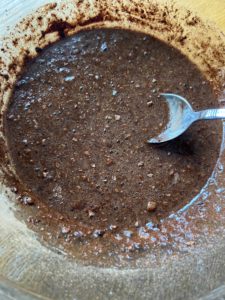
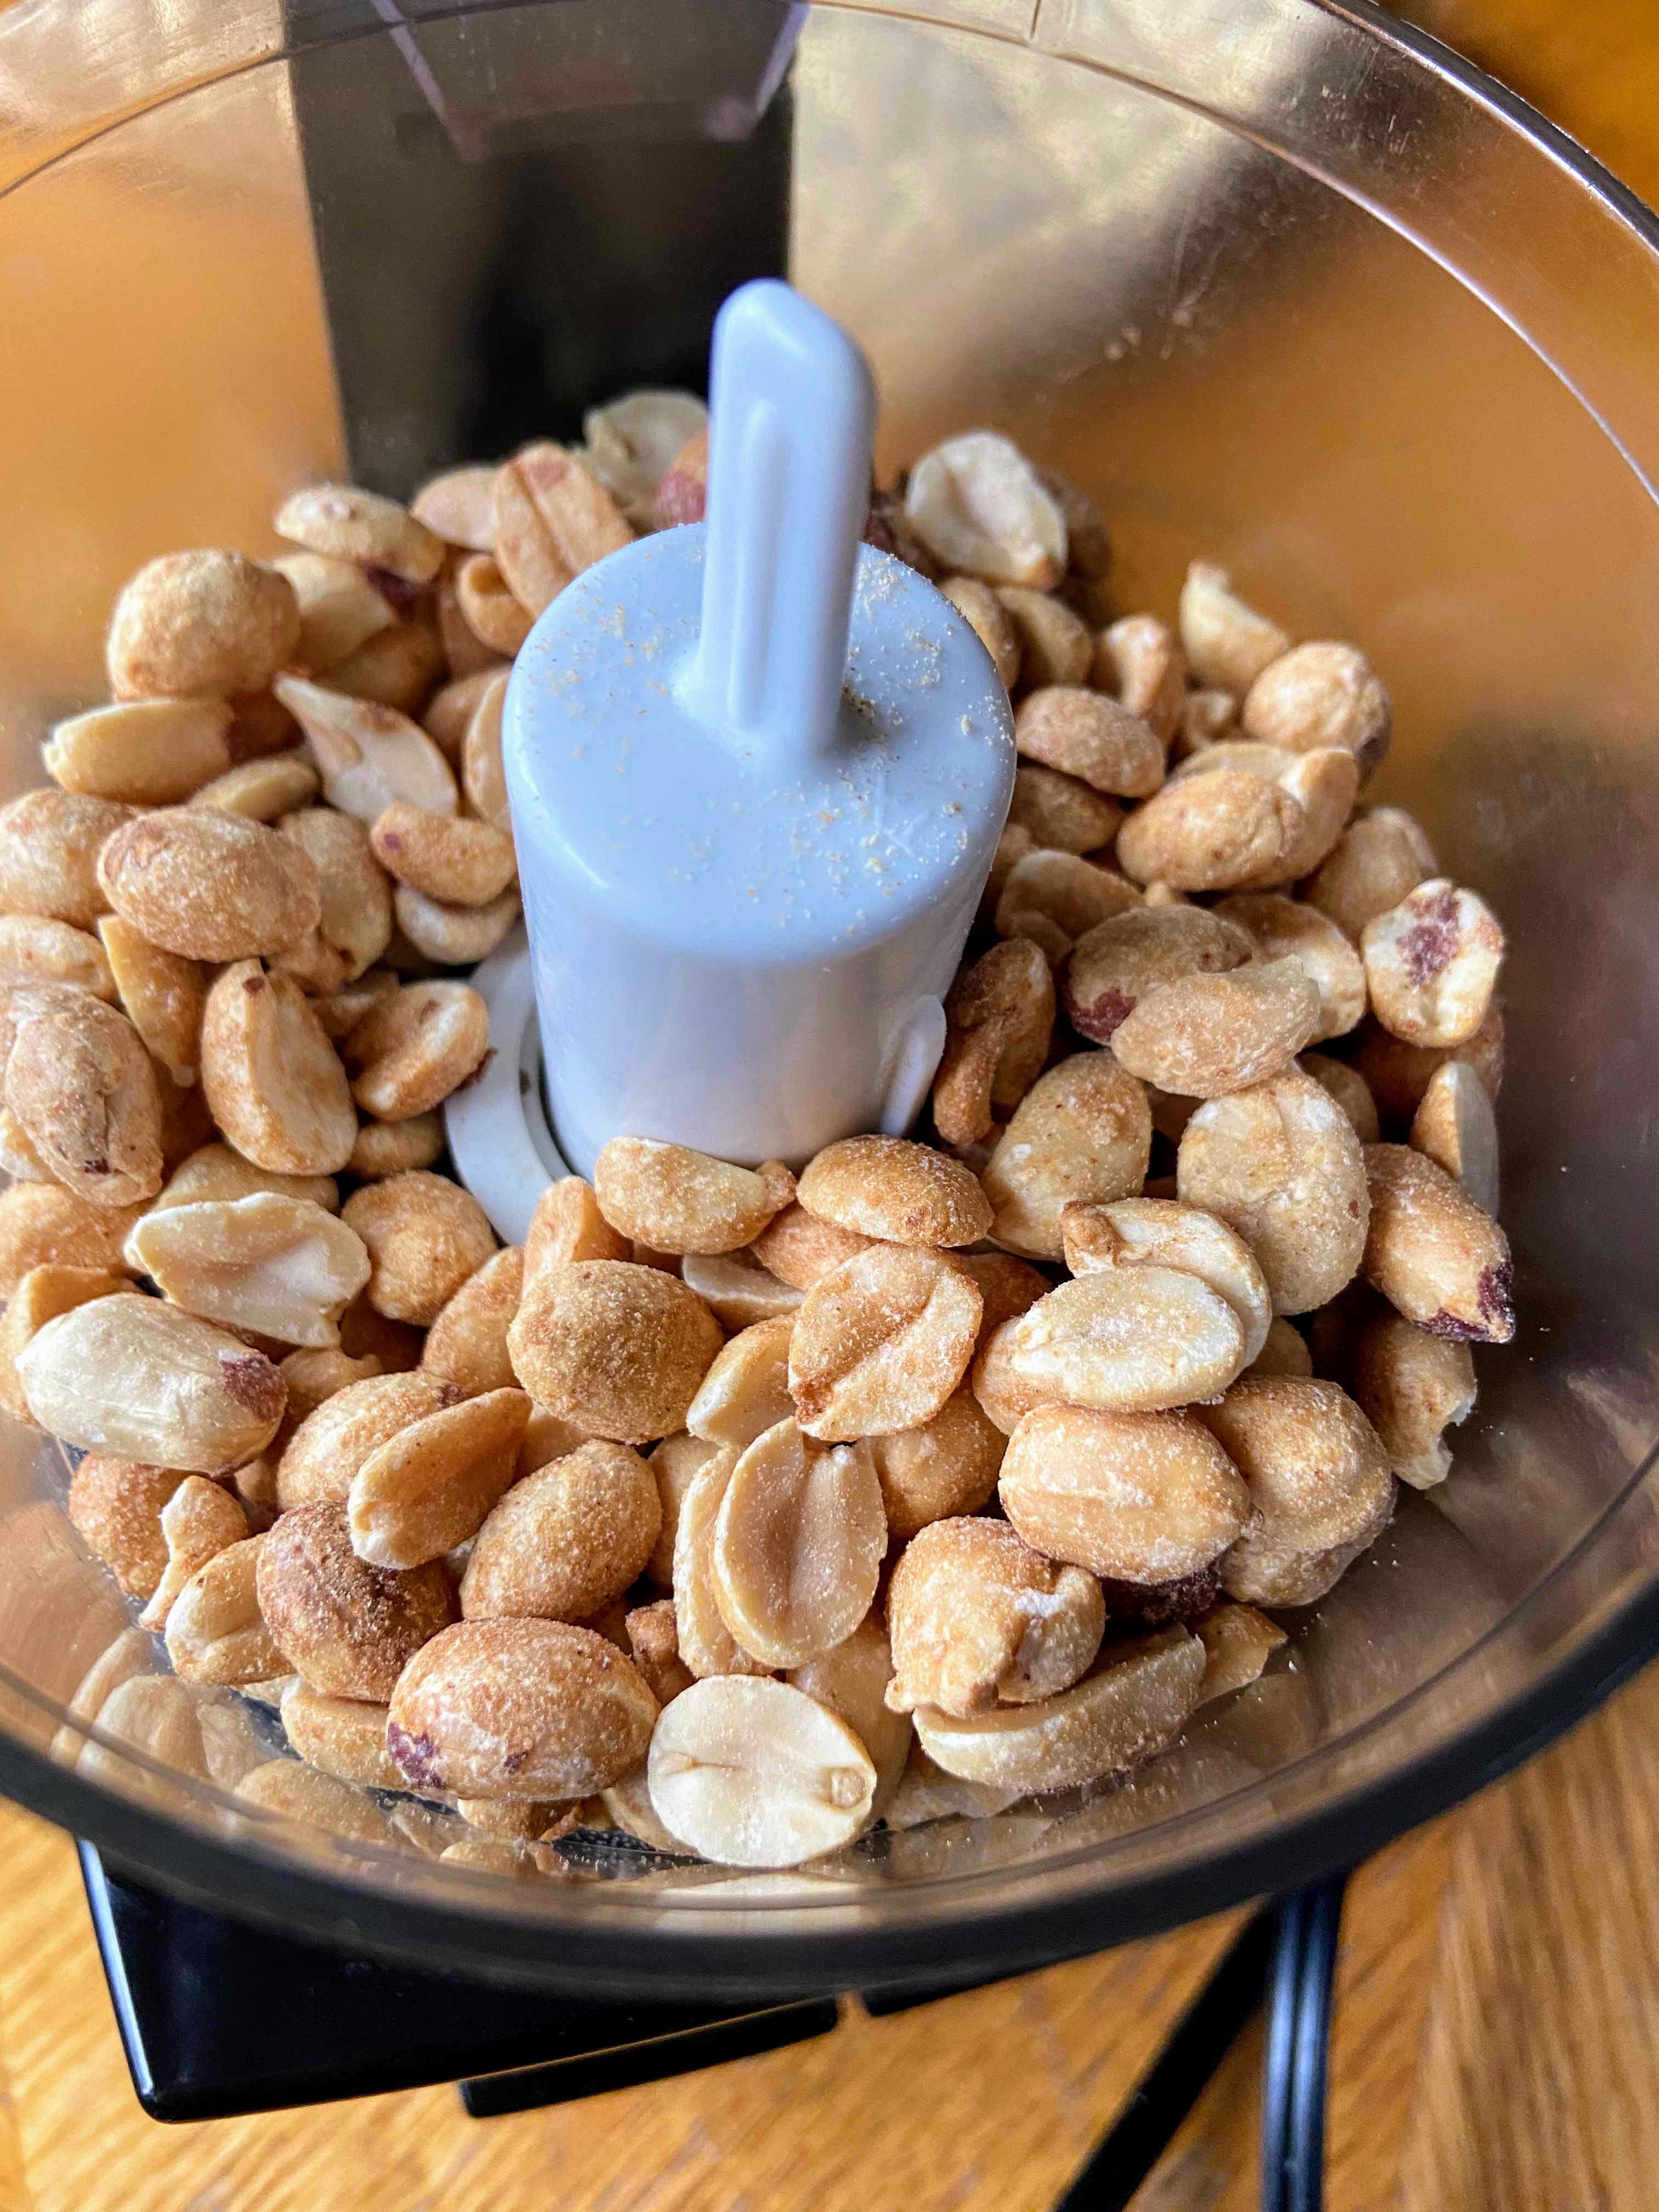
Place the peanuts in a small food processor and pulse on high. This will take a few minutes. Be patient. As I watched the peanut go from whole to chopped to a large sand texture, I thought there was no way they were going to turn to butter. Keep going.
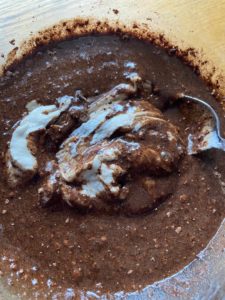
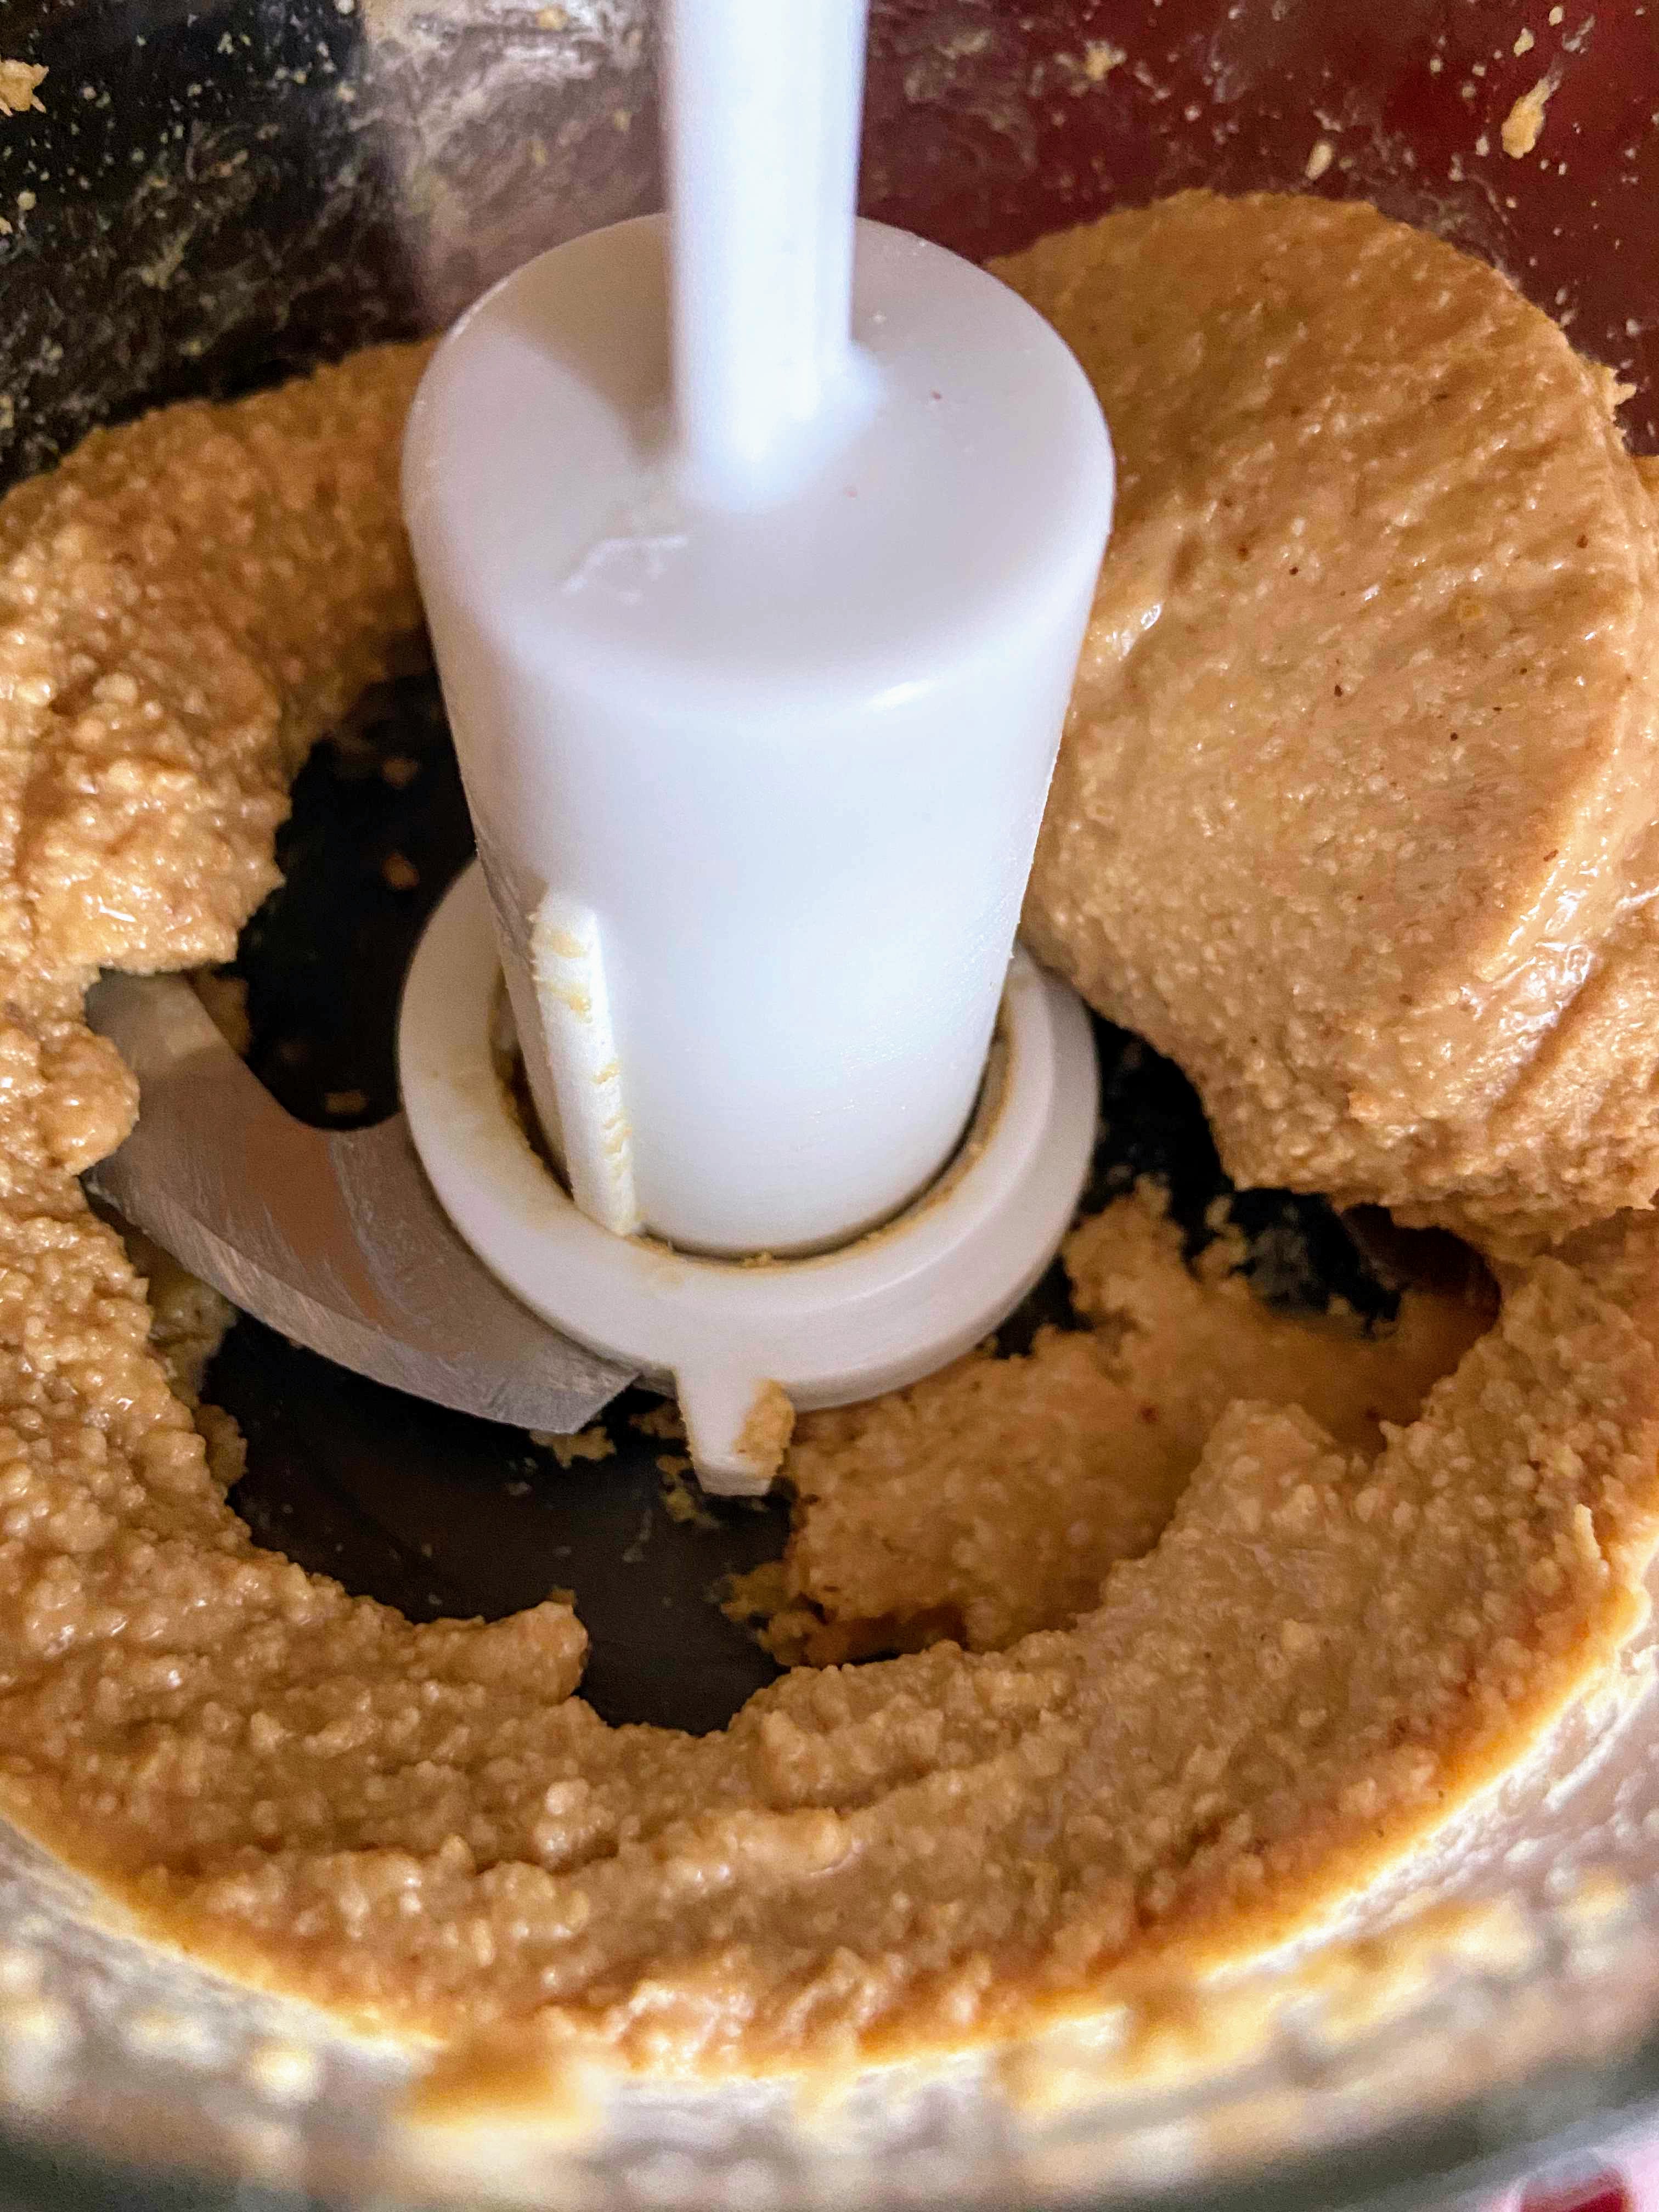
Once you have obtained a very fine sand texture, drizzle oil into the mixture, 1/2 teaspoon at a time, blending it in as you go. Again, be patient and suddenly you’ll think, “Holy cow! I made peanut butter!” The initial plan was not to put honey in mine, but I gave it a try and thought it would be good to have it be a touch sweeter. I added 1/2 teaspoon, blended it in, and then gave it to my son. He gave it two thumbs up so I stopped there. If you have a sweeter tooth than we do, you may want to add a little more.
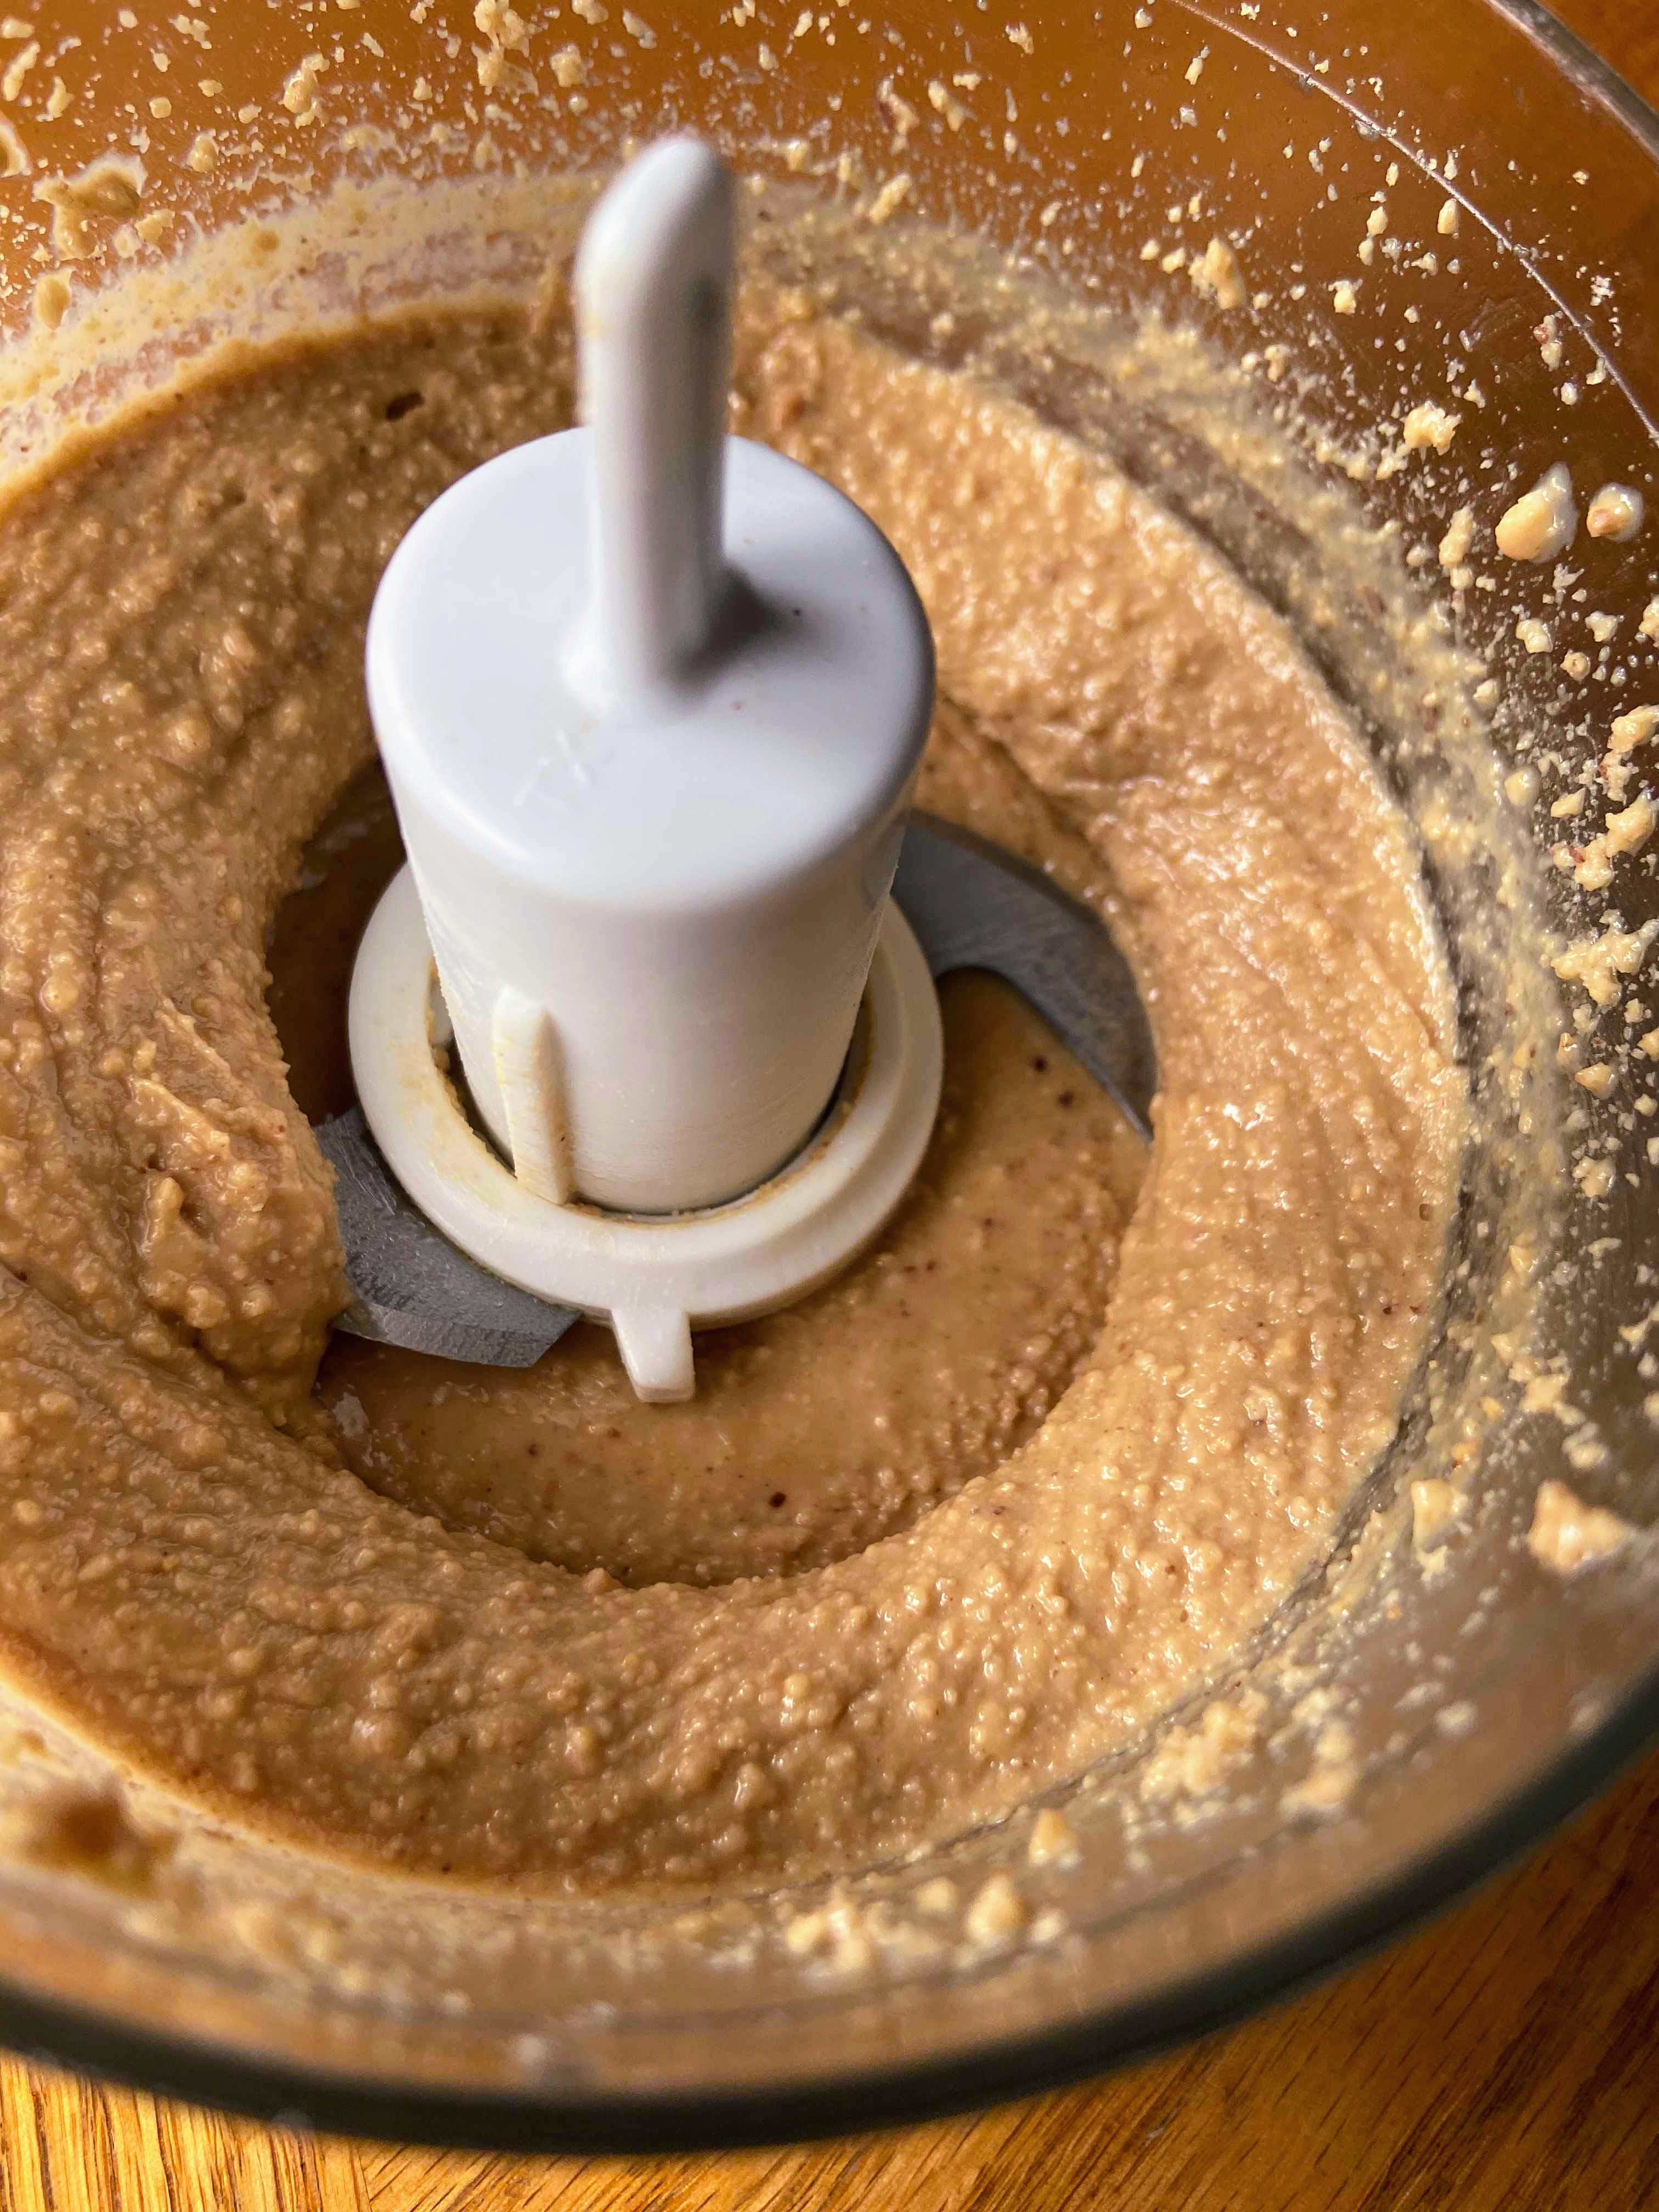
What I love about this peanut butter is that you can control the consistency. I like a little texture so I opt for crunchy on my PB and Js. While I didn’t get crunchy per say, I did have texture which was good. I haven’t tried it yet, but you could totally mix in some additional chopped peanuts for true crunchy peanut butter. I hope you enjoy it as much we did at our house. Although I have a hard time sharing…I mean, they get all the Oreos right?
Let me know what you think! —Jess
PS…Ready for a game changer? Put a thin layer of homemade peanut butter on BOTH sides of the bread then put the jelly/jam on one side. My PB and J game has been forever changed because of this small hint!

TOOLS OF THE TRADE
I do love my little food processor for creating small batches. Sometimes bigger isn’t always better, right?
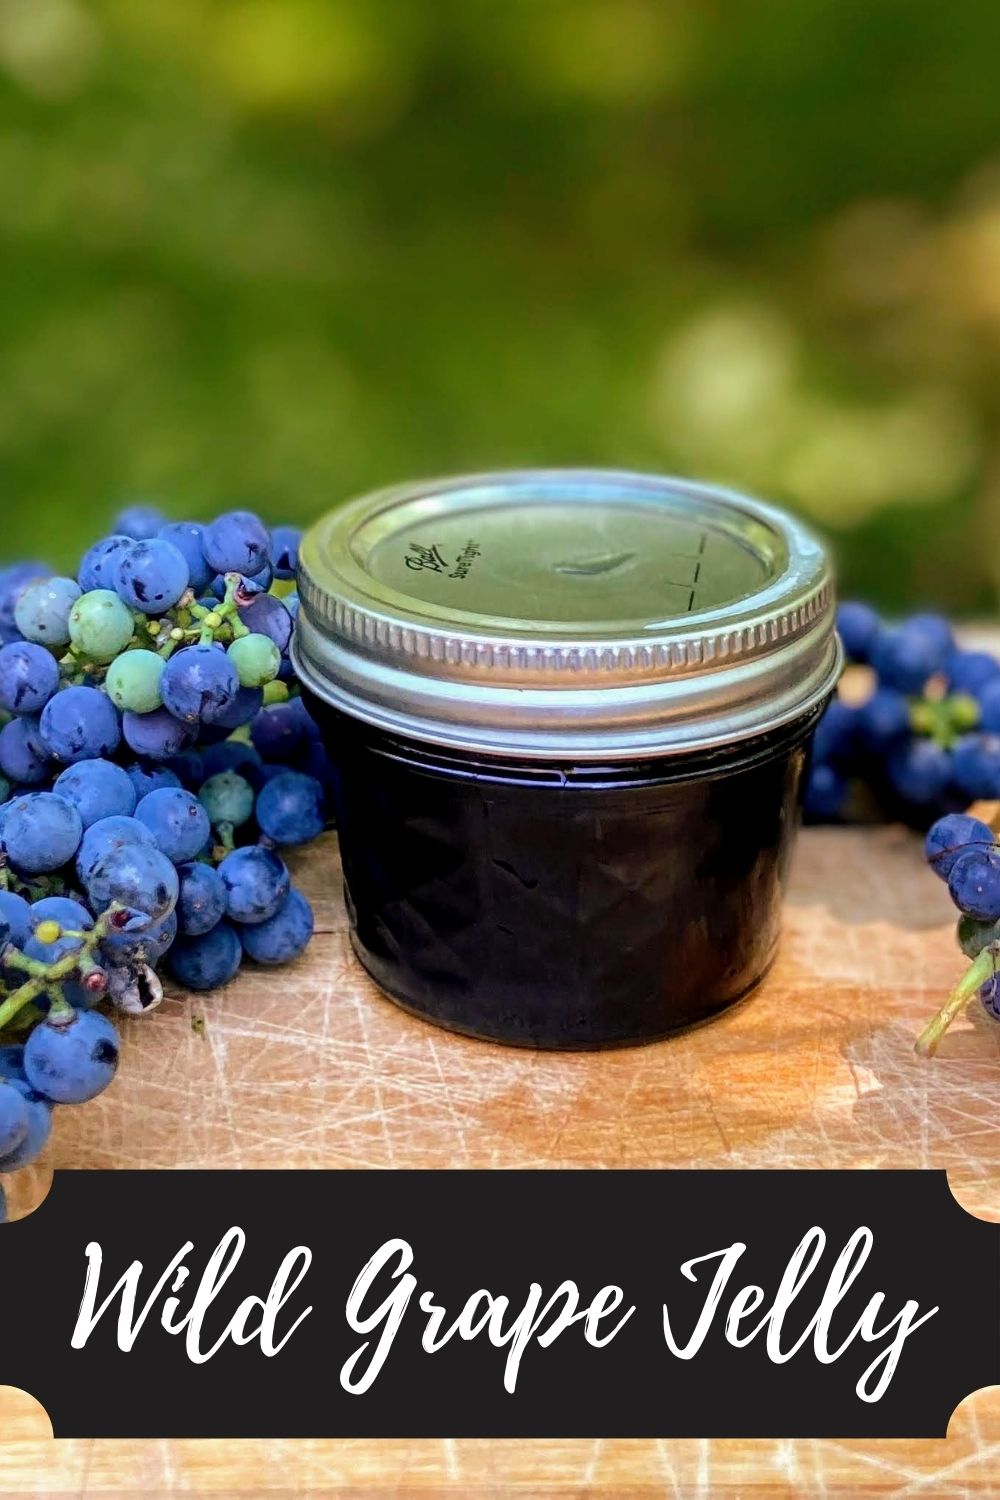
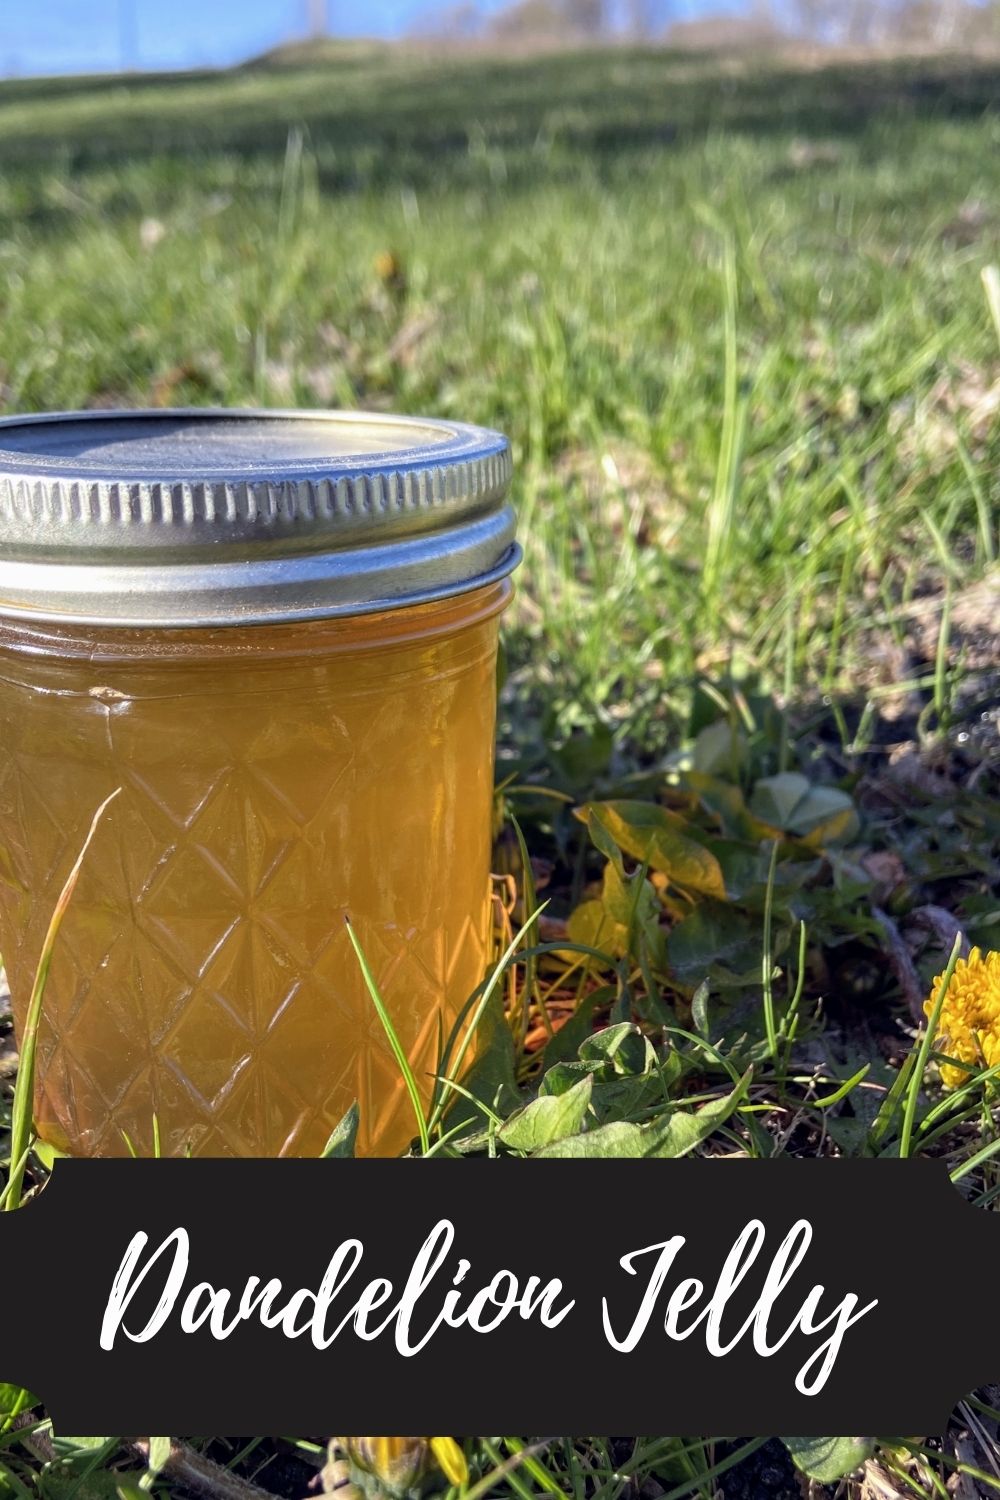
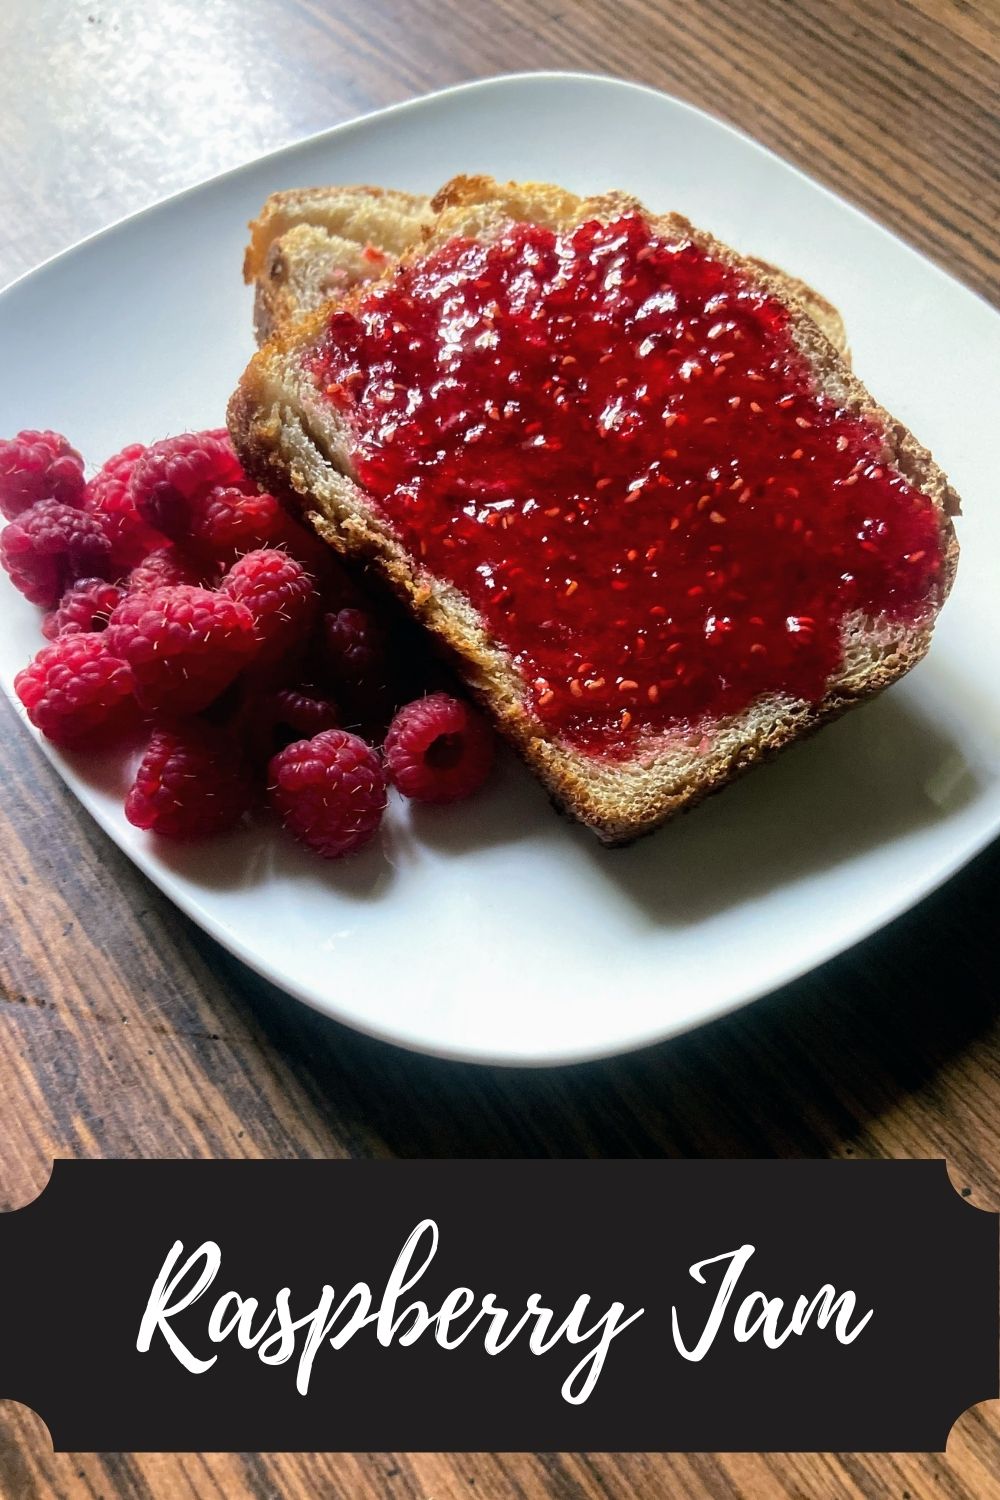
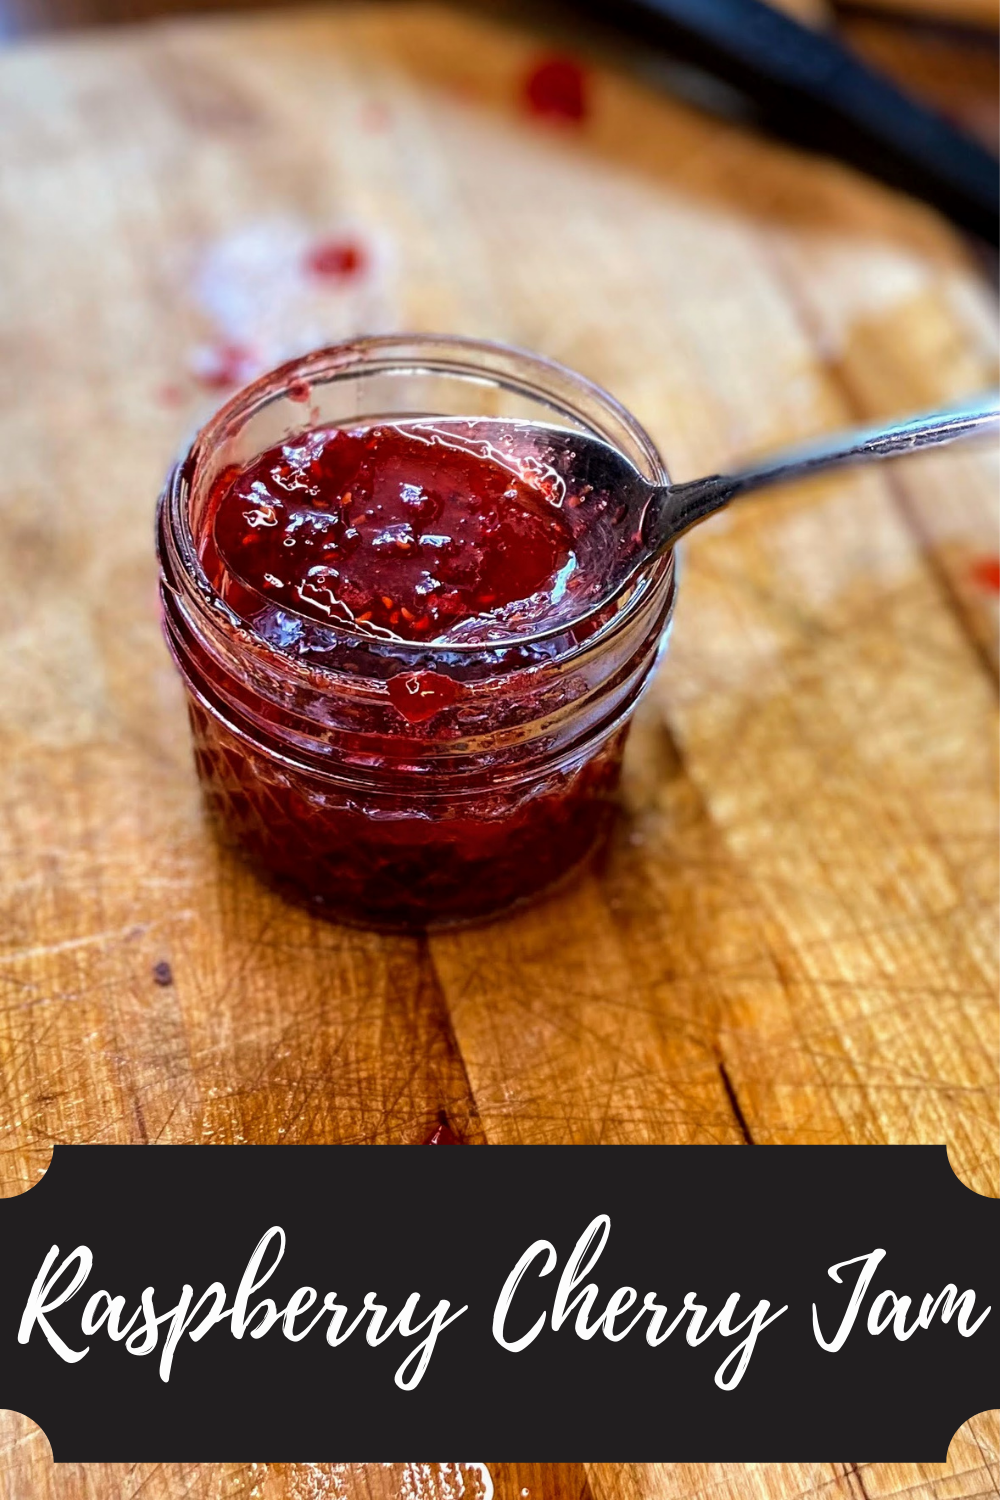
Looking for homemade jam or jelly to pair with your peanut butter? Check out my canning and preserving page to get a recipe! Click the button below! Or click any of the pictures below for the direct link!
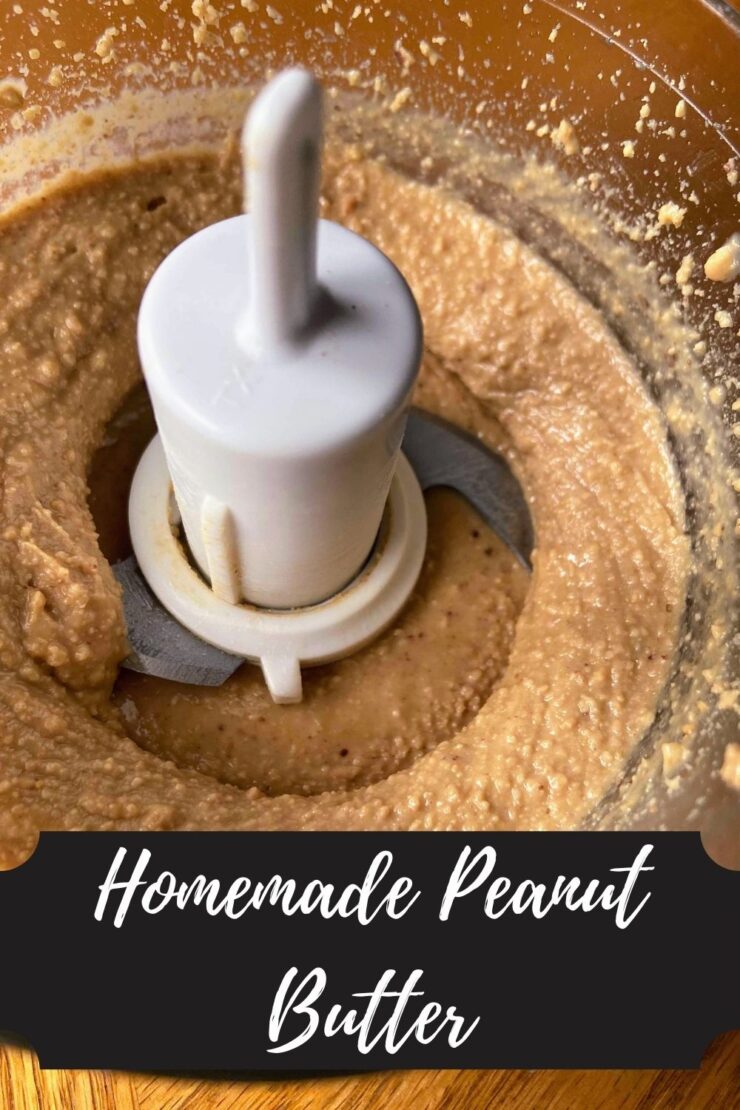
Homemade Peanut Butter
Equipment
Ingredients
- 1/2 cup dry roasted peanuts
- 1 – 1 1/2 teaspoons olive oil or other oil, I went olive
- 1/2 – 1 teaspoon honey to taste
- dash of salt optional
Instructions
- Place the peanuts in a small food processor and pulse on high. This will take a few minutes. Be patient.
- Once you have obtained a very fine sand texture, drizzle oil into the mixture, 1/2 teaspoon at a time, blending it in as you go.
- Drizzle in honey and sprinkle in salt. Blend once more.